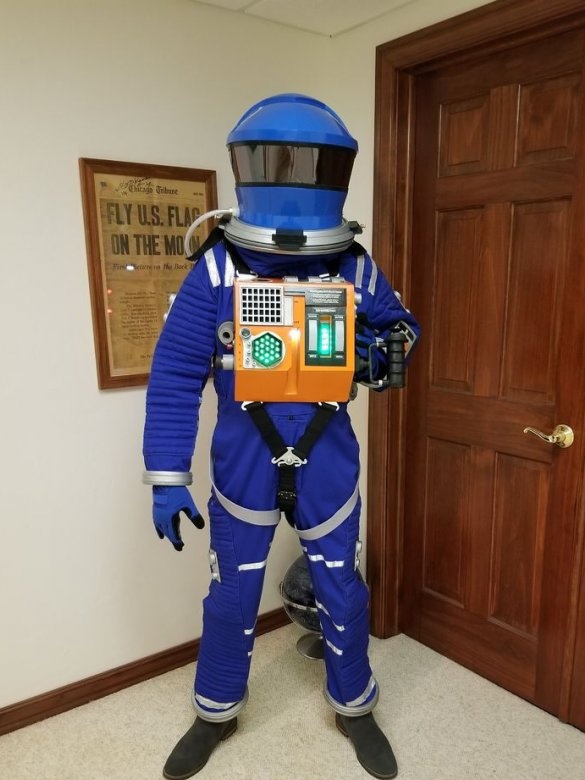
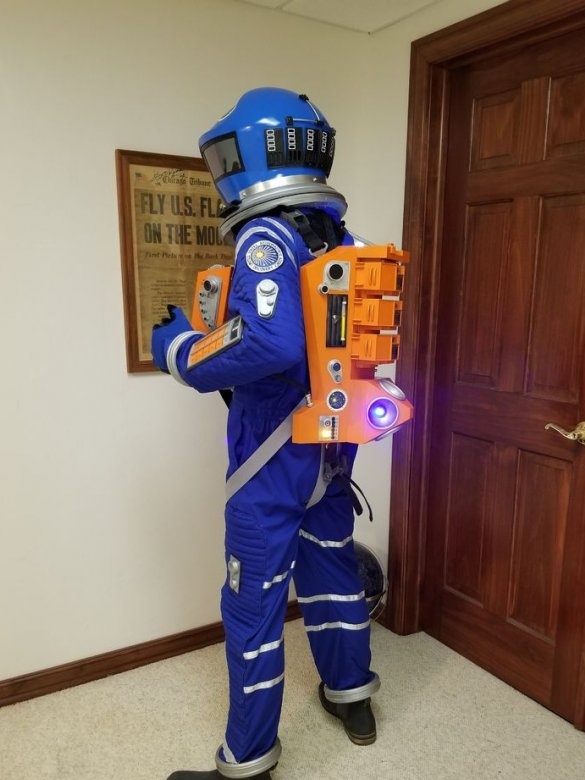
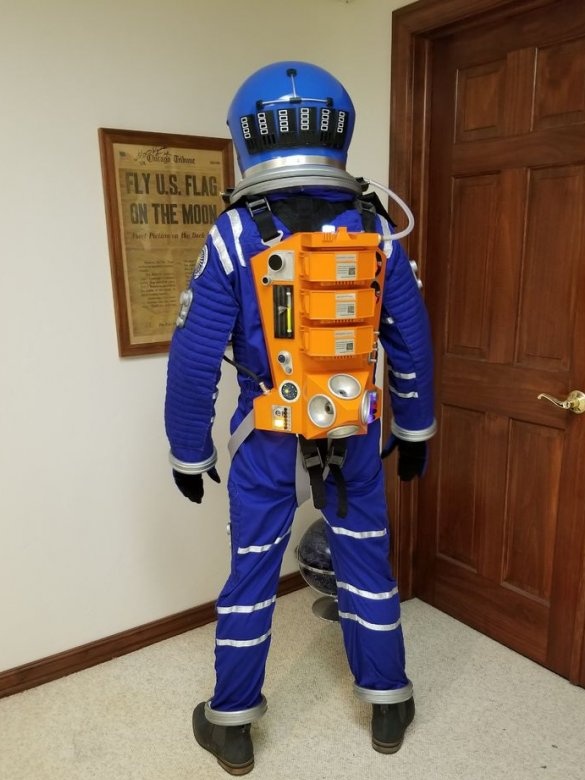
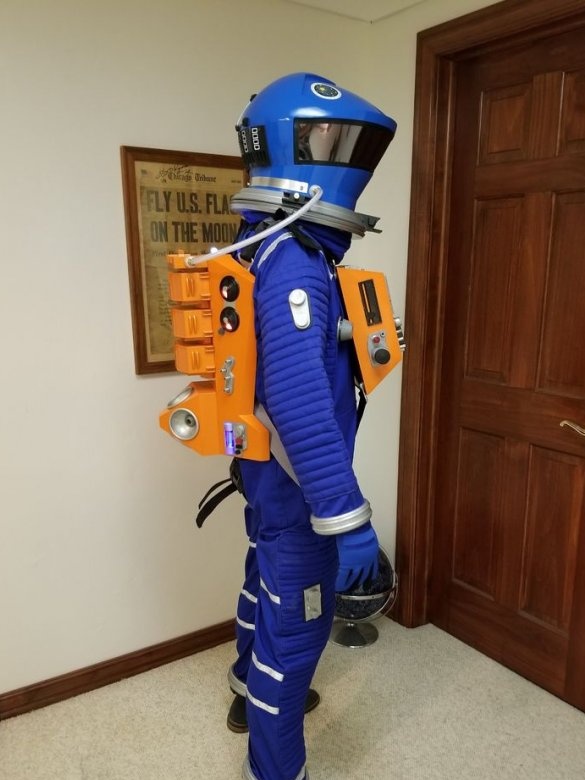
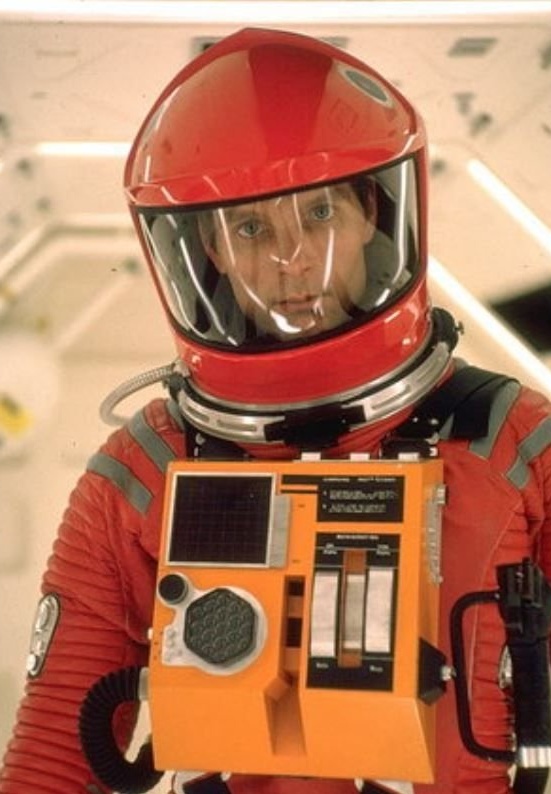
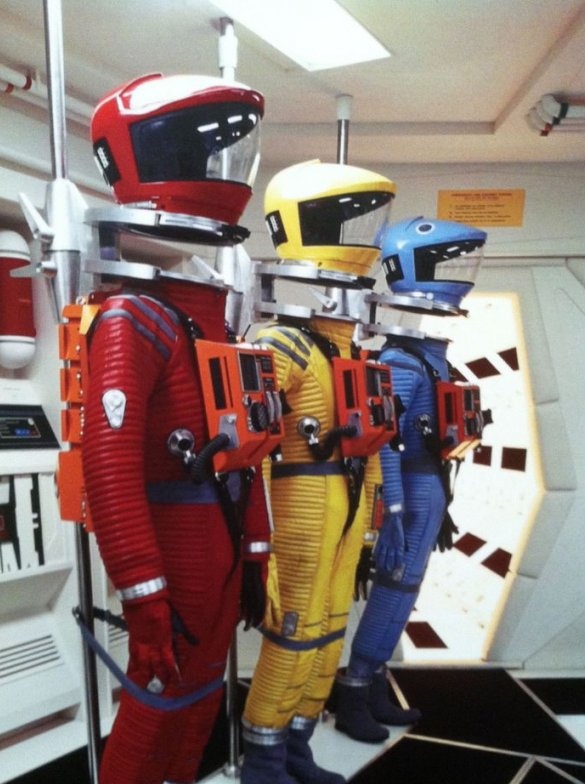
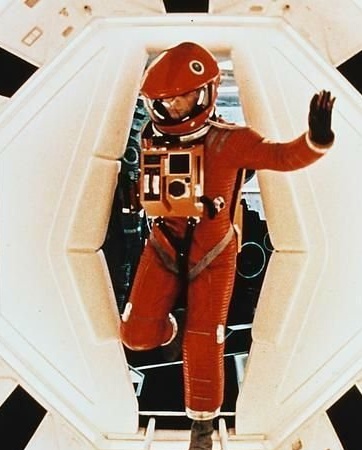
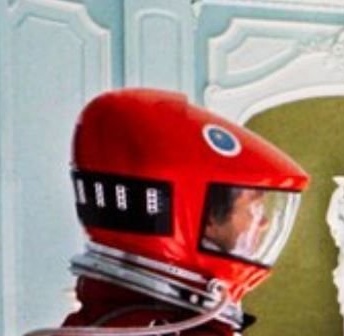
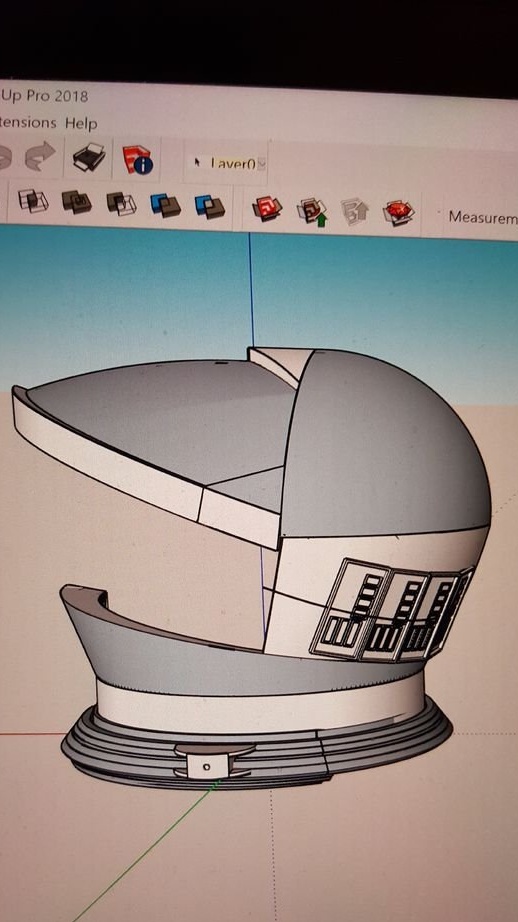
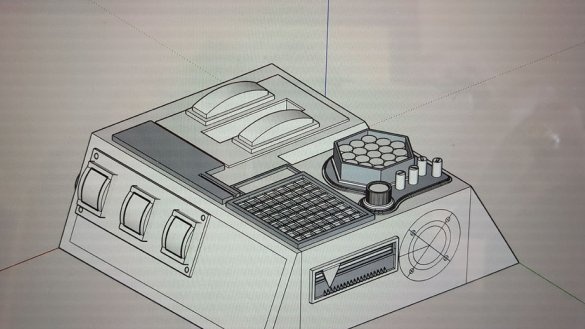
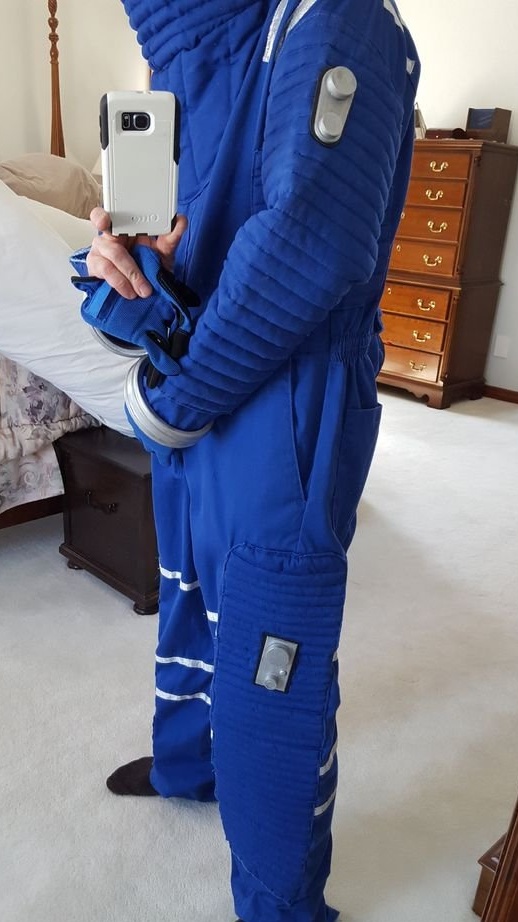
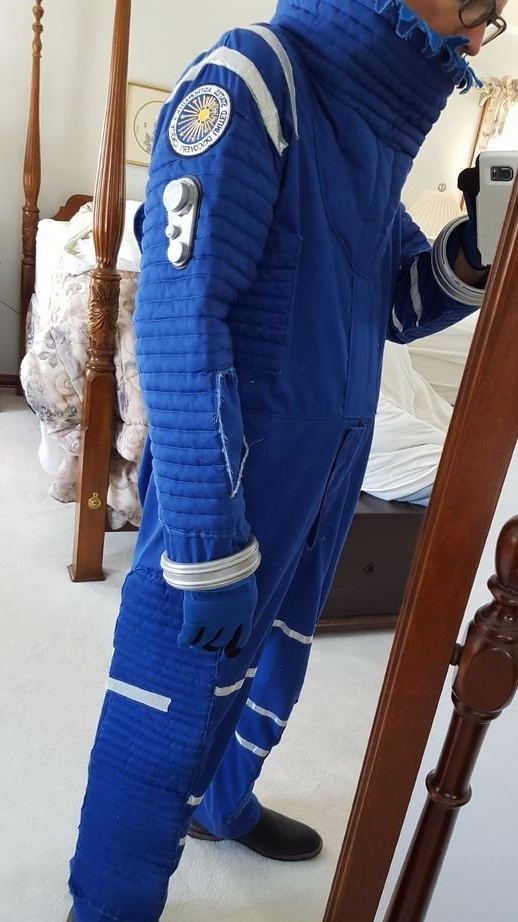
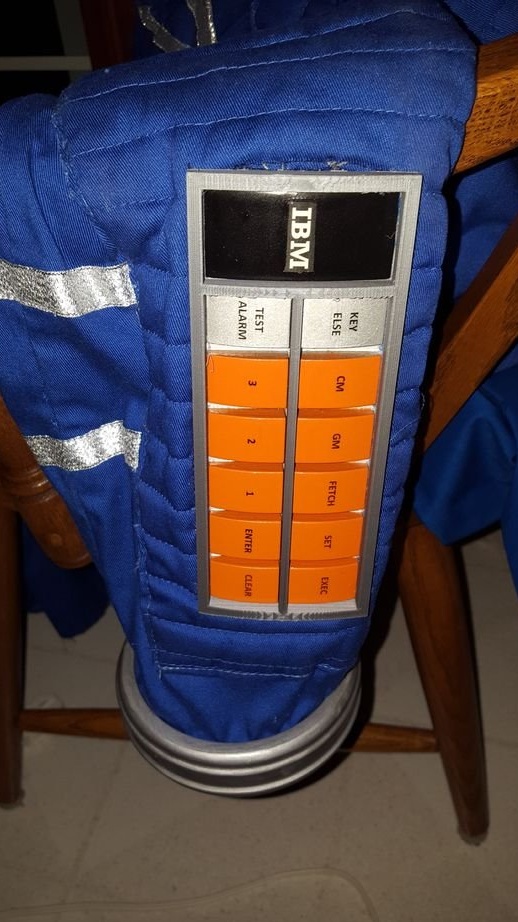
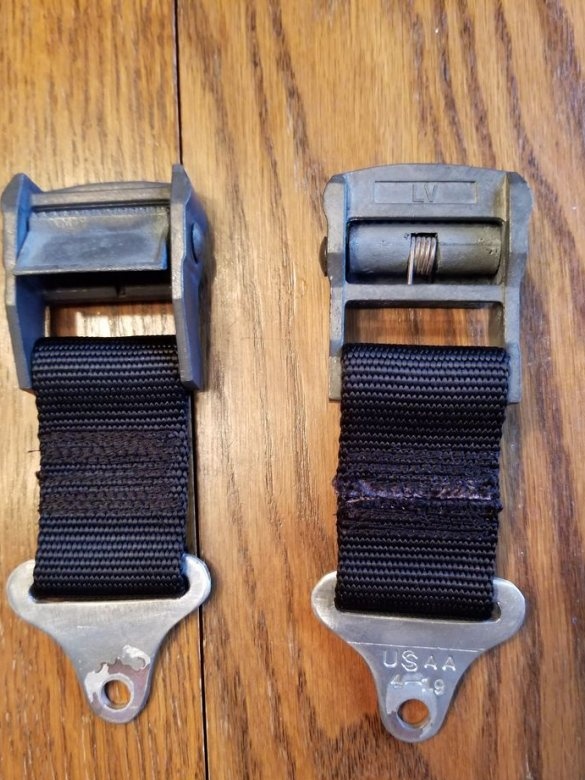
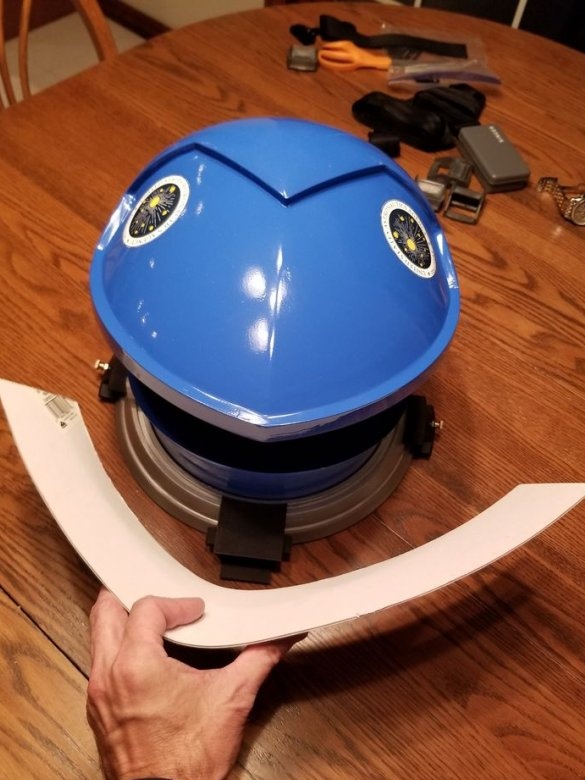
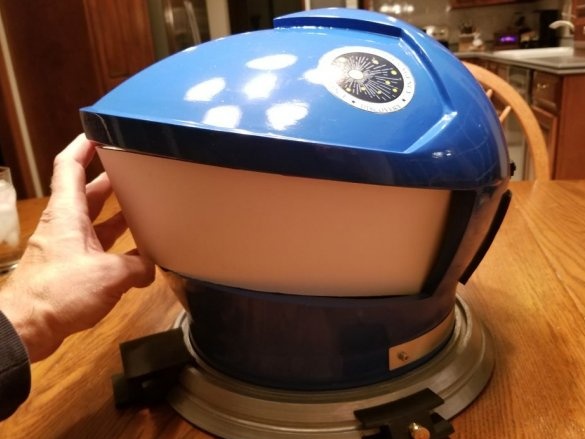
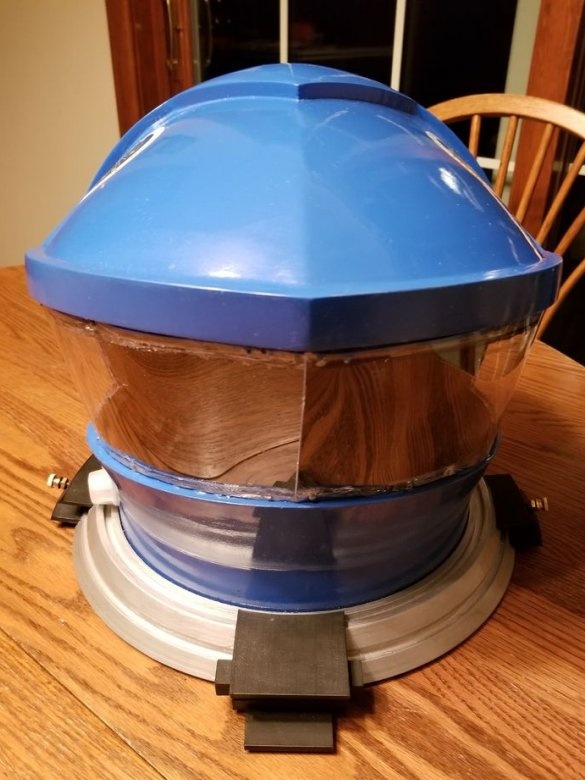
"Space Odyssey of 2001" - a cult science fiction film by Stanley Kubrick, released in 1968. This film was a milestone in the development of cinema science fiction and world cinema in general. The film was based on the story of Arthur Clarke “Sentinel”.
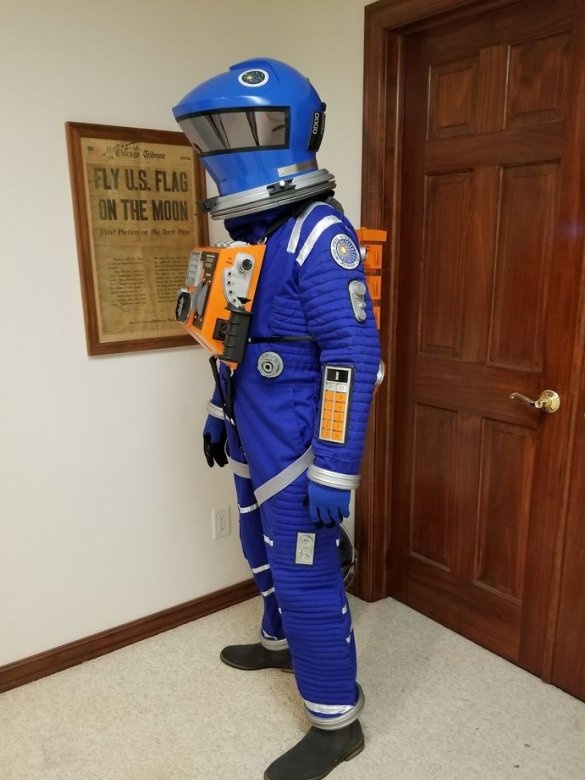
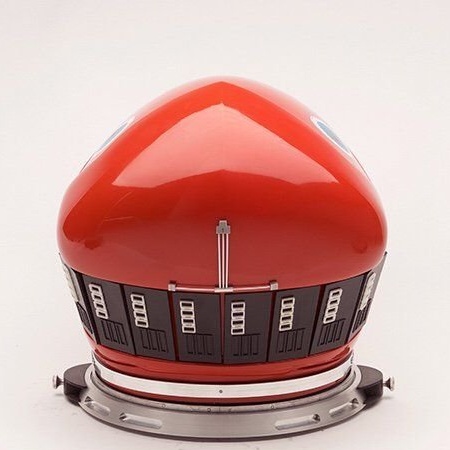
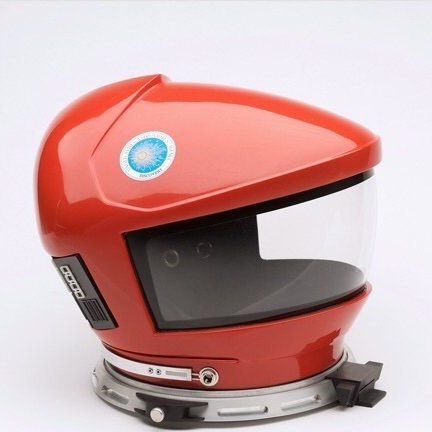
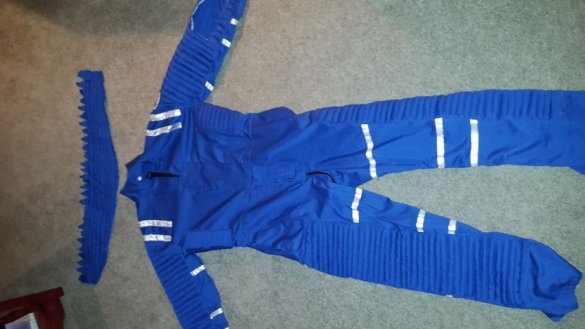
The master decided to make a spacesuit similar to those in the film. And he did well. Of course there are differences, but they are not so significant. You can compare the two spacesuits, in the upper photos - the author, in the lower - from the film.
Tools and materials:
- Working overalls of blue color - 2 pieces;
-3D printer;
-Epoxy adhesive;
-Fasteners;
- Aerosol can with paint;
-Varnish;
-Reflective tape;
-Lightning;
-Batting;
-Sewing accessories;
-LEDs;
-Resistors;
-The wire;
-Soldering accessories;
- Computer fans;
-6-pin electrical connectors;
- Aluminum sheet;
-Acrylic;
-Neodymium magnets;
- Set of gaskets for bicycle helmets;
- Belt with a latch;
-Computer with software;
Step One: Project
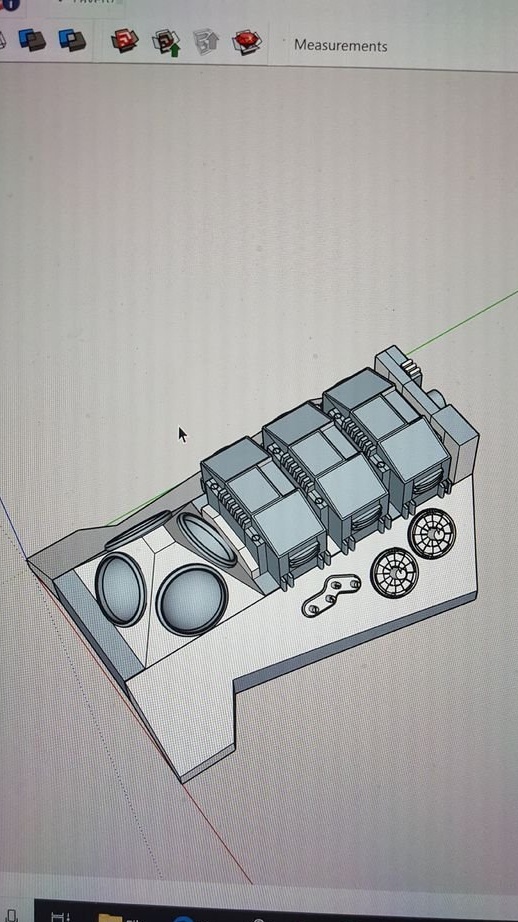
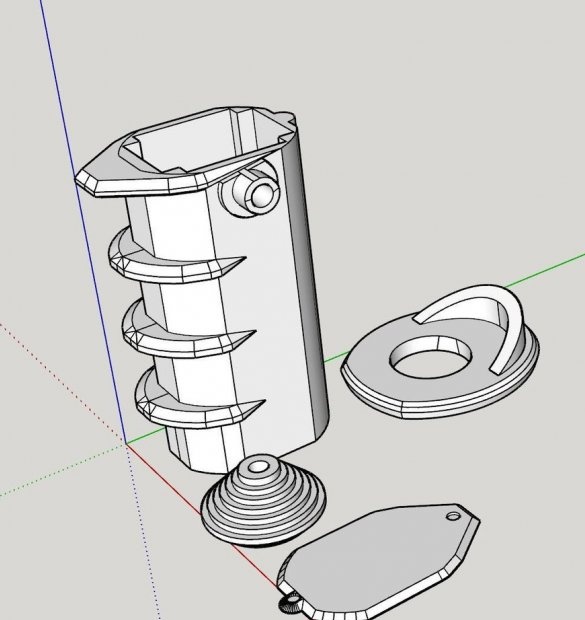
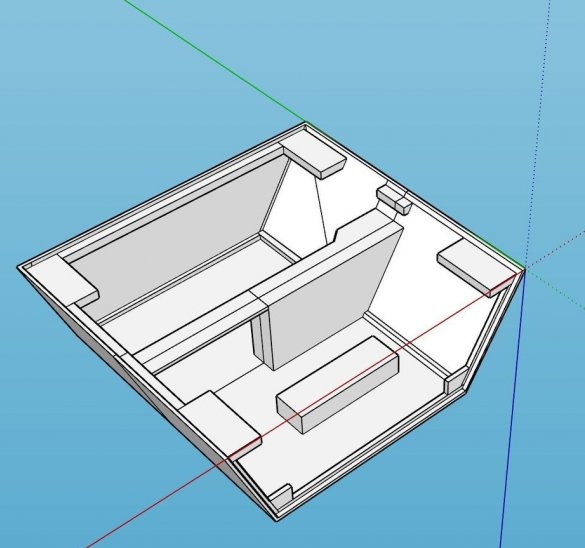
The master began with the design of a spacesuit in CAD. First, the master developed small parts, and then moved on to larger ones. When designing, he used photos of the original spacesuits from the film.
Here are some tips from the wizard.
Photo scaling is a rather difficult task. You need as many photos as possible taken from different angles.
The details printed on the 3D printer are quite durable. Therefore, to reduce the weight of the suit and costs, it is not necessary to make it very thick.
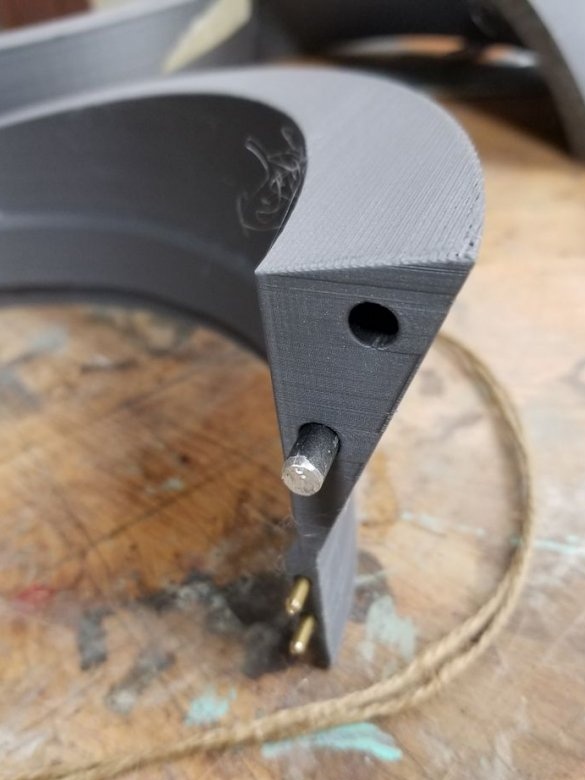
When assembling, installation pins are a good help. Therefore, it is better to design and print from in advance.
Step Two: Jumpsuit
To make the costume, the master bought two overalls, one of his size, the second largest.
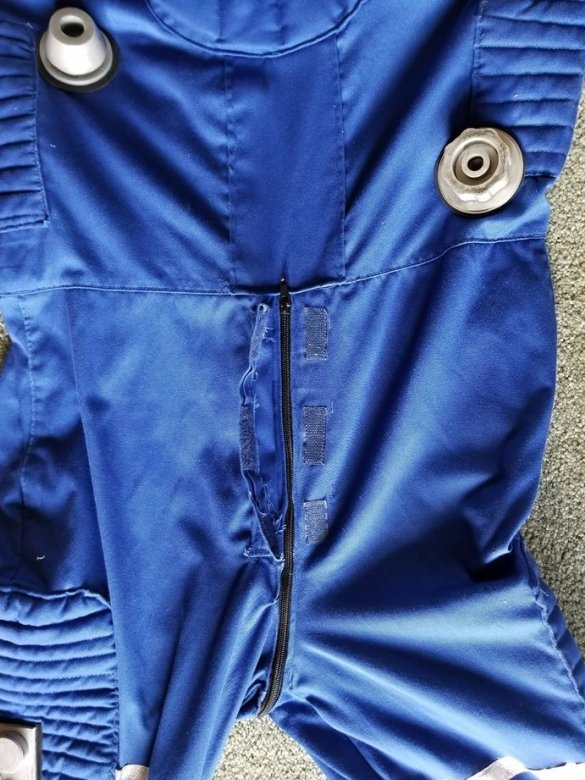
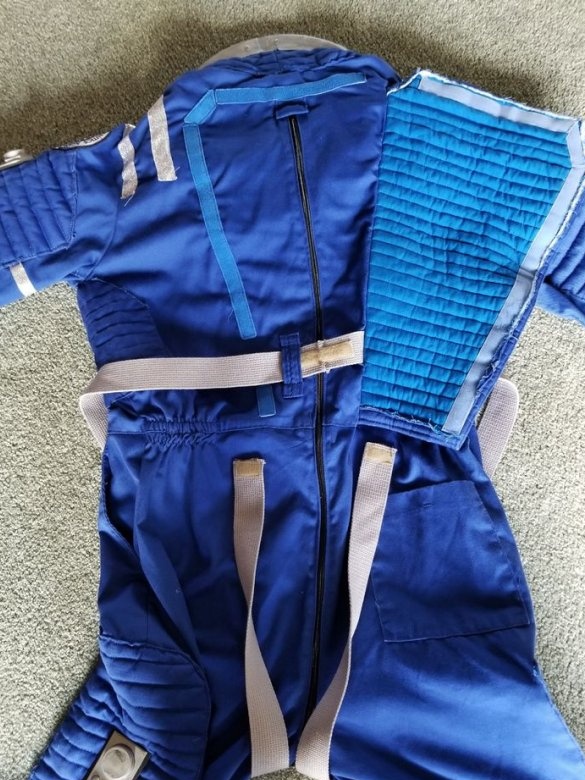
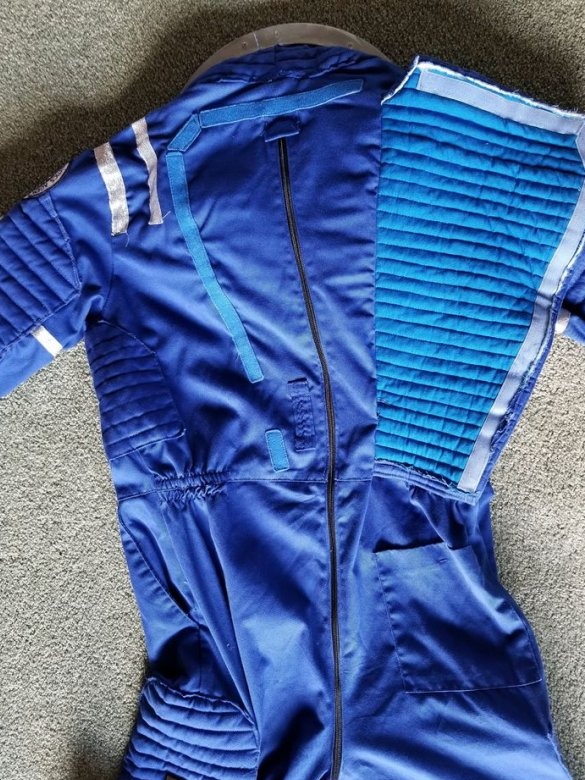
Basis, this is the first costume. The master sews the front section of the velcro and sews on the back of the zipper. The zipper is long, starts from the top and ends on the stomach. Then, reflective stripes are sewn onto the legs and shoulders.
To give volume, the master cuts off the sleeves and leg from the second suit. Sews batting to their inner side.Then sews the pads on the suit.
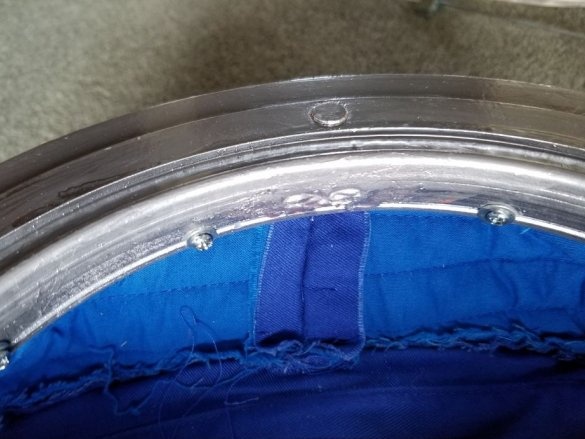
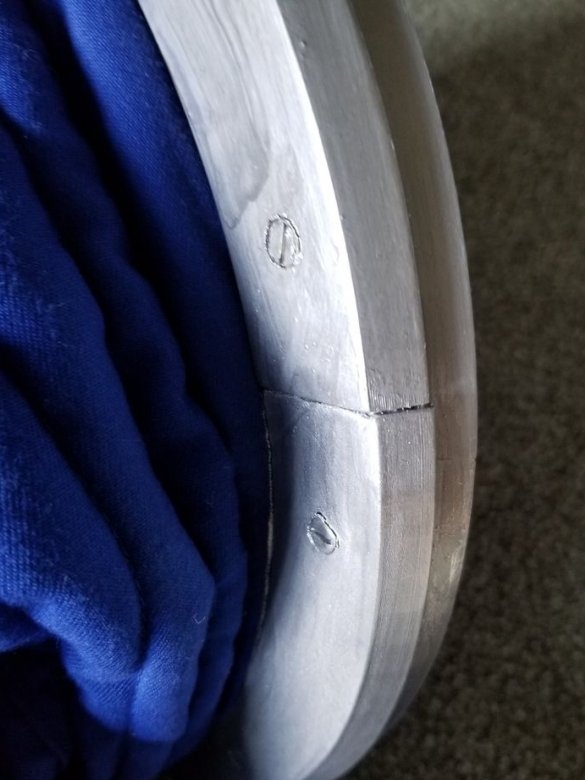
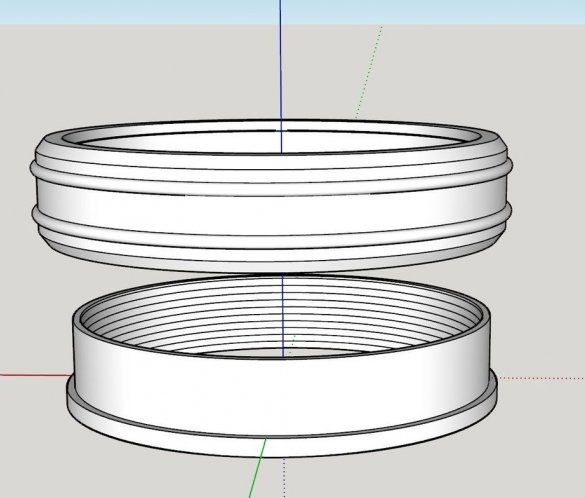
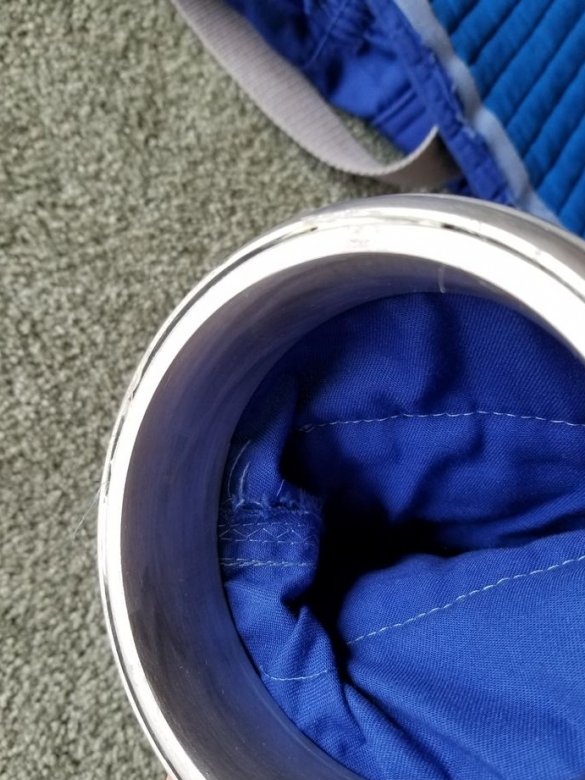
A ring is attached to the neck with which the helmet will connect.
Fastens belts, stripes, emblems.
Step Three: 3D Printing
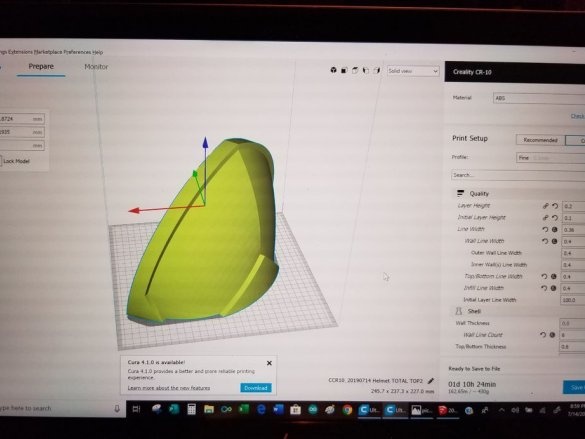
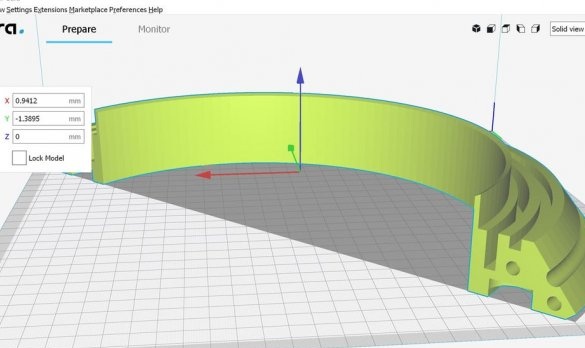
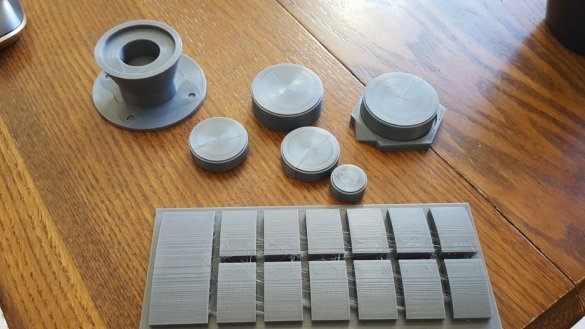
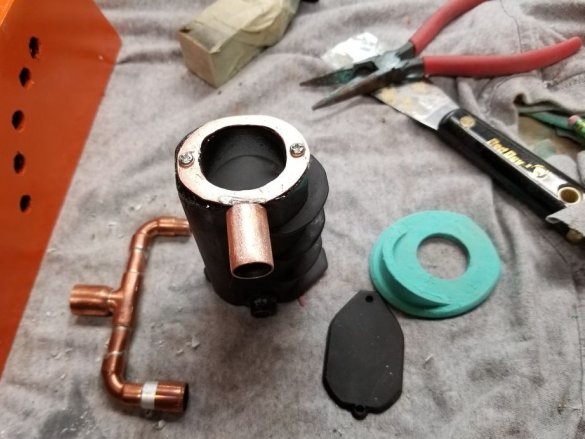
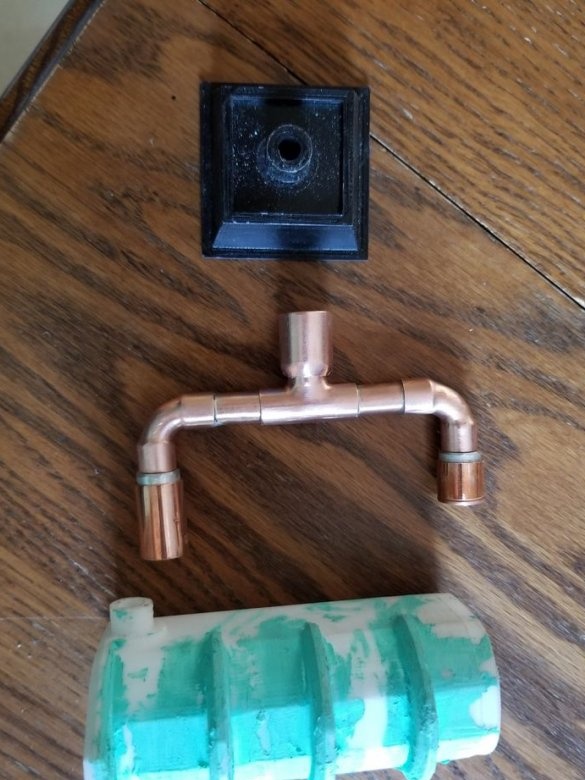
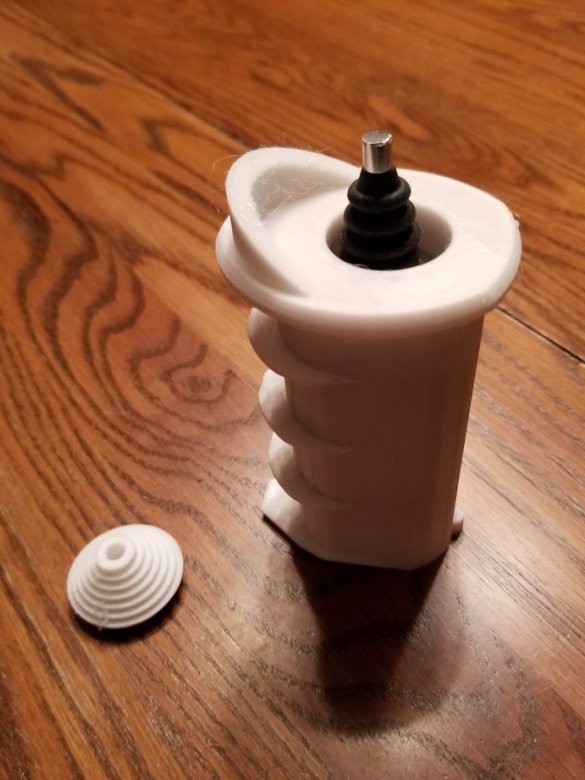
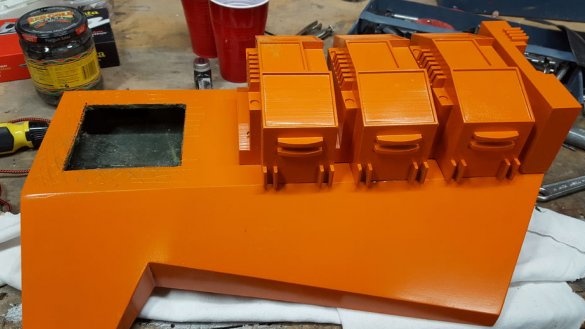
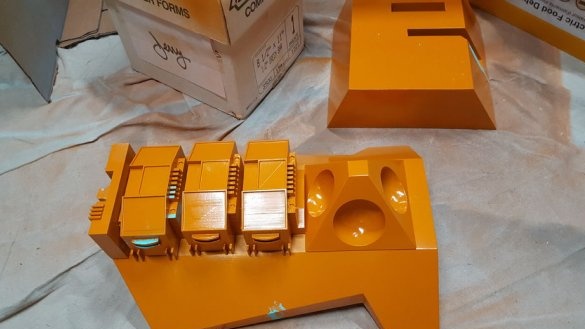
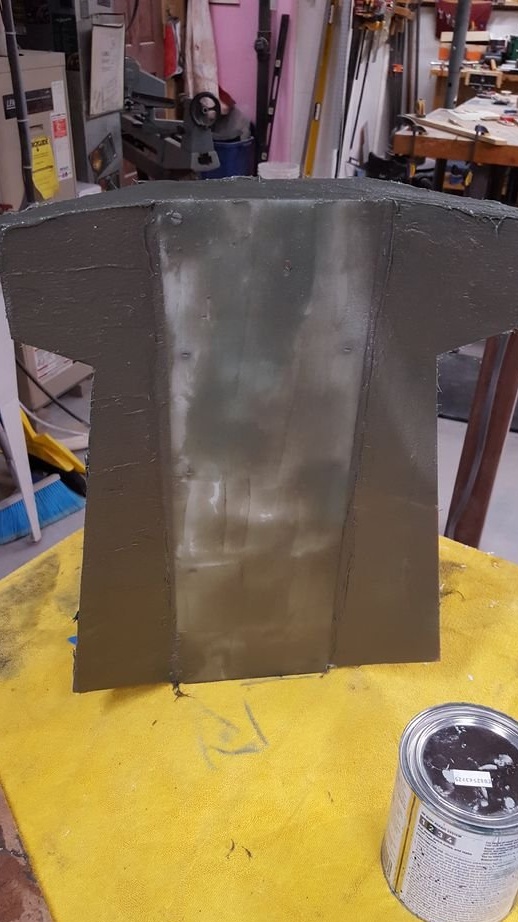
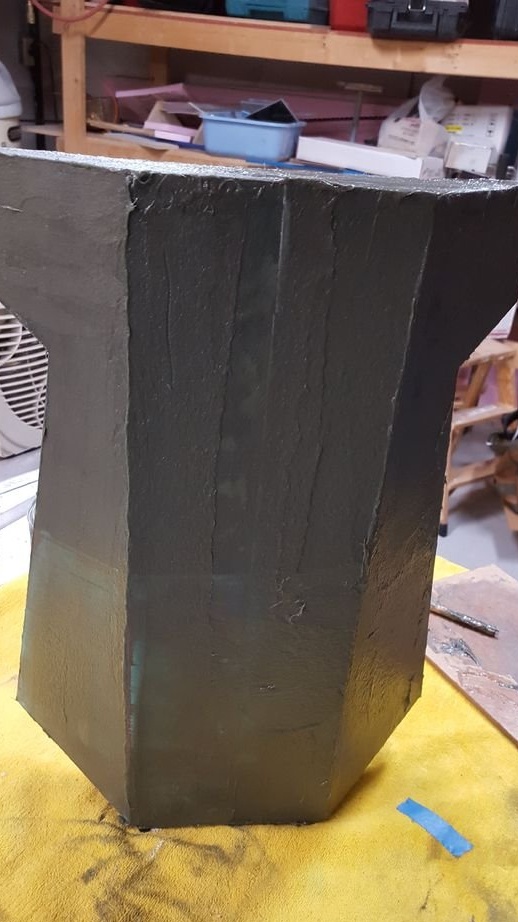
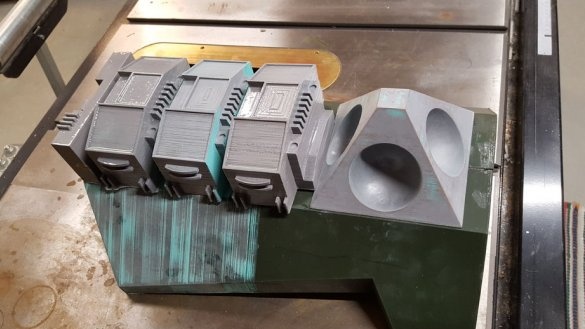
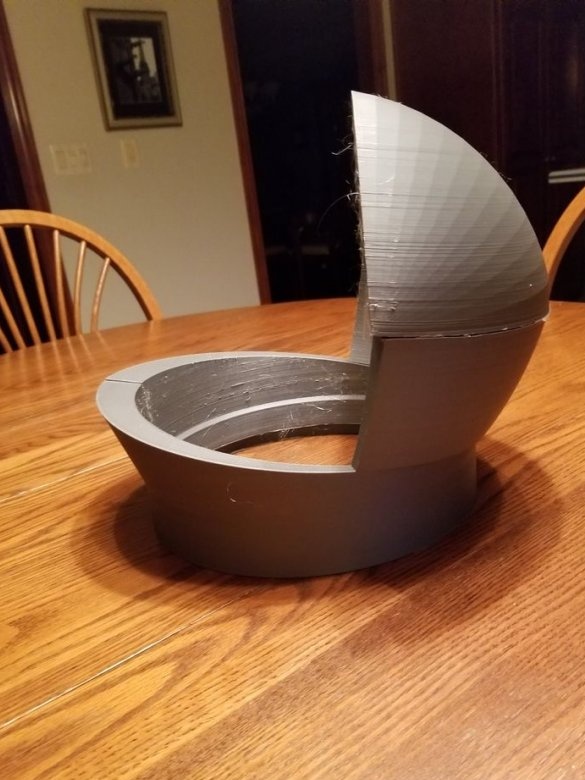
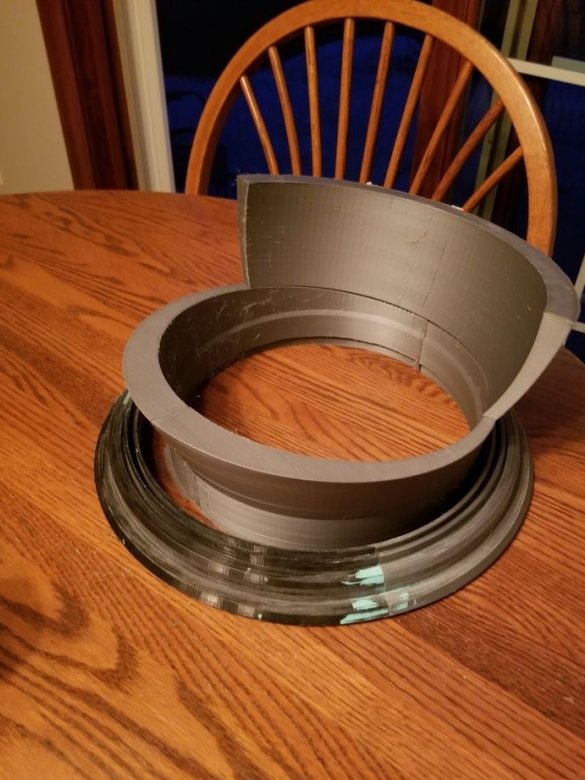
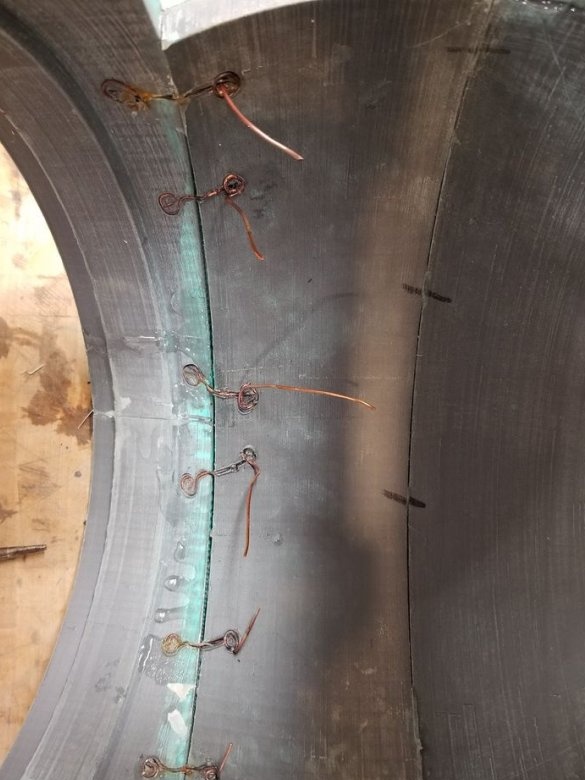
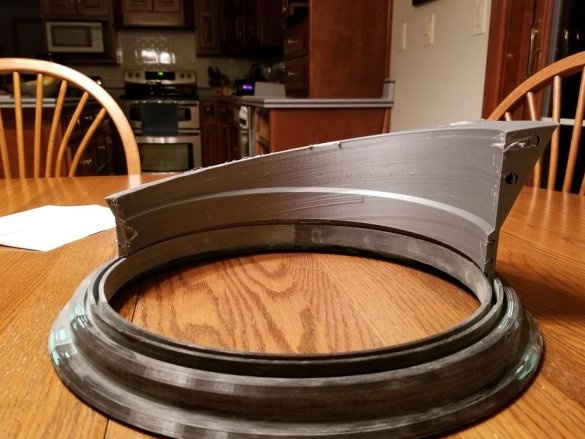
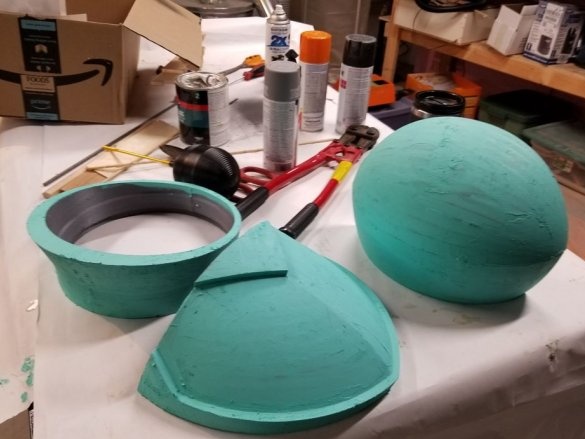
While the master was engaged in a suit, details were printed on a 3D printer. After printing, the parts must be cut, cleaned, and painted if necessary.
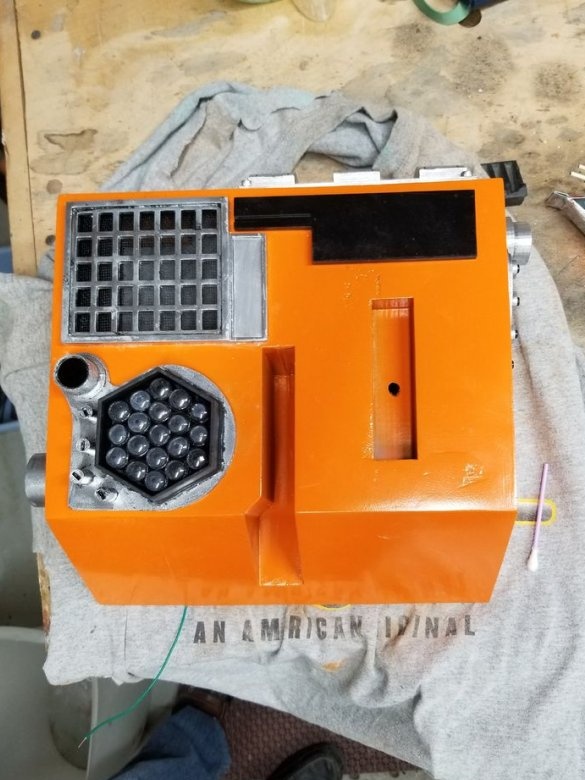
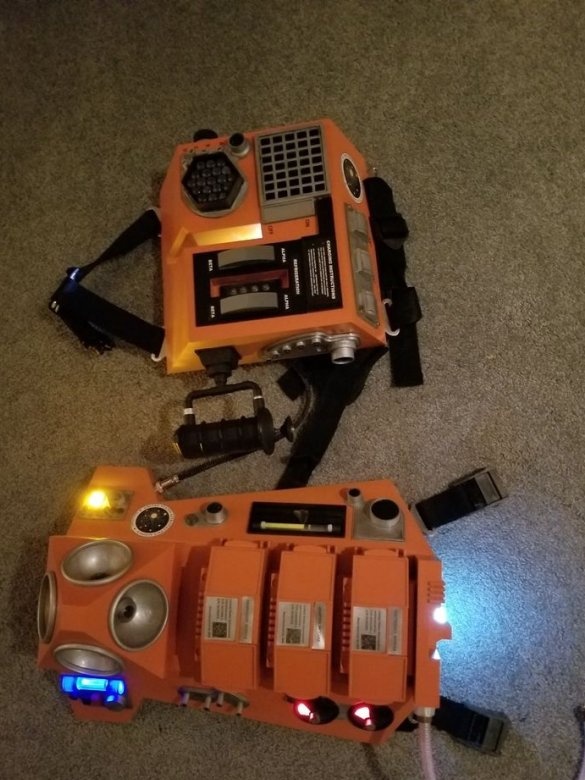
Step Four: Assembling a Jetpack
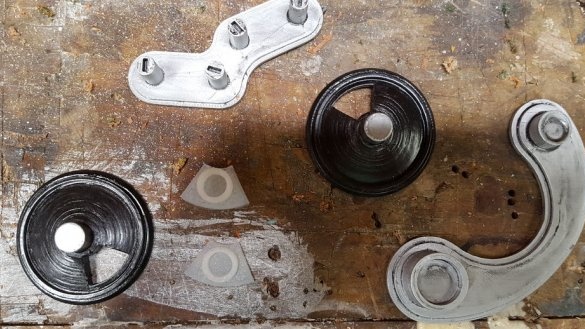
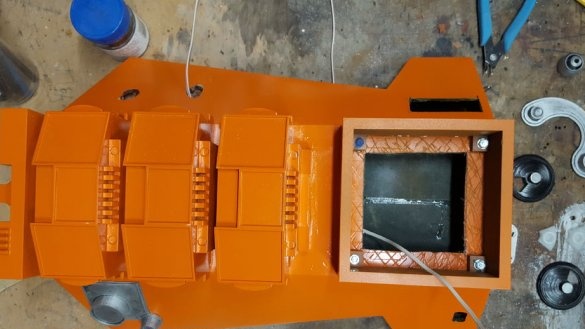
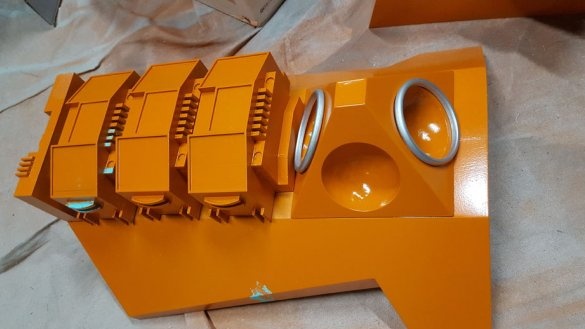
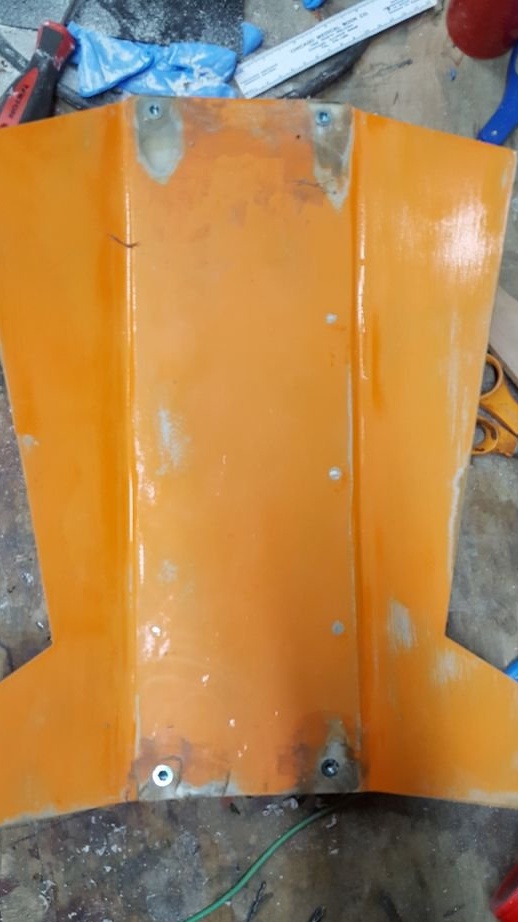
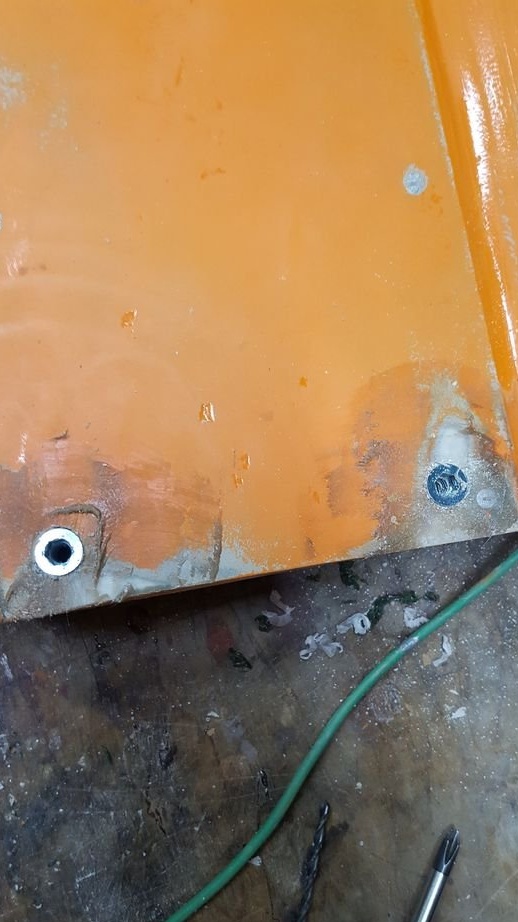
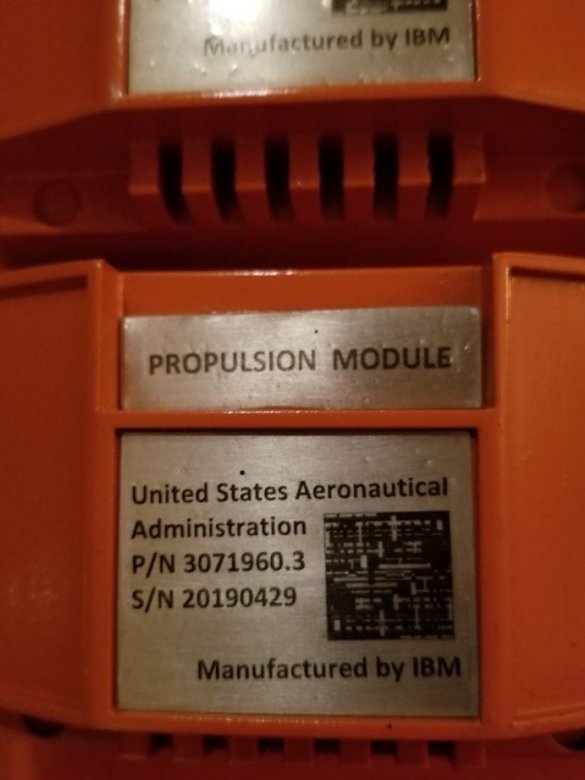
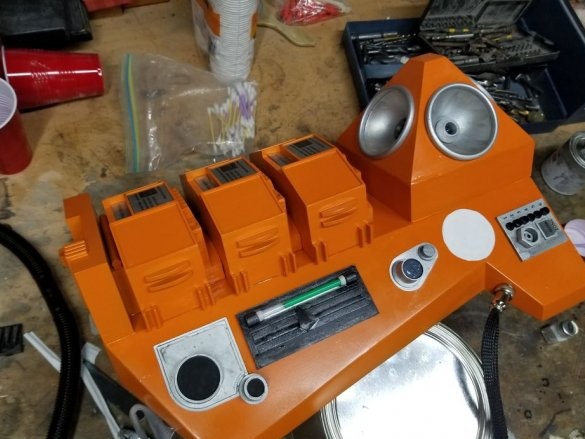
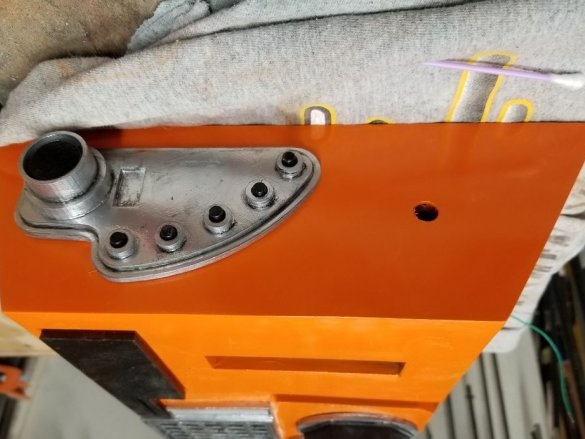
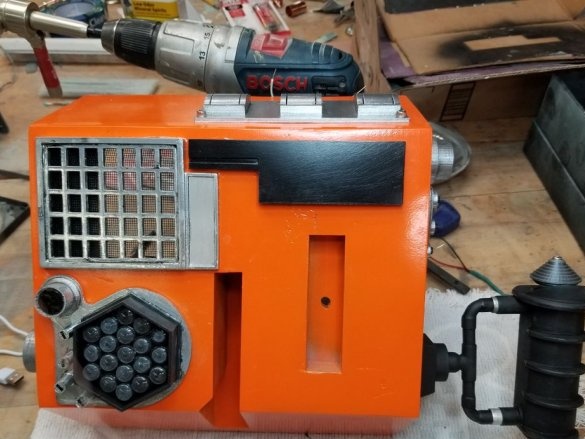
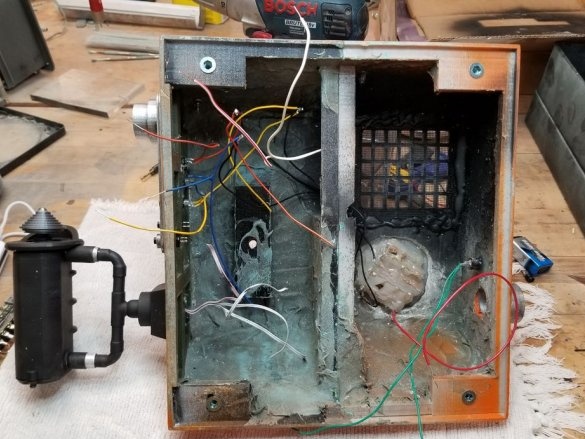
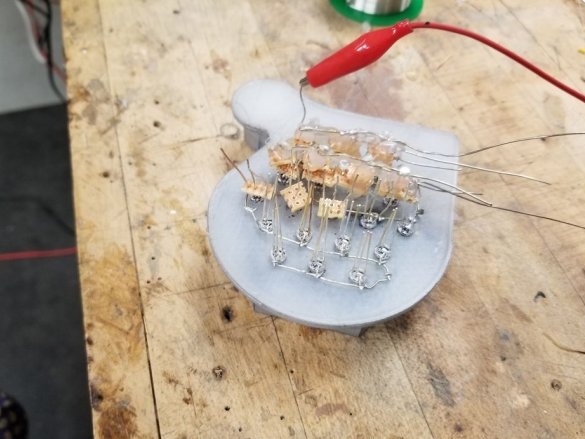
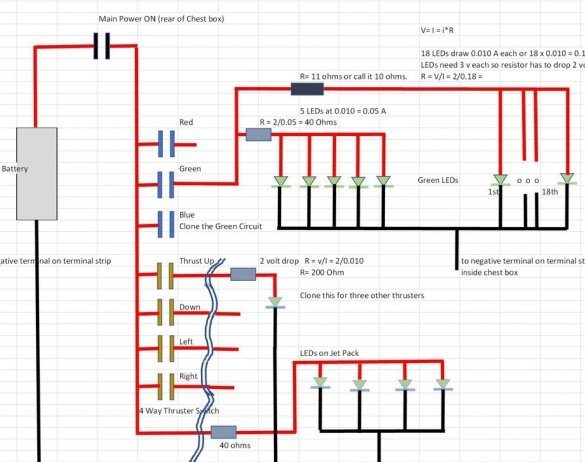
Next, the master collects a jetpack. Sets additional items. Mounts LEDs and batteries. There were no LEDs on the original suit, but the master decided to change the design.
Step Five: Helmet
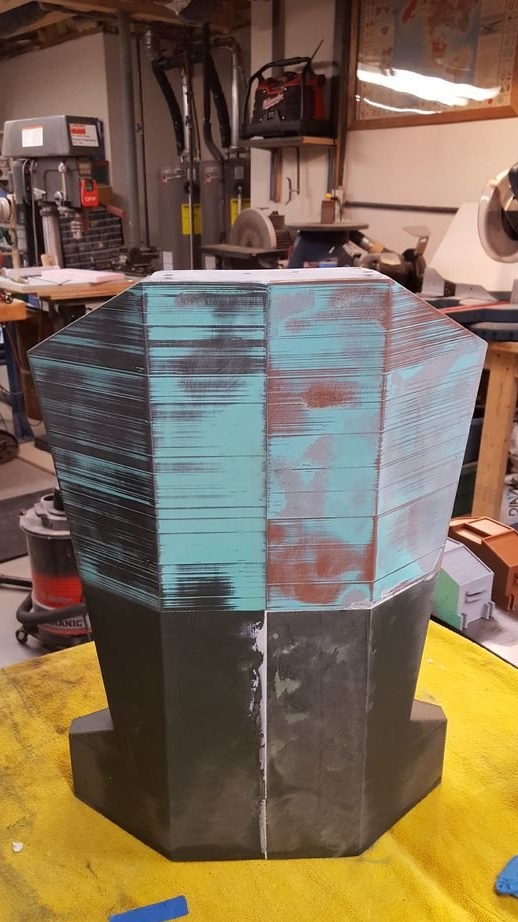
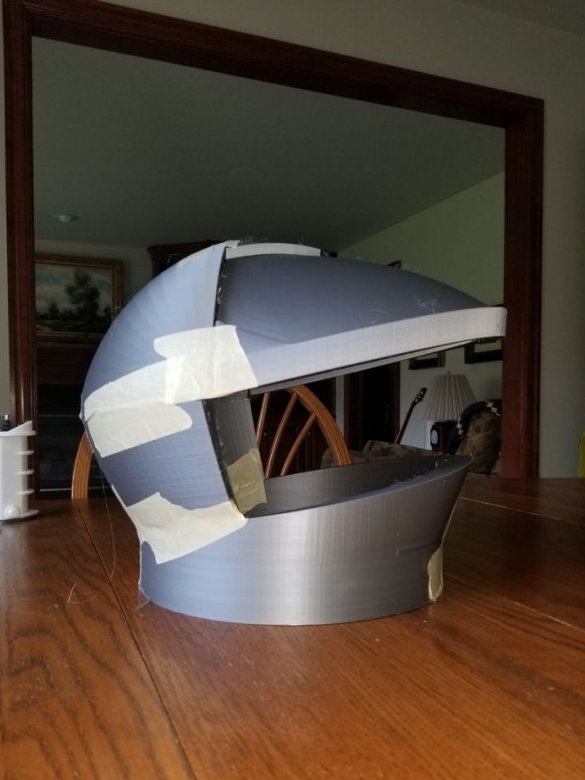
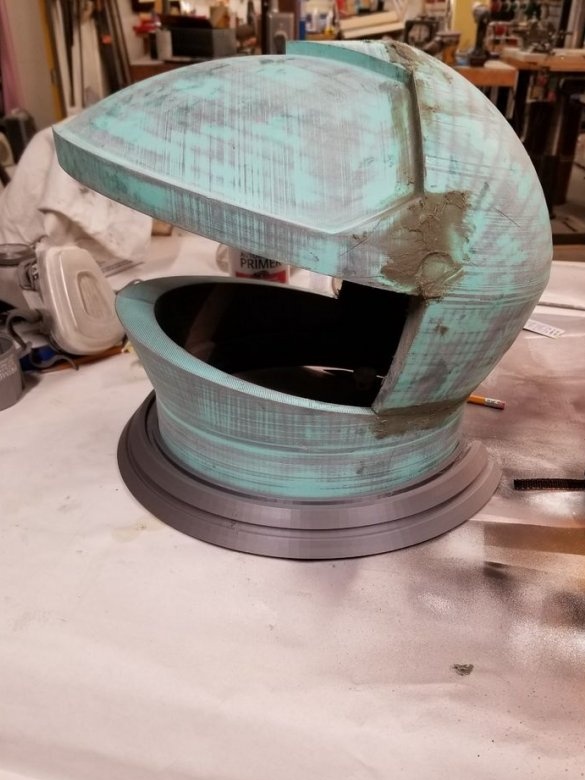
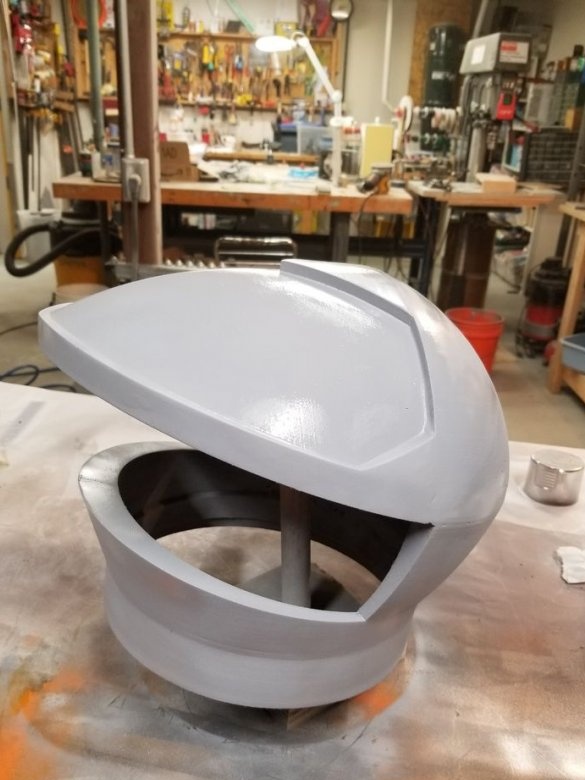
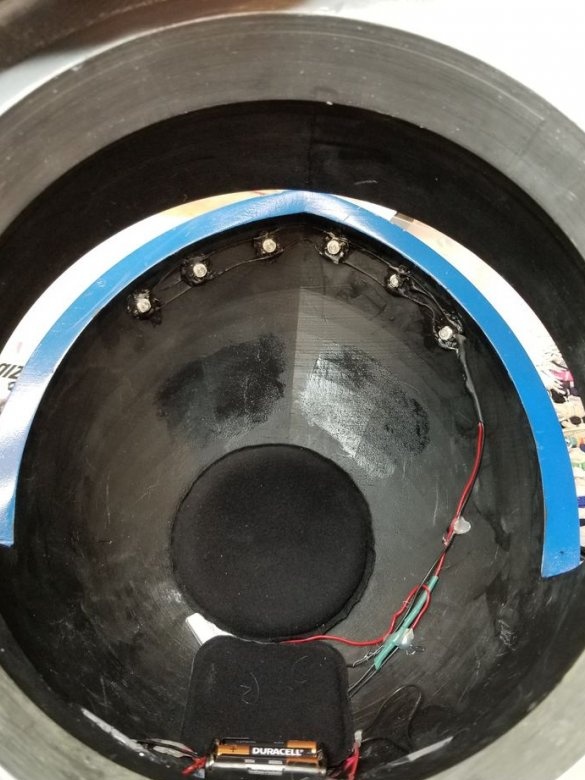
Starts assembling the helmet. First, he collects it on tape, checking the fit of the parts.
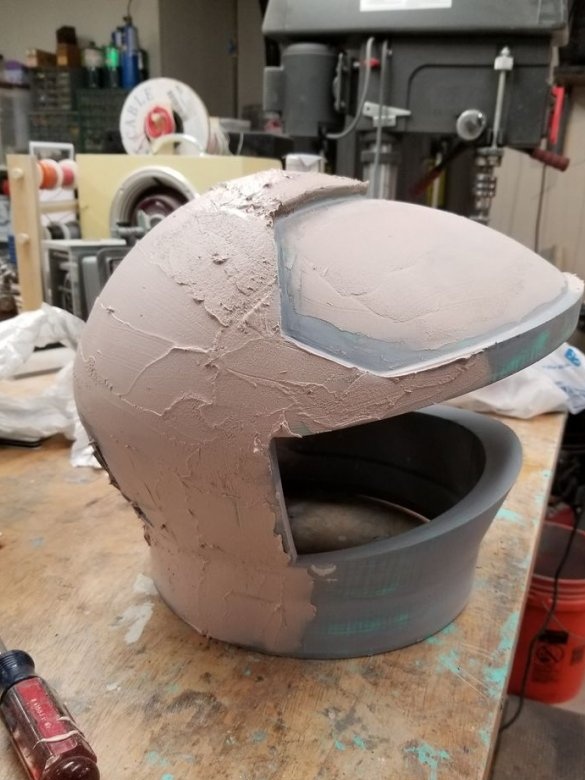
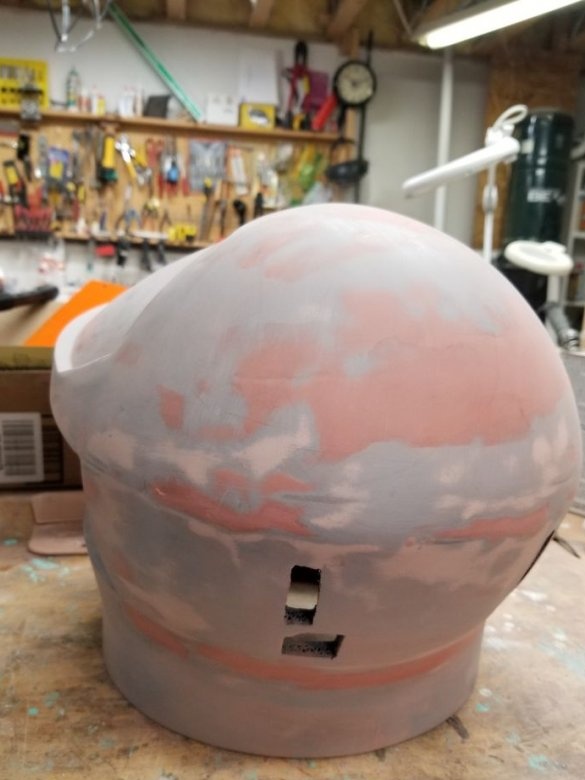
Putty and grind the helmet.
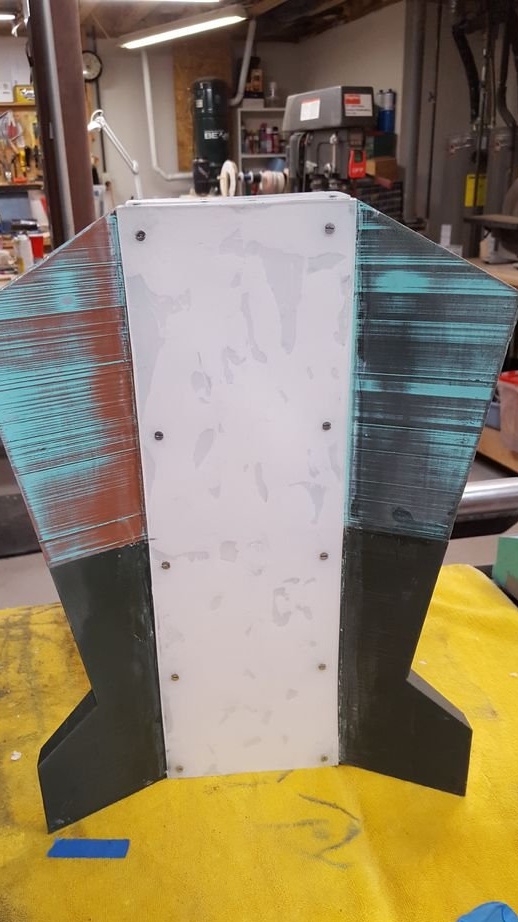
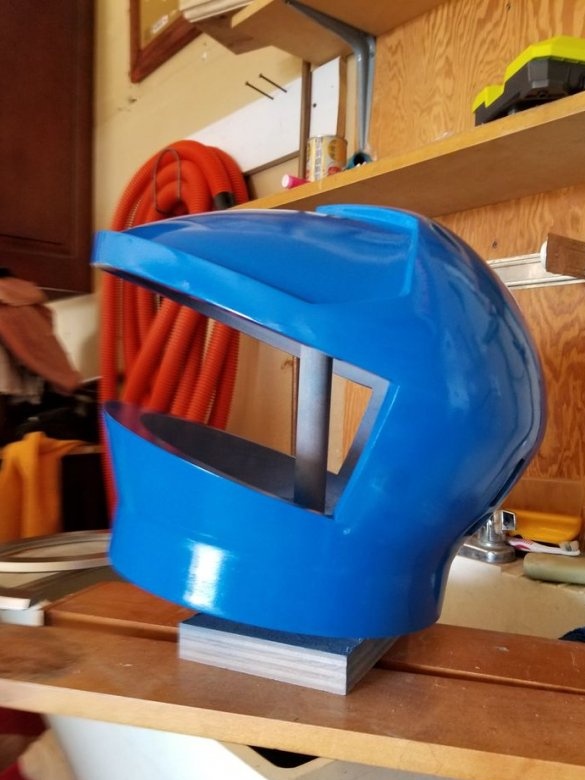
Applies a primer and stains.
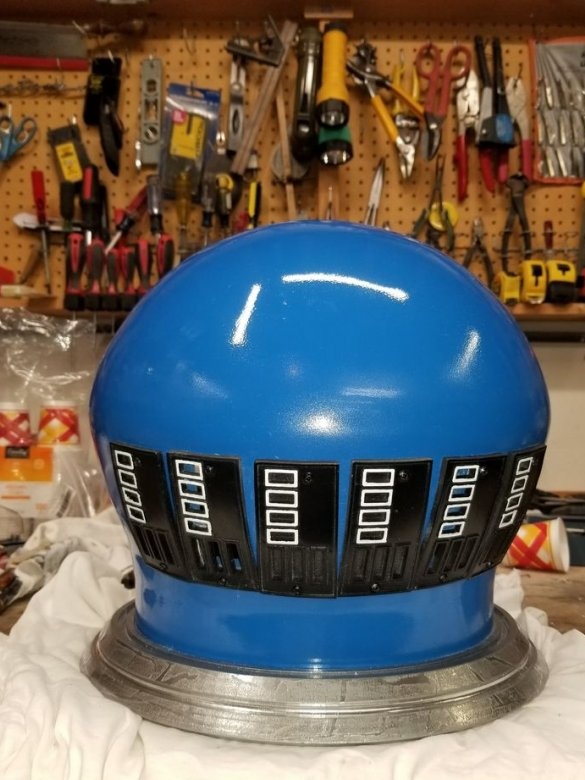
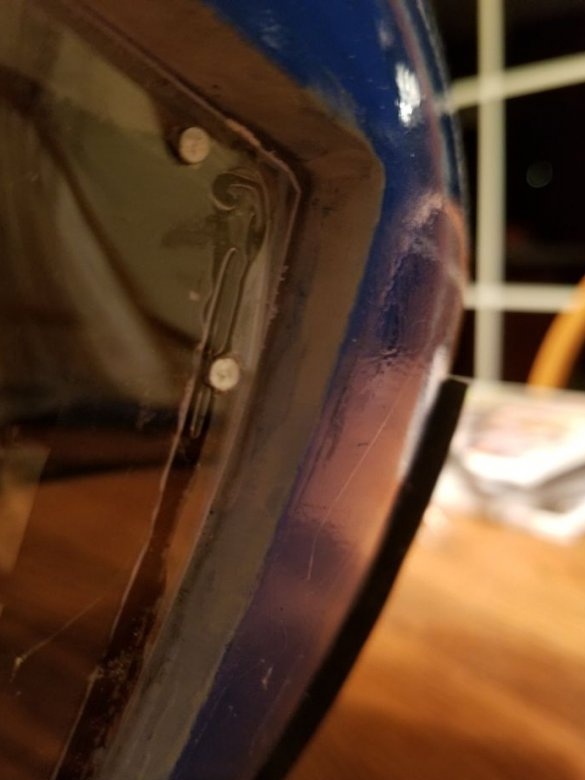
Secures the panels to the back of the helmet. The panels are printed on a printer, and to give them a semicircular shape, the master warms them with a hairdryer.
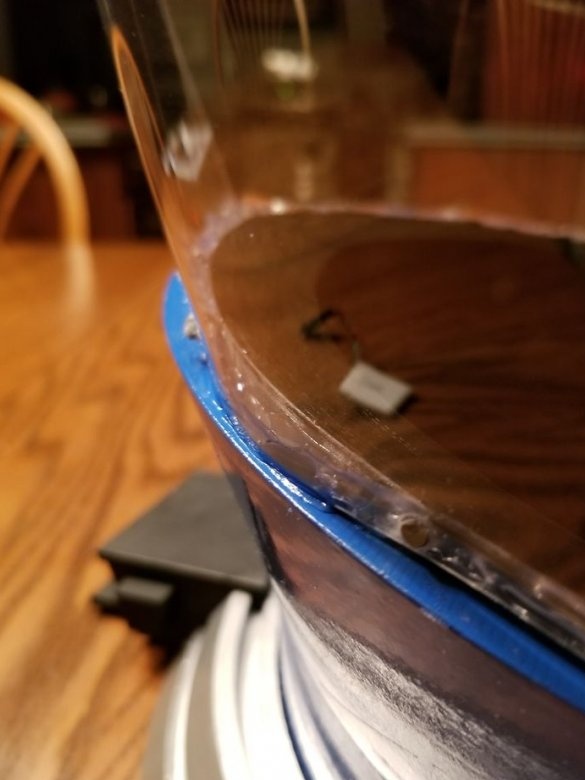
Cut and fix protective glass.
Step Six: Front Satchel
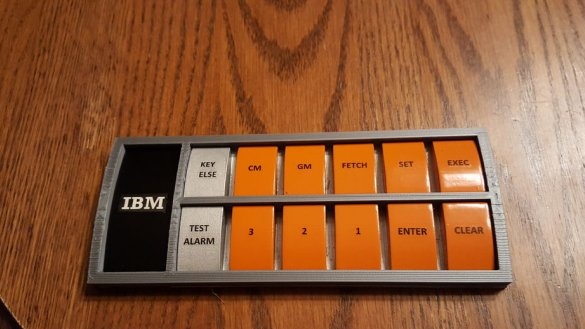
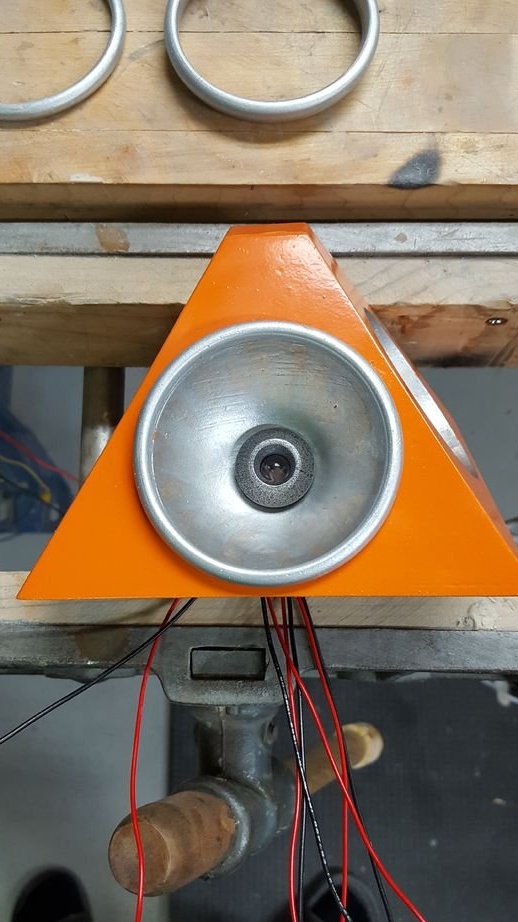
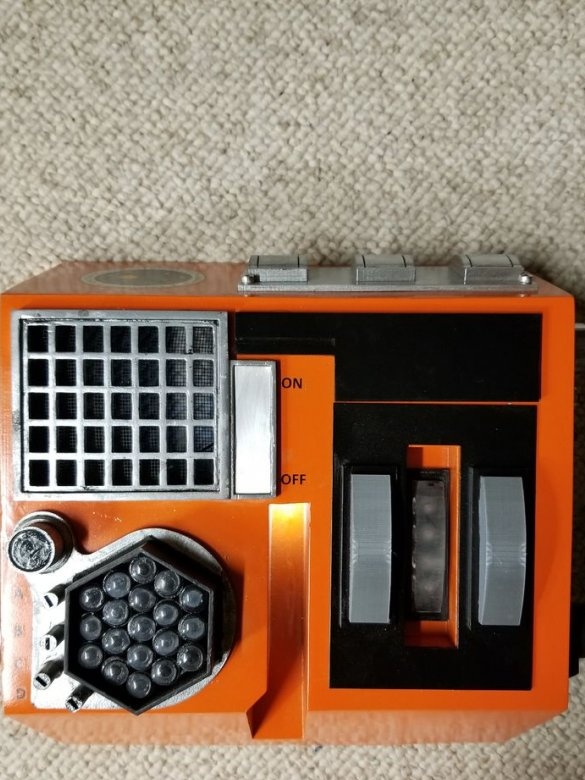
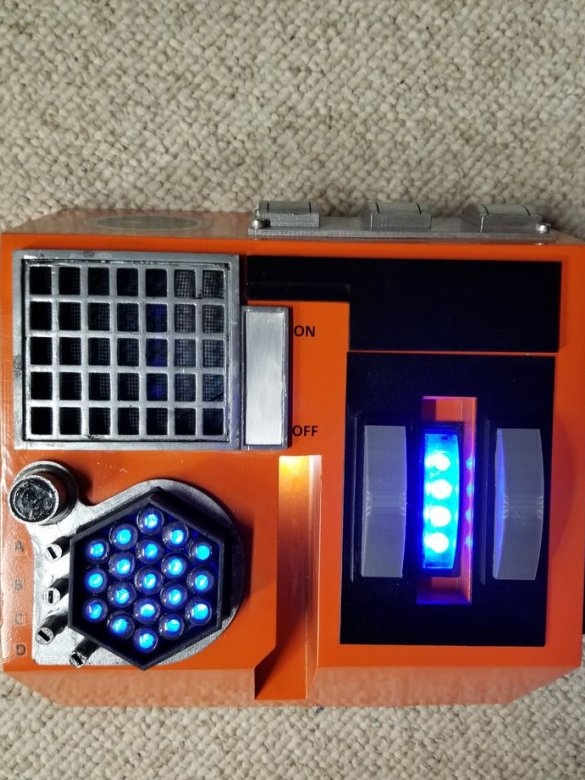
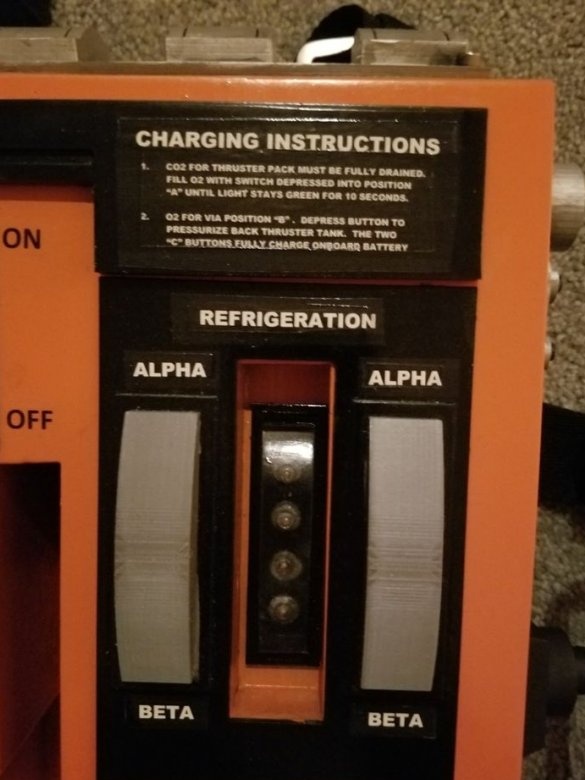
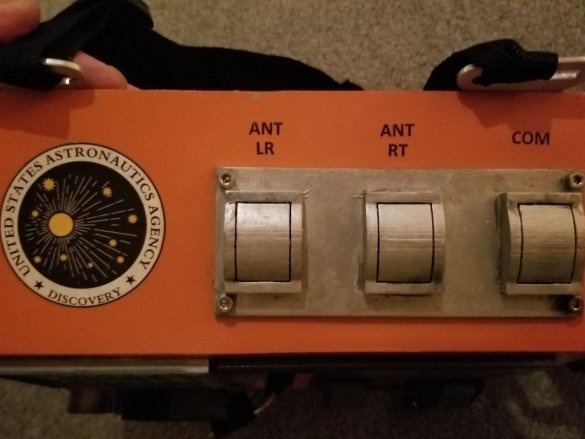
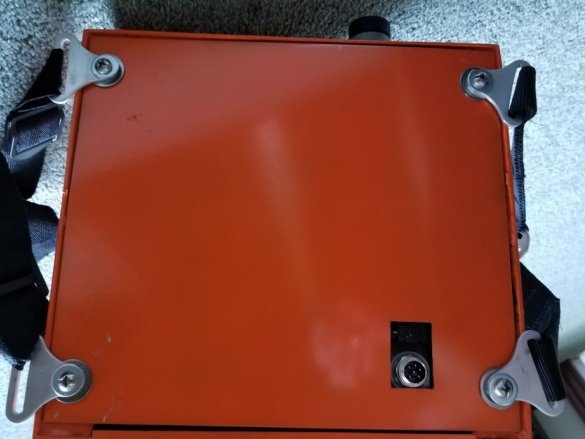
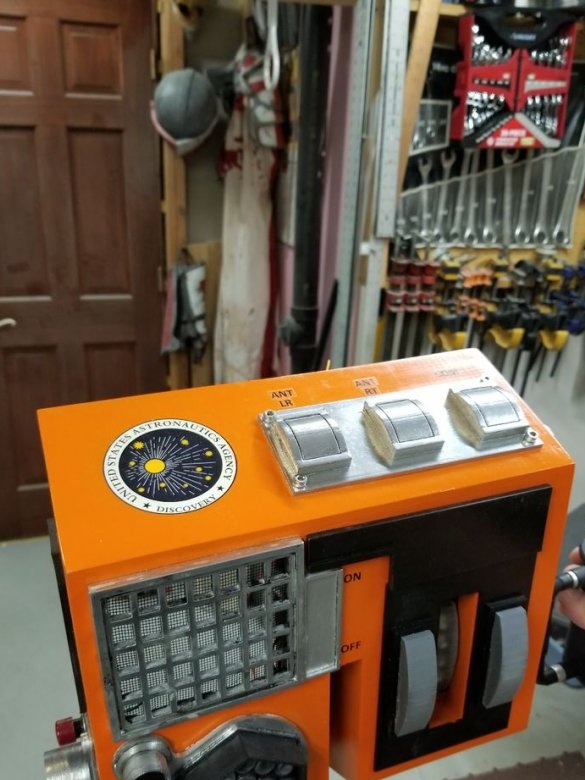
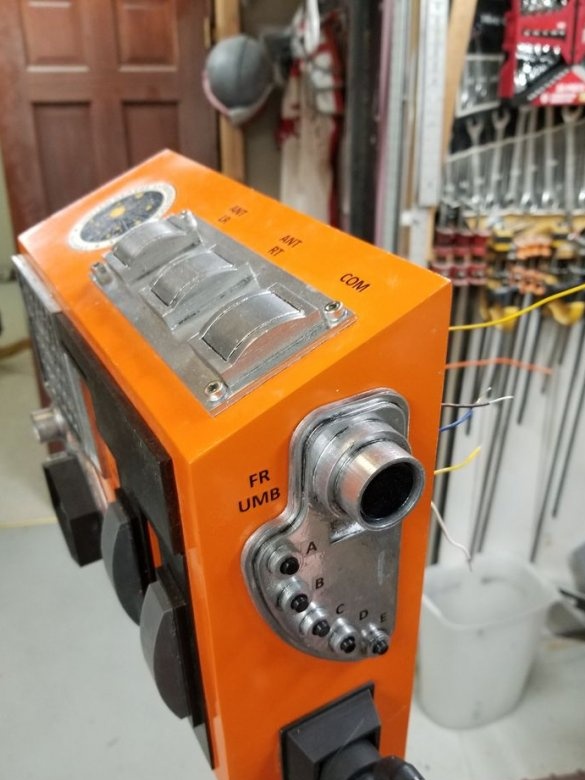
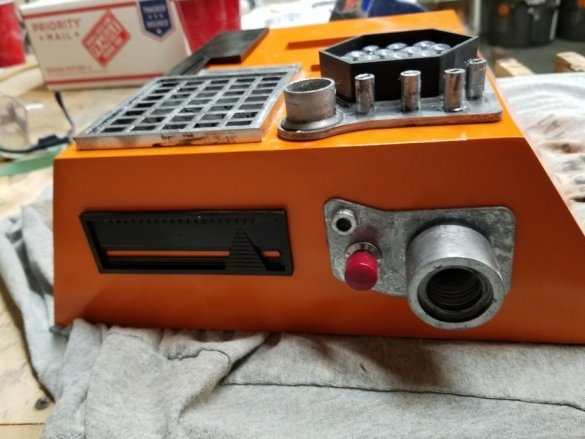
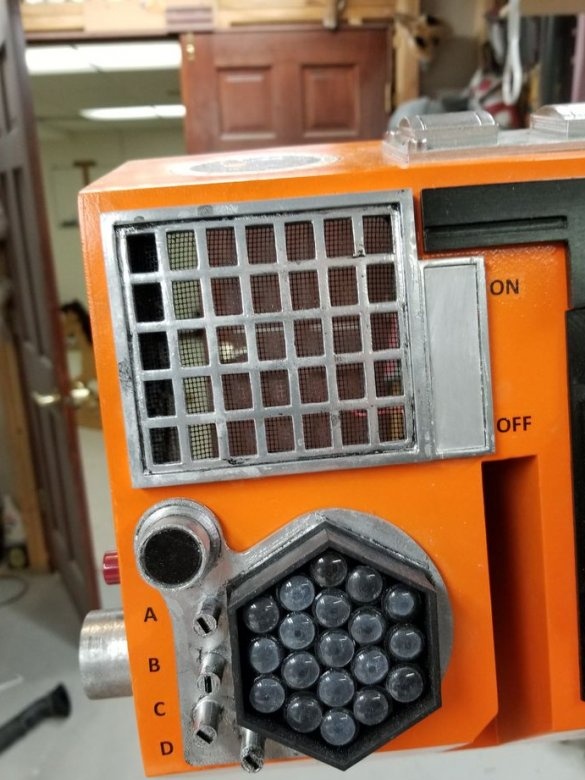
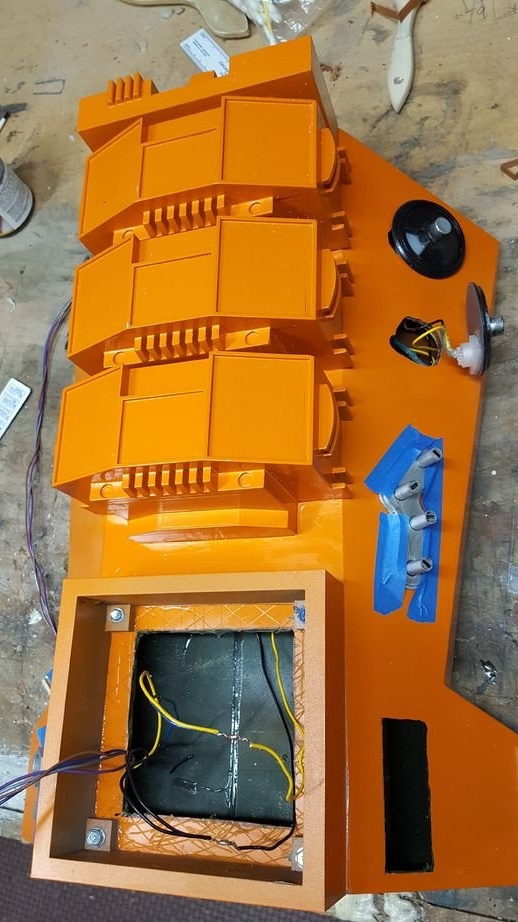
The assembly steps of the front pack are the same as the reactive ones. During assembly, screws, pins and glue are used. LEDs, buttons, battery are installed.
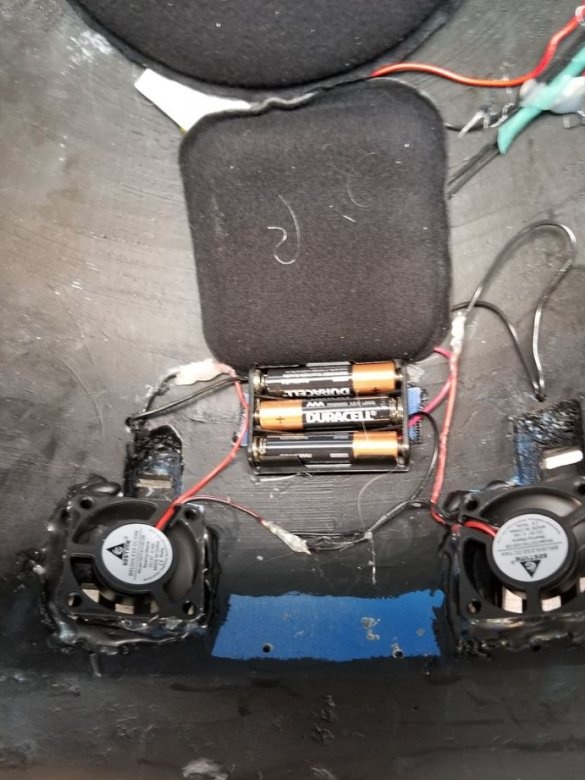
Seventh step: electrical installation
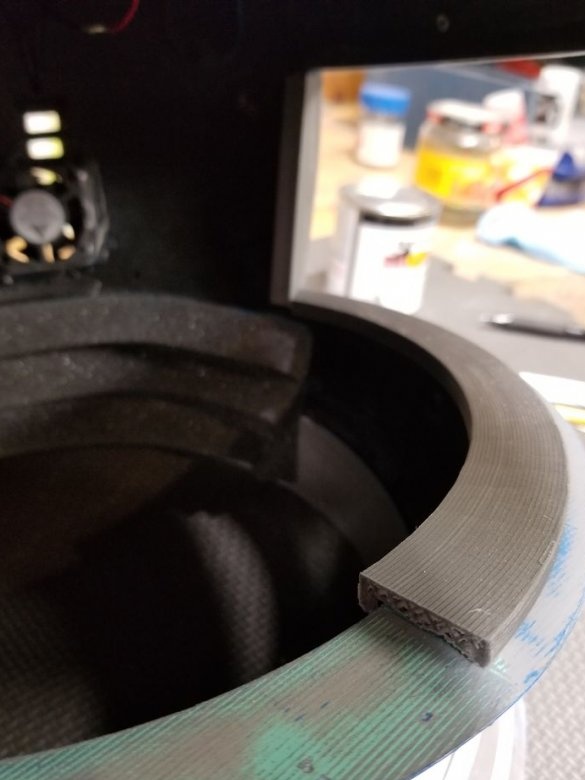
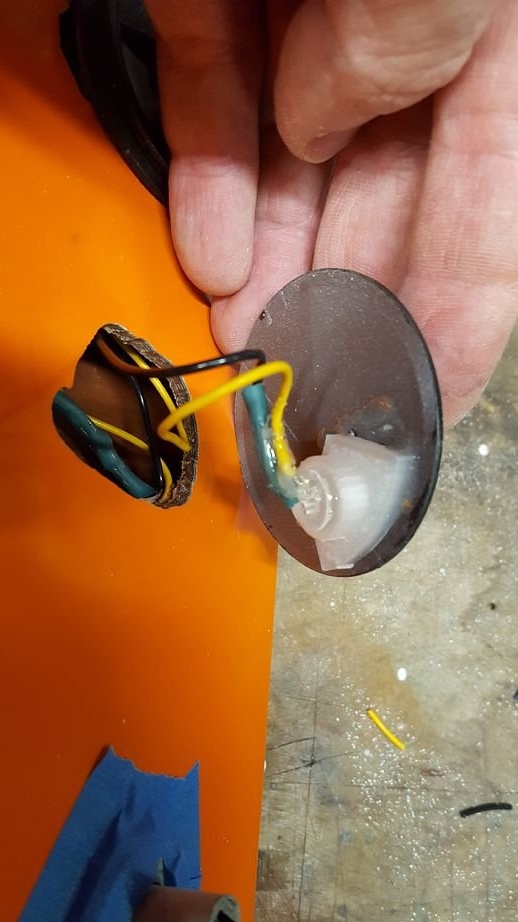
On the suit, the master installed several electrical consumers. LEDs, headlights, fans.
All is ready. Unfortunately, the master did not provide files for printing parts, but if you want to make such a spacesuit, you will always contact him directly.

