I welcome all fans to craft, and autumn has come, it's time to think about how you will bask in the winter. One of the useful things at any time of the year can be considered a boiler - this is a source of hot water. One author decided to make a boiler himself, out of gas cylinders, such boilers are often made to order. The design is quite simple, the water is heated from the stove (rough), which one way or another has to be heated not for heating, but for livestock cooking. The author mounted the coil directly into the chimney, and when the stove is not heated, the boiler can be heated by electricity, if you build a heater in it. If you are interested in the project, I propose to study it in more detail!
Materials and tools used by the author:
Material List:
- steel pipes;
- Sheet steel;
- two gas cylinders;
- corner;
- plumbing pipes, nuts, etc .;
- Styrofoam;
- polyurethane foam;
- expanded polystyrene;
- scotch tape.
Tool List:
- grinder;
- welding machine;
- roulette;
- marker;
- stationery knife.
The process of manufacturing a boiler:
Step one. Heating coil
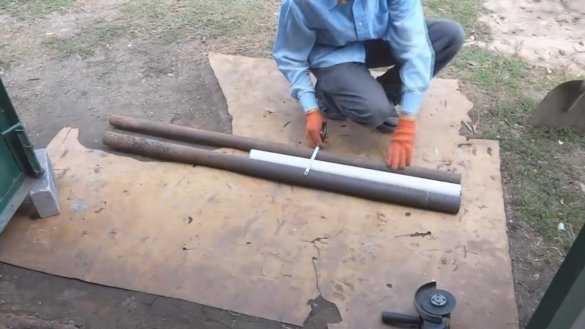
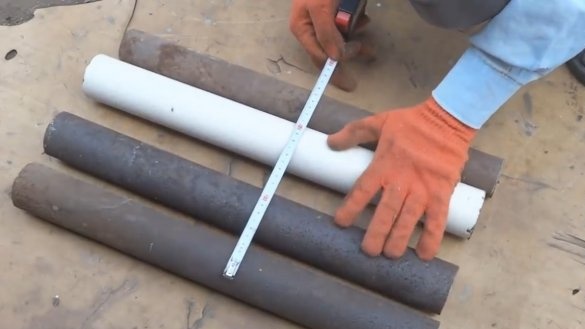
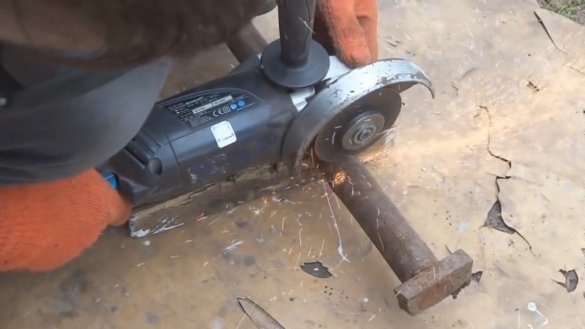
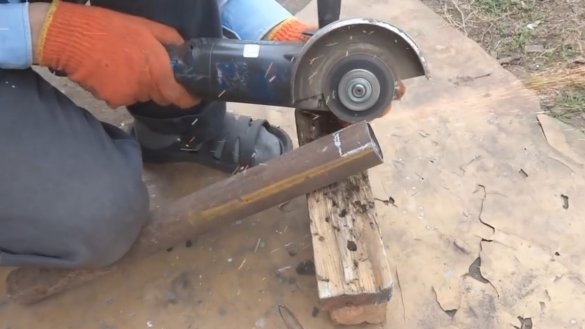
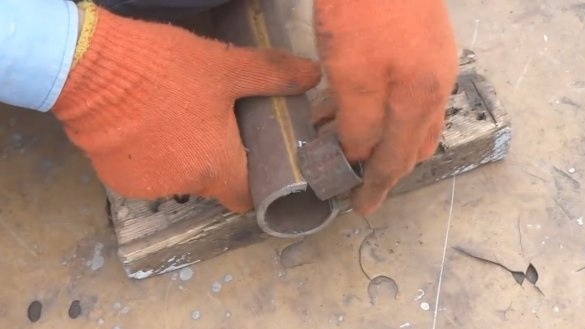
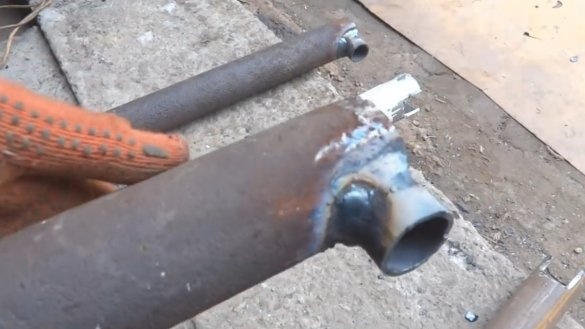
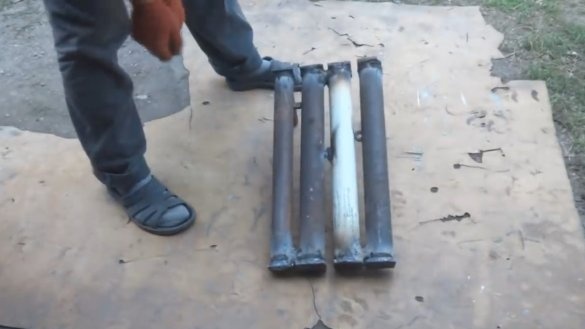
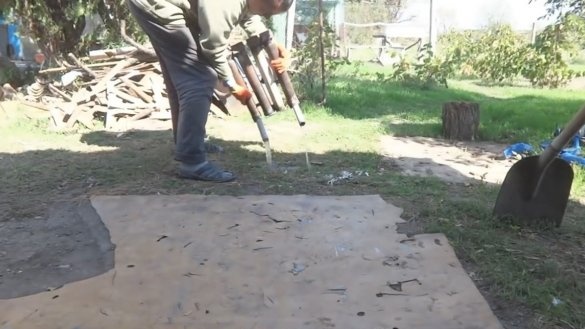
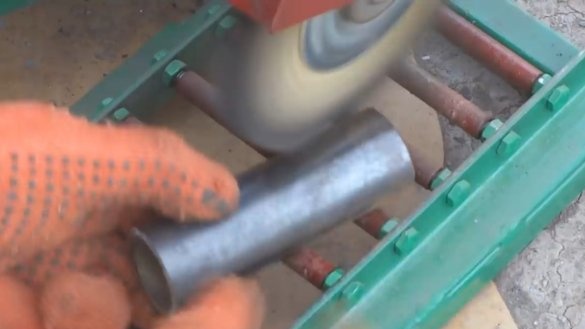
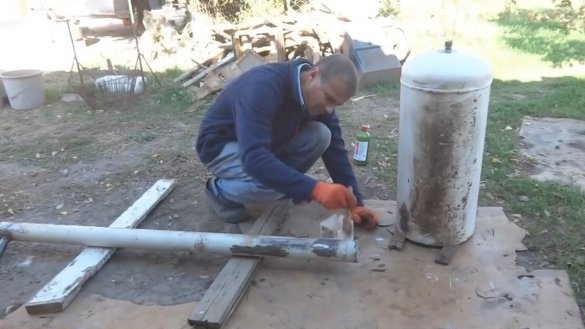
To begin with, we will make a coil that will heat the water, this coil will be built into the chimney near the stove. The author welded a coil of steel pipes, the ends were drowned out with steel plates. Welds must be cleaned to see if everything is well cooked. Even if the coil does not leak, do not forget that the metal is destroyed and eventually, where it is thin, it will necessarily break.
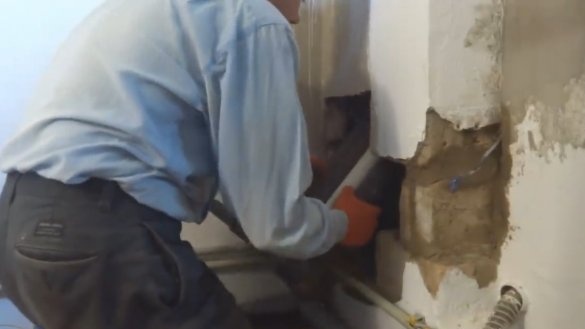
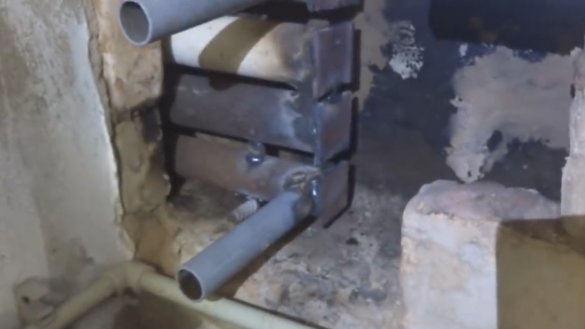
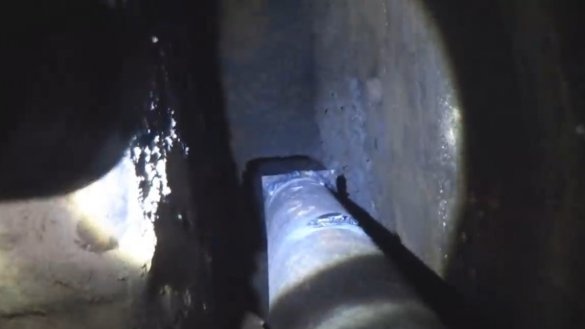
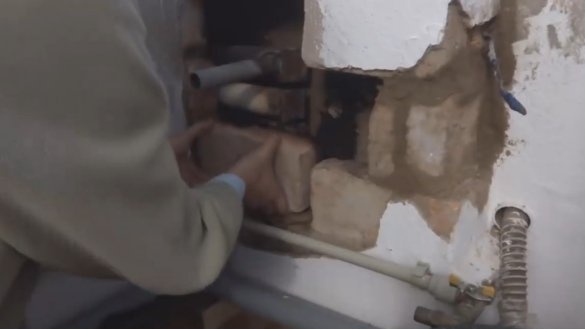
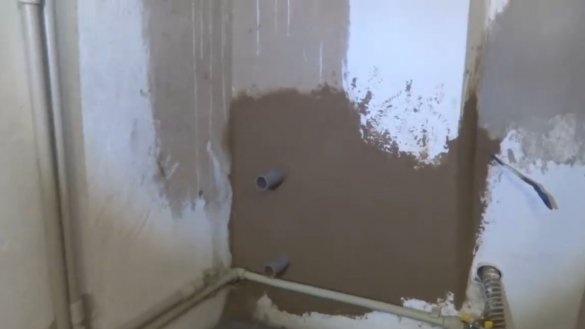
We mount the manufactured coil in the furnace, the author installs it in the chimney, not far from the furnace, in this place there will still be high temperature. Next, the chimney is walled up, and two pipes will stick out of the wall. Of course, over time, as a result of thermal expansion, gaps will form between steel pipes and bricks through which smoke will enter the house. To solve such a problem is difficult, you will need to choose the optimal putty that can stretch and will not crack.
Step TwoBoiler assembly
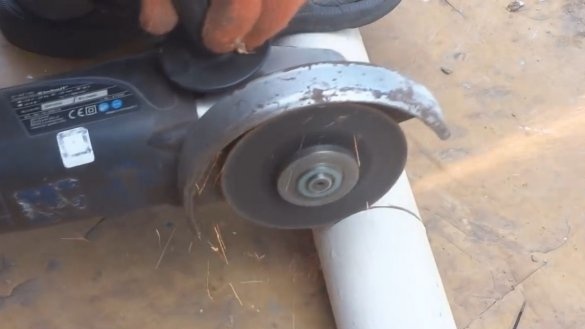
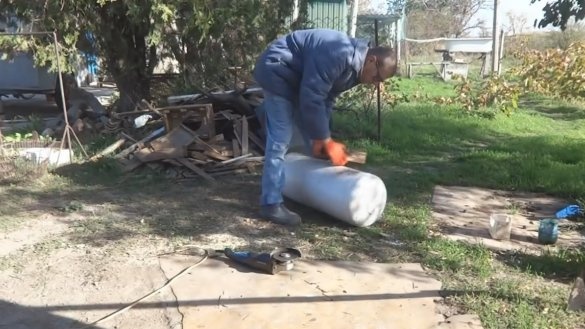
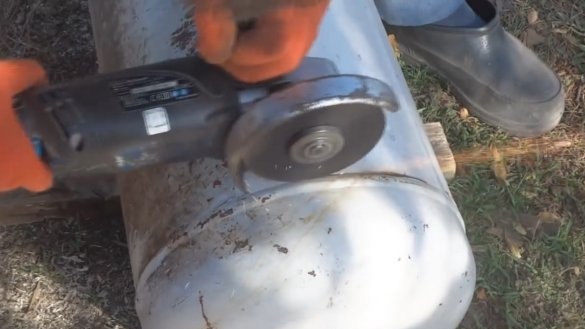
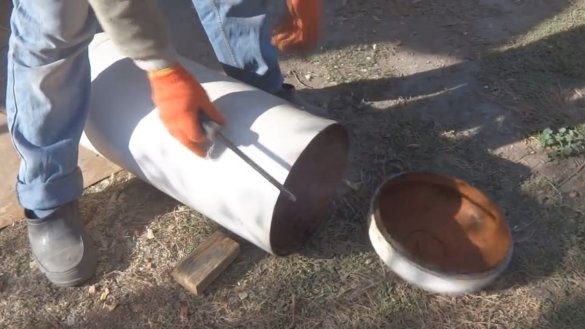
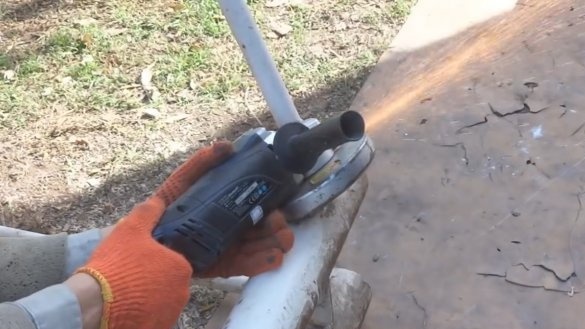
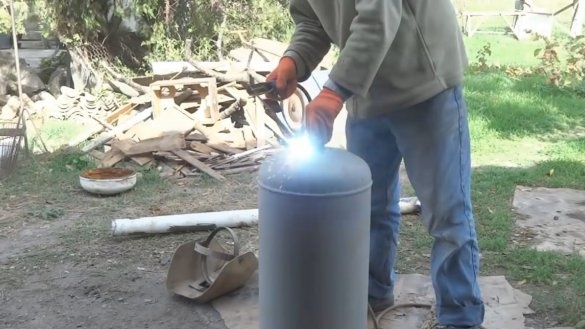
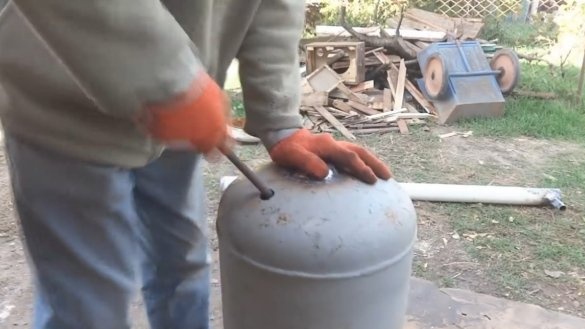
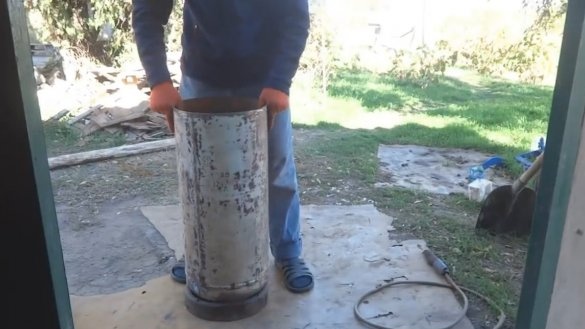
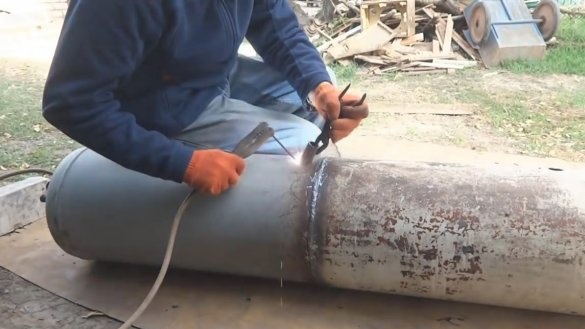
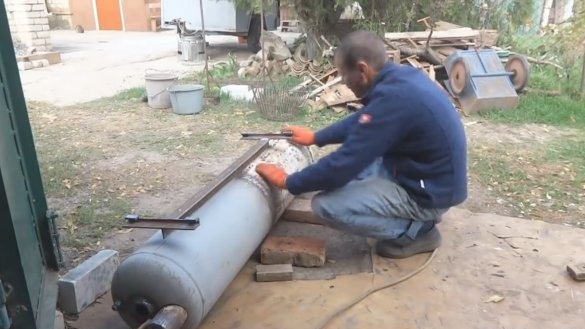
We are assembling a boiler, for a start we will need to cut off the bottoms of two large gas cylinders. Note this lesson !!! DANGEROUS !!!, cylinders usually explode if not properly rinsed with water. Usually, for maximum safety, the cylinders are filled with water and cut in this state, so a volume explosion will not happen for sure. So that water does not flow out, slowly turn the balloon along the cutting path.
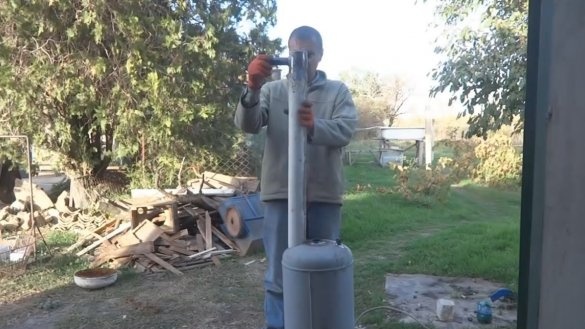
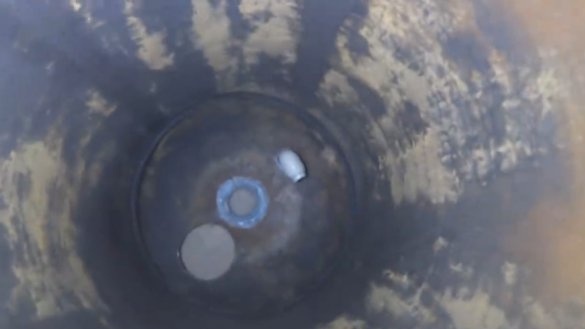
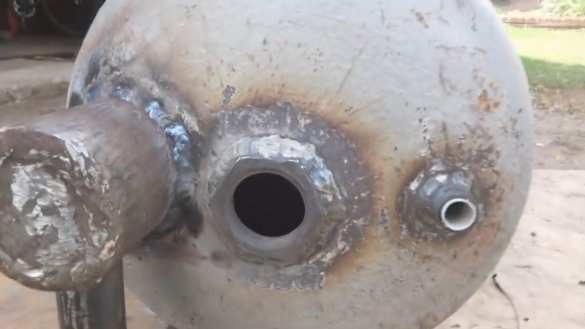
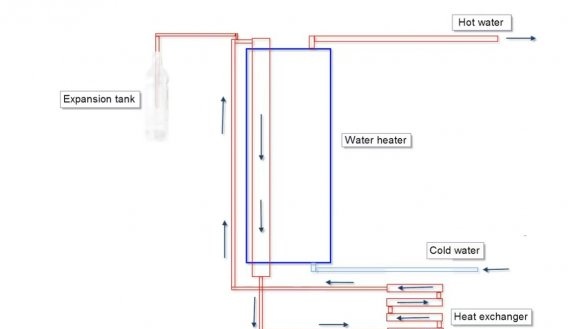
Through the entire length of the boiler there passes a steel pipe, which will be a heating element, hot water will come from the coil through it. As a result of this design, we get good protection for the boiler from overheating. The water inside the boiler will not warm up above 100 degrees Celsius, and the coil is connected through an expansion tank.
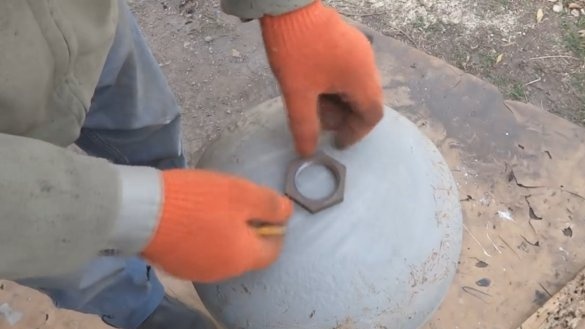
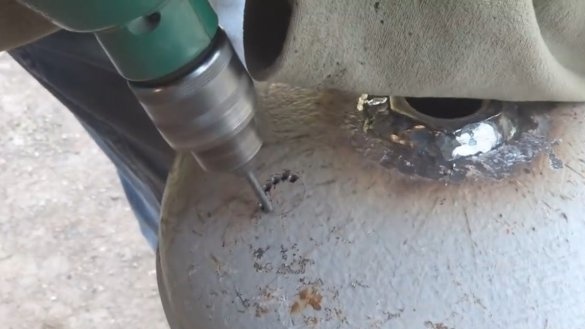
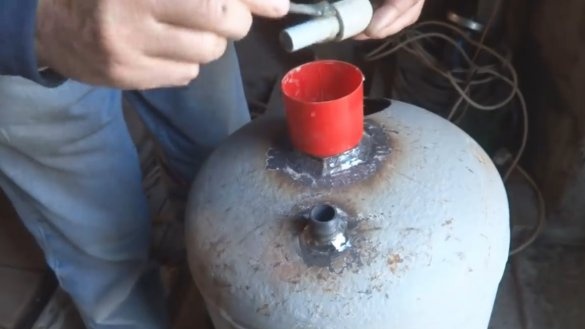
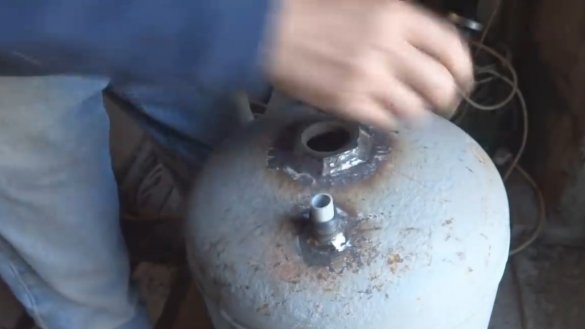
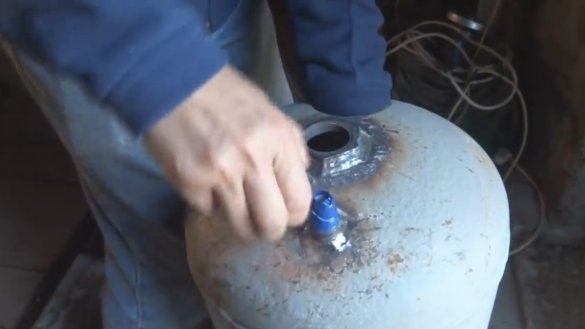
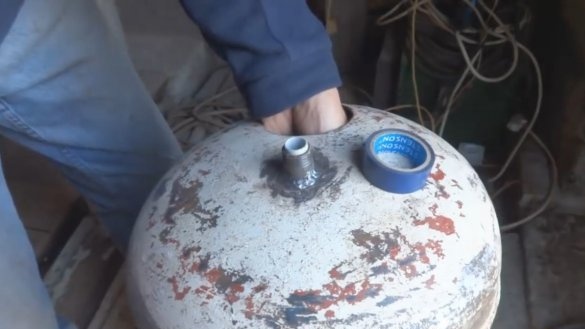
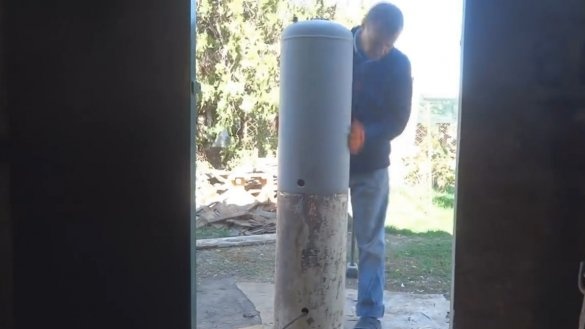
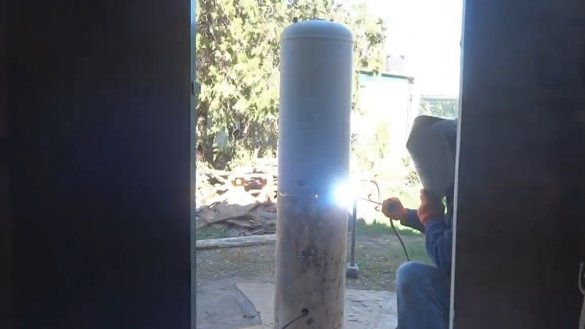
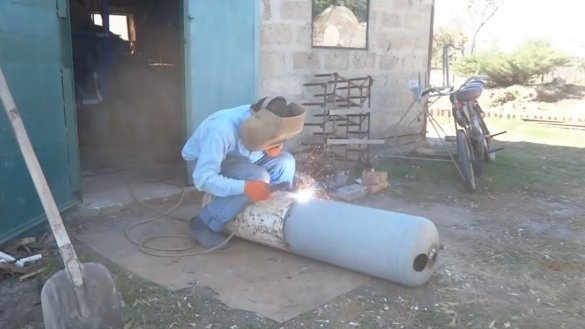
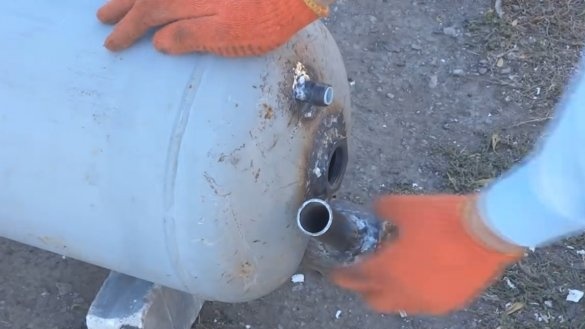
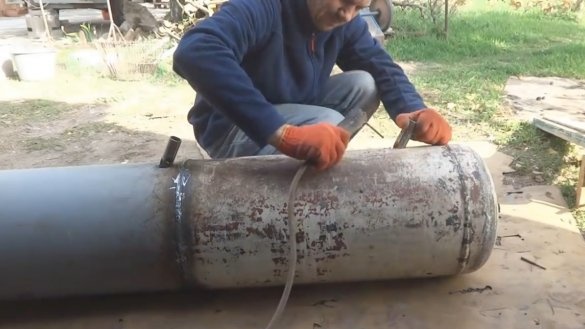
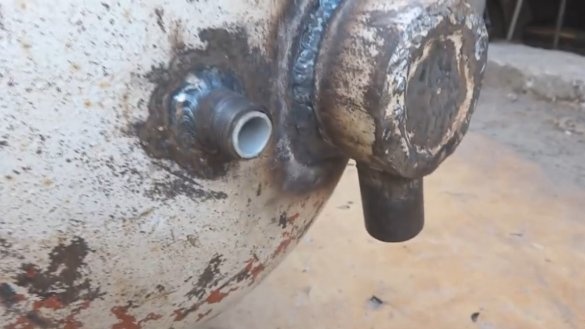
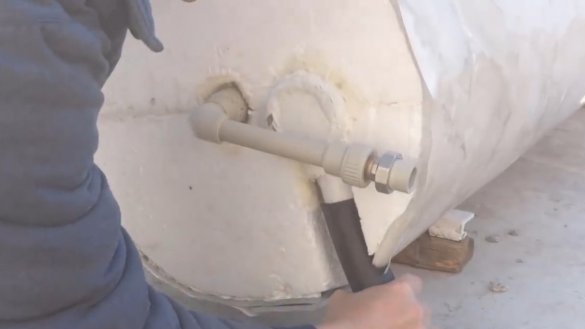
We weld nuts, tubes and other parts into the upper and lower parts to supply and consume water from the boiler. At the end, we insert the heating pipe and you can weld the entire boiler.
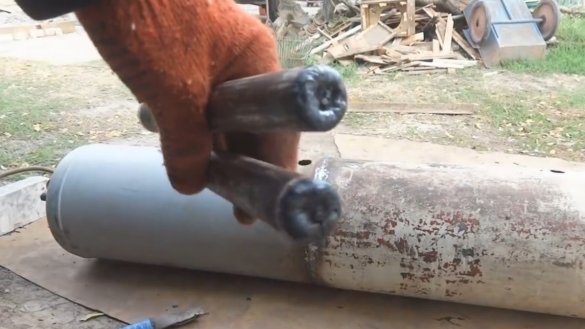
In addition, the author welded into the boiler pieces of pipes with welded ends to measure the temperature of the water.
Step Three Fasteners and painting
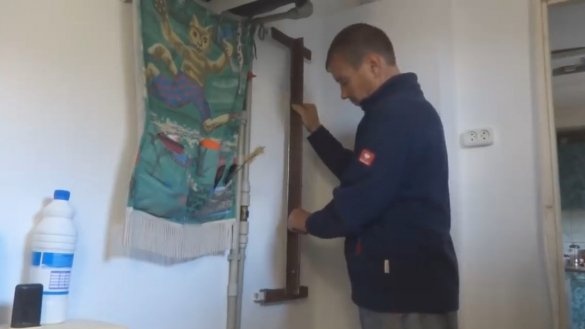
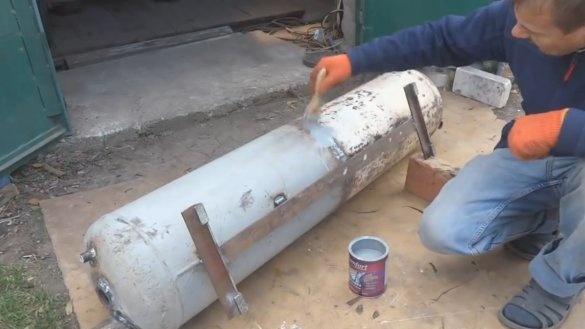
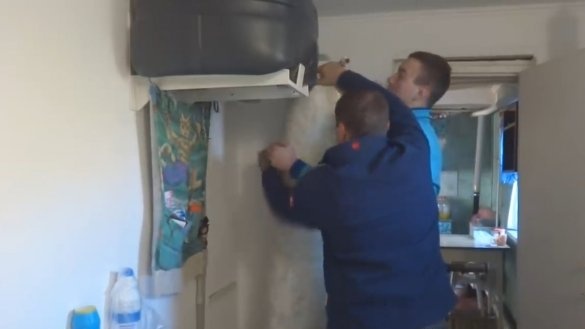
We make reliable fasteners for the boiler, consider its weight plus the amount of water that will be in it. The author made a bracket from steel corners, everything should be reliable, this is a security issue. If the boiler falls, it will open your oven, plus everything else. At the end we paint the boiler and fixtures.
Step Four Thermal insulation
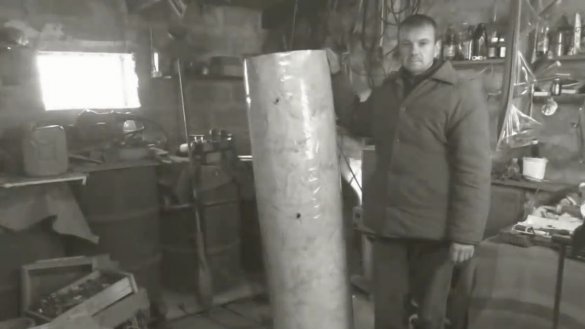
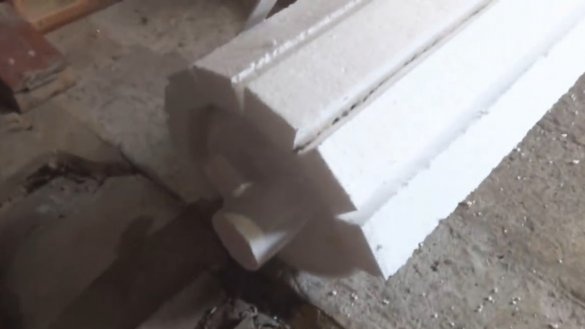
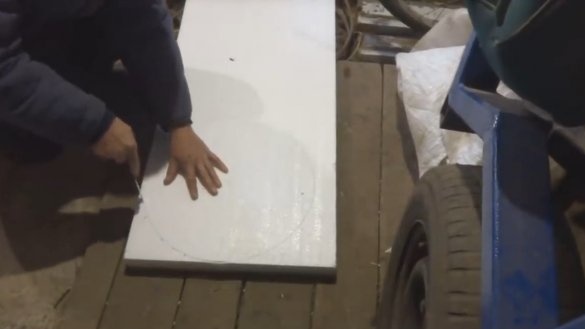
The author used polystyrene as the main thermal insulation, and this is very !!! HARMFUL !!!
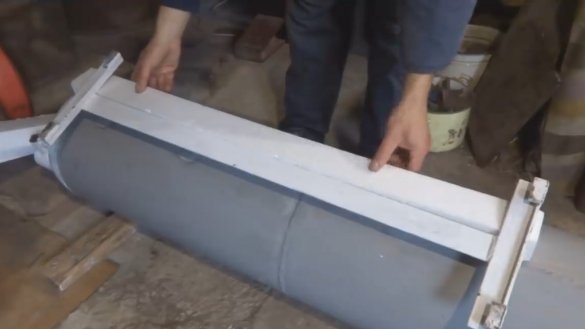
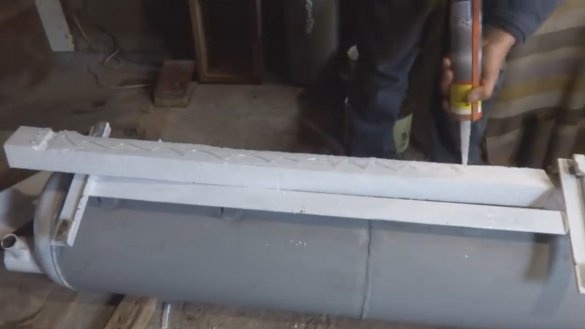
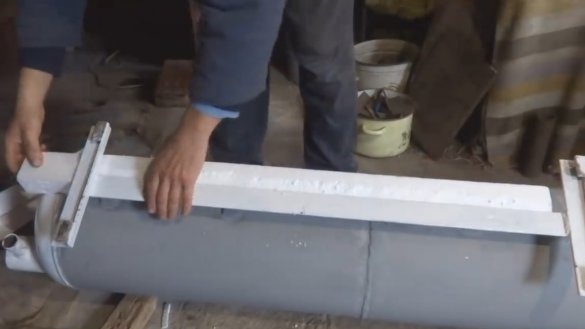
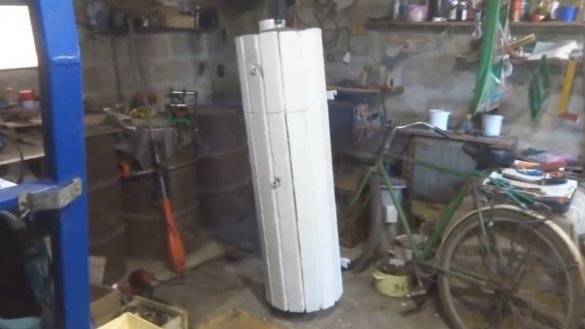
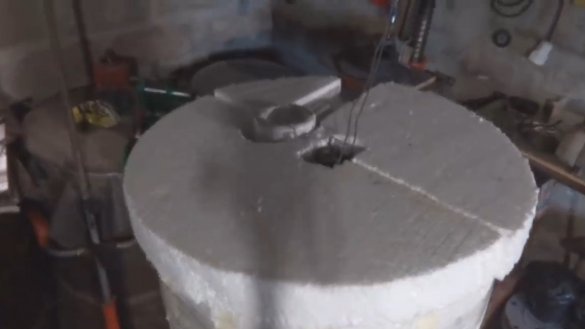
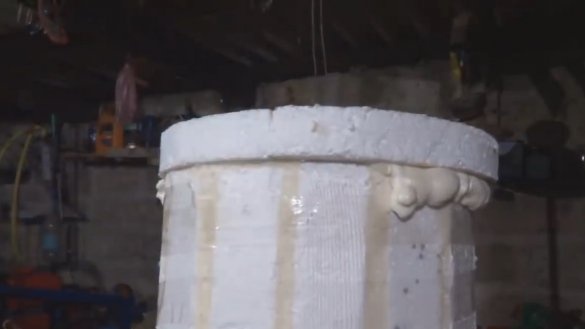
The author pasted the boiler with foam, using mounting foam, we got a solid monolithic design.
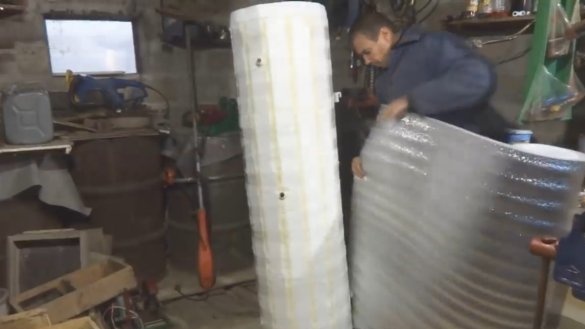
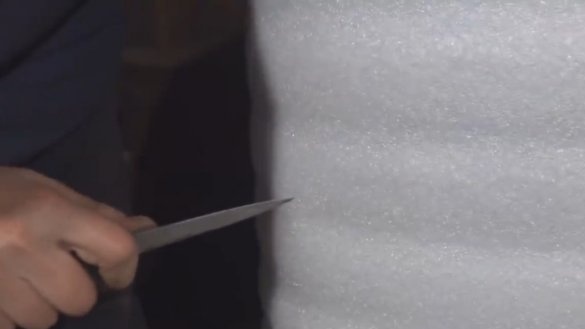
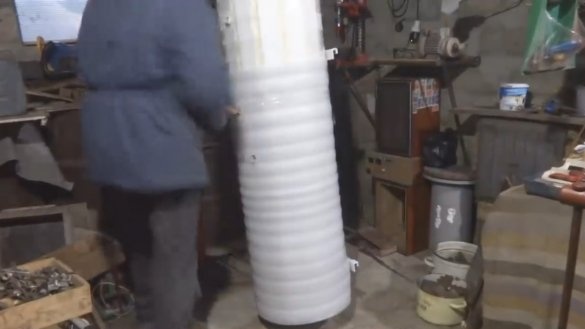
Further from above, the whole thing was wrapped in foamed polyethylene. Naively supposing that the foil “will not release heat”, the author wrapped the material with foil to the boiler. Of course, the foam does not form infrared radiation, so the foil will not help there, it is better to install the shiny side out, and it will be more interesting to look.
In the end, the author wrapped his entire doll with tape, it turned out to be a good insulator, but using such a boiler in closed living quarters is unhealthy!
Step Five Installation and testing
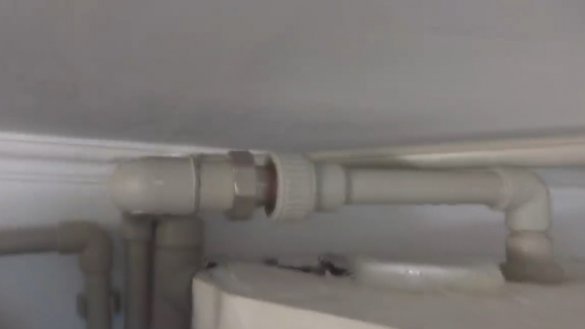
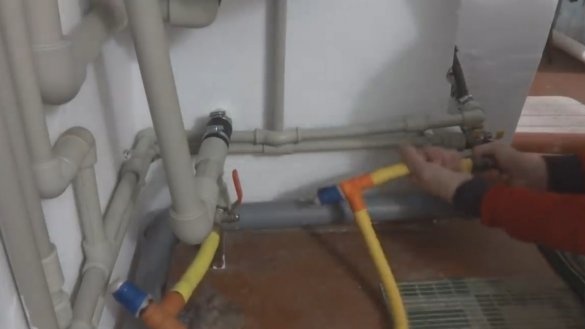
We install the boiler in its place and connect it to the coil, which is built into the furnace. We fill the coil and the entire heating circuit with water, the heating circuit must necessarily have an expansion tank in case water boils inside the circuit.
We also fill the boiler with water, the water inlet is from below, all the dirt will settle here, and we will select hot water on top of the boiler. During the first starts, the water will be dirty, everything will need to be washed well. The boiler must always be full of water, otherwise the steel will rust and the boiler will quickly leak.
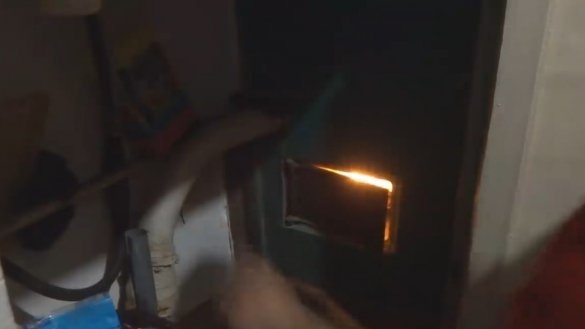
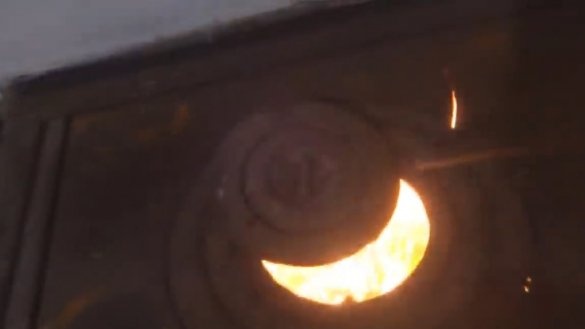
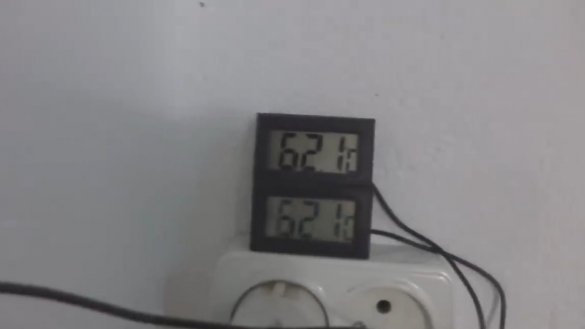
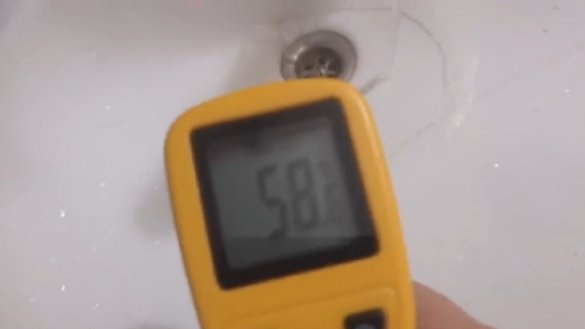
You can proceed to the tests, kindle the furnace, and monitor the temperature. For 2 hours, the temperature in the boiler warmed up to 62 ° C, and if we take into account that in the winter the stove is heated for 2-3 hours, then we just get a good water temperature and warmth in the house. Do not forget to put an emergency valve on the boiler, which will relieve excess pressure if the water in the boiler decides to boil.
On this project is completed, I hope you homemade I liked it, and you found useful thoughts for yourself. Good luck and creative inspiration, if you decide to repeat this, do not forget to share your ideas and homemade things with us!

