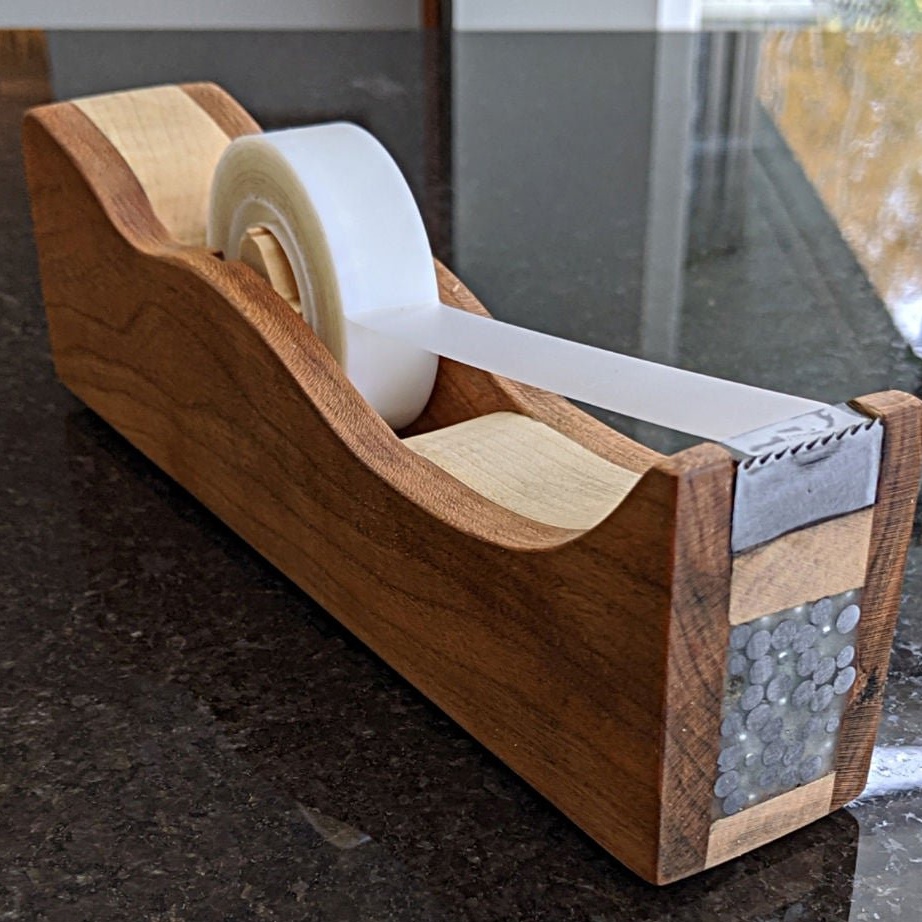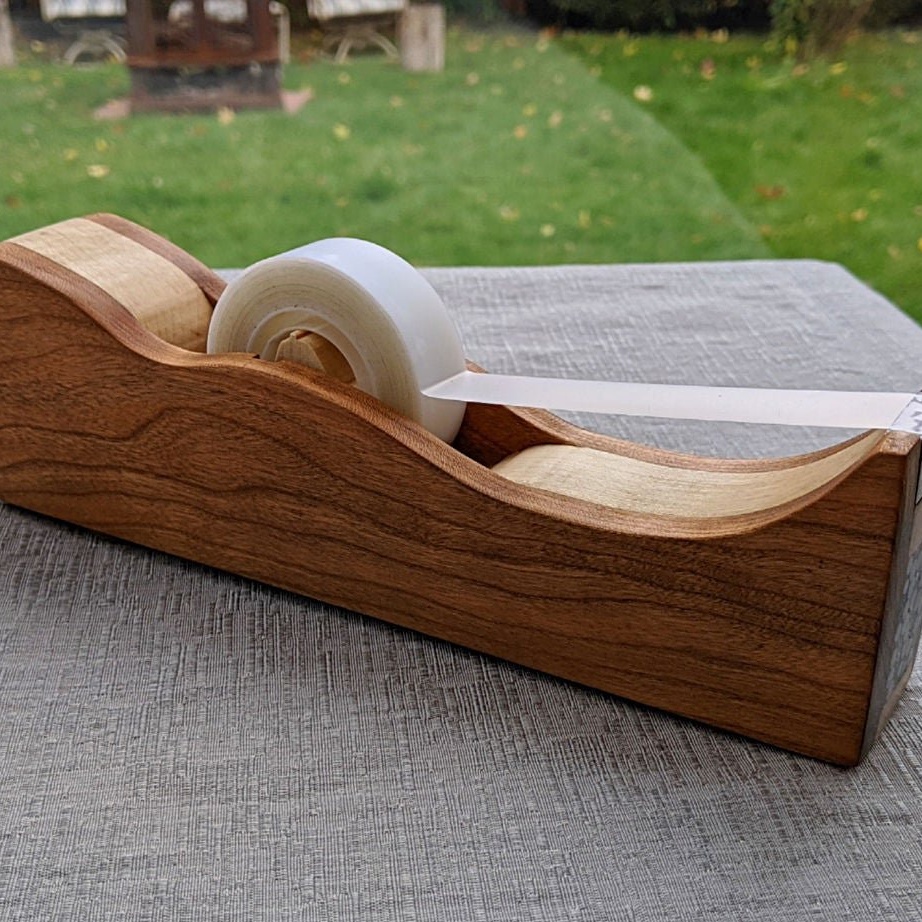
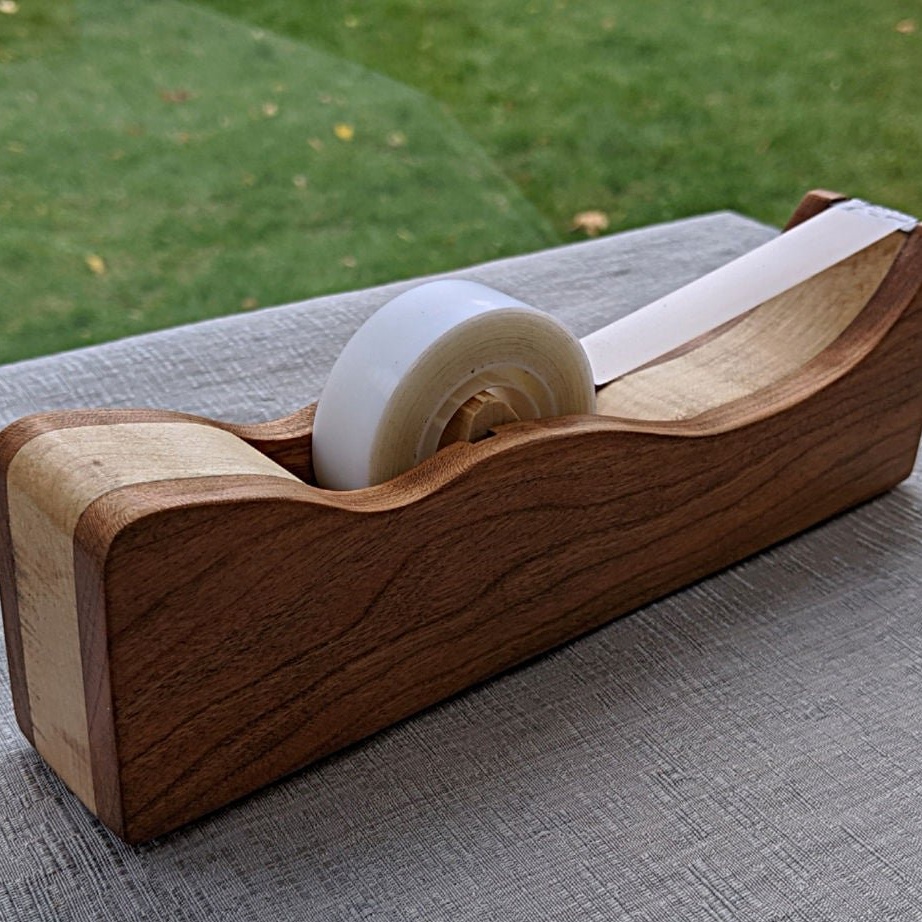
This dispenser is made mainly of all trash that has accumulated in the workshop of the master. The body is made from a combination of maple wood and cherry with steel balls added to the cavity to increase weight. The cutter is made from an old band saw, and the spindle is from a combination of maple and an old drill.
Tools and materials:
- Pieces of wood scrap;
-Bandsaw machine;
-Canvas from the band saw;
-Old drill;
- Planing machine;
-Sandpaper;
-Grinder;
-Tap;
-Dremel;
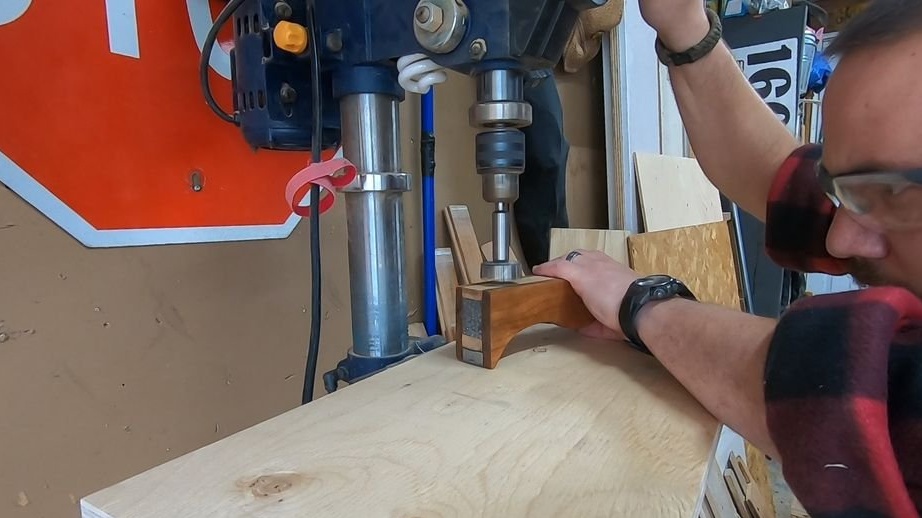
-Drilling machine;
- Forstner drill;
- Clamps;
- Chisels;
-Glue;
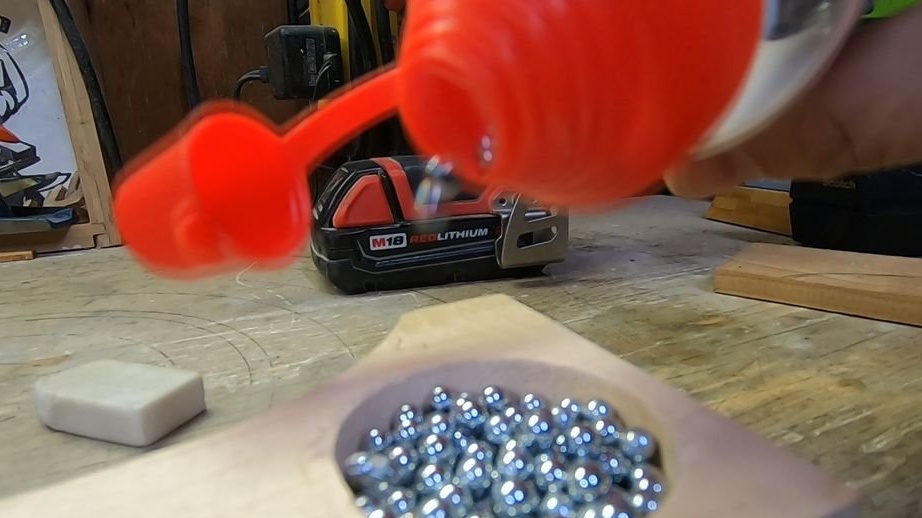
-Steel balls;
-Anti-slip pads;
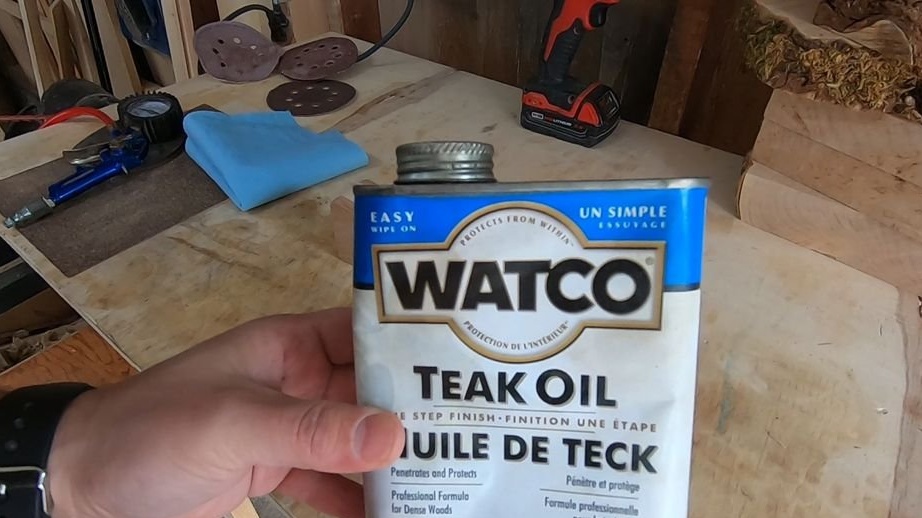
- teak oil;
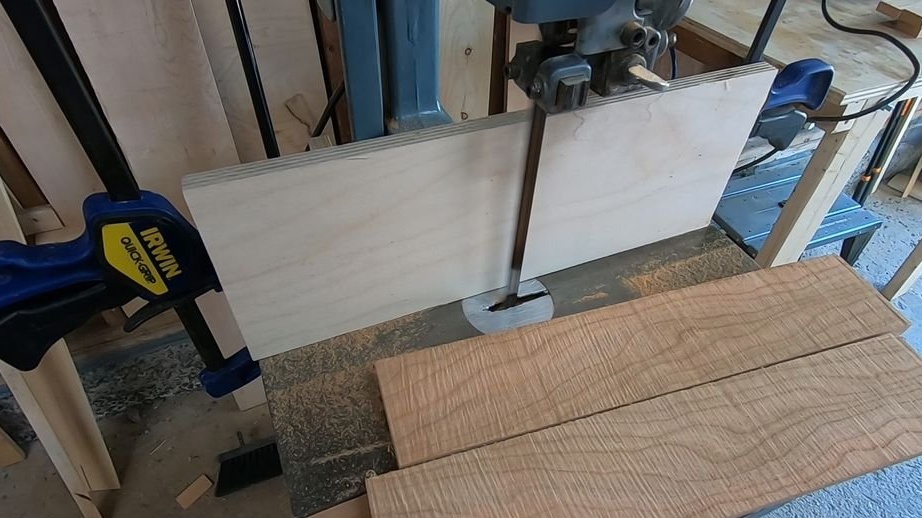
Step One: Material Preparation
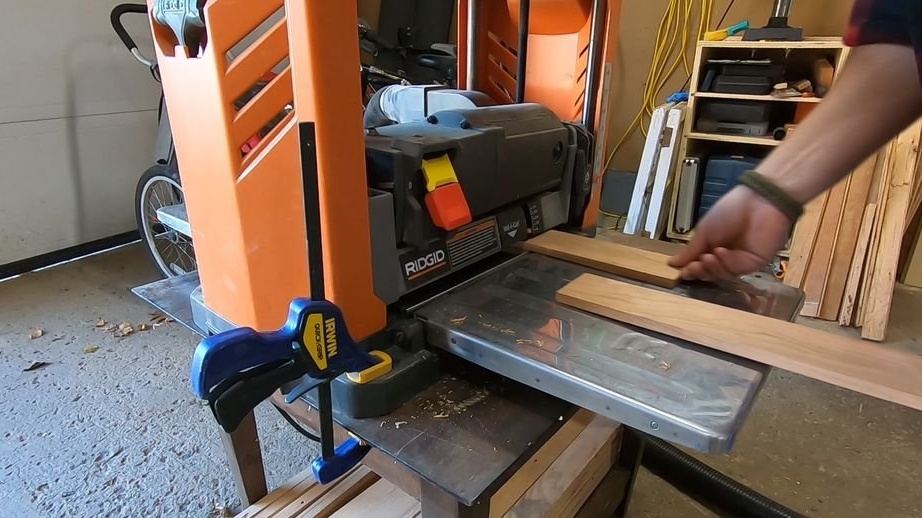
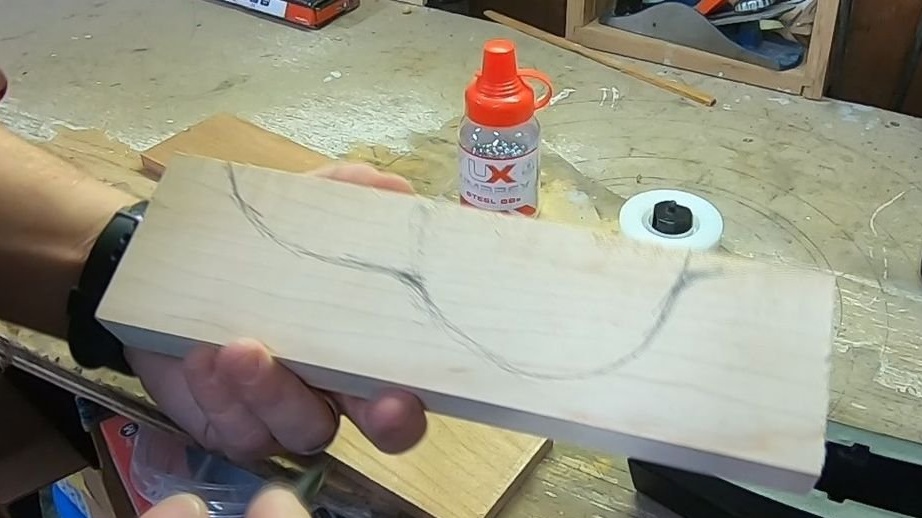
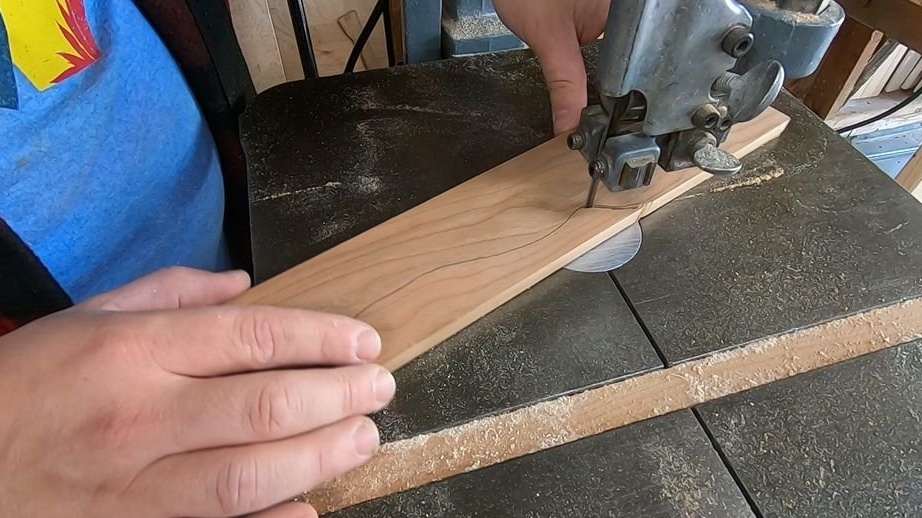
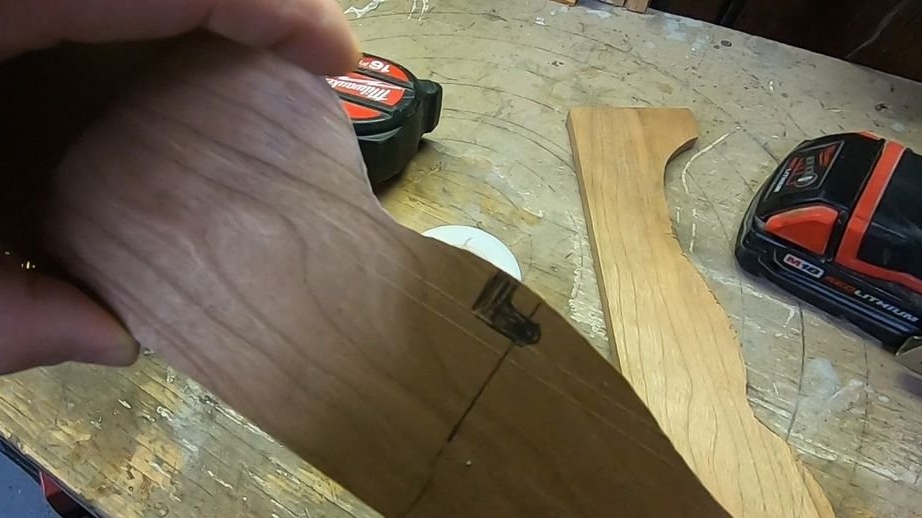
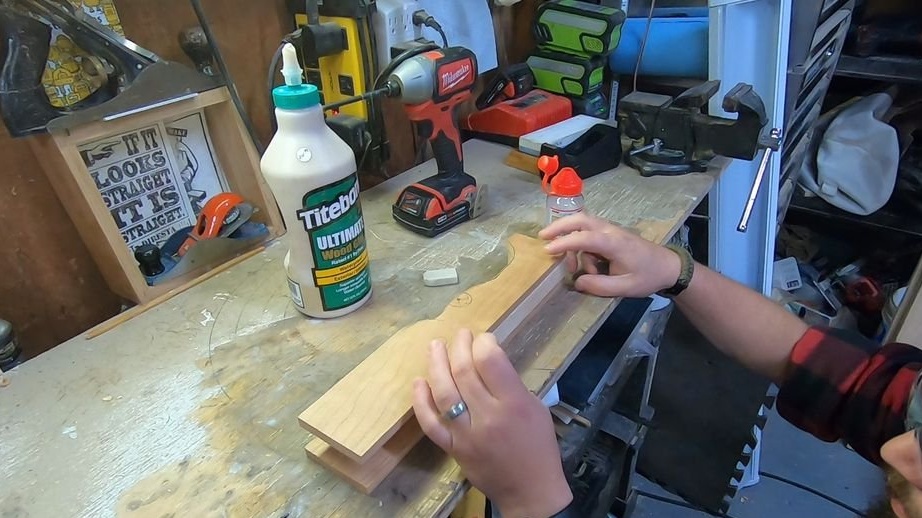
For this project, the master took two small pieces of wood, maple (light wood) was approximately and cherry (darker wood). The master cuts the cherry board lengthwise into two parts, and then, on the planer, levels the workpieces in thickness.

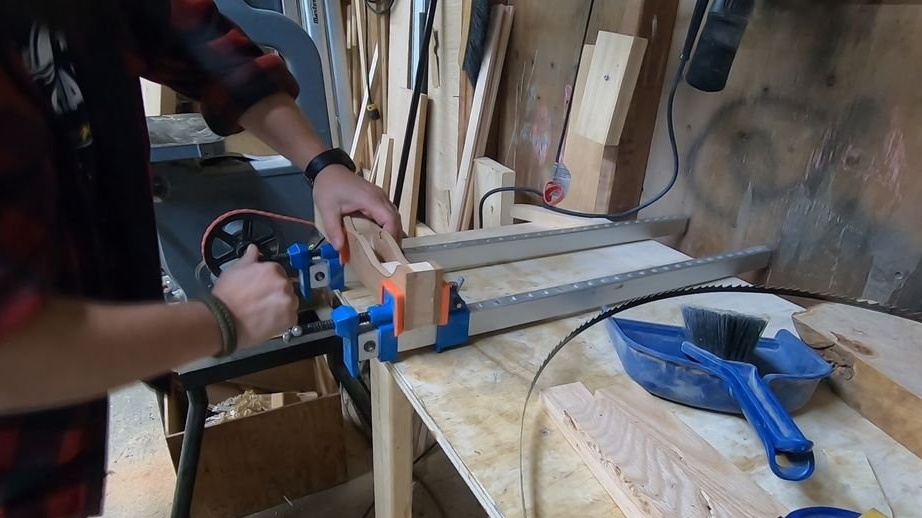
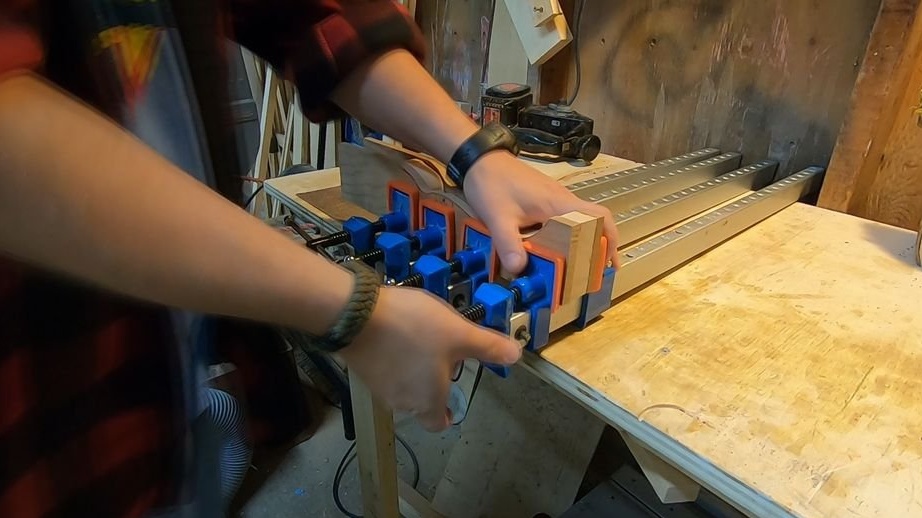
Step Two: The Middle Part
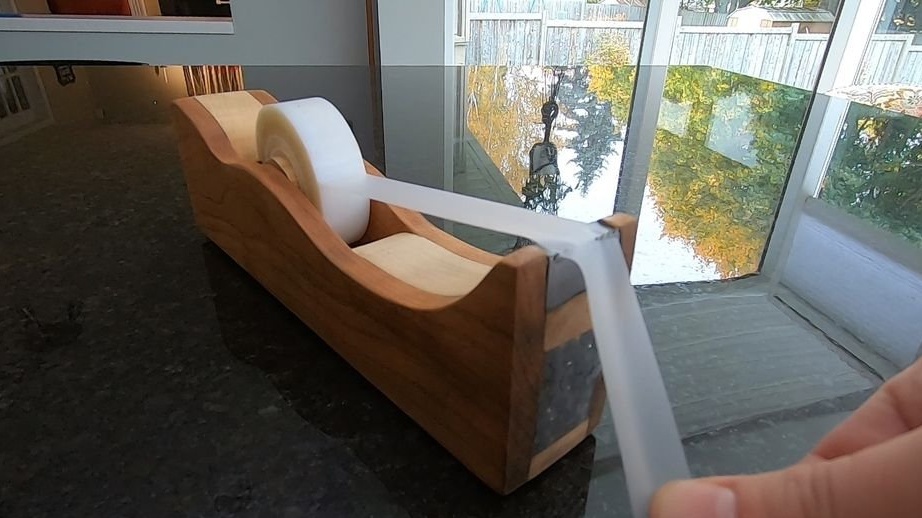
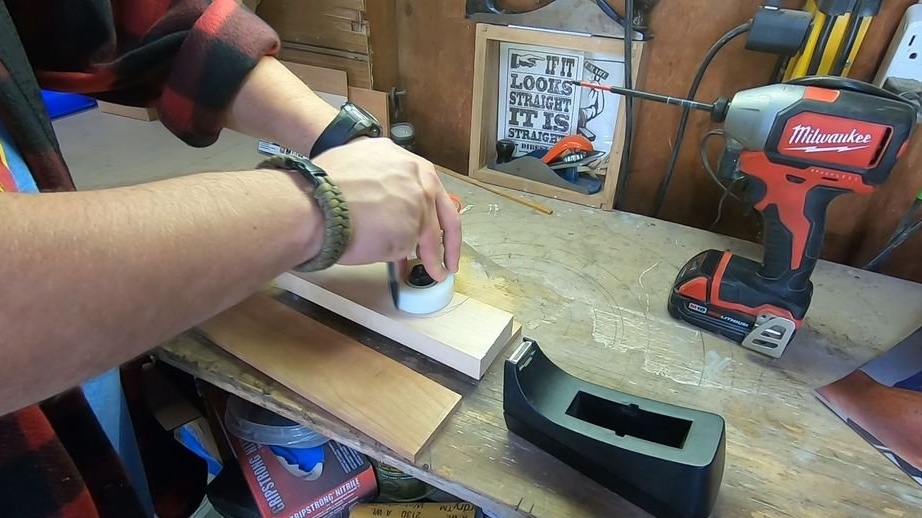
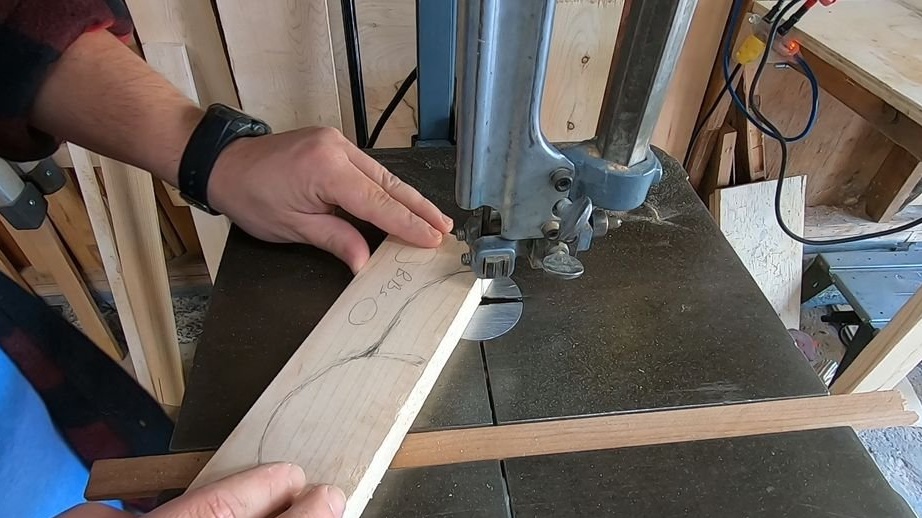
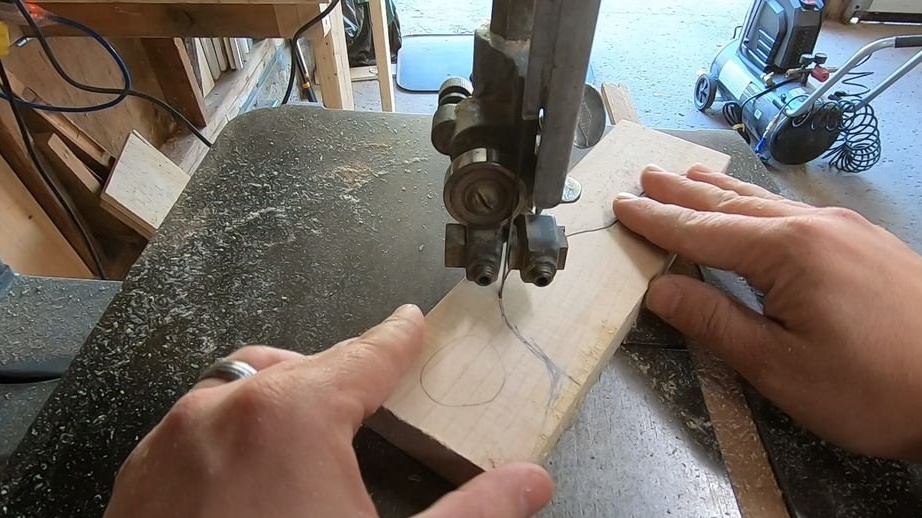
Adhesive tape will be installed on the middle maple blank. The master marks the shape of the workpiece using a roll of adhesive tape. The cutting depth must be taken into account based on the diameter of the roll.
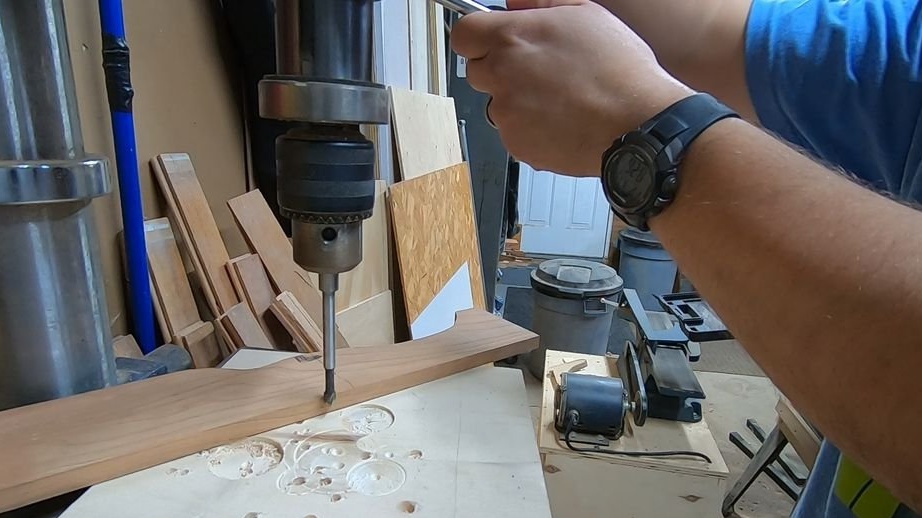
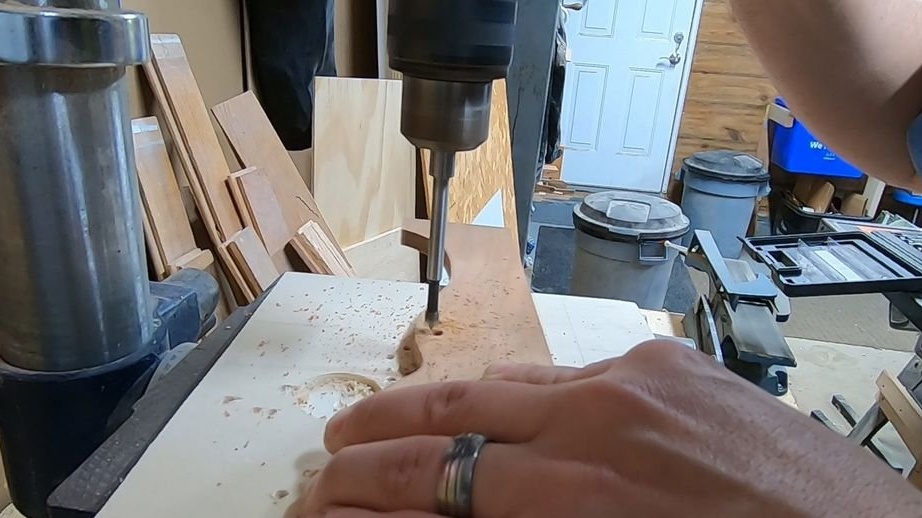
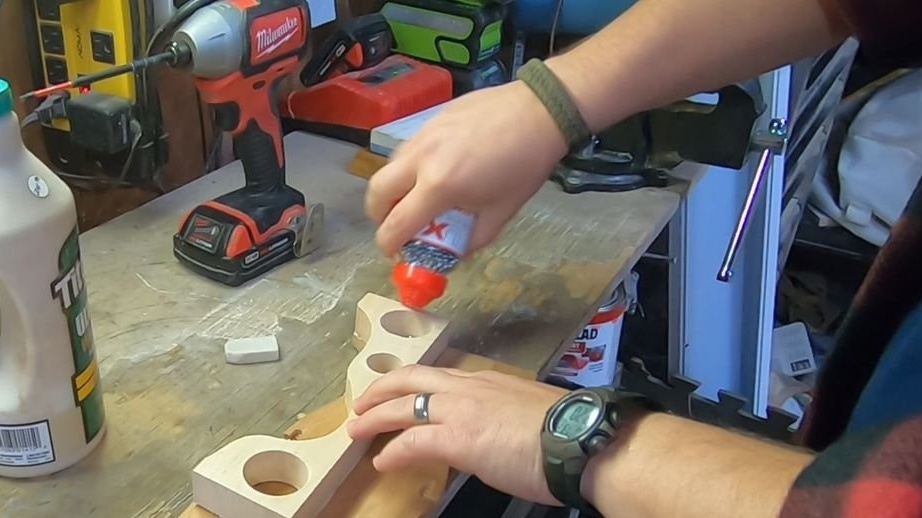
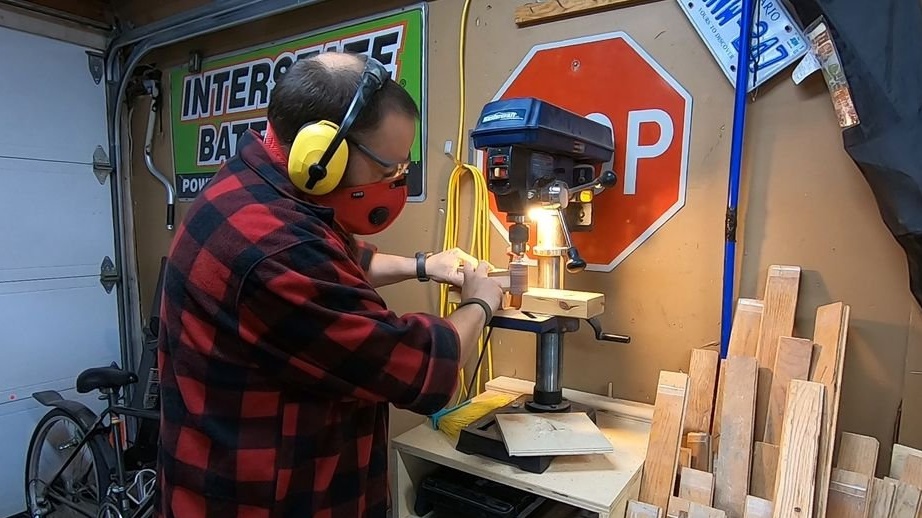
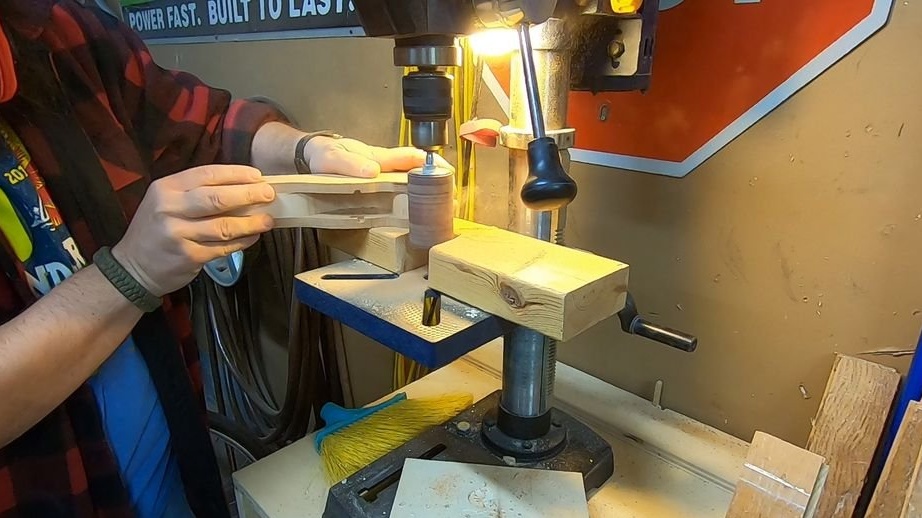
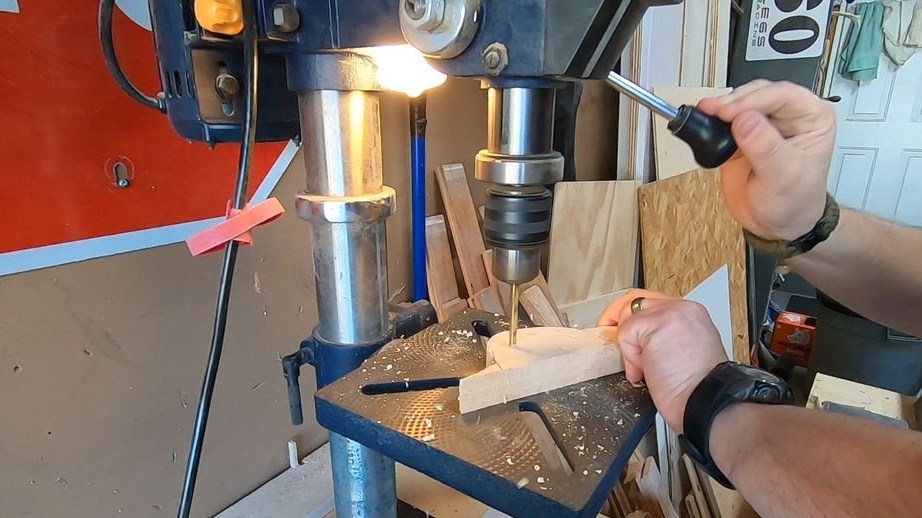
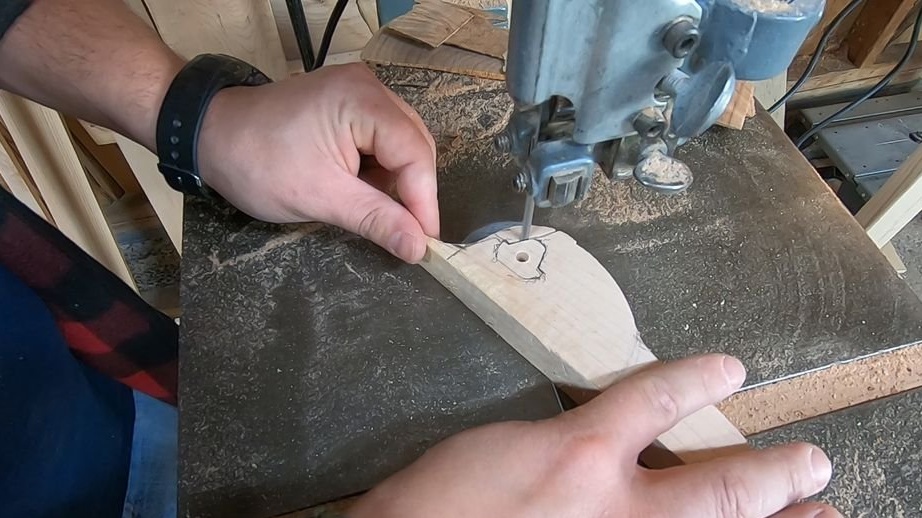
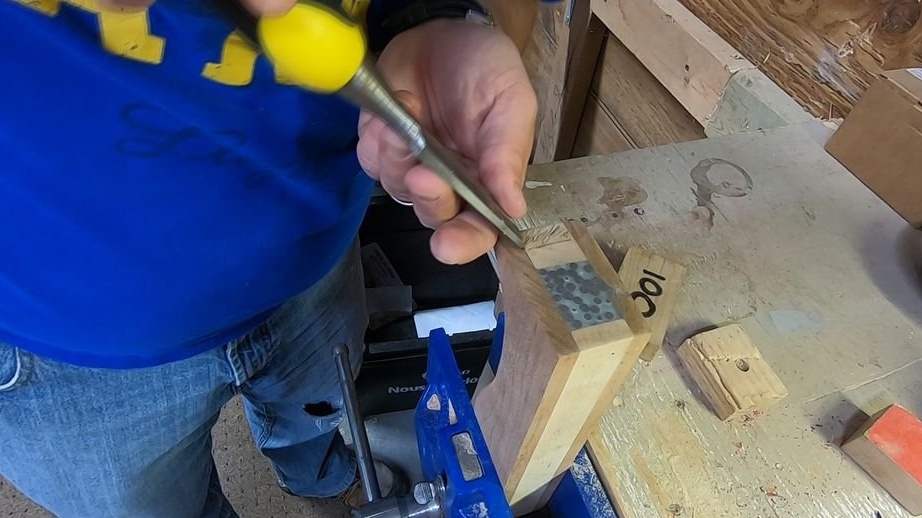
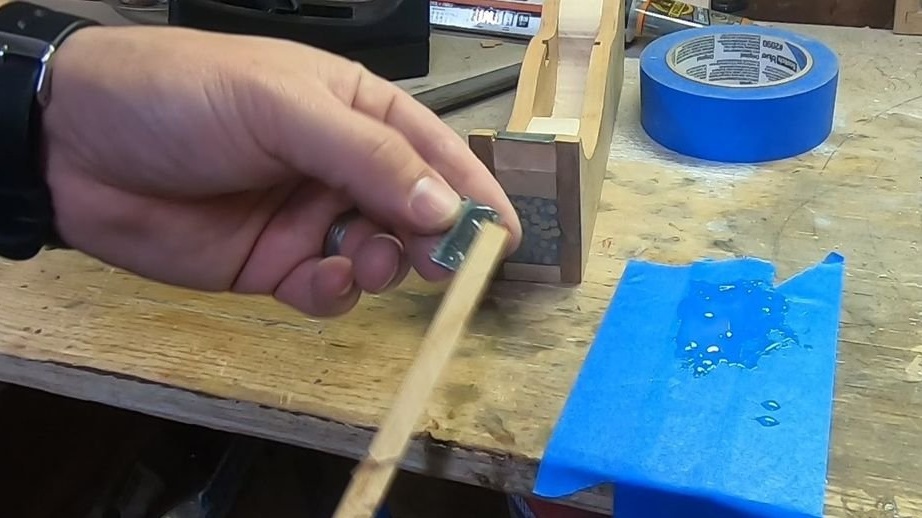
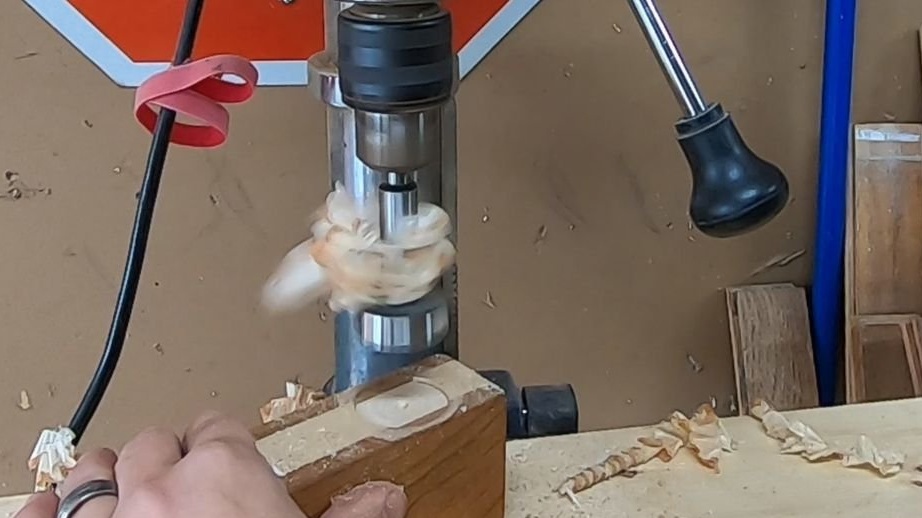
Step Three: Hole
To add weight to the product, the master wants to add steel balls. To do this, he drills a hole with a Forstner drill.
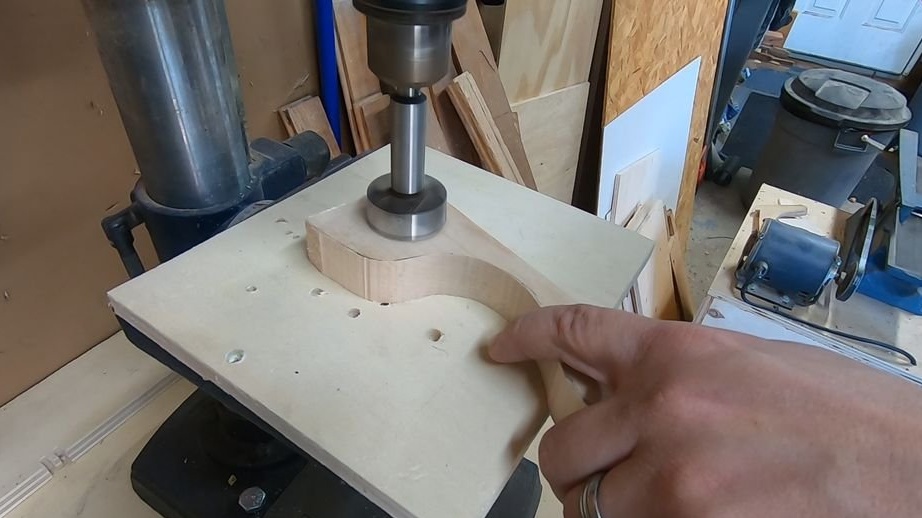

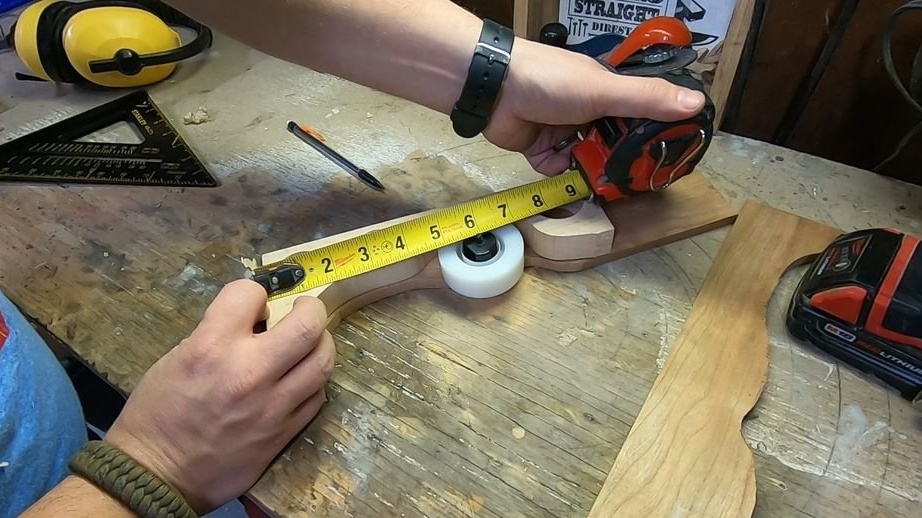
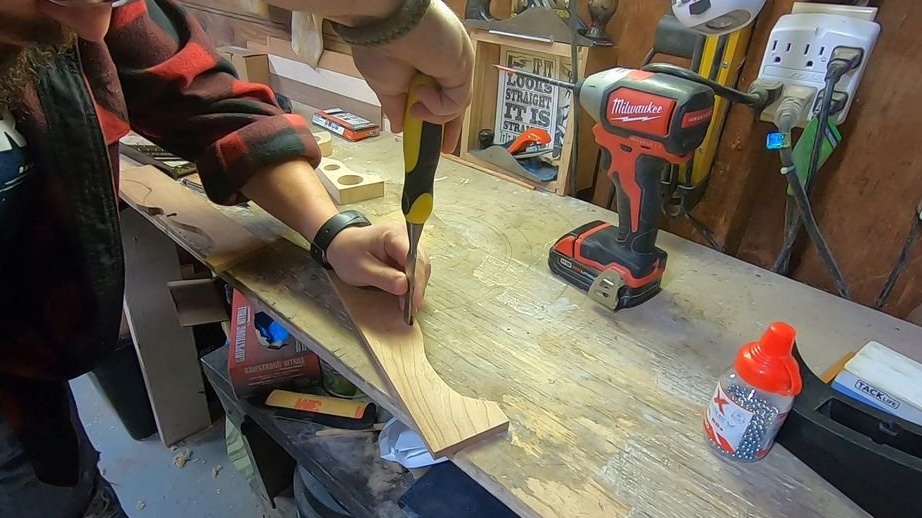
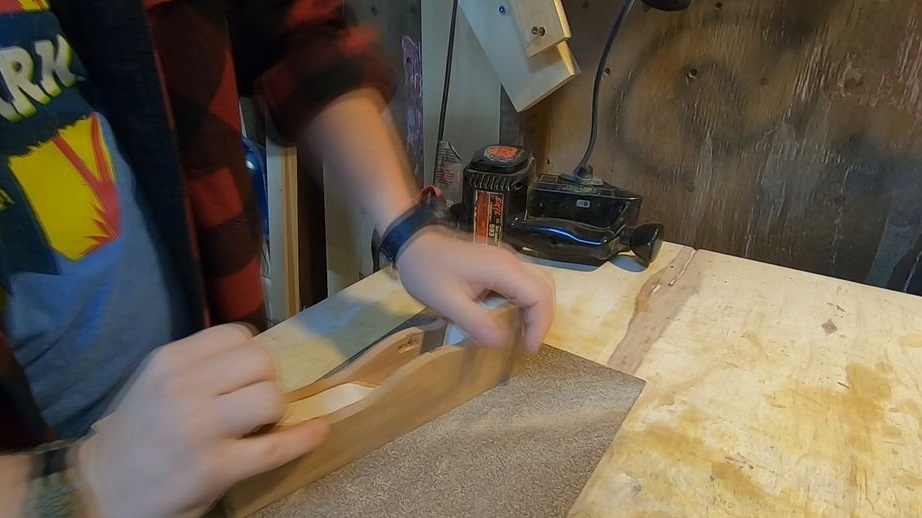
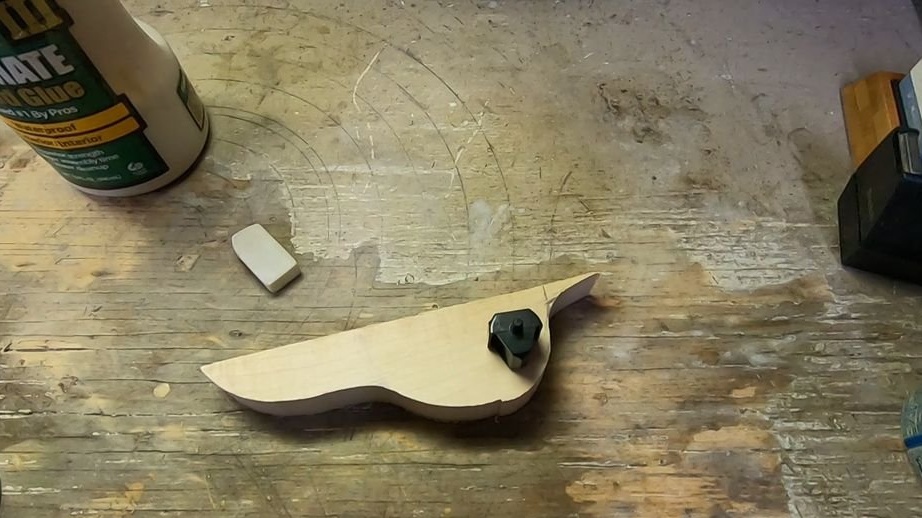
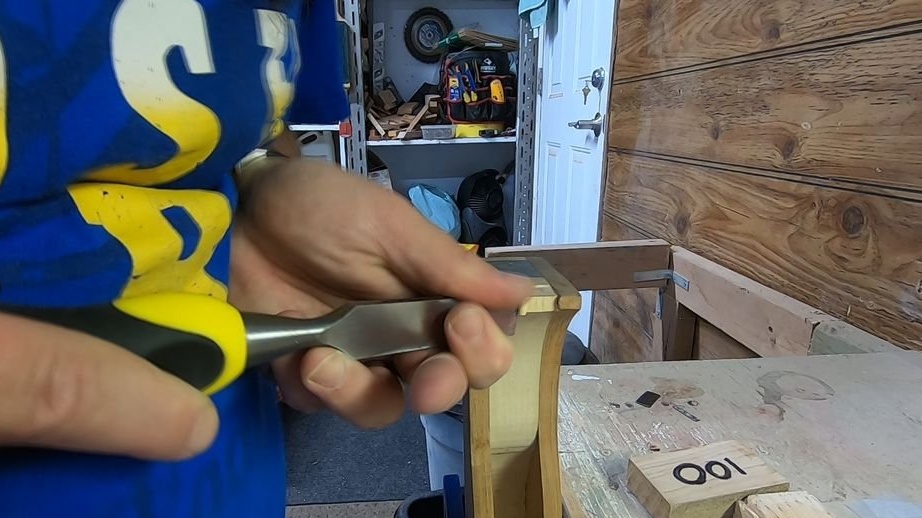
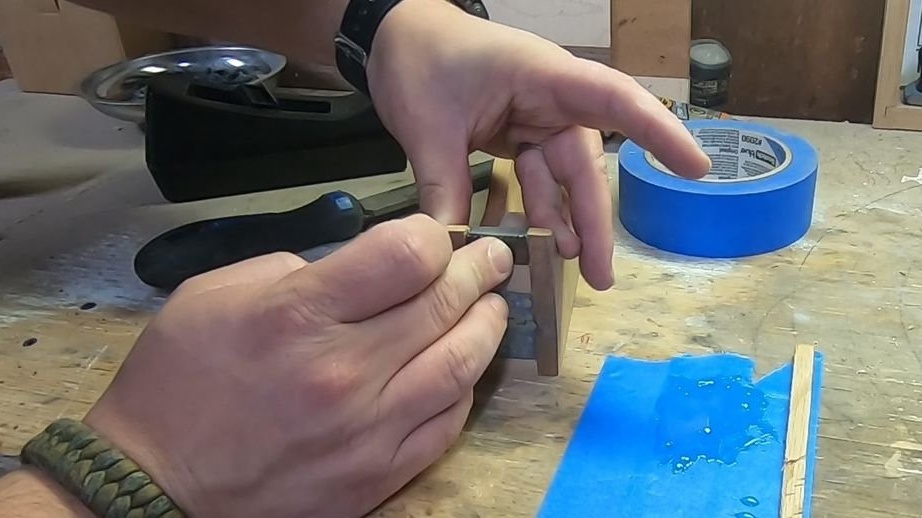
Step Four: Pads
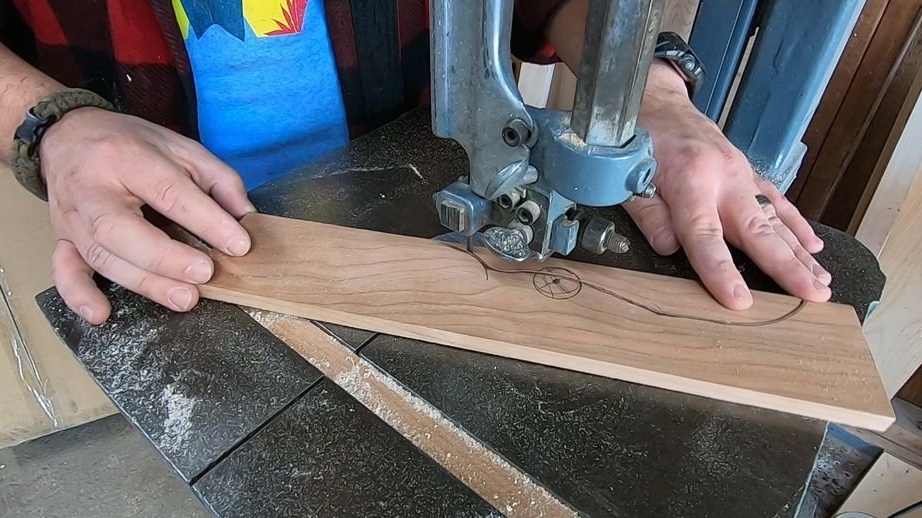
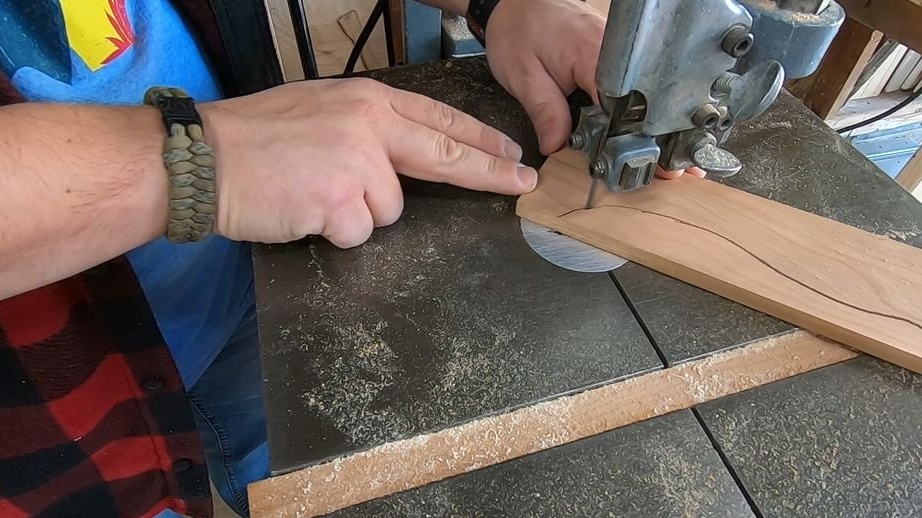
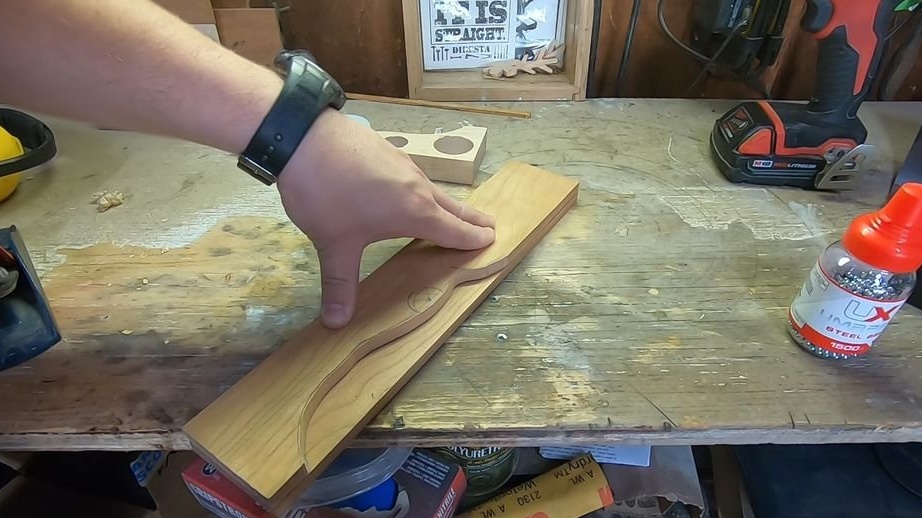
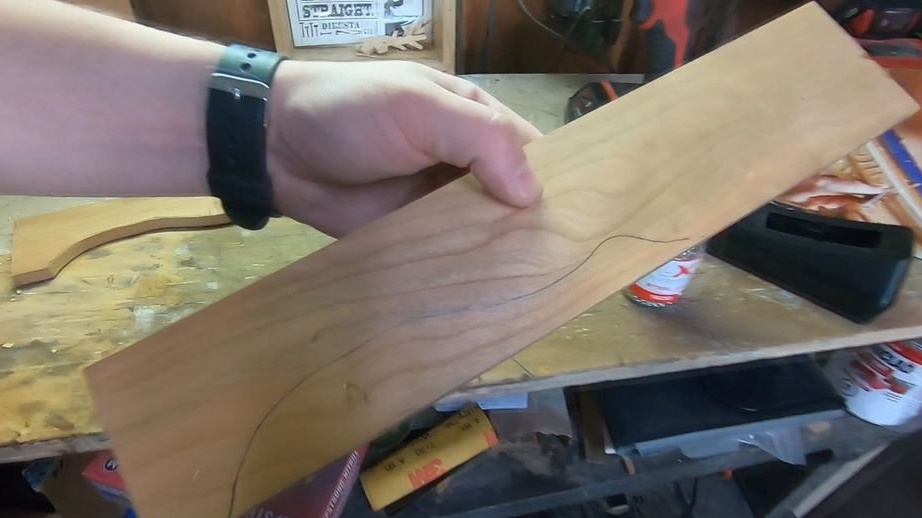
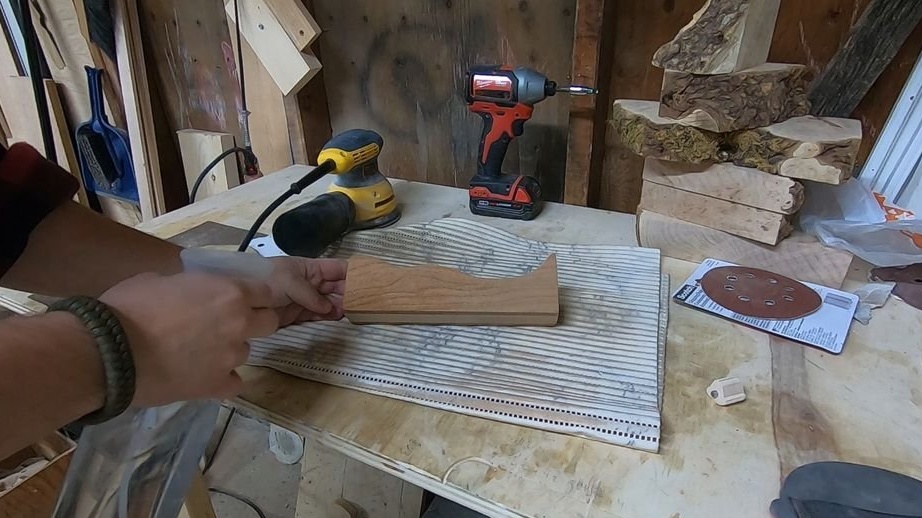
Focusing on the middle part, the master gives shape to the side plates.
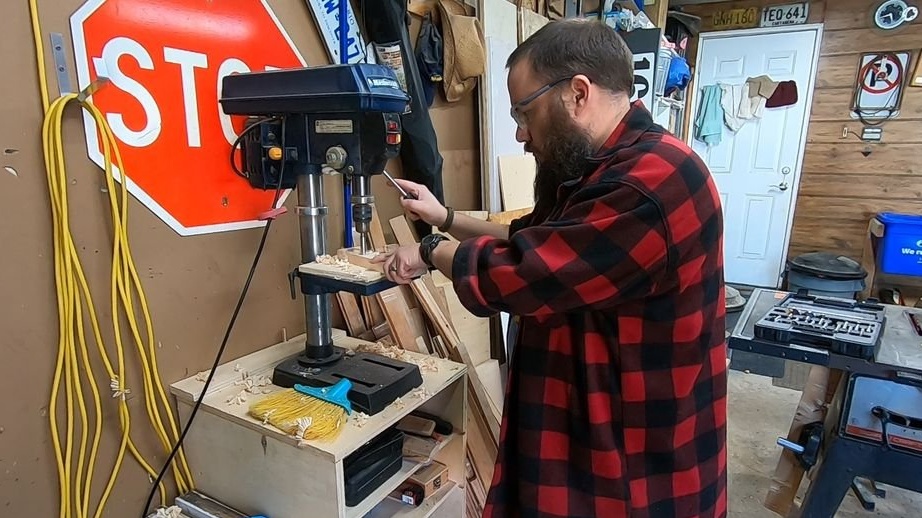
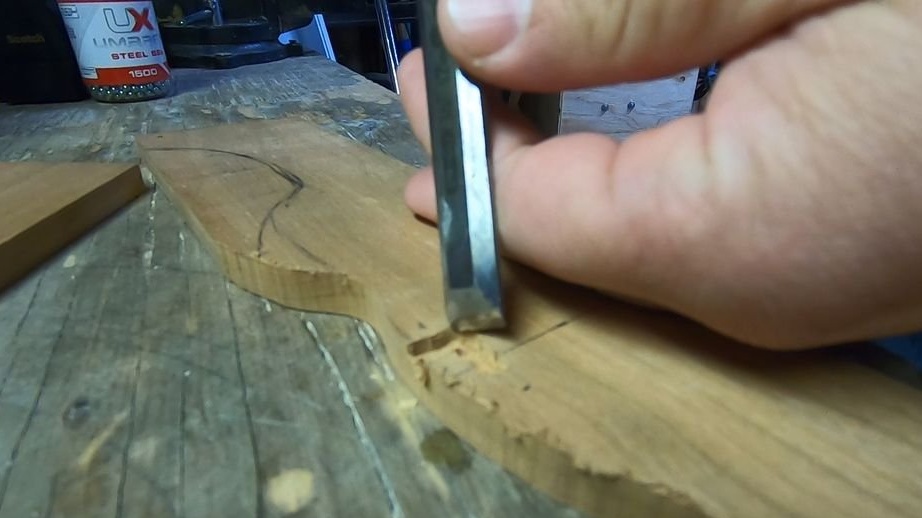
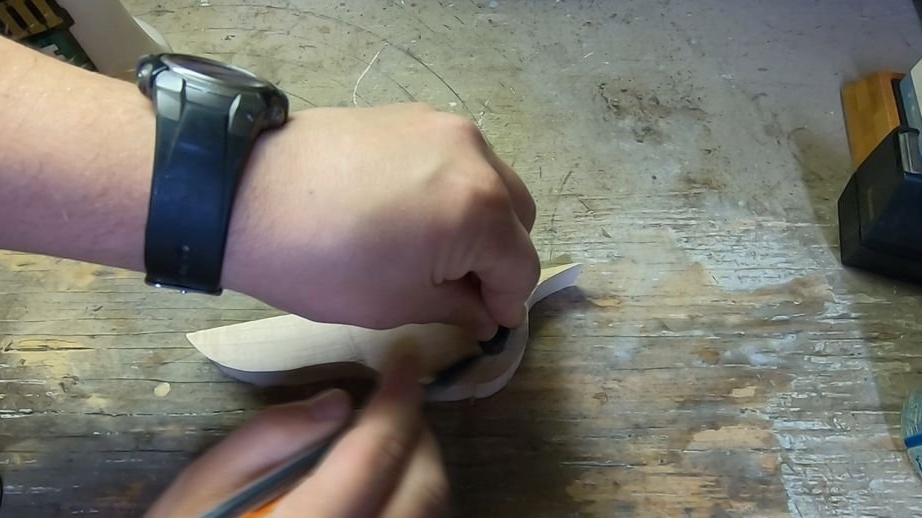
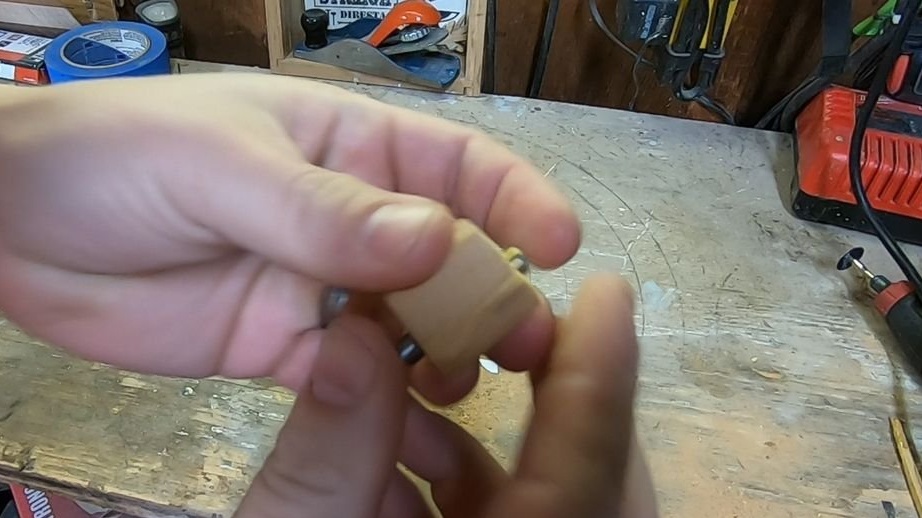
Step Five: Spindle
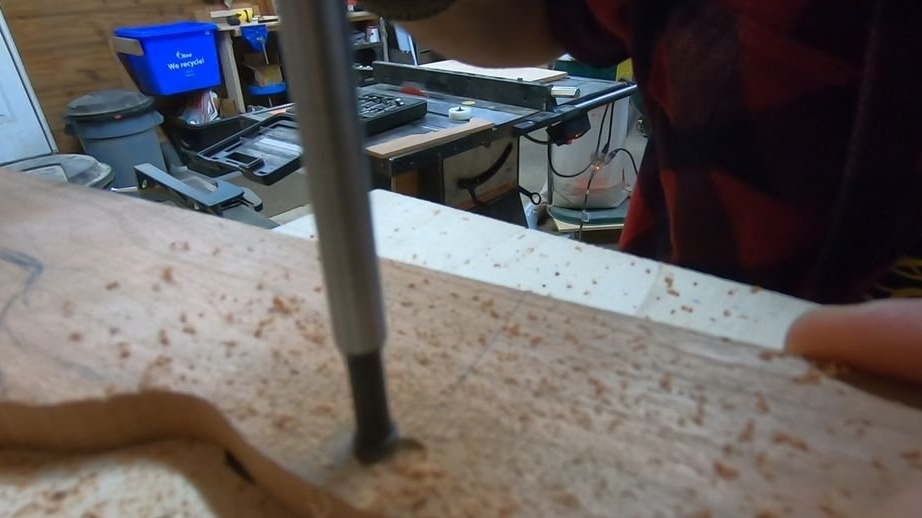
Marks the installation location of the spindle.
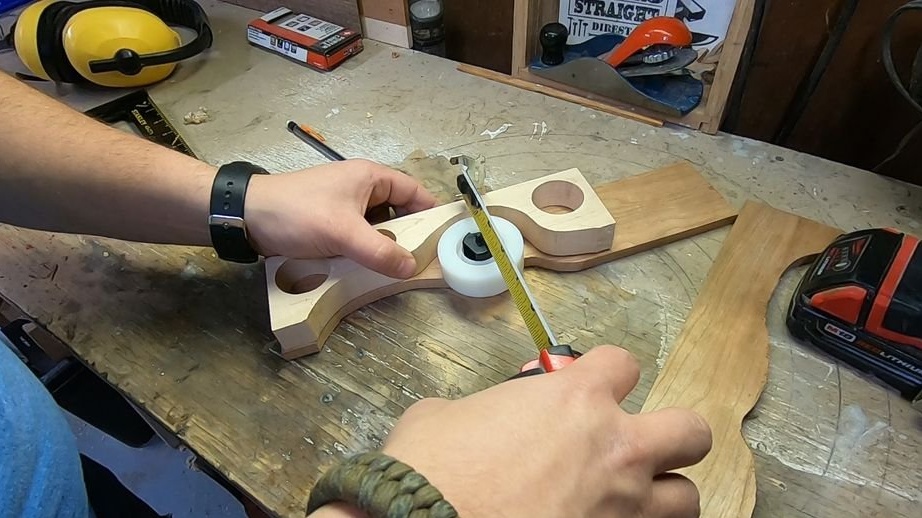
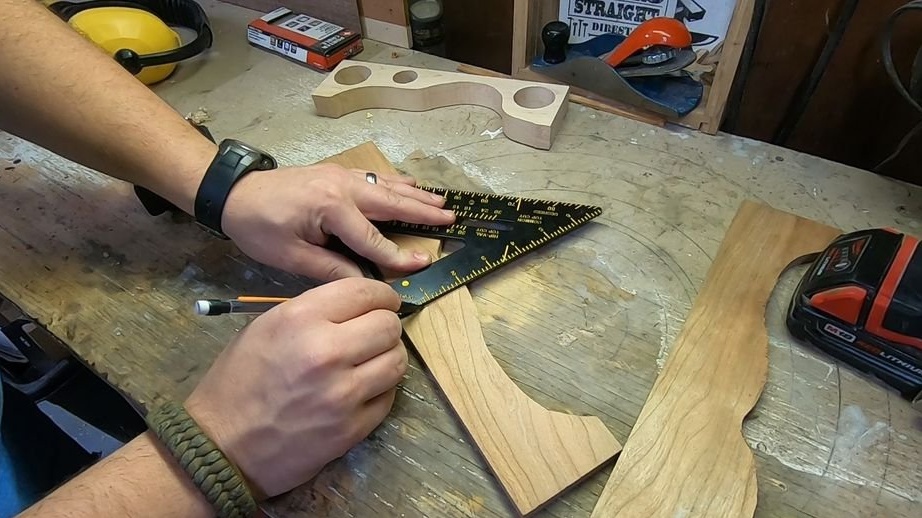
Cuts out a groove.
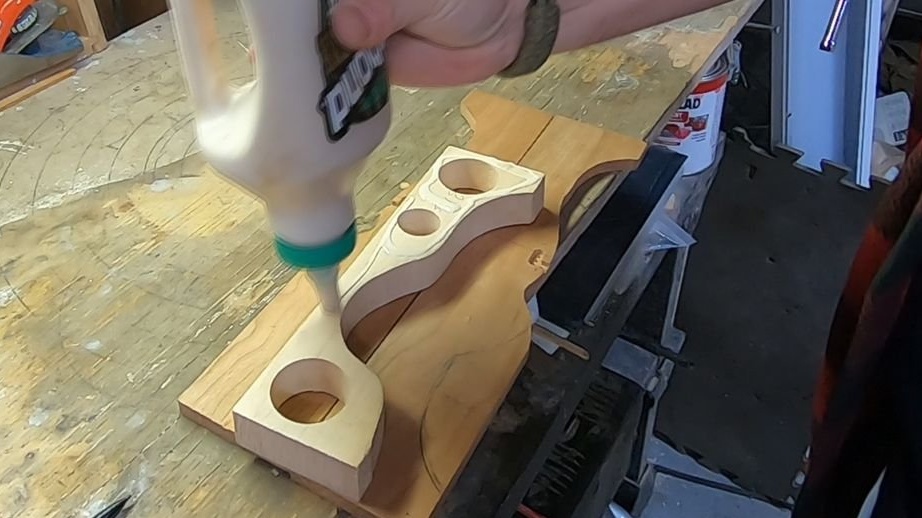
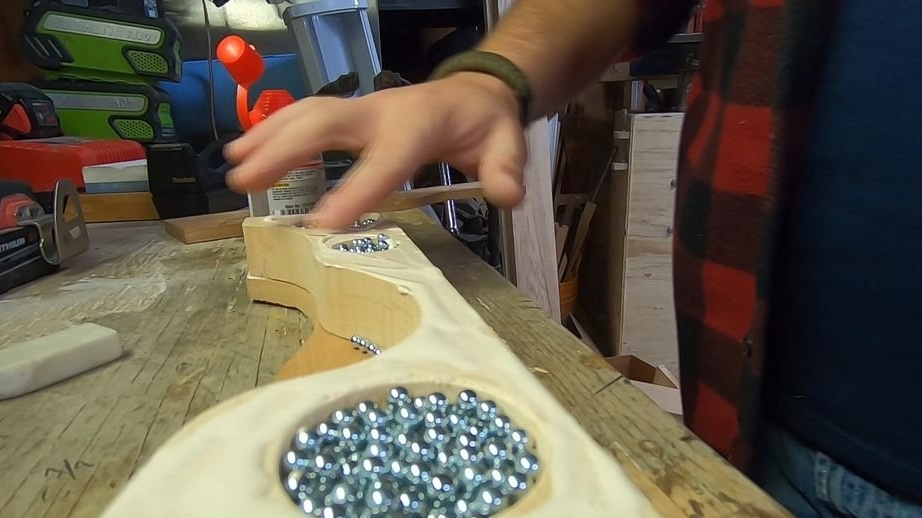
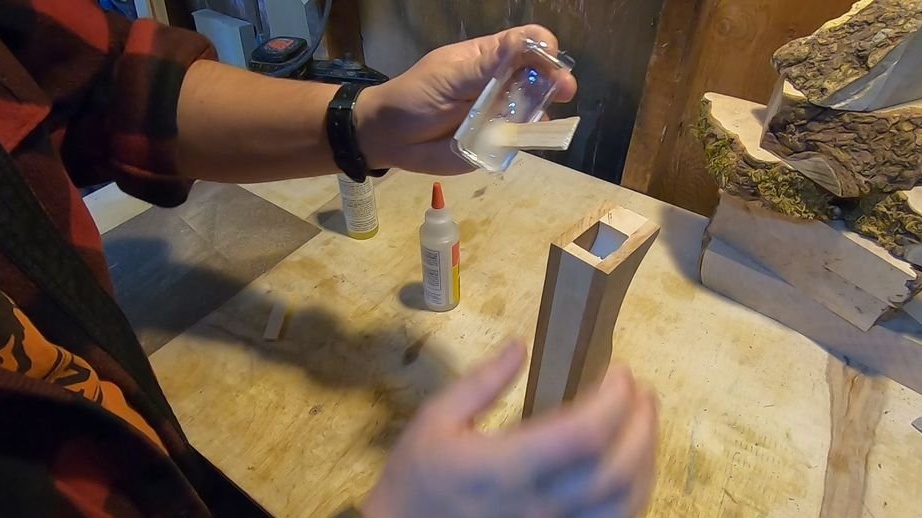
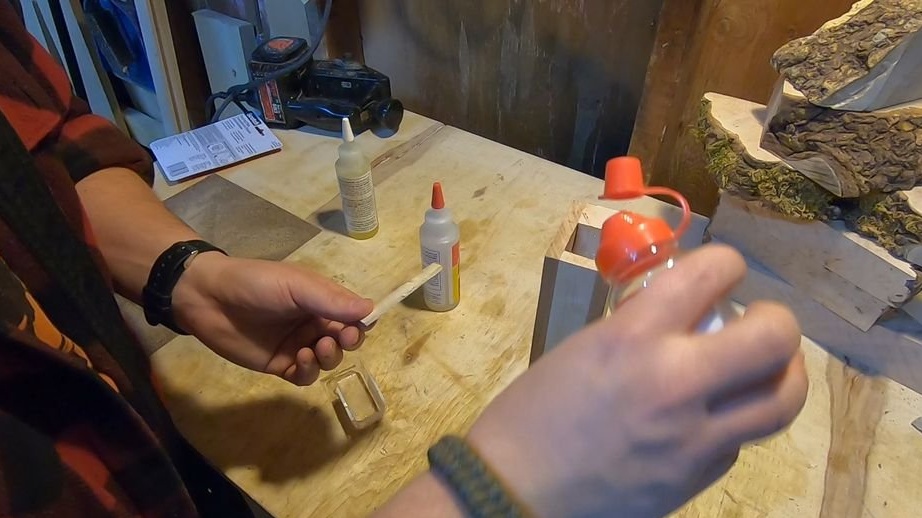
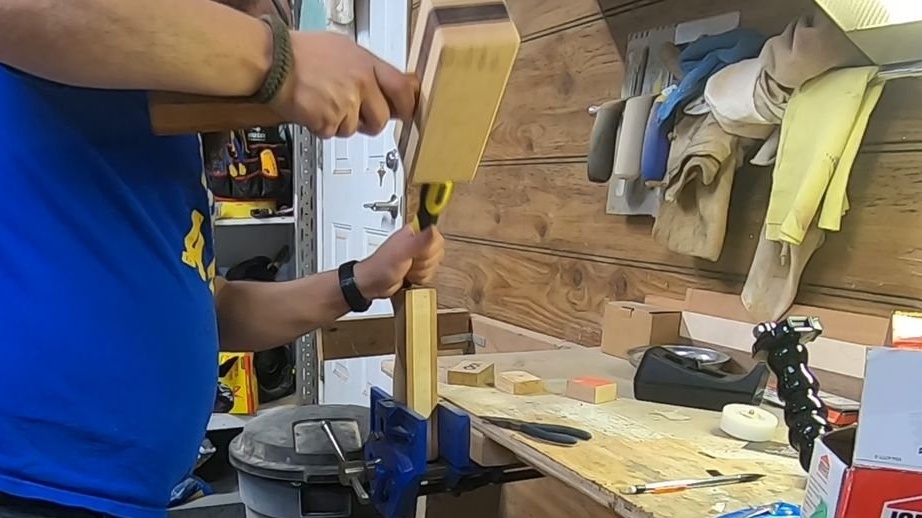
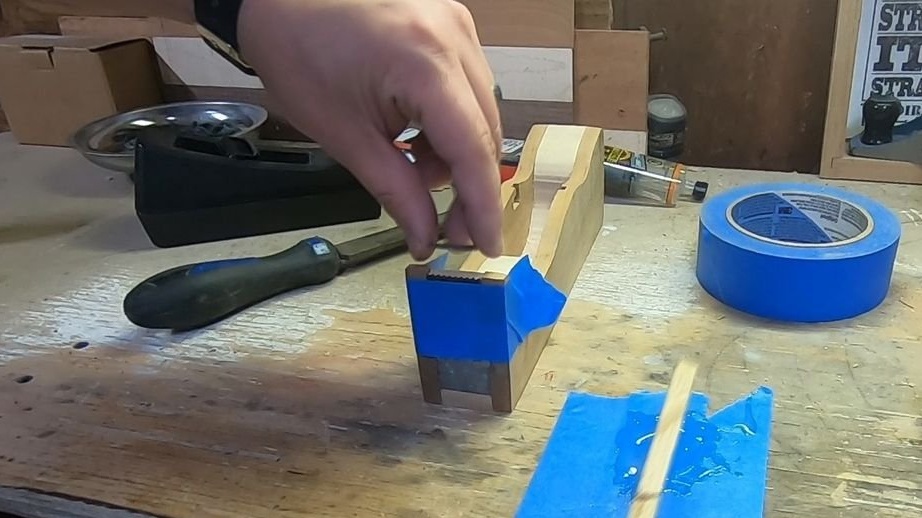
Step Six: Gluing
Now you can glue the dispenser. The master first glues the pad to the middle part. Then there are two options: you can add balls to the cavity and stick the second pad, or, if the balls are filled with epoxy, just stick the second pad without adding balls.
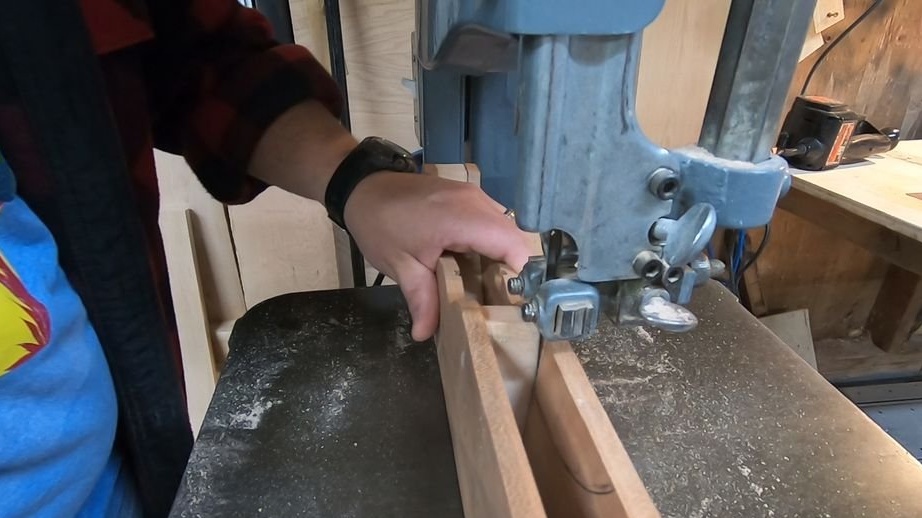
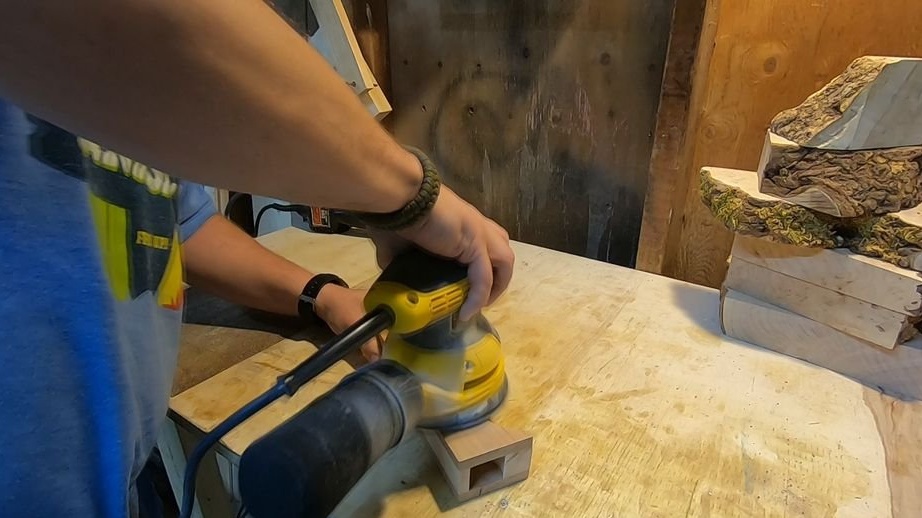
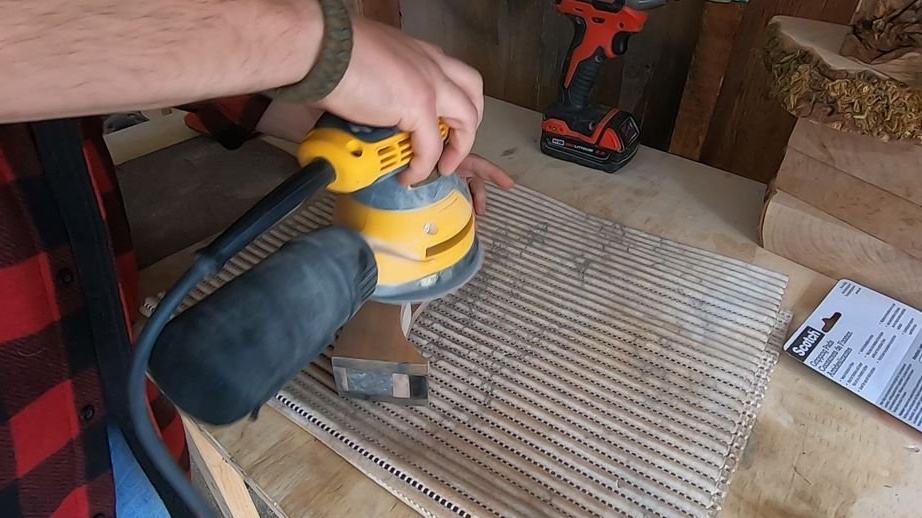
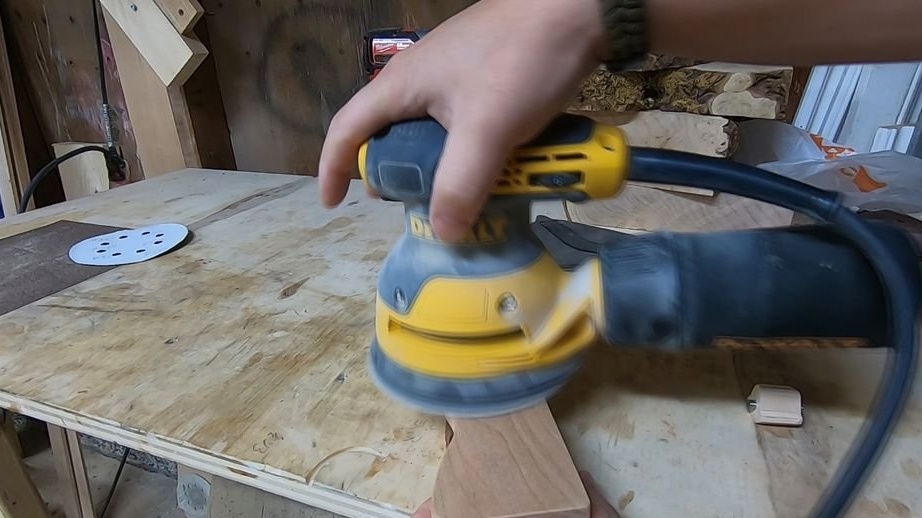
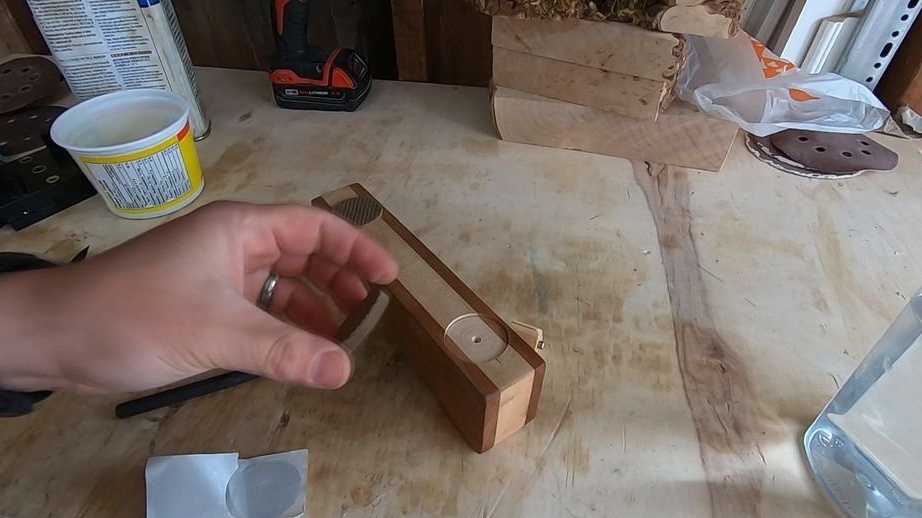
After gluing, the master cuts off the excess material and grinds the product.
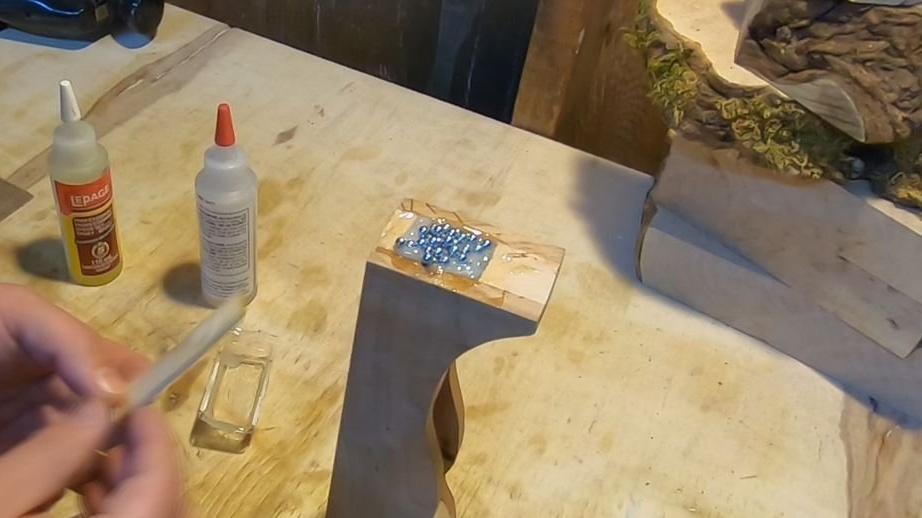
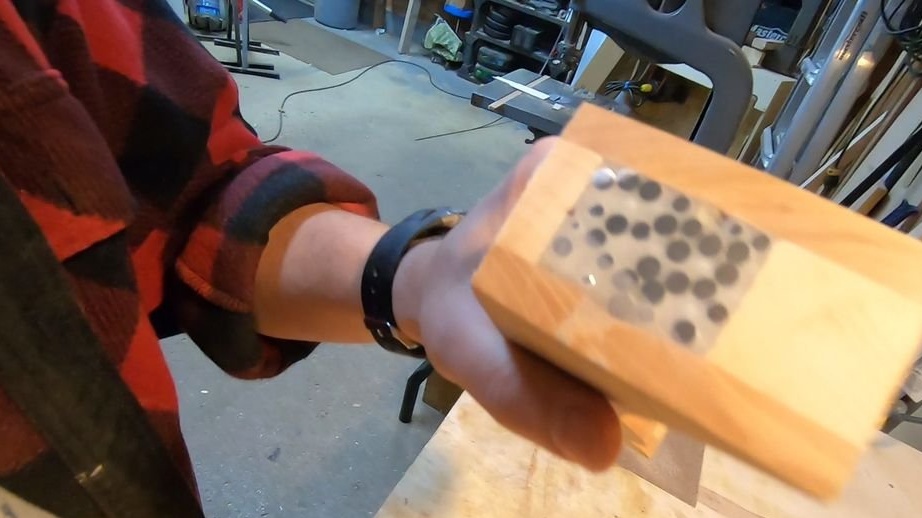
Seventh step: epoxy
This step is optional, and the wizard made it out of necessity. He accidentally cut a wall into a cavity with balls. Then he decided to use this as a structural element. He added balls to the cavity and filled it with tar. After hardening, he polished the surface.
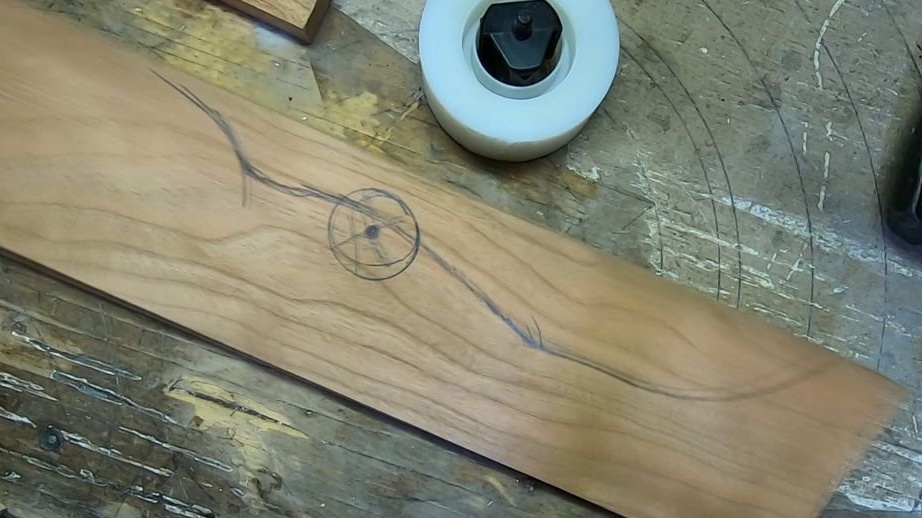
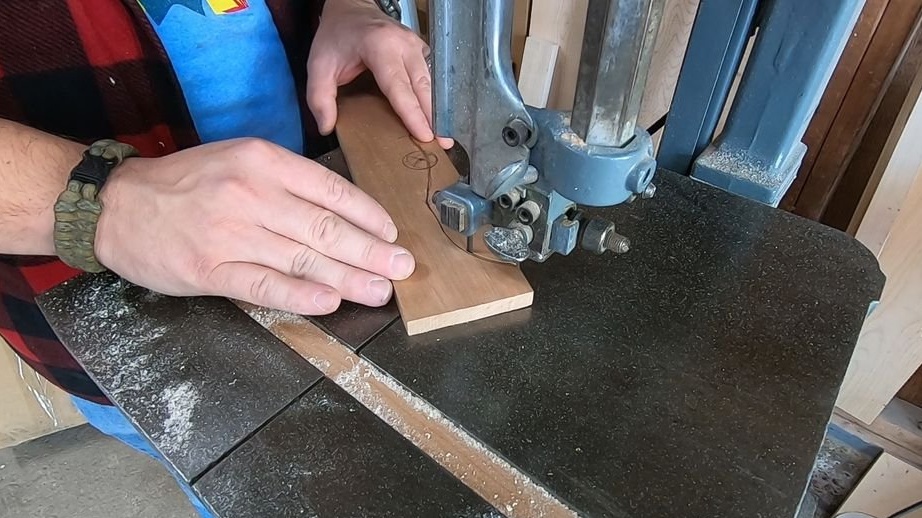
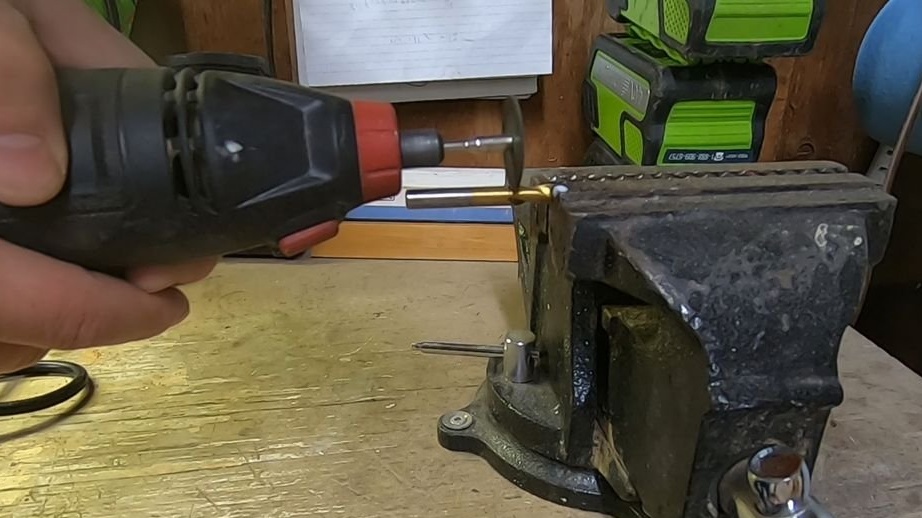
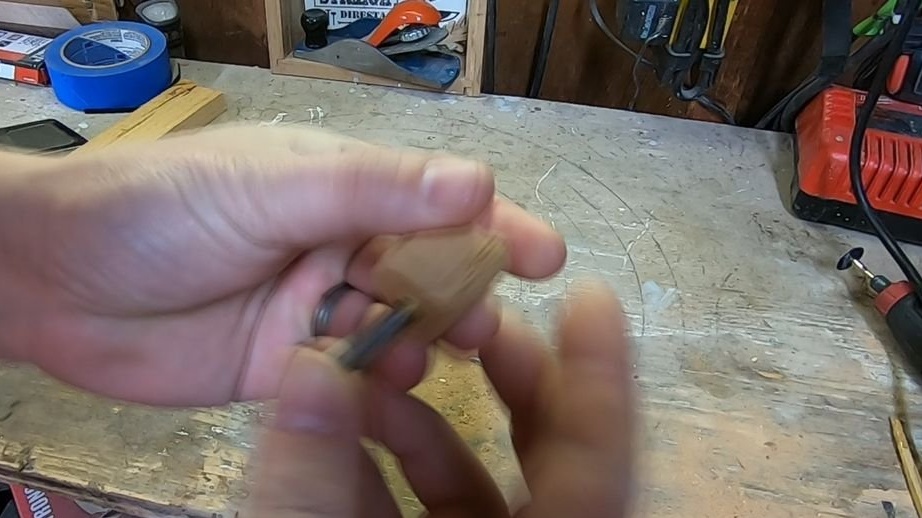
Step Eight: Spindle Fabrication
From a wooden blank, the master cuts the spindle according to the model, like a store dispenser.
As a shaft, the master uses part of the drill.

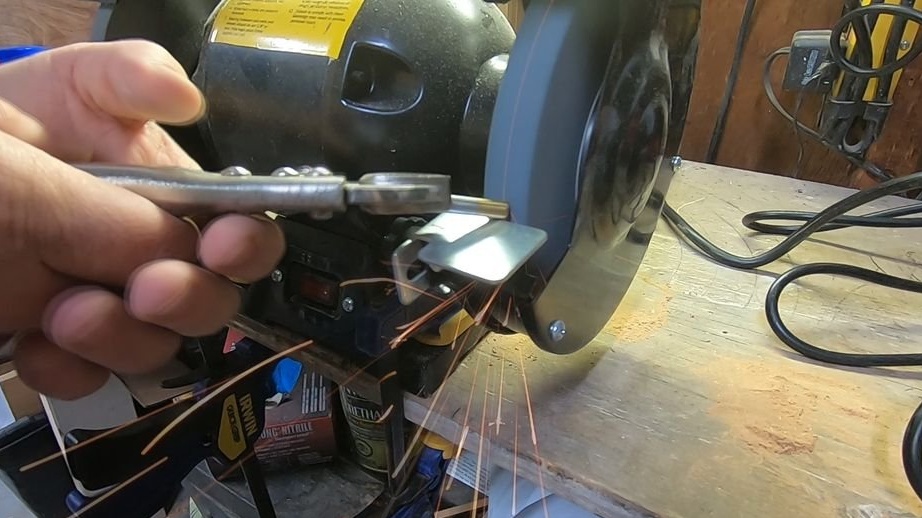
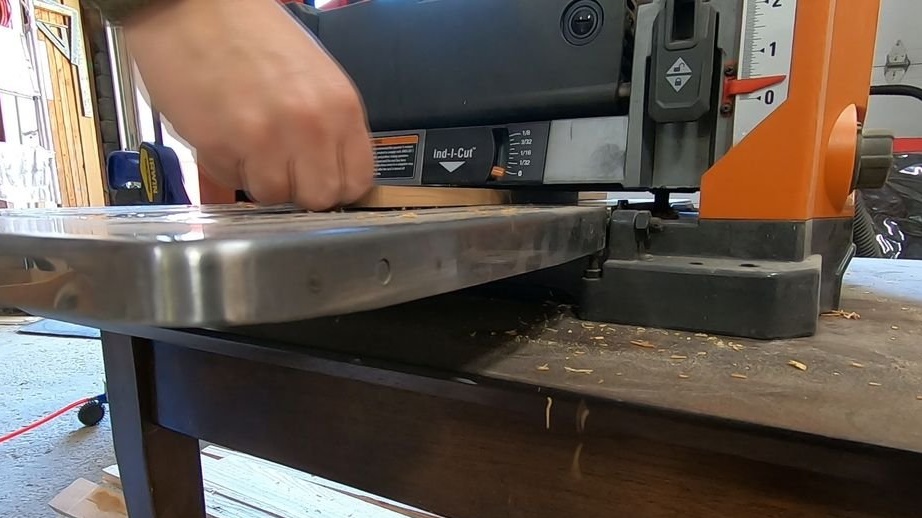
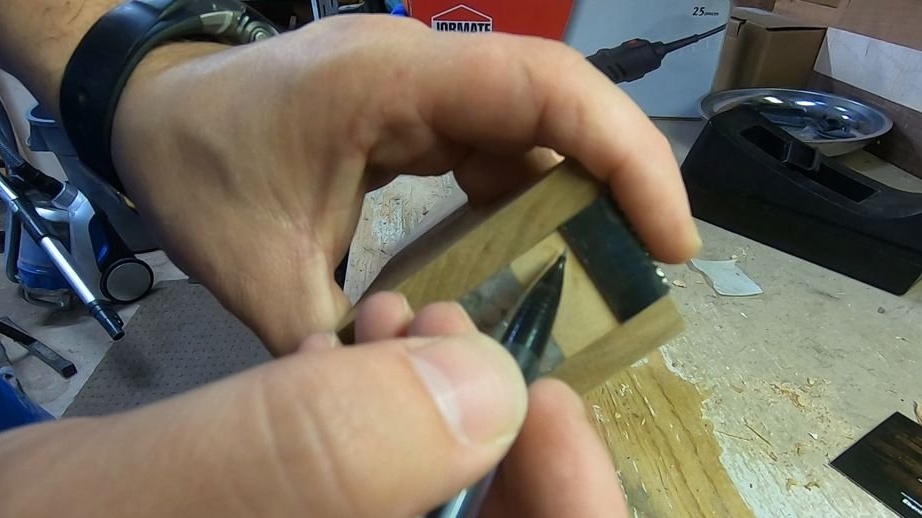
Step Nine: Cutter
Cuts off part of the blade from the band saw.
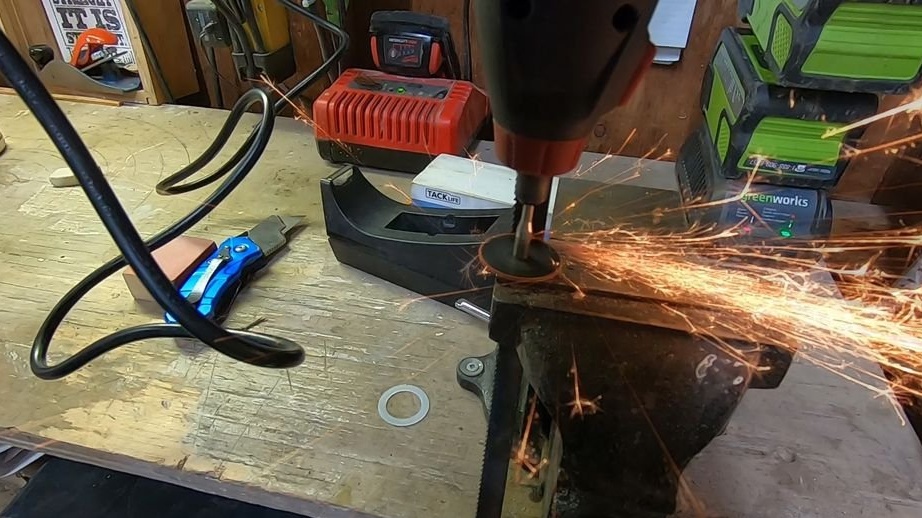
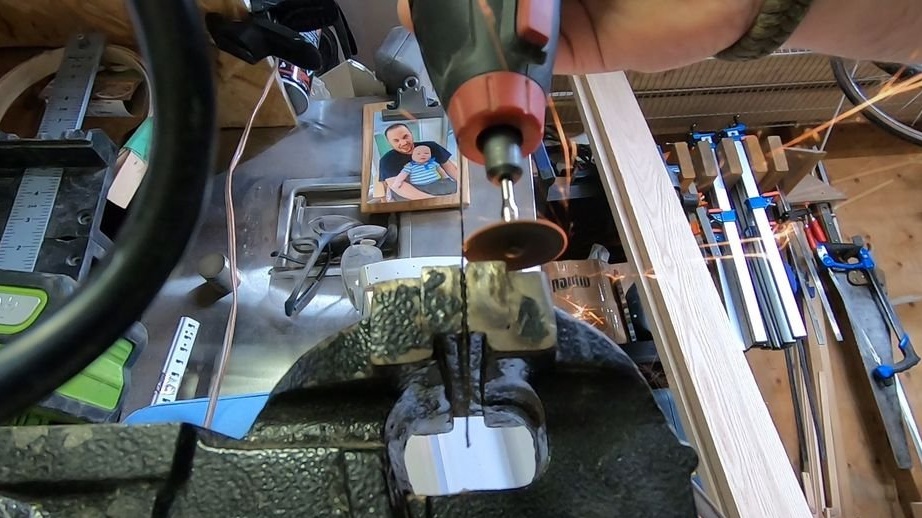
On the end of the dispenser cuts out a groove for the cutter.
Glues the cutter with epoxy.
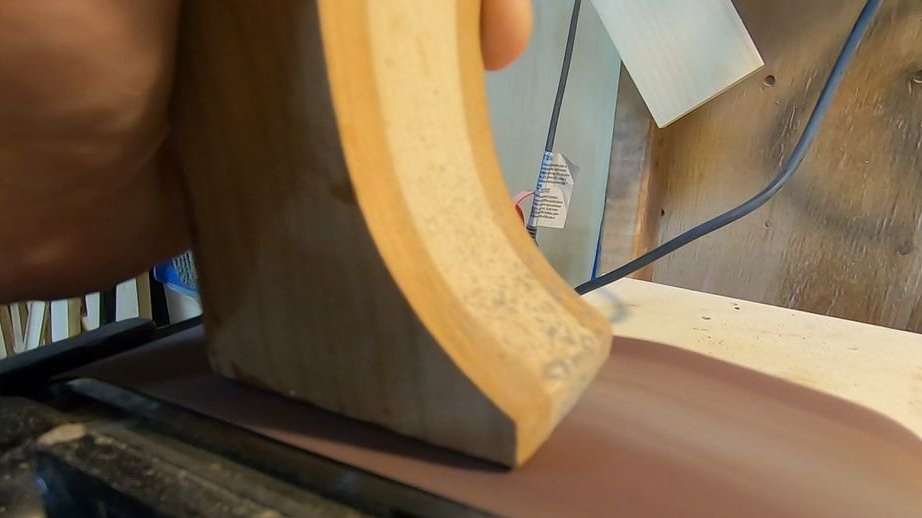
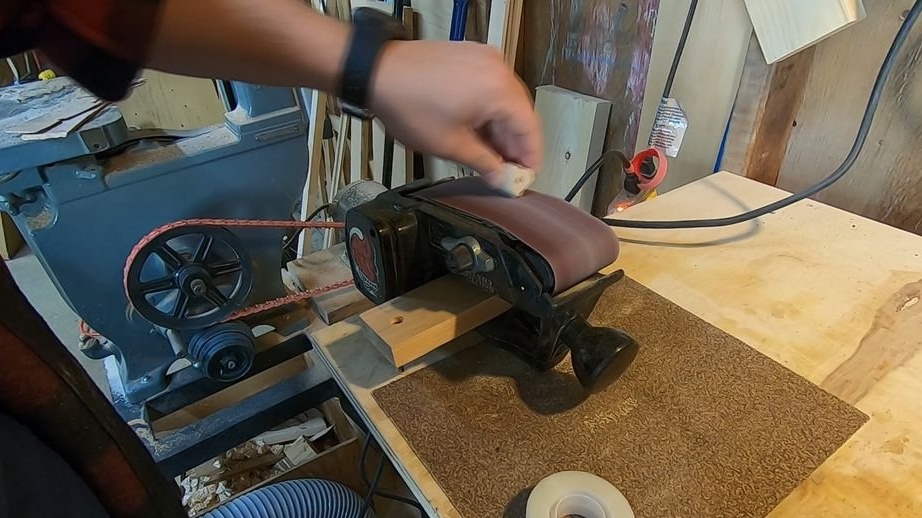
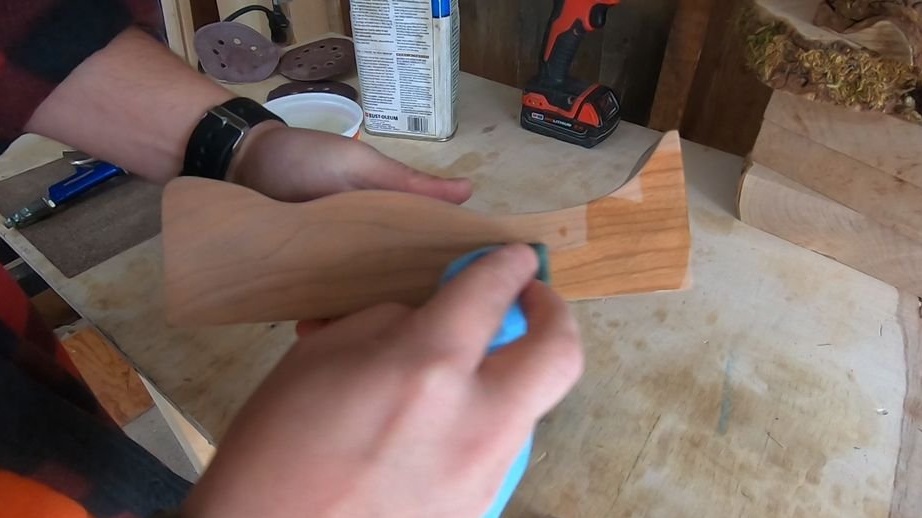
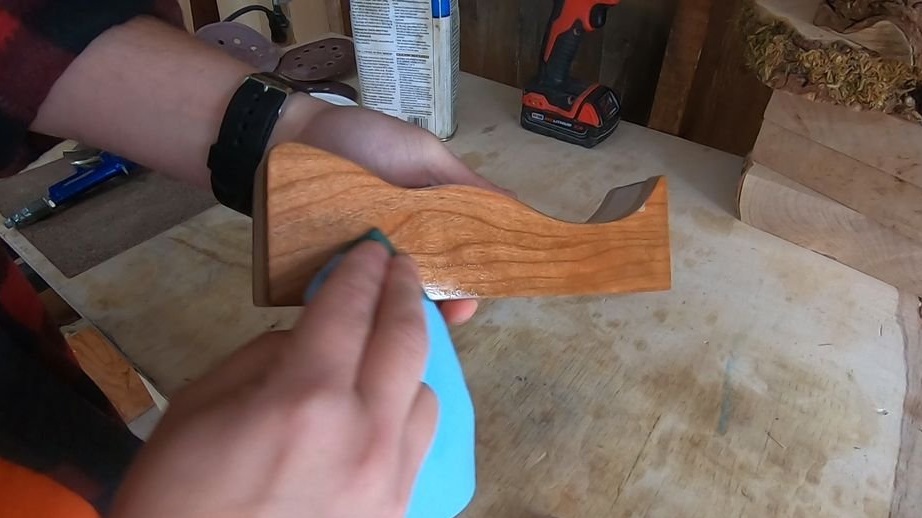
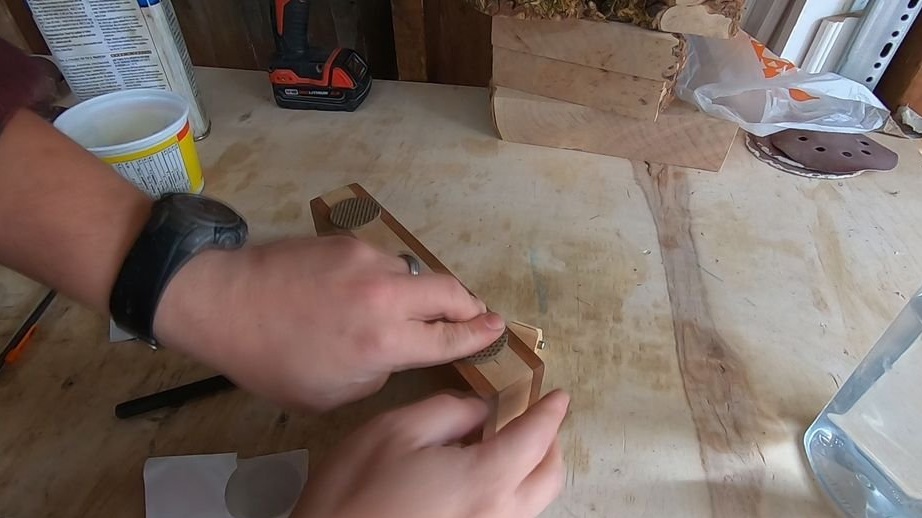
Step Ten: Grinding
Then the master polishes the product.

Teak Oil Covers.
Step eleven: anti-slip pads
The final step was the installation of anti-slip pads. The master makes small deepenings of sleep at the bottom of the dispenser, and glues the pads.
All is ready.