


Do you have an unnecessary LCD monitor? I think many of us have changed the monitor or TV for larger or more advanced models, and the old ones are idle. If this is about you, why not find a useful use in the form of a coffee table for an old unnecessary technique?
This table has many interesting features:
- You can stream movies or other content from Mac OS or iOS to Apple TV! (Airplay mirroring)
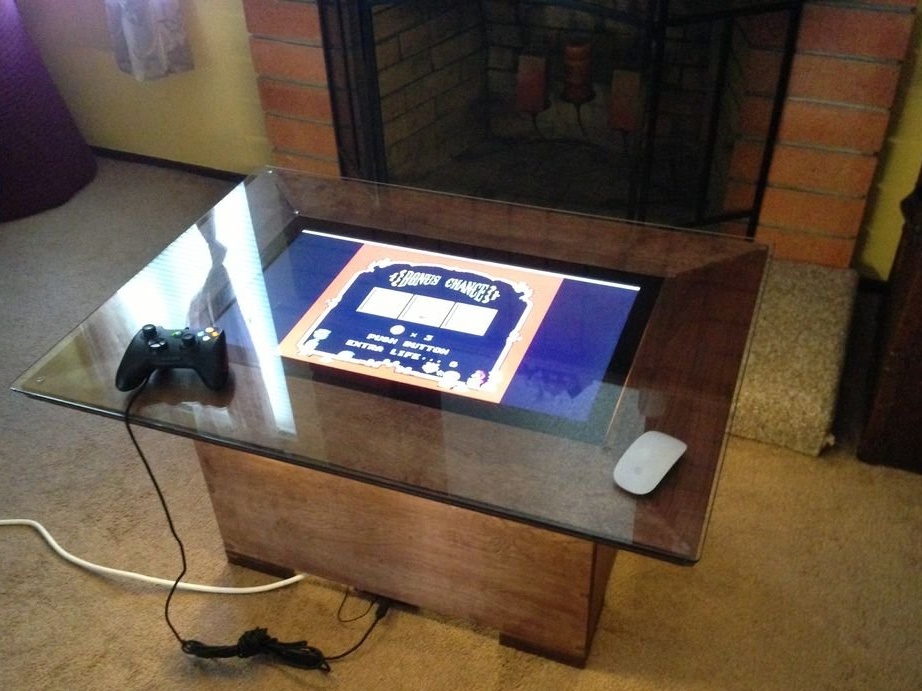
- The table can be used as a full-fledged PC! (With bluetooth keyboard and mouse)
- Manage your desk from your tablet or phone! (with LogMeIn)
- Turn the table on or off through the application from a mobile phone or a small remote control (using Belkin WeMo or remote power)
I always wanted to do this, so when I got a cheap 27-inch monitor, I decided to look for ideas on YouTube. In this post you will see the results of my search and my own ideas!
Step 1: Disassemble the LCD and get the wood ...
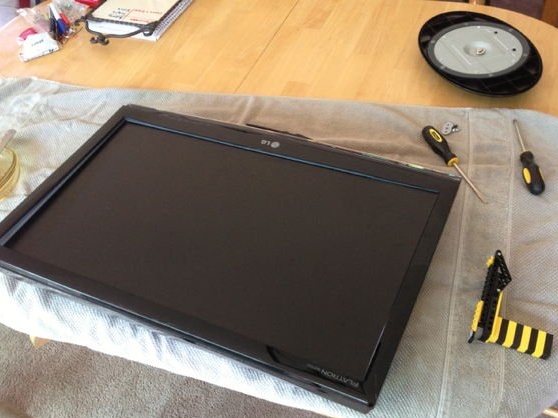
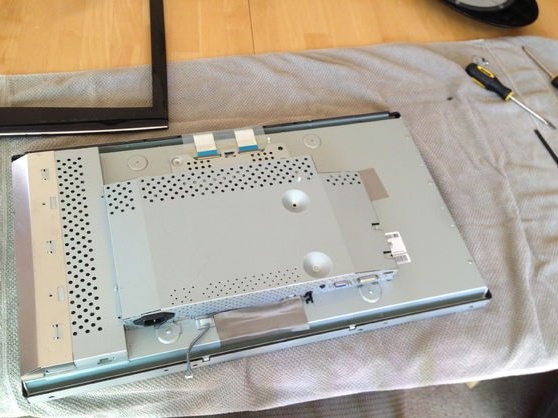
be carefulwhen disassembling a TV or LCD panel! Detach the plastic case around the screen itself. It's okay if during disassembly somewhere the plastic breaks off or the button goes bad, the main thing is not to damage the connection with the input device. I had a TV, so I tested its connection with a computer, Mac, and Apple TV, tested the operation of three ports (HDMI, VGA and DVI) to make sure that I did not damage any buttons to turn on and recognize the input signal sources. If suddenly the on and off buttons do not work, or you cannot leave them due to the design of the future table, use remote on / off devices. For example, Belkin Switch Memo.
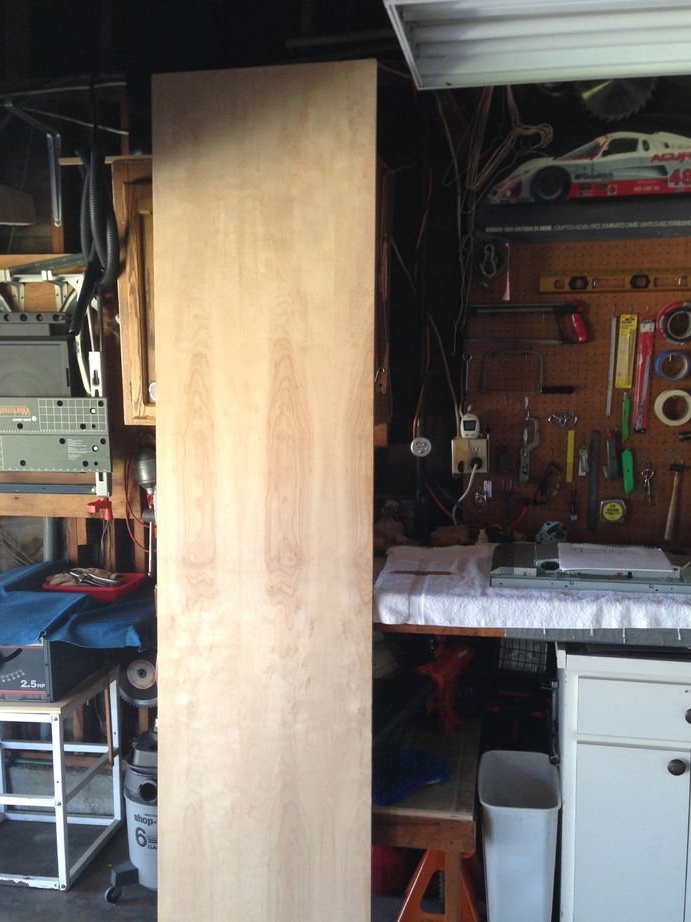
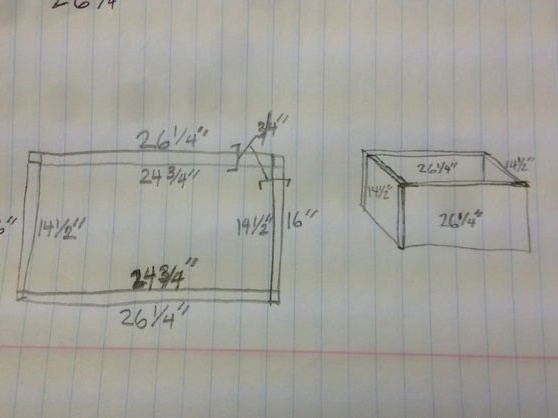
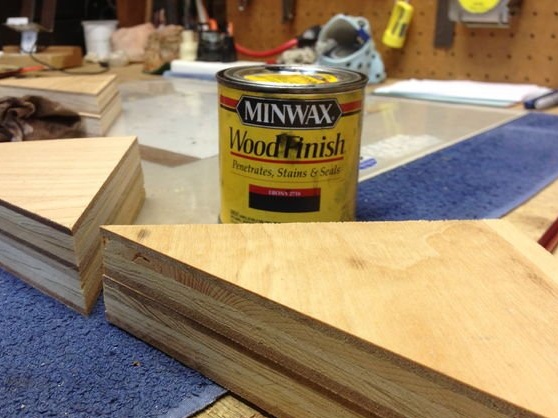
As soon as the TV or panel is disassembled, you need to think about wood. My parents had an unnecessary board, so there were no problems with the material. When choosing, you need to take into account the thickness of the tree, coating and strength. We will use screws to assemble the table, and least of all I would like the fasteners to crumble. Also think about the look of your finished table: what kind of coverage would you like for it? Maybe paint? All this should be considered before buying.
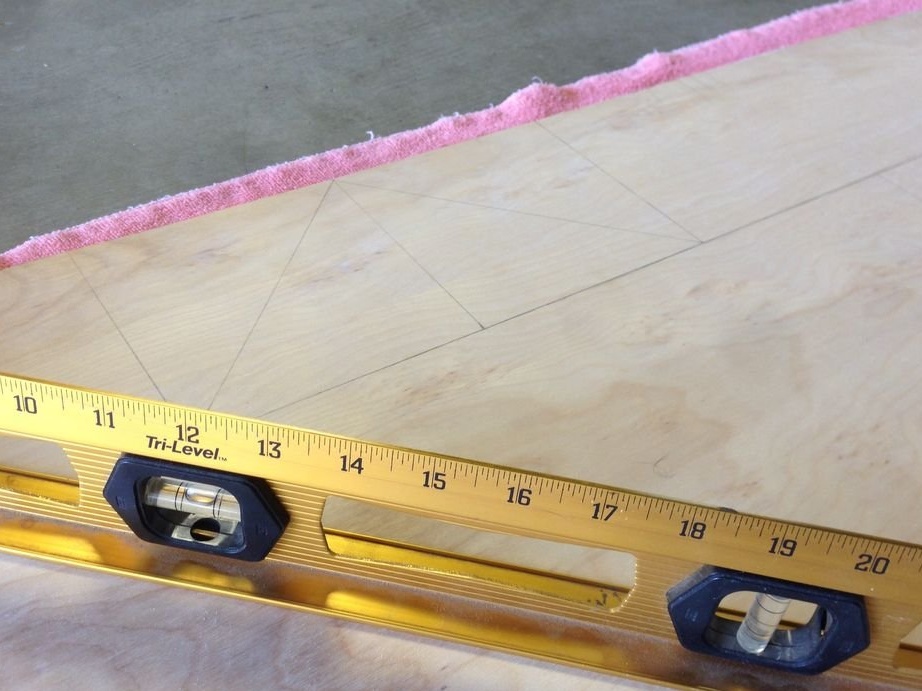
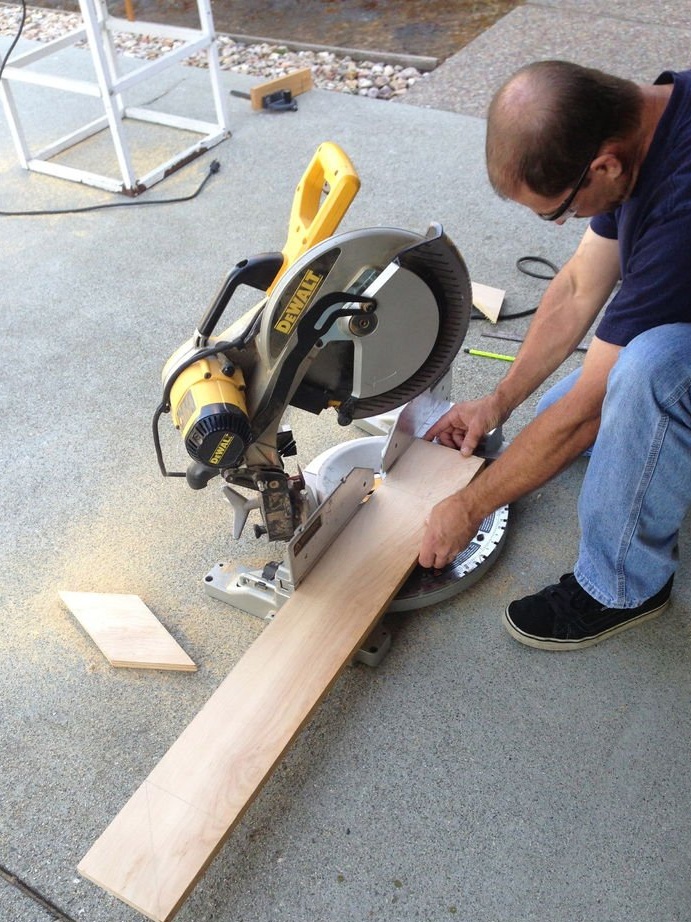
Consider the width of the cut, or the thickness of the saw, when cutting the tree. It is better to take a piece of wood with a margin of length, rather than clearly needed parameters.
Step 2: embed the LCD panel ...
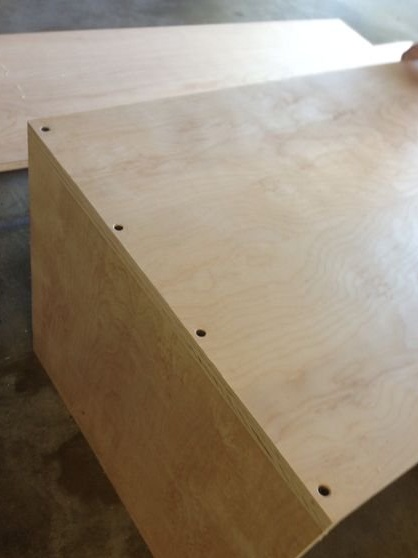
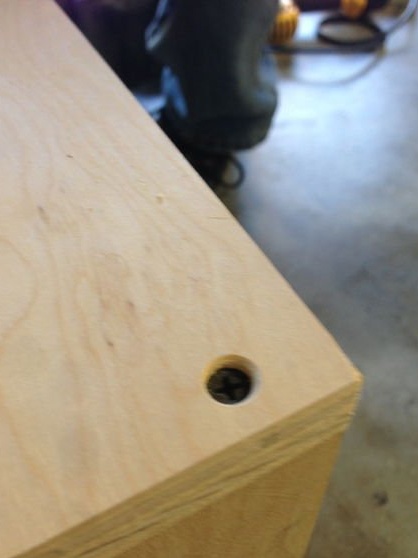

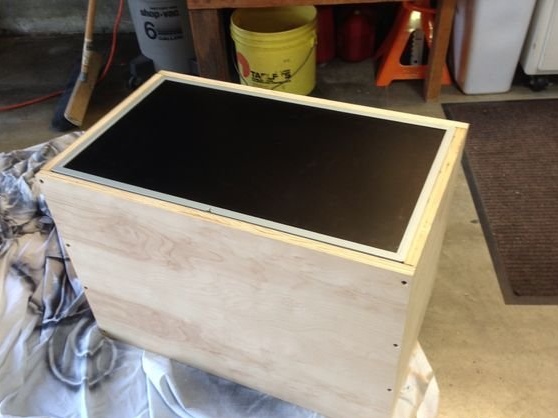
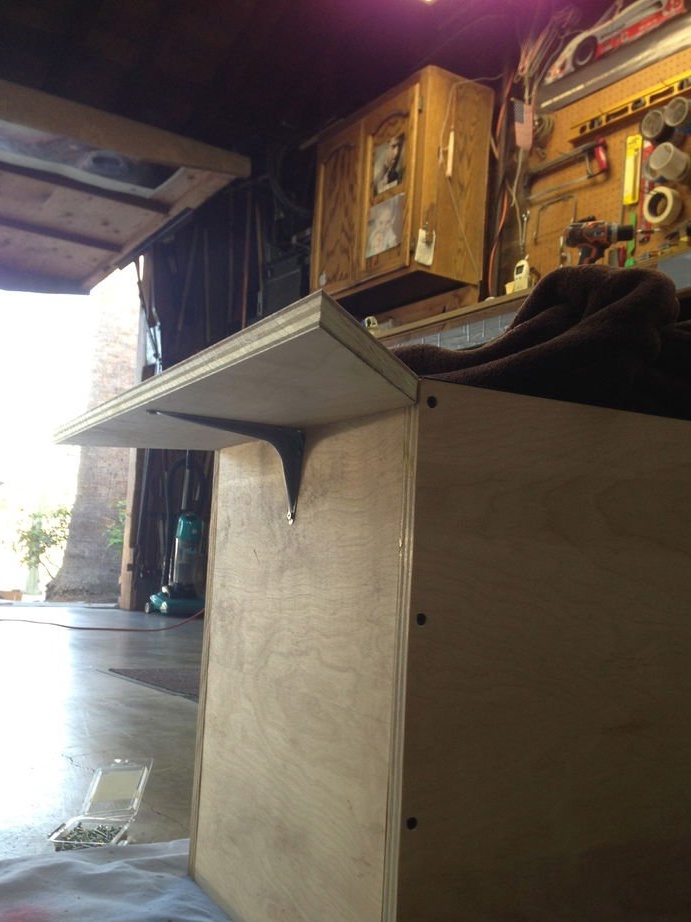
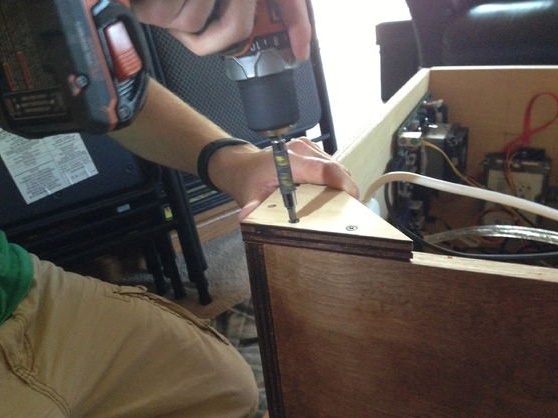
When the tree is cut into fragments, fasten them together with screws on each side. I hid mine, drilling a shallow hole in a tree wider than the screws, and then screwing the screws deep into these holes.Next, you will understand why I did this.
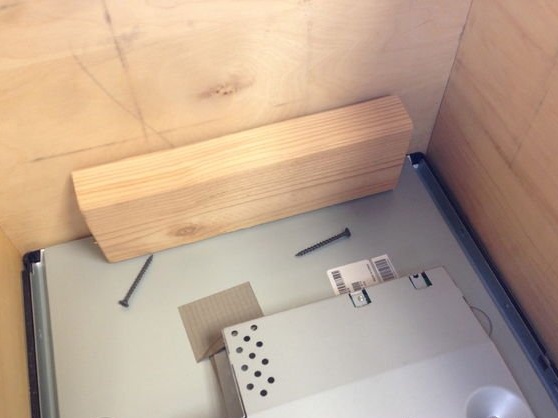
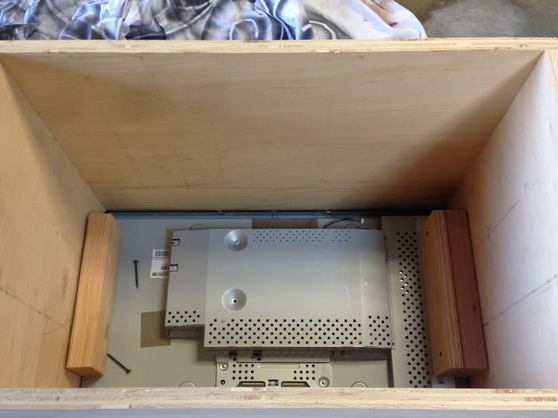
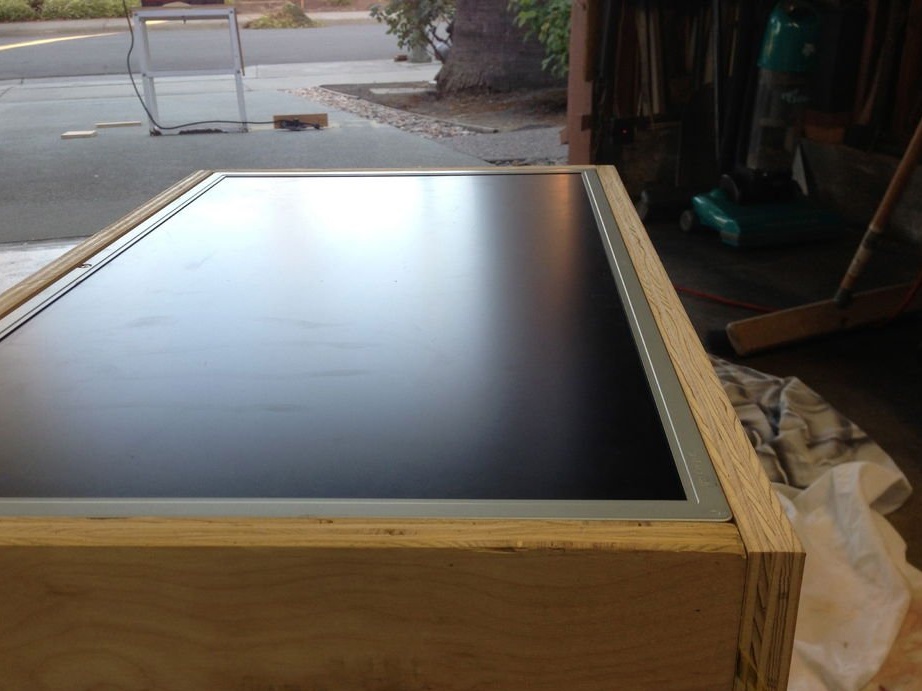
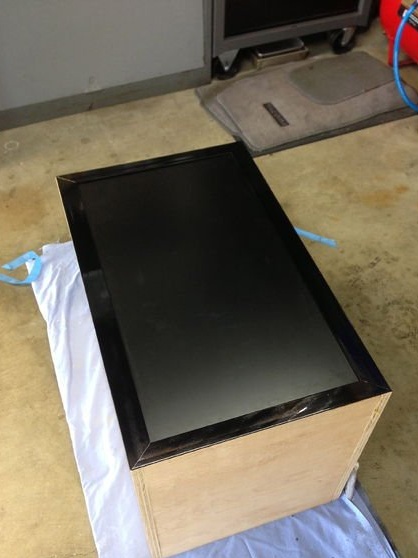
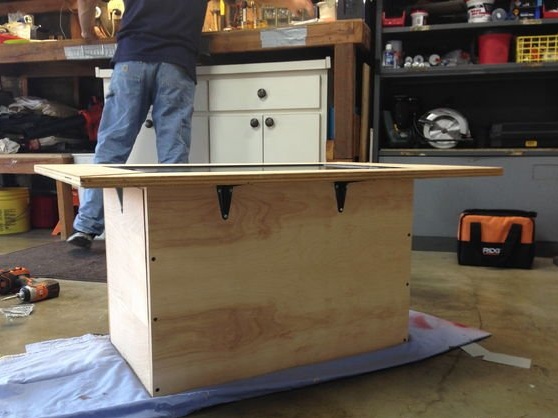
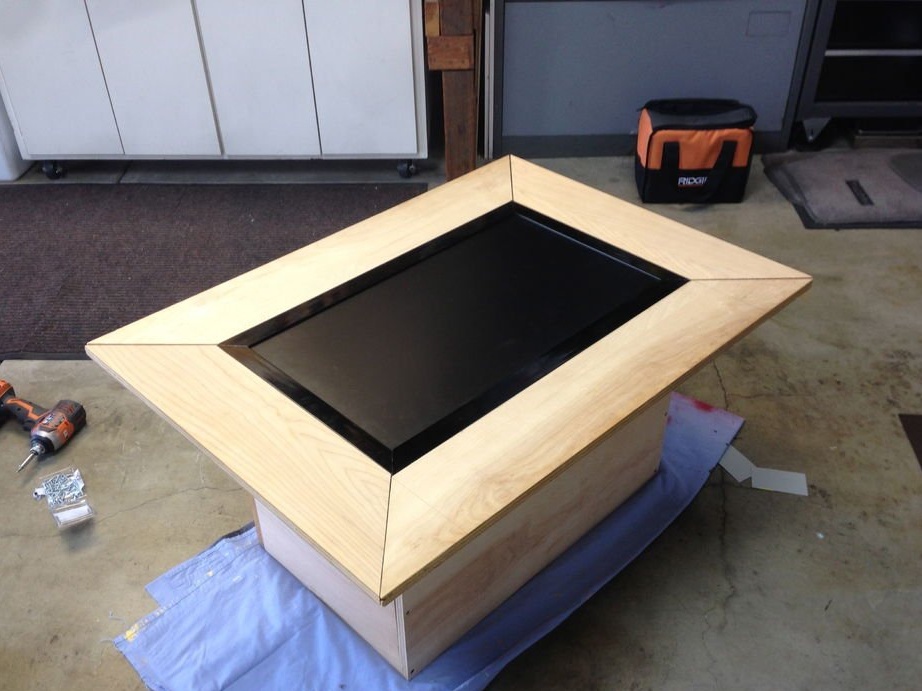
After the box is assembled, you can turn it over, put the LCD on a flat, reliable surface and screw on the brackets that will support the LCD from the bottom. View photos for clarity. Regardless of the configuration of the table and screen settings, the principle will be one. Make sure that the screws are long enough to securely fasten the rails, but not so long as to get out.
When the “countertop” in the form of a screen is fixed, you can simply hoist the glass on the rubber stoppers upstairs. You can mount the computer inside, take a bluetooth mouse and keyboard and that's it! But I decided not to go the easy way. and move on. Come along with me.
Step 3: Add Raisins ...

Work hard, congratulations! It remains to add some zest to our table ...
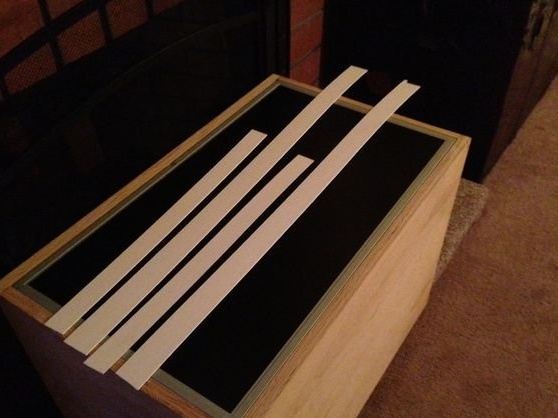
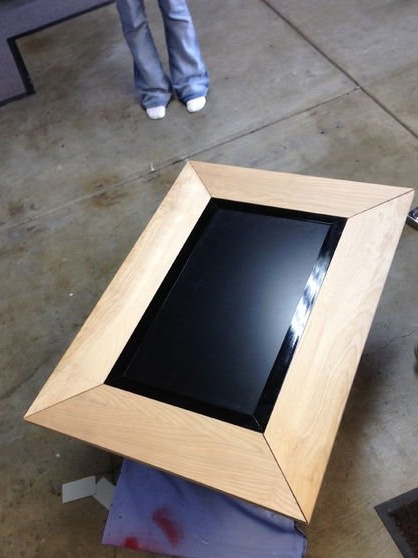
The edges. This coffee table should draw attention to the center of the room. Narrow gray edges are completely unable to cope with this task. I found perfect decision! Window platbands! These are plastic platbands framed by windows. One side is coated with a sticky substance and it is very easy to cut with a razor blade. Moreover, it is inexpensive material!
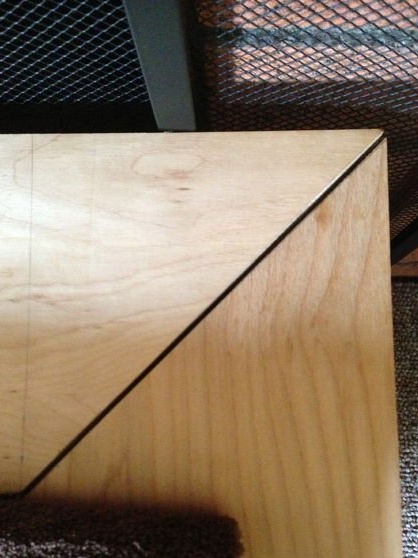
After painting black at the edges, I cut off the corners at 45 degrees and painted over again. The end result hit me!
But that’s not all ... We will make our table wider ...
Step 4: Make Our Table Real ...
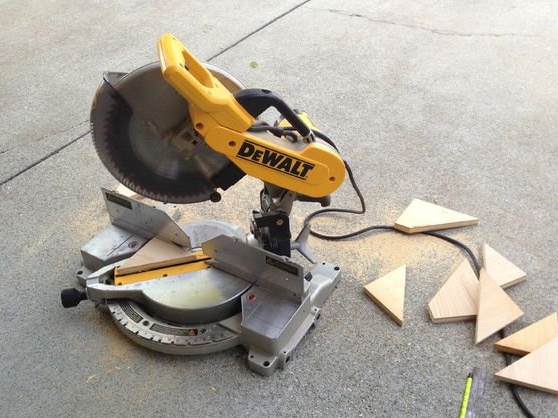
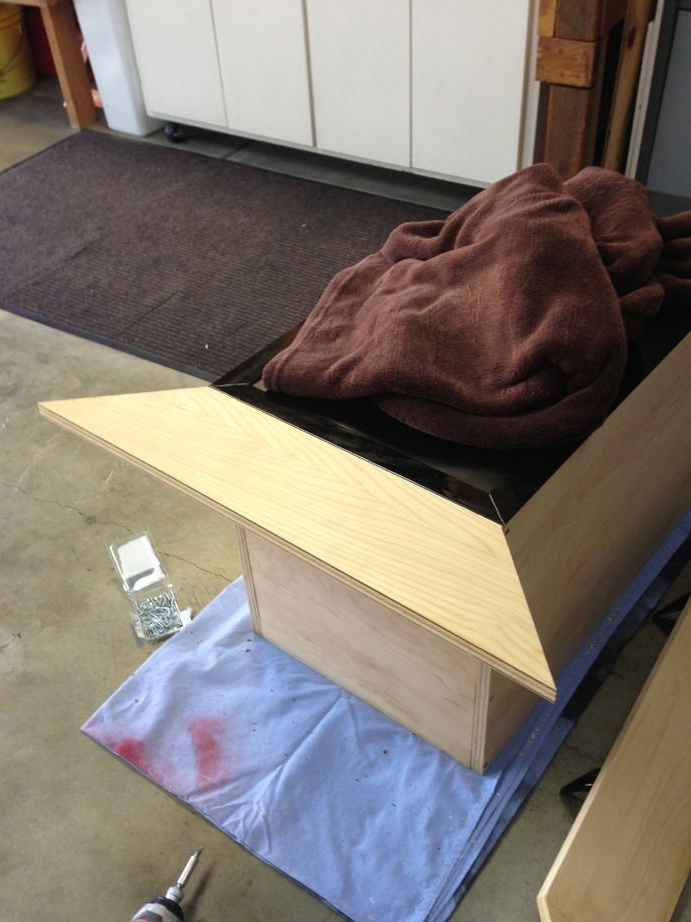
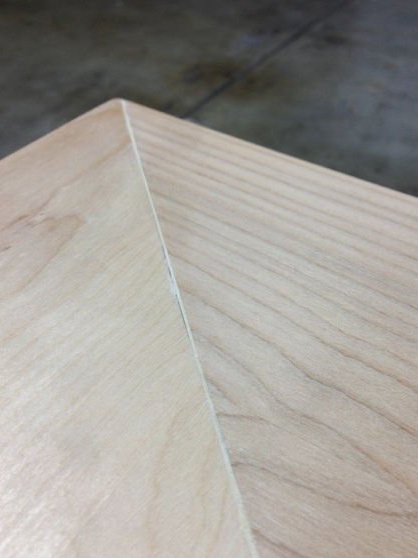

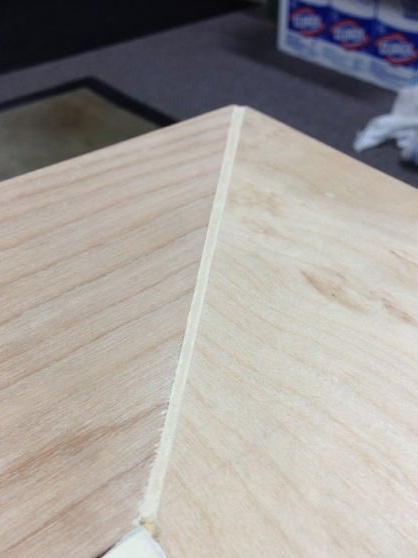
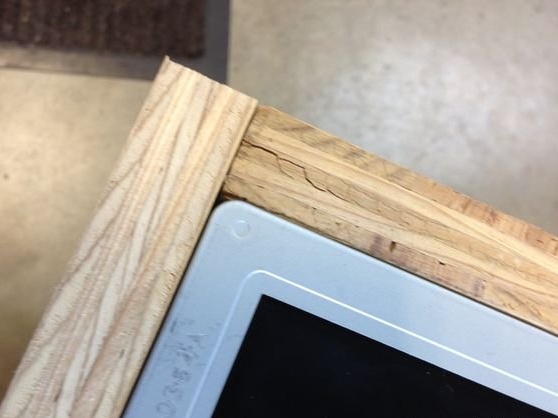
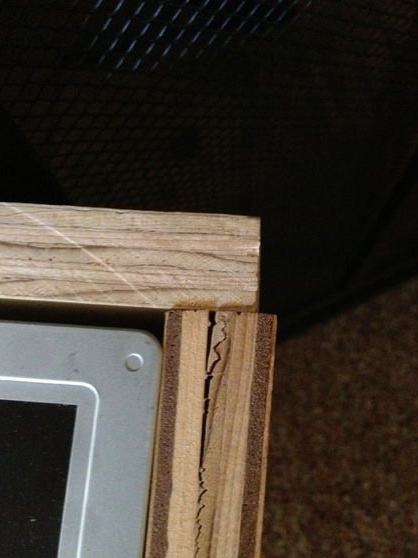
Expanding our foundation is very simple. You need to cut out the side panels with angles of 45 degrees at the edges. Try to cut these parts as accurately as possible. I hid my minor errors with mastic, which is also good.
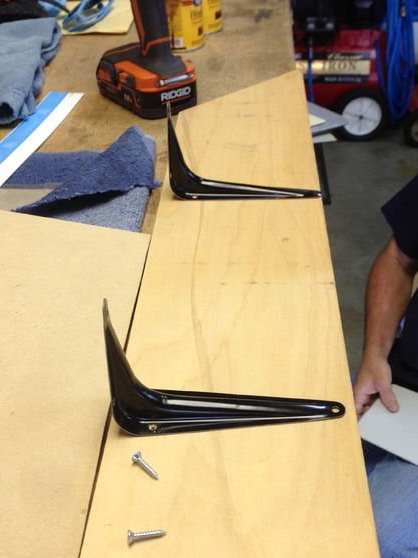
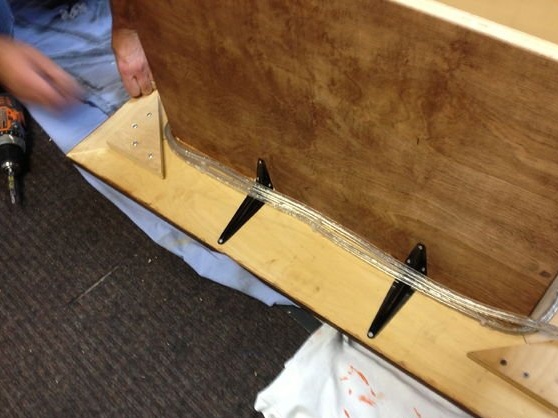
To fix the sides, I used 4 L-shaped brackets. They are not visible either from above or from the side, which is very useful in our design. And also inexpensive.
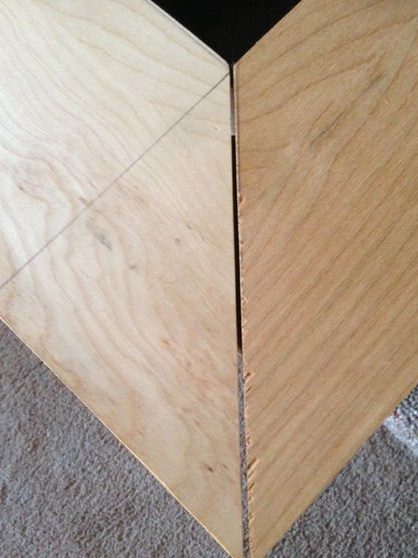
During assembly, the corners of the panels should fit snugly against each other. If not all matches, fill the slots with wood putty, then sand with sandpaper. Putty dries quickly, so that after application, you can immediately remove the excess with a spatula. Rub the remaining excess with sandpaper, go over it and along all the edges.
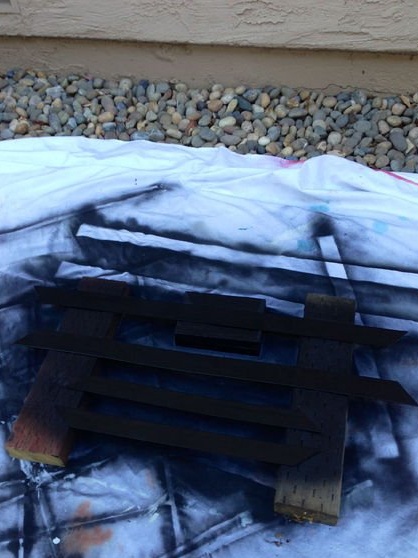
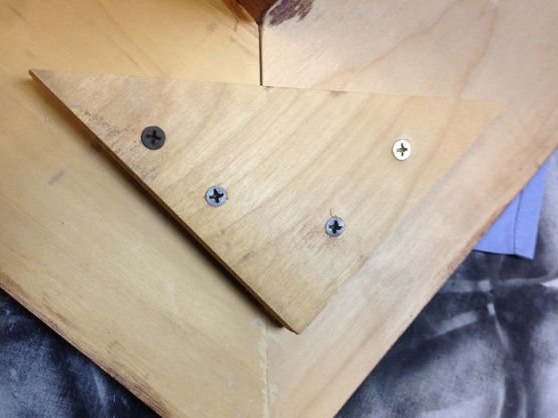
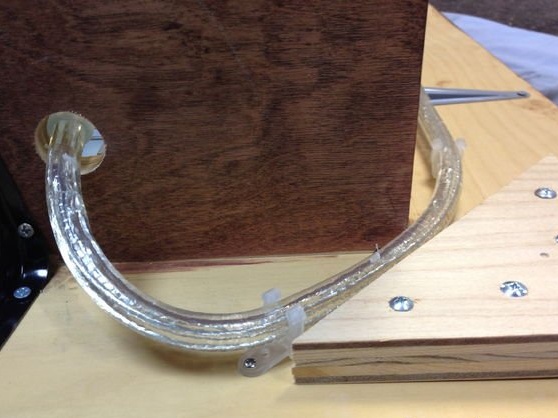
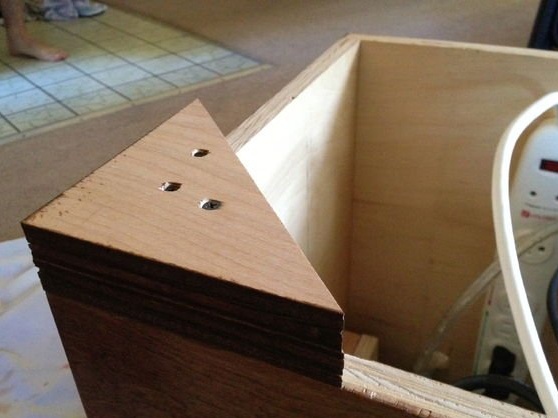
To hold the corners together, pull them from the inside with wooden triangles remaining after trimming the 45-degree corners. See how I did it, in the photo above.
Step 5: Final touches!
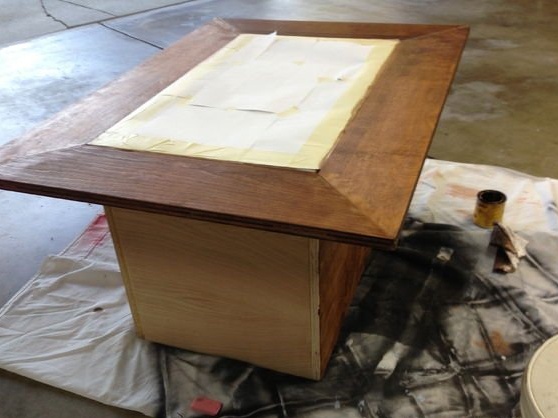

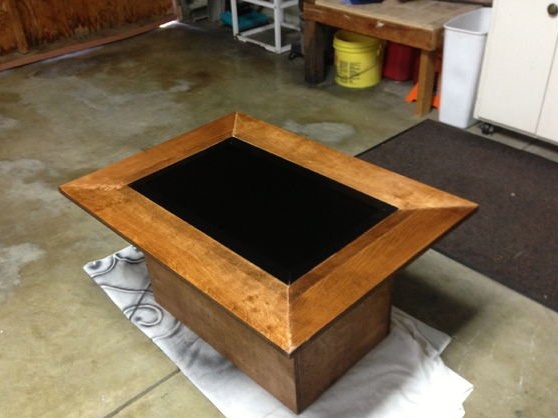
Well, that’s the end. It was interesting! Painting does not take much time. Choose a nice color by checking on an extra piece of wood before painting the entire table. Tightly glue the LCD panel and the frame around before you start painting. Apply a coat of paint, and after drying, cover the surface with a layer of polyurethane.
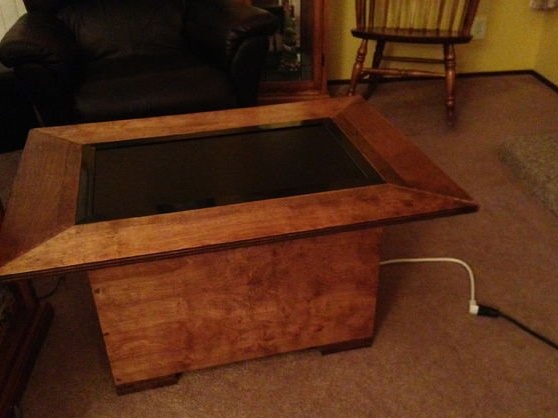
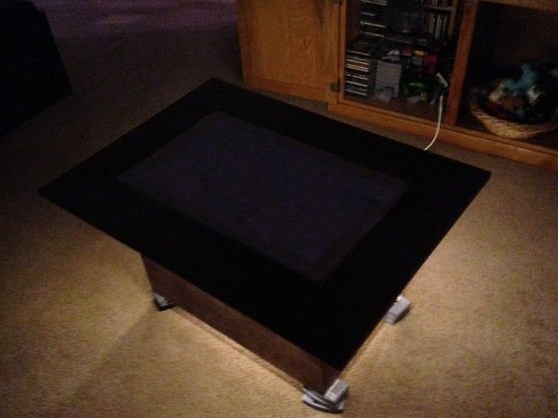
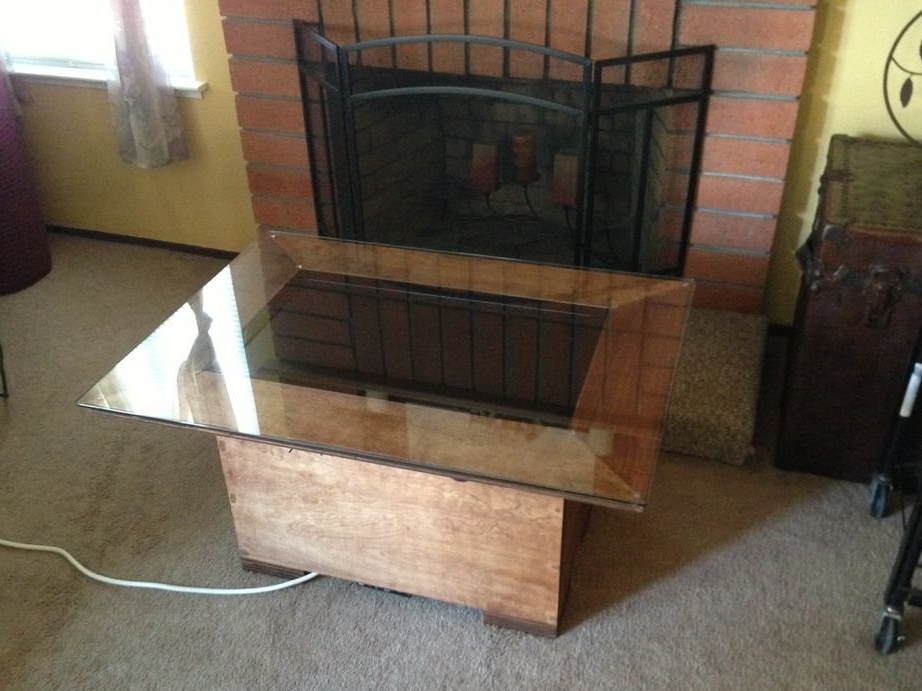
Order a countertop in a hardware store in the form of a piece of glass 1 cm thick and place it on top of the screen on 4 or 8 rubber gaskets. So you are done!
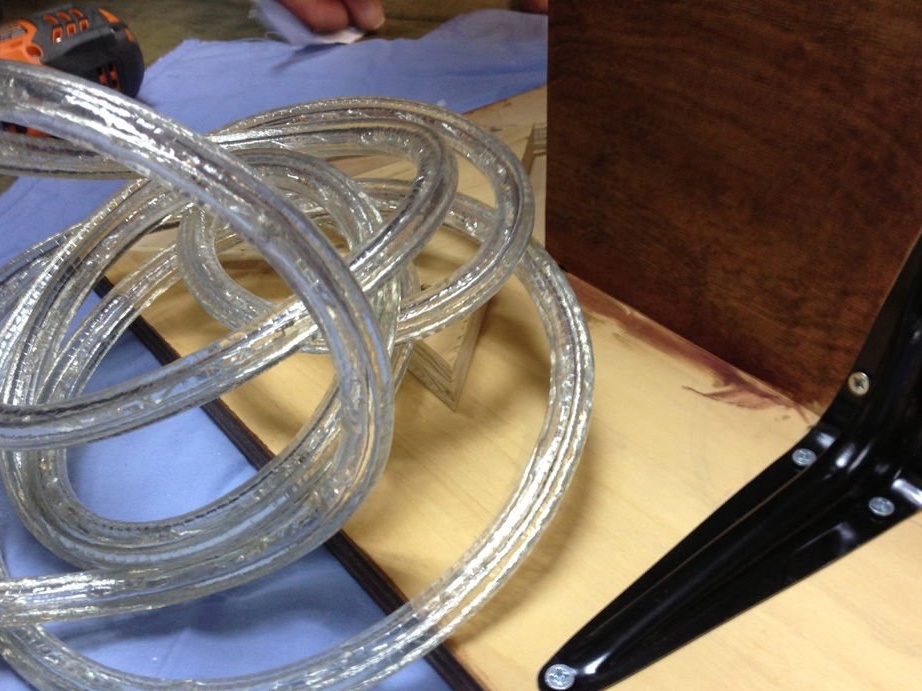
For an additional effect, I added diode lighting under the side panels of the table, and placed the excess wire inside the cabinet, providing a backlight.
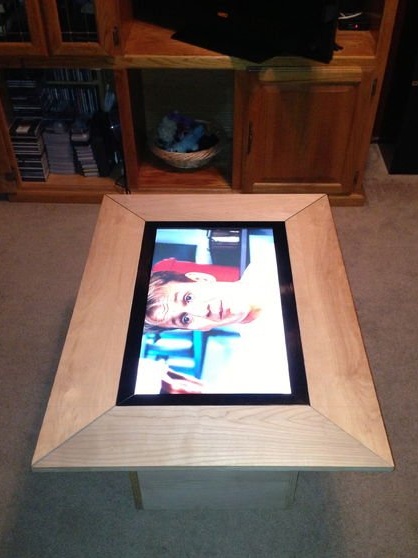
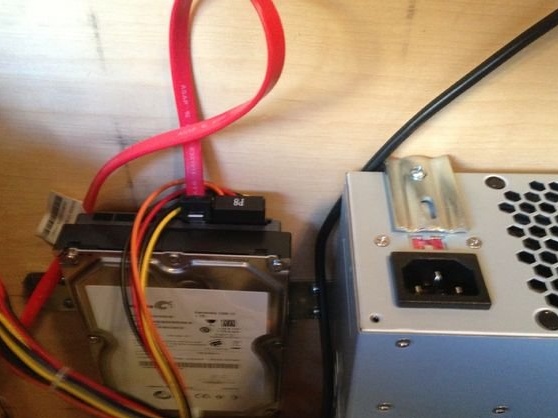
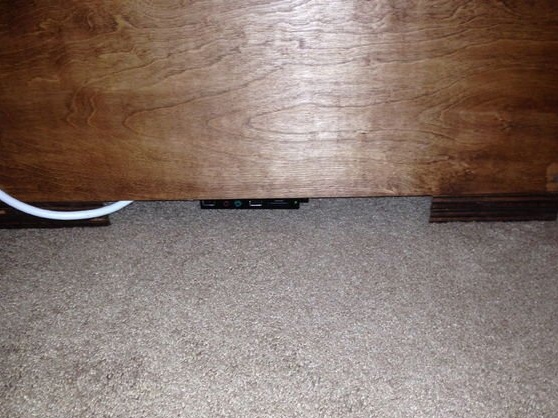
Take any laptop and speakers, attach it all to the LCD, and you can enjoy the interactive panel! For adequate ventilation, as well as the free location of the wires, you need to raise the table on wheels, well, or at least books. So the air will circulate, and there will be a place where to lead the power cables. Take the extension cord and secure it inside the cabinet, so you will hide all the wires inside as much as possible, taking only one out.
Have fun! You can come up with an original backlight or attach a subwoofer. From the table you can make a cool media center! Do whatever you want, share your ideas in the comments.
Step 6: Putting the computer ... in the desk
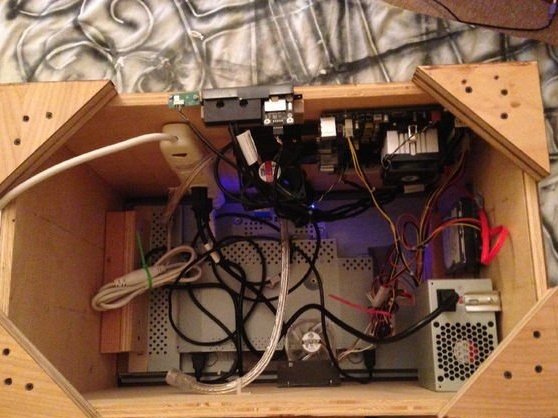


Although embedding a computer in furniture and covering the table with glass is not a new idea at all, I nevertheless distinguished myself by adding charm in the form of remote control of the surge protector, backlight and extended protrusions, so that in addition to the entertaining function, my invention could also fulfill its direct responsibilities as a coffee table. This is a long-term project, and I will add new elements and improve existing ones.
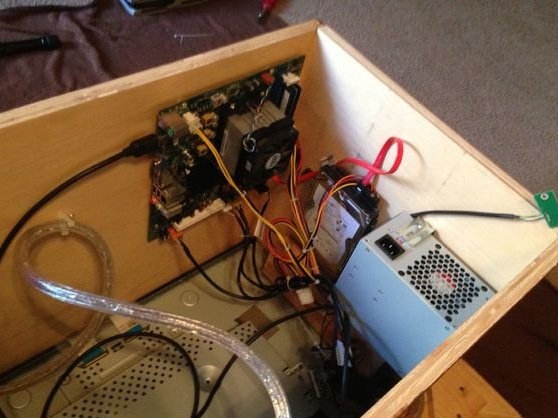
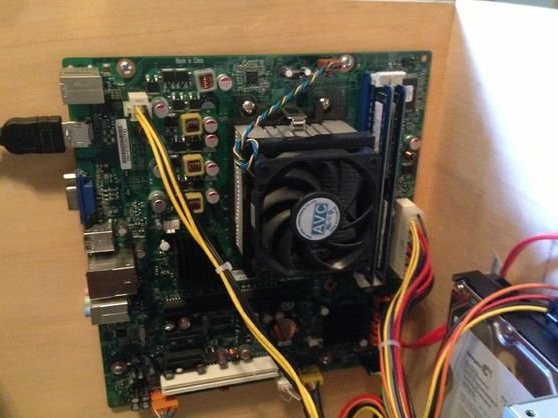
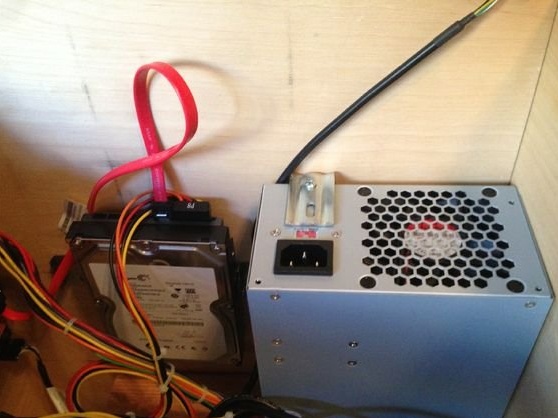
The photographs show the steps involved in assembling a computer. I decided to take as a basis my available free computer. He was in a compact assembly. I pulled off the cables and placed them comfortably inside. It’s quite difficult to deal with all this upside down.I screwed the motherboard directly into the tree, but I admit that there is a better way (it would be nice to ground the screws). All parts are freely located inside, there is enough free space for ventilation, so there is nothing risk for wood burning.
With a laptop things would have been easier, I would have taken an Apple TV and broadcast my Mac through it, but, alas, I wanted to have a full-fledged computer with the ability to run the MAME emulator.
I used the remaining wooden triangles as legs, screwing them to the corners at the bottom of the table. This was also necessary for heat transfer for the interior of the table.
Bluetooth and Wifi - that’s all I needed for the work of my center. I found a free site that allowed you to manage any device remotely from any computer or device on iOS. It . You can simply install a program that will recognize your phone or tablet as a mouse or keyboard. It is also recommended to configure bios so that it restarts after the filter is turned off, as well as turn off notifications that the keyboard is not connected.
If for some reason you do not have the power turned on automatically after a power off, you need to have a power on / off button somewhere at hand.
- It's nice to craft, send your results in the comments! -