

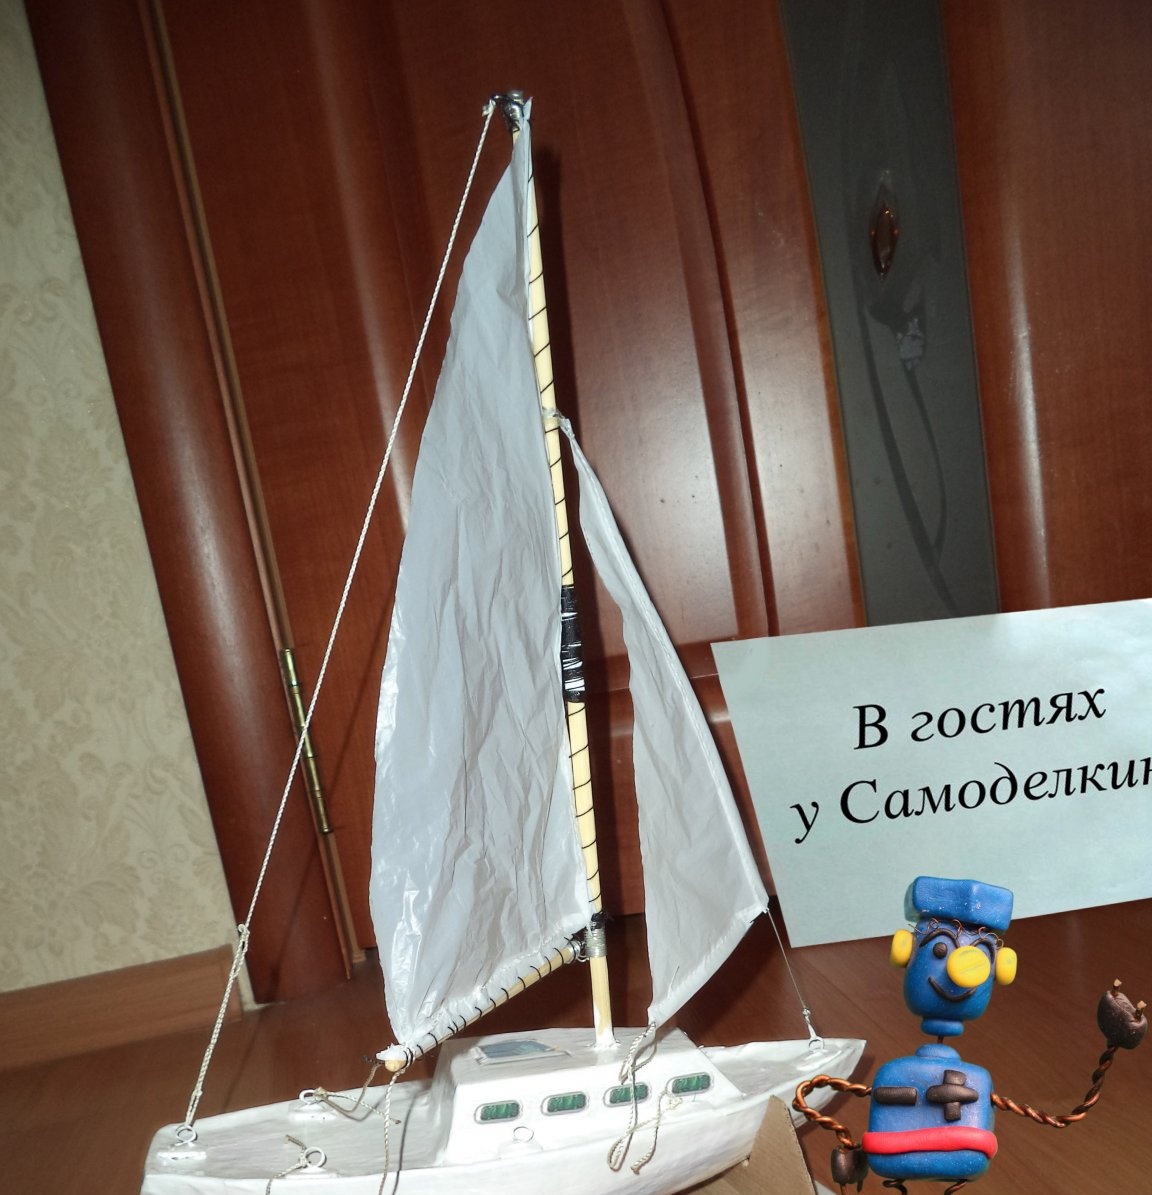
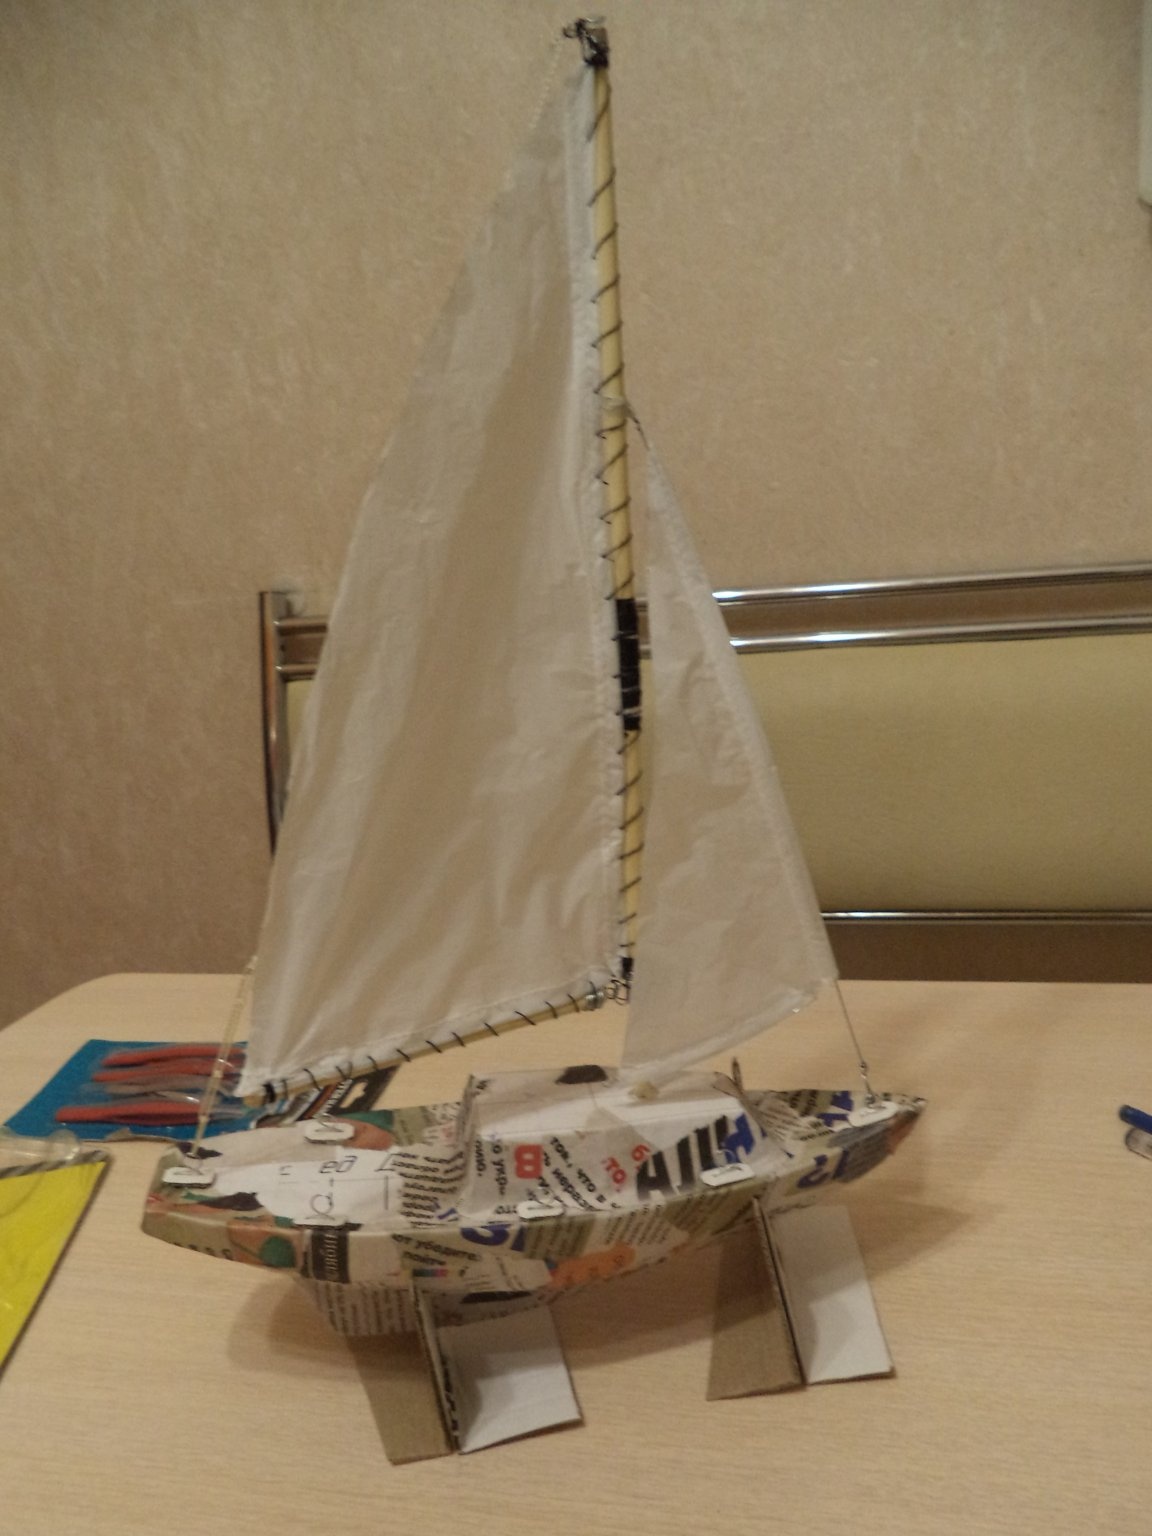
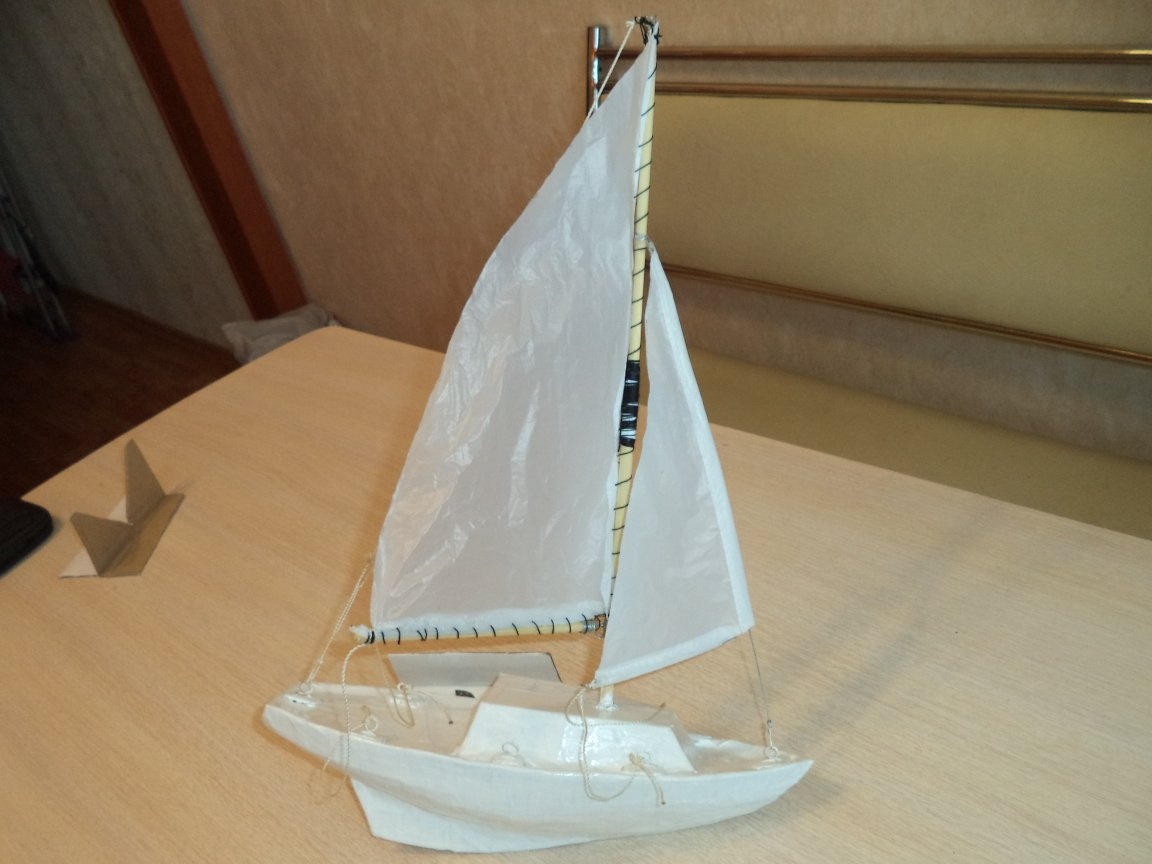
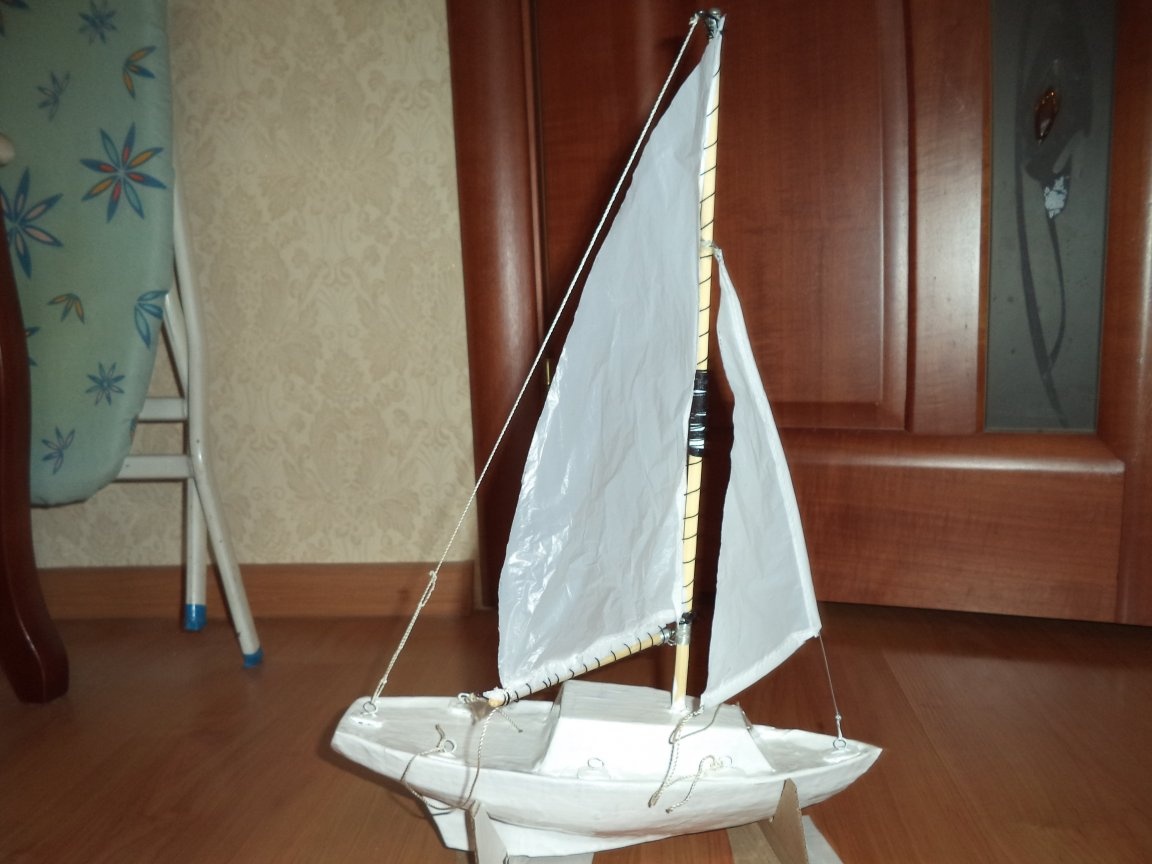
Papier-mâché yacht
Good afternoon, in my instructions I will tell you how very simple it is to make a yacht from papier-mâché.
This instruction is useful for fans of building miniature ships.
Making the hull of the yacht and equipment does not take much time, most of the time will be spent on the theoretical drawing, without which the yacht cannot be built, but this must be done otherwise the yacht will not have smooth contours, and dents and “hernias” on the hull will only spoil the appearance .
Materials and tools that I used:
Material List:
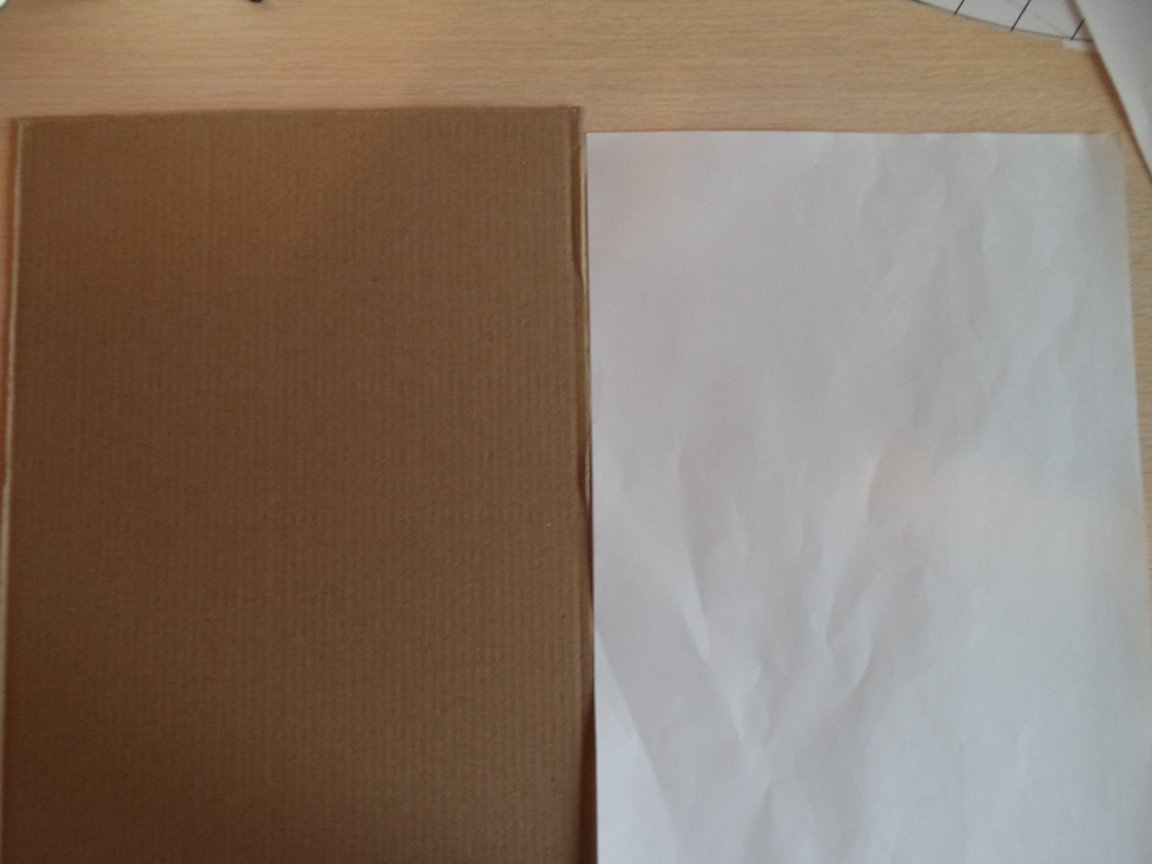
1. Cardboard;
2. Paper office A4;
3. Toilet paper or newspaper;
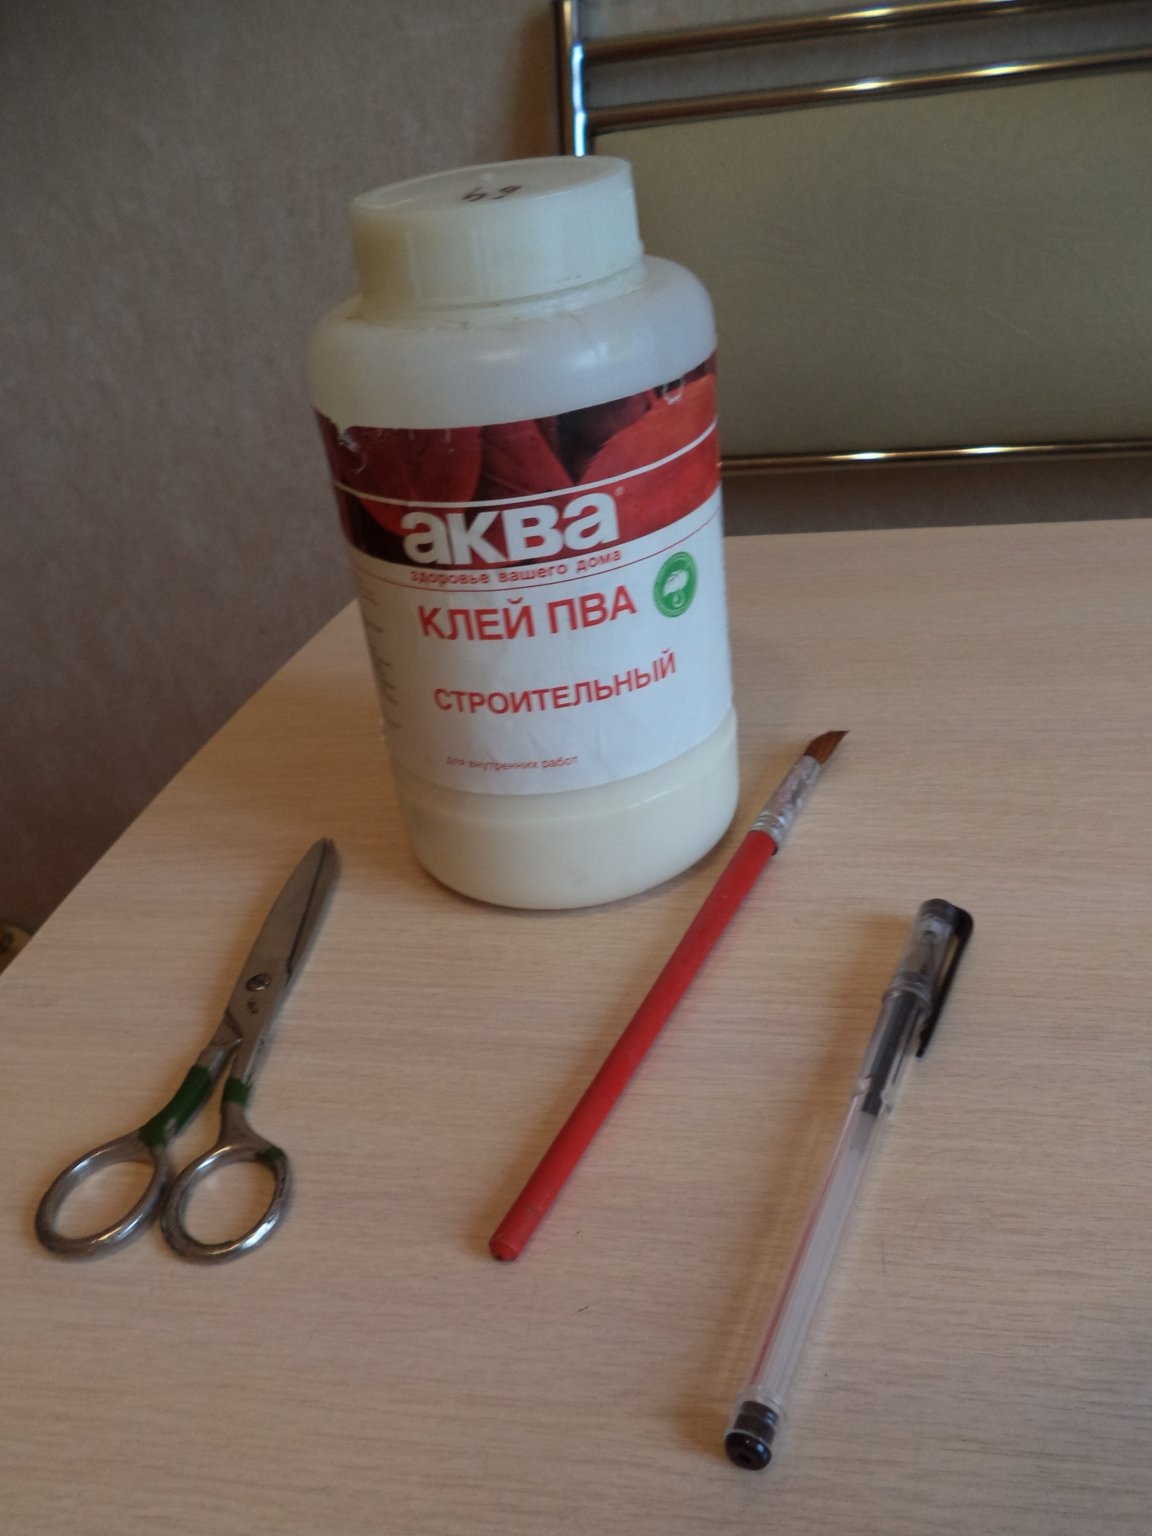
4. PVA glue;
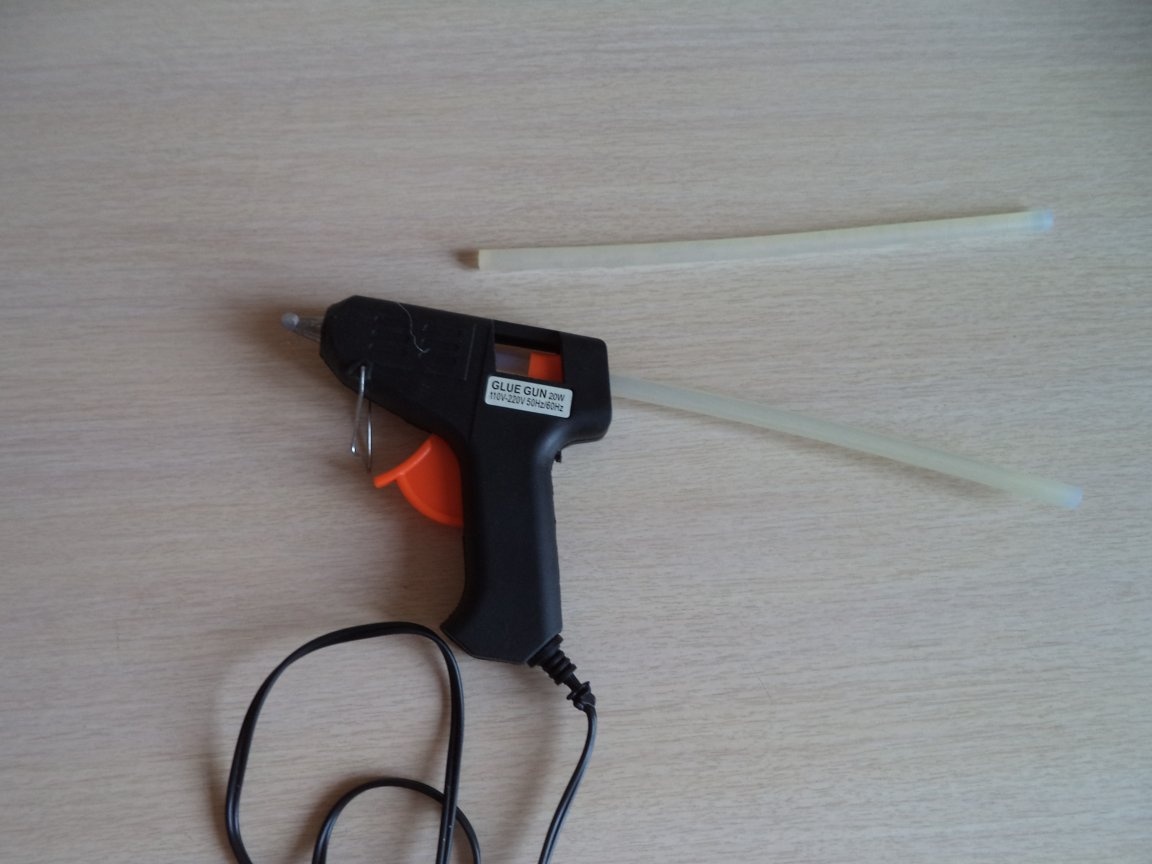
5. Glue stick for thermal gun;
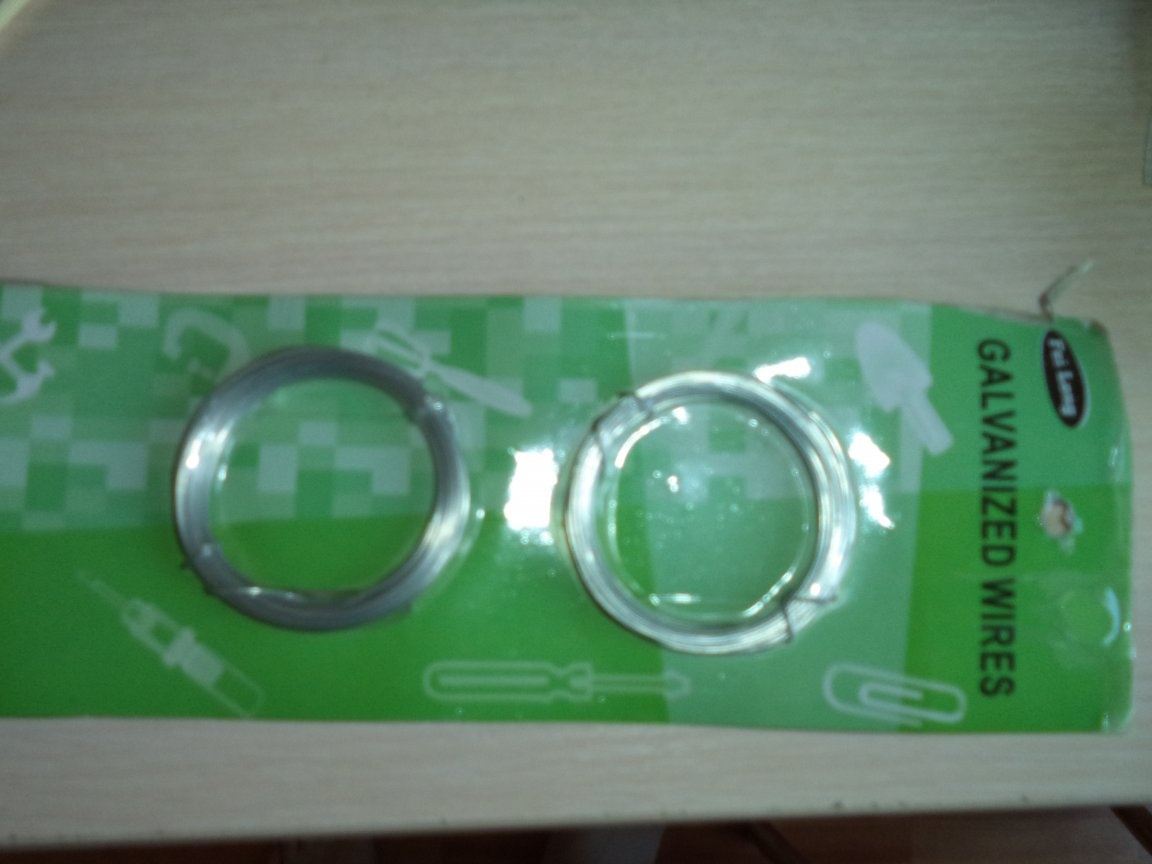
6. The wire.
7. Threads.
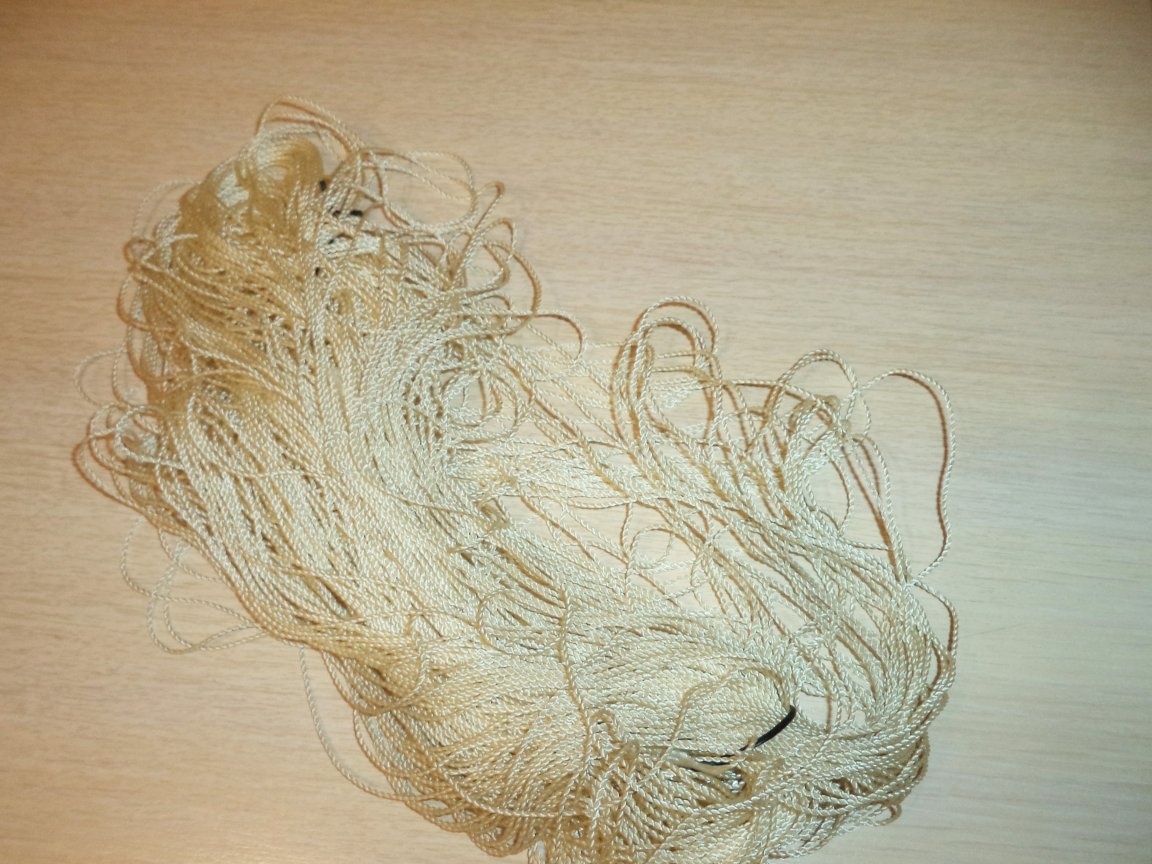
8. Kapron thread.
9. Chopsticks from sushi.
10. Paint.
11. Putty.
Tool List:
1. A4 format printer;
2. Thermogun;
3. Brush;
4. Pencil or ballpoint pen;
5. Scissors;
6. The needle.
7. Ruler;
8. Sewing machine.
The process of manufacturing the hull of the yacht:
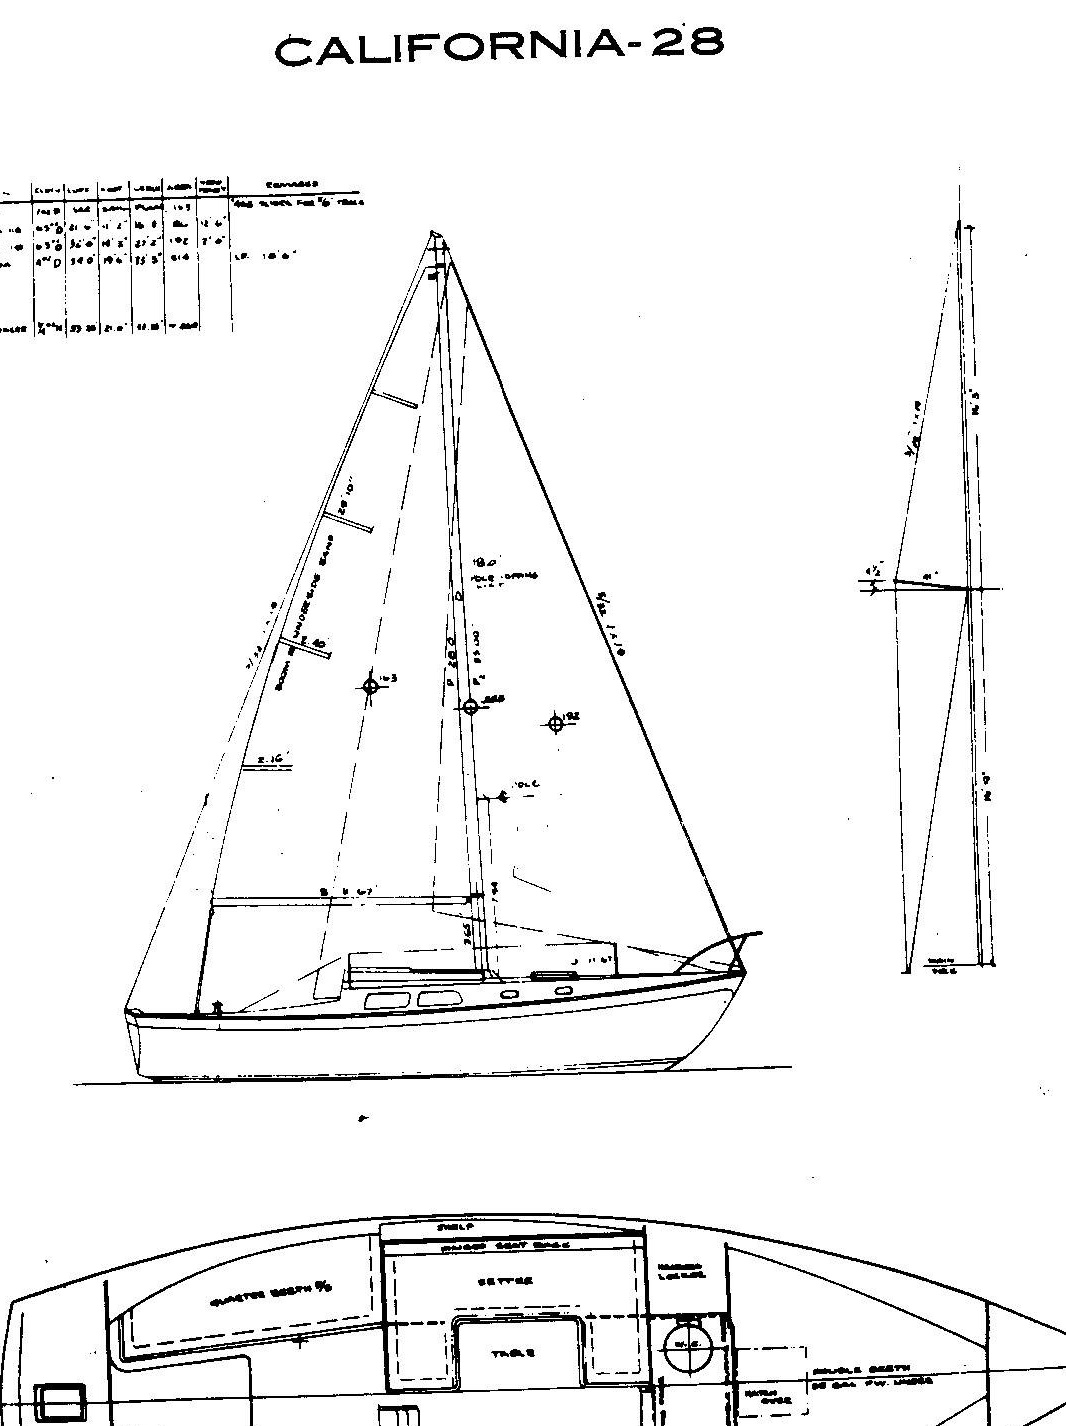
Step One: Making a theoretical drawing starts with choosing the yacht you want with
to do model, I chose a yacht type "California".
It is most convenient to carry out a theoretical drawing in a drawing program, for example, COMPASS
1. We scan the selected image of the yacht, or can be found on the Internet.
2. In the KOMPAS drawing program, create a new drawing and save it.
3. Find the “insert” tab, select a drawing, find your yacht drawing and insert it into the drawing. (The drawing of the yacht and the drawing should be stored in a separate folder) For convenience, the drawing of the yacht can be placed on a separate layer and closed for changes, then the drawing will be fixed.
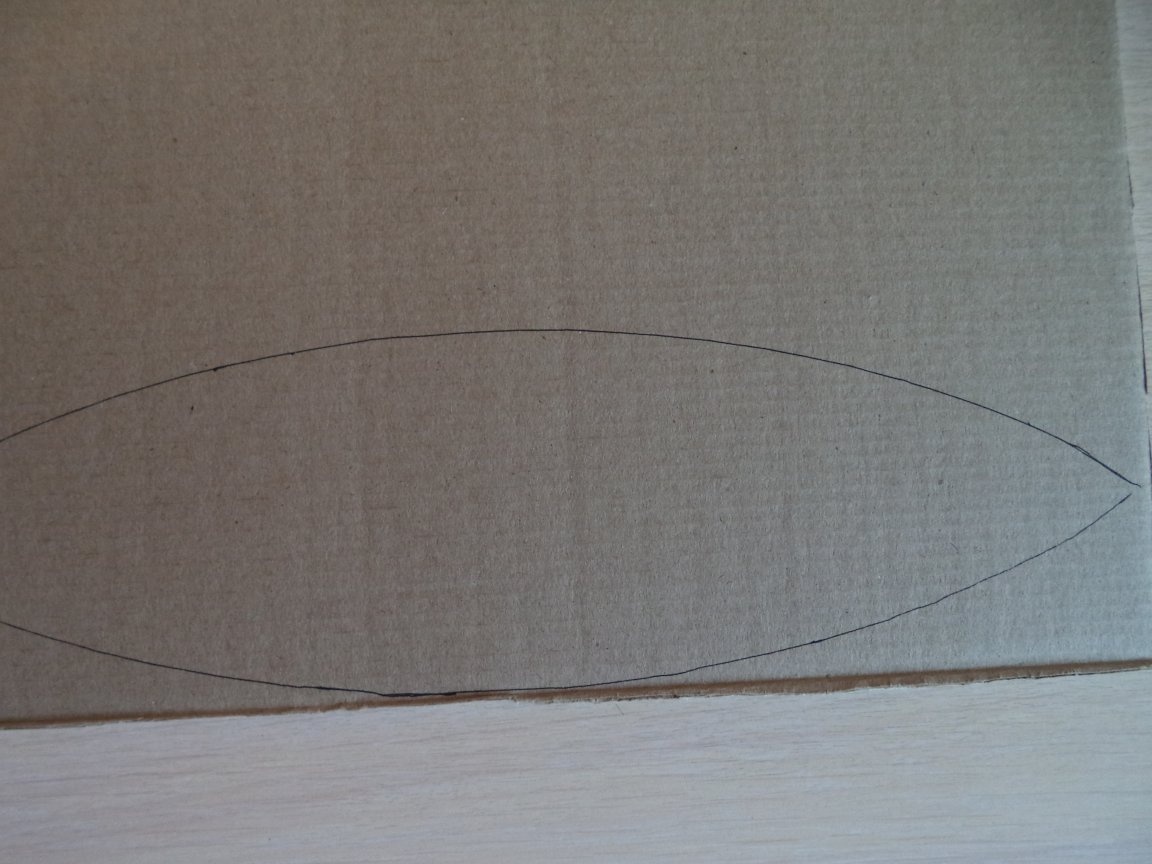
4. Find the “Geometry” tab, select a line or arc at three points and circle the yacht along the contour, you should get two contours side view and top view.
5. Copy and transfer the two contours of the side view and the top view to an empty spot, or create a new drawing and paste the views onto a new sheet.
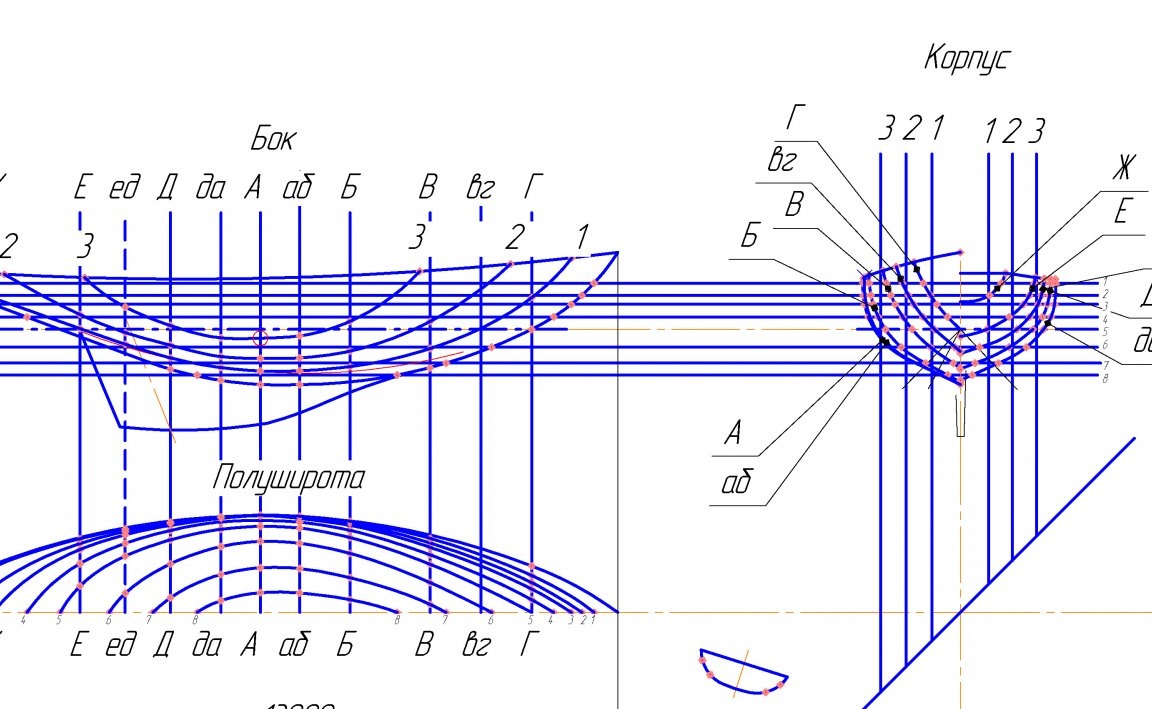
6. We arrange the views according to projection connections, divide the outline of the top view in half of the line of symmetry along the keel of the boat, remove the lower part. The side view is called “Side”, half of the top view is called “Half Latitude”.
7. We create the Midel frame - a section of the ship’s hull or other craft with a vertical transverse plane, located at half the length between the perpendiculars of the theoretical drawing of the ship.We find on the Internet a similar theoretical drawing, insert the sectional drawing of the frames on the frames into the KOMPAS program, and draw arcs and lines in the same way as we did before with the hull.
8. Using the “Scale” tab, we adjust the sections of the case in height and width.
9. The most extreme left line of the hull cut along the frames is the midship frame. Historically, hull cuts from the center to the bow of the ship are located on the left side, and hull cuts to the stern are located on the right side.
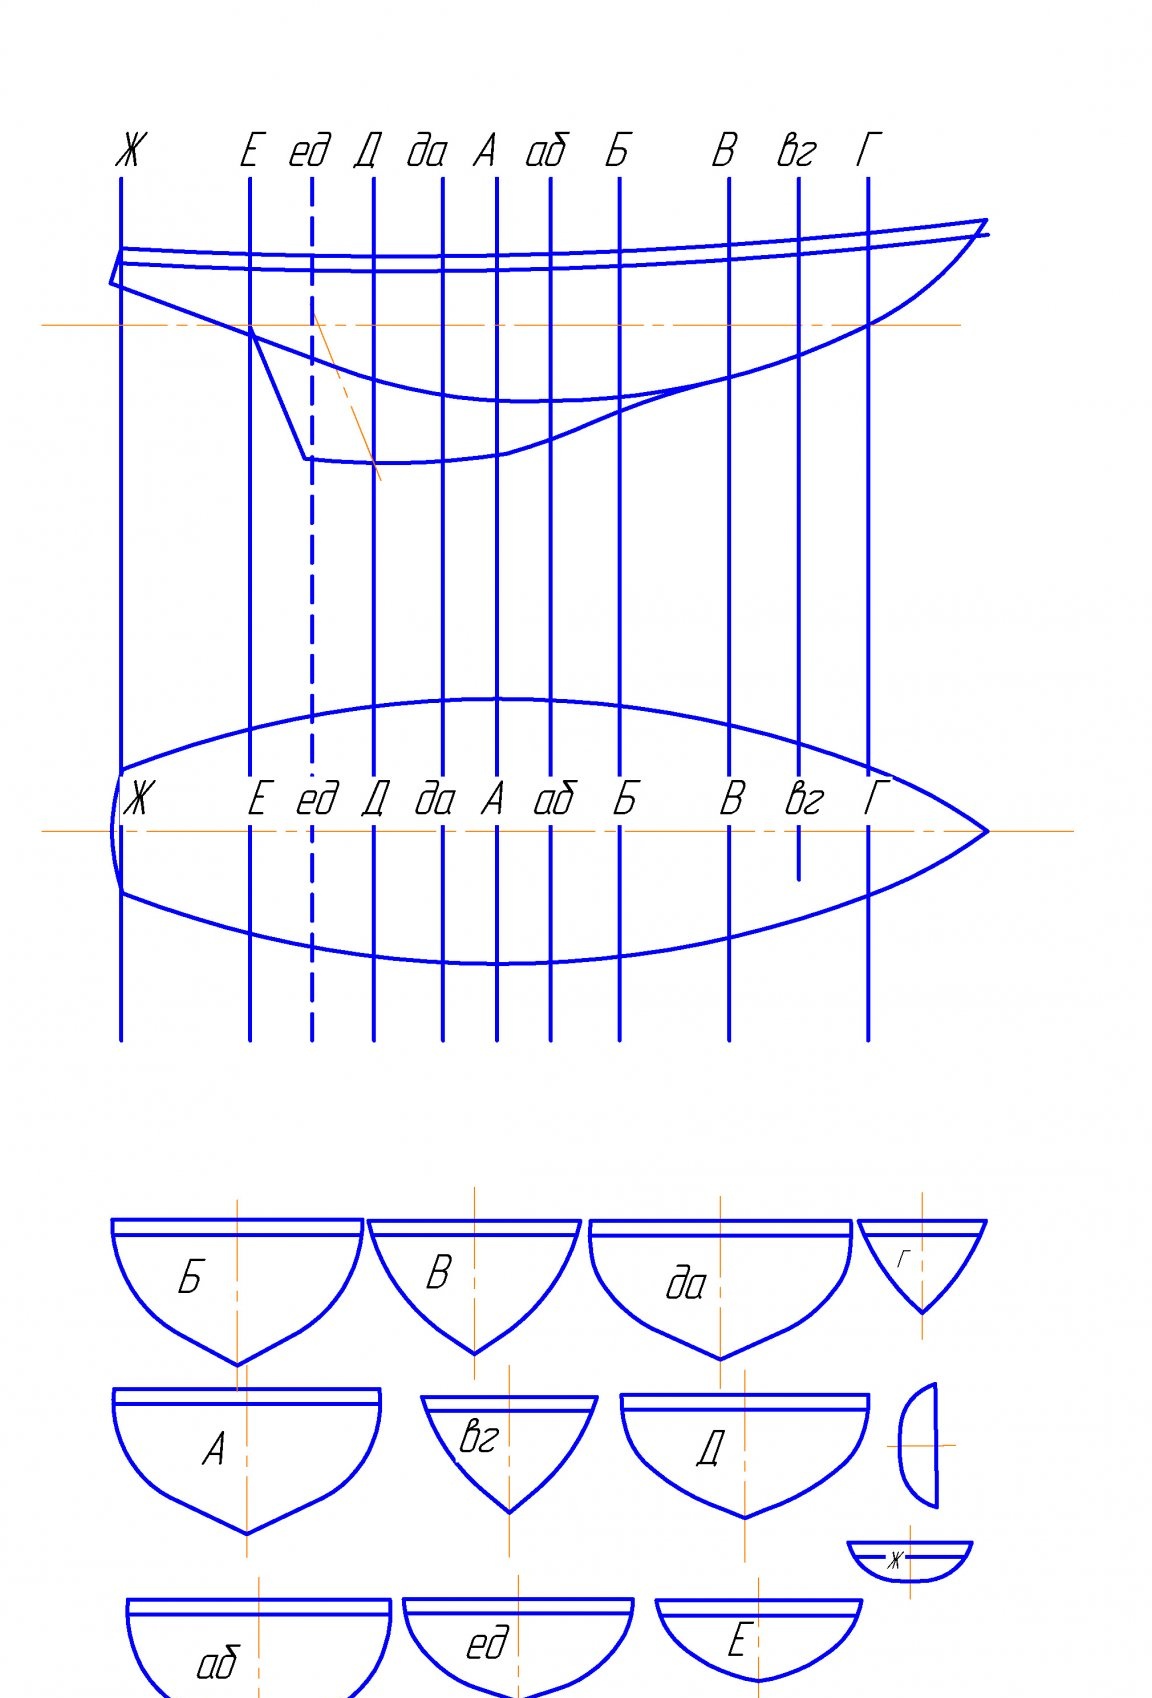
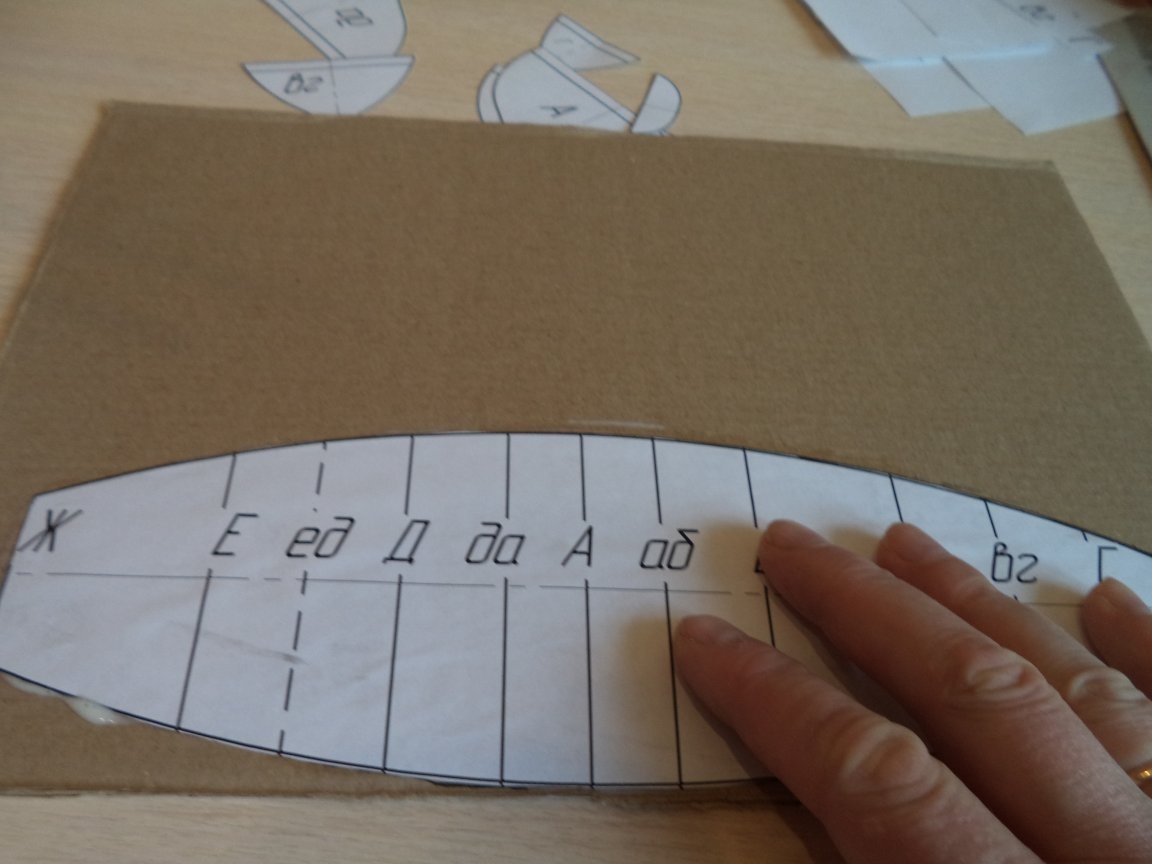
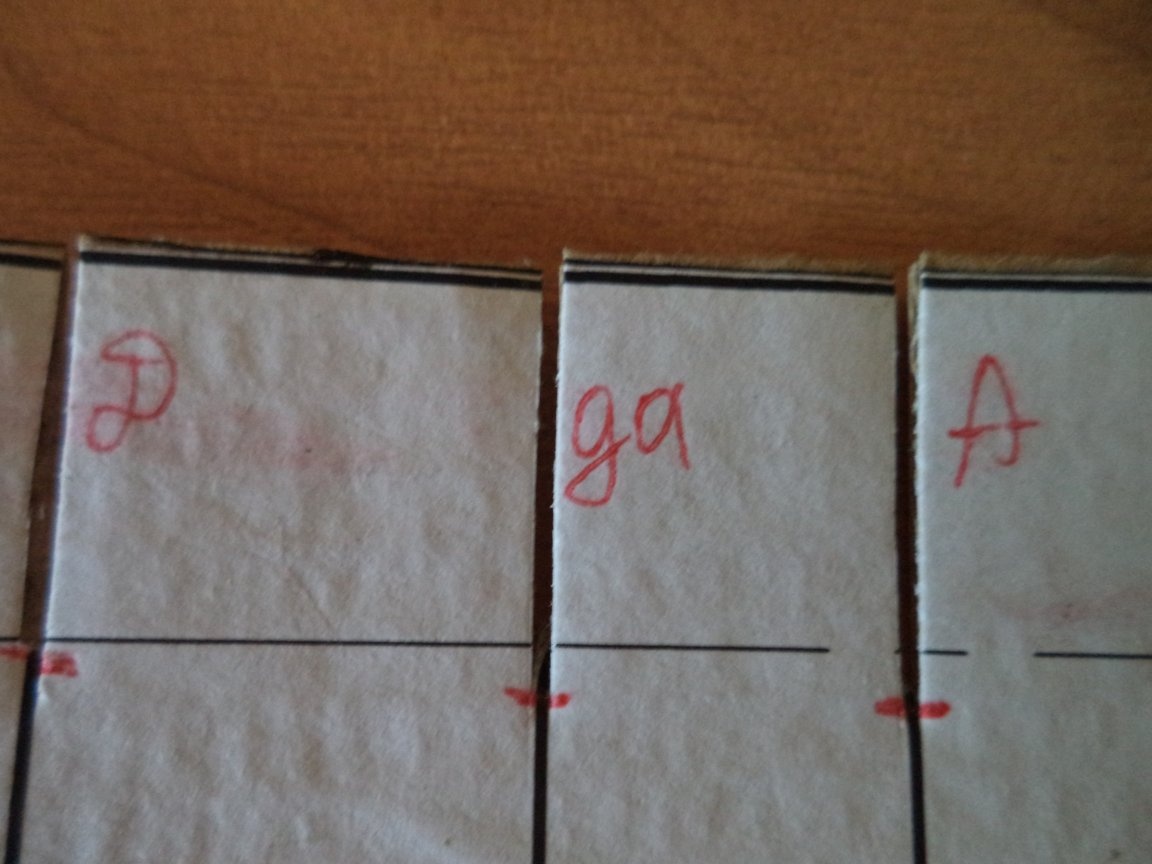
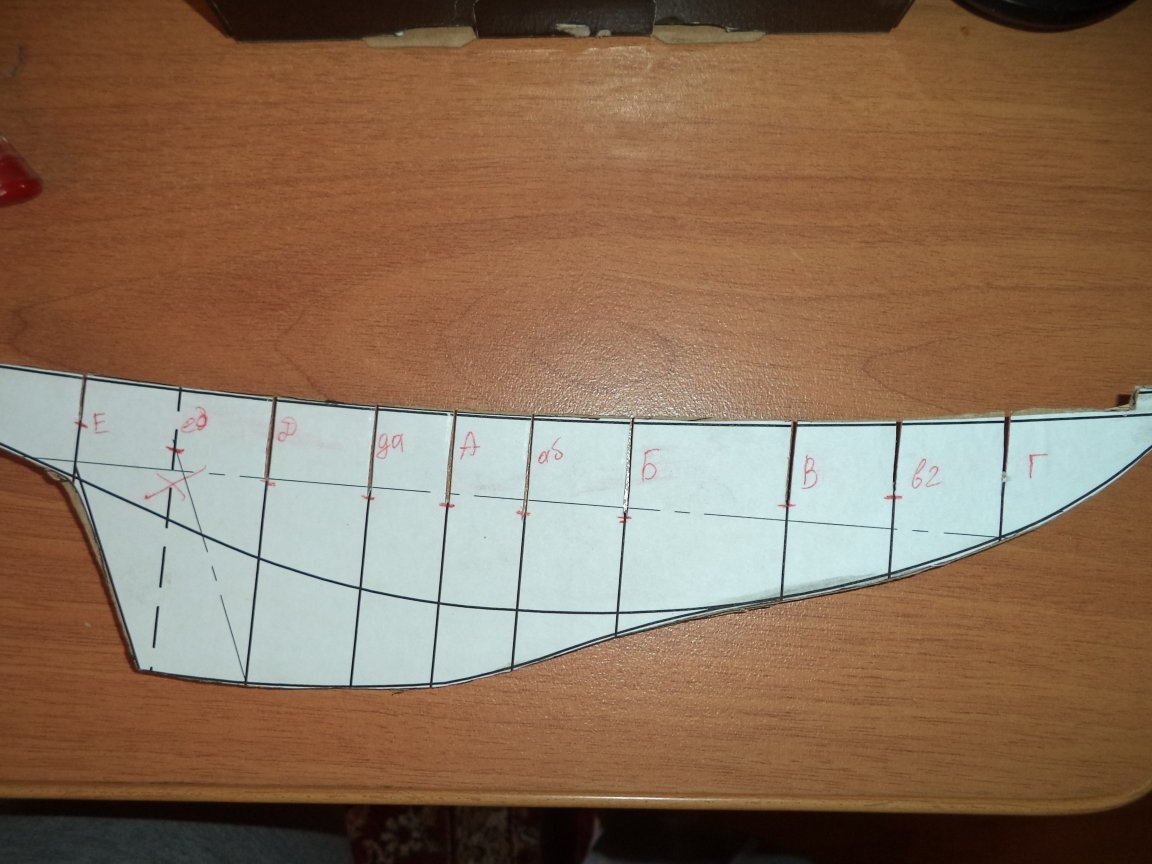
10. We draw vertical lines in a side view in an amount equal to our cuts of the body, the distances between the vertical lines are the same. (If necessary, you can build additional lines between the main lines) For convenience, the main sections are denoted in capital letters, the additional sections are denoted by two small letters.
11. We adjust the body sections so that the upper point coincides with the projection in the top view, and the lower one with the projection in the side view.
12. We draw horizontal lines on the sections of the body in the amount of 8 pieces, the distances between the horizontal lines are the same. For convenience, the horizontal lines are indicated by numbers.
13. Using projection connections, draw in the top view (Half Latitude) contours (waterlines) as you get. If the contours are not smooth, we correct them, then according to the projection connections we adjust the sections of the hull.
14. We draw vertical lines on the sections of the body in the amount of 6 pieces, the distances between the vertical lines are the same. For convenience, the horizontal lines are indicated by numbers.
15. Using projection connections, we draw in the side view (Side) contours (section of buttocks) as you get. If the contours are not smooth we correct them, then according to the projection connections, we correct the sections of the hull (frames) and the contours (water lines) in the top view (Half Latitude), until the contours (water lines) in the side view (Side) and in the top view (Half Latitude) ) (botaxes) will not become smooth.
16. Copy our views to a separate sheet, delete the contours, top view from the half, make a solid view, do the same with the cuts of the case.
17. We outline the line of the deck in a side view and frames.
18. On the printer we print a side view, top and cuts along the body, arrange the views so that the side and top views fit on the larger side of an A4 sheet.
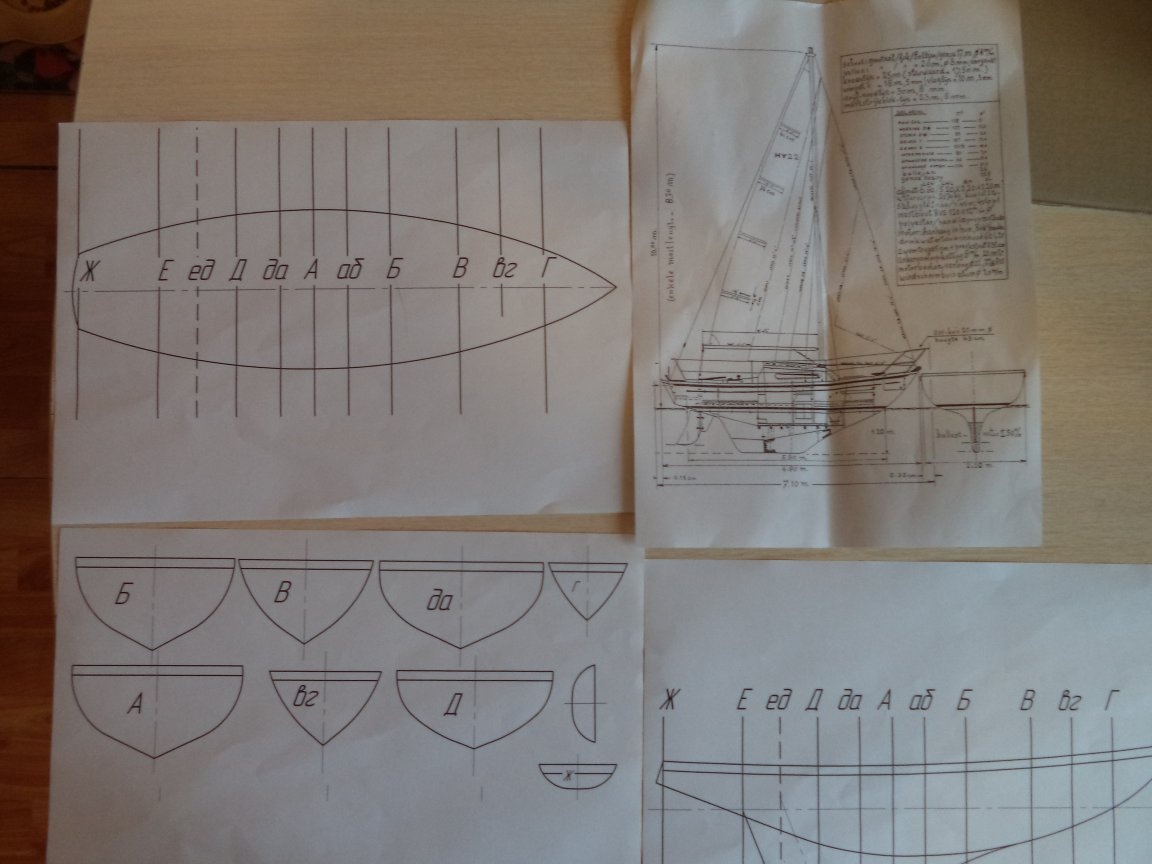
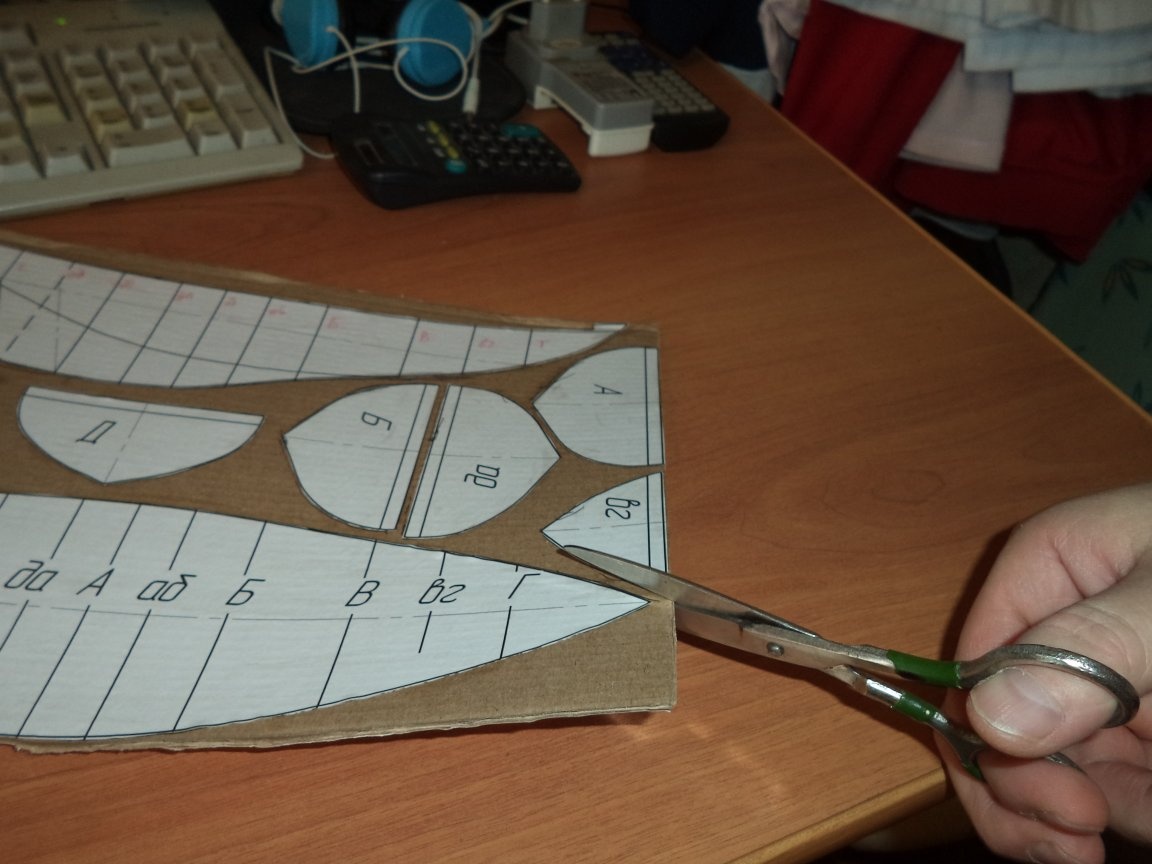
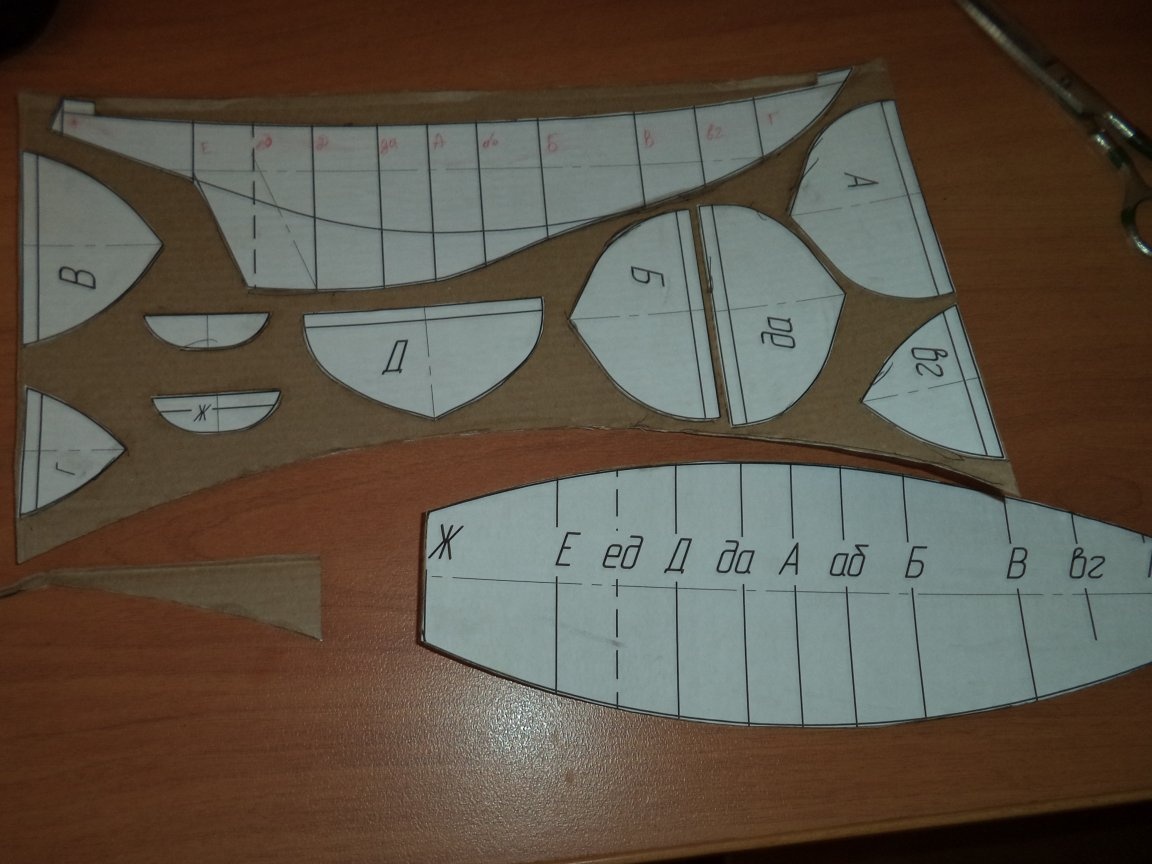
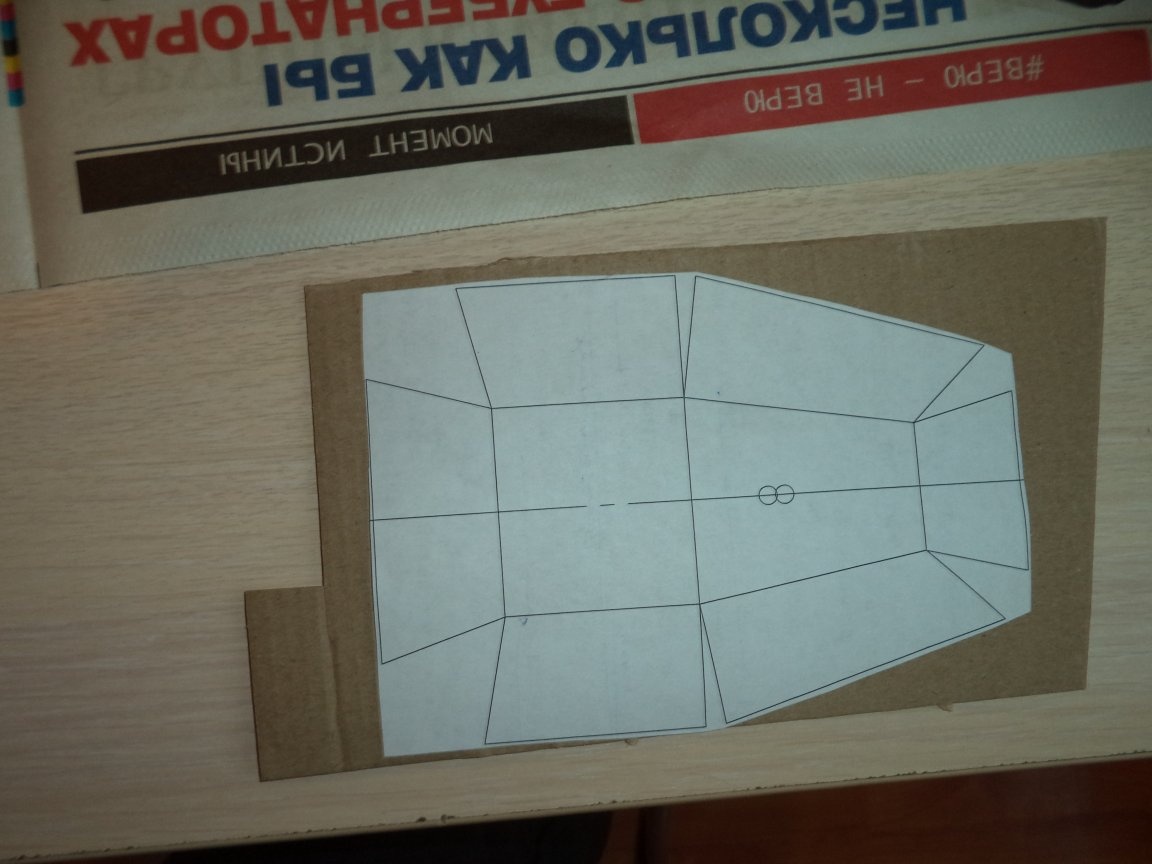
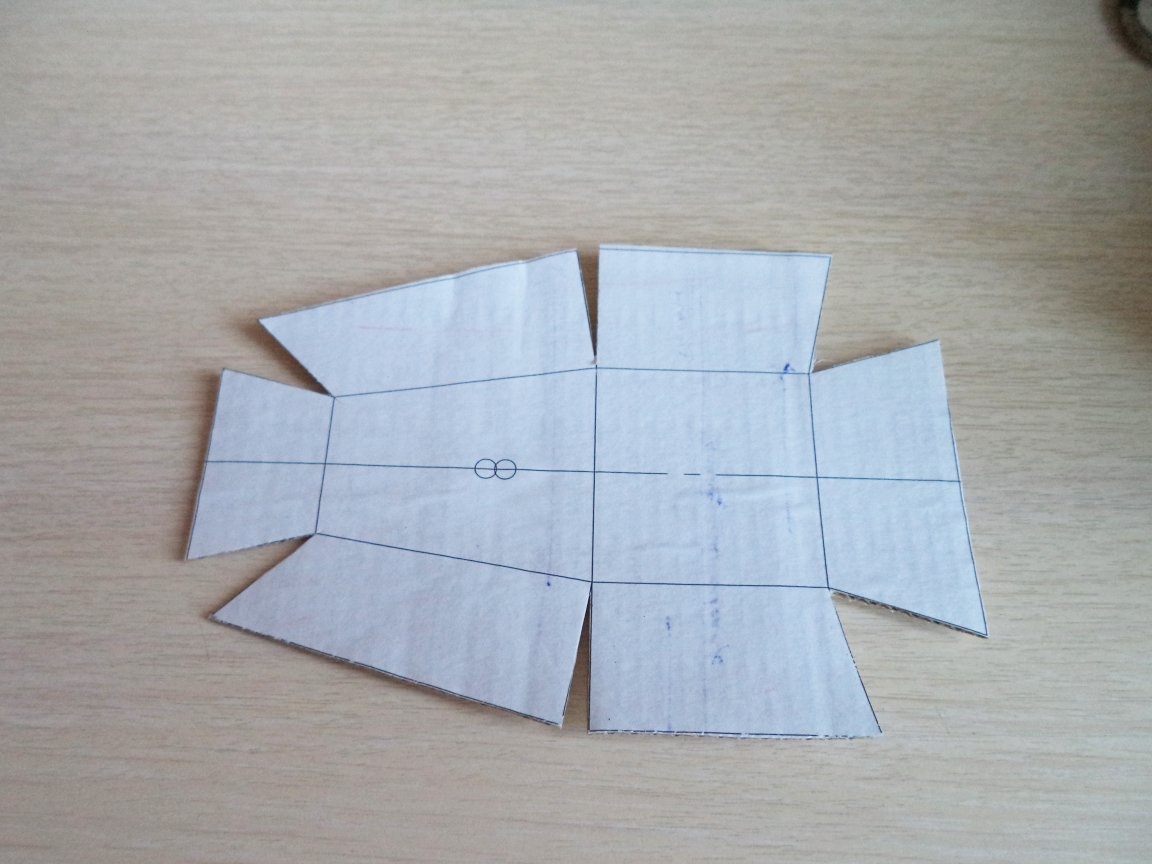
Step Two: Making blanks for frames, decks and keels.
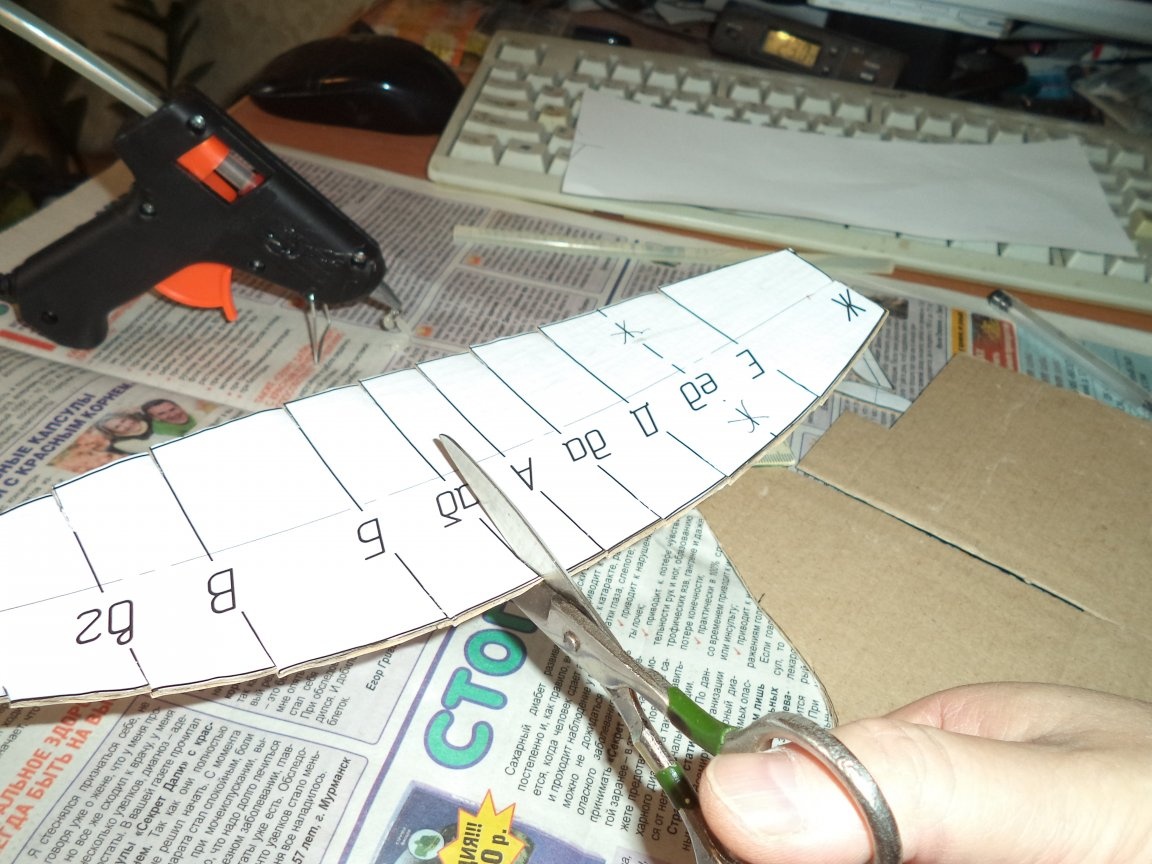
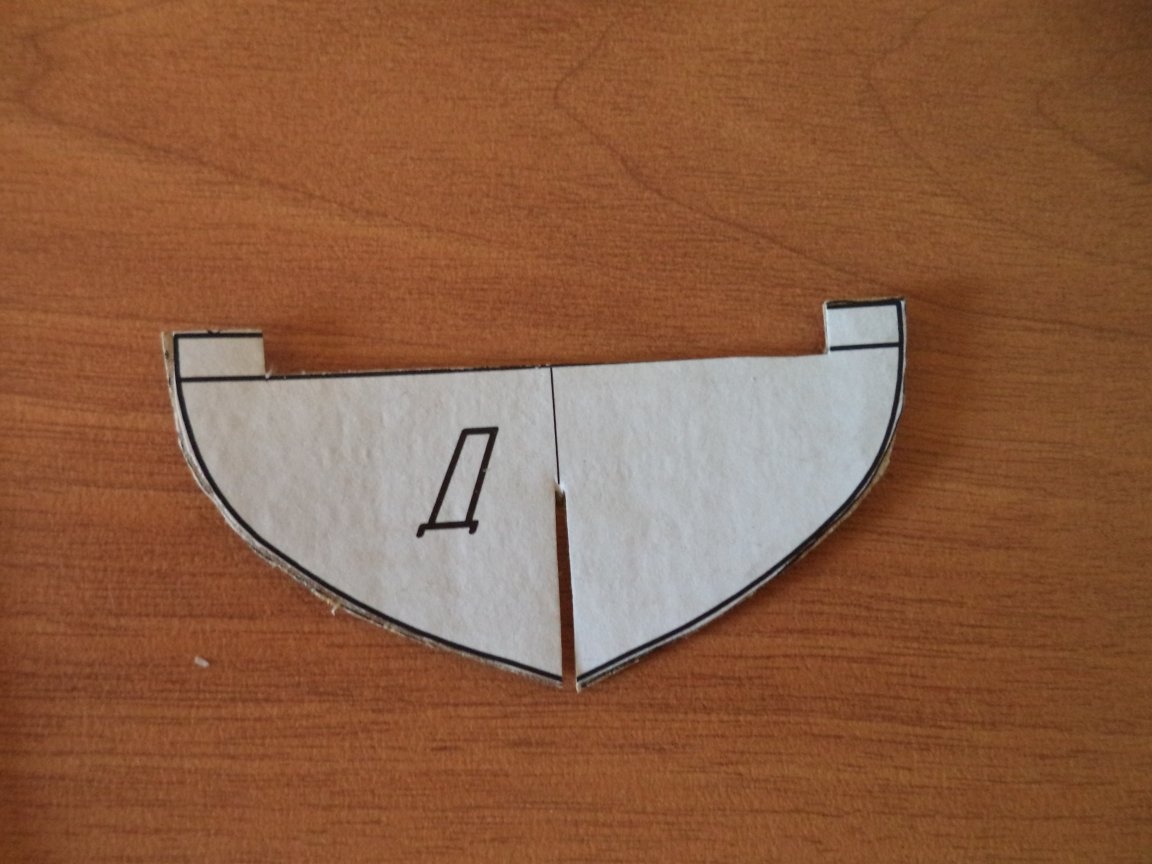
1. Scissors cut blanks frames, deck and keel.
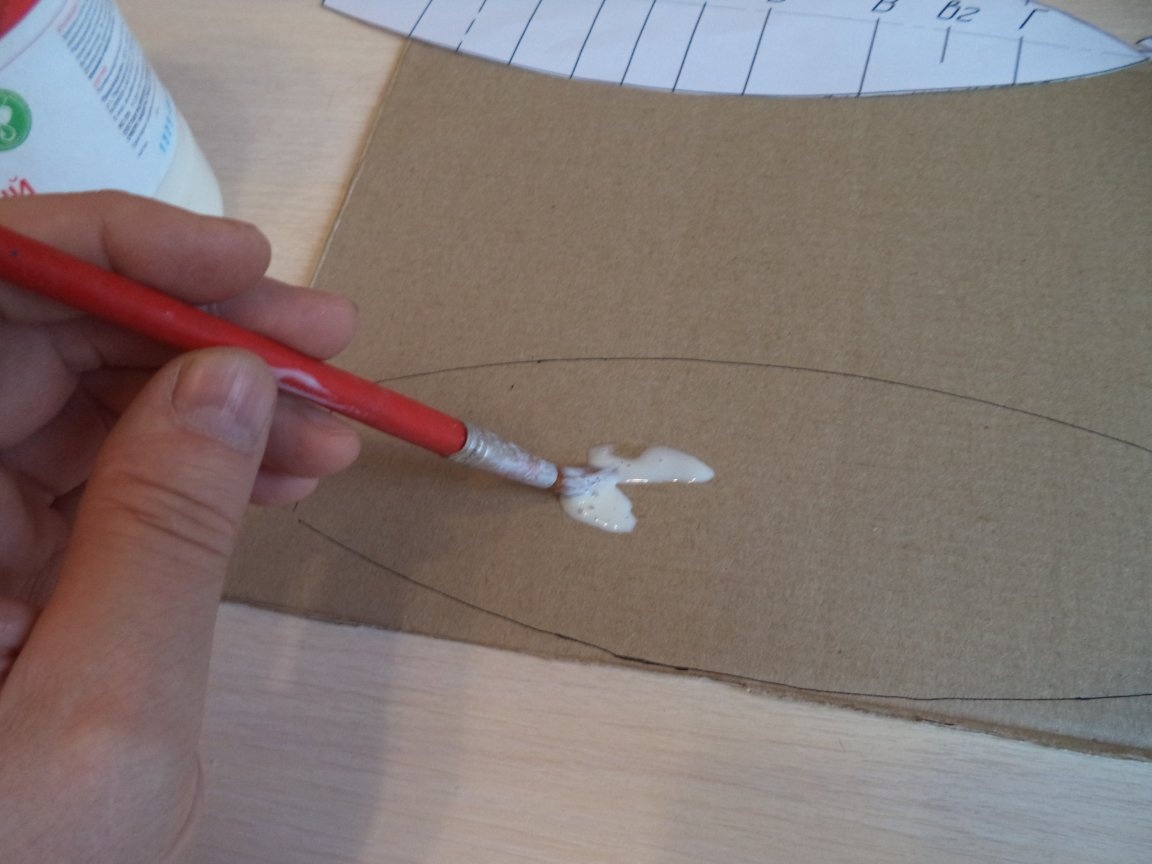
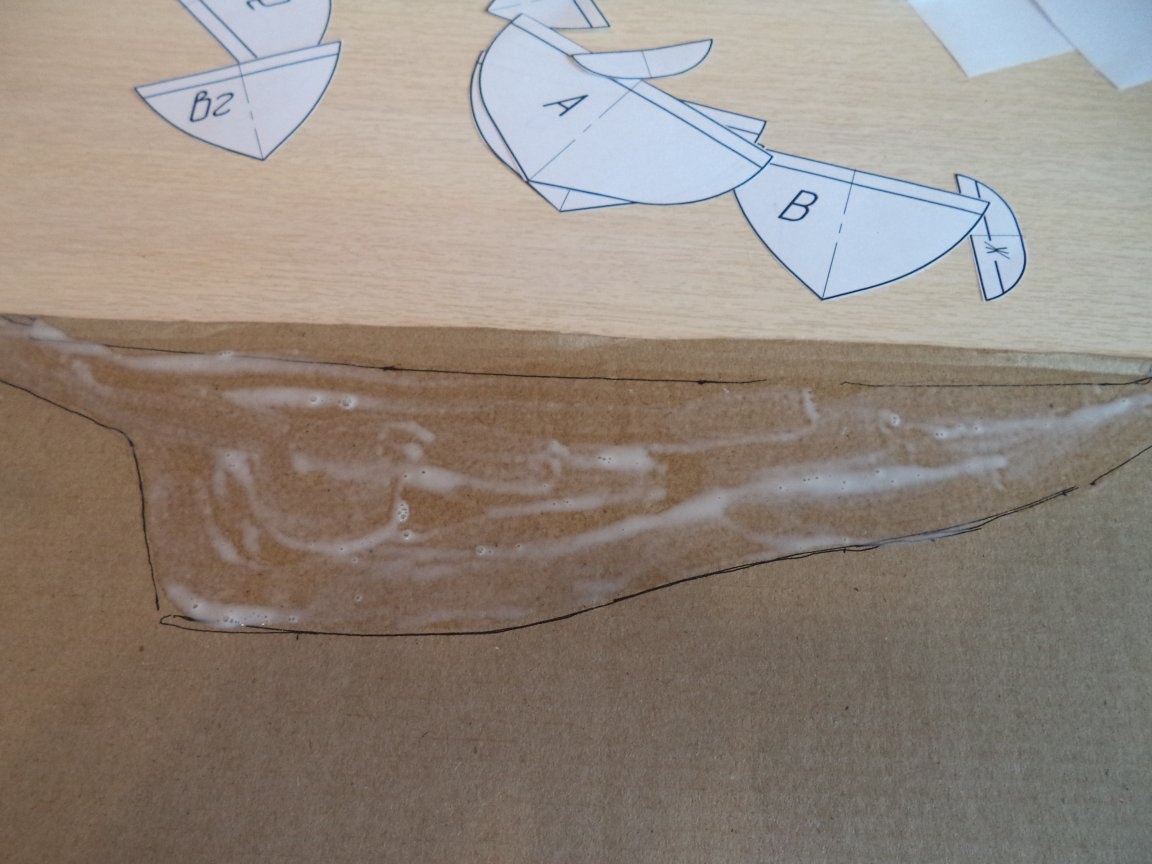
2. We glue PVA blanks of frames, we glue the deck and keel to thick cardboard, we wait until it dries.
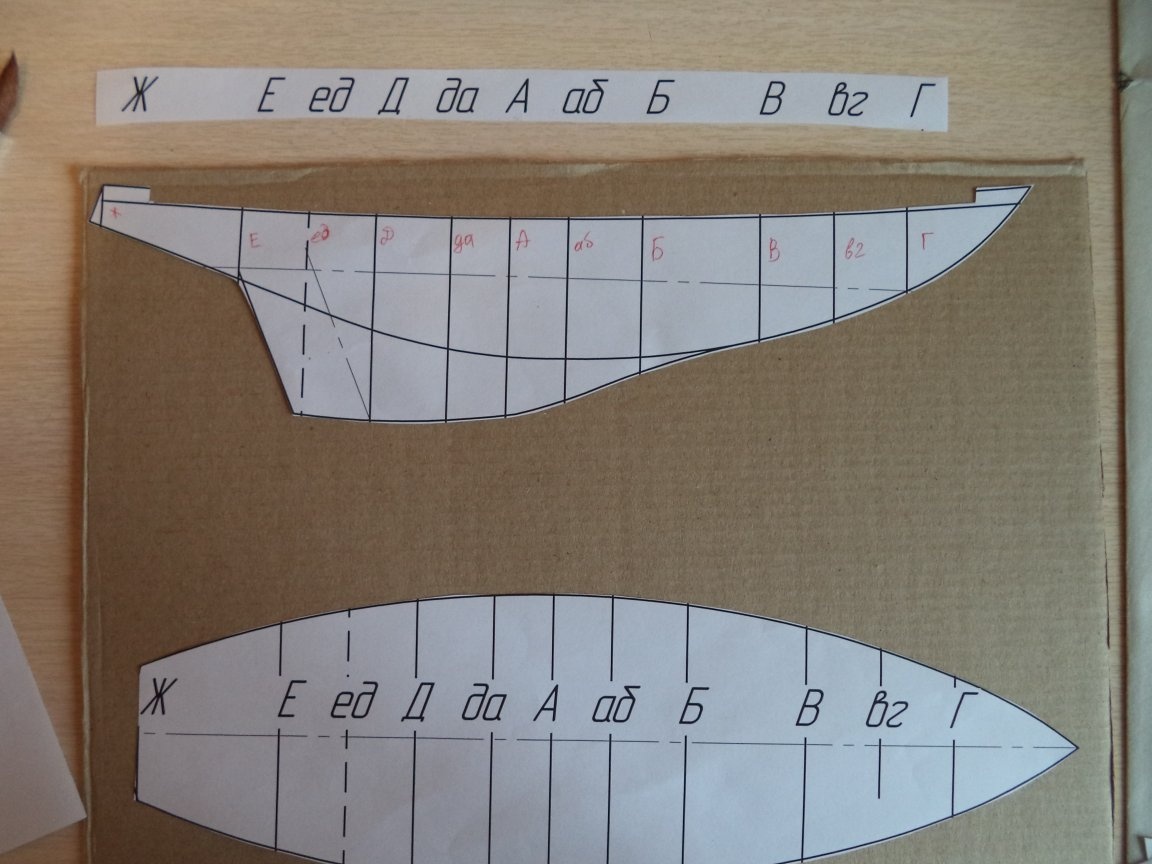
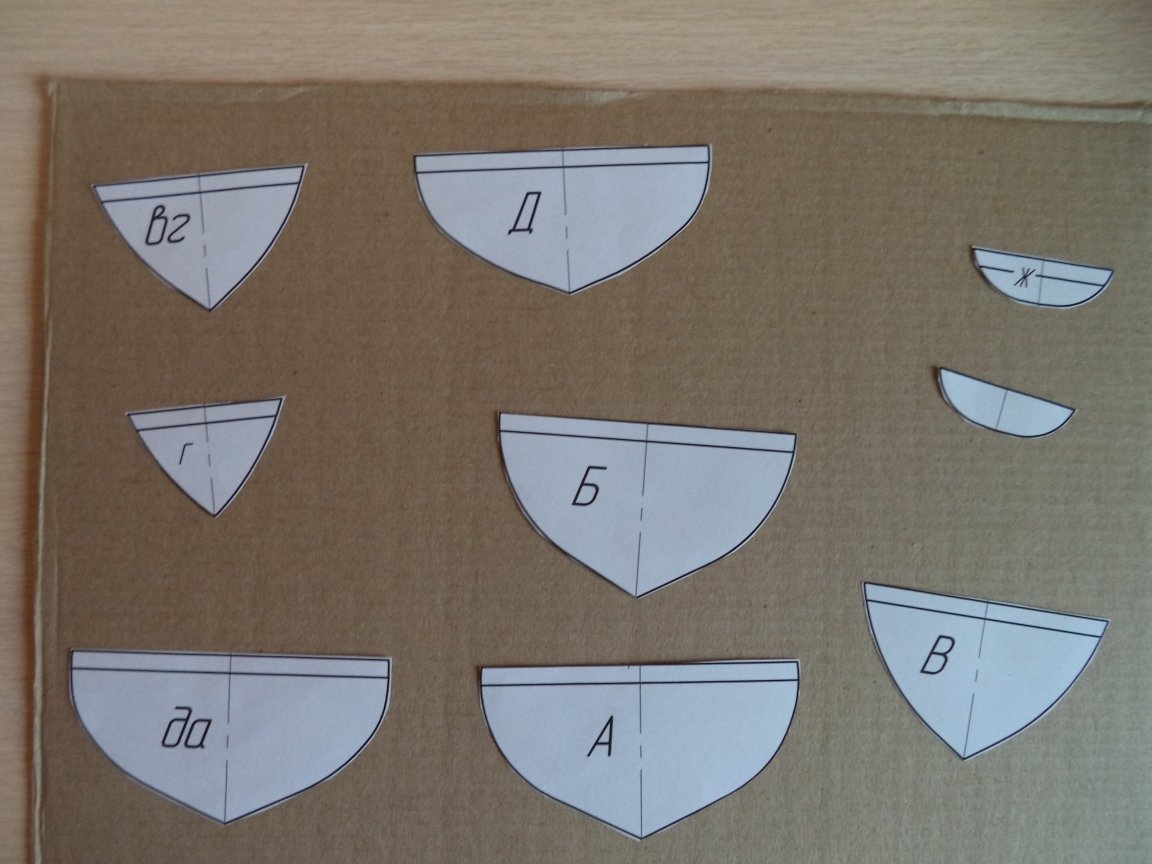
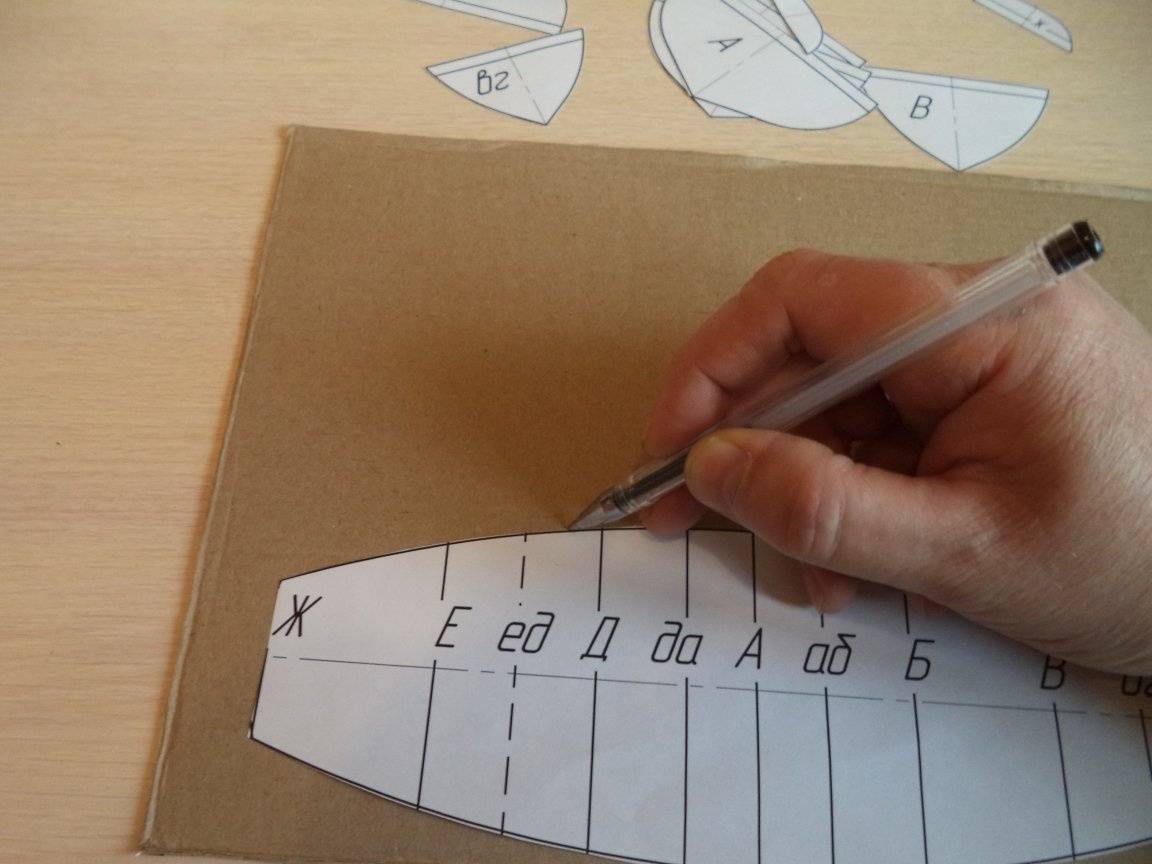
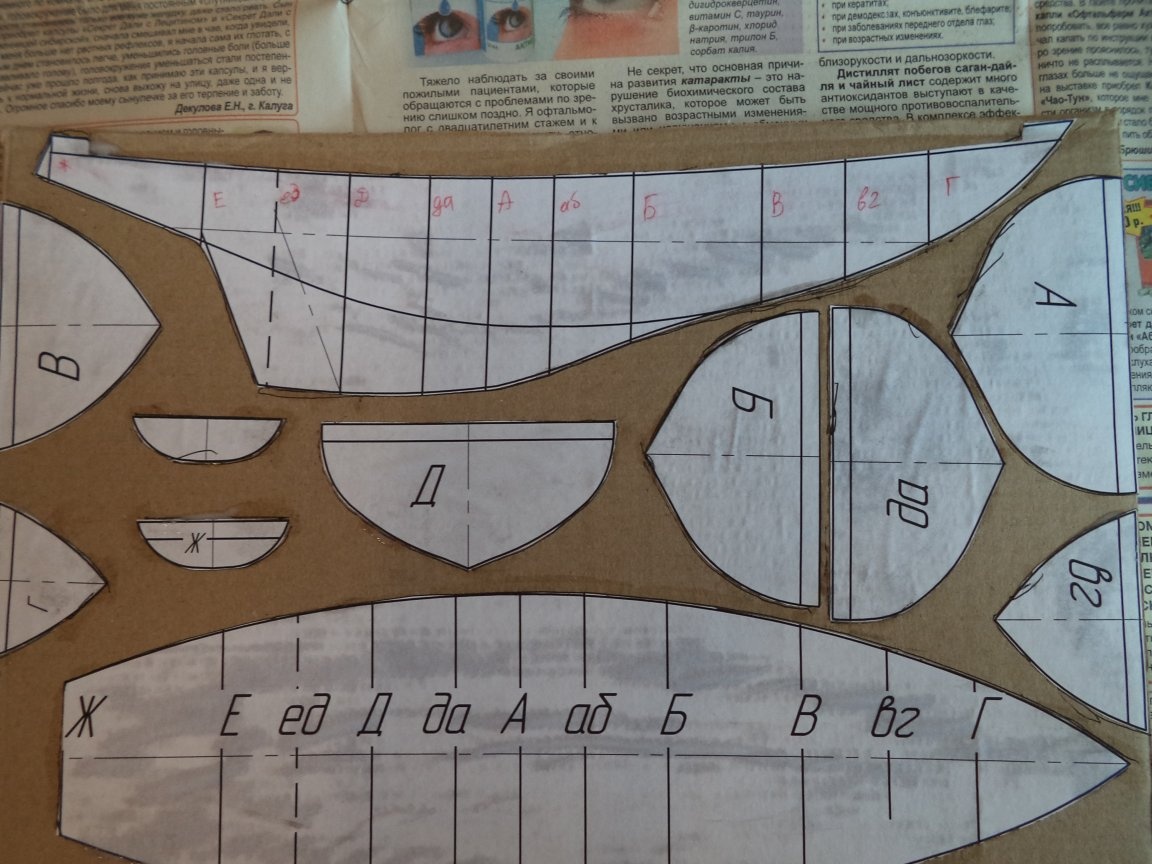
3. On the contour of the scissors cut blanks frames, deck and keel.

4. Having departed from the edges by 7 mm, we cut the deck line in the frames and keel.
5. Cut out in the deck at the points of attachment of the frames and keel of the slot with a length of 7 mm and a width of the thickness of the cardboard.
6. Cut the groove in the frames in the lower part to the middle of the width across the thickness of the cardboard.
7. Cut the groove in the keel in the upper part to the middle of the frames in width along the thickness of the cardboard.
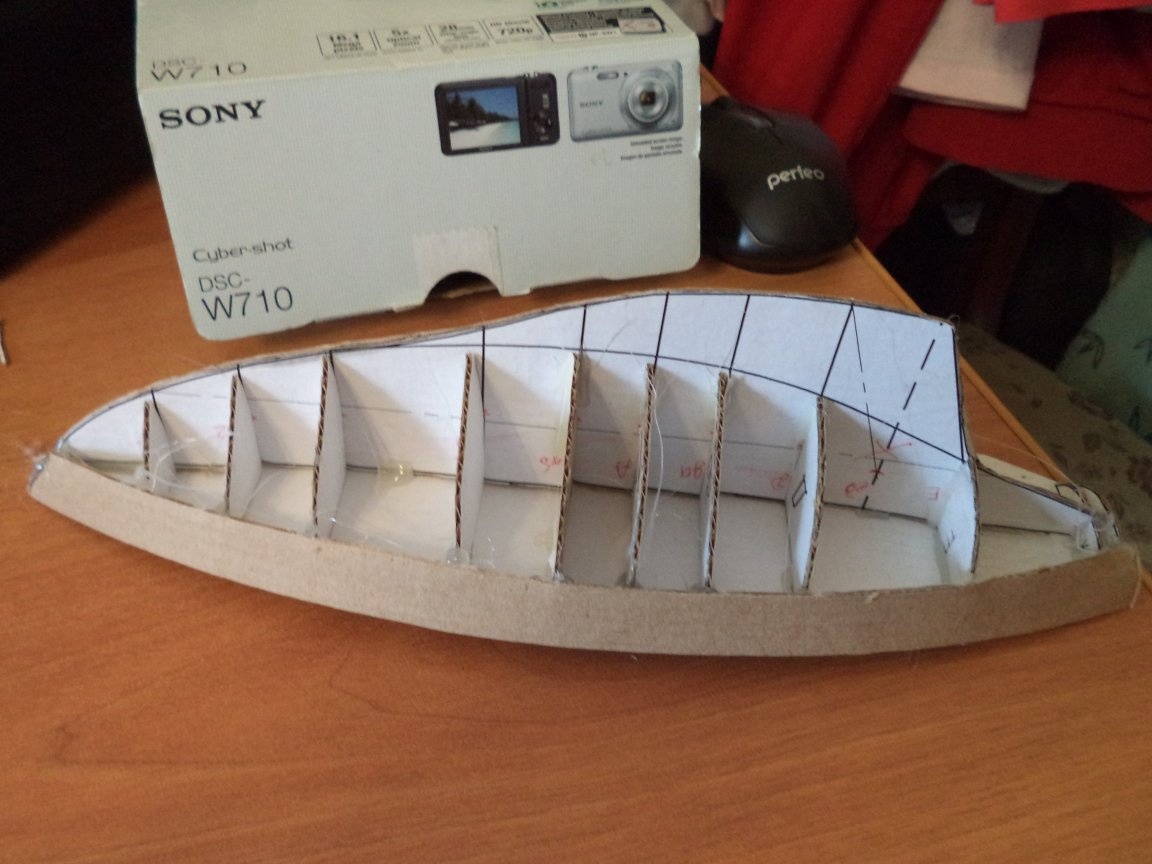
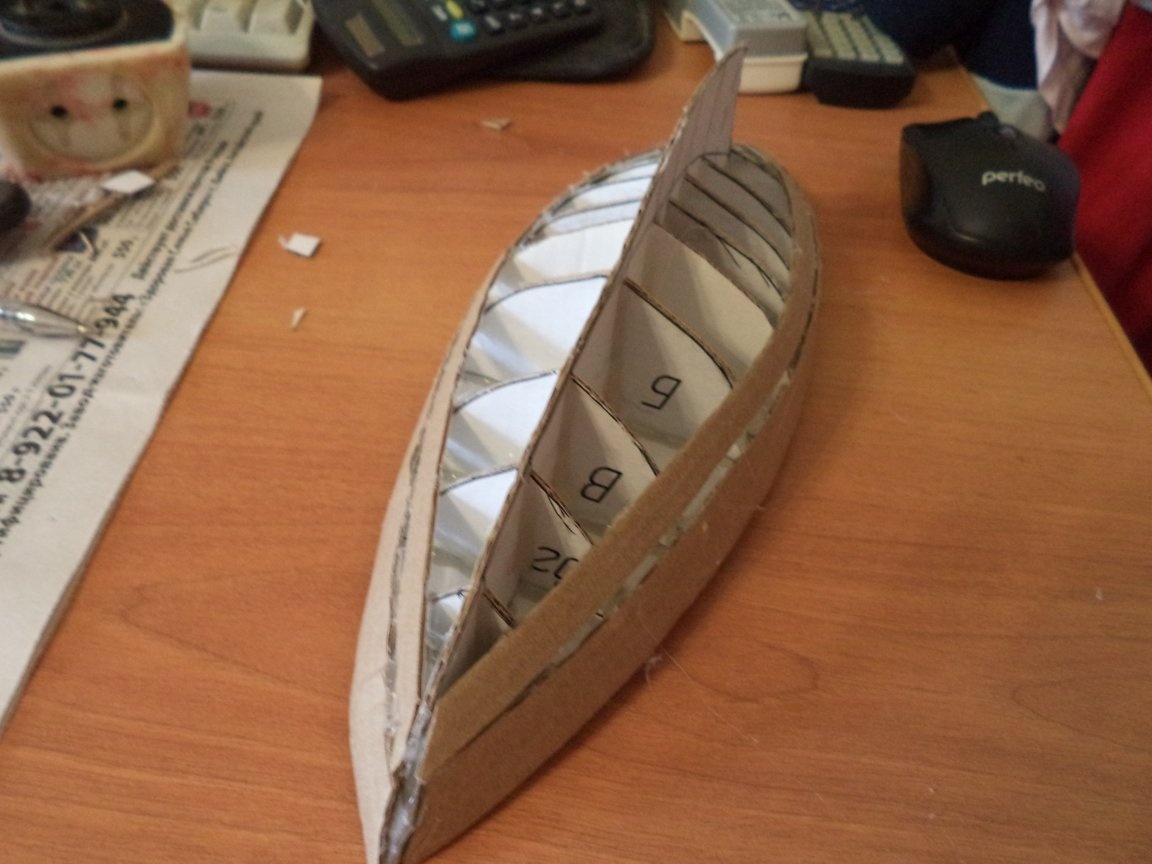
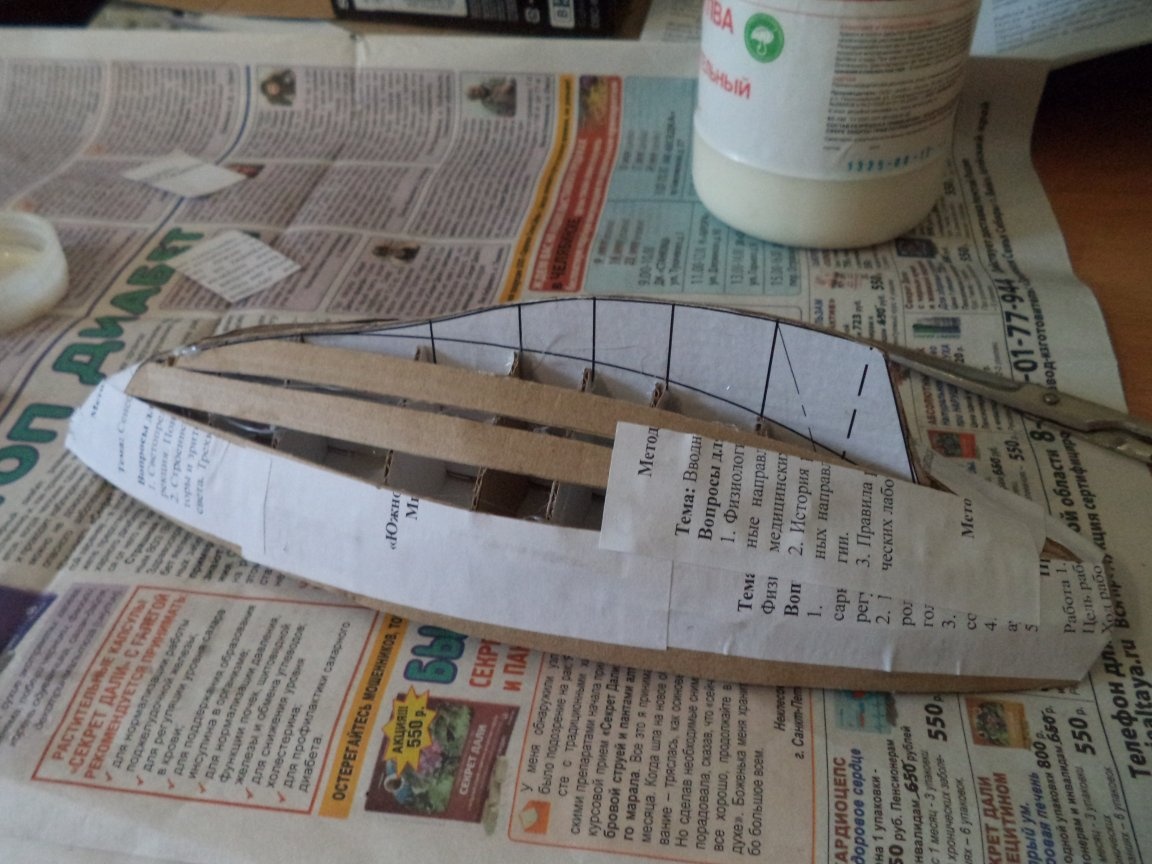
Step Three: Assembling the yacht frame
1. Insert the corresponding frames in the keel grooves, insert the deck in the upper part of the frames in the grooves.
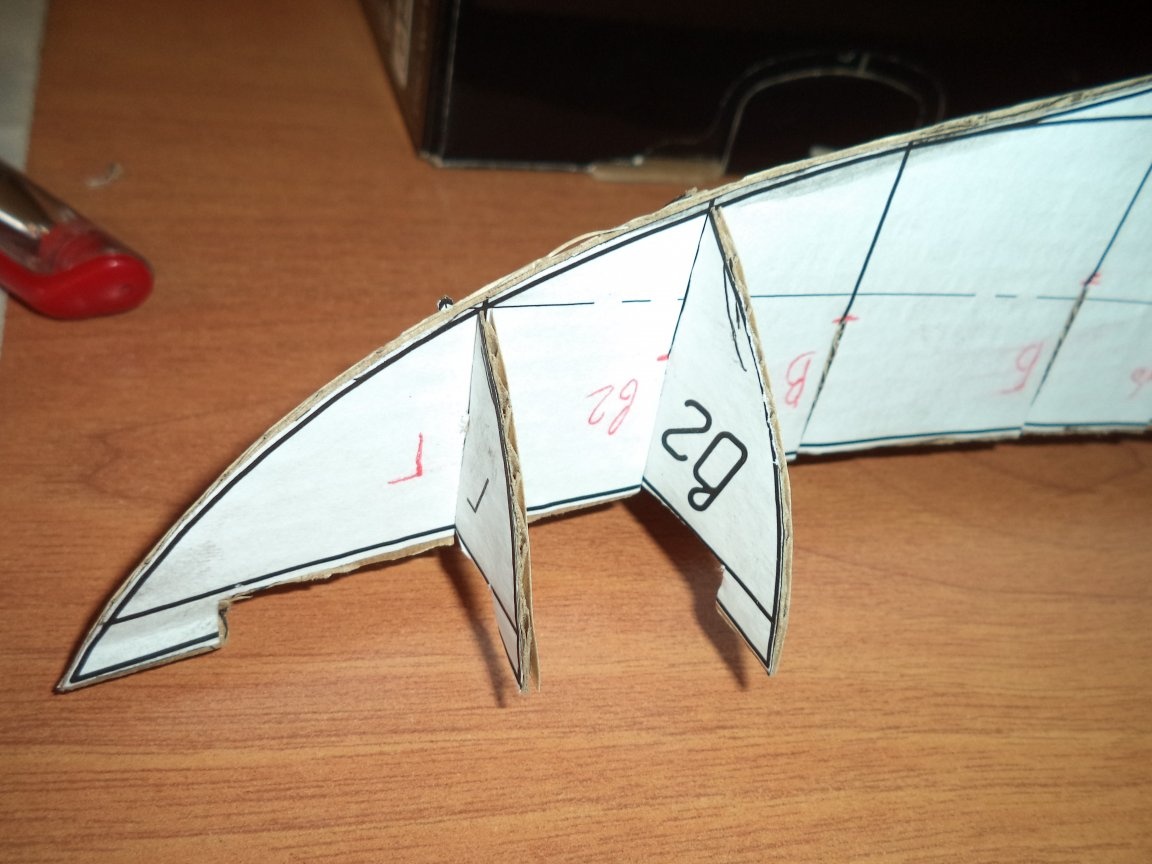
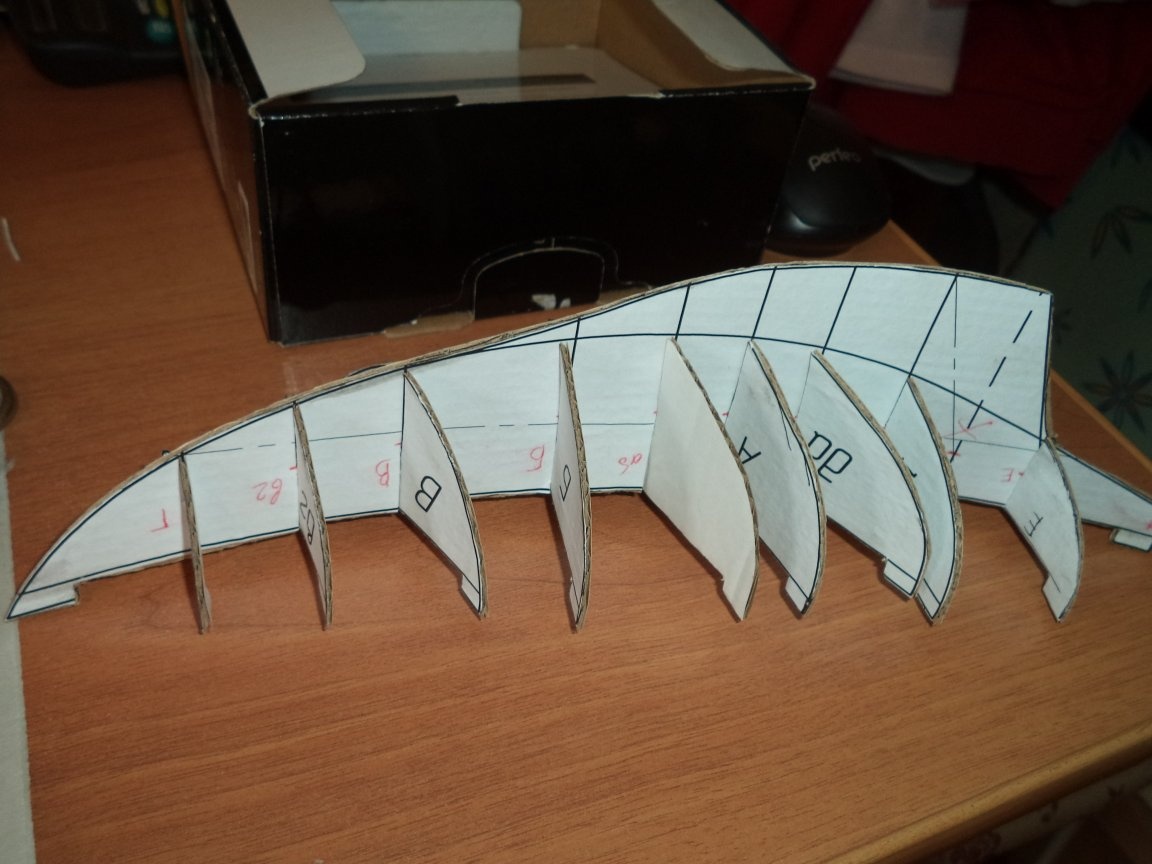
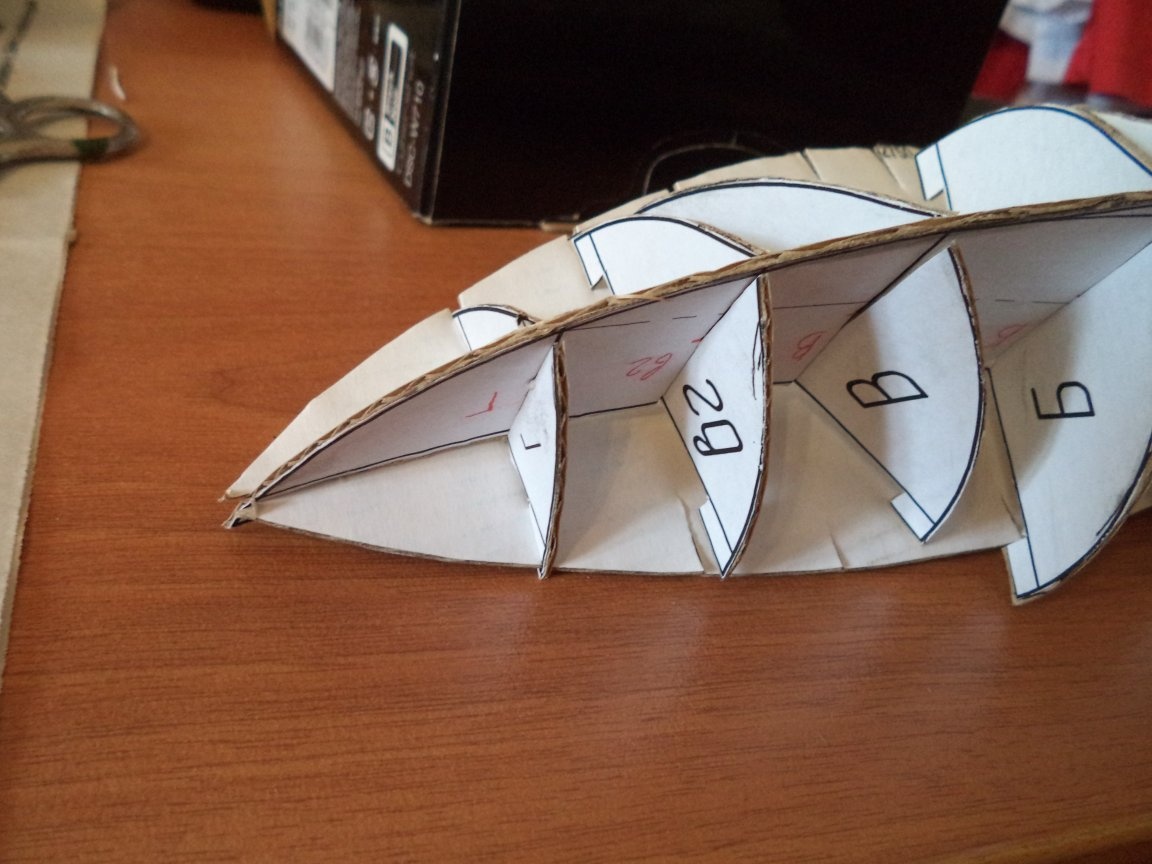
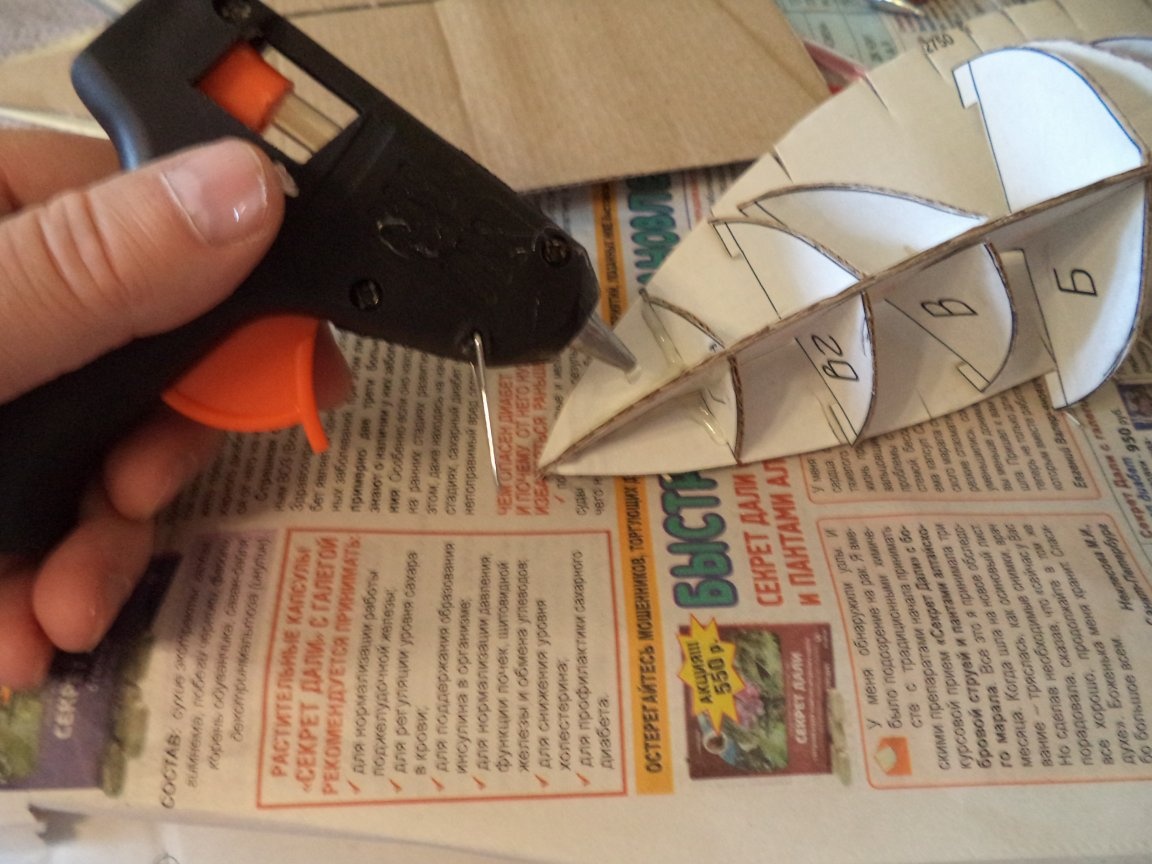
2. Heat the glue with a heat gun and attach the frames to the keel and deck.
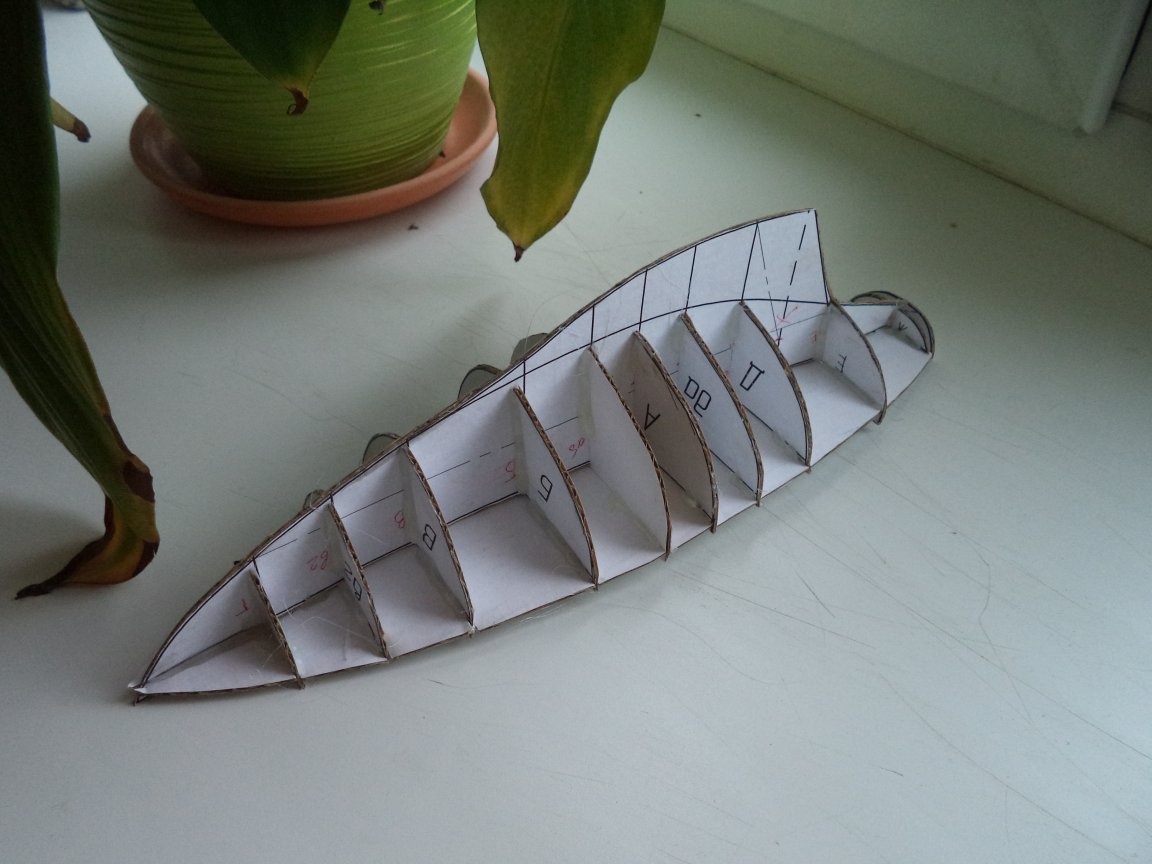
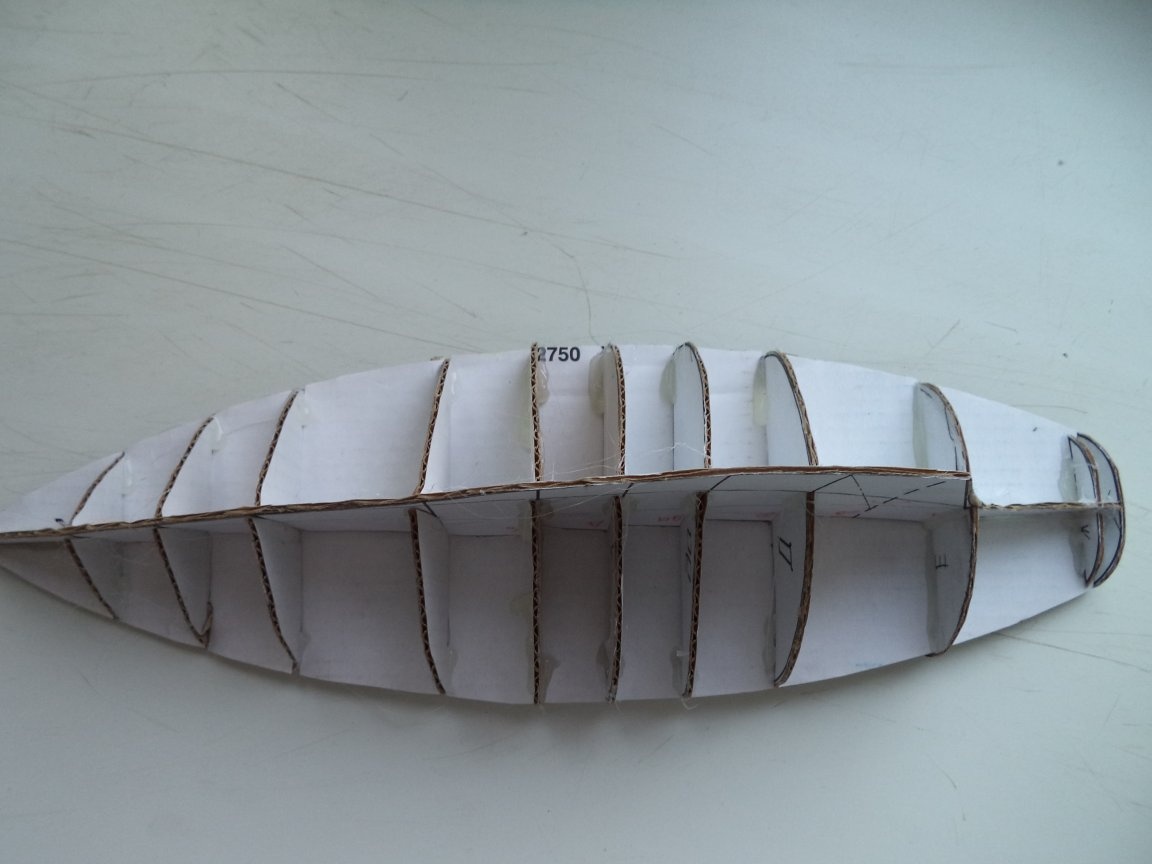
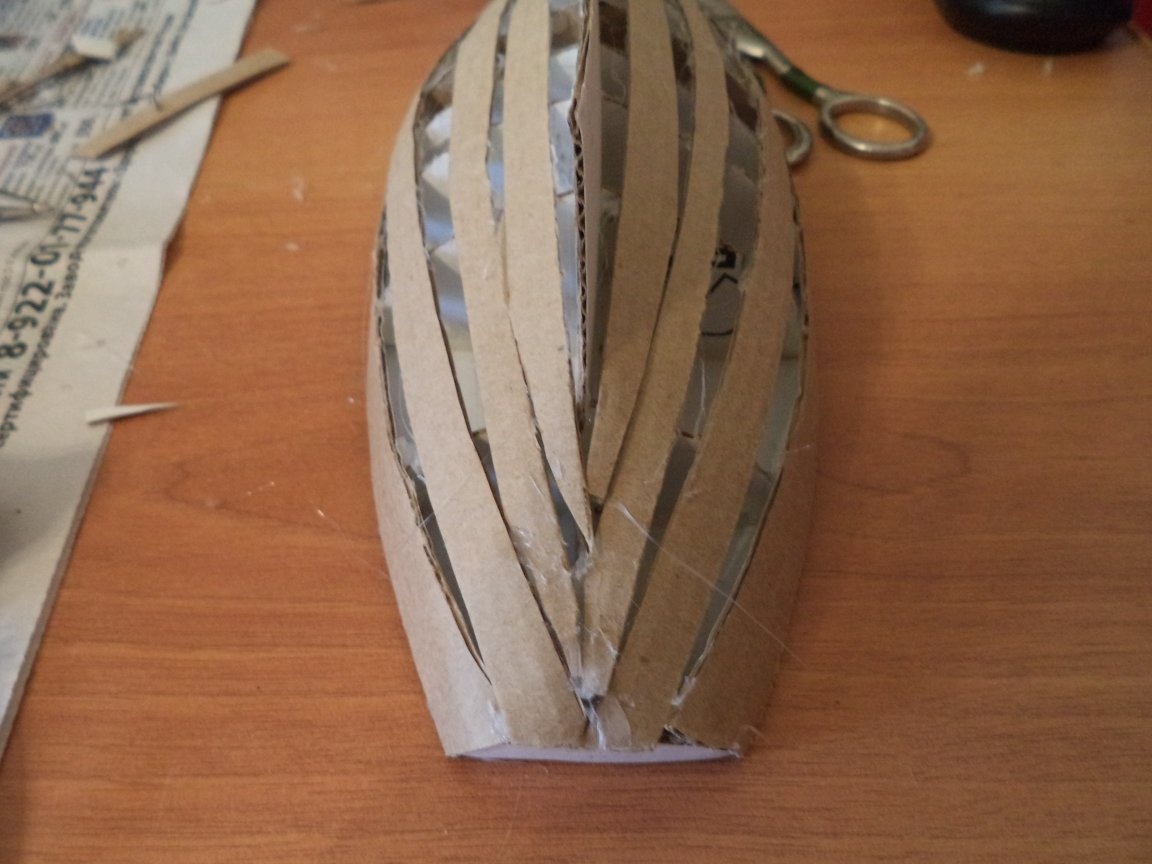
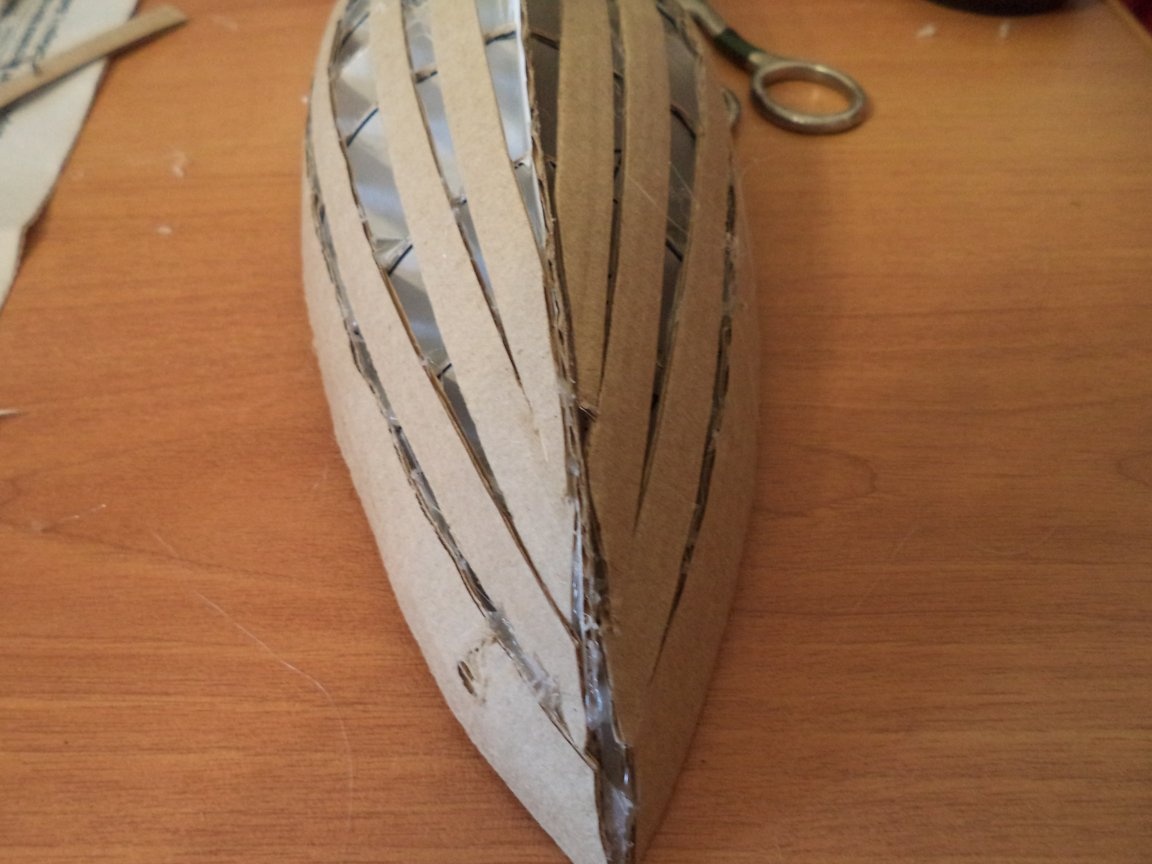
3. From the cardboard we cut out thin strips 7-10 mm wide and slightly longer than the length of the vessel.
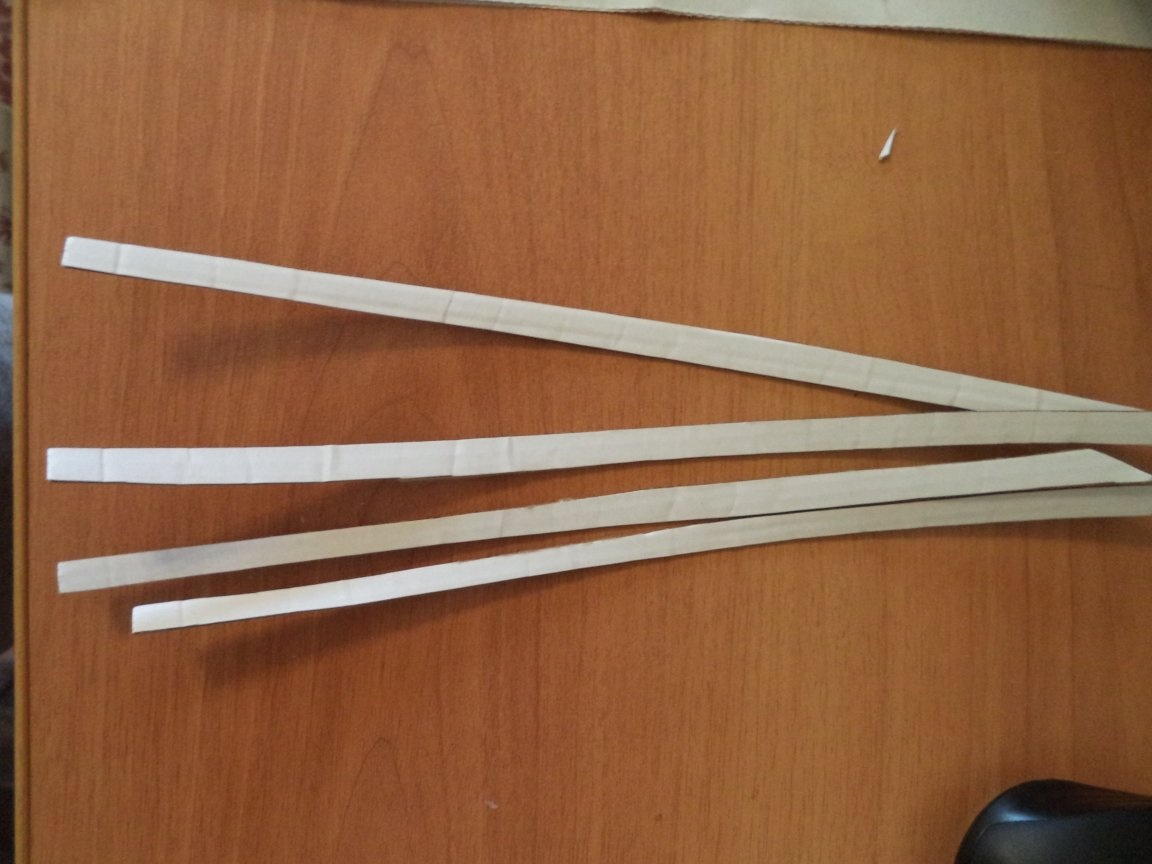
4. We fasten thin strips of cardboard with hot glue to the frames.
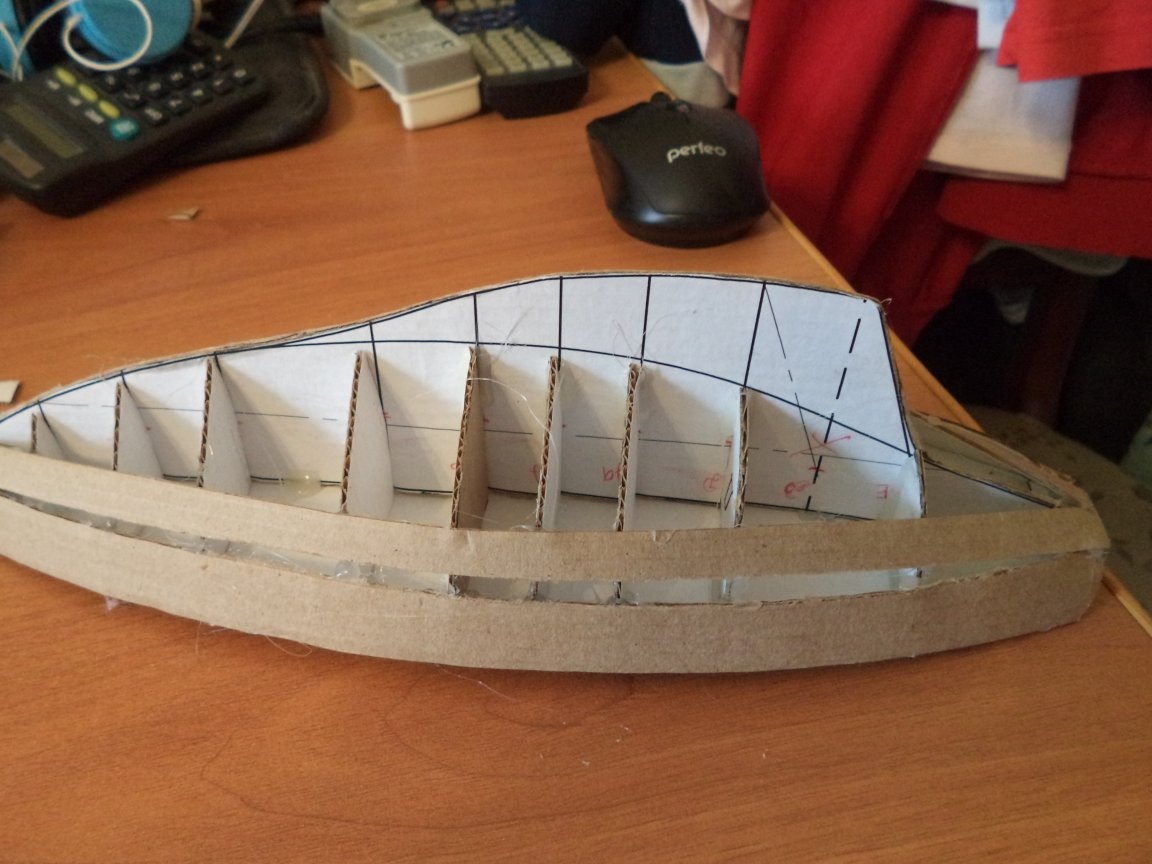
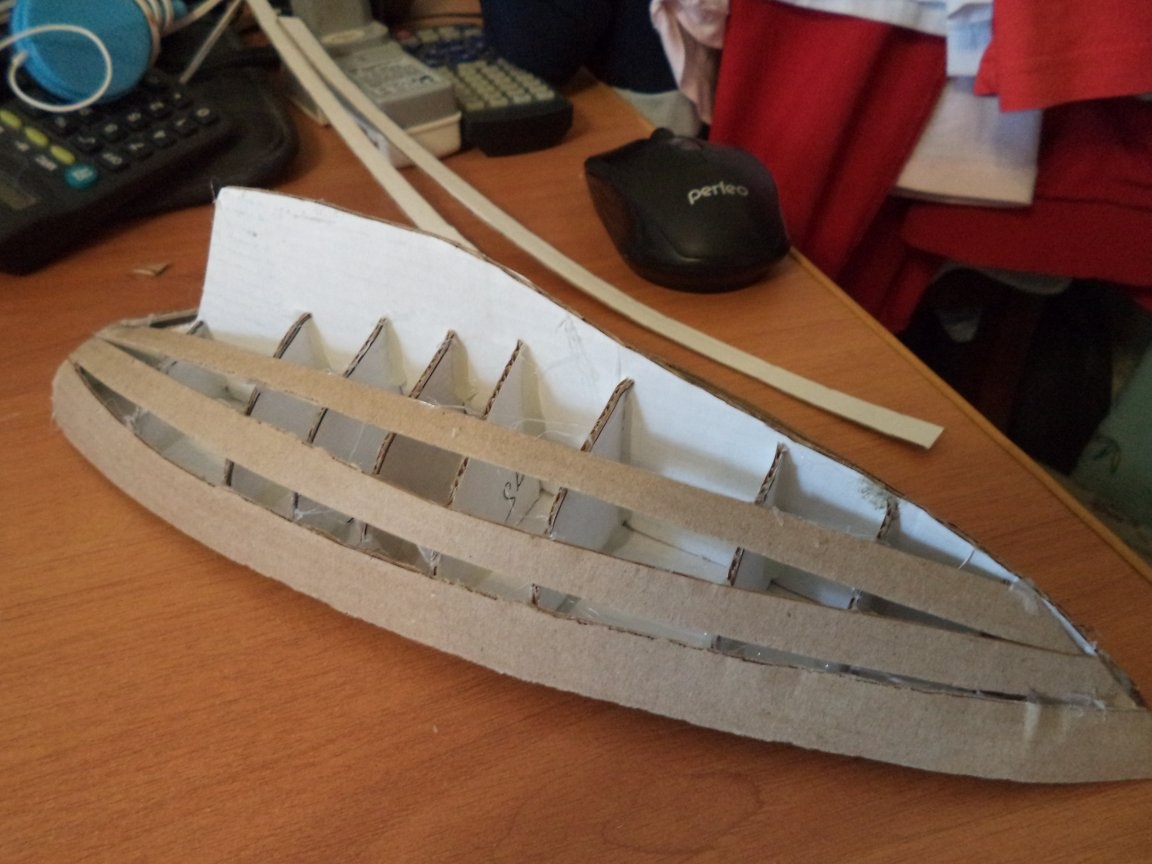
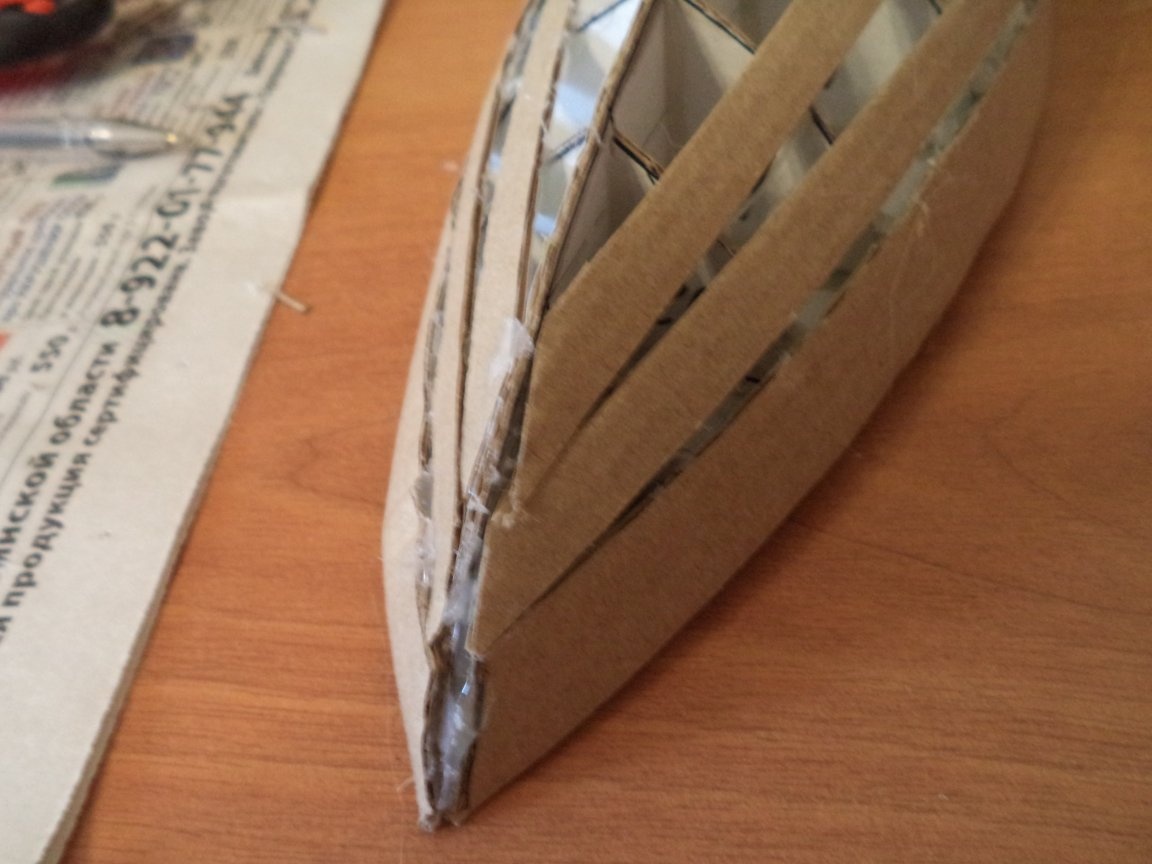
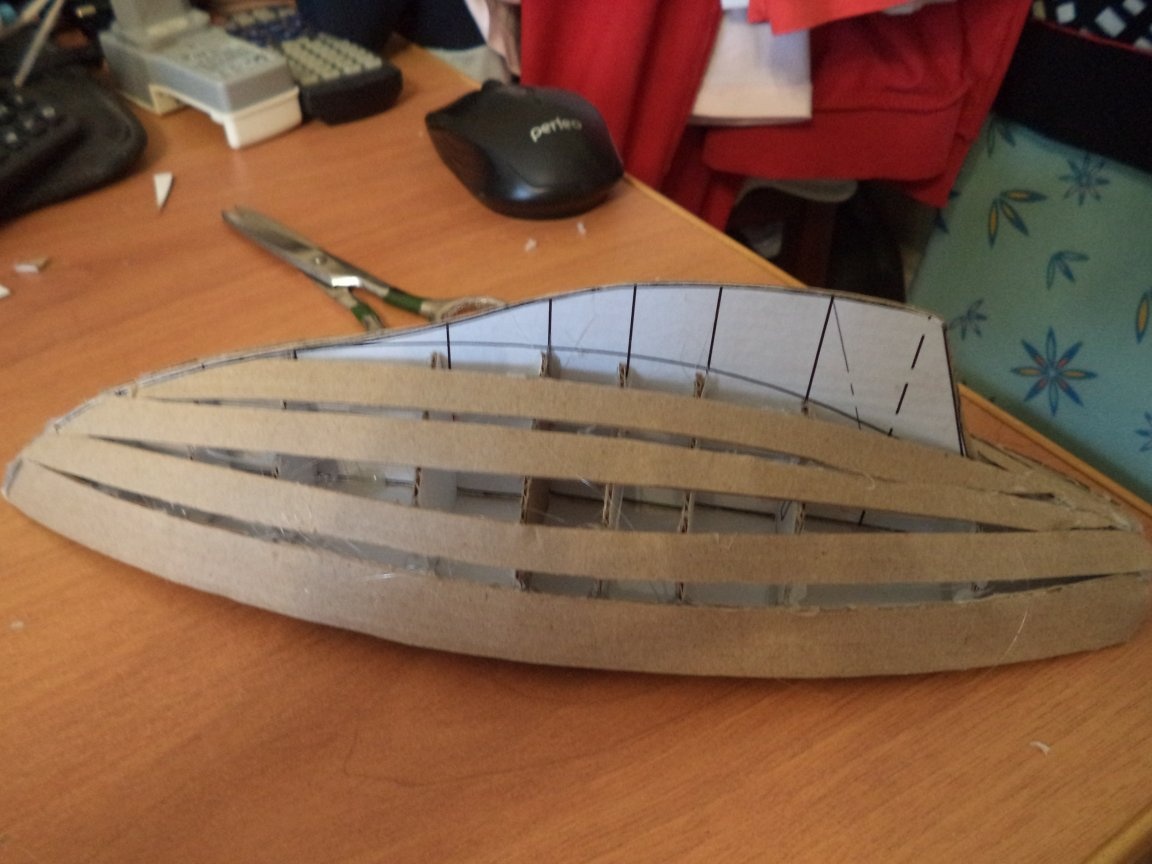
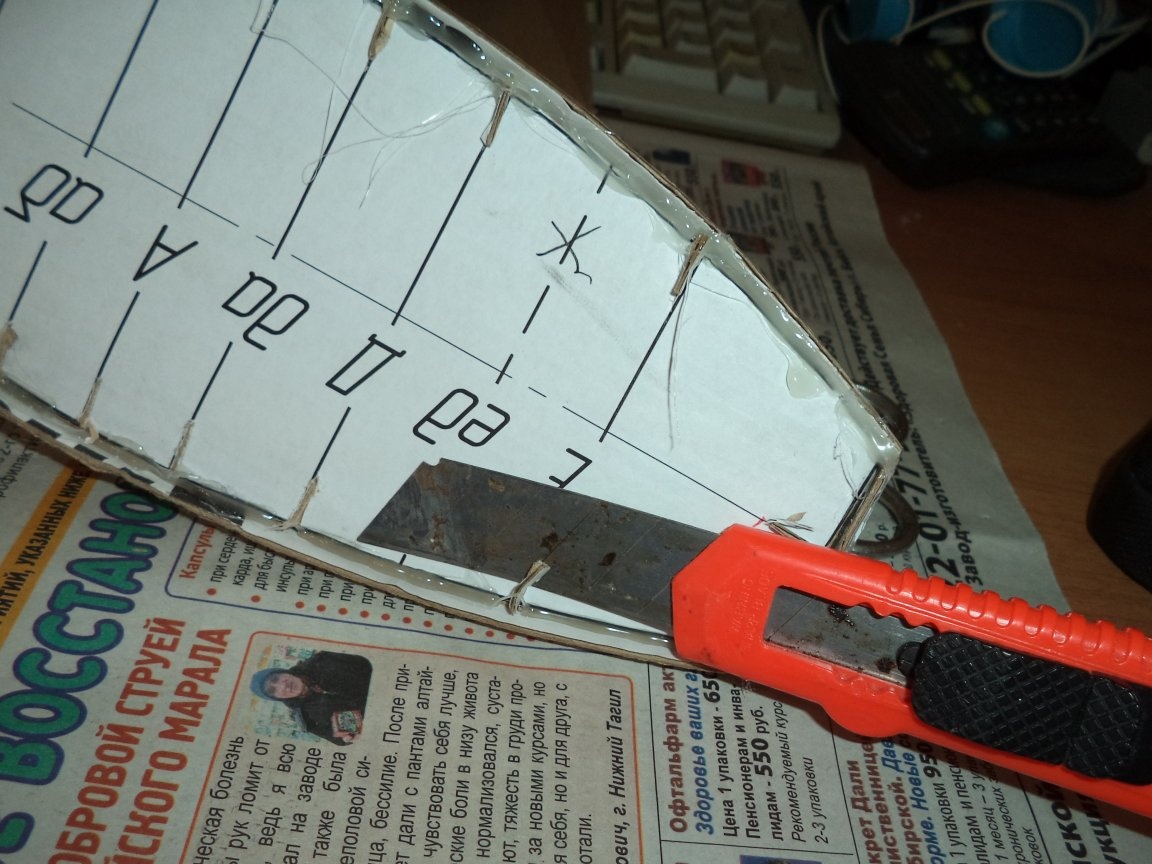
5. With a knife, we cut the parts of the frames protruding beyond the deck.
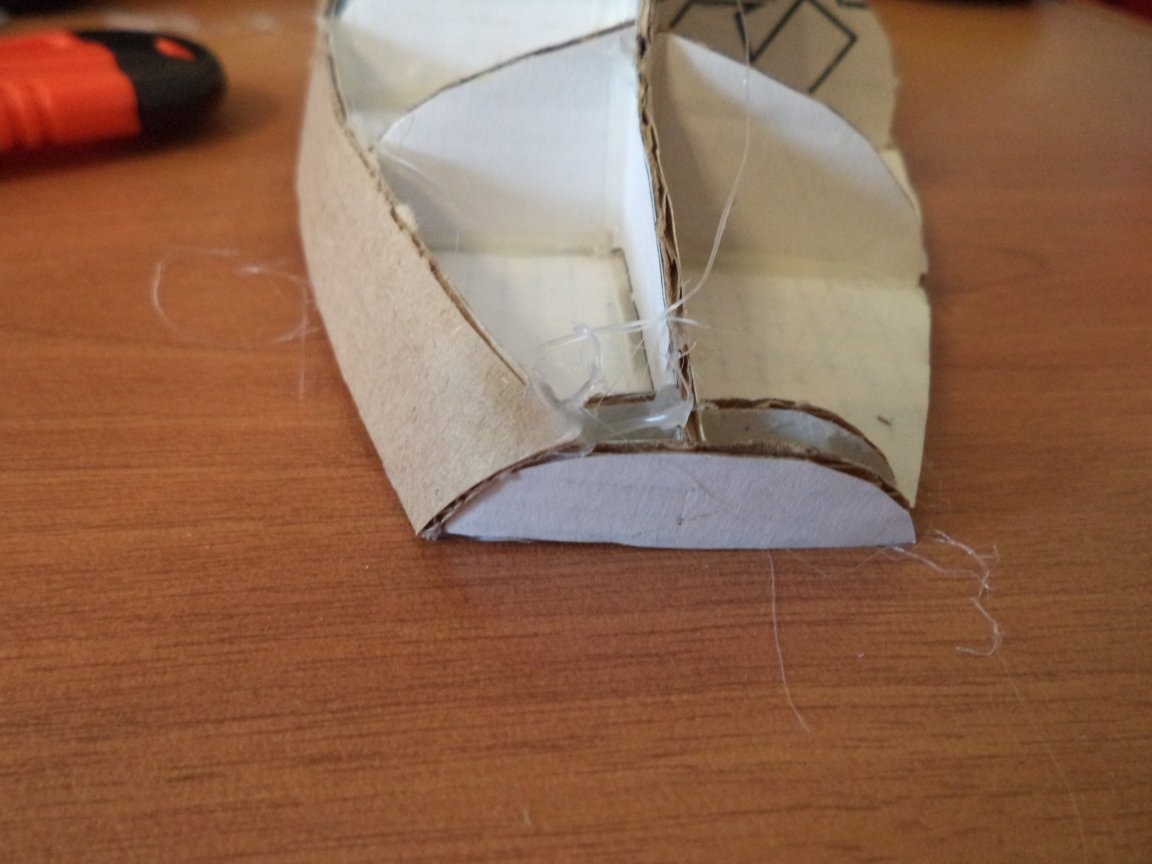
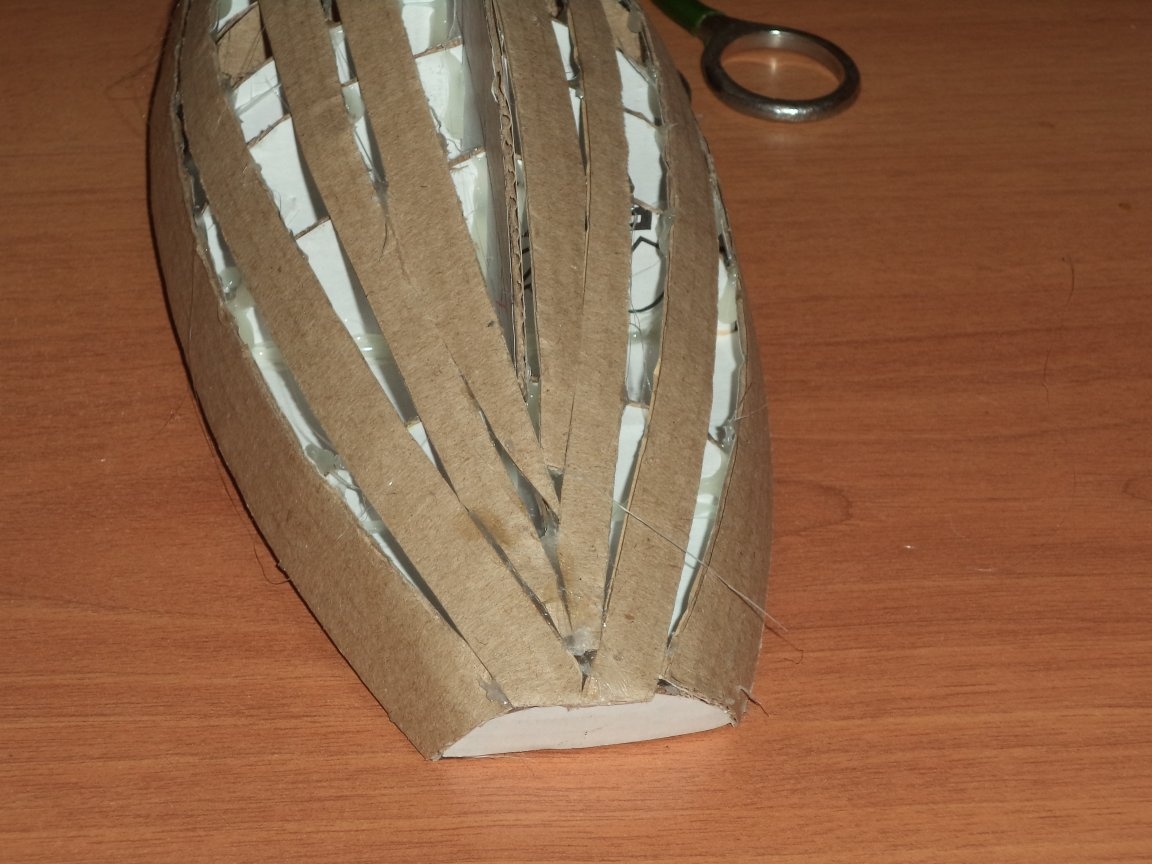
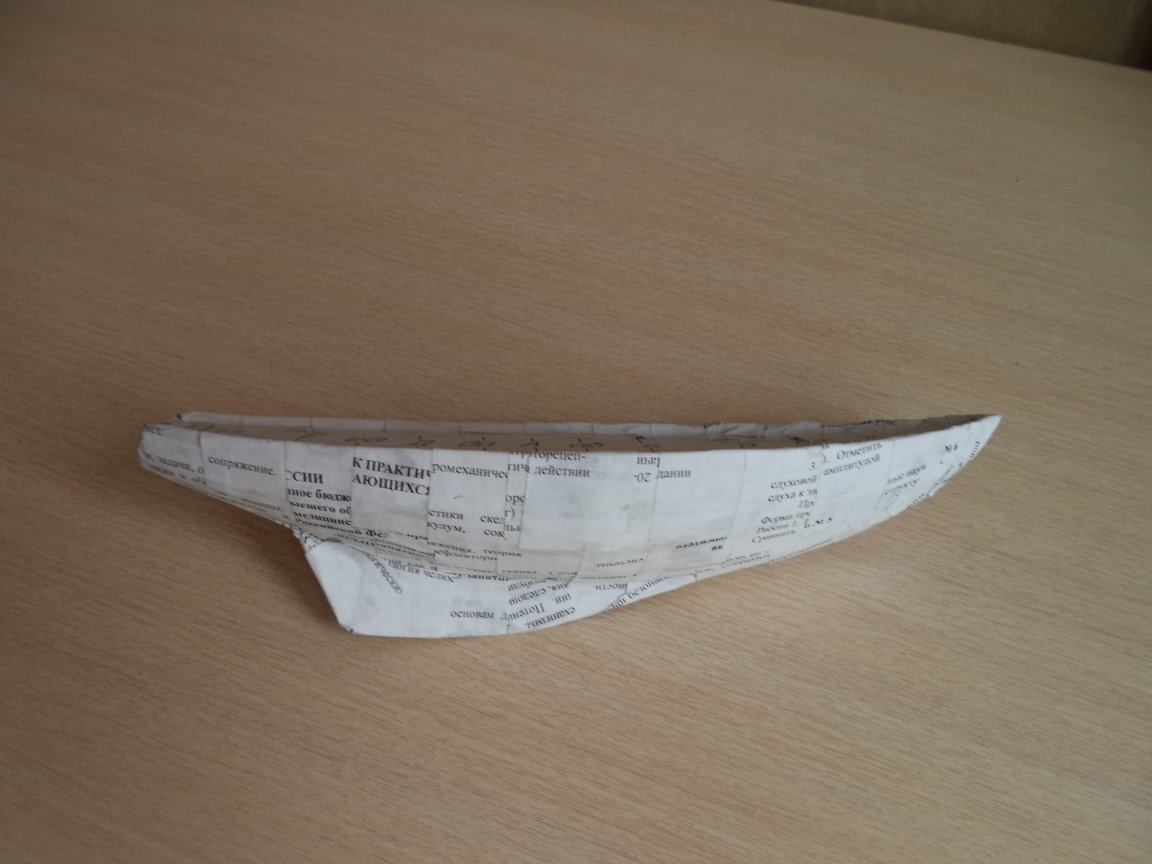
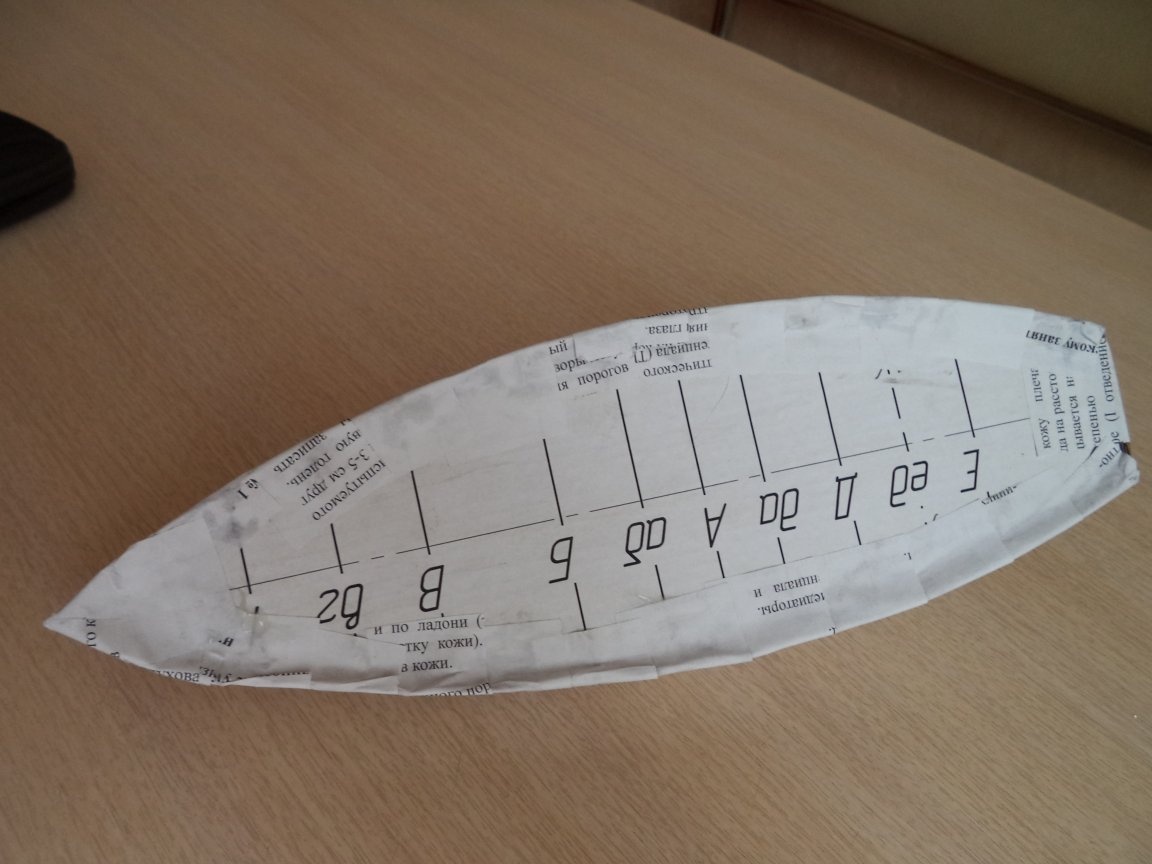
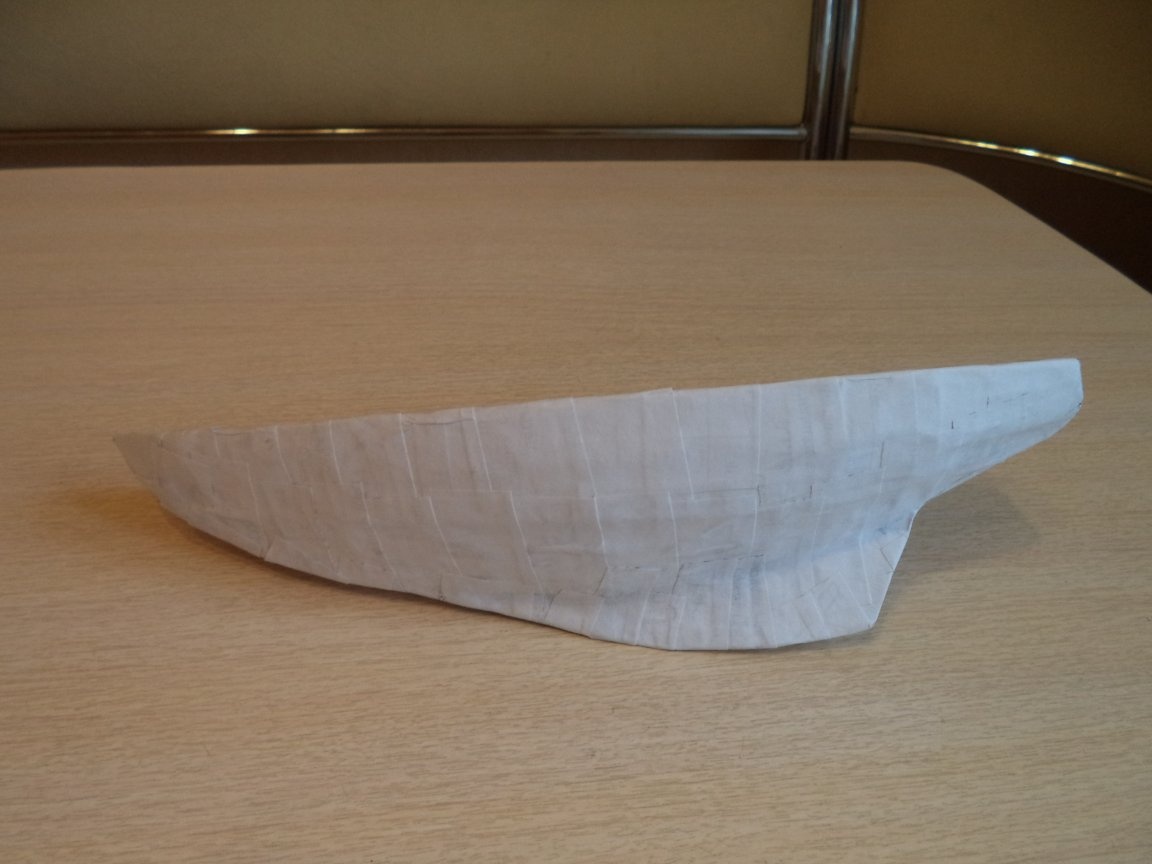
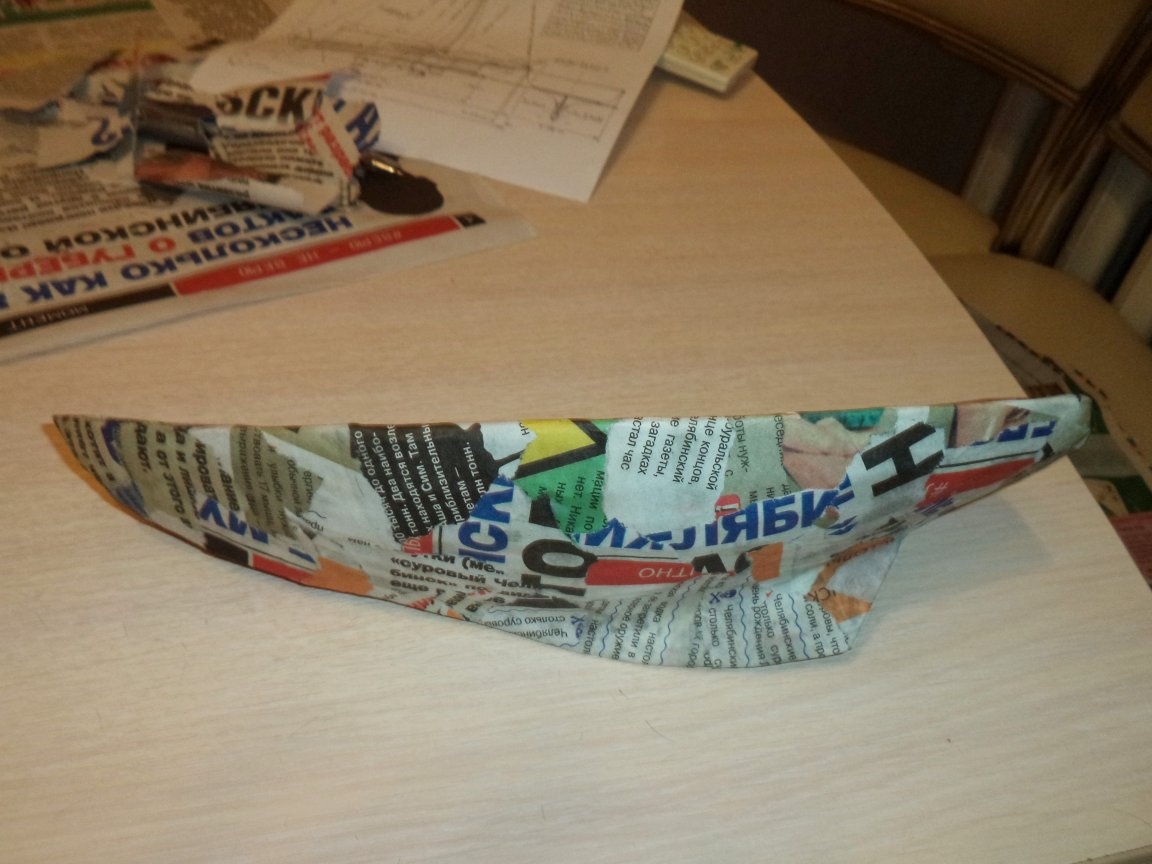
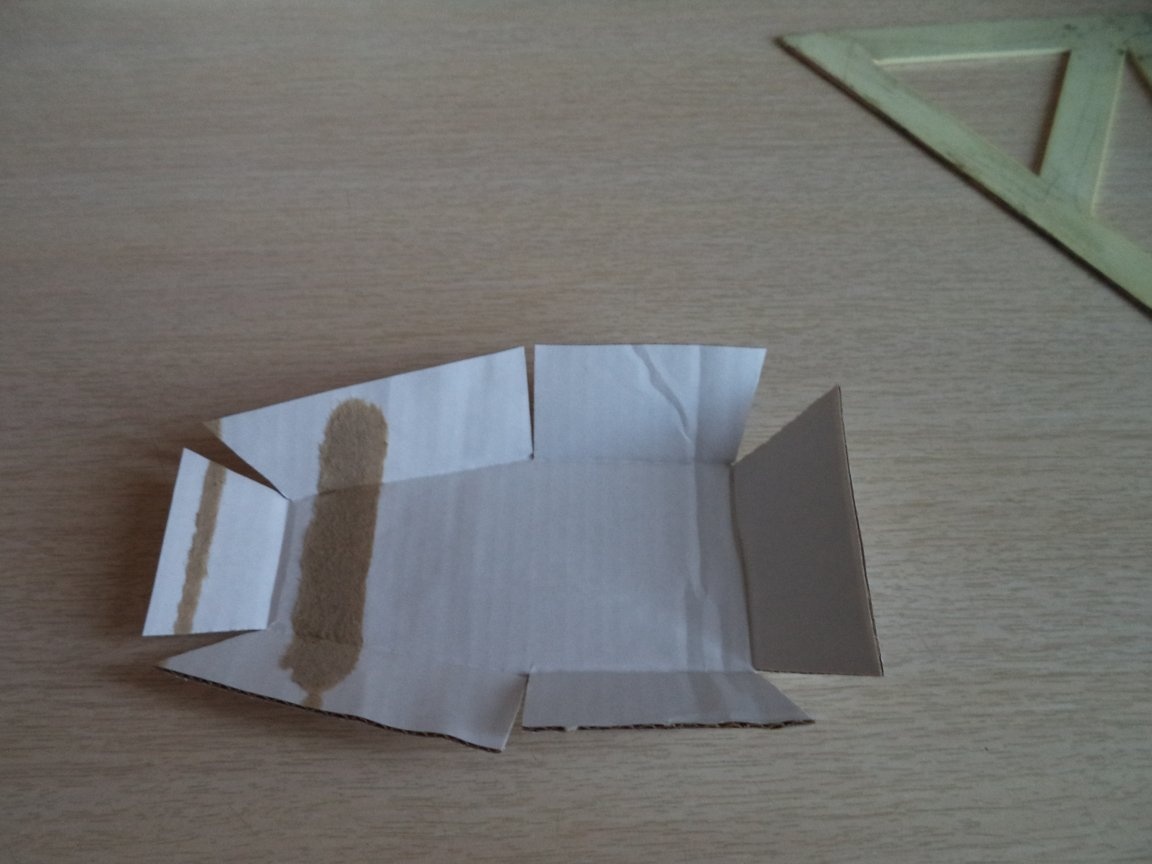
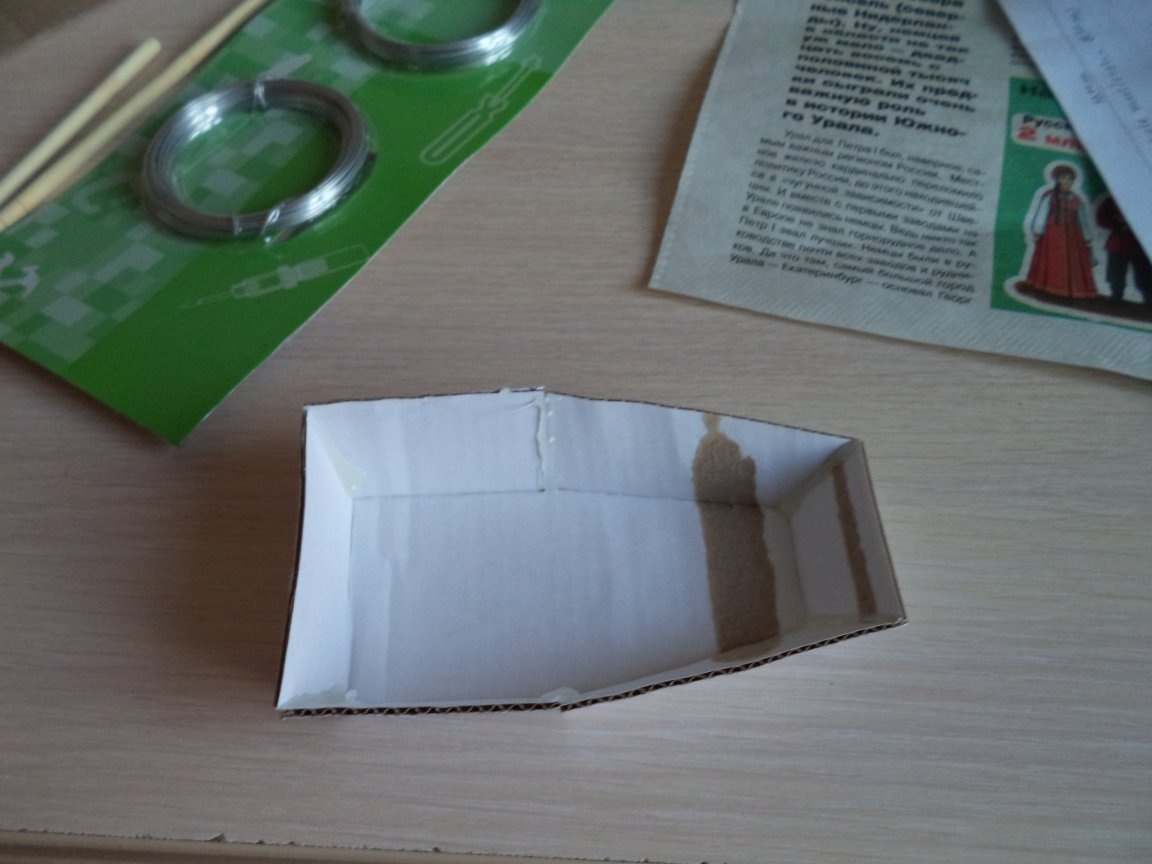
Step Four: Papier-mâché yacht hull fabrication
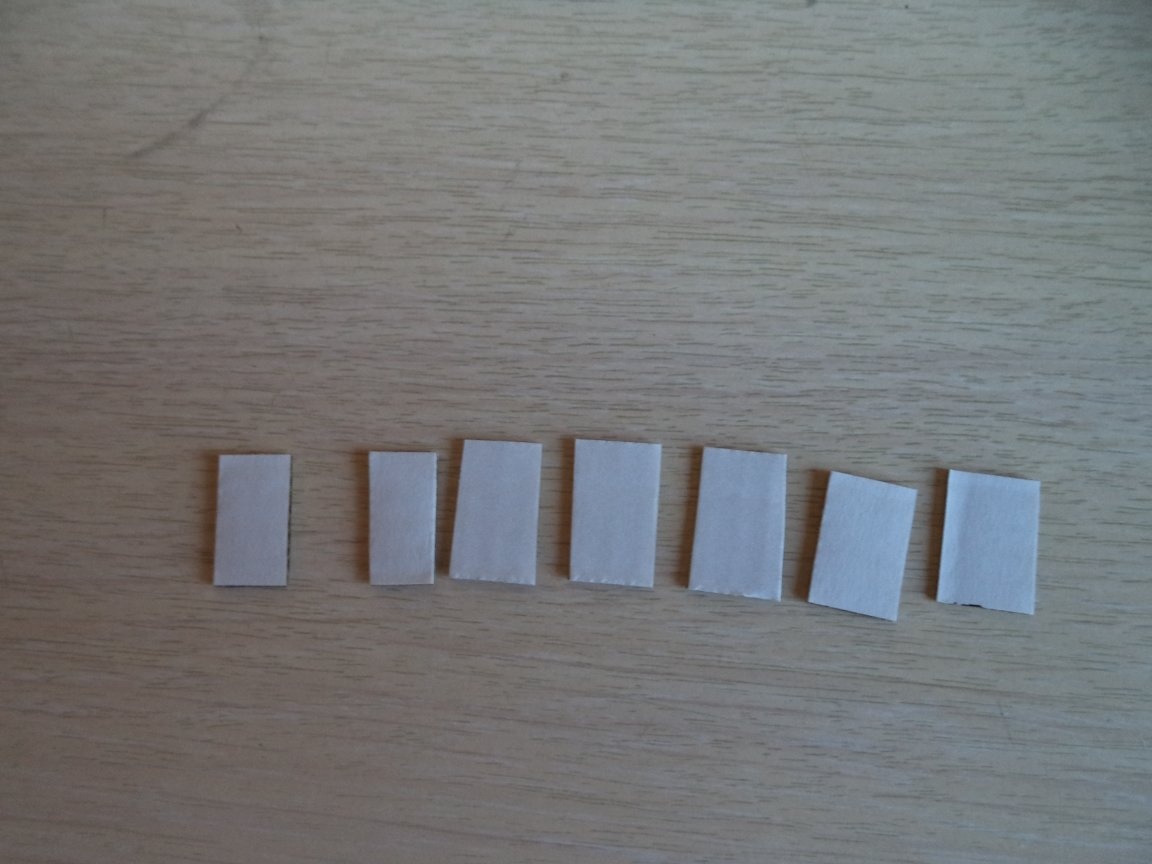
1. Cut strips of size 20x50mm and size 20x100mm from A4 office paper. (You can tear the paper for even stickers)
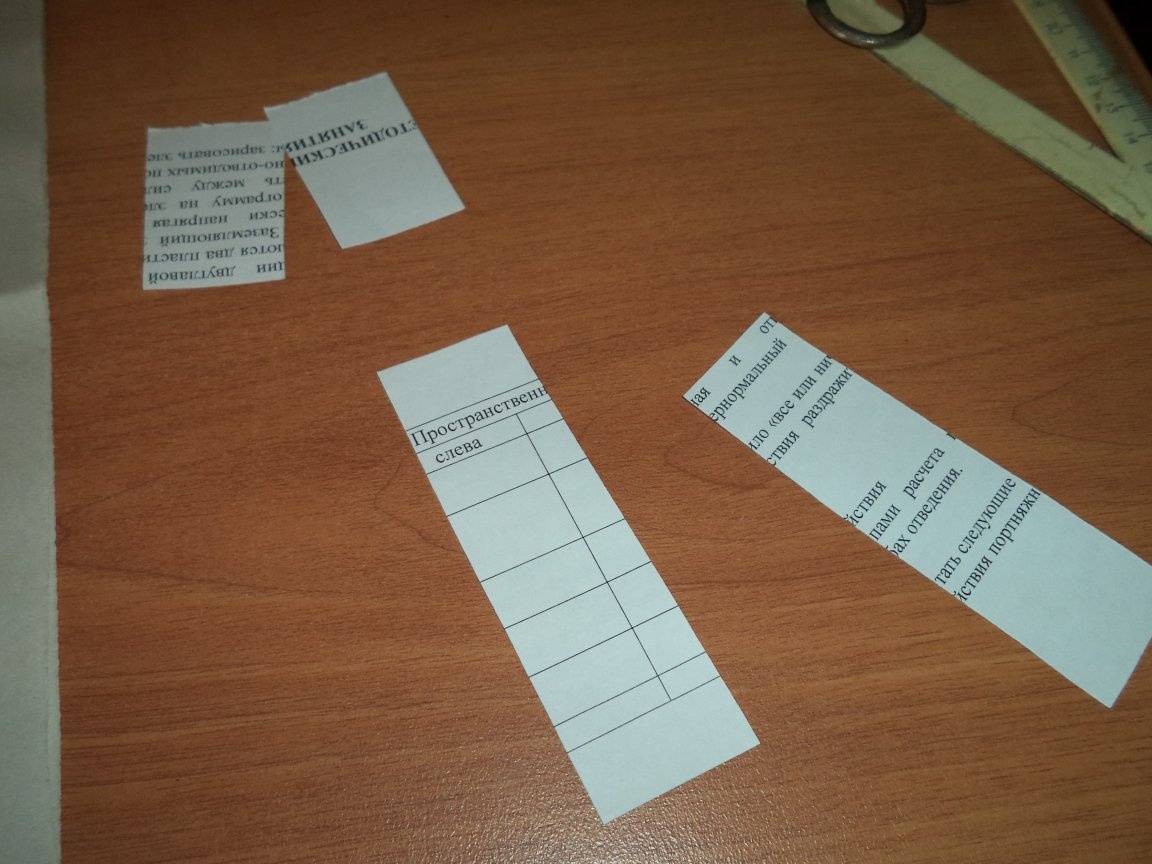
2. Using PVA, first we glue along the side of the strip a size of 20x100mm, then glue across the side of a strip of size 20x50mm. (We begin to glue from the stern to the bow and from the deck to the keel) For convenience, we first glue dark paper, then light, so that it would be clear whether the board is completely covered, and to avoid missed areas with a thin layer. Glue at least six layers for strength

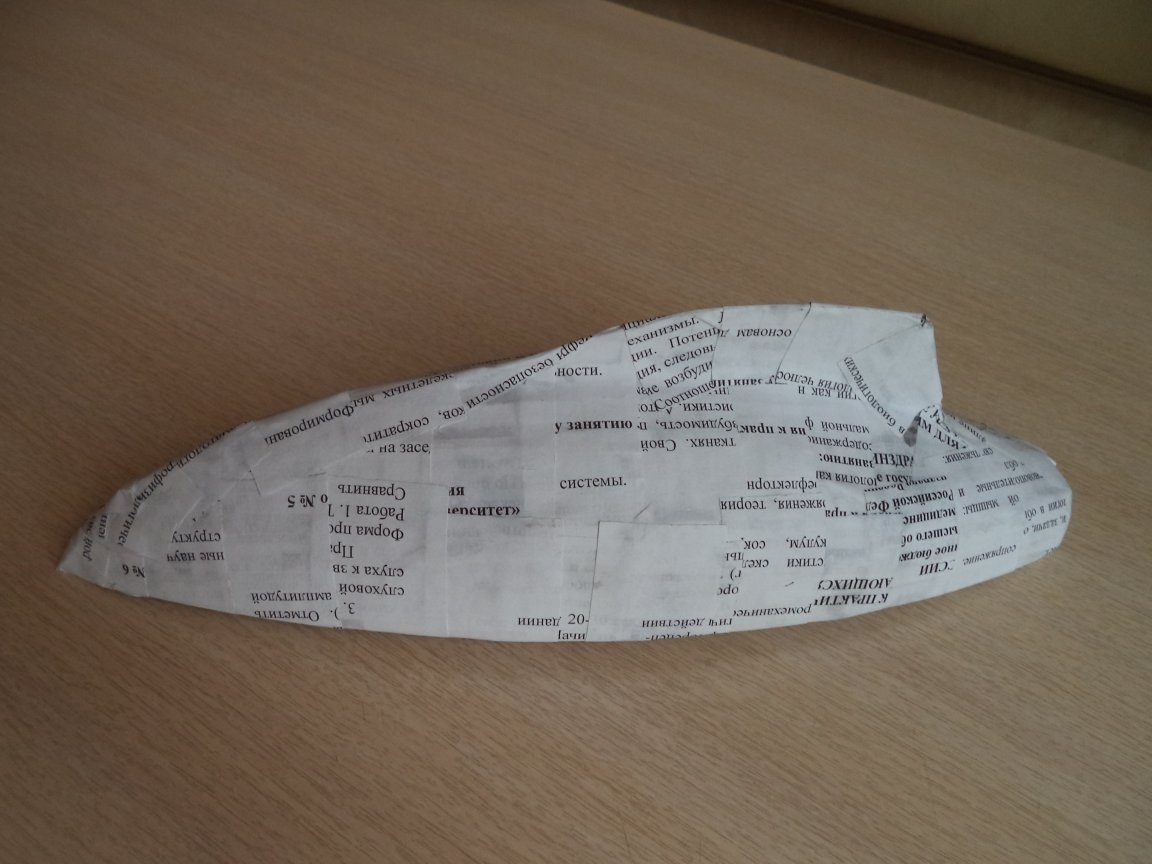
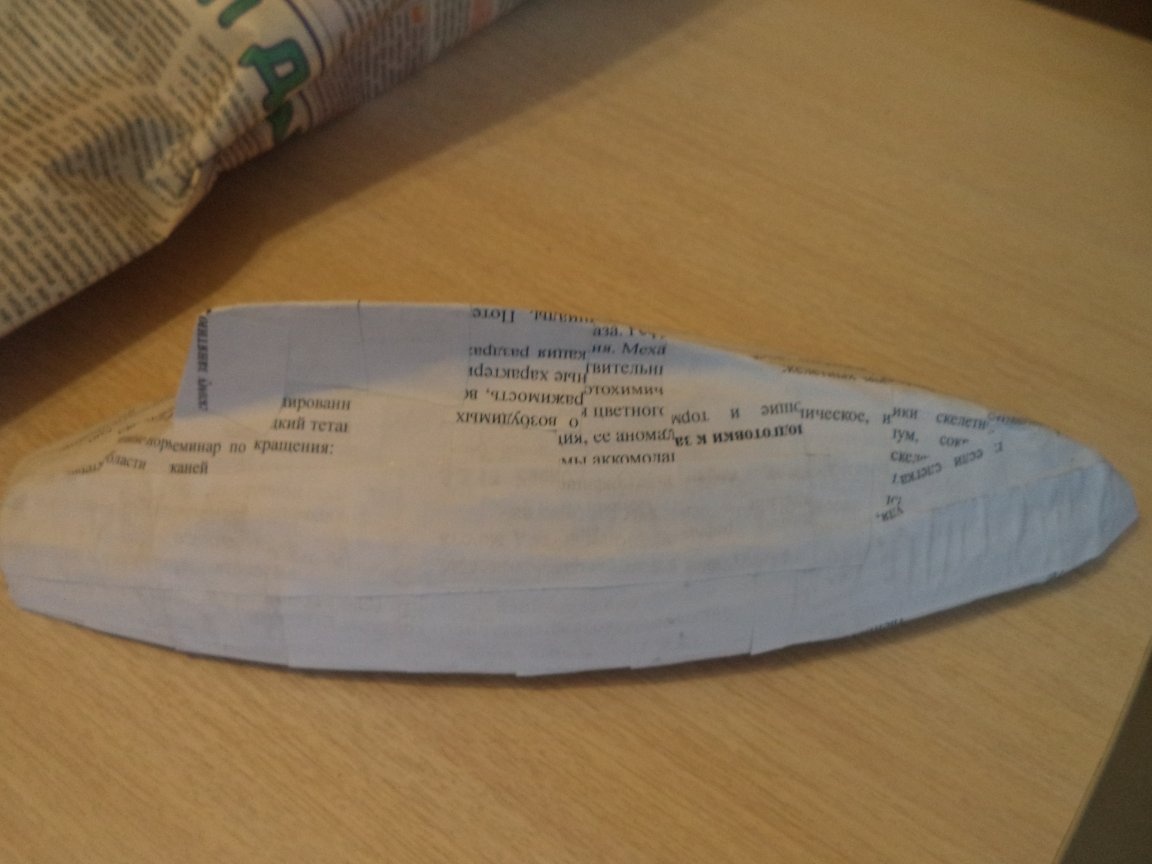
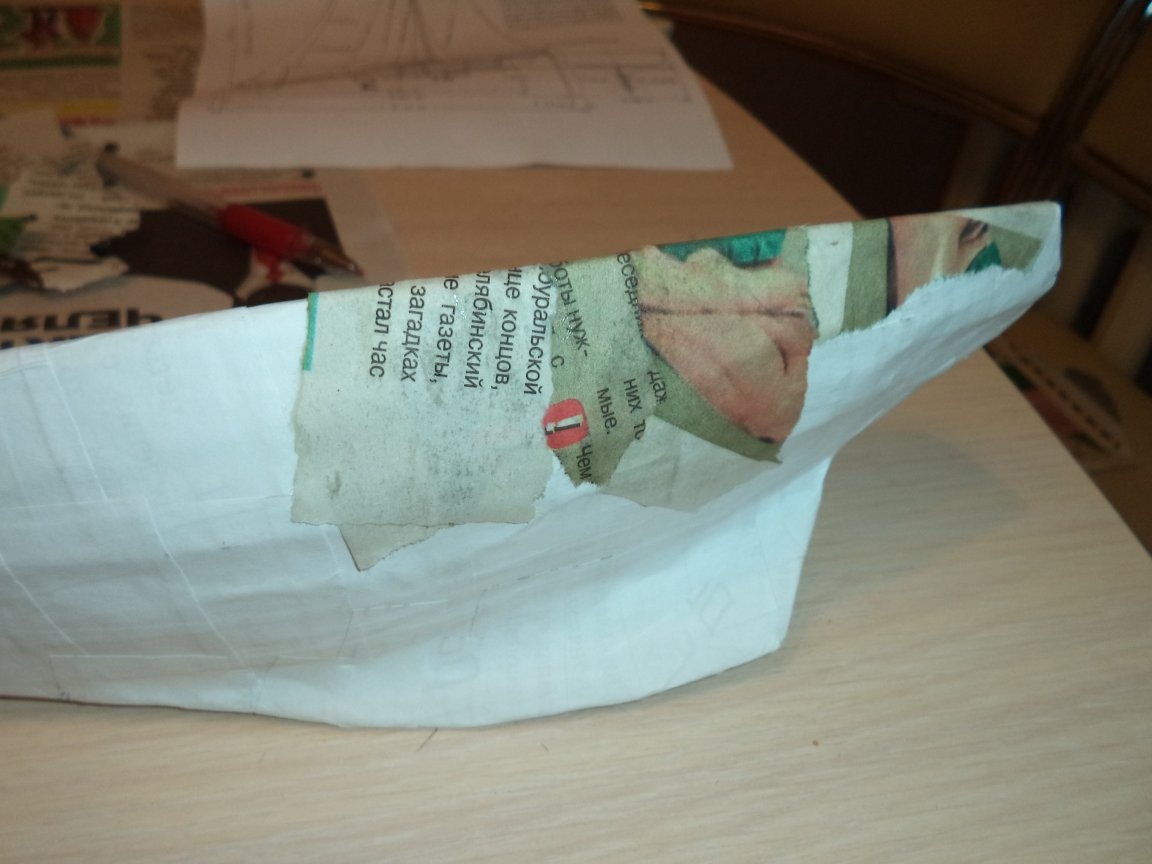
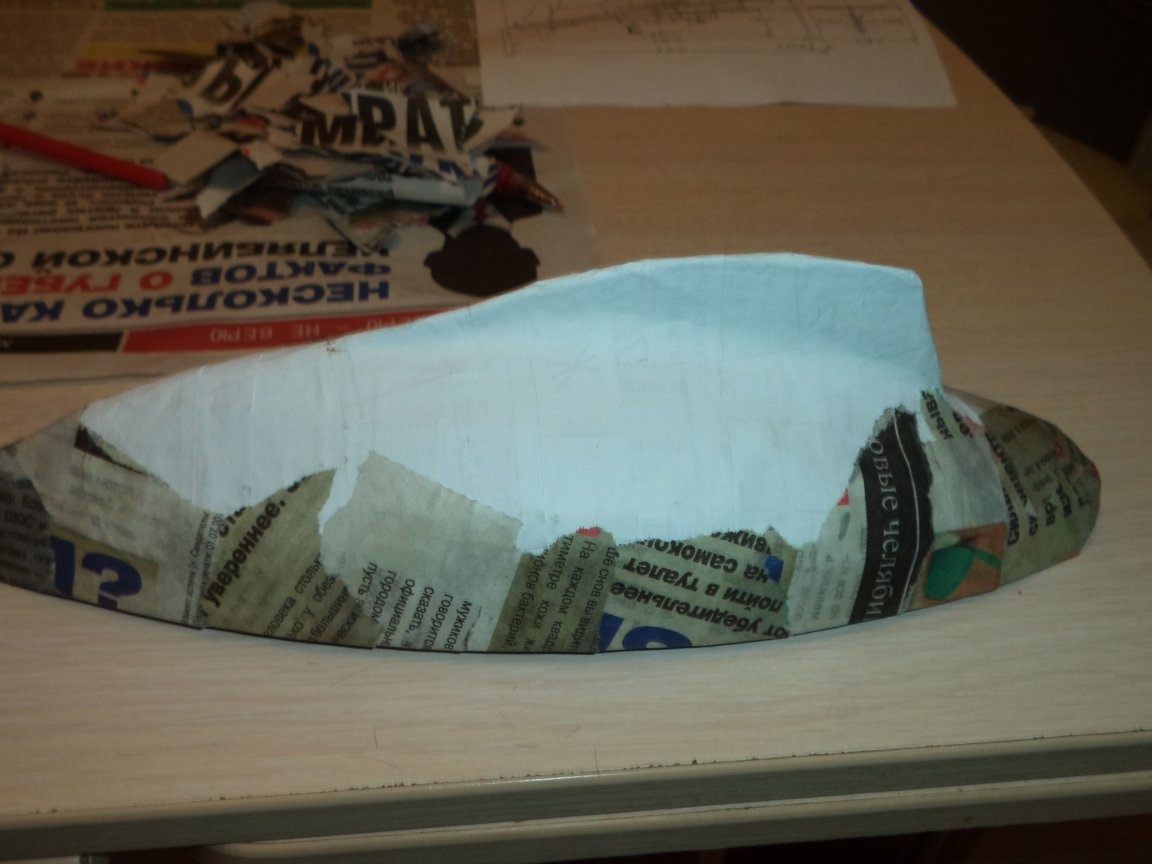
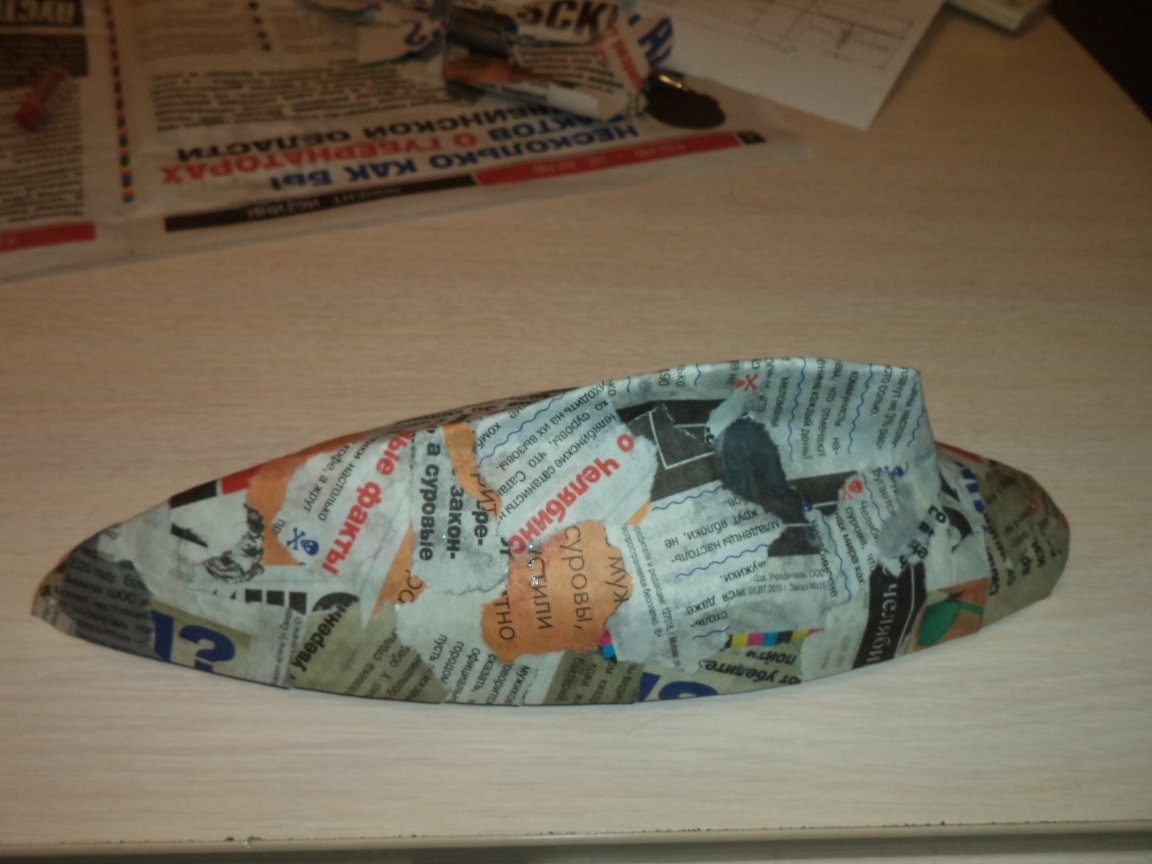
3. To level the surface, we’ll scrub toilet paper or newspaper and glue the left and right sides.
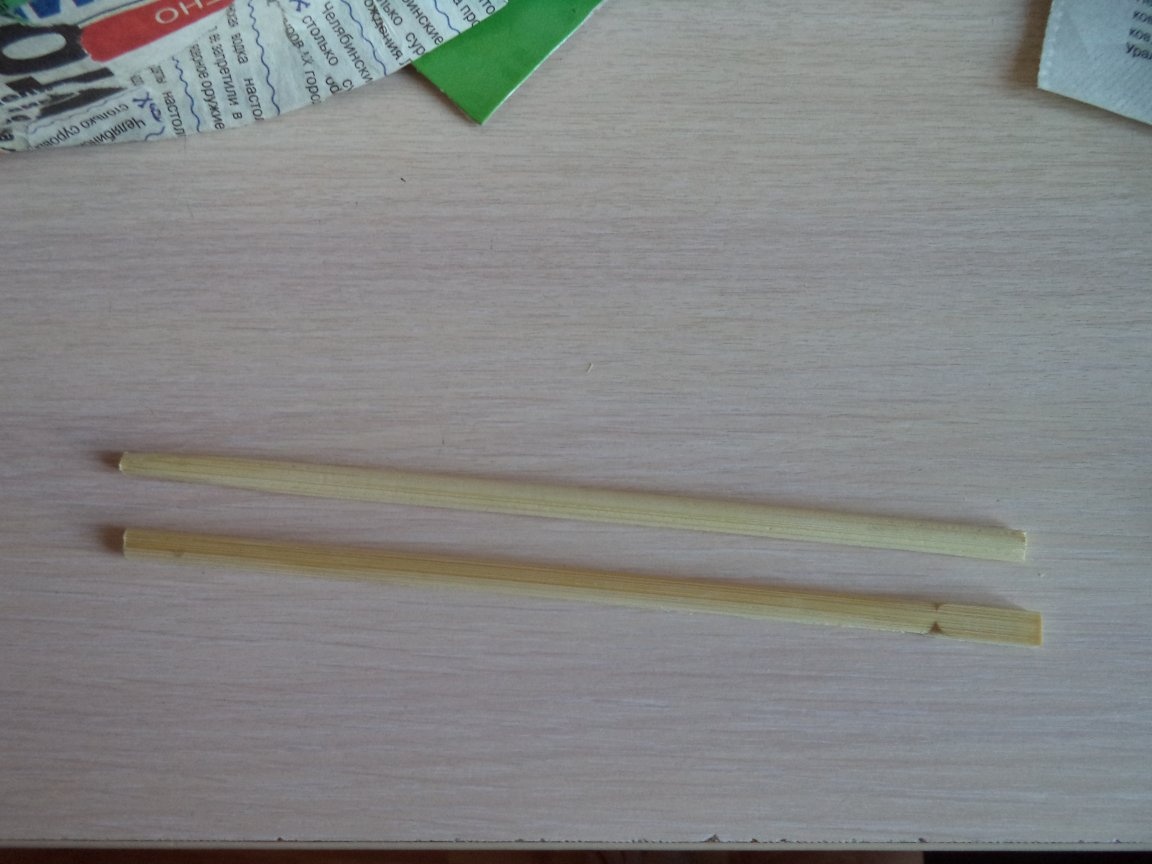
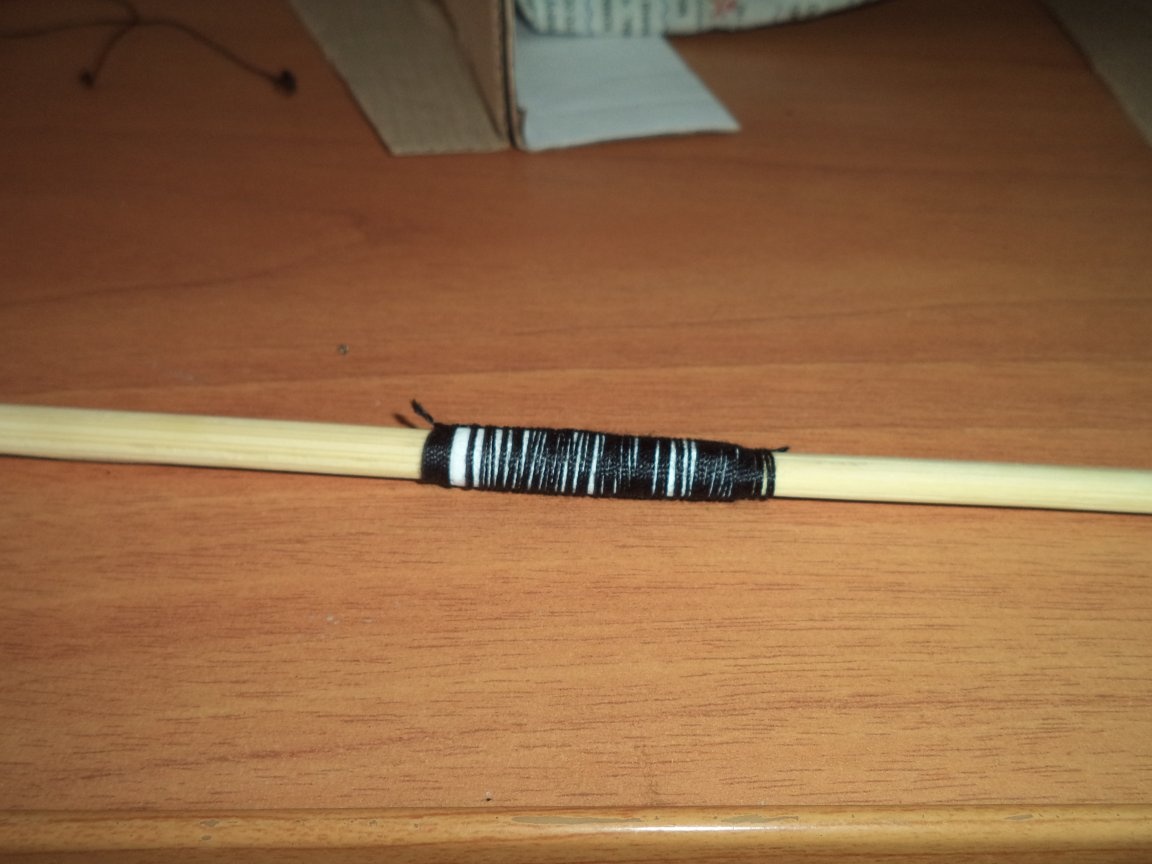
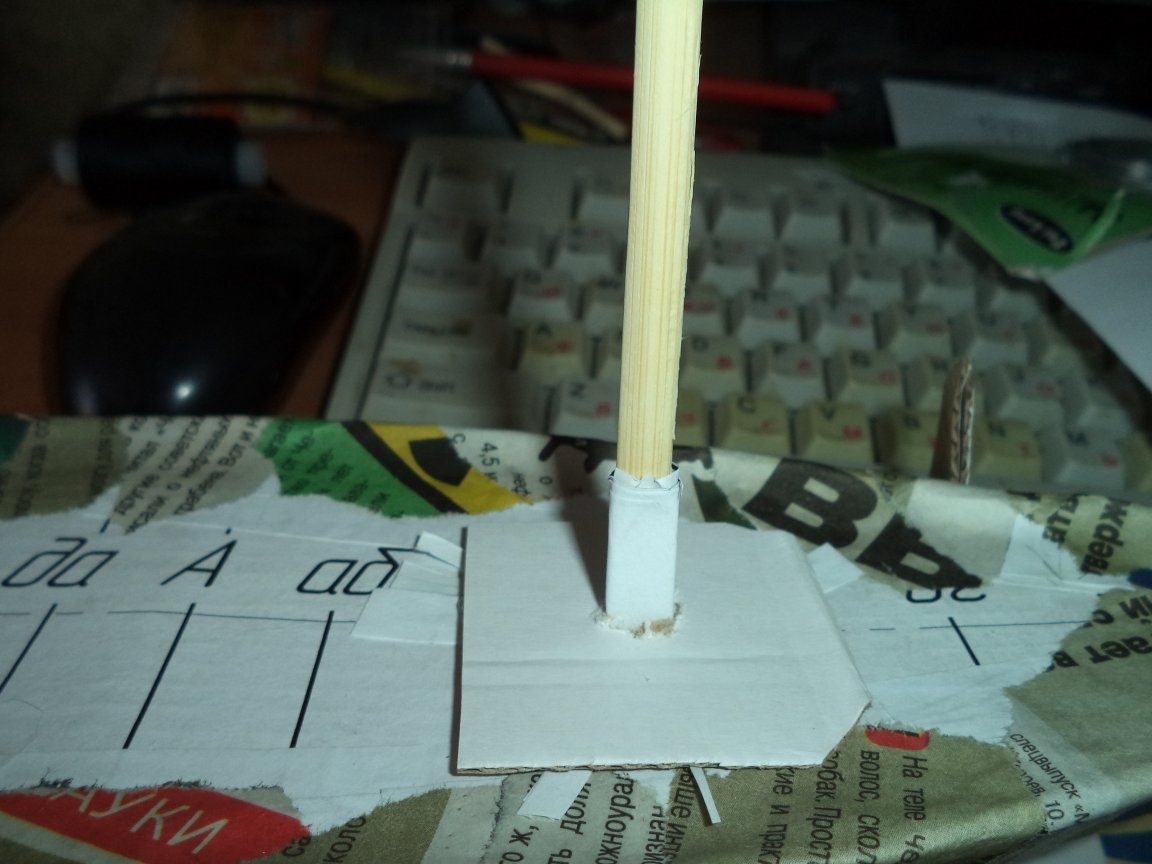
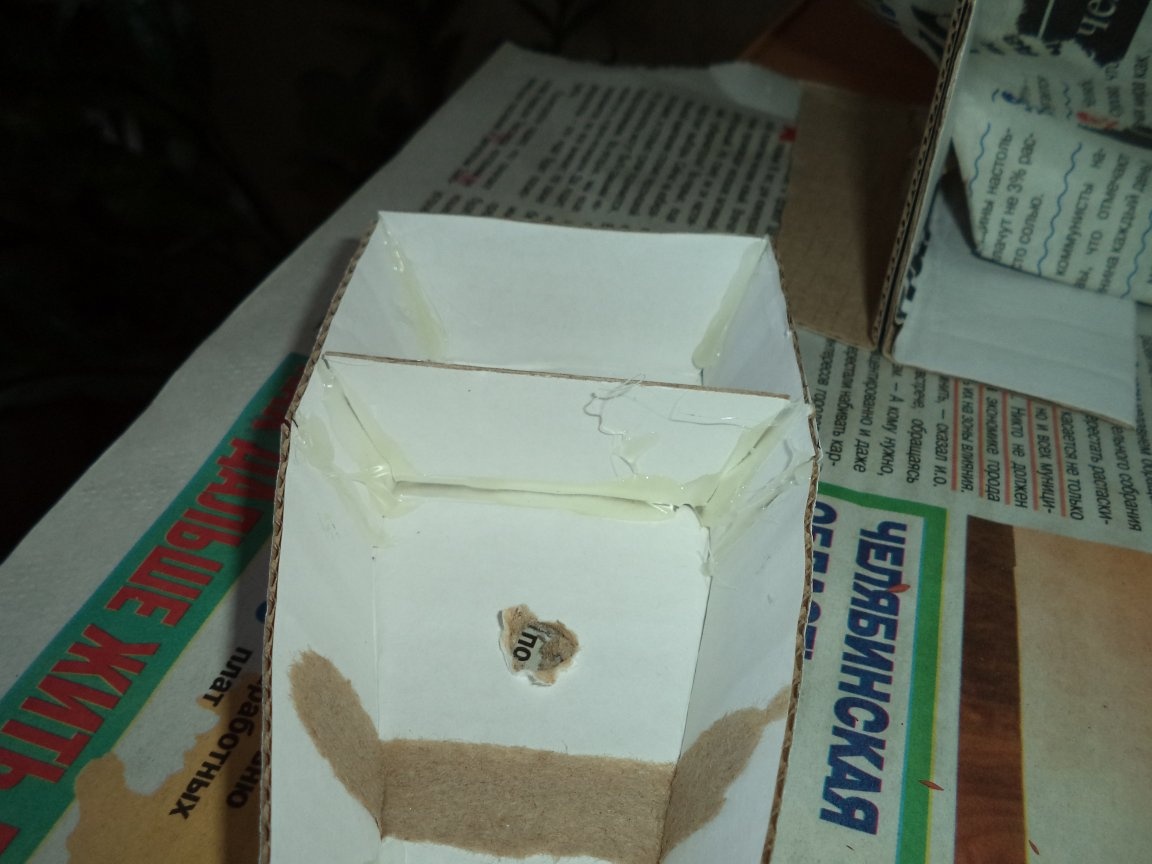
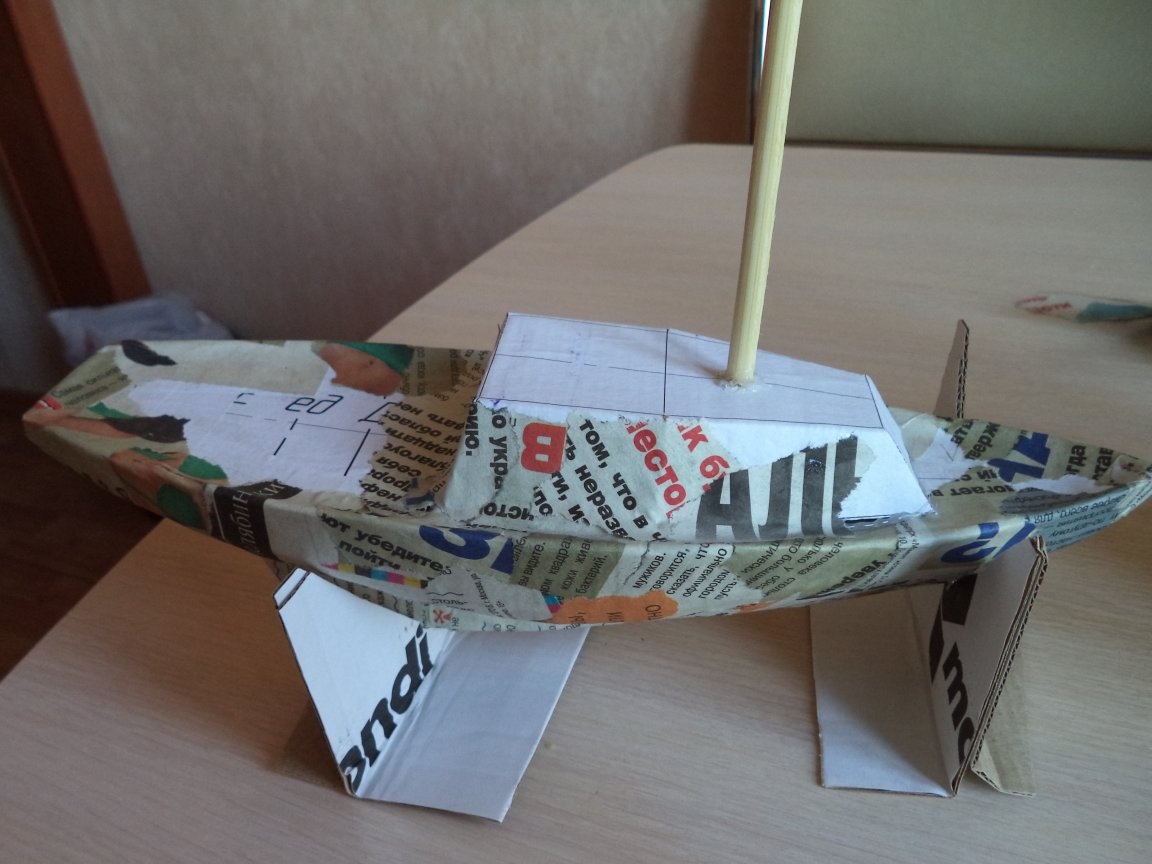
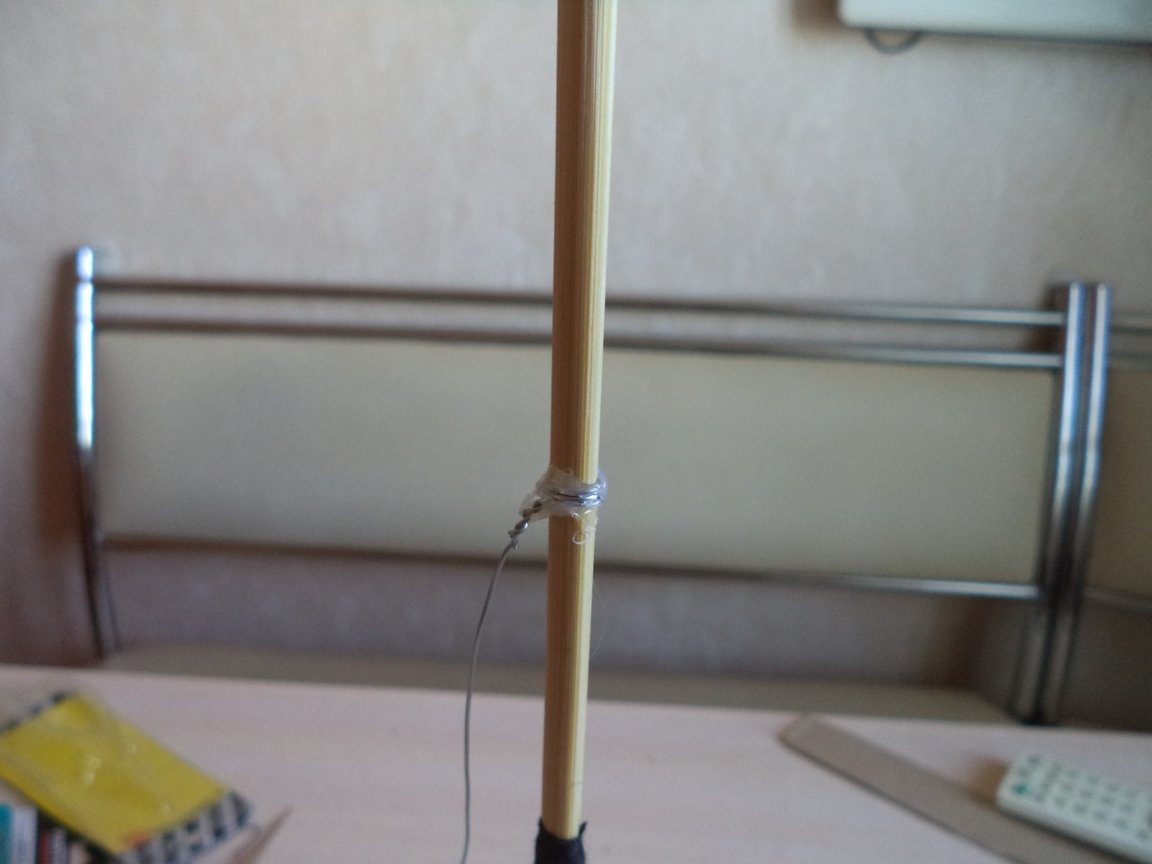
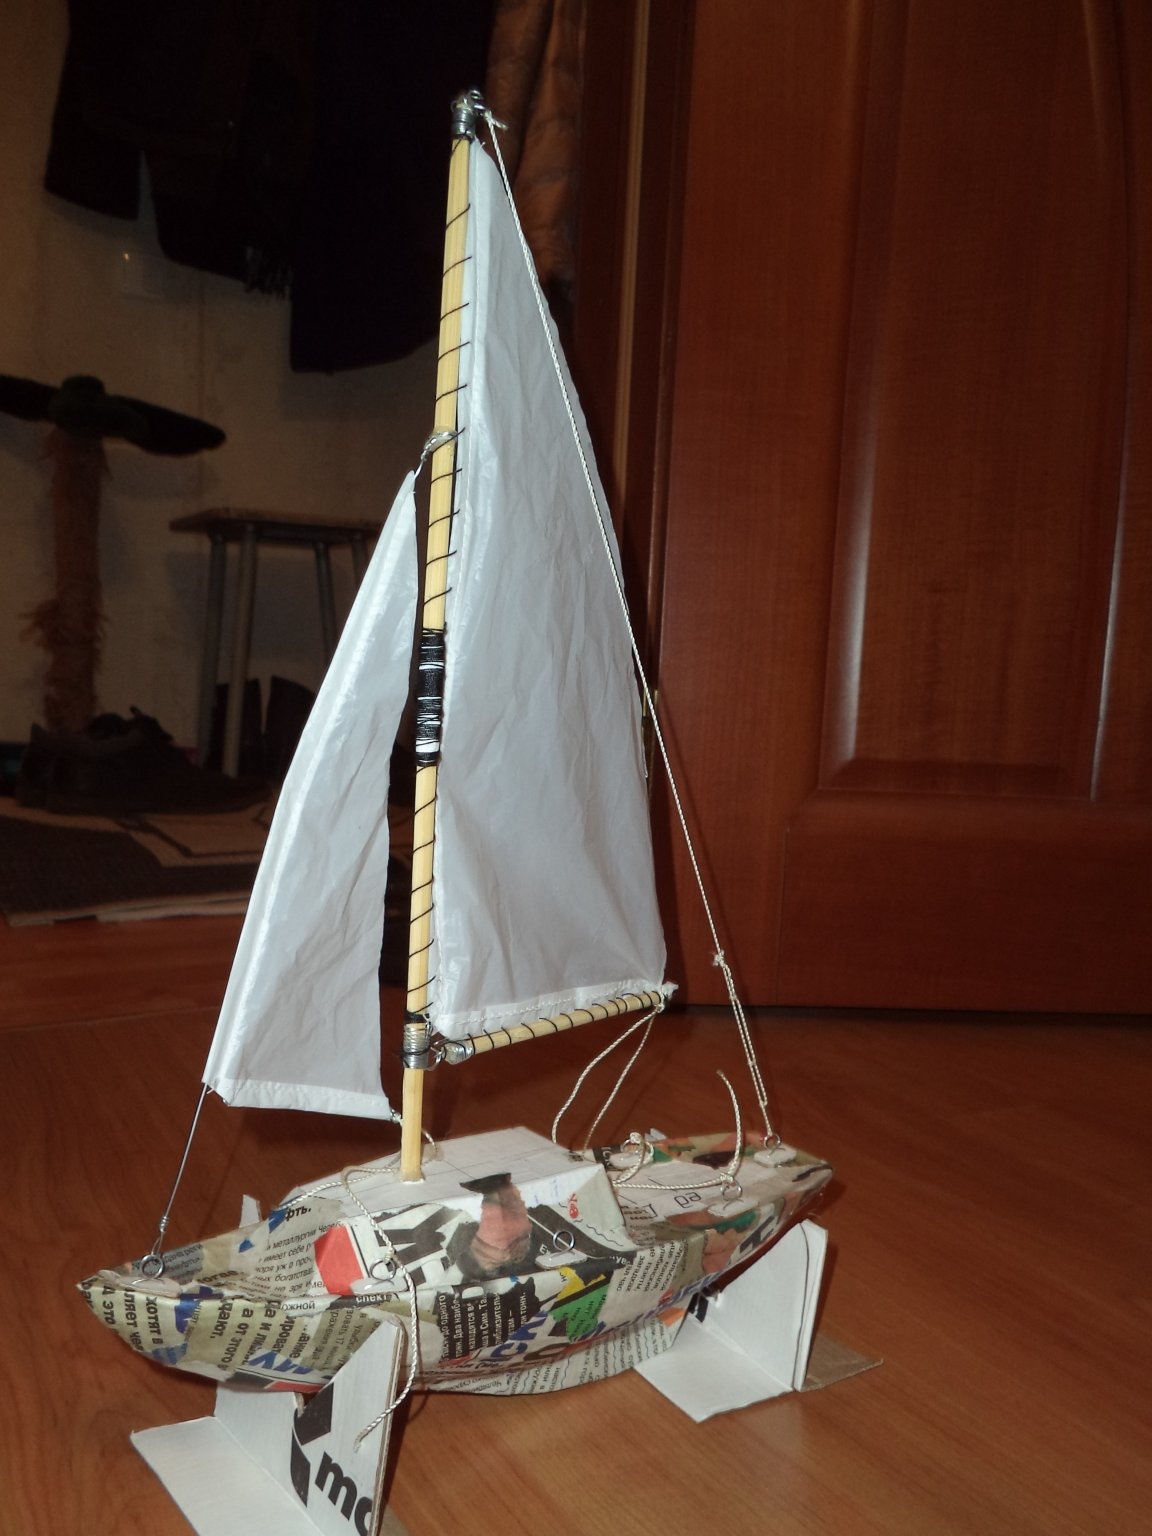
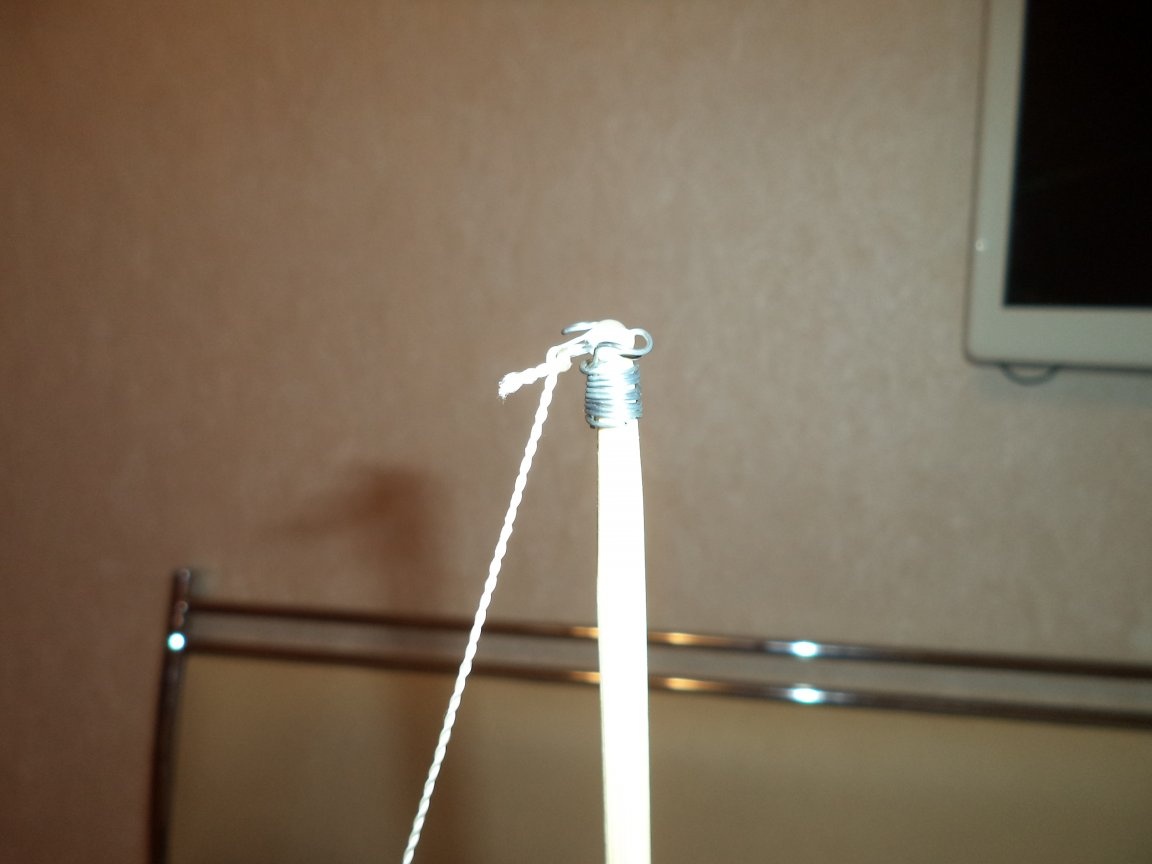
Step Five: Fabrication and installation of the main mast
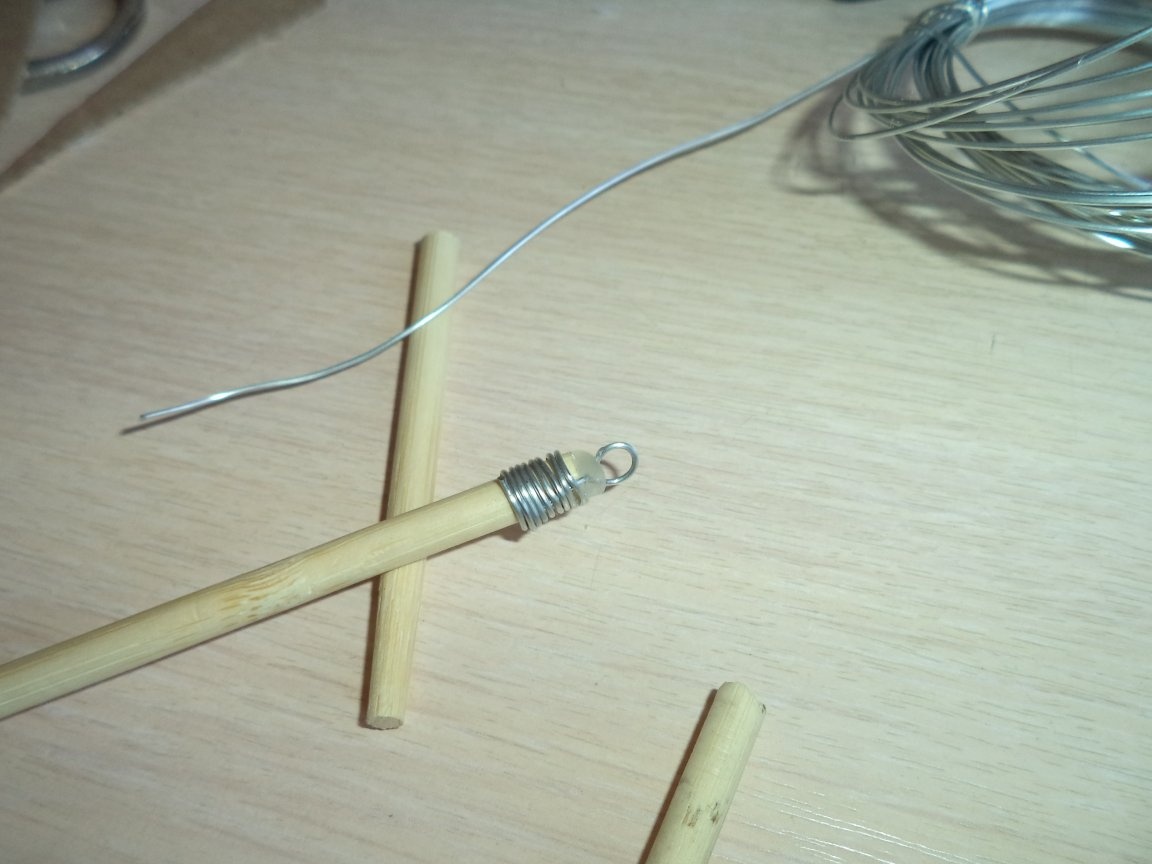
1. We make the mast the mast from sushi sticks, adjust the size of the sticks, cut out a strip of paper, smear the PVA and wrap it around the mast joint, for reinforcement, you can wind the thread around the gluing site.
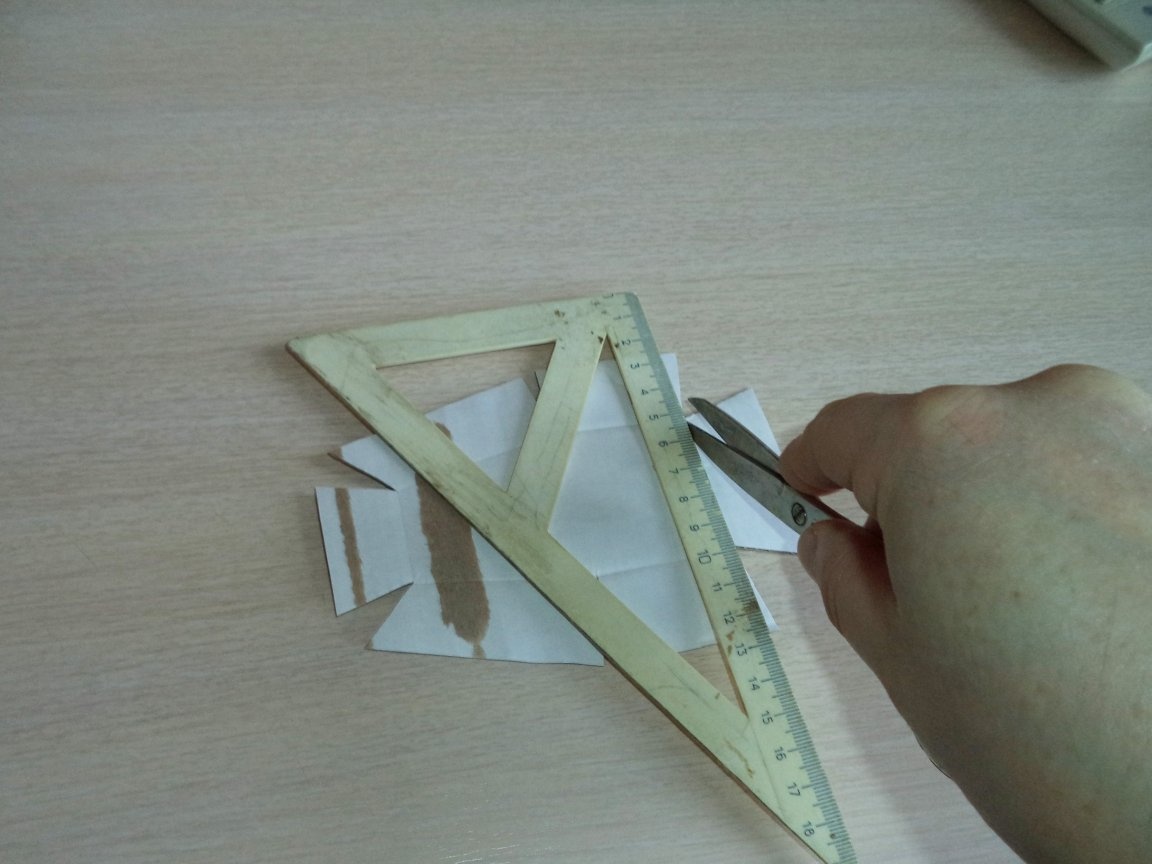
2. We make blanks for the superstructure of the mounting pad and stiffeners.
3. Cut a strip of 40 mm from the paper, smear the PVA and step back from the edge of 20 mm, wrap it around the lower end of the mast, make 3 cuts of the protruding paper and bend it at 90 degrees. We smear the protruding parts of the paper and stick it on the mast installation site.
4. Around the mast, apply hot glue and put a mounting pad on the mast, align the mast and attach stiffeners with hot glue.
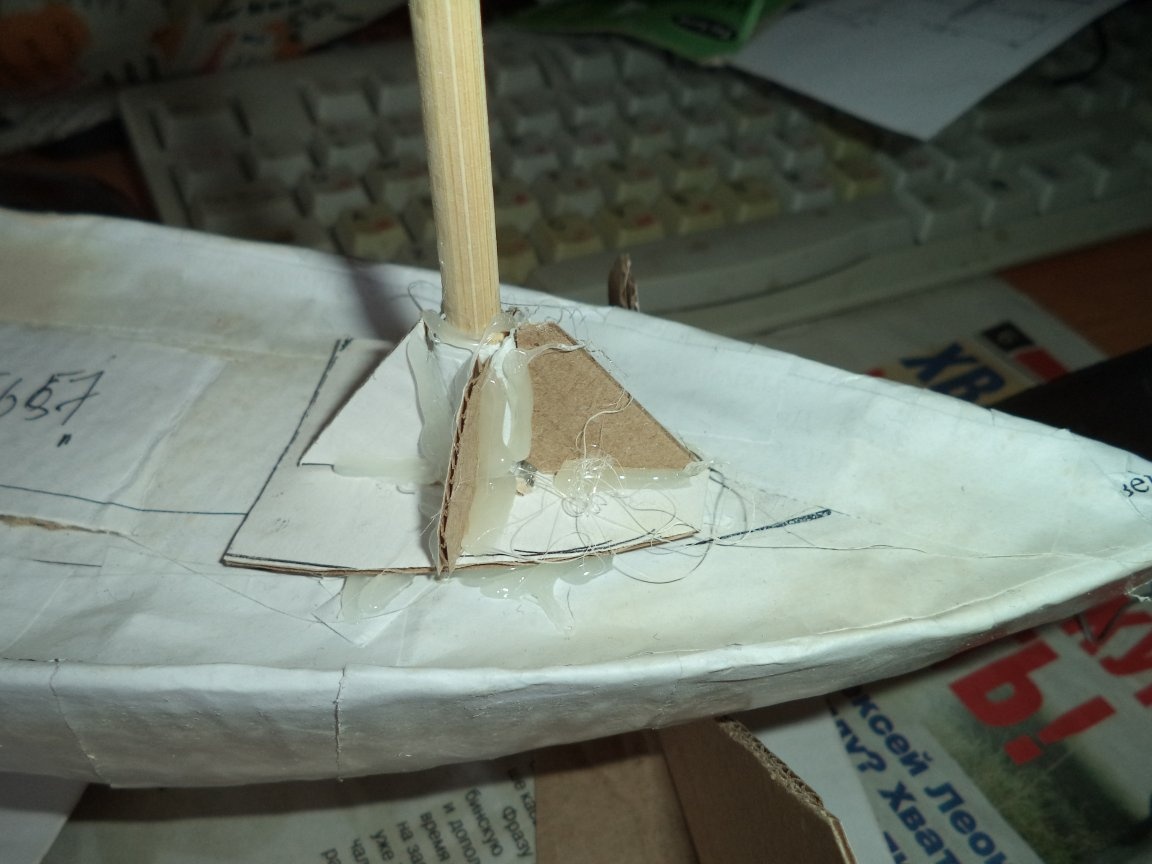
5. On the workpiece of the superstructure, with the blunt end of the scissors, we carry out the joints, making dents, bend and fasten the sides and the stiffener of the superstructure with hot glue.
6. We put the finished superstructure on the mast and attach it to the deck with hot glue, glue the joint between the mast and the roof of the superstructure.
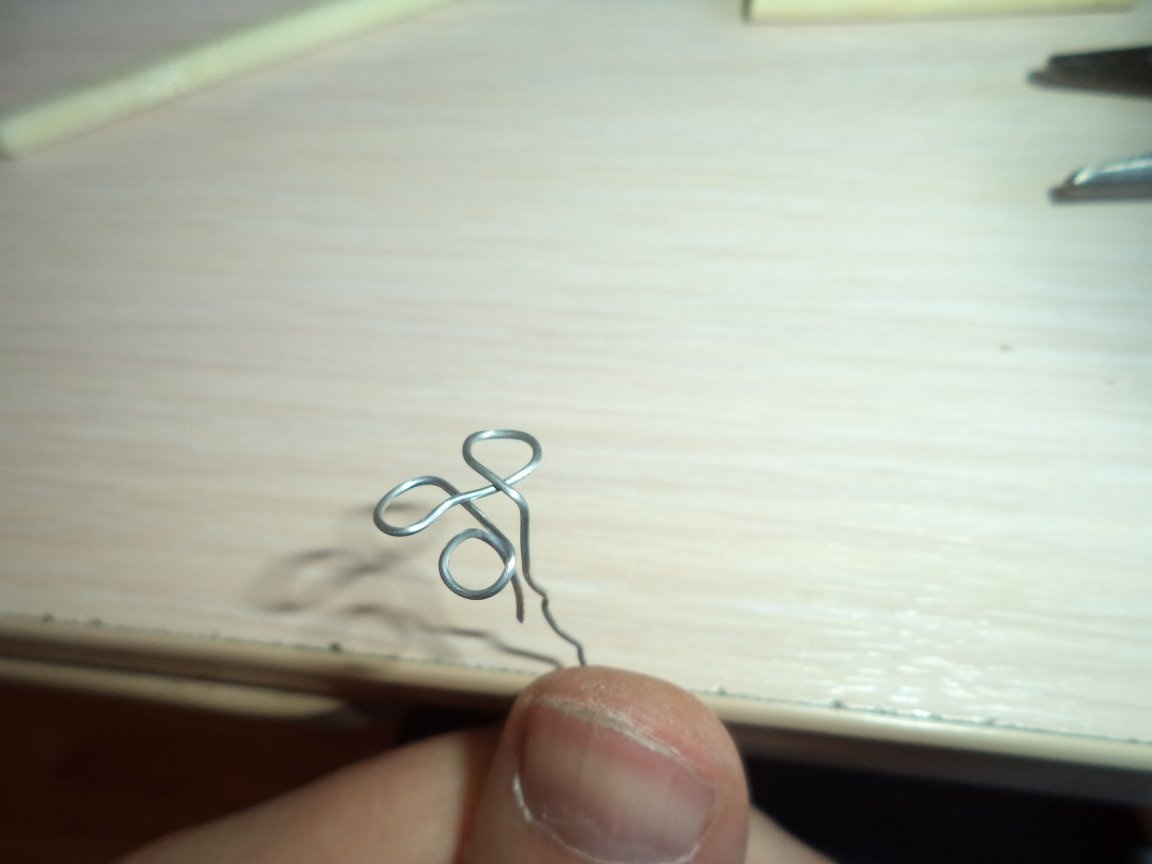
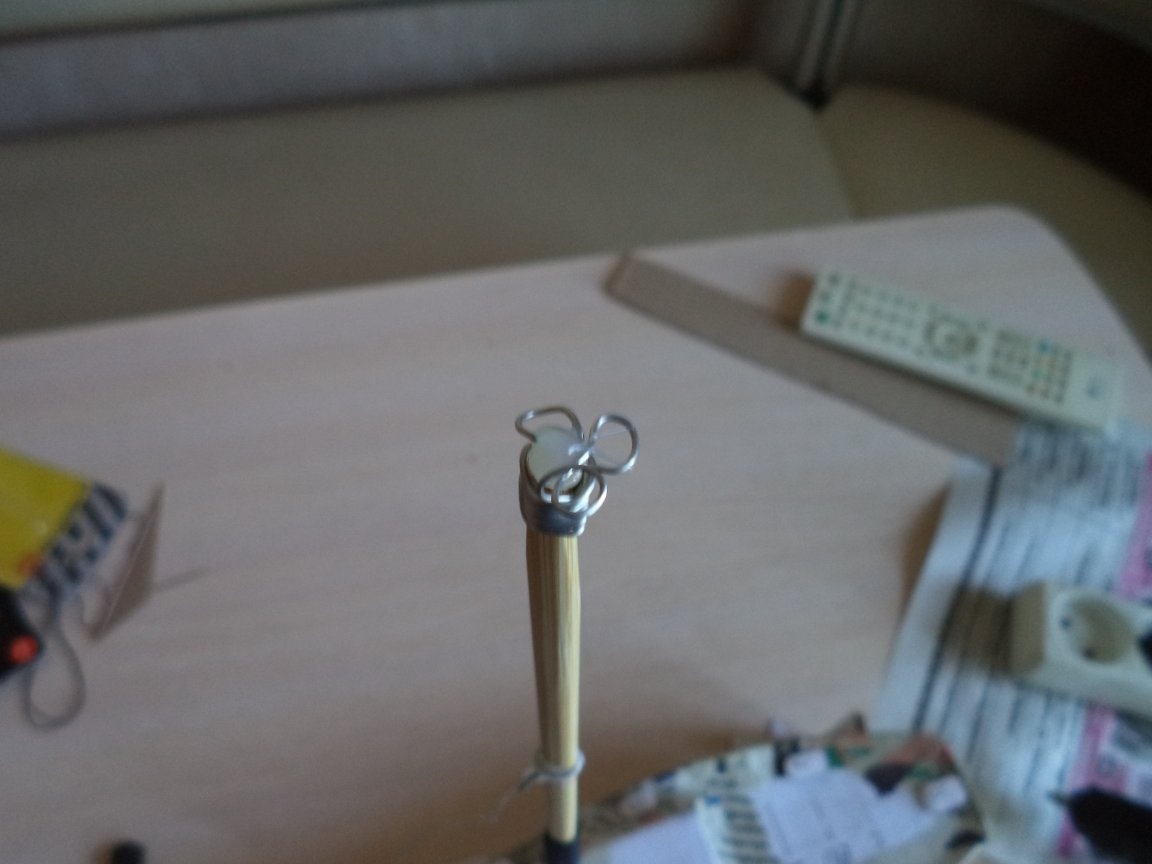
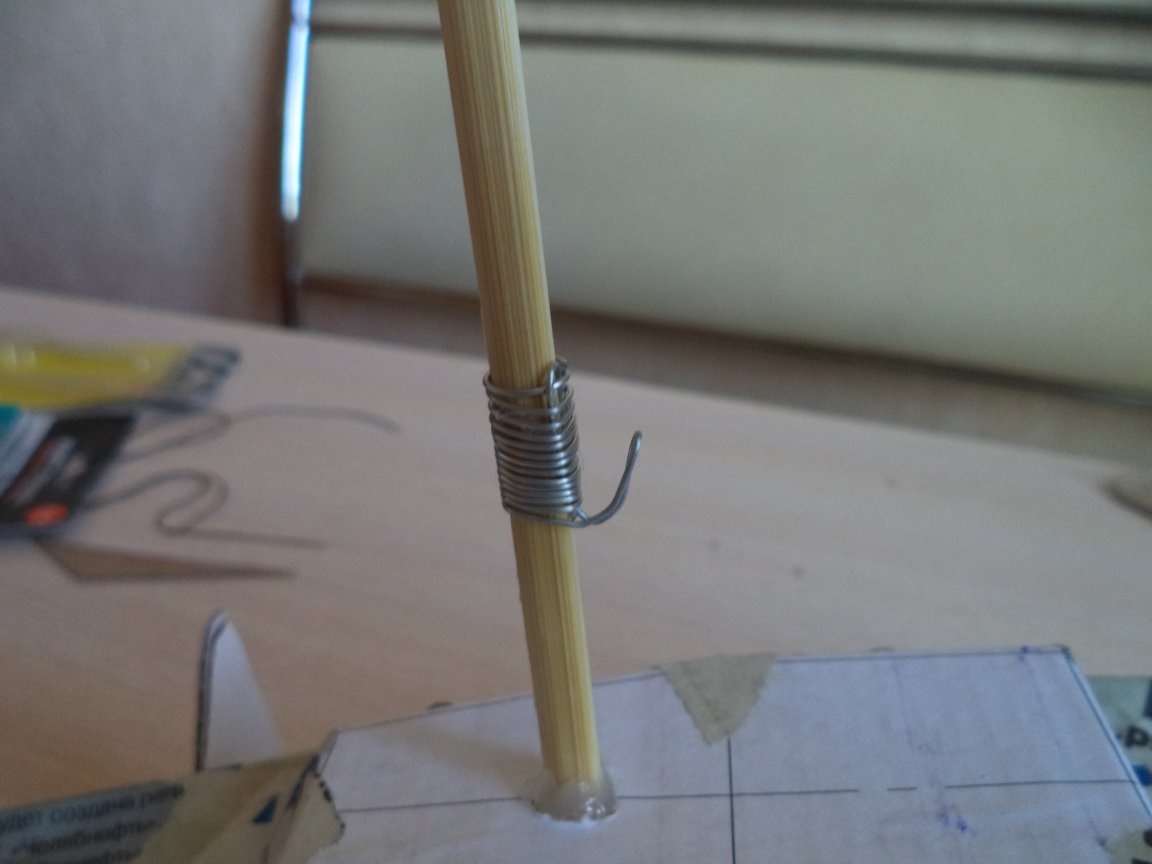
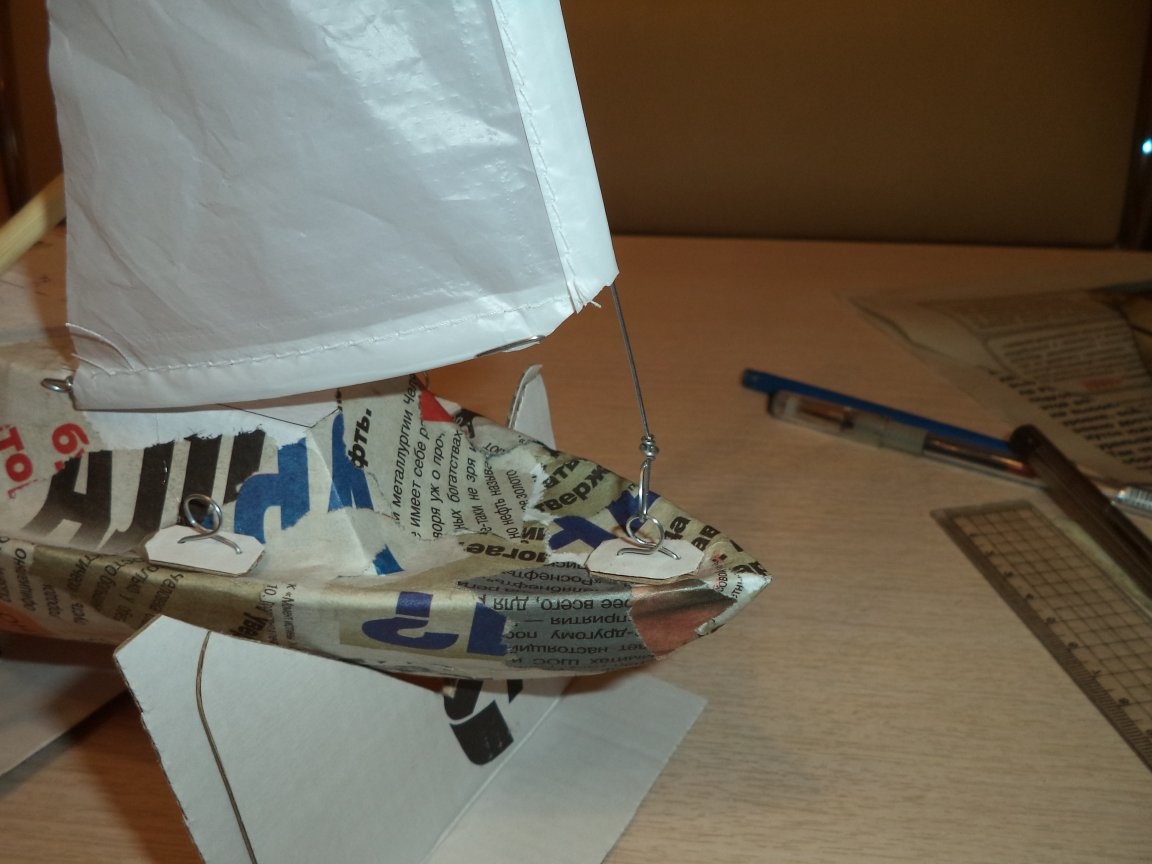
7. From the wire we make the fastening for the cables, install on the upper end of the mainsail of the mast we attach with hot glue.
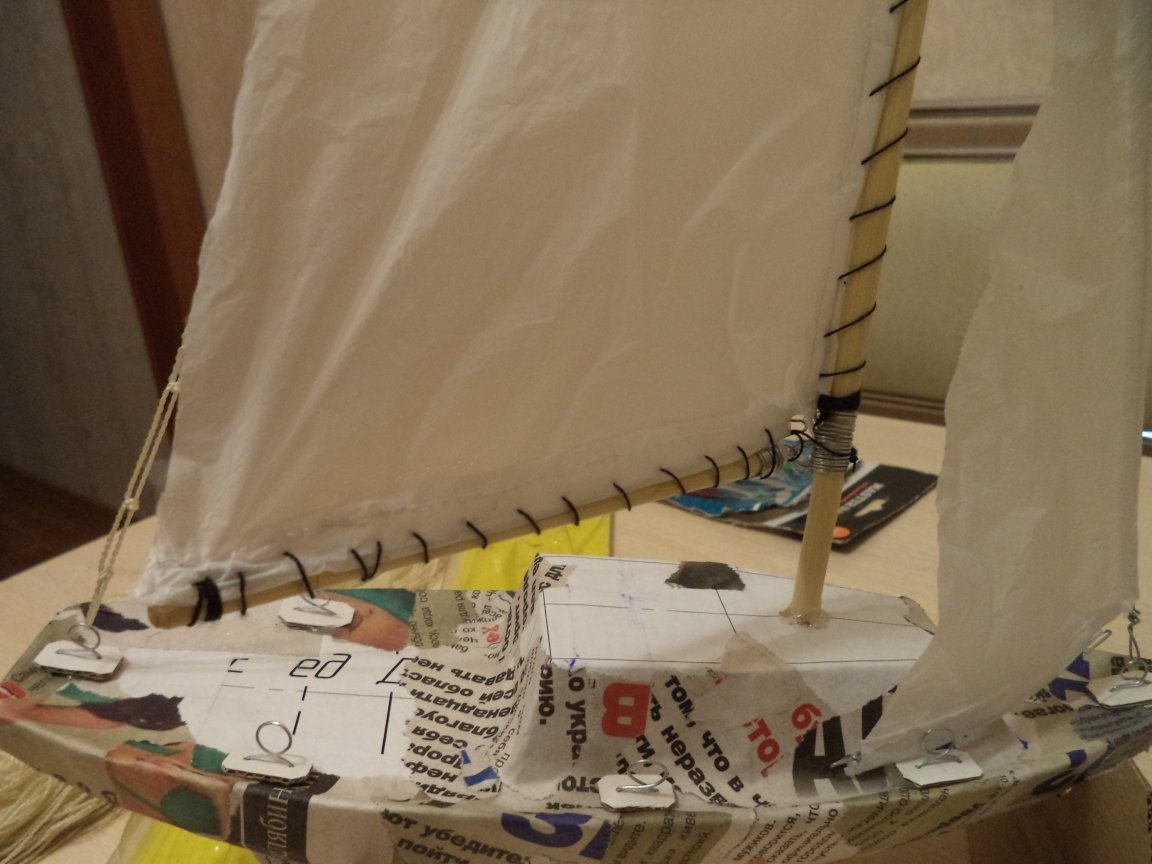
Step Six: Fabrication and installation of a boom main mast
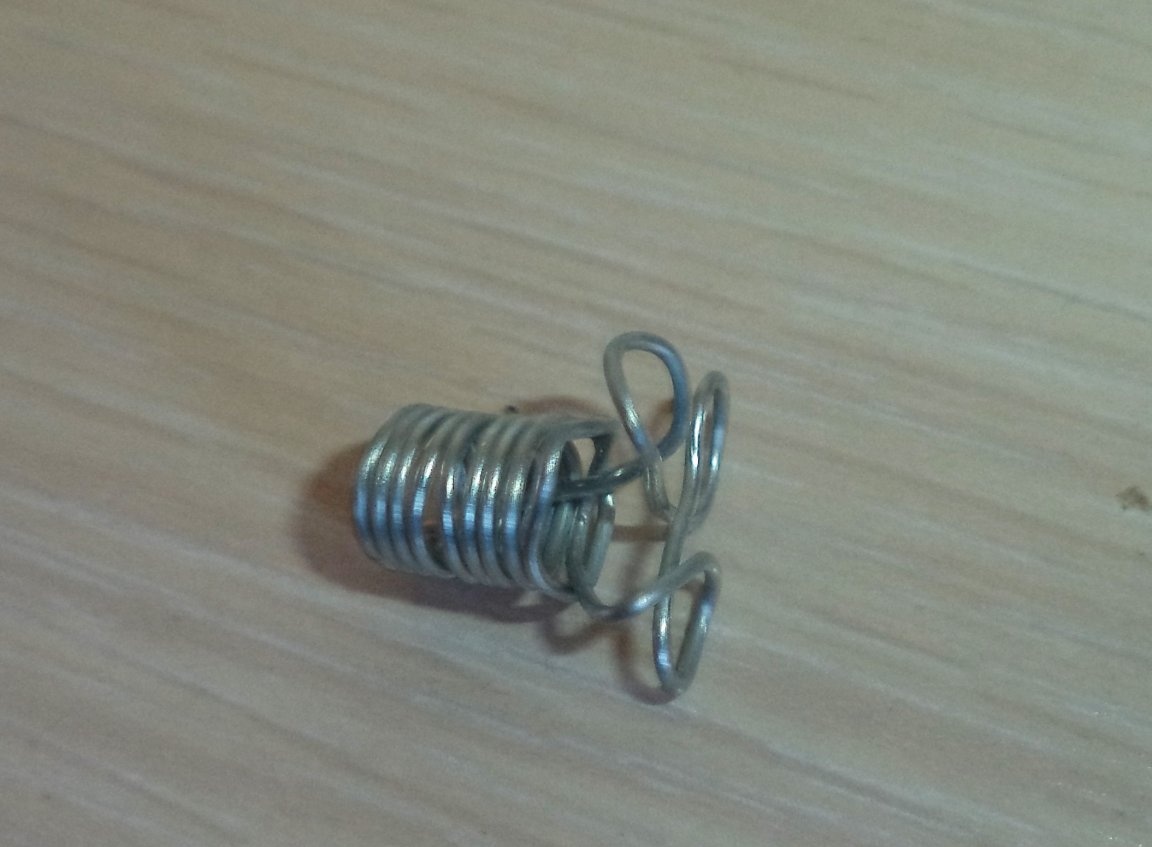
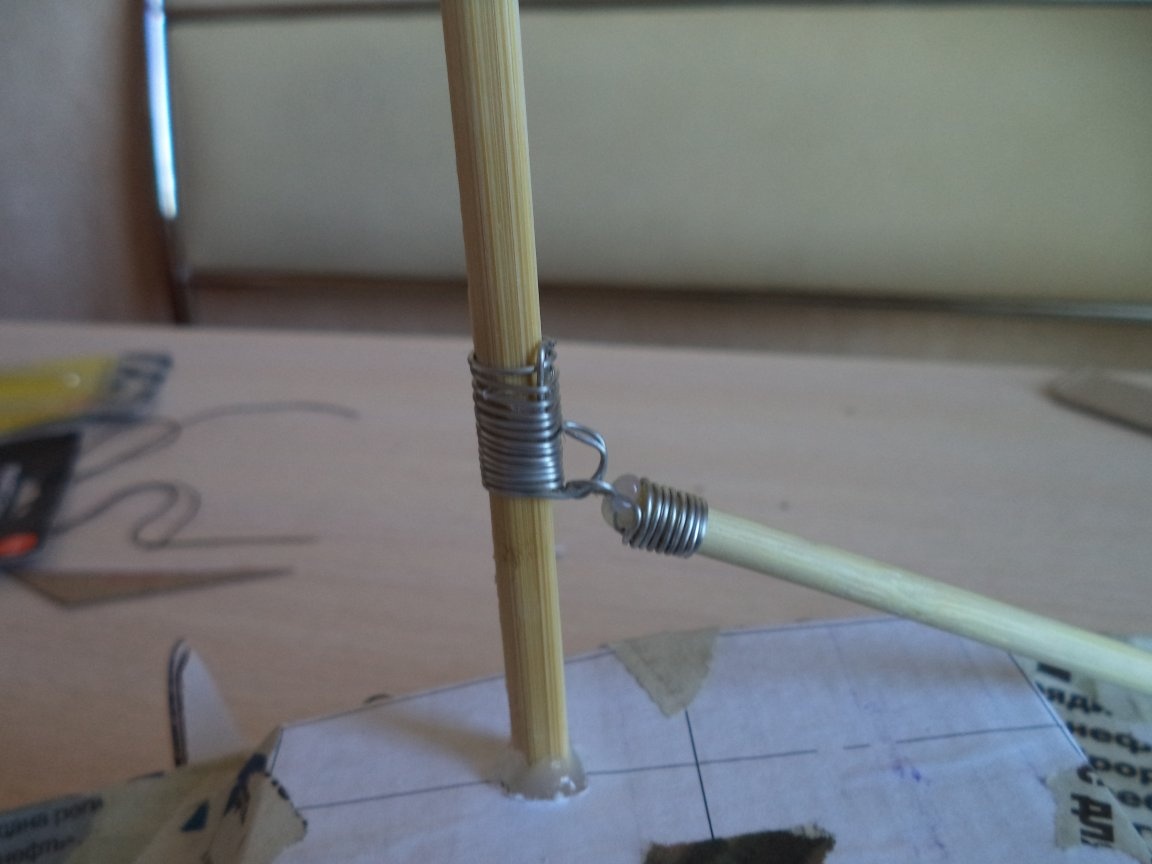
1. From a stick for sushi we cut out the boom of the boom, wind the wire at the end of the boom so that a coil is formed at the end, we attach with hot glue.
2. On the main mast, at the installation location of the boom, we wind the wire, form a “G” shaped boom fastener, apply hot glue to the mast before winding.
3. We put the boom on the “G” shaped fastener and bend it.
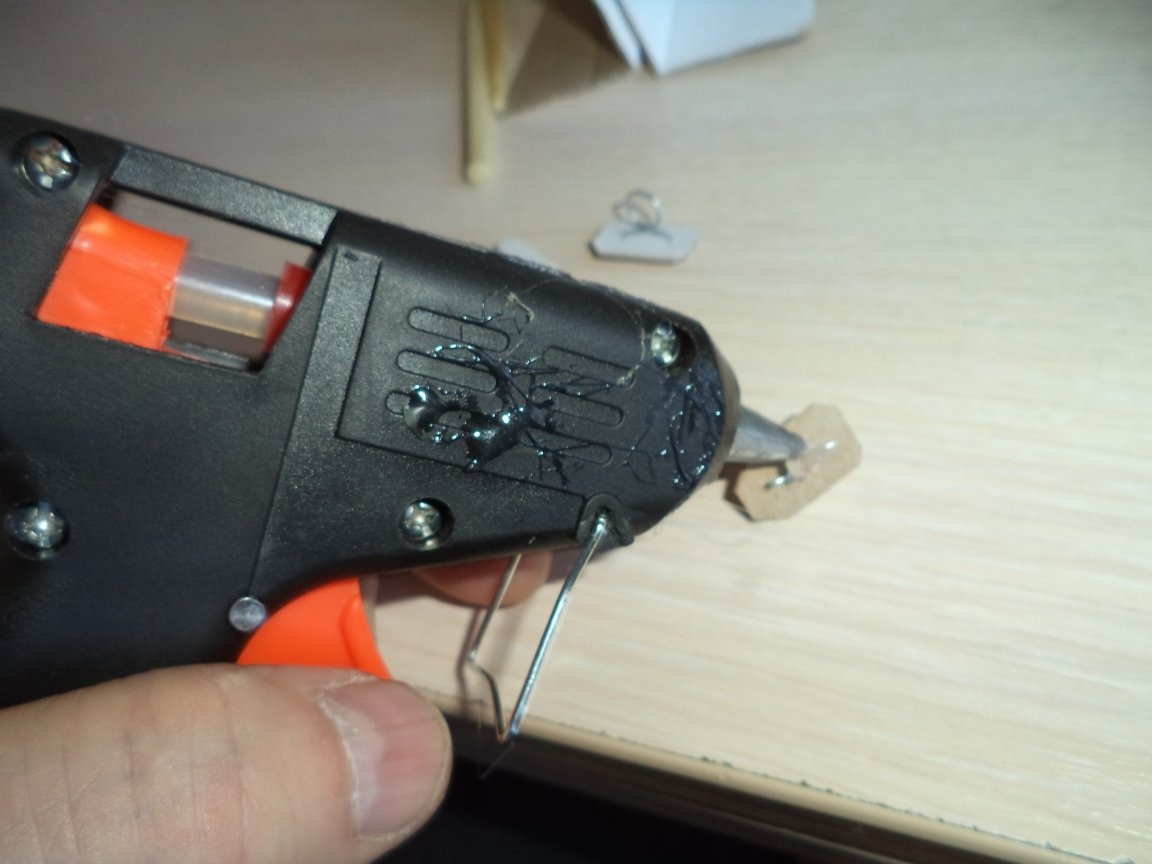
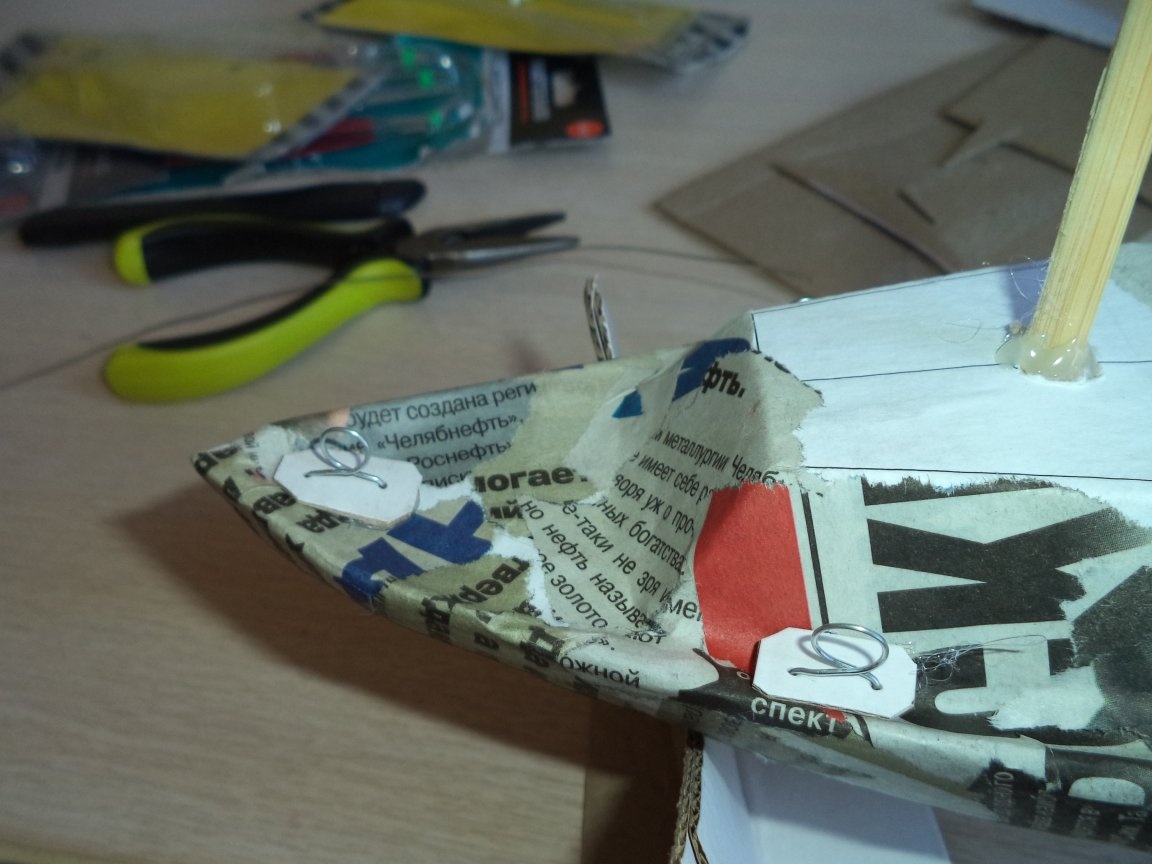
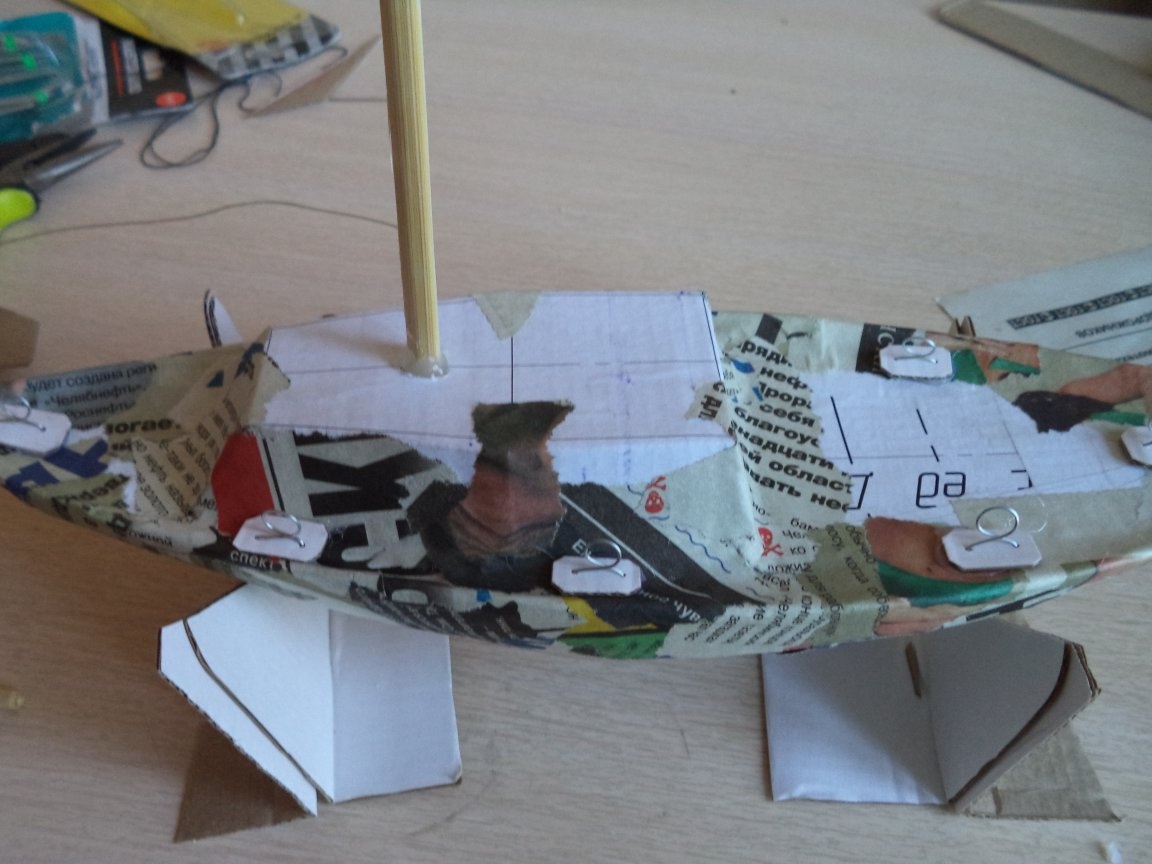
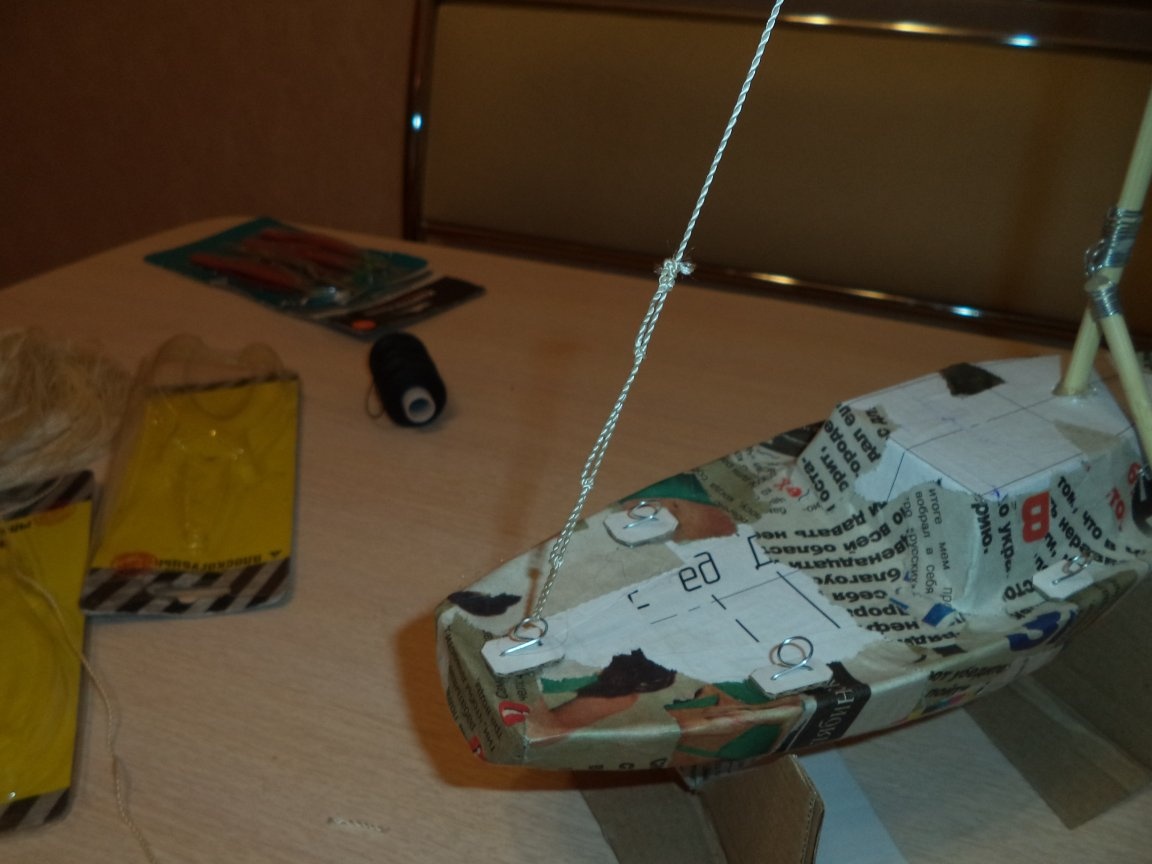
Step Seven: Making and Installing the Pickaxe
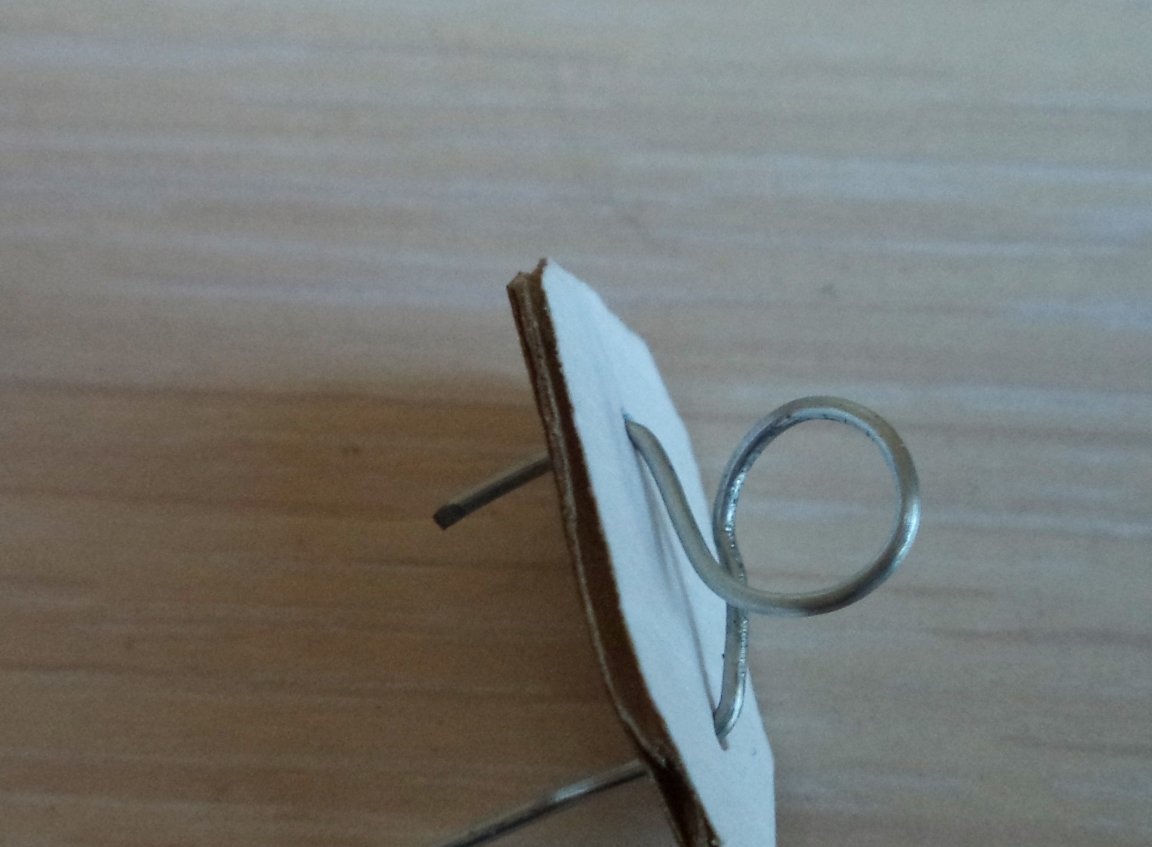
1. Cut out the butt from the thick cardboard of the platform, make holes at the ends with a thick needle, slightly departing from the edge.
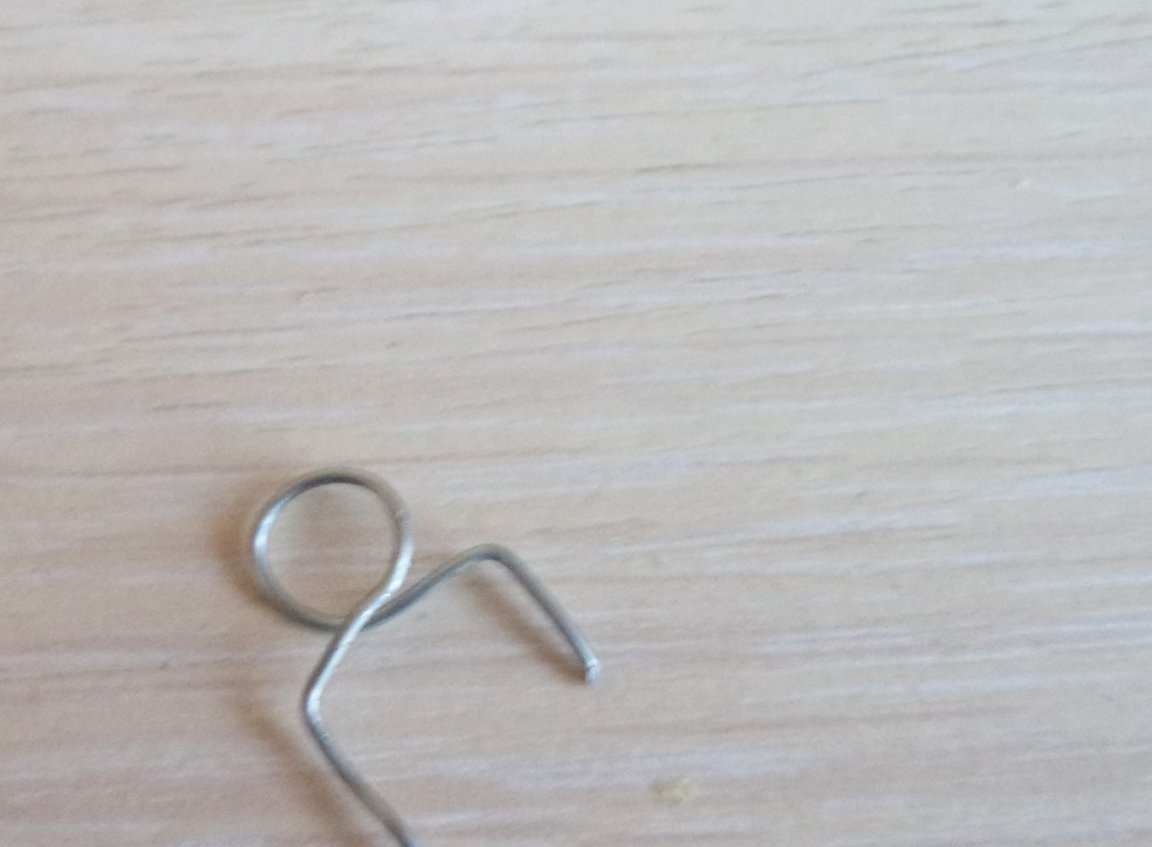
2. From the wire we make blanks of the butt, insert the ends of the wire into the platforms and bend.
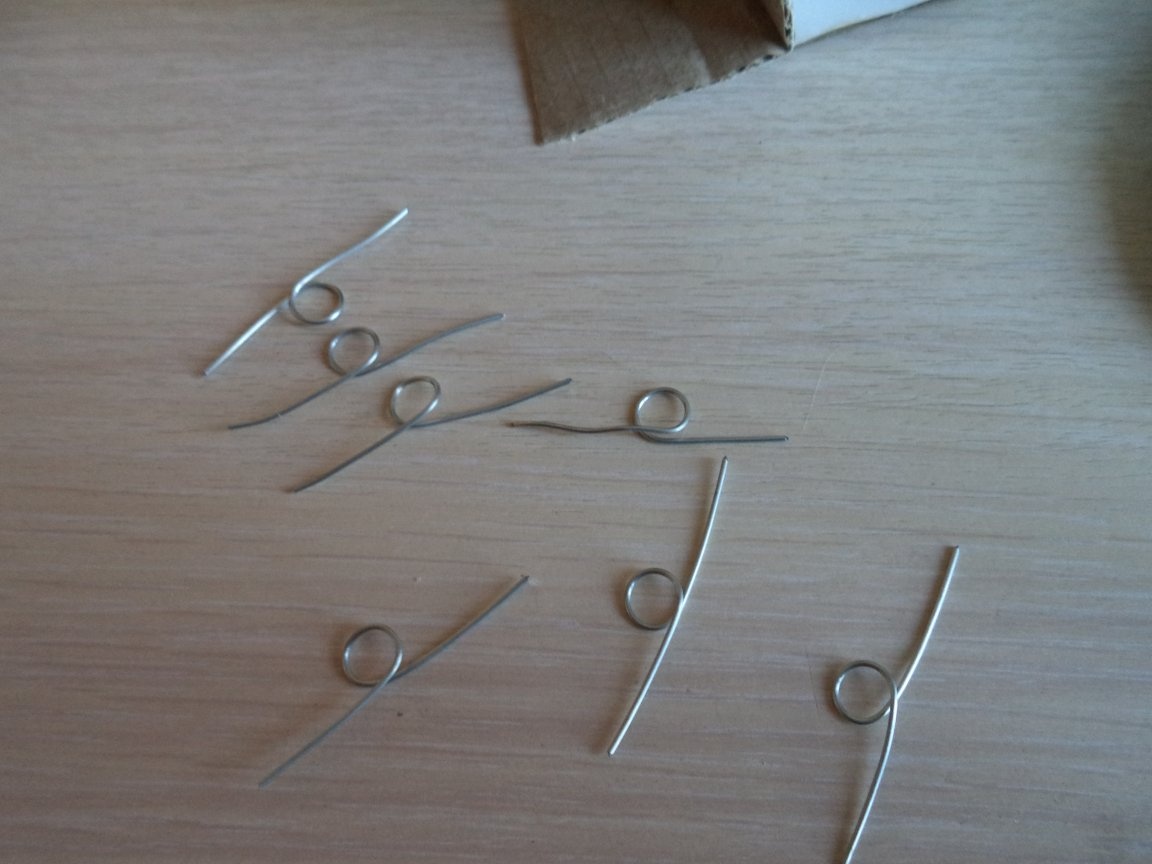

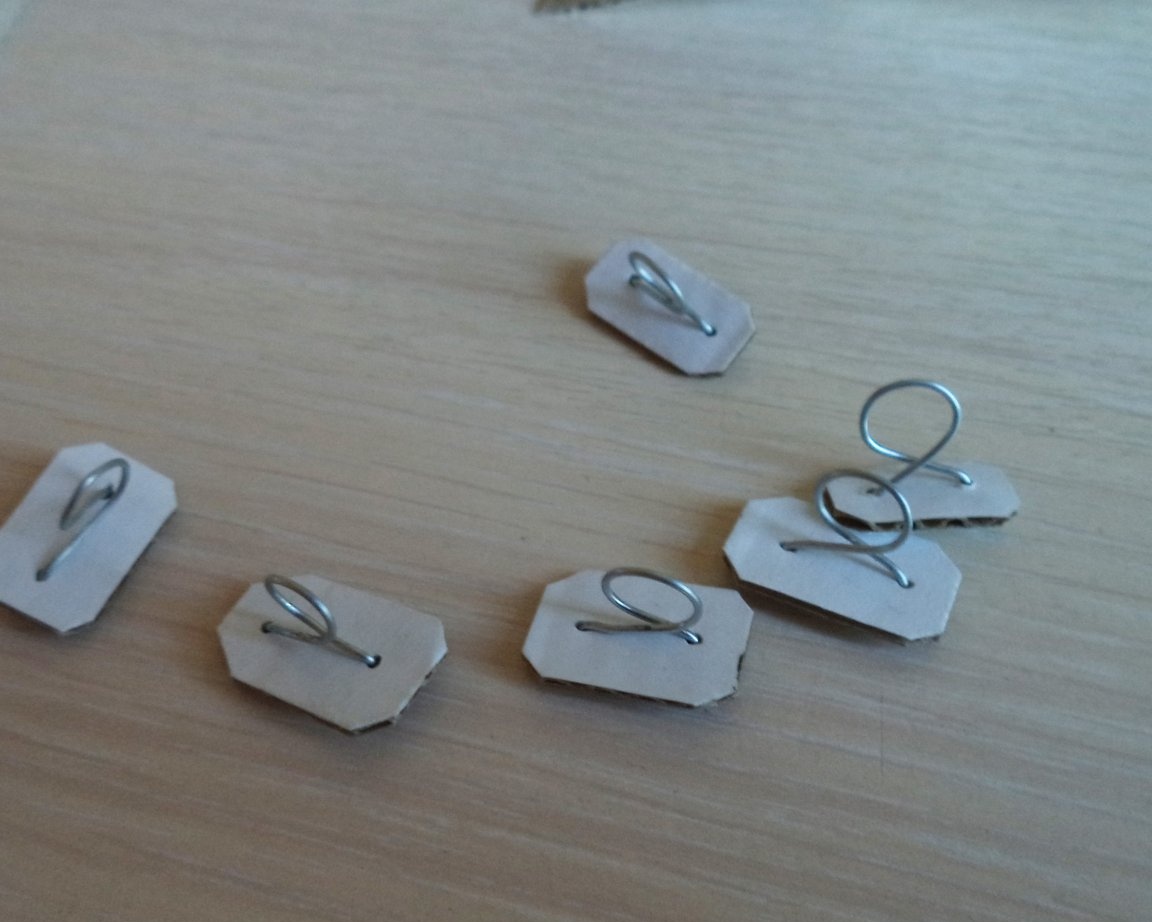
3. Apply hot glue to the bottom of the shroud and install it on the deck.
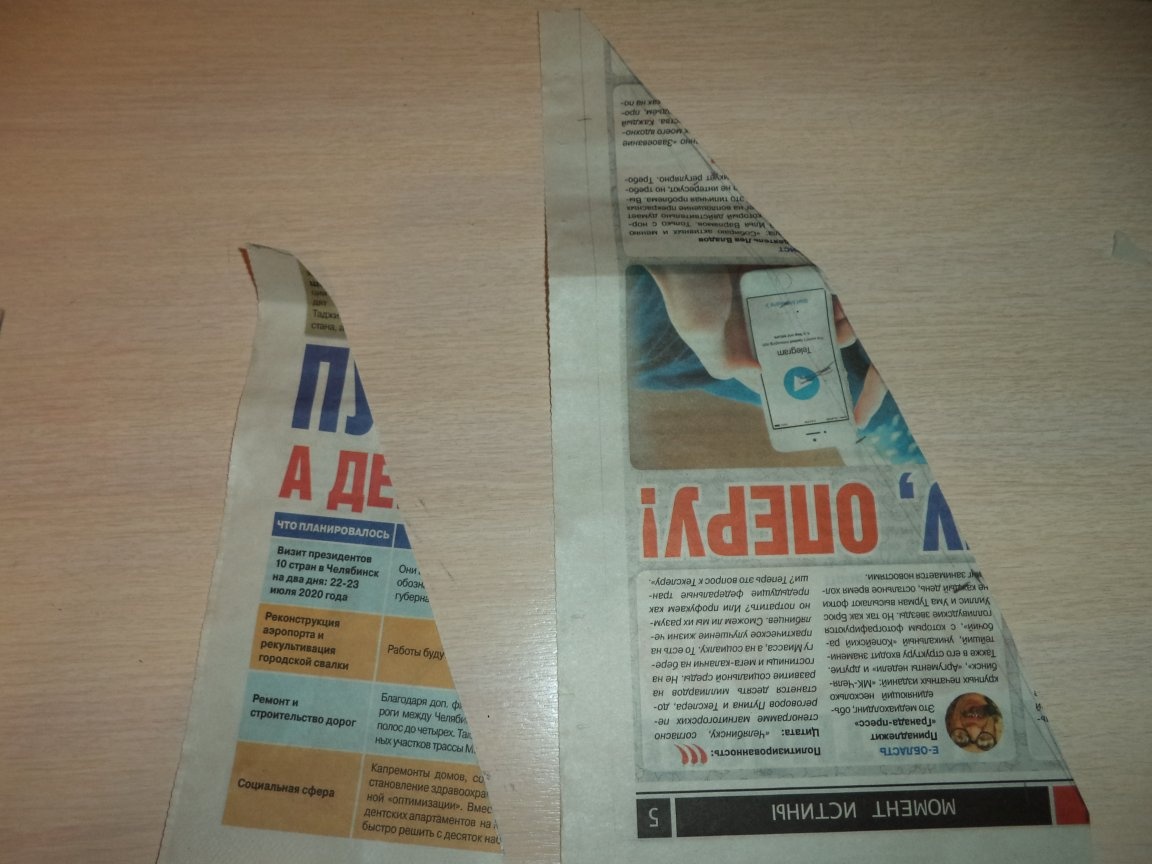
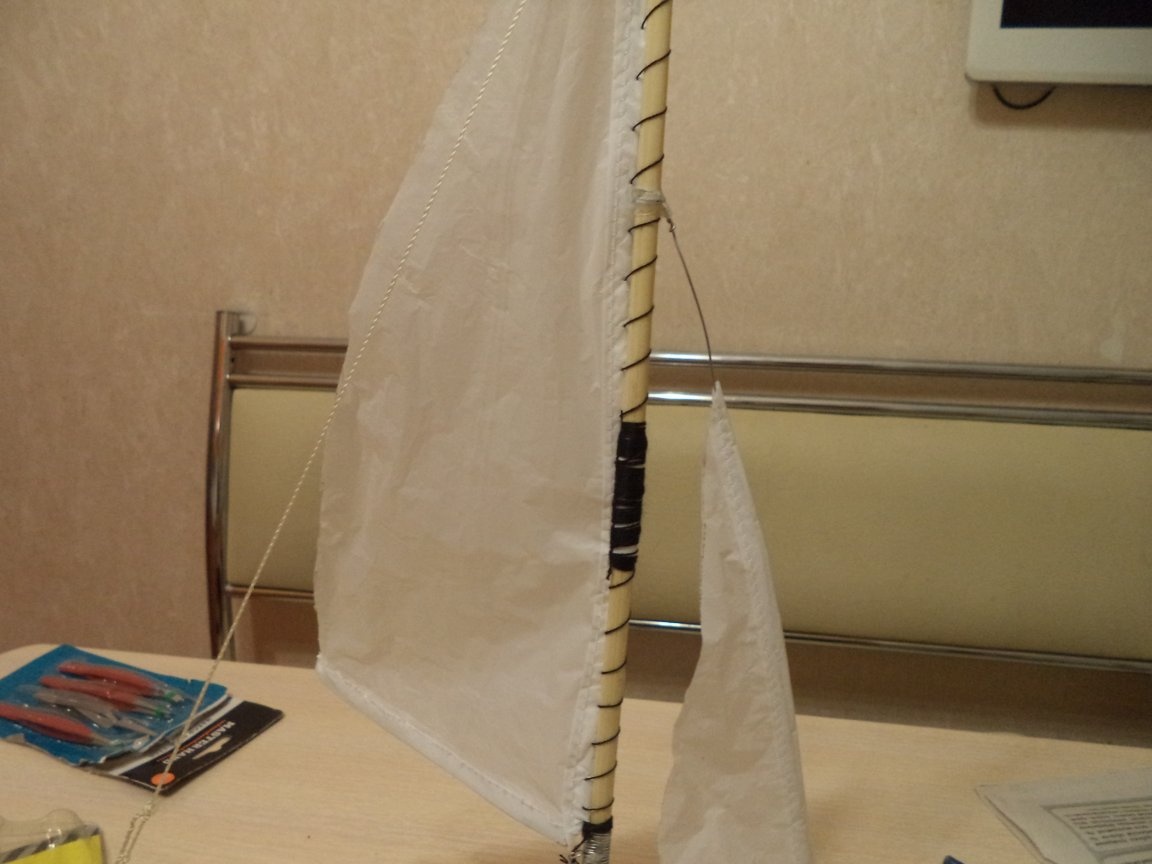
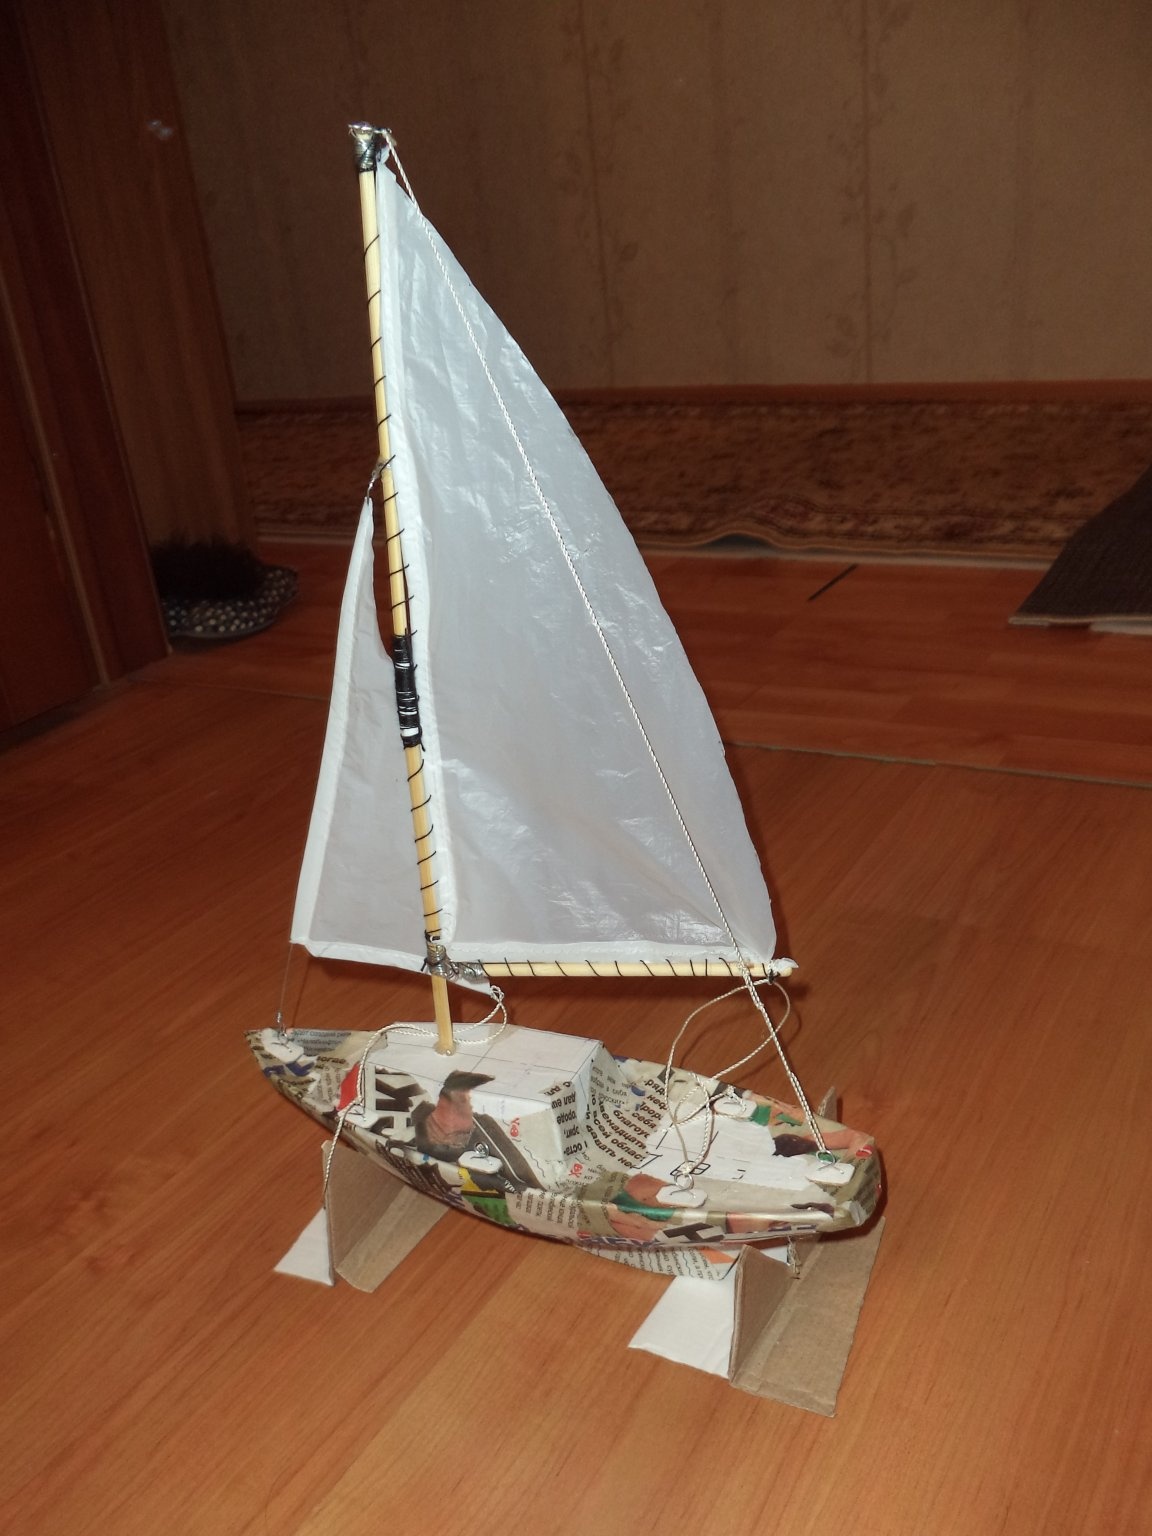
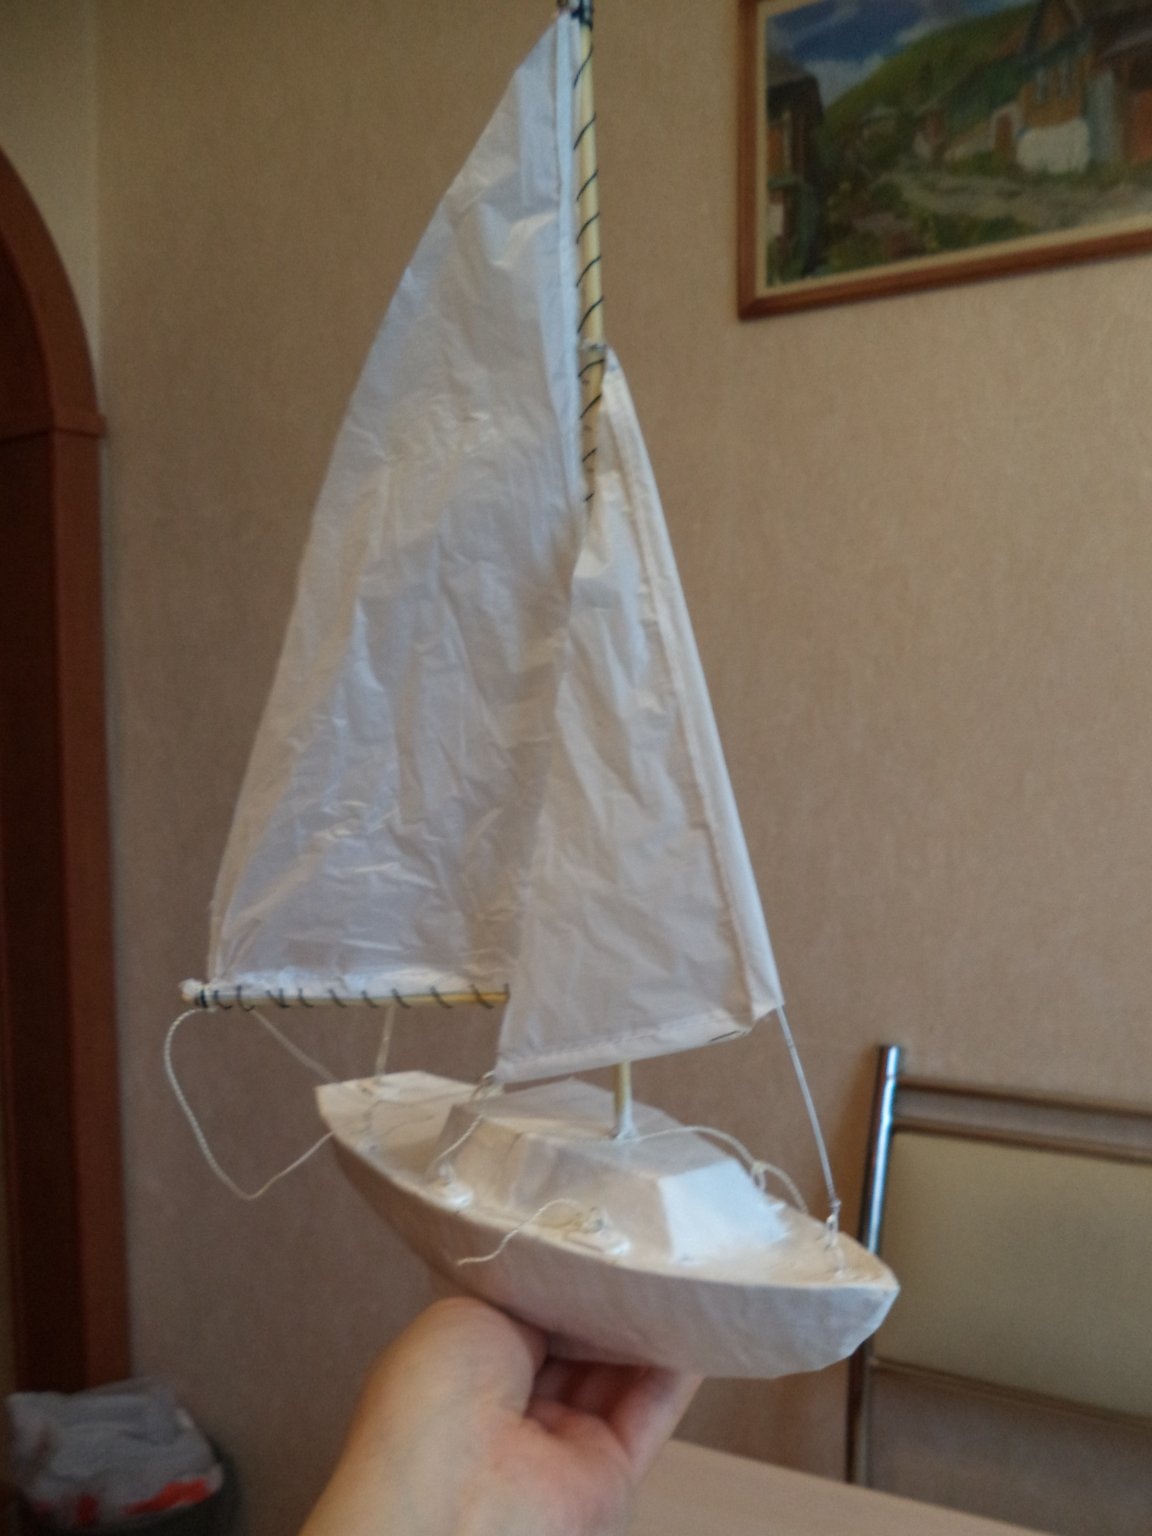
Step Eight: Production and installation of the mainsail (main sail)
1. From the newspaper we make the preparation of the grotto.
2. According to the newspaper blank, we cut the sail blank from the plastic bag, sew the edges of the sail.
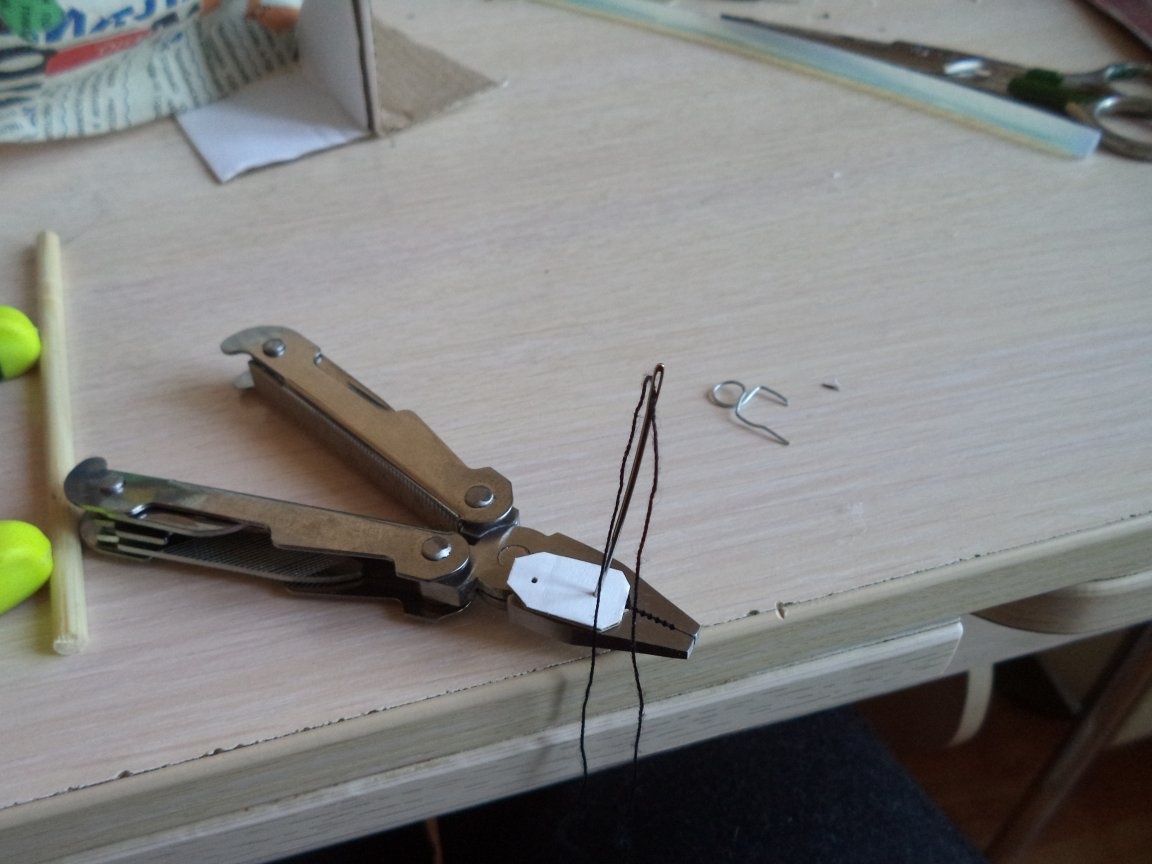
3. From the wire we make a retainer for the sail, at the ends we bend the wire.
4. Thread the retainer blanks into the stitched edges of the sail and sew the sail to the main mast and boom with a thick thread.
Step Nine: Production and installation of the staysail (additional sail)
1. From the newspaper we make the staysail.
2. According to the newspaper blank, we cut the staysail blank from the plastic bag, sew the edges of the sail.
3. From the wire we make a retainer for the sail, at the ends we bend the wire.
4. Pass the blank of the clamp into the stitched edge of the staysail.
5. On the mainsail the mast, slightly stepping back from the edge, wind the wire, fasten with hot glue.
6. We put the staysail on the wire and fasten it to the pickaxe.
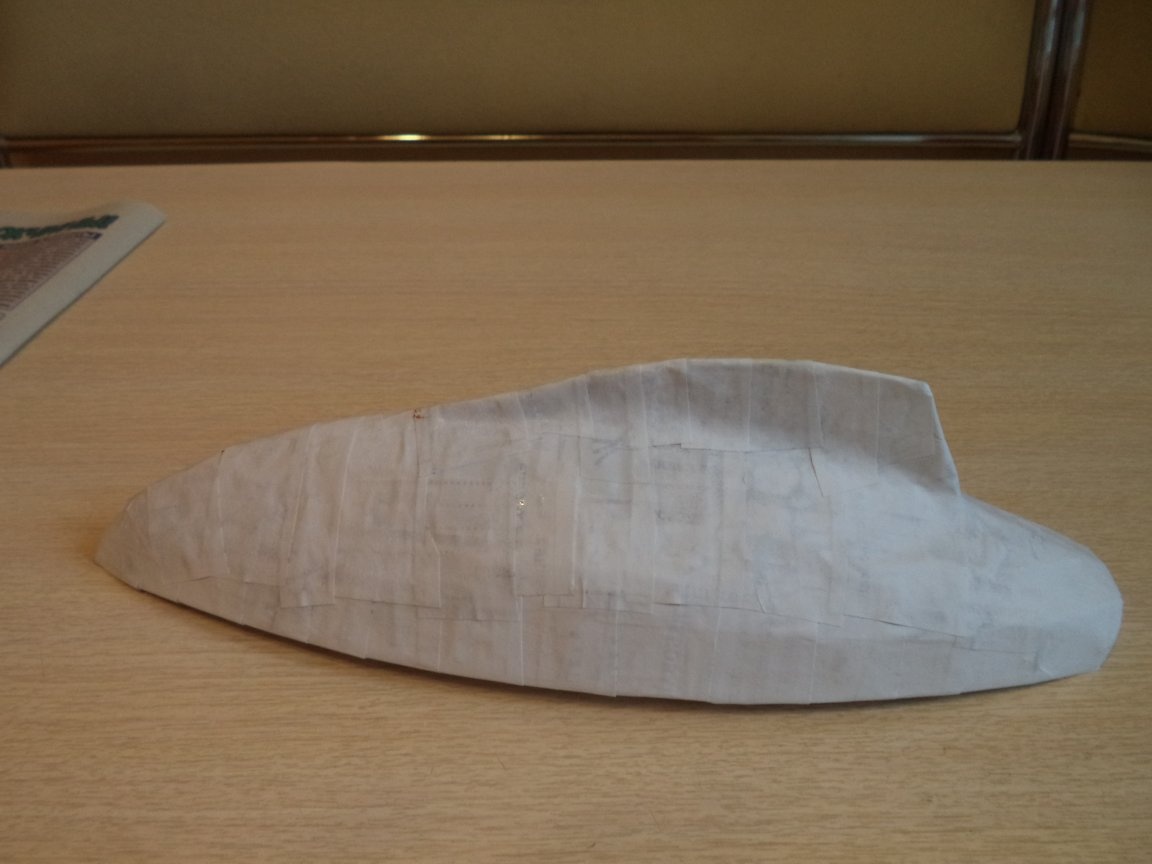
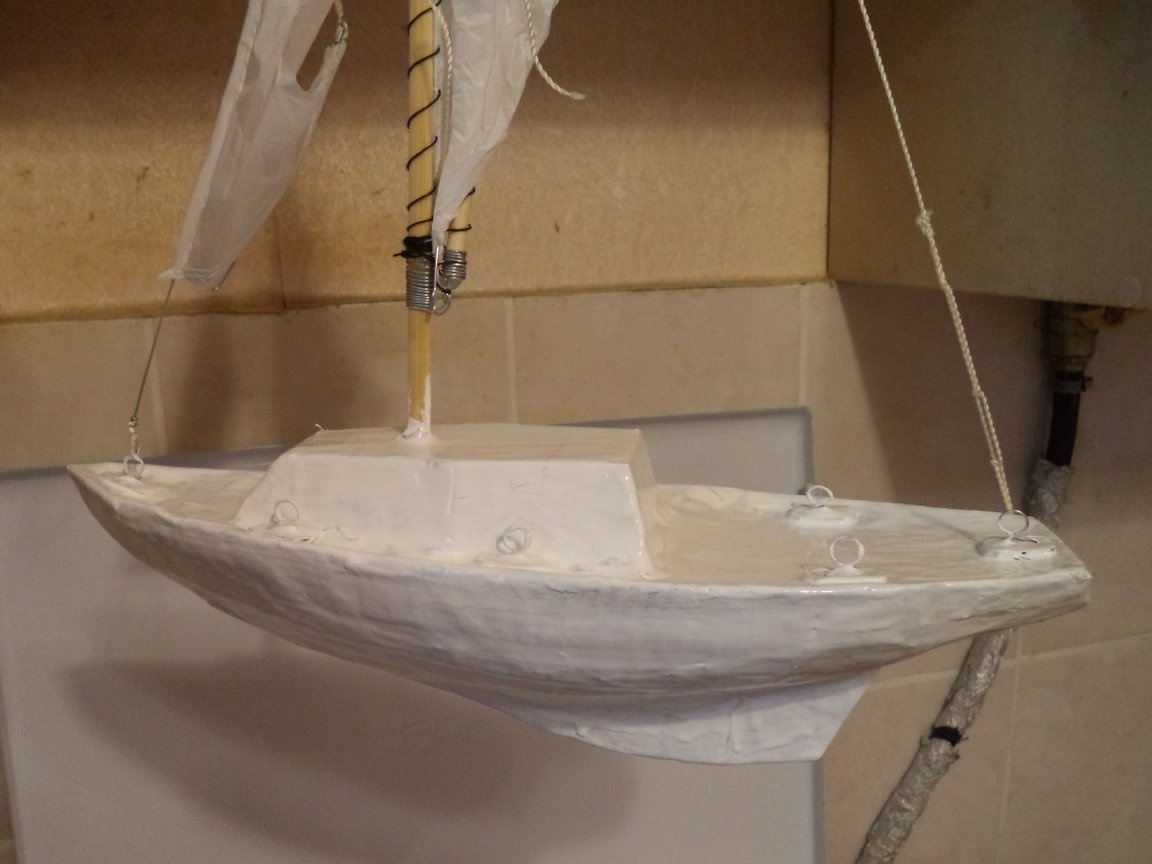
Step Ten: Painting the Yacht
1. We cover the hull of the yacht with putty, with a skin we level the surfaces for painting.
2. We paint at least 5 times, after allowing the previous layers to dry, so that there are no smudges.
Step Eleven: Making and Installing the Cable Guards
1. From a thick kapron thread we make blanks of cables.
2. We tie the guys to the main mast and fasten it to the pickaxes.
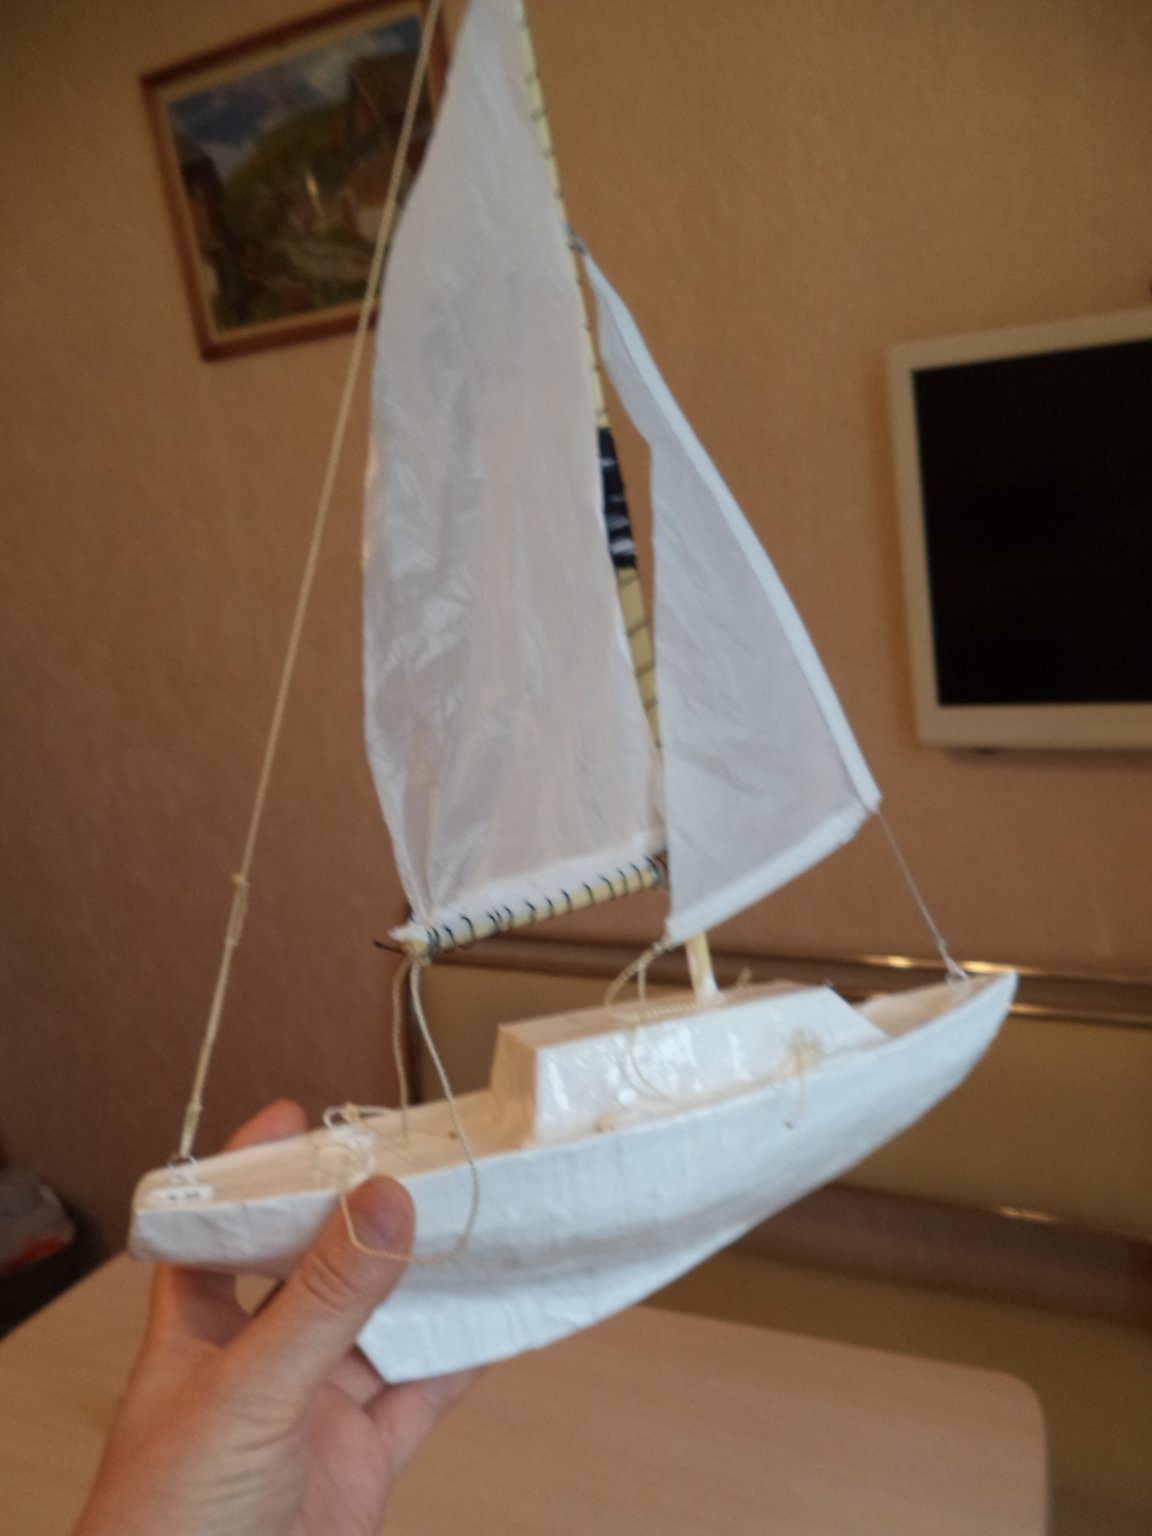
3. We tie the cables to the mainsail and staysail, and fasten them to the edge so that the angle between the sails and the longitudinal line of the yacht is not more than 45 degrees.
Everything is ready, unfortunately, for the yacht to start sailing, she needs to attach an additional lead load to the keel.