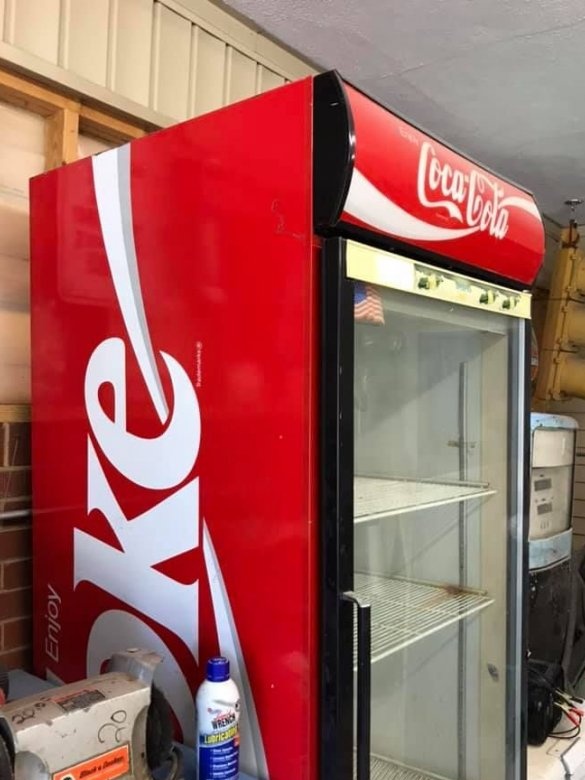
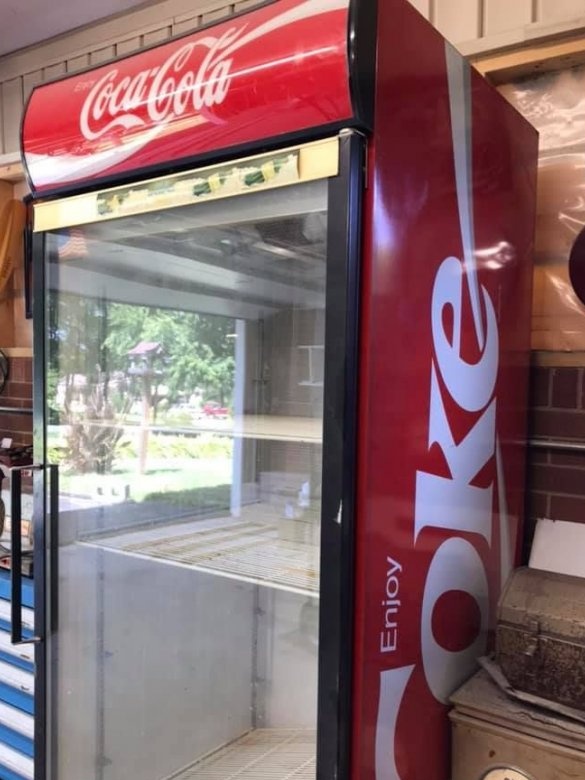
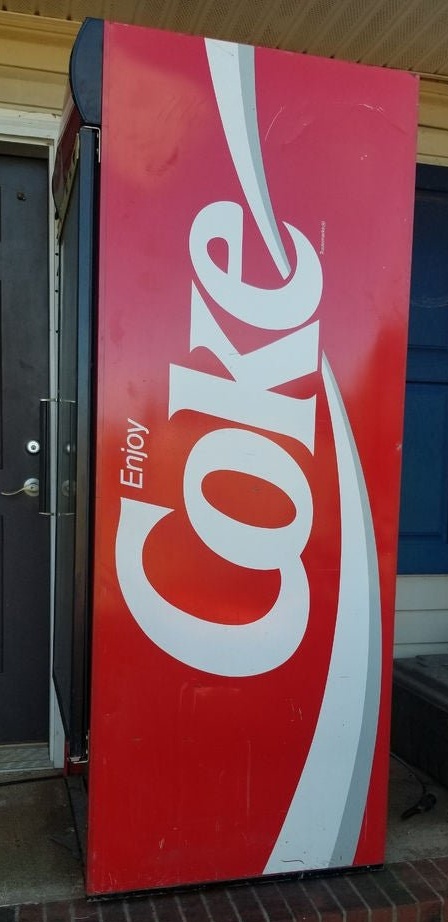
Some users of 3D printers prefer to put them in special cabinets. This reduces heat loss, and since the temperature stabilizes automatically - and the cost of energy to maintain it. The author of Instructables under the nickname GunGeek369 first wanted to do this homemade from the server cabinet, then from the box in which the fire hose is stored, but in both cases did not find a suitable size option. And then he came across an advertisement for the sale of an old Coca-Cola branded refrigerator. The master collects everything related to this brand, so he bought a refrigerator without hesitation.
Brand owners rent such refrigerators to stores. If any of them breaks down, it is taken for repair, and the store is provided with another, repaired. Readers renting homework routers, this is familiar. But sooner or later, the refrigerator loses its presentation, and this is the face of the brand. It may be workable, but visitors to the store show it solidly. Then the company can realize it as an illiquid asset. However, you can also remodel an old home refrigerator into a cabinet for a 3D printer.
The refrigerator that went to the master, according to the seller, required only the replacement of the power switch - and again into battle. But the master does not need him to cool. On the contrary, it must retain heat, and these refrigerators, with their thermal insulation, also know how. And it’s also big - the accessories for the printer will fit. In addition to vessels with LVZH, of course. If you place an automatic fire extinguishing system inside, when triggered, it will not fill the whole room, but only the interior of the refrigerator.
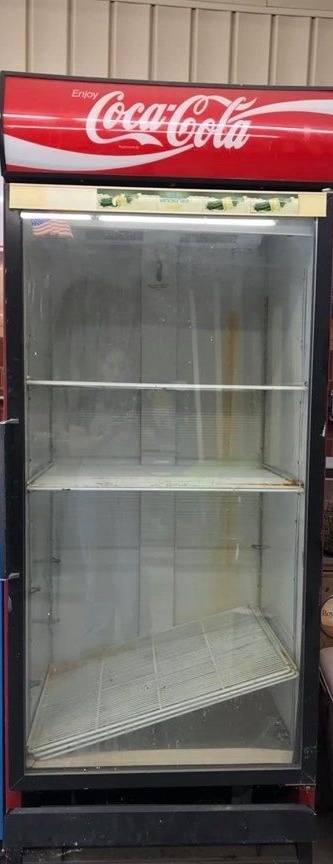
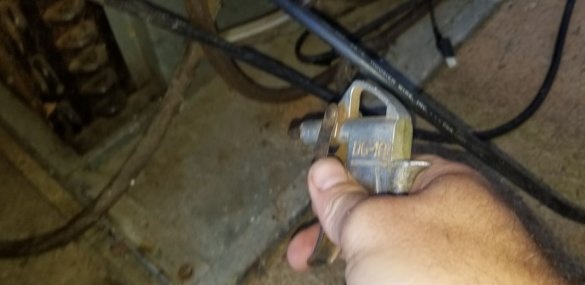
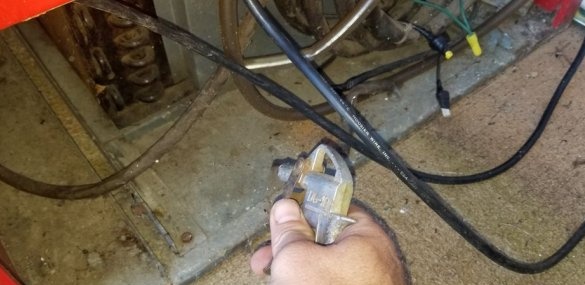
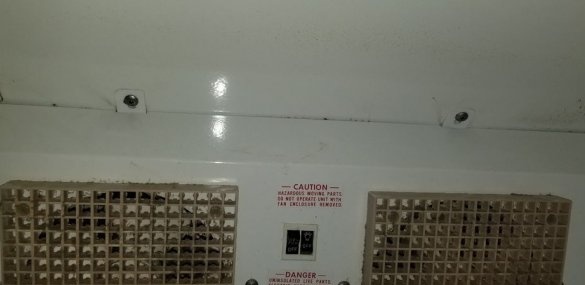
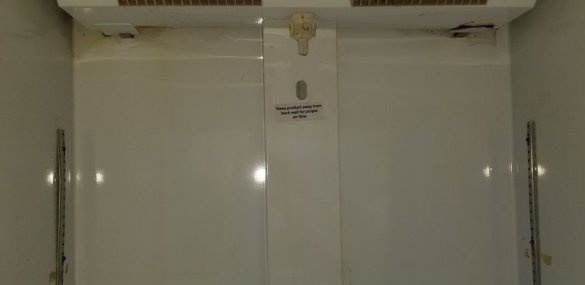
The first thing a master does with a refrigerator is to thoroughly clean it:
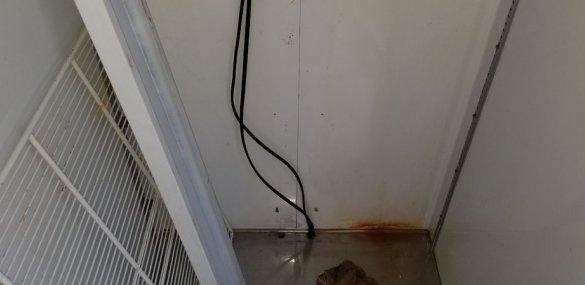
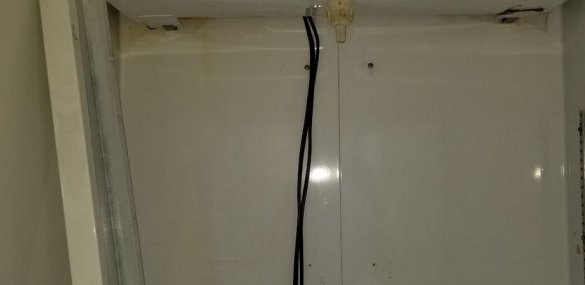
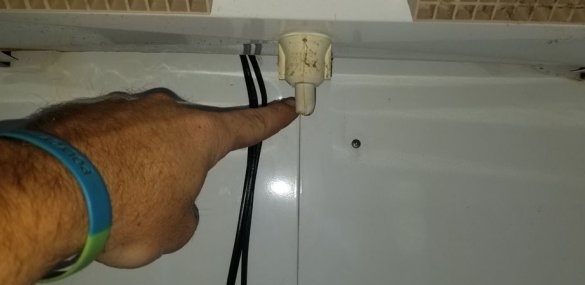
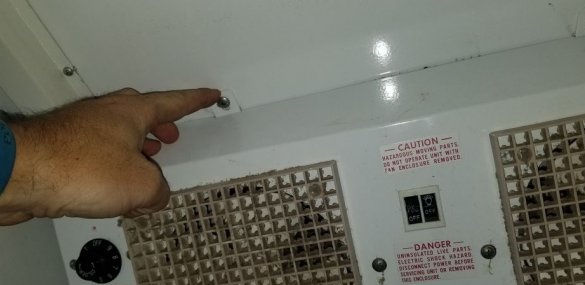
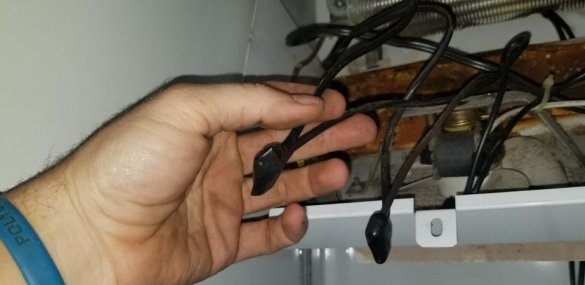
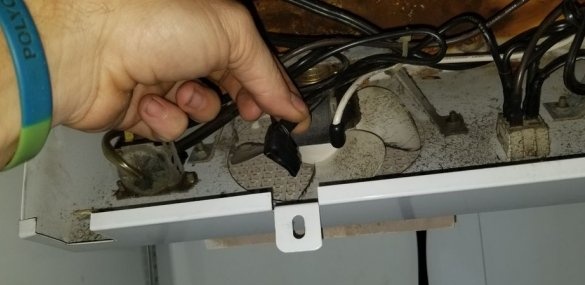
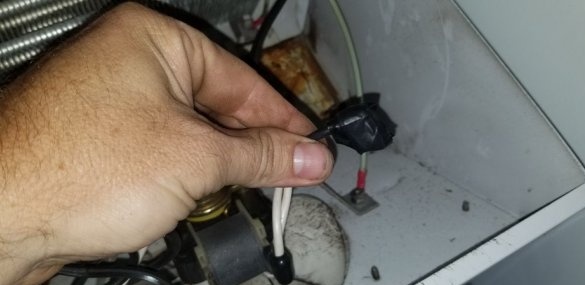
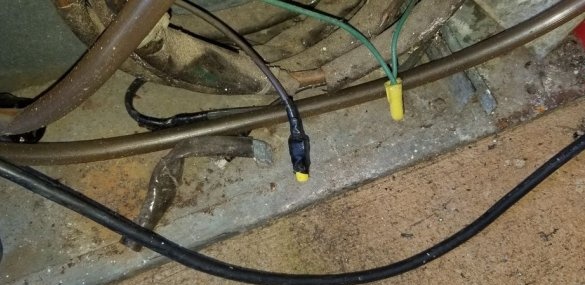
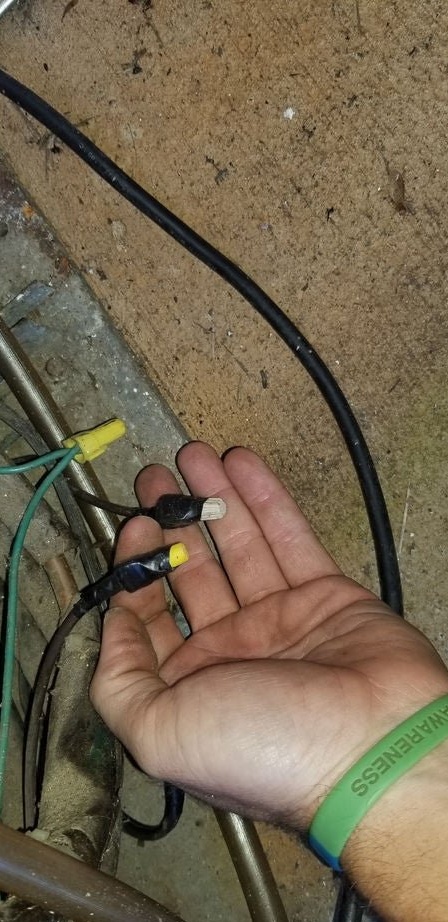
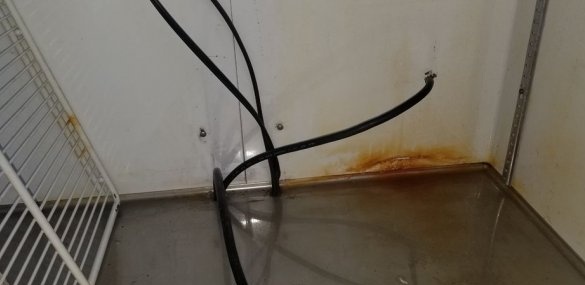
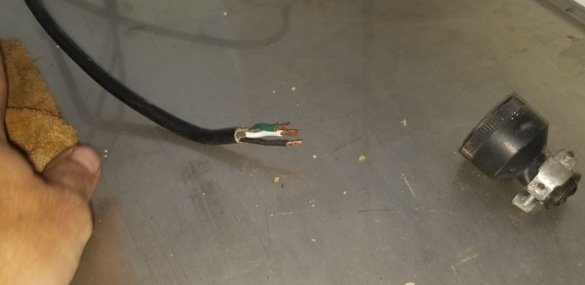
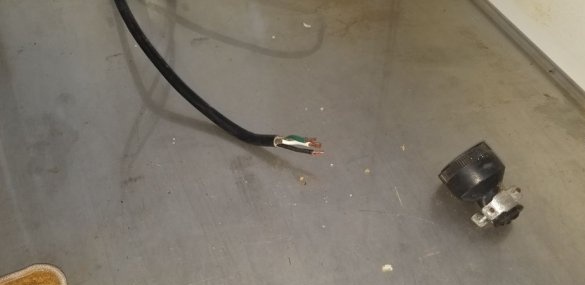
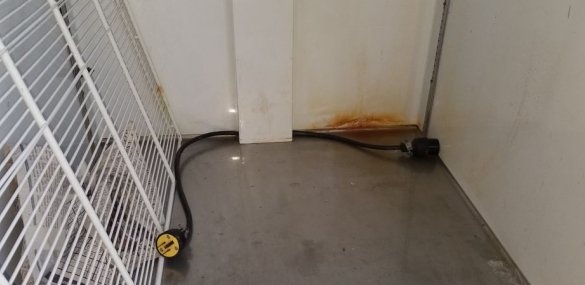
The master removes all the shelves from the refrigerator, reconnects the electrical circuit so that the compressor is turned off, and the lamps work, and passes through the tube to drain the water during defrosting the extension cable, which will be located in the refrigerator and will be used to connect the 3D printer to the network .The refrigerator, printer and the computer that controls it must be earthed in accordance with all the rules. And of course, the master does not forget this:
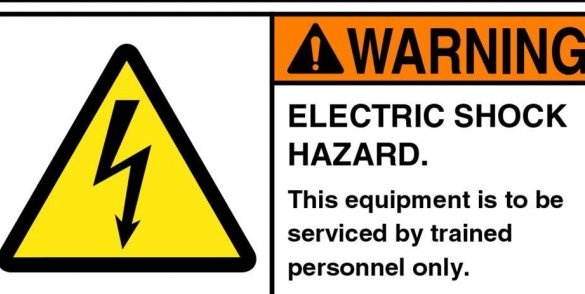
If you are not sure that you can classify yourself in the "trained" category, first practice with safer equipment. Do not train on a kote, they are not a technique, and it hurts. The master is confident in his knowledge and skills, so he does with the refrigerator everything described above without preliminary training.
So that the lights of the refrigerator can be turned off, the master has a socket and a plug in the refrigerator. The mains voltage is supplied to the socket, and the lamps are connected to the plug. Not the other way around! Why a socket and a plug, not a switch? You will see further.
Well, sort of glowing.
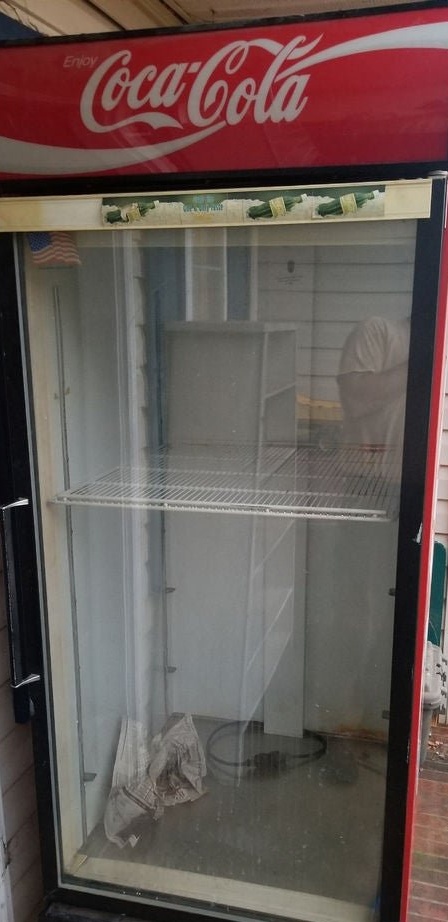
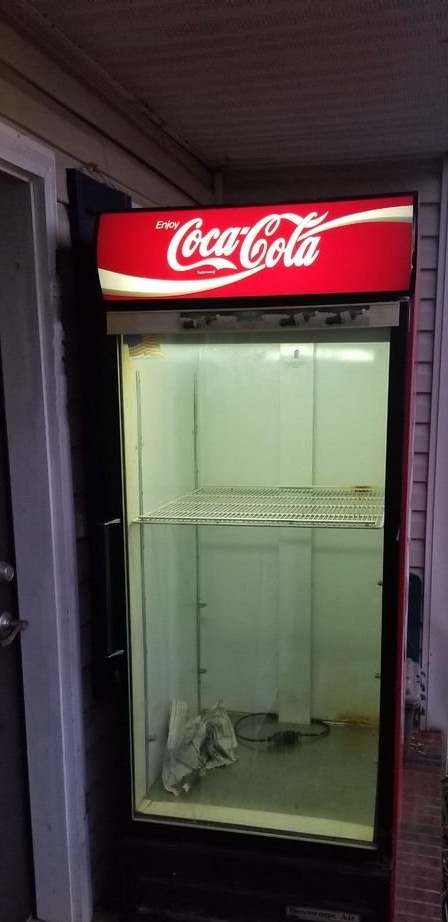
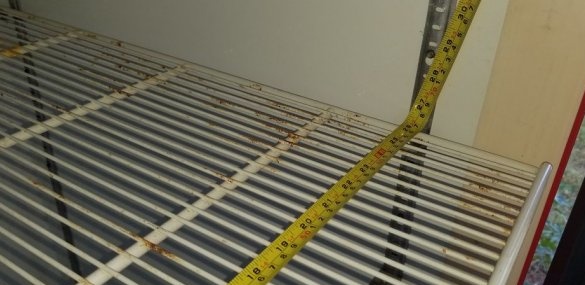
The original shelf was a little springy. Sweet carbonated drinks do not care, as they were hazardous to health, they will remain so. A 3D printer needs something tougher. The master applies plywood. And again, it is not in favor of the stereotype according to which, having acquired a 3D printer, people unlearn how to make something without it. And by acquiring bike or a calculator, unlearn, respectively, walk or count, yeah.
The master acquires and installs filament holders designed for fastening in grooves intended for shelves.
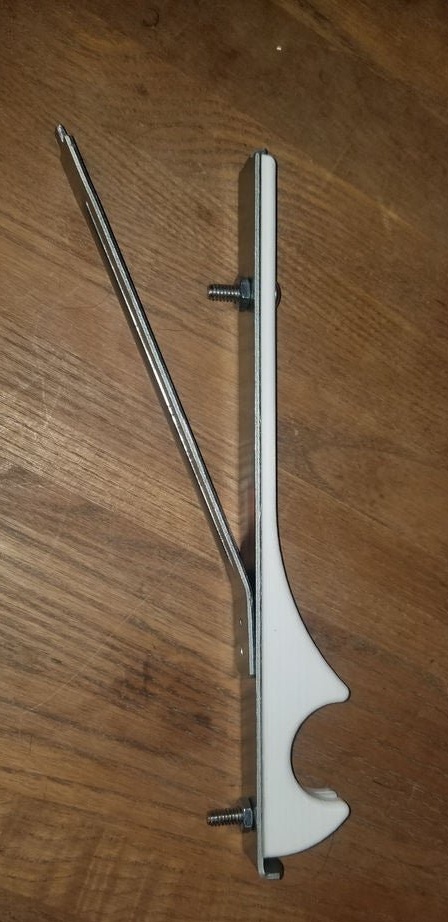
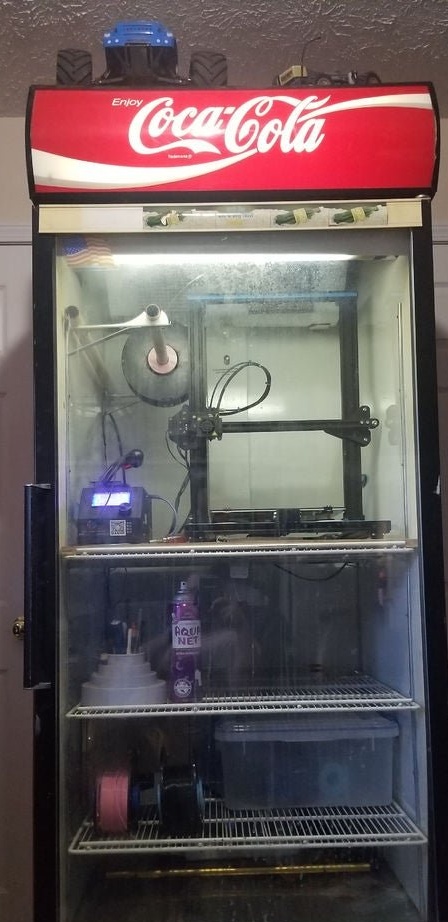
It places an extension cord at the bottom of the refrigerator, and a 3D printer on the homemade shelf already mentioned above. The following photos also show one of the filament holders along with a bobbin placed on it.
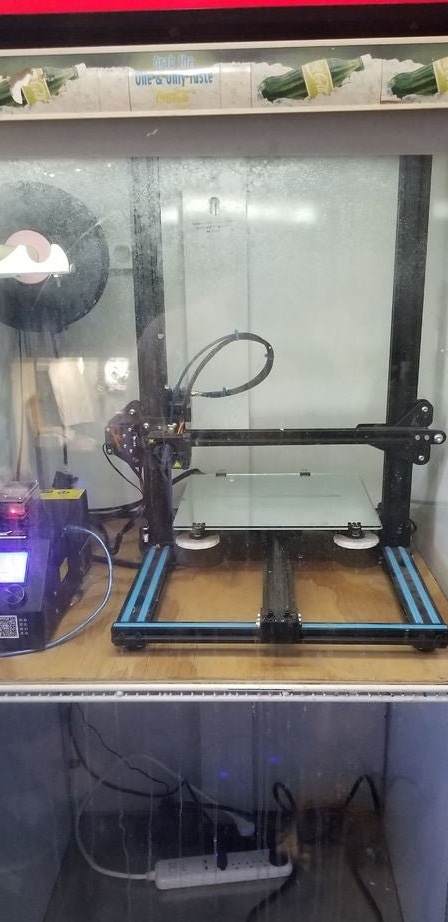
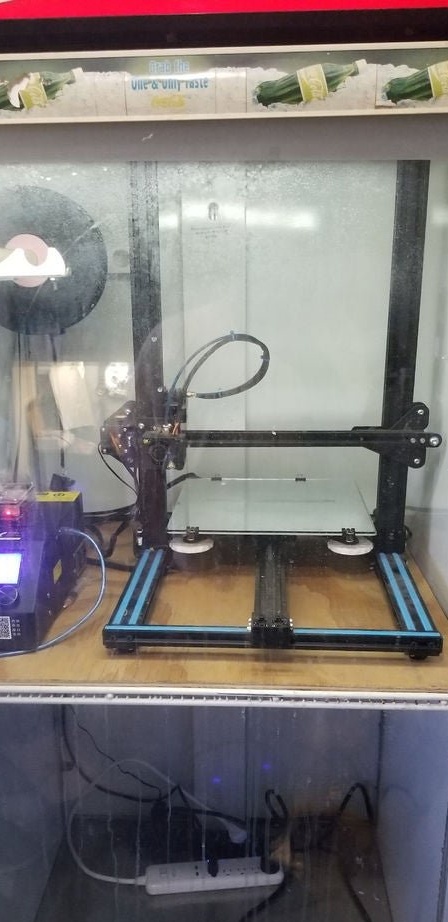
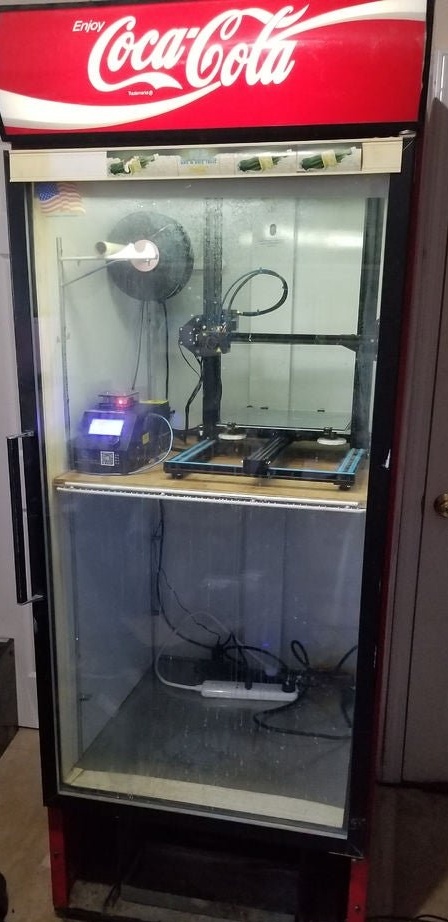
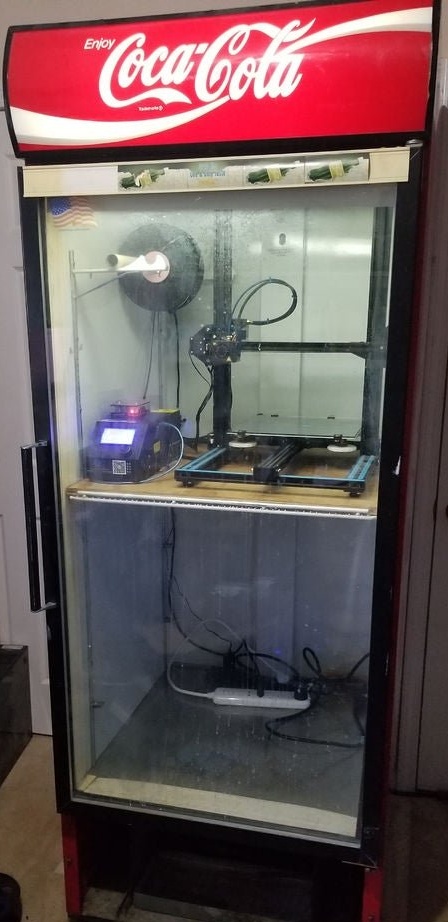
And the extension cord is not easy - it's the Zooz Z-Wave Plus S2 Power Strip ZEN20 VER. 2.0. It allows you to manage outlets through the Samsung Smartthings application, as well as receive data on the power consumption of loads. Of course, if you take a household refrigerator with a solid door, such an extension cord will not be able to receive and transmit radio signals.
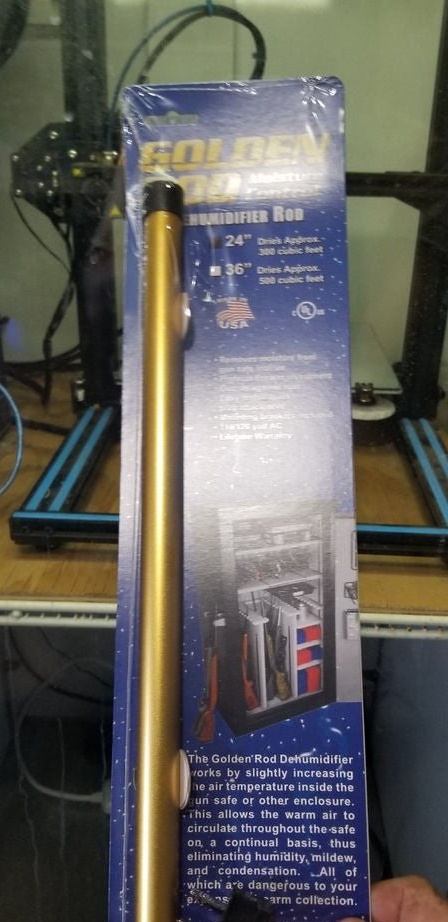
Here is the answer to the question why the socket and plug, and not the switch. After checking the fixtures, the master disconnects them from the outlet and turns on the extension cord. And the extension cord includes: 3D-printer, Golden Rod dehumidifier and lamps. All of this can now be managed separately. ZOOZ Z-Wave Plus 4-in-1 Sensor ZSE40 VER. 2.0 measures the humidity in the refrigerator, and all this is programmed so that the dehumidifier turns on when the humidity rises, and when it drops, it turns off.
The master installs additional shelves in the refrigerator so that they do not press on the cables. And puts accessories on the 3D printer on them. I repeat: in addition to vessels with LVZH!
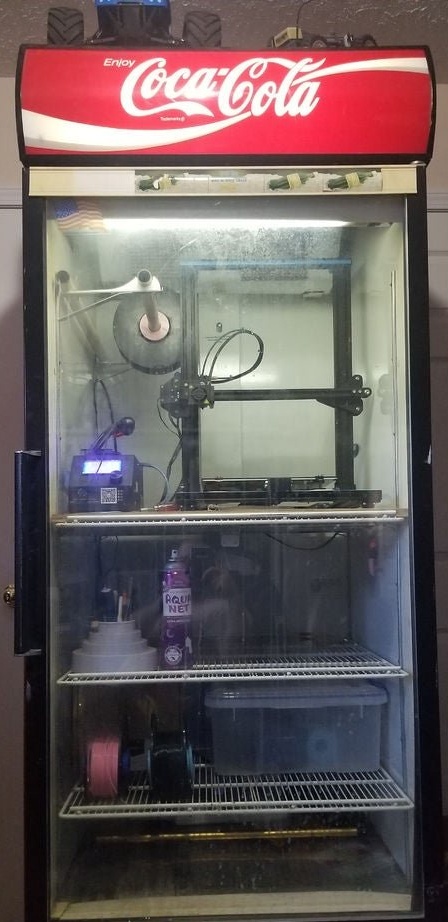
Everything is ready, but there is no limit to perfection. The master plans to supplement the home-made air filtration system, as well as a heater that will preheat the air in the refrigerator, and then turn off immediately before printing. Well, the automatic fire extinguishing system, as well as the device that turns off the heating of the table when the thermostat fails, will not interfere.

