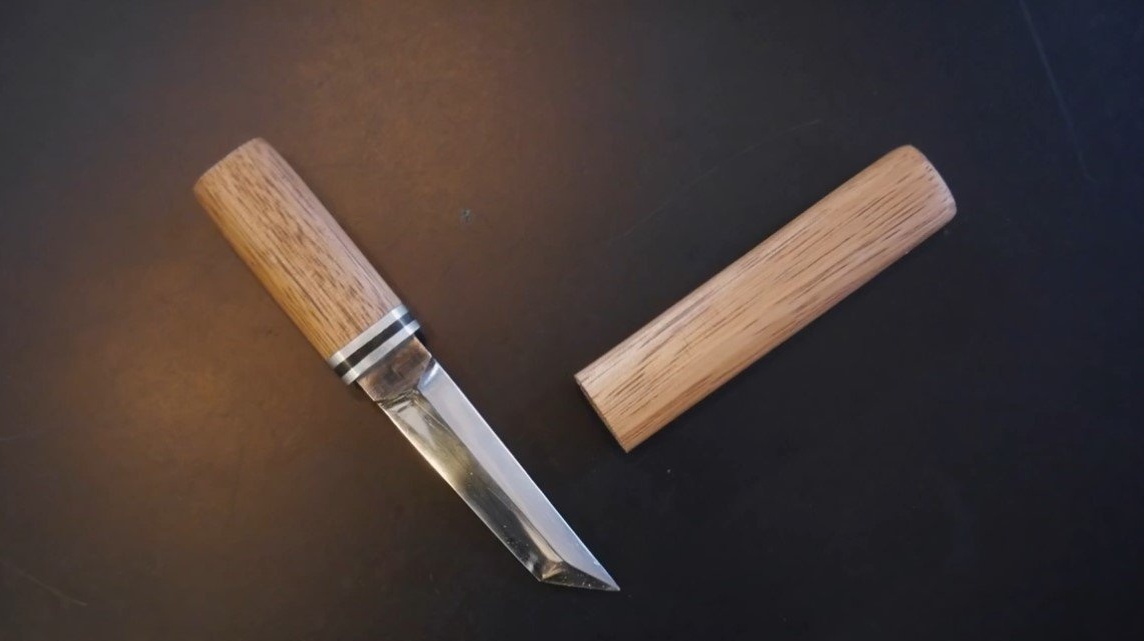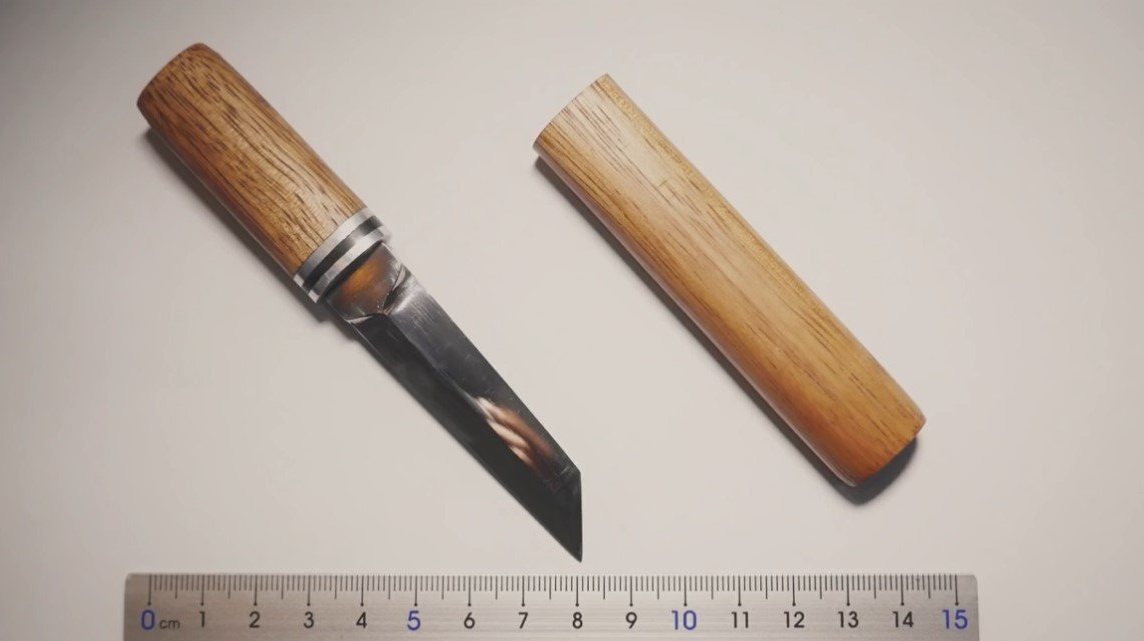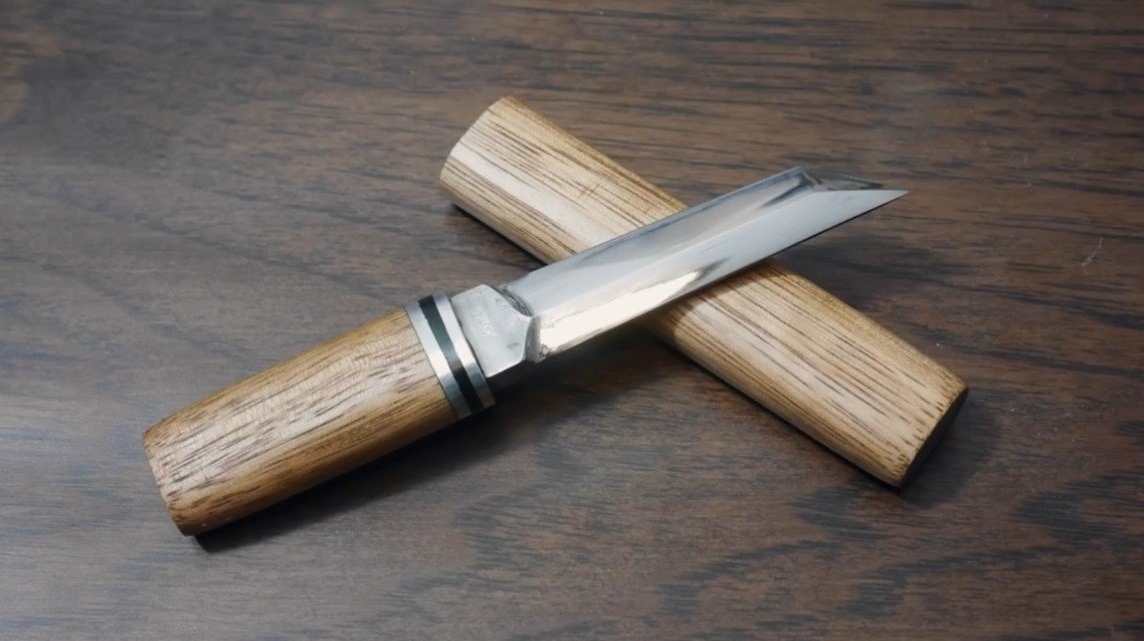
I welcome all fans to craft, today we will discuss how to make a small samurai sword with wooden scabbard. In fact, homemade is a small knife that can be carried in your pocket. The author made a blade from a piece of a file, so the knife has every chance of being sharp and strong, such steel can be hardened. The knife is securely fixed in the scabbard, but this is answered by small powerful magnets. The project is not complicated in the assembly, if the homemade product interested you, I suggest that you familiarize yourself with the project in more detail!
Materials and tools used by the author:
Material List:
- a piece of a flat file;
- small neodymium magnets;
- sheet metal or textolite for inserts;
- wood for hilt and scabbard;
- oil for wood.
Tool List:
- belt sander;
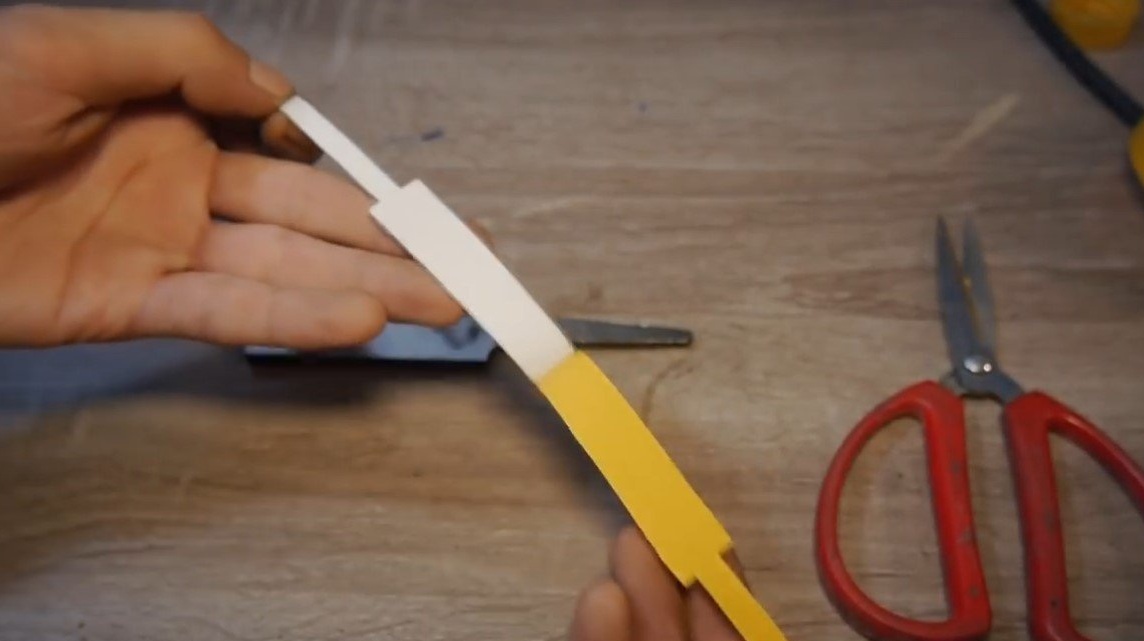
- paper, scissors, pencil (for making a template);
- tape cutting machine;
- vise;
- flat file for metal;
- sandpaper;
- drill;
- oven, oven, oil (for hardening);
- drilling machine;
- a chisel;
- manual frezer.
Homemade manufacturing process:
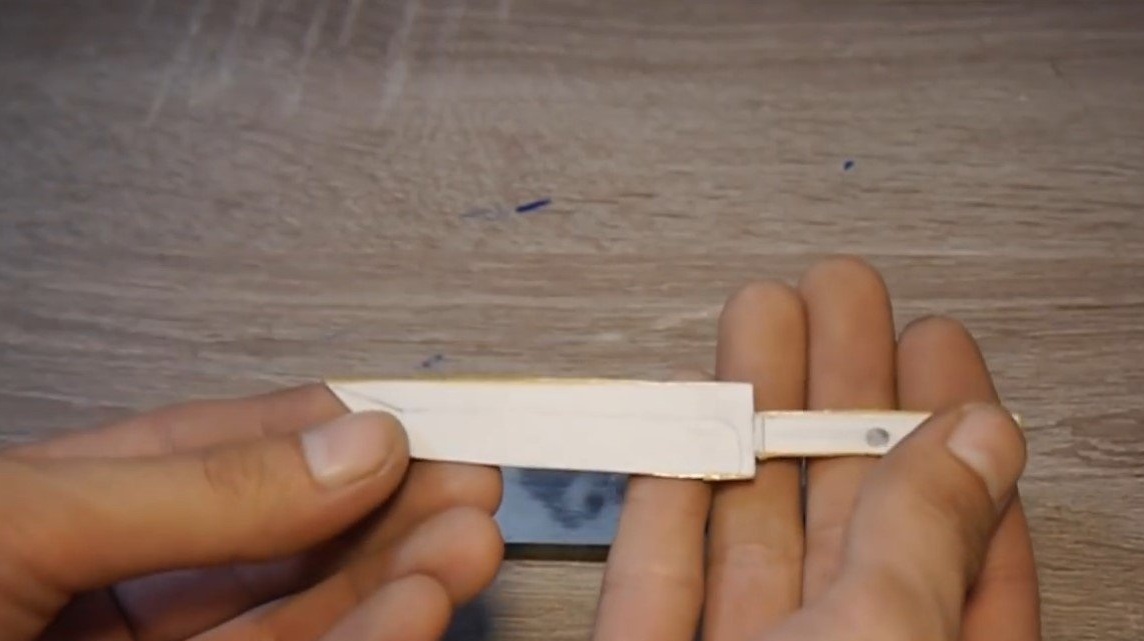
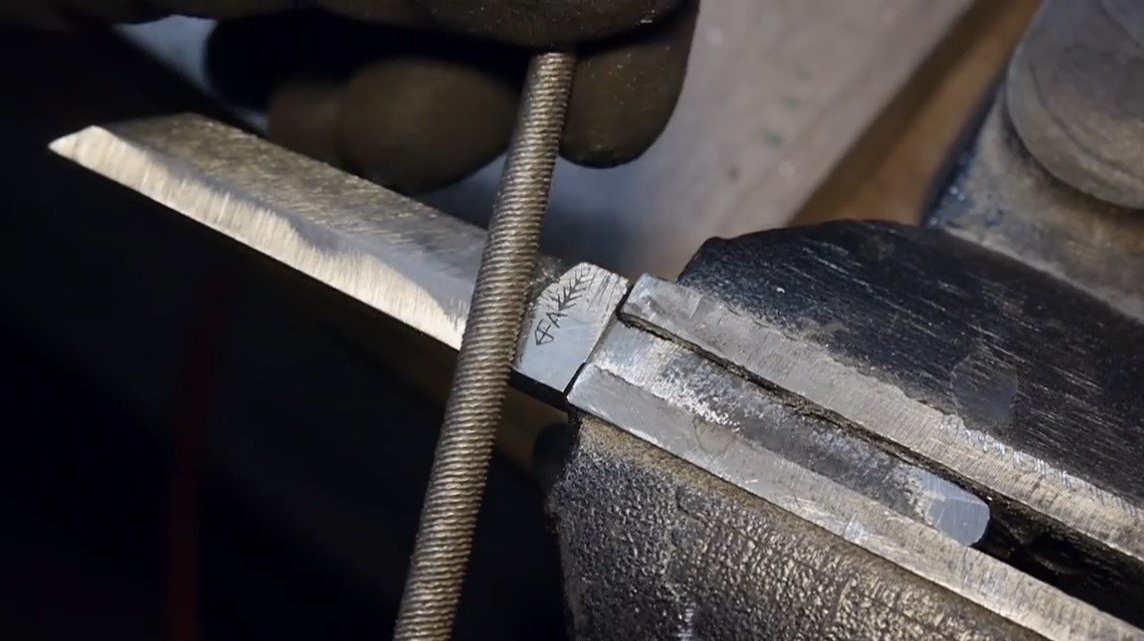
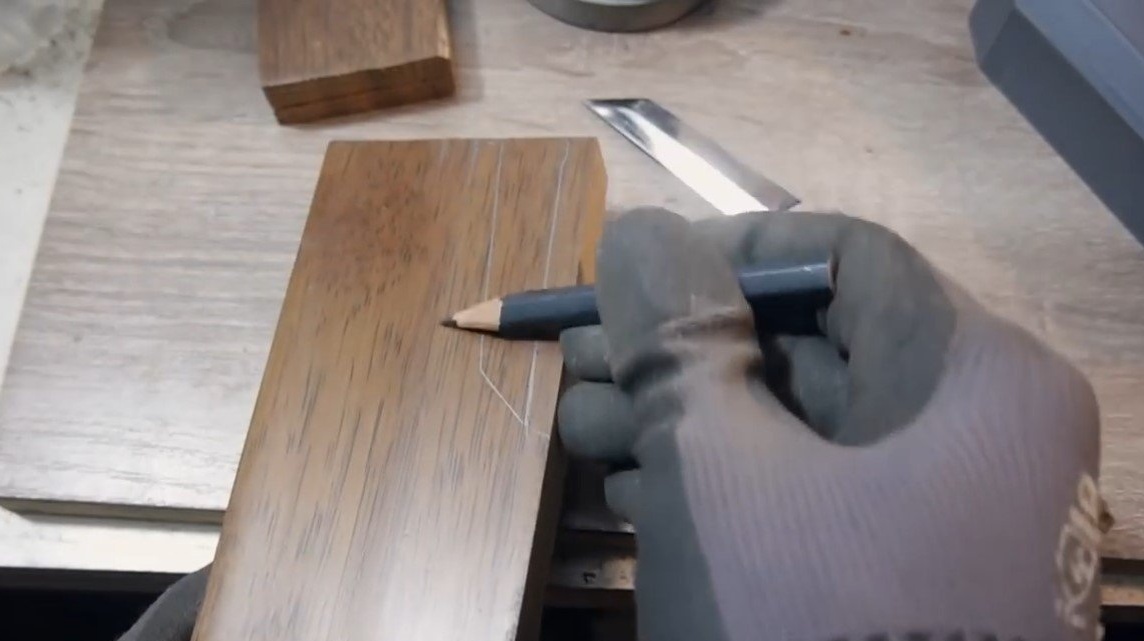
Step one. Making a knife profile
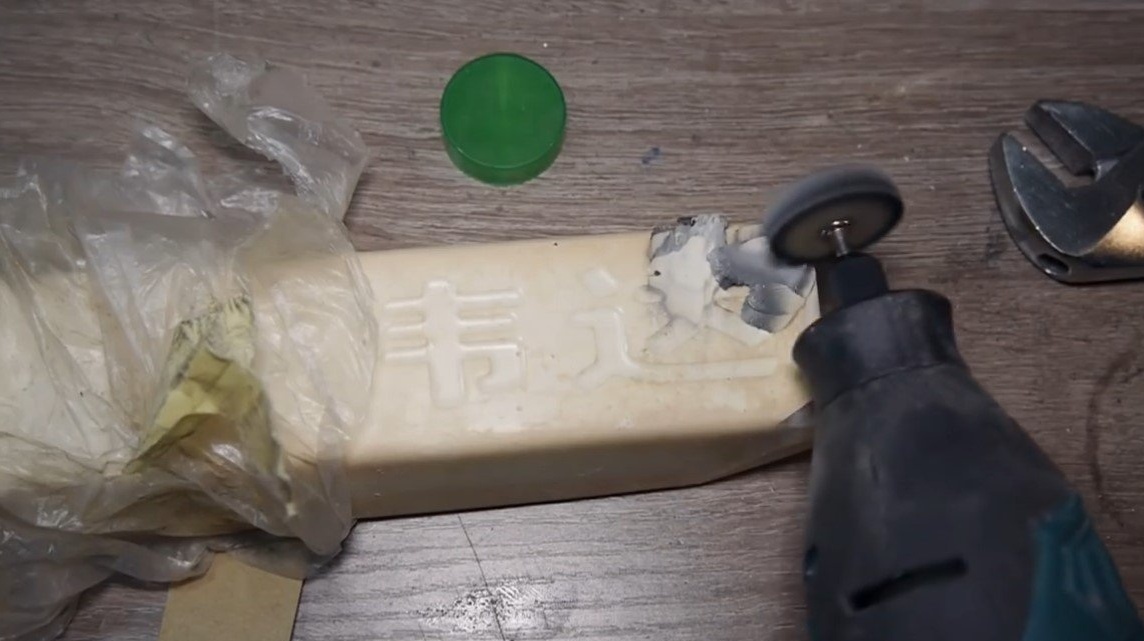
We will make a knife from a file, if you want the knife to be strong and sharp like a razor, you need to look for the file from the old one, from the times of the USSR, in which the whole body is made of high-quality steel. If you break such a file, you can see gray granular metal of uniform color at the end. Also, a good file will give very thick sparks when grinding.

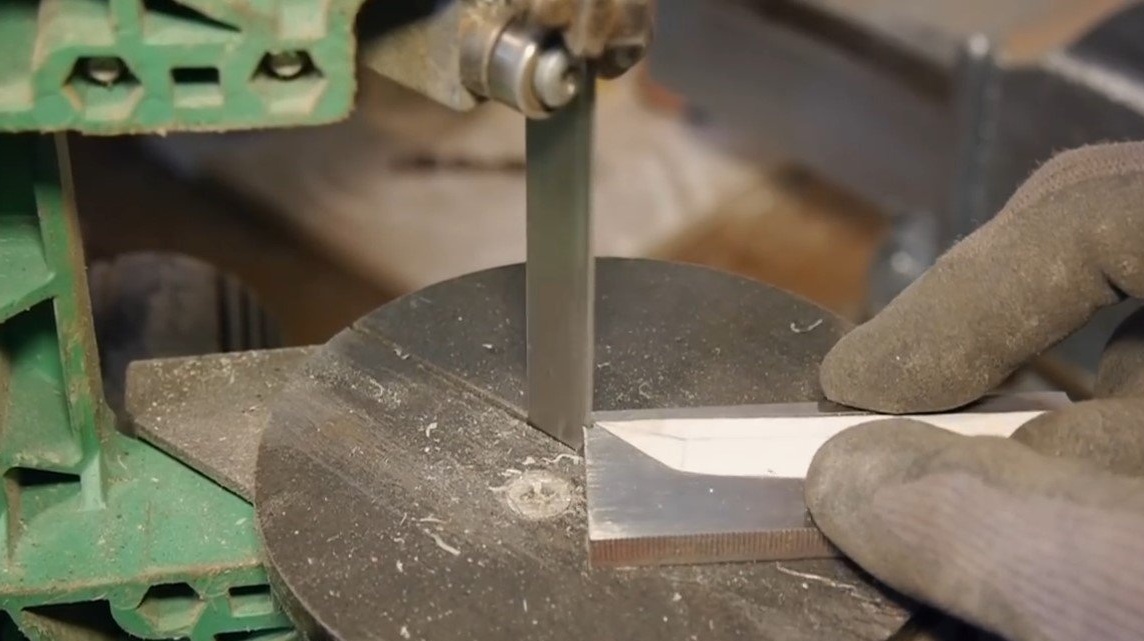
Of course, you cannot handle a file with any hand tool, the steel is too strong. To solve the problem, we heat the file to a yellowish glow and let it cool gradually. If everything is done, the steel will be soft, it can be cut with a hacksaw.
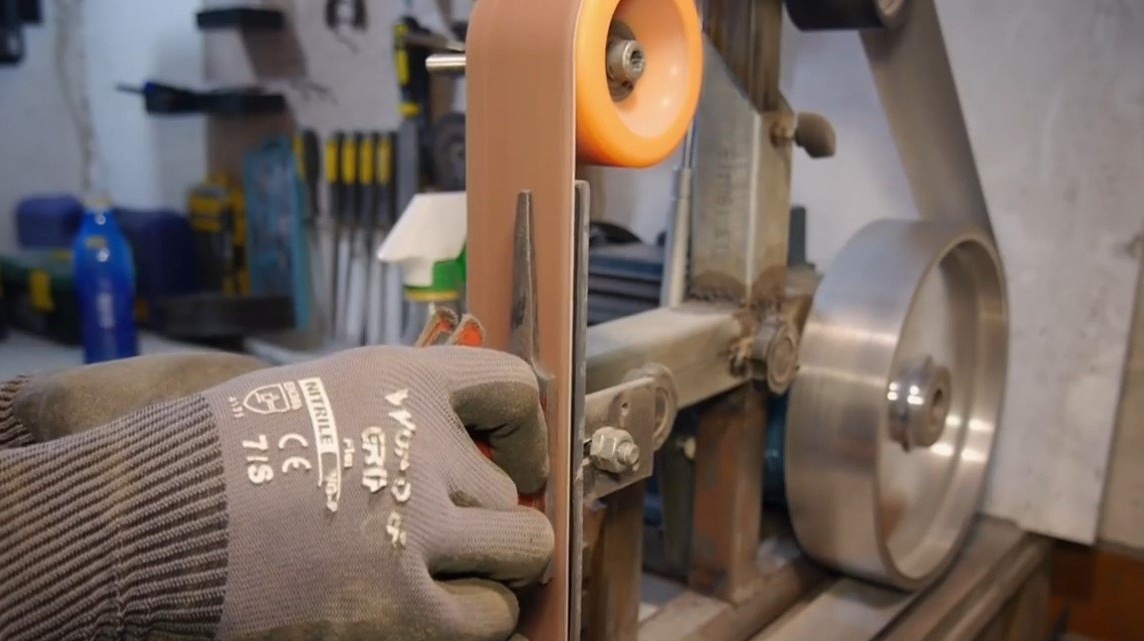
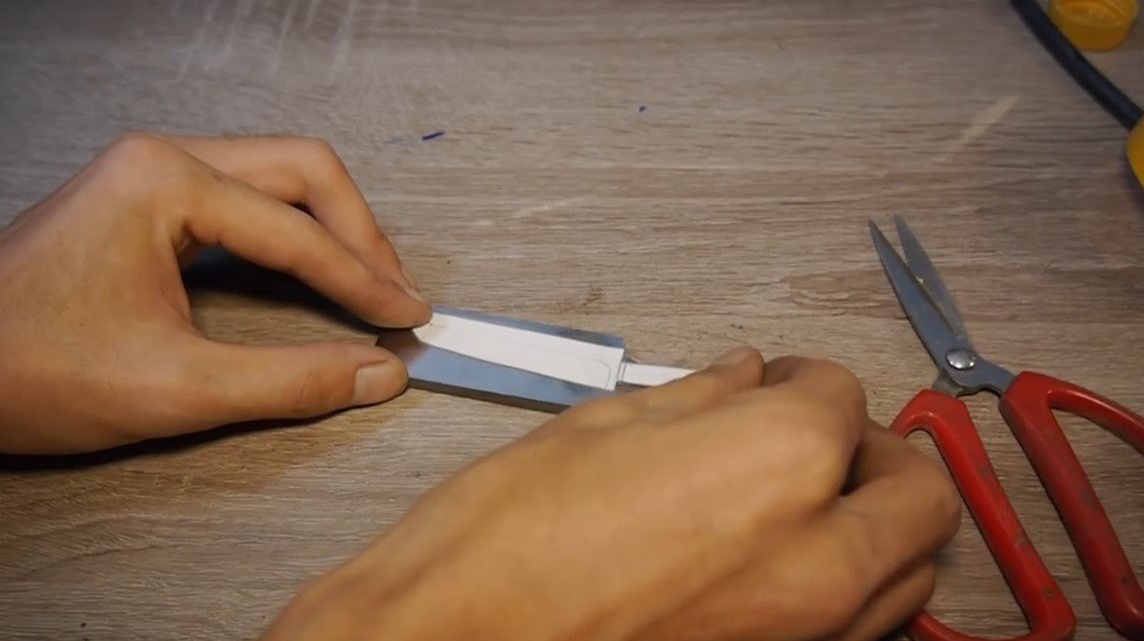
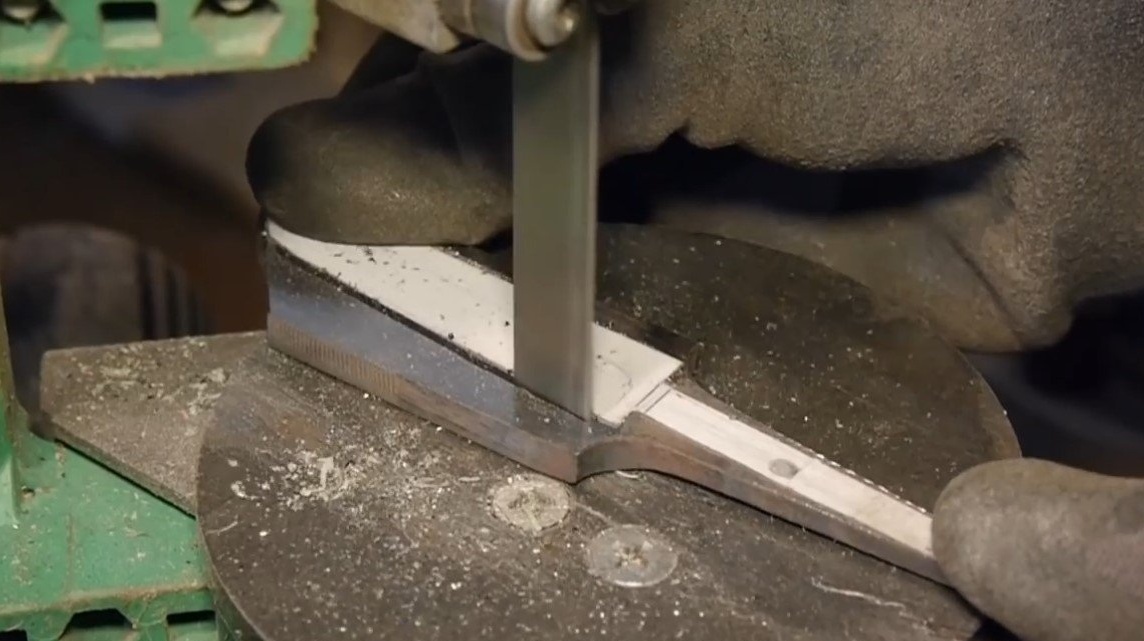
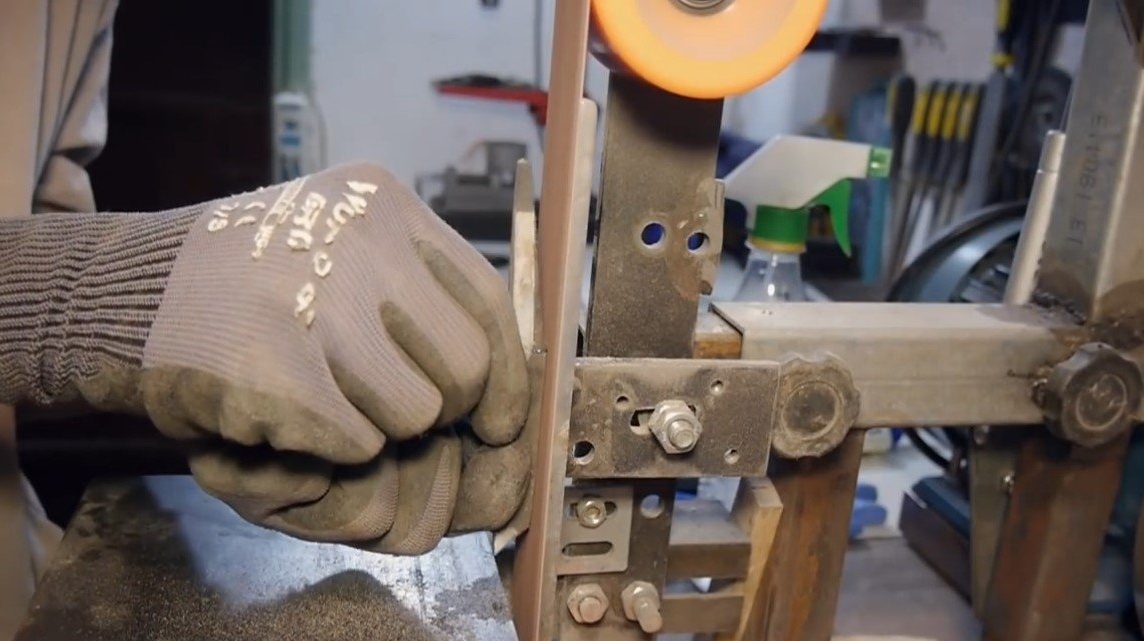
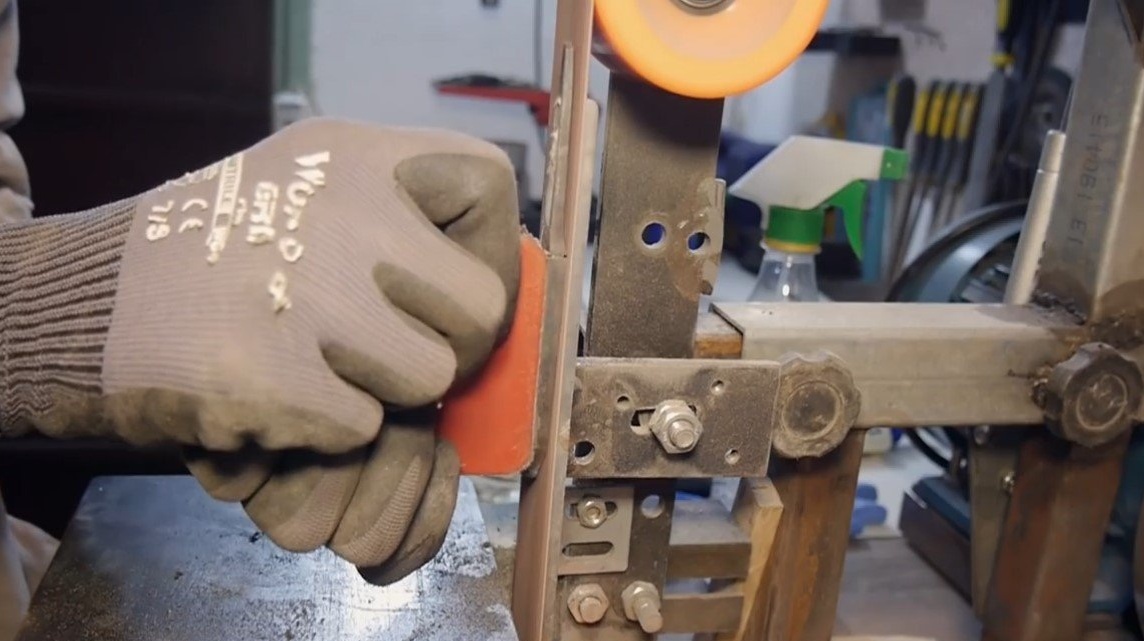
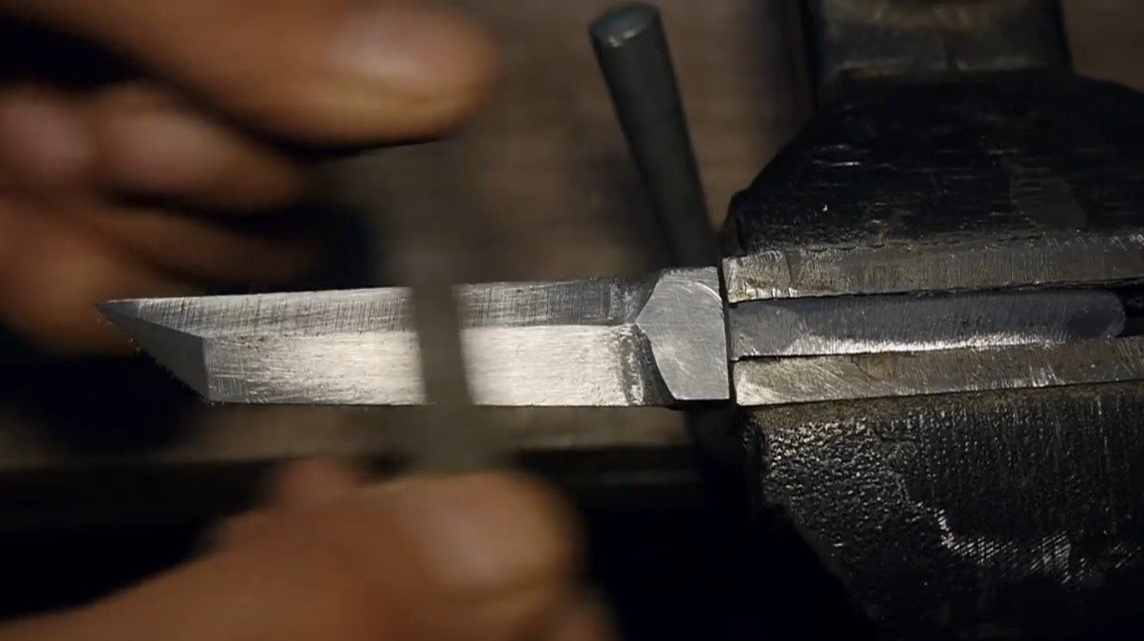
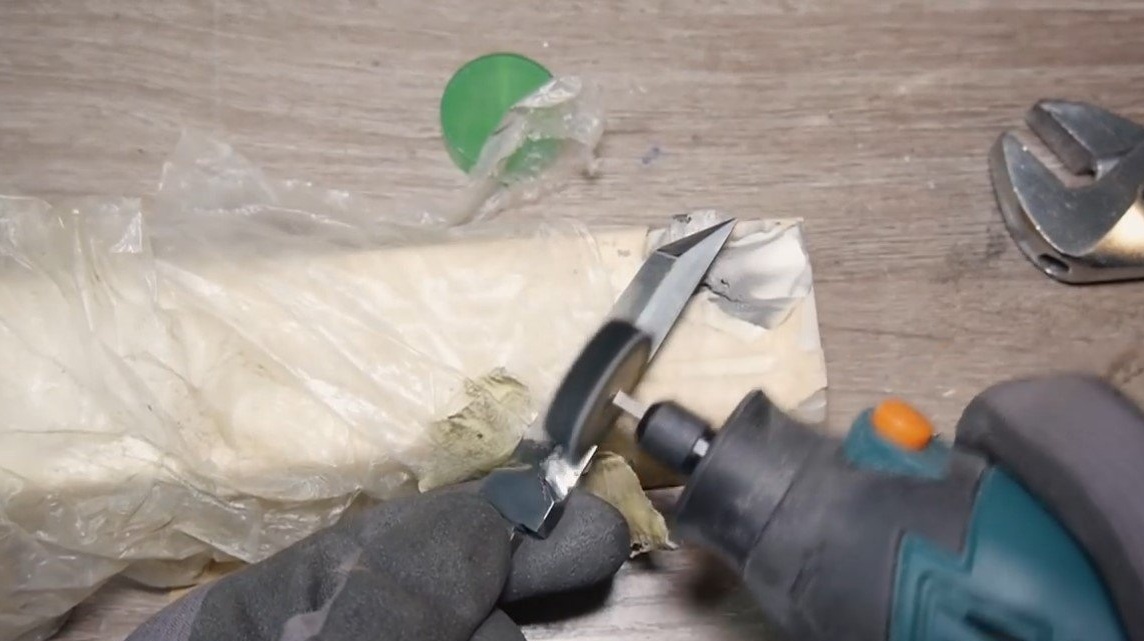
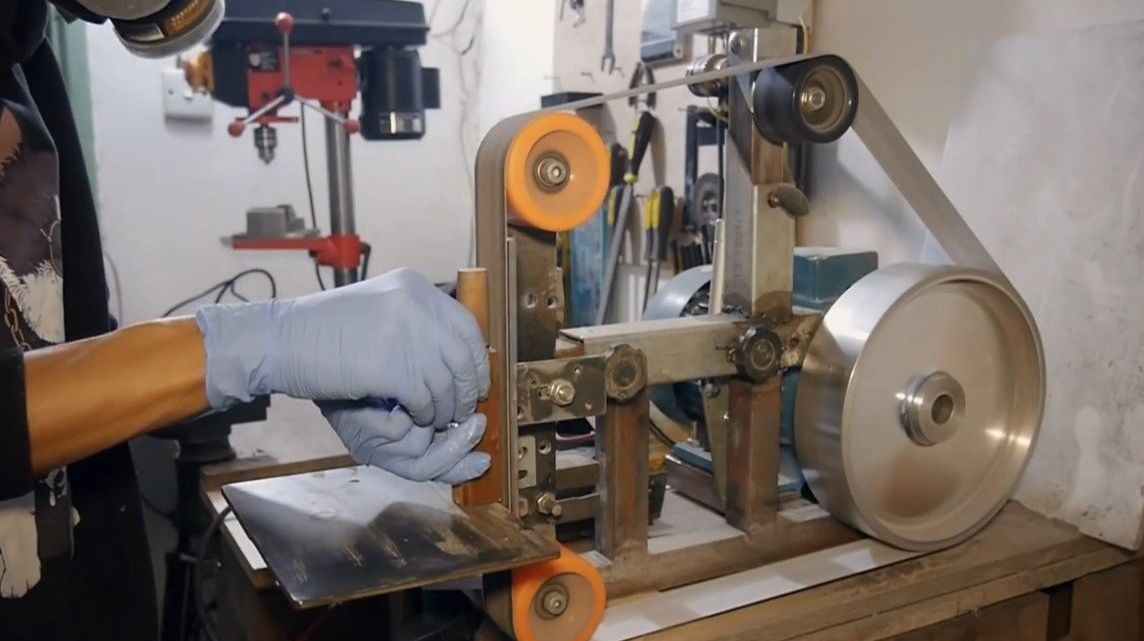
We transfer the paper profile to the blade and can be cut. We cope with the task using the tool that you have, the author uses a belt sander to work.
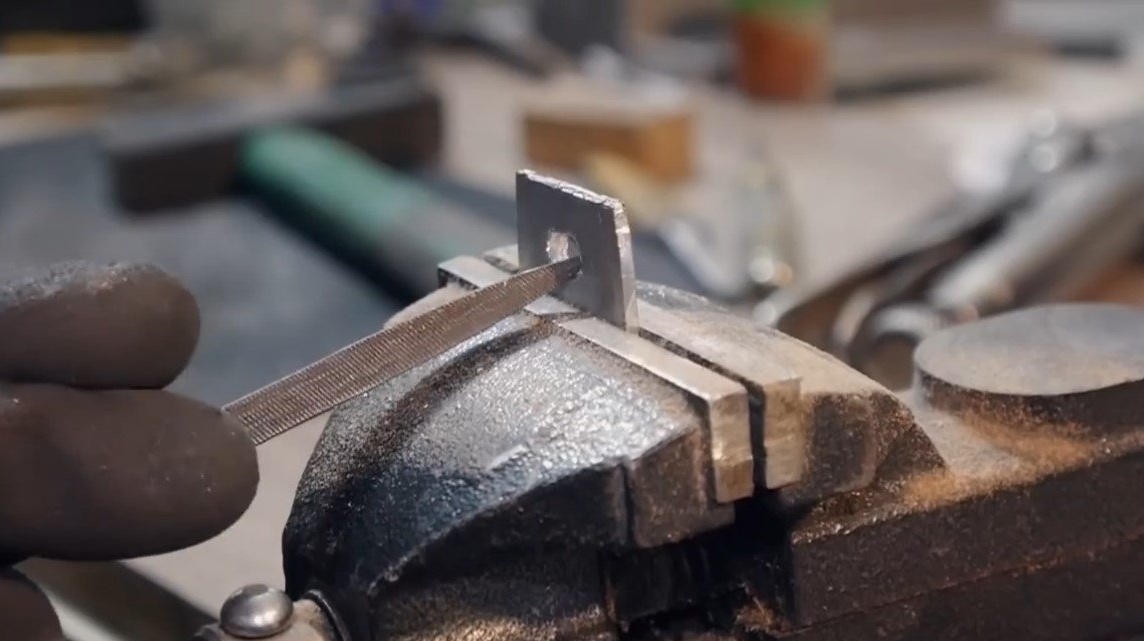
After cutting, it remains to finalize the profile by grinding. The blade can be quickly and efficiently finished with files if the steel is released.
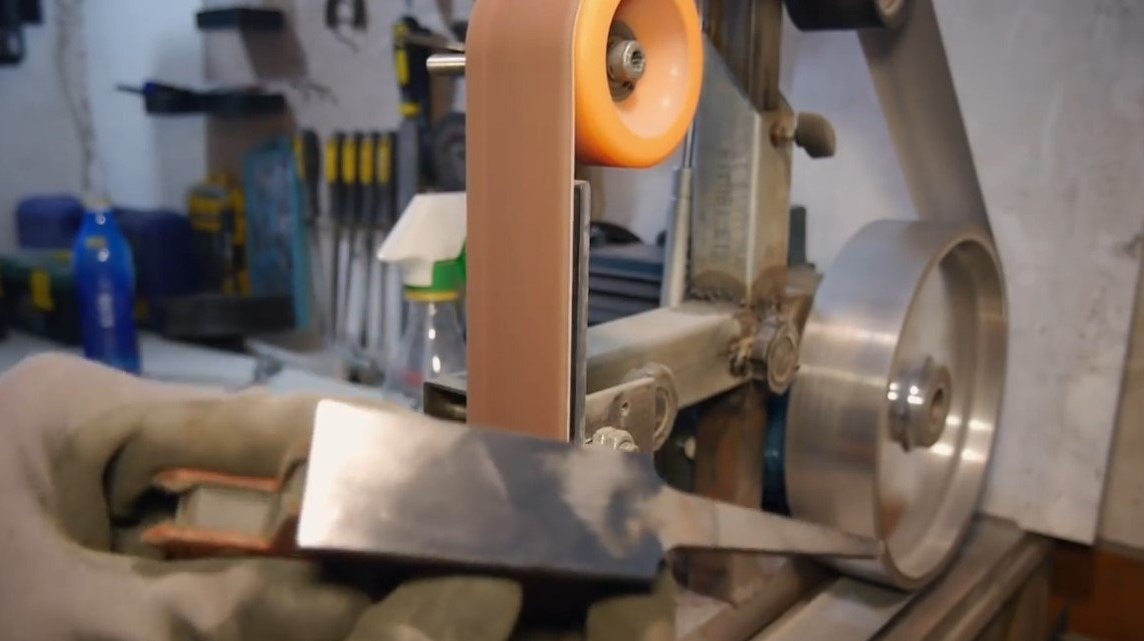
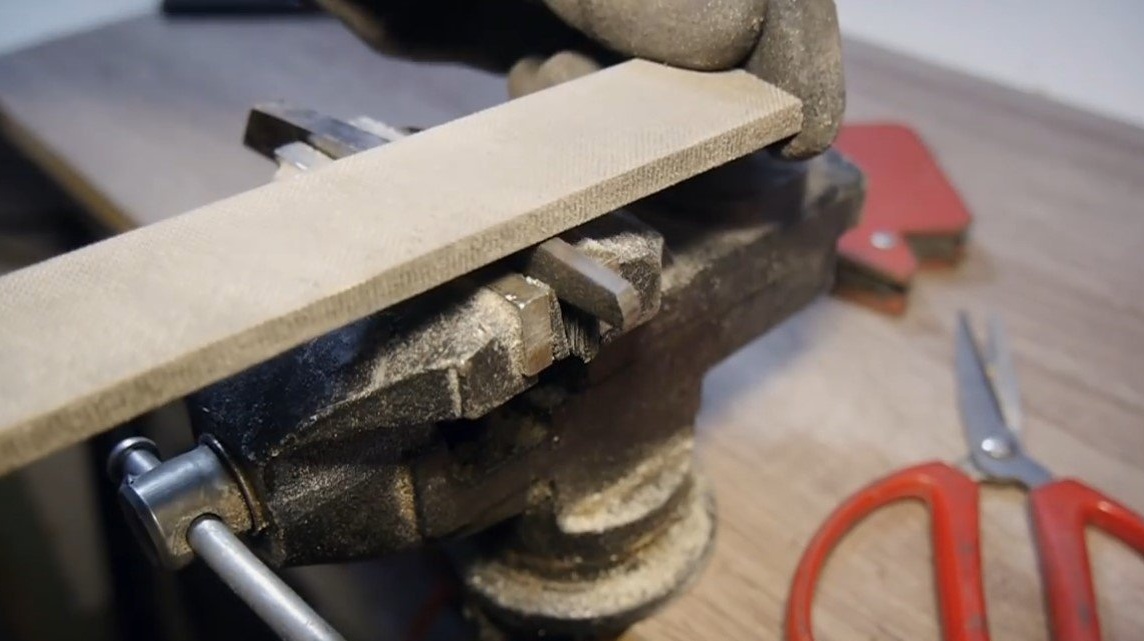
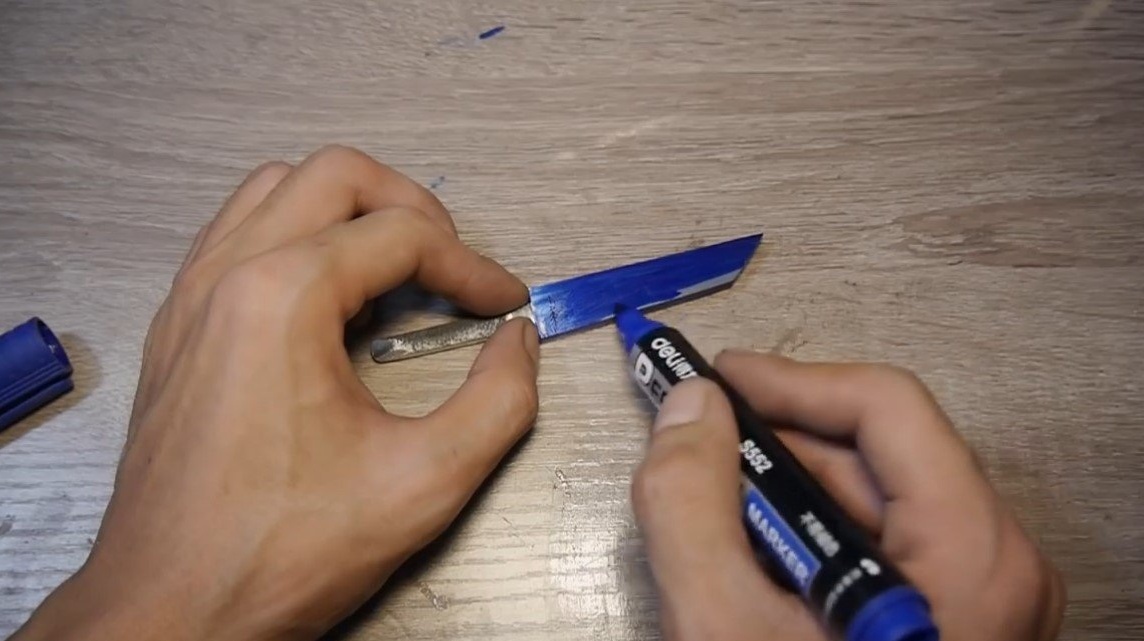
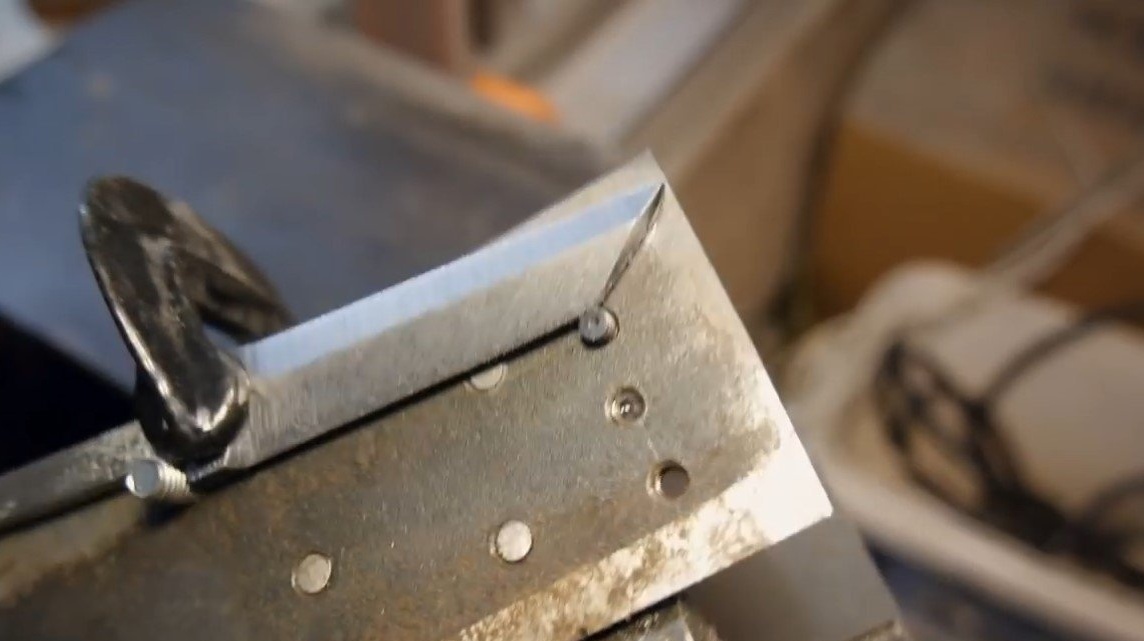
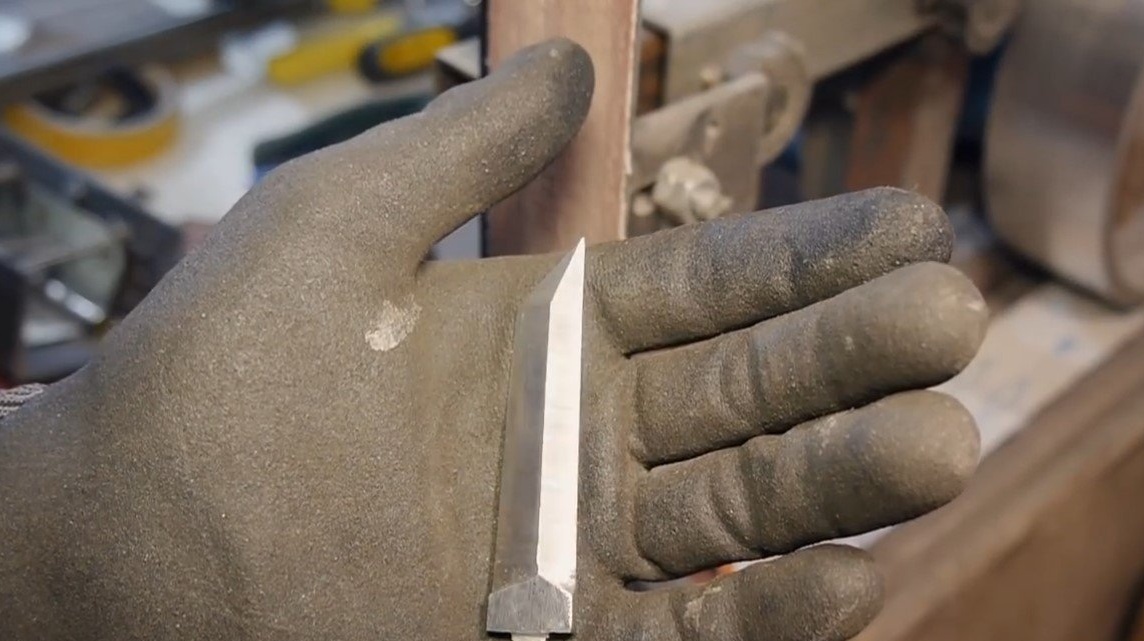
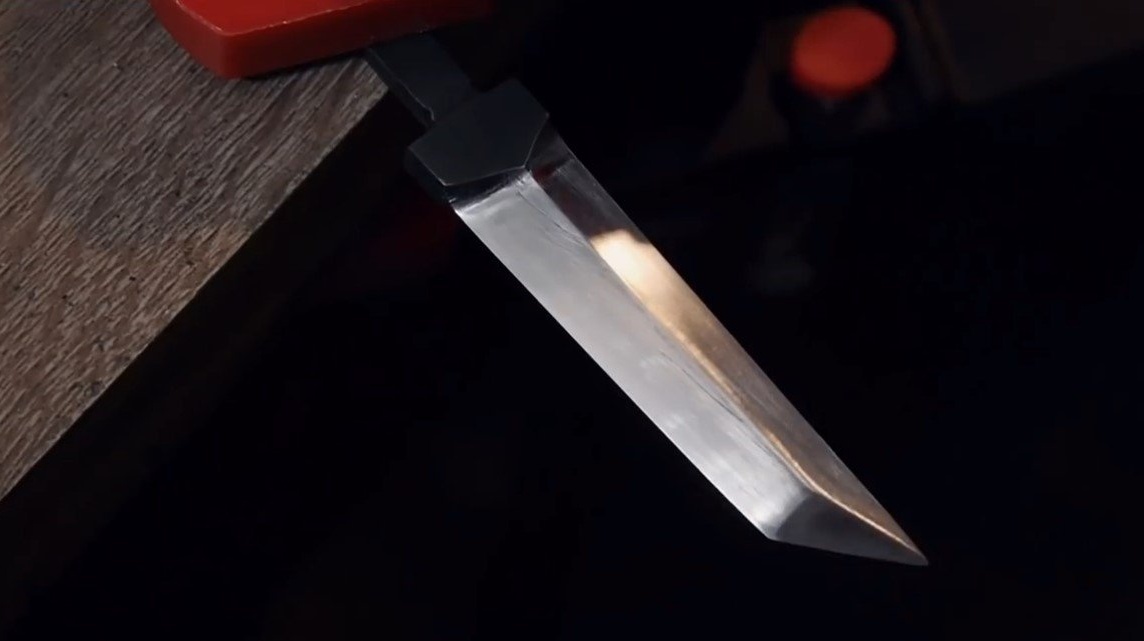
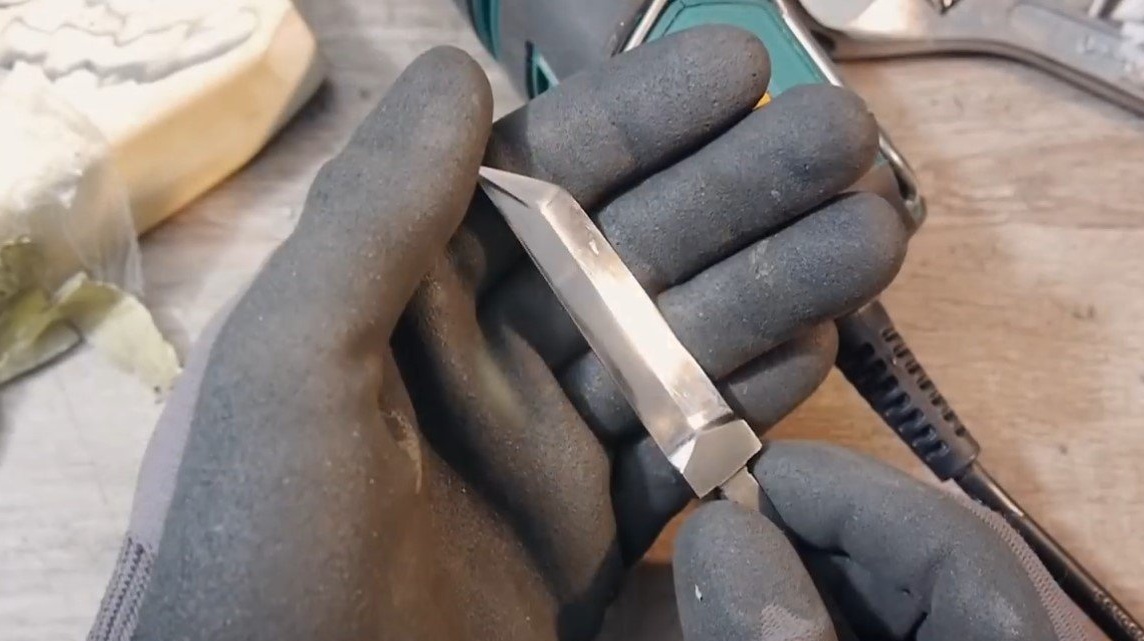
Step Two Bevels
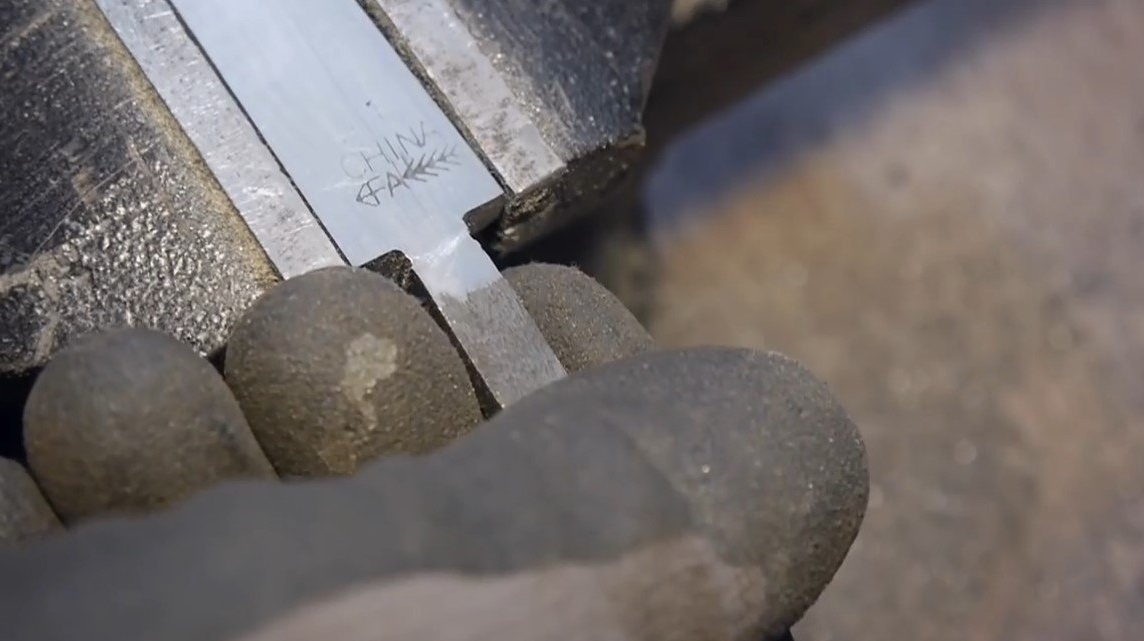
We paint over the plane of the blade with a marker so that the grinding point is clearly visible, and then we form the descents. The author carefully dealt with the main work with the help of a flat file so as not to spoil the workpiece. Well, then a belt sander came to the rescue.The knife blade does not need to be sharpened yet, it has yet to be hardened, the thin metal will burn out.
The author also finishes polishing manually using sandpaper. Please note that after hardening the steel will already be very hard, so it will not be easy to grind.
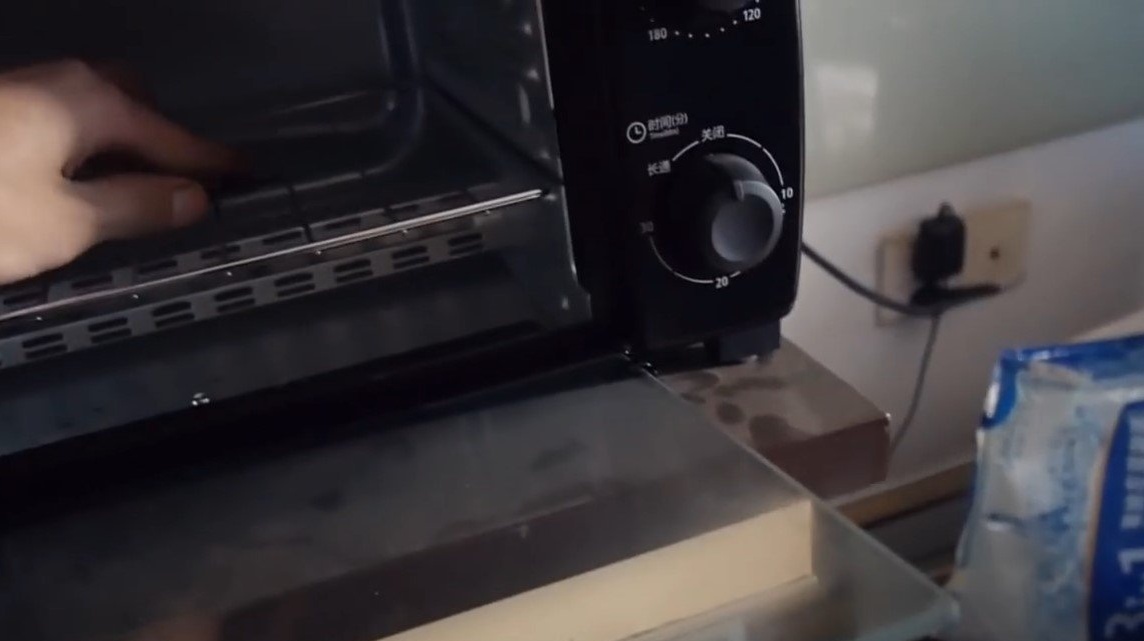
Step Three Quenching
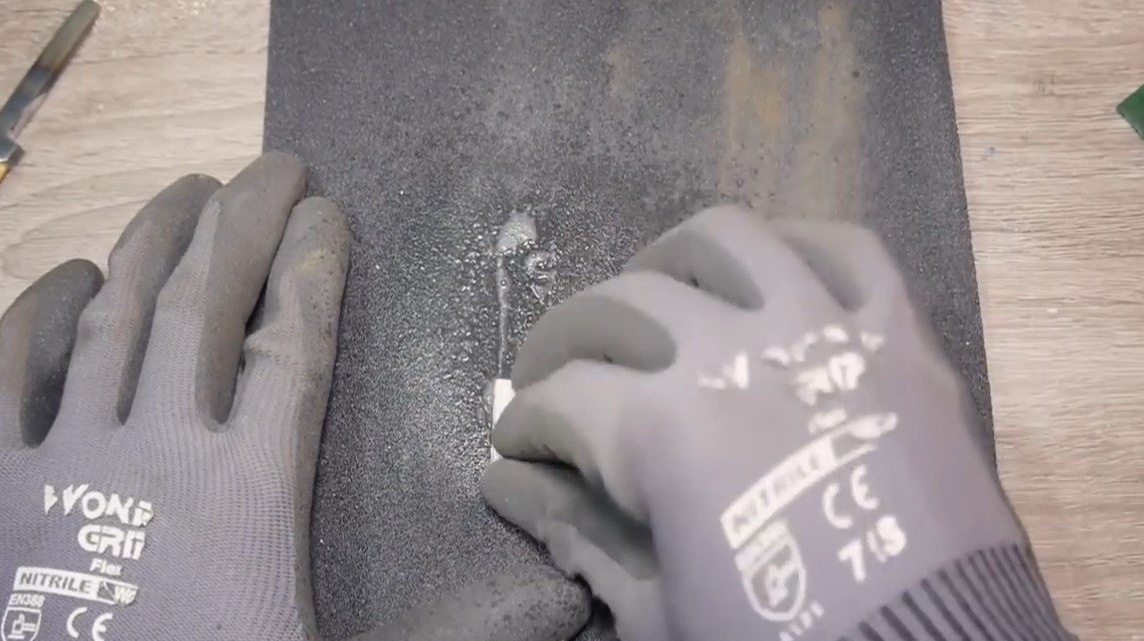
We temper the blade, such a knife can be sharpened to the state of a razor, and it will keep sharpening for a long time. To start, we heat the blade to a yellowish glow and immerse the blade in oil. You can use motor oil, vegetable or even automotive working out.
After hardening, we handle the blade very carefully, the steel will be hard and brittle like glass. To give the blade spring properties, send it to the oven, set the temperature at about 200 ° C. After some time of warming up, a straw-colored coating will appear on the steel, after which the oven can be turned off.
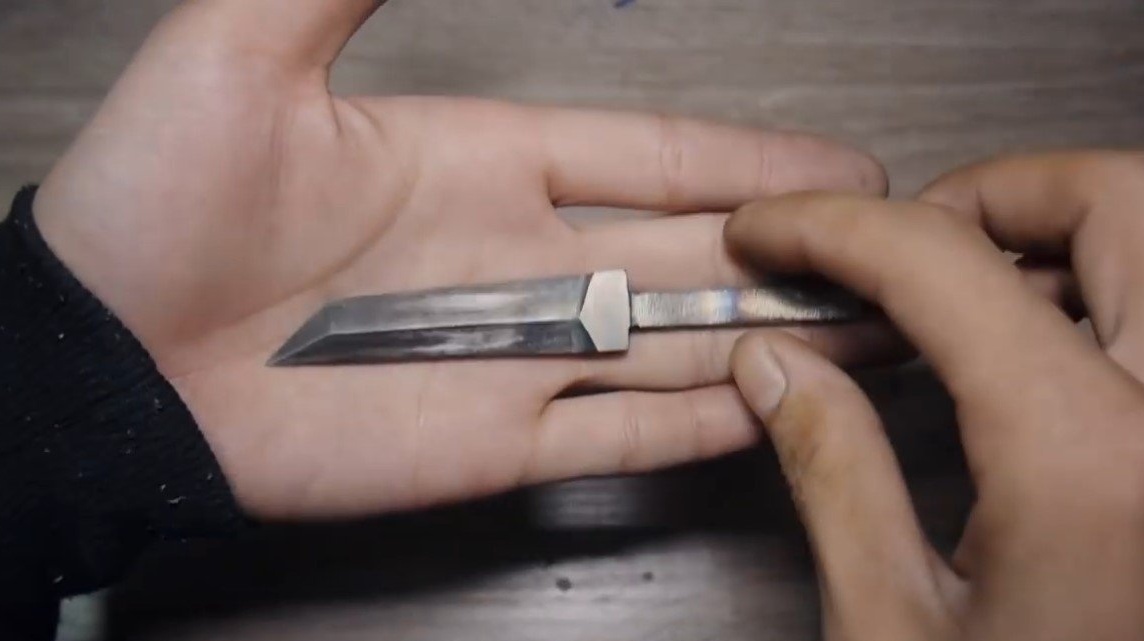
A properly hardened blade will ring if you hit it with a metal object. Also, hardened steel will no longer be taken with files.
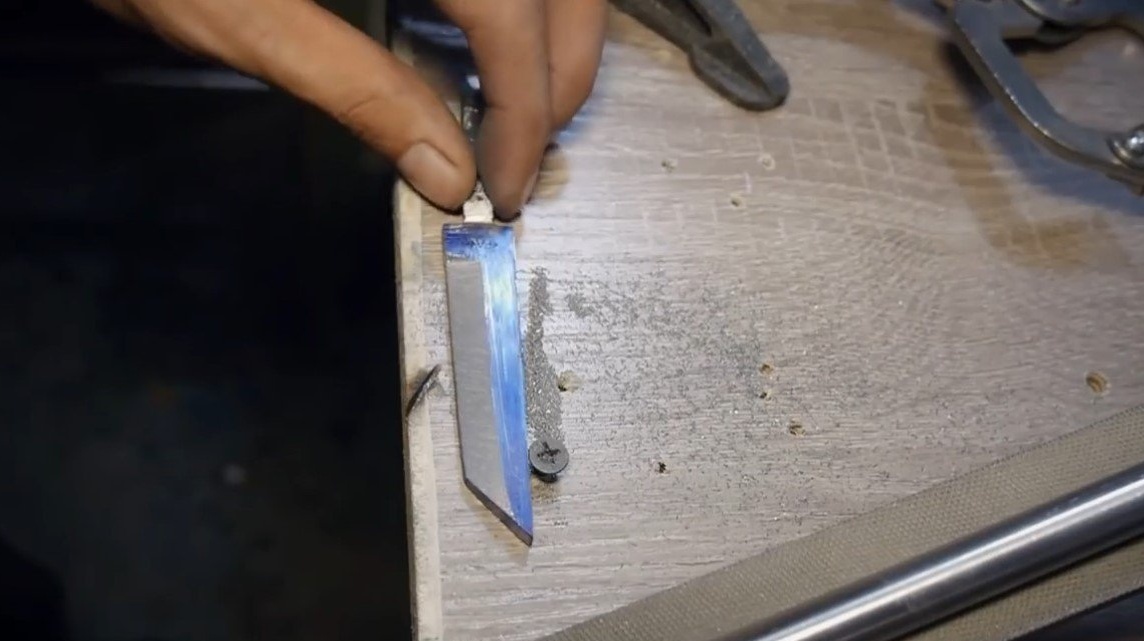
At the end, the author polished the blade with a drill and polishing paste, if desired, the steel can be brought to a mirror shine.
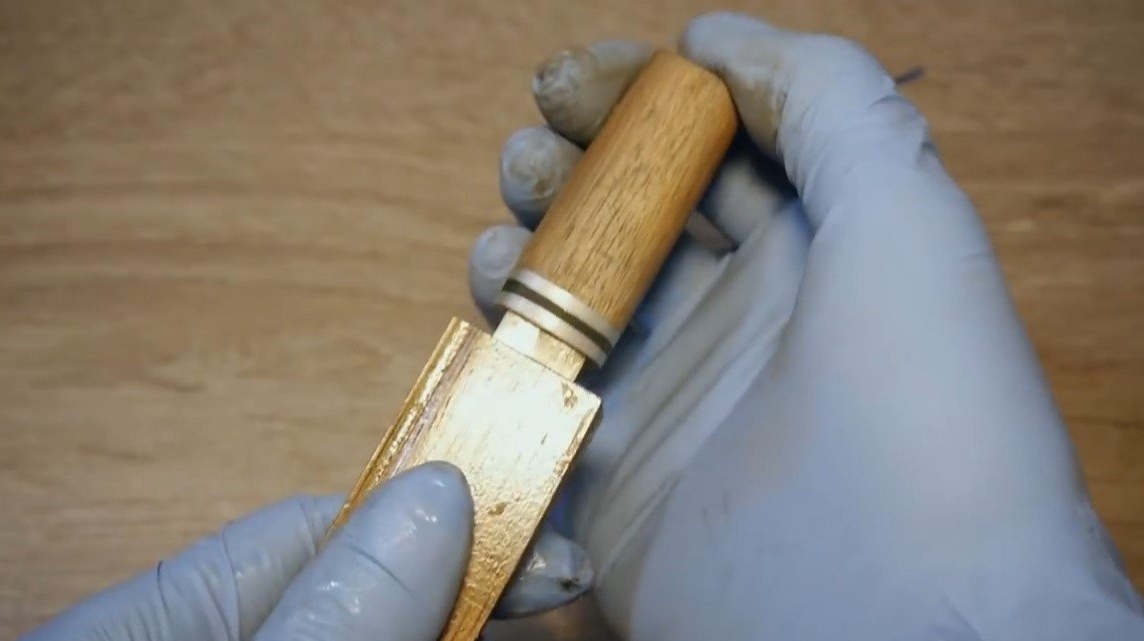
Step Four Handle manufacturing
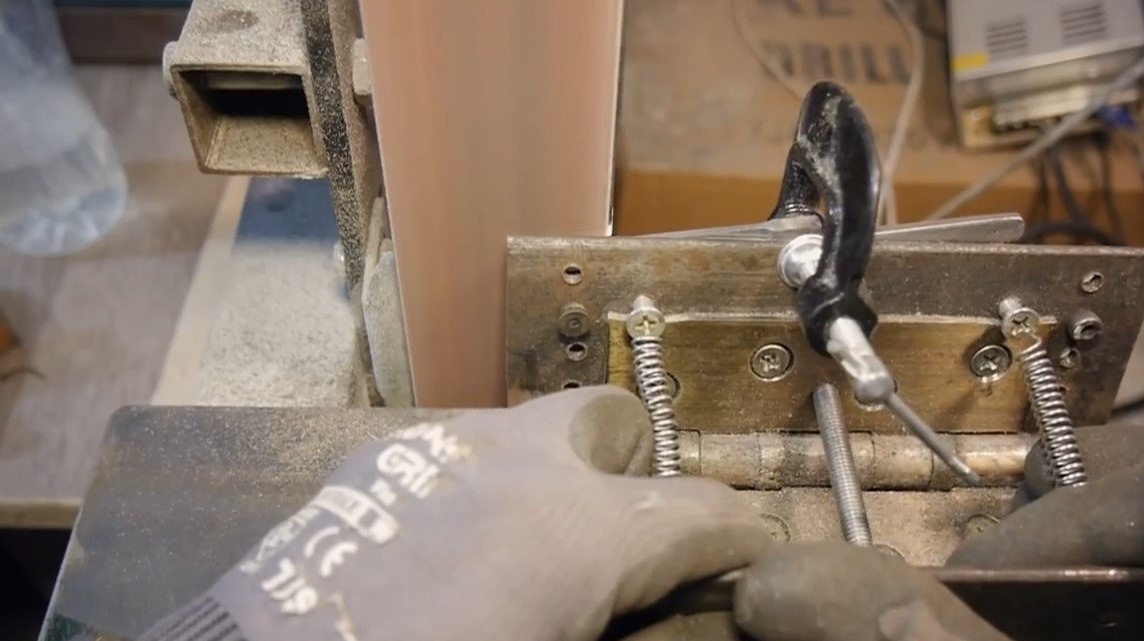
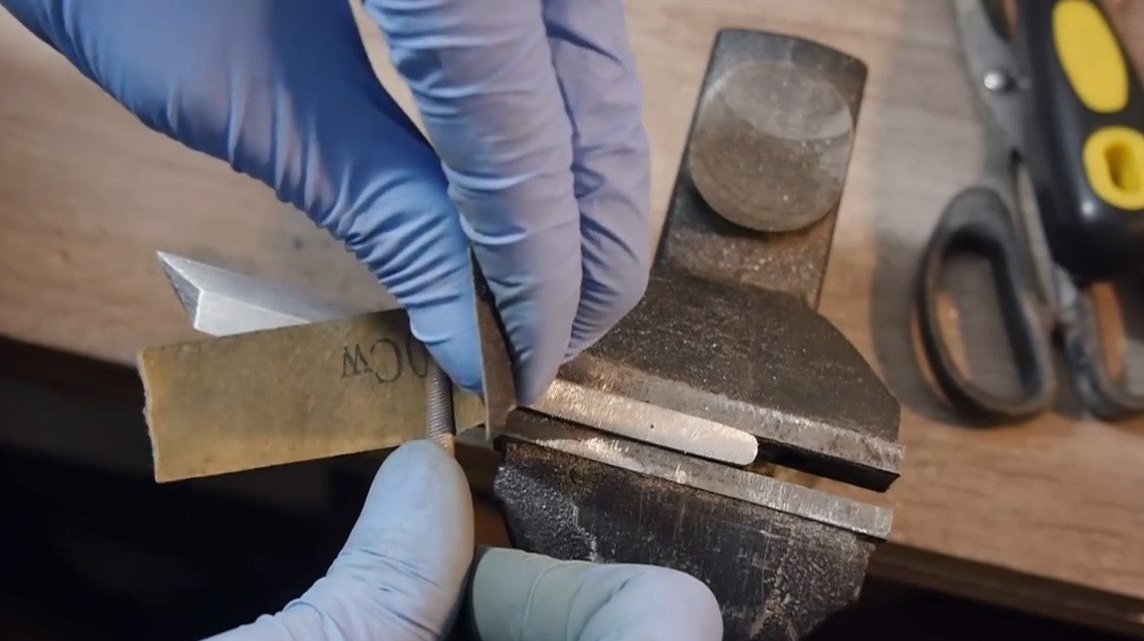
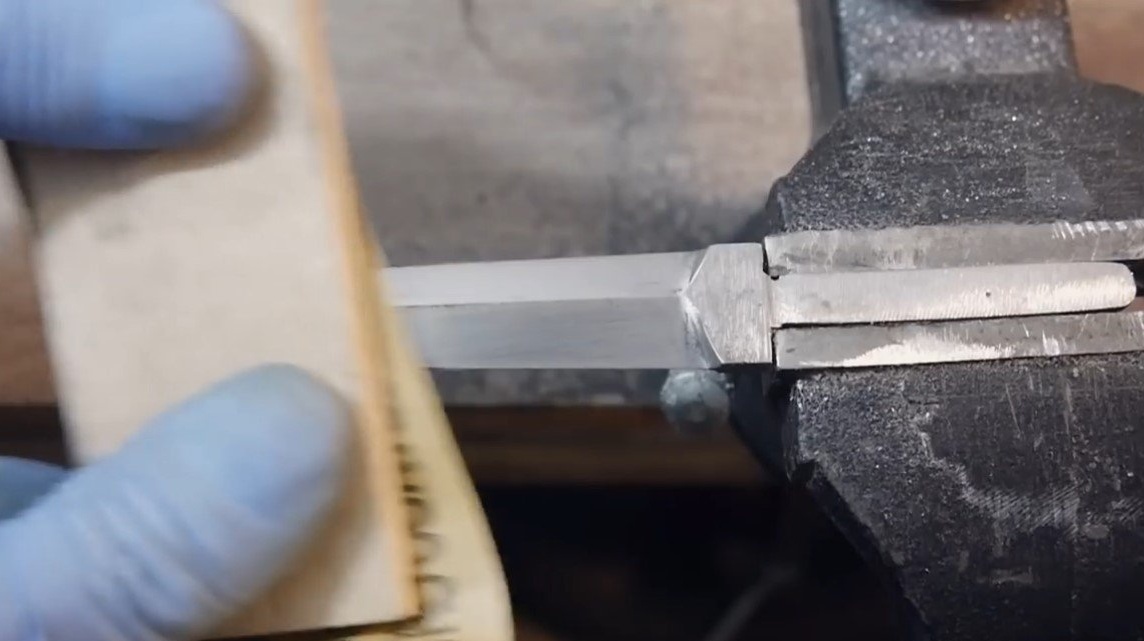
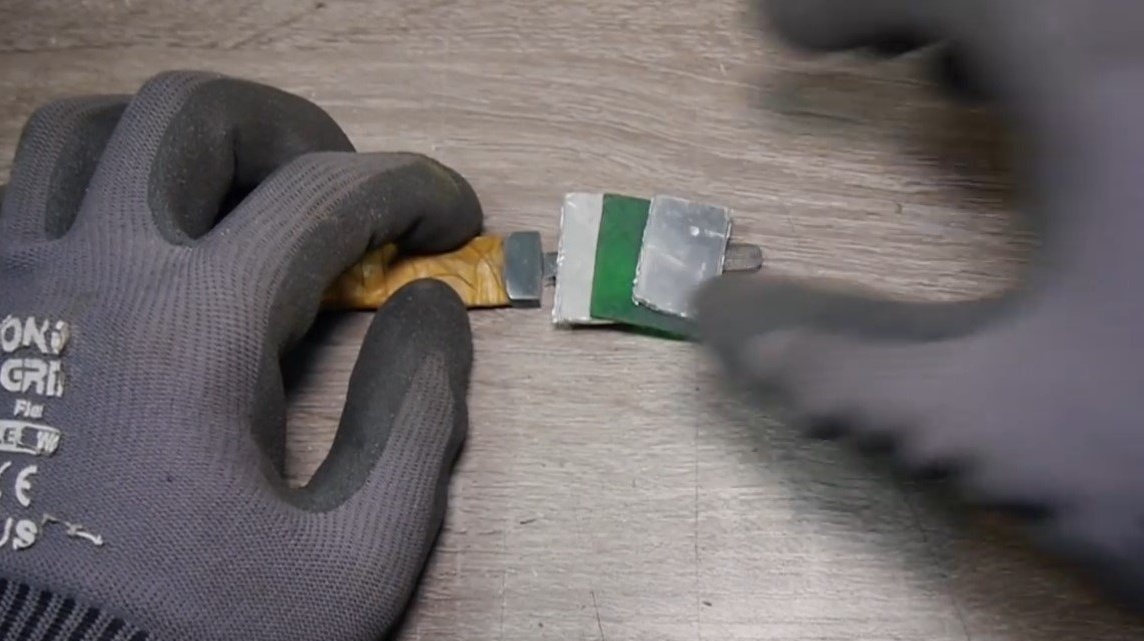
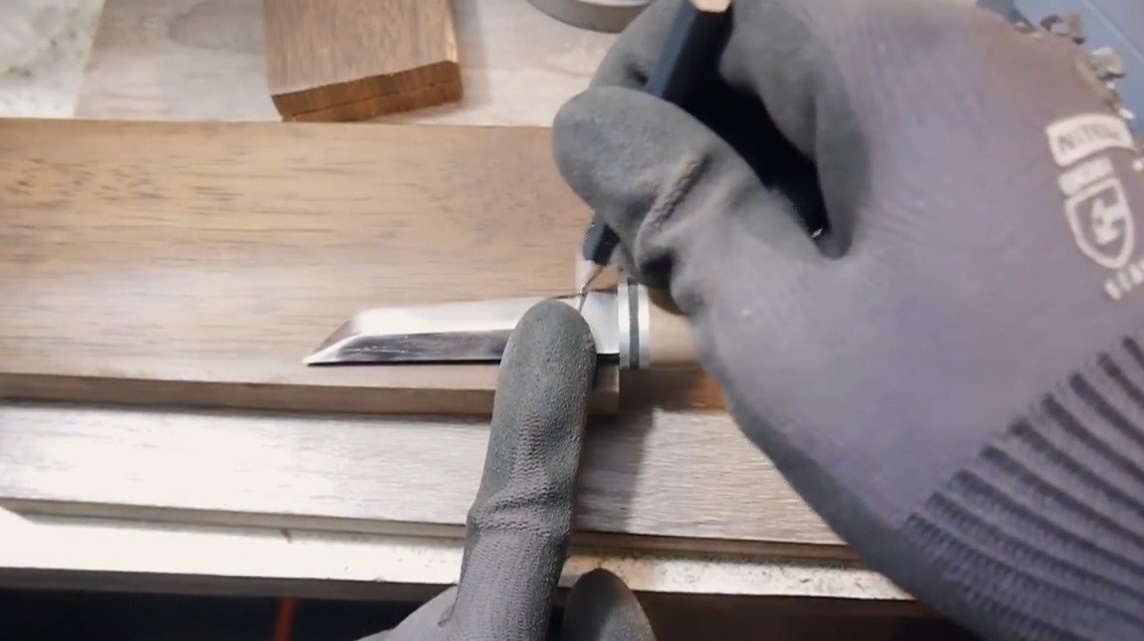
First of all, we will prepare all the materials for the assembly of the handle, the main material will be wood, if desired, we will use inserts from textolite, brass or similar material. Do not forget to drill blind holes for small neodymium magnets.
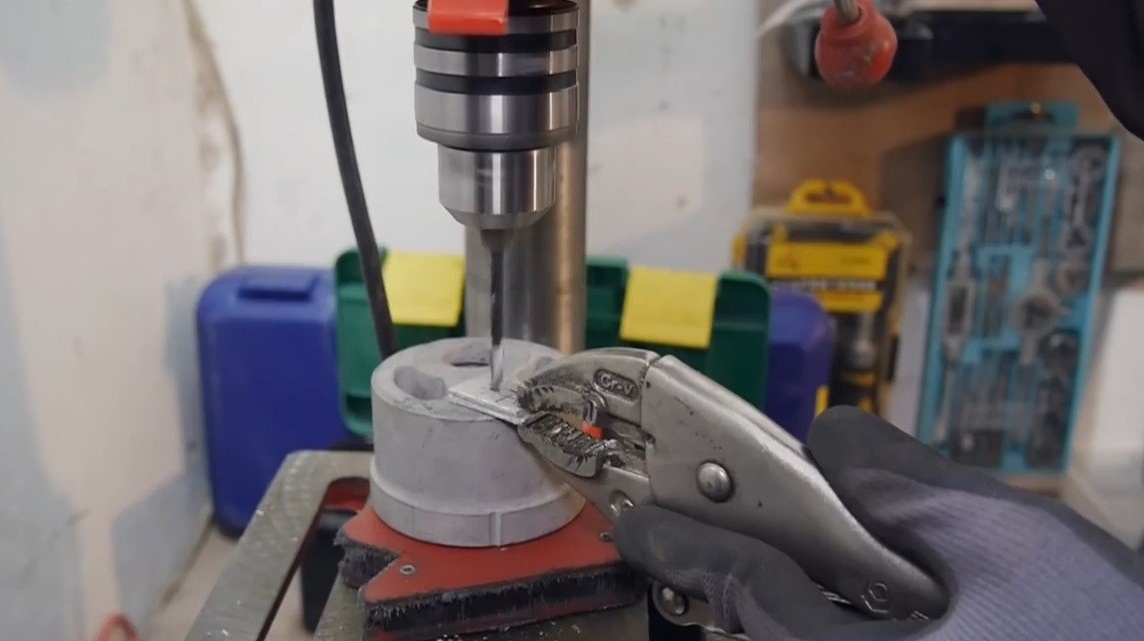
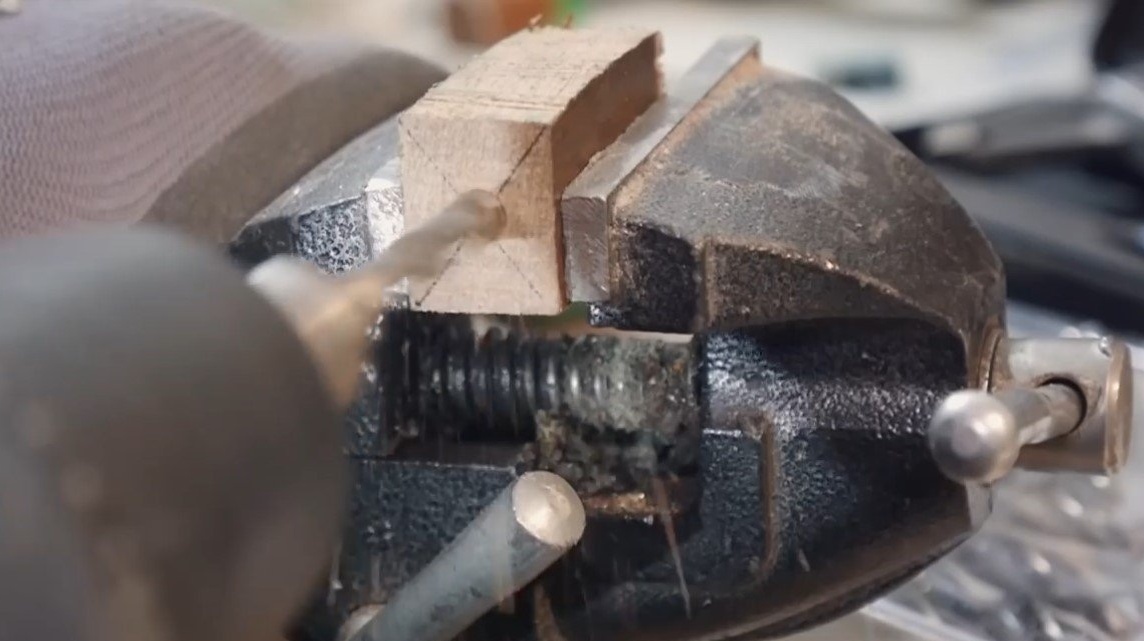
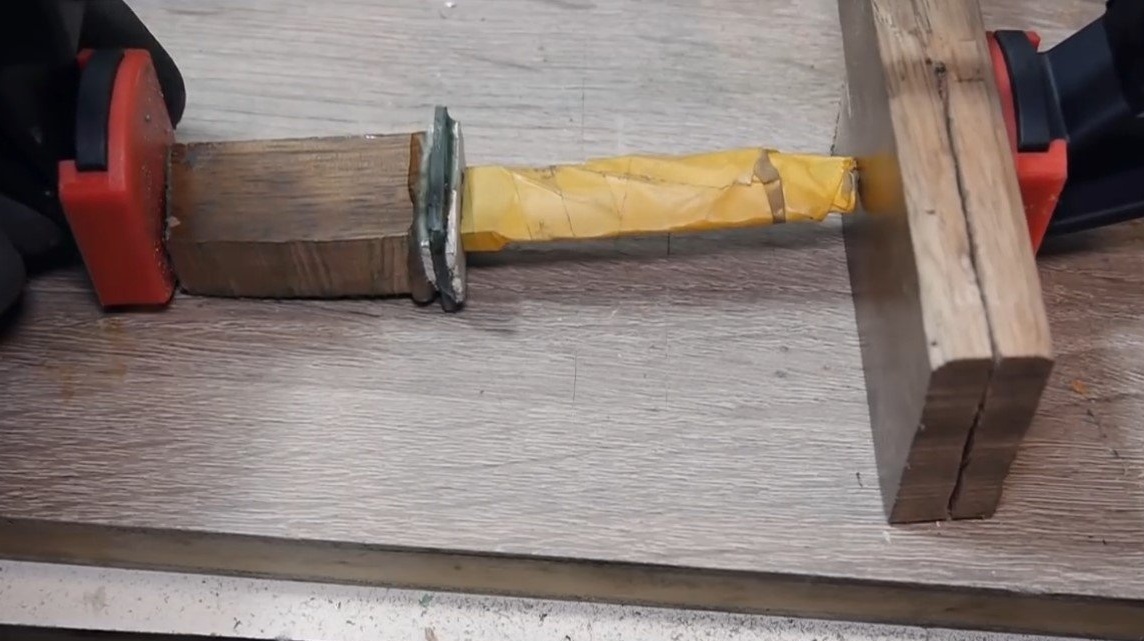
In the handle, drill a hole for the shank, and now the handle can be assembled. Everything sticks together on epoxy glue. We put the handle vertically and pour glue into the hole, tighten everything with clamps and leave the glue to harden.
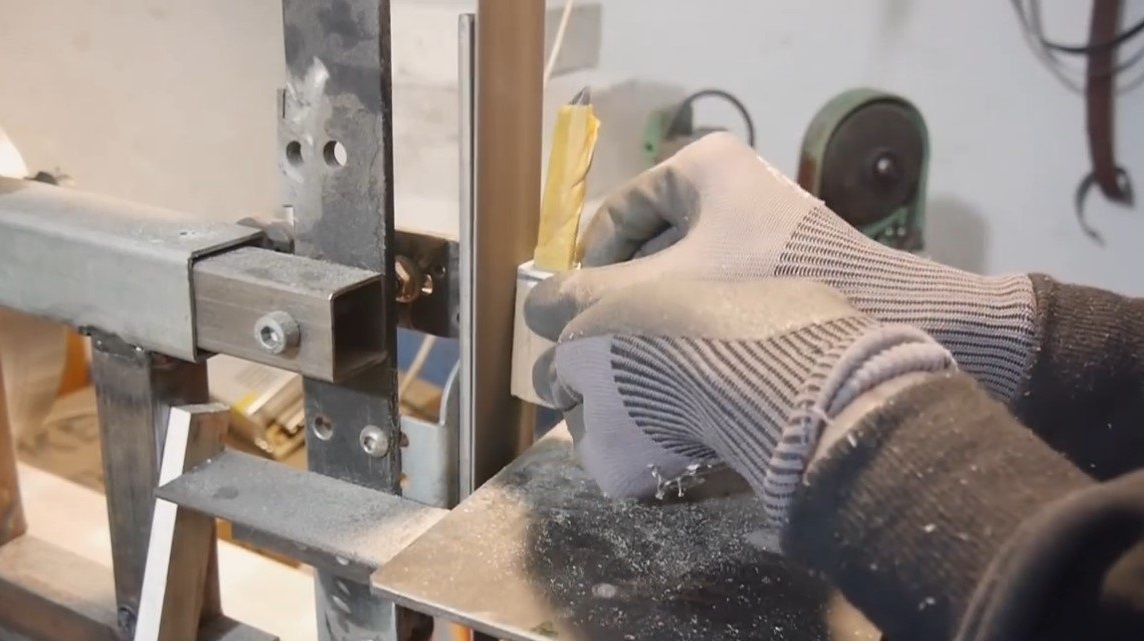
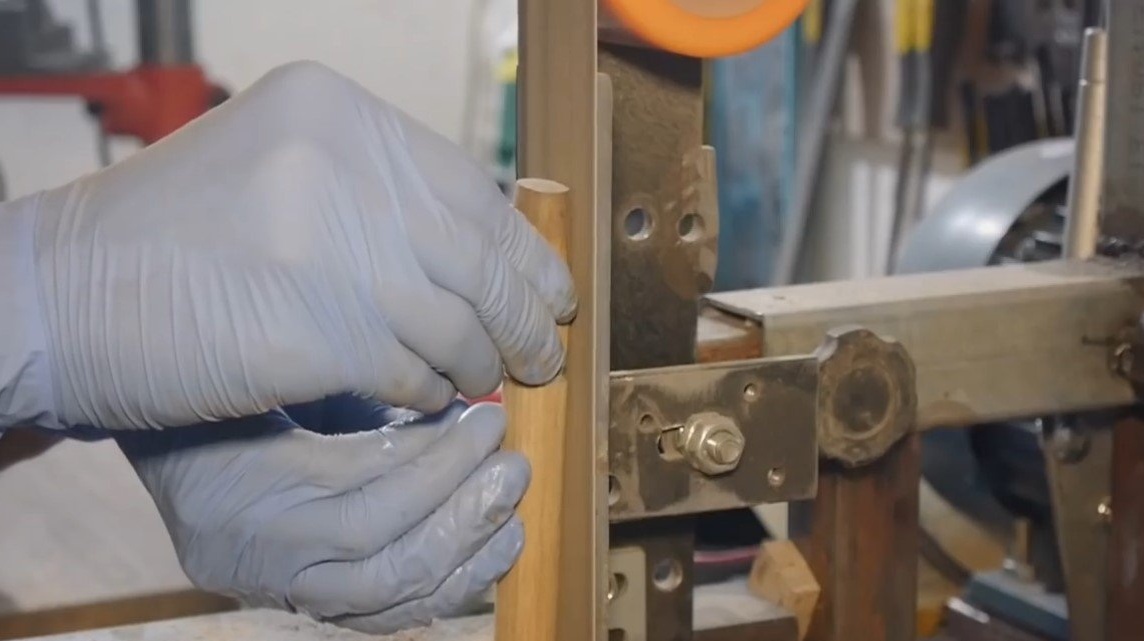
When the glue hardens, we grind the handle on a belt sander or use files on wood. It is not yet necessary to bring the handle to the ideal, we still have to polish the scabbard.
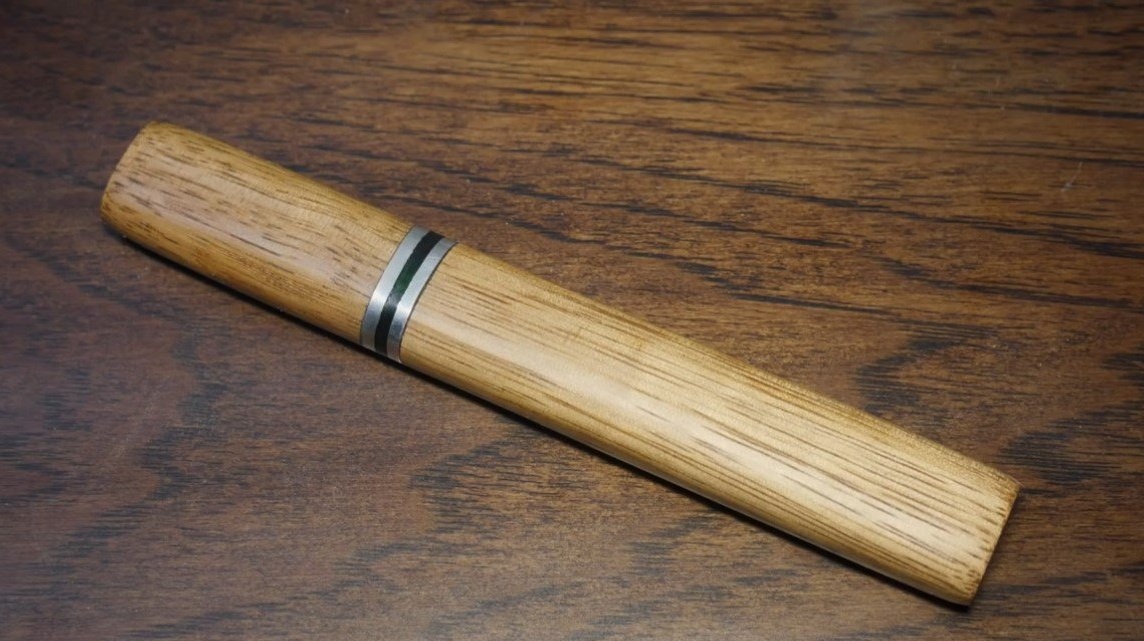
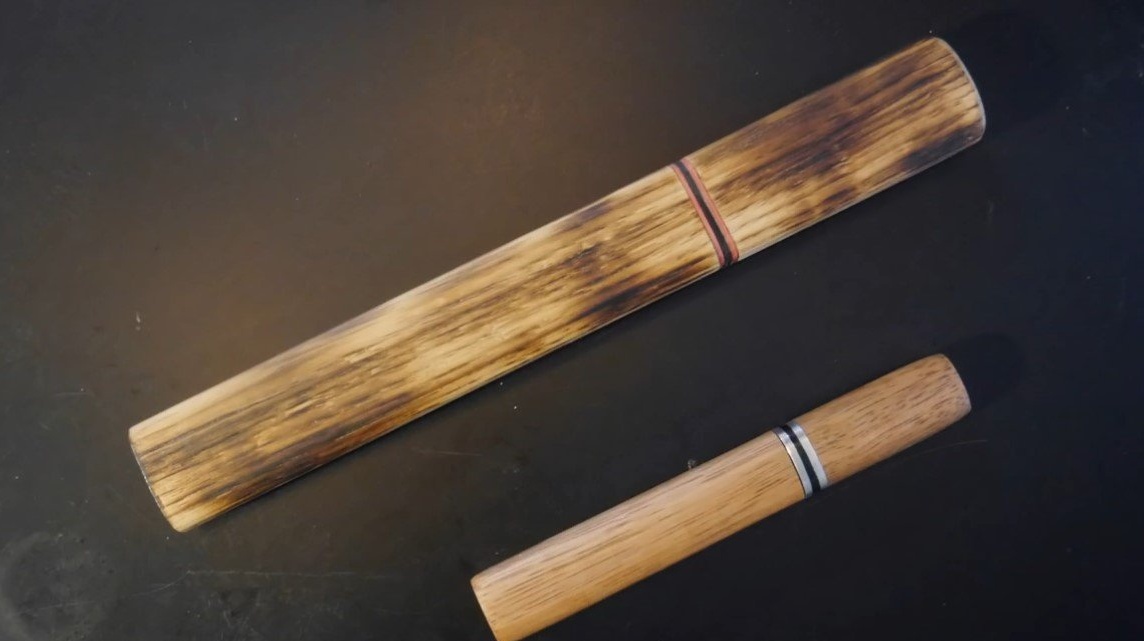
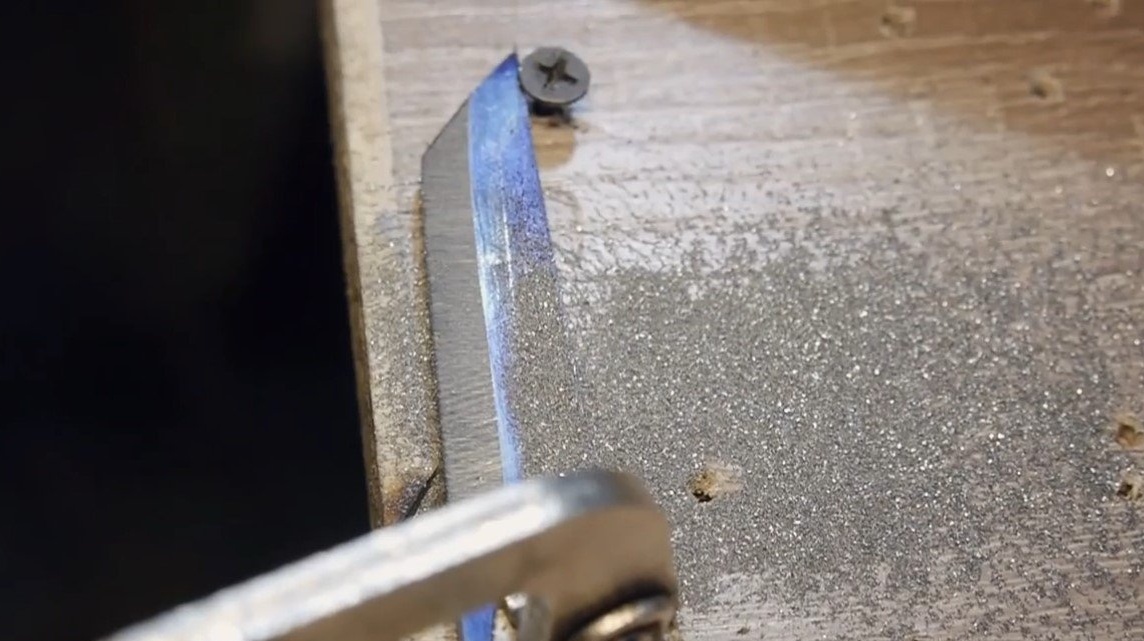
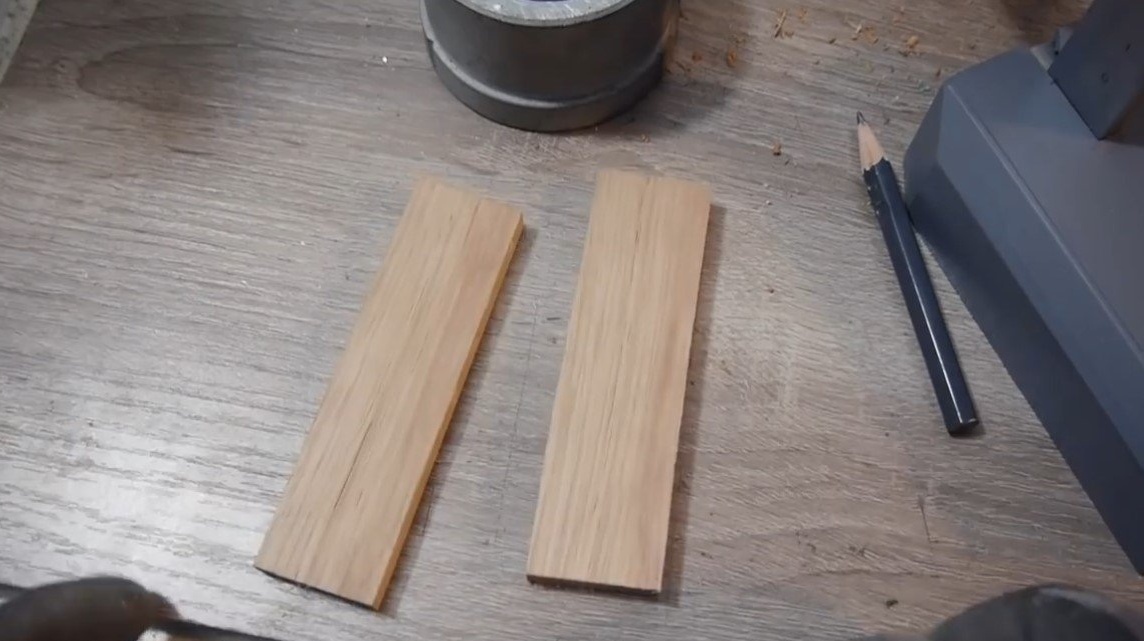
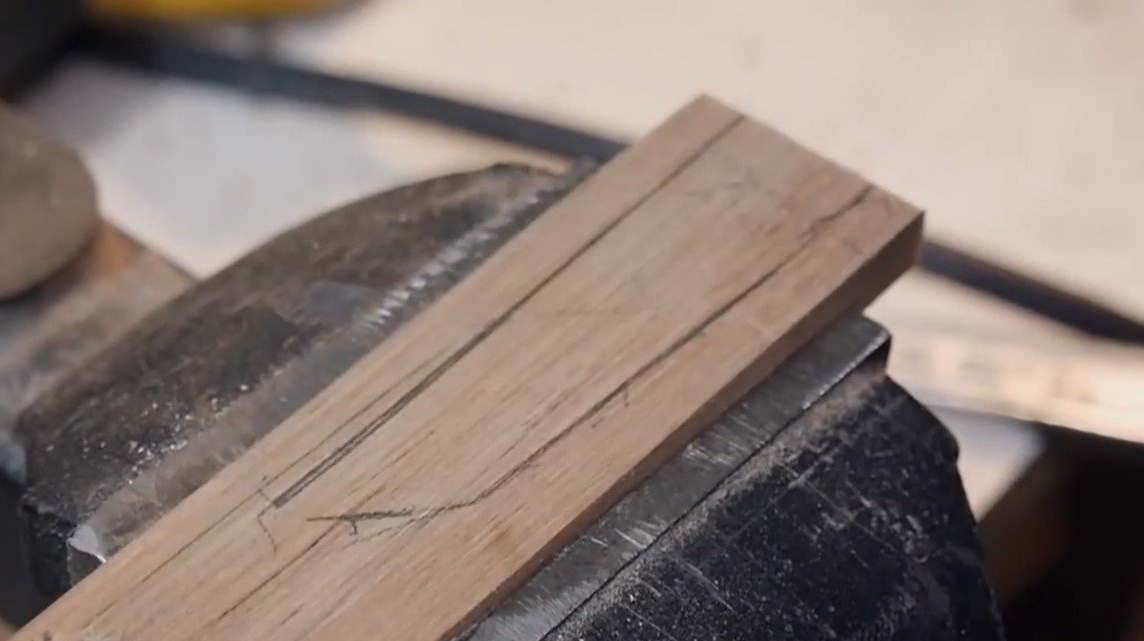
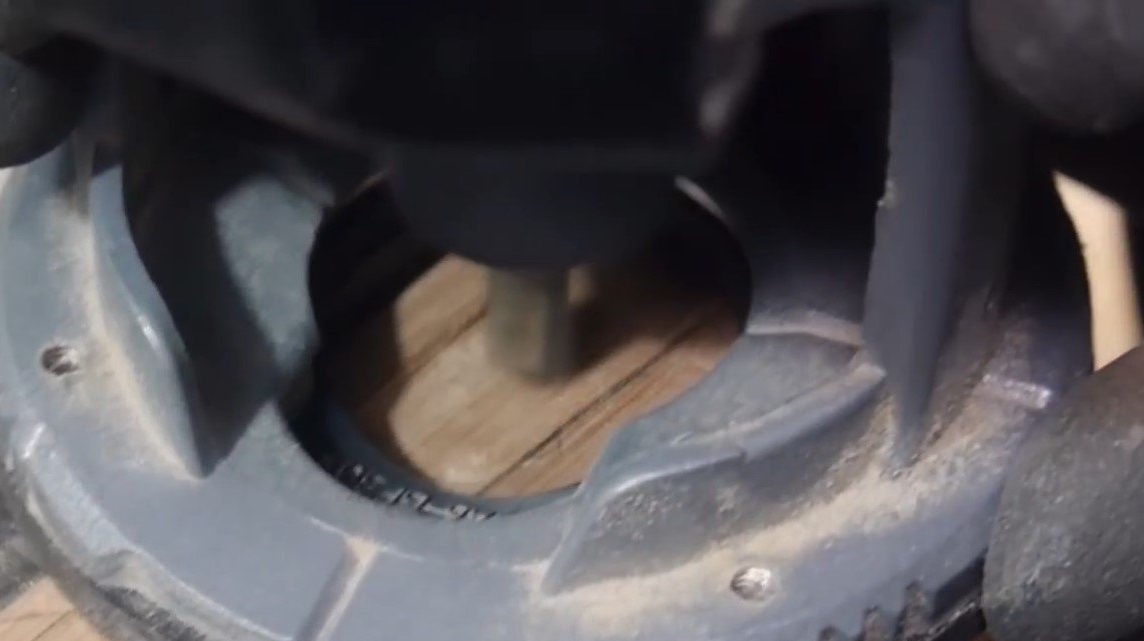
Step Five Sheath
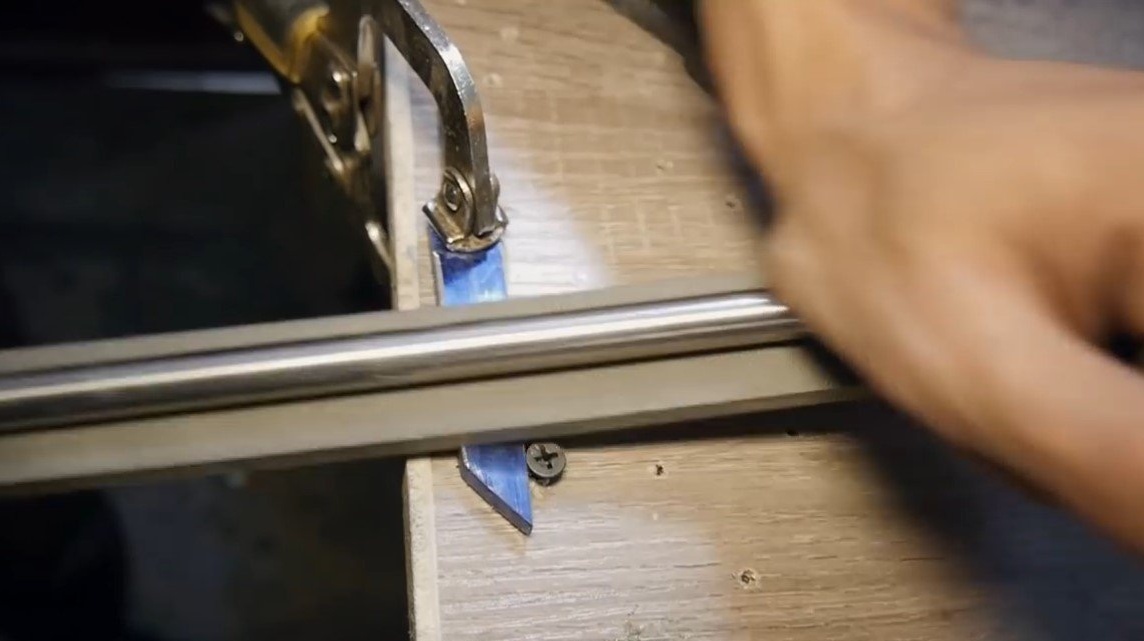
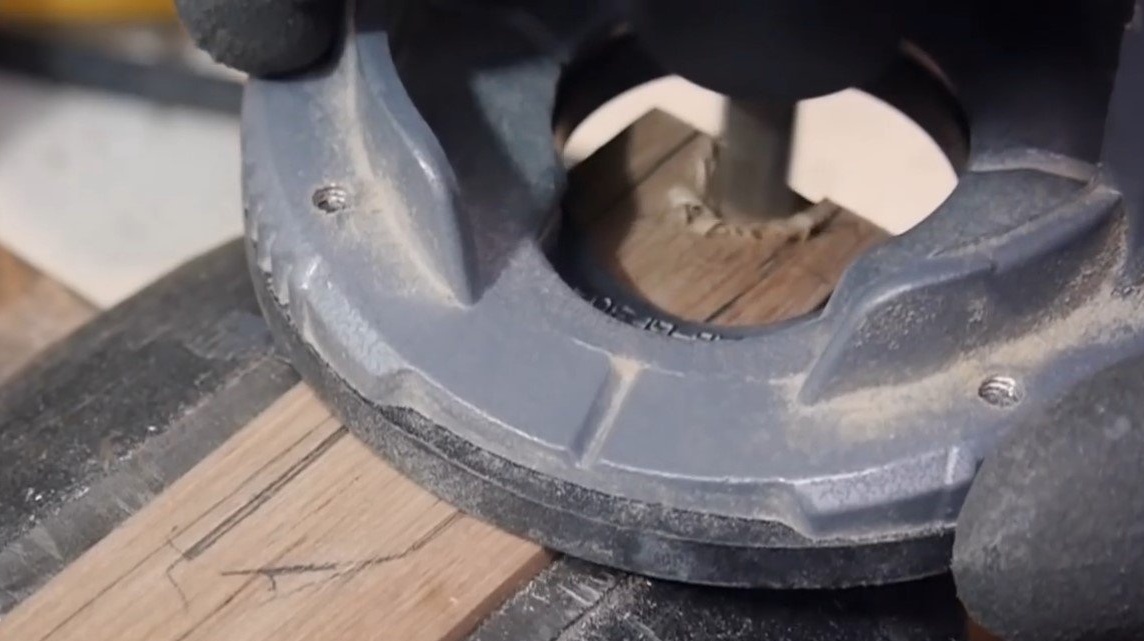
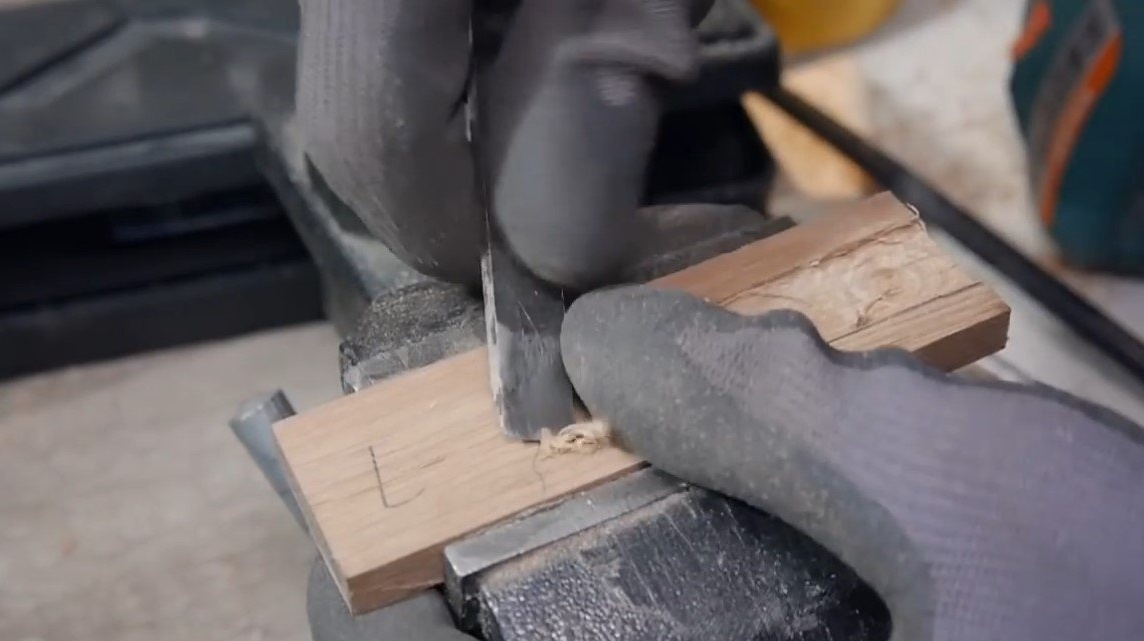
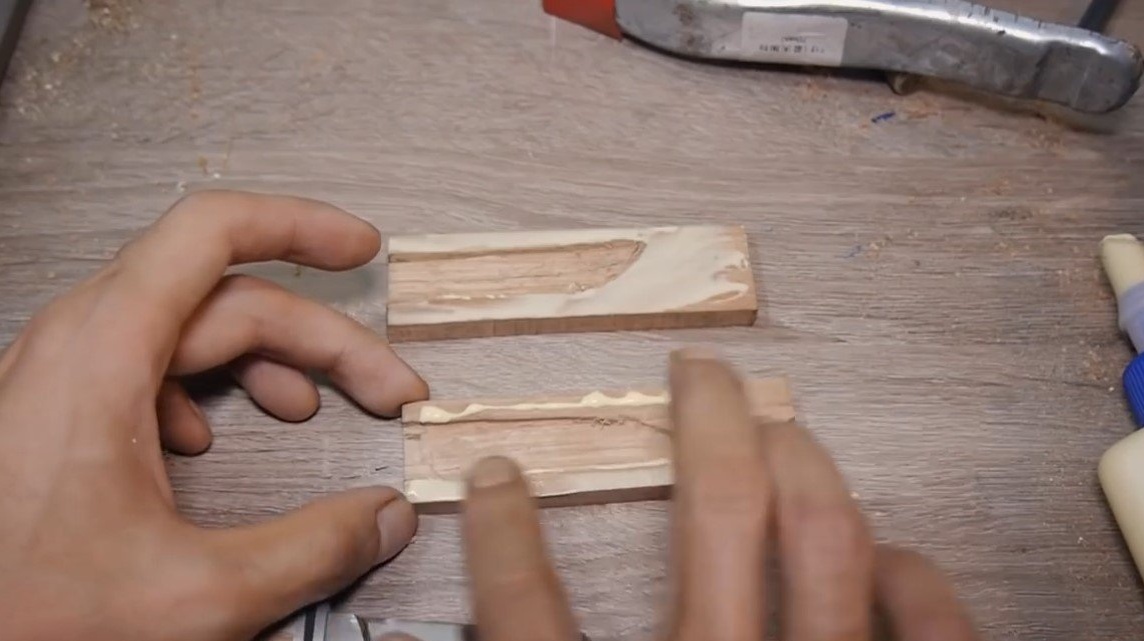
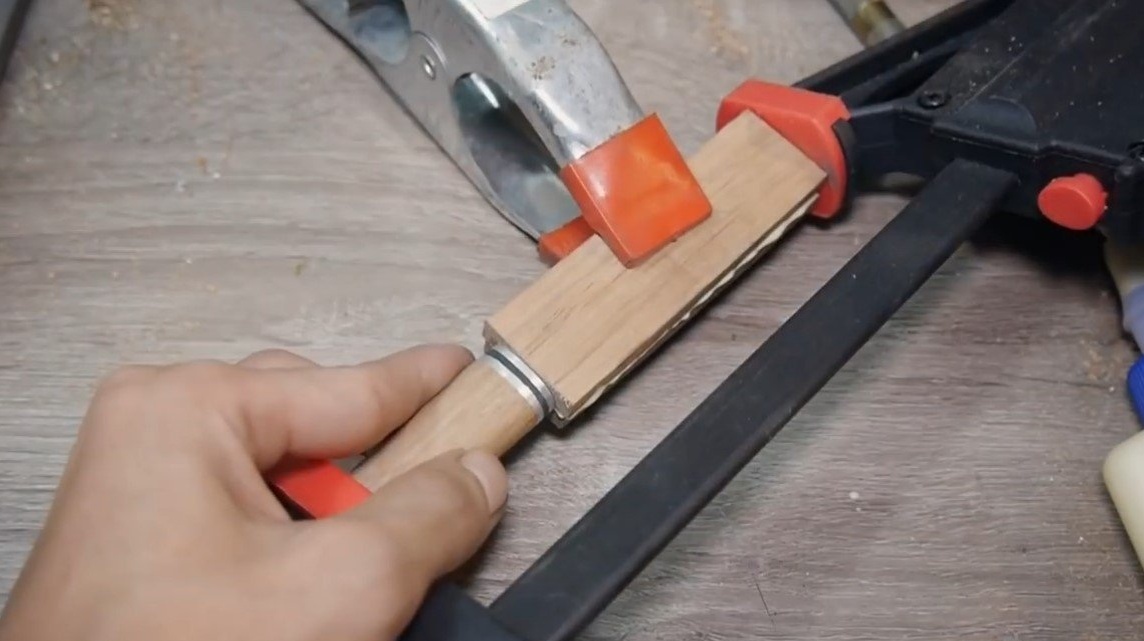
We make a sheath, they are made of two halves, you will need two boards of suitable thickness. In the boards we make recesses under the blade, it can be done with a manual milling cutter or the old fashioned way, using a chisel and a hammer. When everything is ready, glue two halves with wood glue, tighten everything with clamps and leave to dry. In the front of the scabbard, do not forget to also paste the inserts with magnets or just a piece of steel.
As soon as the glue dries, we put the sheath on the blade and grind the sheath with the knife, you should get a solid design.
As soon as the final form of the homemade product is ready, we carefully grind everything manually using sandpaper.
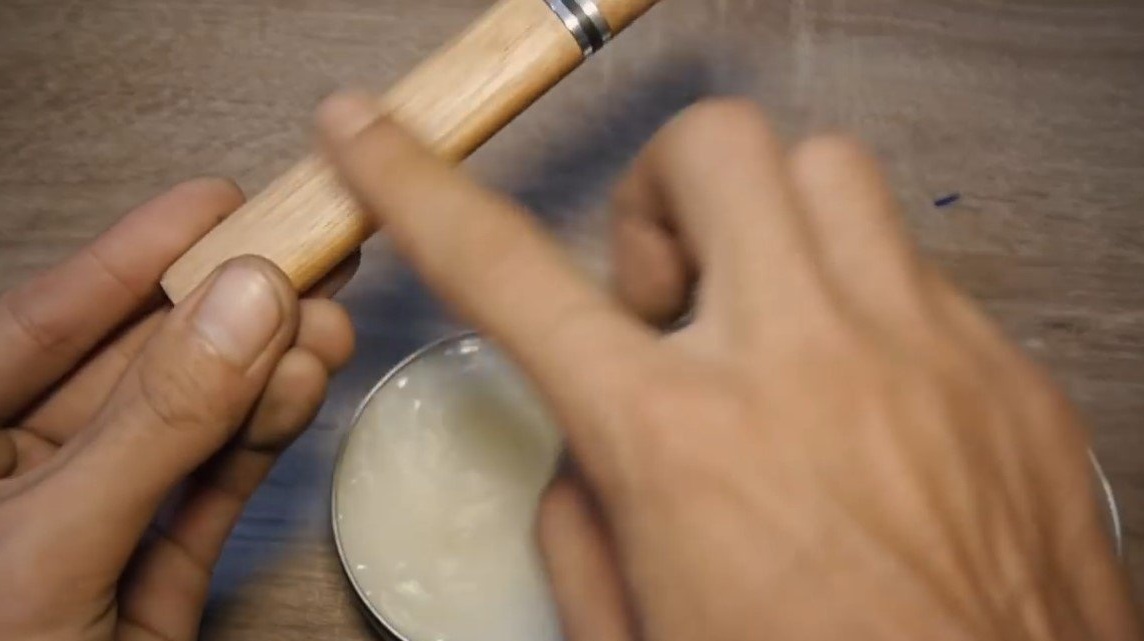
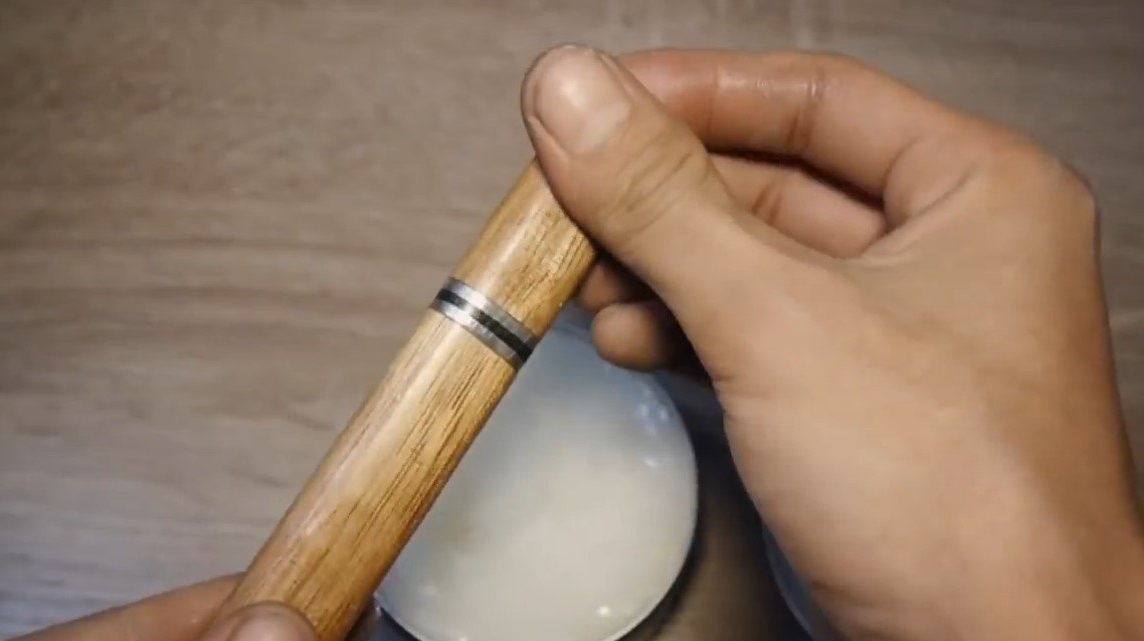
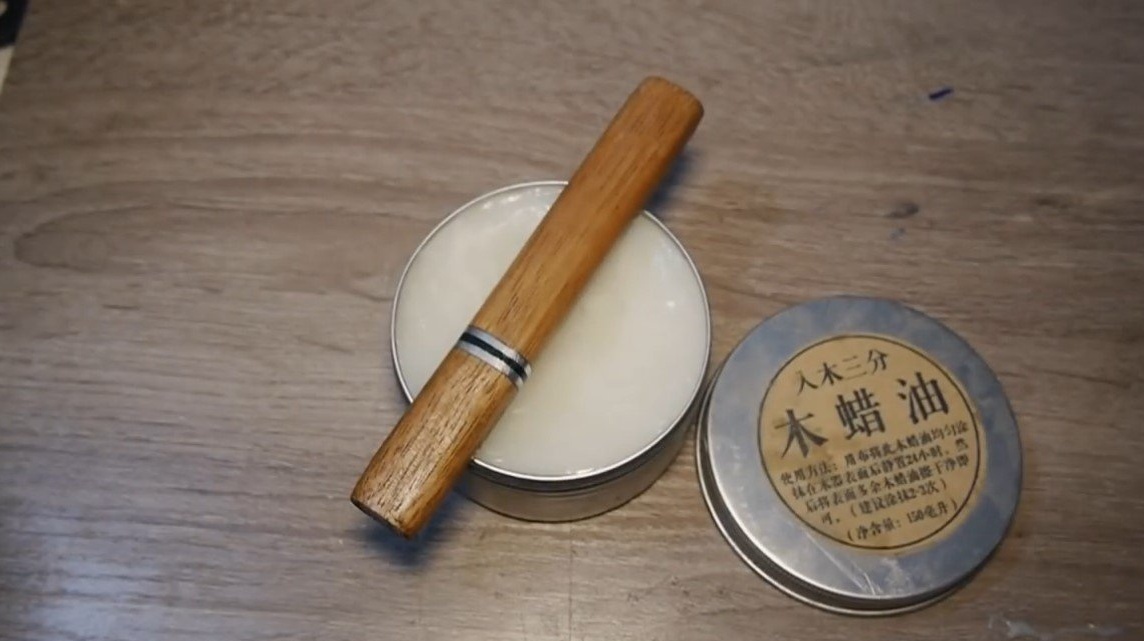
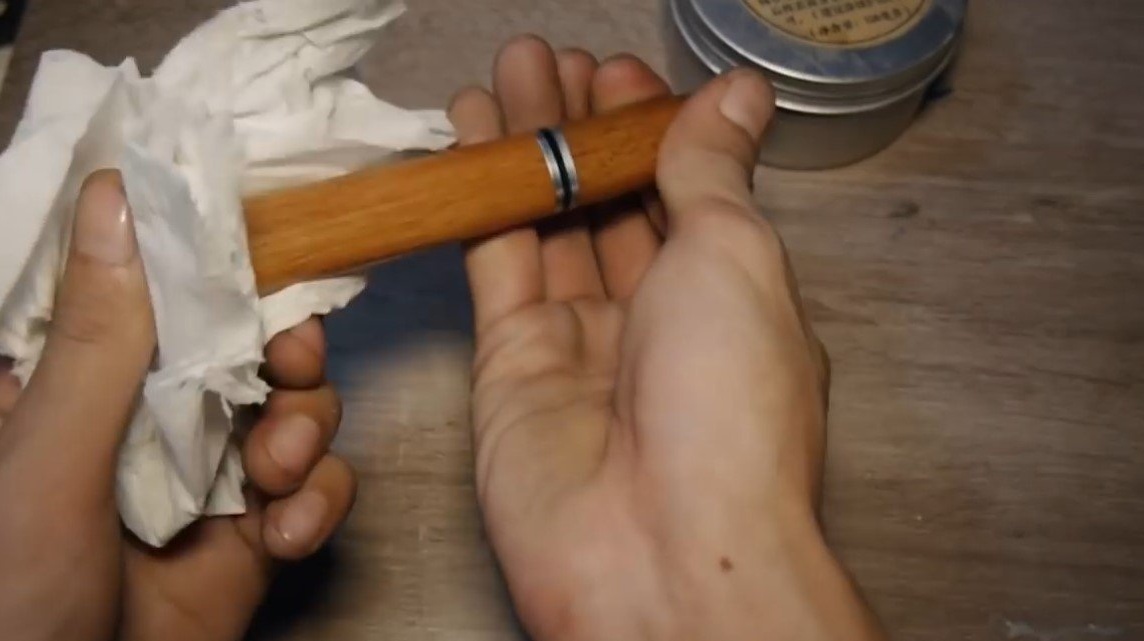
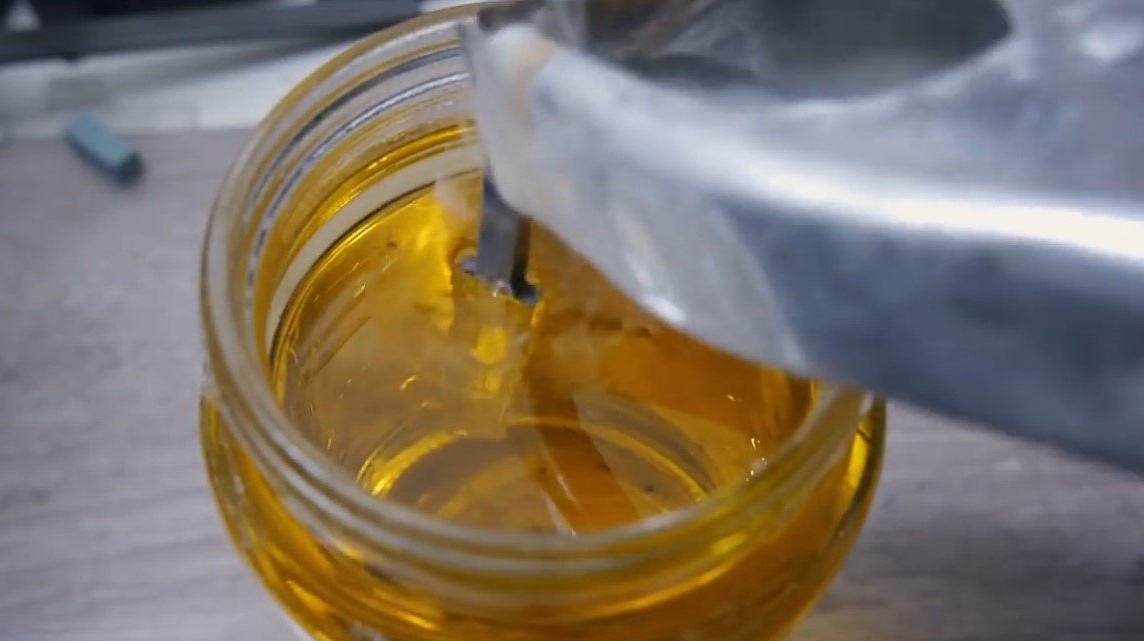
Step Six Impregnation
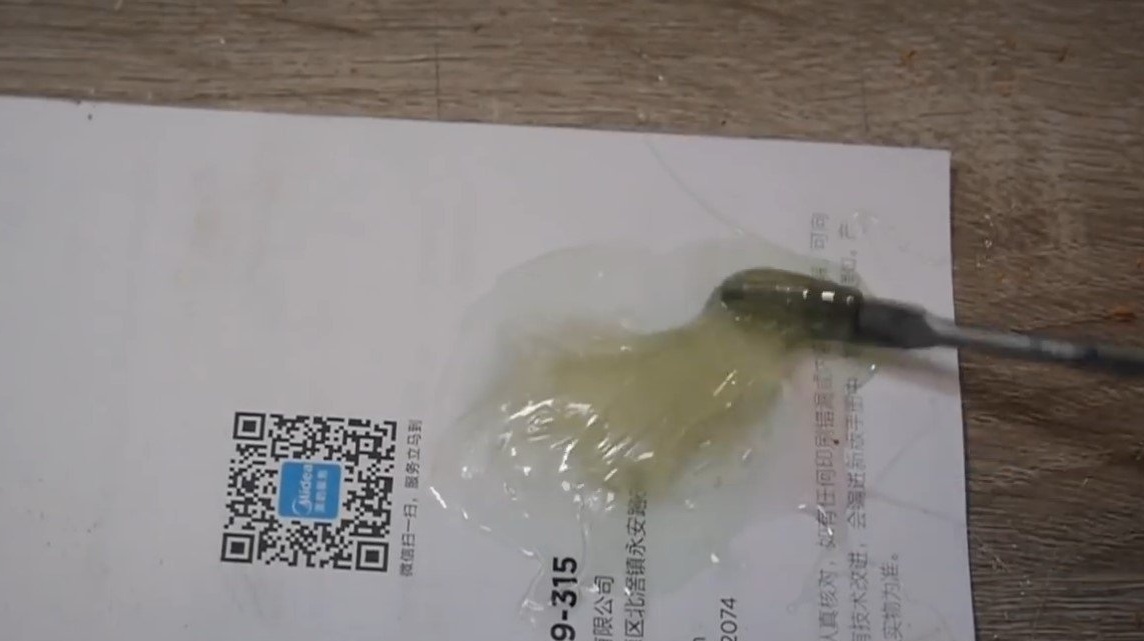
The tree necessarily needs to be impregnated, we use oil, stain or even varnish. After impregnation, the tree will repel water along with dirt, and the tree will also look great.
The knife is ready, if you wish, you can sharpen it to a razor condition. The project is completed on this, I hope you liked the homemade work, and you found useful thoughts for yourself. Good luck and creative inspiration, if you decide to repeat this, do not forget to share your ideas and homemade things with us!