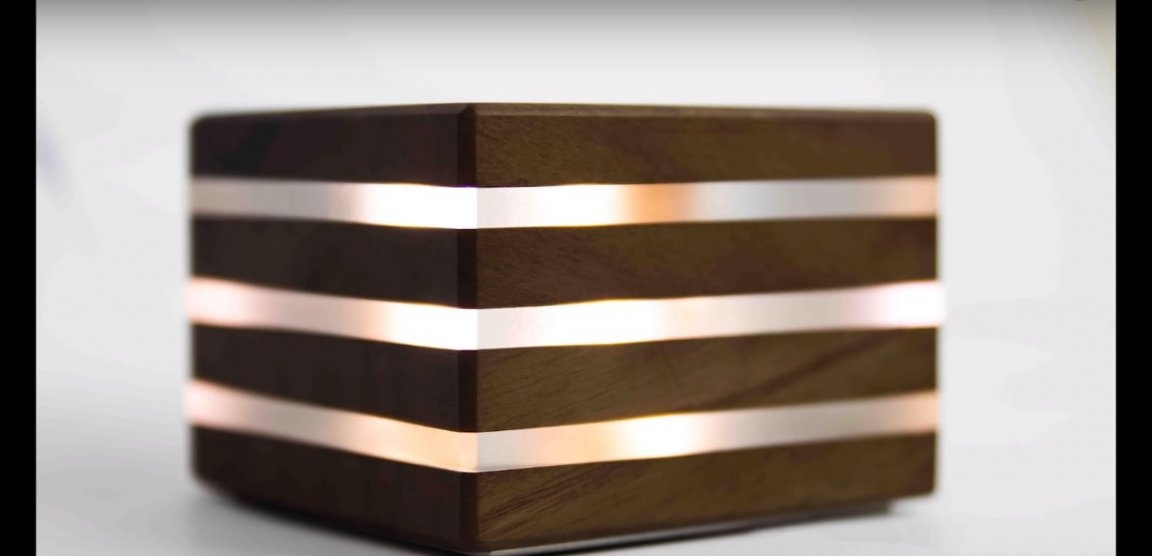
Often, lamps and nightlights made of wood are made using epoxy. For these purposes, jewelry epoxy resin with a transparent texture is used, the cost of which is quite high. If the lamp is made for sale, profit pays off. But for home homemade It would not hurt to lower the cost a bit and, so to speak, practice.
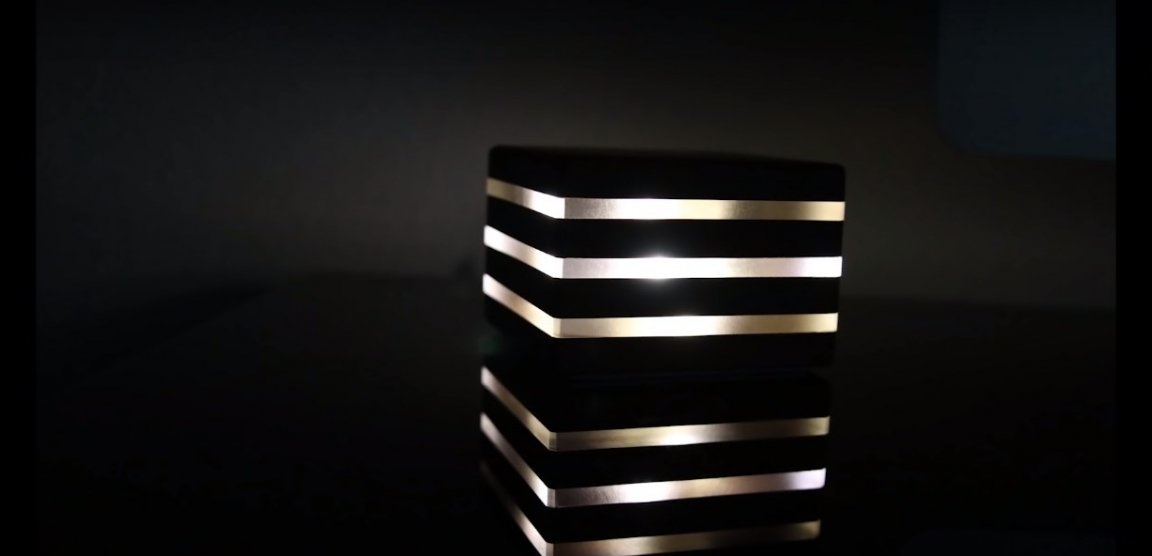
Acrylic glass comes to the rescue. This is an inexpensive, unbreakable material, which may not be so transparent at the edge, but it conducts LED light perfectly. Working with acrylic is much easier than with epoxy, and despite the limited capabilities, you can make a beautiful and high-quality product.
In order to make an LED lamp made of wood and acrylic do it yourself you will need:
Materials:
- trim boards (the author uses a valuable species of wood);
- acrylic glass with a thickness of 8 - 10 mm;
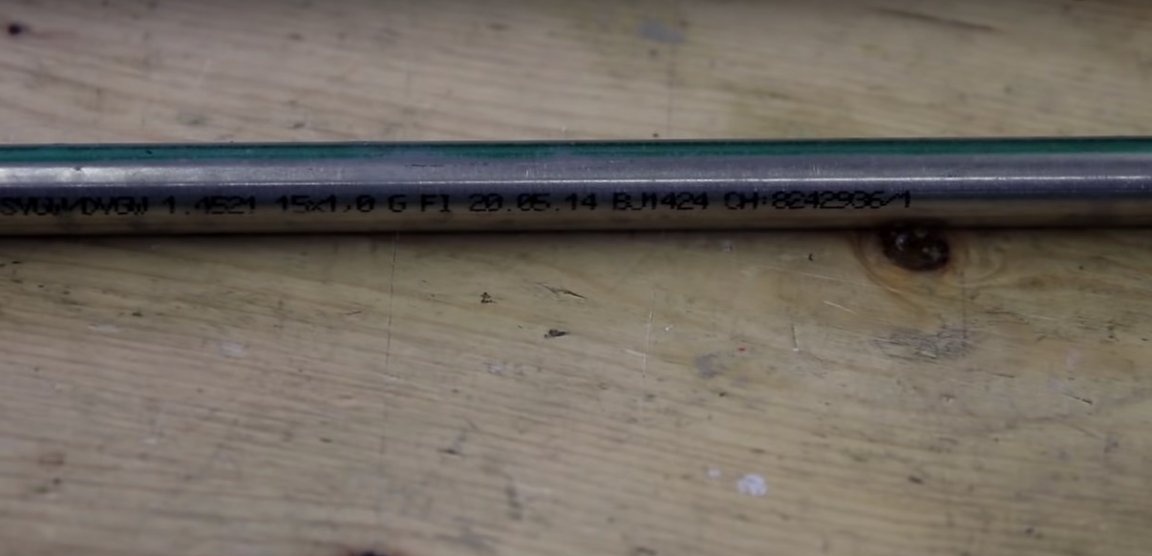
- metal inch pipe for the manufacture of the inner case;
- a metal plate for the manufacture of the base of the lamp;
- wood screws with flat hats;
- carpentry or epoxy glue;
- quick-drying or natural oil for processing the surface of the lamp;
- LED strip and cable.
Instruments:
- jointing machine;
- grinding machine;
- a boring machine and a Forstner drill;
- grinder;
- circular;
- Miter saw;
- pipe saw or grinder with a cutting wheel;
- welding machine;
- drill and drill for metal with a vertical drill;
- a chisel;
- clamps;
- sandpaper;
- a paint brush or a piece of foam;
- A lint-free cloth to remove excess oil;
- a screwdriver.
Manufacturing process
Step One: Wood Pretreatment
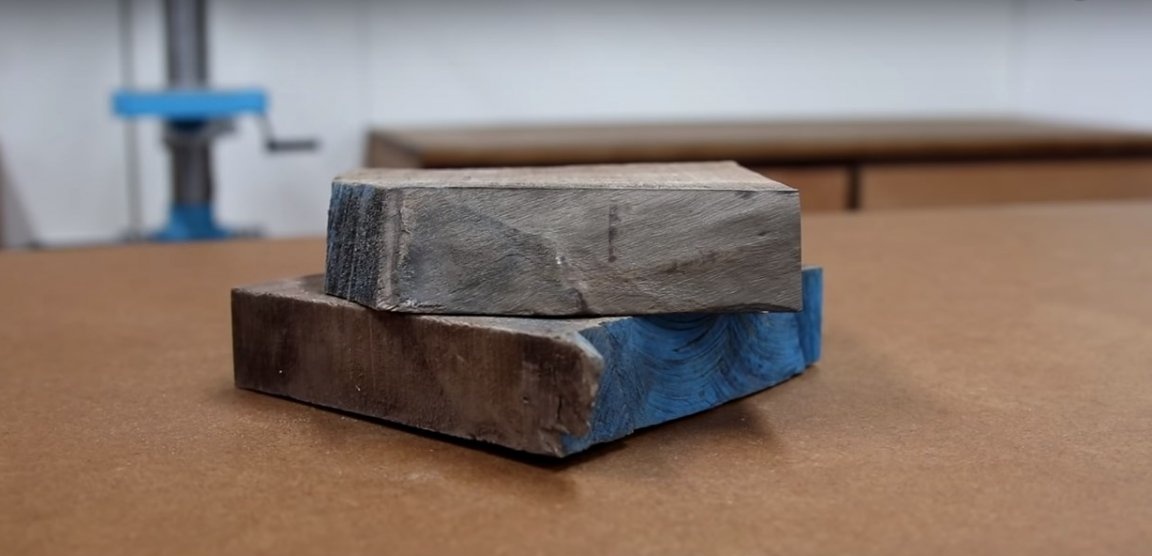
The author uses a valuable species of wood. You can imitate the color of exotic wood with a stain. To do this, use an oil-based stain.
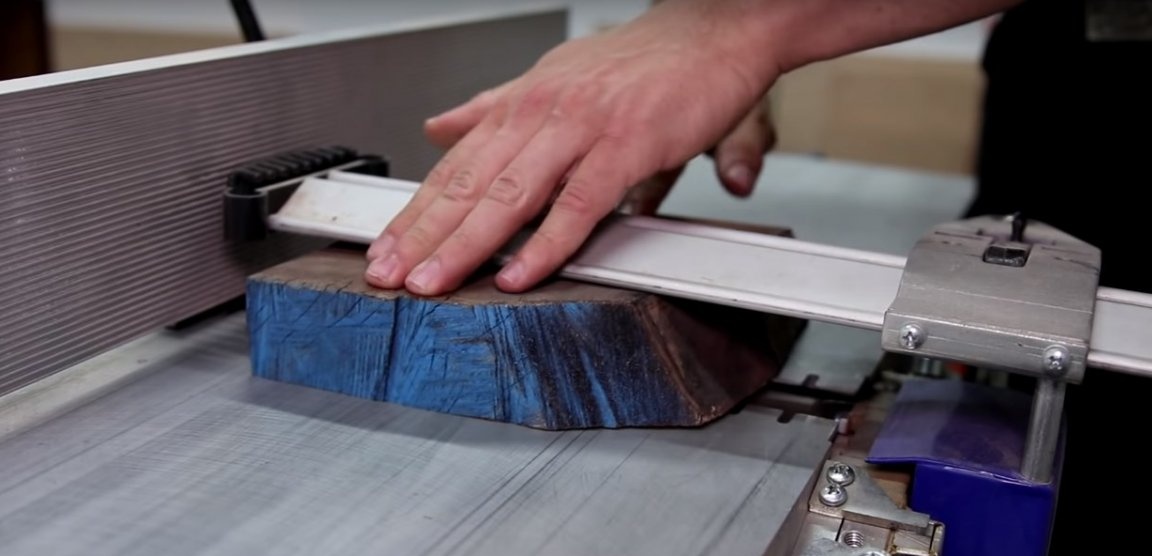
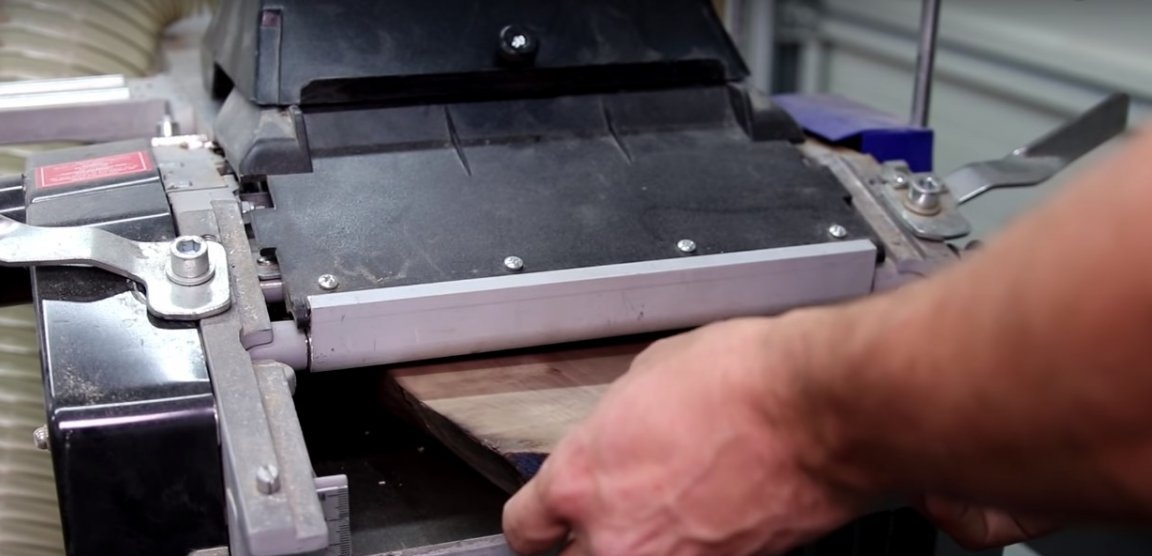
The author processed wood trimmings on a planer, after which he slightly polished the surface. For high-quality assembly of the case, make sure that the thickness of the board is the same over the entire area or use lumber that has been previously processed on a thicknesser.
When buying bars and boards of valuable species of wood, ask about the degree of processing of lumber. Wood, to put it mildly, is not cheap, and it would be a pity to mercilessly plan it in order to correct the curvature of the surface.
Step two: the manufacture of acrylic and wooden elements
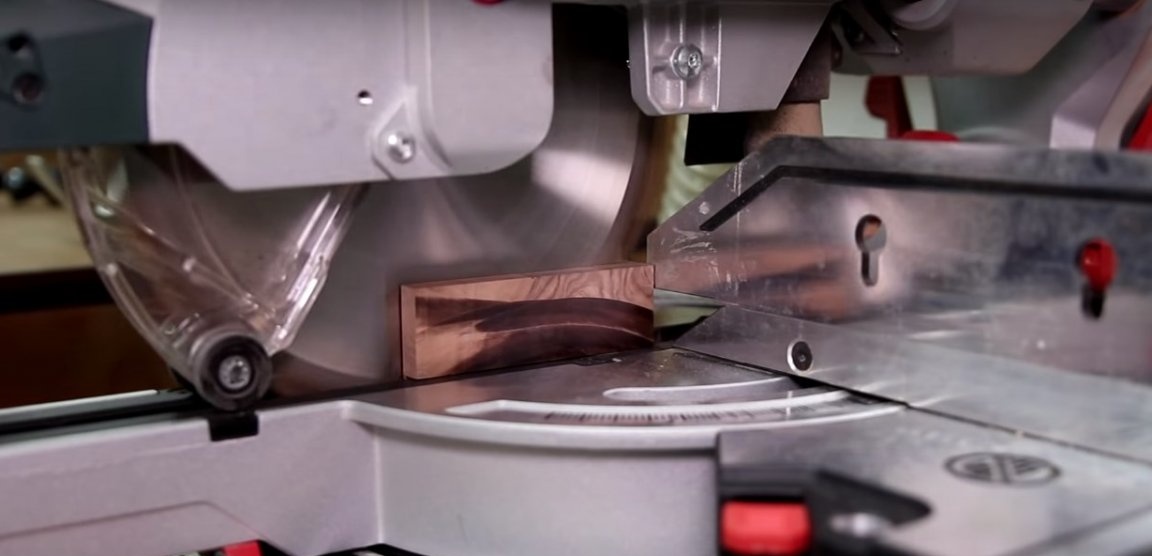
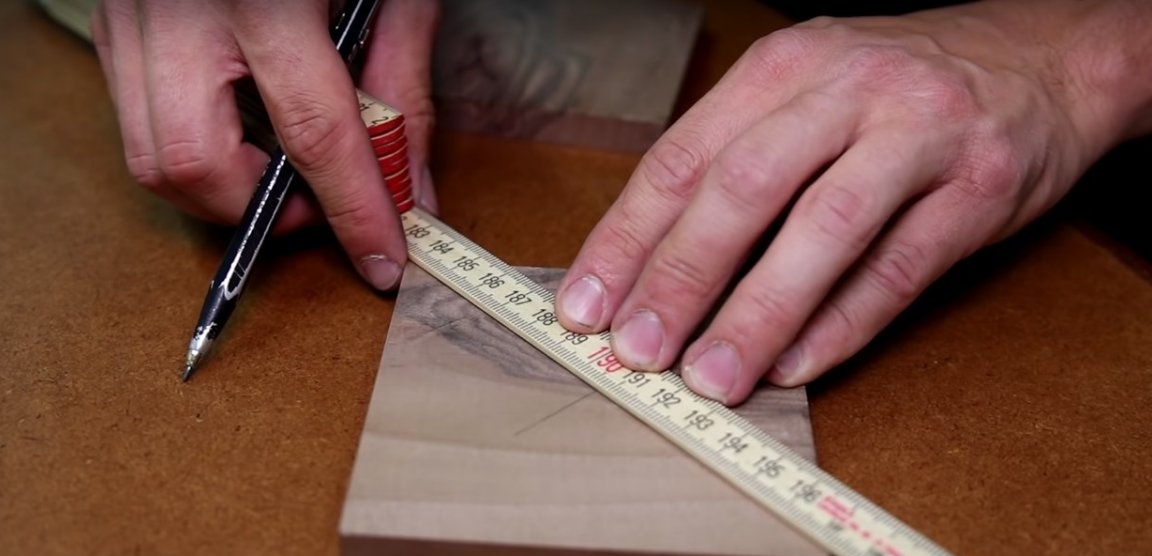
For the manufacture of wooden parts of the case, the author uses a board 50 mm thick and it has to be dissolved along. Therefore, mark the parts and file the workpieces of the desired size. If you do not have a miter saw, use the square during the marking process to get even squares with right angles.
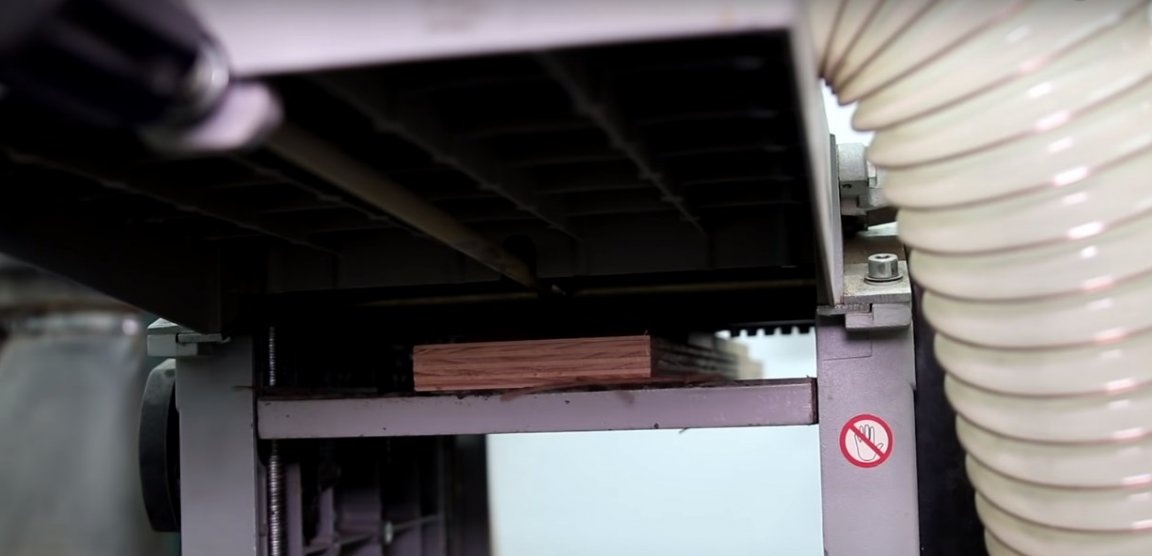
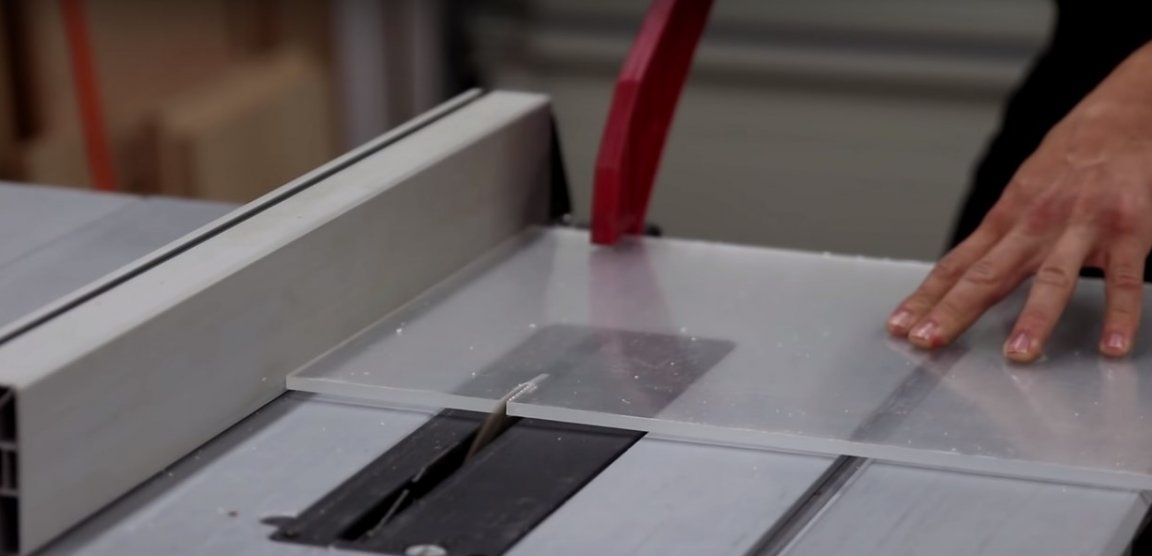
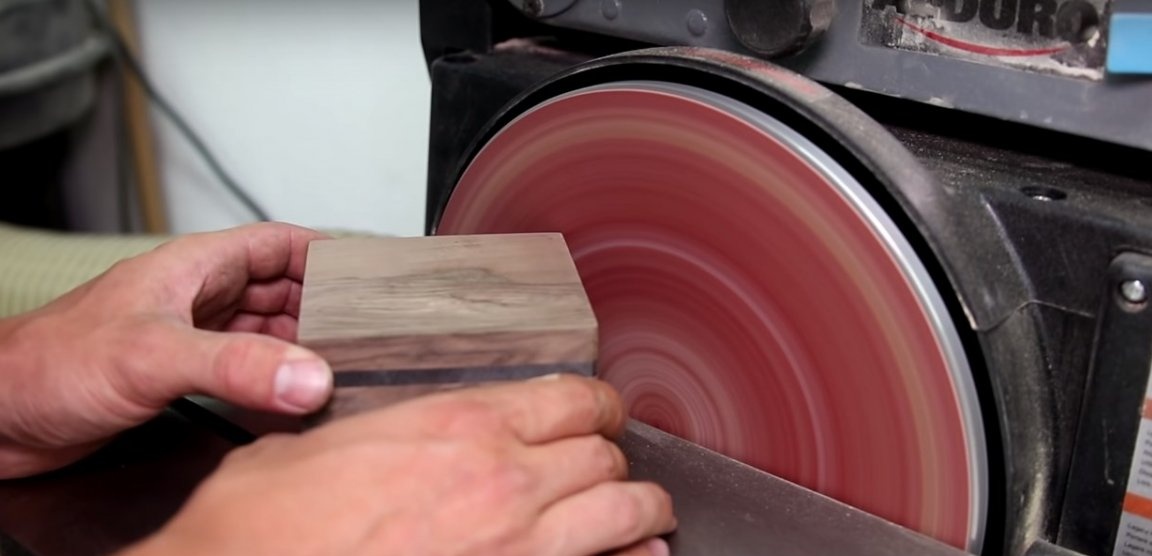
You can dissolve the workpiece along on a circular, making several cuts on each side. After that, grind the surface of the workpieces on the grinding machine and level it before gluing the parts.
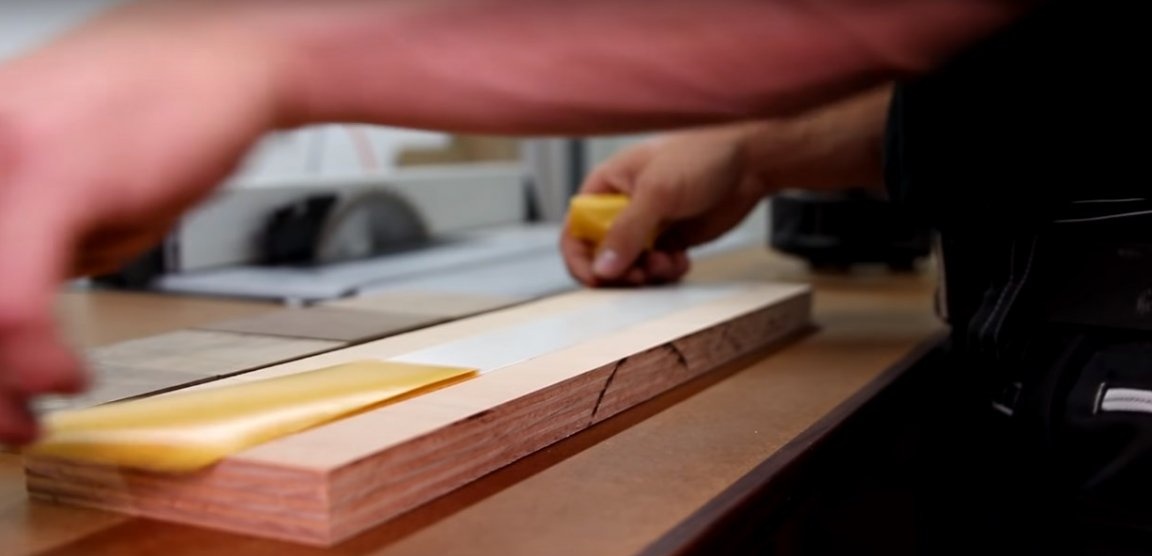
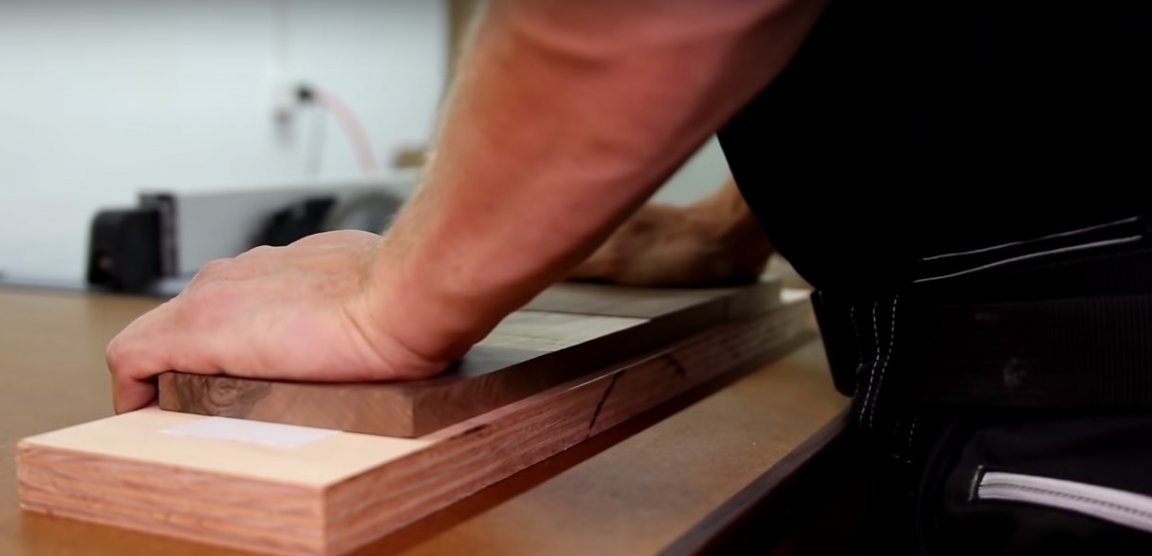
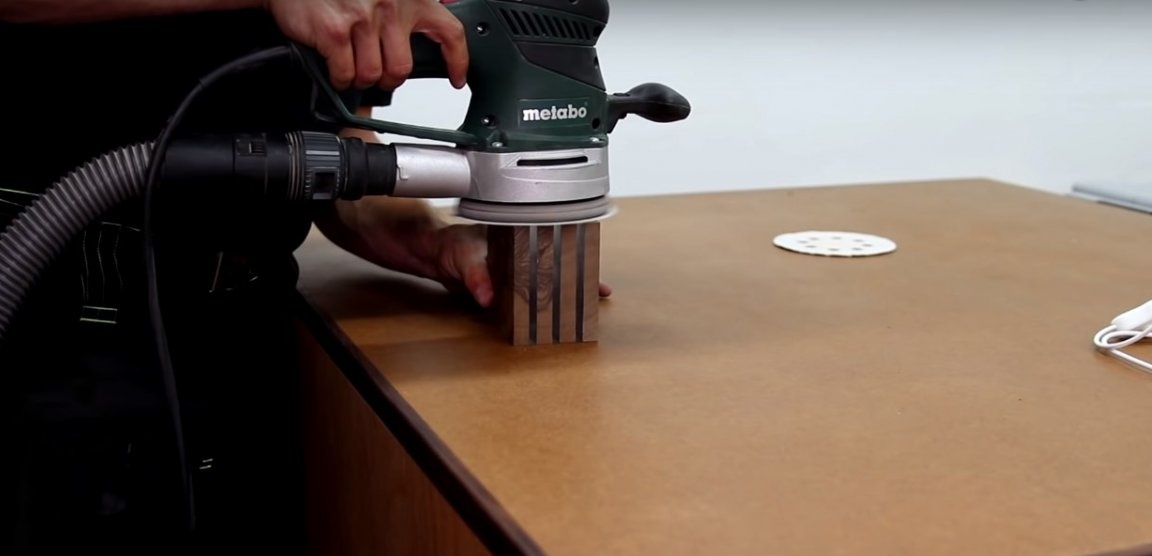
Since wooden blanks have a small area, it is difficult to pass them through the machine. The author pasted wooden dies onto a sheet of plywood and, in this form, drove them through grinding machines. To fix it, he used a wide double-sided tape.

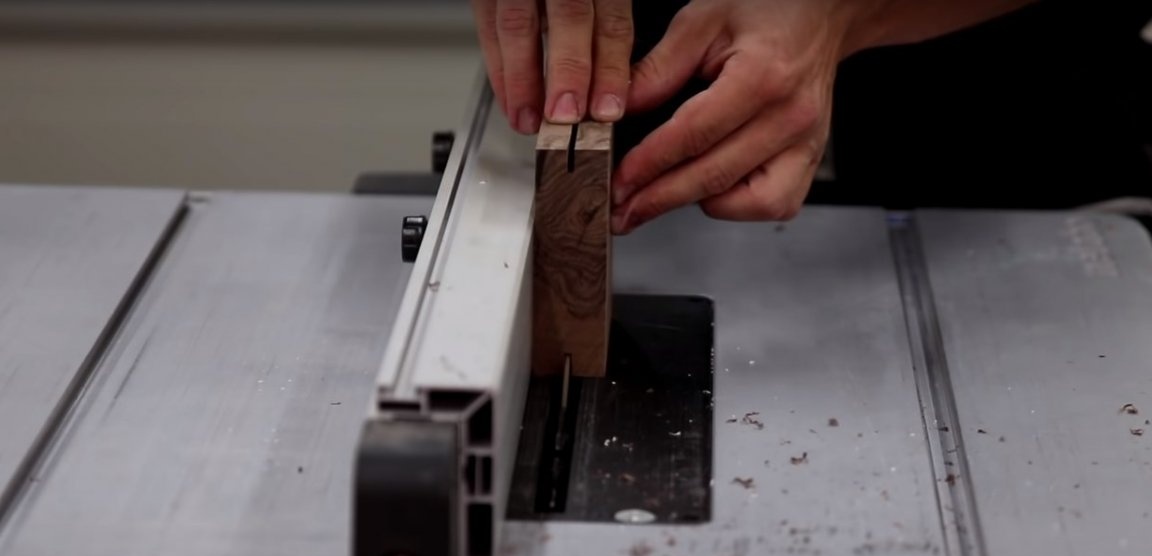
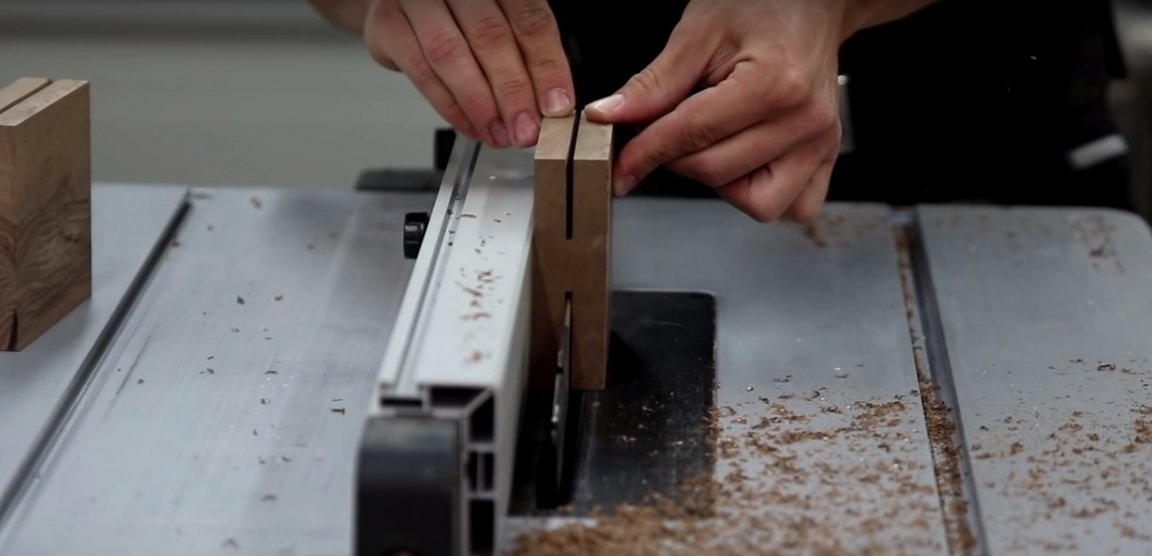
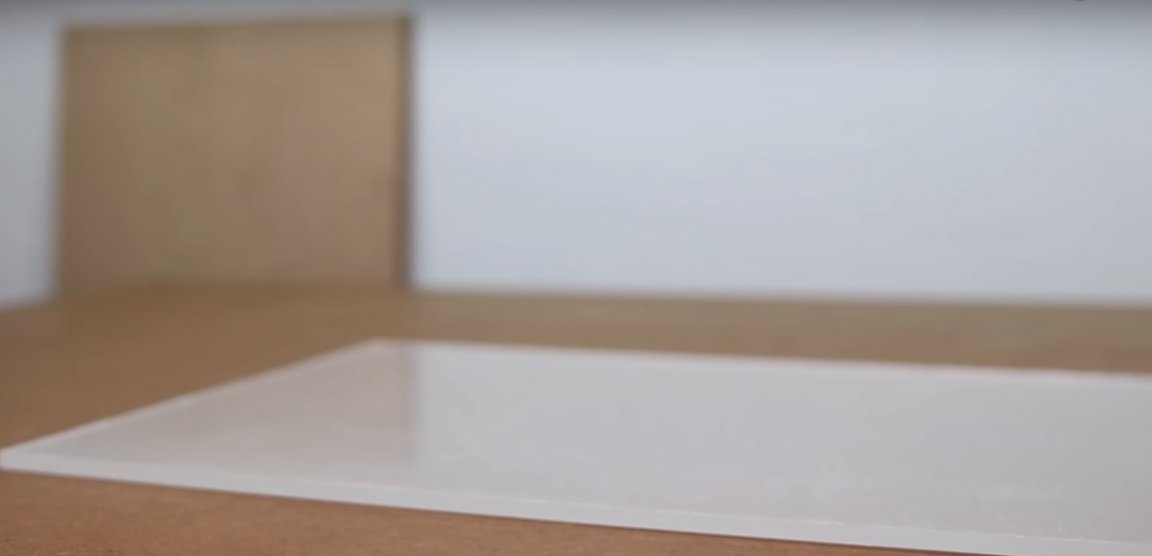
Also cut the acrylic plates to size. You will need a fairly thick acrylic glass with a thickness of 8 - 10 mm. For these purposes, the author uses a circular.
Step three: assembly of the lamp housing
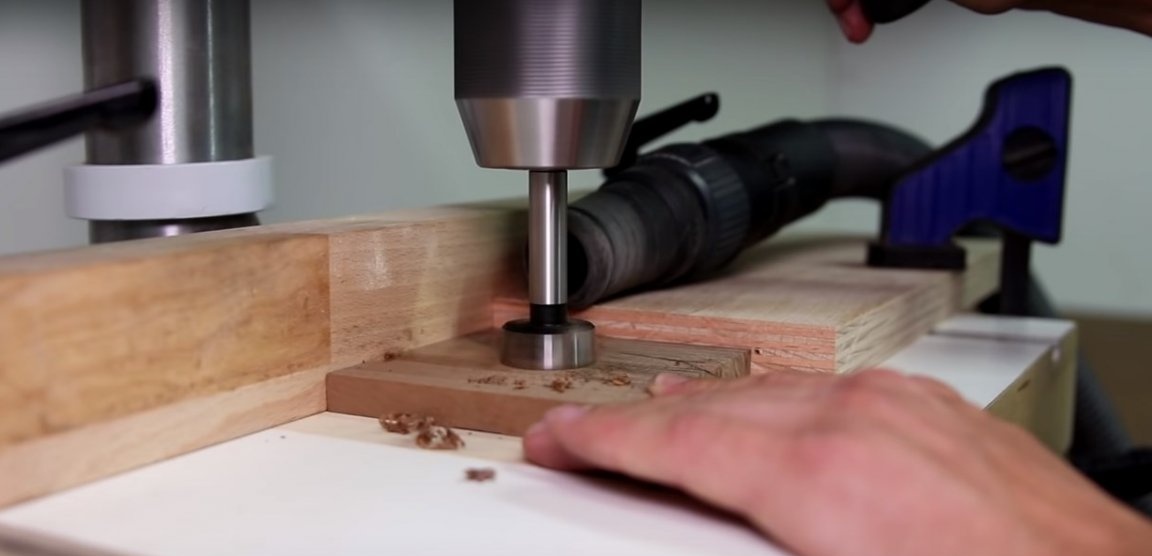
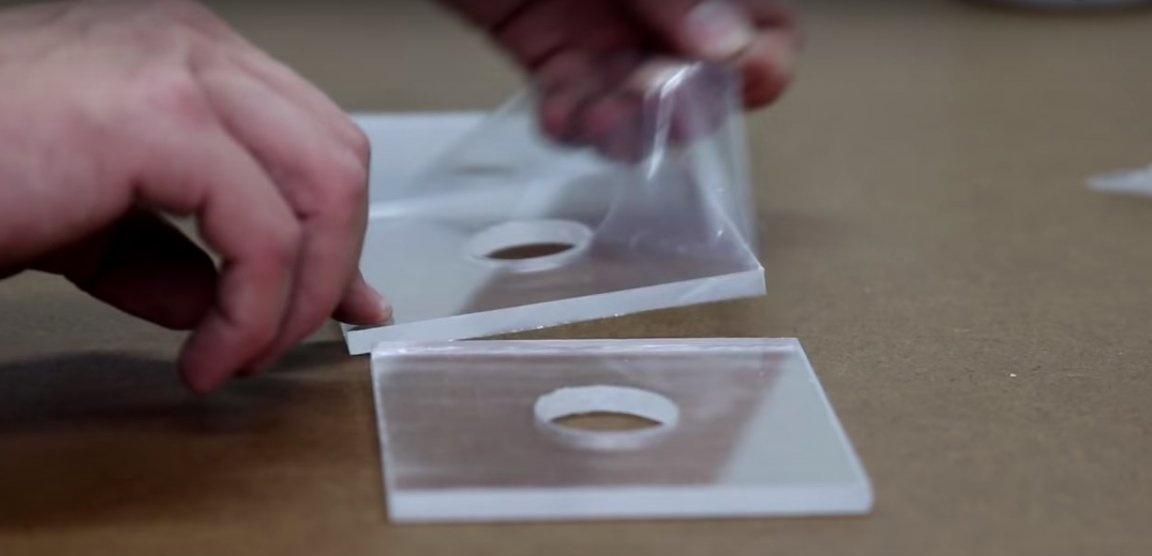
On wooden workpieces, draw two lines from corner to corner and mark the center with a dot. On a drilling machine, drill a hole for installing LED strip with a diameter of 35 - 40 mm.
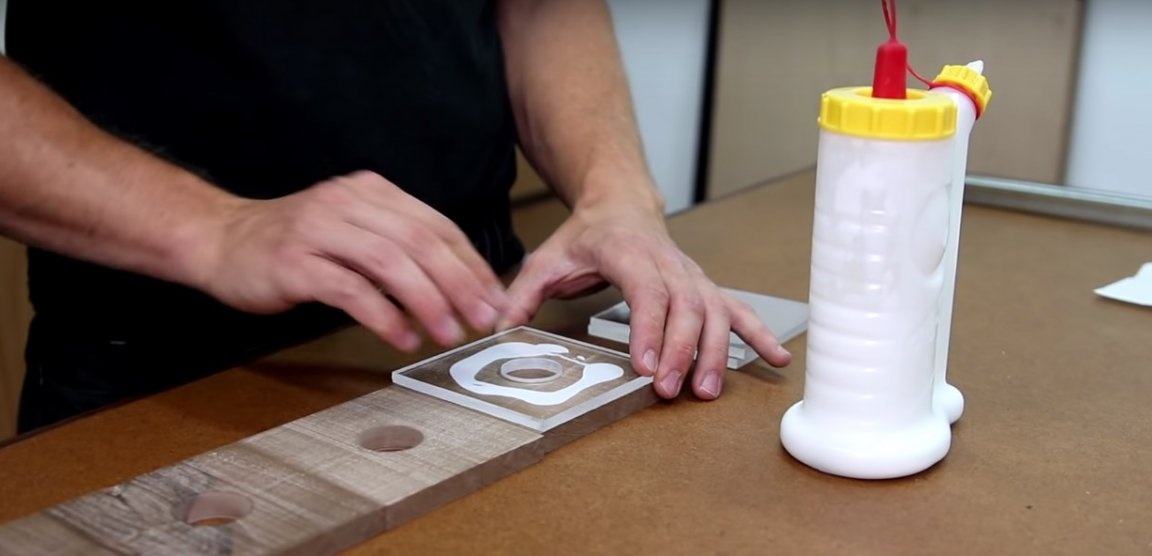
Do the same with acrylic parts. Remove the protective film from their surface and proceed with the assembly of the housing.
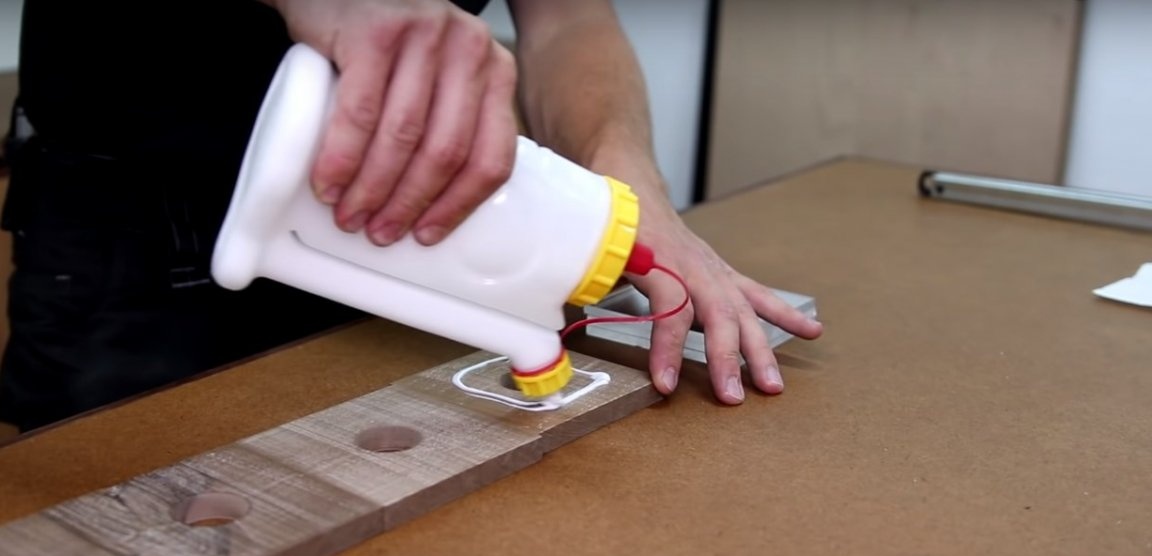
To glue parts, the author uses ordinary wood glue. You can replace it with universal PVA glue or transparent epoxy glue. Of course, the latter option is preferable.
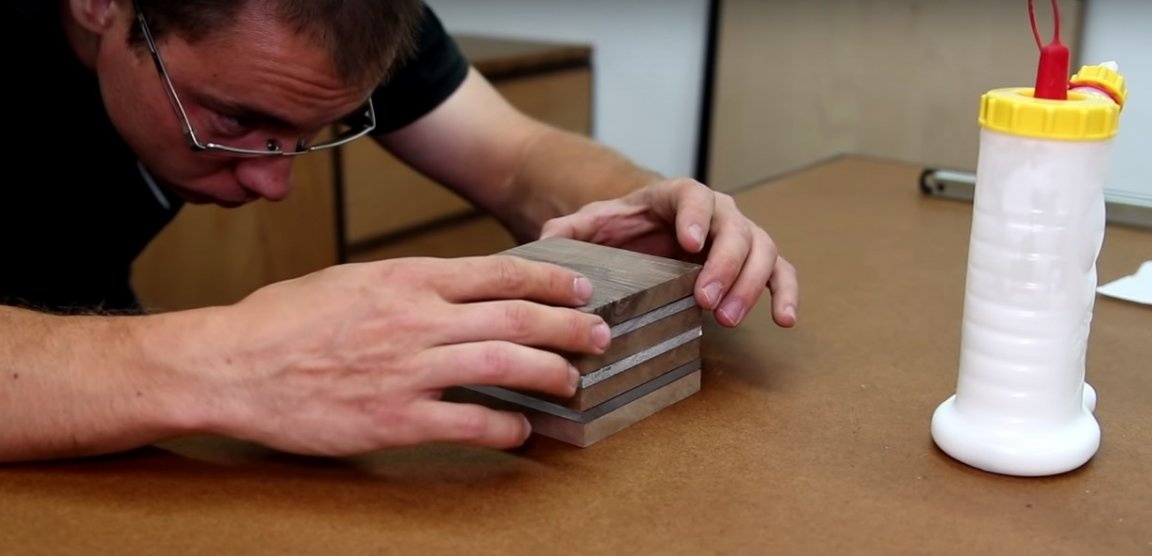
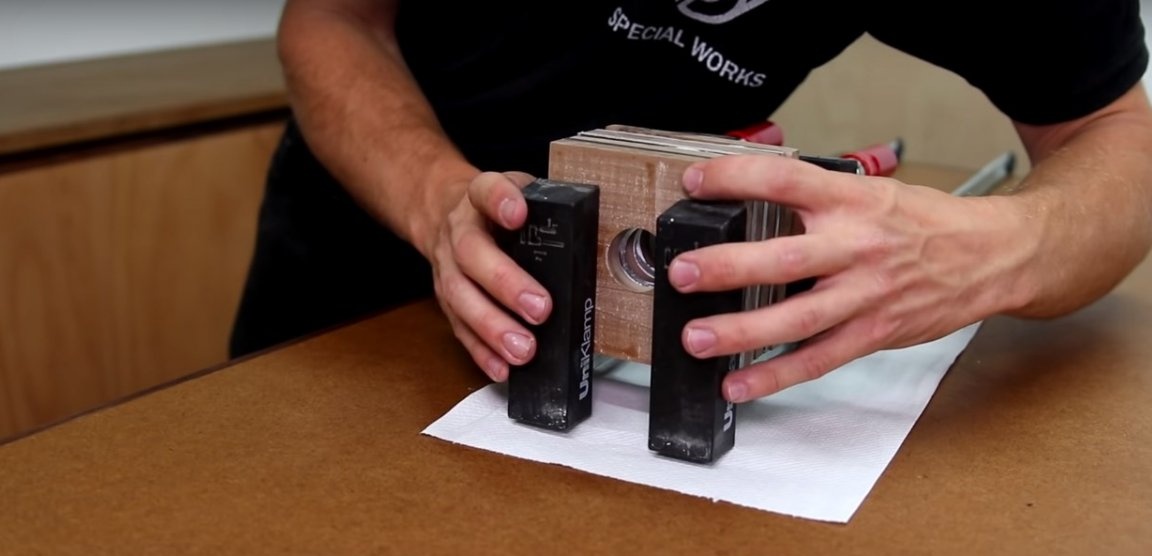
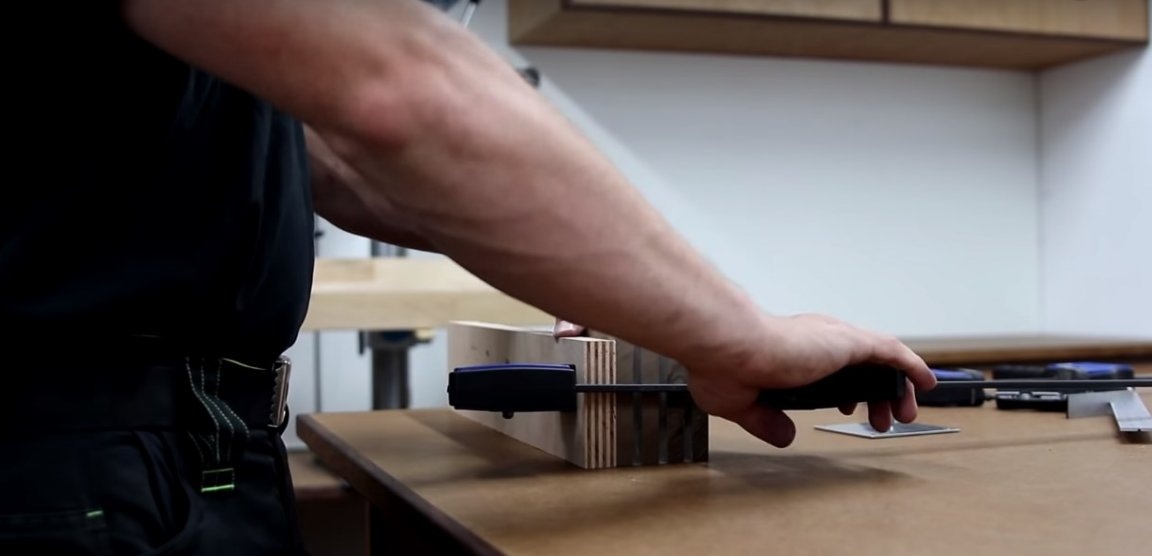
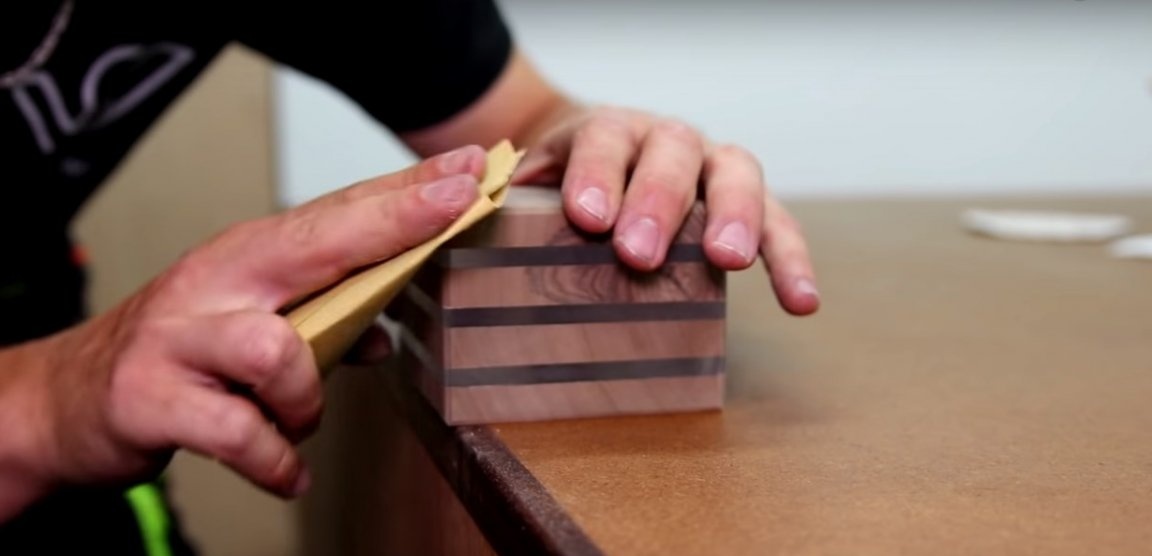
Assemble the body using glue, alternating between wood and acrylic layers, and place the workpiece in a vice for a while.
Step Four: Making a Metal Insert
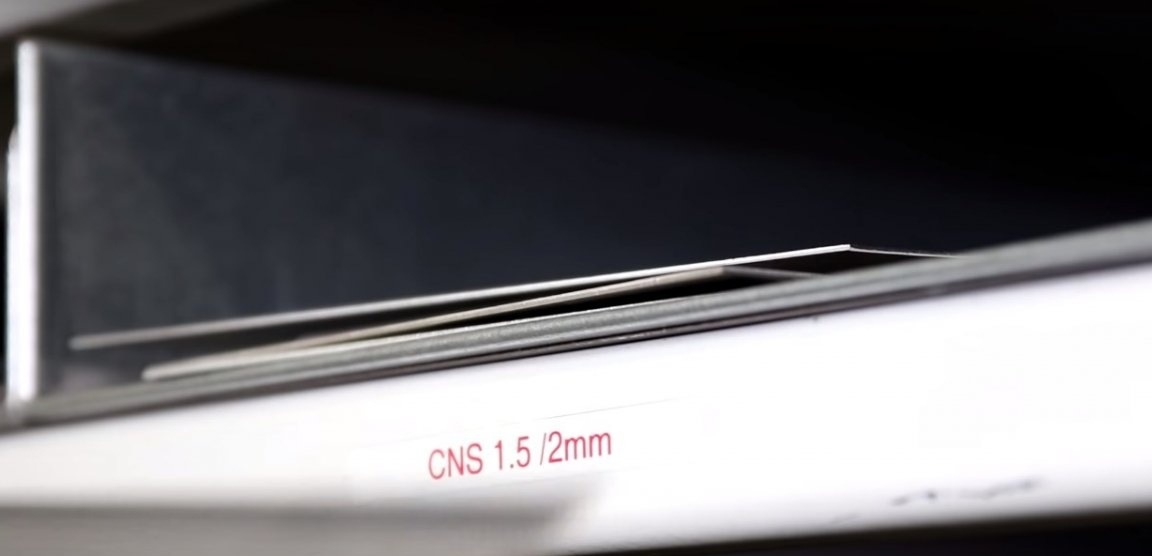
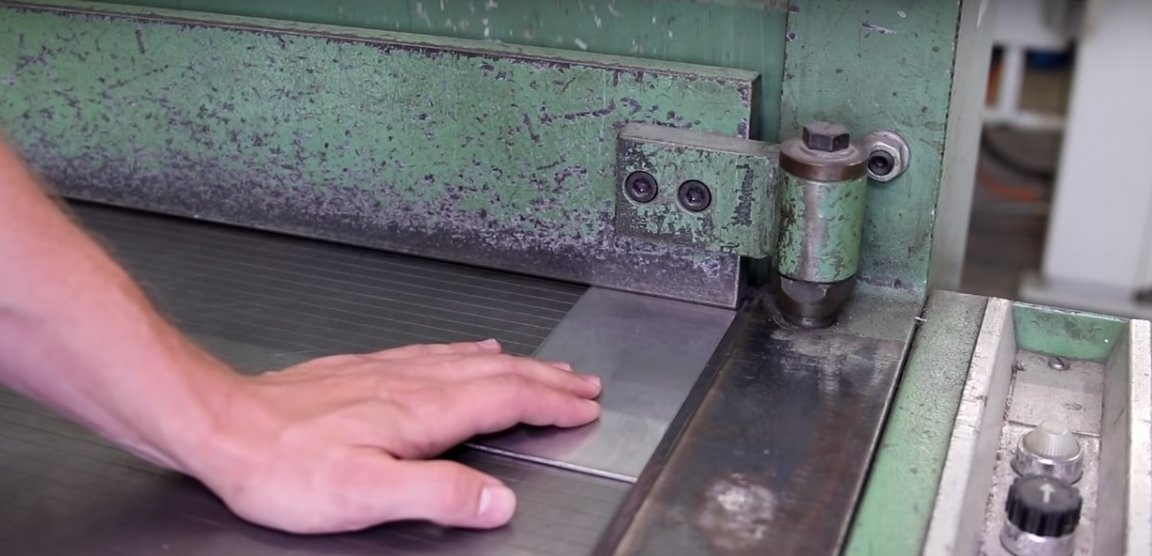
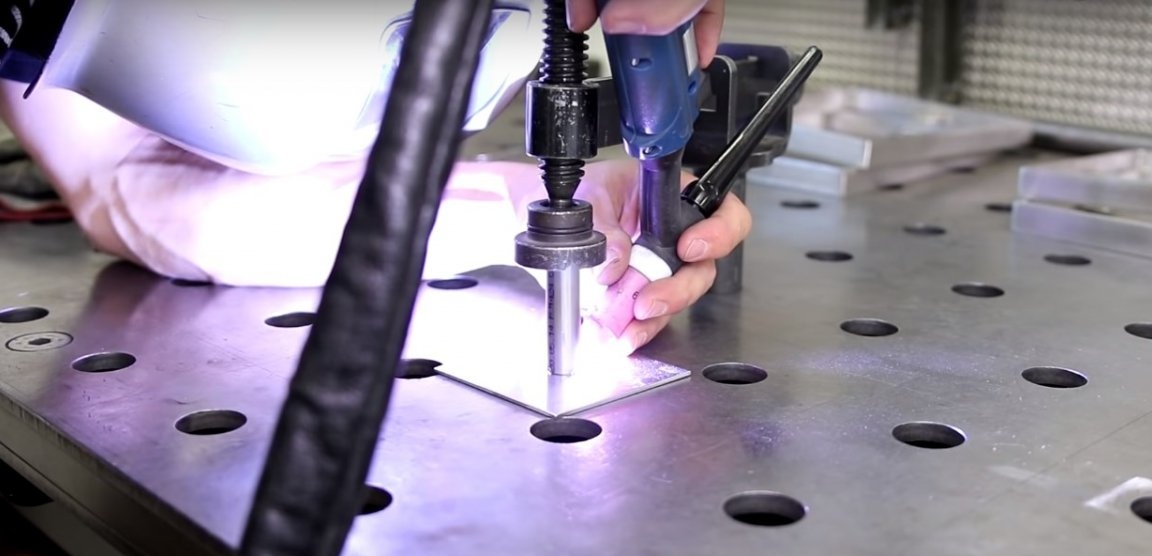
In the lamp housing, according to the author’s idea, there is a metal insert for installing an LED strip. It is made of a piece of an inch pipe and a metal plate 1.5 - 2 mm thick.
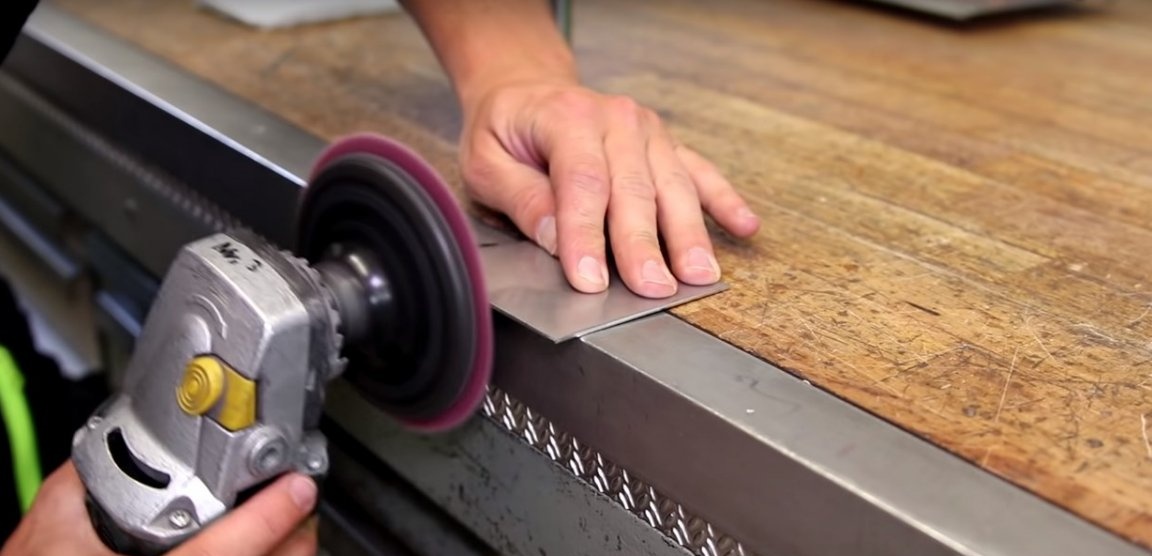
Strip the metal workpieces with a grinder with a grinding nozzle and connect at several points by welding as shown in the photo.


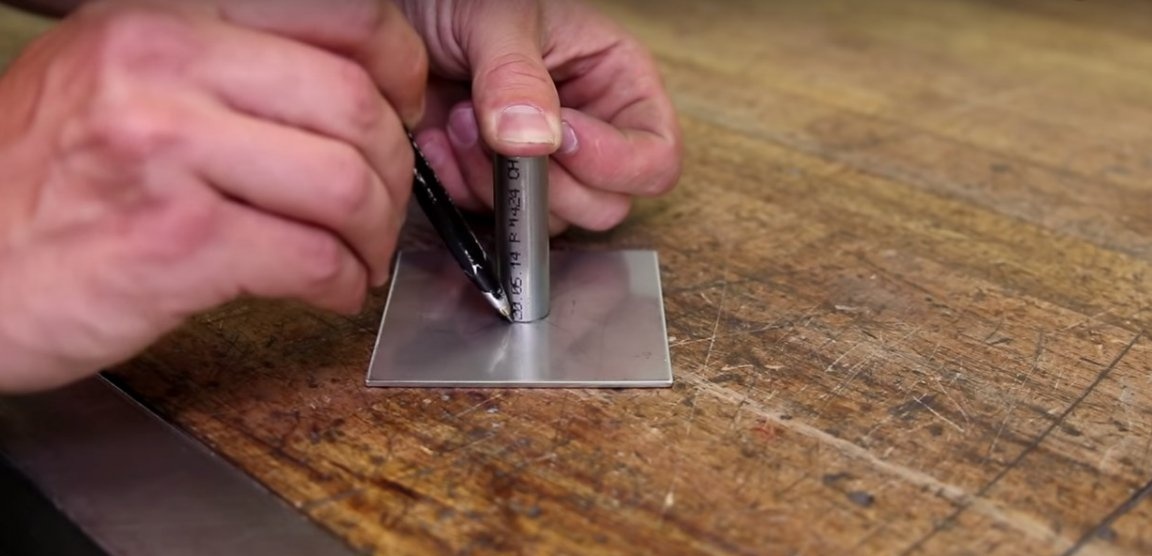

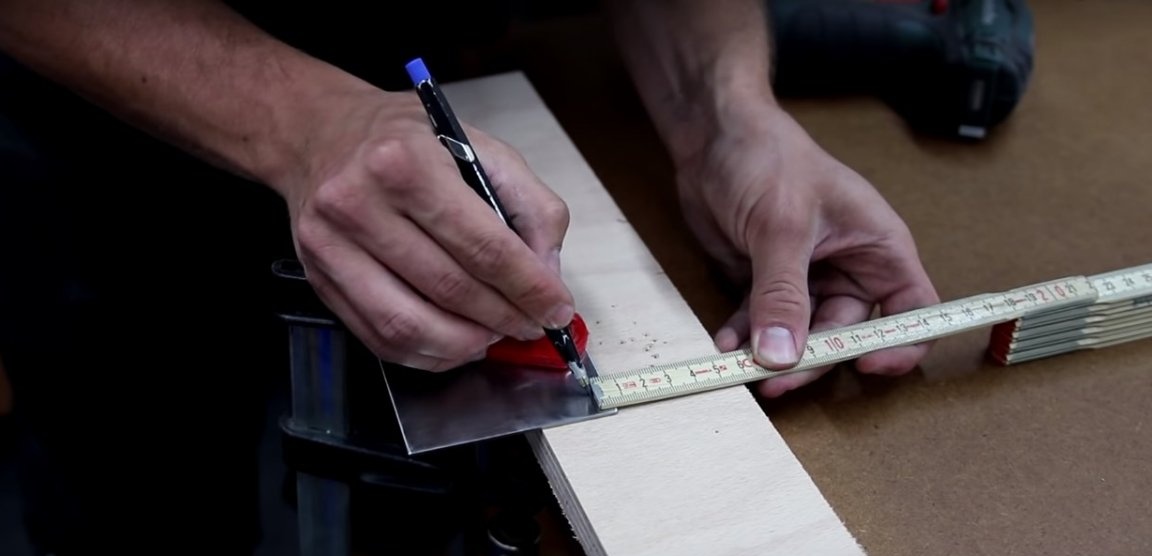
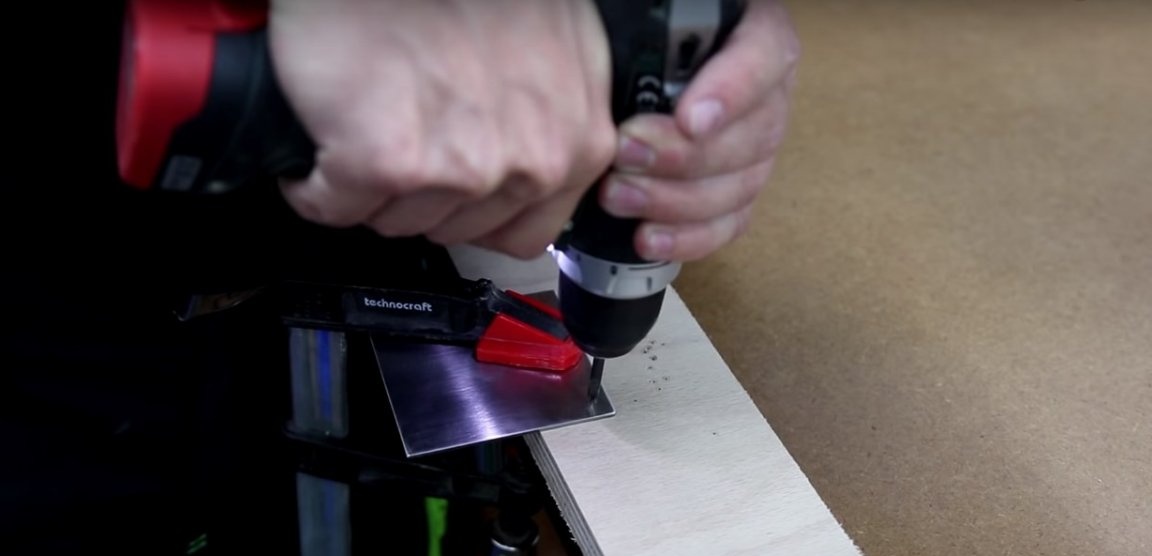
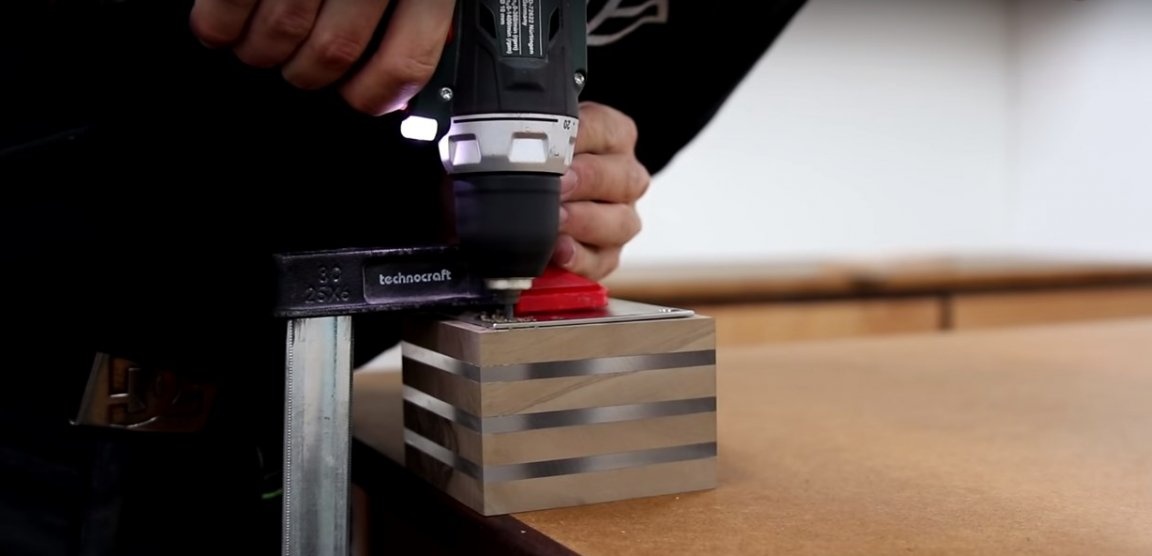
Mark the points of attachment of the metal insert to the lamp housing and drill holes with a drill with a countersink.
Step Five: Processing the lamp housing
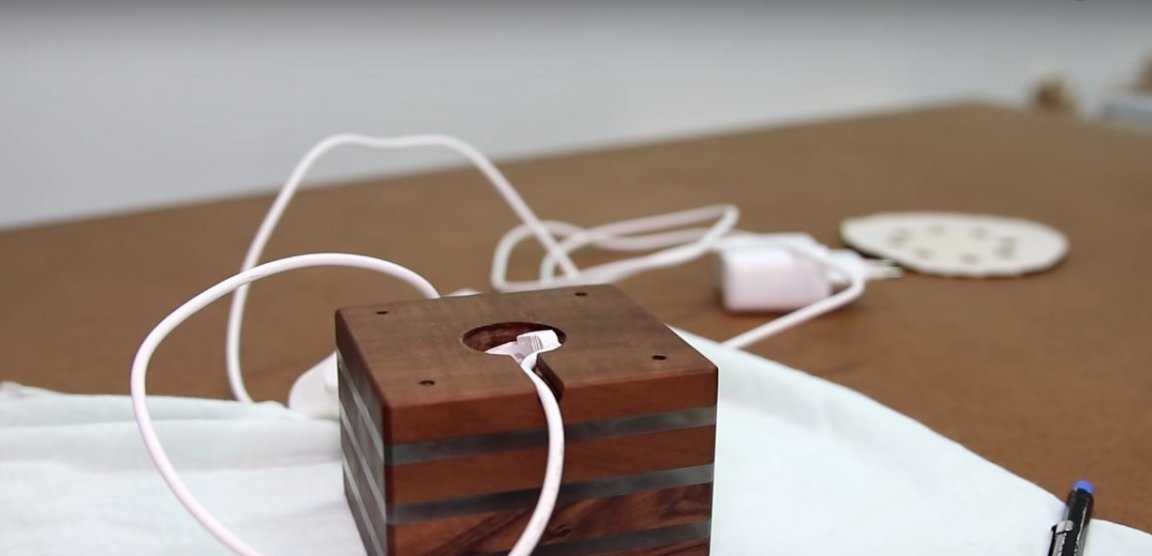
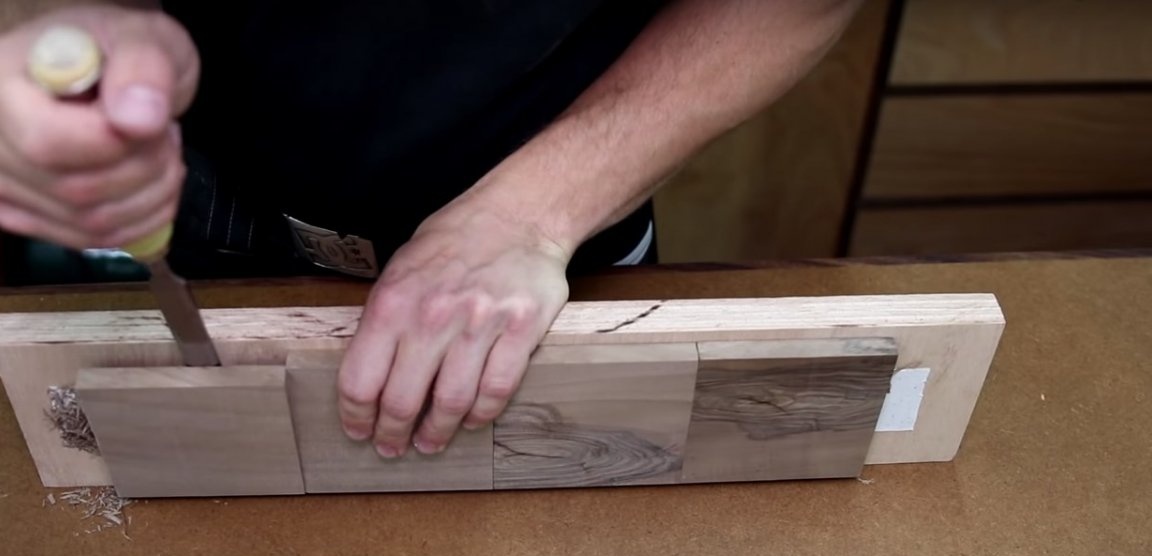
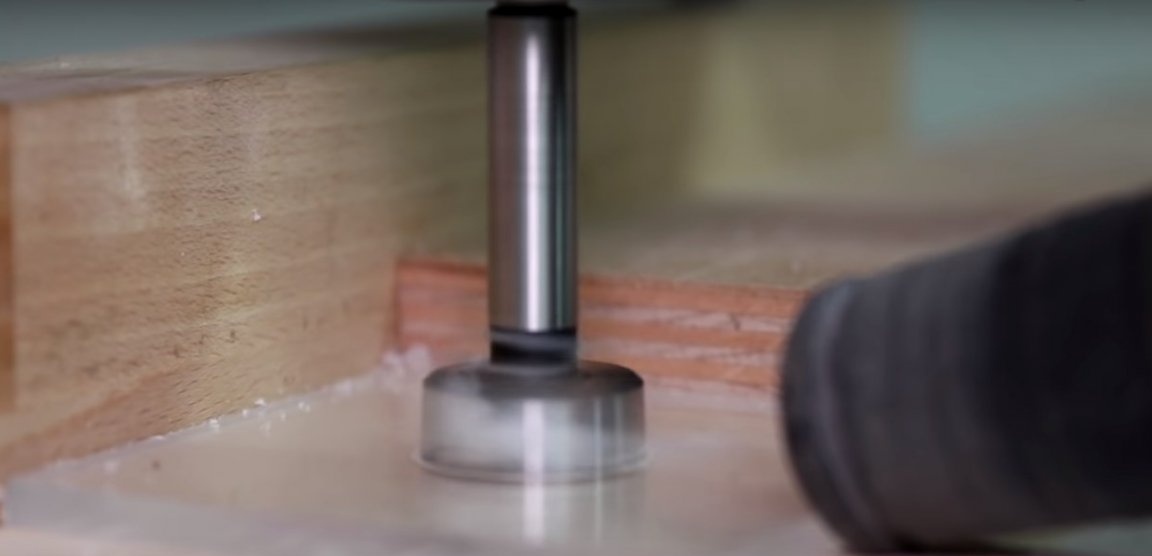
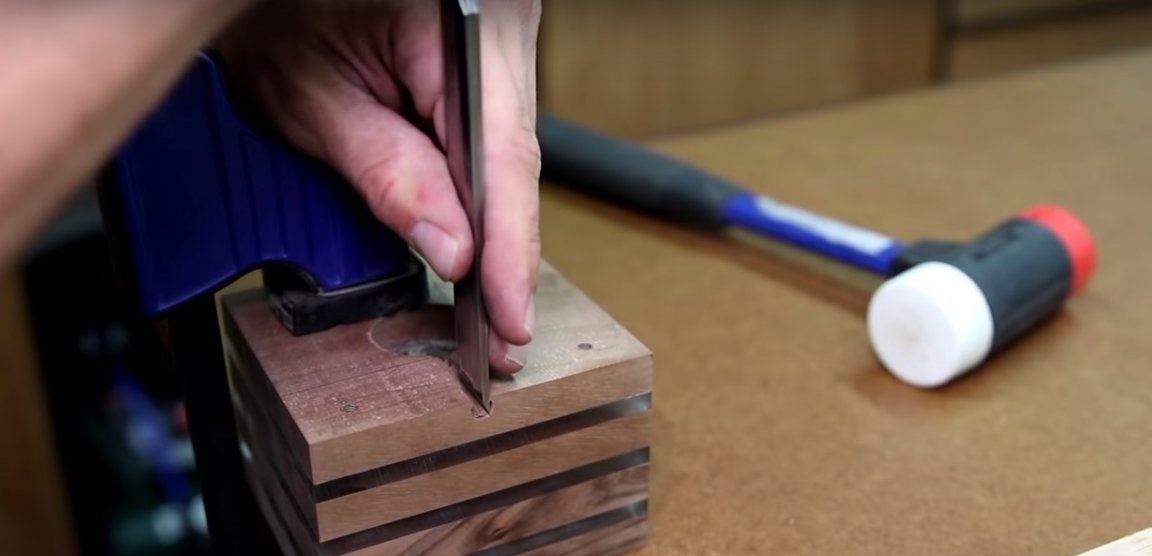
Align the base of the luminaire on the grinder and fix it on the plywood sheet. Drill a small diameter hole right across the edge of the casing. Using a chisel, make a groove under the wire.

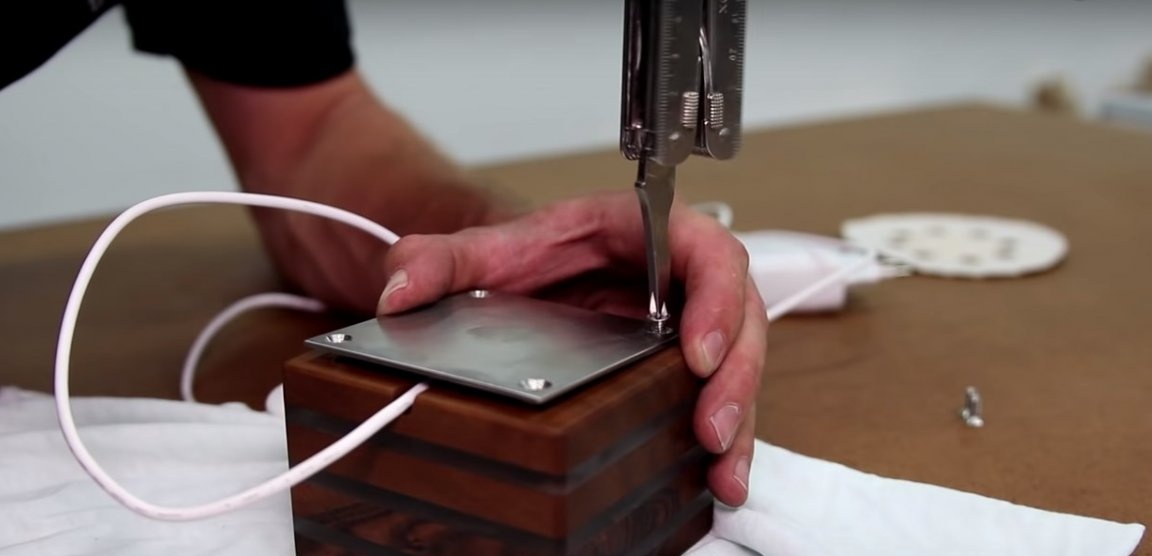
Preinstall the metal insert into the body and drill holes for the screws.
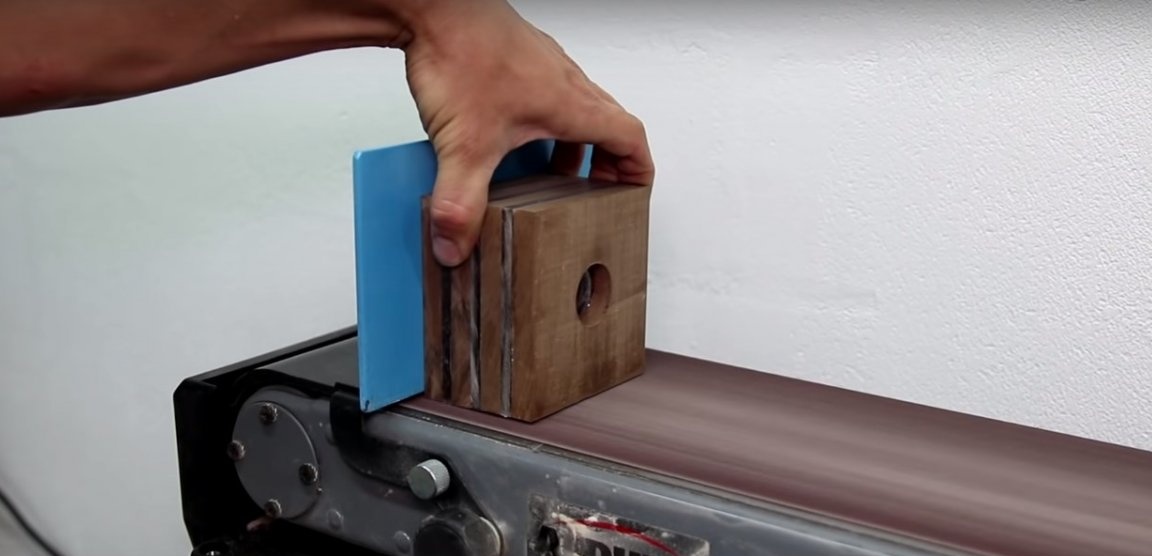
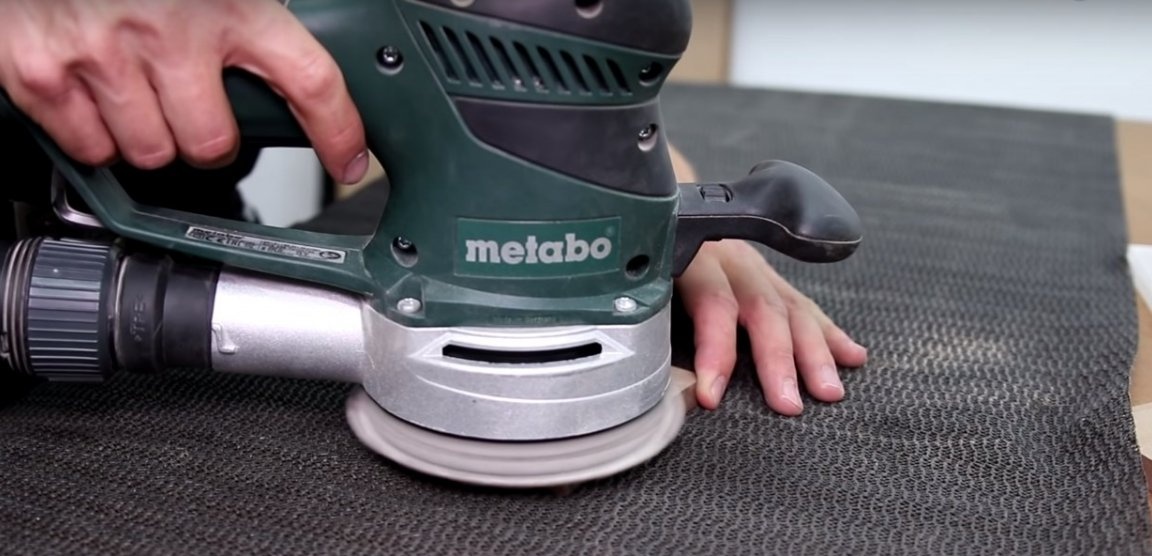
The luminaire body must be ground using a fine abrasive - from 220 to 2000. Chamfer the grinding machine.
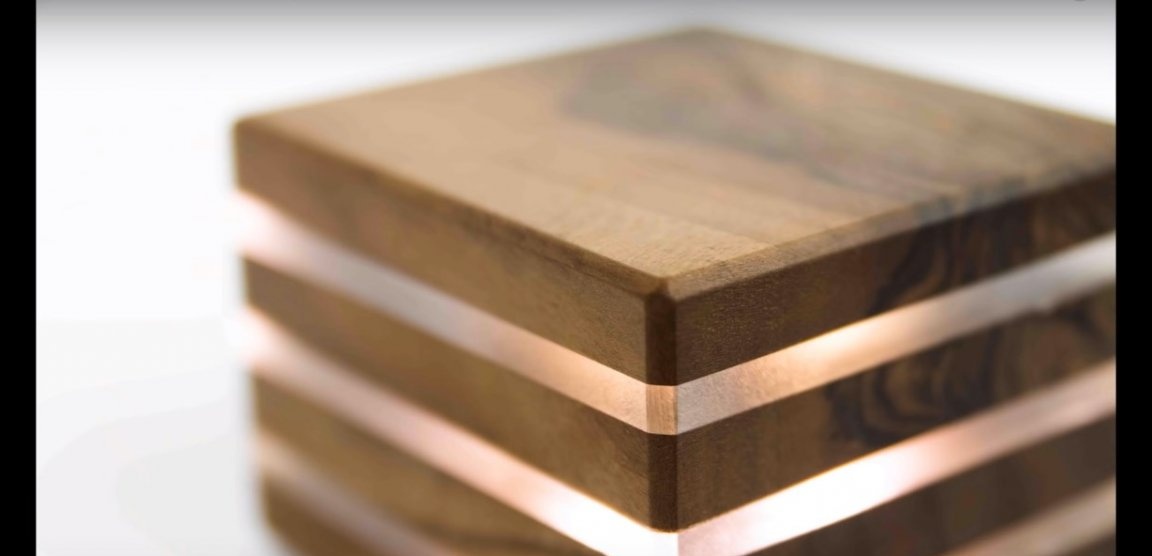
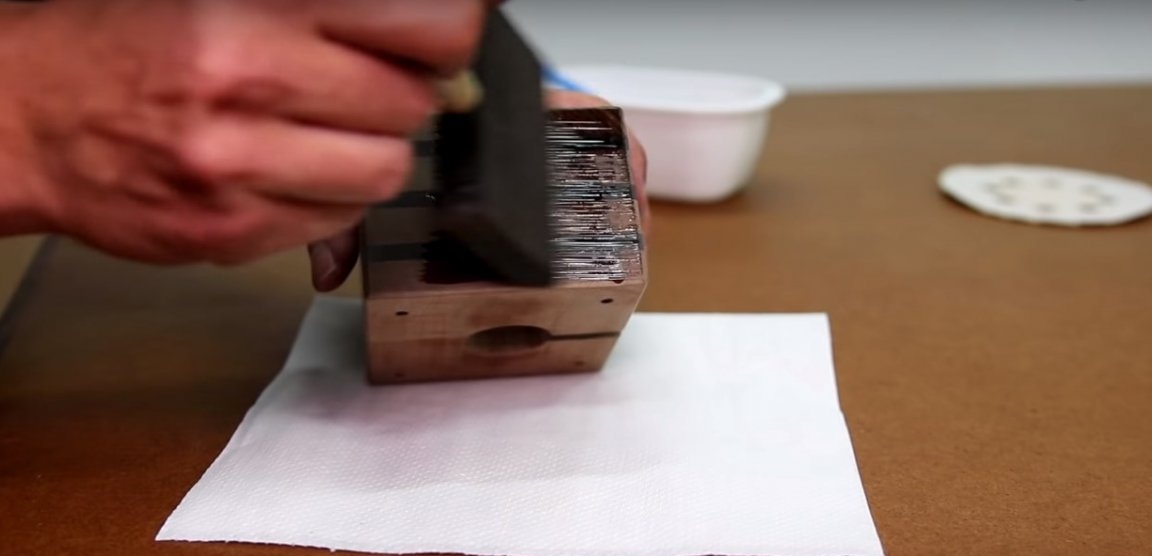
The author processed the case with tinted furniture wax. Wax that has not been absorbed into the wood fibers must be removed immediately from the surface of the workpiece. Polish the case manually or with a grinder. This will remove excess coating from the acrylic layers and make the surface perfectly smooth to the touch.

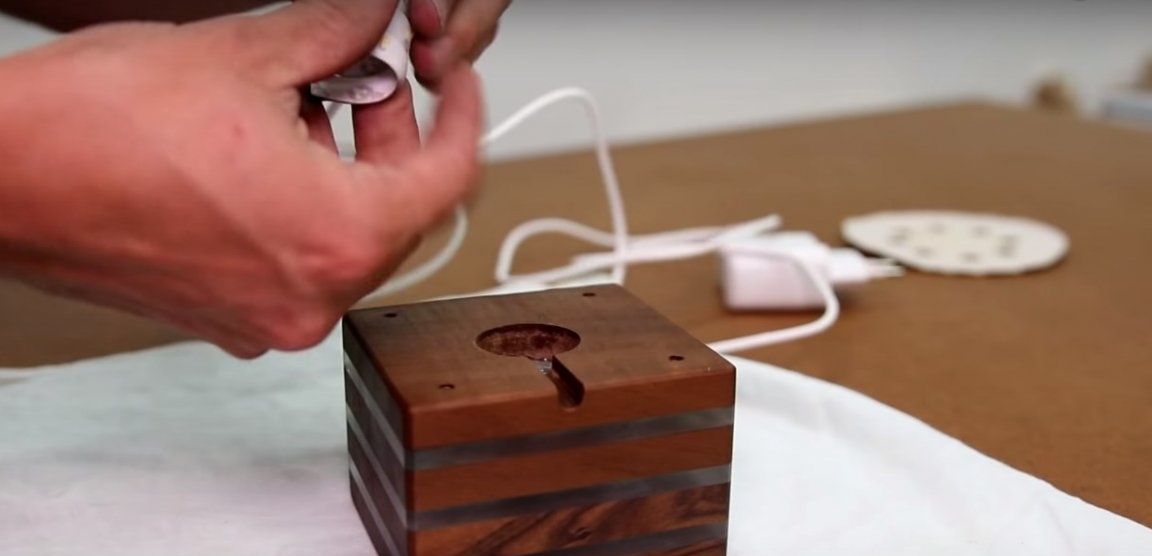
Step Six: Install LED Strip and Final Assembly
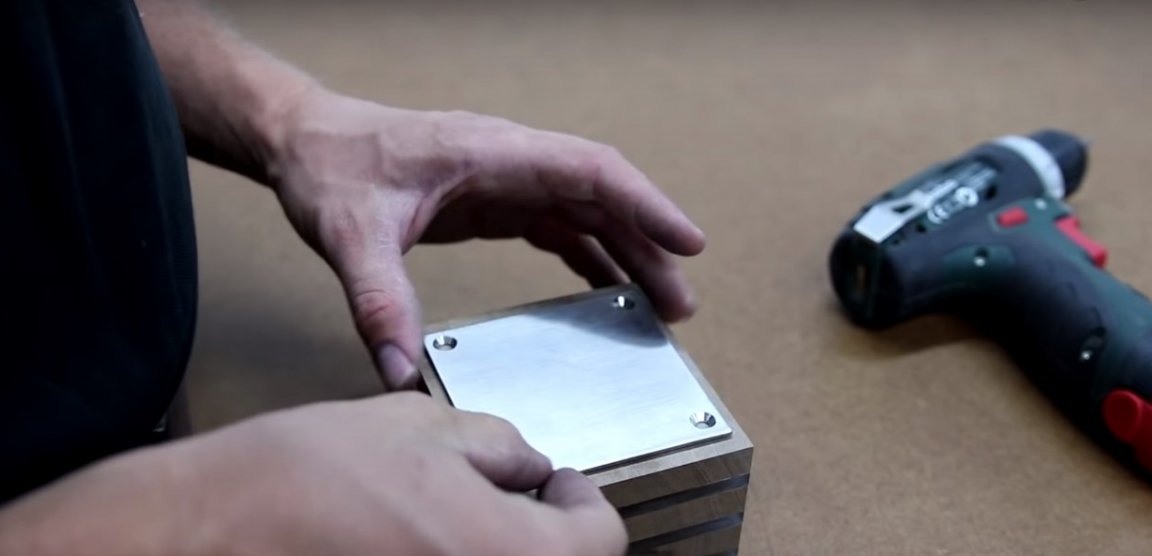
Twist the LED strip in a spiral and place it in the hole in the housing. Lead the wire out along the groove. Place the metal insert inside the housing so that the tube is inside the spiral of the LED strip. Secure the metal base with screws using a screwdriver. At the exit of the groove, the wire can be grabbed with hot glue or super glue.