If you plan to repair, but neither wallpapering nor wall plastering inspire you, it's time to turn to non-standard solutions for decorative wall decoration. The author of this video realized a rather interesting idea, thanks to which this cyber wall was born.
Fulfillment of the idea was not so practical, therefore, a sea of criticism fell upon the author, but the idea does exist, and in this article you will learn how to correct the mistakes made.
So, in order to make a wall of homemade tiles with lighting, you will need:
Materials:
- wall drywall (plywood) for the manufacture of homemade hexagonal tiles;
- LED strip, power supply and control panel for organizing wall lighting;
- paint on concrete for wall painting;
- acrylic paint for coloring tiles (preferably waterproof) or stain (wax, varnish), if you use plywood;
- primer for processing the edges of drywall and concrete walls for painting;
- wooden slats or bars for the manufacture of crates for tiles;
- wood screws;
- dowel-nail for attaching a wooden frame to the wall;
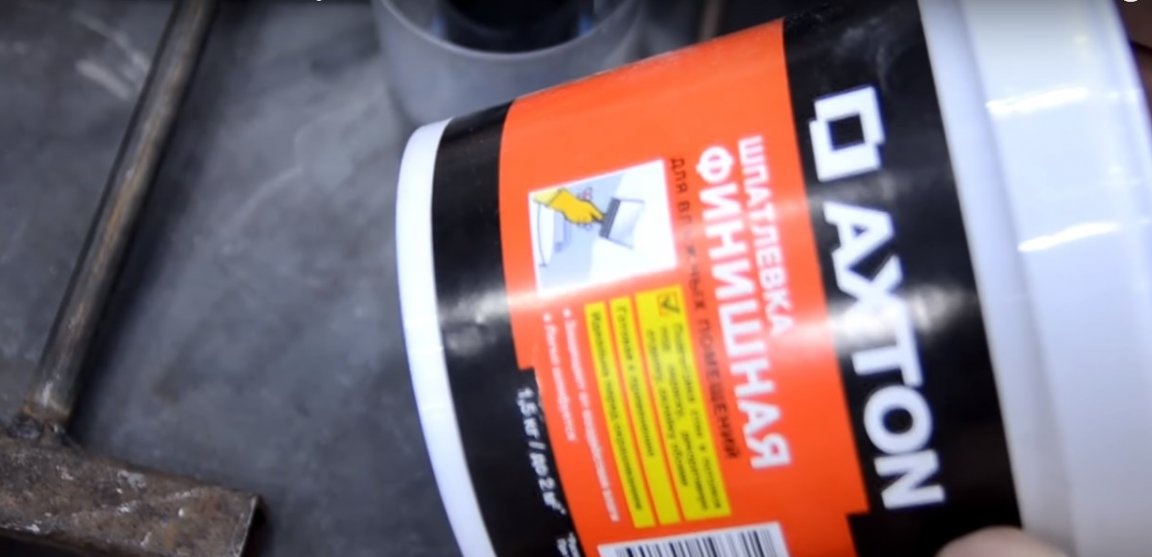
- gypsum-based putty or wood hard putty (for plywood tiles).
Instruments:
- milling cutting machine (jigsaw or manual circular also fit);
- laser or ordinary building level;
- a hacksaw for wood for cutting wooden blocks;
- sandpaper with fine grain;
- putty knife;
- paint brushes and rollers;
- square, long ruler, construction tape;
- marker.
Manufacturing process
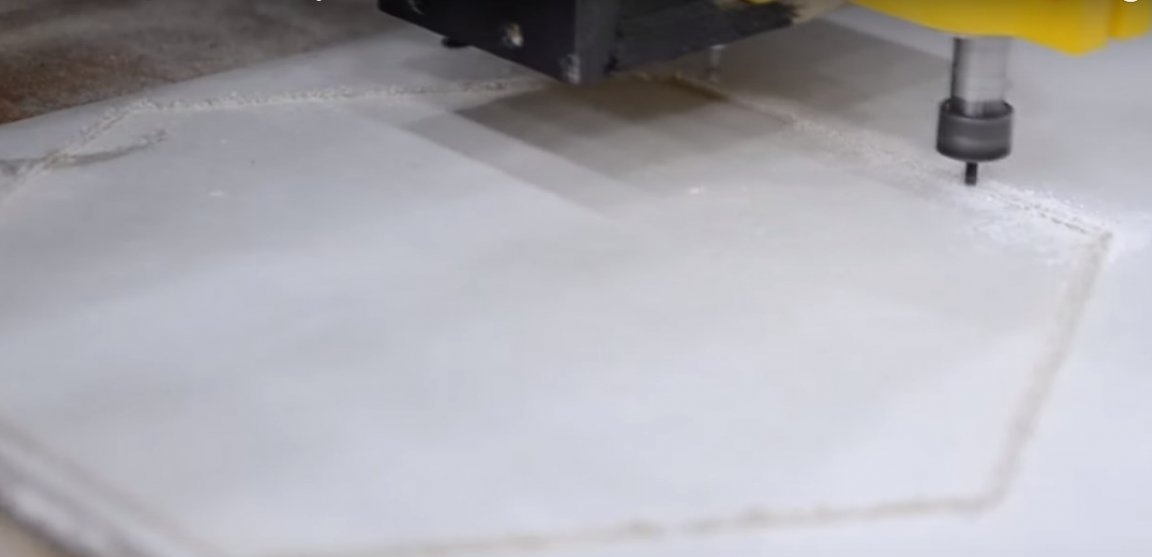
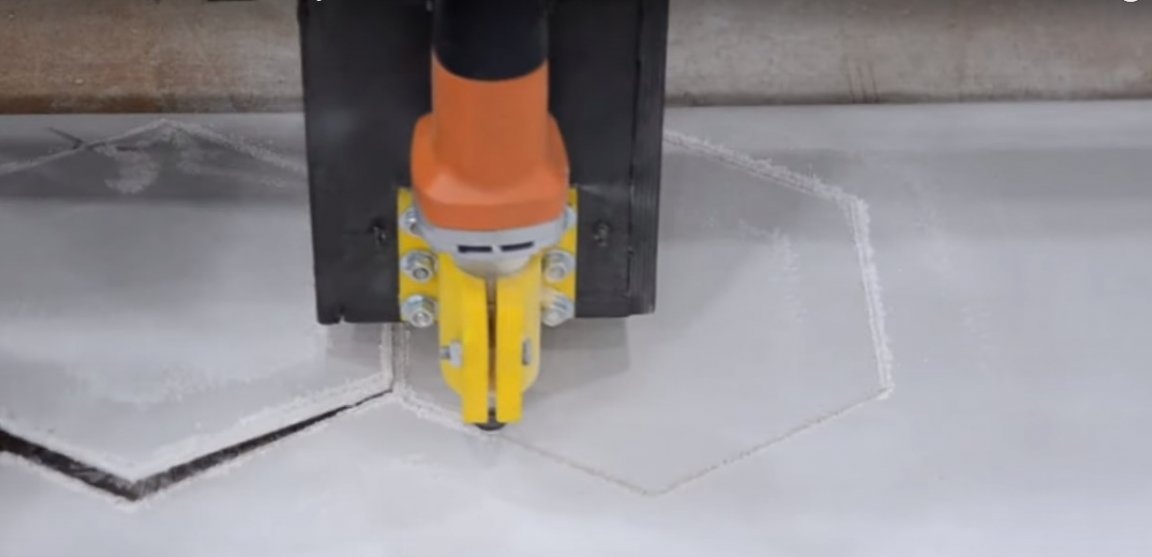
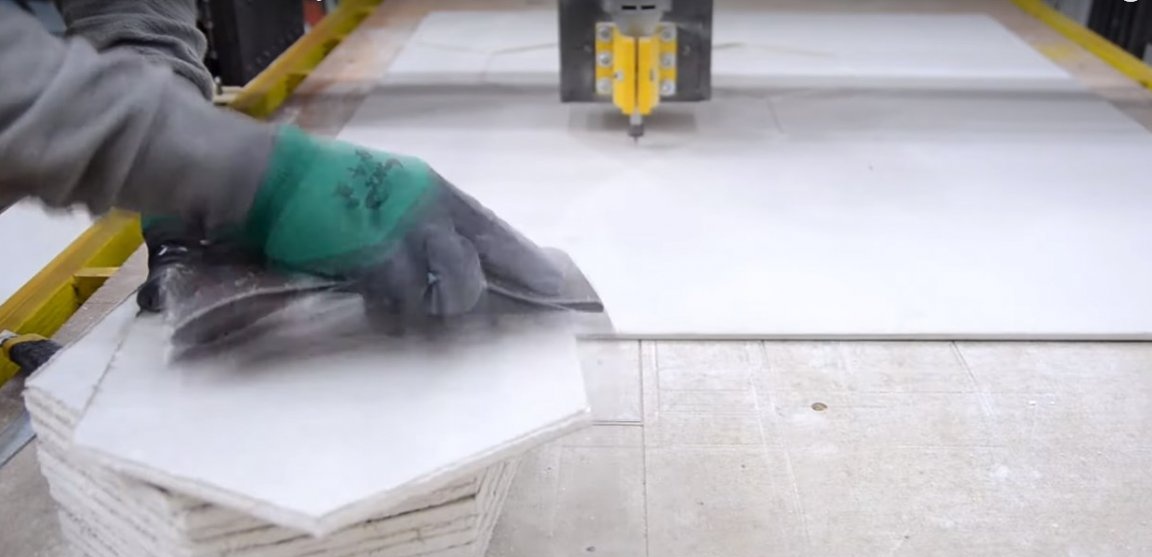
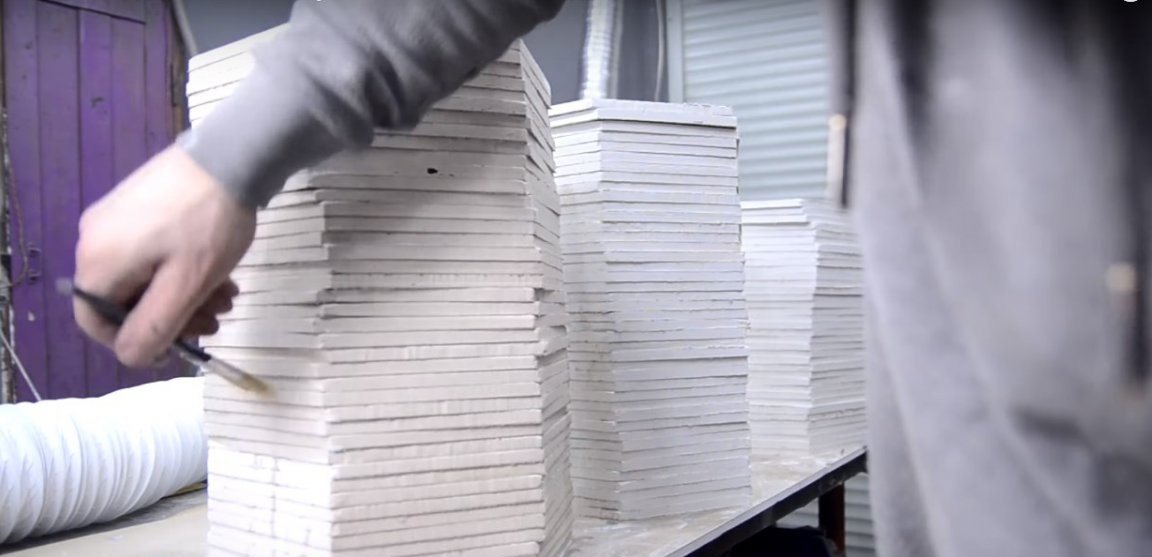
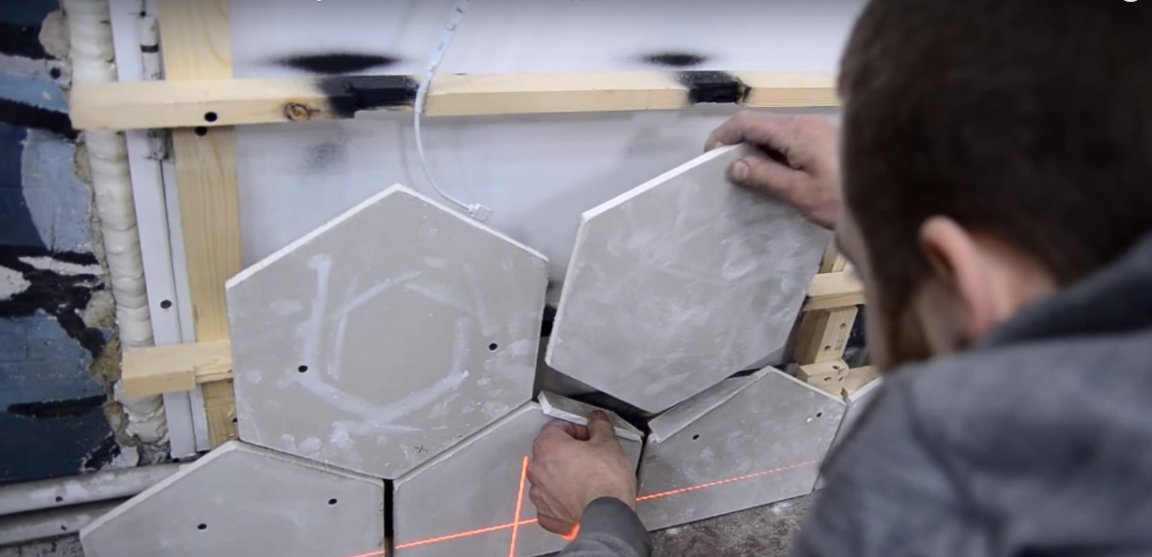
Step One: Making Hexagonal Tiles
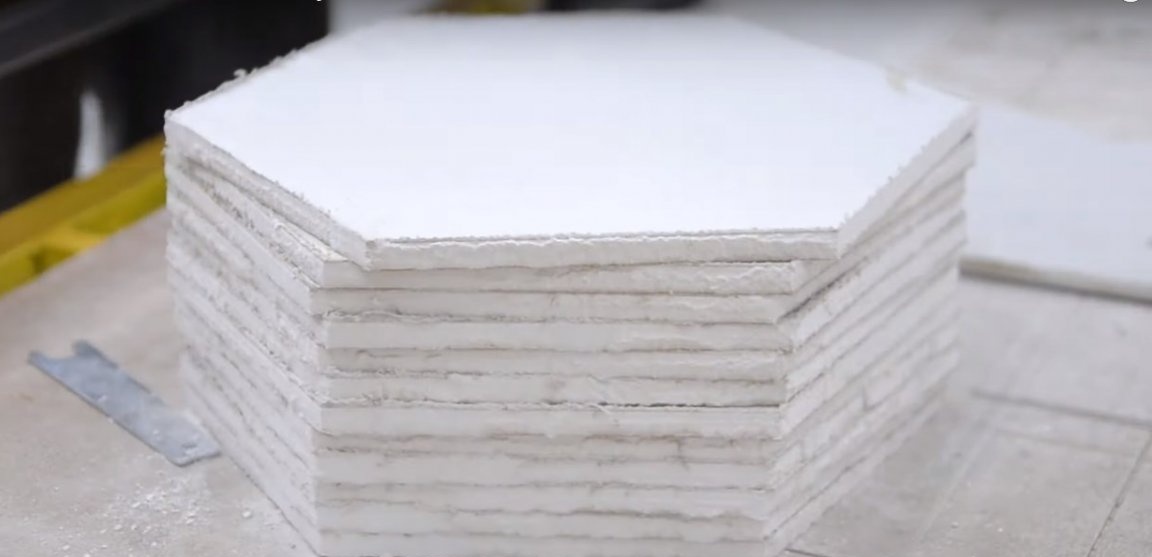
Probably it should start with the fact that the author made gypsum board tiles, and this decision was subjected to merciless criticism. Drywall, of course, is the cheapest and most affordable material, but it has insufficient strength and too short a life in this case.
Plywood can also be used to make hexagonal tiles. You will need plywood with a thickness of 5 - 10 mm and this will be enough.
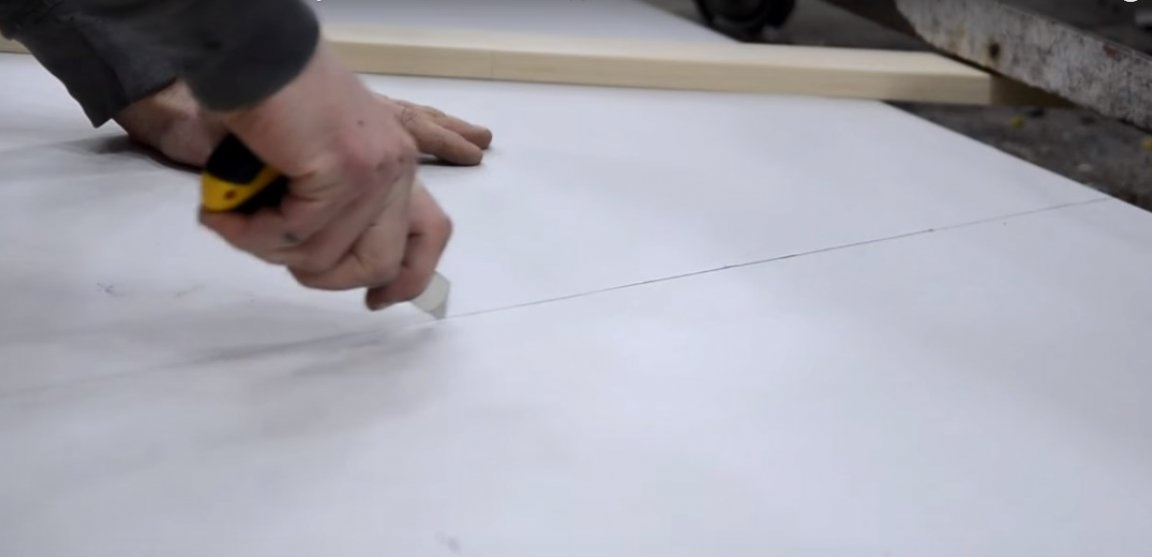
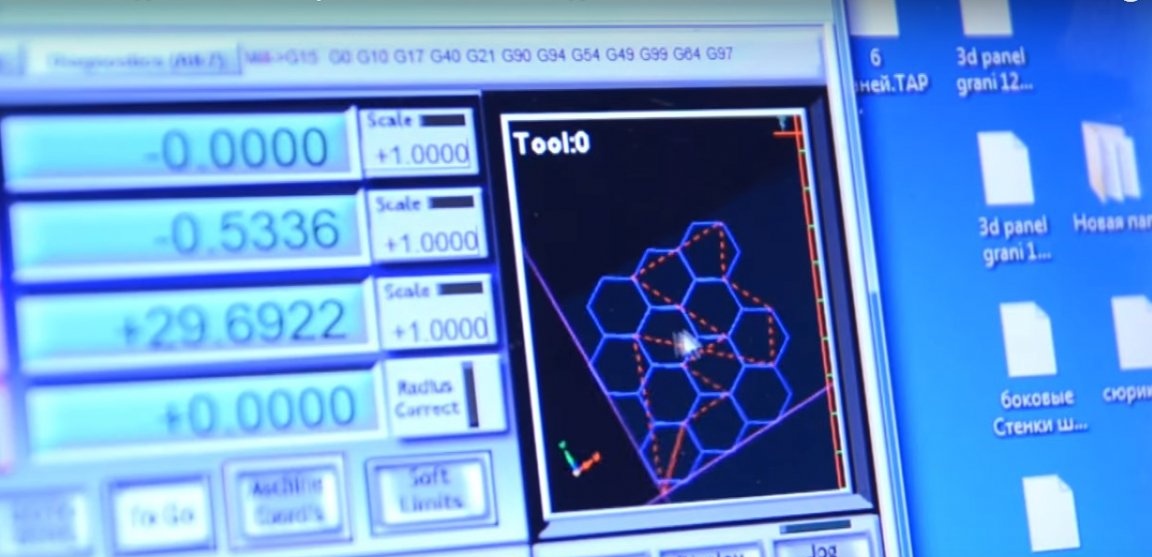
When cutting hexagonal wall elements, the author used his homemade CNC milling cutting machine. However, such equipment is rarely seen in home workshop, so for cutting tiles, a jigsaw or manual circular will fit perfectly.When working with drywall, you can do with a clerical knife at all.
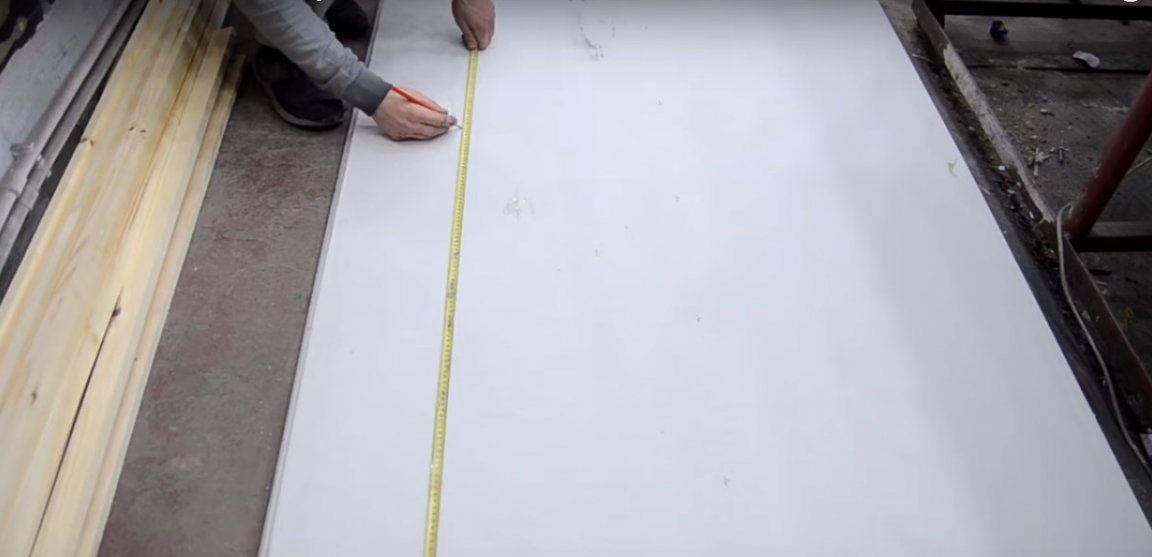
To begin, cut strips of drywall (plywood) along the height of the hexagon. Then mark the angular sides of the parts.
The author polished the edges of the blanks manually with sandpaper. The same can be done with plywood parts. To speed up the process, use a stationary belt sander. Drywall blanks should be primed.

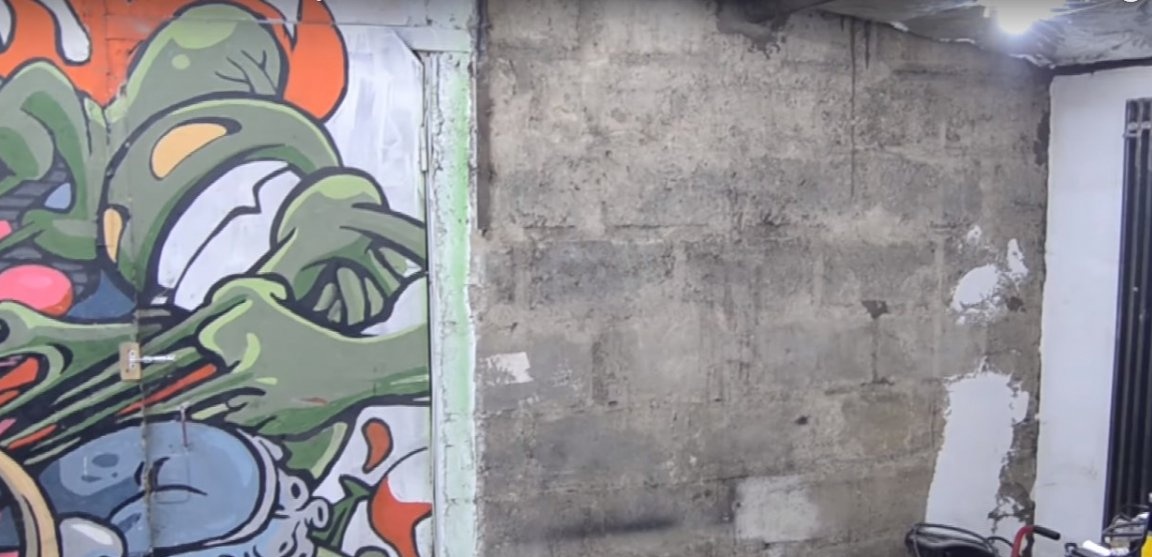
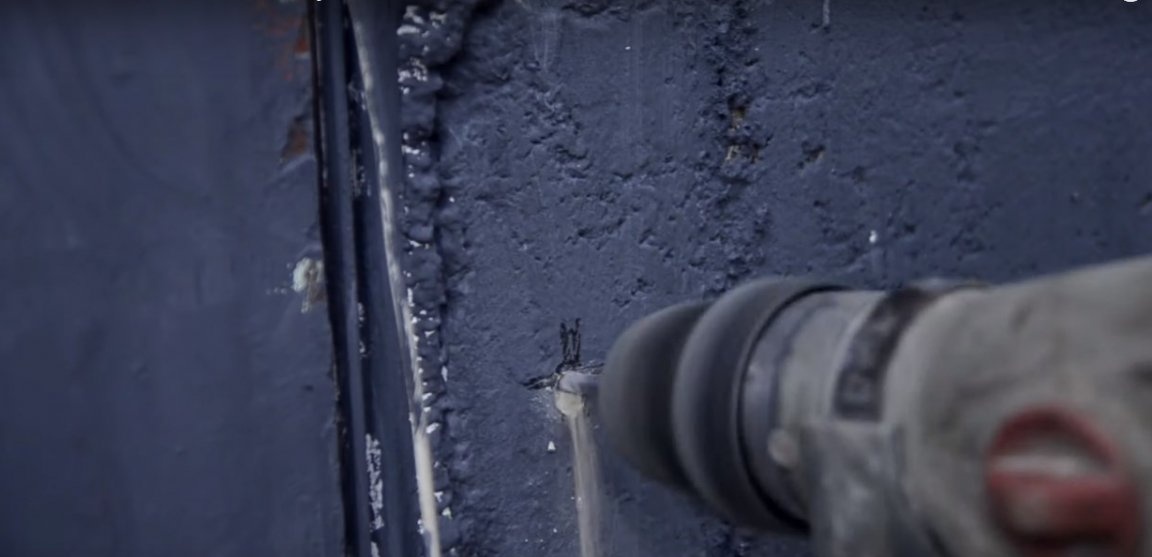
Step two: preparing the foundation
Recall that the task of the author is to decorate a concrete wall. It will serve as the basis for decorative tiles.
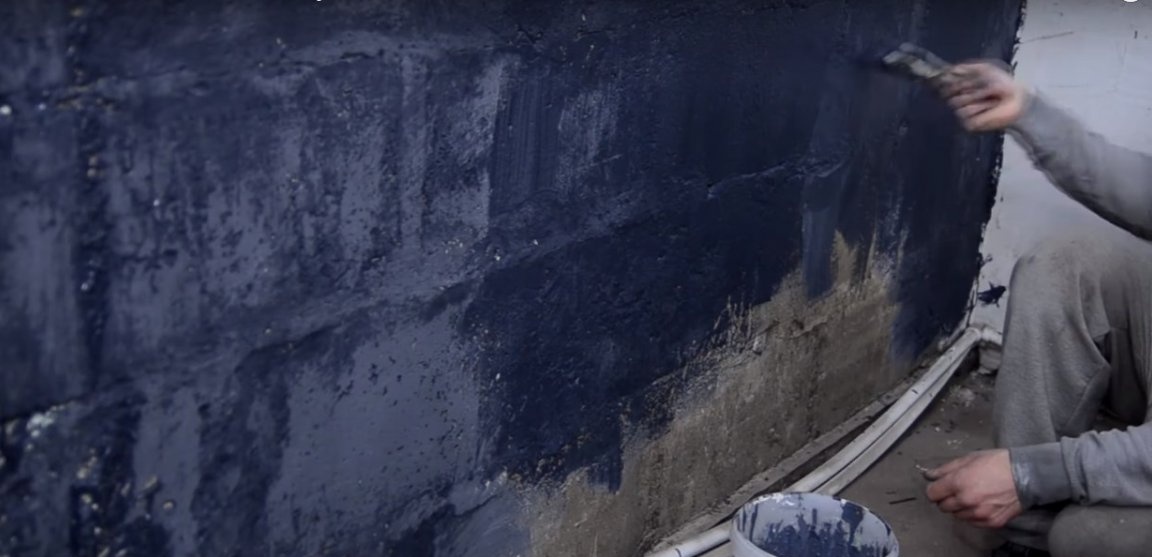
The author painted the wall black, since the tile itself will be painted in a dark steel shade. On the other hand, if you want to make the wall light, painting the base in white light will only make the wall better reflect the glow of the LED strip.
Prepare paint on concrete or regular acrylic paint. If the surface of the wall is uneven, use a brush, otherwise the work will be much faster if you use a paint roller.
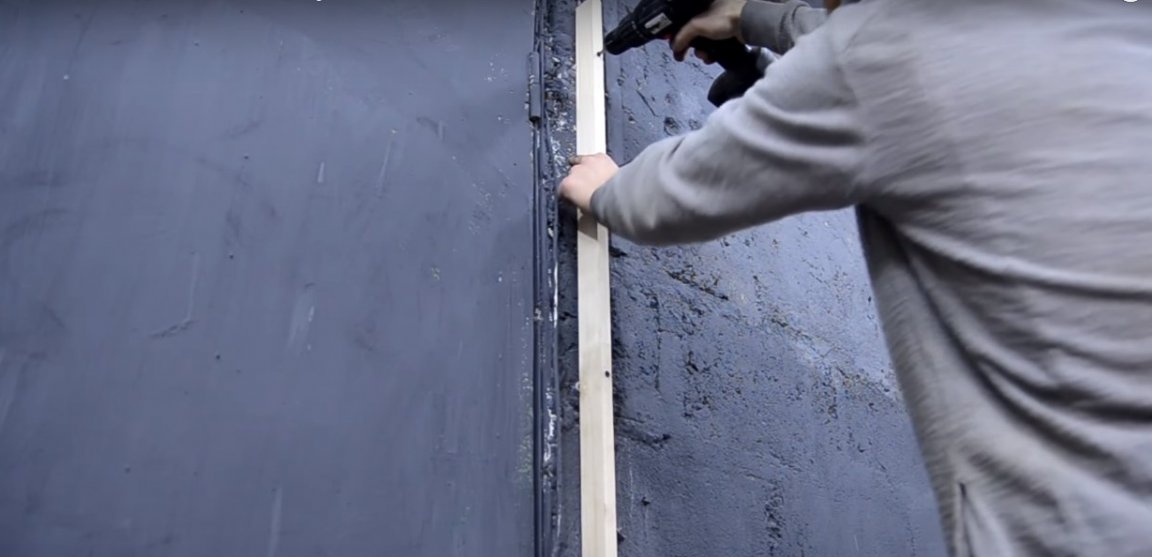
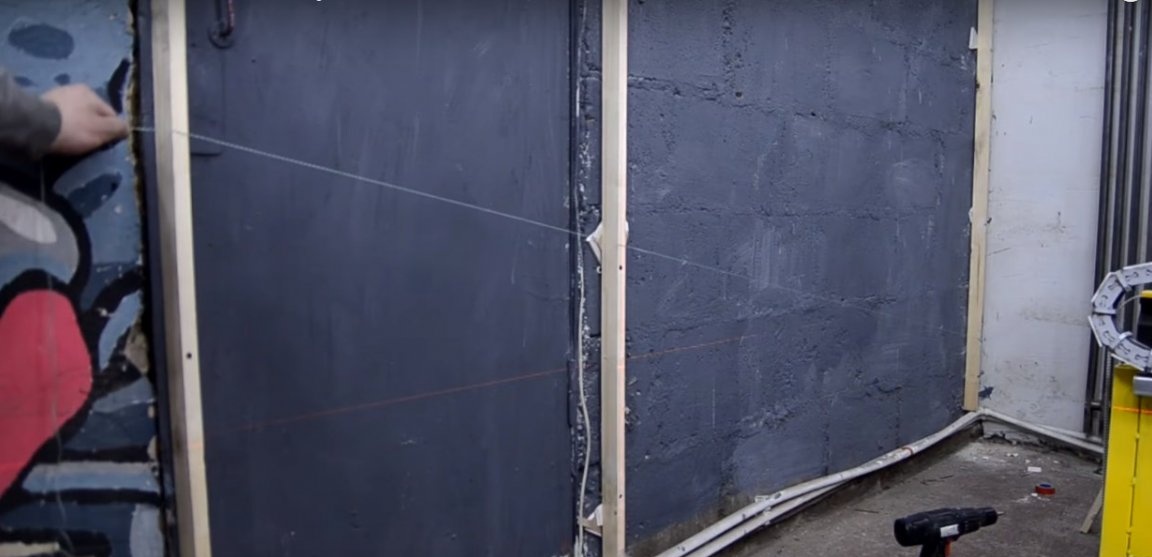
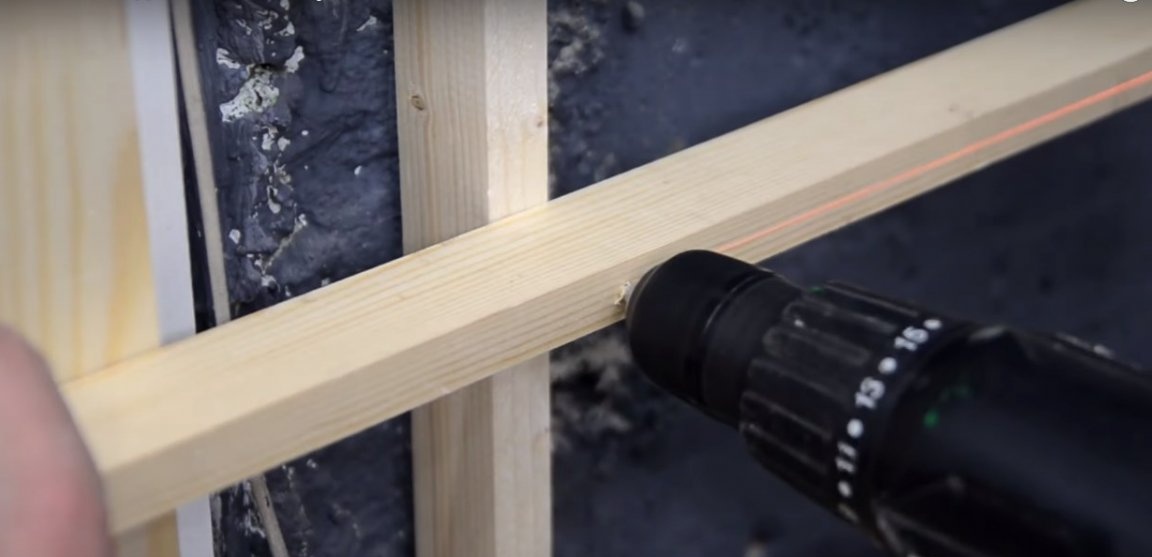
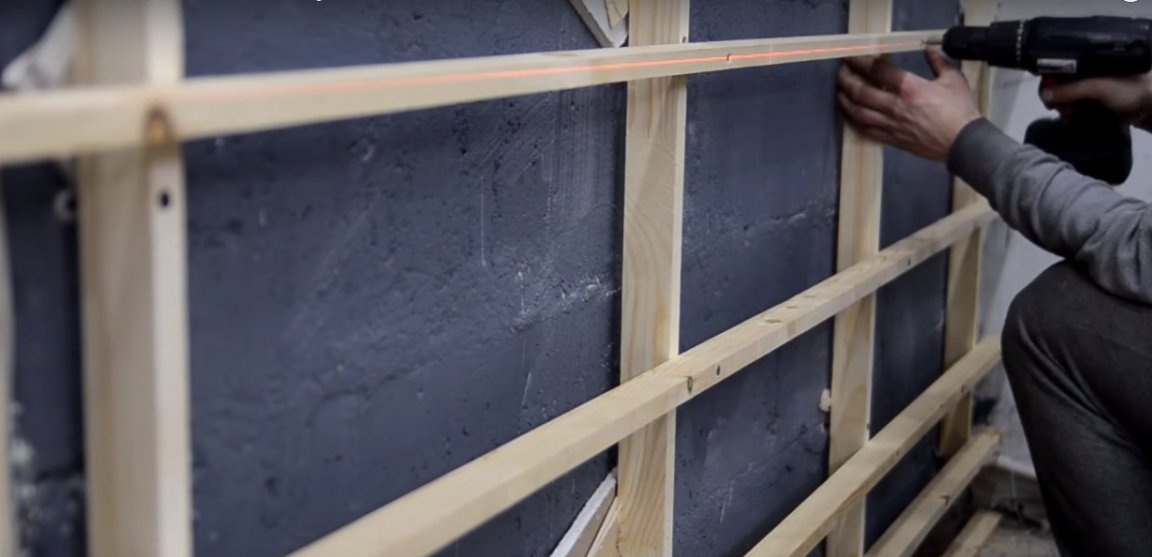
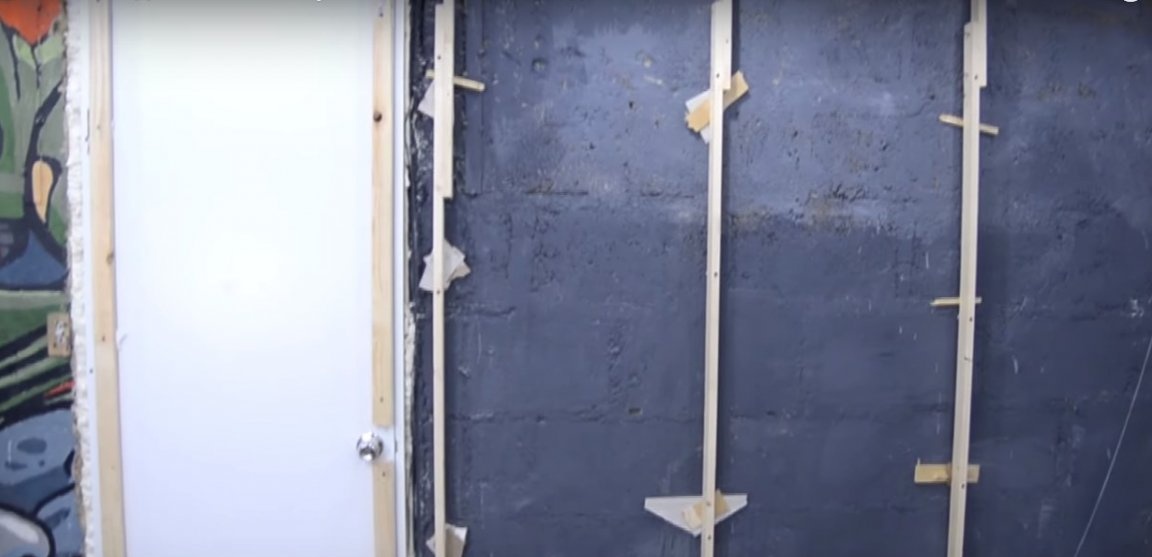
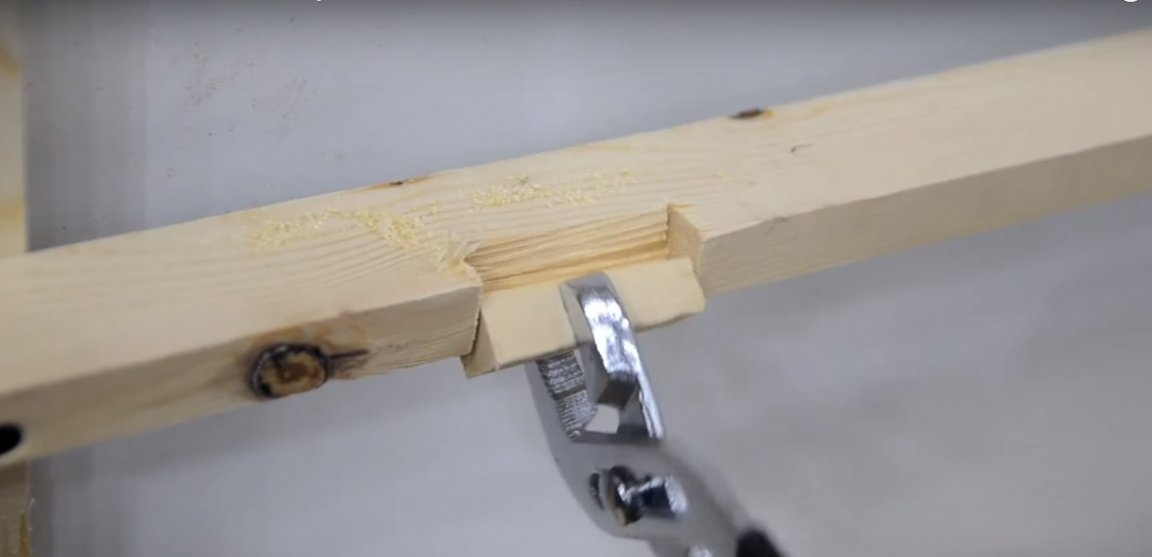
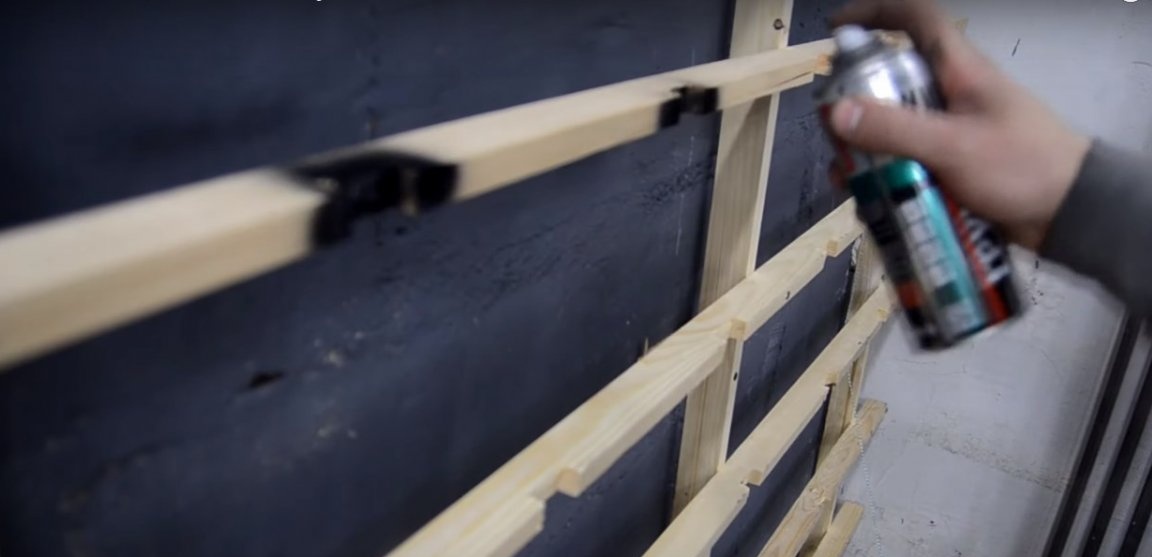
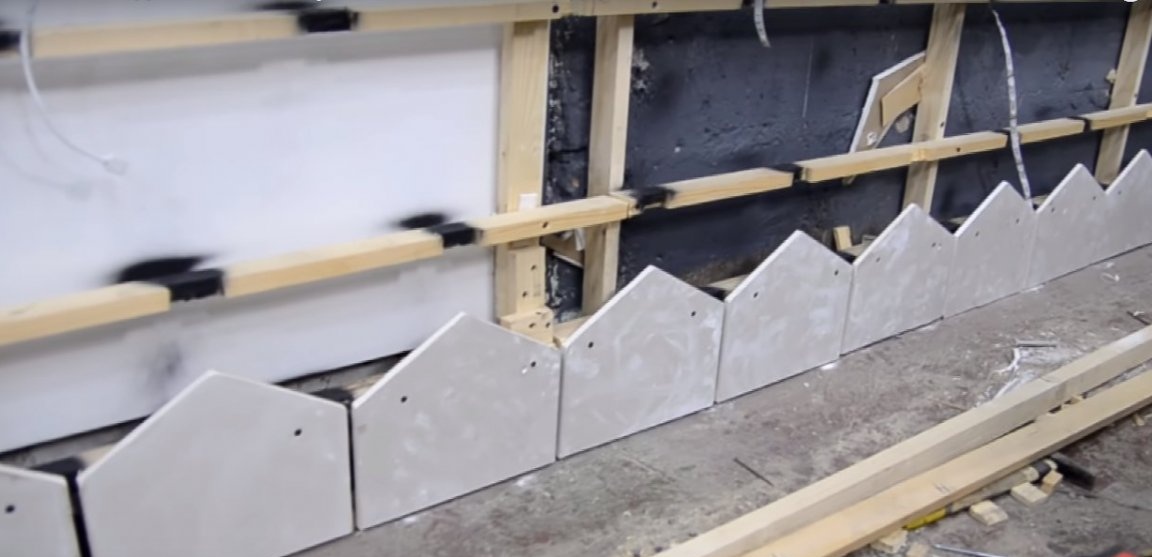
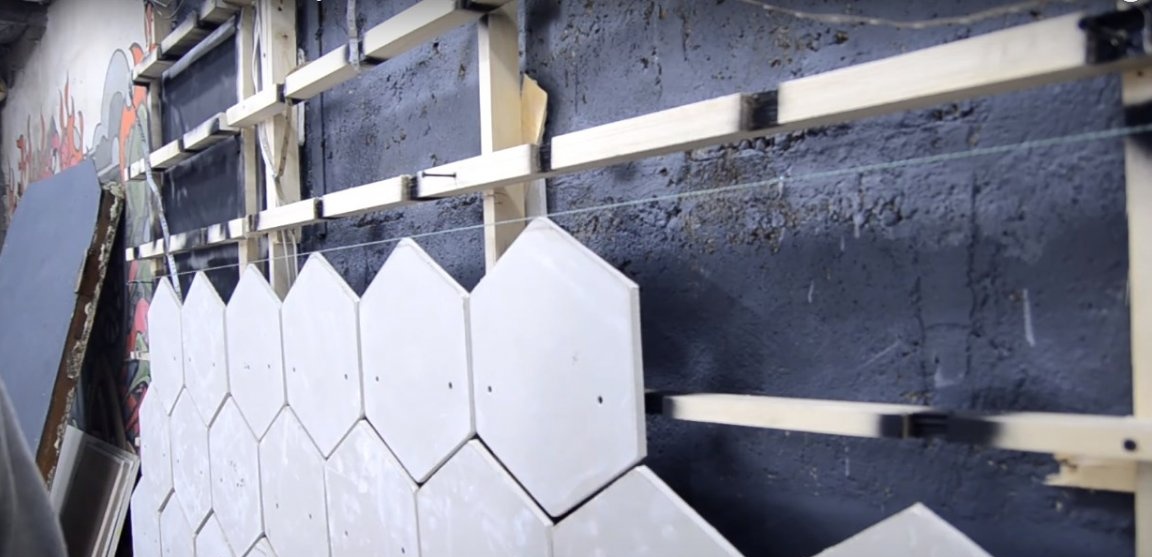
Step three: marking and manufacturing a wooden frame
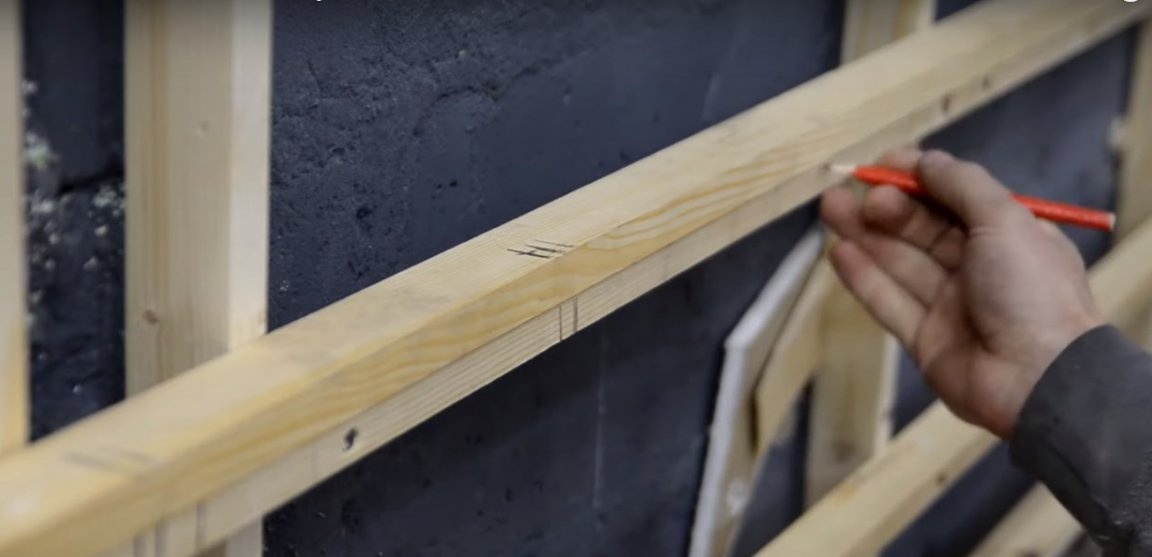
The frame is a wooden crate made of timber, fixed on a concrete wall with dowels and nails. Horizontal guides should go exactly in the center of the tile. Therefore, lay the tile in three layers on a flat surface, taking into account the technological gaps, and determine the distance between the horizontal elements of the frame.
To apply markings on the wall, the author uses a laser level. The usual building level will also cope with this task.
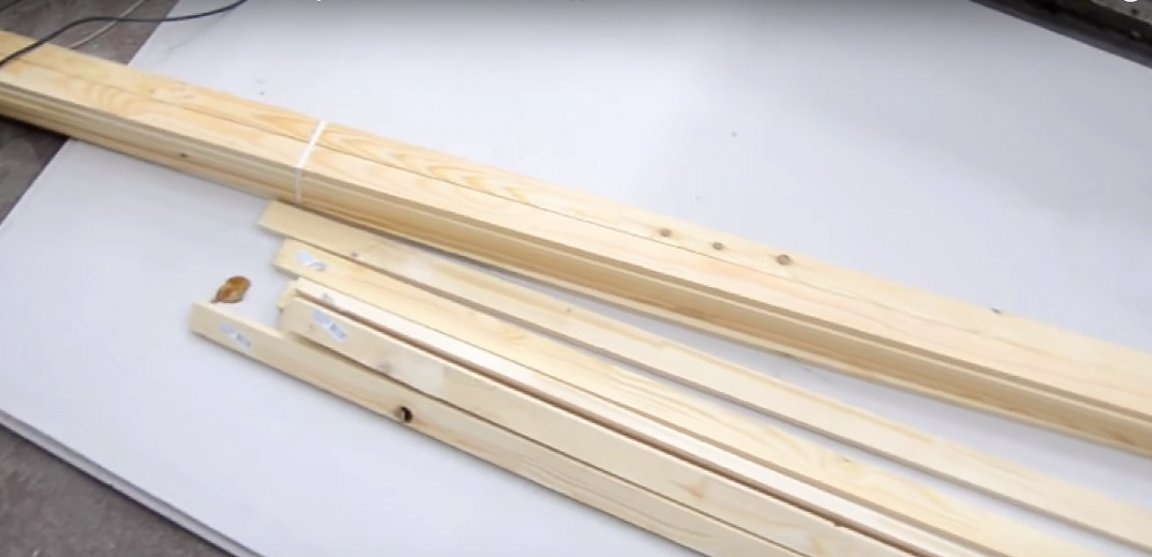

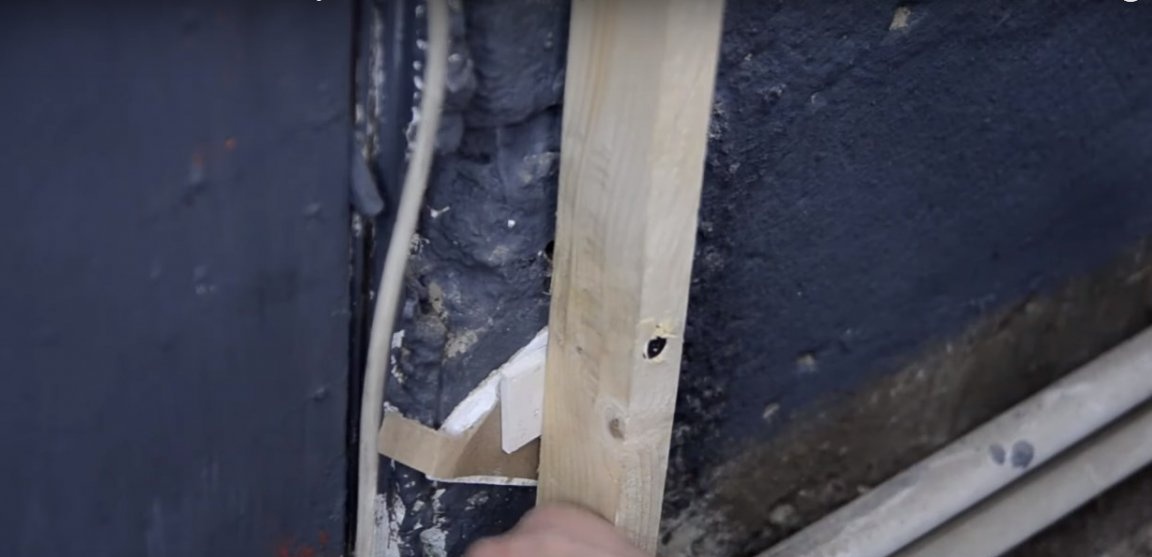
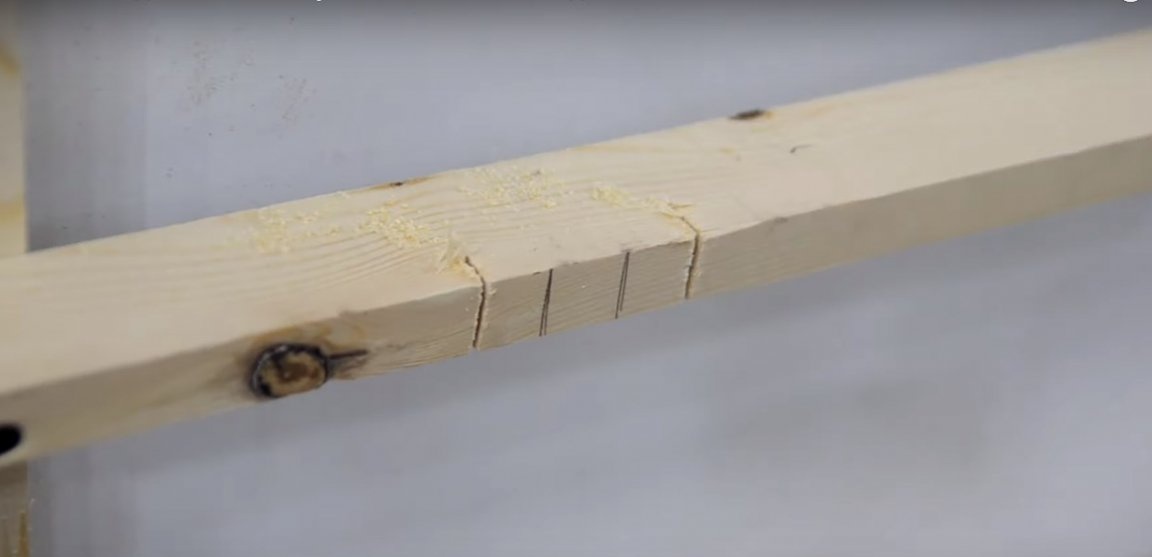
Saw the bar into segments of the desired length and proceed to install the frame. To do this, install the vertical guides. You can align them vertically by placing pieces of fiberboard or wooden slats under the bar. However, if the curvature is not too striking, this step can be ignored.
At this point, the author again suffered a wave of criticism, because with this arrangement of the base, dust and debris will accumulate under the tile. To prevent this, a layer of plexiglass should be fixed to the wooden frame. It has a low cost, fully permeable to LED strip and will serve as a convenient basis for installing tiles using glue.

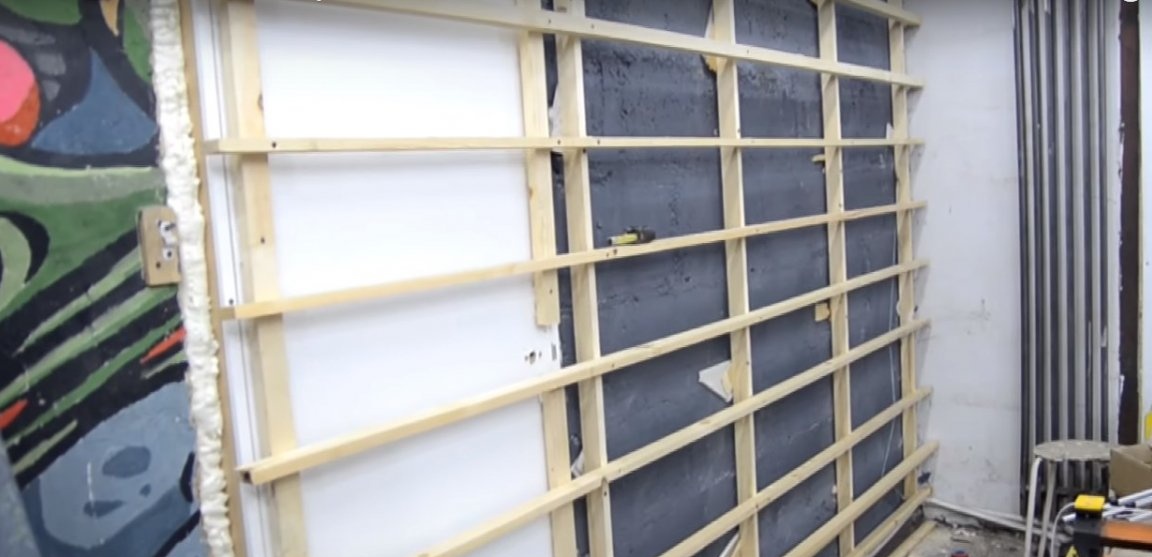
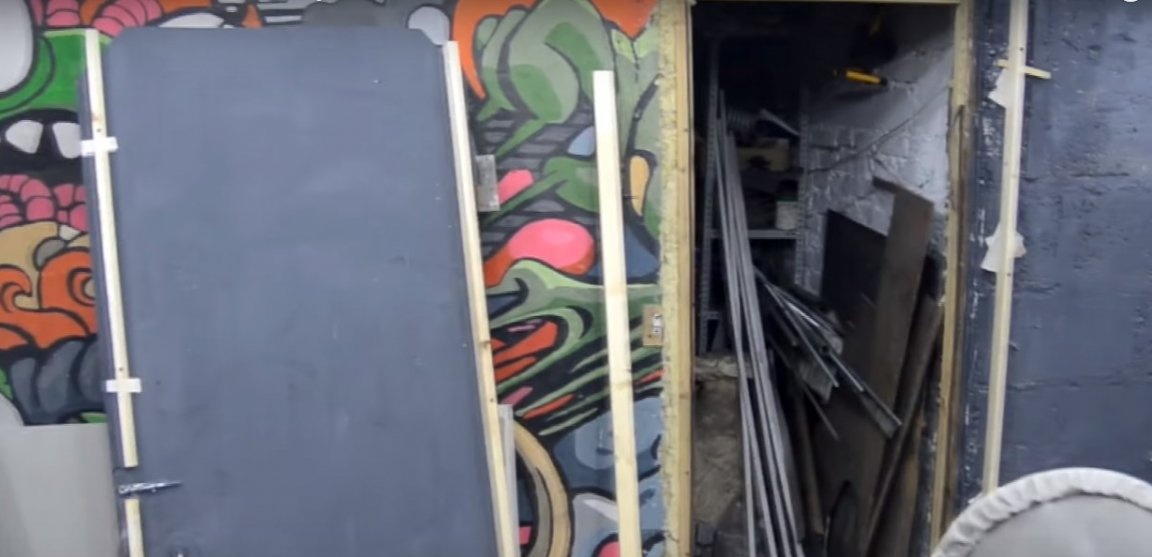
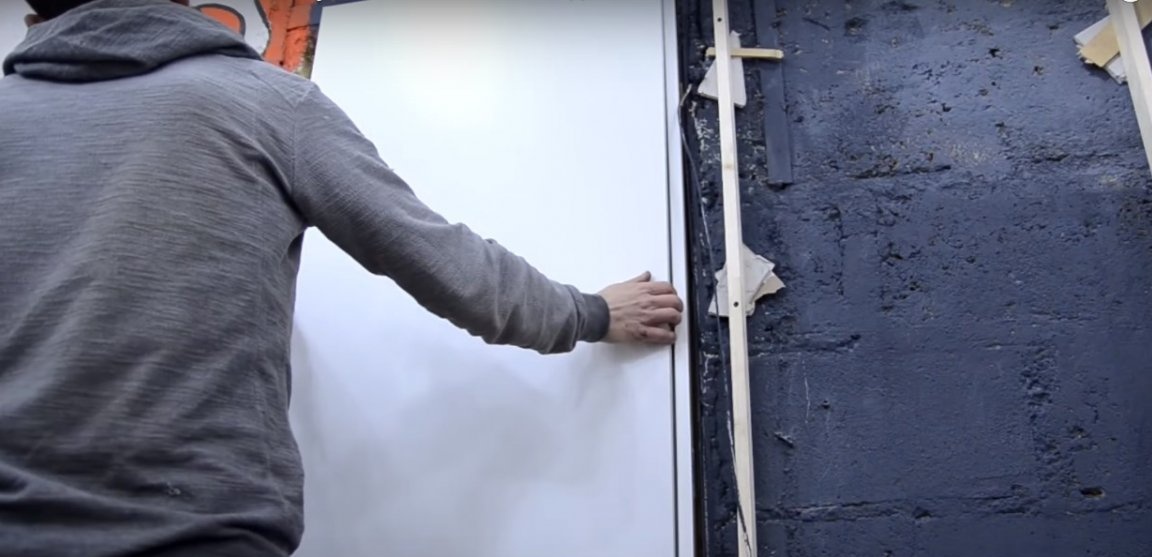
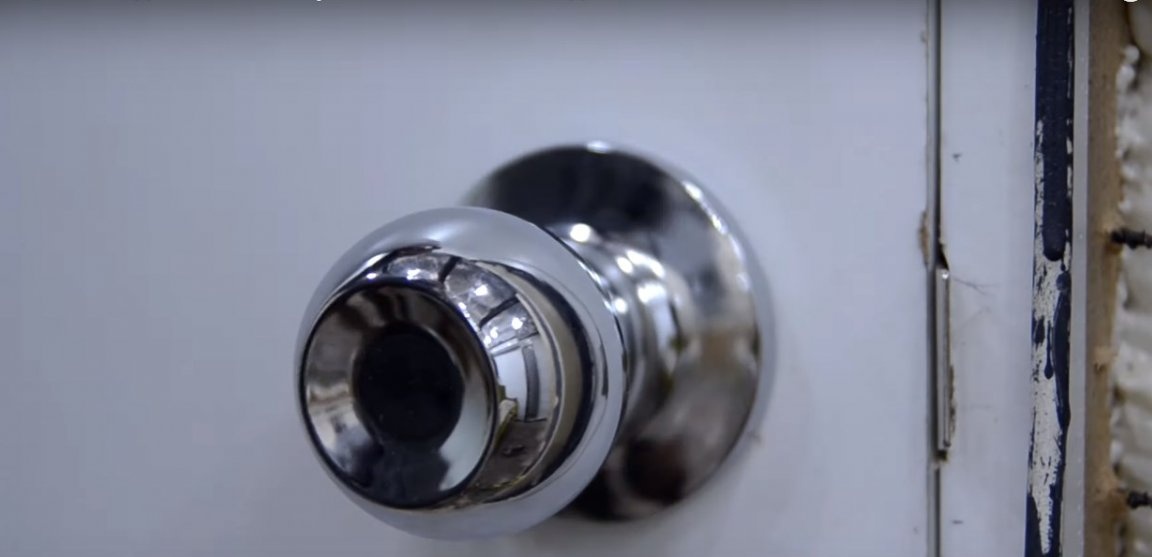
The door to the pantry also got under decorating with tiles. The author also installed a crate on it.

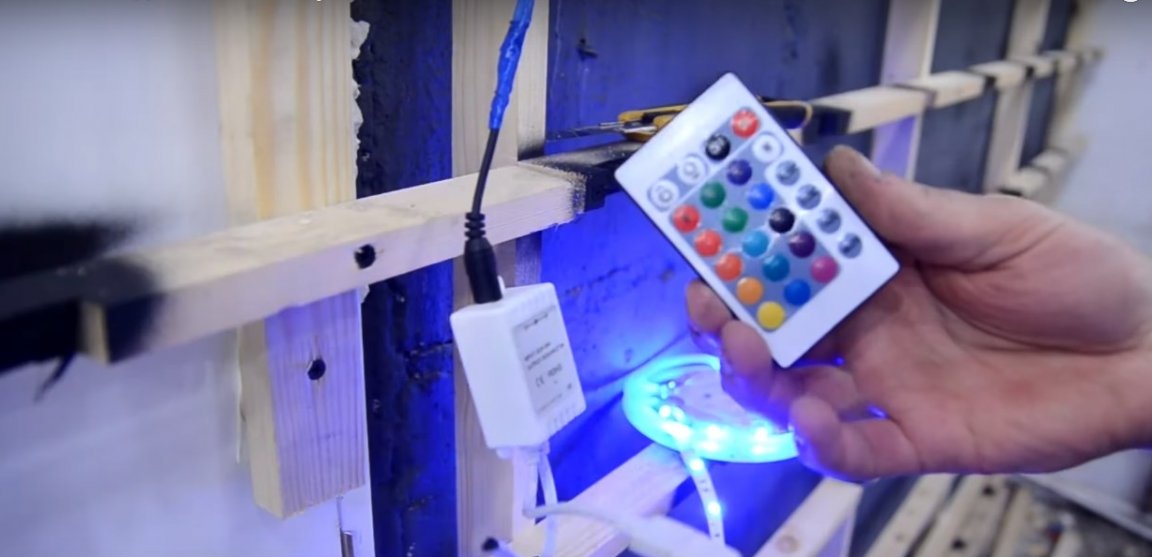
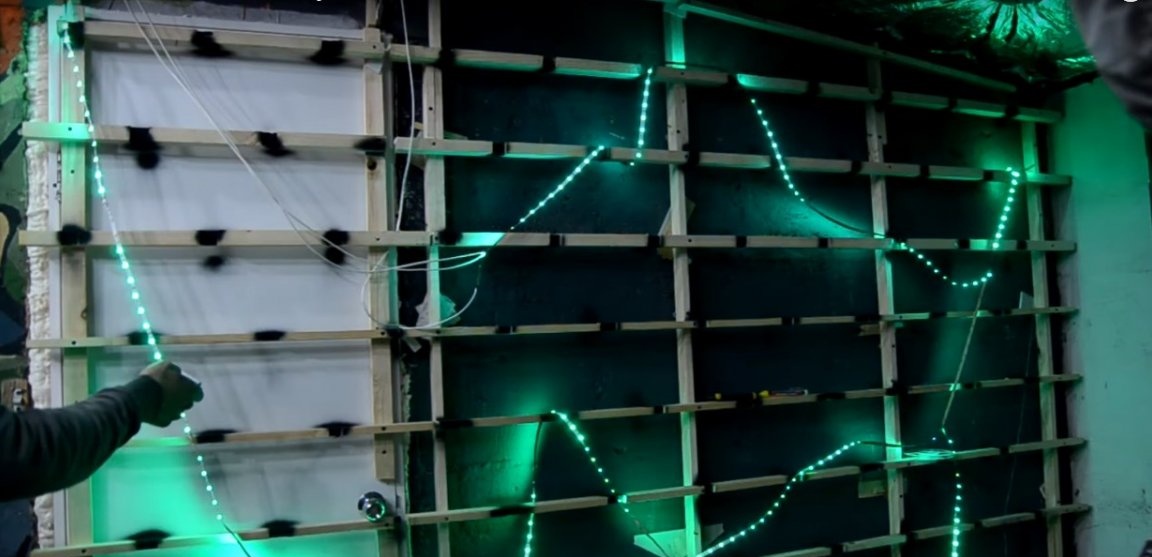
Step Four: Install LED Backlight
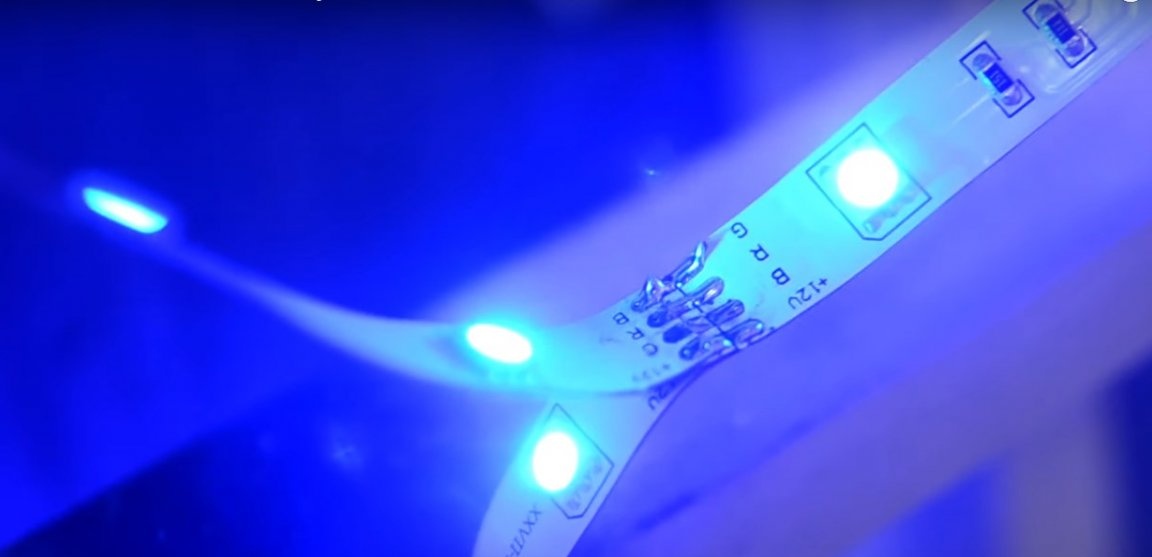
For the backlight device, the author purchased an LED strip, a control unit for it, and a remote control that allows you to set the glow color and type of flicker.
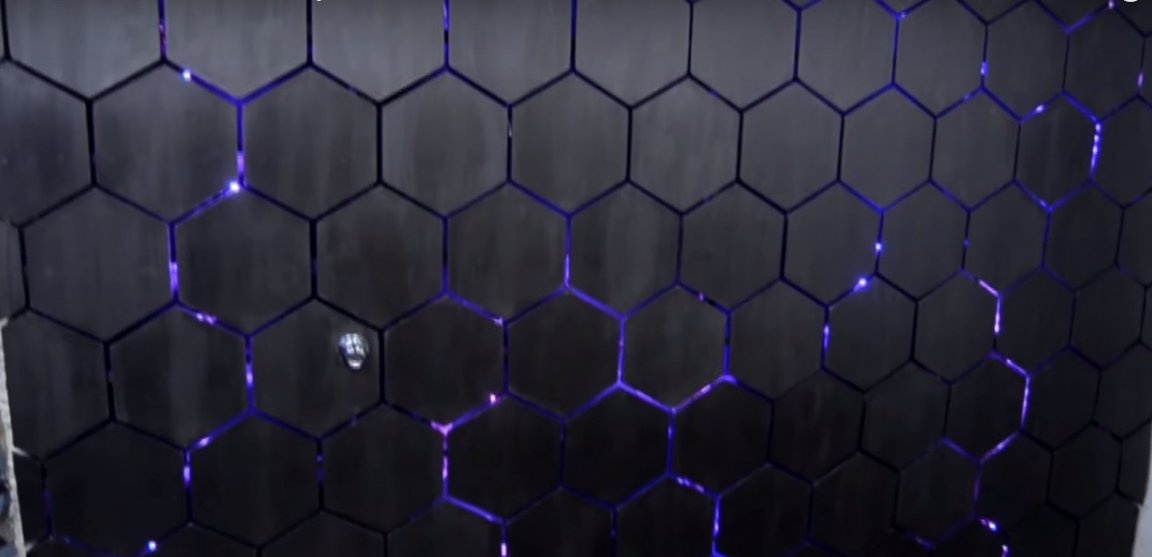
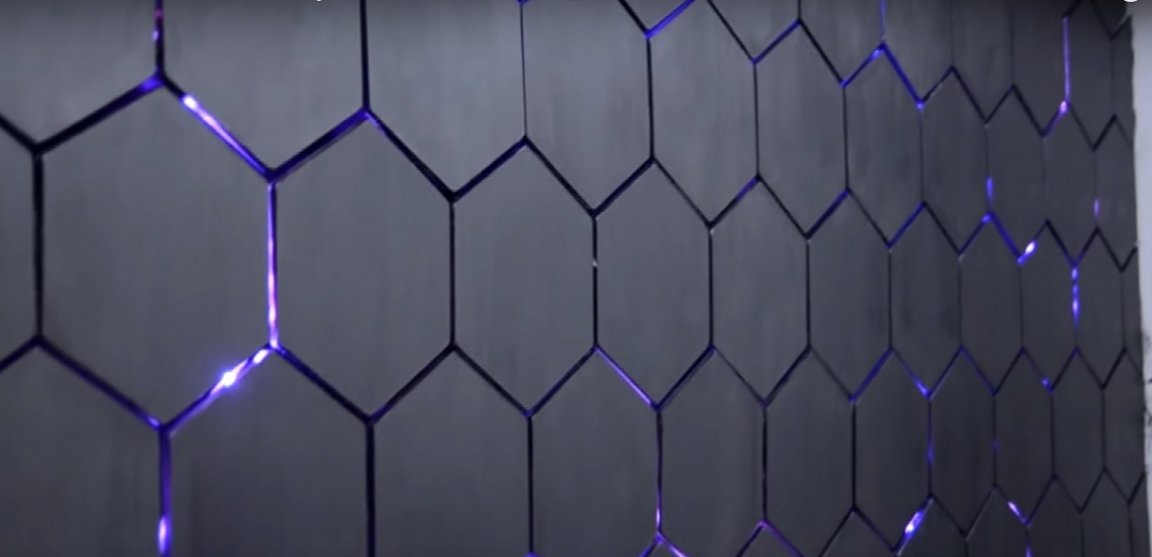
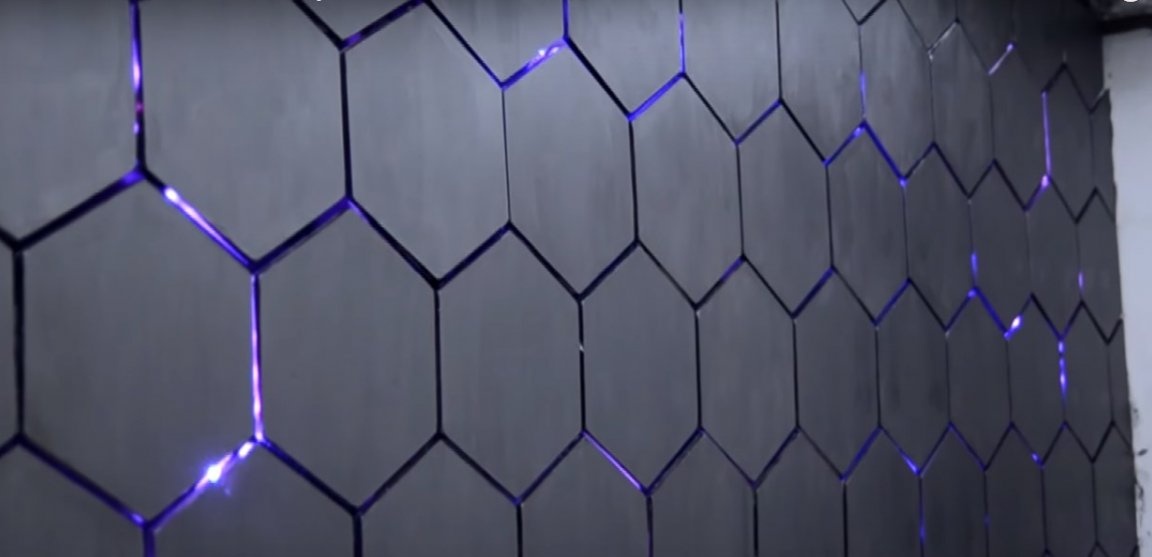
The tape is installed on top of the wooden frame so as not to highlight it from the inside. To do this, at the points where the tiles form a gap, the author made small grooves. They will serve as holes for the tape, and the bars will not be striking through the gaps between the tiles. The author also painted the groove in black so that they merge with the general background of the base.
Hang the LED strip in the center of the wall and solder the side branches to it. Thanks to this installation, the wall will be highlighted not in a solid, but in the form of a lightning bolt, which looks very original.


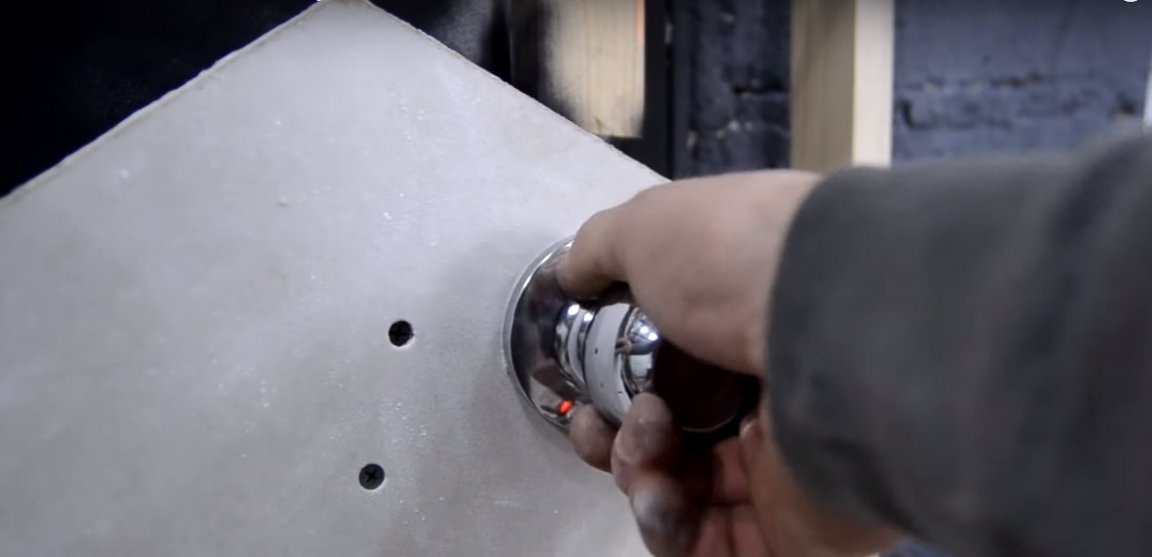
Step Five: Installing and Preparing Tiles for Painting
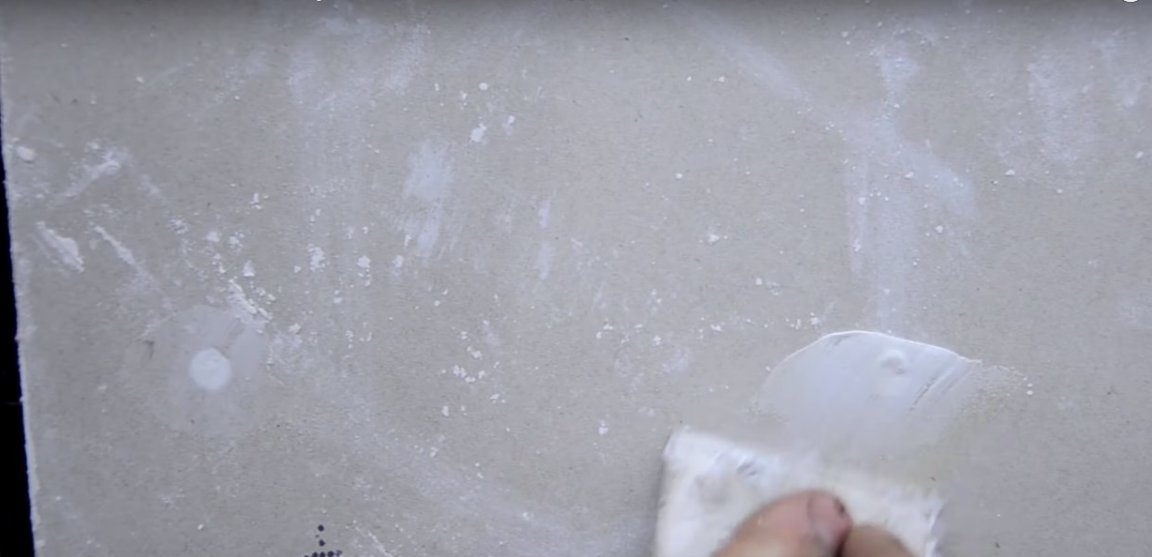
The author secured the tiles along the central axis, screwing them with screws to the wooden frame. Fasteners should be putty. For gypsum plasterboard, use gypsum-based putty. If your tile is made of plywood, use wood putty.
After the mass hardens and hardens, the puttied areas must be sanded manually with sandpaper.

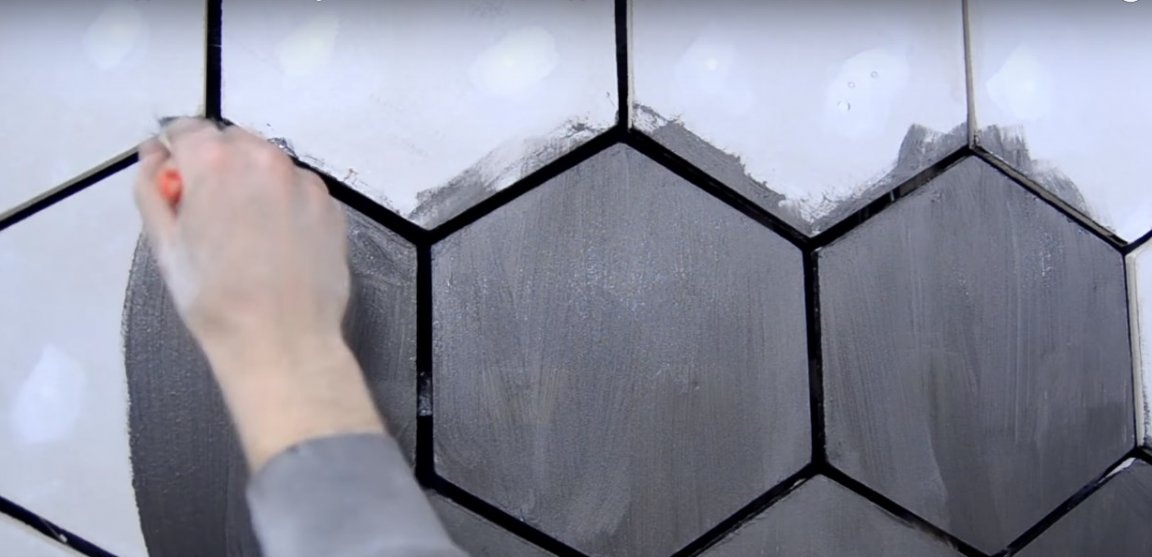
Step Six: Tile Wall Painting
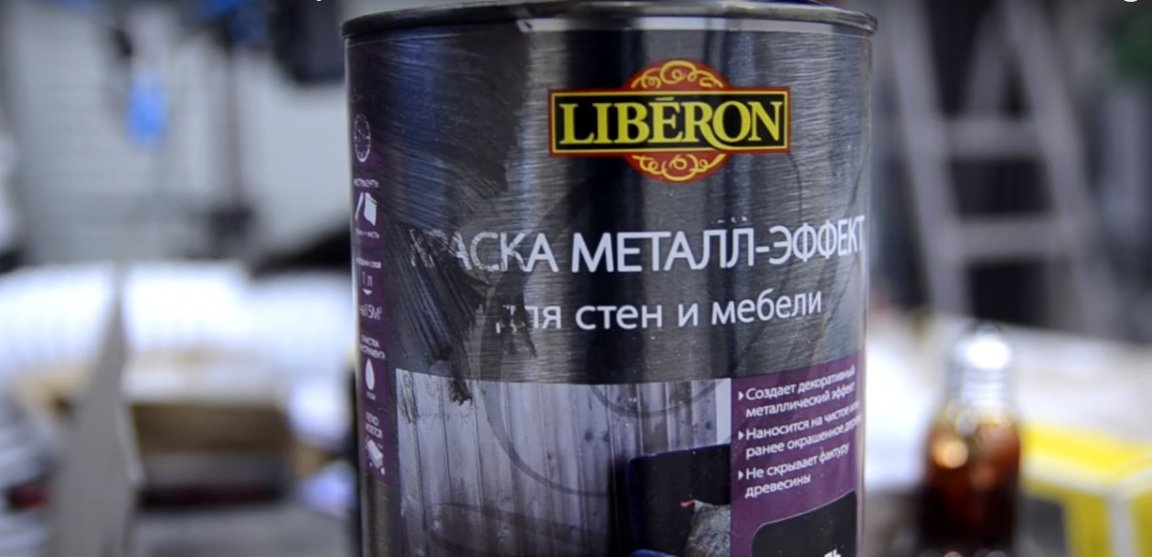
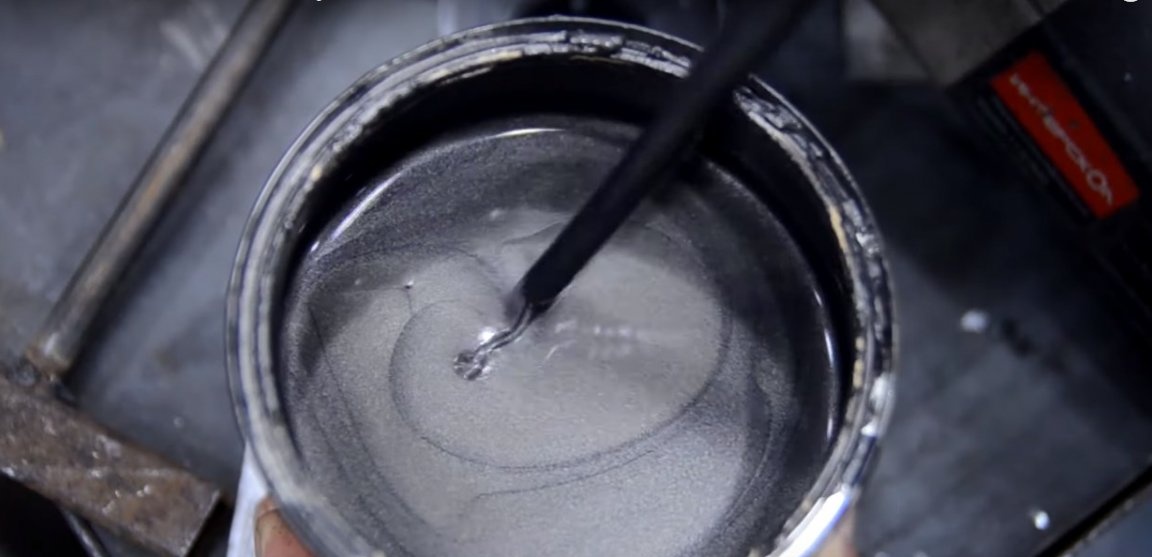
To paint the wall, the author picked up an acrylic paint with a metallic effect.There are also metallic coatings based on solvent, which will give the wall a more organic look, but their cost, as a rule, is much higher due to the presence of metallic dust in the composition.
Acrylic paint is also suitable for painting plywood. If you want to give the acrylic coating stability, apply a couple of layers of acrylic varnish. So, you can carry out wet cleaning of the wall, without fear for the safety of the paint.
When using plexiglass as a base, the gaps between the tiles will have to be sealed with masking tape before painting.
The cyber wall is ready!