
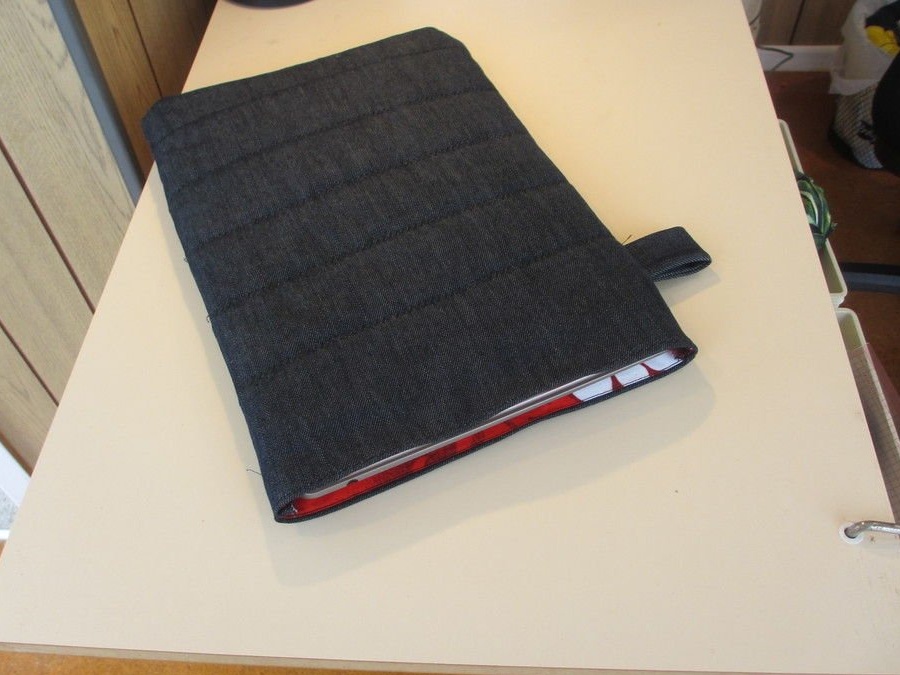

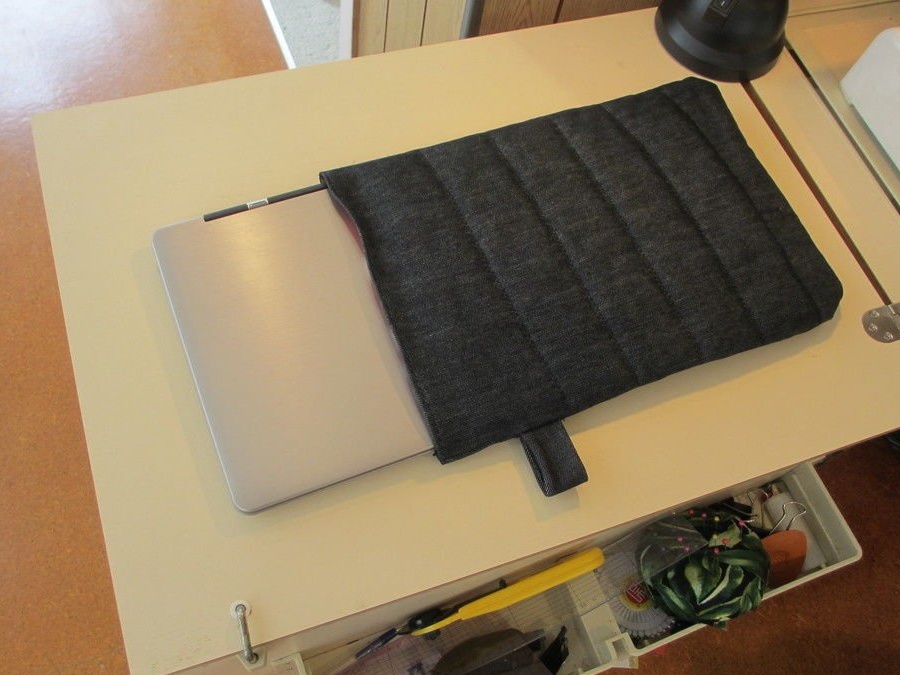
I stitched this simple quilted case for my laptop to safely carry it in my backpack. By making such an accessory yourself, you can be sure that it is perfect in size and will fit into your style.
This is a simple sewing project if you know how to use a sewing machine and know how to make a straight or zigzag seam, etc.
Step 1: Materials and Tools
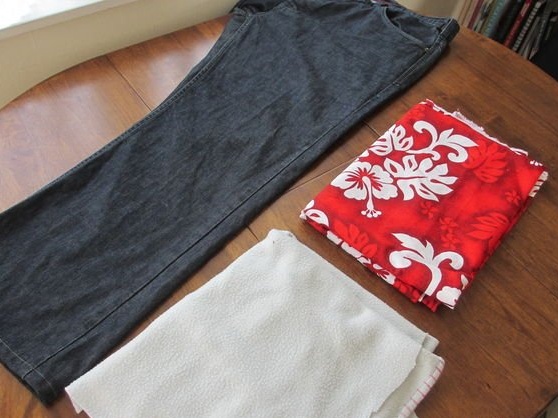
Materials (of course, any fabric can be used):
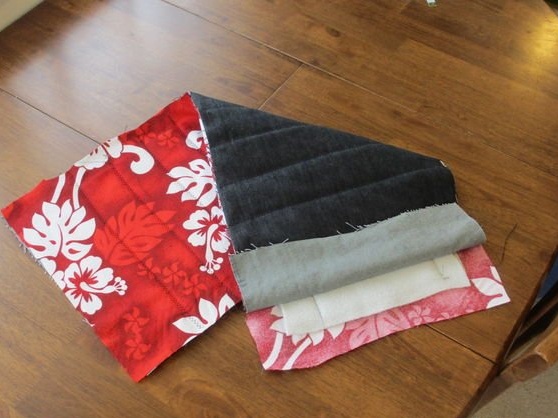
- Denim in the form of old unnecessary trousers
- fleece blanket for stuffing
- Cotton lining material
- Sewing thread
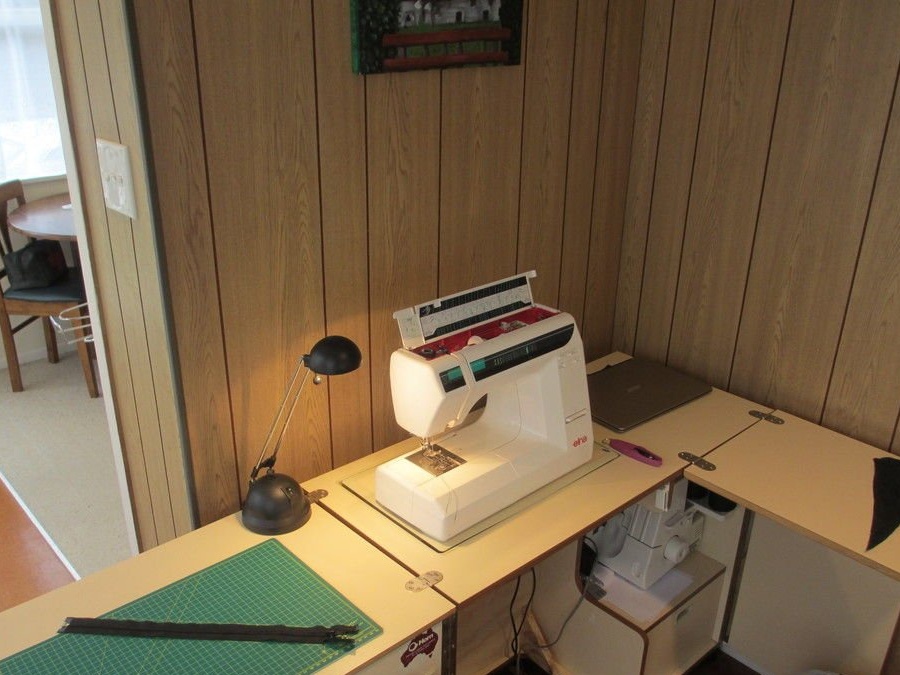
Standard sewing equipment:
- sewing machine
- scissors for fabric and threads
- pins
- iron and ironing board
- Ruler
- Chalk or felt-tip pen for fabric
From optional:
- overlock
Hint: If too many needles break when sewing on denim, get a special needle for denim, they should not deteriorate quickly.
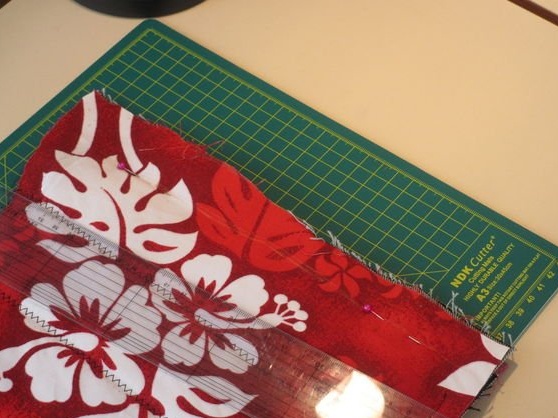
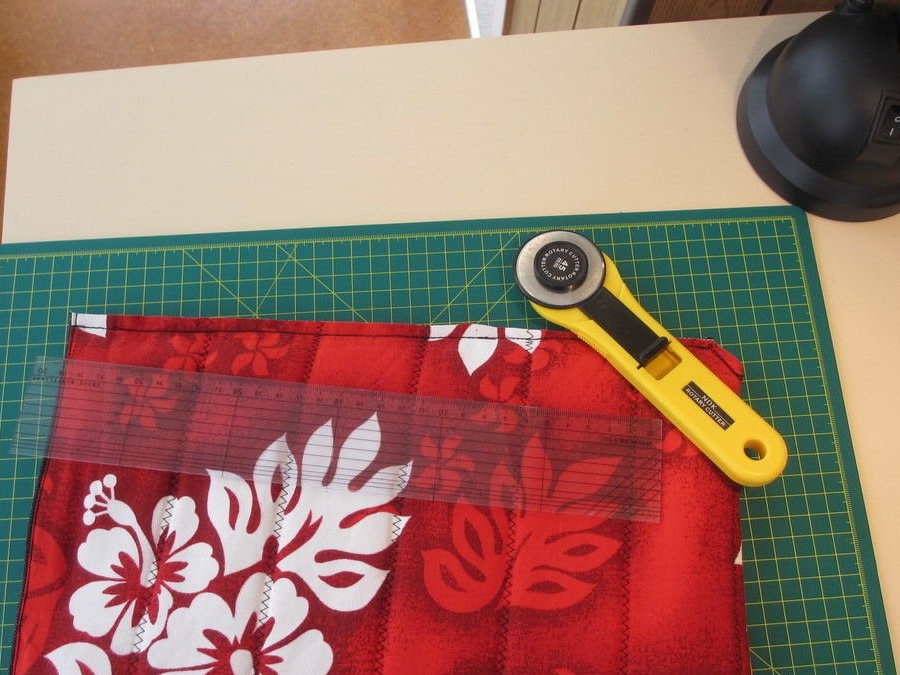
Step 2: Cut the fabric
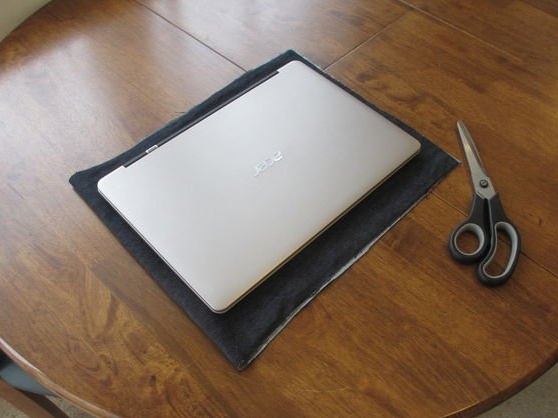
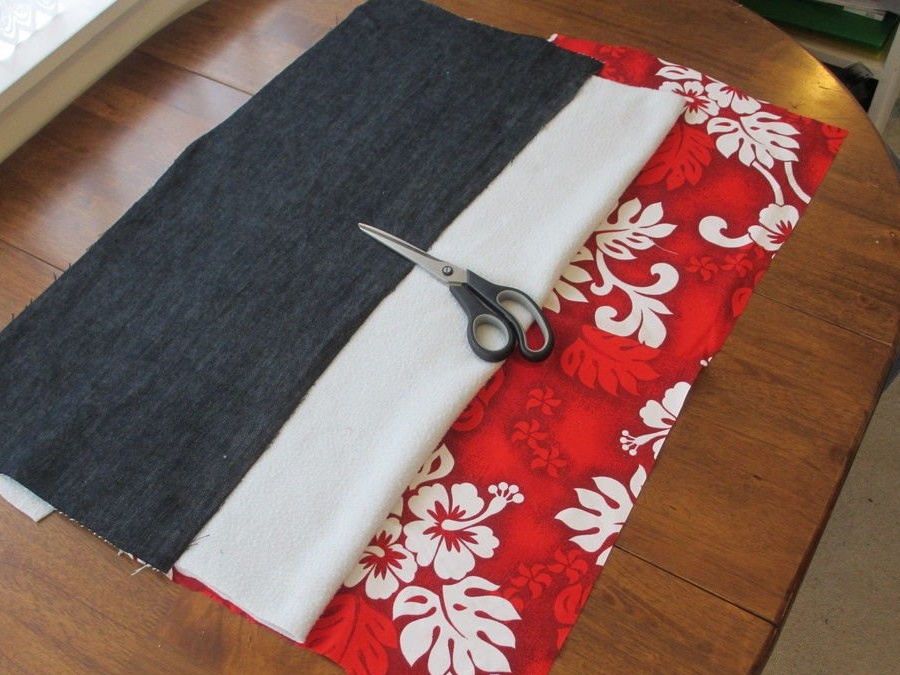
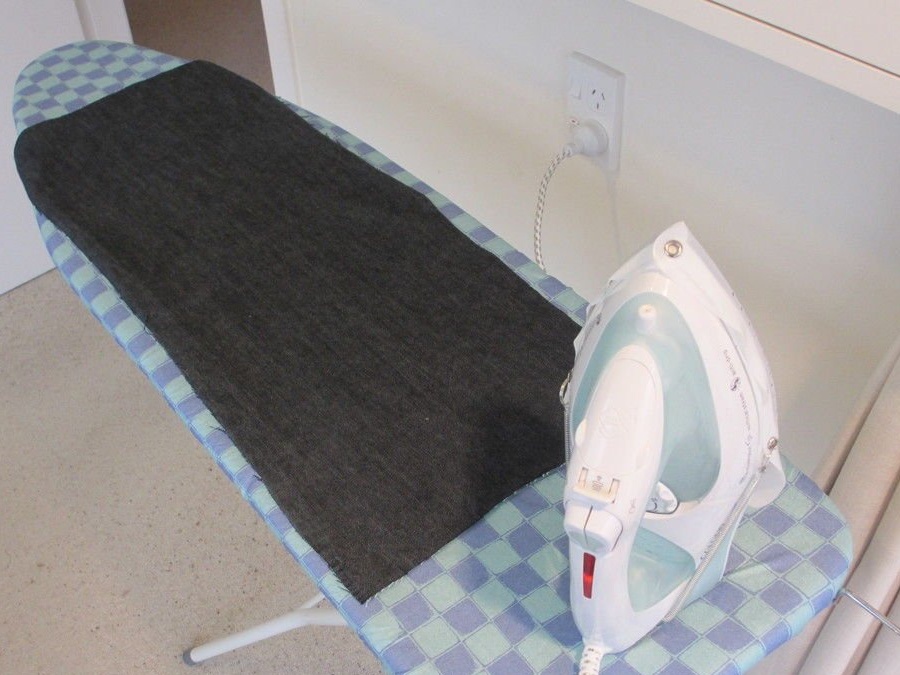
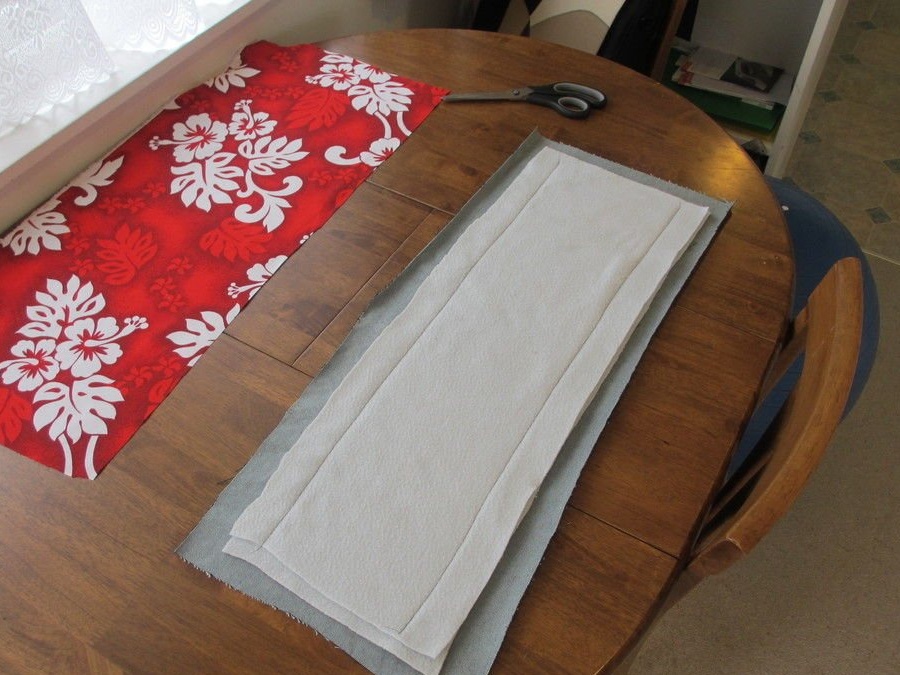
First, I cut the fabric to approximately the right size. I stroked the fabric to be sure that the cuts would be clear. I cut a long rectangle twice as long as the laptop, with a margin on all sides for seams and further refinements. The stuffing process requires free space at the edges, as several layers of fabric will affect the size of the finished cover. If the laptop is large in thickness, this should also be taken into account in the size of the fabric.
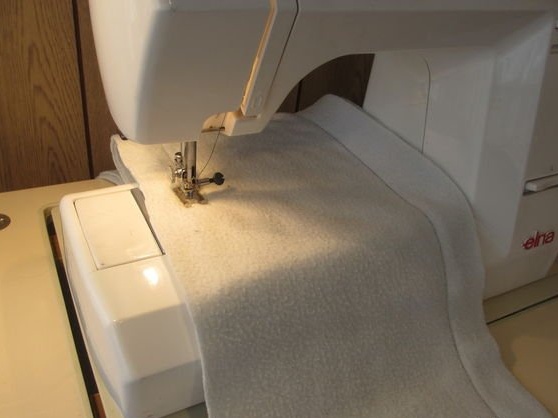
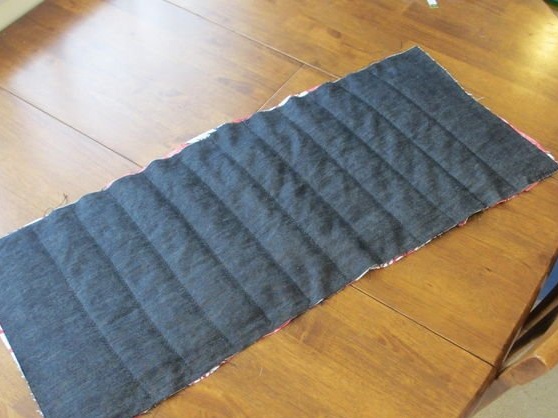
I used two layers of fleece as the stuffing of my case. First, I sewed a small piece of fleece on my typewriter to make sure that it will overpower a thick layer of fabric and that the outer fabric will not be pulled together (there may be such problems when sewing polyester).
I stitched two layers of fleece together to fix them. I cut the fleece so that on top of the bag it did not reach the edges. This will help when stitching and finishing the top edge of the cover.
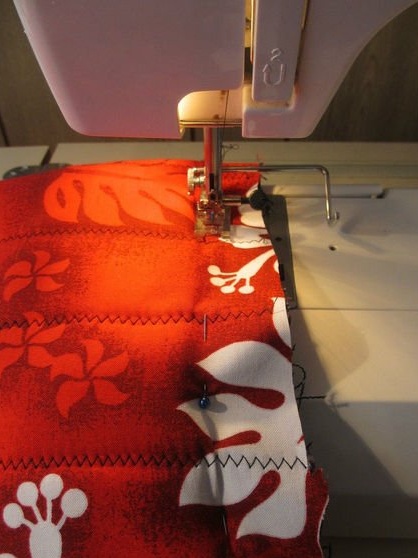
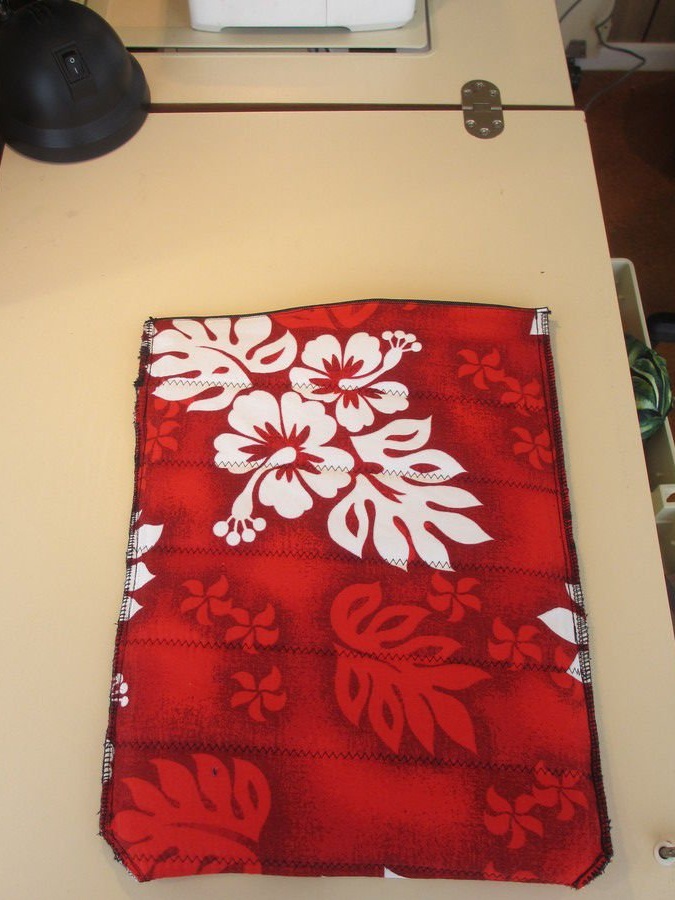
Step 3: Staple
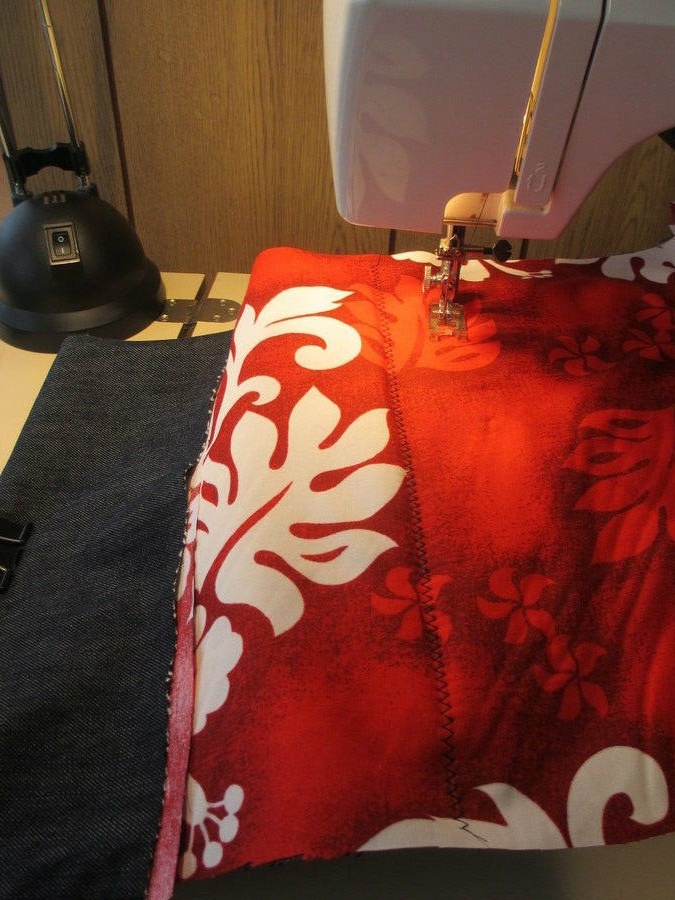
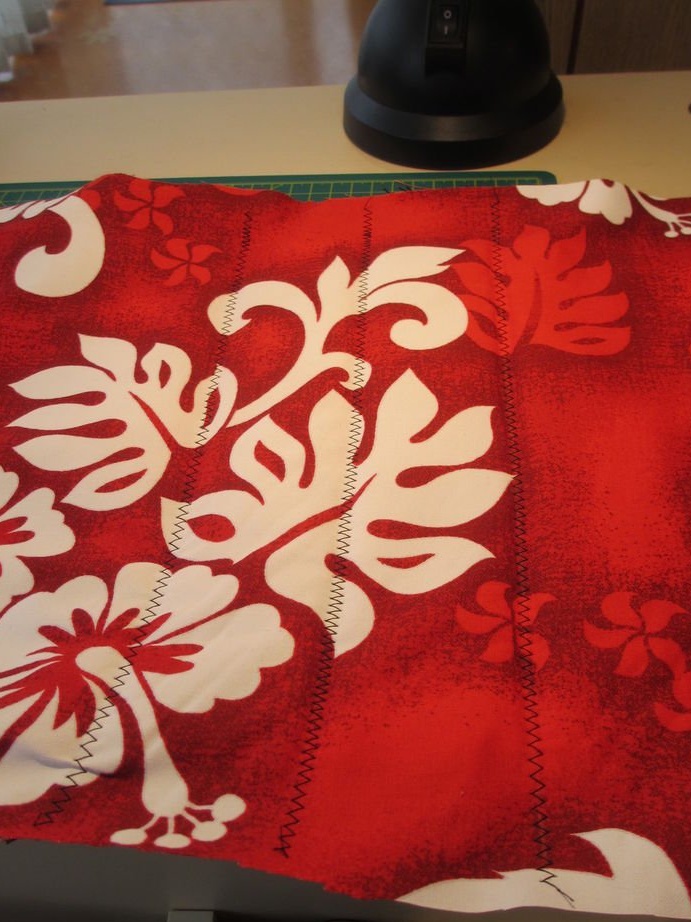
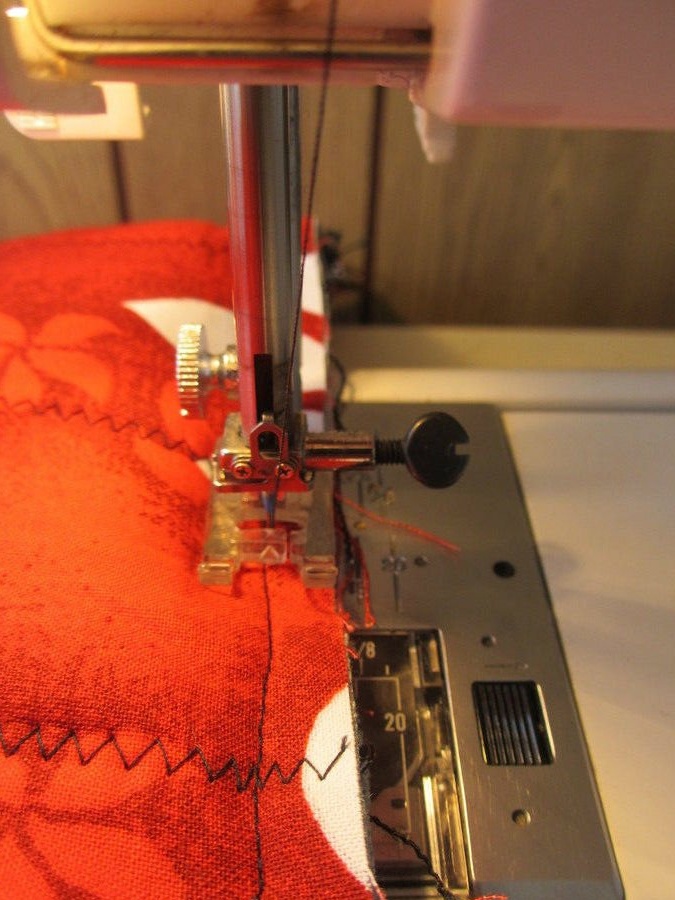
In this step, you will stitch the layers together. Once again I checked that everything was in place and fastened the layers with pins. Then I zigzagged the seam in the middle of the stack of layers. You can use any seam that you like - straight, patterned, seam from a thread of contrasting color, etc.
I pre-marked the seam with stitches, and tried to make two parallel seams on either side of the intended line. By the end, the seams were a little puffed, so the next time I will mark the straight lines with small chalk using a ruler.
Step 4: Sew the Case

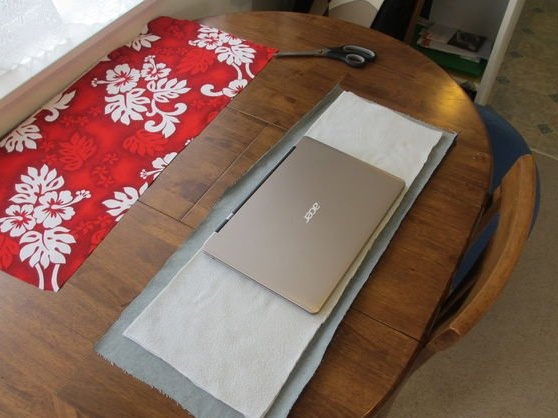
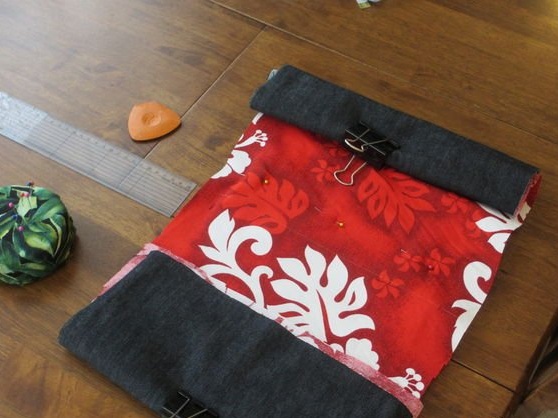
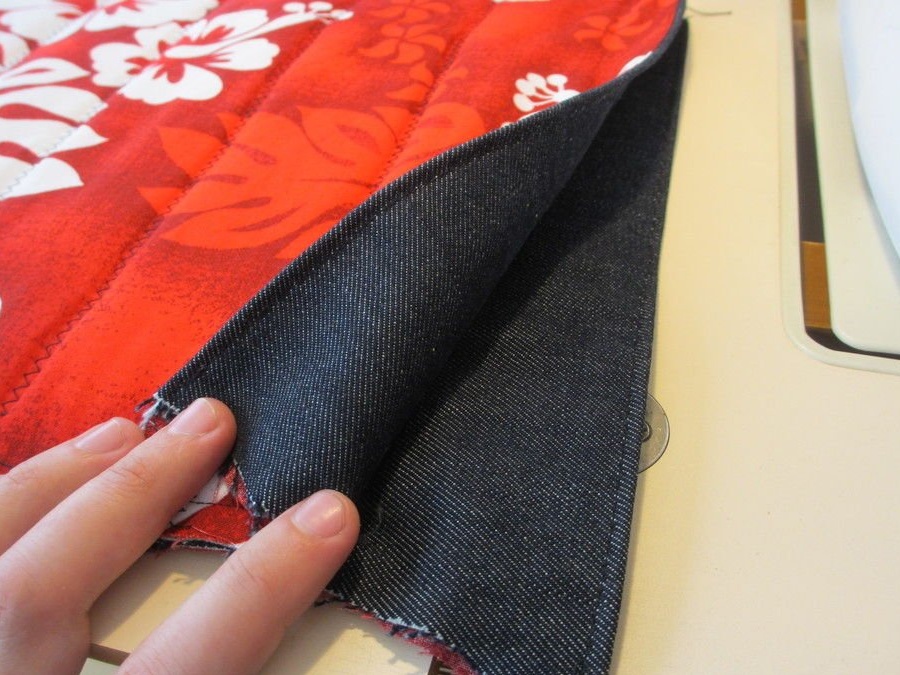
Now fold your “sandwich” of fabrics in half so that the outer layer (in my case, jeans) is inside, and after trying on a laptop, decide on the place for stitching the edges.
Note: The cover will be turned inside out while being sewn. If you have the same fabric inside and out, make some marks so as not to confuse the wrong side with the front!
I pinned the edges and stitched them. Again, the seams were not even, so I strongly recommend that you first draw straight lines, and only then stitch them together.
First, it is better to sew one side with stitches (take the longest stitch that your machine offers), put the cover on the laptop, and decide on the place for stitching the second side.
You can turn out the cover to see how best to fit. If the cover is too tight or, on the contrary, spacious, simply undo the stitch seam and sew again.
Once you have reached the desired size, sew over the stitches with an even continuous seam. Stop the machine 2-5 cm to the edge (top of the cover where the laptop is placed).
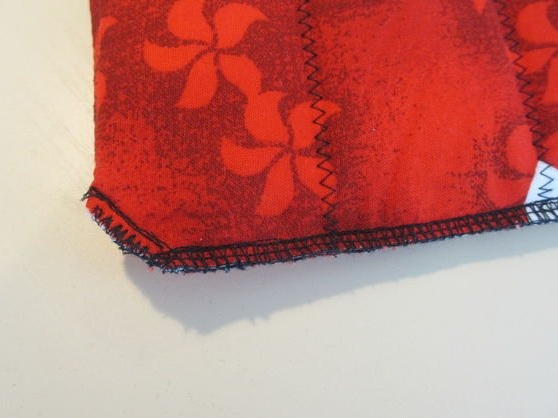
At the bottom of the case, I sewed small diagonal corners to round the edges.
Step 5: Finish the top hole
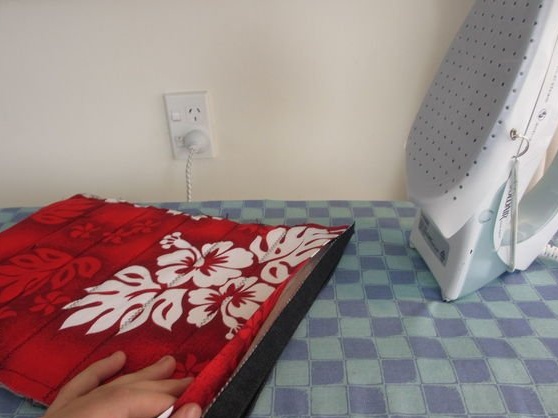
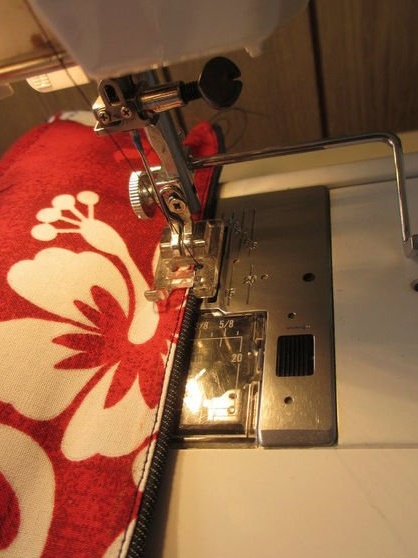
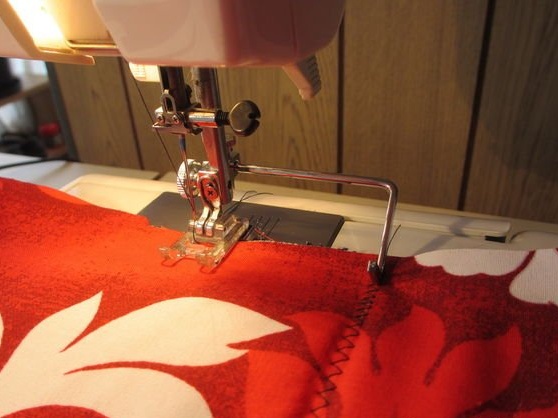
It is necessary to trim the edges of the cover hole. Put it on the laptop and mark the place where the edge of the cover should be. Then fold the raw edges of the front and back layers inward, as shown in the photo. Smooth the edges to stitch them together with an even seam.
Sew the edges very close to the edge so that your cover has a neatly trimmed top.
Did you know ?: professional seamstresses sometimes call ironing “pressing”.
Step 6: Trim the Edges
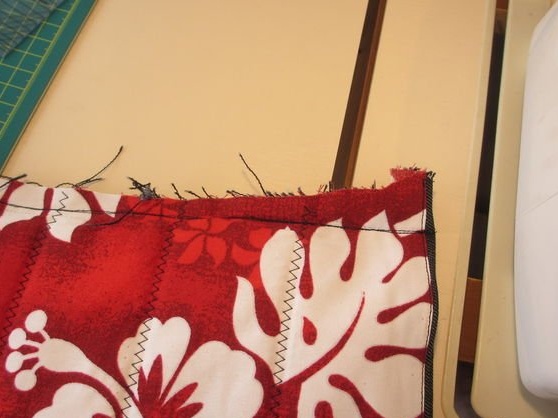
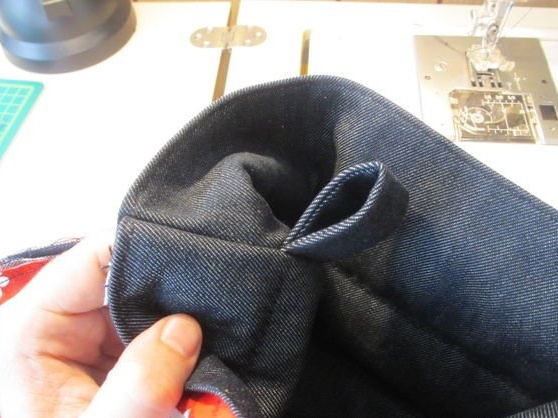
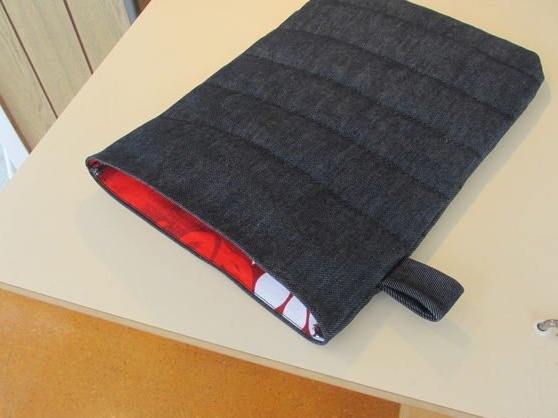
When the cover hole is finished and looks neat, you need to proceed to the decoration of the sides. I added a small loop of denim as a handle and stitched the sides with a double seam for durability.
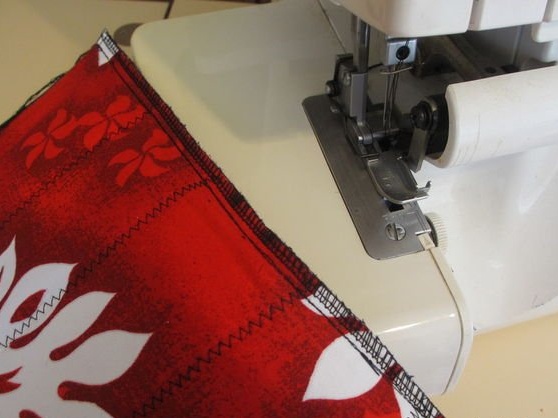
I cut off the excess fabric at the edges and wrapped them in an overlock.
Note: make sure your overlock handles denim. On my cover, I had to skip that part of the edge to which the fabric loop was sewn, because my overlock could not cover so many layers.
If there is no overlock on hand, you can simply flash the edges again in a zigzag pattern. In my project, I swept the bottom of the cover and the corners.
It is time to get rid of the sticking threads and bring the cover in a neat look.
Turn out a cover - and all!
Step 7: Last Thoughts


If I were to make a laptop bag again, in some places I would do otherwise:
1. I would not cut the packing too short, but would continue it to the entire length of the bag — I cut too much, the packing was too short, it is practically absent along the edge of the cover.
2. I would mark the seam lines with a ruler and shallow instead of sewing “by hand” (for more accurate transverse seams and more even edges).
3. I would sew the edges with a looser stitch so that it would be easier to unfurl the seams to fit the width before the final stitching.
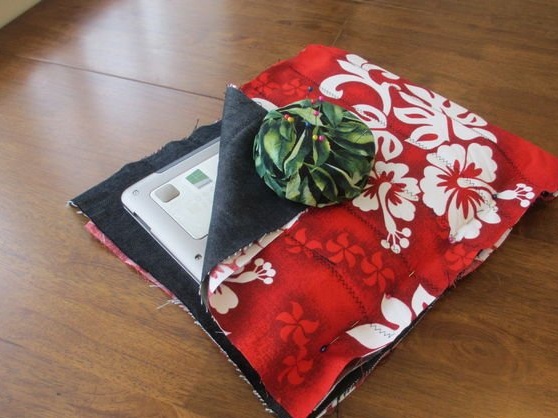
Initially, I was planning to add a zipper to the top of the case, but the laptop sat tight inside, the one that I decided to do without it. In addition, I left too little space for the zipper, so that it could scratch the edge of my laptop.
Variations
As an alternative to a zipper, you can sew a rectangle of fabric (valve) to the top with a button or Velcro if there is a need to close the cover.