

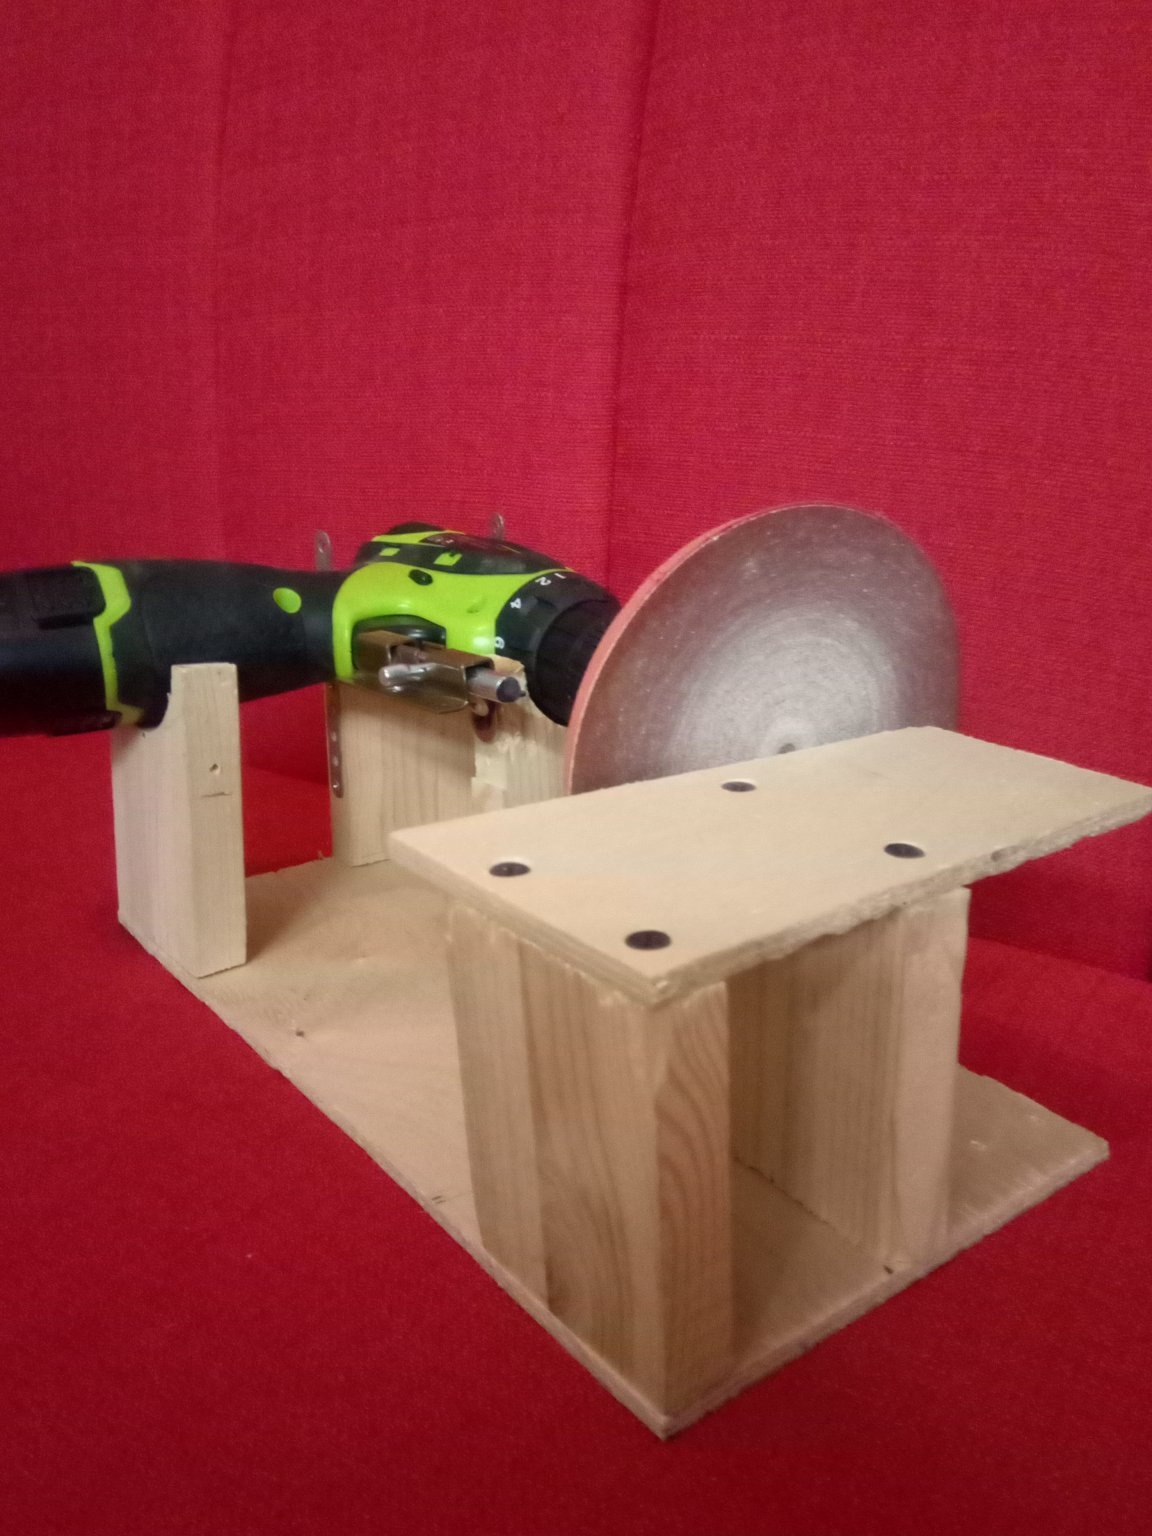
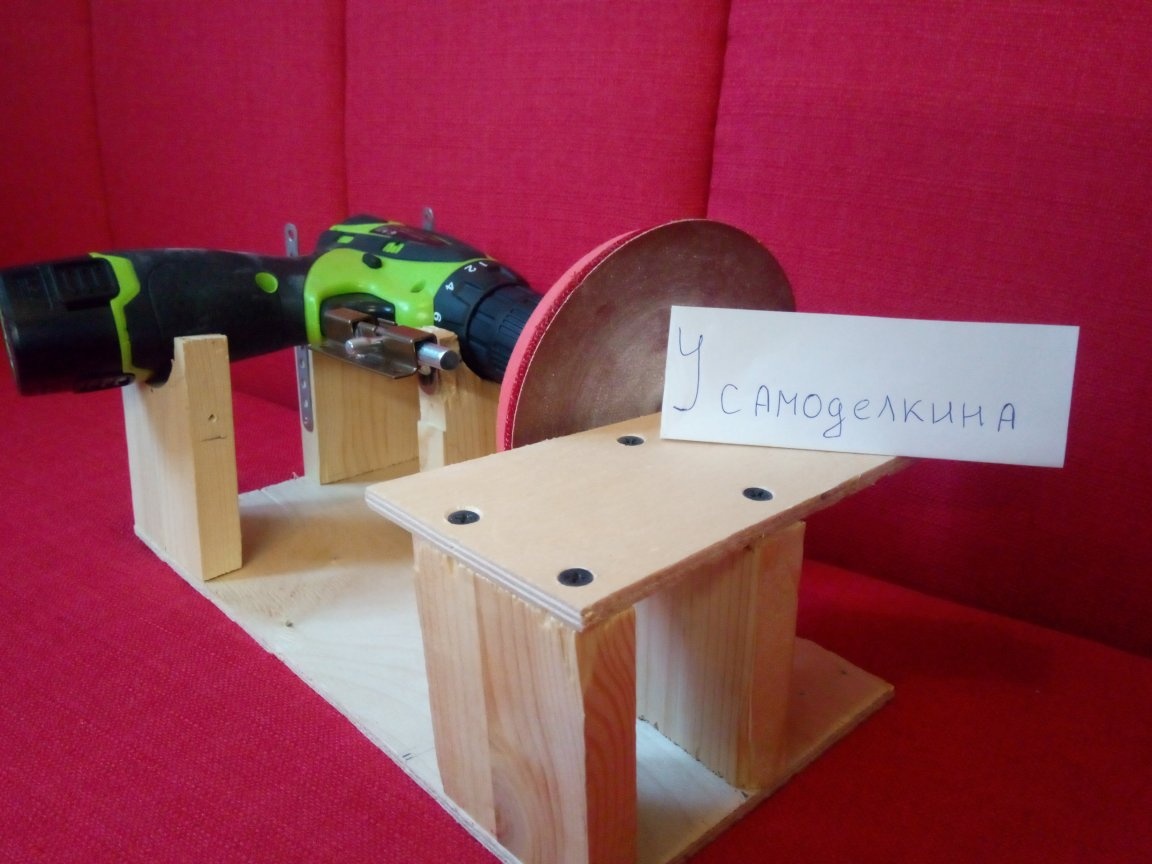
Today we will make a stand for a screwdriver, thereby turning it into a small grinding machine. I immediately say that this is not a complete machine. It is intended for not large and not frequent work. And to demand from him as from a real machine is not necessary.
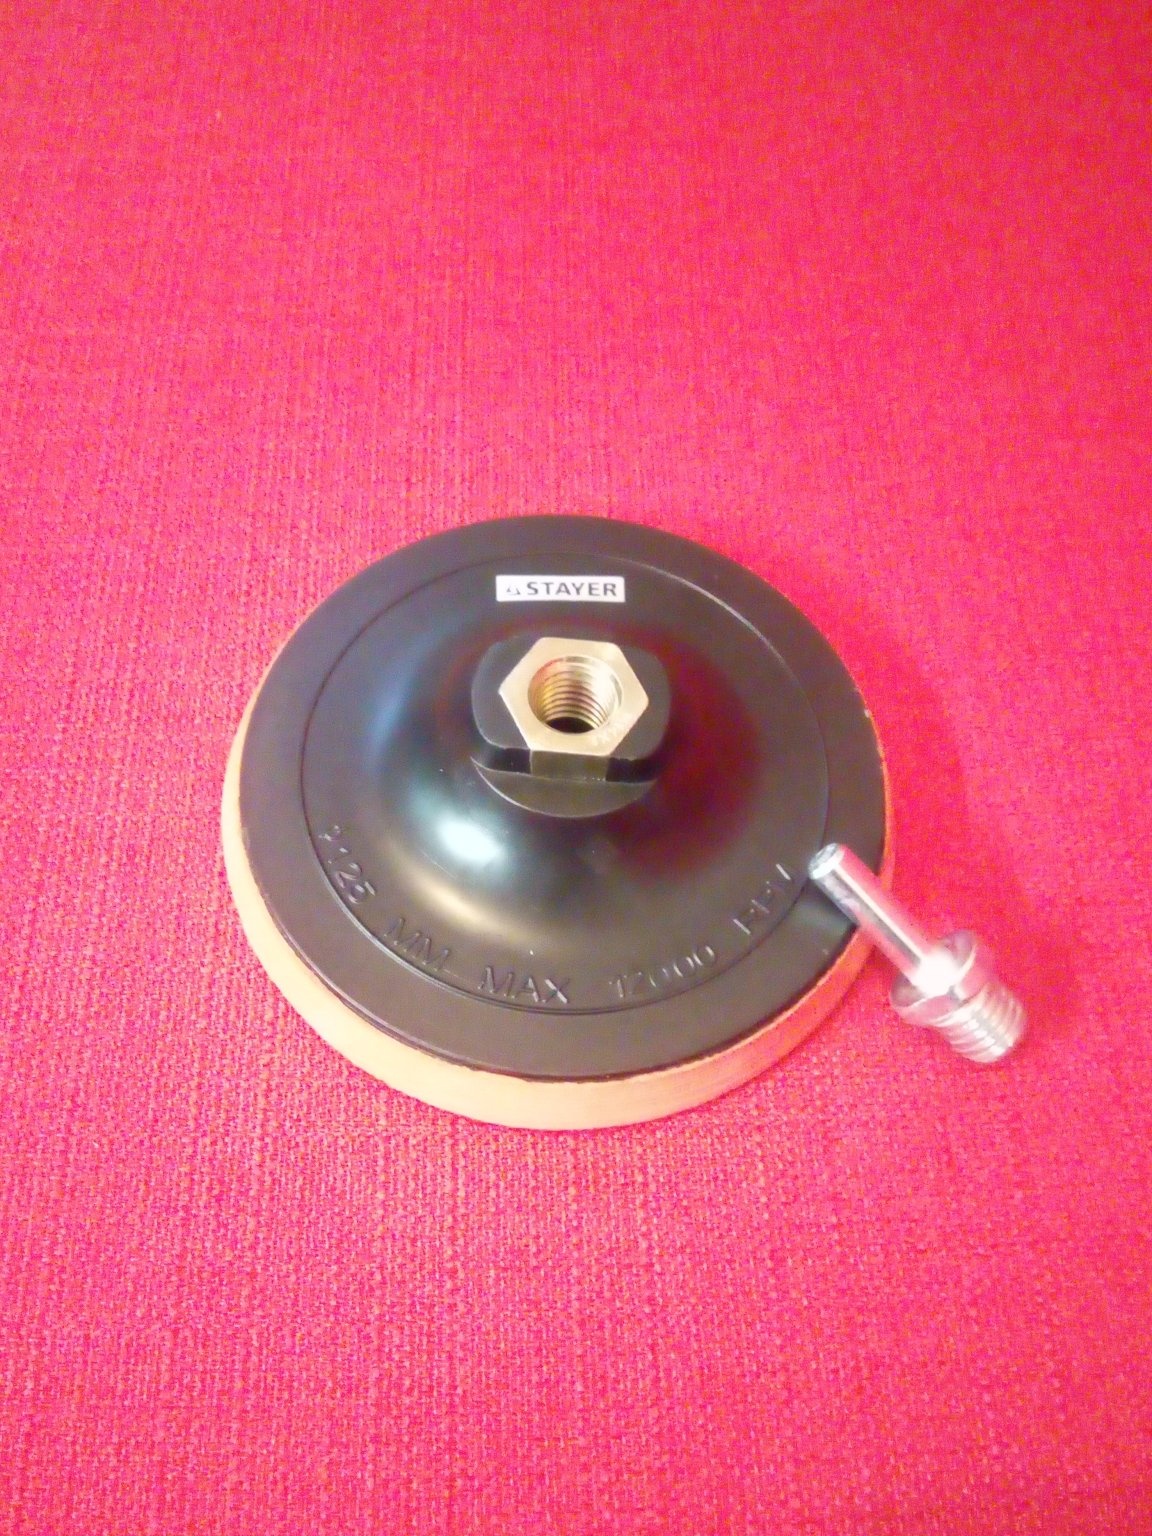
It all started with the fact that more and more often you need to polish some trifle, and doing it with sandpaper is very tiring. Then I bought a grinding disc with a nozzle for a drill.
But working with a large disk in a small detail is problematic. Then I decided to make a grinding machine from scratch, i.e. buy a motor, take a few bearings, gears and assemble. But after seeing how these motors can be stopped with your fingers, I realized that you need to use at least 775 motors, and it is already not so cheap.
Then I decided to make a stand, because a screwdriver - this is the very 775 motor plus a button and the only thing left to do is fix the power.
So, let's begin.
We will need:
1. Tools
- screwdriver
- drills and bits
- hacksaw
- a square with a pencil
2. Materials
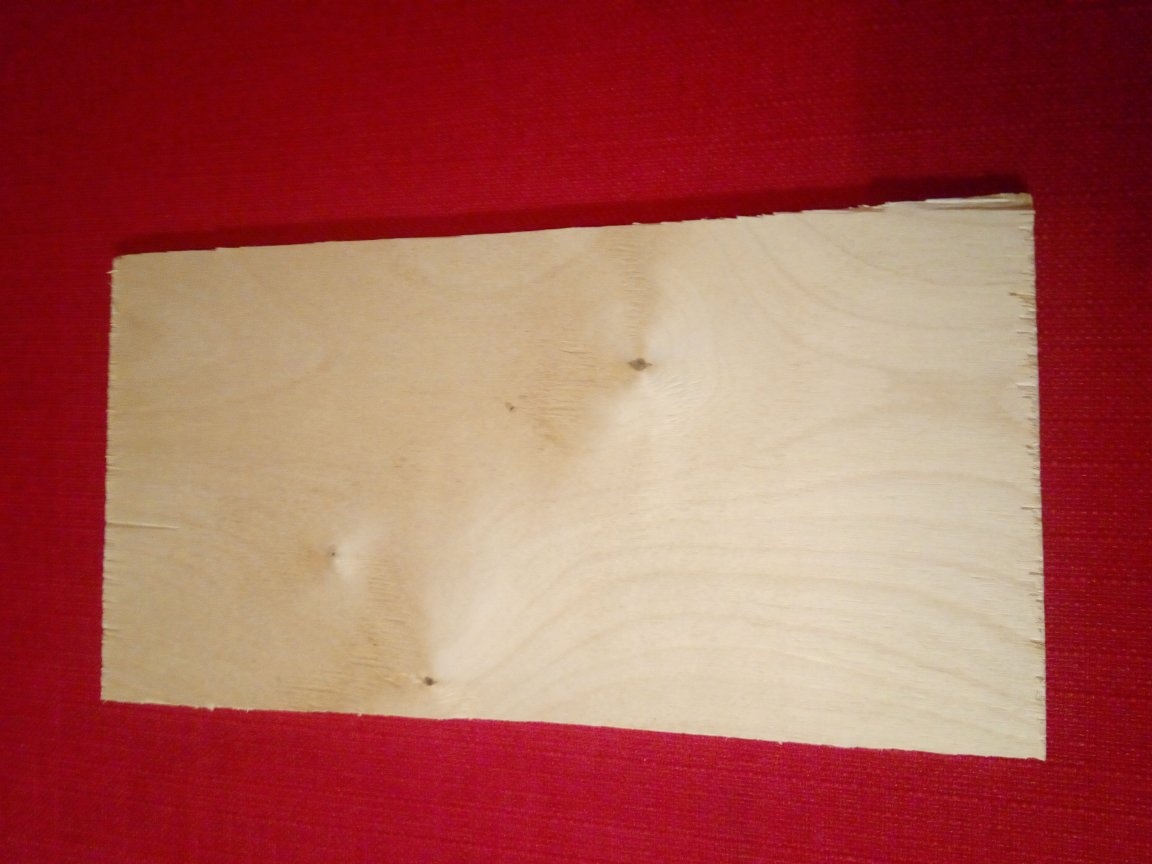
- 6 mm plywood
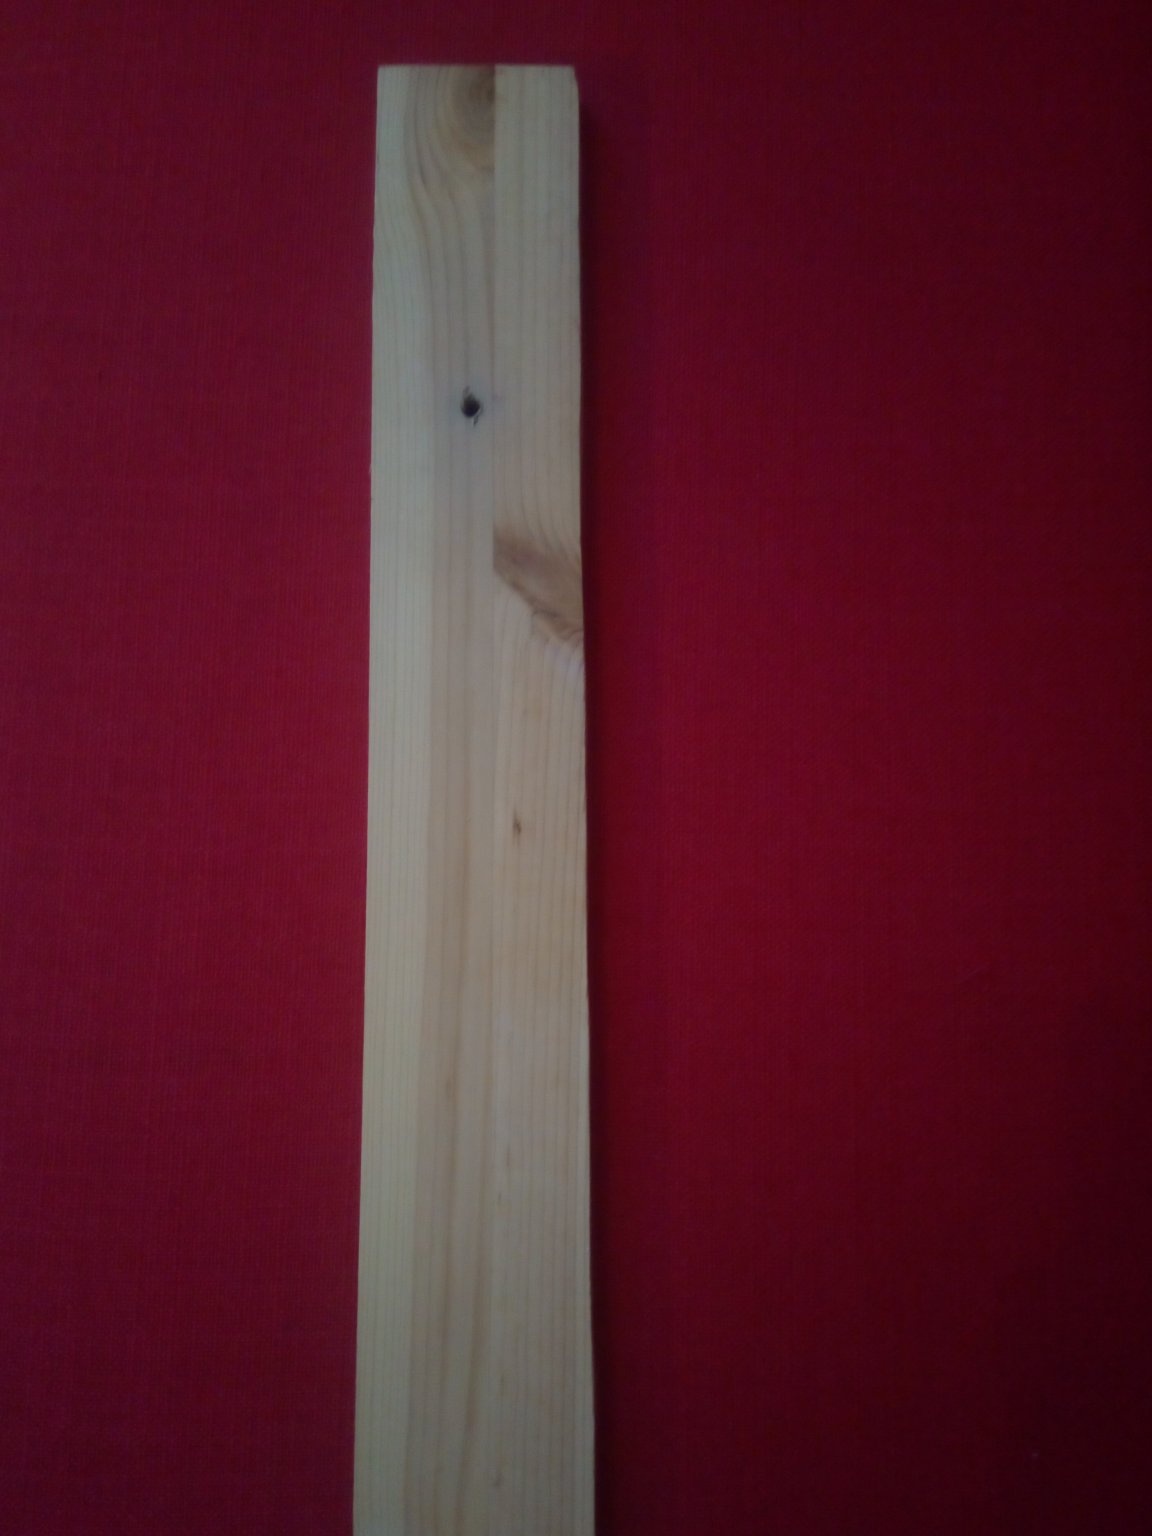
- board
- heck
- fasteners
- 125mm grinding disc with adapter for drill (usually sold as a set)
1 step
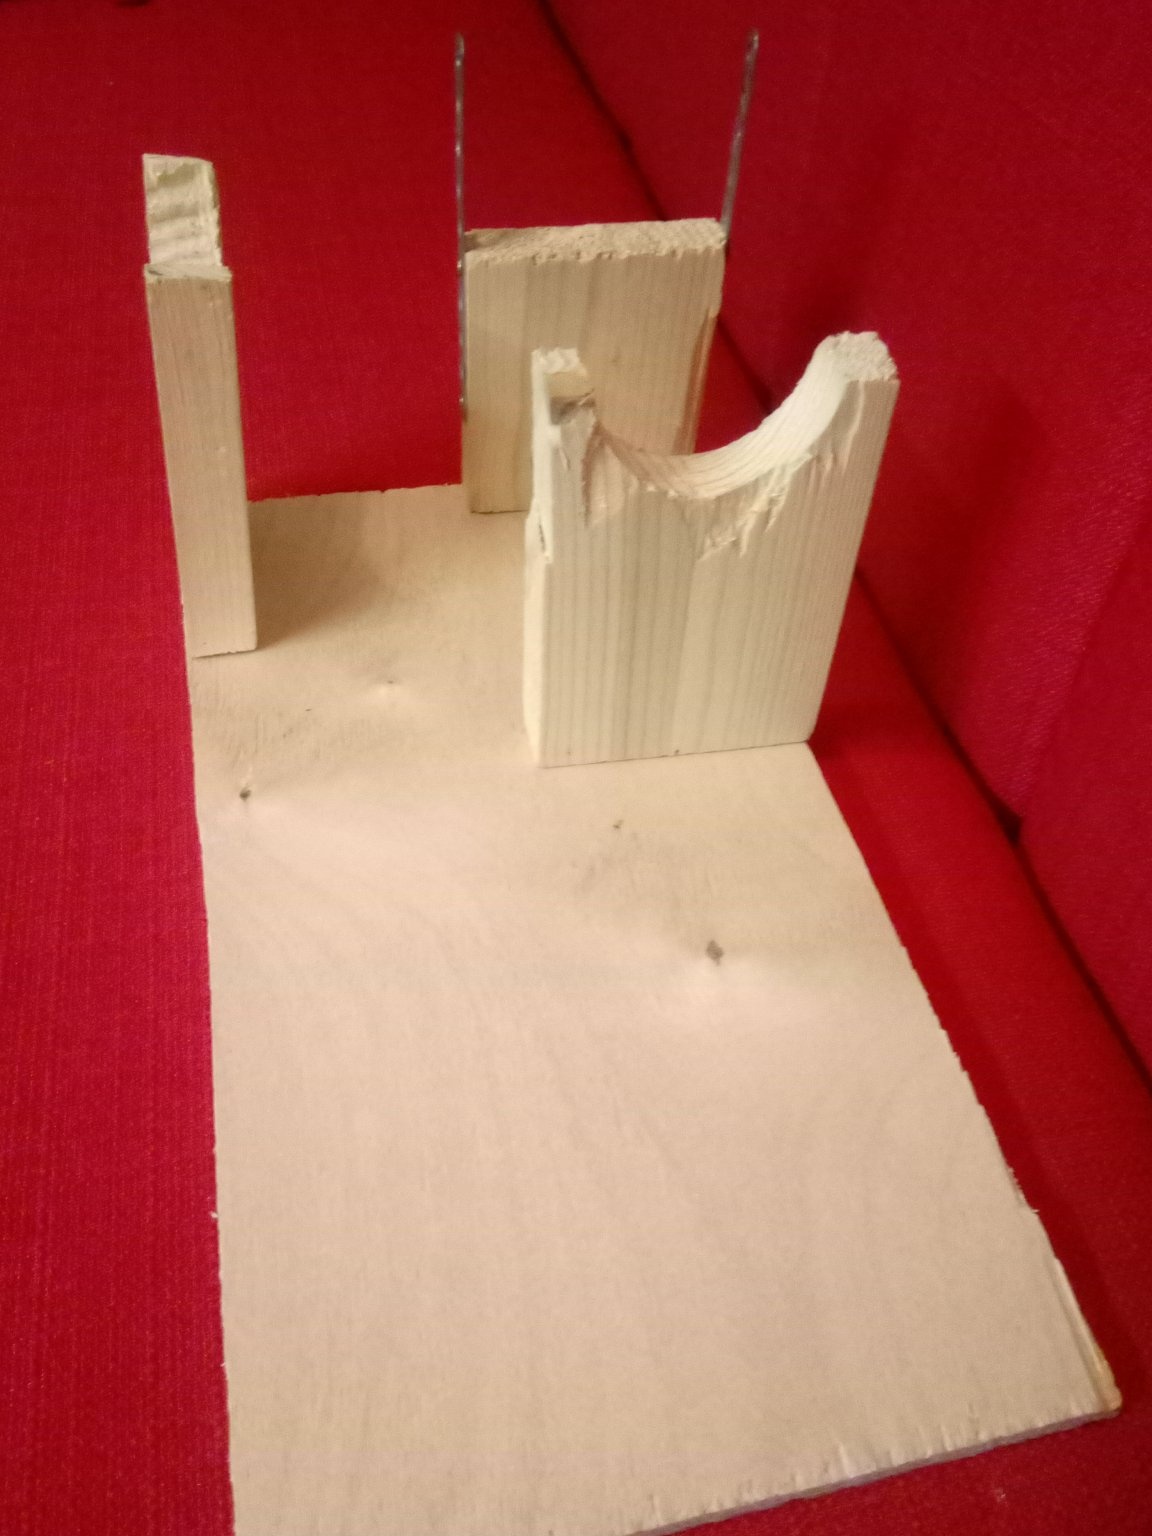
First, let's determine the height and pivot points of the screwdriver. The height depends on the diameter of the disk (I advise you to take a disk of 125 mm or more). It should be located at a height of 1 cm - 2 cm from the surface of the base. Simply put, we take the radius and add 2cm.
There should be three support points: one under the handle and two under the head, note that the support points will be at different heights relative to the center of the disk and all legs will be different in length.
2 step
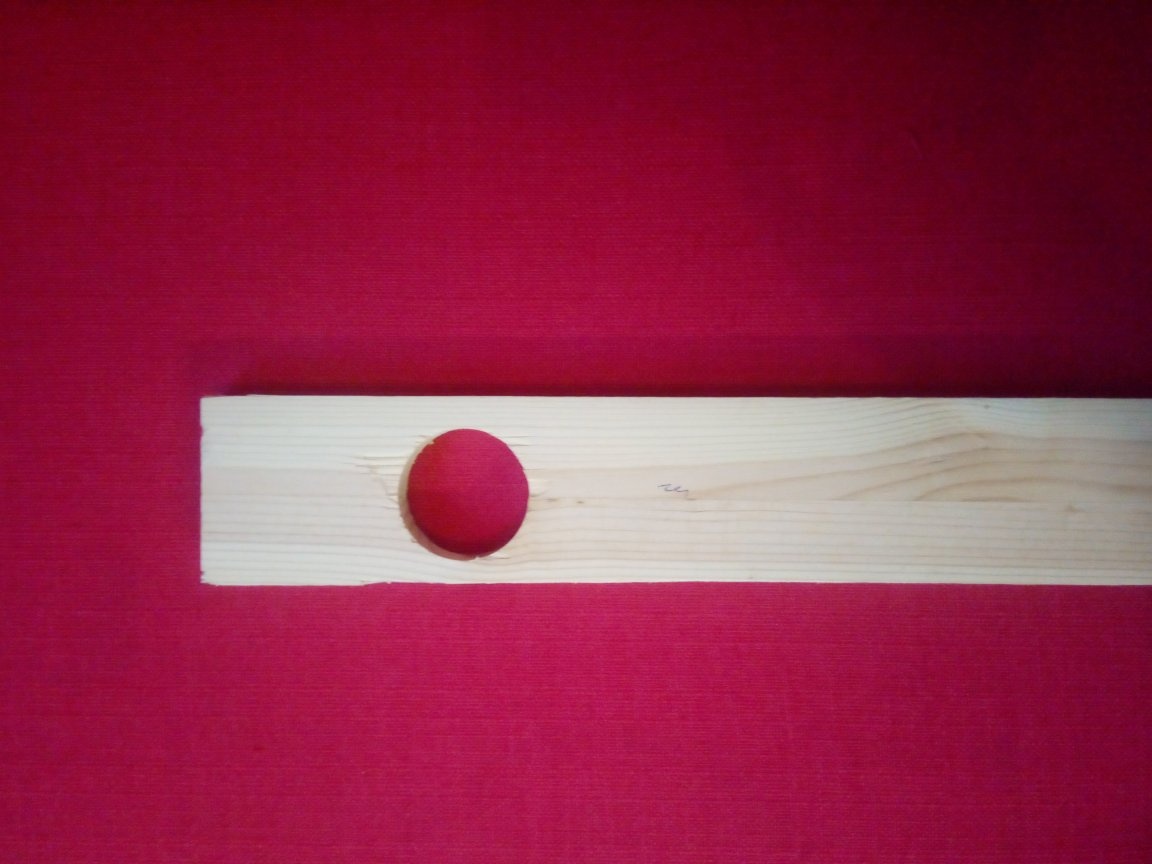
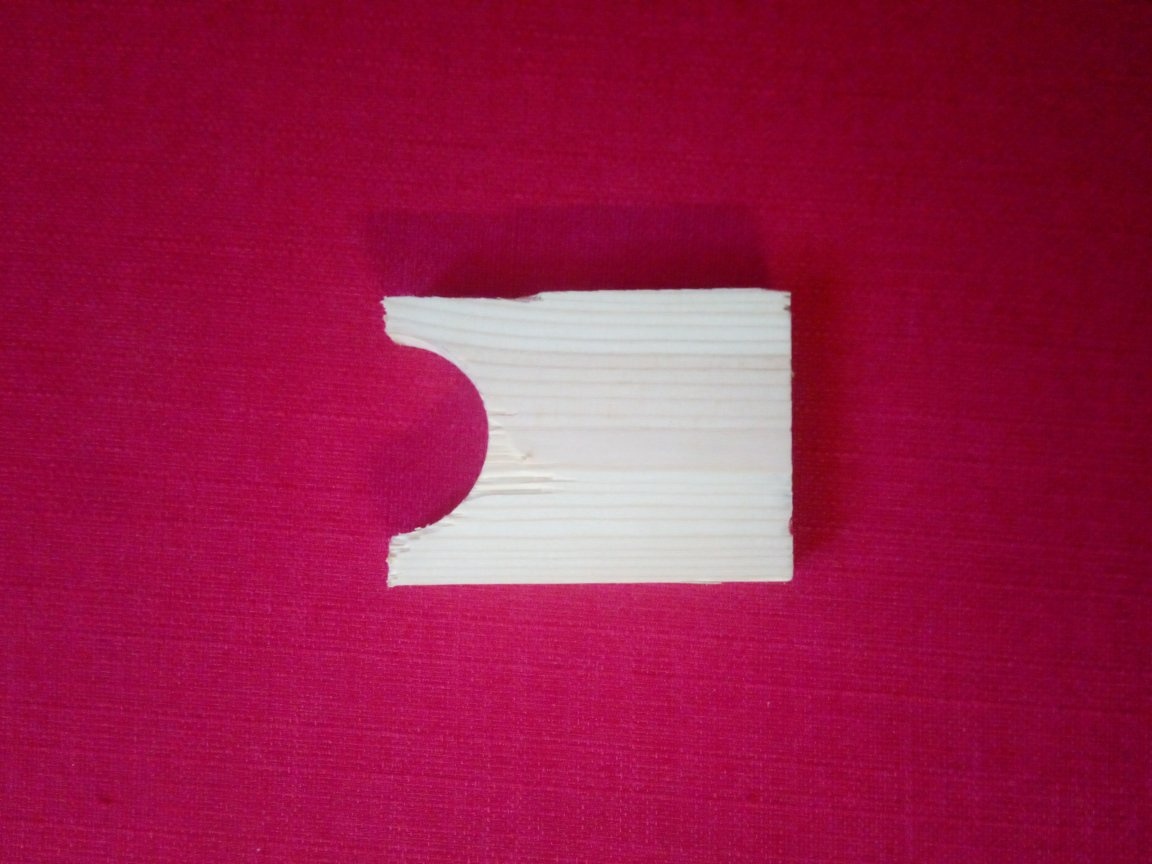
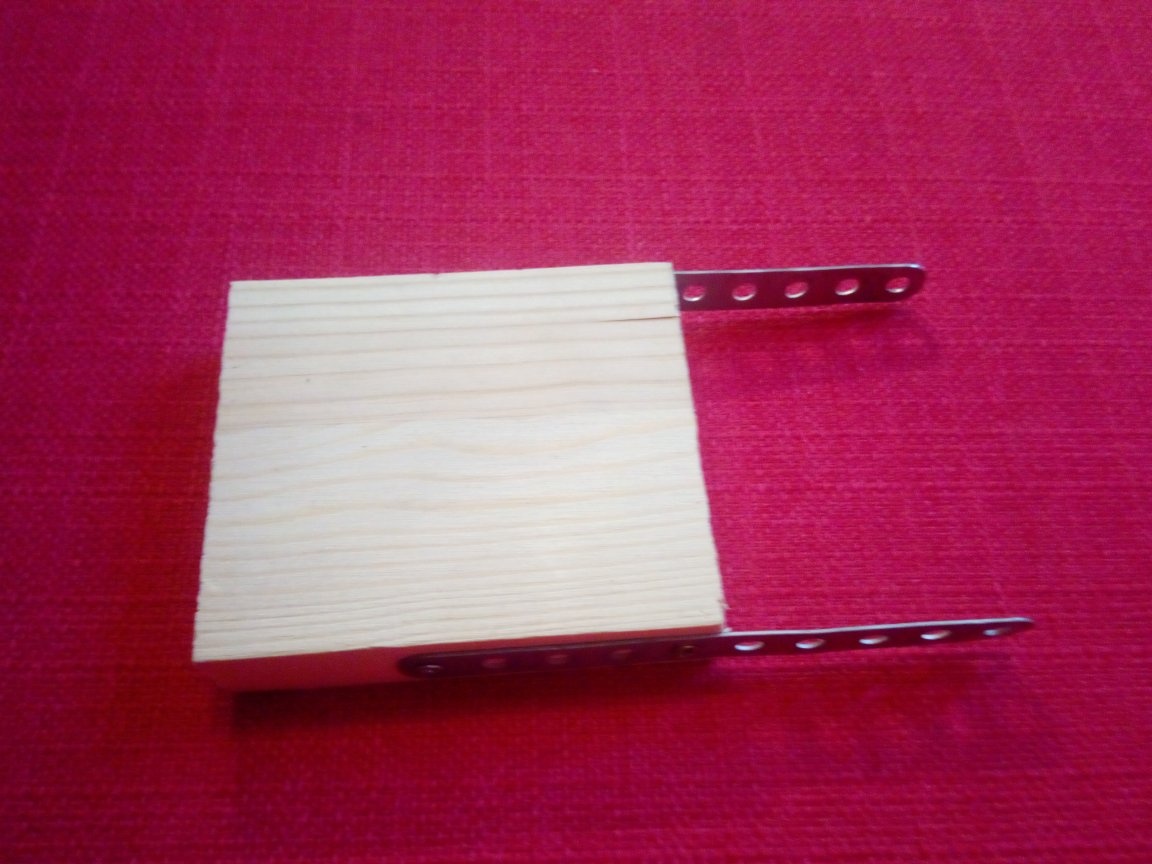
In order for the screwdriver to hold tight and not stagger, you need to make a notch in the leg. It is possible, if there are large drills, to drill a rounded recess, if not, then you can cut a rectangular hacksaw or screw two metal plates, as I did on one of the legs.
3 step
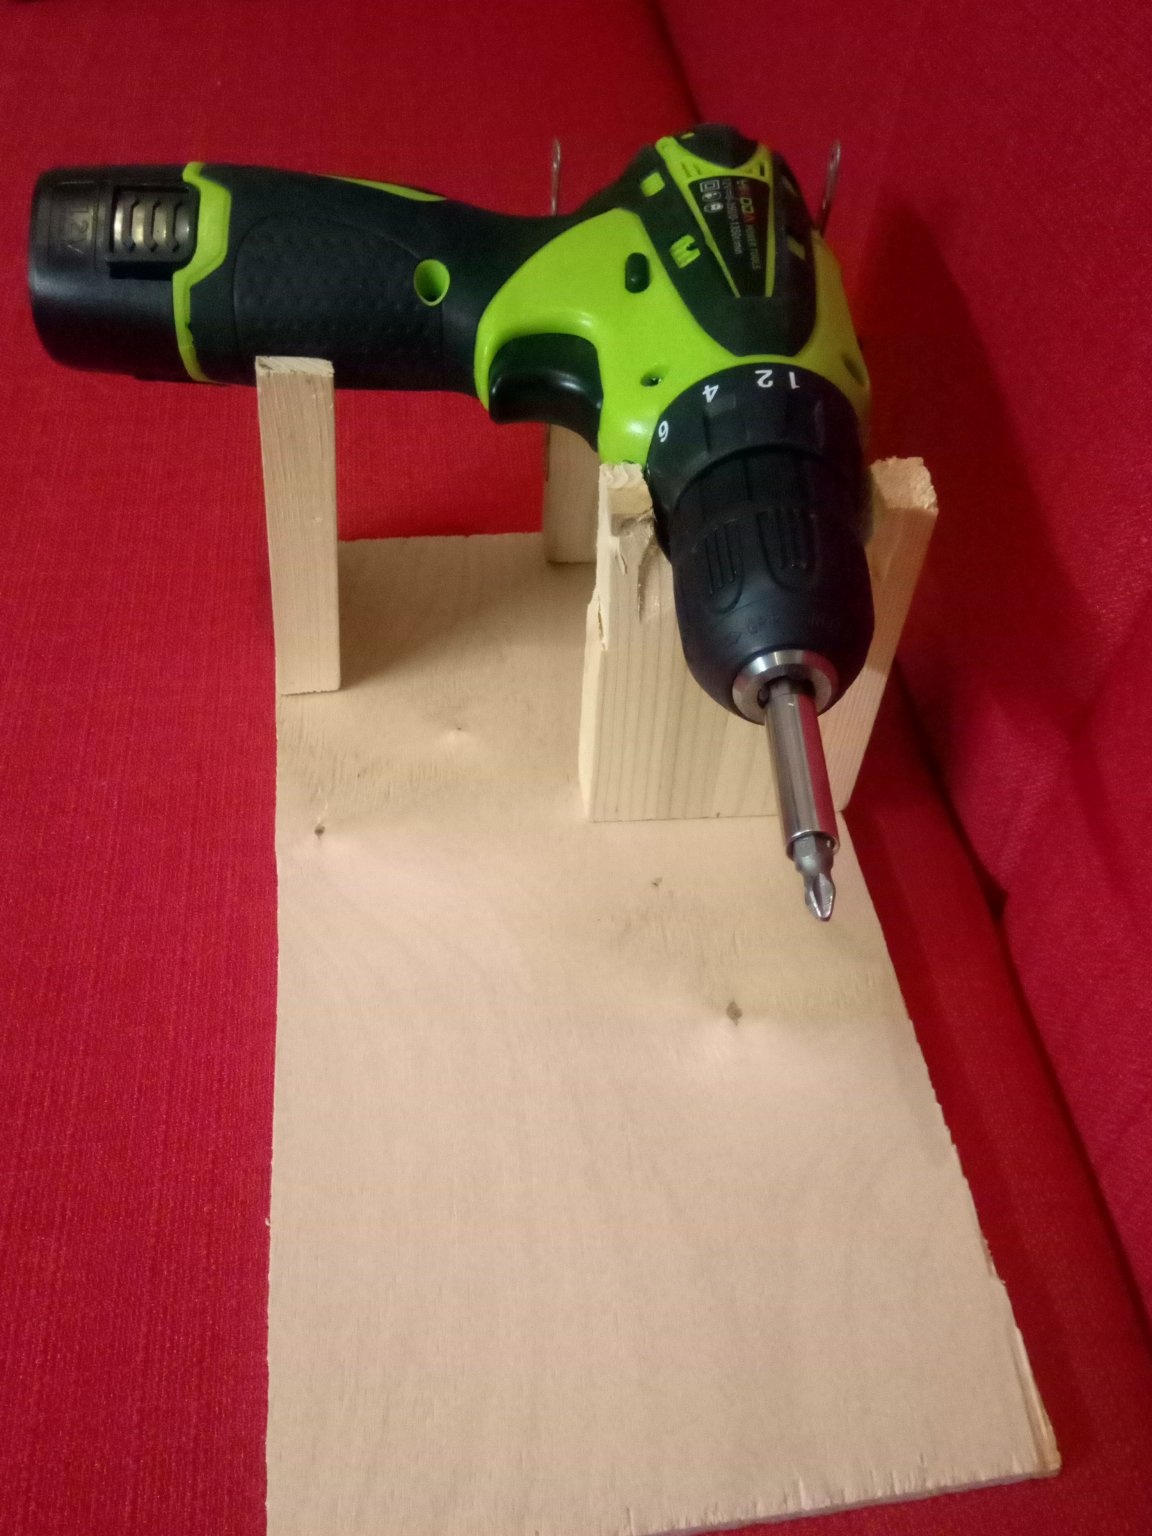
We cut out the legs and put a screwdriver on them. Make sure that the disc is parallel to the legs that hold the head and is perpendicular to the leg that holds the handle. This is necessary so that the table is then rectangular and you don’t have to worry about cutting it out at a certain angle, I don’t keep it) Now we estimate the dimensions of the base. The width will be equal to the distance between the legs, which holds the handle and the back of the “head”. Long = distance between two legs of the head + length of the protrusion of the disk + table. I got 20cm * 30cm.
4 step
Cut the base and screw the legs. Now let's make a table. The table should be in the middle of the disk, that is, its height is still the radius of the disk plus 2 cm. We cut out two legs and a tabletop. We fasten the legs as usual, and the countertop in the places where you are going
we drill with a larger drill so that the head of the self-tapping screw is completely hidden.

5 step
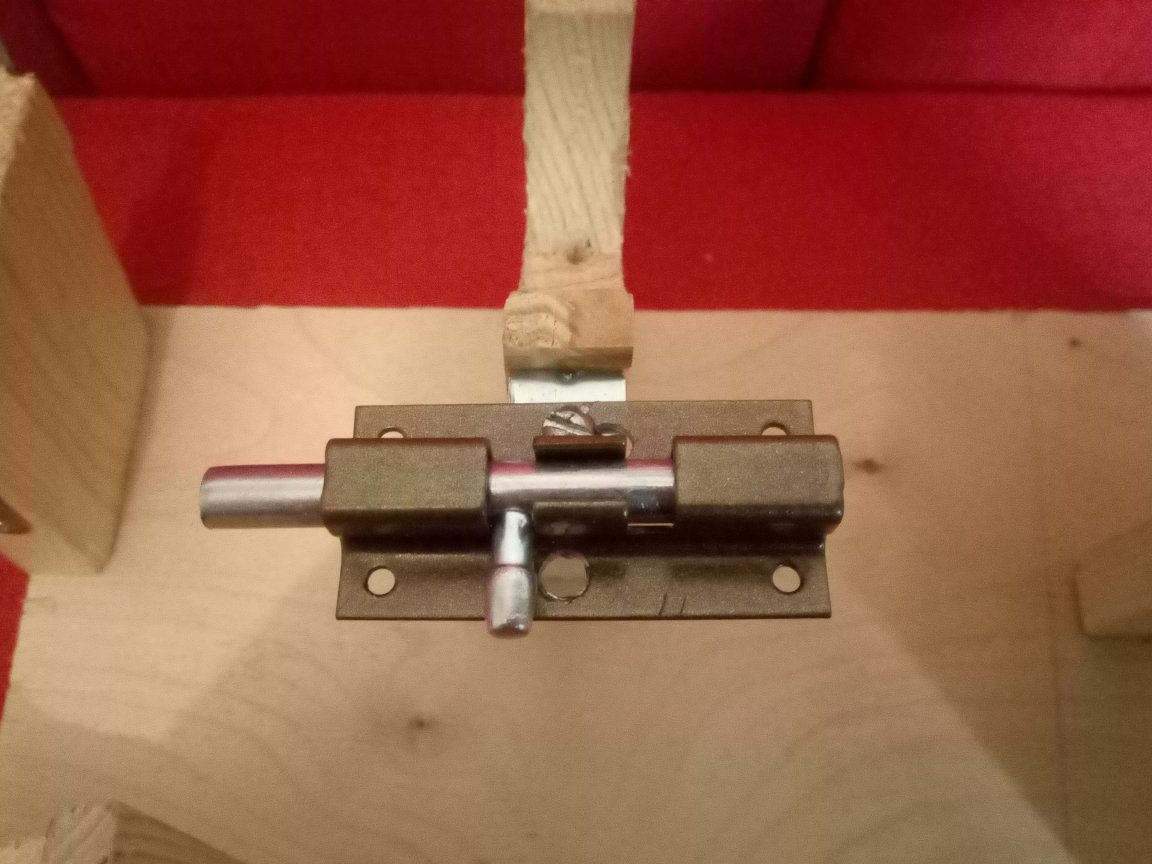
Now you need to lock the button in the on position. Those who have a lock button on the screwdriver are lucky, and the rest will have to come up with something. I suggest that you do not go inside the screwdriver and do not spoil it by screwing a corner at the button level, but
screw the usual door latch onto the screw on the corner. It will fix the button, and when it is not necessary, we will open it, which will allow the button to return to its original position.
In fact, the grinder is ready. I understand that there is a lot more to be done in it, for example: to fix the screwdriver on the legs for greater certainty (although it’s not going anywhere anyway), you can make a place for the vacuum cleaner’s hose so that sawdust flies into it or make a beautiful box, sanded, painted, etc. You can screw the rubber legs, which I’ll actually do when they come from China, and you can cut the cork and stick it on or tear off these legs from the old equipment. There are many options, but this is enough for my needs.
To everyone who is going to do something like that, good luck!