
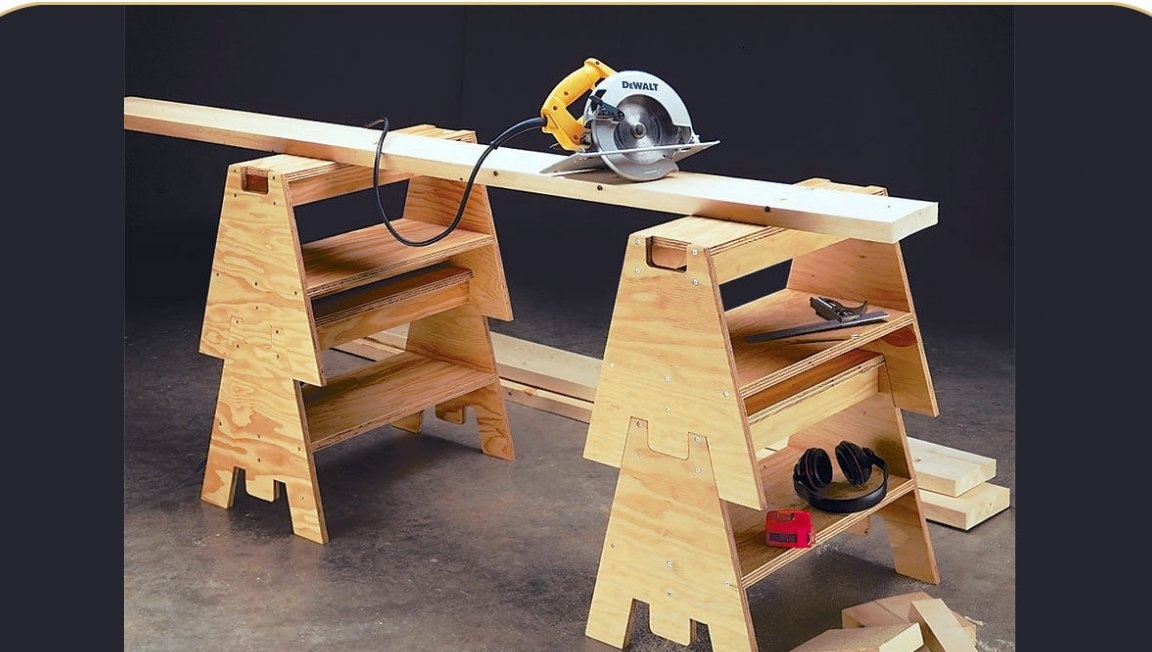
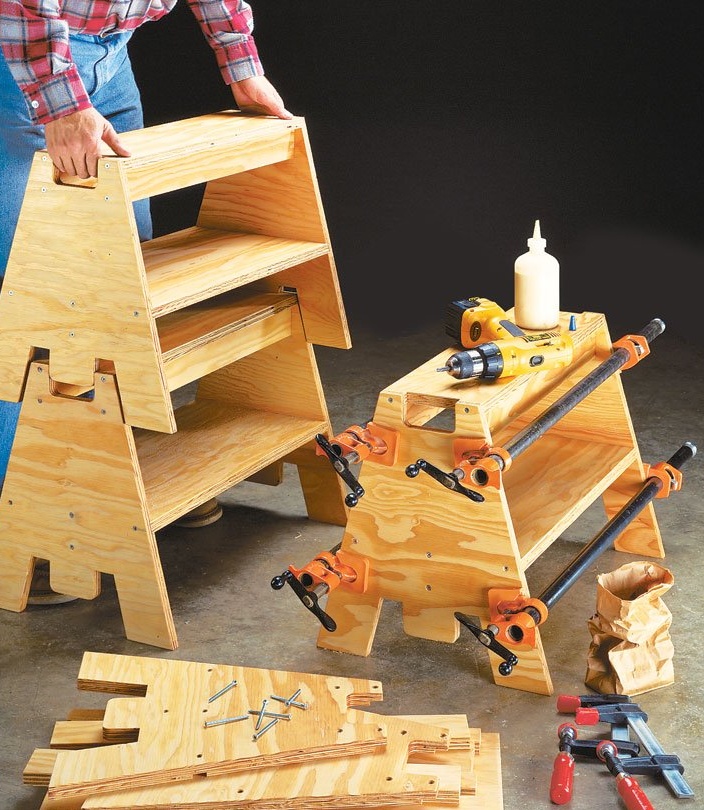
In this article, the author of the Woodsmith YouTube channel will tell you about one very interesting project - stacked goats for the workshop. From one sheet of plywood, you can make as many as 4 such universal coasters.
Materials
- Sheet plywood, hardboard
- Wood screws
- Double-sided tape
- Impregnation for wood
- Sandpaper.
Instruments, used by the author.
— A circular saw
— Adjustable grooved dado saw blades
— Electric jigsaw
— Milling machine
— Screwdriver
— Clamps
- Ruler, square, rasp, pencil.
Manufacturing process.
Drawing plans submitted by the author as follows the link.

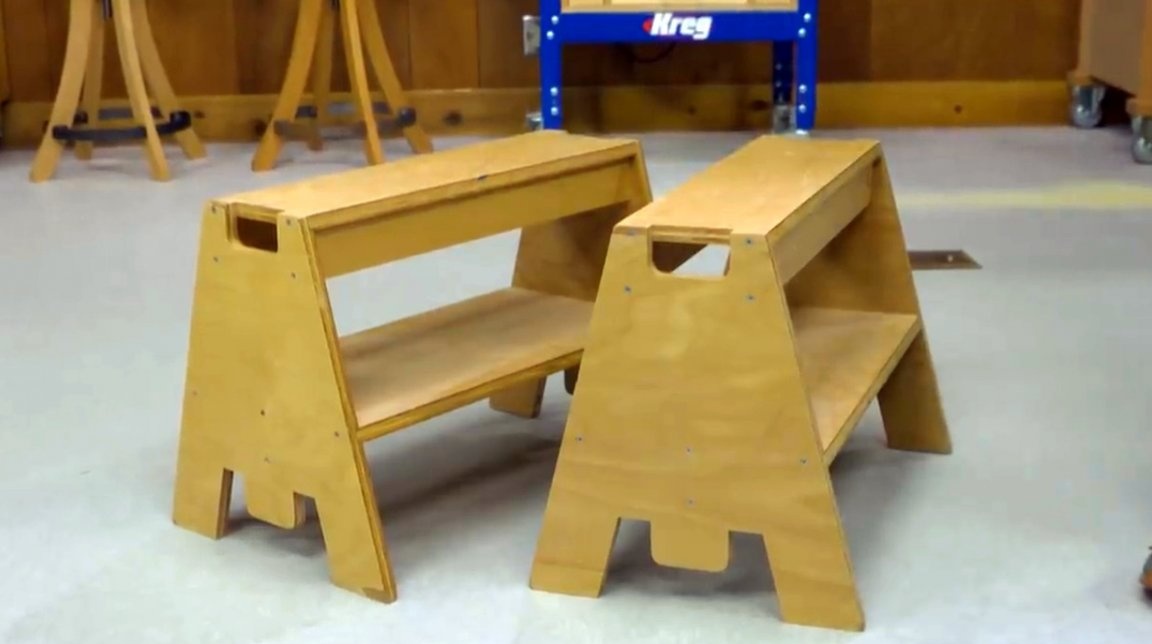
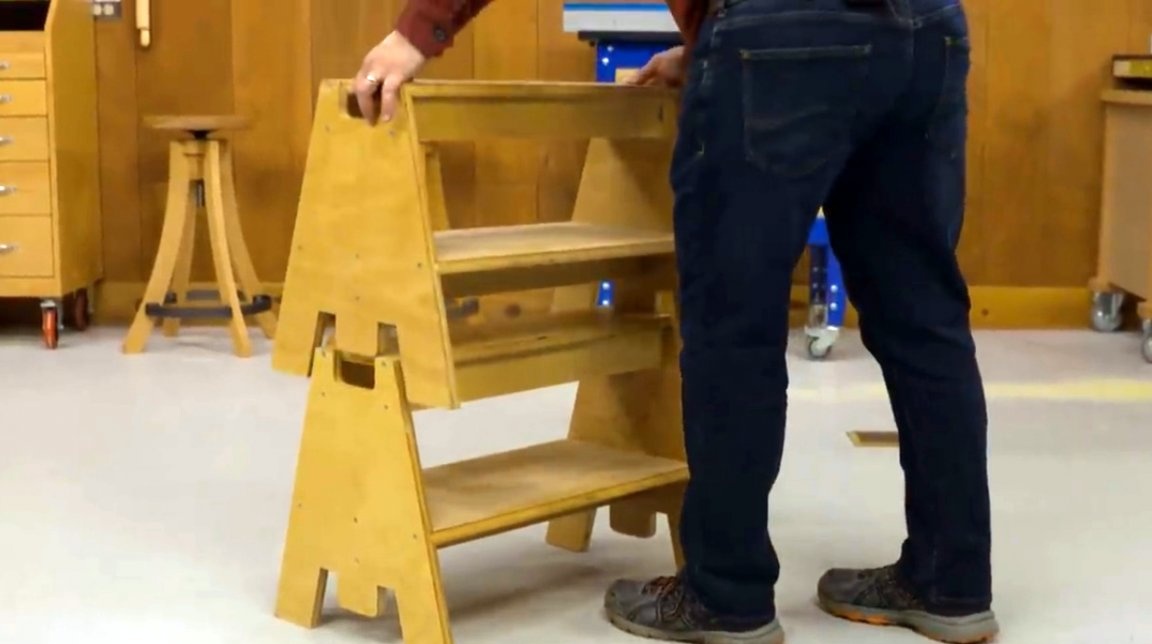
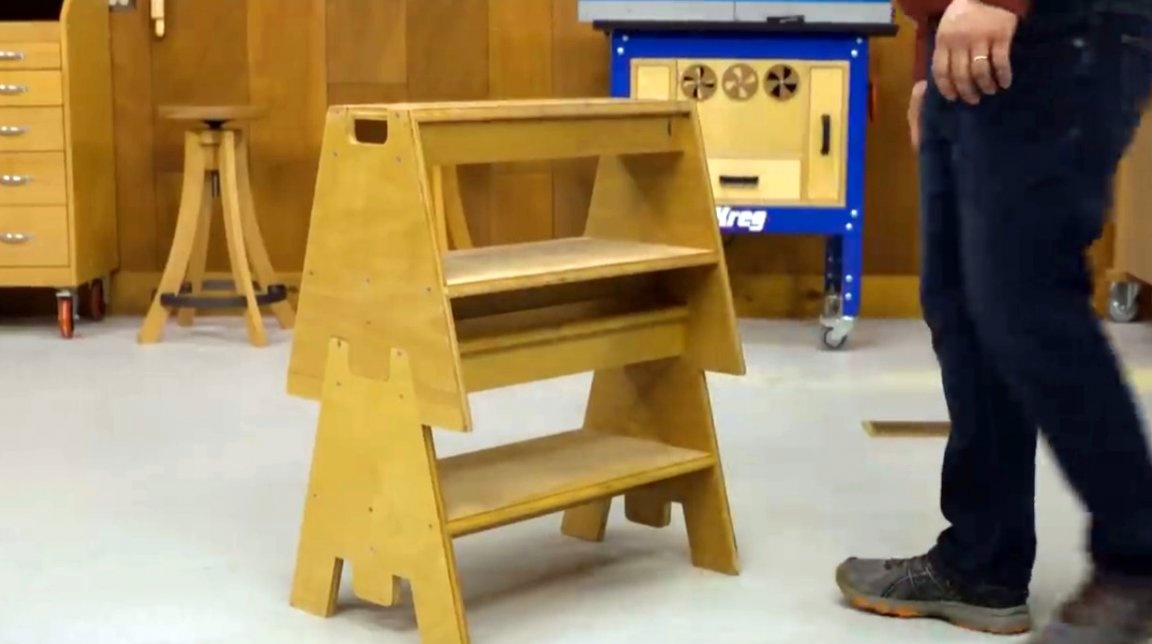
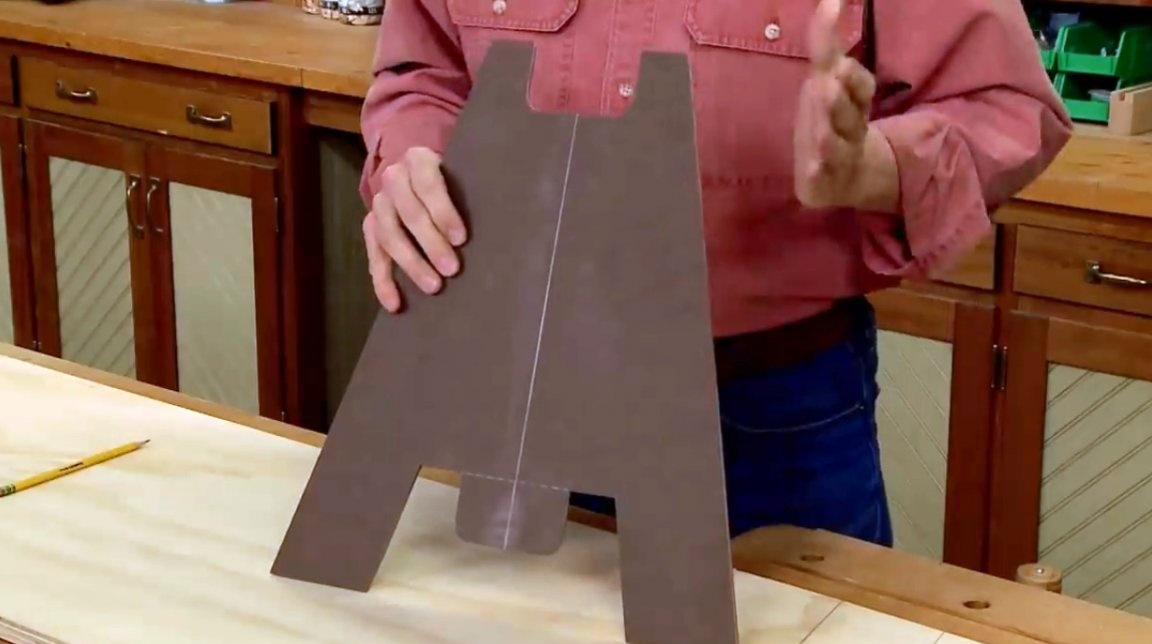
Their height is optimal for work, but even if you need to slightly raise the level of the working plane, this is not a problem. It’s enough just to set up some goats on others, and they connect like puzzles.
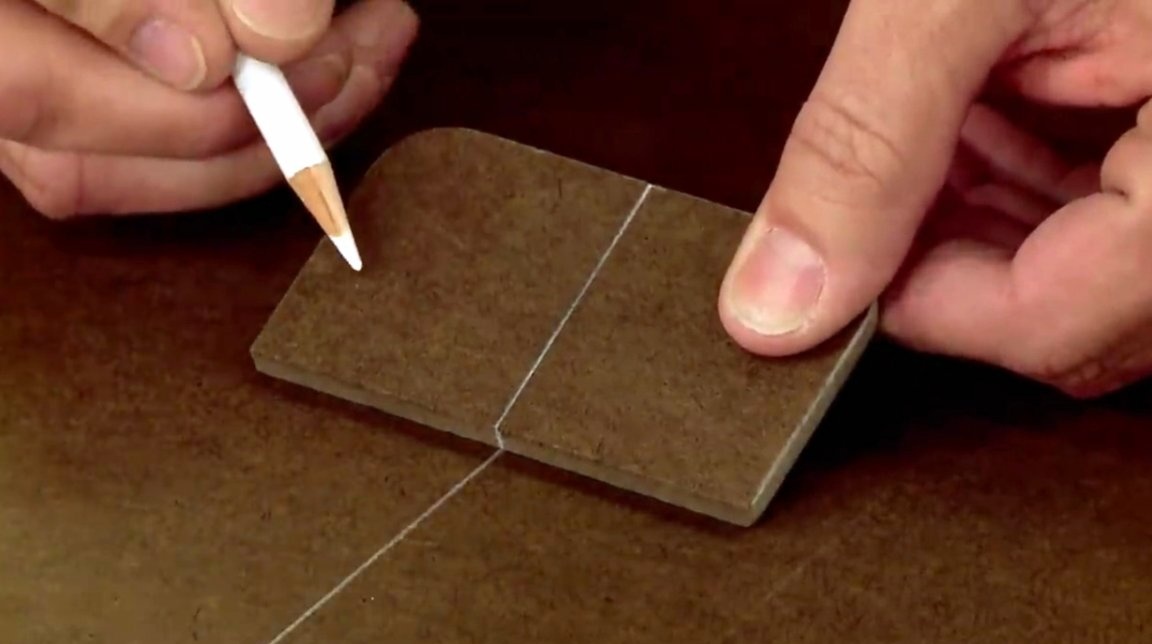
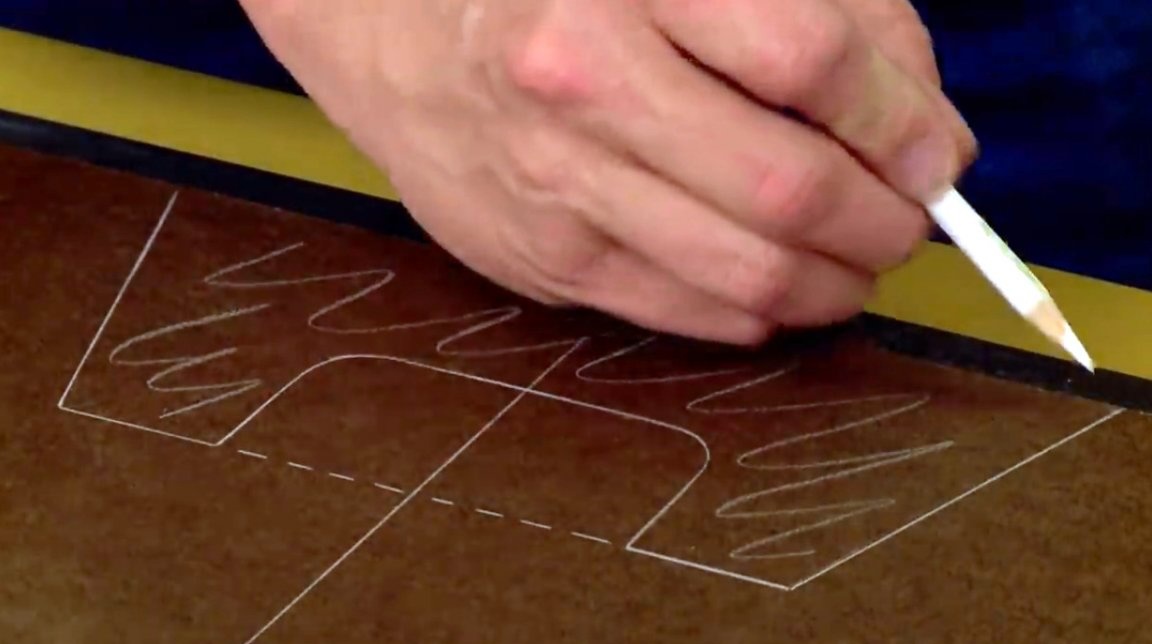
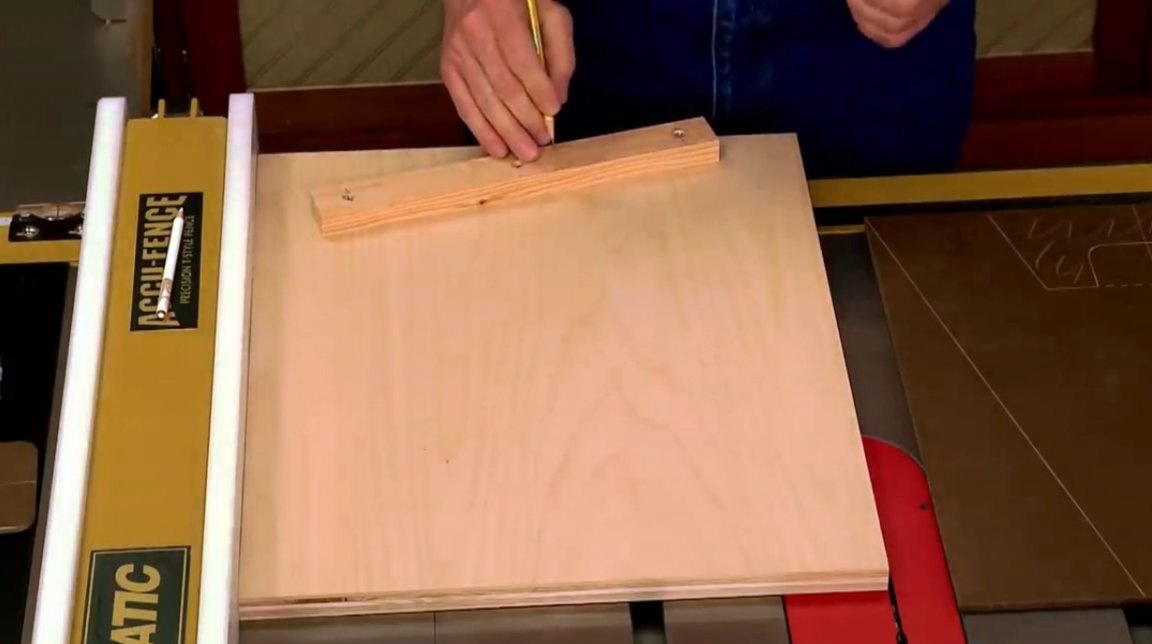
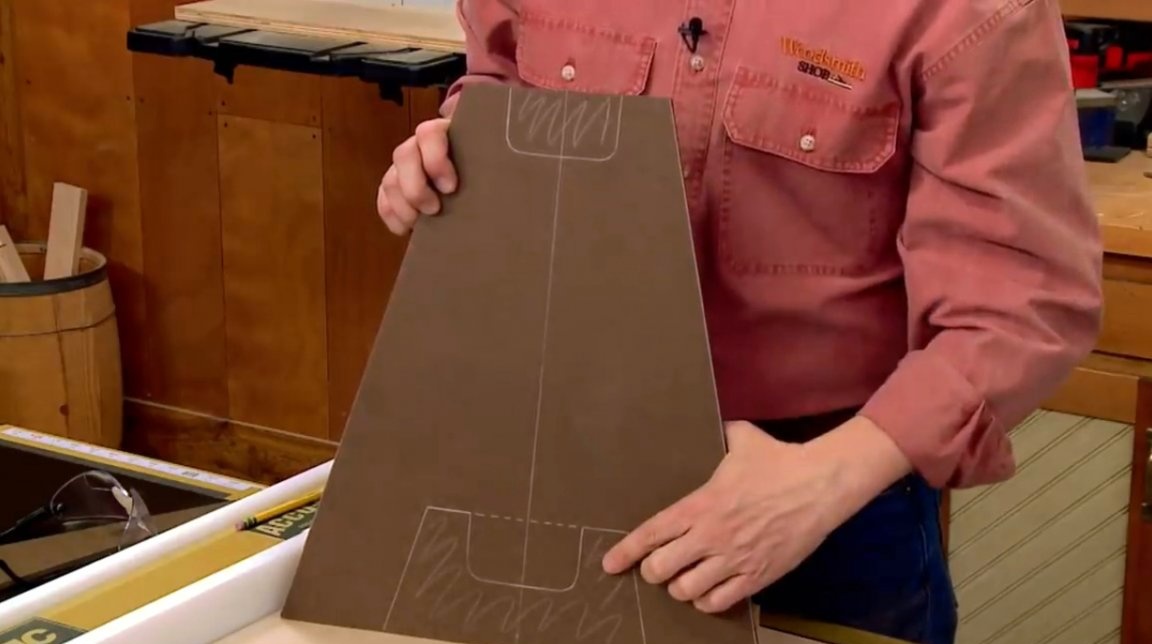
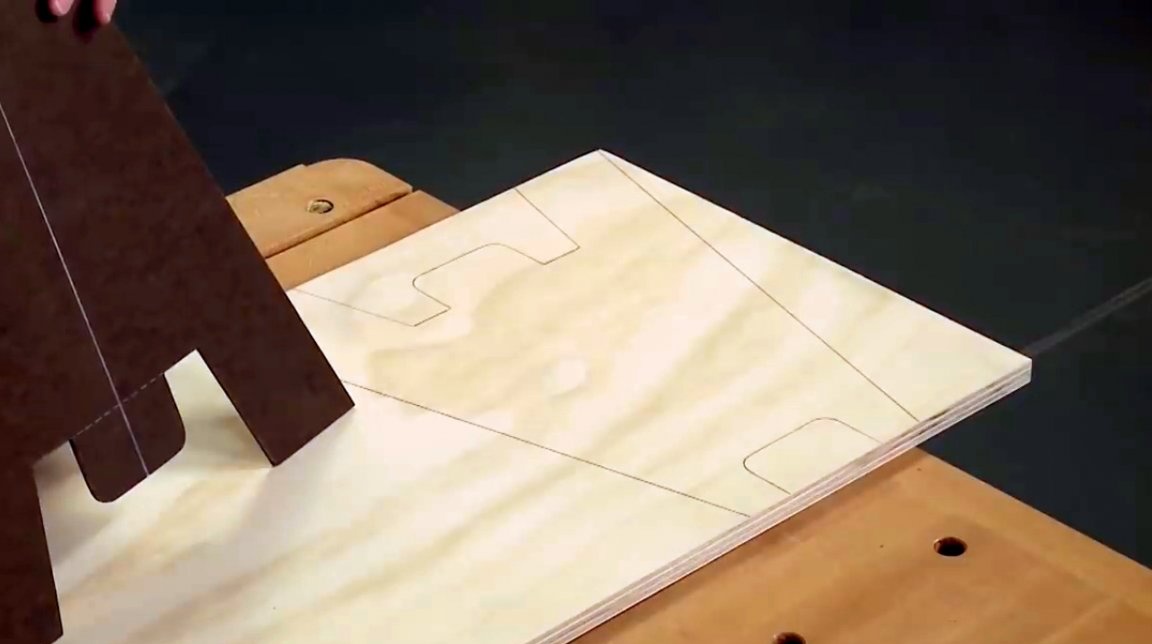
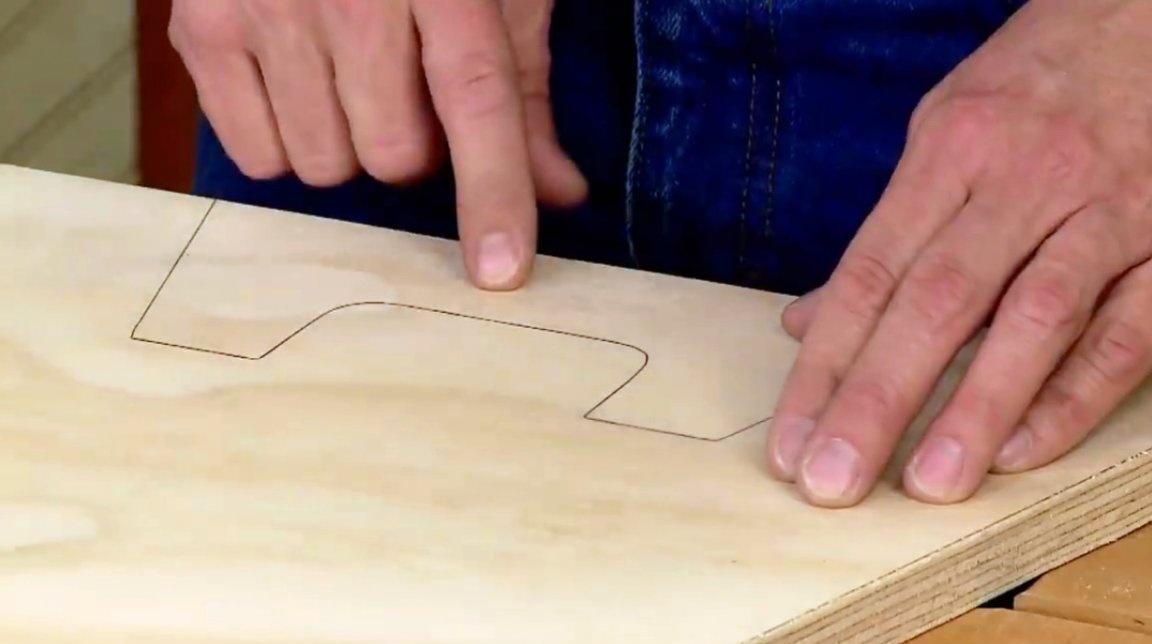
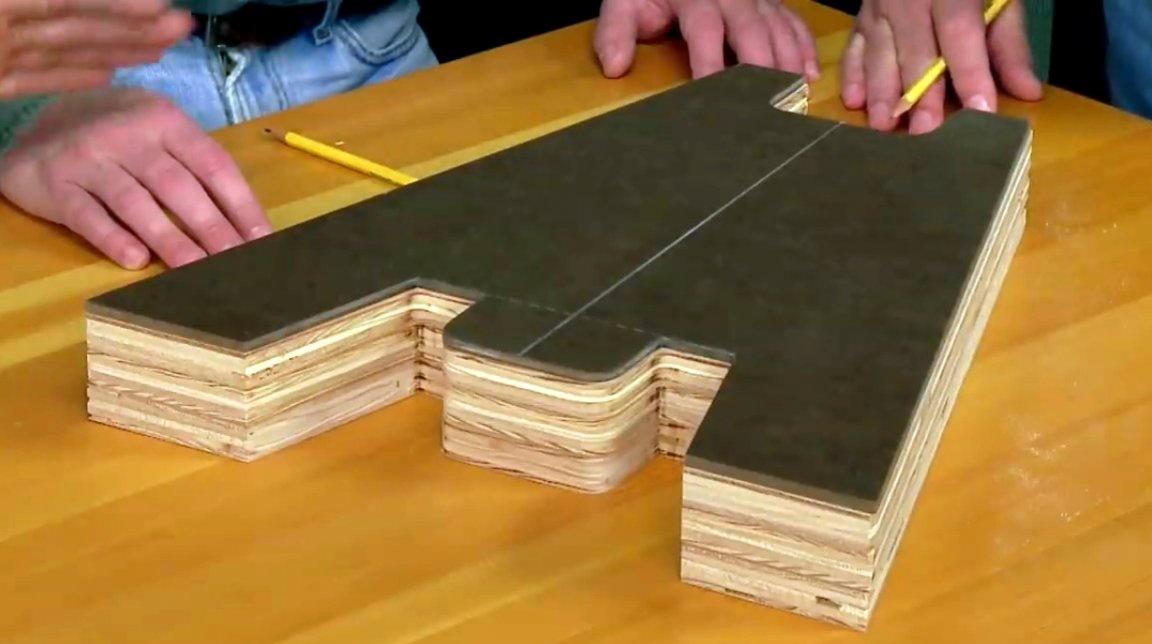
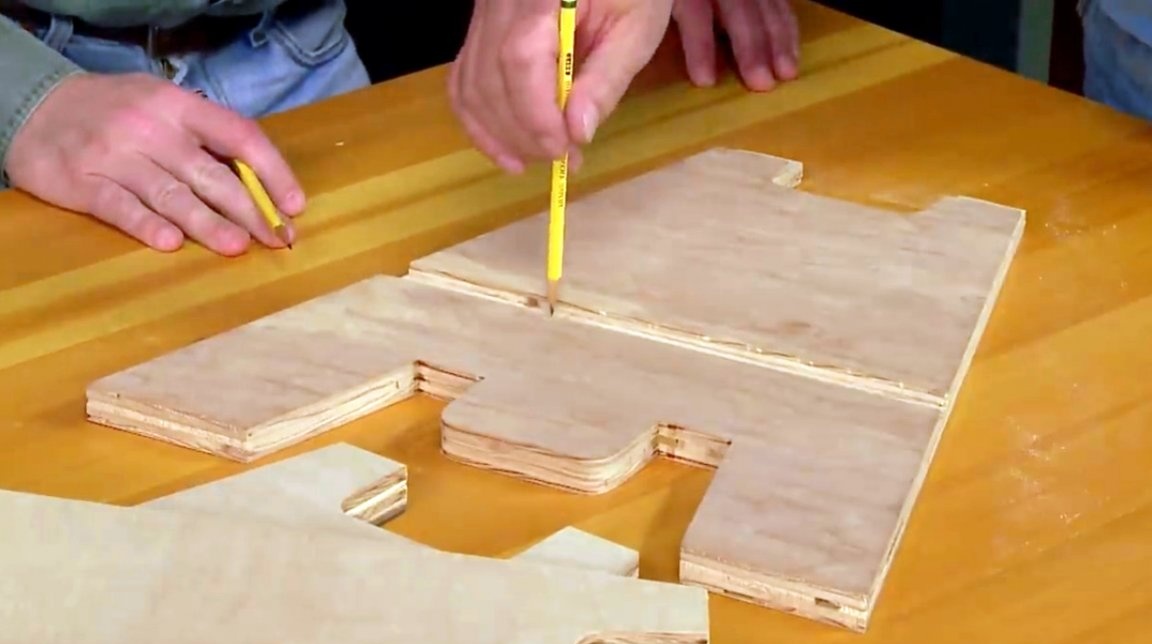
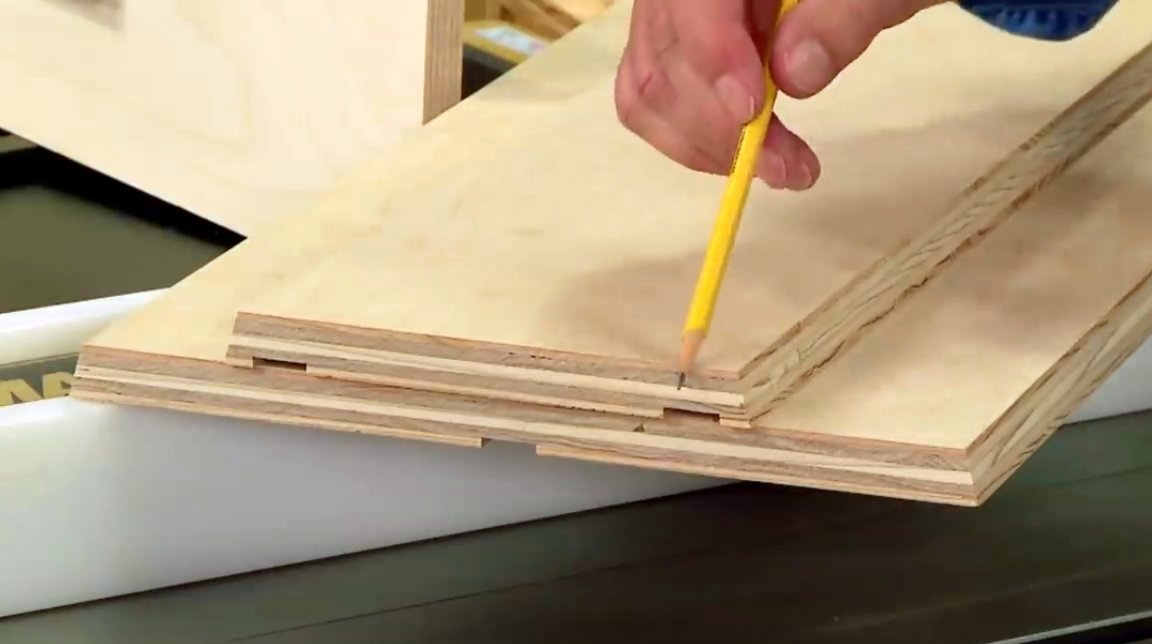
The template, under which the author cuts the legs of a goat, will be made of sheet hardboard толщиной inch thick. It can also be made from ordinary plywood. The master marks the angular sides, and two necessary notches.
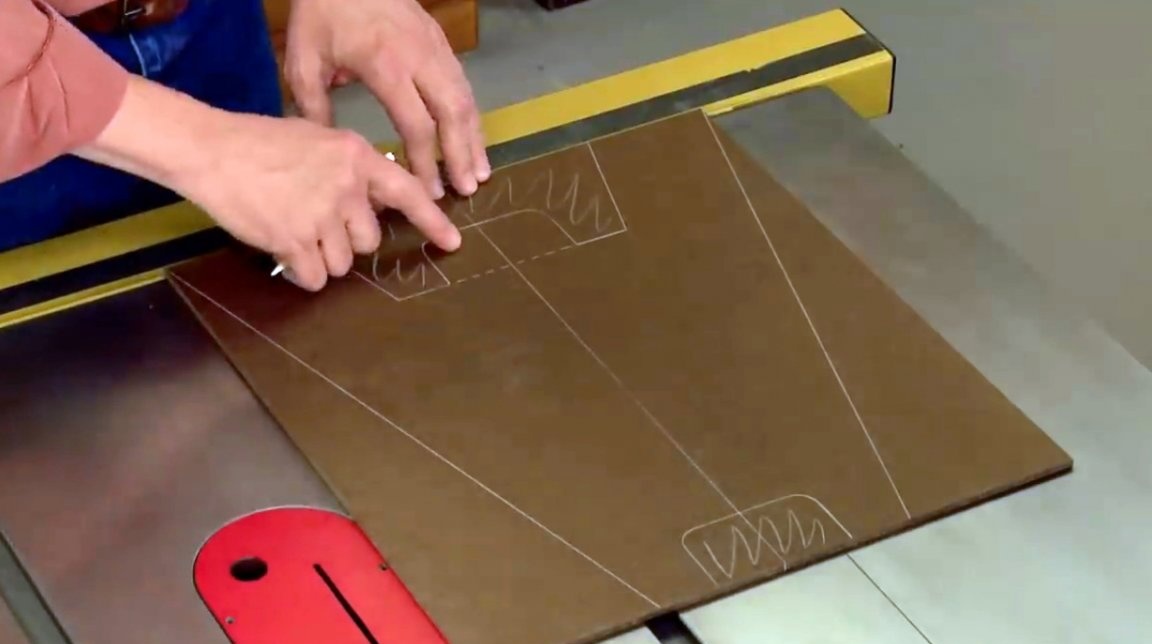
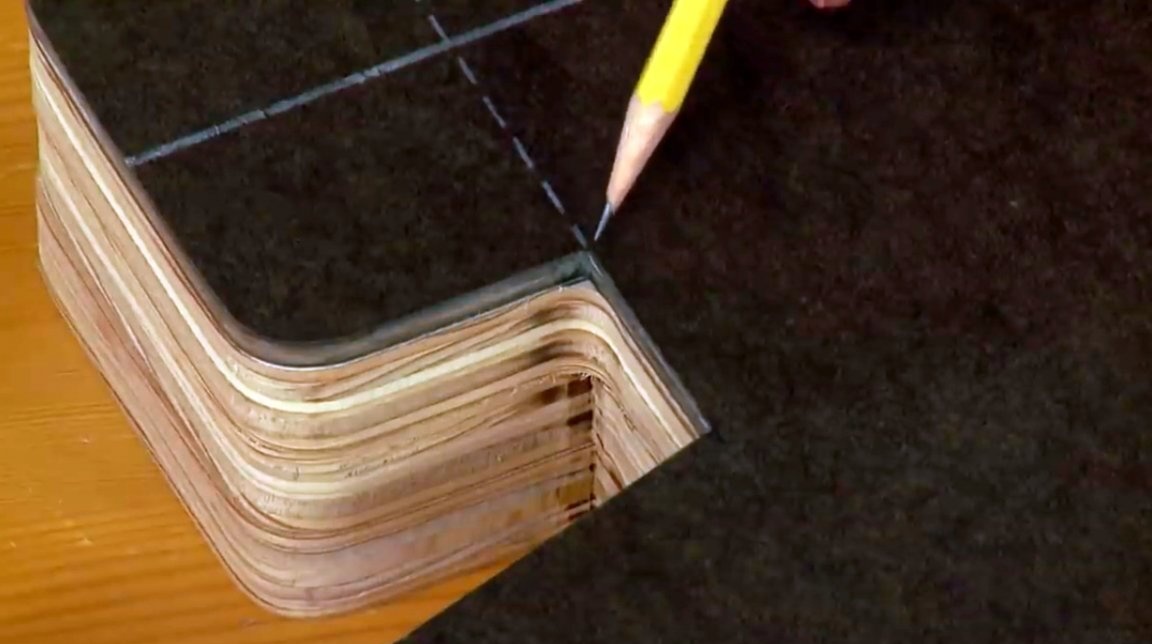
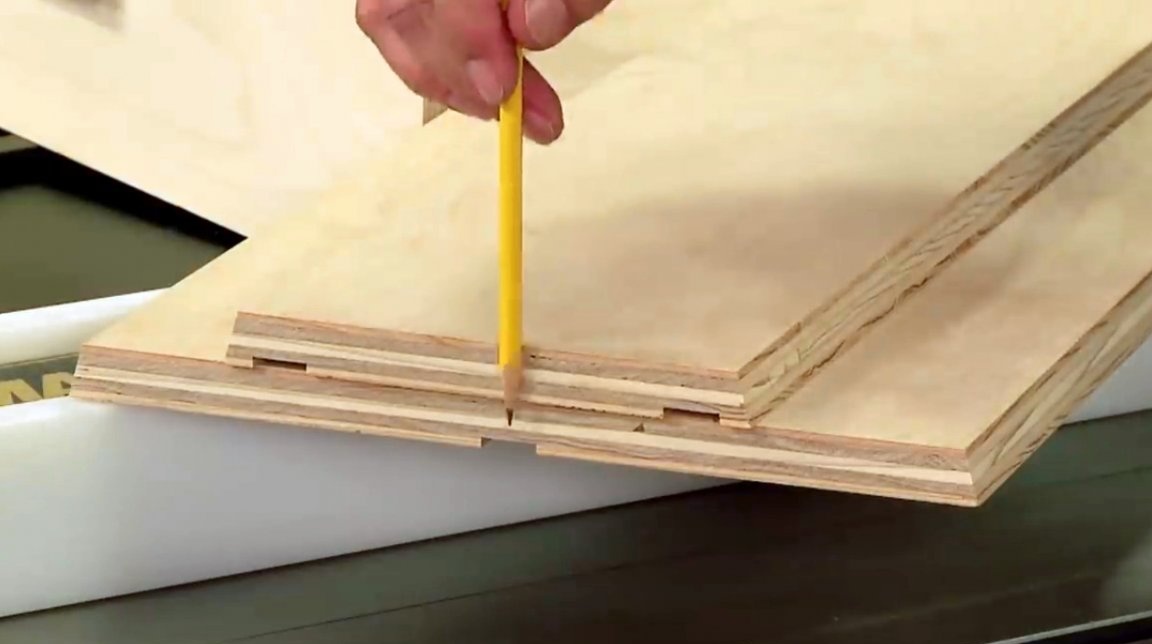
After that, he focuses on the notch and the eye - they should be identical in shape and size. Such a small template will help him in this. To make the task even easier, the wizard draws the center line through both templates - large and small.
First, he marks the notch at the top of the rack, and then transfers it to the bottom, where the response element will be - the eyelet.

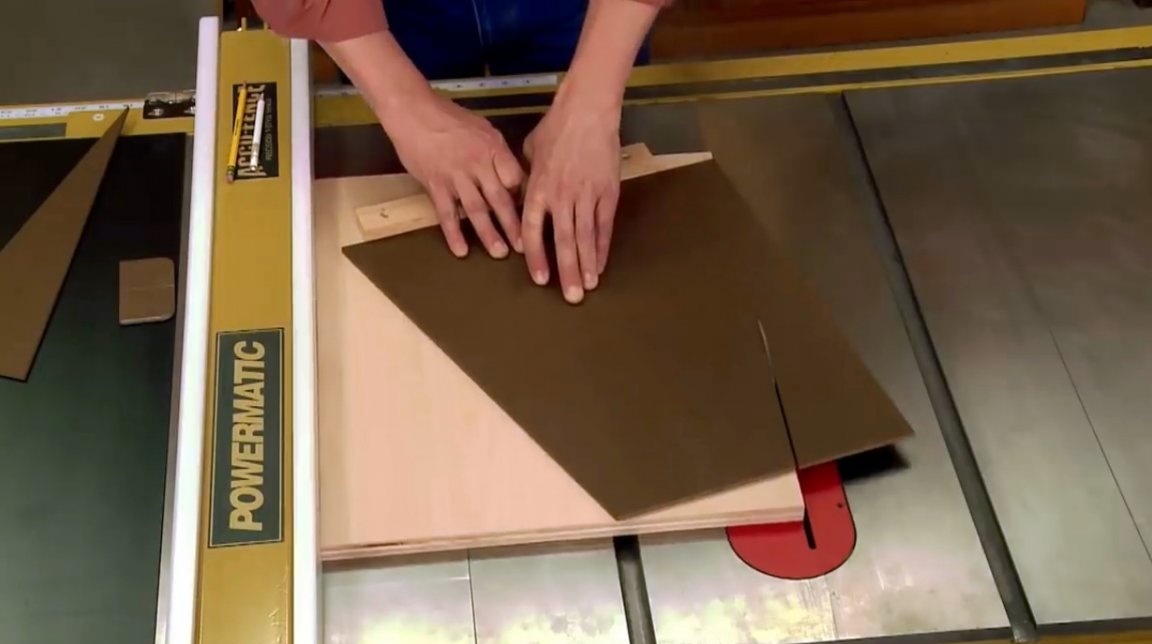
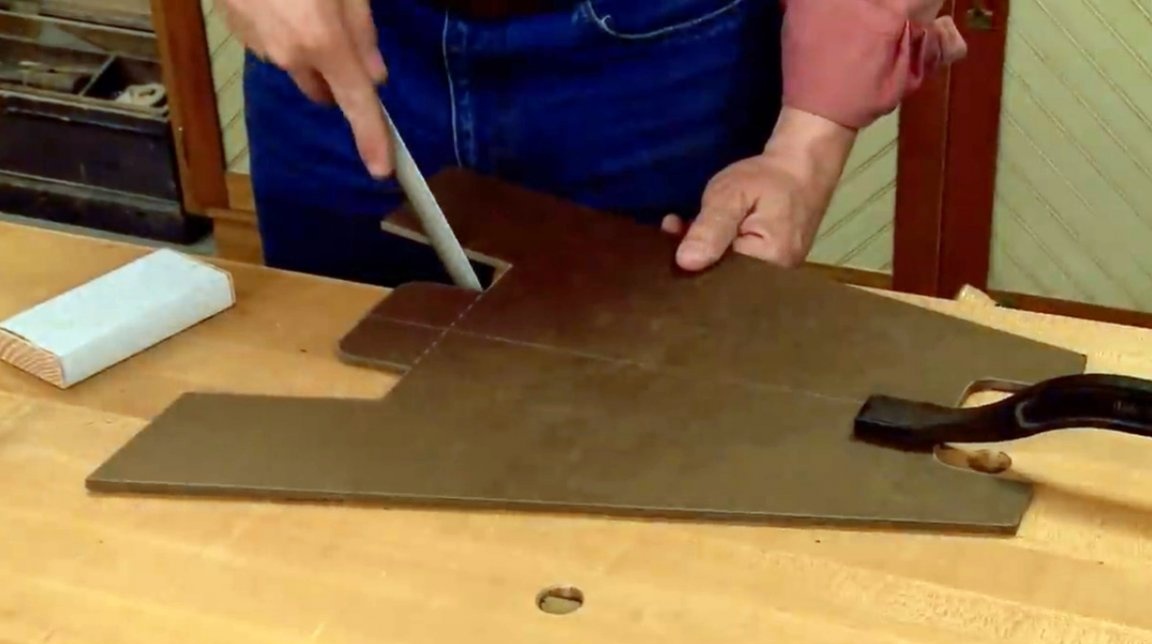
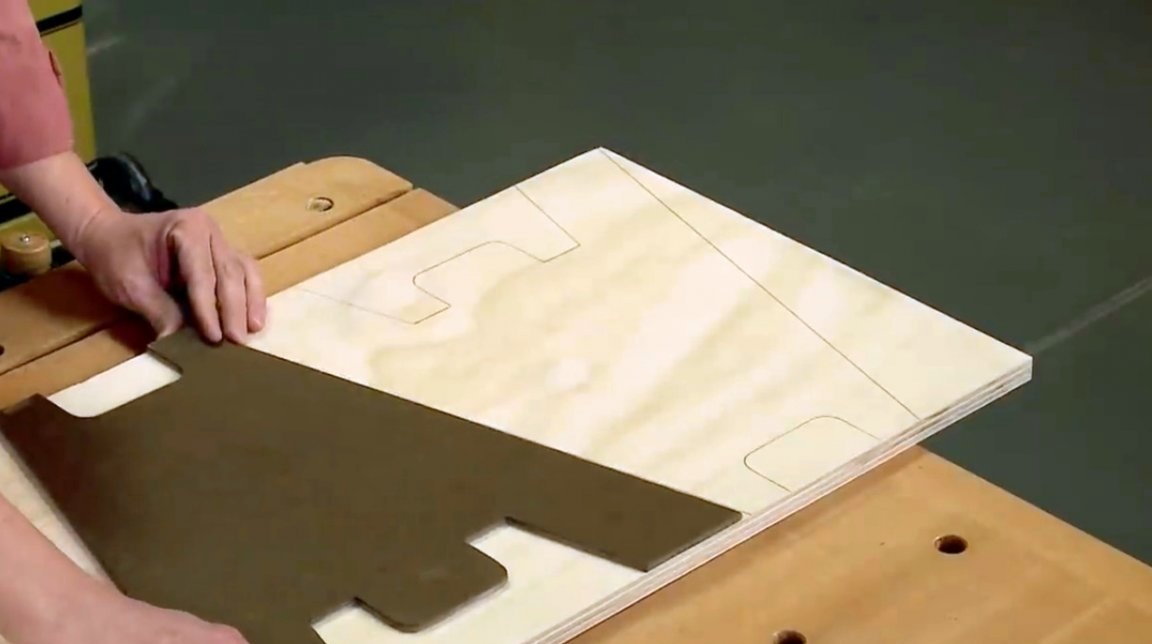
When the template is fully marked, you can start cutting. And here the angular sides are a rather difficult moment. They should be perfectly even and have the same angle. For this purpose, the author uses such primitive transverse sleds, which are a wide plate and a bounding bar along its far edge.
The circular disk rises, the template is placed on the slide and is aligned on the back plate. It is important that the corner of the template coincides with the edge of the board.
The workpiece is turned over, and since the marking lines are not visible, it is oriented along the corner of the workpiece. Now the cut lines will be smooth and symmetrical.
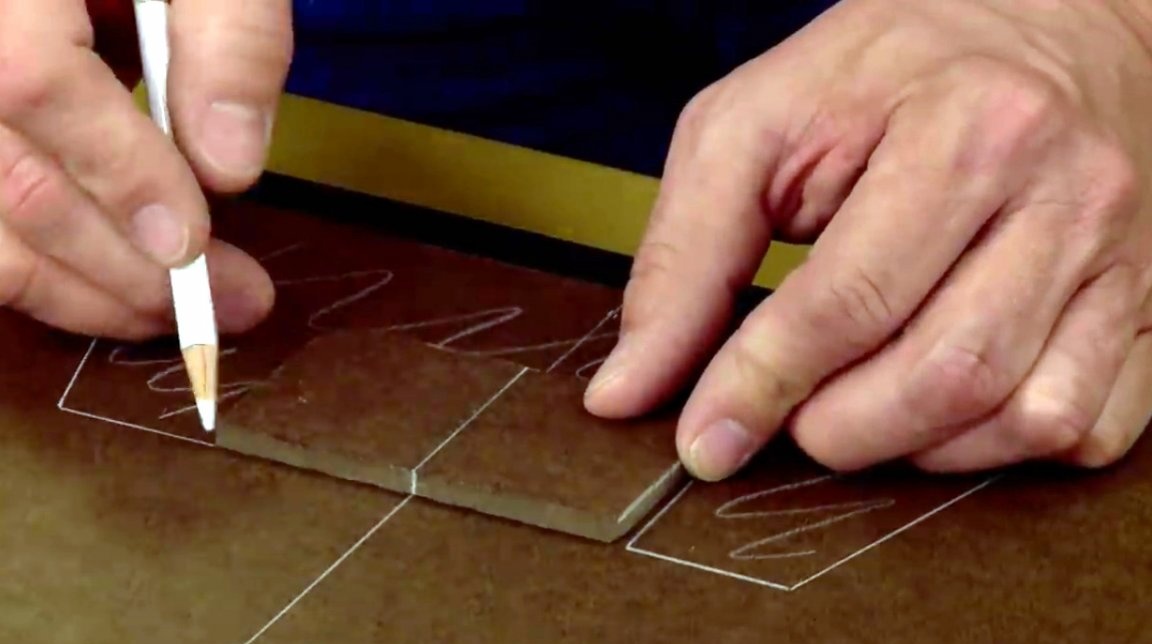
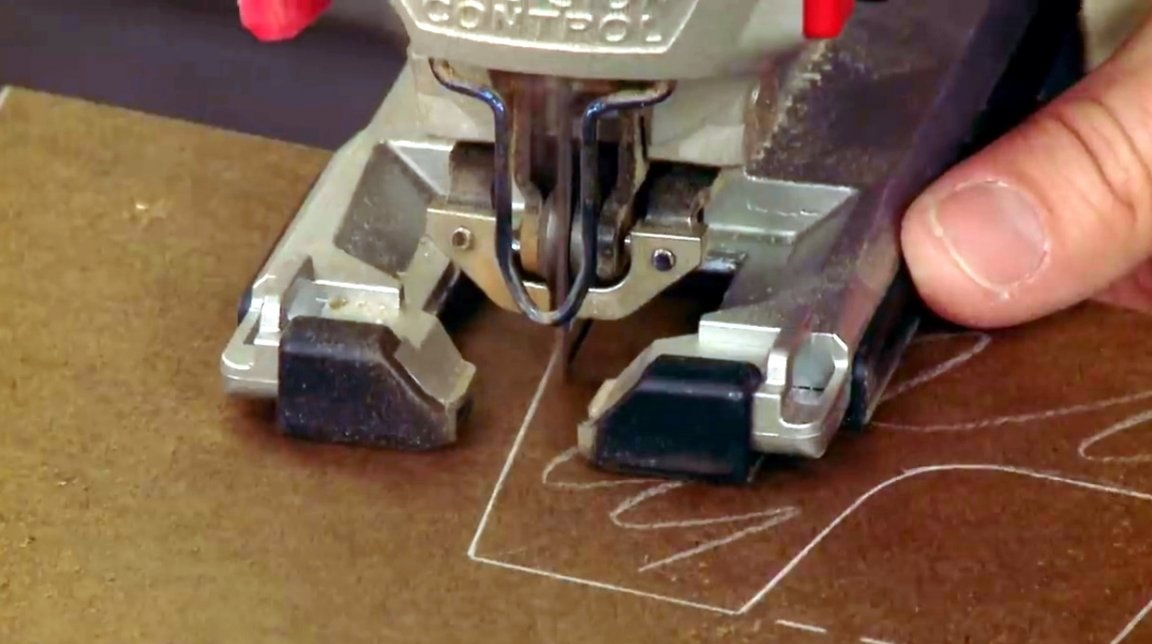
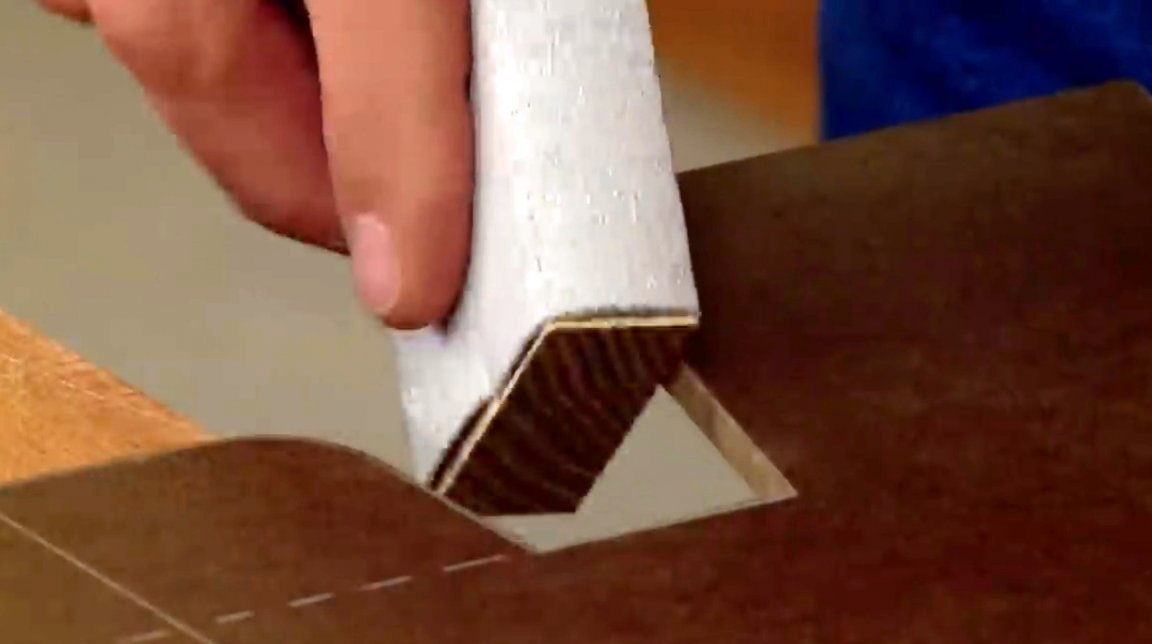
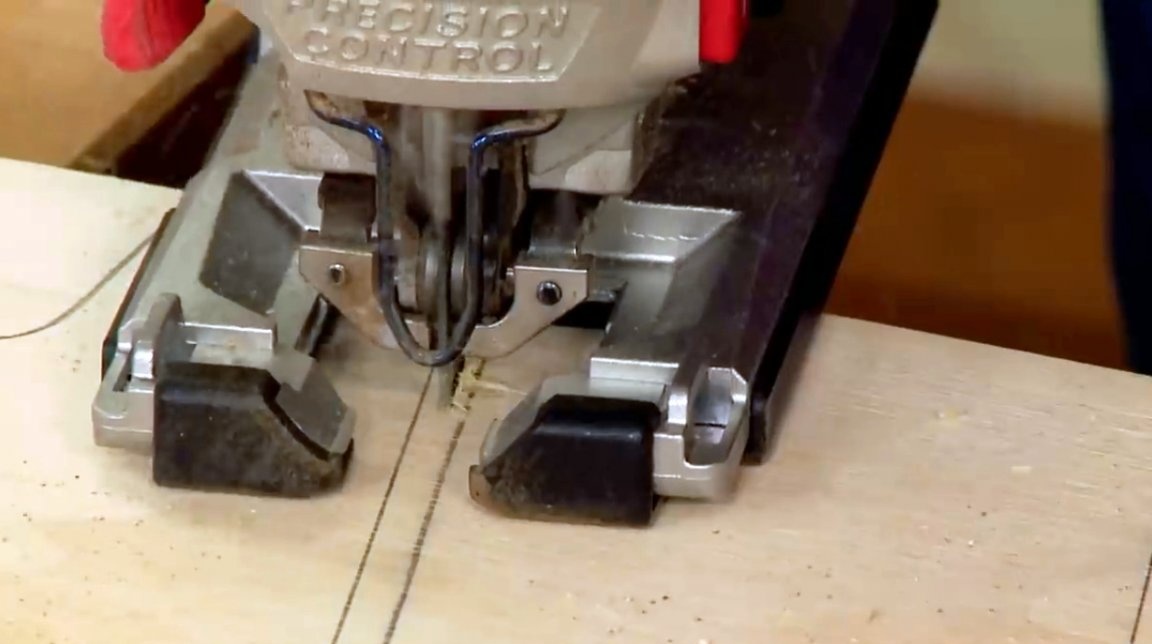
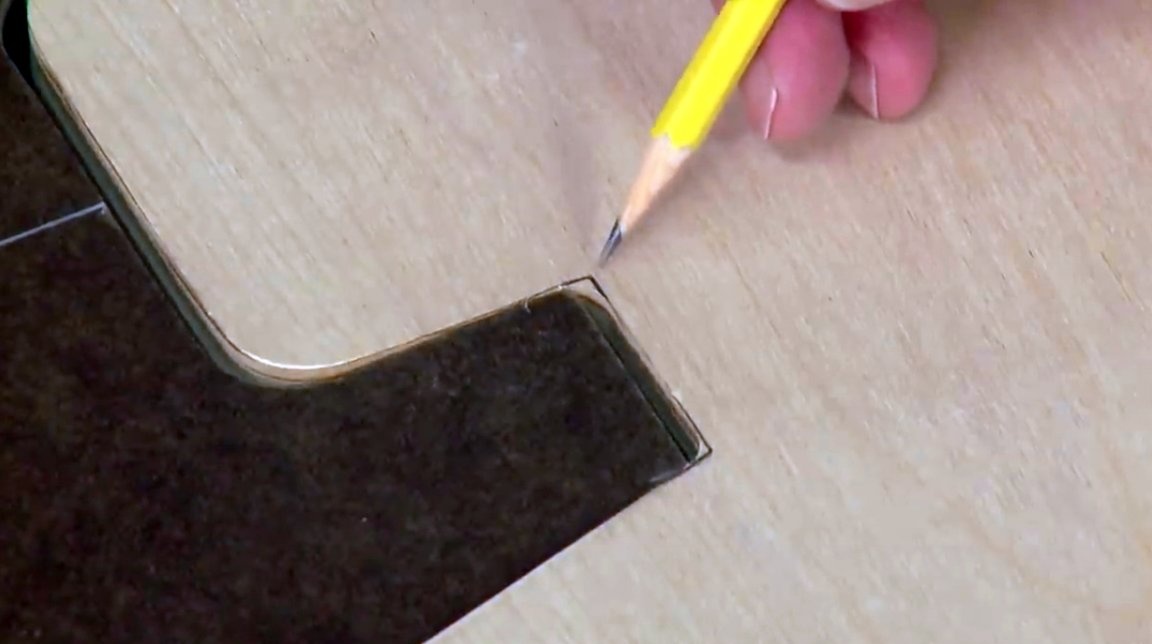
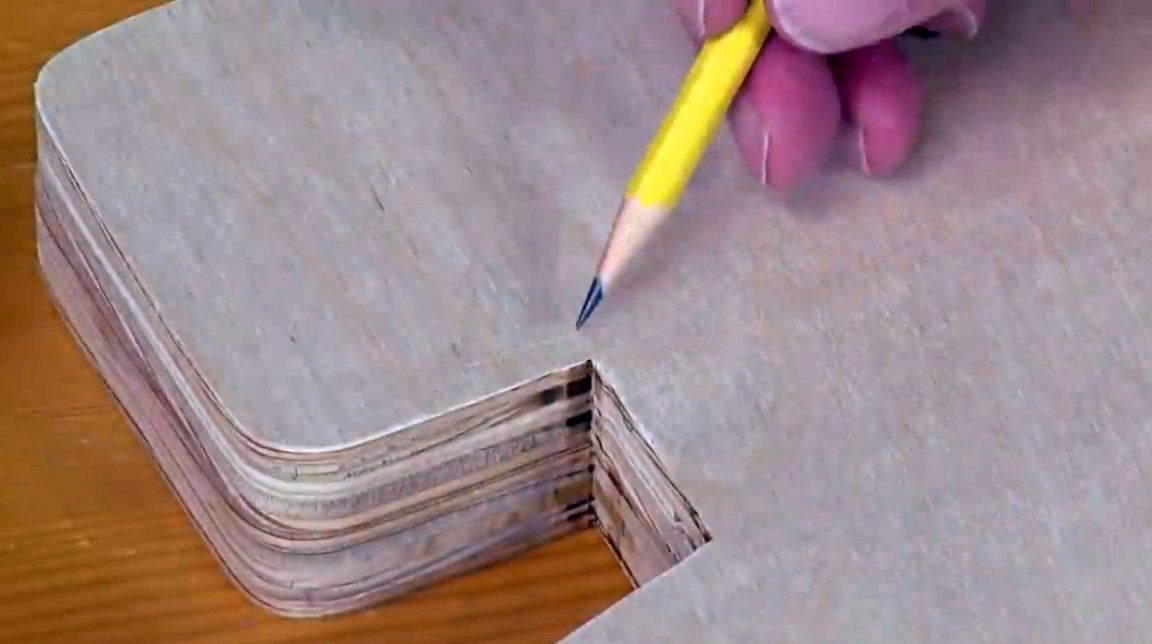
The notch and eye are cut with an electric jigsaw, should be cut with a slight indentation from the line.
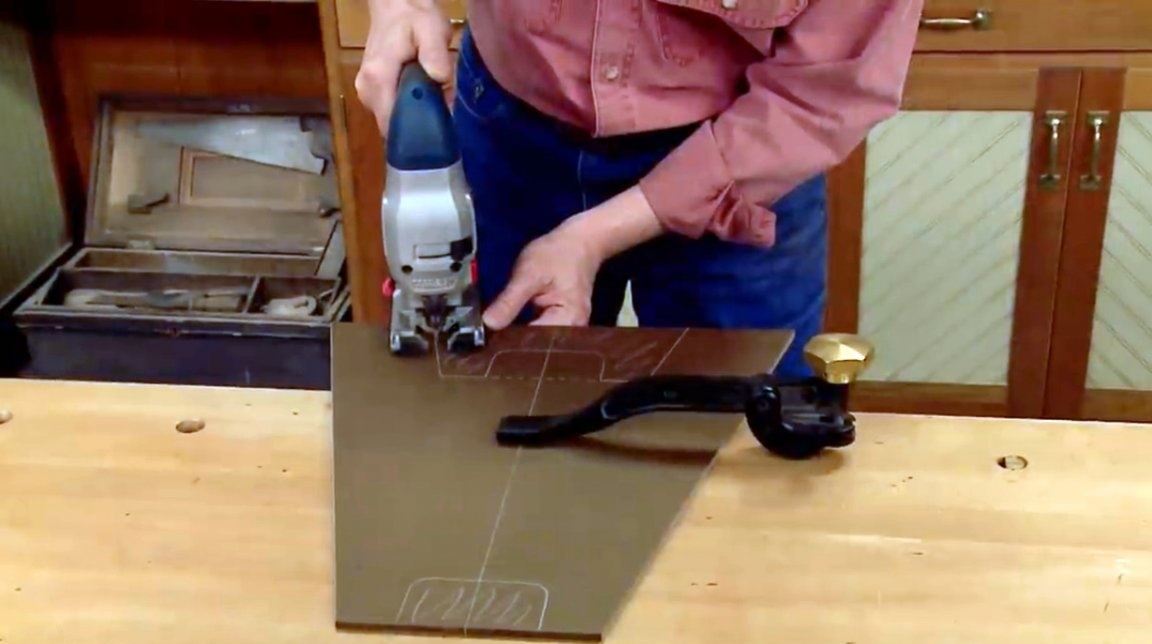
Residues are removed with a rasp and sandpaper.
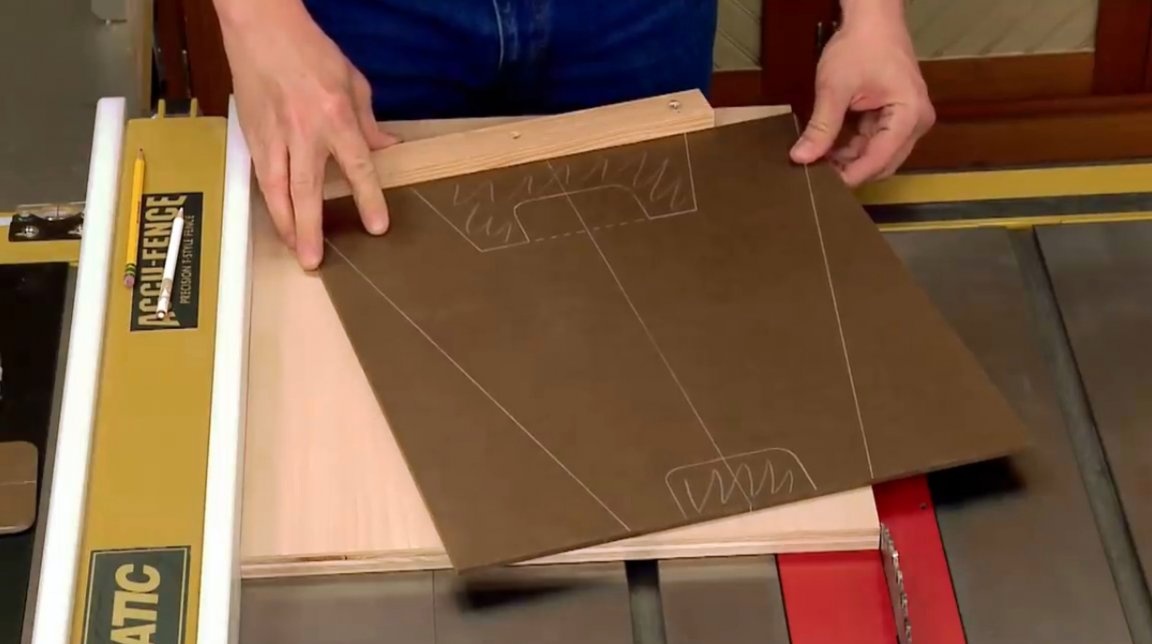
So the template is ready. It will perform 2 functions at once: first, the goat's wooden legs will be made on it, and then this template will be used again on the milling machine to grind workpieces to the same shape and size.
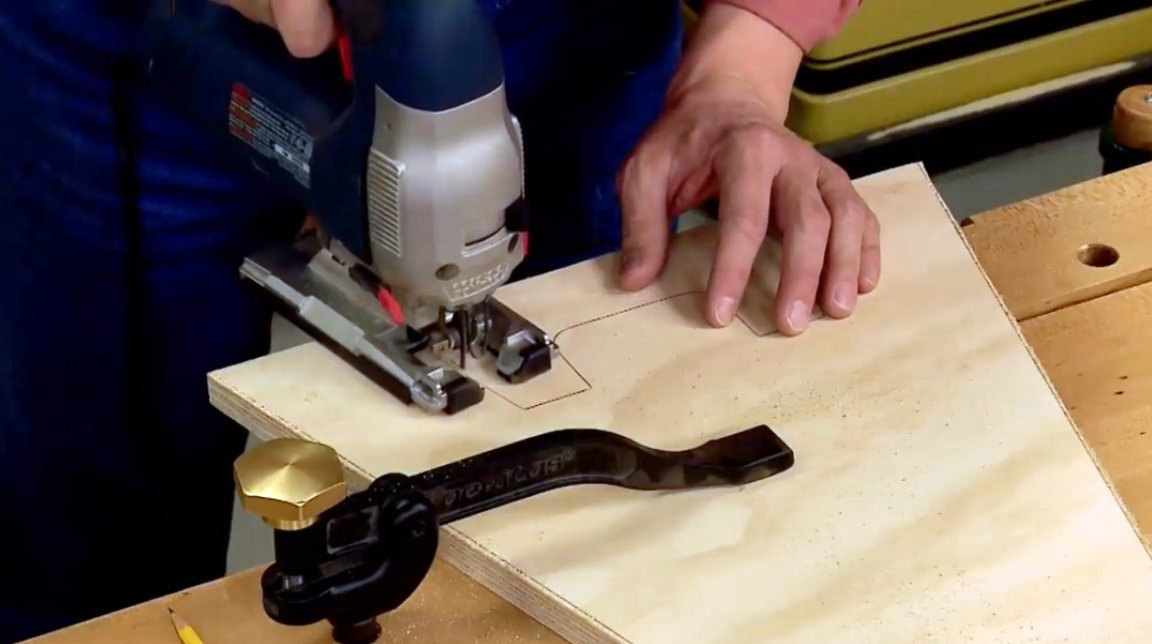
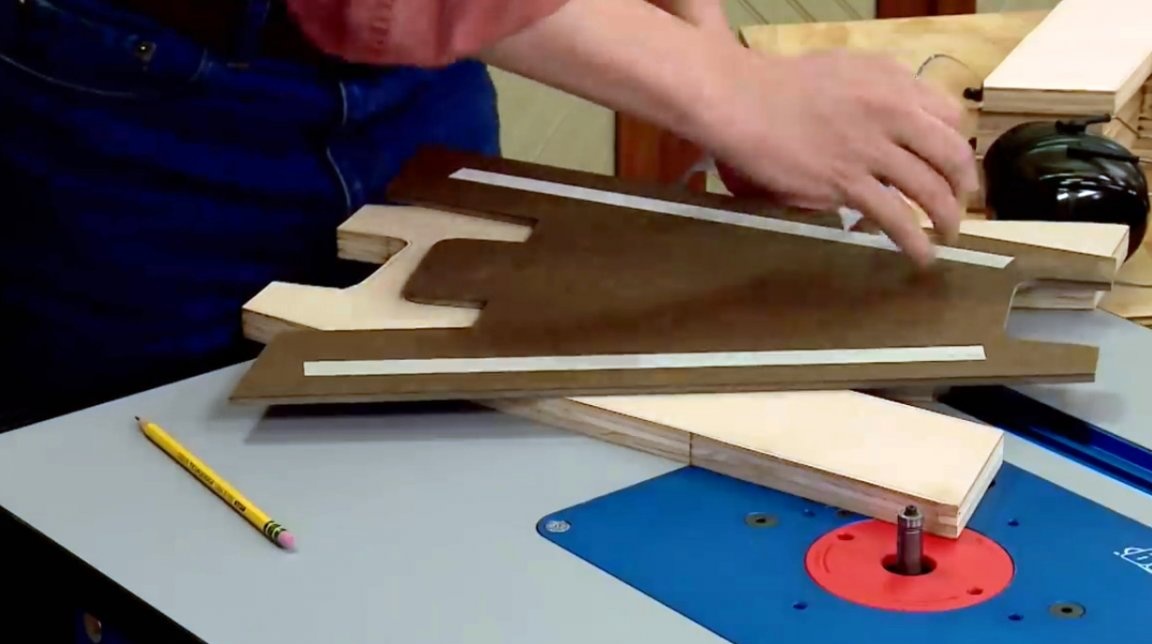
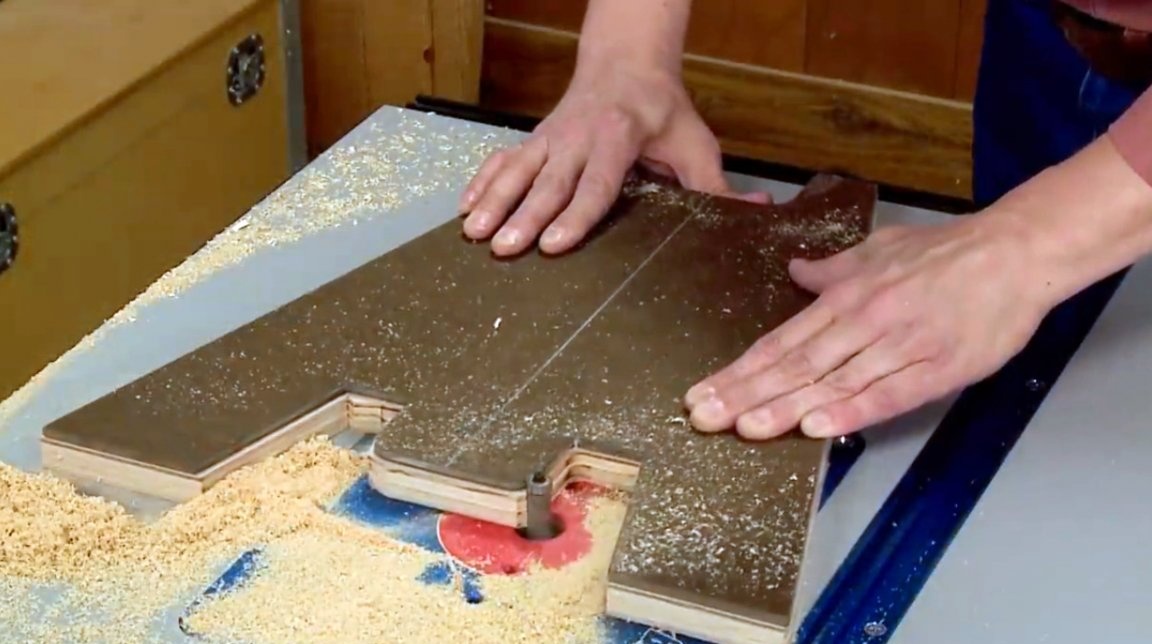
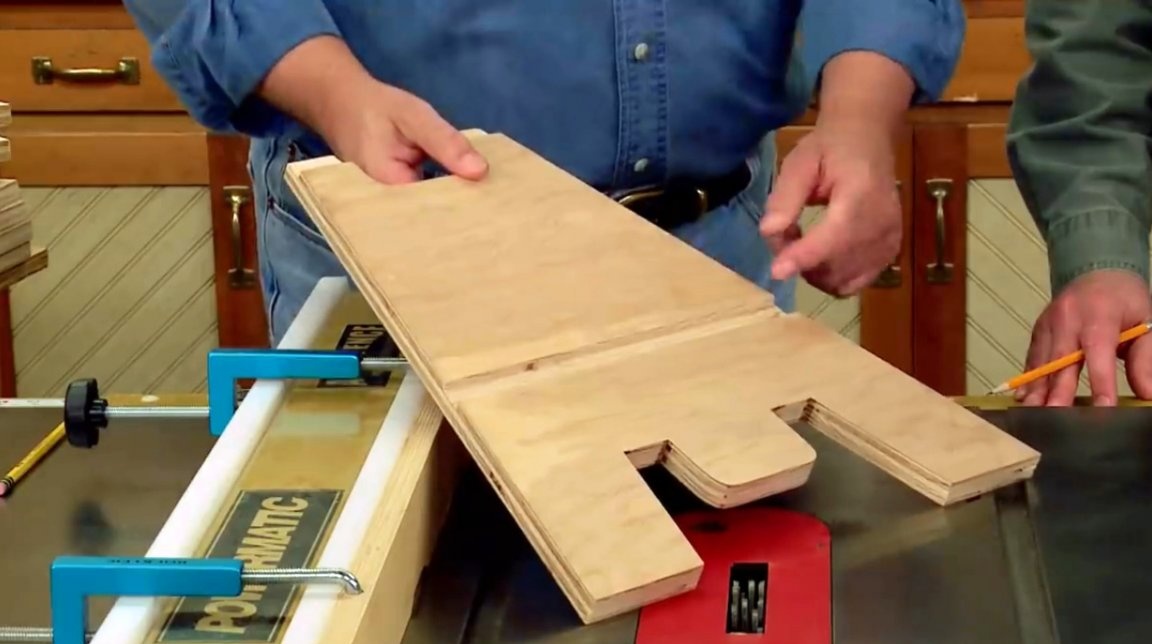
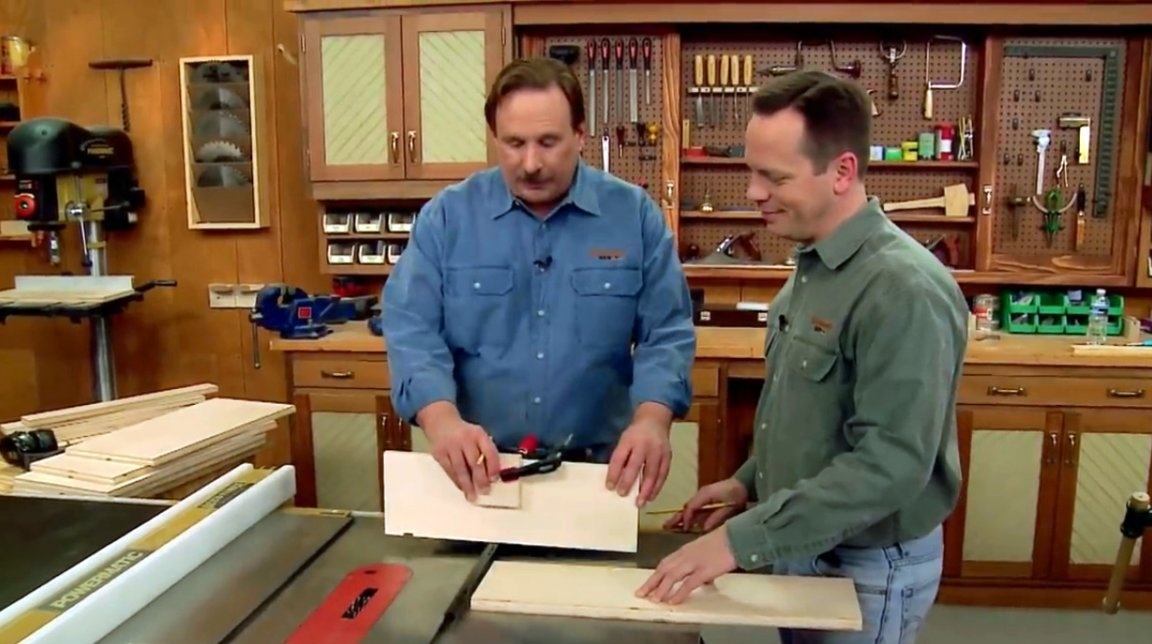
First, the master cuts a long piece of plywood so that its width matches the height of the template. Then he sketches the required structural elements according to the template.
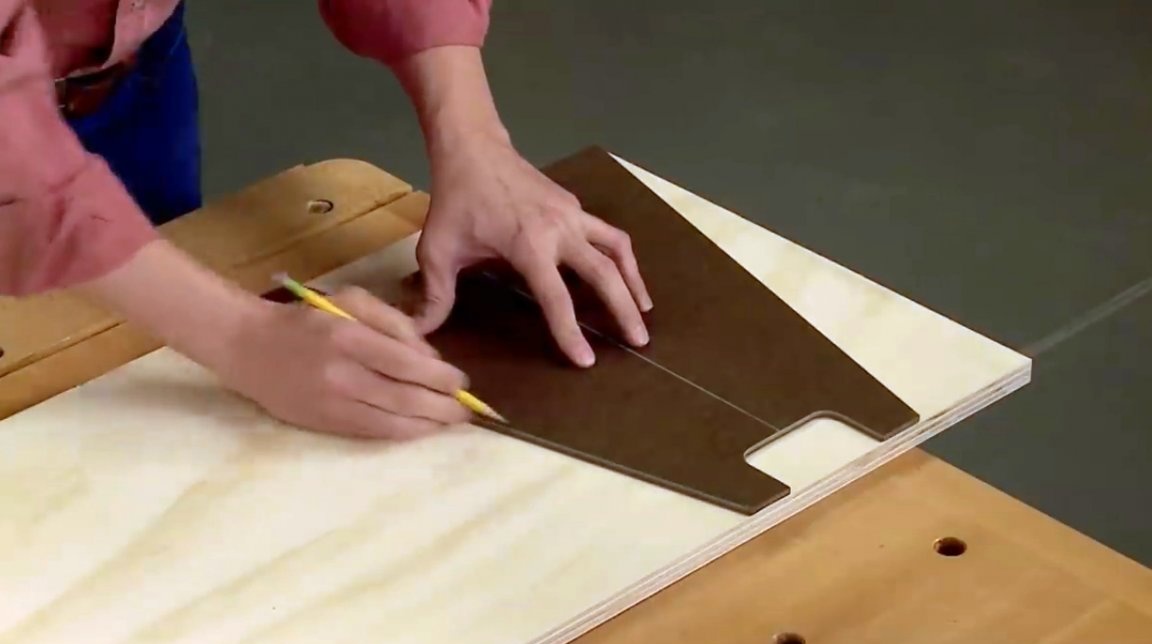
When throwing the next sample, the master turns the template upside down - thus achieving maximum profitability in the use of the material. A small gap should be left between the lines of two different elements so that you can later process the edges of the parts.
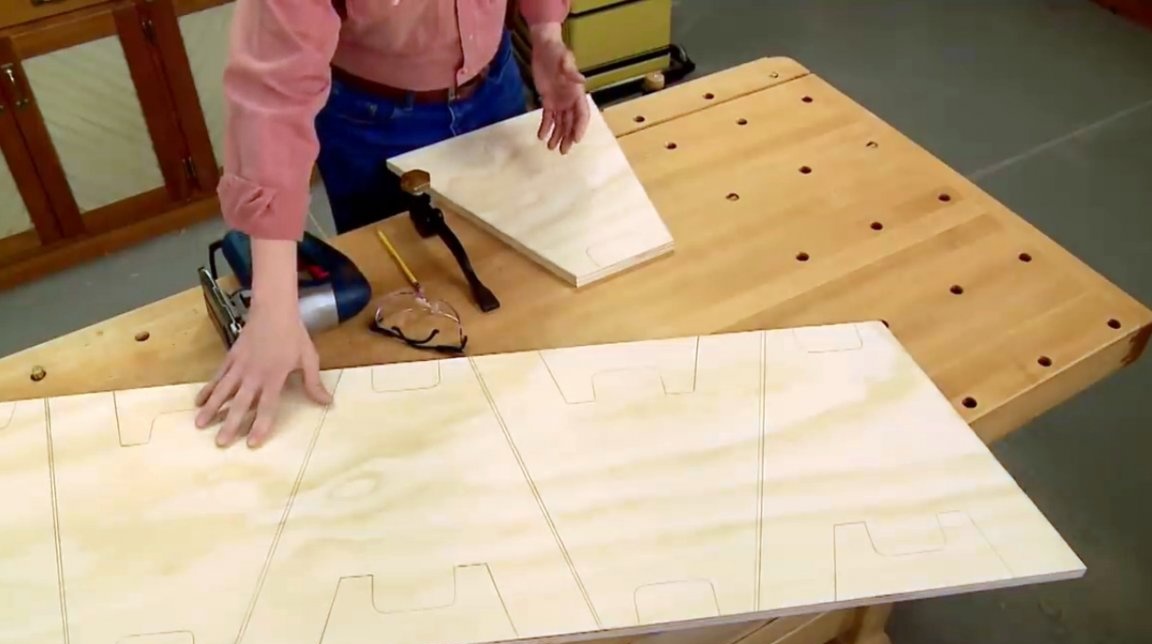
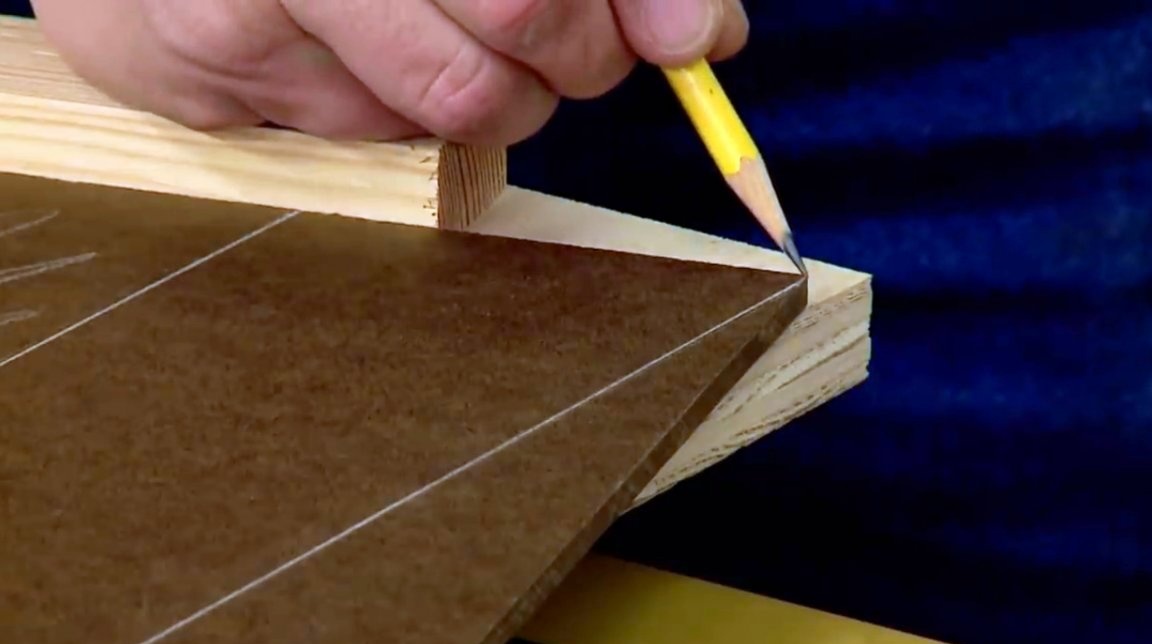
The craftsman cuts all the lines with the same jigsaw, trying to get in the middle between two adjacent lines.

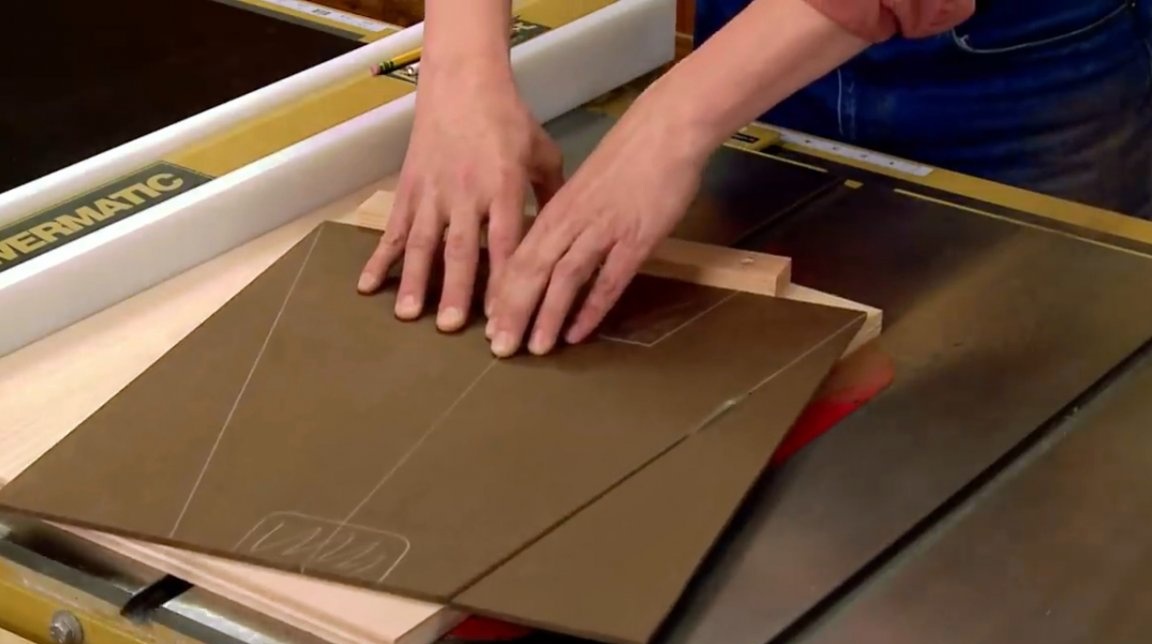
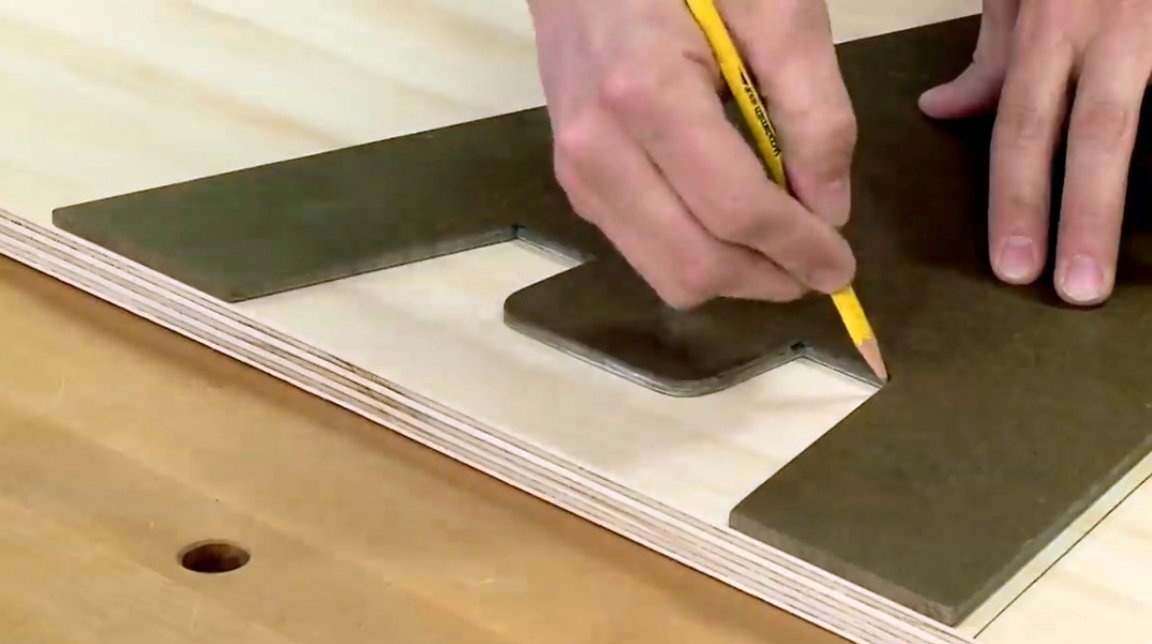
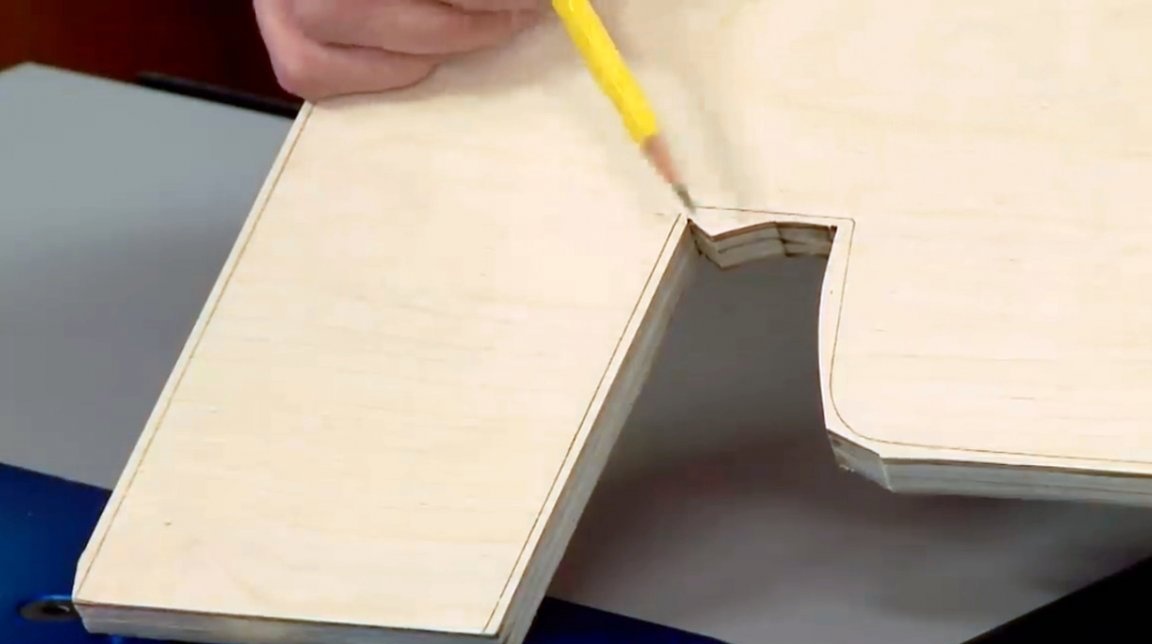
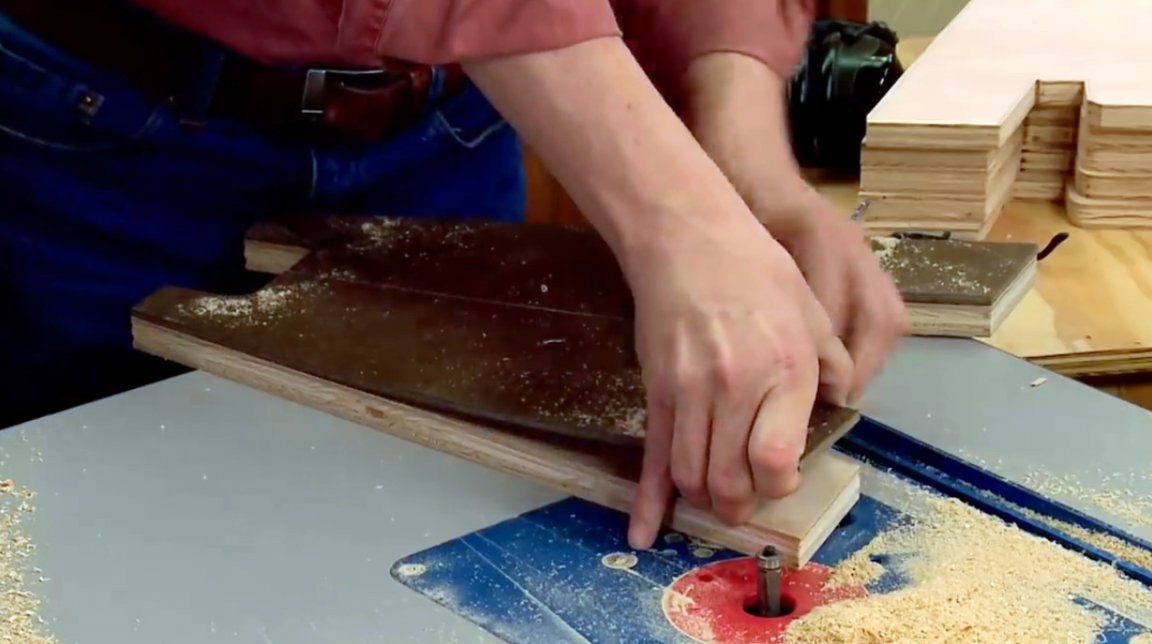
The approximate size and shape of the future legs turned out. There are also small defects from a jigsaw, but this does not matter, since there is a template. The author fixes it to the workpiece using double-sided tape.
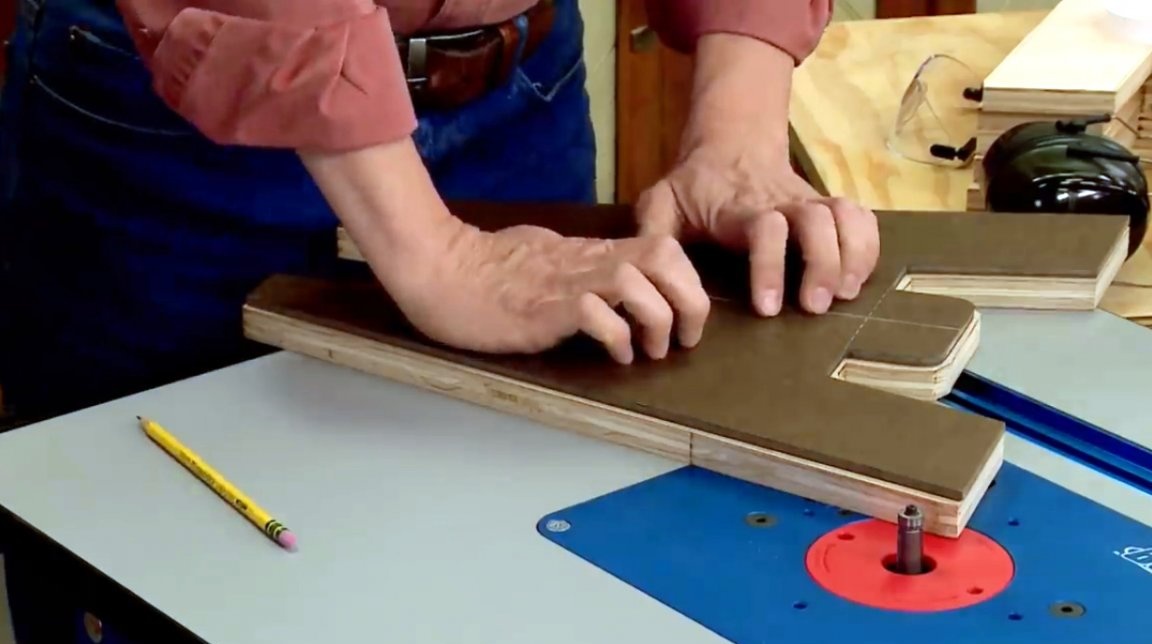
All other work will be done on the milling machine. The author uses a special nozzle - a milling cutter with a thrust bearing. He raises it to such a height that the bearing is at the level of the edge of the template and mills the edges. This makes a perfect copy of the template.
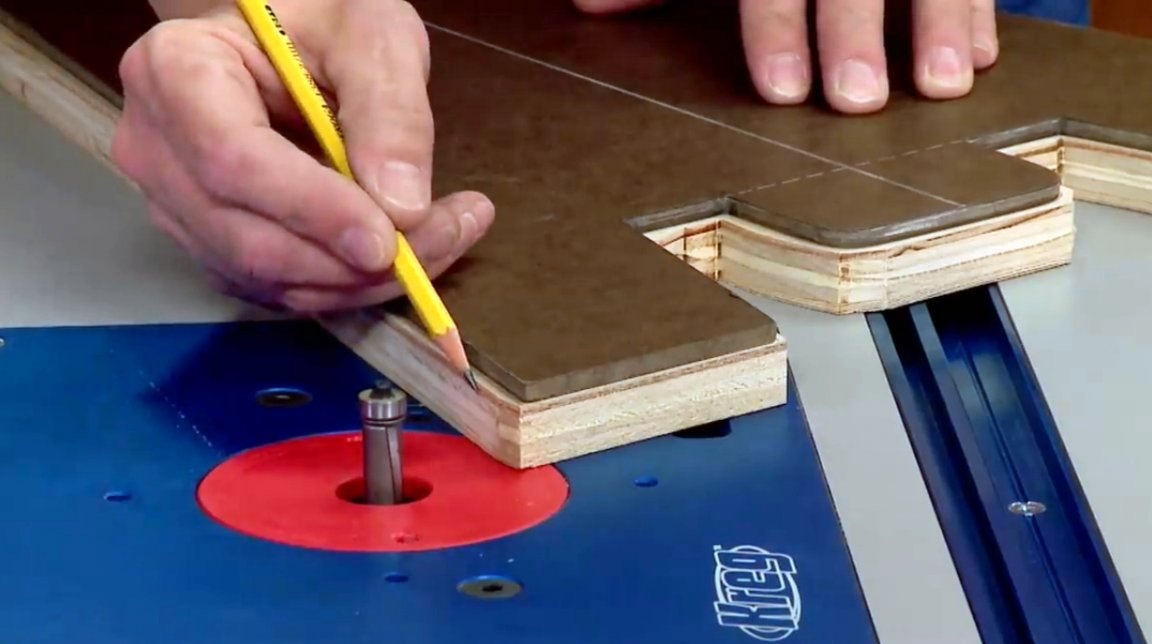
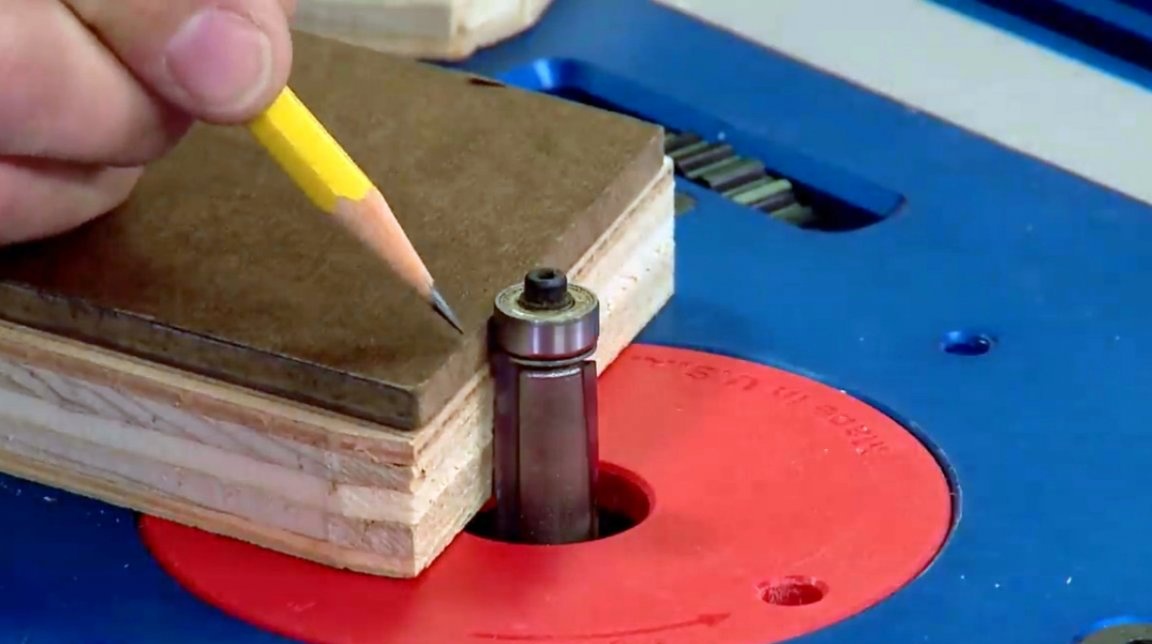
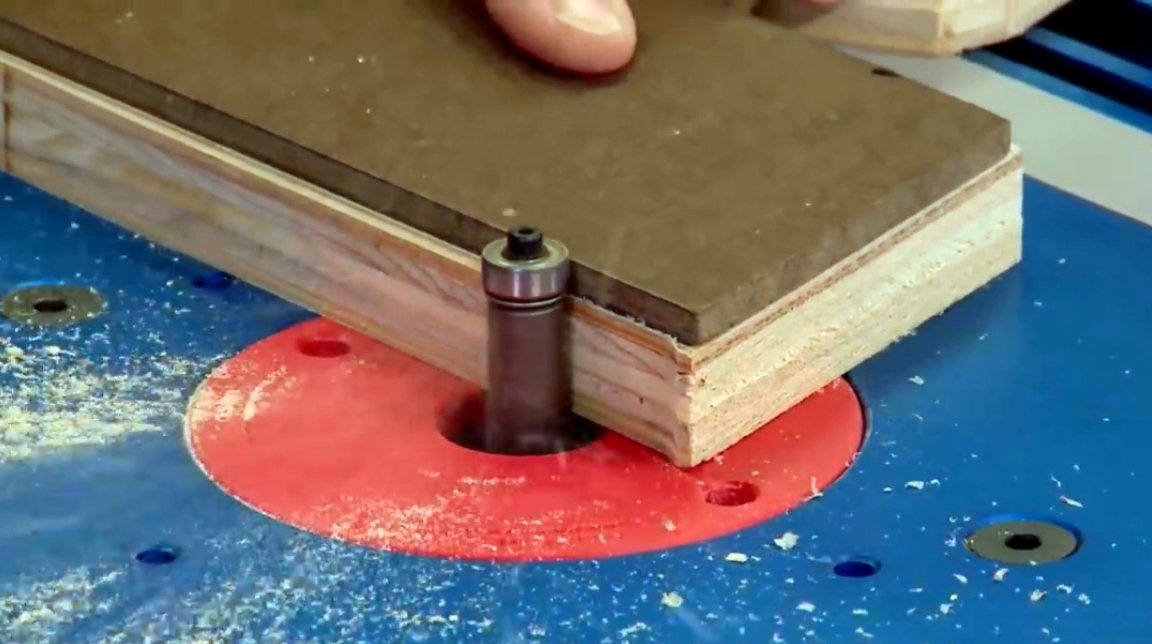
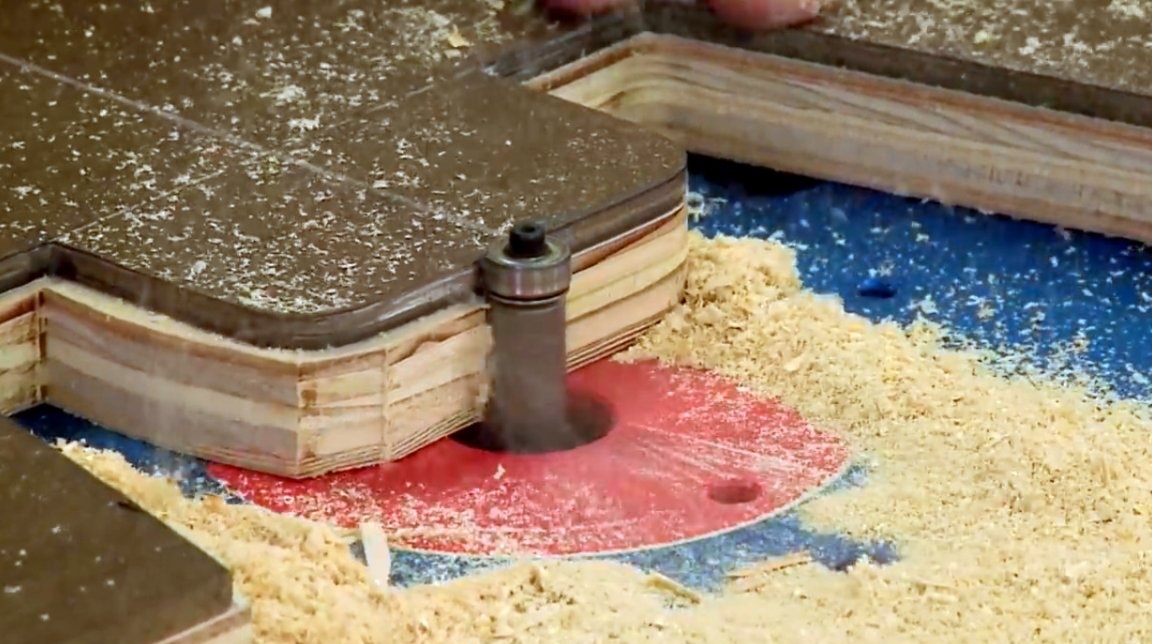
He performs the same procedure with all the other elements of the goat.
However, in connection with the use of a circular cutter, one small problem arises: the angles in these zones should have a perpendicular rather than a rounded shape. But this production defect is quite easily eliminated with a file.
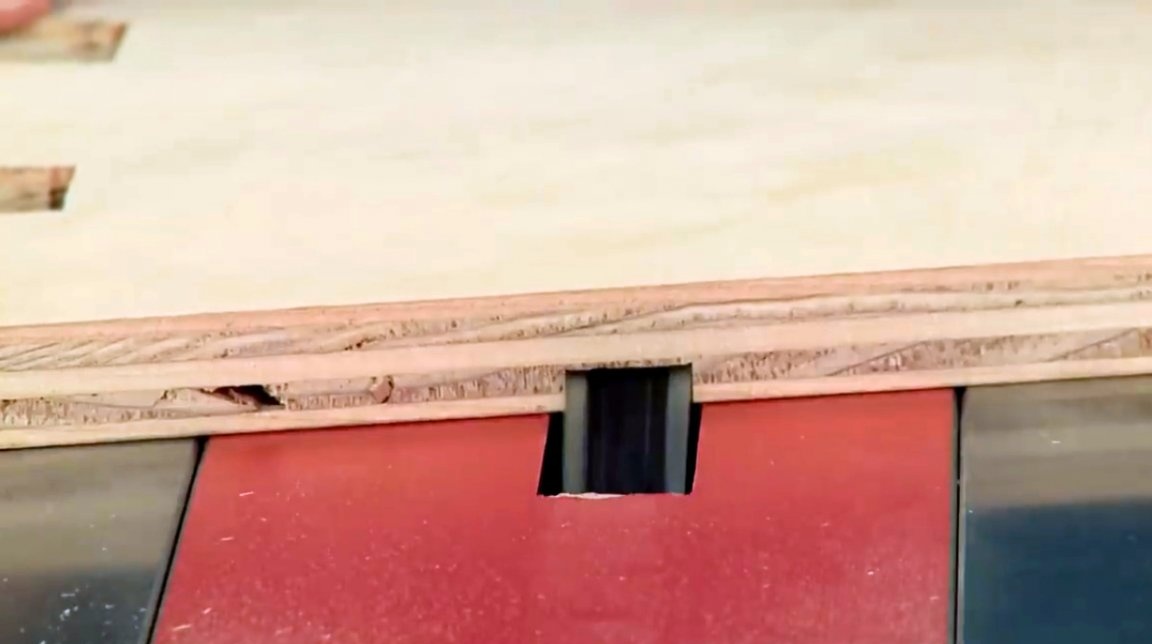
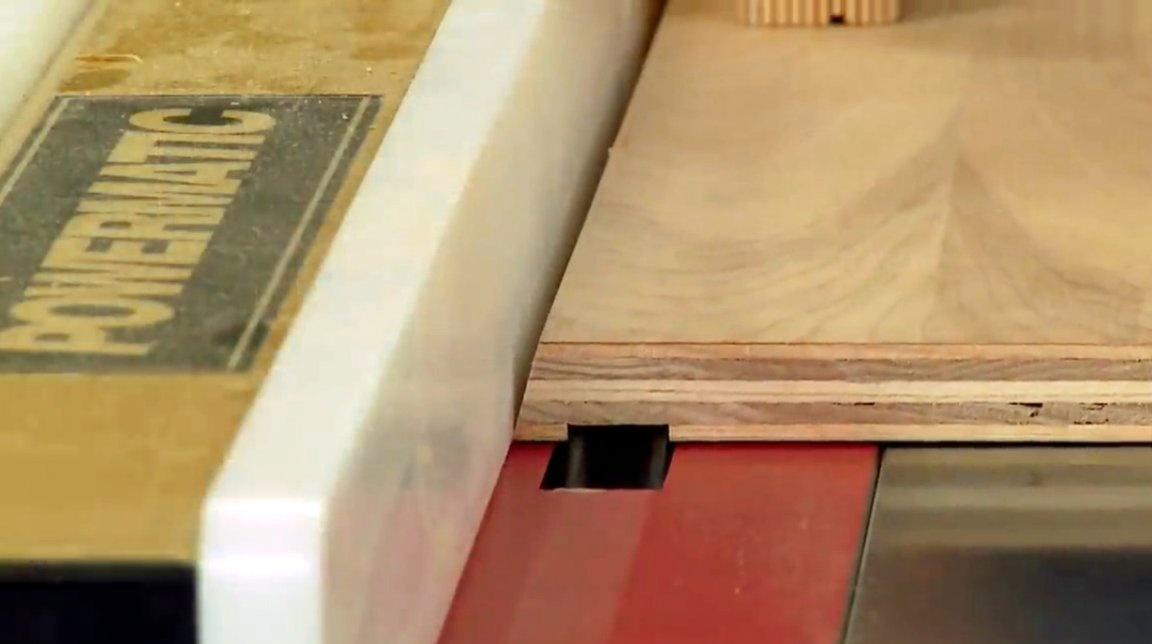
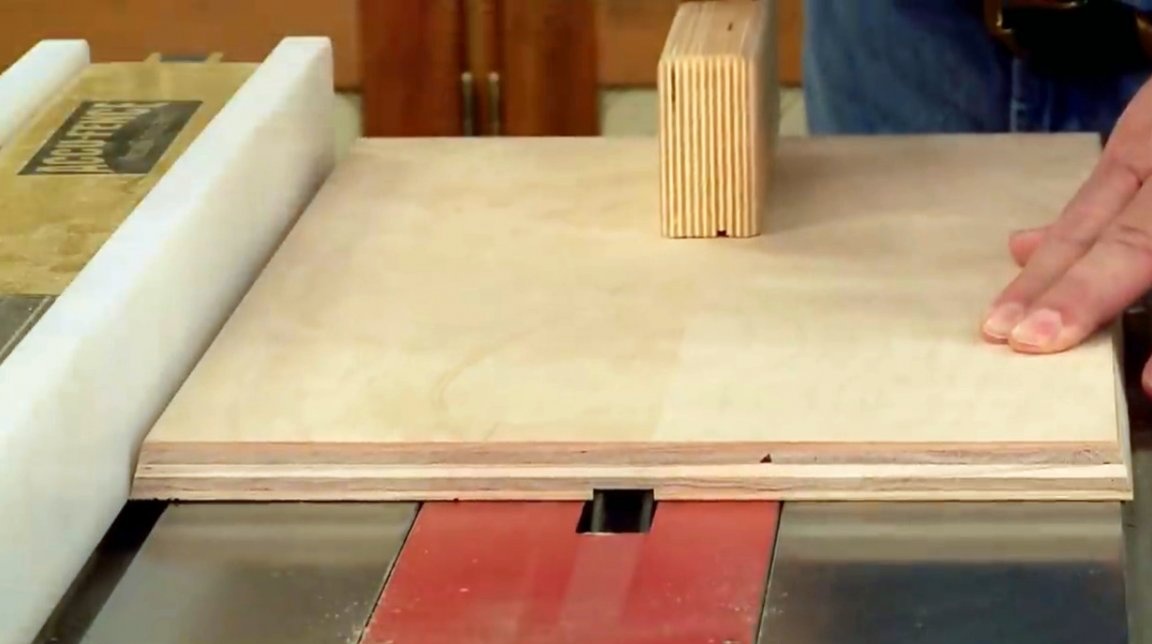
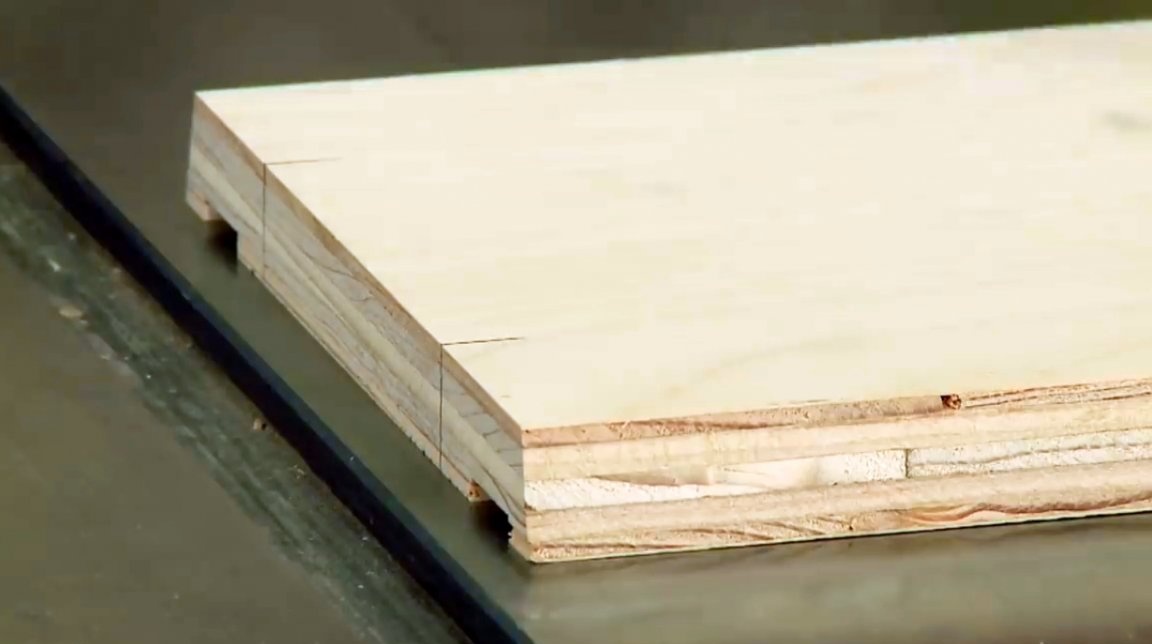
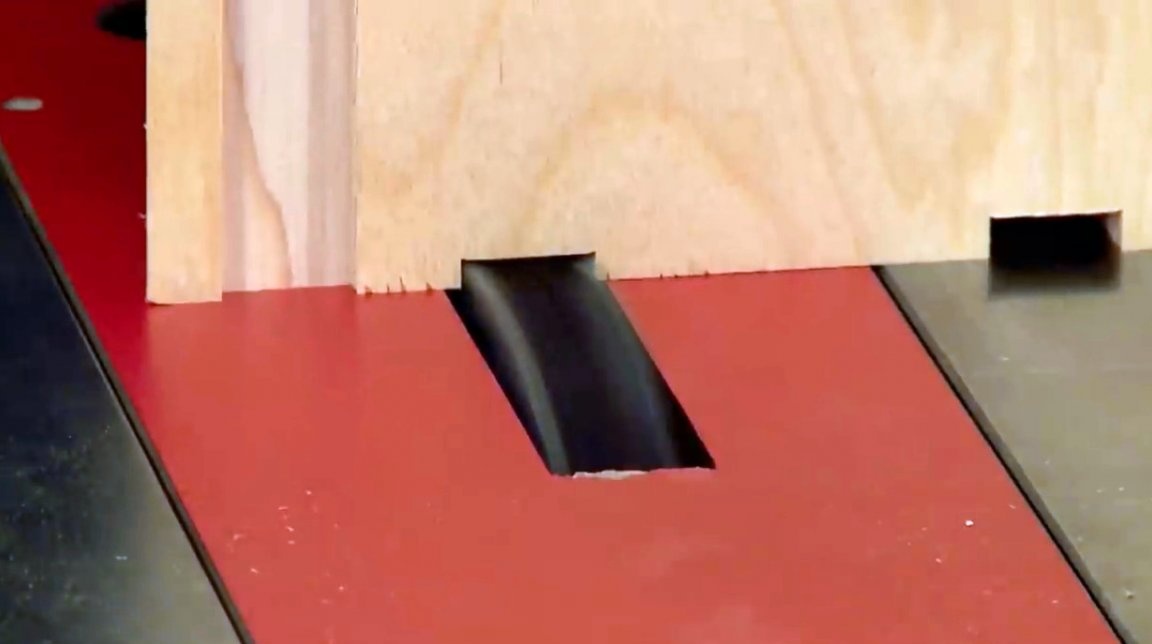
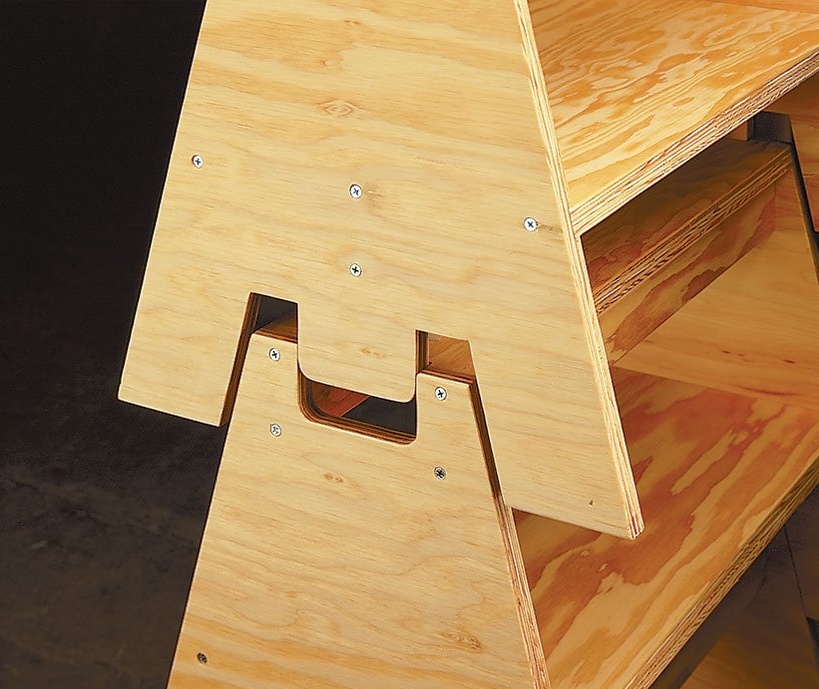
The next step - the author will cut deep grooves in each rack, into which the shelf and the upper supporting part of the goat will later stand. This will give the structure greater strength and stability.
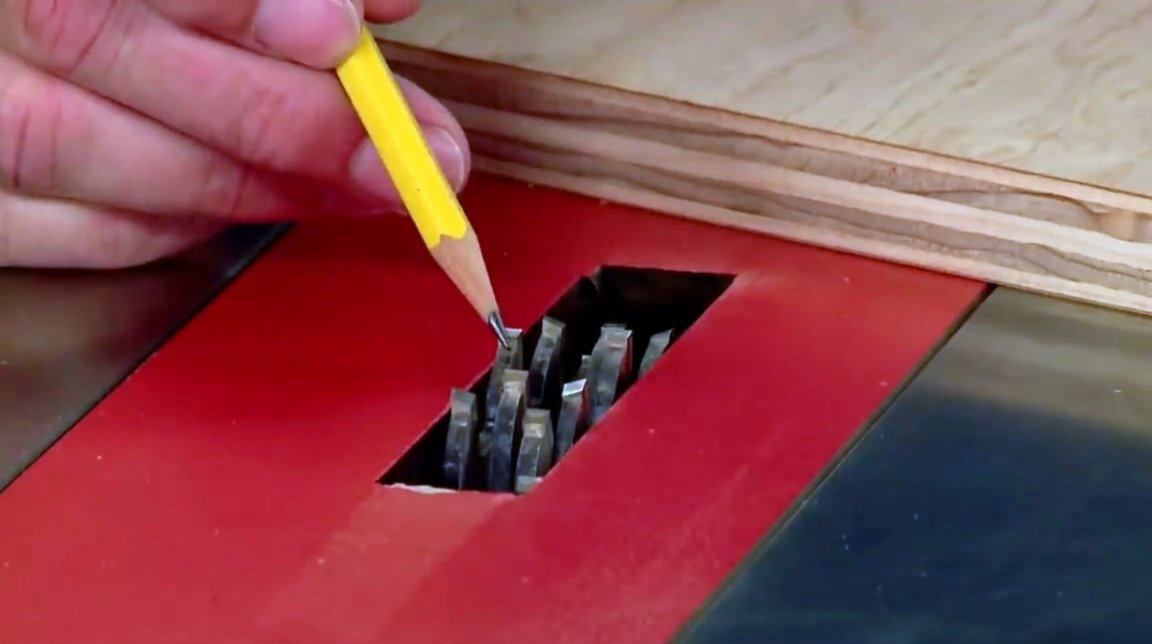
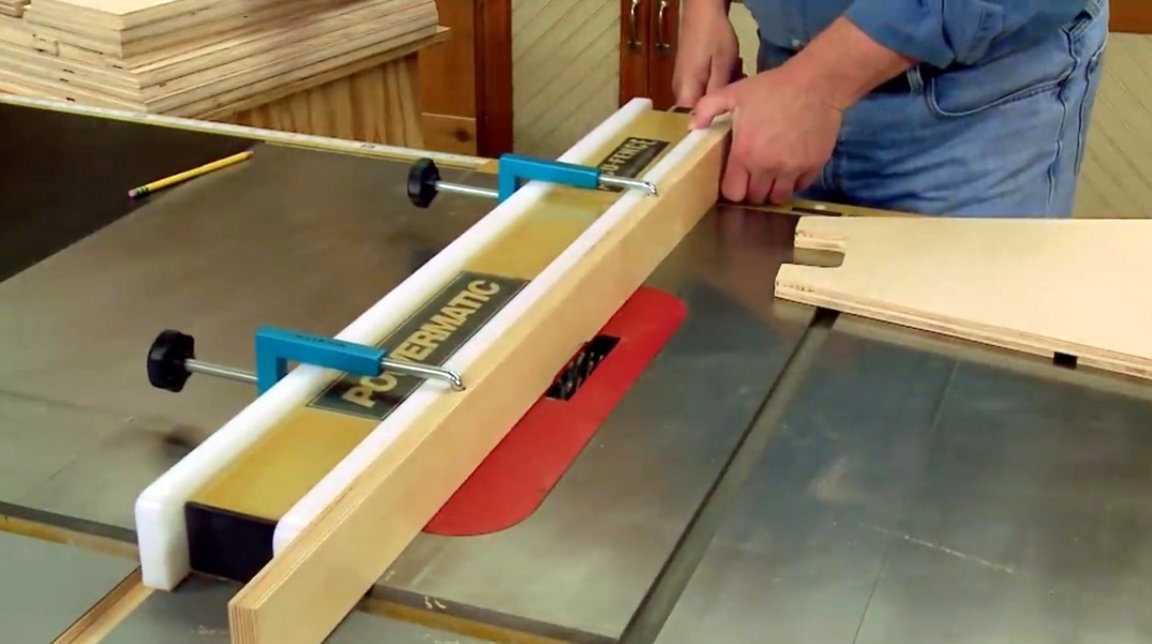
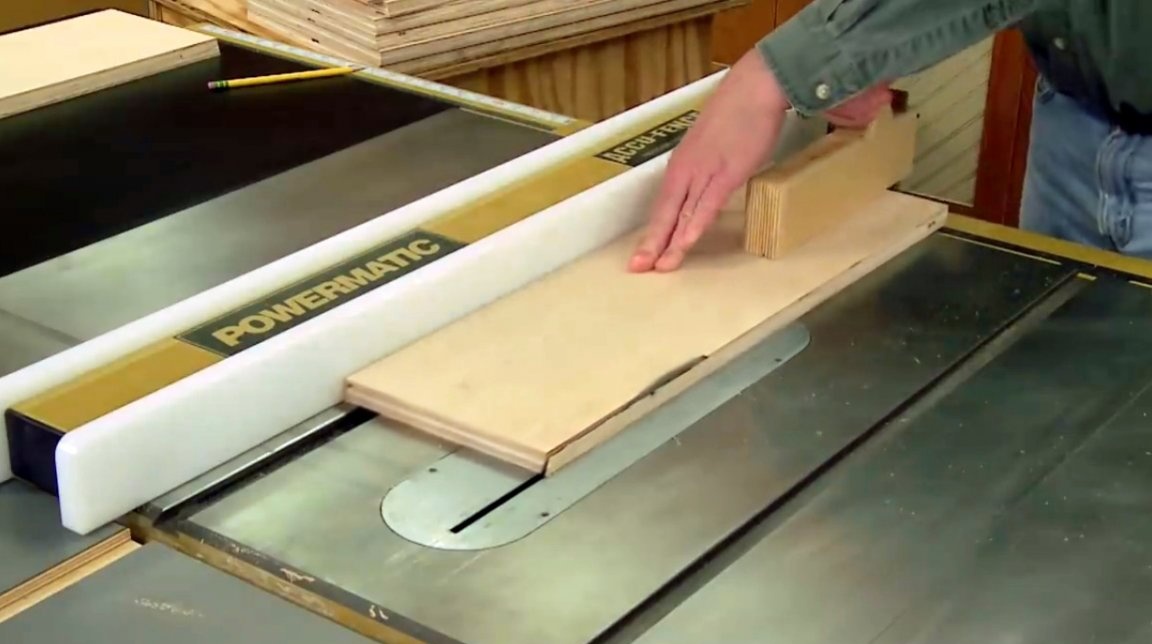
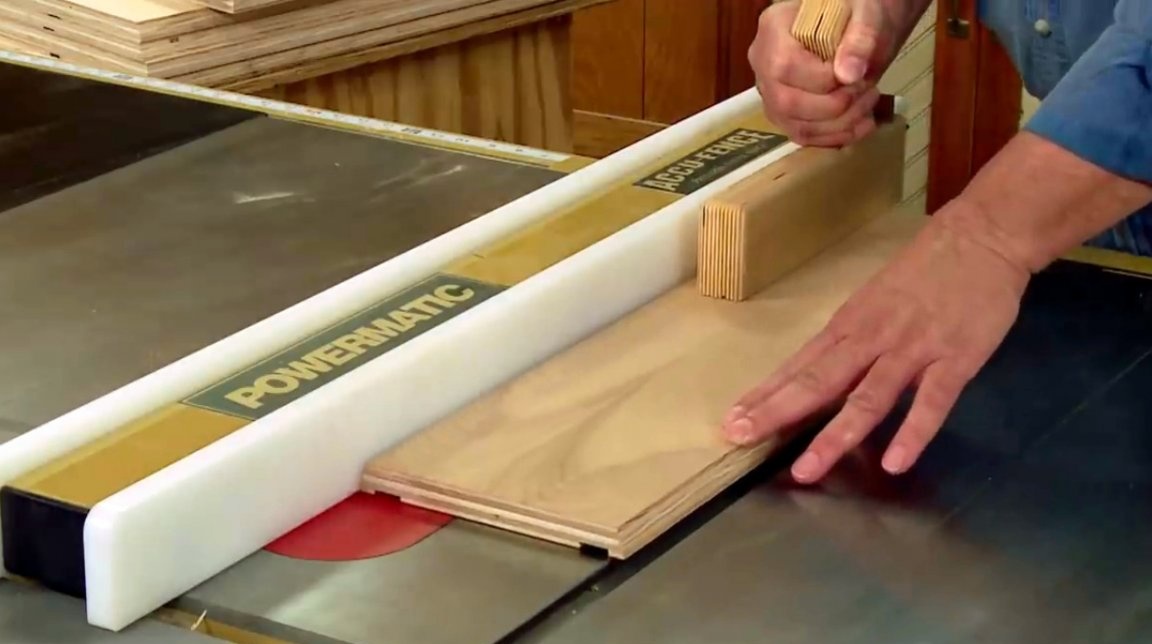
The plywood has a thickness of ¾ inch (in fact, it is slightly thinner, and this may have some difficulties in selecting a saw blade). The wizard installs a special DADO disc from the stacked blades and inserts a pair of washers to adjust the width of the blade to the thickness of the plywood.
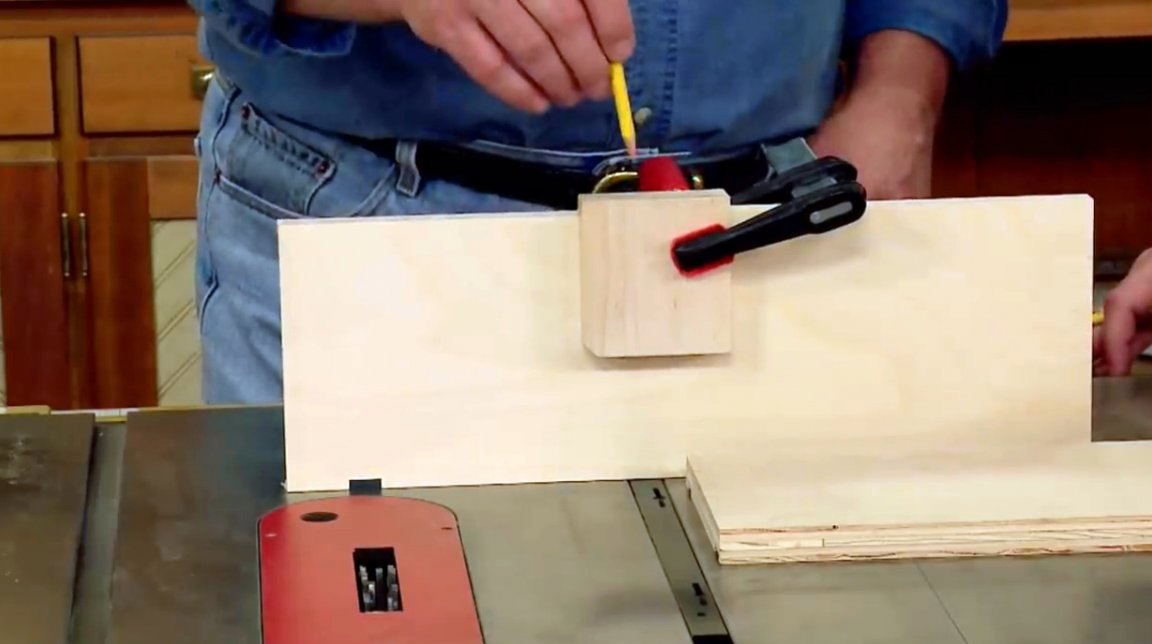
In addition, he uses an additional long emphasis, which is attached to the main clamps. A long emphasis is needed so that the part, passing through the blade of the disk, does not move, and the slot is perfectly smooth.
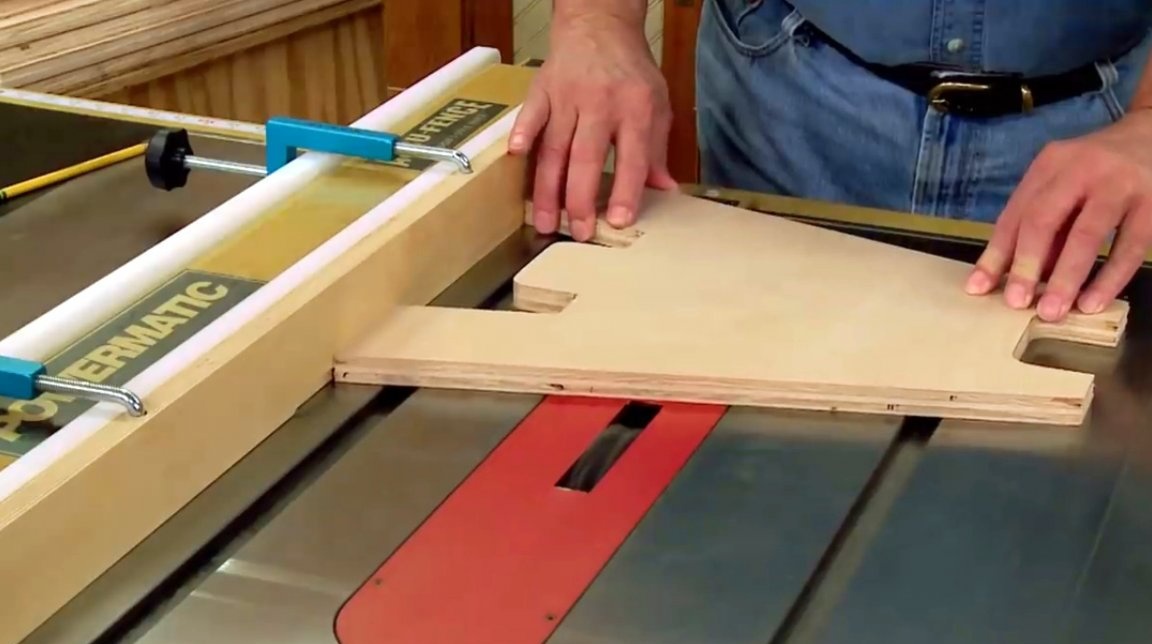
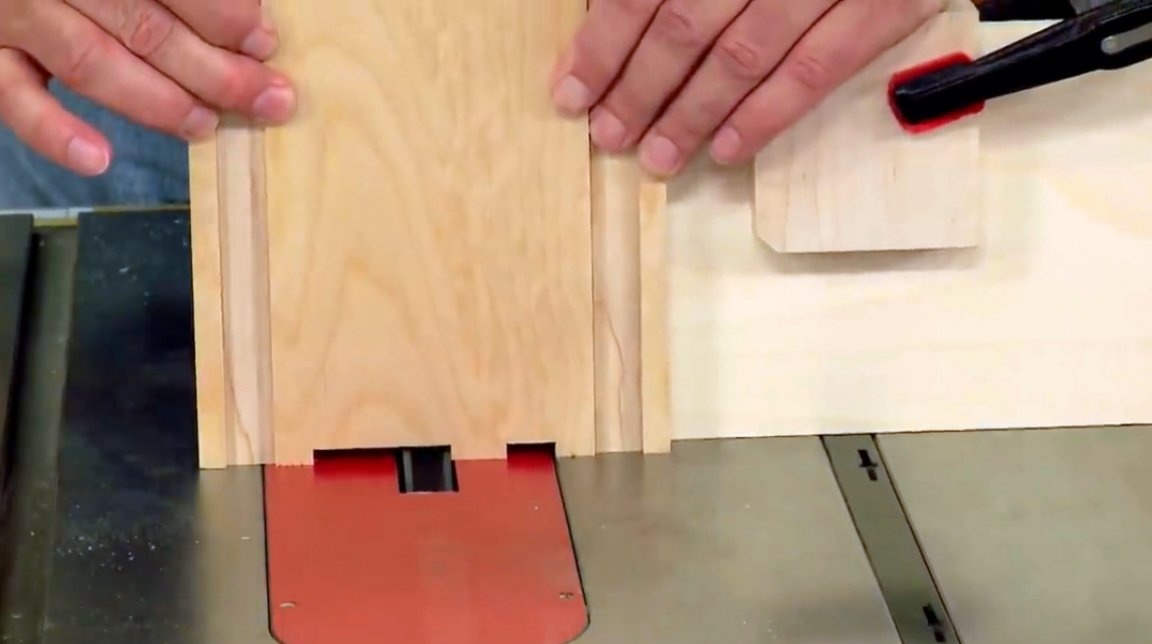
To make the upper grooves, the master pushes the emphasis close to the blade.
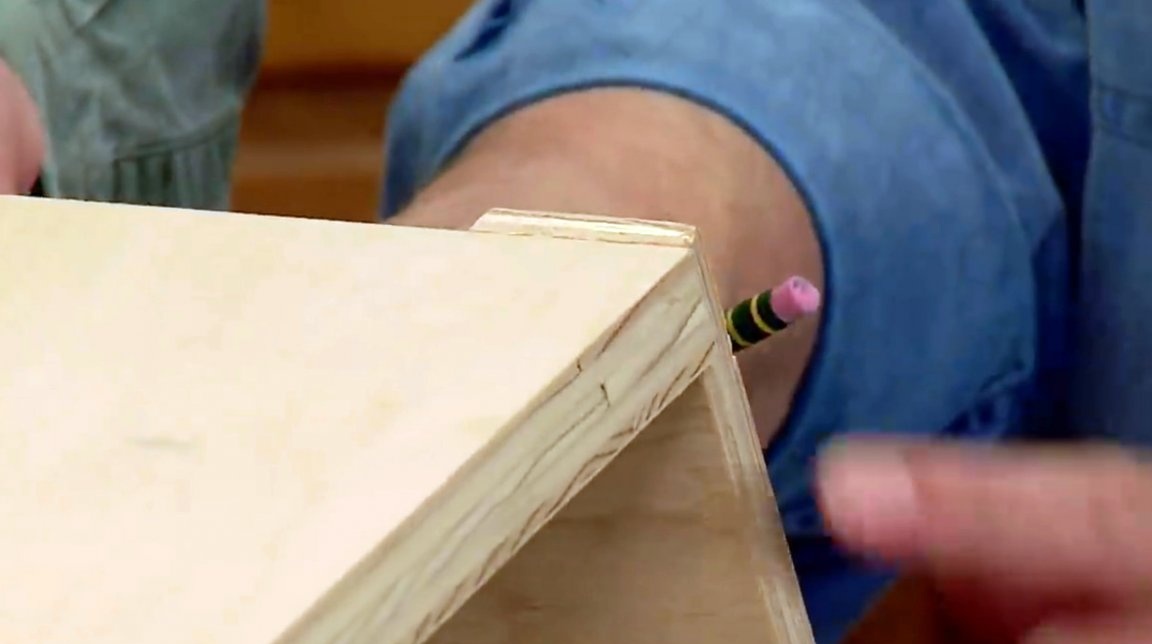
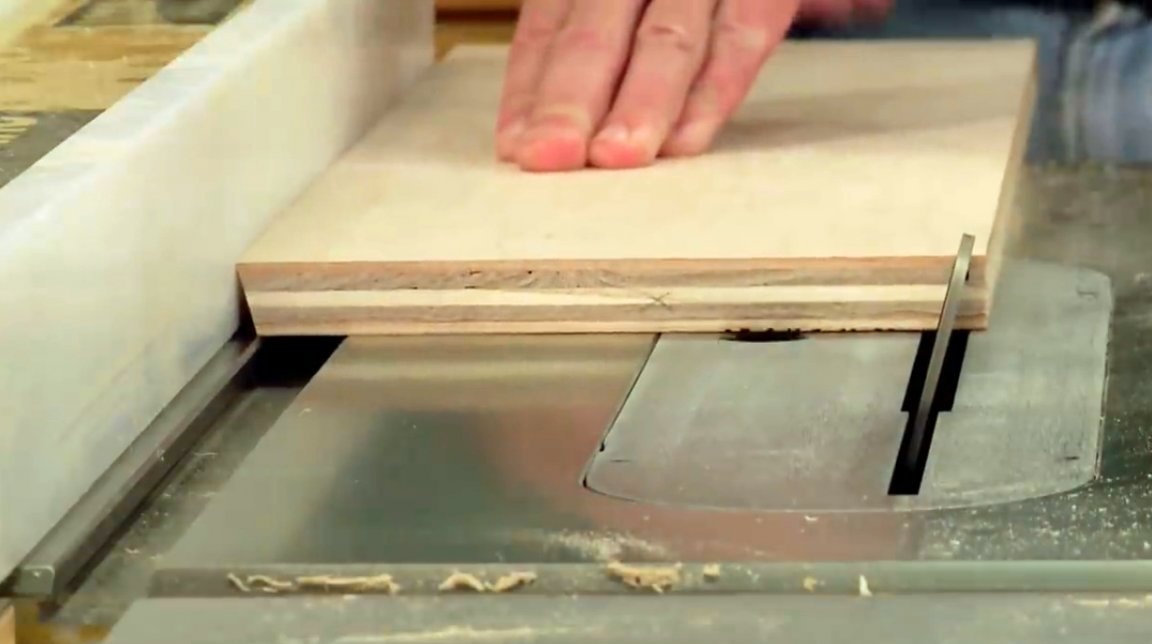
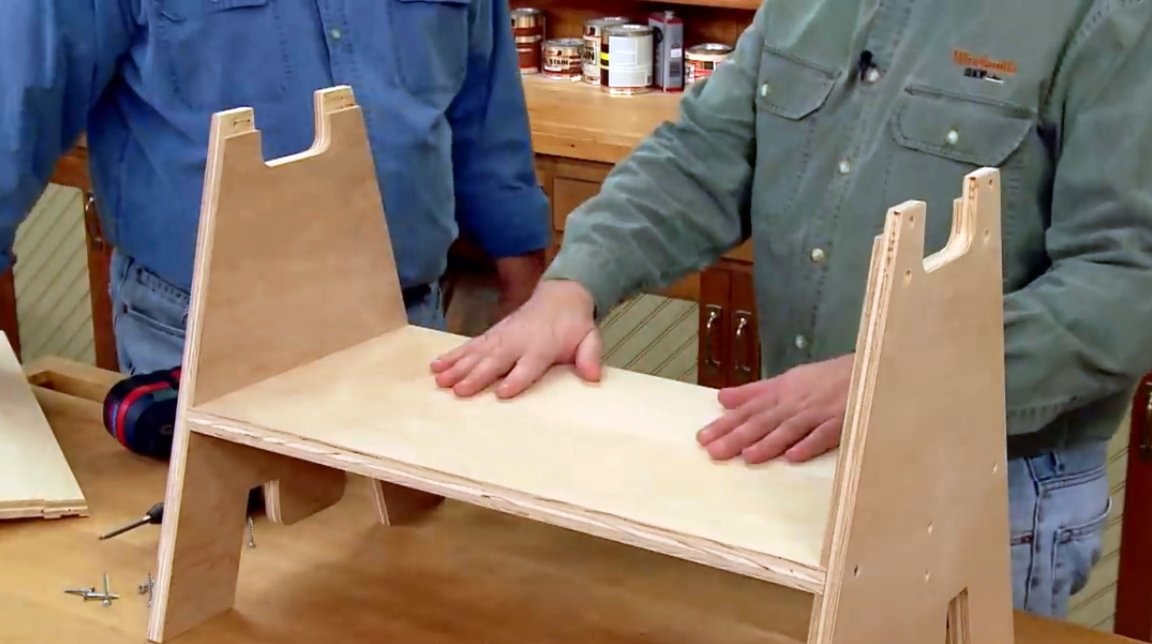
So, the grooves for the shelves and the top of the goat are ready. The author draws attention to the fact that the edges of the shelves and the topmost working surface are beveled. So they form a single line with the slope of the side racks.
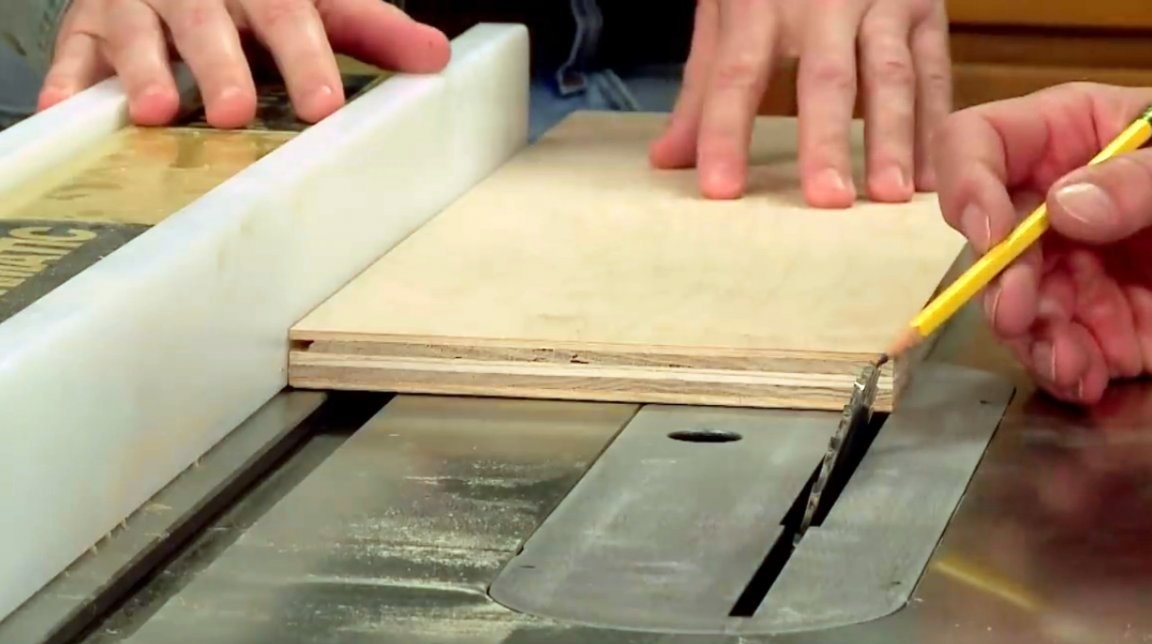
The author cuts out each element of the required width with a small allowance. Then he sets the saw blade at an angle of 15 degrees, and makes bevels on the outer sides of the upper panel. Shelves also get the same beveled edges.
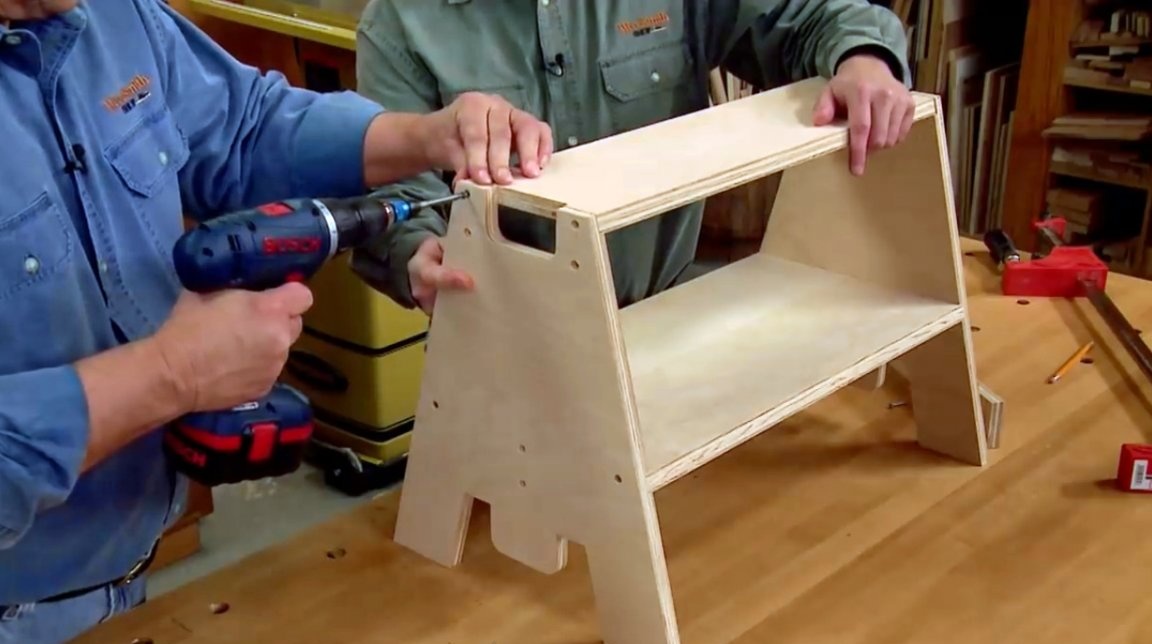
The photo shows how precisely all the structural elements coincided.
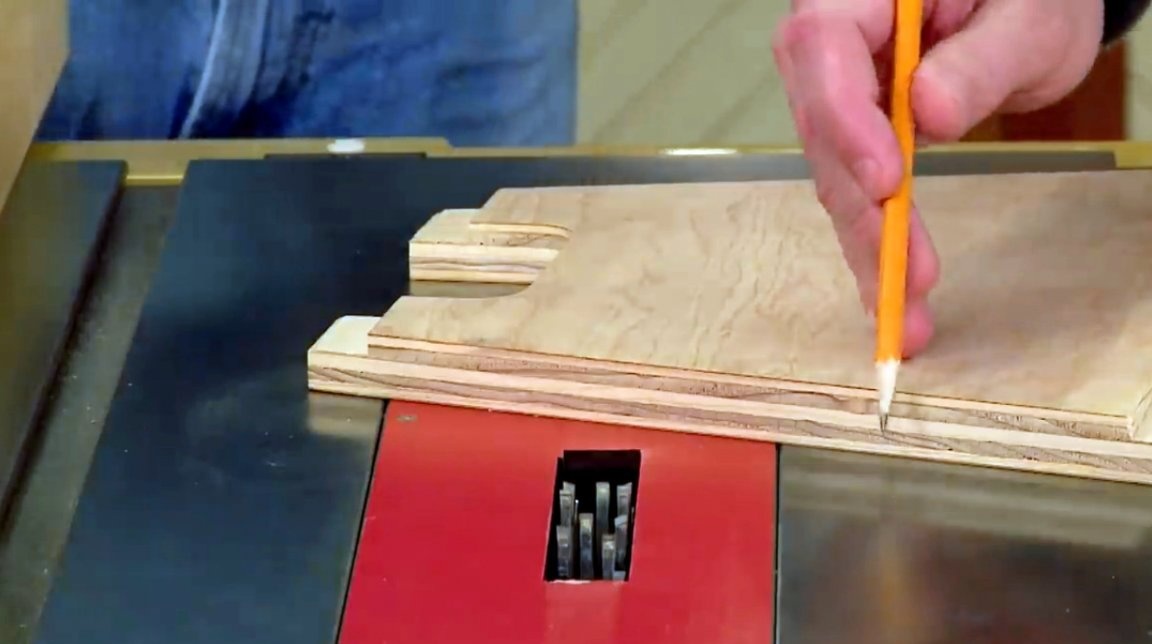
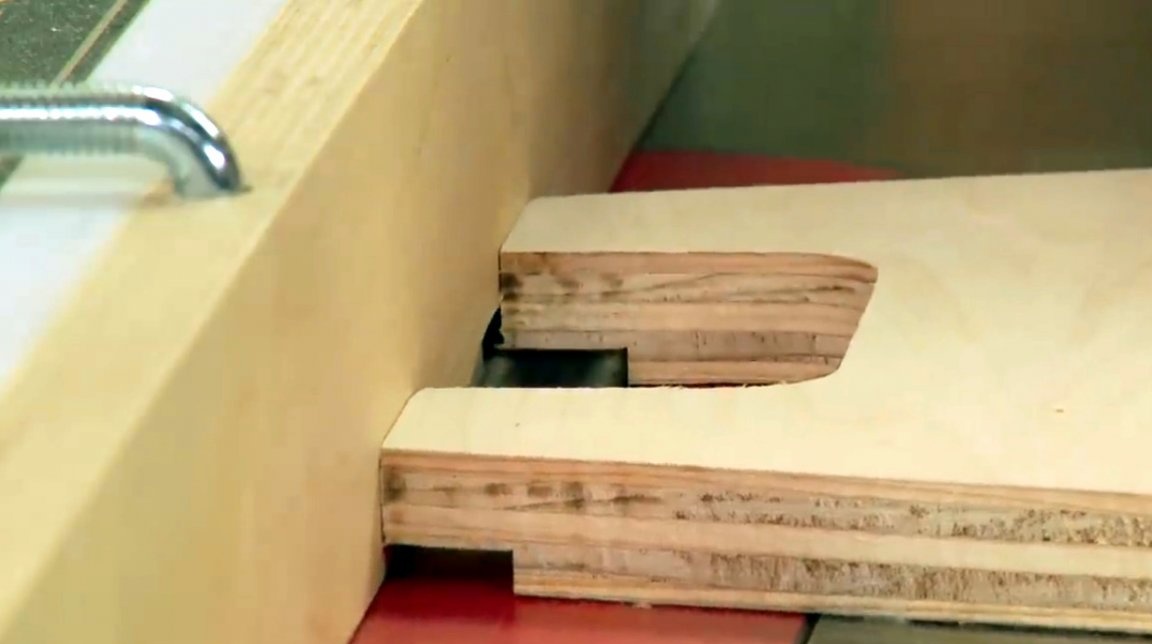
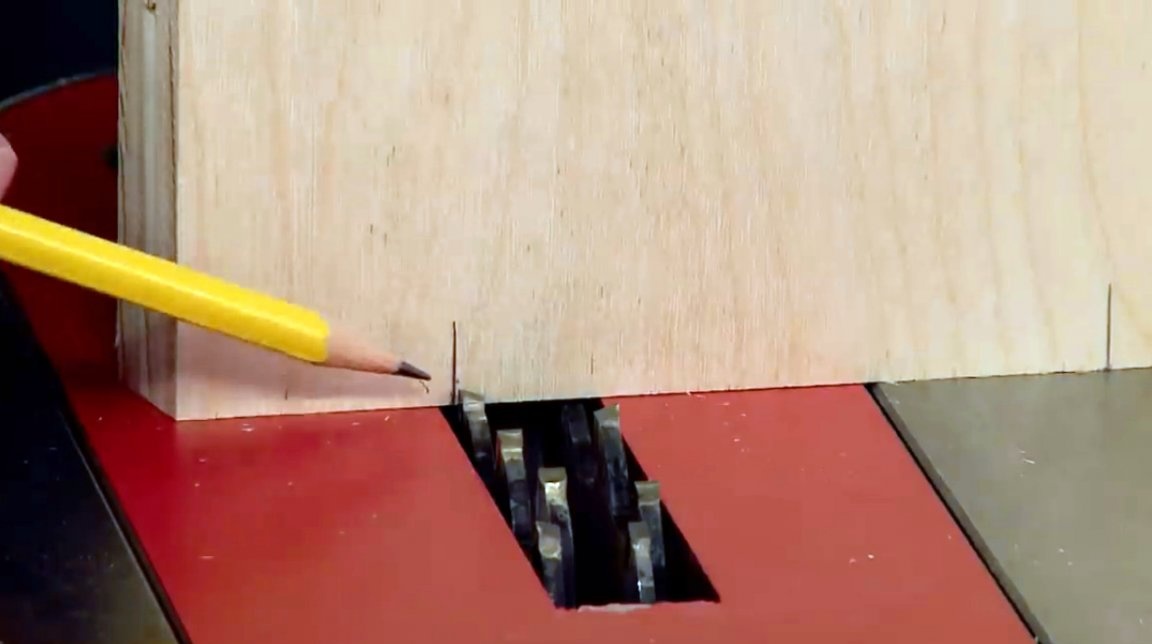
Next, the master cuts in the upper board two grooves for transverse stiffeners, and one groove in the shelf in the center.
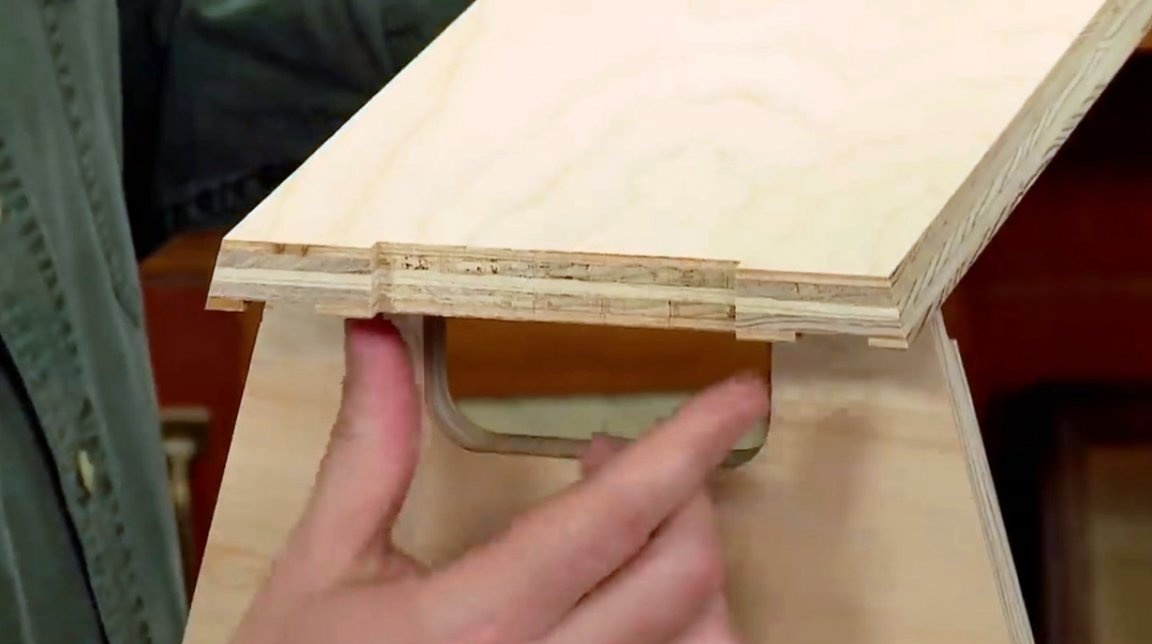
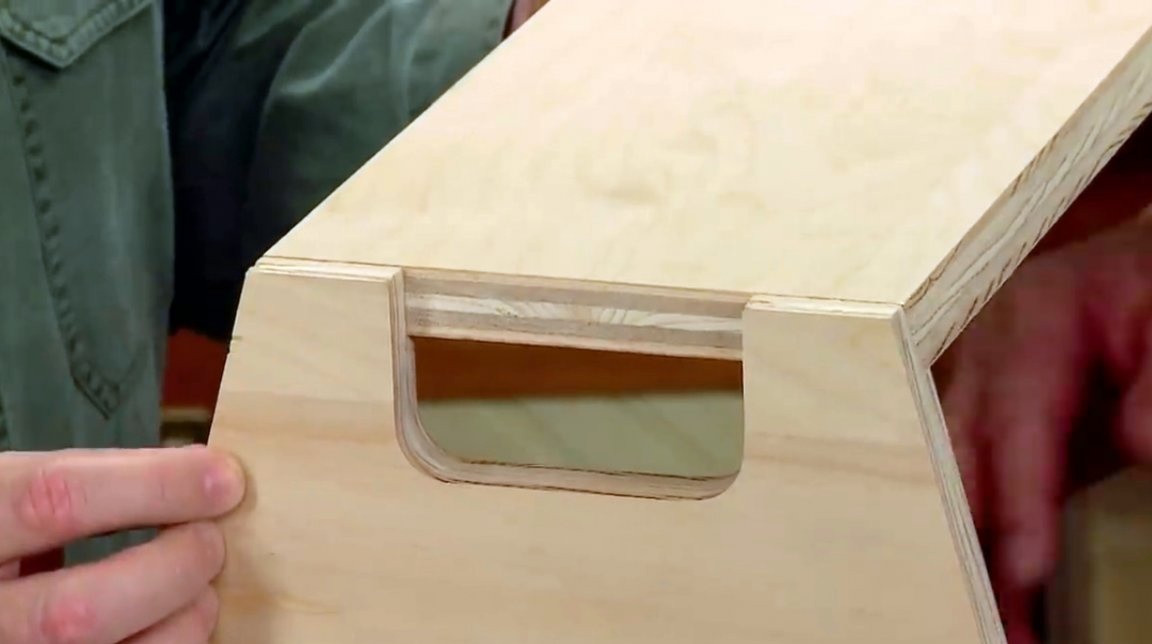
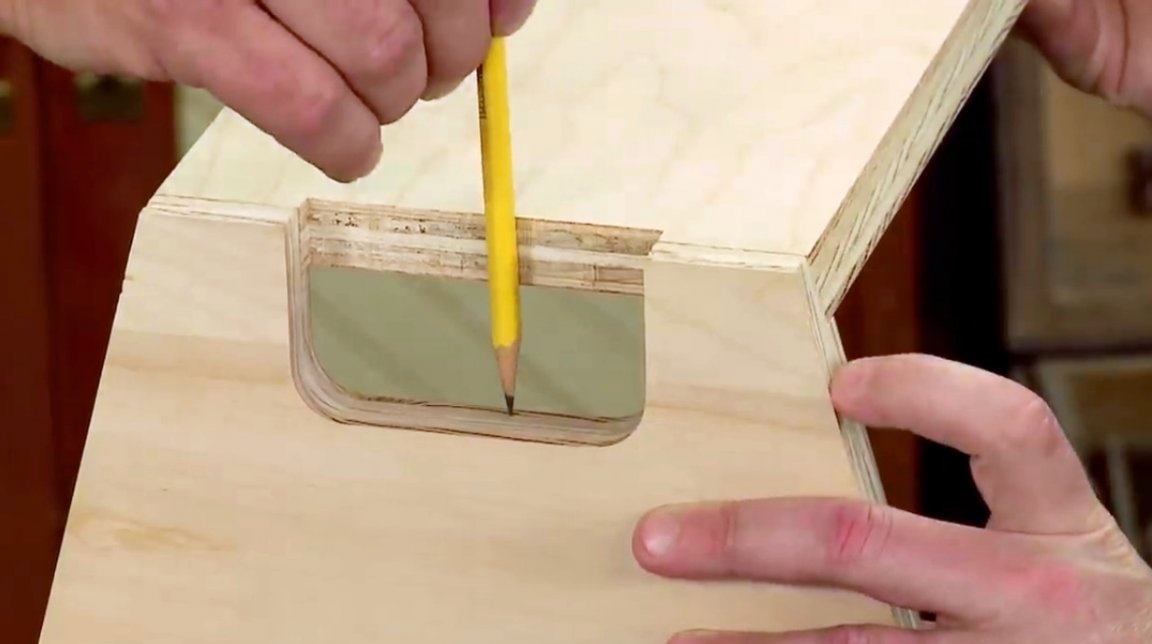
Now you have to make more small grooves from both edges in the upper panel so that there is enough space for the ears. This is in case there is a need to erect some goats on top of others. These ears will go into the prepared grooves and snap into place.
To do this, the master inserts the top panel into place, makes pencil marks on its sides in those places where it intersects with the edges of the panel, and transfers these marks to its upper surface.
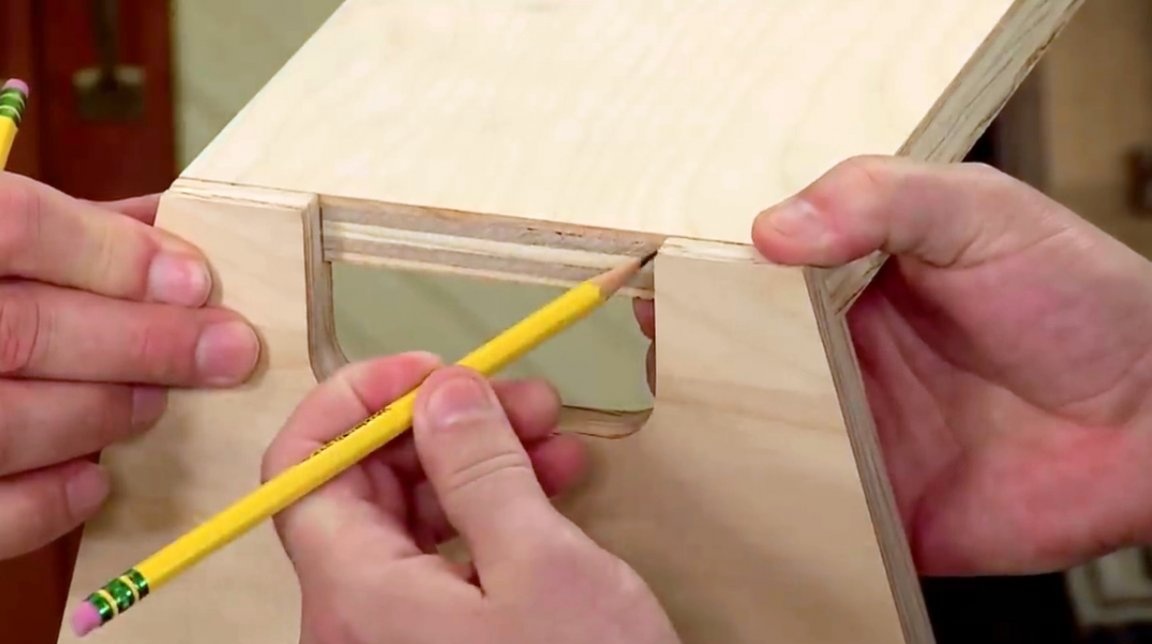
The author returns to the circular table with a movable emphasis, and a bounding block attached to it. The latter is set in such a way that the upper panel attached to it exactly coincides with its pencil marks in line with the blade of the saw blade.
First, a groove is cut on one side, then the workpiece is turned over, and another symmetrical cut is made on its back.
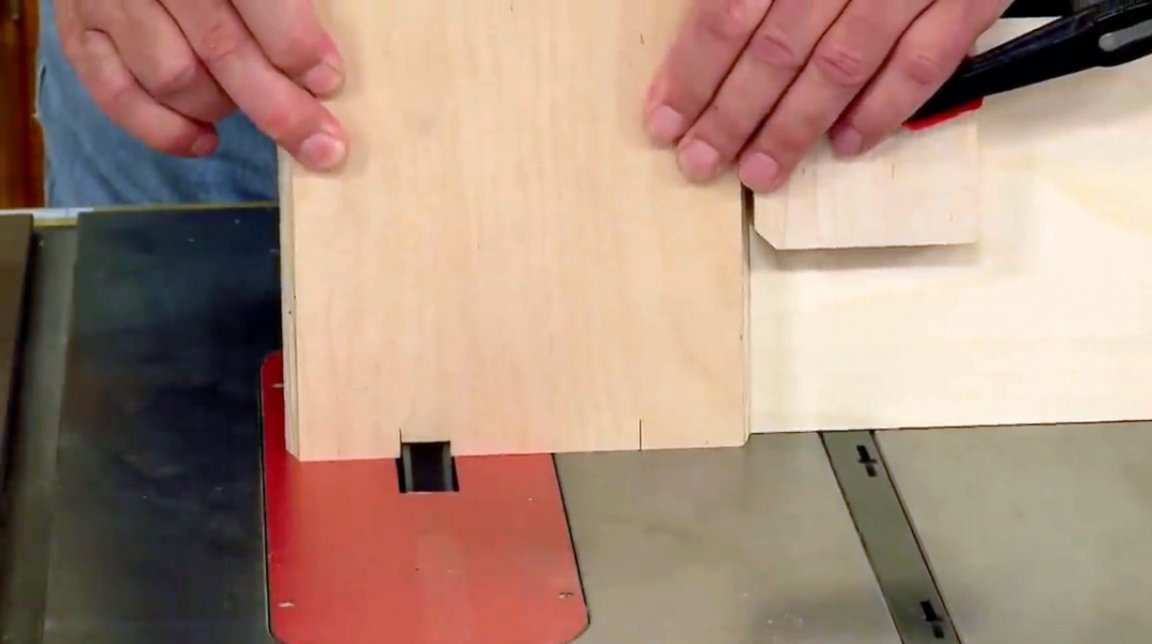
Further, the author shifts the part slightly to the side, and step by step removes excess material. It turns out a wide undercut.
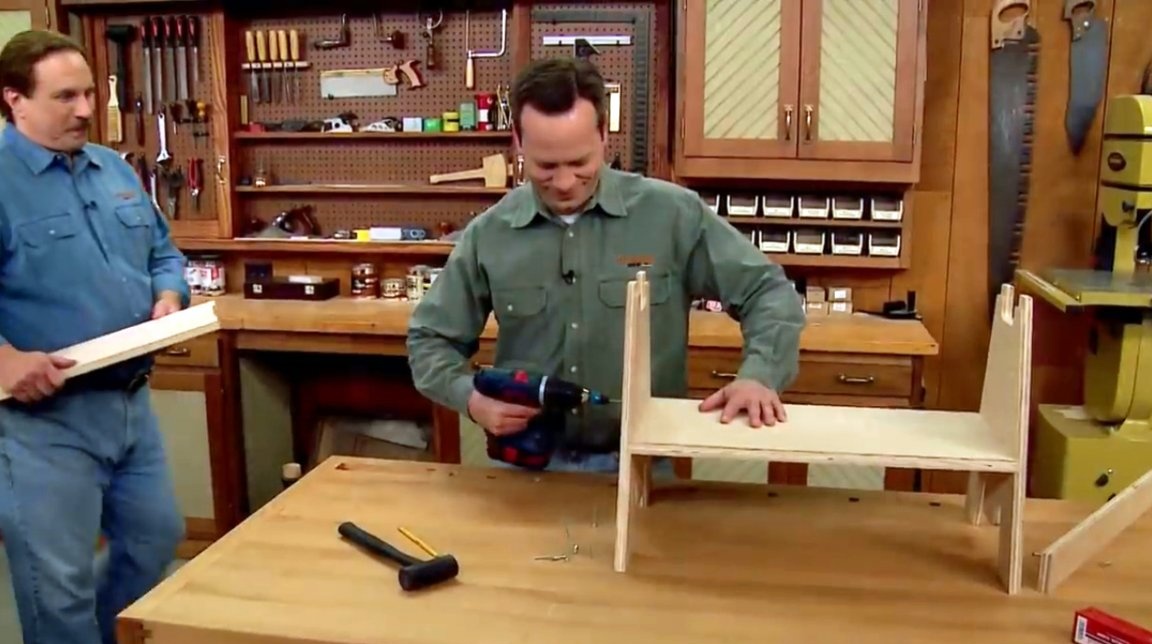
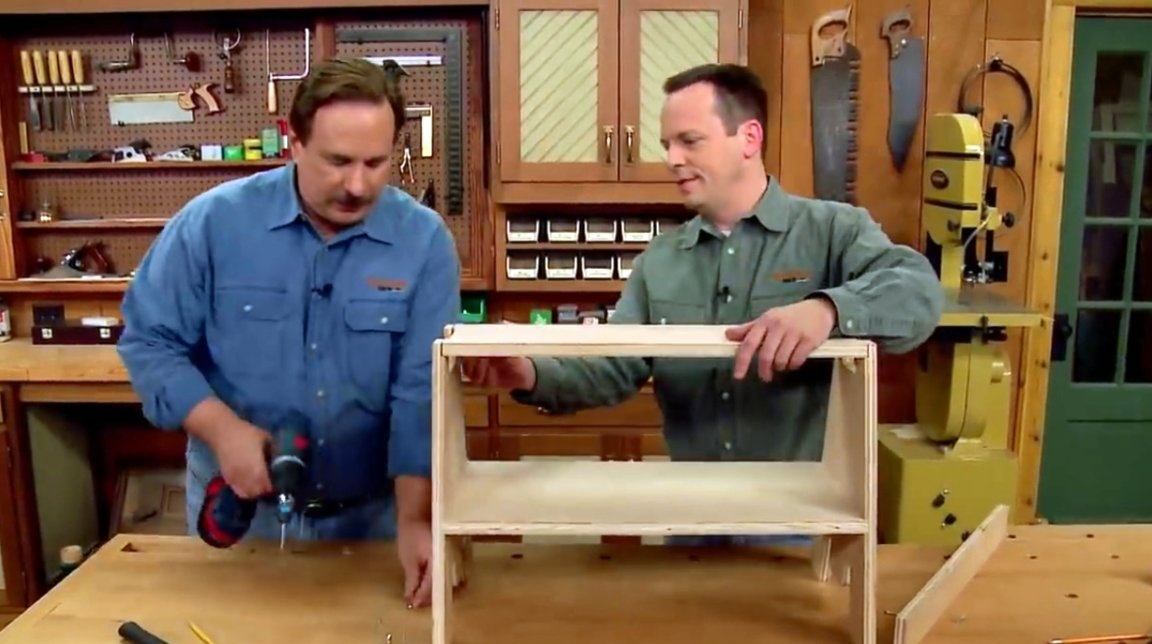
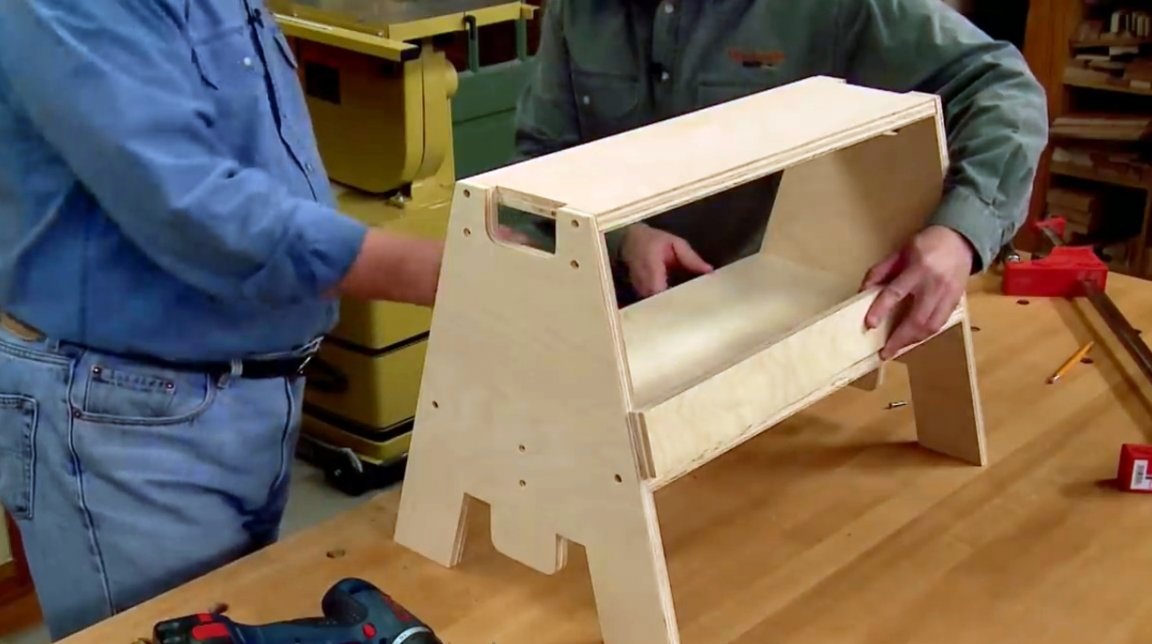
Next is the assembly. A shelf is installed on the side racks of the goat, then the top panel. All elements are twisted with screws.
And only after all the operations done, and before finishing gluing and assembly, the author measures the required length of future additional stiffeners. Otherwise, you can not guess with the depth or width of the grooves, or with the length of the planks themselves.
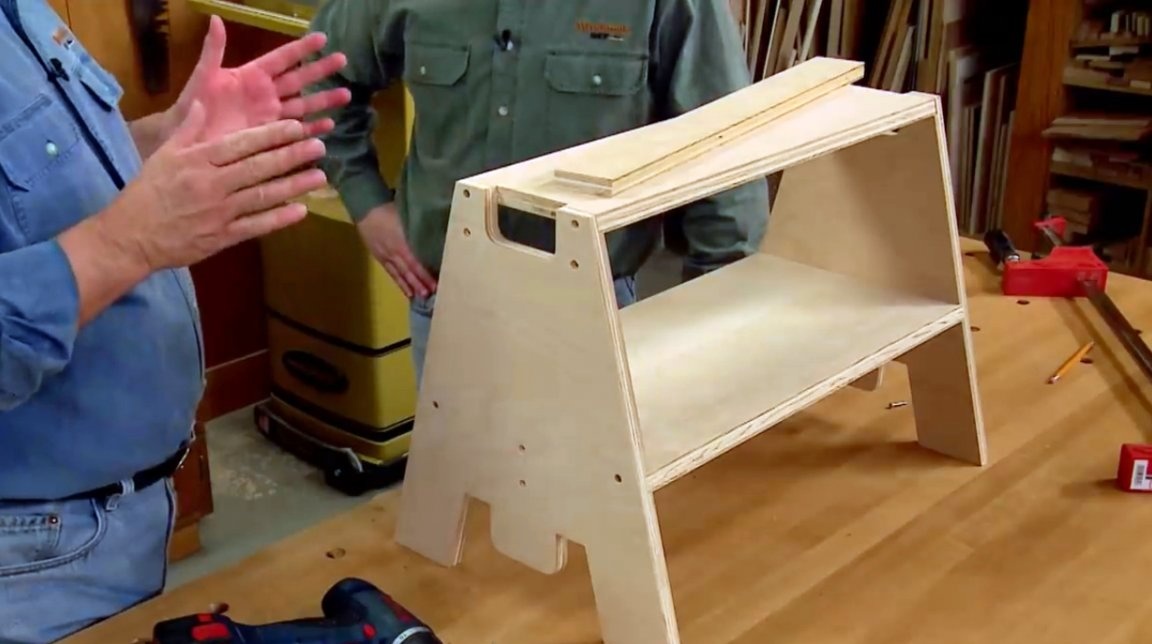

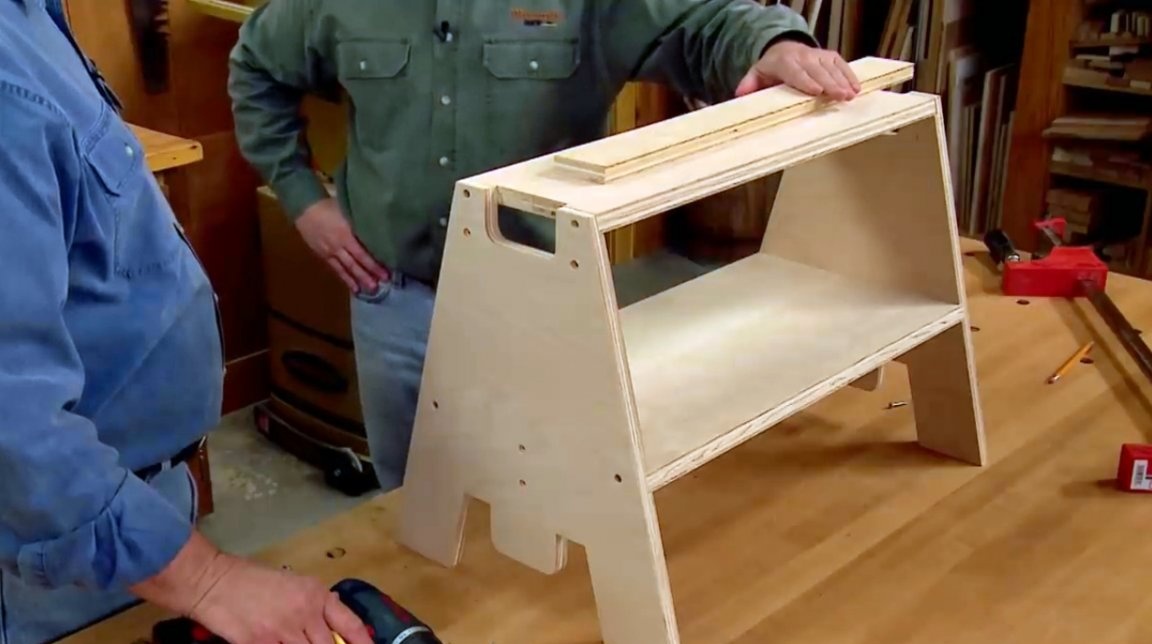
After gluing and assembling structures, their surfaces are treated with wood impregnation. And finally, all the stands are ready to go. In addition, they can be used as chairs.
I thank the author for the simple but useful device for the workshop!
All good mood, good luck, and interesting ideas!
Author video can be found here.