
The fans used to cool the electronics come in two forms. Some are miniature, they are sent directly to the cooled components, others are larger, they drive air through the entire space of the housing. It is best when both types of fans are used together. Often, fans of the second type are constantly "threshing" at full power, even if this is not necessary. From this, the bearing wears out faster, and too much noise interferes with the user. The simplest contact thermostat can turn the fan on and off, while the bearing resource is consumed only when the engine is running, but sharply appearing and disappearing noise can be even more annoying. A more sophisticated thermostat - for example, proposed by the author Instructables under the nickname AntoBesline - controls the frequency of rotation of the fan motor with a PWM and maintains it necessary and sufficient to achieve the set temperature. It is advisable to drive air through the housing space from the bottom up, and place the temperature sensor from above. You can also install filters to prevent dust from entering the enclosure, but they will reduce performance.
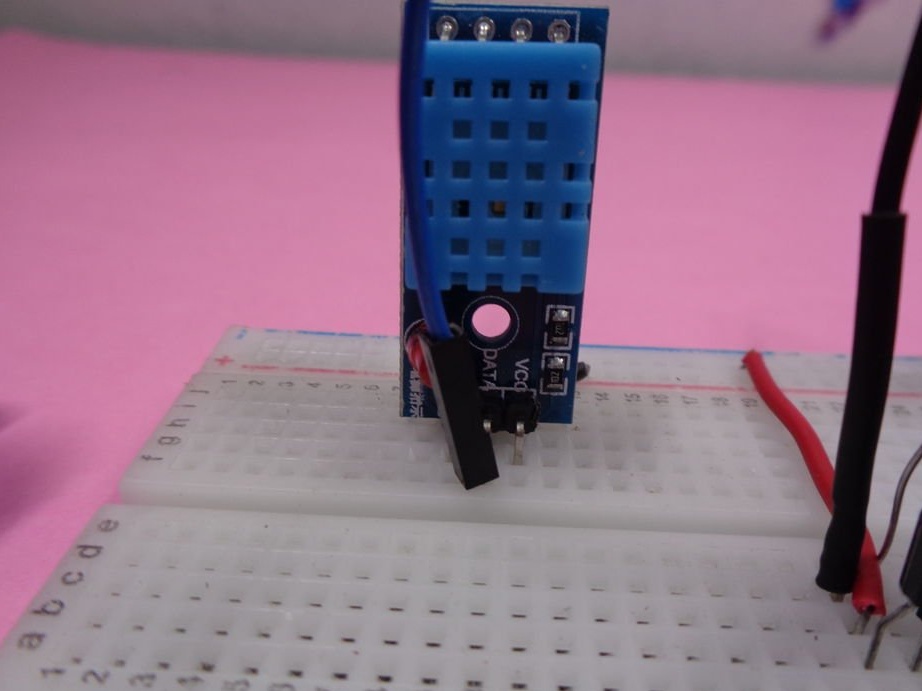
A temperature and humidity sensor of the DHT11 type is suitable just for the thermostat controlling a second type fan, since it measures the temperature of air, and not of any surface. Its support is provided by two libraries laid out here and here. If you need to equip a fan of the first type with a thermostat, you will have to use another sensor that measures the surface temperature of the component to be cooled. The program then will have to be redone, and the libraries will need others, because the sensor may differ in both the interface and the structure of the data transmitted to it.
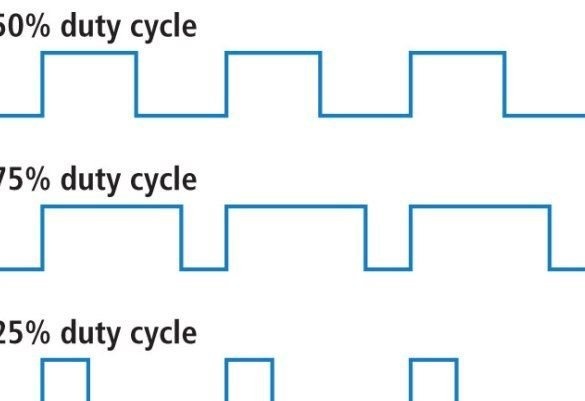
Using the following illustration, the wizard shows what PWM is, most readers know this already. Due to the fact that the output transistor is always either completely closed or completely open, very low power is always allocated on it. As you know, power is equal to the product of current and voltage, and here, with the transistor closed, the current is very small, and with the open transistor, the voltage drop across it is small. One of the two factors is always small, which means that their product is also small. Almost all the power in the PWM controller goes to the load, not to the transistor.
The master draws up a thermostat diagram:
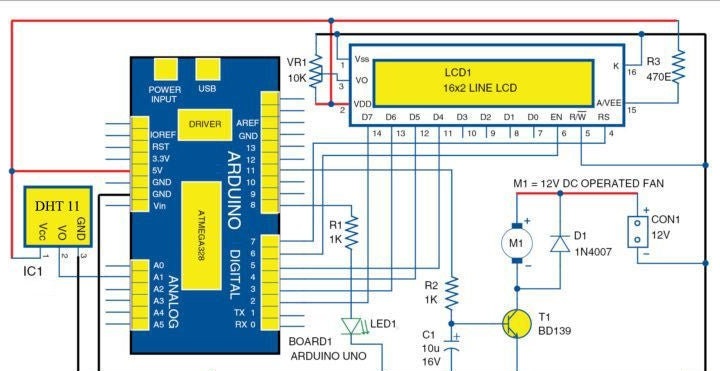
Arduino it is powered by a 5-volt source, the fan - from a 12-volt.If you use a 5-volt fan, you can do with one source with sufficient load capacity, feeding Arduino through a simple LC filter. A diode connected in parallel with the fan in the opposite direction is needed if the engine is a collector motor (as in some modern USB fans). When using a computer fan with a Hall sensor and electronic winding control, this diode is optional.
The text of the program compiled by the wizard is quite short, it is given below:
#include "DHT.h"
#define dht_apin A1
#include
Liquid Crystal lcd (7,6,5,4,3,2);
DHT dht (dht_apin, DHT11);
int fan = 11;
int led = 8;
int temp;
int tempMin = 30;
int tempMax = 60;
int fanSpeed;
int fanLCD;
void setup ()
{
pinMode (fan, OUTPUT);
pinMode (led, OUTPUT);
lcd.begin (16, 2);
dht.begin ();
lcd.print ("Room Temp Based");
lcd.setCursor (0, 1);
lcd.print ("Fan speed Ctrl");
delay (3000);
lcd.clear ();
}
void loop ()
{
float temperat;
temperature = dht.readTemperature ();
temp = temperat; // store the temperature value in temp variable
Serial.print (temp);
if (temp = tempMin) && (temp <= tempMax)) // if temperature is higher than minimum temp
{
fanSpeed = temp; // map (temp, tempMin, tempMax, 0, 100); // the actual speed of fan // map (temp, tempMin, tempMax, 32, 255);
fanSpeed = 1.5 * fanSpeed;
fanLCD = map (temp, tempMin, tempMax, 0, 100); // speed of fan to display on LCD100
analogWrite (fan, fanSpeed); // spin the fan at the fanSpeed speed
}
if (temp> tempMax) // if temp is higher than tempMax
{
digitalWrite (led, HIGH); // turn on led
}
else // else turn of led
{
digitalWrite (led, LOW);
}
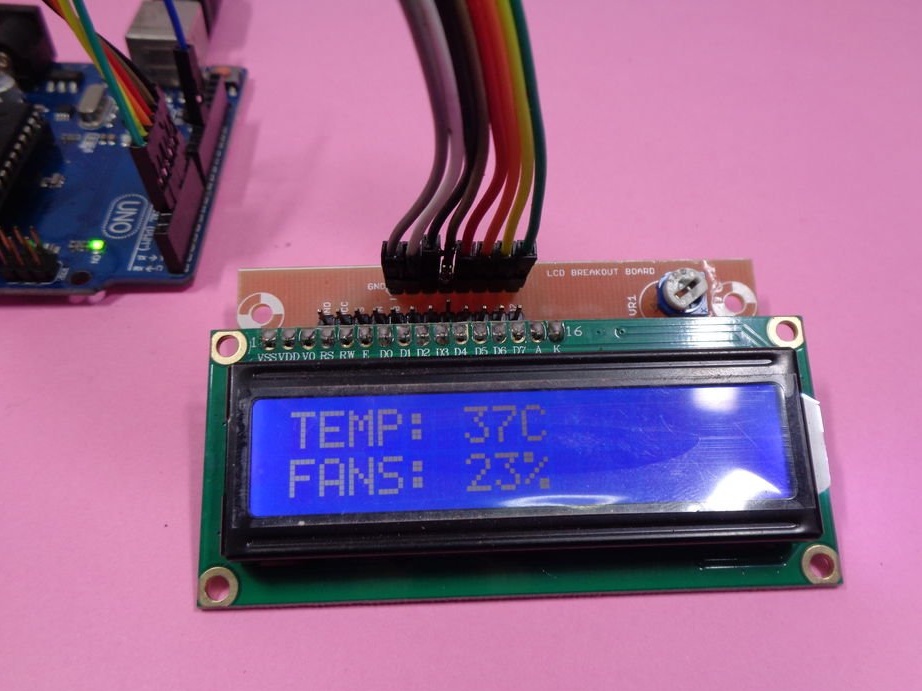
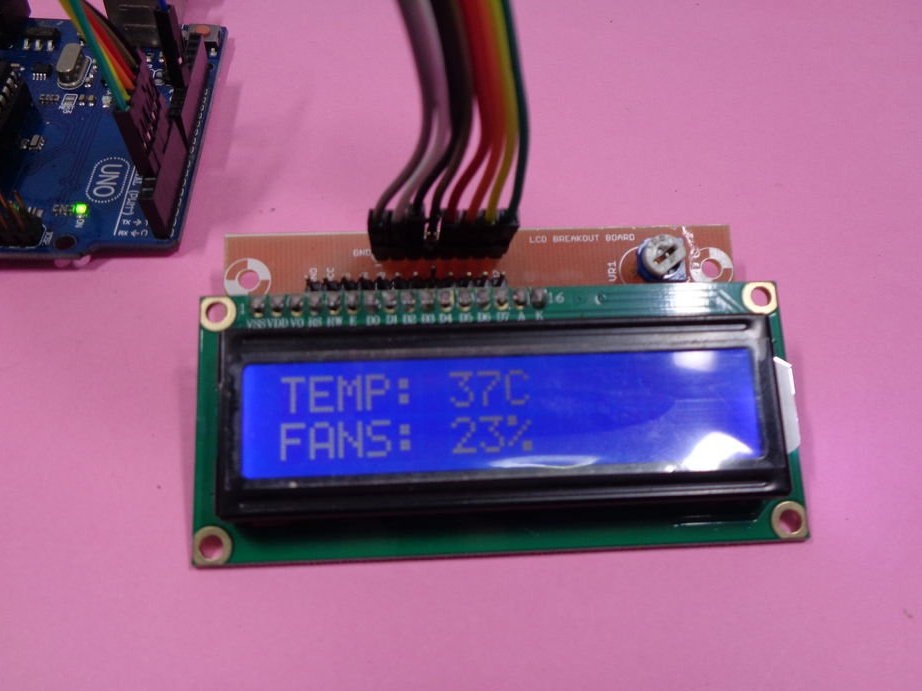
lcd.print ("TEMP:");
lcd.print (temp); // display the temperature
lcd.print ("C");
lcd.setCursor (0,1); // move cursor to next line
lcd.print ("FANS:");
lcd.print (fanLCD); // display the fan speed
lcd.print ("%");
delay (200);
lcd.clear ();
} Also, a sketch can be downloaded as a file here. The unknown extension will have to be changed to ino.
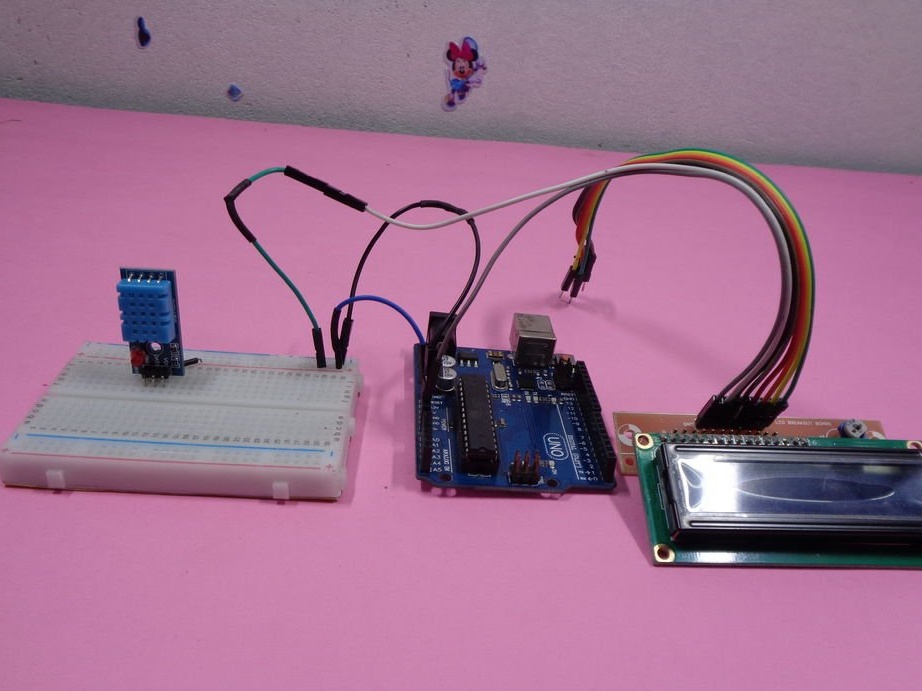
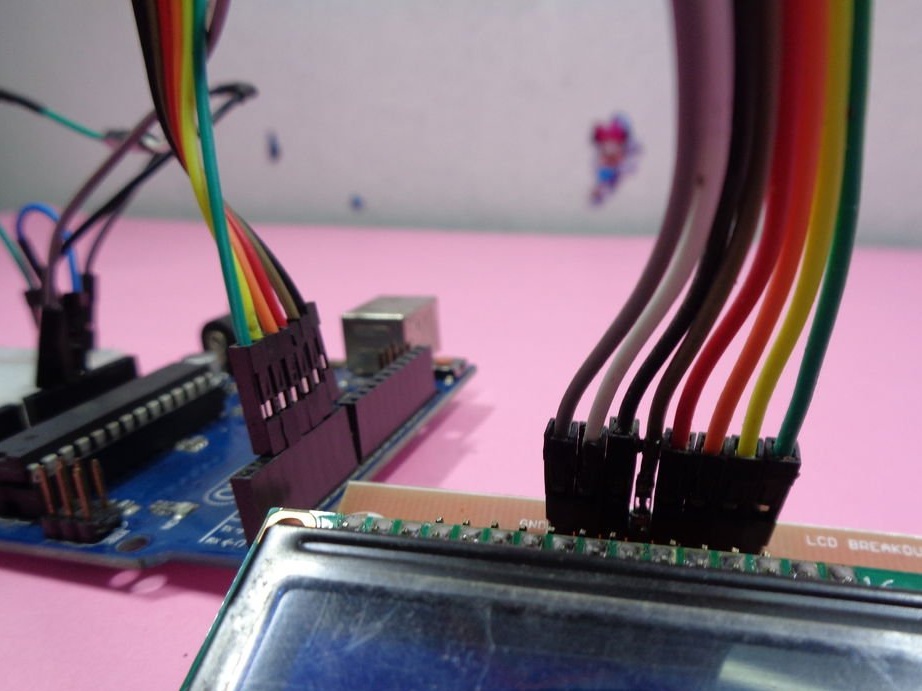
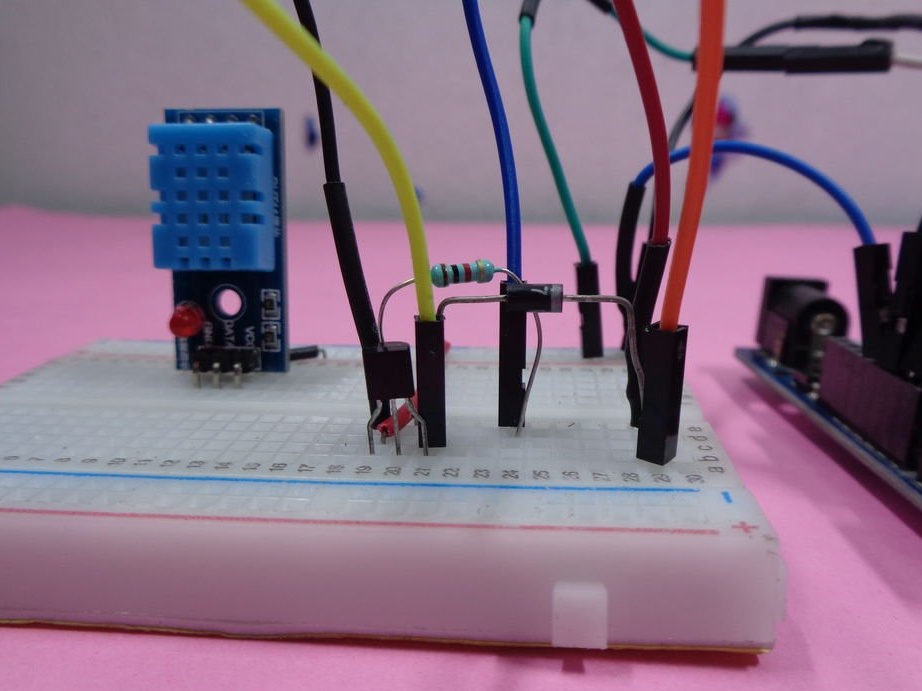
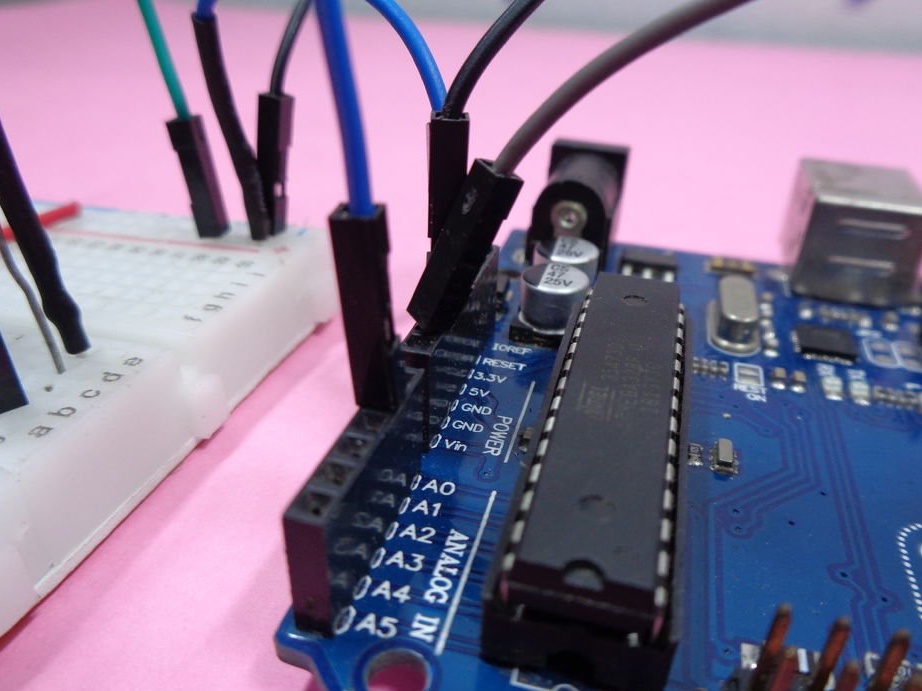
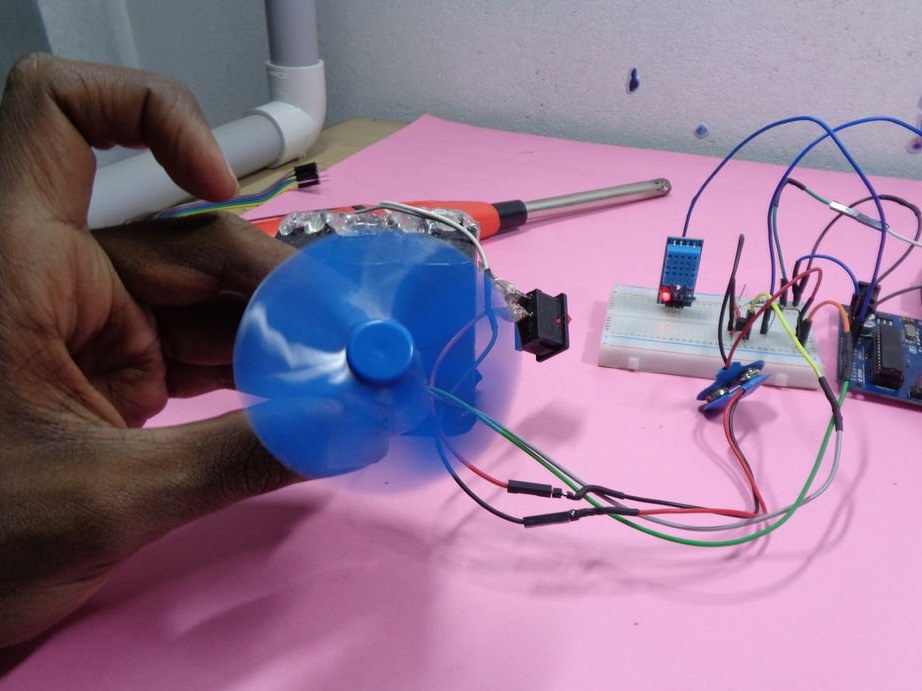
The following photos show the assembly of the prototype device on a breadboard type board:
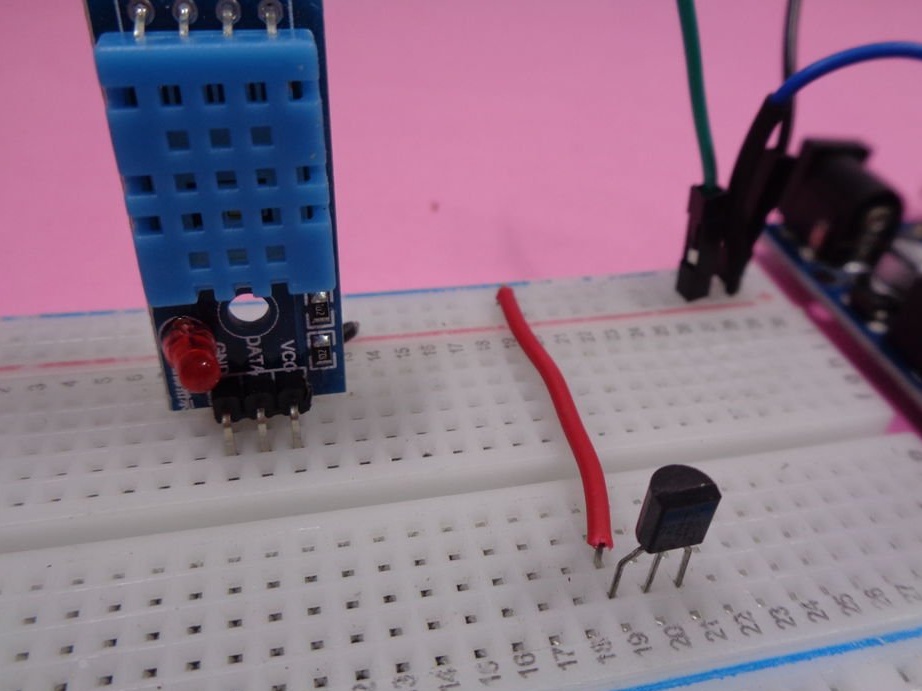
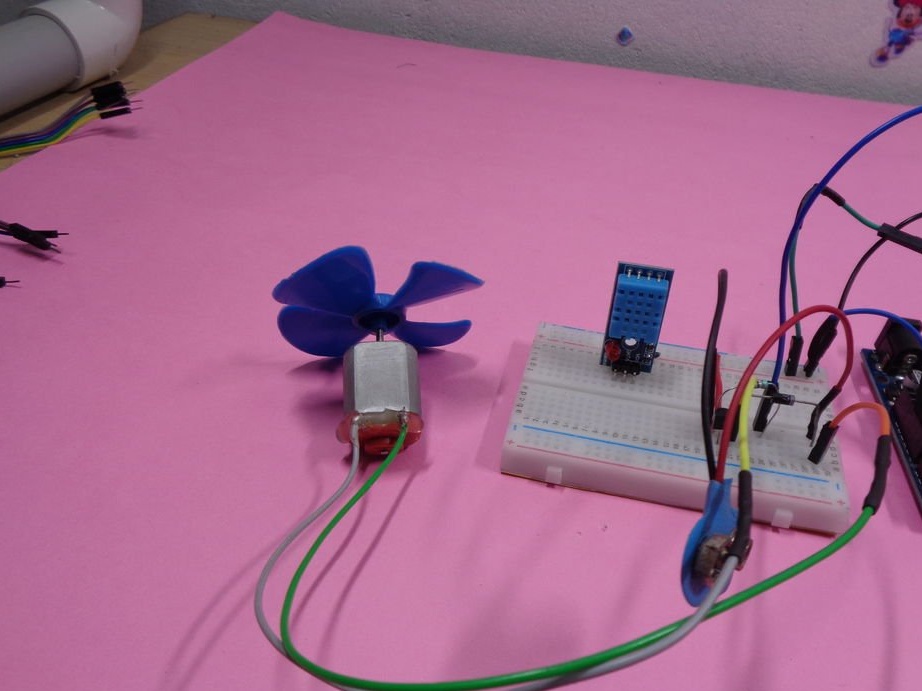
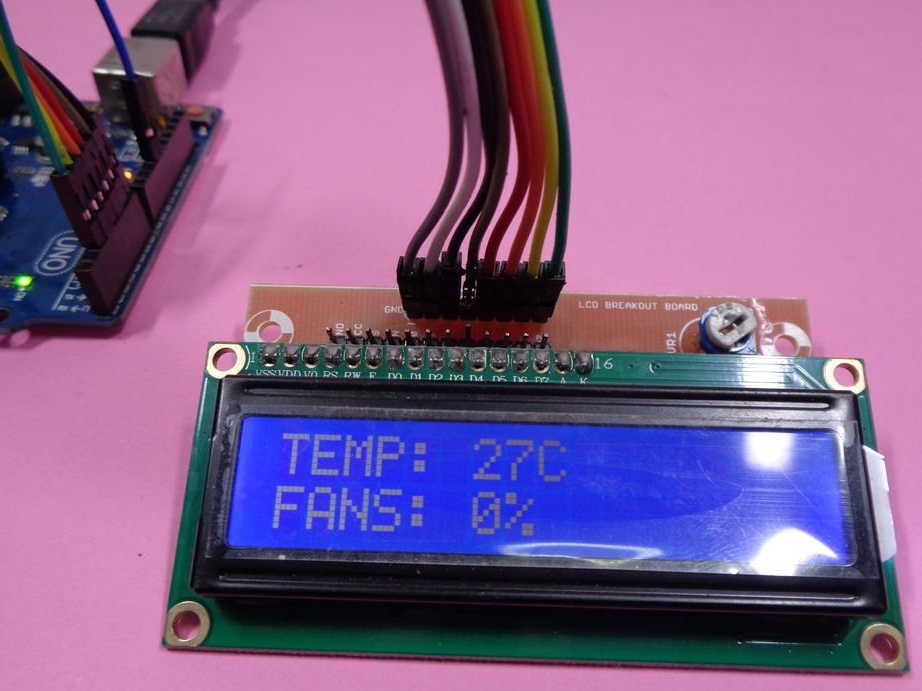
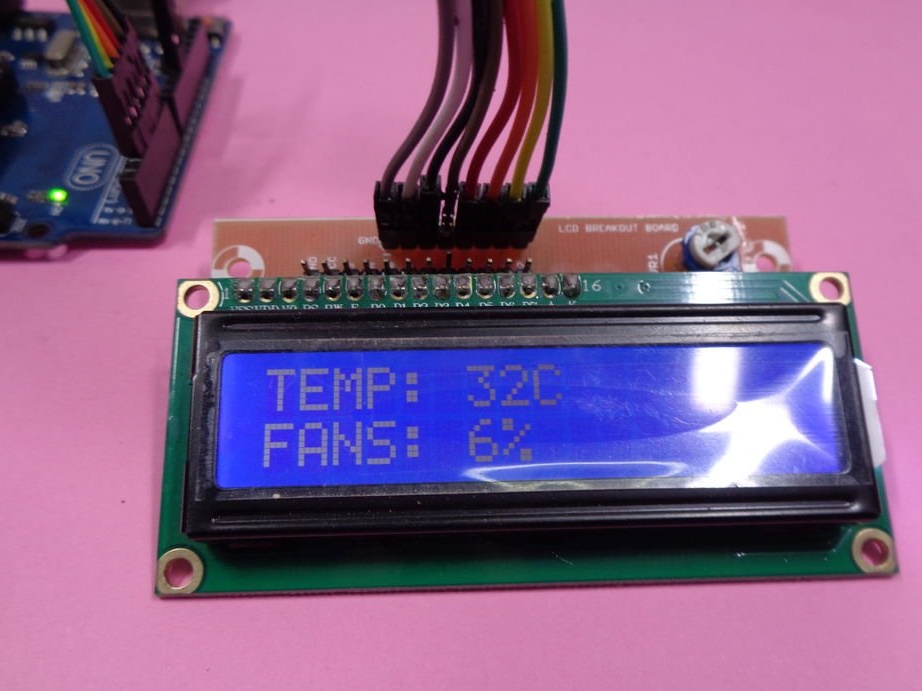
Having assembled a prototype, the master tests it. The temperature is displayed in degrees Celsius, the actual voltage value on the fan - as a percentage of the maximum.

It remains to assemble the circuit by soldering and make the thermostat part of that homemadewhich he will cool.