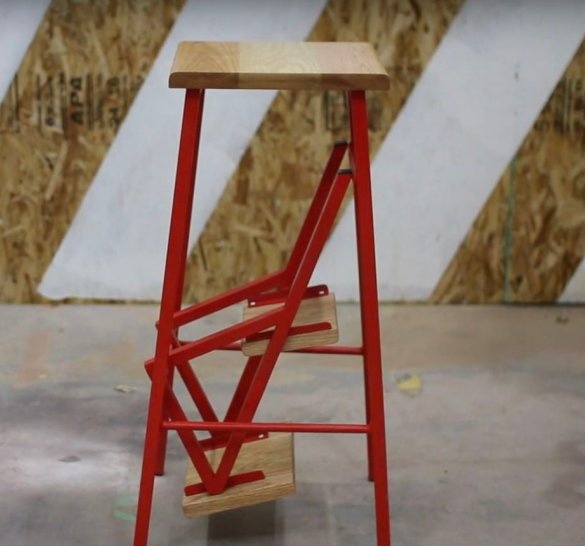
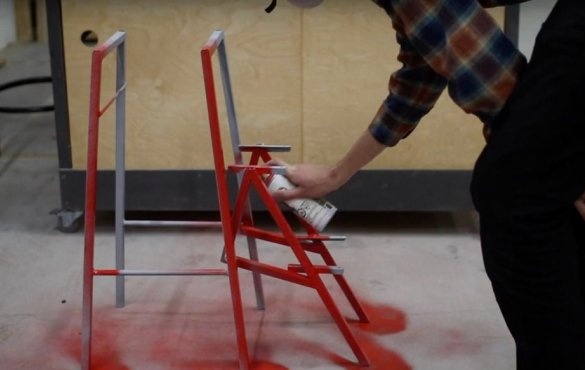
Greetings to all readers and masters. Today, in your opinion, I am putting out, in my opinion, a very useful thing in the household - a 2-in-1 stool. Its author made it for the workshop to make it convenient to get things from the top shelf of the rack. But such homemade can be useful in the kitchen, in the country or during the repair. So let's get started!
Materials and tools:
• Metal profile pipe (cross section arbitrary)
• Oak board (any other breed can be)
• Metal bar
• Metal paint
• Primer
• Varnish
• Joiner's glue
• Welding machine
• Saw
• Grinder
• Level.
Step 1
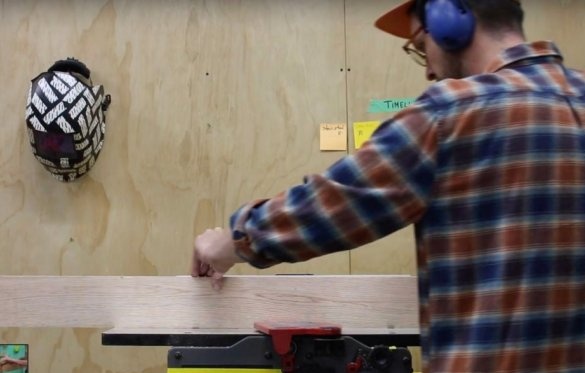
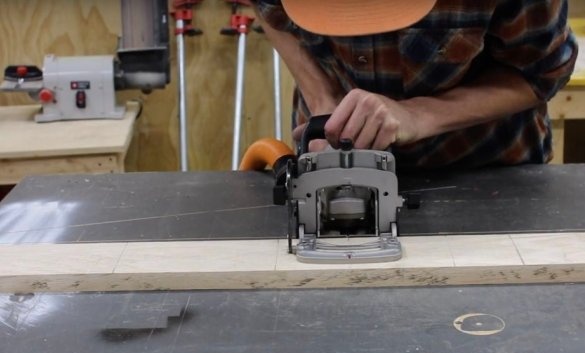
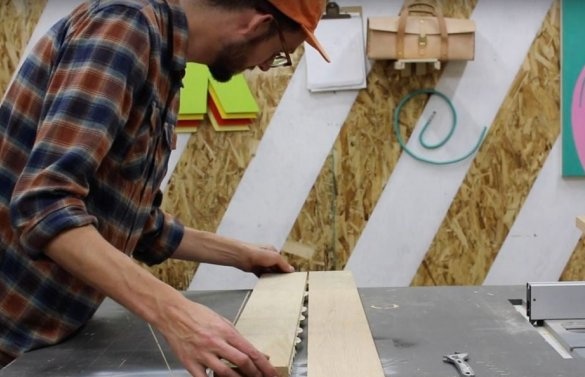
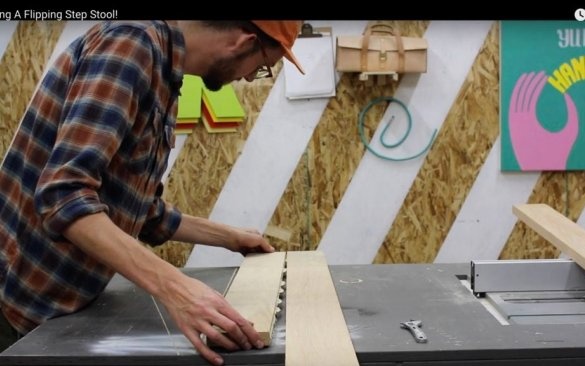
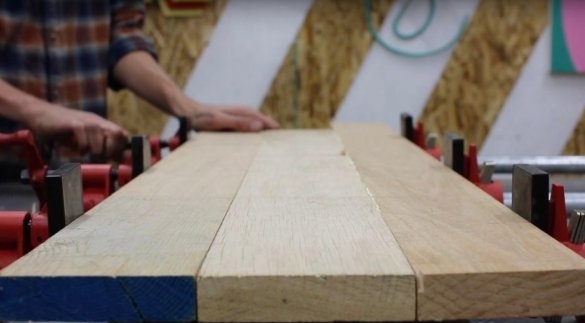
First, the author assembled a shield, from which the seat and steps will be cut out in the future. To do this, he sawed the board into pieces of the required length and using glue dowels and clamps glued them along the side faces.
Step 2
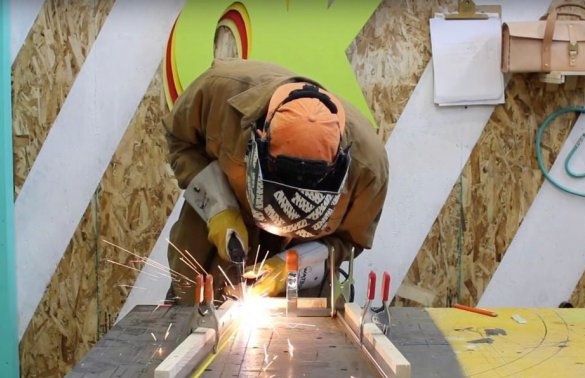
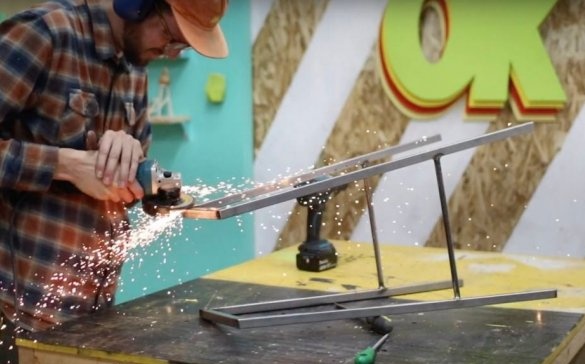
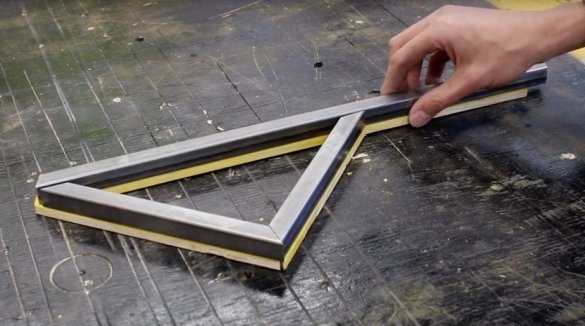
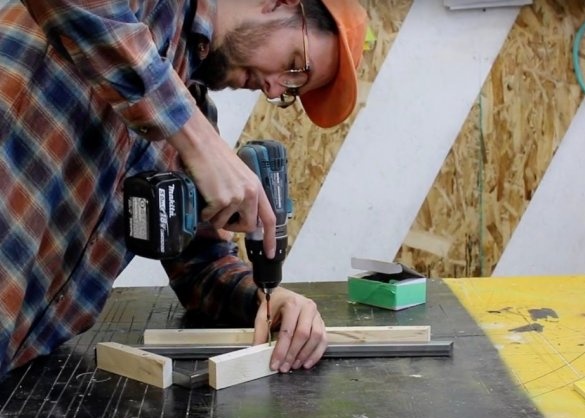
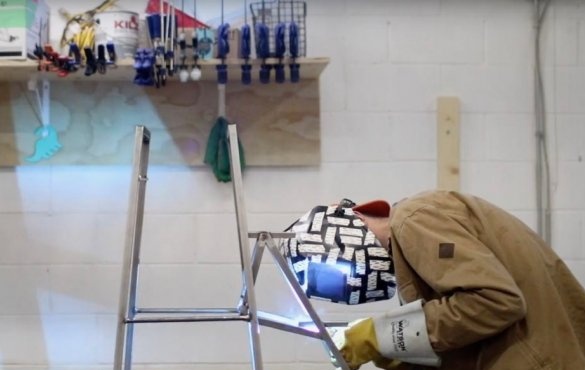
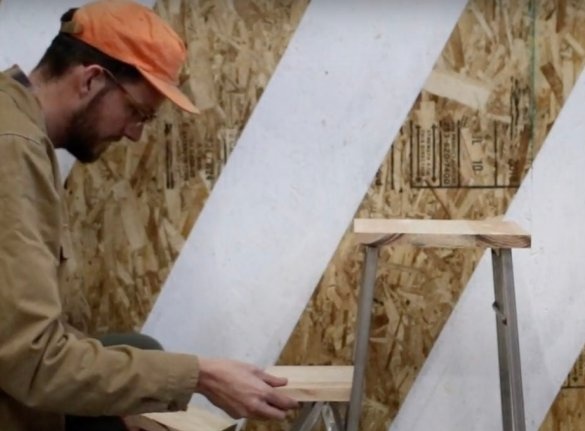
While the glue dries, the author, in order not to lose time, proceeded to manufacture the frame. To select the optimal angle of the legs, the author used an old stool with a similar shape as a template. He welded the racks along it, and then, using a bar, assembled the frame. Immediately cleaned the welds.
Step 3
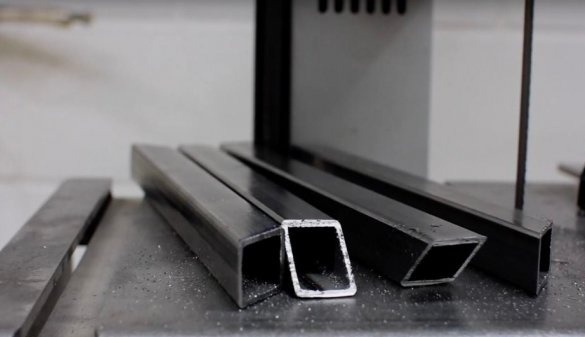
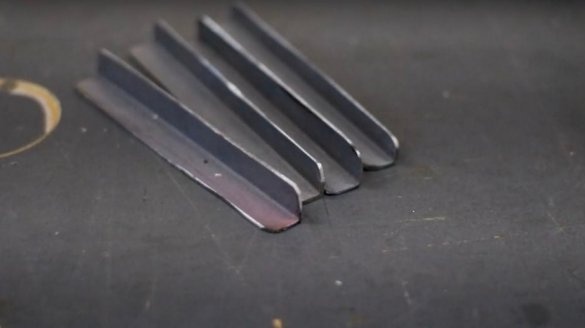
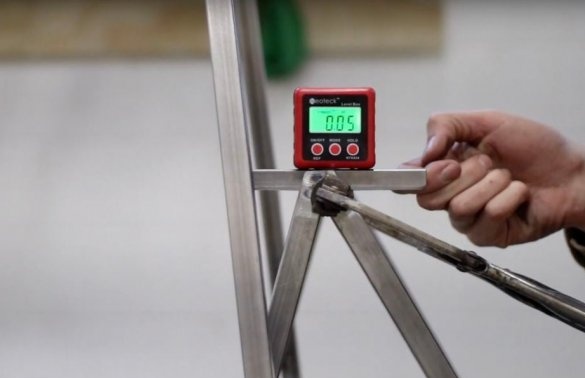
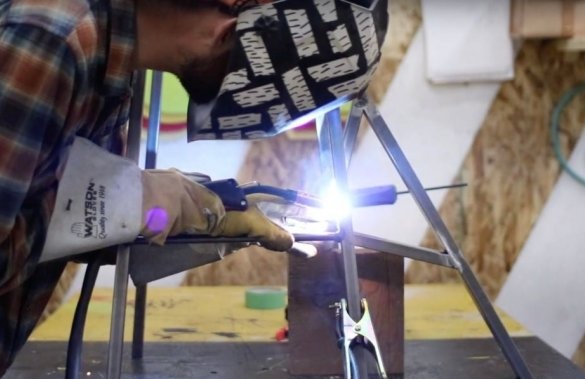
Now you need to assemble the base for the folding steps. First, the author cut the profile to the desired size and cut the ends at the desired angle. First cooked one rack, then the second. Both racks, mounted on the frame through the rod so that they rotate freely. Using a level, I welded corners to each of the racks for attaching the steps. All welds are also peeled.
Step 4
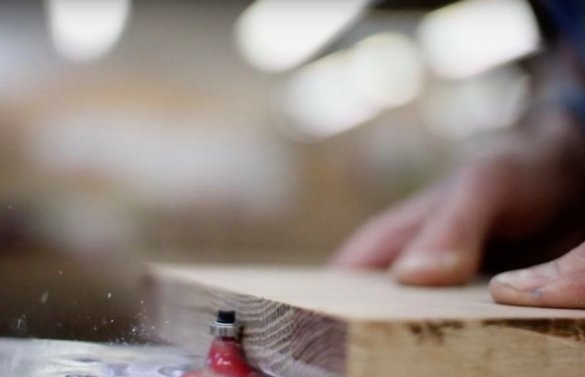
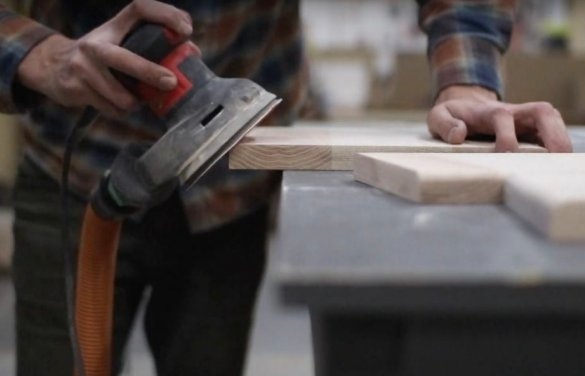
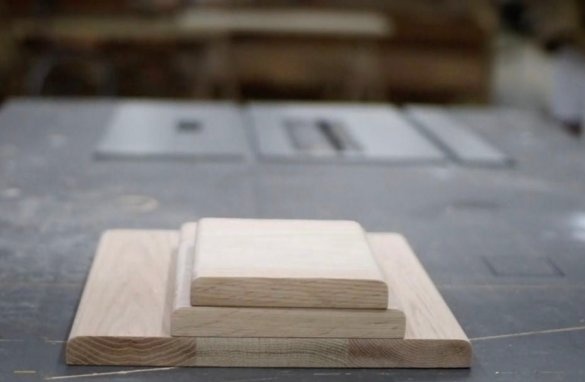
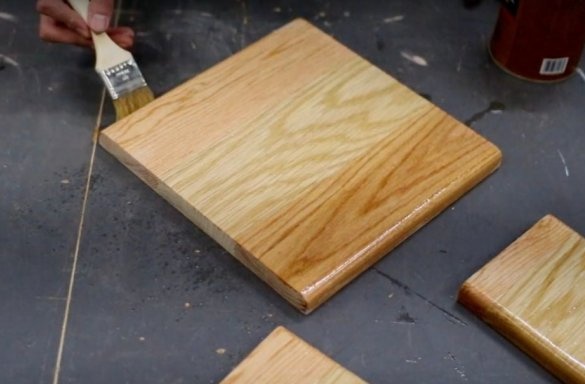
By this time, the glue has dried, it's time to take up the shield. The author cut it into blanks of the right size. Each has processed the edges and polished the details. All covered with a layer of varnish.

