
From the article below you will learn how to make do it yourself single box for further full assembly in the rack. The following description and instructions are taken from the Matthias Wandel YouTube channel.
Tools and materials:
- table saw;
- pliers;
- clamps;
- jointer;
- PVA carpentry glue;
- a chisel;
- mortising machine;
- boards from shelves from Ikea (used);
- varnished boards from the chest of drawers (used);
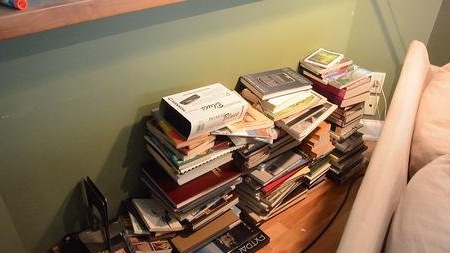
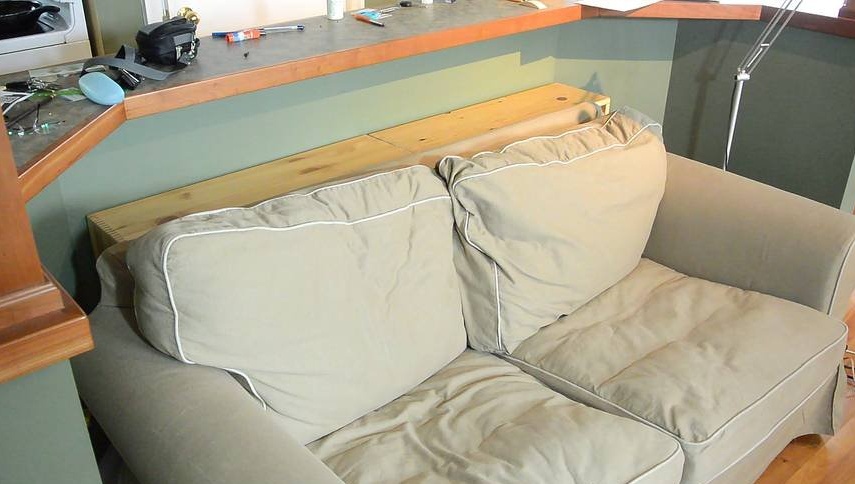
The master needed more room in the bedroom. Therefore, the bookshelf did not fit into this concept. And instead of hanging shelves, he took the books and folded them on the sofa. But books lying on the floor are not right. Therefore, the master decided to build real bookshelves behind the sofa.

For the manufacture of shelves, the master decided to use second-hand material, namely some old shelves from Ikea, and varnished wooden boards from the chest of drawers.

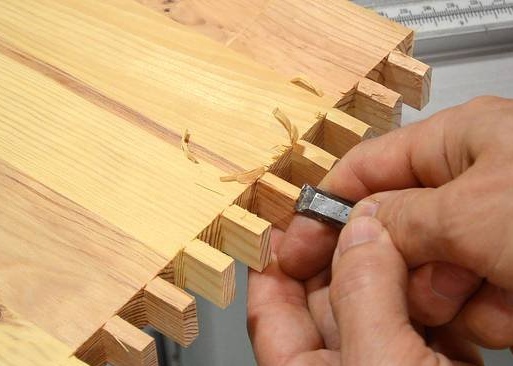
Shelves from Ikea have a strip of metal along the end edge, but they can be removed quite easily.
Then the ends on which the metal was attached, the master drives away on the jointer.
Then the master sawed this material on the boards. The shelves turned out to be 22 cm deep. The Ikea shelves fit very well on both sides in width, but the remaining parts, after cutting off the edges of the profile, were too narrow.
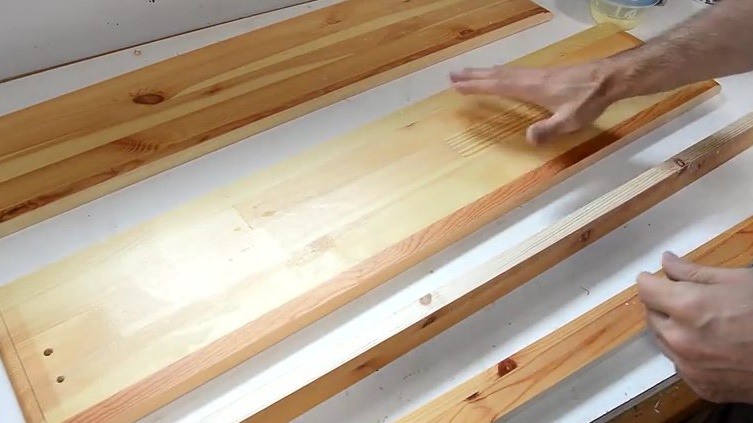
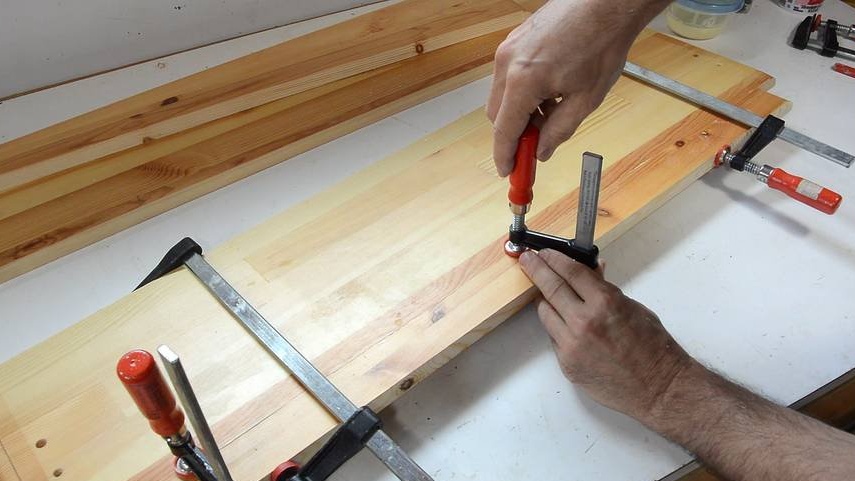
Therefore, the master glued several more strips of wood to the edges. These parts were also varnished. For more accurate bonding of the material, the master used clamps.
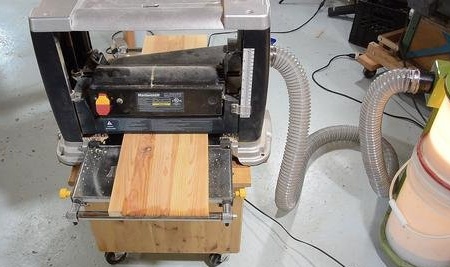
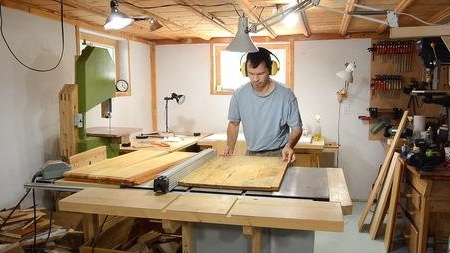
To obtain a smoother surface on the shelves from Ikea, the craftsman additionally planed them.
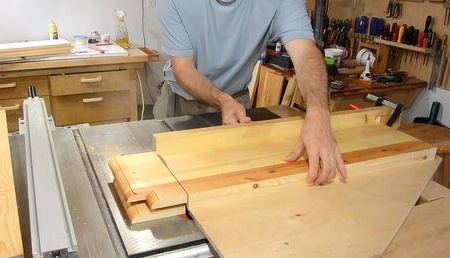
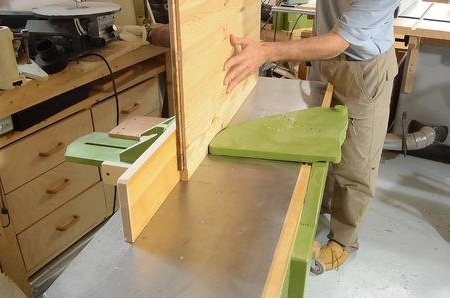
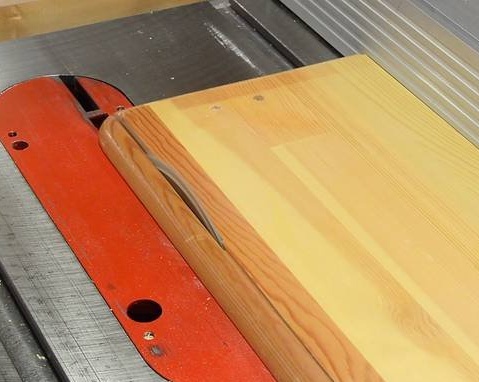
Then the master cut the board data in length using a sledge for a table saw.
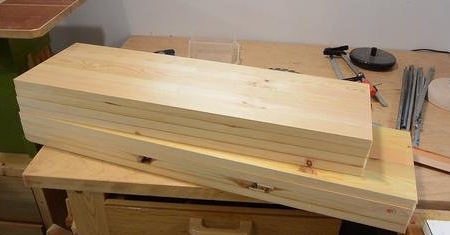
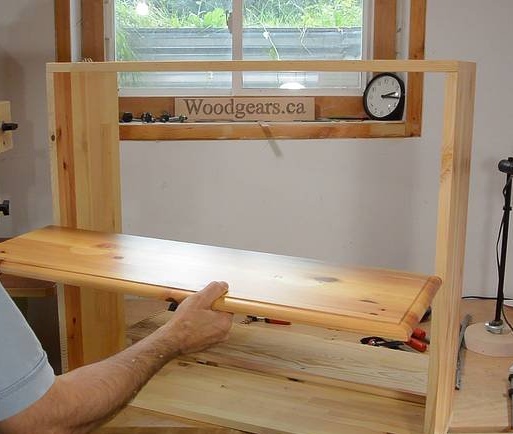
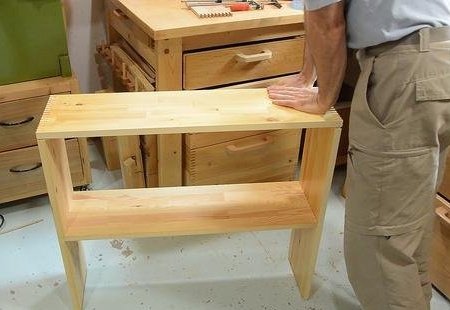
Finished material for the outside of the two shelves (they will look like big boxes).
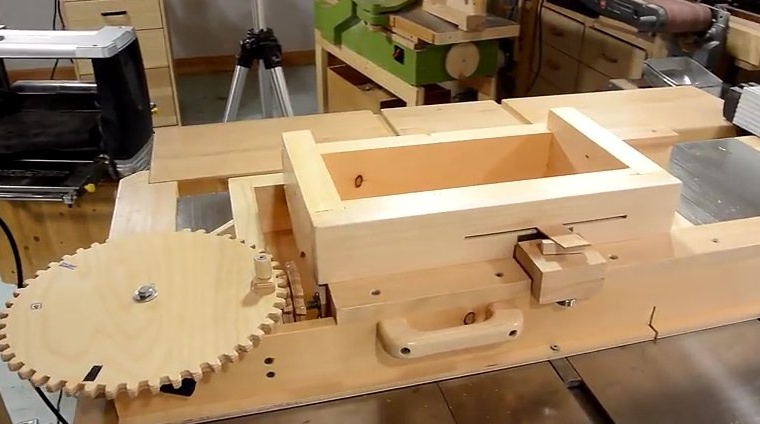
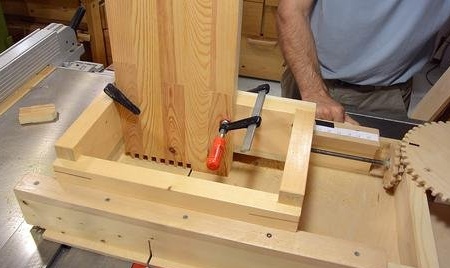
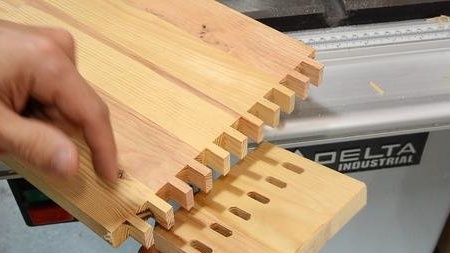
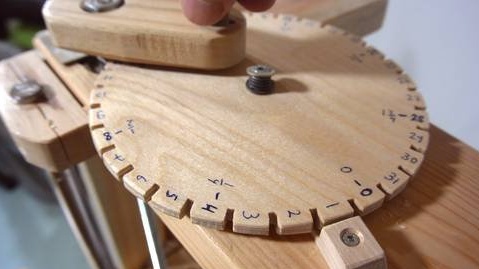
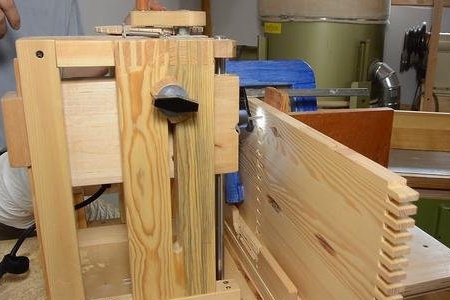
The corners of the boxes the master will connect using a spike connection. He has a suitable template for this purpose.
Using this template and a table saw, the master made the necessary number of spikes in the boards.
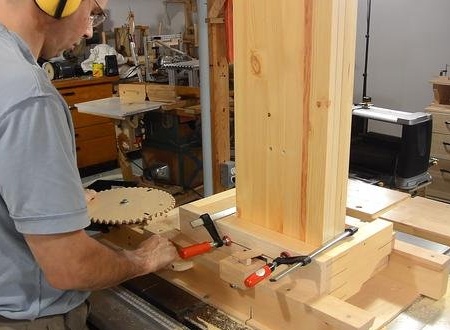
Each turn of the large gear on the template moves the workpiece by 6 mm.
Quick check fit on manufactured parts.
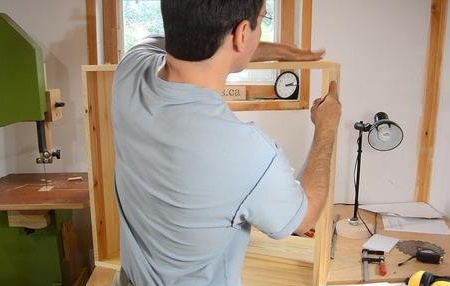
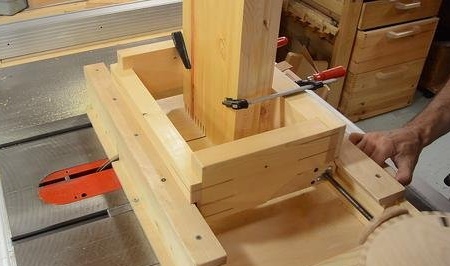
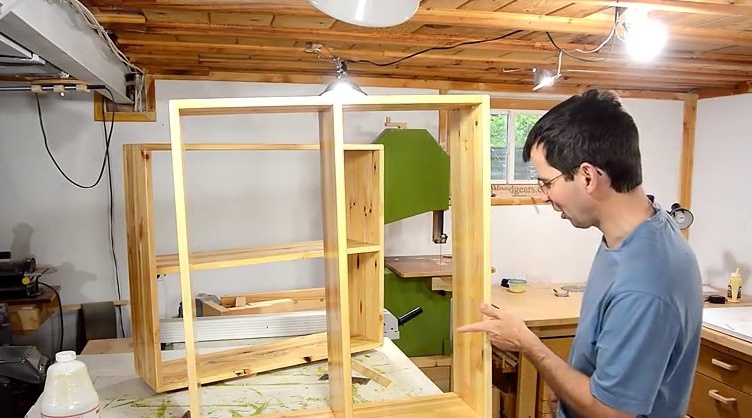
Before gluing the boards of the box with each other, the master must securely fasten the shelf in the middle.
The size of the box allows you to make only two levels for books, so the only logical place to place the shelf is in the middle. Thus, there is no need to regulate it.
The strongest way to install such a shelf is a series of shallow spikes and mortise grooves that are parallel to the wood fibers. In fact, this is a large amount of work, but having the right tool is easy and simple.
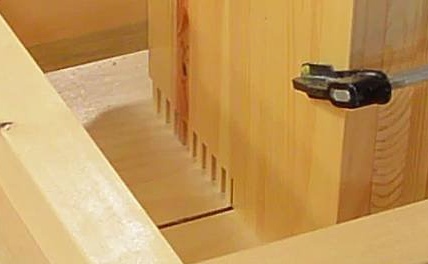
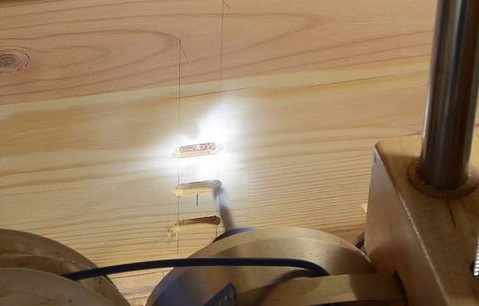
On the shelf, the master sawed the grooves using his articulated template. But instead of cutting 6 mm. groove between 6 mm. spiked, he cut 12 mm. groove between 6 mm. spikes.
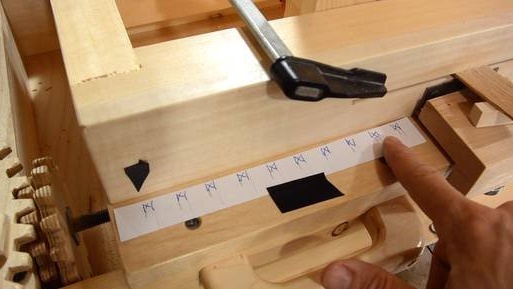
The cutout sequence in this case is almost the same as for the box connection. Unless it’s easy to lose track of where the material is and where you need to make a cut, so the master made a paper scale to know where the spike will be. The scale does not have to be accurate, enough clarity.
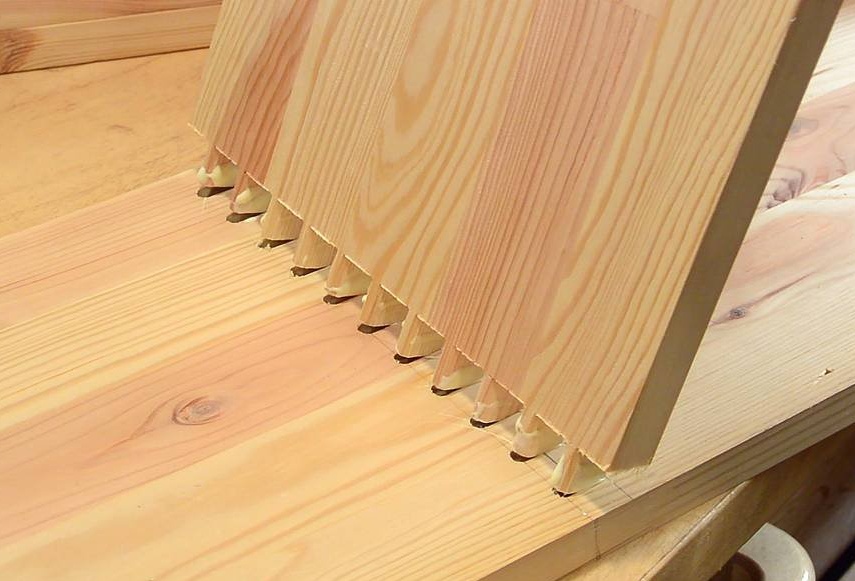
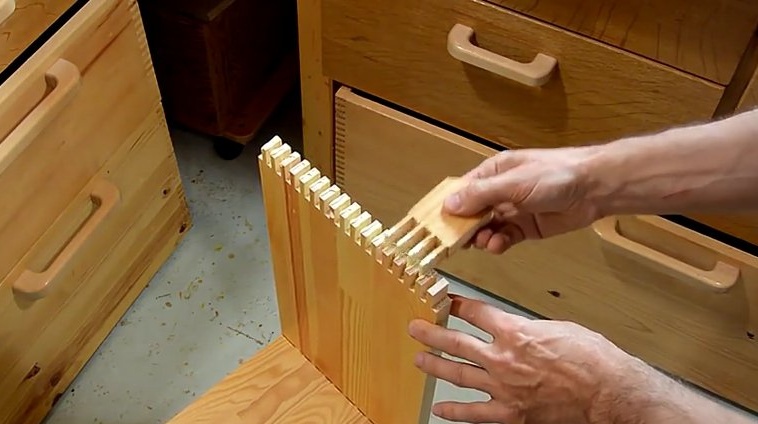
The spikes should fit snugly into the round grooves. On spikes, the master manually rounded the corners with a chisel.
With the right patterns and settings, the wizard could cut these spikes on the pantorimeter, but it would be a complex pattern. And since it was required to make only four sets of spikes, there is no need to make a template.
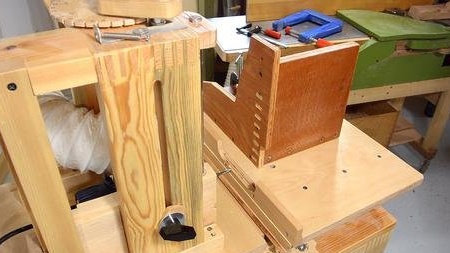
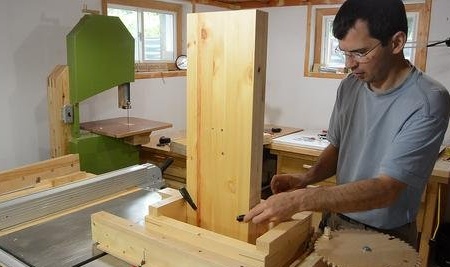
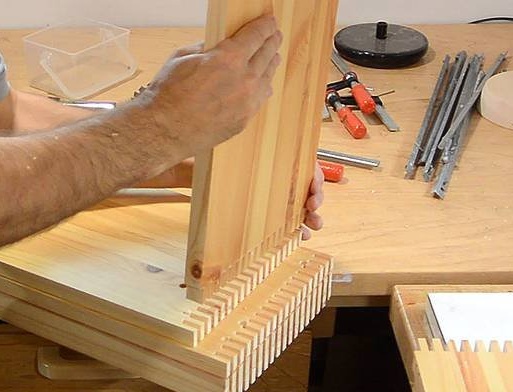
The master chose the grooves on a home-made mortising machine designed specifically for such purposes. This machine allows you to make a selection of material not only through but also to the required depth.
11 evenly carved spikes.
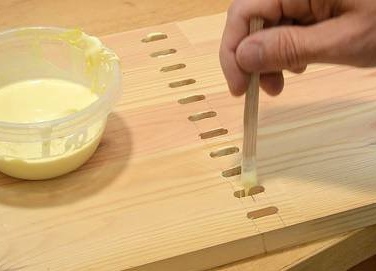
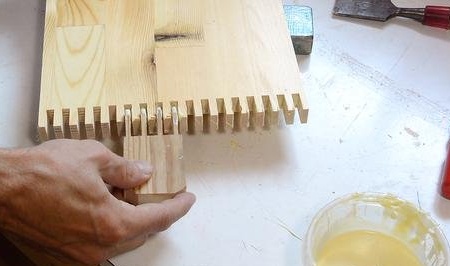
First, the master glues the shelf to the side parts, smearing with glue, both in the grooves and on the spikes.
The side parts and the middle shelf form the letter "h" during assembly.
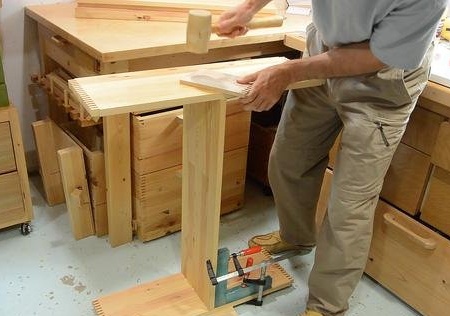
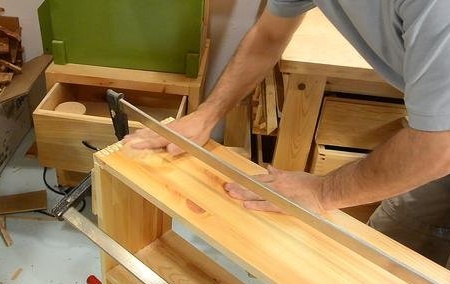
The master uses clamps and wooden squares to keep the product at right angles when gluing.
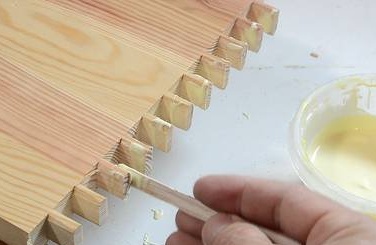
The master made a small tool for applying glue to four spikes simultaneously. The tool is just a piece of wood, trimmed in the same way as the joints of the box, but with longer and thinner spikes.
After installing the middle shelf, the master installs the outer sides of the box.
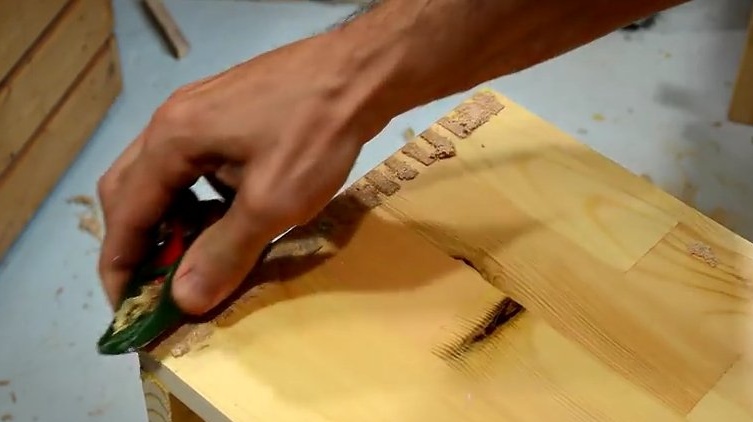
The master removes excess glue from the stud connection with the help of sawdust. Thus, sawdust clogs possible voids.
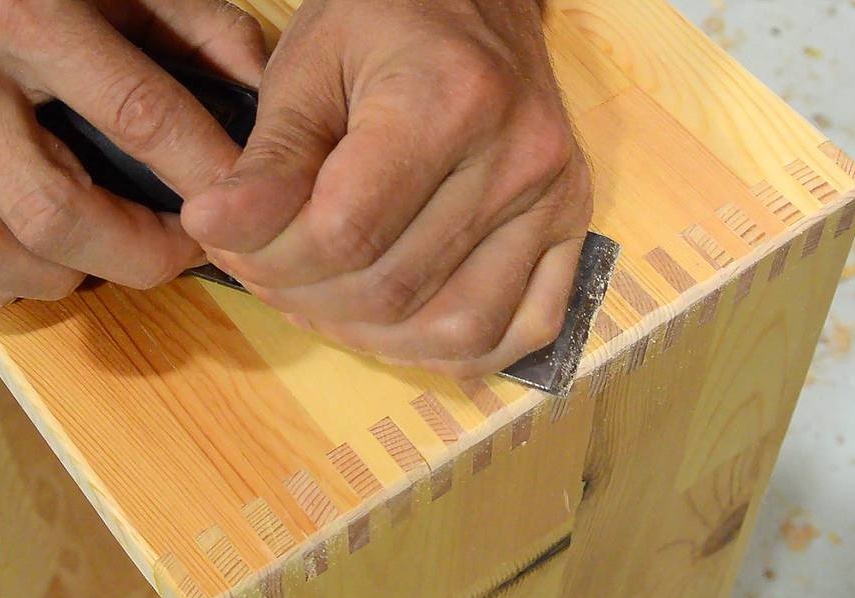
The master cut the spikes on the boards about 0.5 mm longer than necessary, and then cut them flush with a sharp chisel. He was able to cut them flush with the varnish that was already on some boards without damaging the varnish. This is made possible because the varnish is smooth and slightly harder than wood. Also, on a spike connection, the master walked with a block of sandpaper.
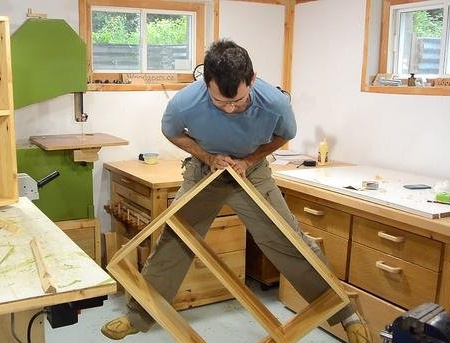
Usually, the rear of the shelf is used to give the product lateral stability. But since all the corners are connected by a spike connection, these shelves are very rigid, capable of supporting the weight of a person on a diagonal.
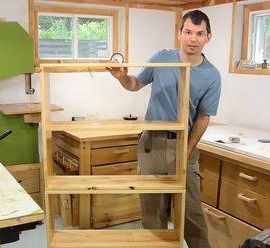
The master only needed one wide bookshelf, but if you suddenly need shelves somewhere else, you can put them in shelves to make a regular bookcase.
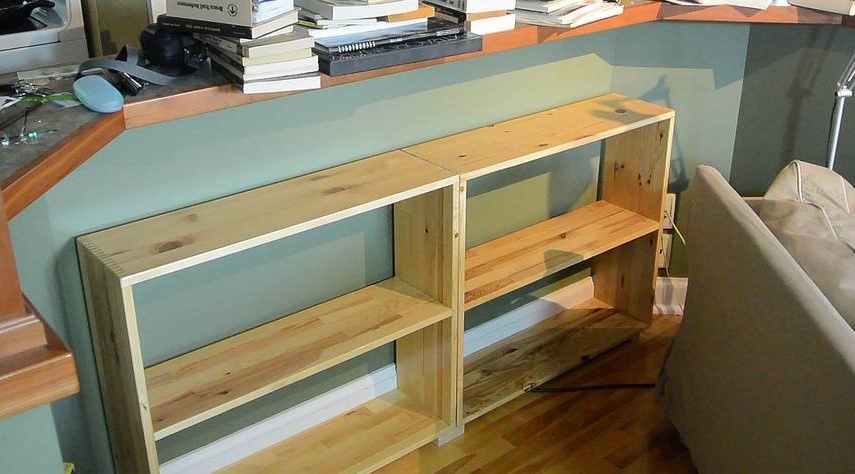
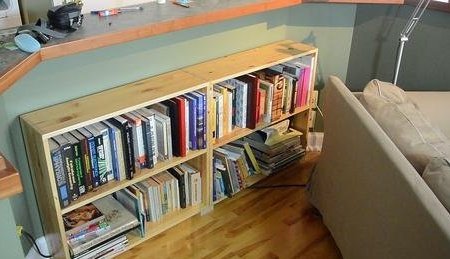
Shelves installed ....
... books on shelves ...
... and the sofa fell into place. The sofa slides very easily on the wooden floor, so books are not that hard to get.
If you like homemade author, then try to repeat and make.
Thank you for attention.
See you soon!