Hello again! Dear friends and sympathetic citizens!
Any creative enthusiast master is well aware of the problems encountered when working when there is no necessary and reliable tool or machine at hand. The price levels for high-quality professional equipment and tools are breaking new highs every day, and for a simple homemaker this pleasure is not always affordable.
In this article, we will try to consider the solution of material problems by manufacturing a very simple and quite good budget machine on our own in home conditions. Using waste materials, we will reduce our material costs to almost zero. All the materials, I'm sure idle, are wallowing sadly in your the garage or in the country, with the exception, there may be a bearing, but this is not critical. And we’ll try to do today do it yourself simple and necessary for every real Man master drum grinding machine, which is useful in the country and in the garage.
Of course, polishing small workpieces and parts is quite affordable with a commonplace emery cloth, but often this event turns into a boring routine. And in order to cope with the unpleasant labor-intensive process of processing the workpiece blanks, we will try to change the grinding skin to a grinding machine.
A bit of theory. The main tool of our grinding machine is the grinding drum. This grinding machine can be used for processing wood, plastic, MDF, chipboard, metal and other materials. The main elements of this grinding machine are: - a bed or a working platform on which the grinding drum is mounted. The drum is driven by an electric drill, which provides rotation of our forming tool.
The work on the manufacture of a drum grinding machine consists of three stages.At the beginning we make a working platform, then the drum itself and the final stage is the assembly and testing of the resulting unit in operation.
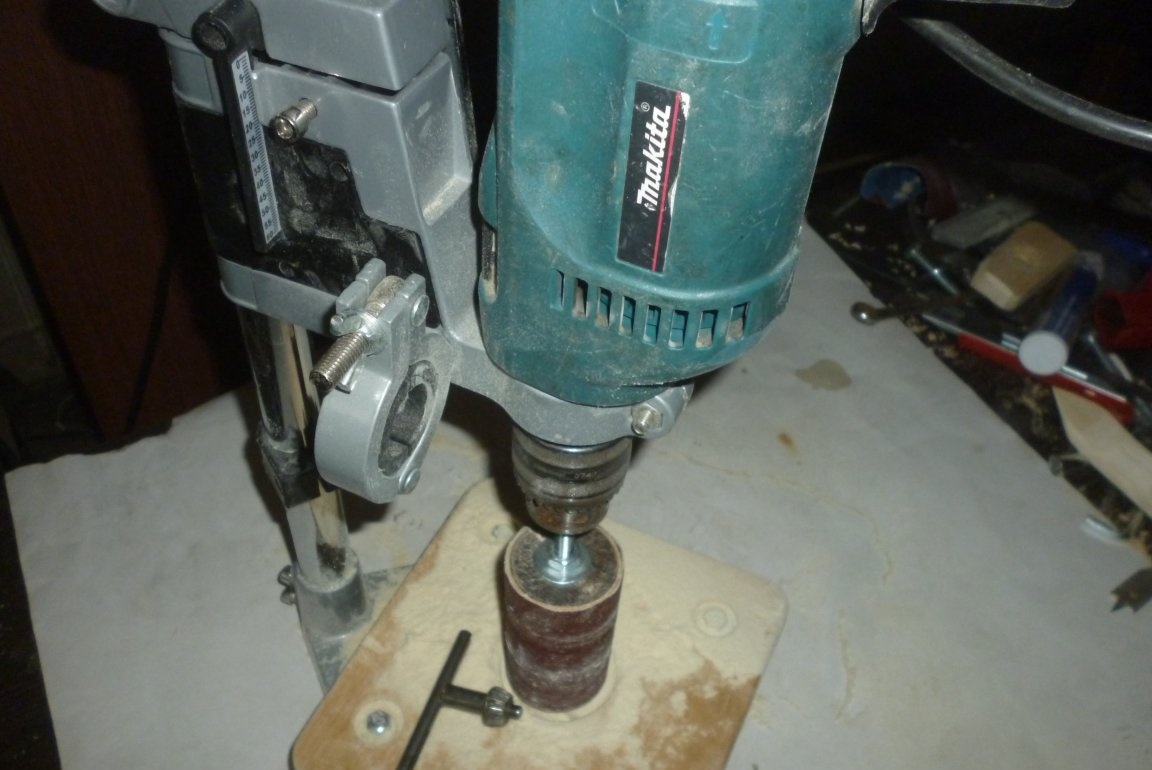
The simplicity of our machine lies in the use of a drilling machine as a drive. The machine can be any, according to the parameters of the drilling machine, we select the dimensions of our grinder.
As always, a little about safety. Observe and obey! Delight your loved ones with your five-fingered hands. Joyful physiognomy without scars and abrasions! Save on bandages, brilliant green and other healing materials and medicines. In general, live healthy and happy!
To start the video, the instructions for the manufacture of our grinding machine, many in our time, more like to watch than read, this is for you!
Video instruction:
Now we begin to manufacture our simplest grinding machine. As always, I bet, almost any novice master will cope with this task. The time to manufacture can be determined based on professional skills from one and a half to three hours (without intermediate steps, the time of fixing with glue).
Tools that we will need in the manufacture of our machine:
1. Hacksaw or jigsaw.
2. Drilling machine or drill.
3. Drills including, core drill on wood or ballerina, feather drills and ordinary drills, also on wood.
3. Clamps, vise.
4. Wrenches.
5. The hammer.
6. Cutting machine (grinder) with a cutting wheel and grinding.
7. Abrasive sandpaper.
8. Measuring tool, at least a ruler.
9. Descriptive tool, pencil.
10. A screwdriver.
11. Stationery knife.
12. Pliers or pliers.
13. File or file.
14. Kerner.
Expendable materials:
1. Drilling machine.
2. Plywood, thickness from 10 mm and above.
3. Chipboard for making a drum.
4. Bolts, washers, nuts, self-tapping screws /
5. Universal adhesive.
6. Abrasive sandpaper.
7. Bearing.
8. The hairpin.
Manufacturing process:
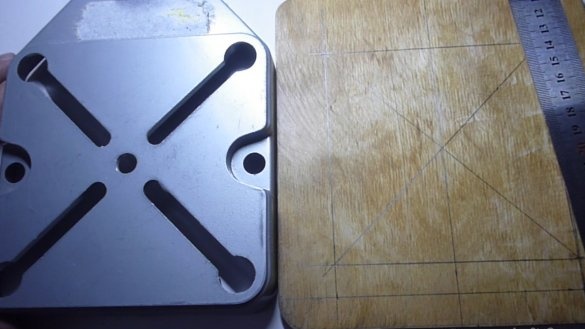


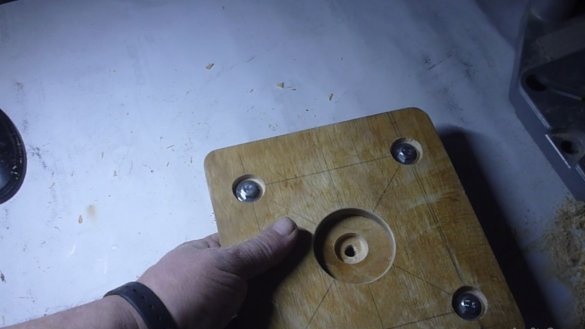

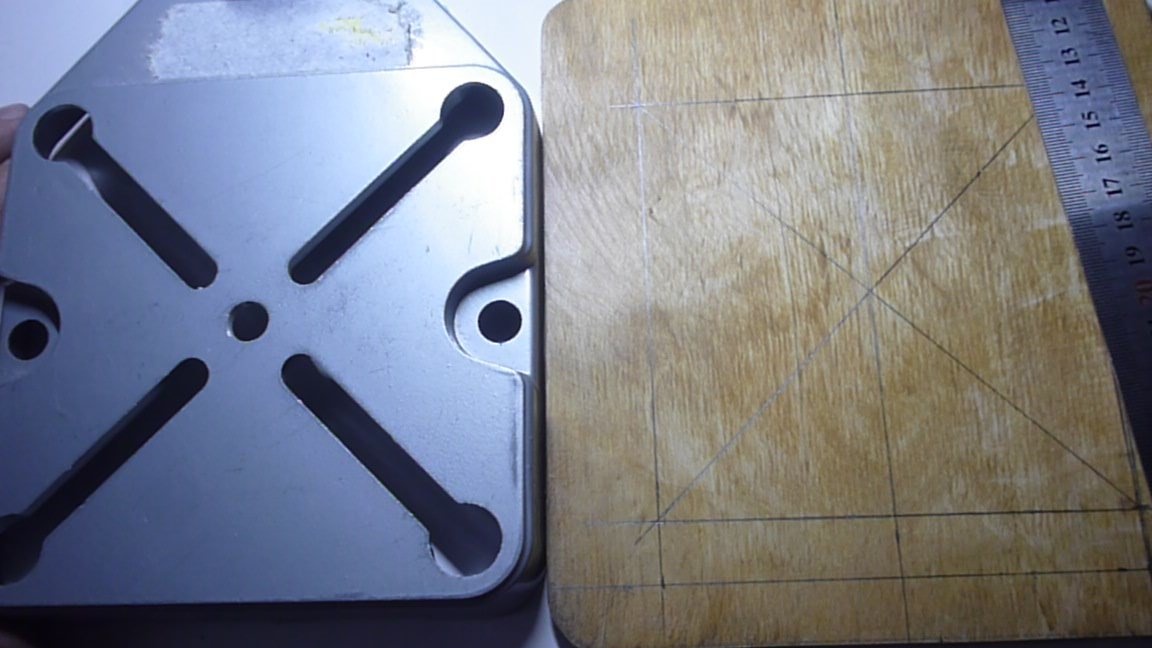
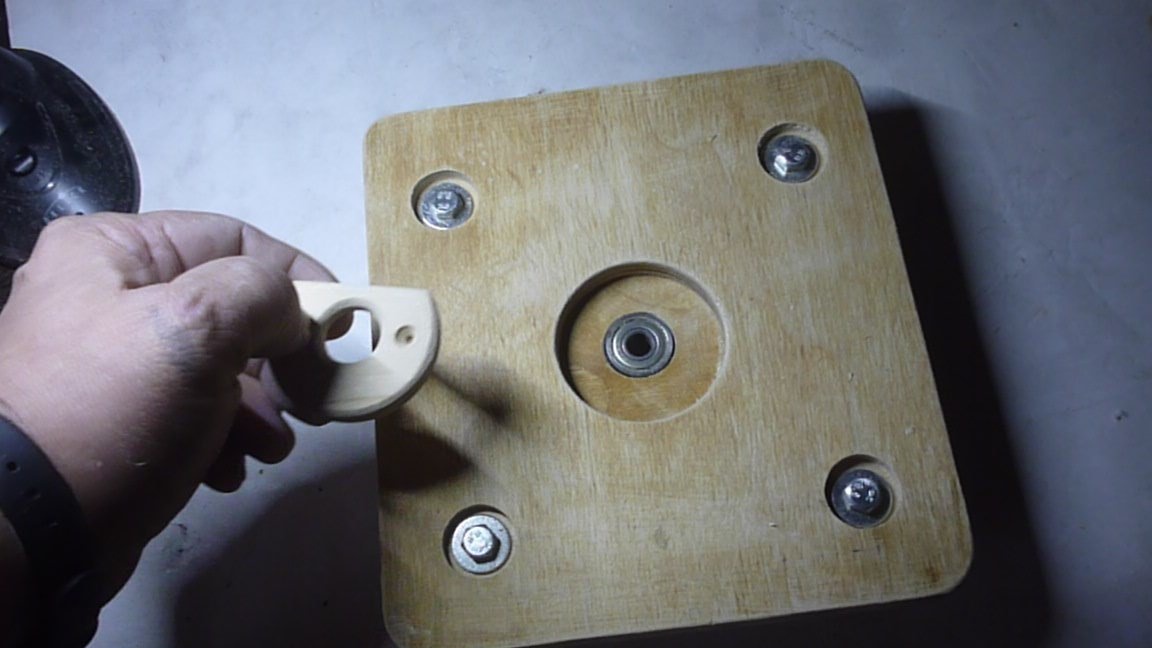
1. We make of plywood from 10 mm thick. platform (bed) of the machine.
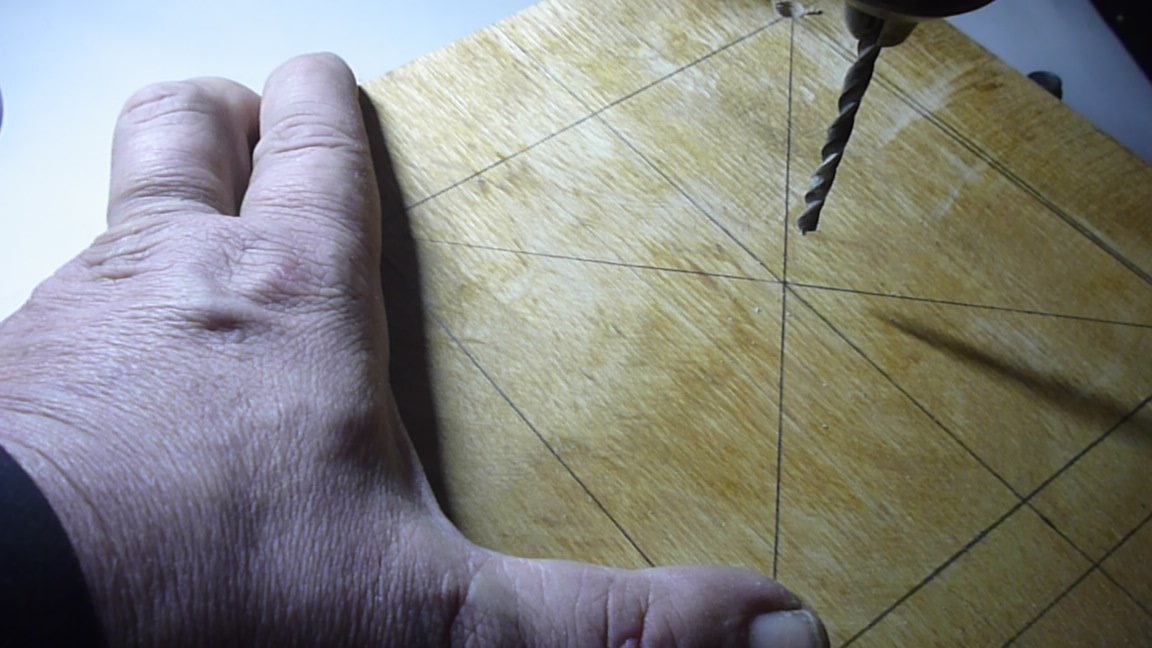
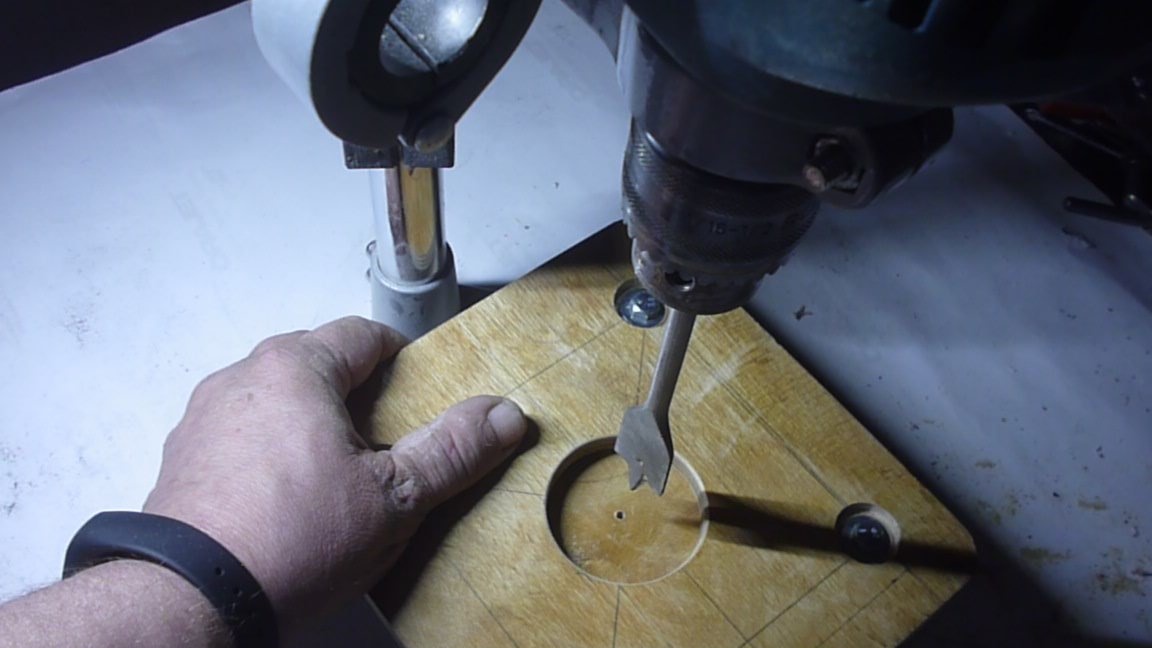
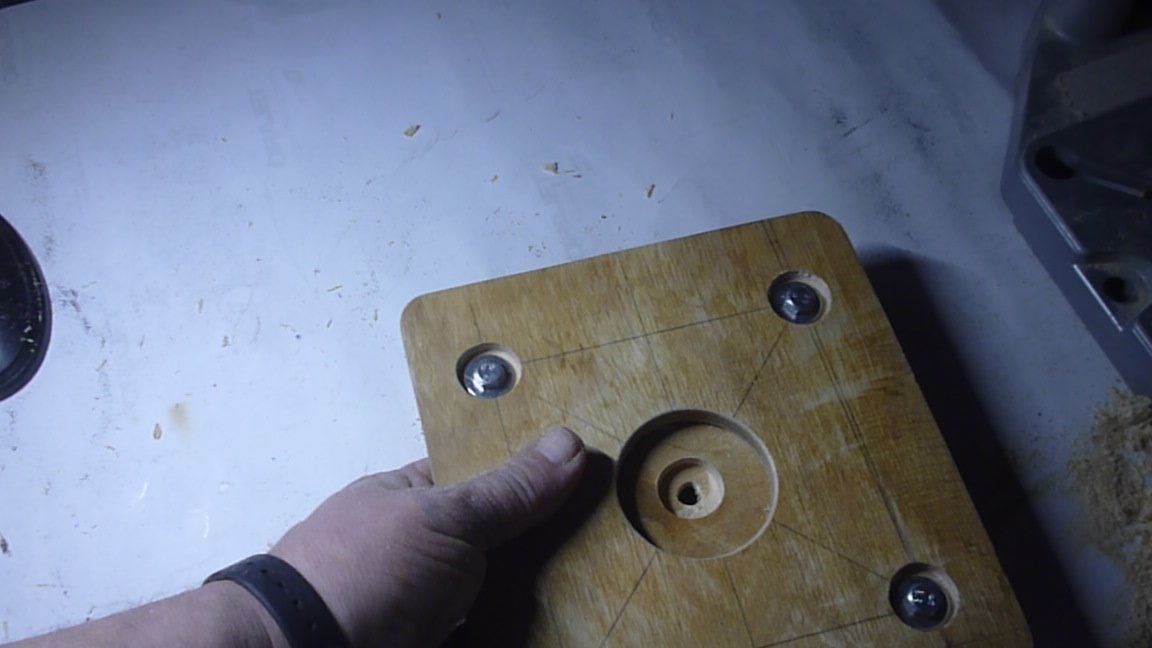
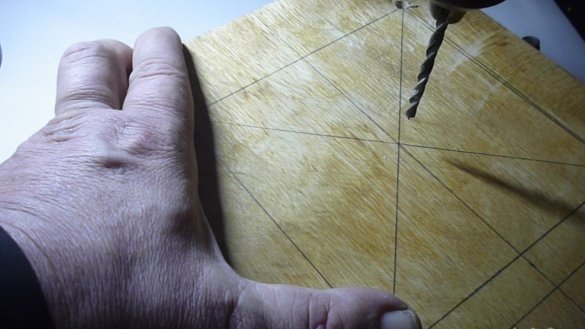
2. Drill holes of the required size and marks in the site (shown in the video instruction).
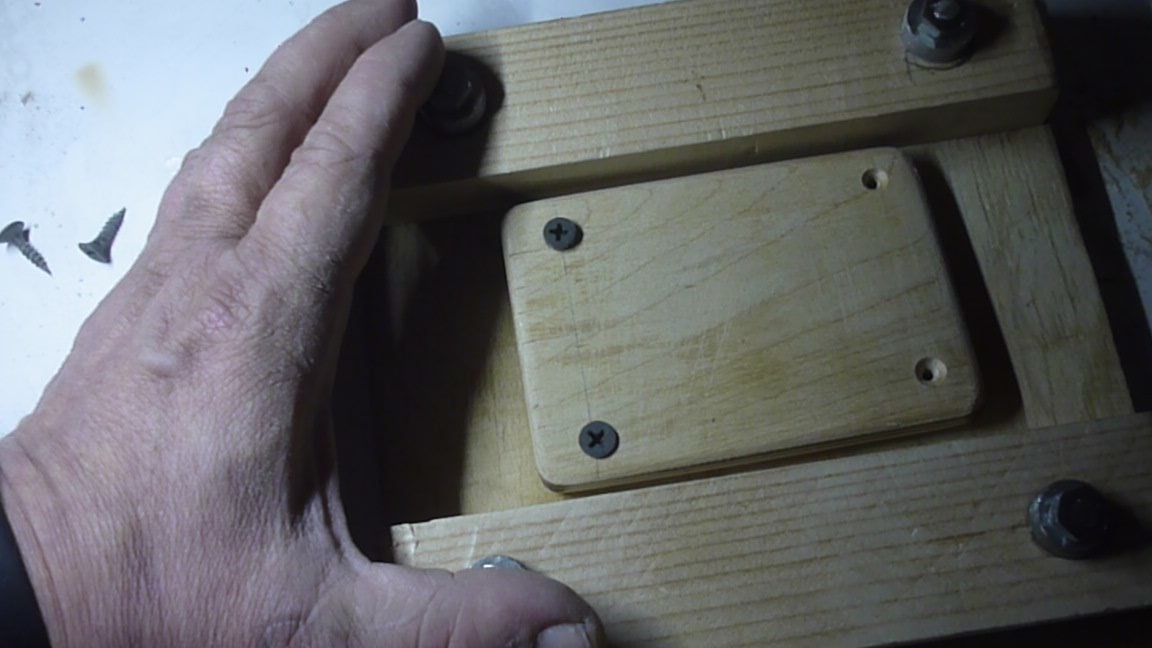
3. On the bed we fix the platform under the support alignment bearing.
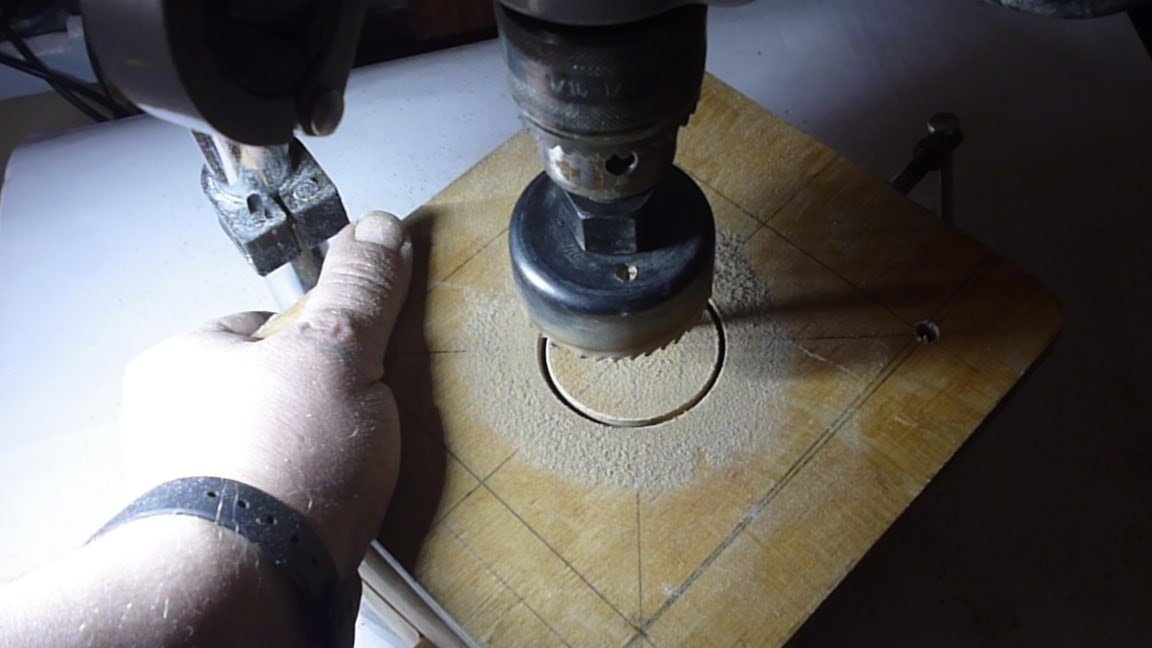
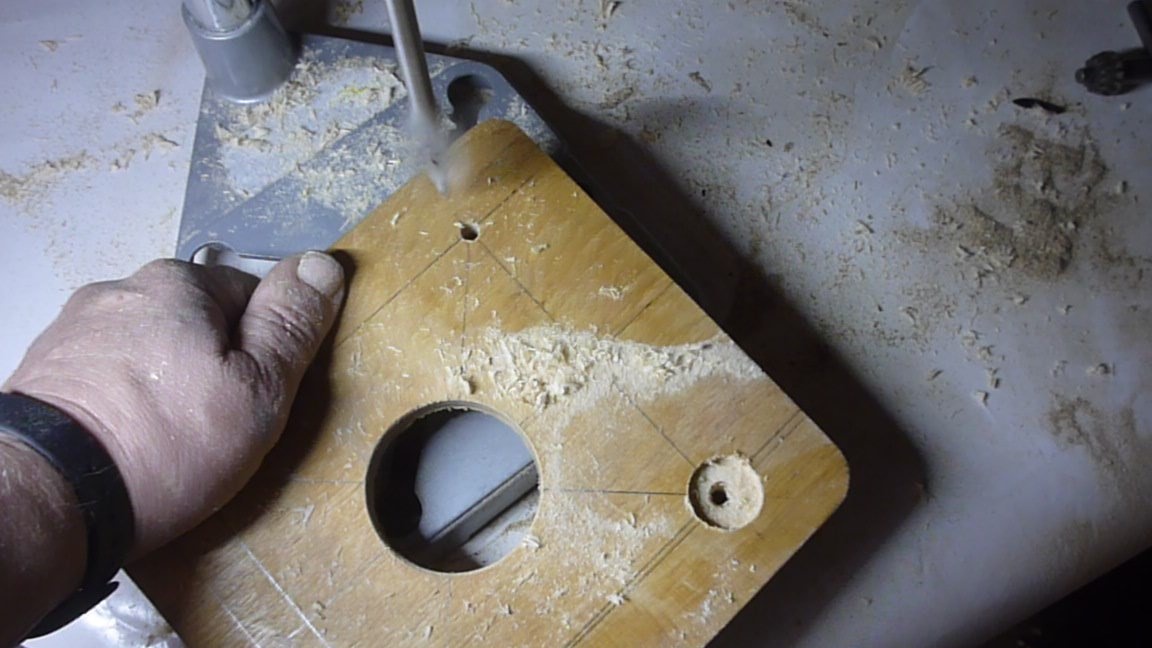
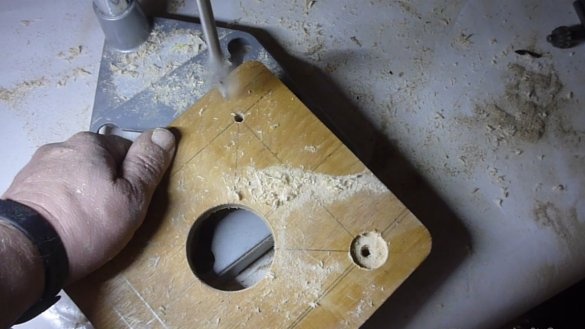
4. We drill a hole in the area under the bearing (shown in the video instruction).
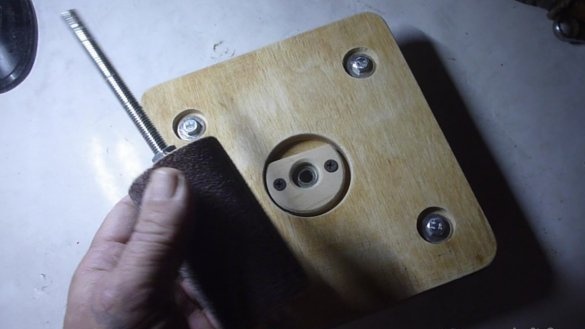
5. We install the bearing and fix it with a clamping level.
6. We make fixing bushings from the washers and install them on the bed.
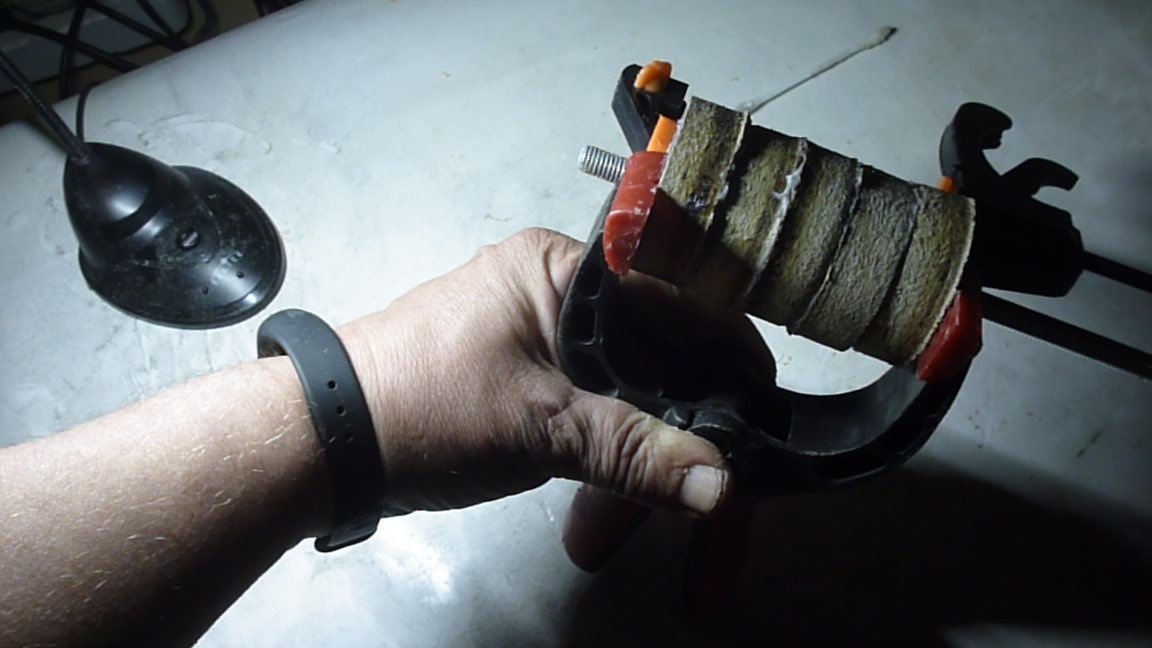
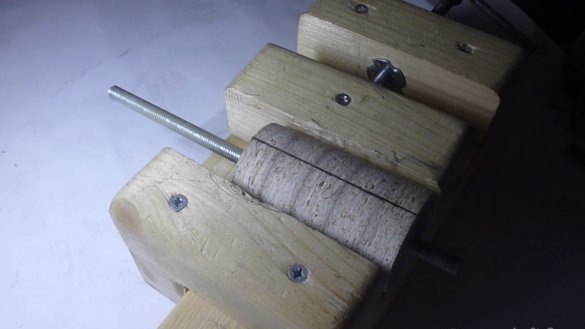
7. Cut out from the chipboard, using a core drill, disks for the manufacture of an abrasive drum.
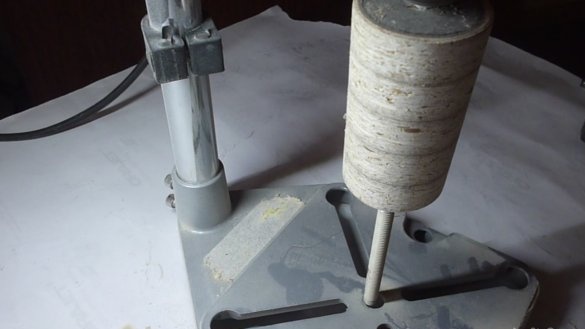
8. We glue the discs, wait for the complete setting of the glue, in our case, joiner's glue, the time until complete setting is 24 hours.
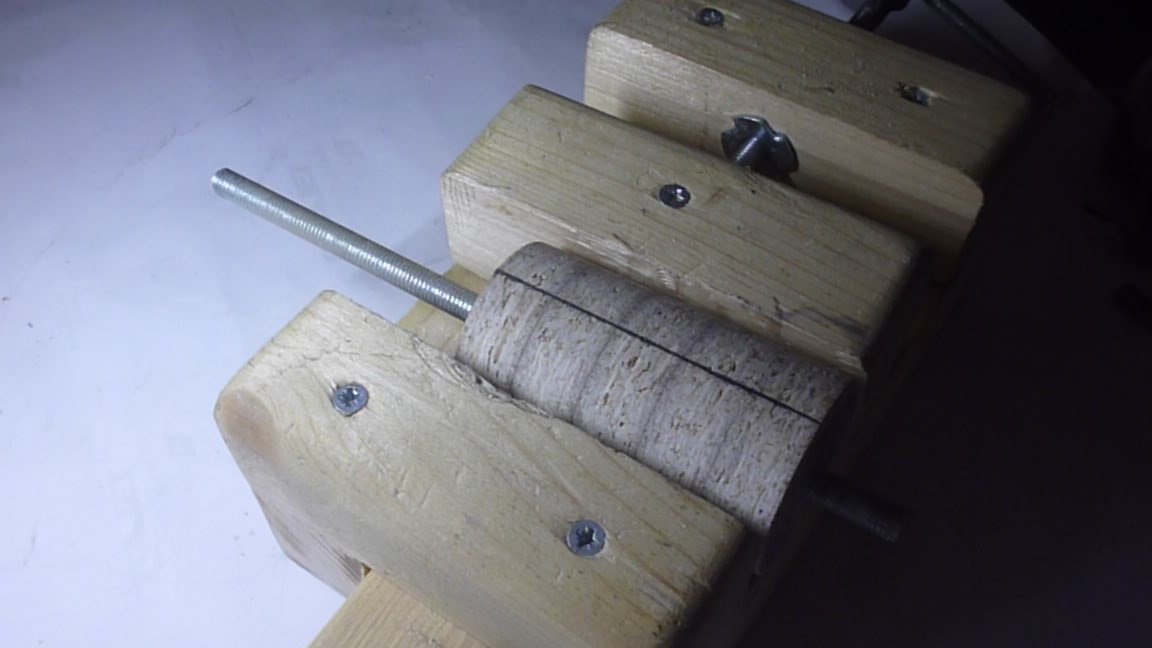
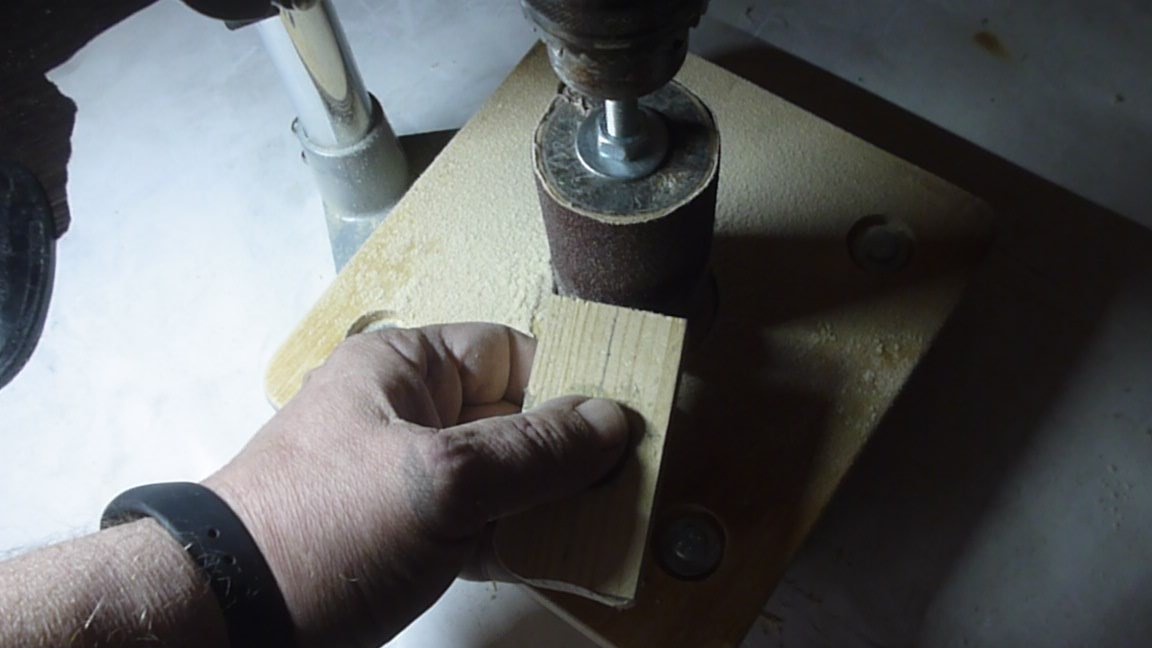
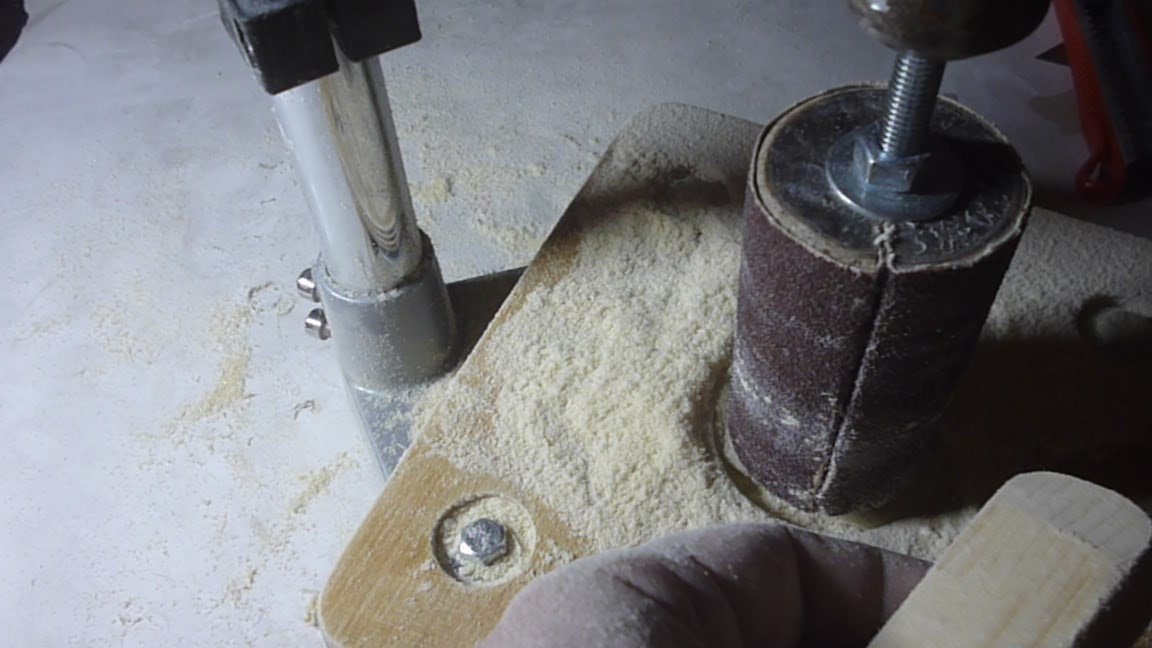
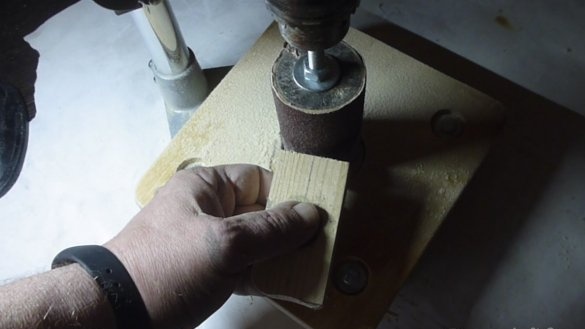
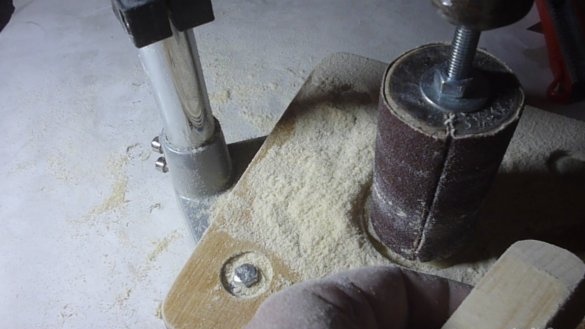
9. We process the drum until a smooth surface is obtained.
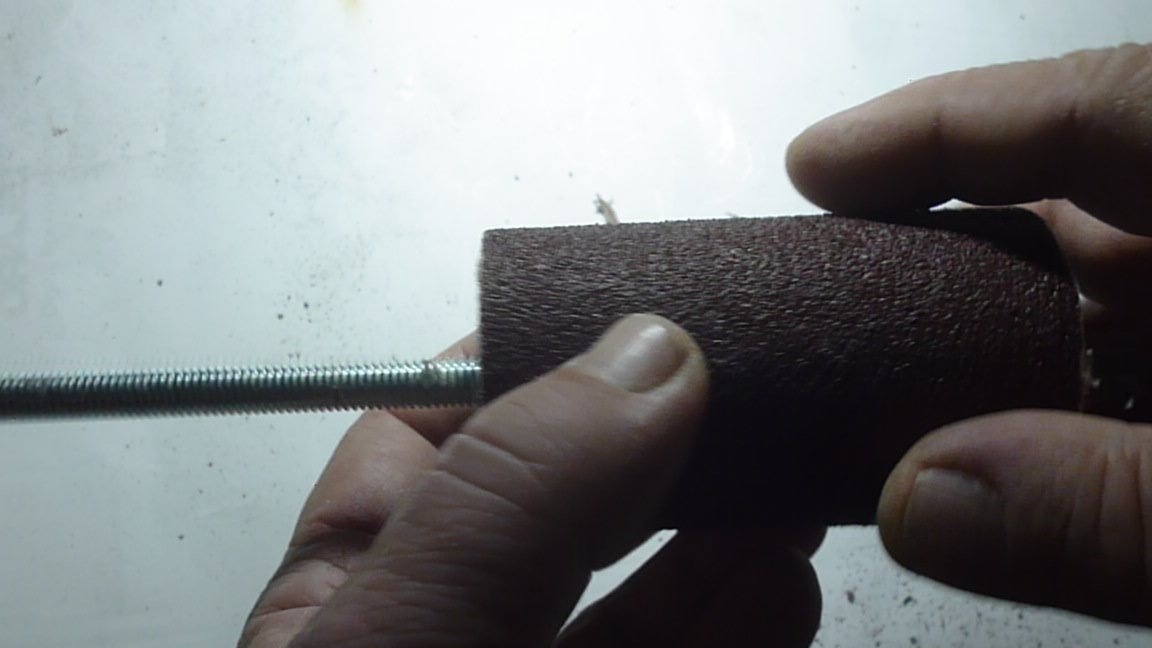
10. Using glue we fix the grinding skin on the drum.
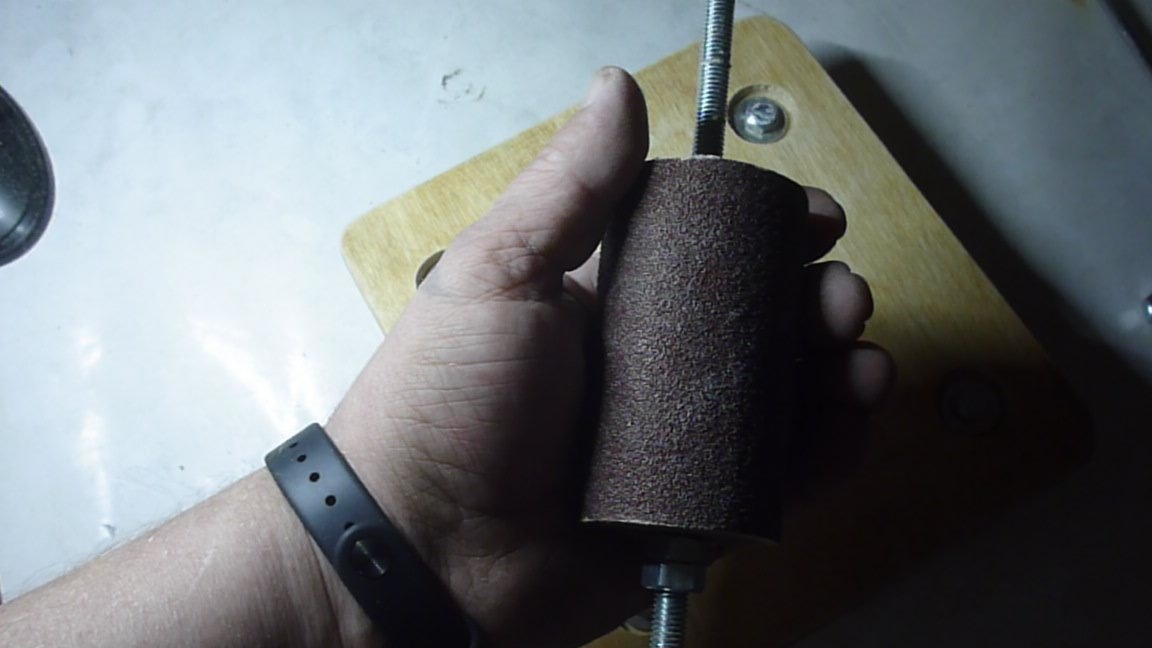
11. Dress the drum on a hairpin and fix the hairpin with washers and nuts.
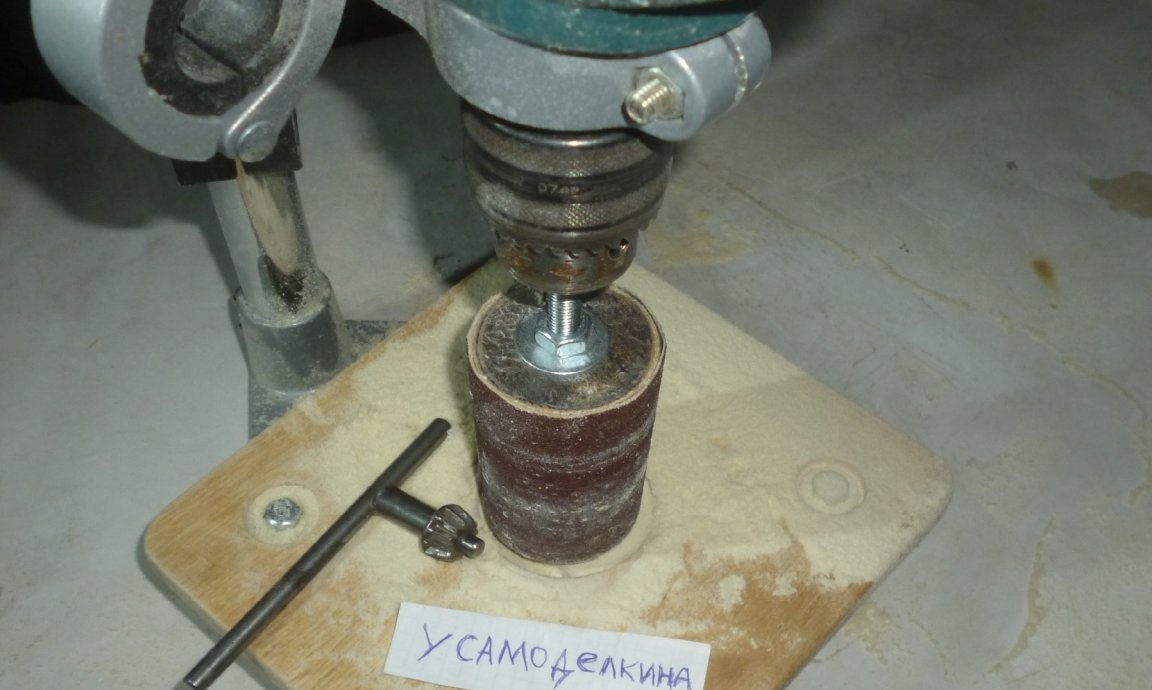
12. Install the drum in a regular place (fix in the bearing).
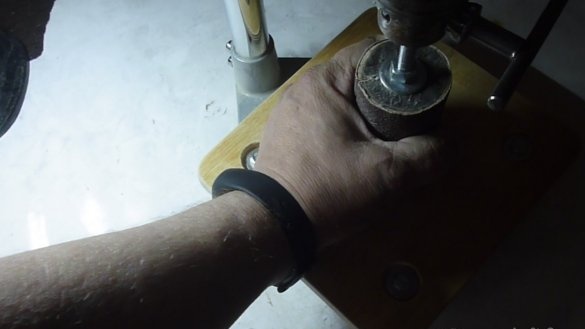
13. Install our unit in the drilling machine (shown in the video).
14. We carry out test tests of our grinding machine.

That's all. Good luck friends!