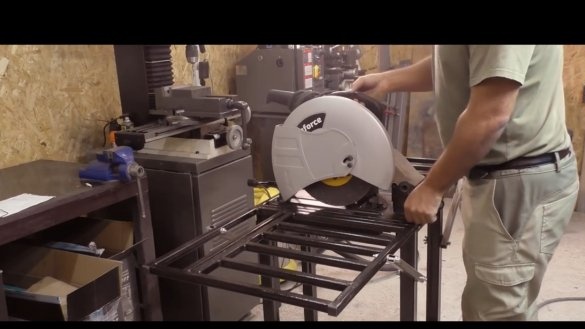
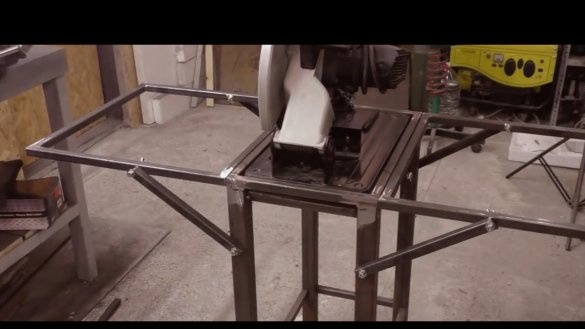
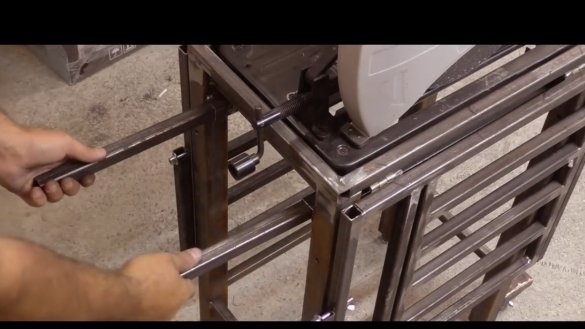
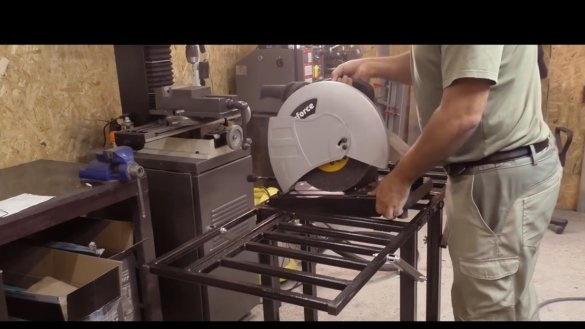
Regular viewers and subscribers of the YouTube channel “Good Master” already know that its author is organizing his mini-production and for this he will need a metal saw. But in the workshop there is still little space for her, so it was decided to make a mobile folding trolley with a movable ruler for her.
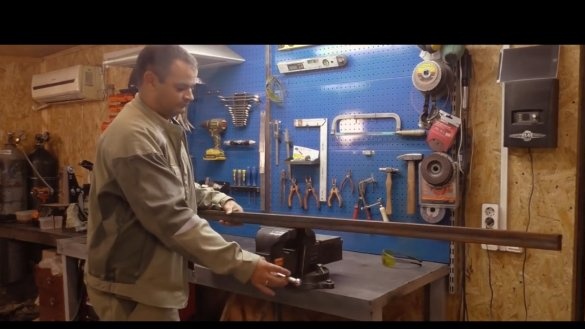
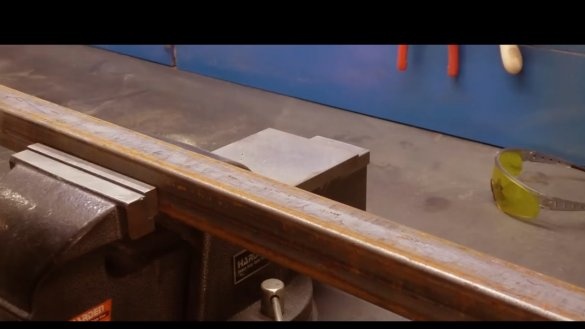
Especially for this project, the master went to the metal depot and bought there 2 types of profile pipe with sides 40 by 40 and 20 by 20 mm.
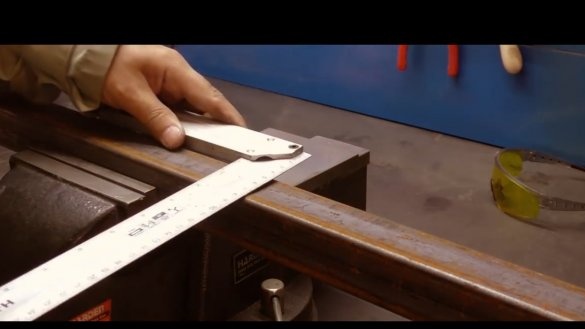
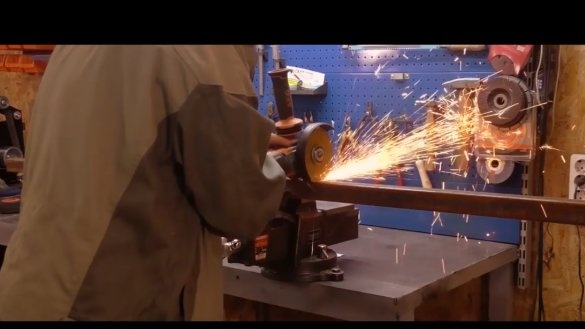
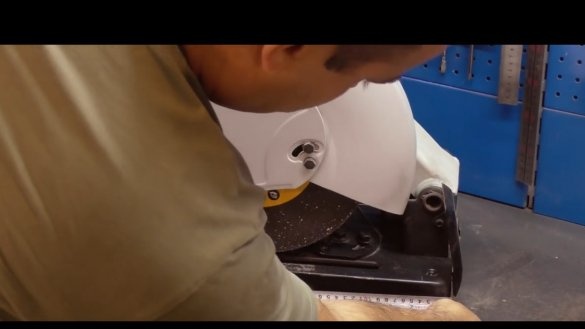
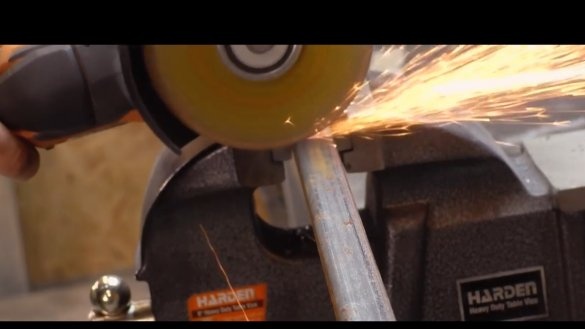
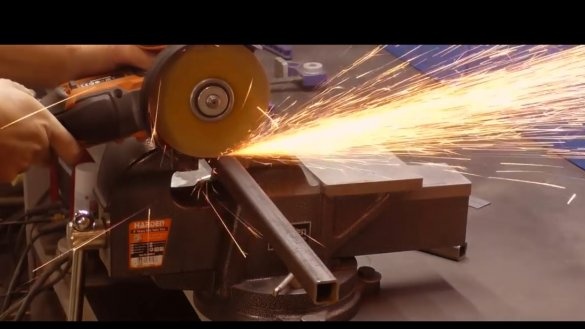
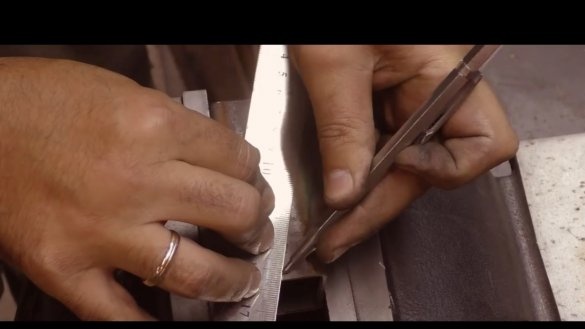
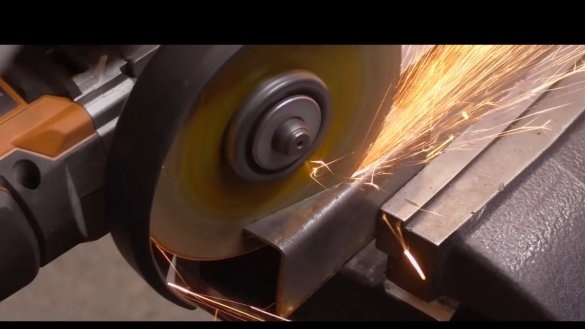
When the material is purchased and delivered to the workshop, you can begin construction. The author decided to start as usual with the legs. We mark and cut the metal of the required size.
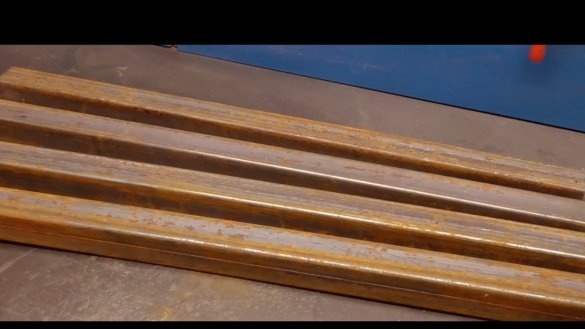
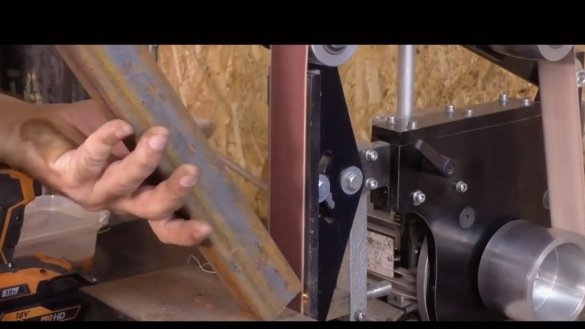
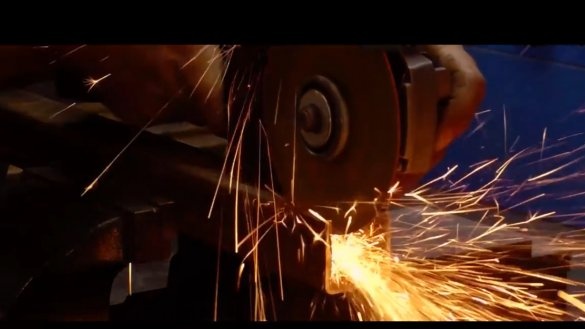
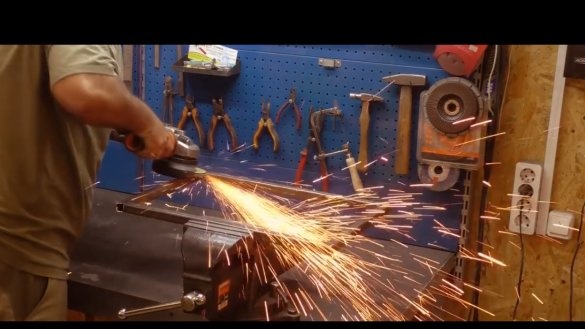
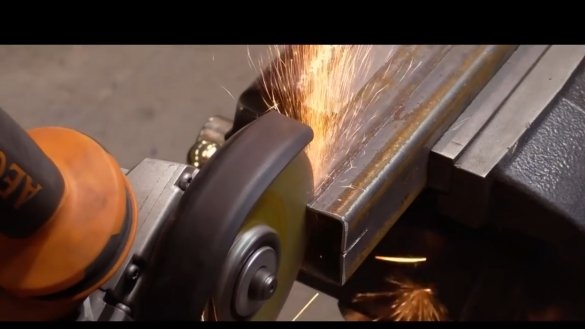
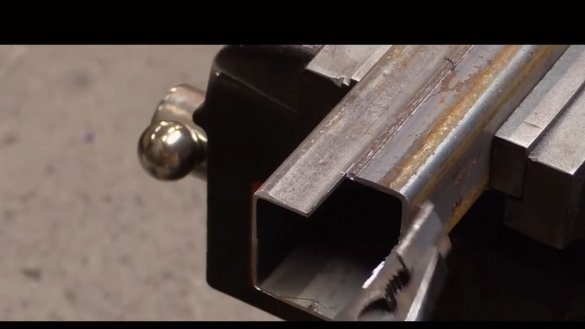
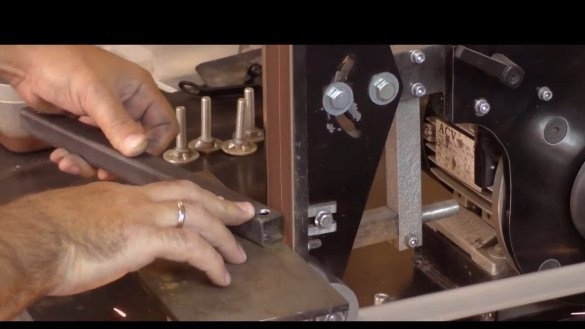
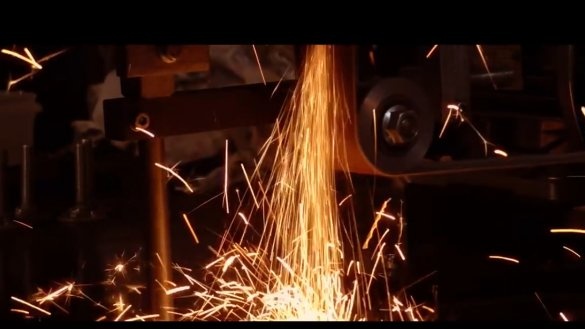
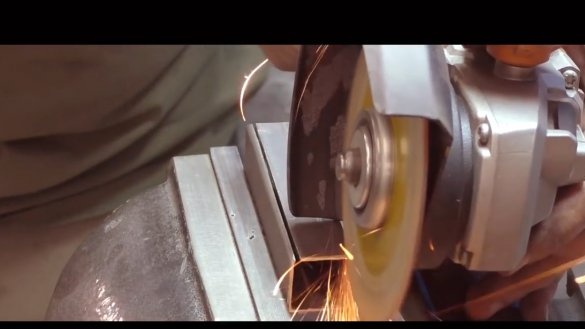
The blanks are ready. Now you need to trim the edges of future legs and get rid of the burrs that formed after the cut.
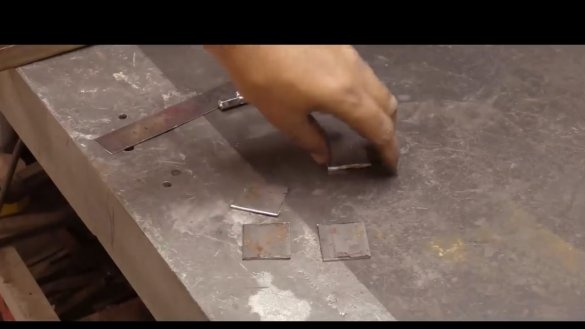
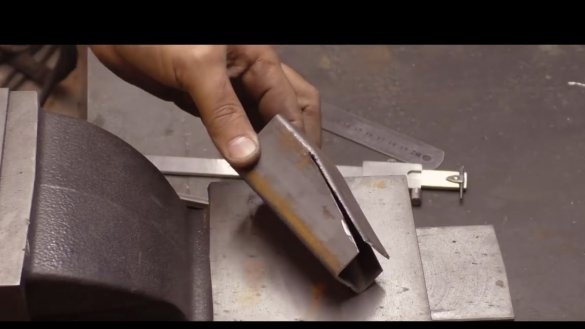
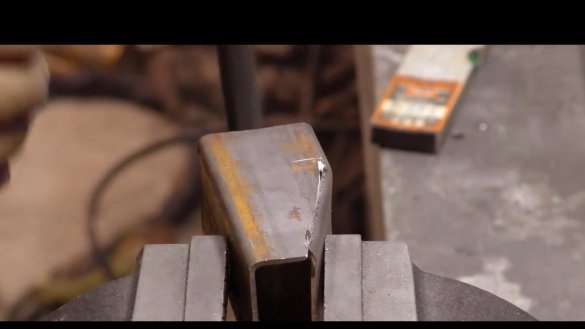
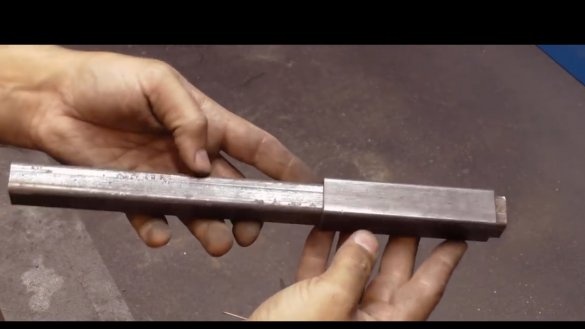
From the bottom side of the workpiece we will jam. To do this, cut a piece of metal from the same pipe. This method seemed to the author the easiest.
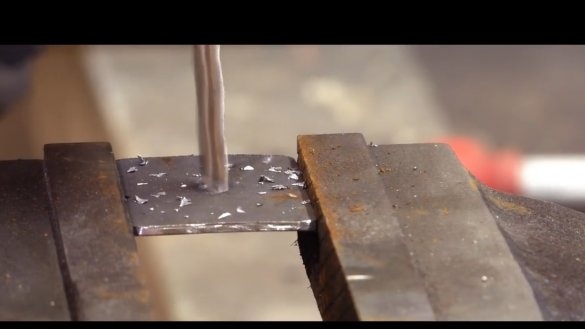
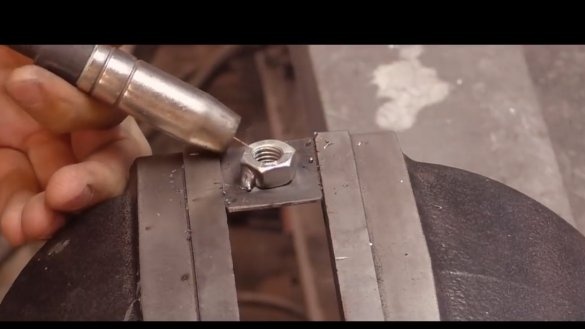
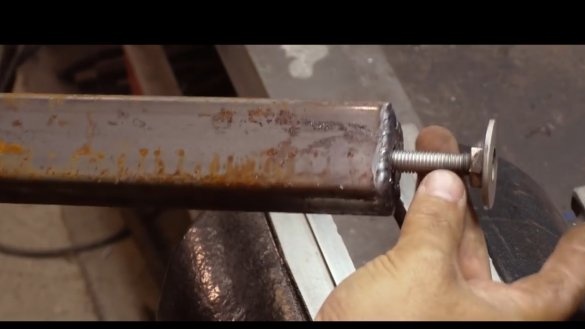
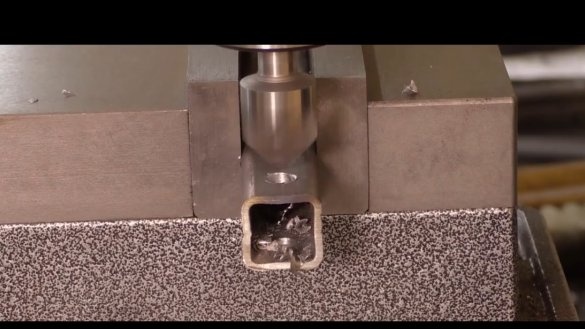
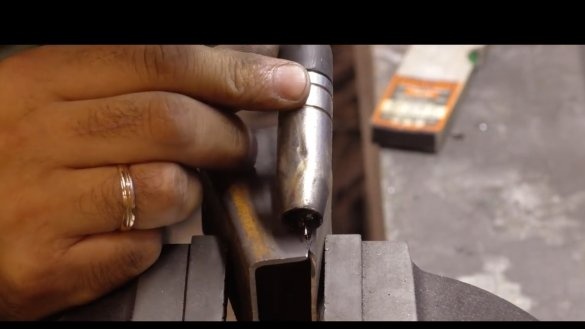
Now in the resulting workpieces, you need to make holes and weld nuts to them.
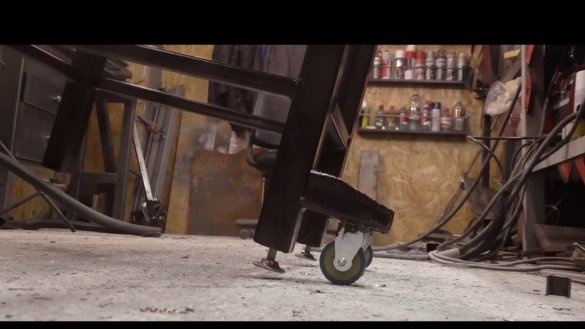
As many of you have probably guessed, the legs will be on adjustable legs. Subsequently, a couple of rollers will be added to the resulting design, but more on that later.
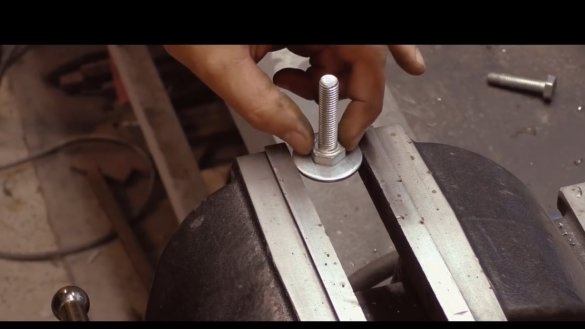
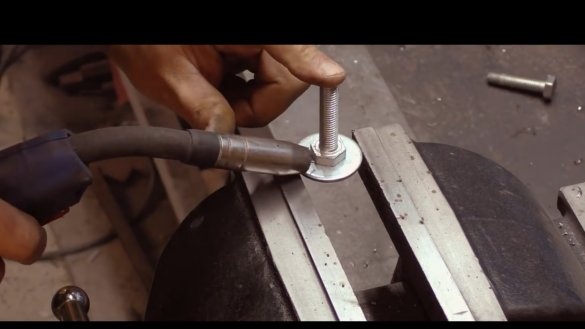
Next, we will manufacture the supports themselves. It was decided to make them out of bolts and larger washers. Thus, in this project we can do without turning. And so later it will look like this:
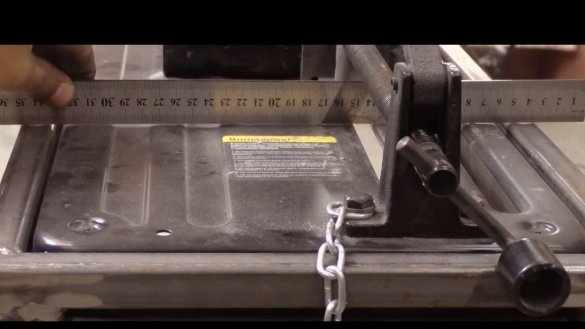
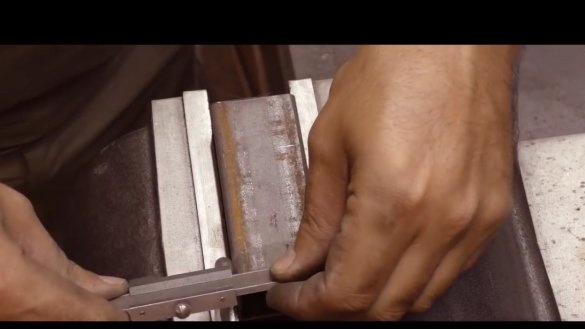
Then you need to measure the dimensions of the cutting machine.
Further, adhering to the obtained values, we cut the profile pipe with sides 20 to 20 mm.
The author did not voice the obtained dimensions, since each master, if he wants, does everything for himself, because the dimensions of the machines are completely different.
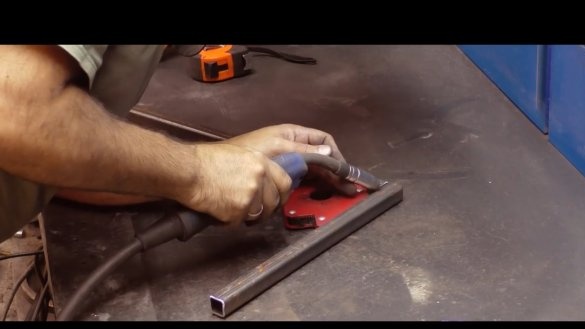
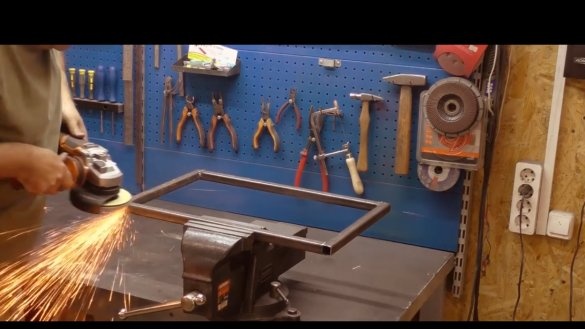
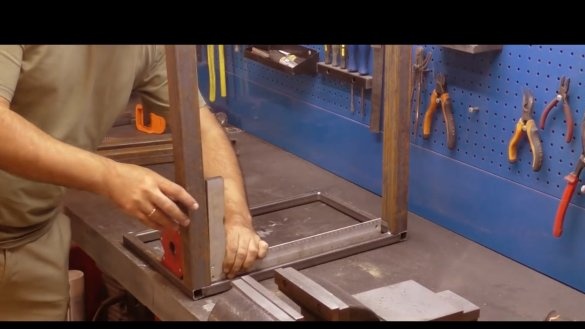
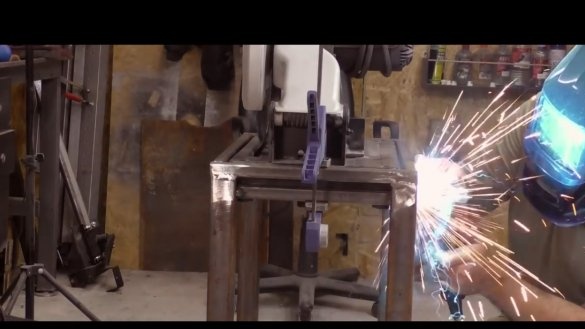
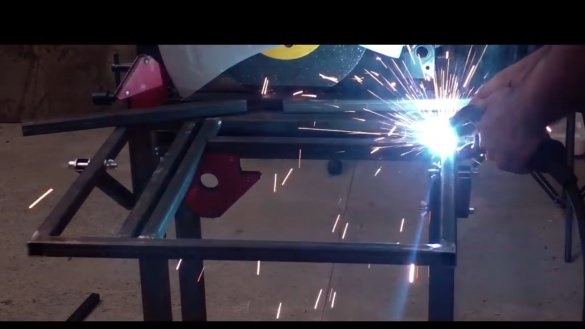
Next we have welding. We weld the frame.
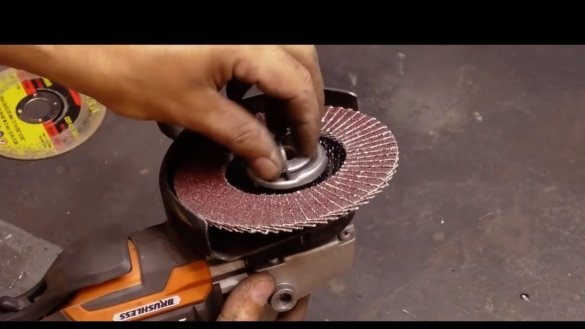
On one of the sides, it was decided to process the seams so that the legs, during subsequent welding, fit more tightly. This can be done using an angle grinder (angle grinder).
Also, already in the process of processing parts, the author found out that the legs need a little refinement, namely, it was necessary to cut a quarter so that the surface of the bed of the cutting machine was at the same level with the frame.
After the done manipulations, you can mount the legs in their places.
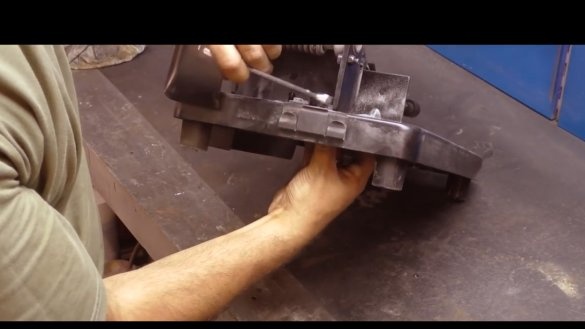
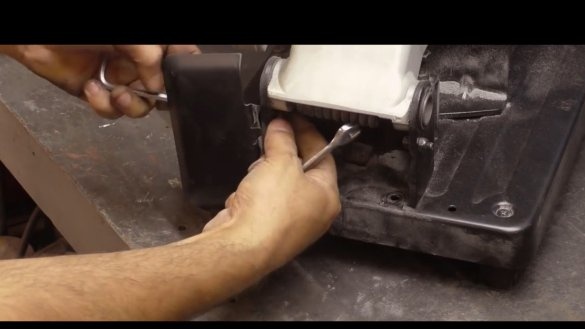
Then from the machine we unscrew the tool holder and spark arrester. They need to be slightly modified and installed in place already taking into account the cart.
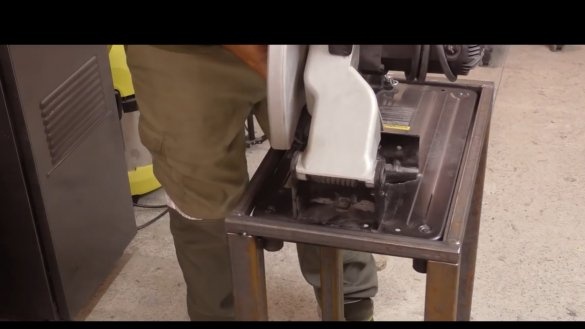
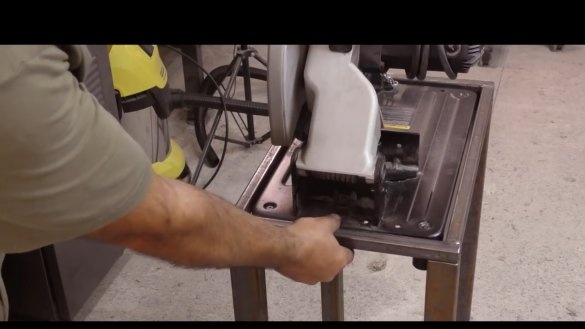
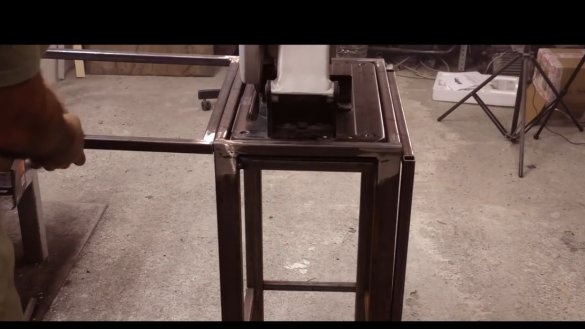
Try on a machine.
As you can see, the machine comes in, but only now the platform of the machine is below the frame trolley. We will align this, and at the same time we will make supports for the machine.
Now everything is set as planned.
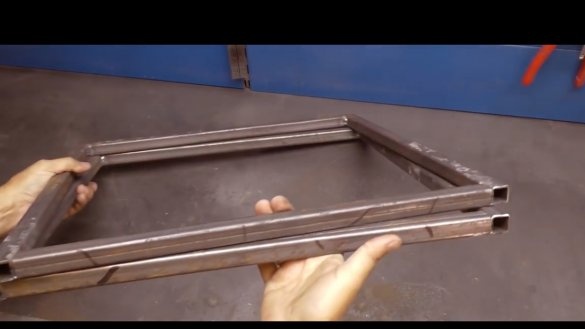
Then, all from the same profile pipe, you need to weld a pair of such frames here:
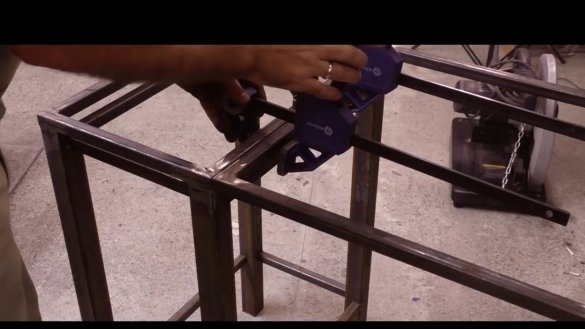
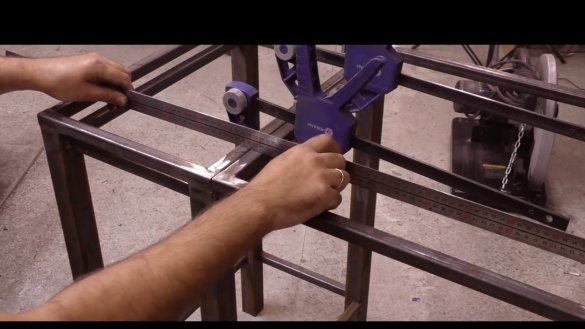
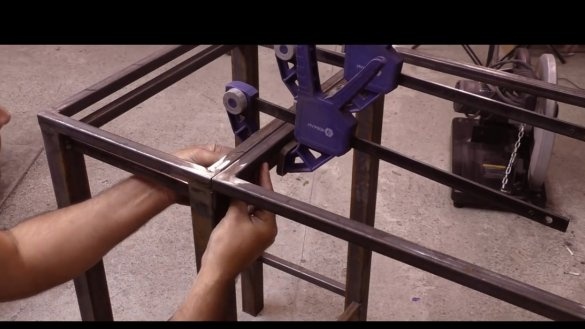
These frames will subsequently play the role of folding tables. We install them in their place and tighten them with clamps.
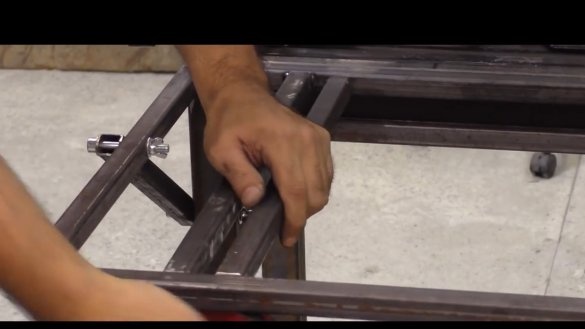
At each stage of installation, it is advisable to check each element for lack of gaps.
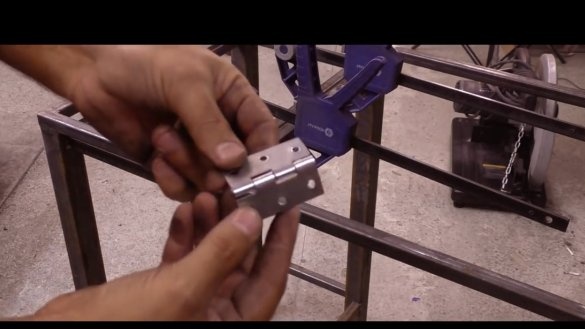
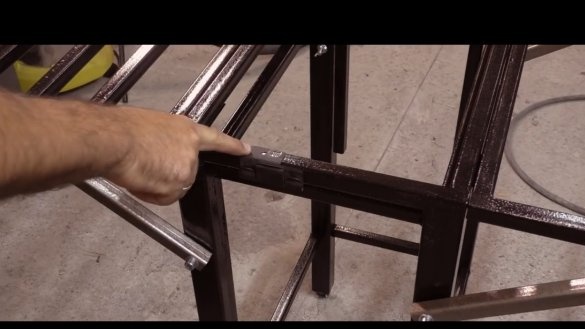
As hinges, it was decided to use these loops:
These loops were purchased by the author in the nearest hardware store. We will weld them from below.
By exactly the same principle, the fastening of the second table is made.
At the next stage, we will be engaged in the manufacture of jibs. It was decided to refuse additional legs, since this will be enough for the tasks facing the future product. Empirically, the author calculated the size of the jibs and cut the workpieces of the required length from the profile pipe.
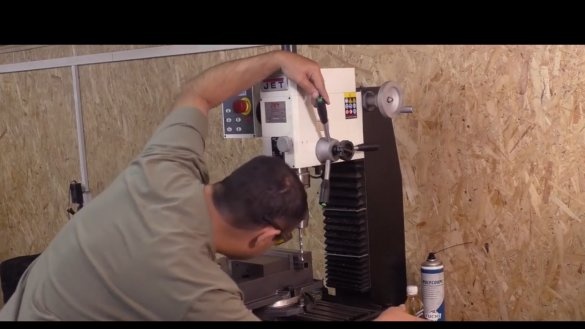
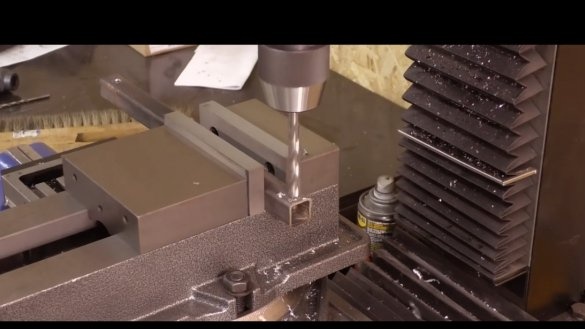
At the next stage, it is best to use a drilling machine, or, as in this example, a milling machine, since the holes in the workpieces must be coaxial.
Further, on one side, the corners on the supports must be sharpened so that they do not protrude beyond the edge of the folding table.
Well, this is how the whole assembly looks like:
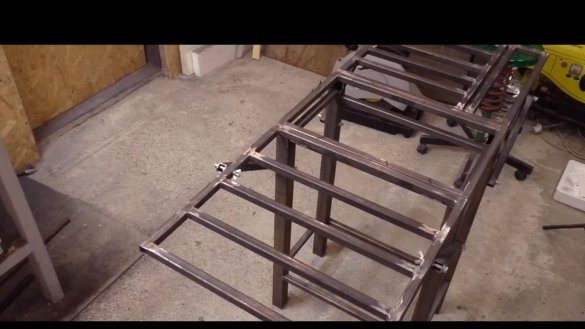
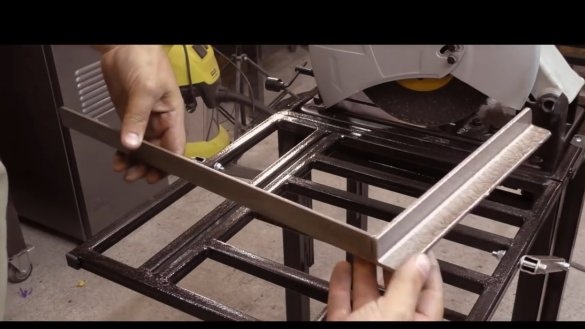
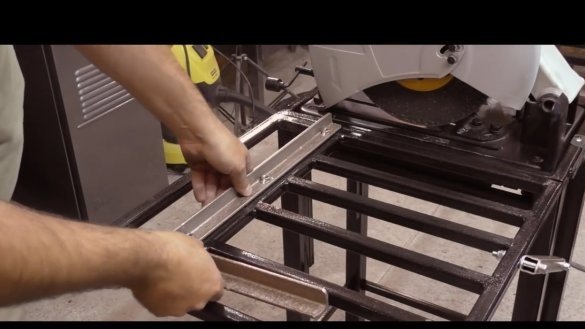
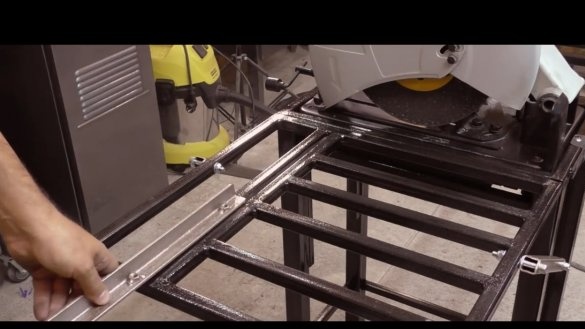
Now it remains to weld the cross members and a pair of guides for the movable ruler.
Further, the exact same procedure must be done on the other hand.
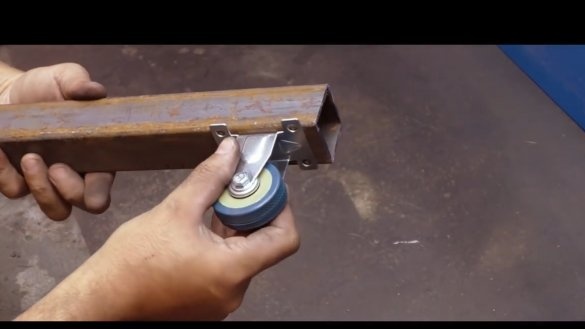
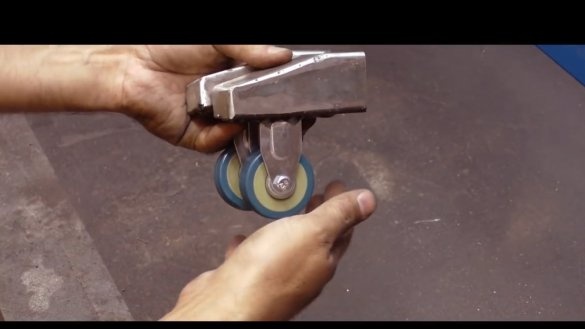
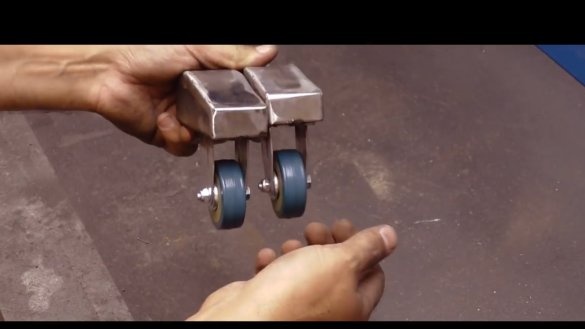
Then, special attachments must be made to the rollers for their installation. We will make them from the same pipe from which the legs were made.
Of course, they could be left straight, but the author decided that every detail should be pleasing to the eye, so he gave the supports the following shape:
Further, the obtained blanks must be welded and processed.
And now, after a short period of time, our legs are ready:
But if there are legs, then there must be handles! The next step will be the manufacture of handles for the trolley, for which we will roll it.
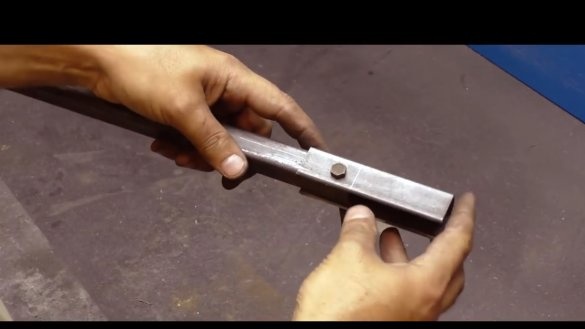
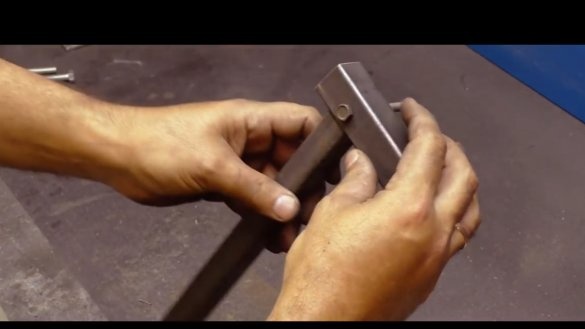
It was decided to make the handles folding. Everything is extremely simple here, we cut out the wall at the profile pipe with a side of 25 mm, and weld the future handle onto the hinge. Here's what happened in the end:
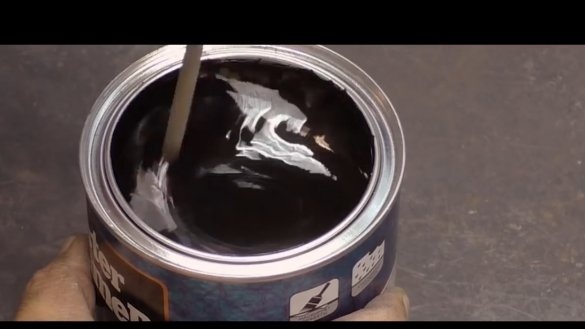
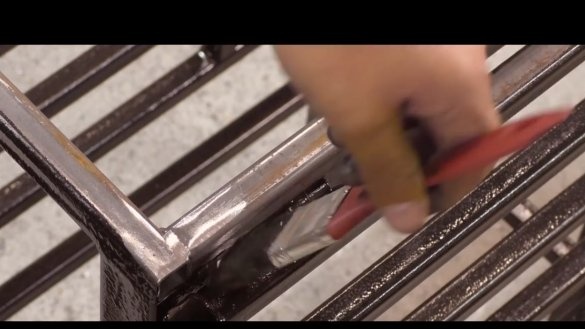
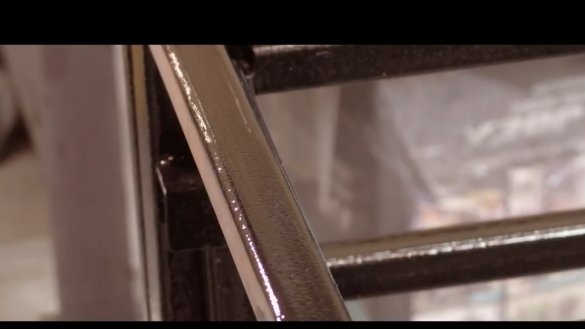
Next, we’ll bring some cosmetics and collect our cart. We paint the product in black.
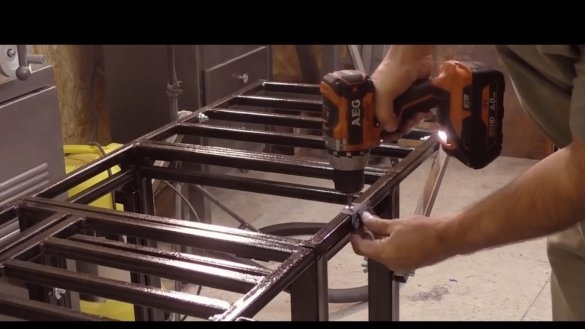
Install the missing elements:
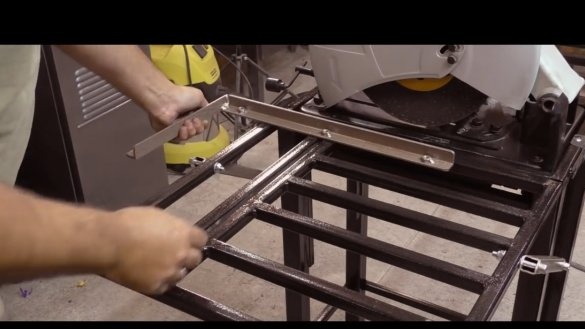
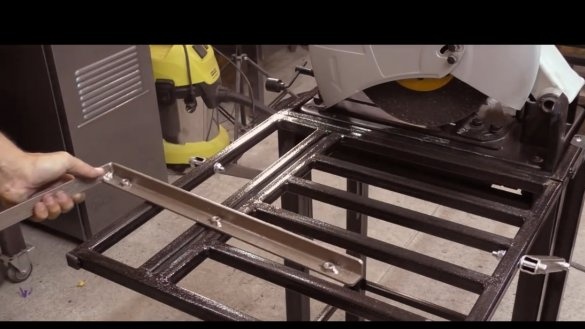
We make and put emphasis. The author did not show the manufacturing process of this part, since there is nothing complicated in its manufacture.
This part can be installed in 2 options to choose from.
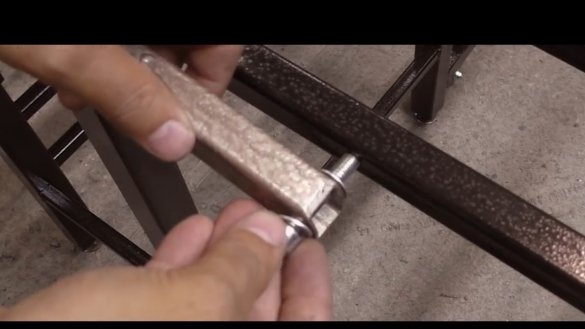
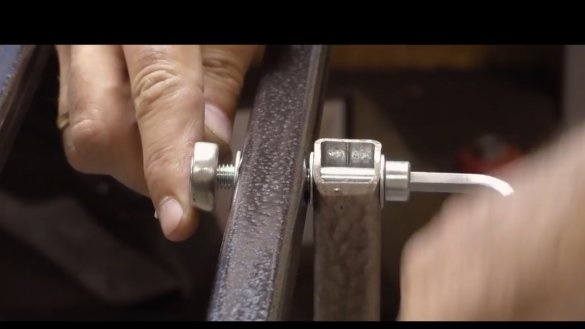
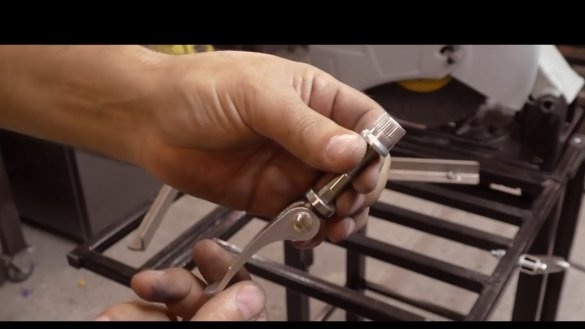
Its charm lies in the fact that if the size of the cut blank is not enough, then you can quickly make another one specifically for certain tasks. We will fast fix the stop using this cycling bolts:
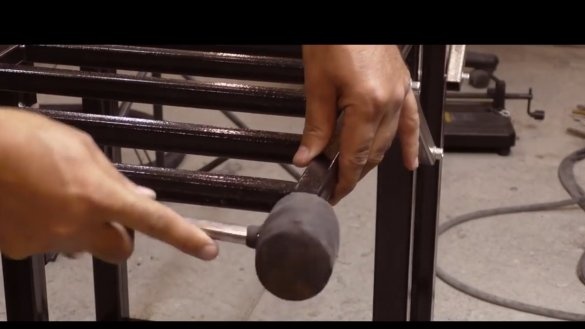
As practice has shown, clamps such a bolt reliably enough. Here is such a homemade result.
That's all. Thank you for attention. See you soon!
Author's video:

