
This article will show you how to do it yourself in home conditions to collect a really powerful electromagnet from scratch.
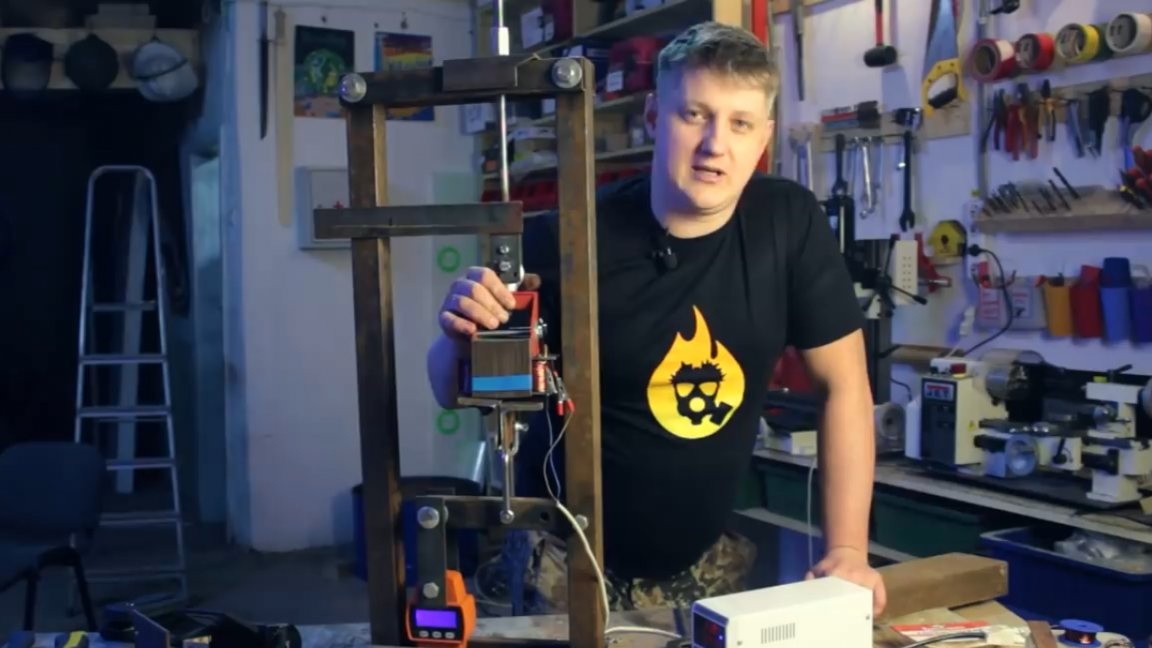
The following instructions are taken from the Fiery TV channel YouTube.
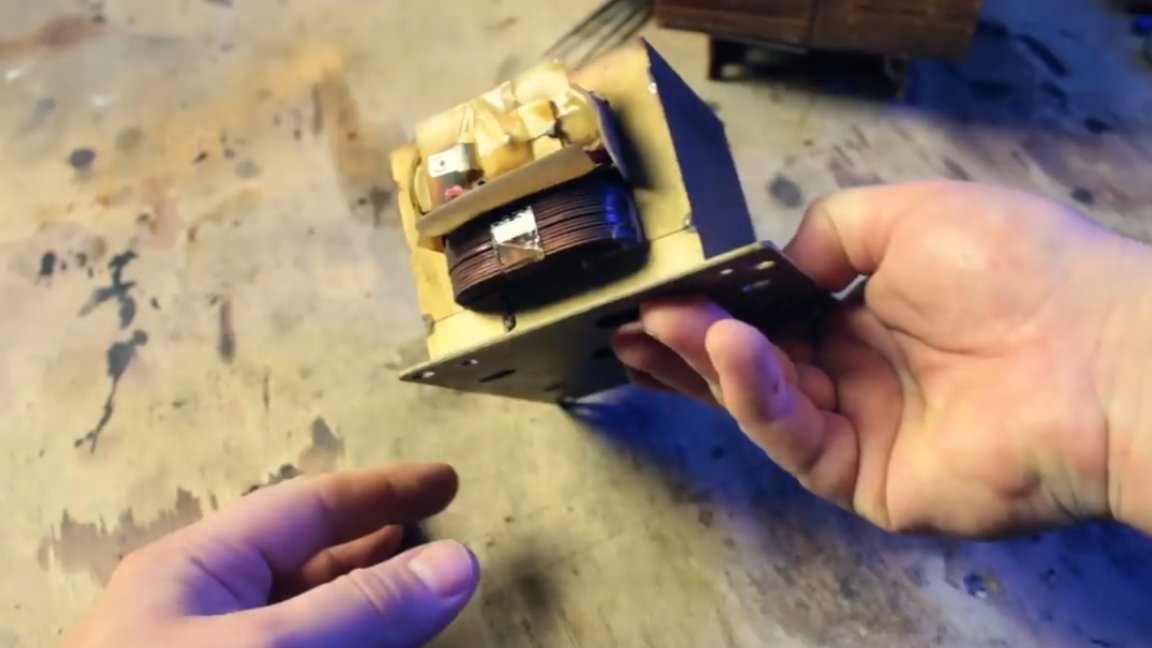
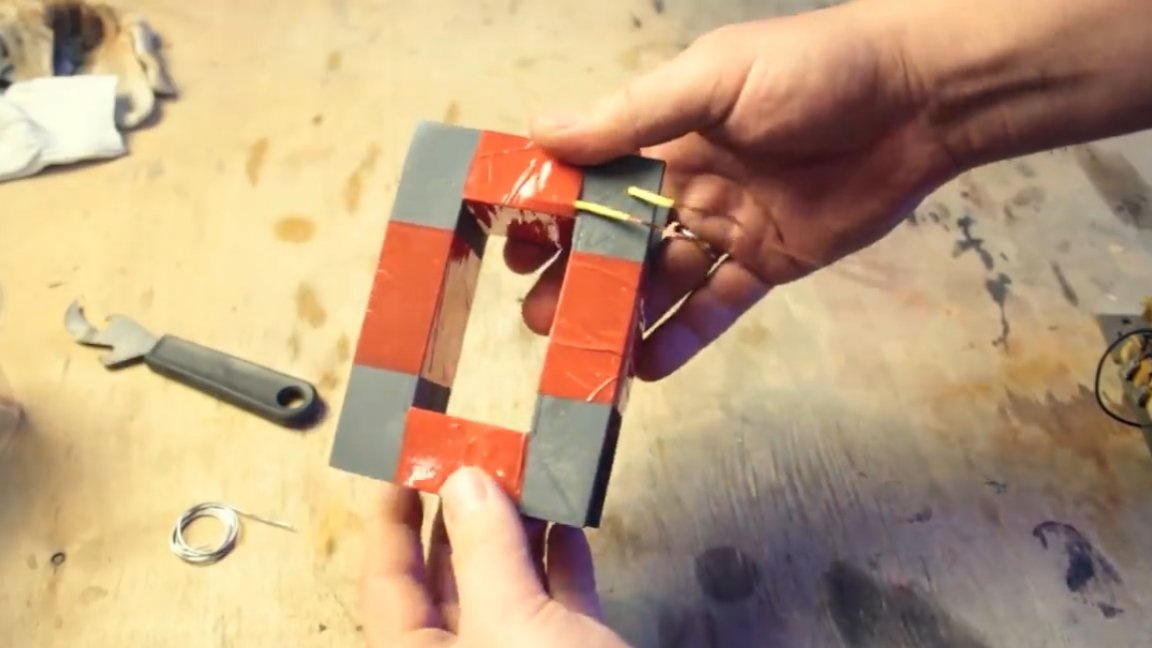
On YouTube, you can find numerous videos about how to remake transformers from microwaves making them an electromagnet. For this, amateur craftsmen remove the secondary winding and open the magnetic circuit. Then the resulting device must be connected to an outlet. As a result of such simple manipulations, the device buzzes and magnetizes.
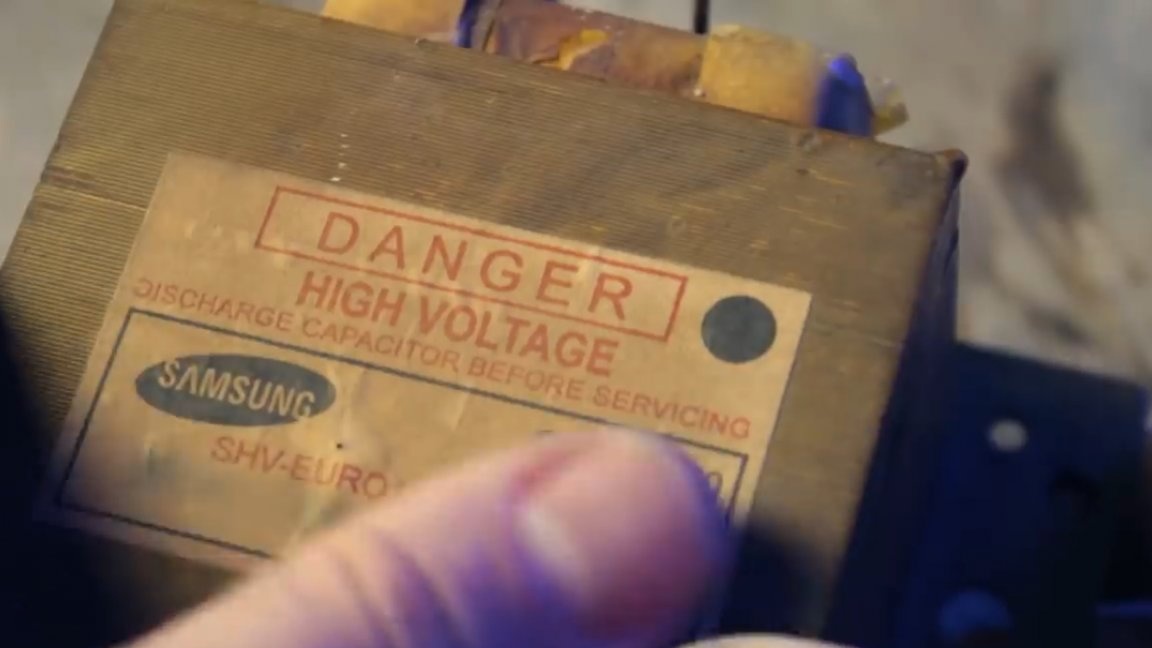
But if you decide to repeat this experiment, then it is not known what burns first: winding or your wiring in the apartment? Well, the winding of such a transformer for such tortures is not designed, and so that it does not burn (and so that what is attached to this magnet does not burn), it is necessary to make fairly accurate calculations.
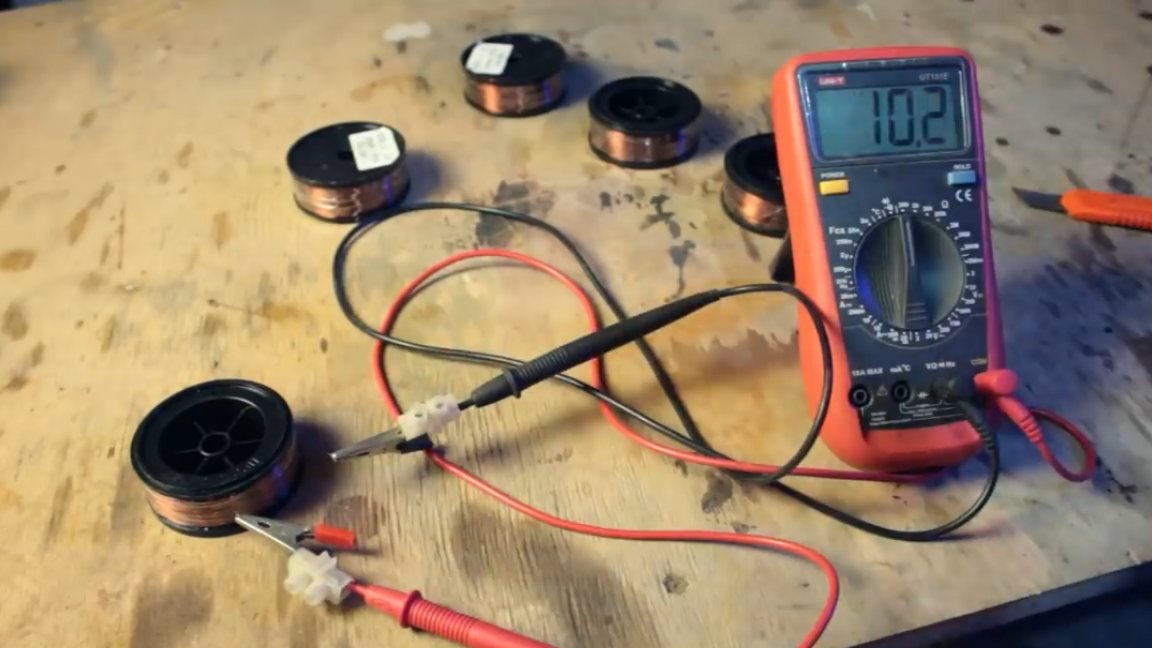
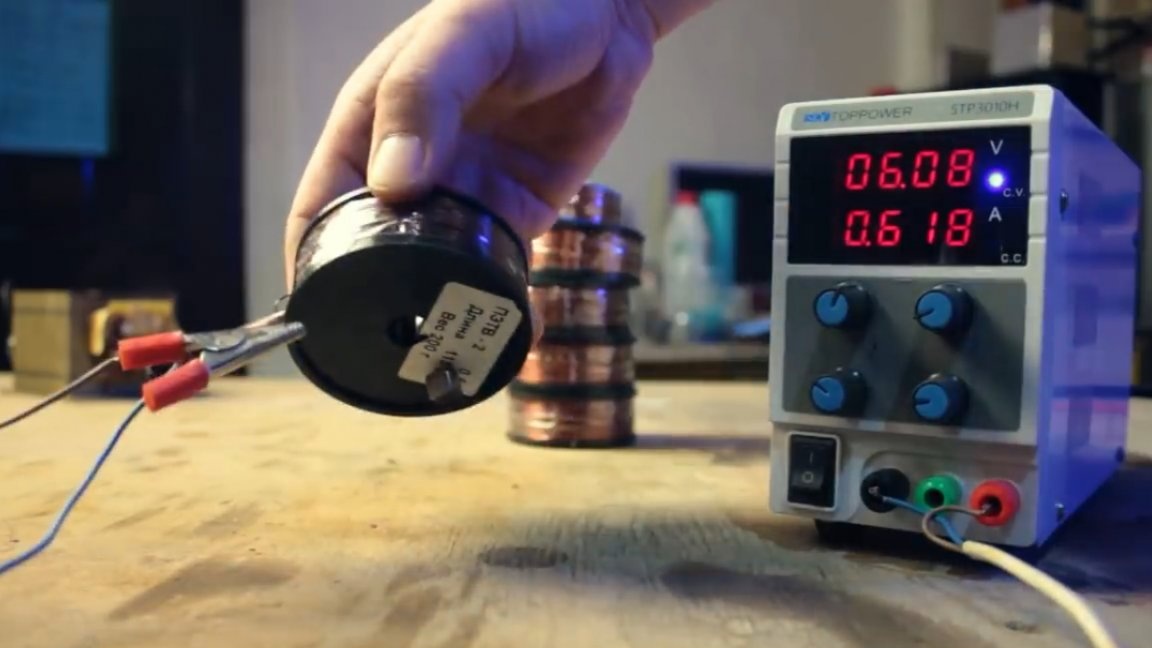
To do this, we need a lot of wire.
The next step is to measure its resistance and, referring to the table, see what current is permissible for a wire of a given diameter:
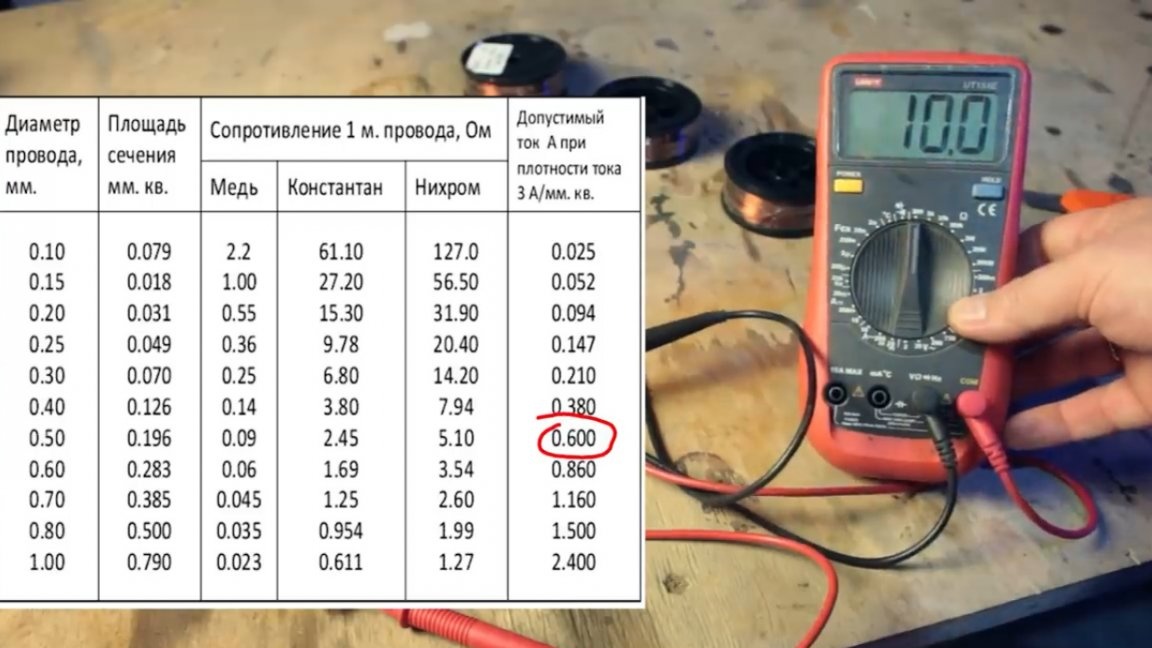
Then multiply one by the second (the resulting values of resistance and permissible current) and as a result get the voltage at which this length of wire will work happily ever after.
Specifically, in this example, the wire resistance is 10 ohms, the permissible current is 0.6A. 10 * 0.6 = 6 Volts. That's all, the coil turns into a magnet, and there is virtually no heating.
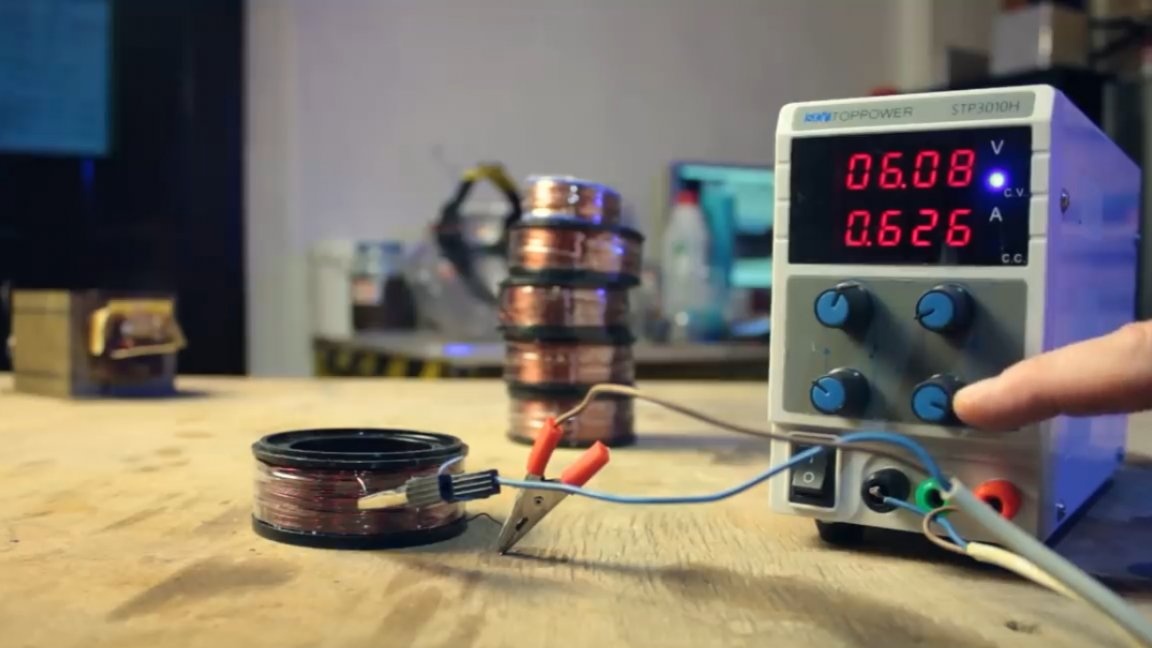
But 6V is not a very standard voltage. Let's connect 2 coils in series.
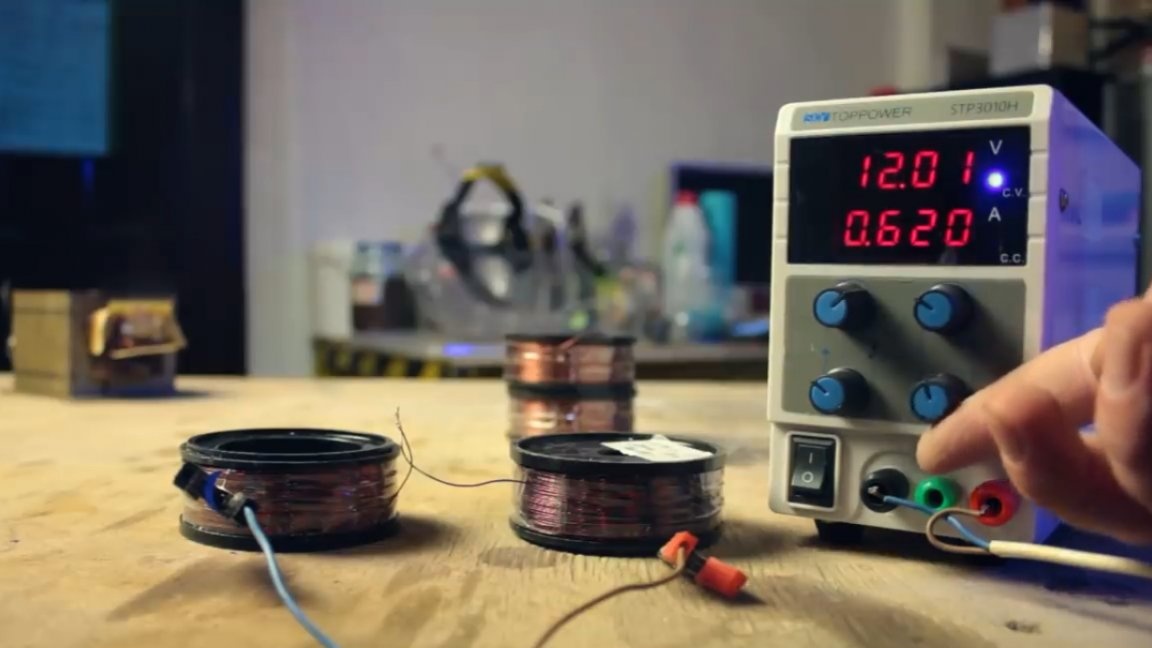
Thus, we got an electromagnet for 12V, and the same current value flows in the circuit - 0.6A. After some time (about half an hour), let's check the temperature of the coils.
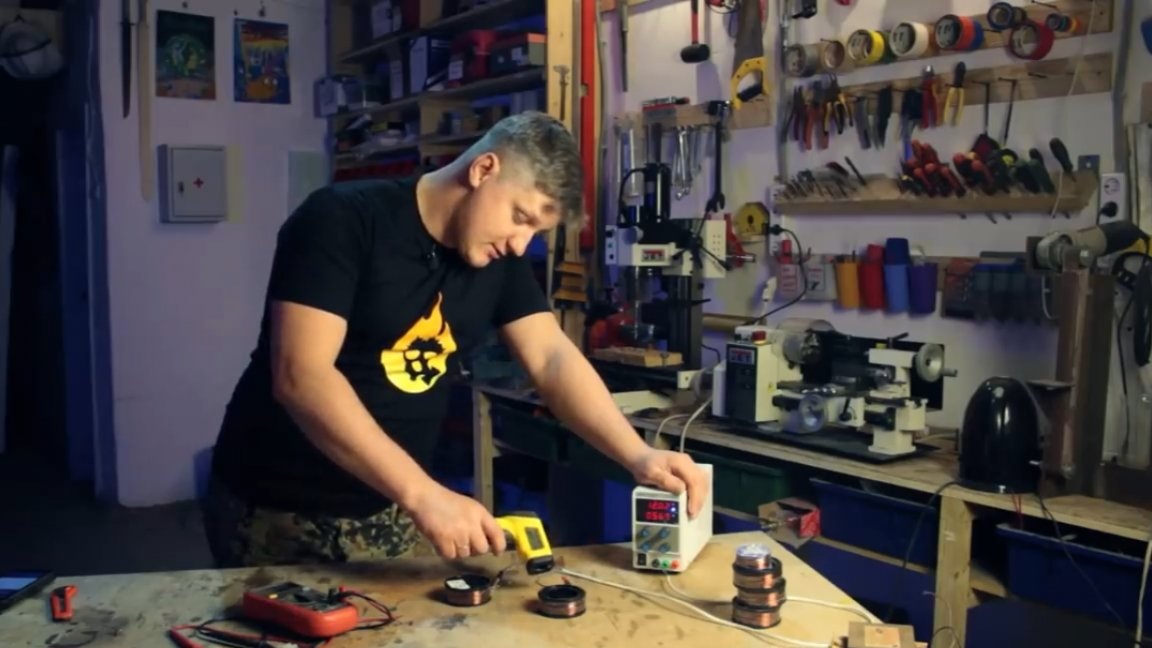
The temperature is approximately 35 degrees, which means there is practically no heating and in this mode, the coils can work for almost forever. So you can safely wind an electromagnet.
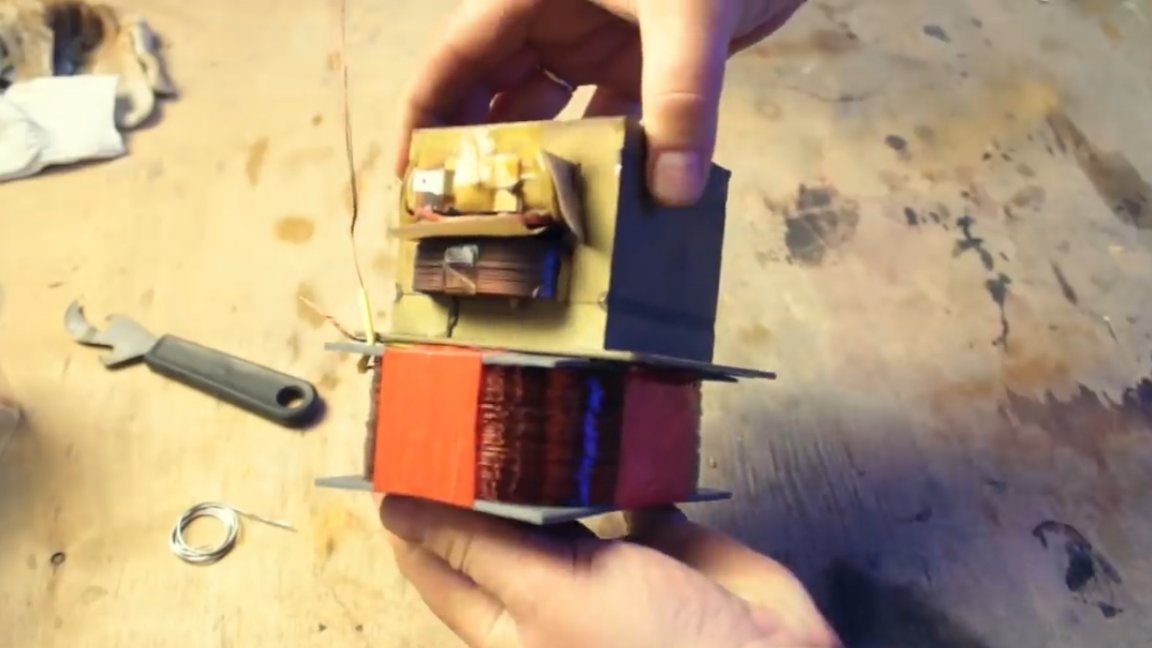
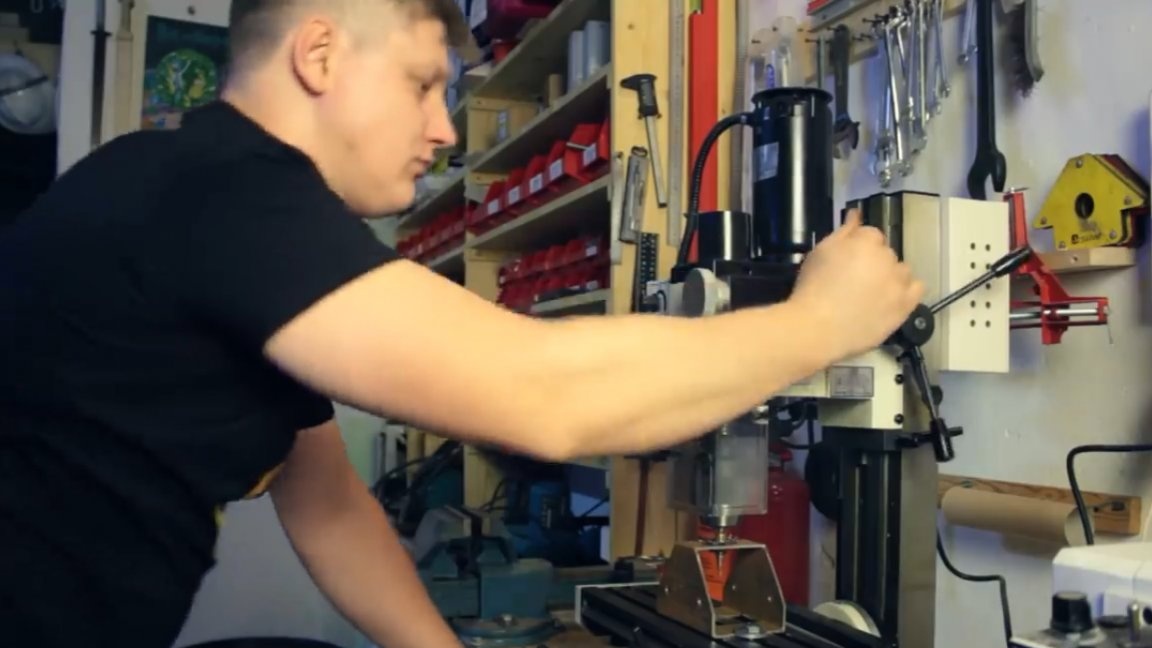
So, we figured out the wire for the winding, now we need a magnetic circuit. You can take it all from the same transformer from the microwave.
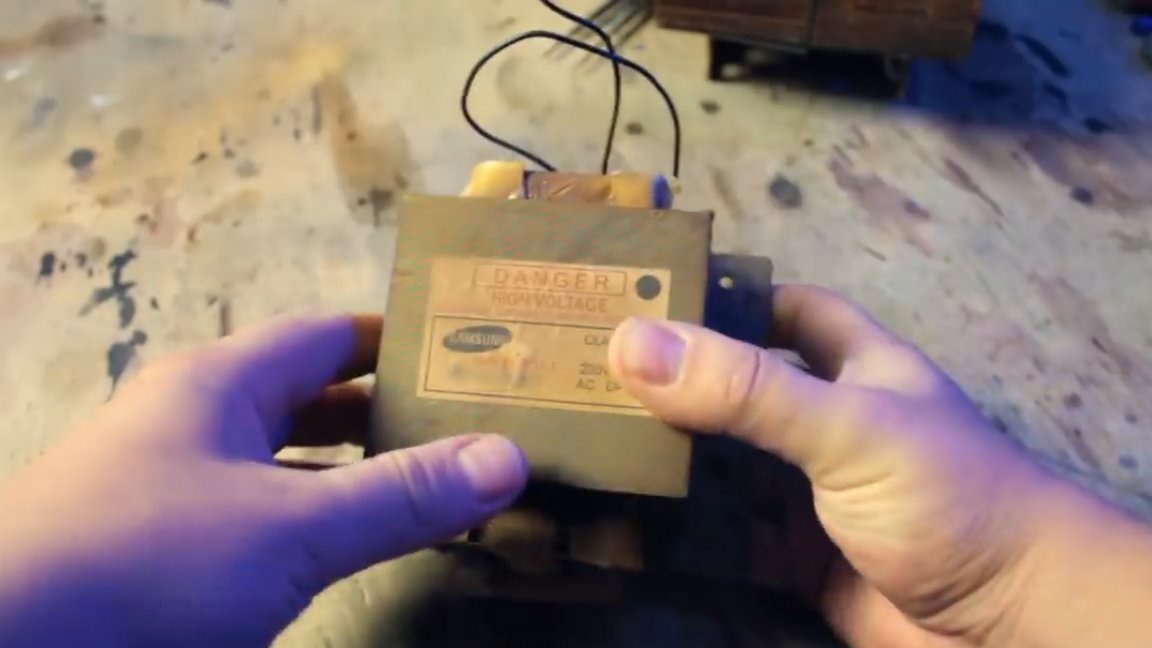
And you can take this element from an even larger transformer, for example, from this one:

But in order to unleash the full potential of such a magnetic circuit, you will have to wind a decent amount of wire, a lot of wire. The author did not have so much, so he chose a smaller transformer.
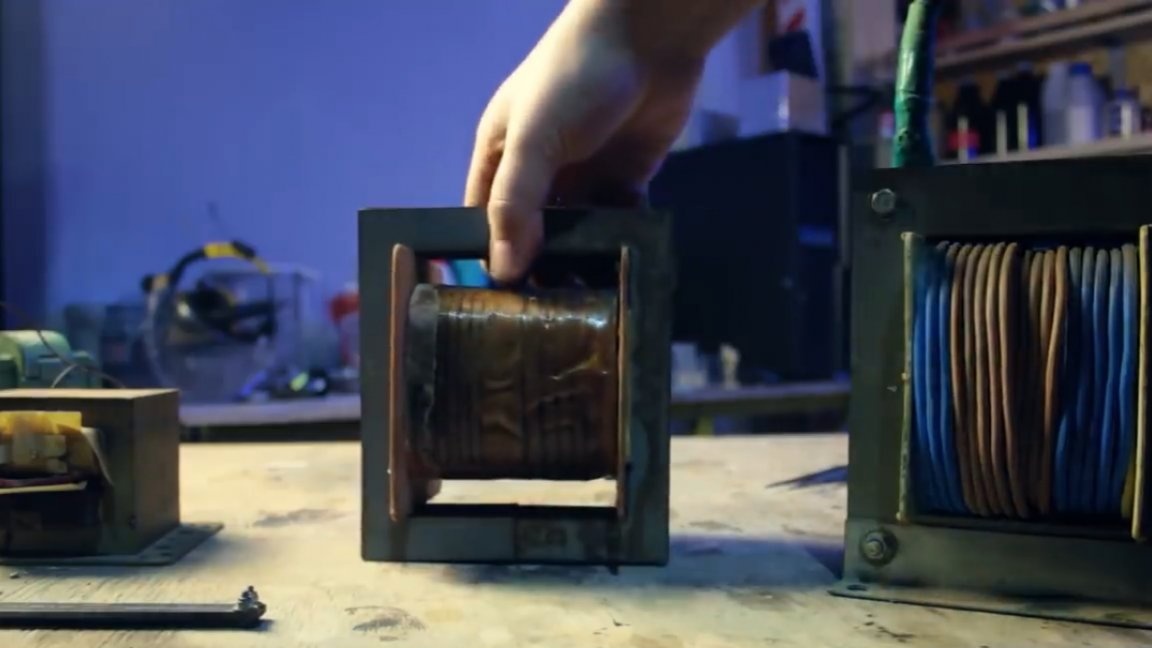
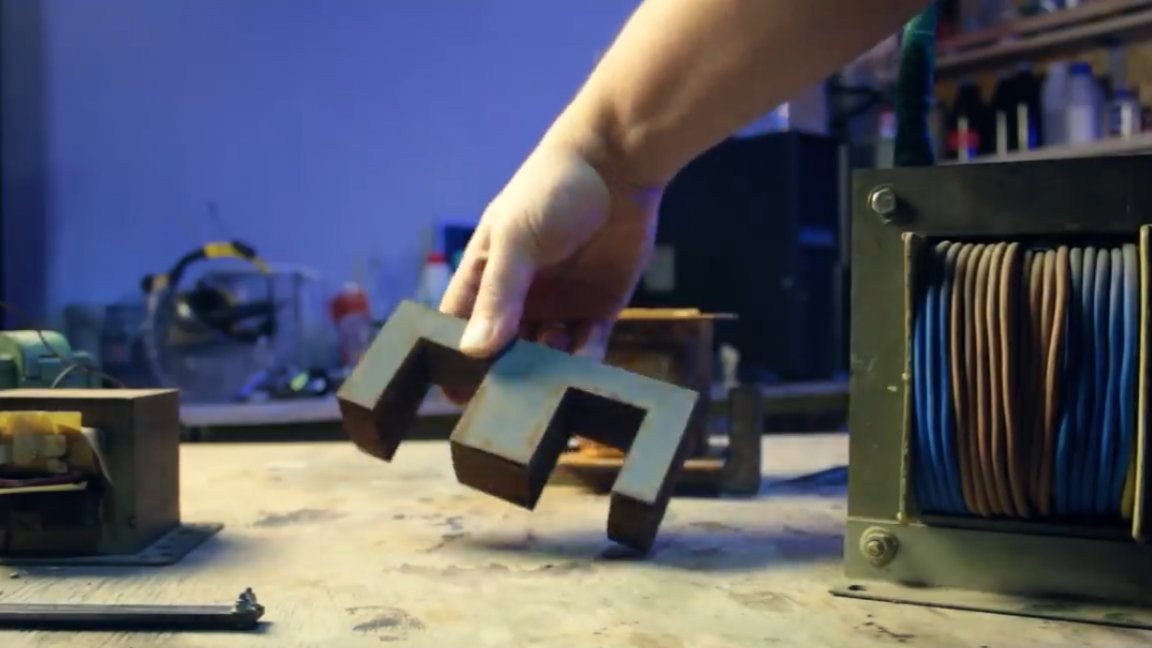
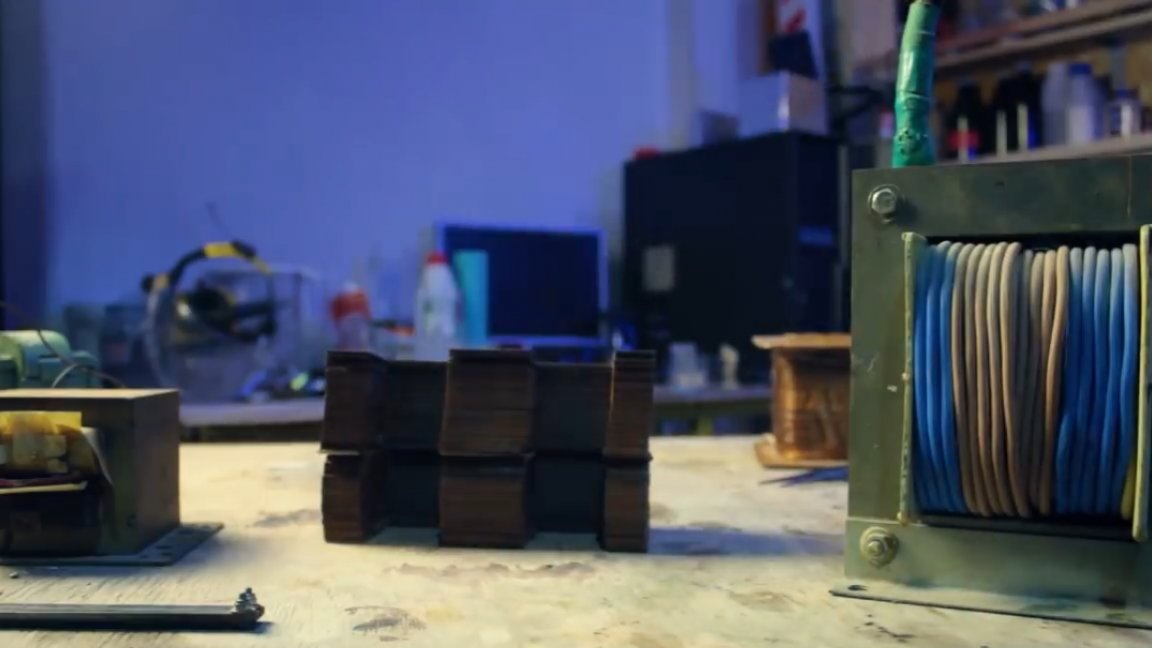
This transformer retained the primary winding, but it is not useful for this project, we only need its plates.
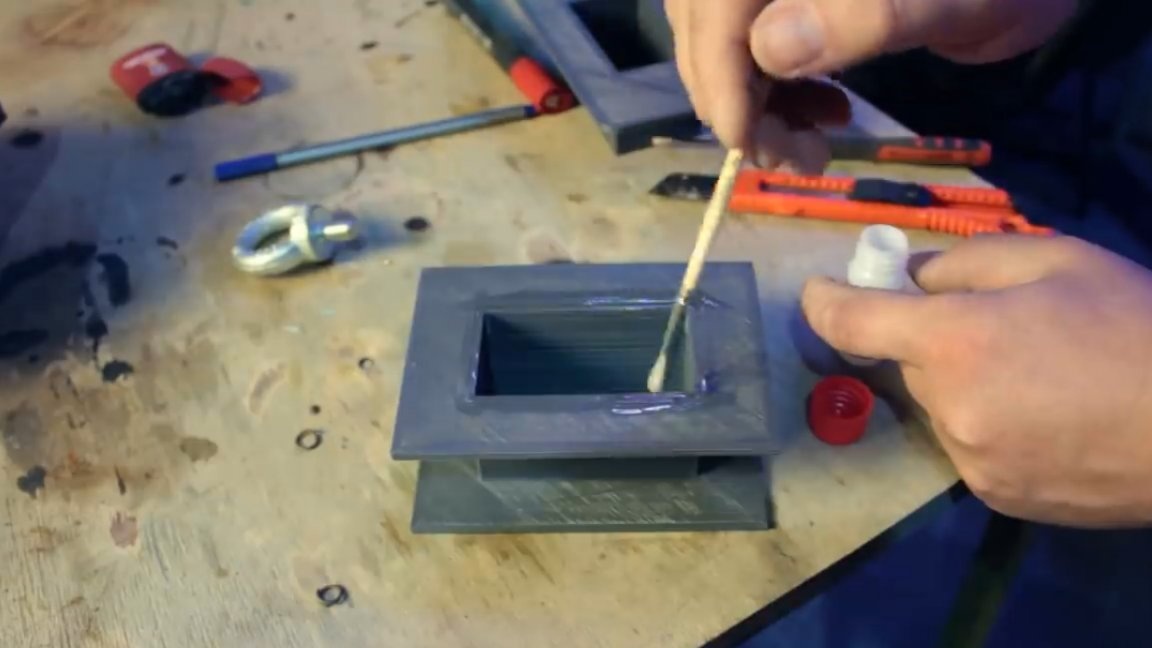
Further, having estimated approximately the size of the coil, which will fit on all these plates, on a 3d printer such a two-part coil was printed.
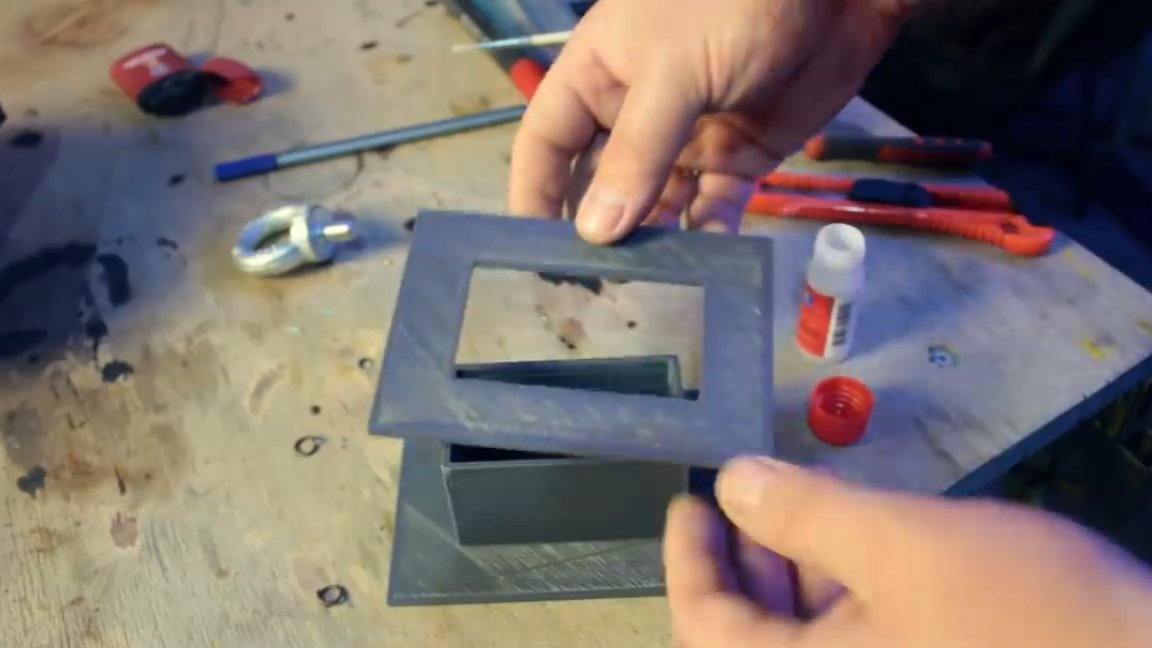
Print made by abs plastic, as it is more resistant to heat. Then we apply glue on both halves for the models, glue them together and leave to dry.
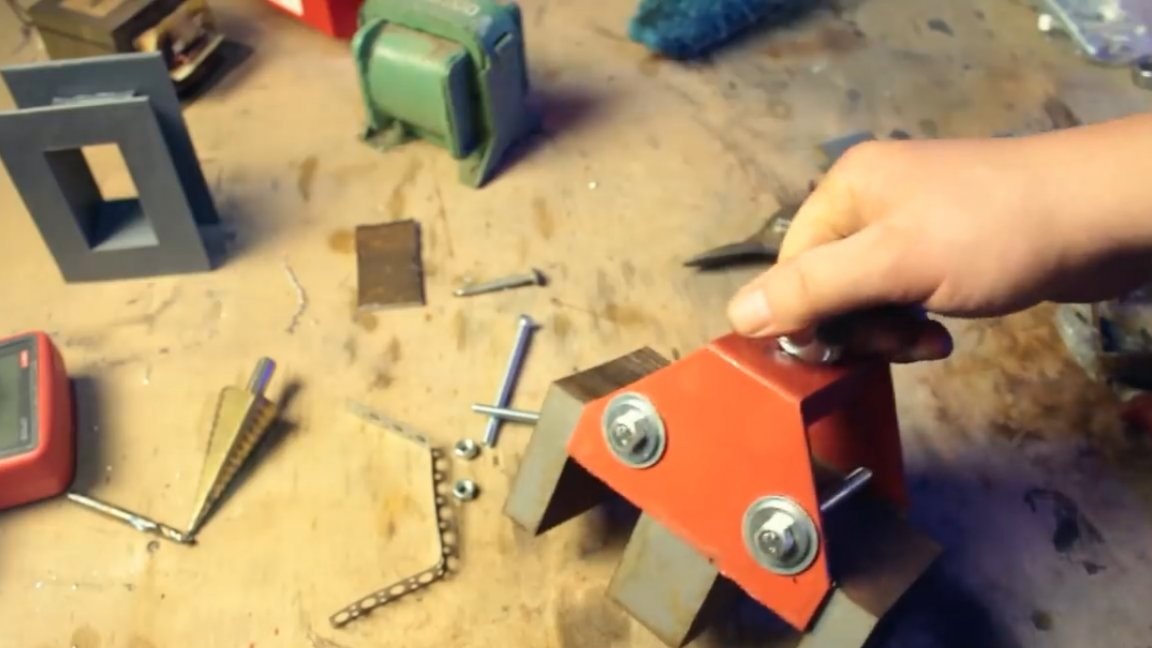
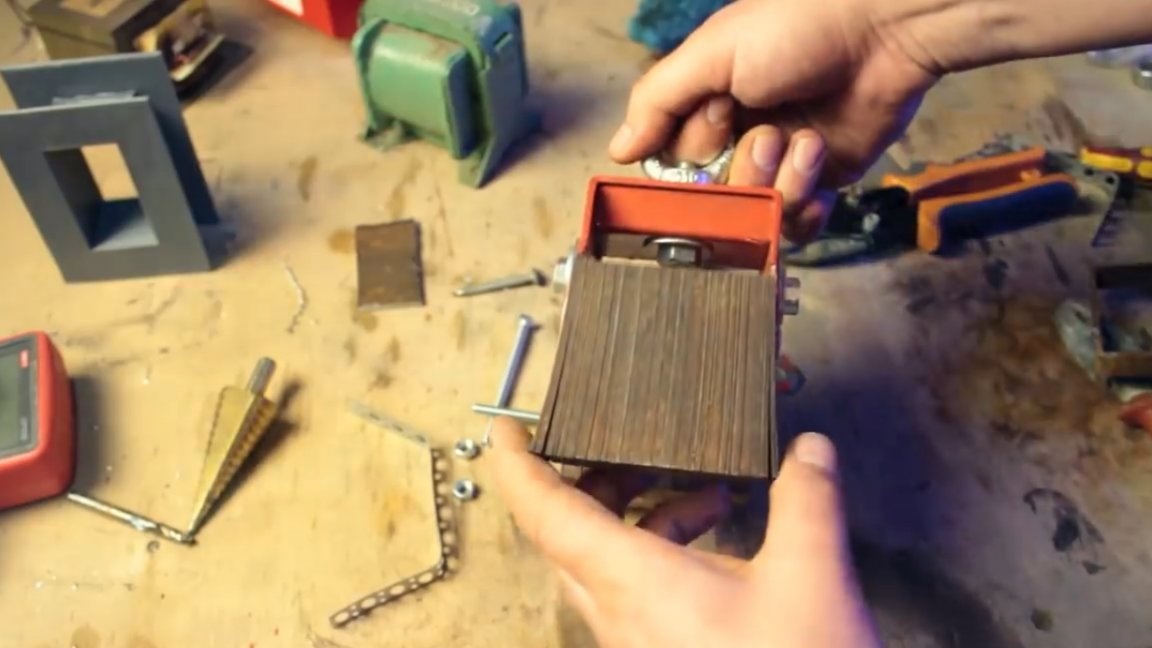
For the convenience of winding the coil, you can assemble a simple structure from the corners and studs.
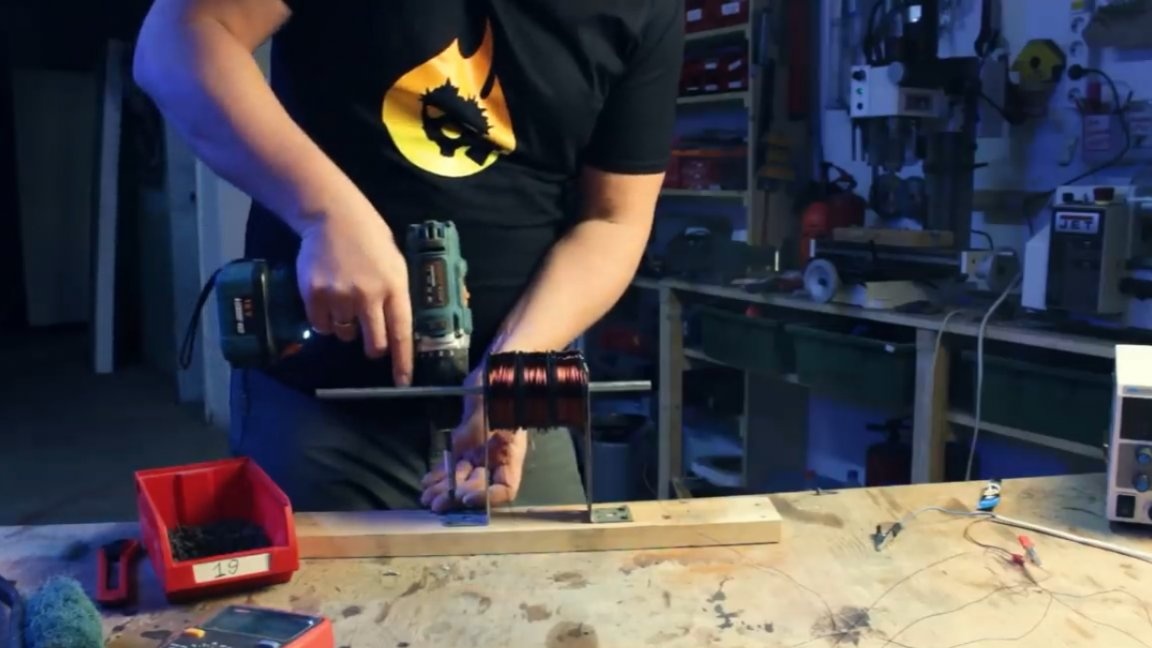
On both sides, all this will be tightened with the help of the rams, this is necessary so that it is possible to adjust the tension force, and so that the wire does not dangle.
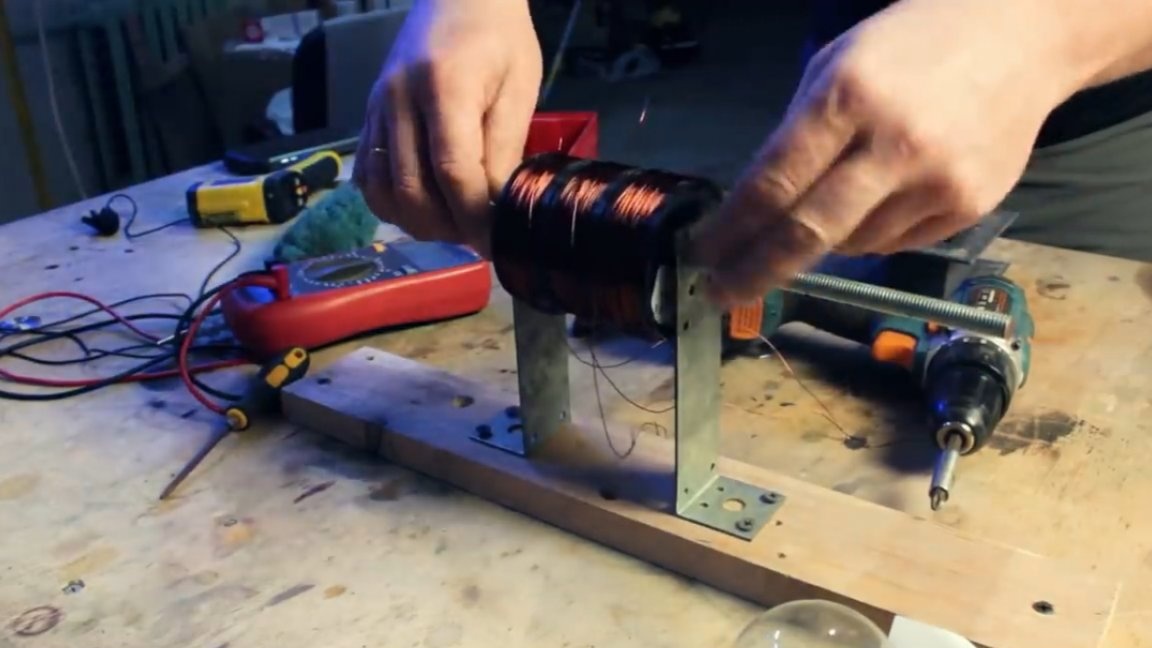
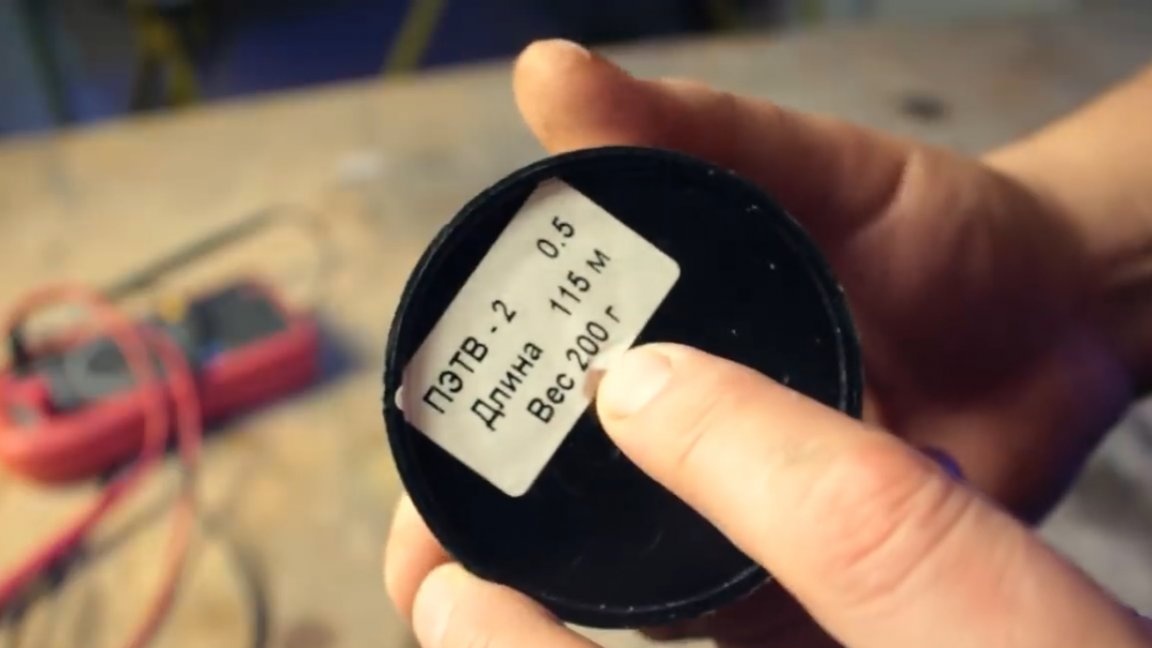
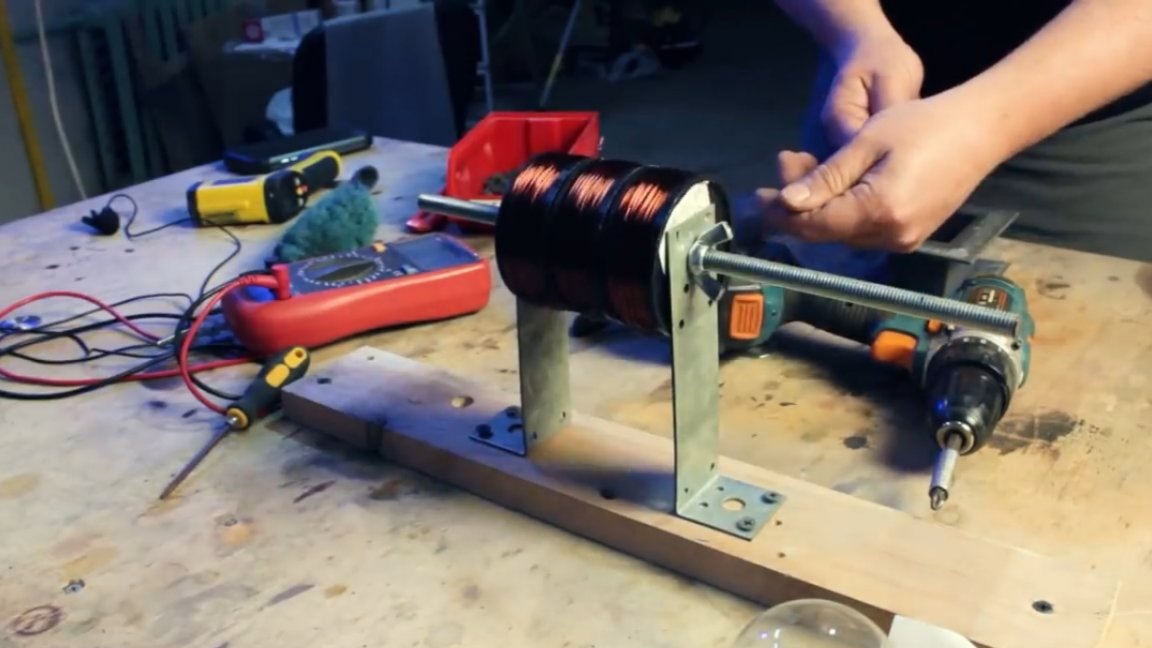
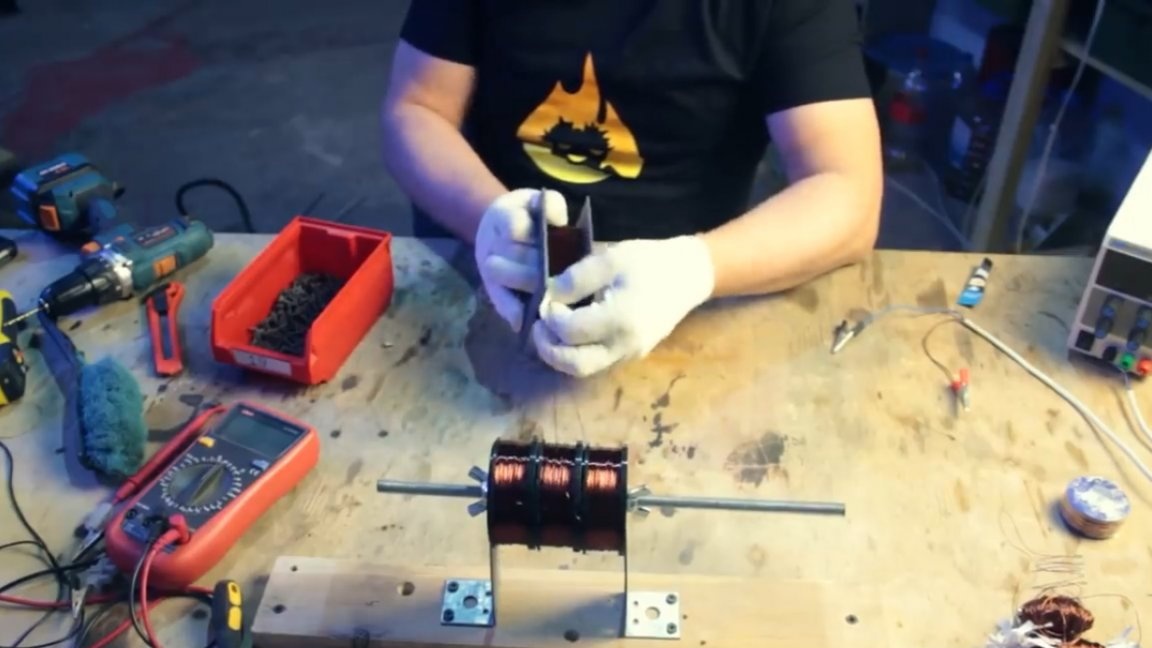
We will immediately wind three windings in parallel, since they have the same diameter and are 0.5 mm, the weight of each coil is 200 g, the length of the wire is 115 m, and the resistance is 10 Ohms.
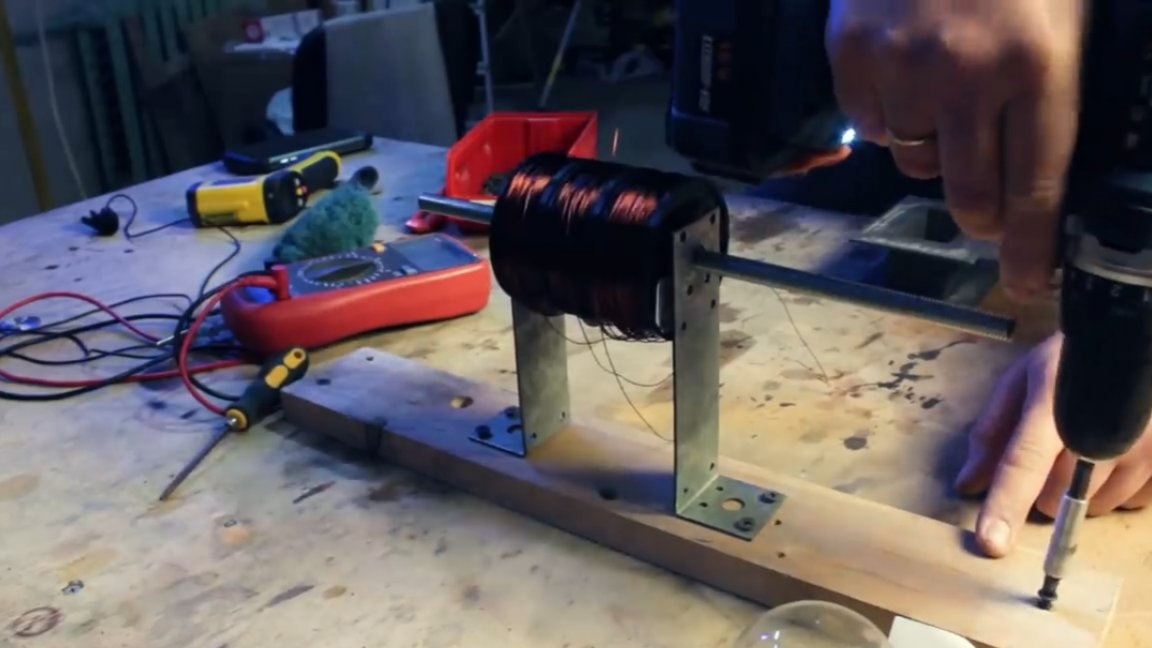
In order to facilitate your work, you can make just such a guide from a piece of plywood:
The wires passing through such a hook go smoothly, and winding requires much less effort. The result is this coil:
Agree, the winding of the transformer from the microwave oven in comparison with this monster seems just childish.
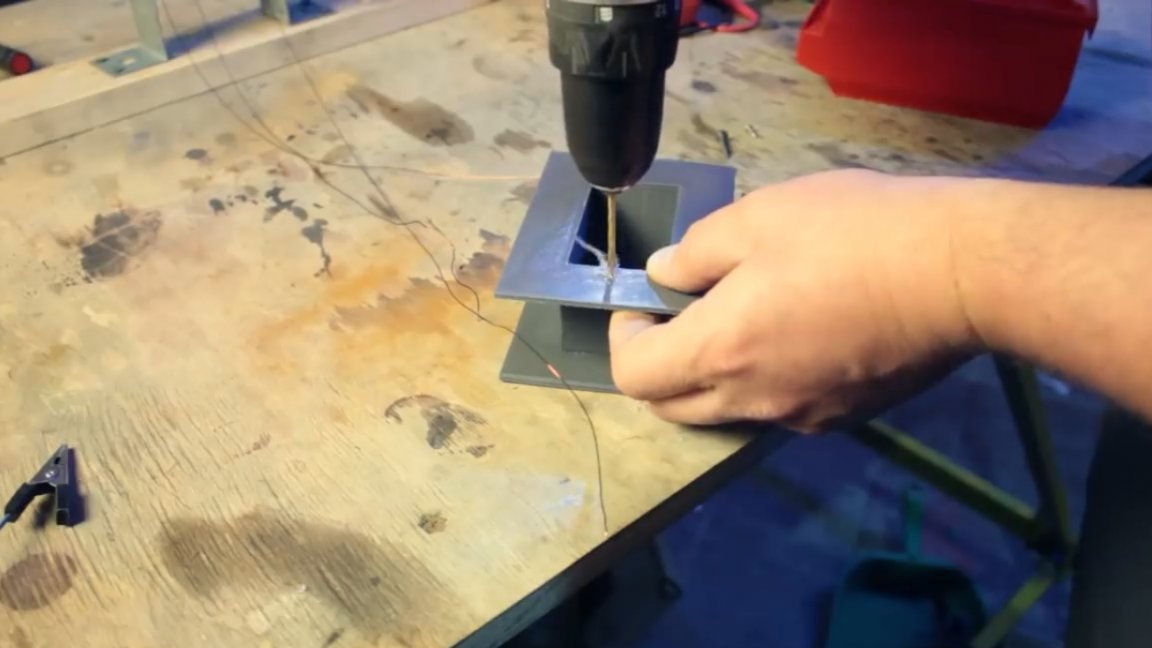
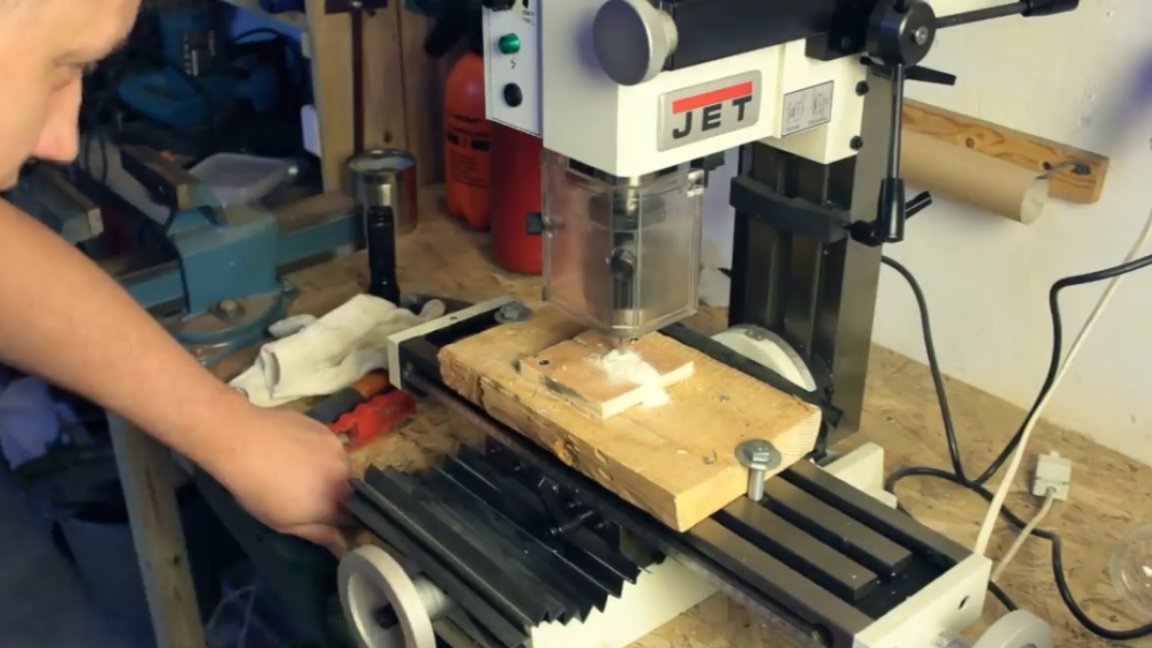
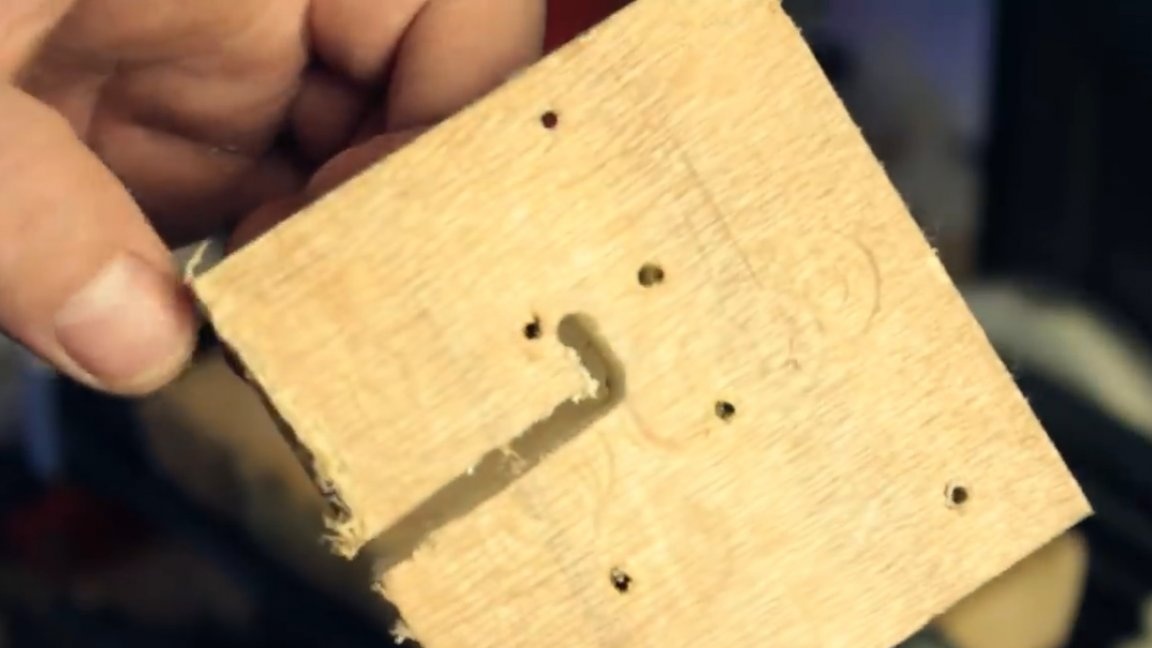
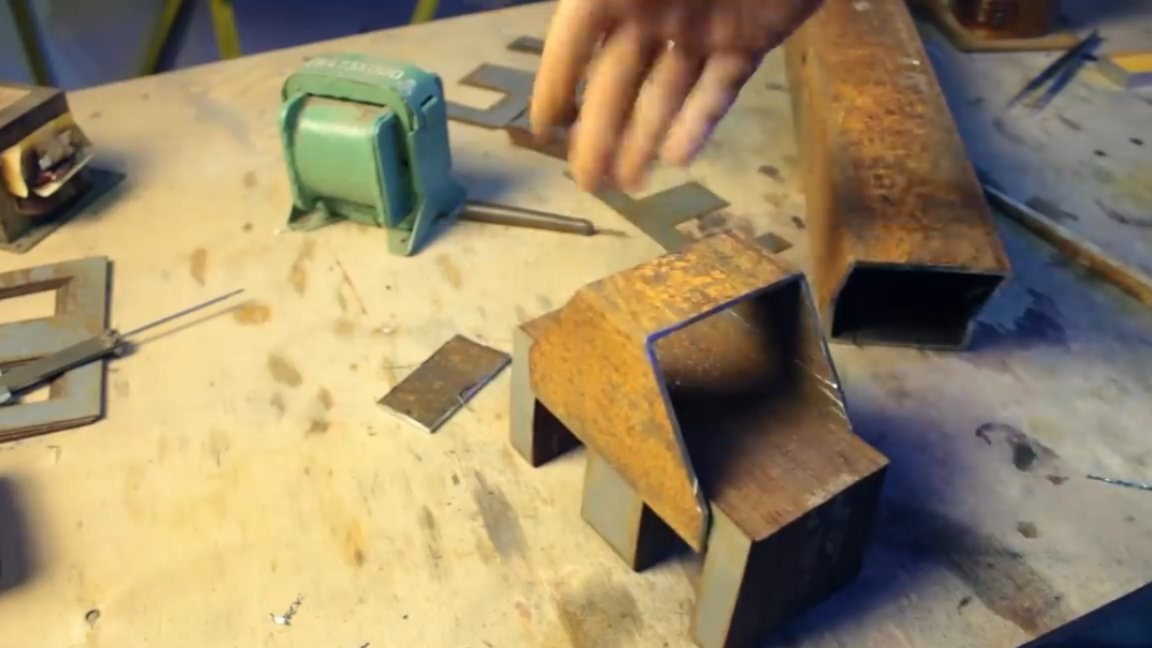
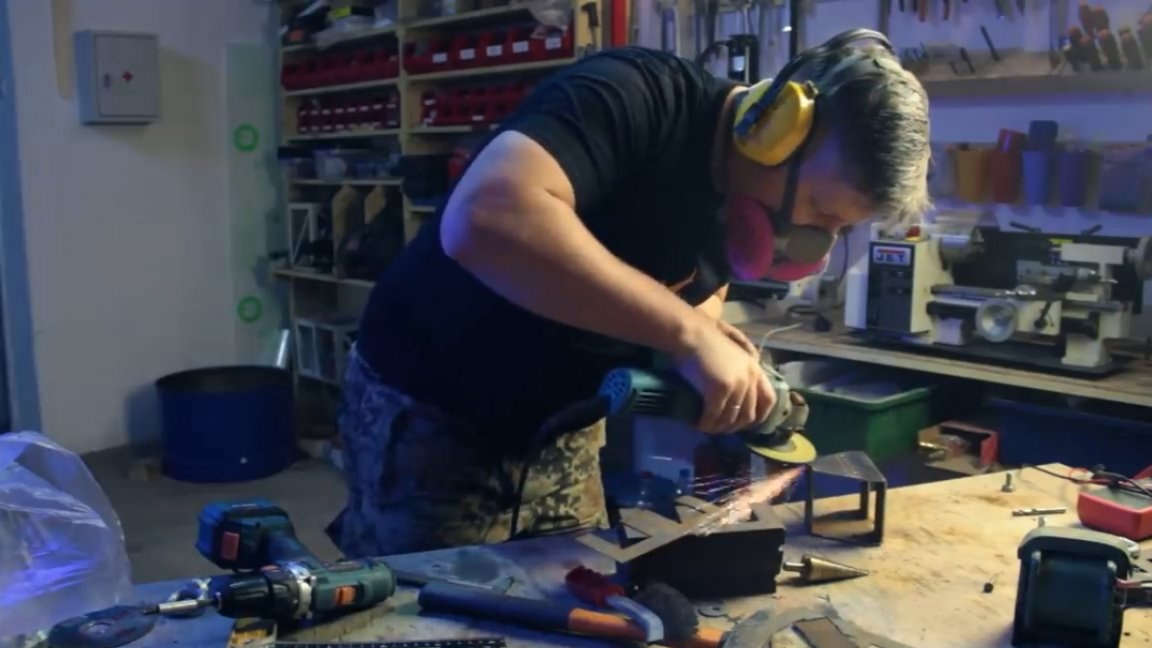
The next step is to make a frame in which the magnetic circuit plates will be mounted. For this purpose, a profile pipe is perfect, from a piece of which it is necessary to cut a bracket of not too tricky shape.

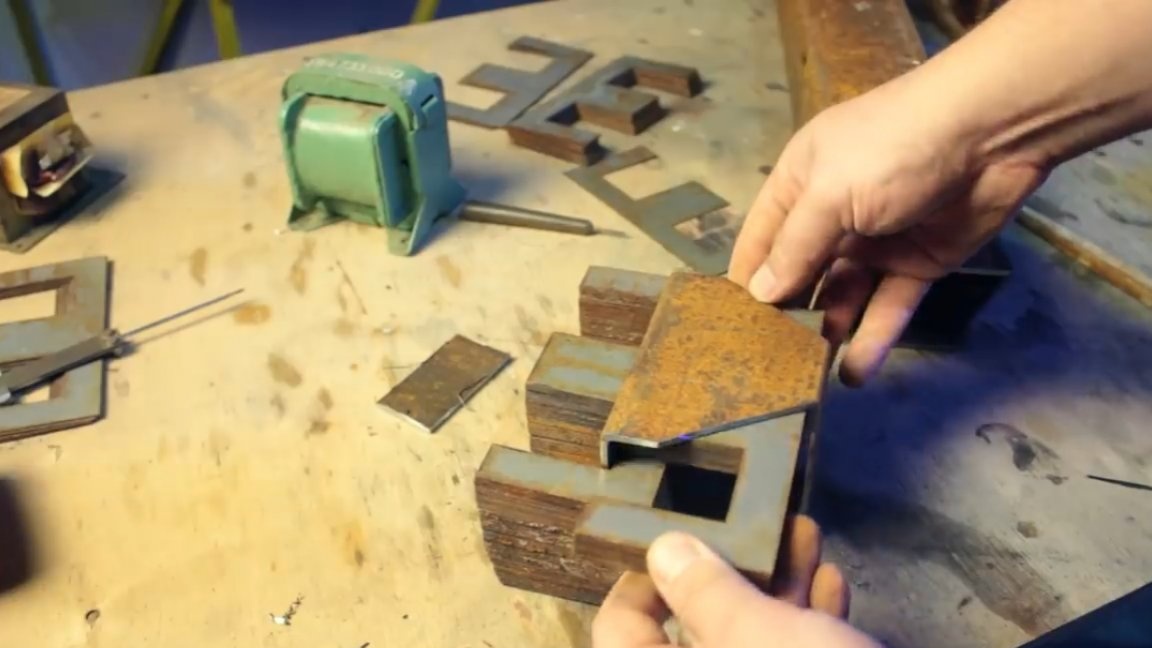

In the resulting device the plates are inserted from the inside. The author managed to choose the size of the pipe, and as a result, everything comes in very close.
Next, you need to make a series of holes: one on top and two through on the sides.
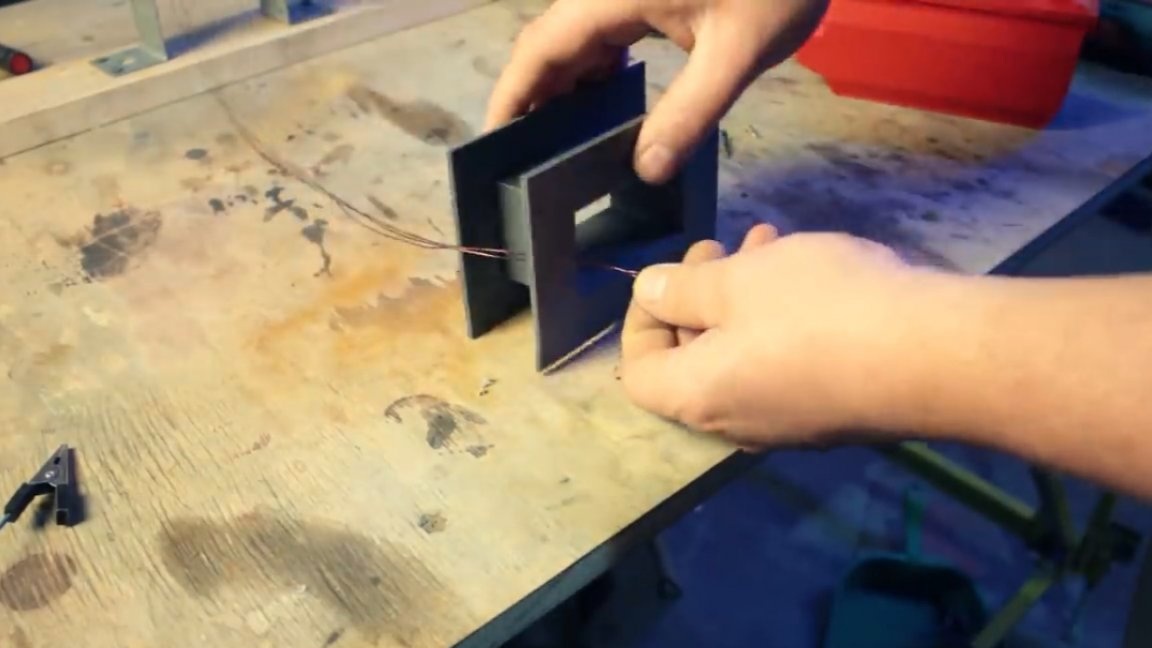
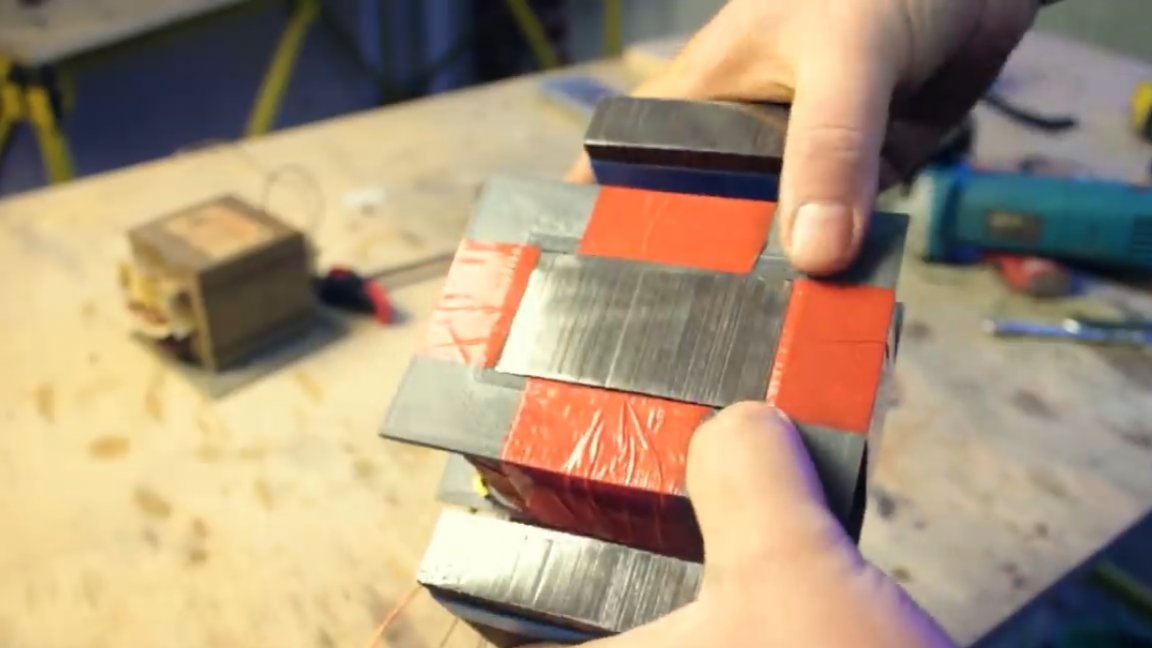
Then we will make another detail that will play the role of a stiffener, be sure to paint everything and that's what we have at this stage:

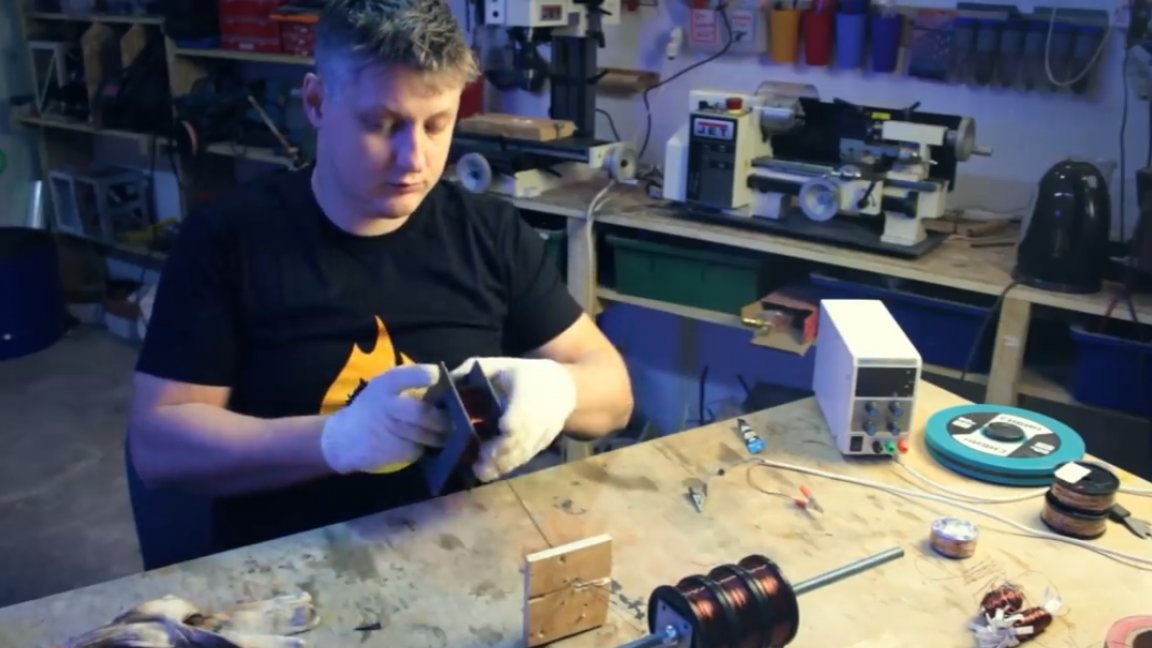
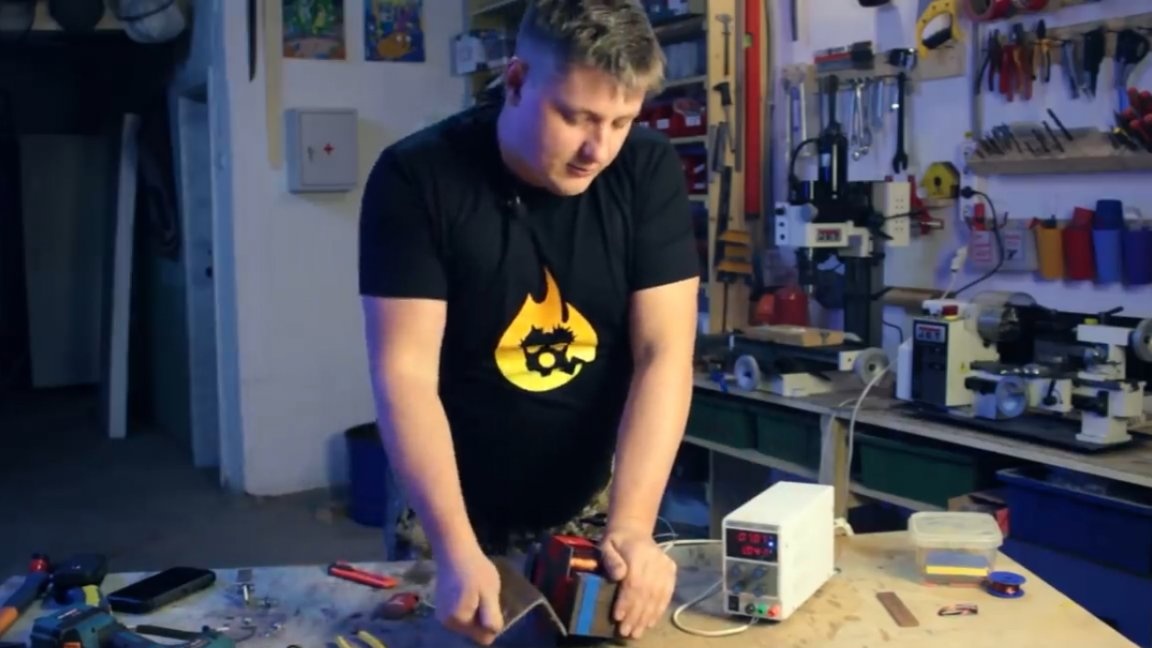
The plates are slightly bursting, it is necessary to somehow assemble together. At first, the author wanted to drill through them and tighten them with a bolt, but he changed his mind in time and simply wound layers of 10 blue electrical tape, all in a classic.
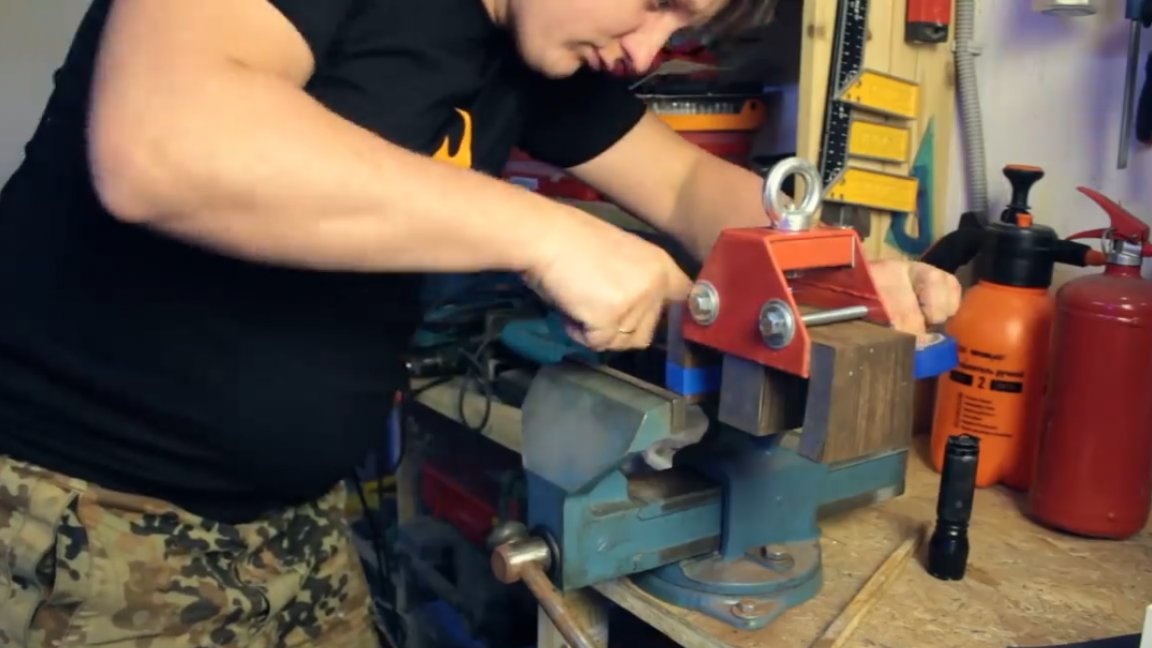
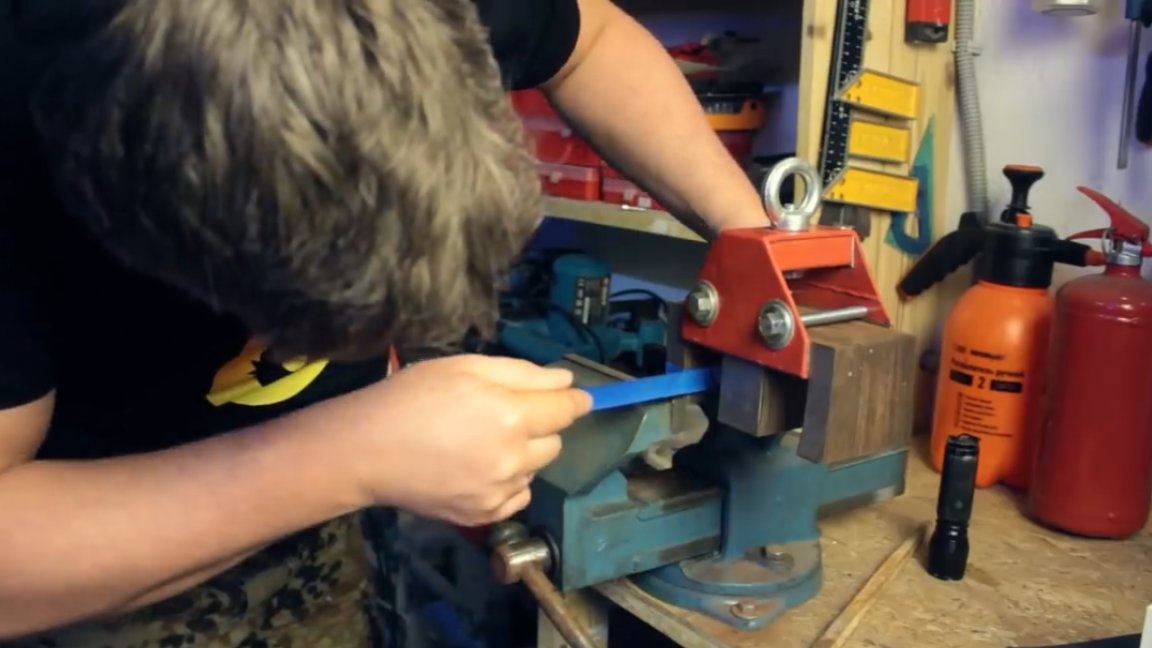
Insulating tape, wound in tightness, pulls together pretty well. Further, as far as possible, we align and clean the ends so that it is magnetized better.
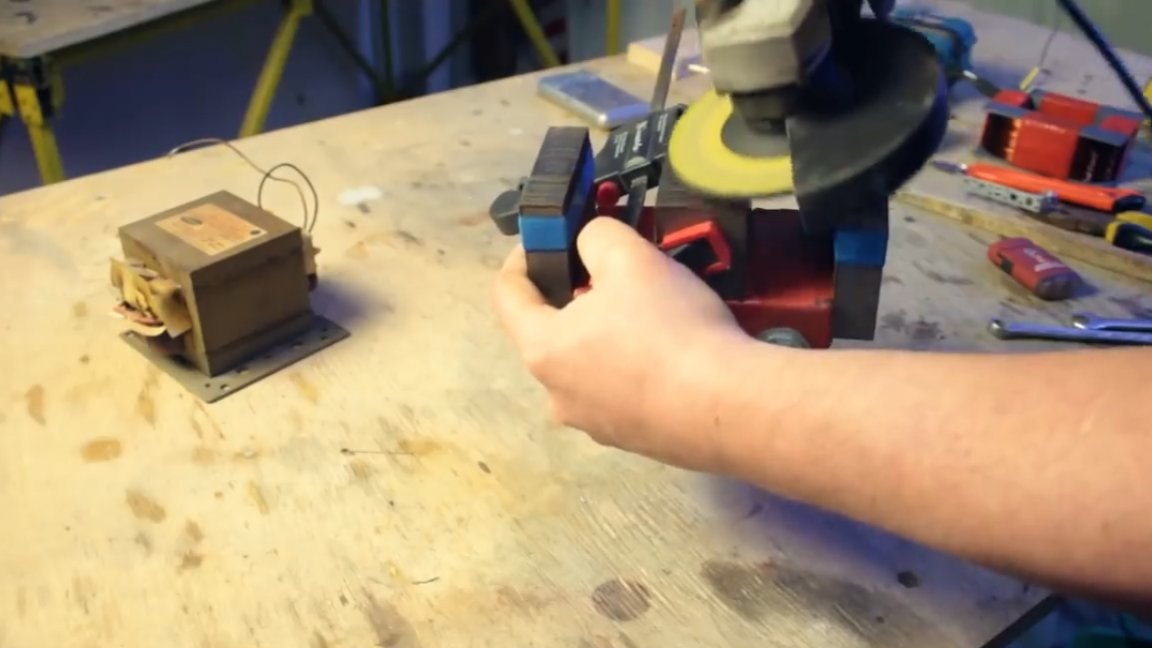
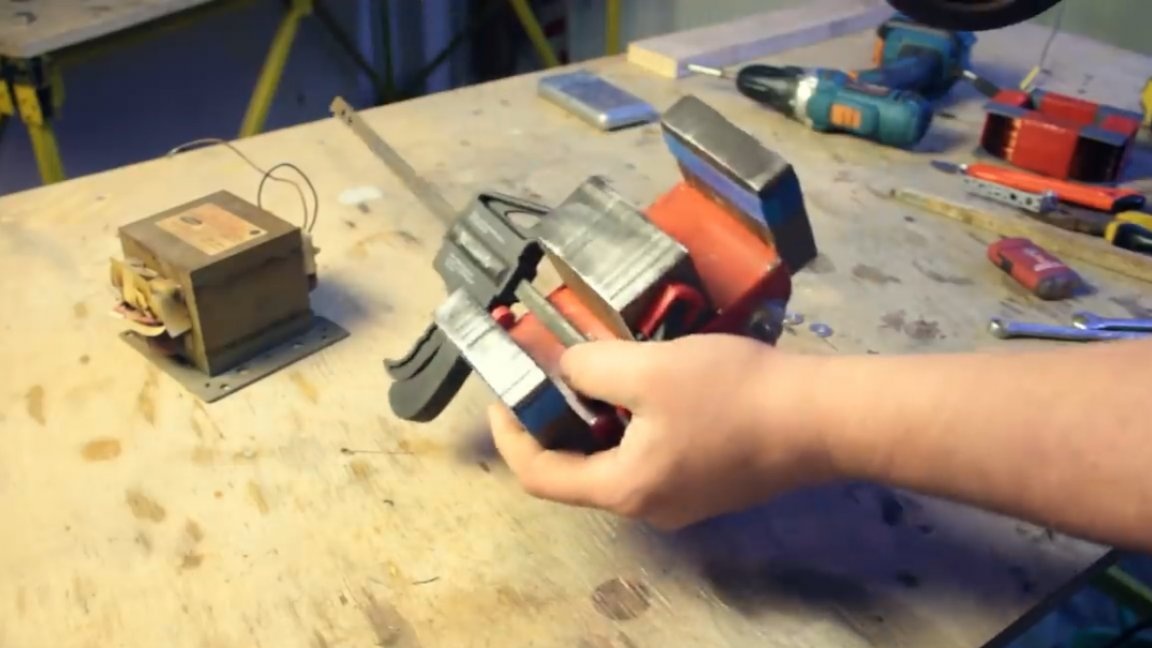
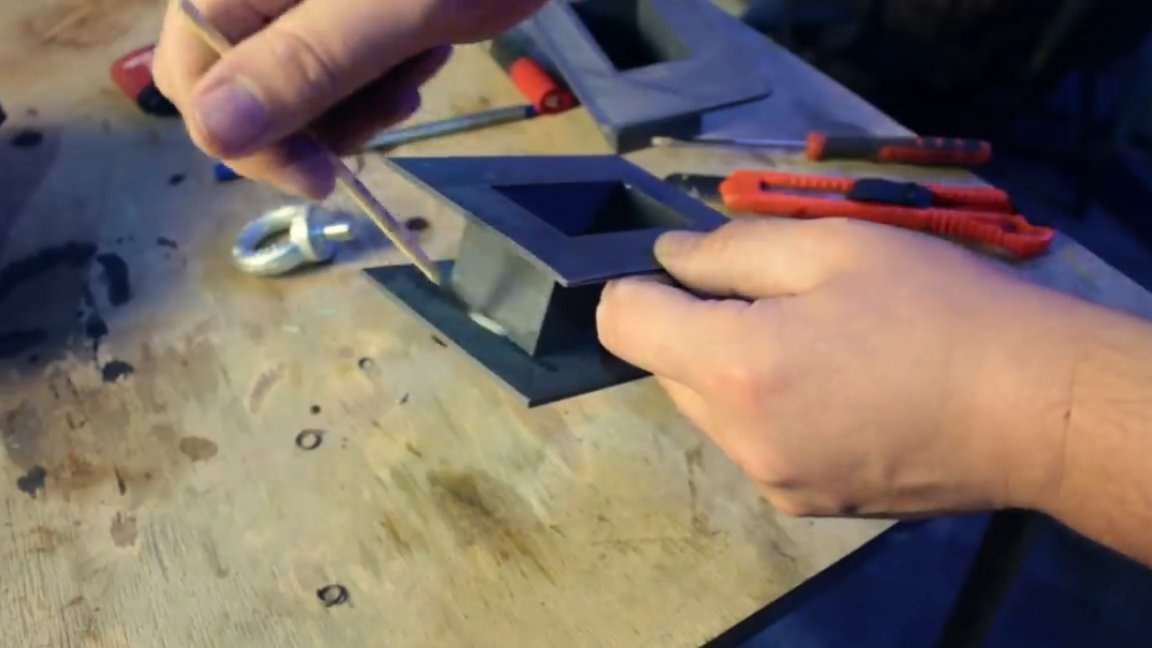
The next step - docking.
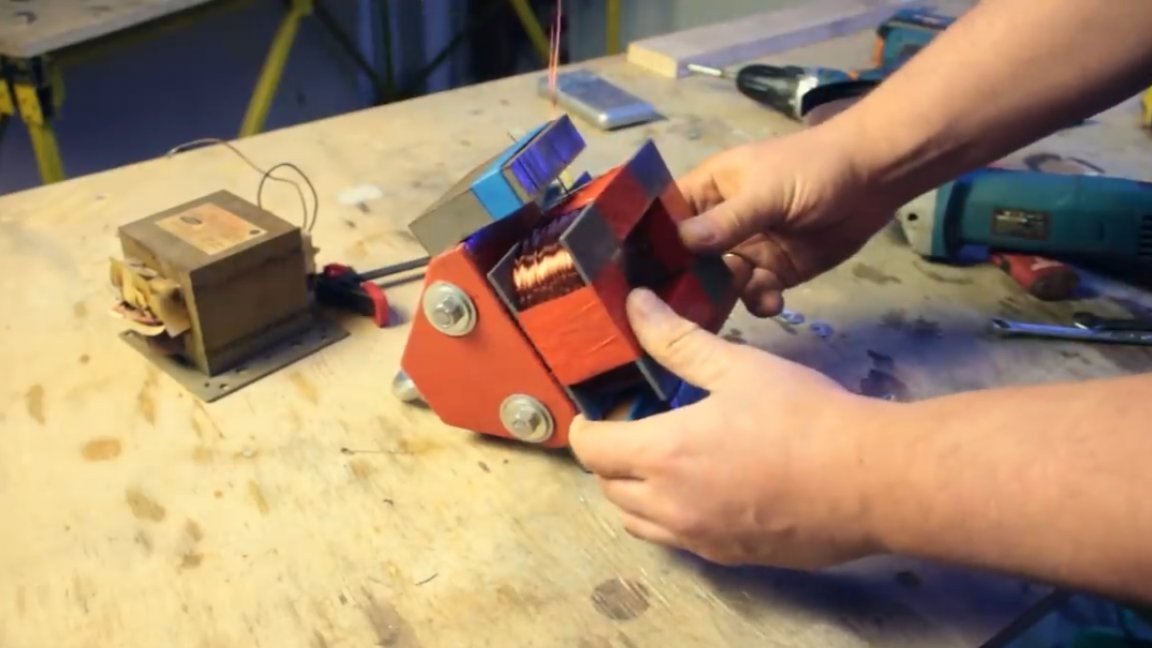
Everything is fine! And all thanks 3d printer, with its help you can print any details of any size and everything will be ideally suited to each other.
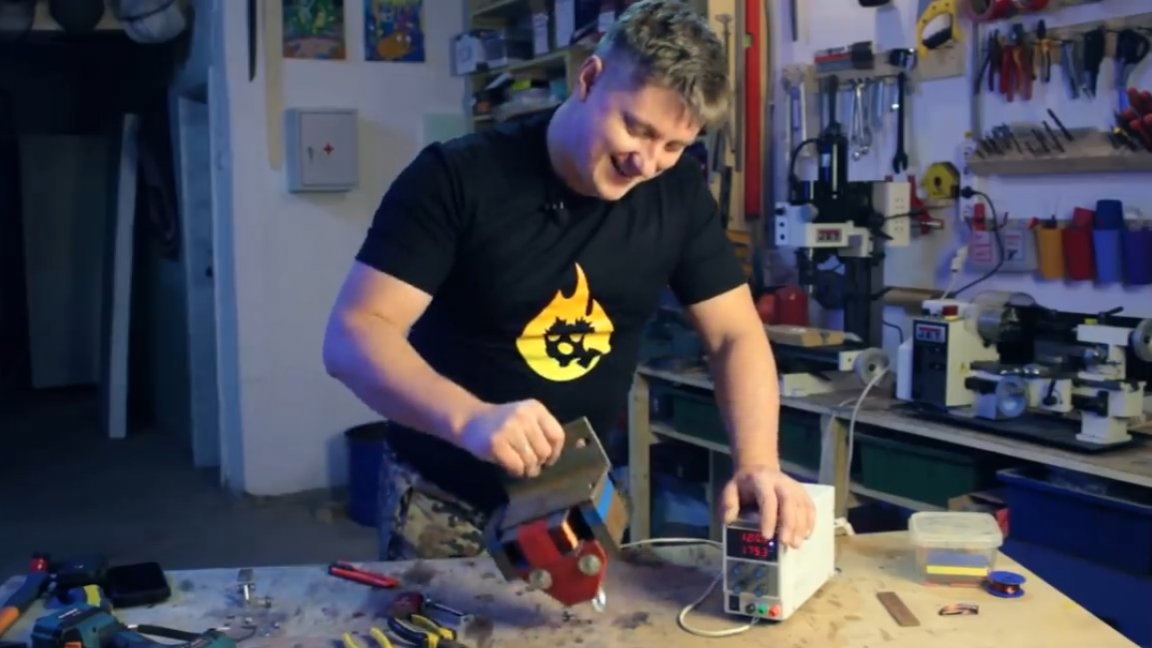
As a result, we got three parallel windings, in each winding at a voltage of 12V, the current should be 0.6A with a small one. Since we have 3 windings, we get a total current of approximately 1.8A.
Connect the coil to the laboratory power supply.
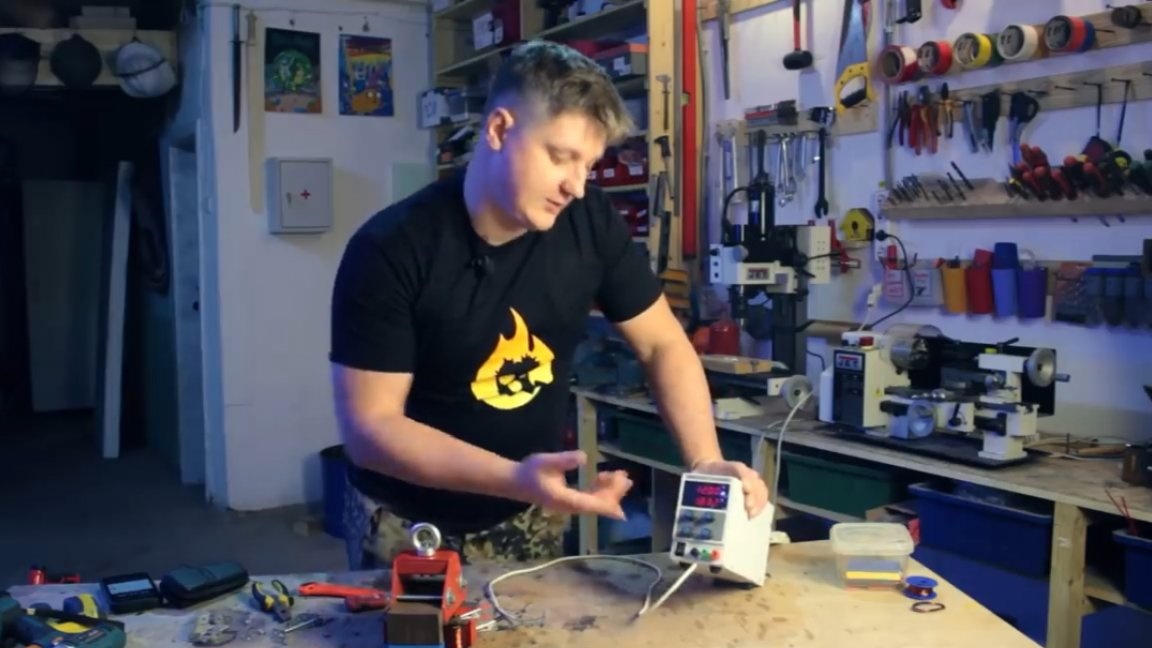
Voltage 12V, current 1.8A - everything is as expected. After 10 minutes, the coil warmed up a bit and the current fell a little, it is already 1.756A. Due to the temperature increase, the resistance of the wire grows and therefore it protects itself, as it were, when it overheats, it limits the current even more.

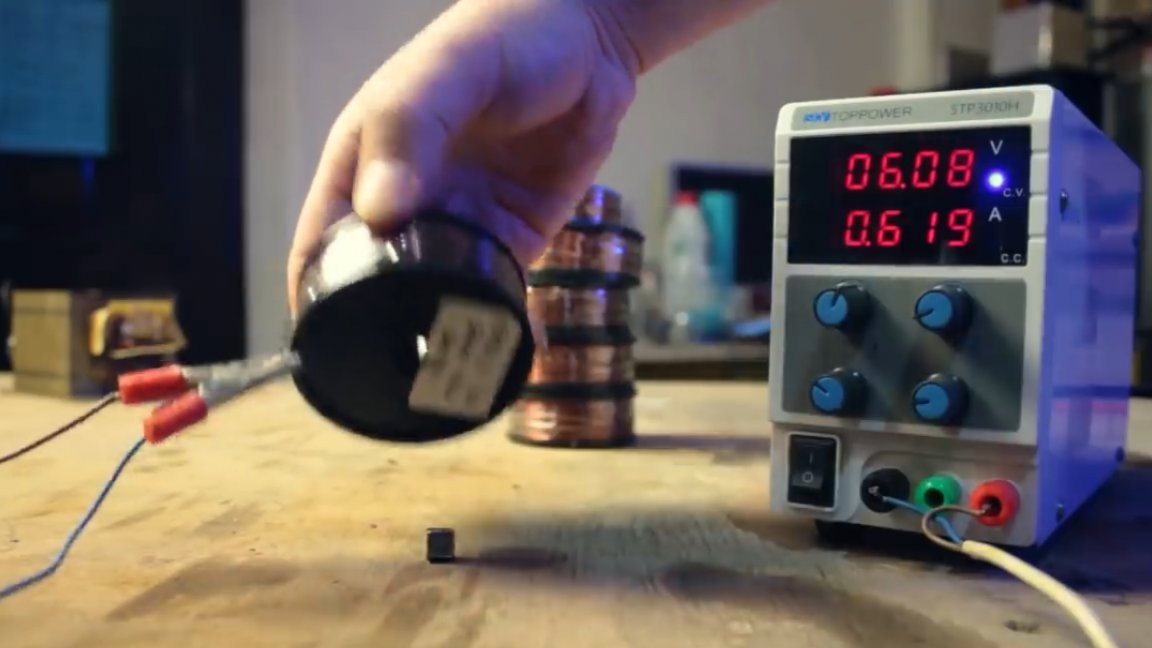
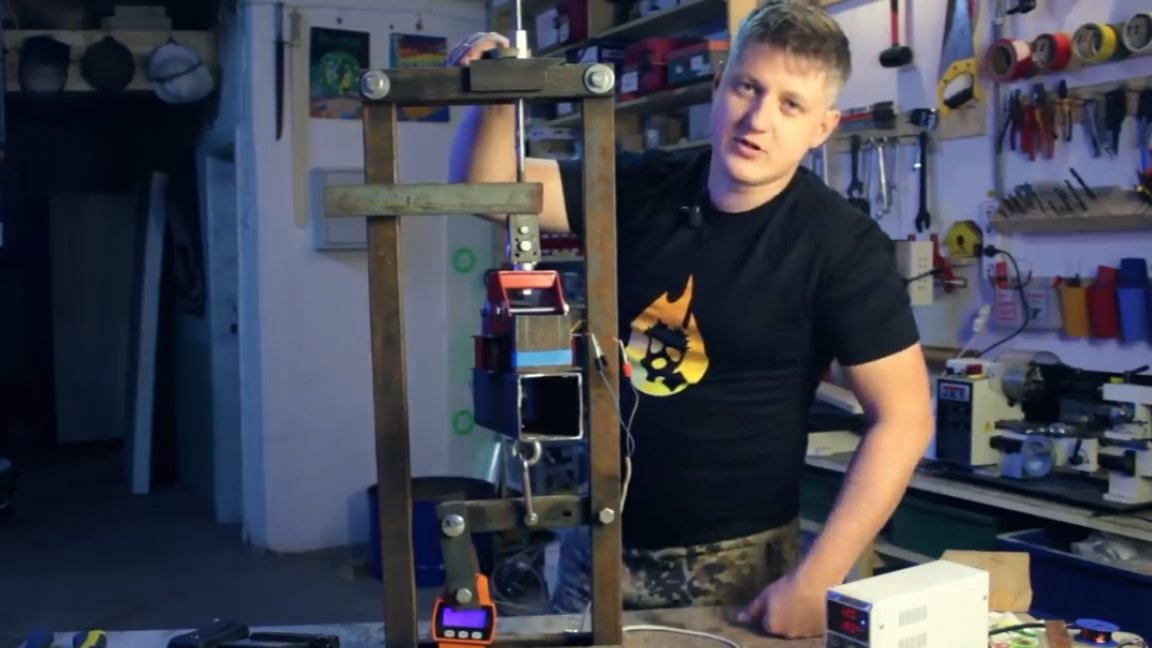
Let's try to magnetize an iron corner first.
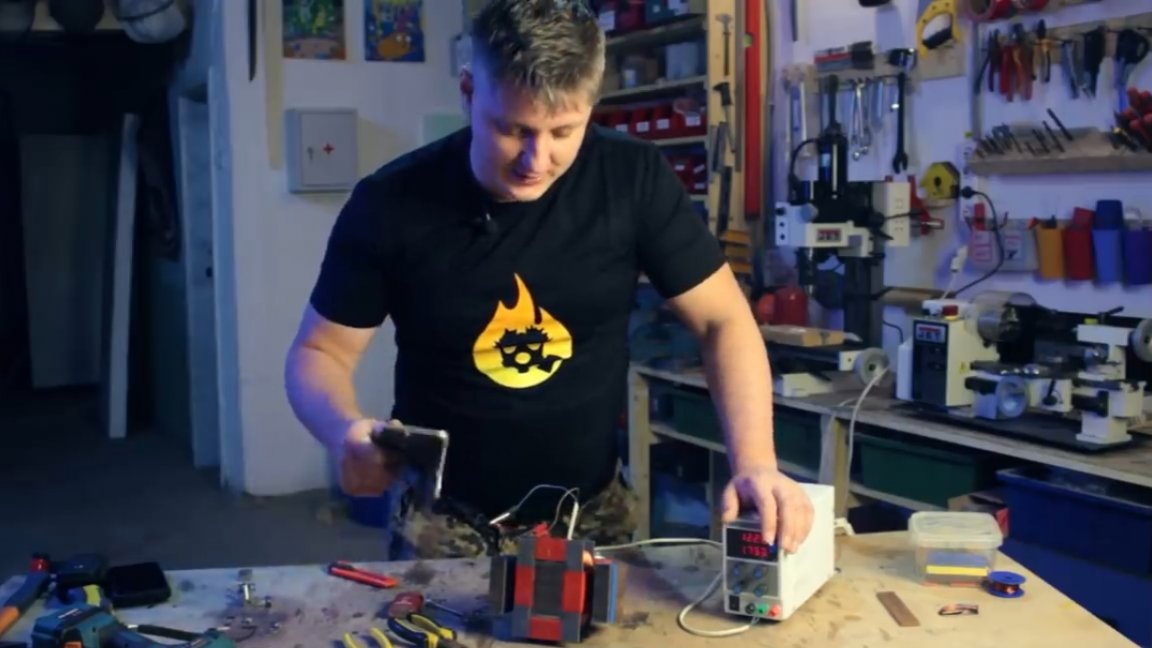

It is simply unrealistic to tear it off, you can still somehow move it, but it does not lend itself to more, and this was only 20W. Let's increase the power a little and increase the current to 3A.

In this mode, the coil begins to heat up significantly, so we will not keep it turned on for long under such conditions. Reduce the current to 1A and the corner with the application of a certain force still lends itself and is separated from the magnet.
Now we attach the scales to this business and see what burden it will withstand.
For more details on testing the resulting electromagnet, see the original Author’s video:
As a result, the author managed to achieve an indicator of 450 kg. And if you smooth the surface and add a little more metal so that it is at least 2 cm thick, then half a ton will definitely withstand. In short, here is such a half-tone magnet. That's all. Thank you for attention.See you soon!