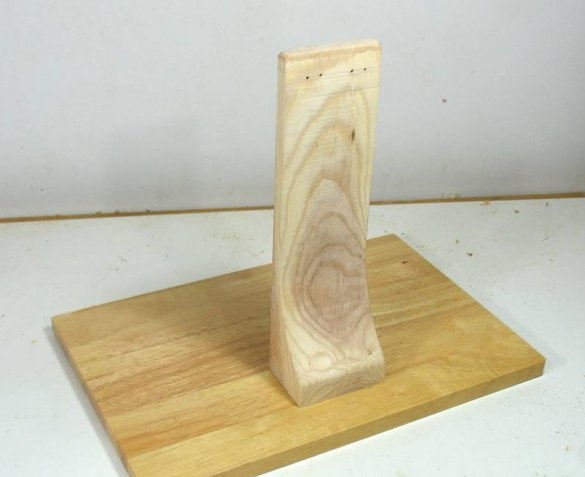
From the article below you will learn how to assemble a compact stand for a monitor and system unit from a tree. The following description and instructions are taken from the Matthias Wandel YouTube channel.
In addition to laptops, there are computer solutions "all in one" style. But to the author of this homemade I don’t like this solution, because if the computer or monitor breaks down, all this becomes useless.
Necessary materials and tools:
- band-saw;
- table saw;
- grinding belt machine;
- drilling machine;
- clamps;
- self-tapping screws;
- bar made of ash;
- a finished board from a folding table (used);
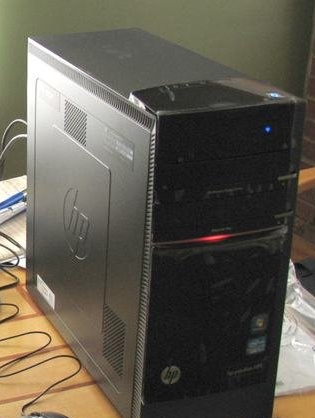
He recently switched to a faster computer, but could not find anything with a faster processor (i5 or i7 core) in a small package. Such systems could be manufactured or ordered to order, but he did not want to wait. So I had to stop at one of these big ugly boxes.
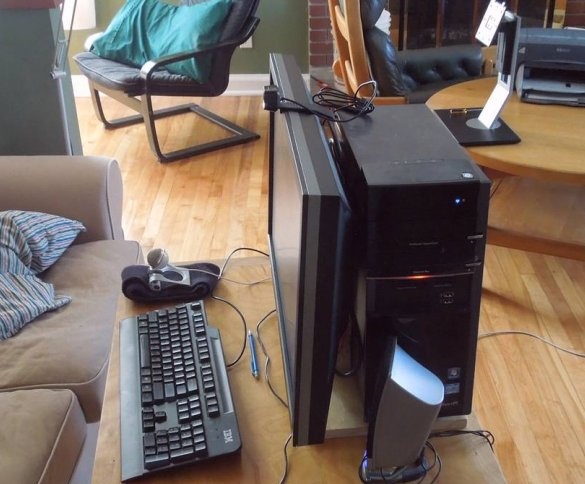
The wizard decided to install this system unit behind the monitor. Then he would be out of sight, and perhaps there would be less noise. But it is not exactly.
But since there was very little time to solve the problem of placing a computer system, the wizard settled on a much simpler design for this stand.
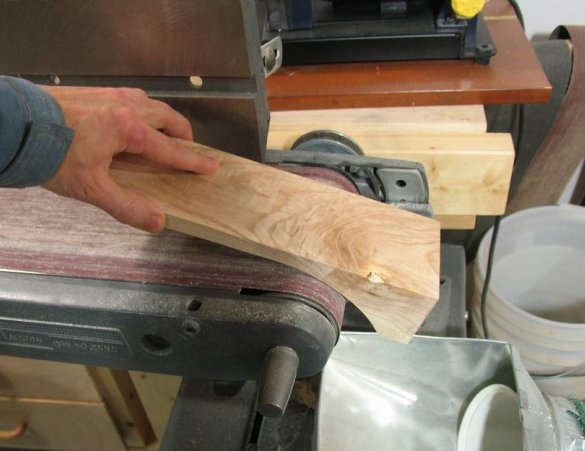
The master began making the stand with a solid ash tree, which was sawn in half, and then cut on a machine with a band saw. Then the bent part was ground on a stationary belt sander.
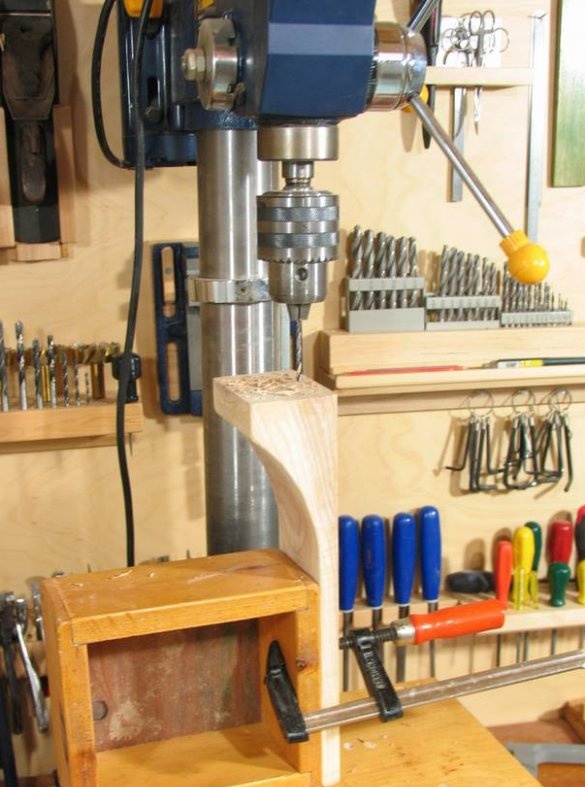
From the end face of the wooden workpiece, it is necessary to drill holes for screws. The master did this on a drilling machine.
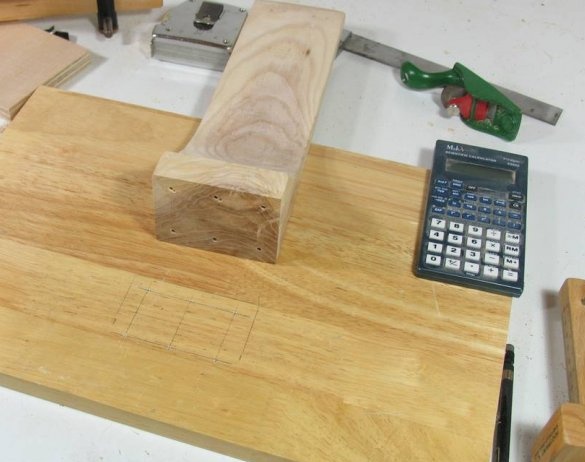
The resulting part is attached to the base, which is a solid wood board that was taken from a small folding table.
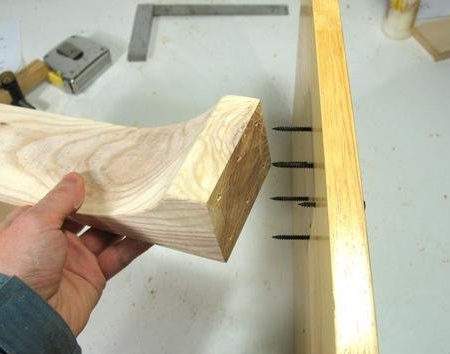
Next, the master makes the marking for fastening with screws. Self-tapping screws and holes should be lined up.
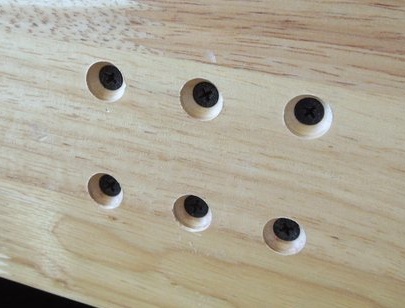
The stand is attached to the base with six screws.The holes in the base are countersink.
And here is the finished rack. Front view. The monitor will be connected to the front panel, and the computer will sit behind the monitor.
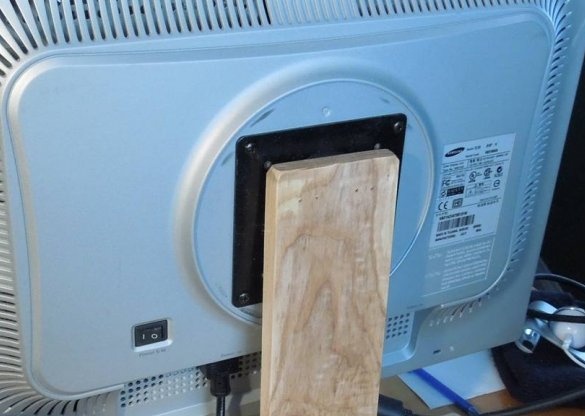
Next, the master screwed the metal mounting flange to the rack, and then the monitor to this flange.
This monitor is a 21.3-inch LCD monitor from around 2004. Then, most LCD monitors could rotate in portrait mode, but rotating the monitor in a vertical position was not practical. It is much easier for our eyes to scan wide objects than tall ones. Not many monitors can now rotate, so they no longer have a mounting flange in the back in the middle.
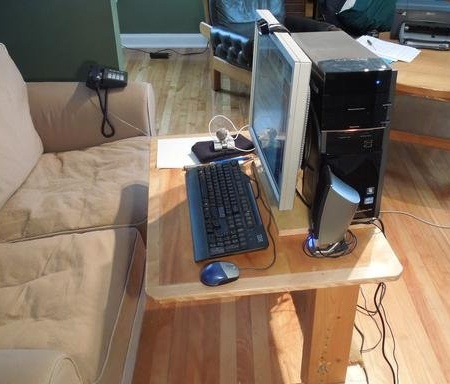
And here is the computer system unit, which is beautifully hidden behind the monitor.
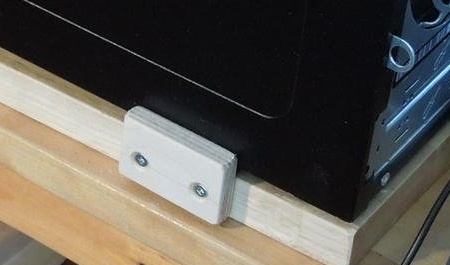
The computer is equipped with rubber feet only in the front, so the back continued to slip dangerously off the stand. The master added a wooden emphasis on the edge of the stand to prevent this from happening.
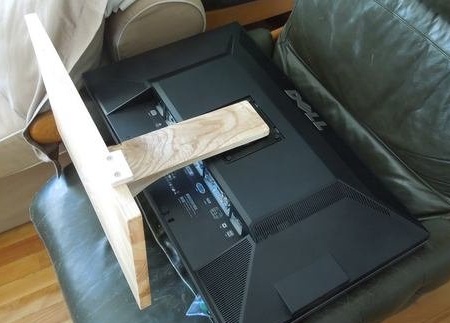
Soon after, the master bought a large 27-inch monitor from DELL (model U2711). He chose this option after carefully inspecting this monitor and saw that it has the same mounting flange as the old Samsung. Another factor was the high resolution of 2560 x 1440.
The master has his computer with a monitor on a very low table on wheels, so you can comfortably sit on the couch and use the computer.
If you liked the author’s homemade, then try to repeat and make.
Thank you for attention.
See you soon!

