
In this project, the wizard will tell us how to make a 4-axis motorized microscope with the 3D scanner function using the old Blu-ray player as a component. The master named LadyBug his product.
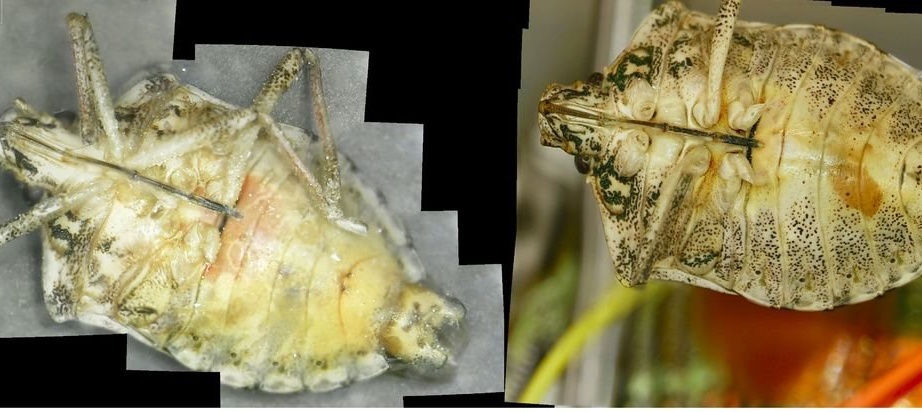
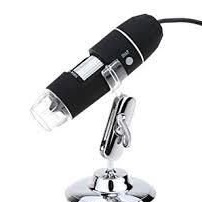
LadyBug is a 3D scanner. This means that its main function is to photograph the object from all sides. The resulting image can then be converted to 3Dmodel. LadyBug - Uses a powerful USB microscope that is cheap and efficient.

Tools and materials:
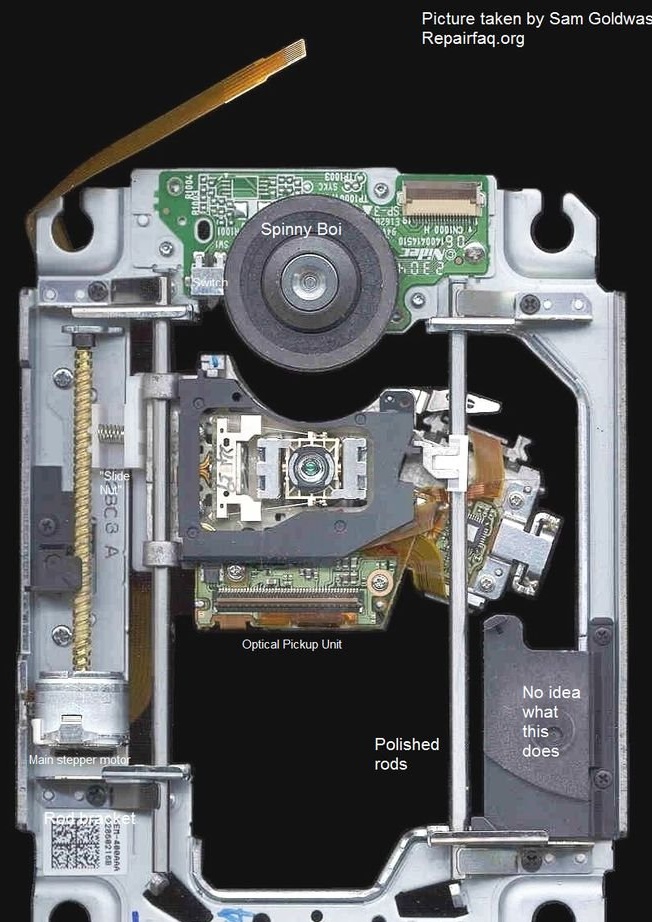
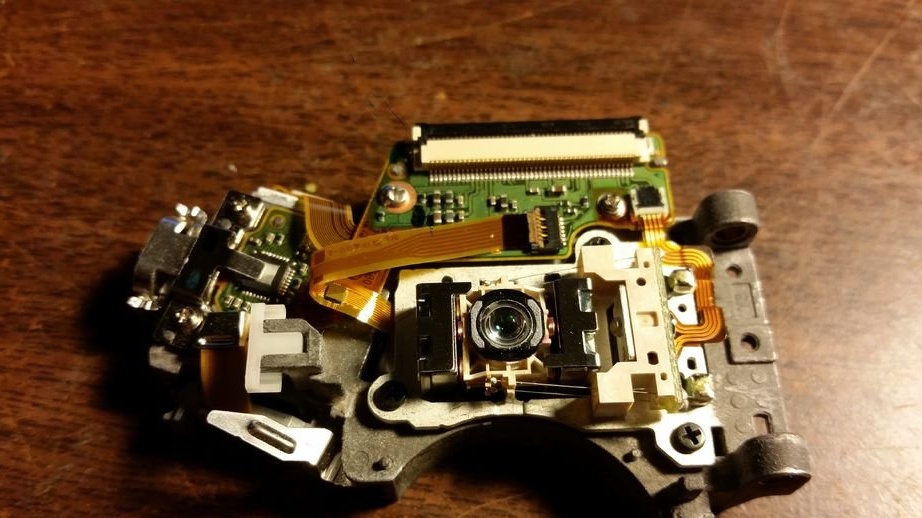
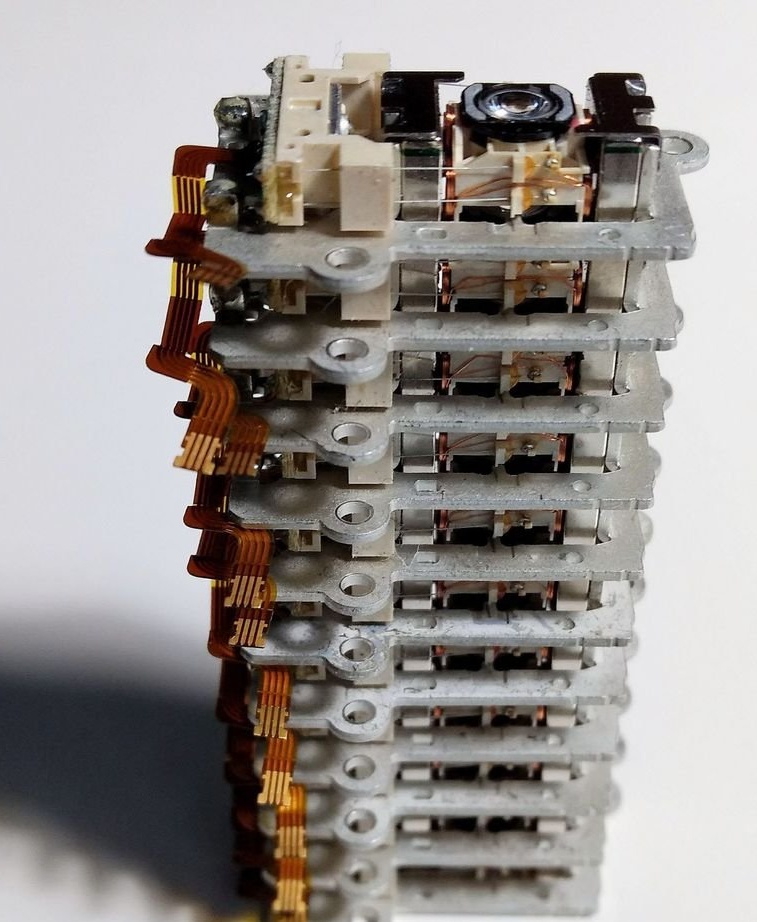
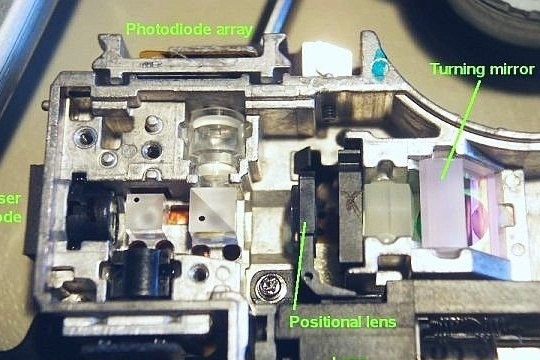
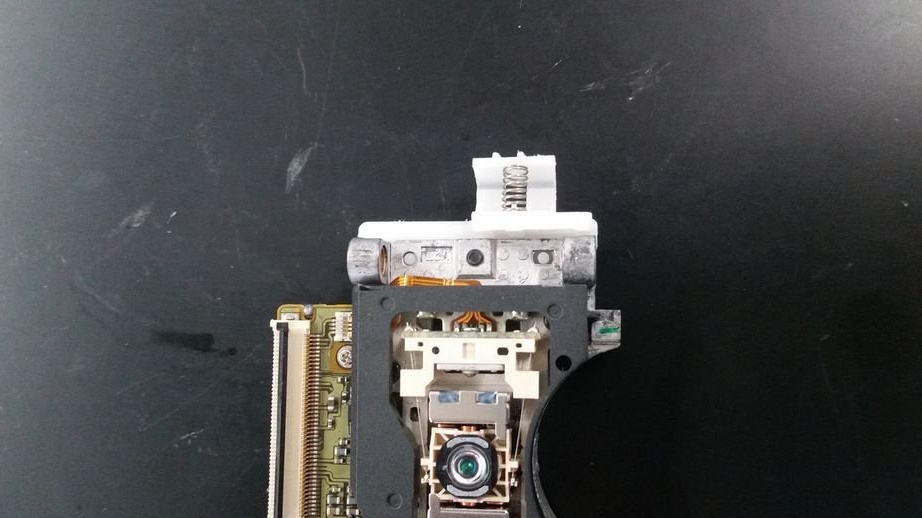
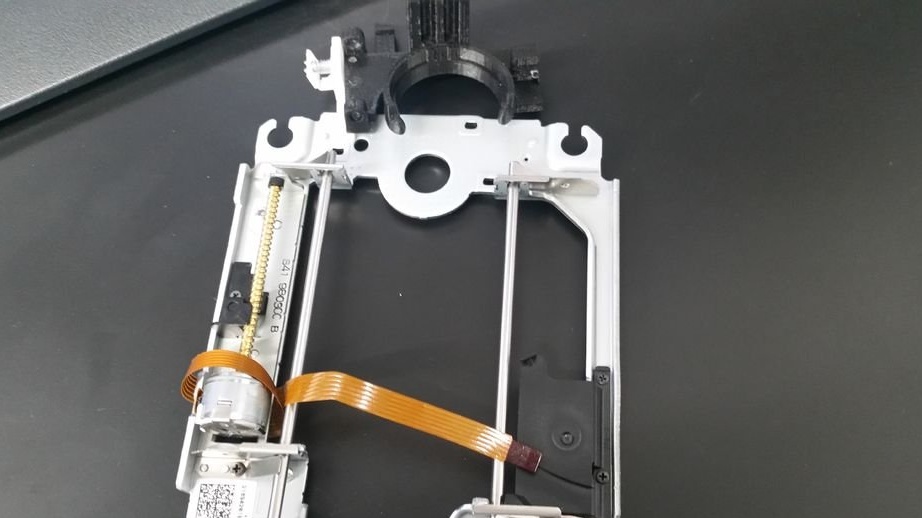
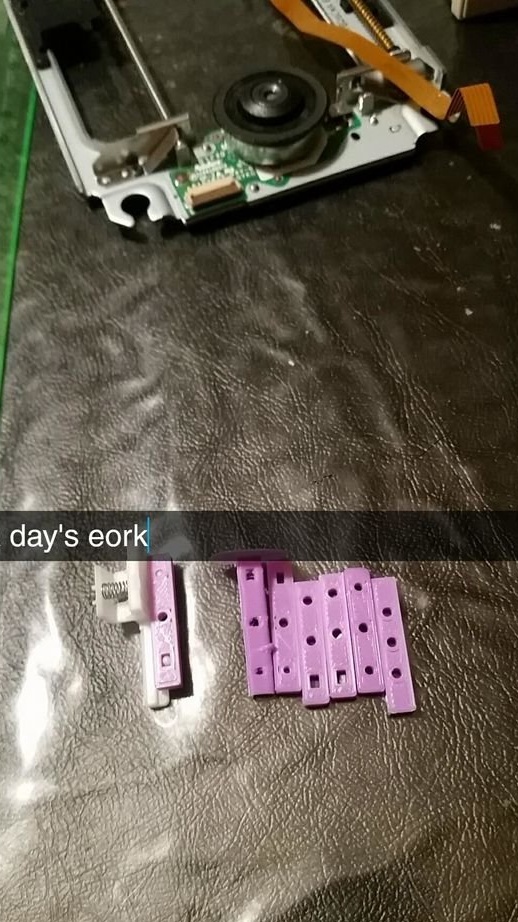
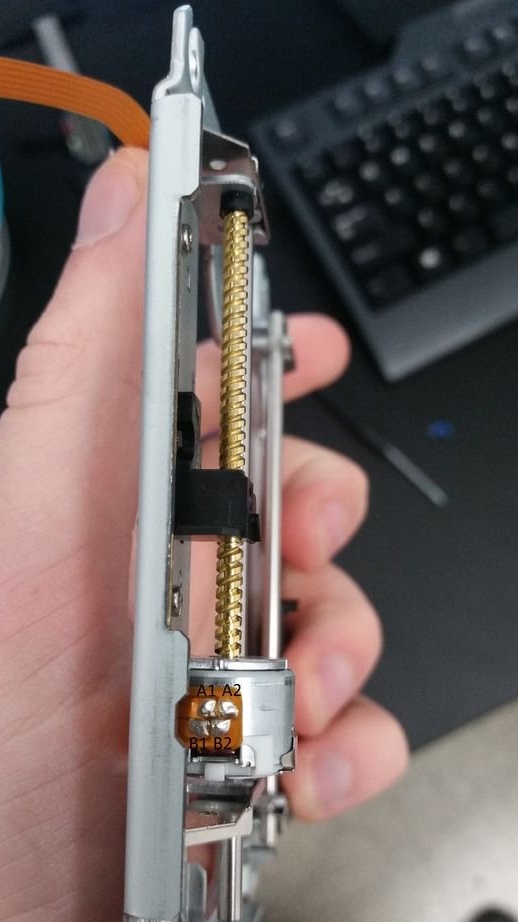
-Blu-Ray drive Playstation 3, KES-400a - 2 pcs;
-USB microscope with magnification (the cheapest);
-Raspberry Pi;
-Driver stepper motor A3967;
-3D printer
-Bread board;
-Connecting cables;
-Resistors;
-Wire;
-Soldering accessories;
- Power supply 9-12;
-Step engine;
-Metal core;
-Fasteners;
-Screwdriver;
- Nadfilya;
- Thermogun;
-Cable ties;
Step One: 3D Printing
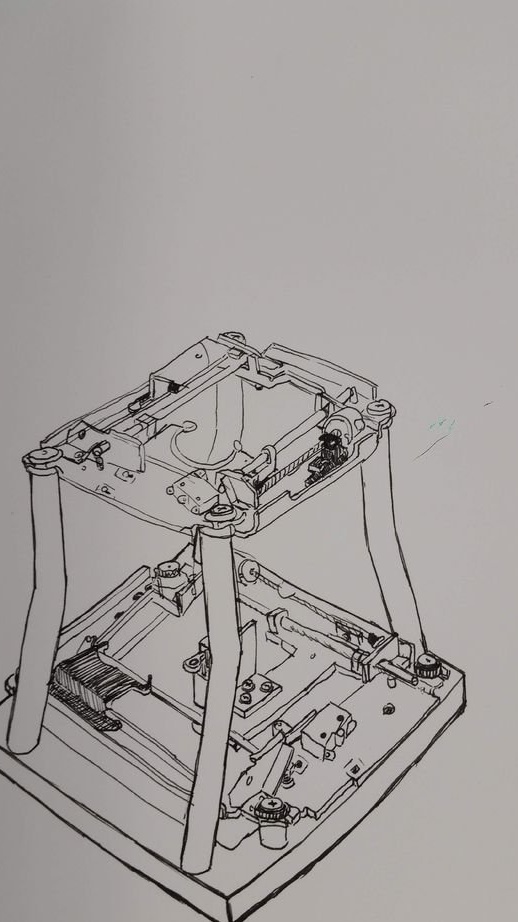
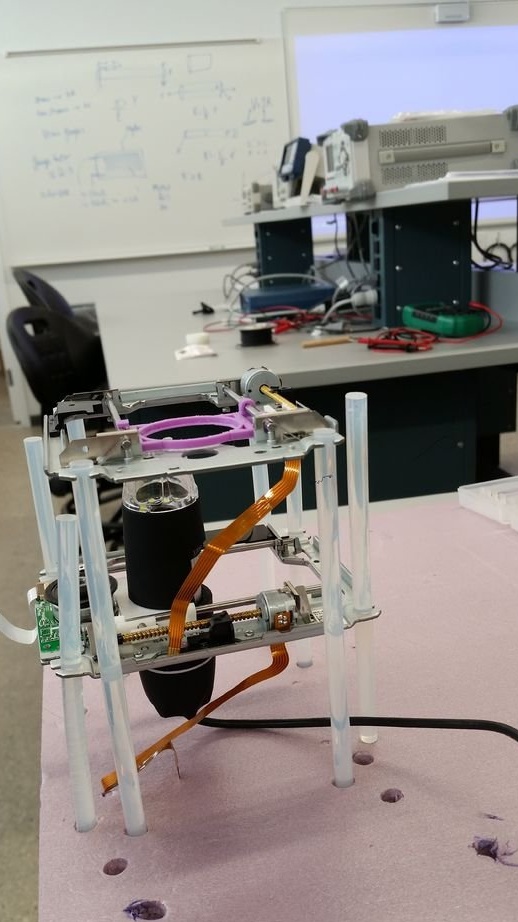
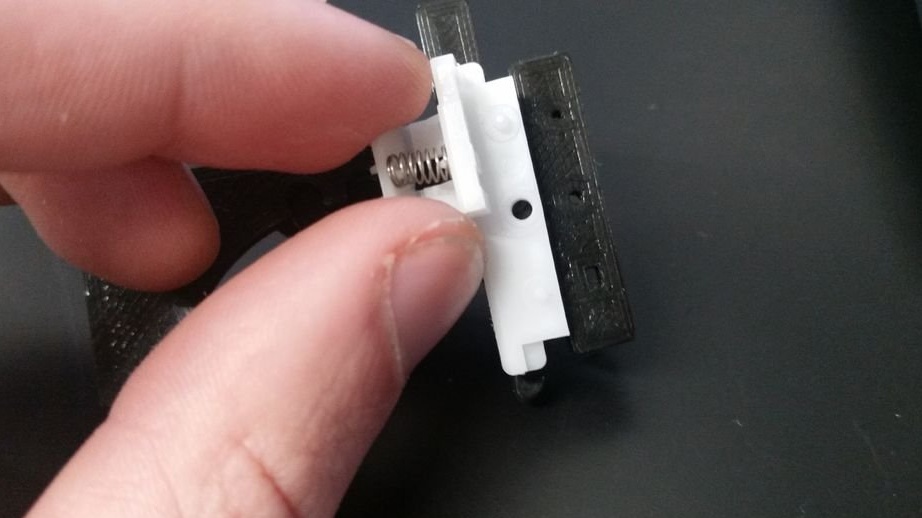
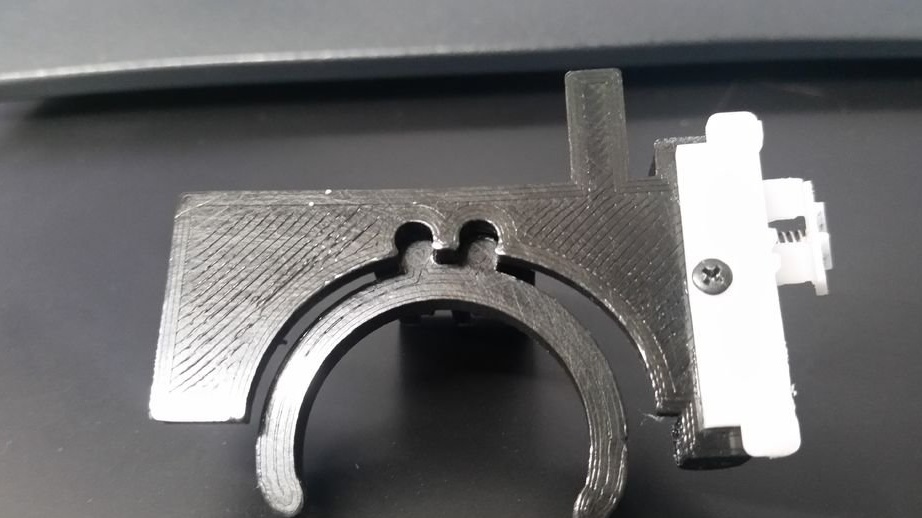
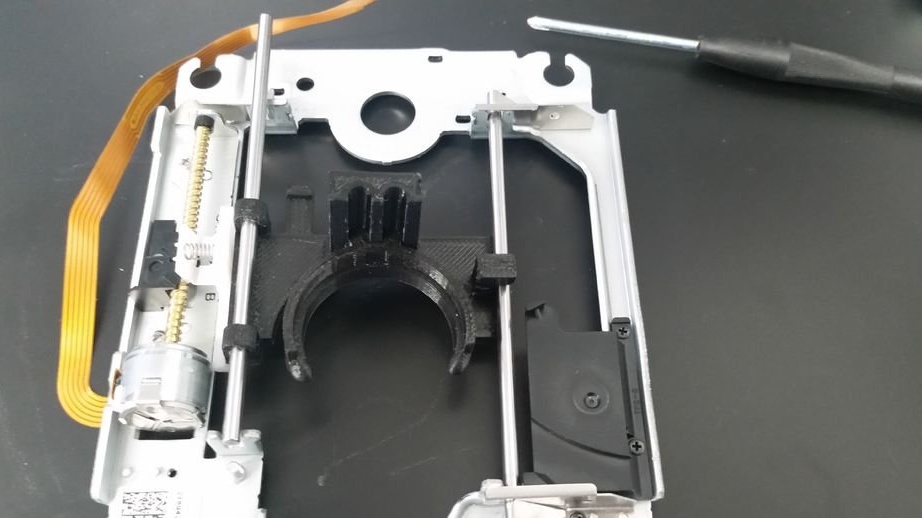
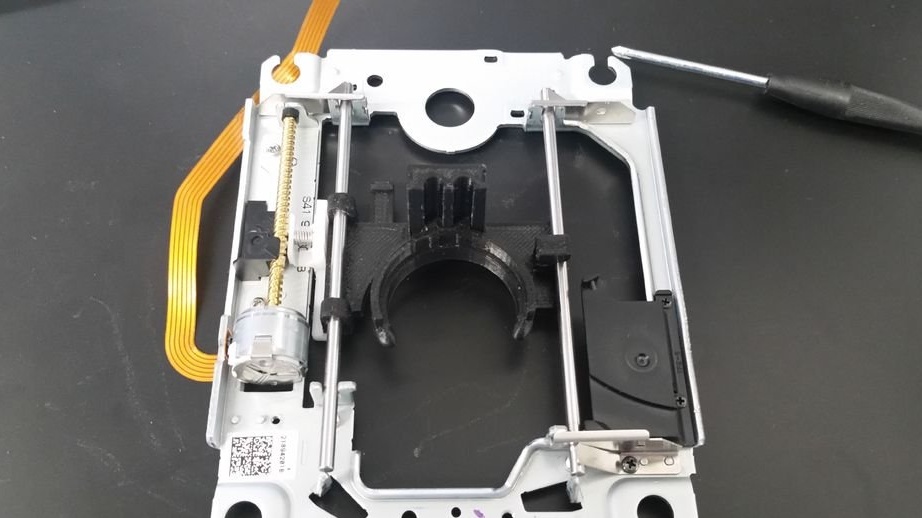
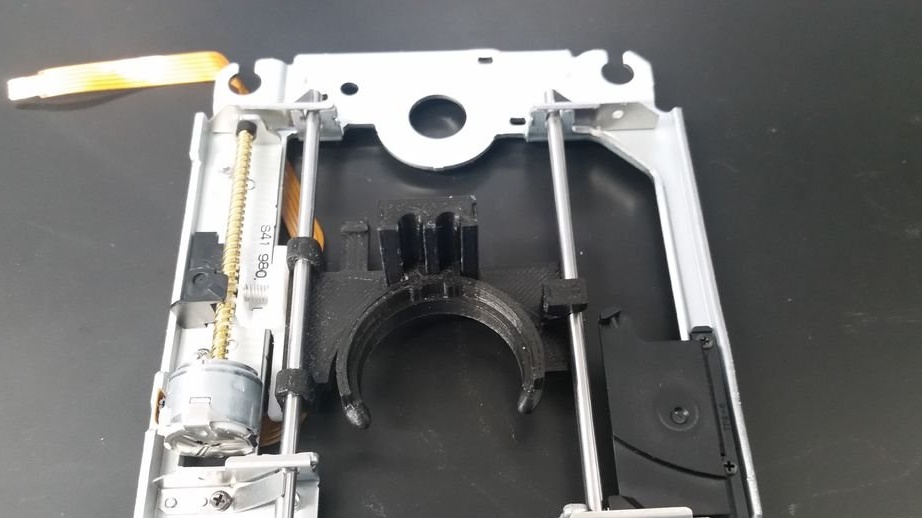
The master made the body of the first scanner model from improvised materials.
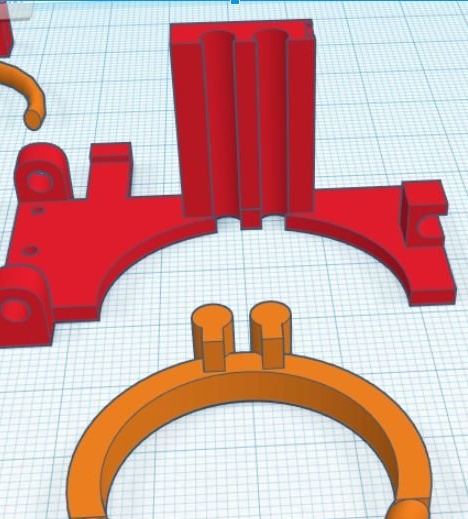
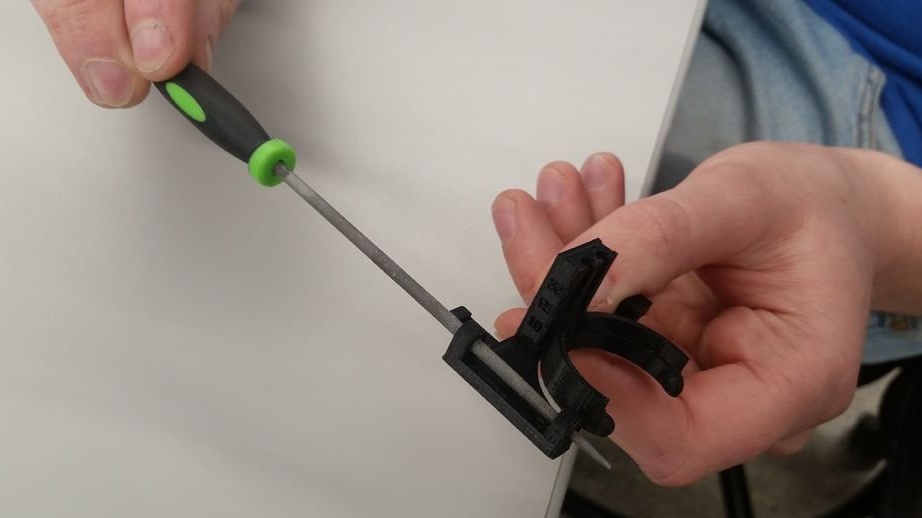
Then the details for 3D printing were developed and printed.
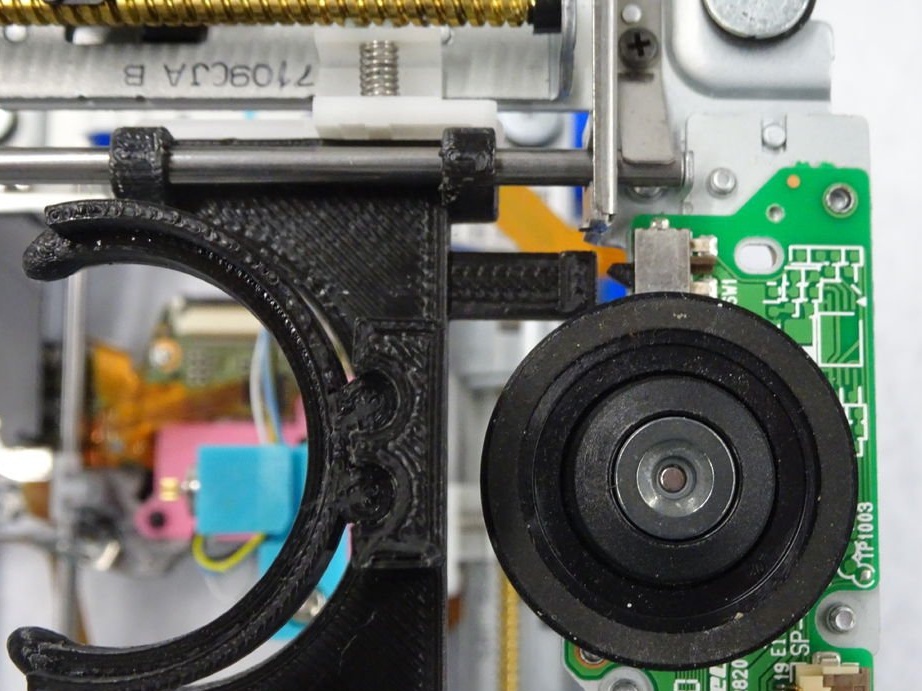
Step Two: Build
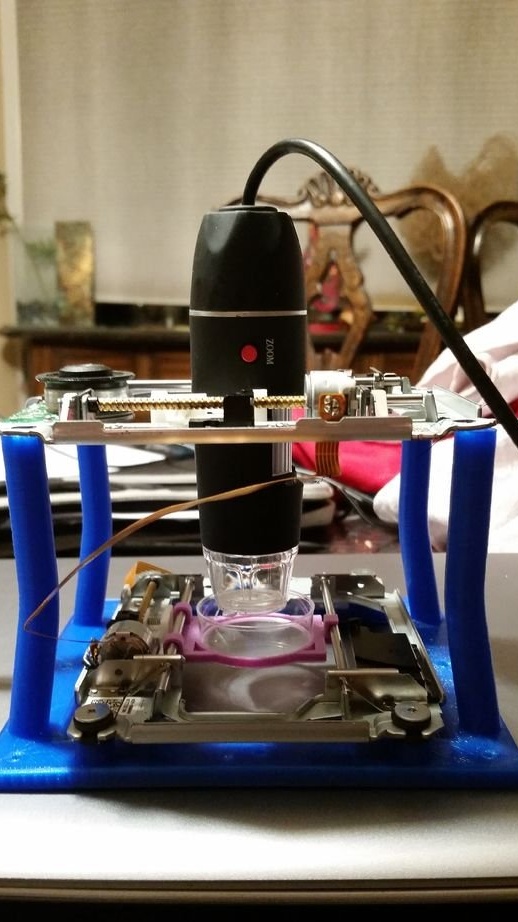
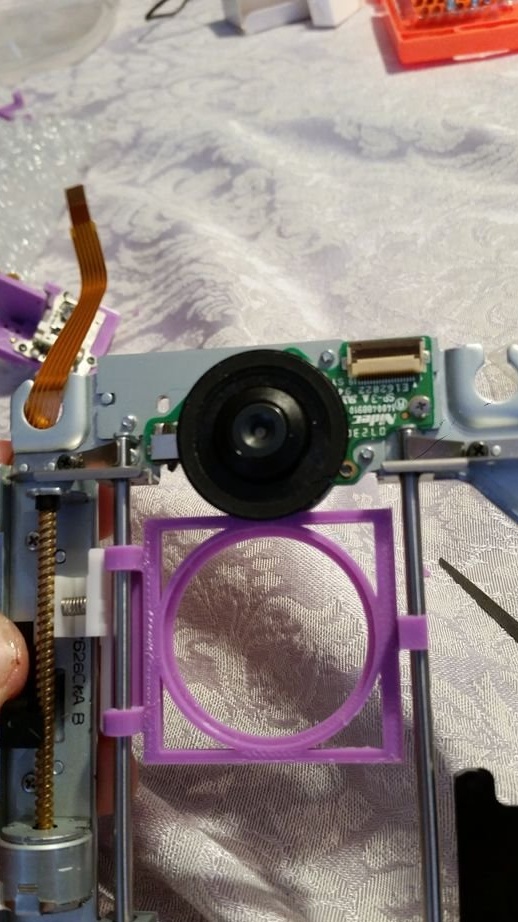
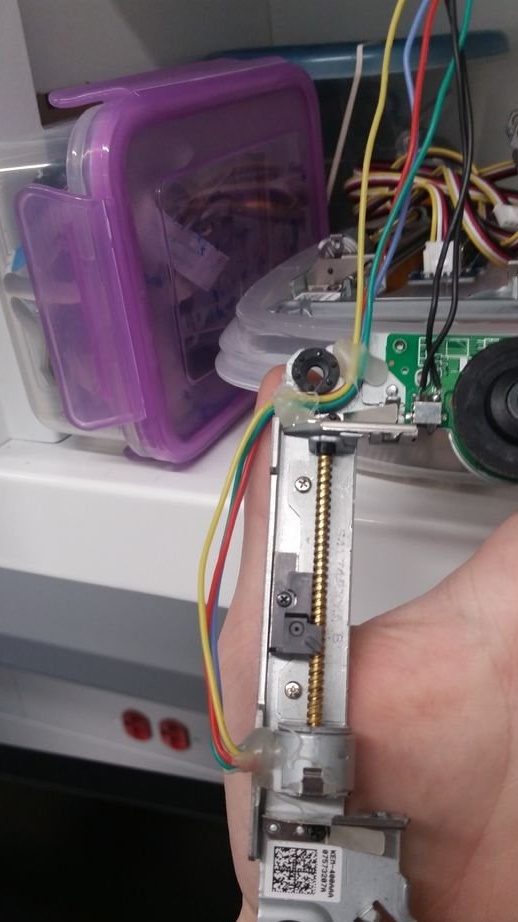
Next, the wizard begins to build. The scanner itself is fixed, one at the top, the second at the bottom. A microscope is attached to the upper carriage; a scanned object is attached to the bottom. The microscope moves along the object, and the object rotates around its axis.
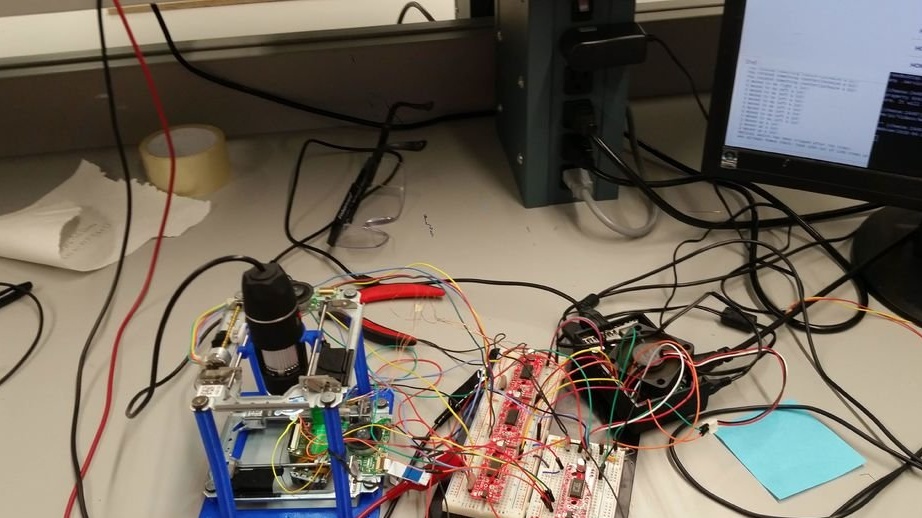
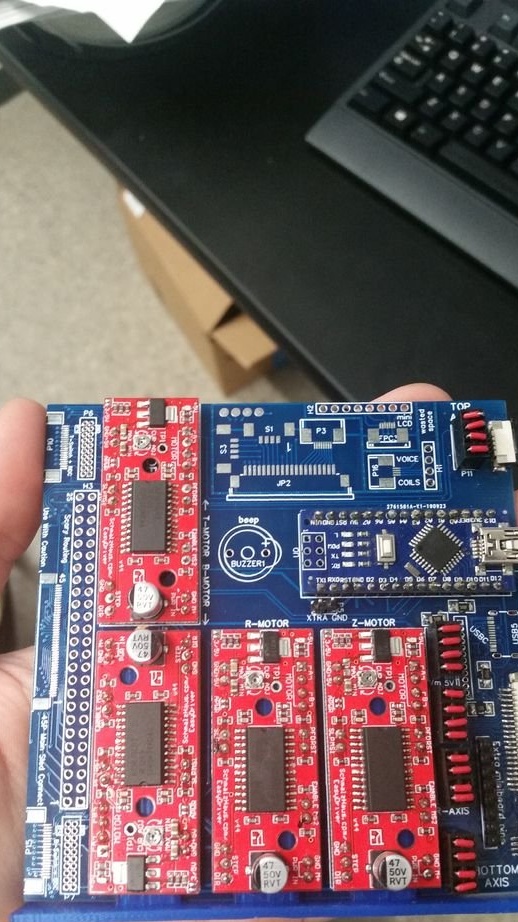
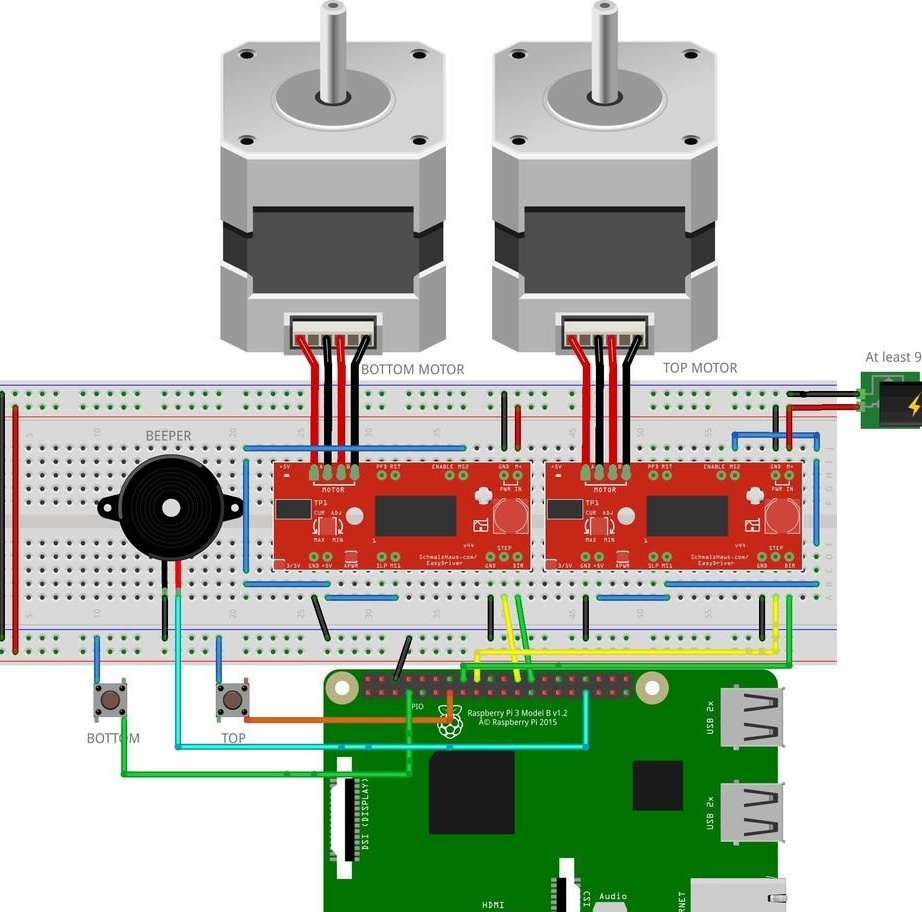
Step Three: electronics
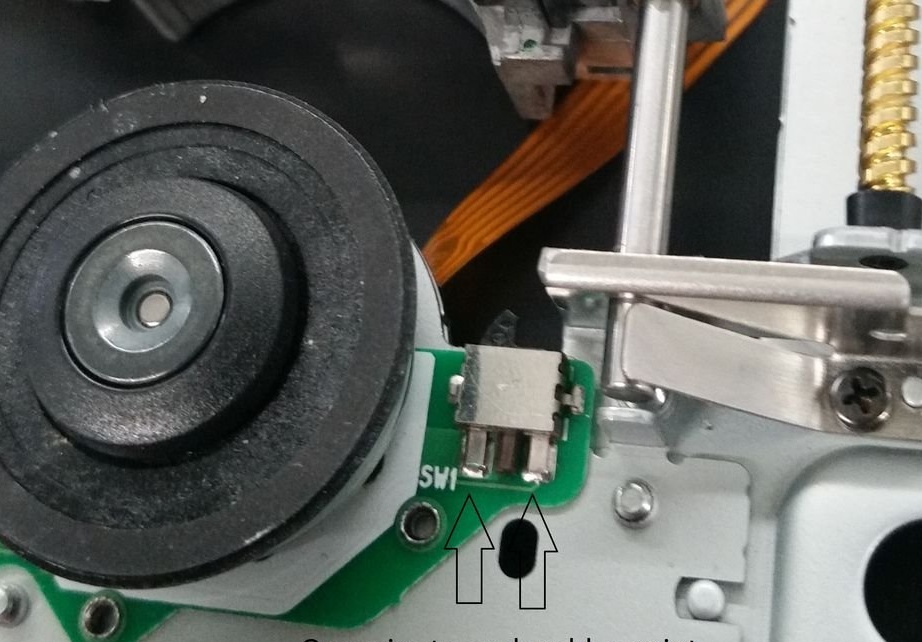
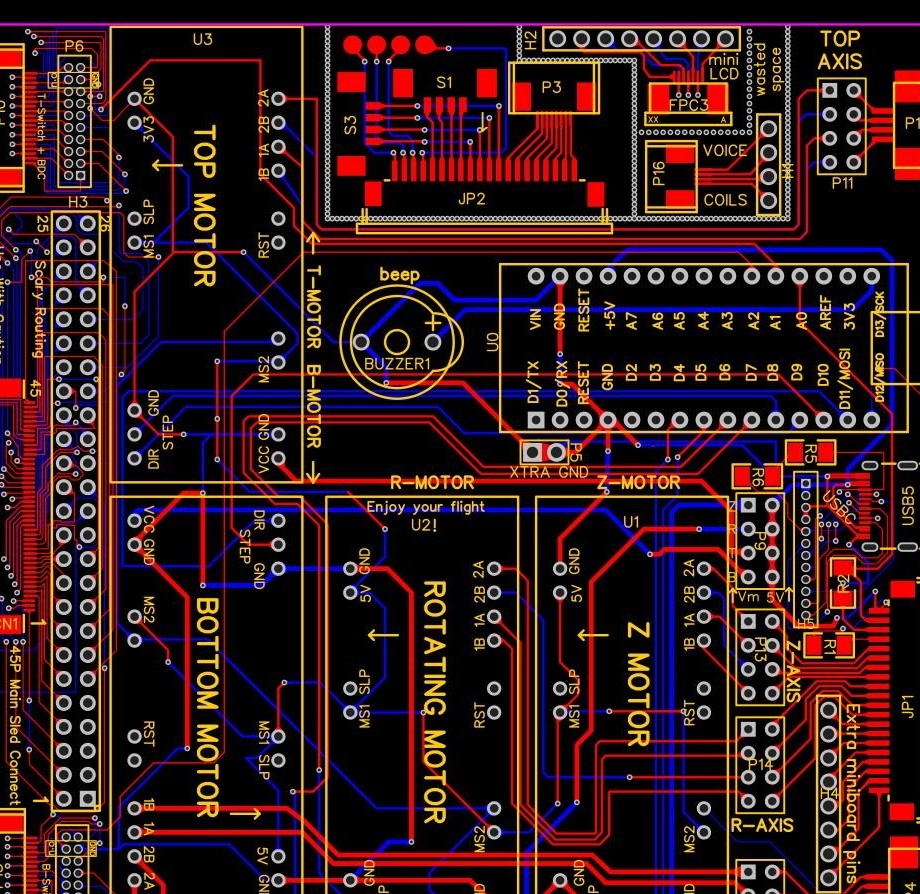
Then the wizard installs the components.
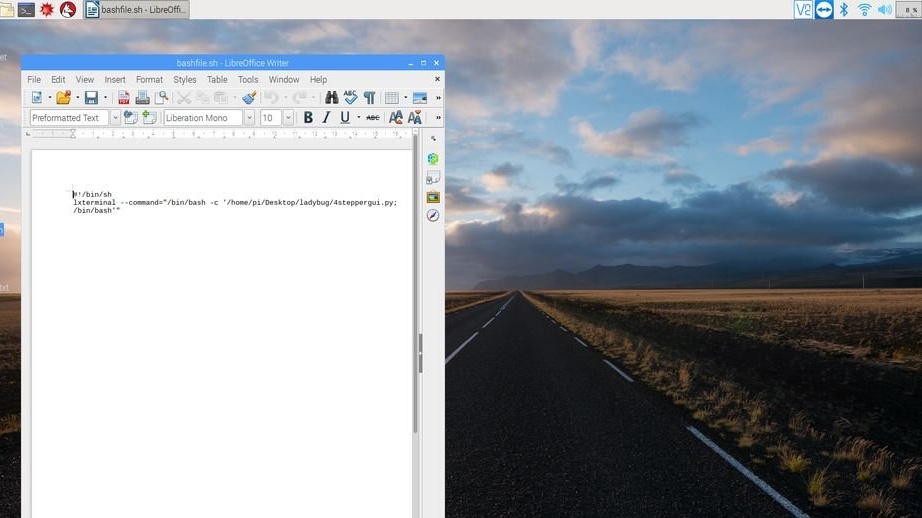
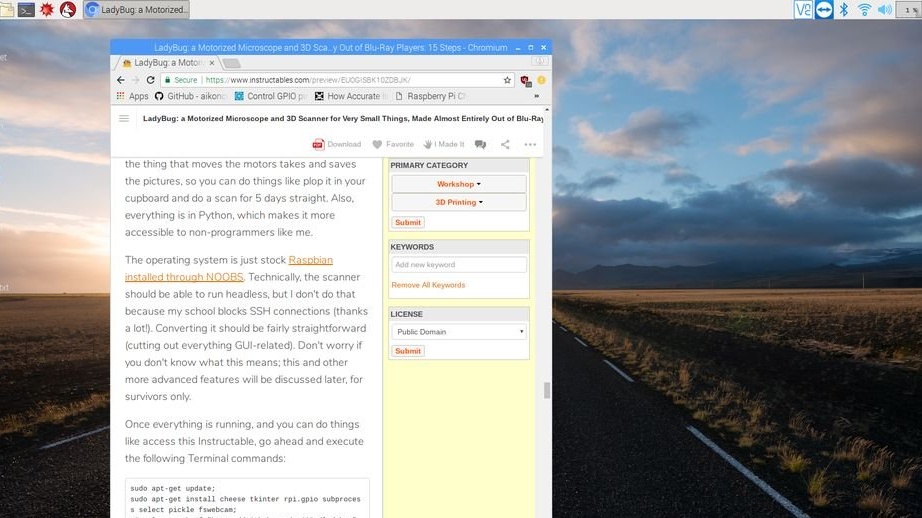
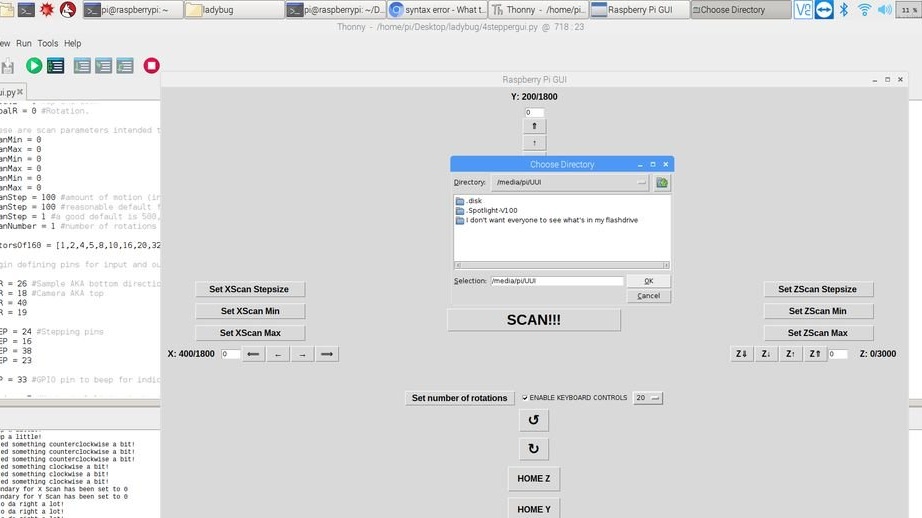
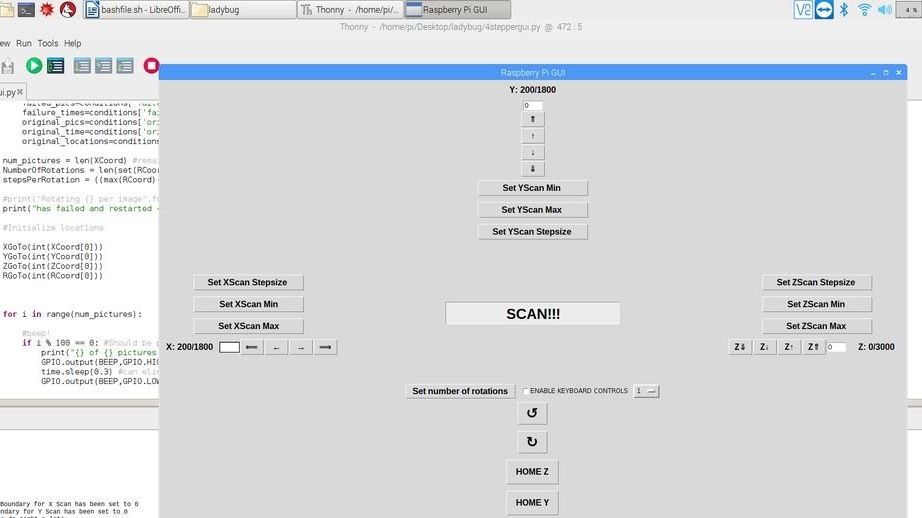
You can download the code for the Raspberry Pi from this the link
Step Four: Scan
Now you can start scanning.