Step 1: Materials
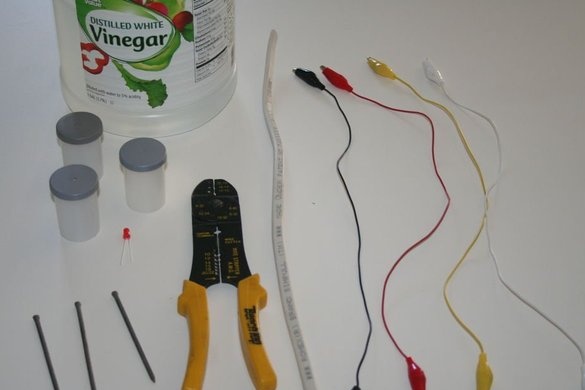
• containers for storing film;
• vinegar;
• protective glasses
• galvanized nails;
• nippers;
• crocodile clips with wire;
• a piece of copper wire;
• red LED backlight.
No containers for storing film? They can be replaced with a plastic cup with a lid. It will work almost as well, personally verified. No crocodile clips? You can use a wire from old speakers, it works great.
Step 2: Working with Copper Wire
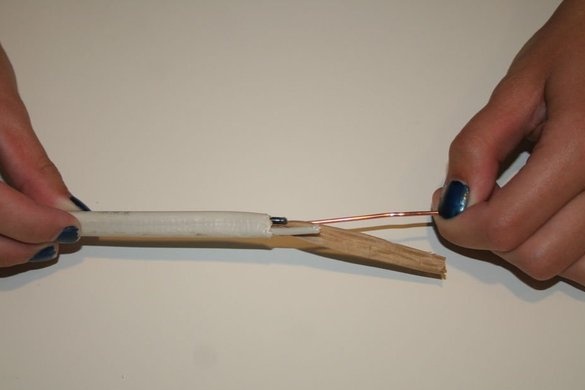
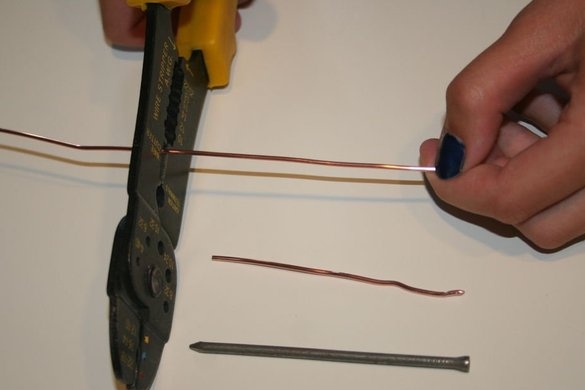
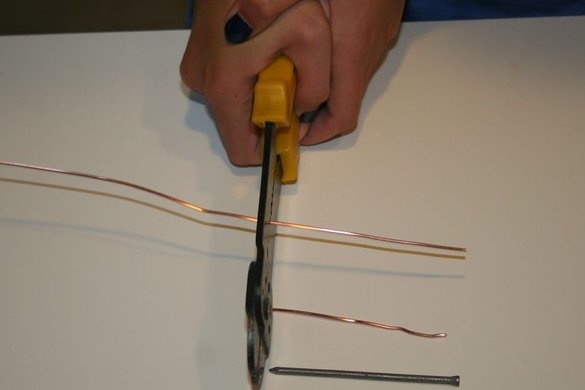
Copper wire must be free of insulating material. Once the wire is completely clean, cut it into pieces (slightly shorter than the selected nails).
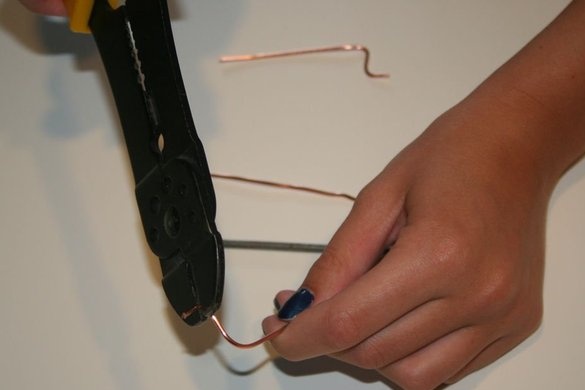
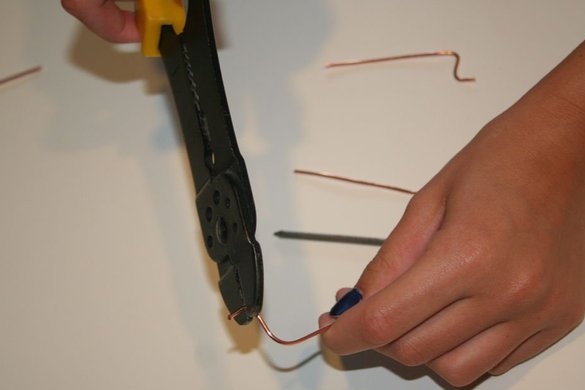
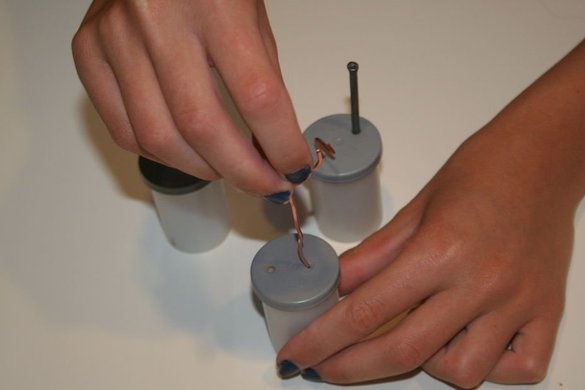
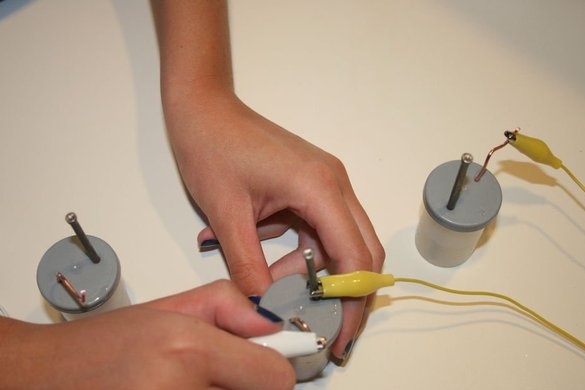
Now the parts of the wire need to be bent in the manner shown in the photo. This is necessary so that the wire does not slip and that there is where to attach the clamps.
Step 3: make the battery
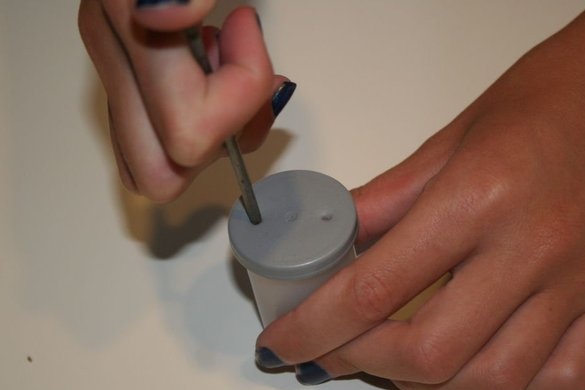
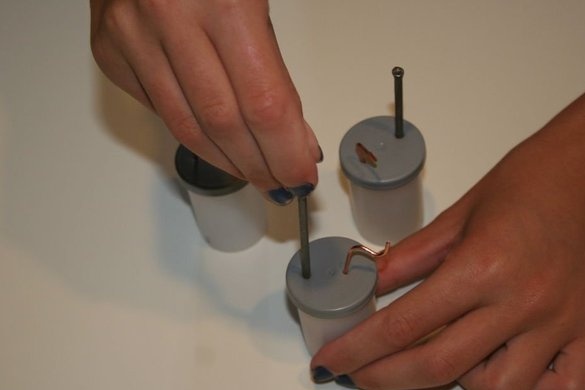
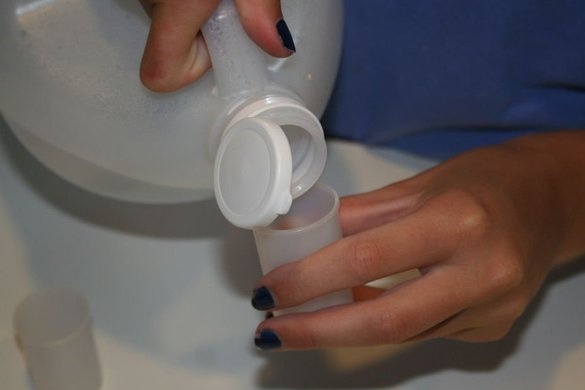
Wear safety glasses. Take the container for the film, on top of it should be a lid, in it with a nail you need to make two holes. In each hole you need to put one nail and one piece of copper wire. Remove the lid and pour vinegar into the container. If you spill vinegar, wipe the stains dry.
Close the lid with wire and nails.
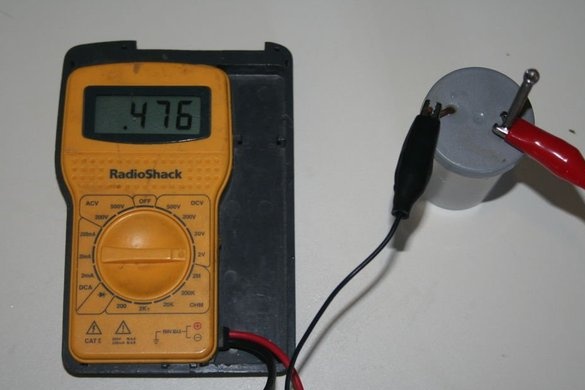
You should get a 0.5 volt battery.
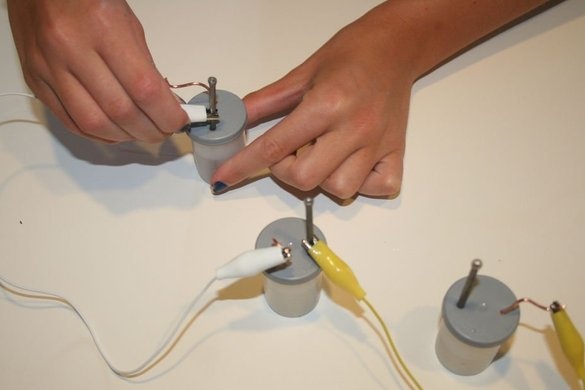
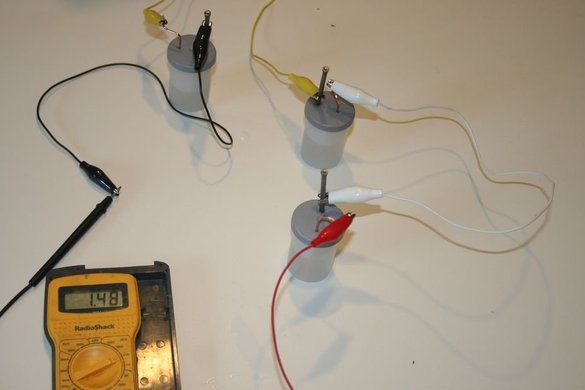
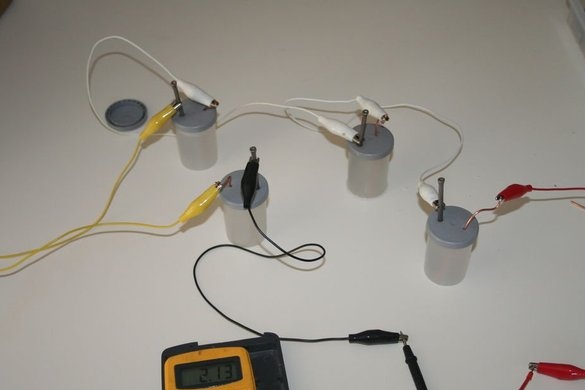
Step 4: Make 2 more batteries and connect them
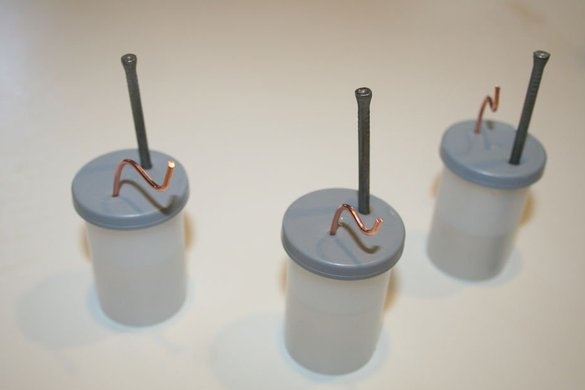
My goal is to get enough energy to provide LED backlighting. To achieve this, I needed to make 2 more batteries from the containers for film and connect them together.
I was able to connect the batteries using the clips of the "crocodiles".
Connect the containers to each other by screwing the copper wire to the nail. In this case, the wire is a plus, and the nail is a minus.
Step 5: Test
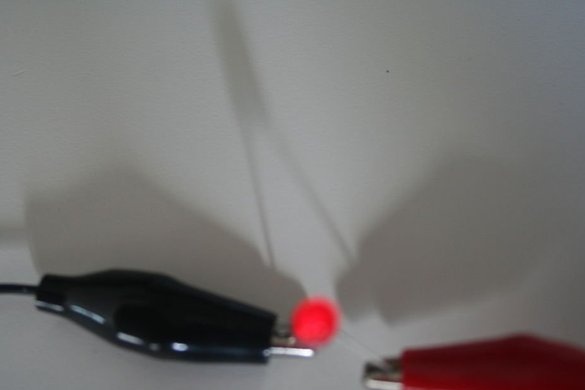
Connect the backlight to the three interconnected homemade batteries. As you can see, the red light of the backlight stably glows, even in a dark room. I can say that five days have passed since the backlight was connected to my batteries and it also glows well in the dark.
P.S.If the backlight does not “light up” the first time, then try changing the “plus” and “minus” places when connected.

