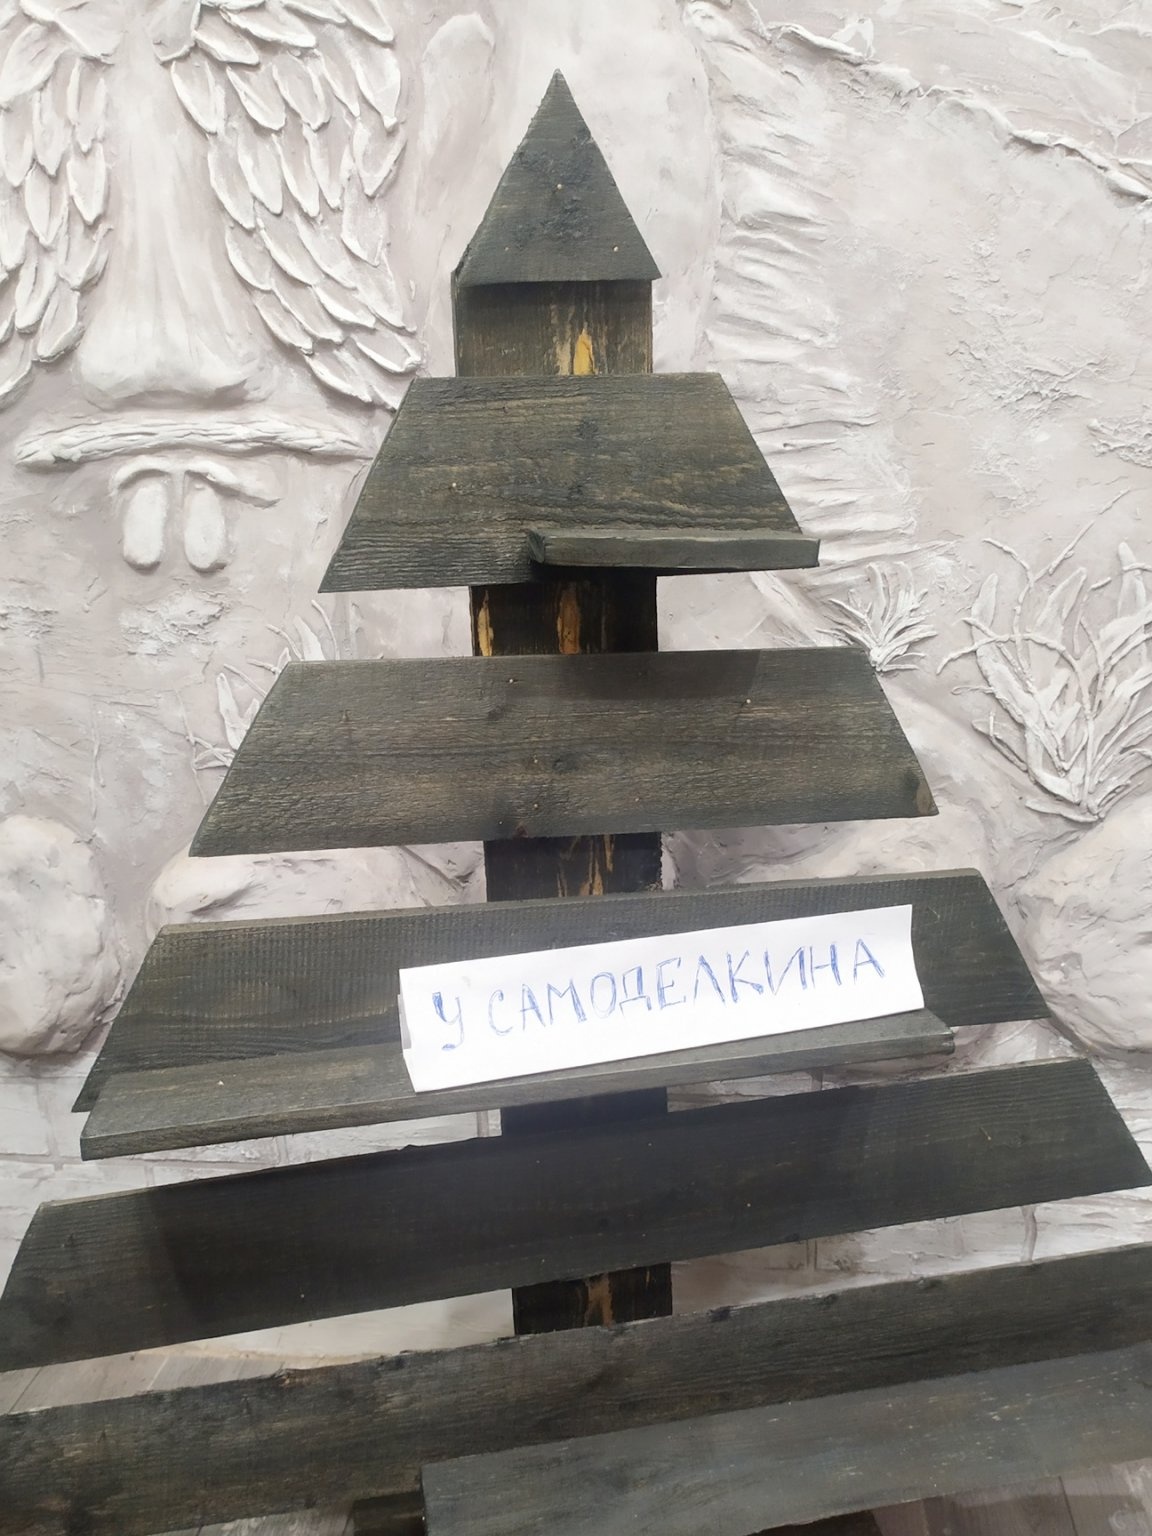
A beautiful Christmas tree is an indispensable attribute of the New Year holidays. And if, for some reason, you do not plan to buy a Christmas tree this year, then I offer you a simple alternative - a tree made of pallets. Or, it can be used as a separate decor, regardless of the main Christmas tree.
Tools and materials:
- Wooden pallet
- Electric jigsaw
- Hammer, pliers, and other improvised tools for disassembling the pallet
- Self-tapping screws
- screwdriver
- drill
- nails
- Stain of any color
- Acrylic varnish
- Sandpaper
- It is advisable to use a grinder
- Roulette
- A pen
- PVA glue, or another, or putty for wood
- Palette knife, or a small spatula
- gloves
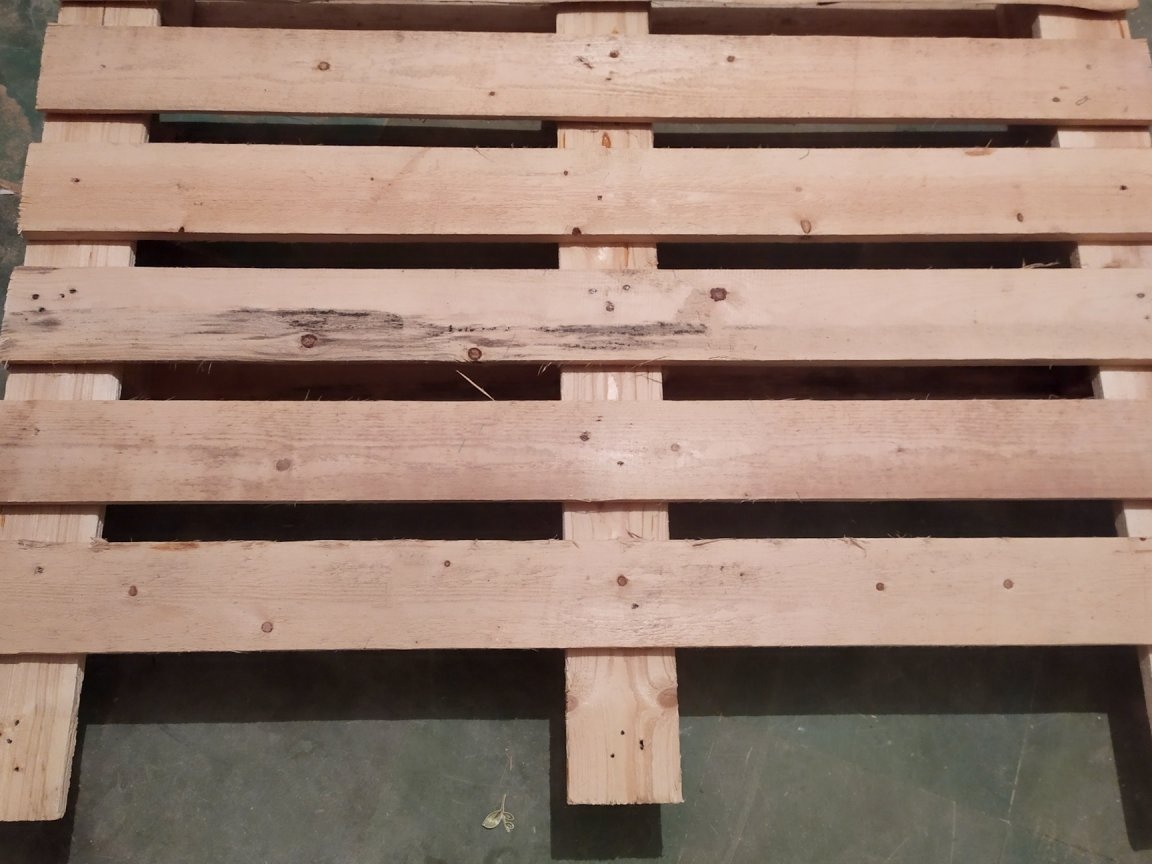
Wooden pallets are now in great demand. Of them you can make different furniture, and not only. One of the main advantages is an attractive price, you can buy new pallets from us at a price of 40 rubles. a piece.
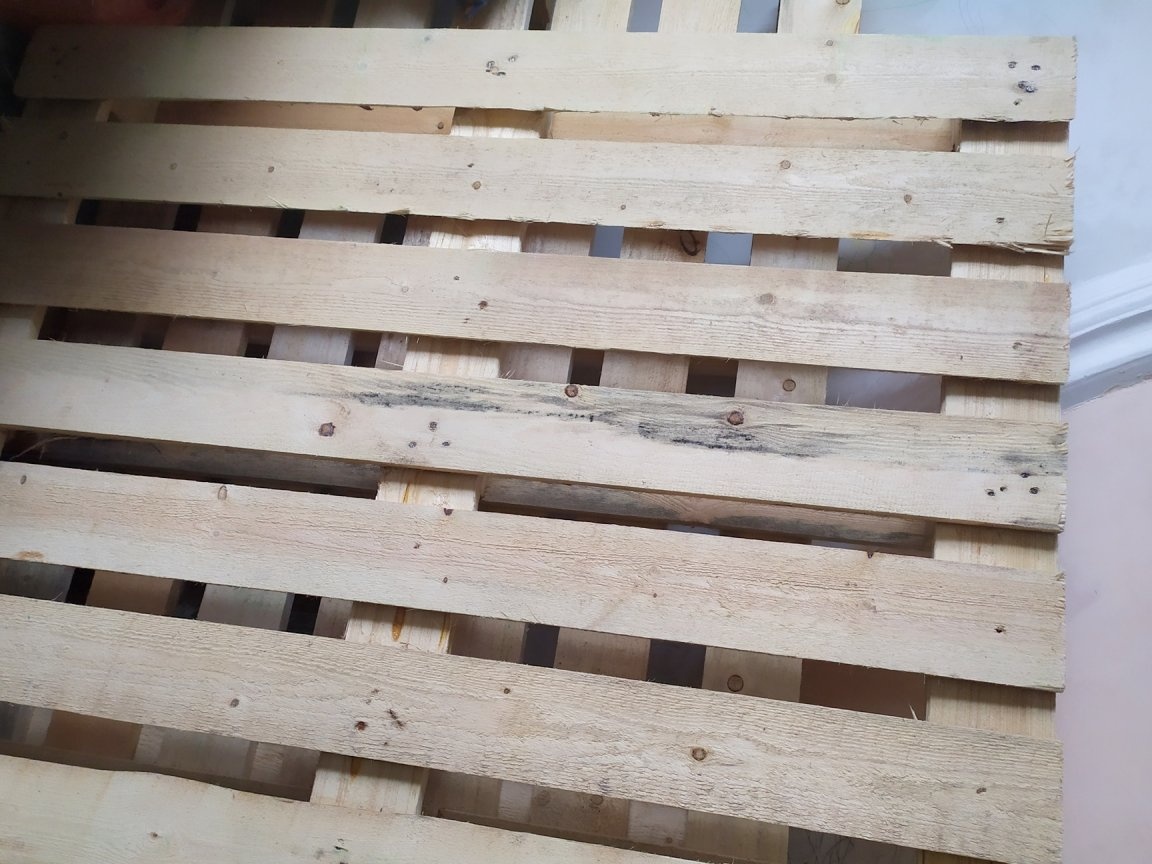
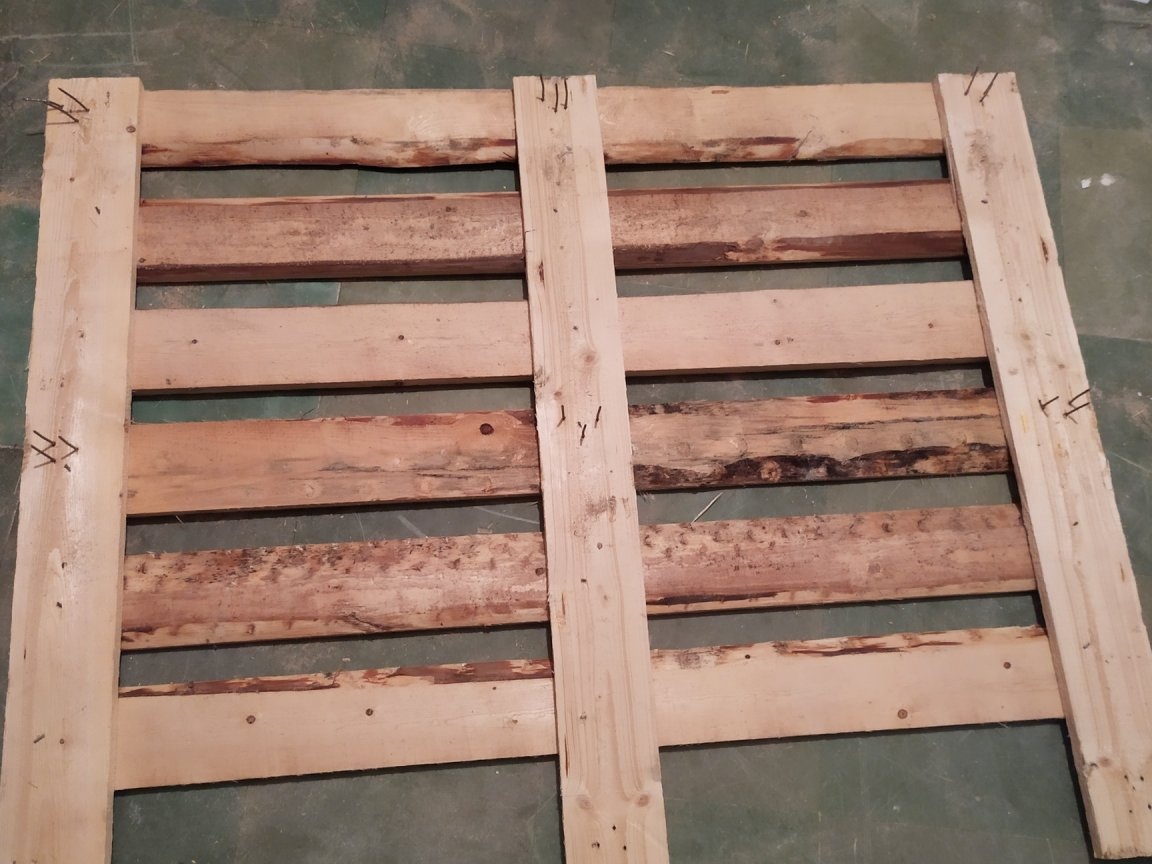
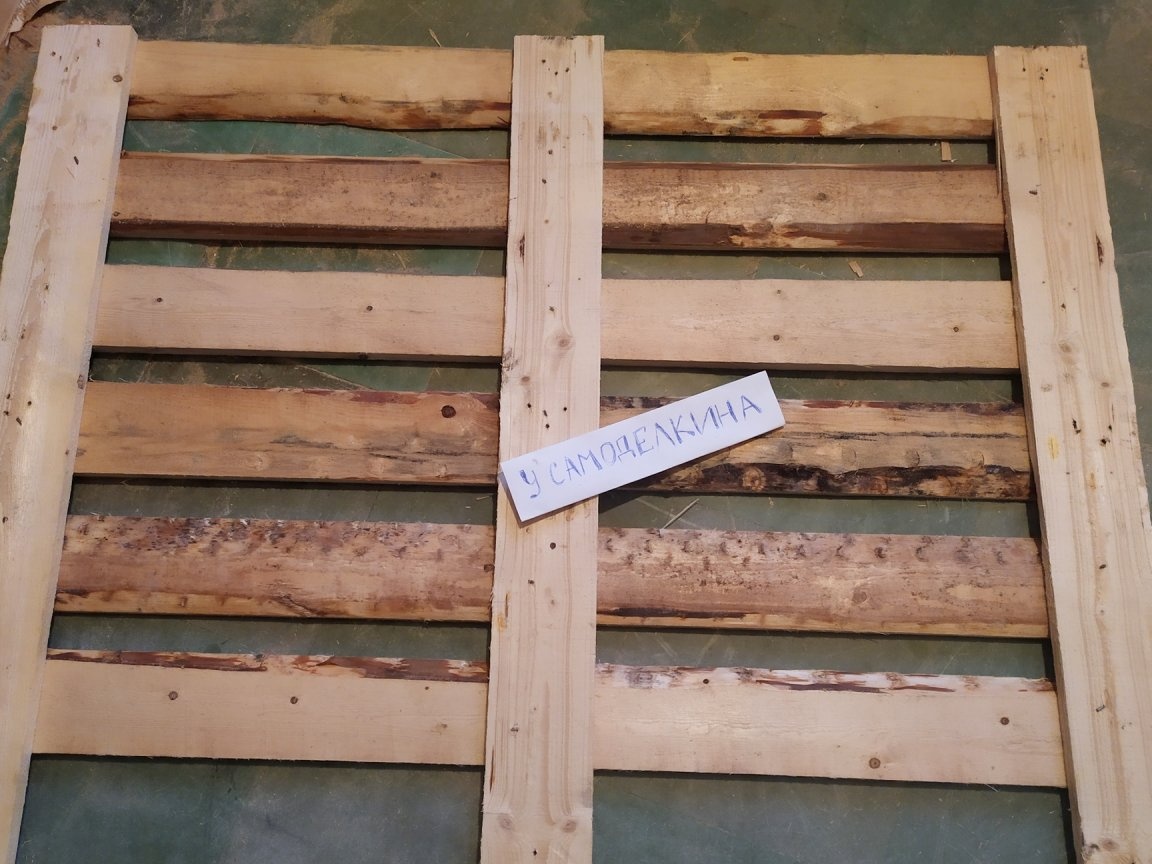
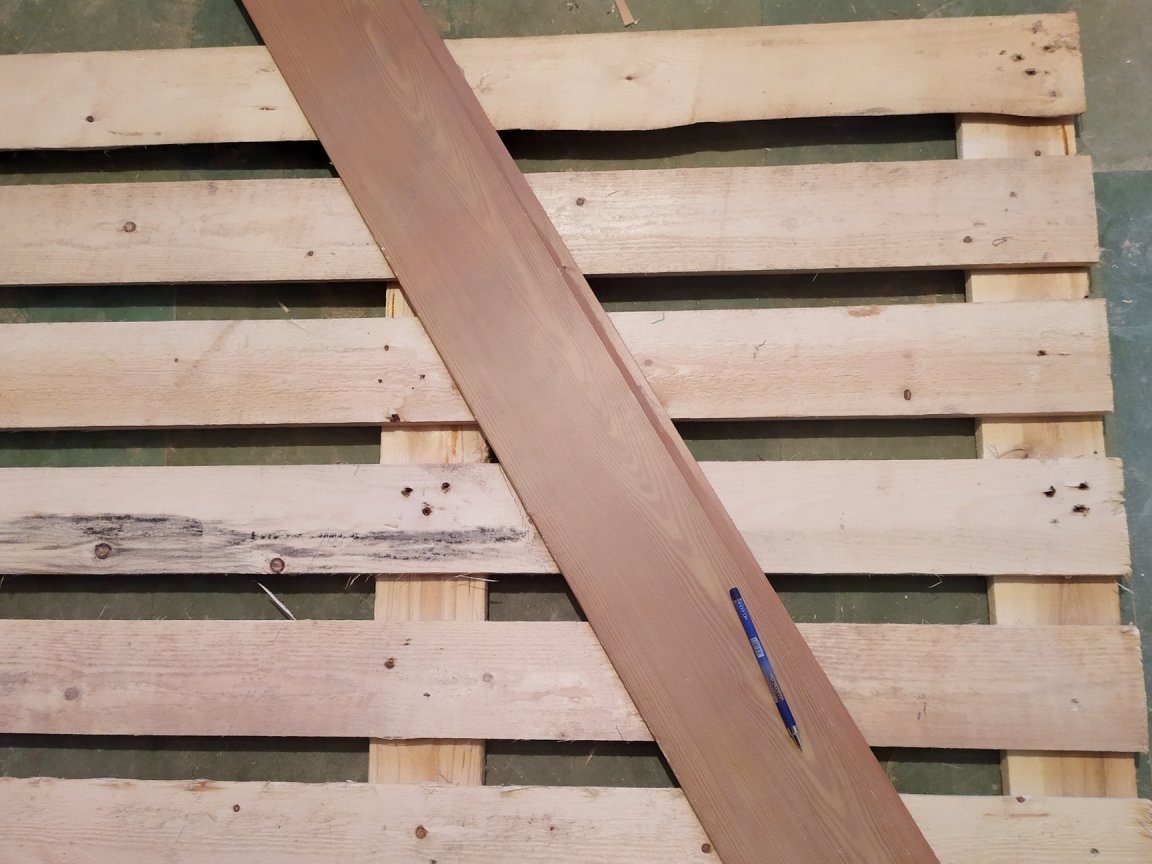
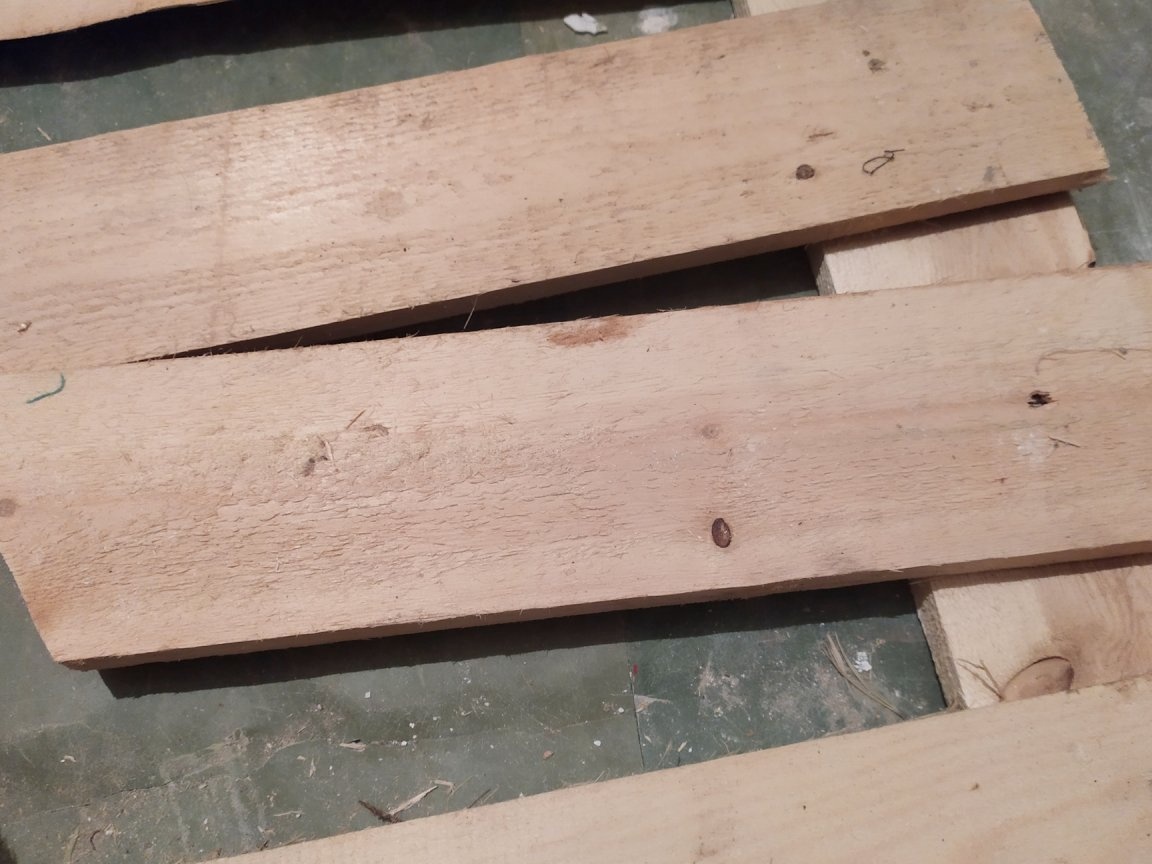
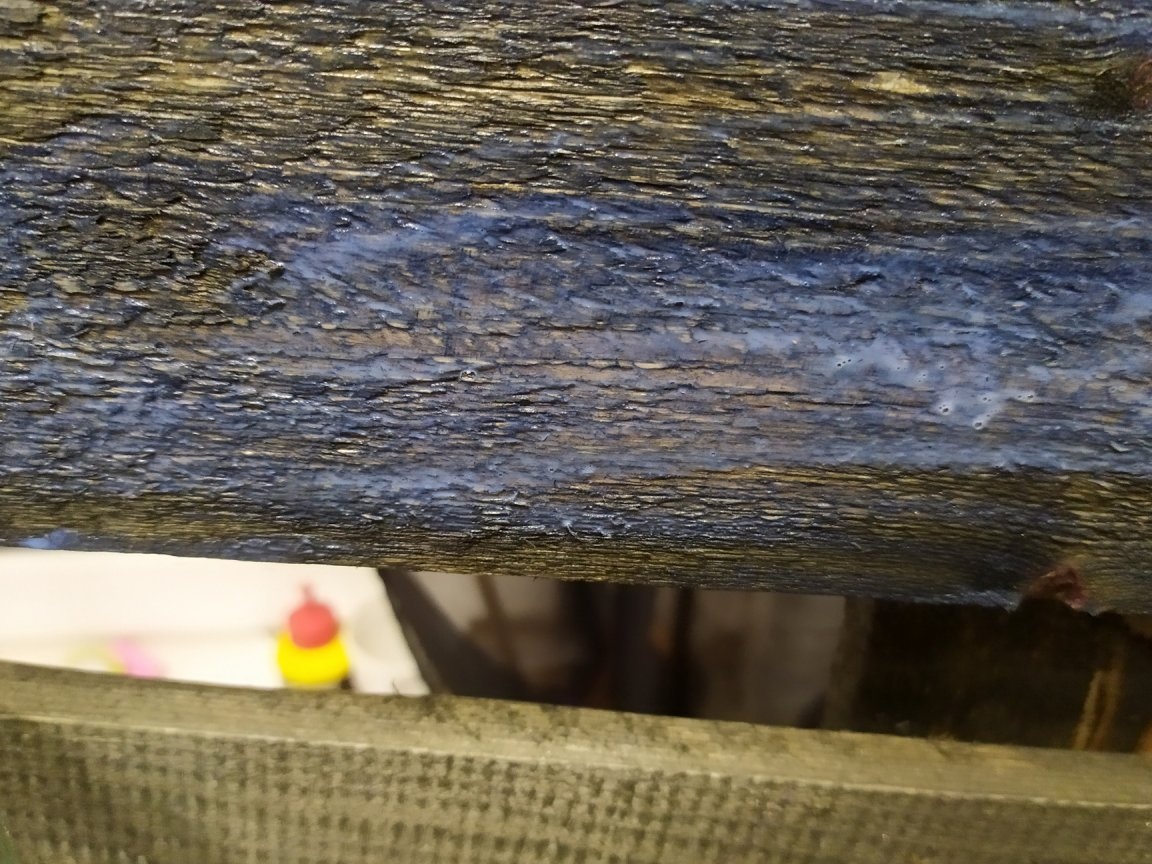
Since the whole pallet does not need us, then for starters, you need to tear off some parts. I reviewed a bunch of videos on the Internet to find the most convenient way. And so I did not find him. Everyone uses what is at hand.
To begin with, we need to remove the two lower boards, one on each side, so that the "leg" of the future tree remains. This lesson is not easy, it took me a few hours. It is advisable not to damage the removed boards, they can still be used for other purposes. I hammered, between the boards, different wedges, expanded as much as possible. In the end, everything worked out.
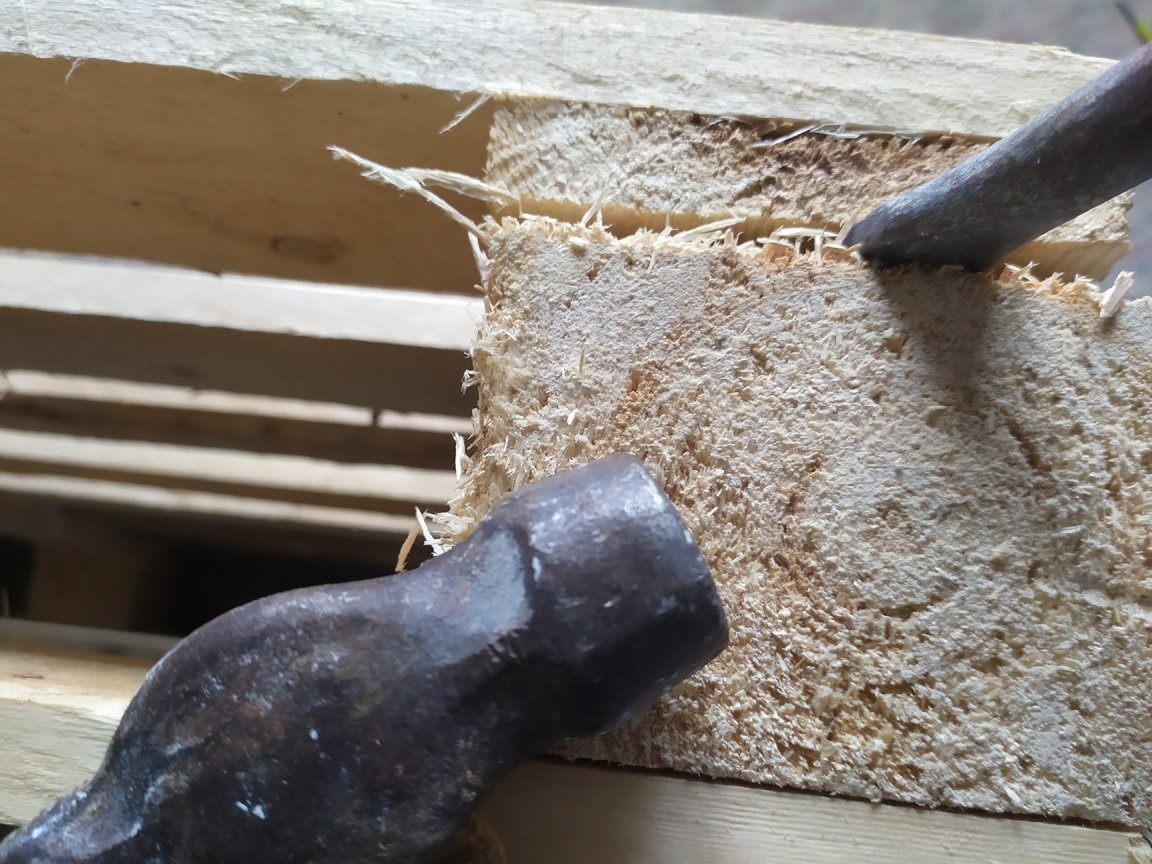
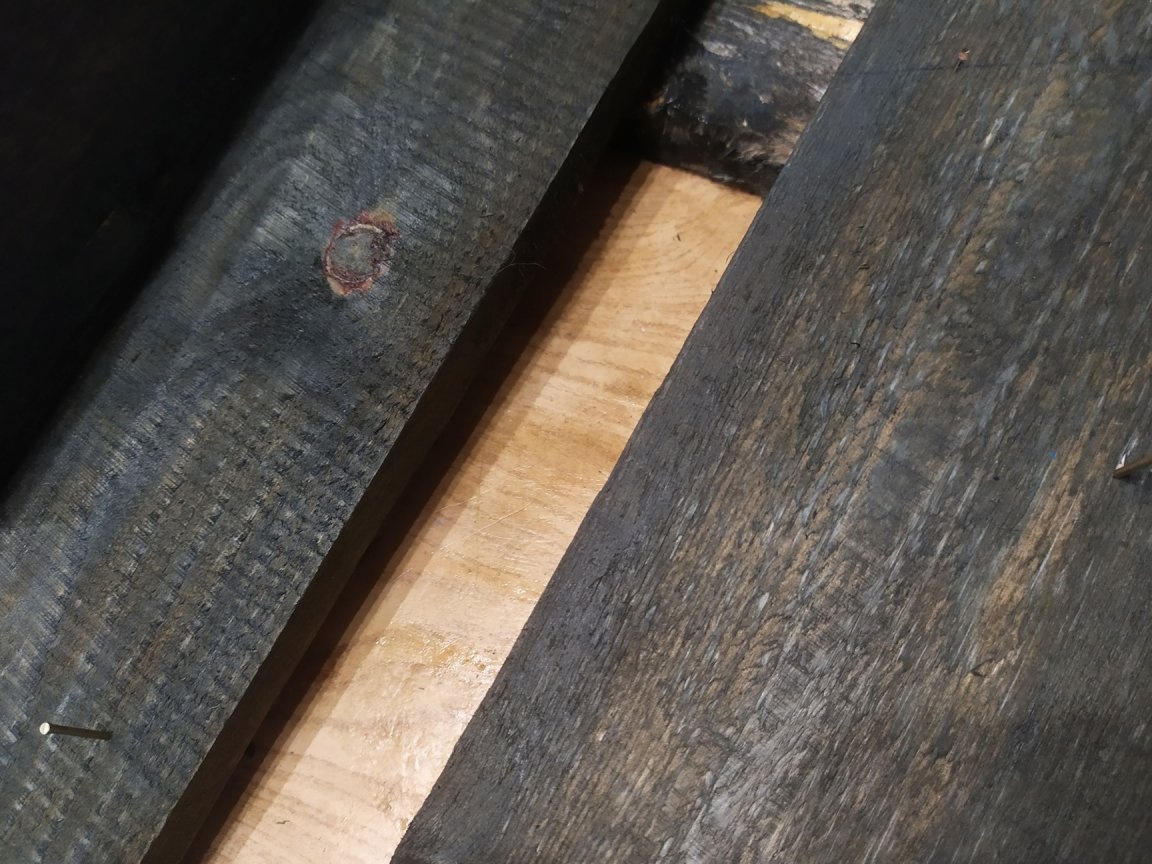
After tearing the bottom boards, you need to tear off the other two back, as they will interfere. Using the same method, remove them.
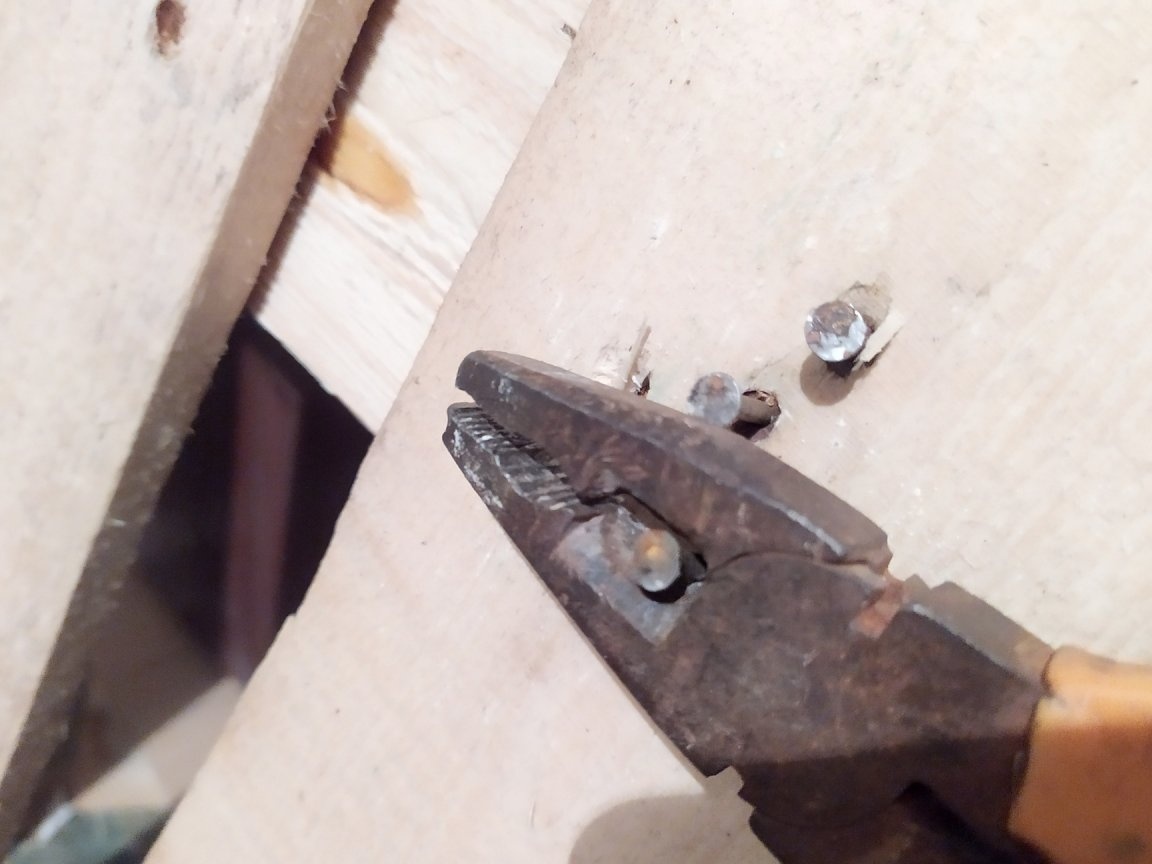
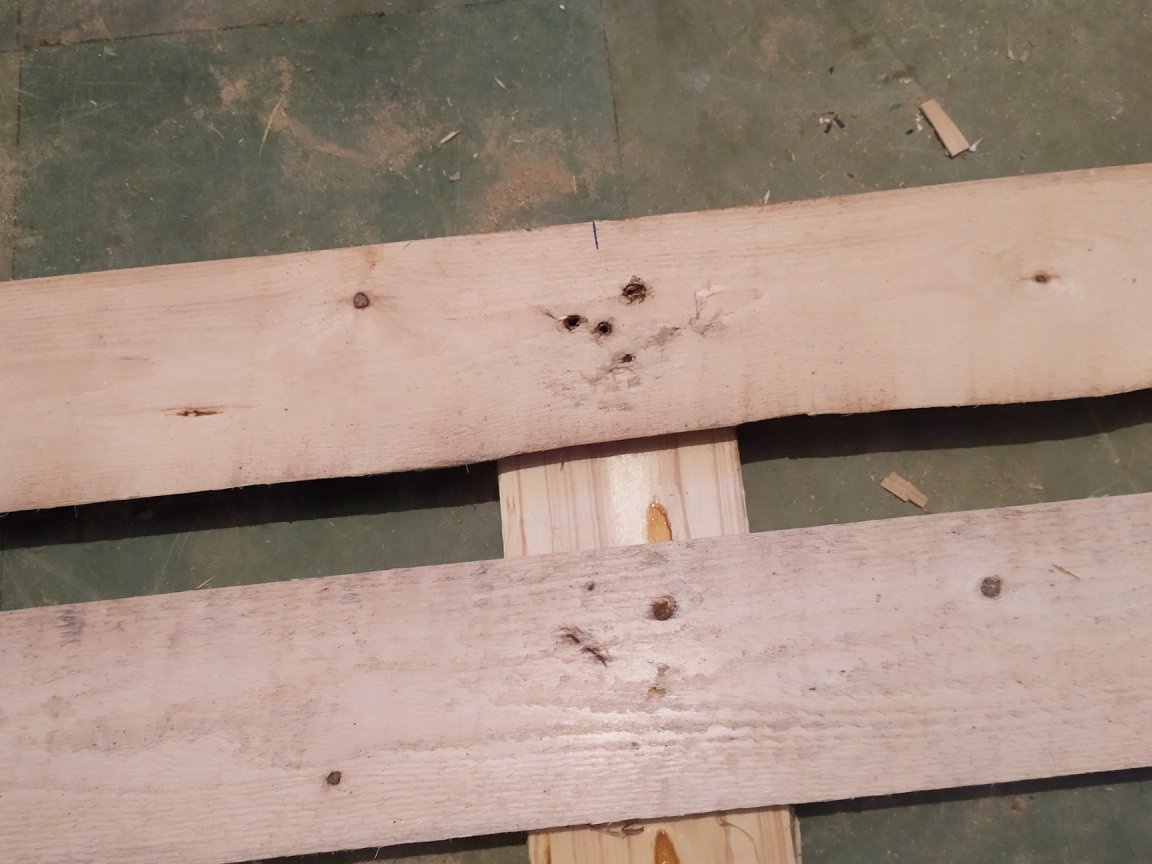
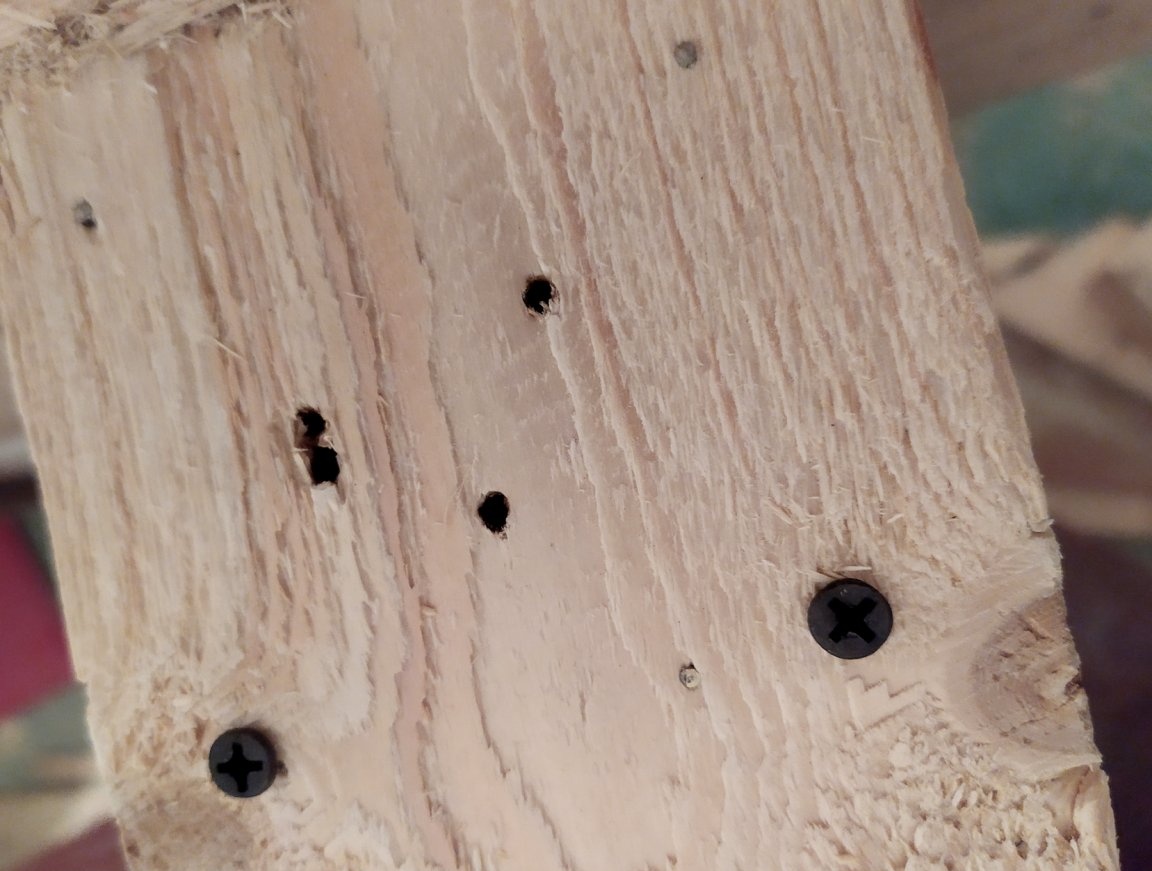
When the pallet reached the desired configuration, I still had extra nails.
In order not to get hurt, they need to be knocked out as soon as possible. We knock it out with a hammer from the back side, then, from the front, we pick it up with pliers, and pull it out.
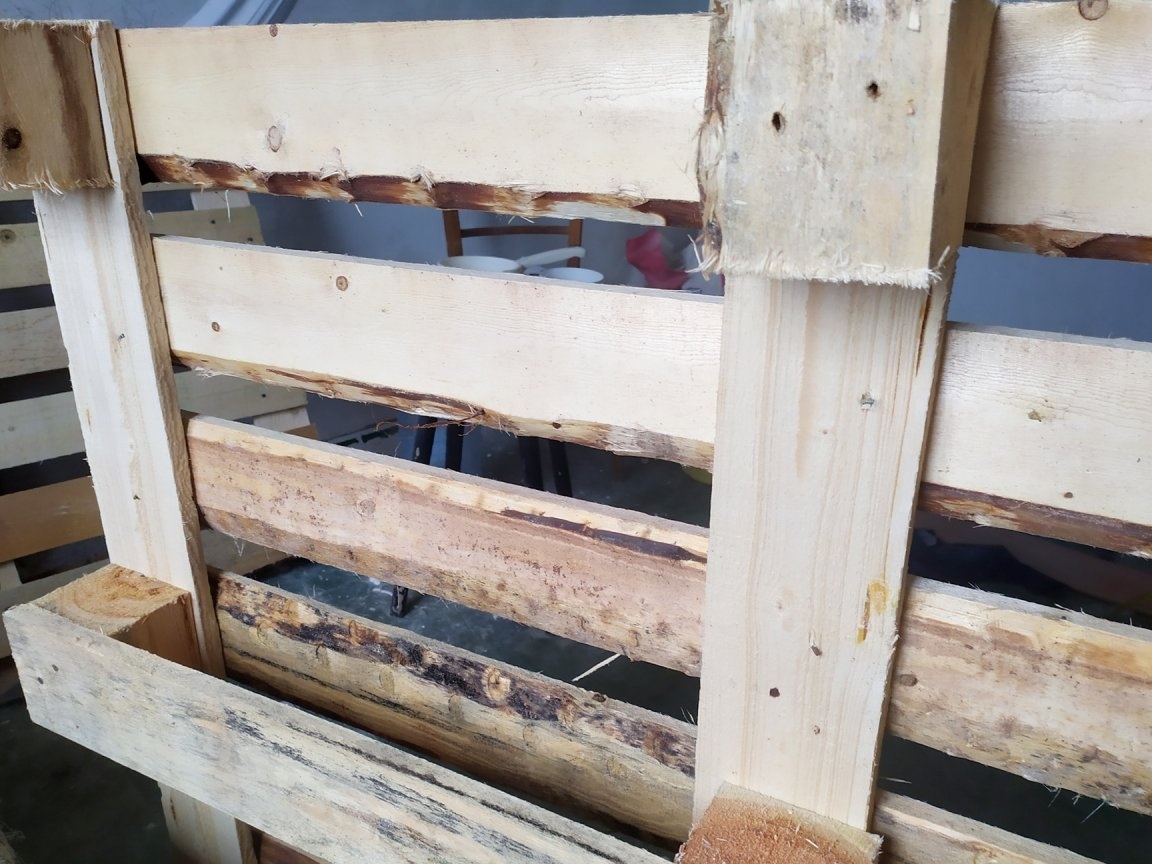
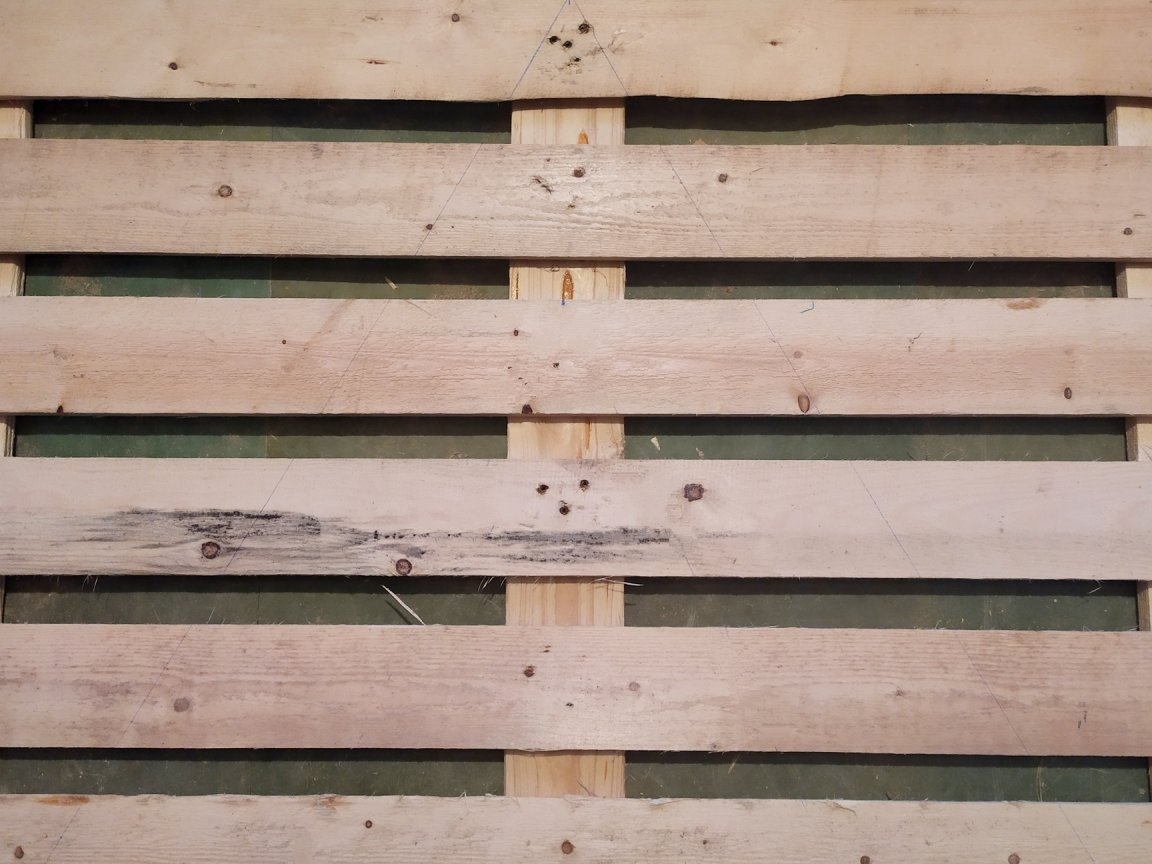
Now the former pallet is ready for cutting.
To get started, you need to make markup. In the upper part, in the middle, put a mark.
In the lower part, on both sides we determine what width we need. I decided it would be 900mm. Therefore, from the approximate middle of the board, measure 450mm in each direction.
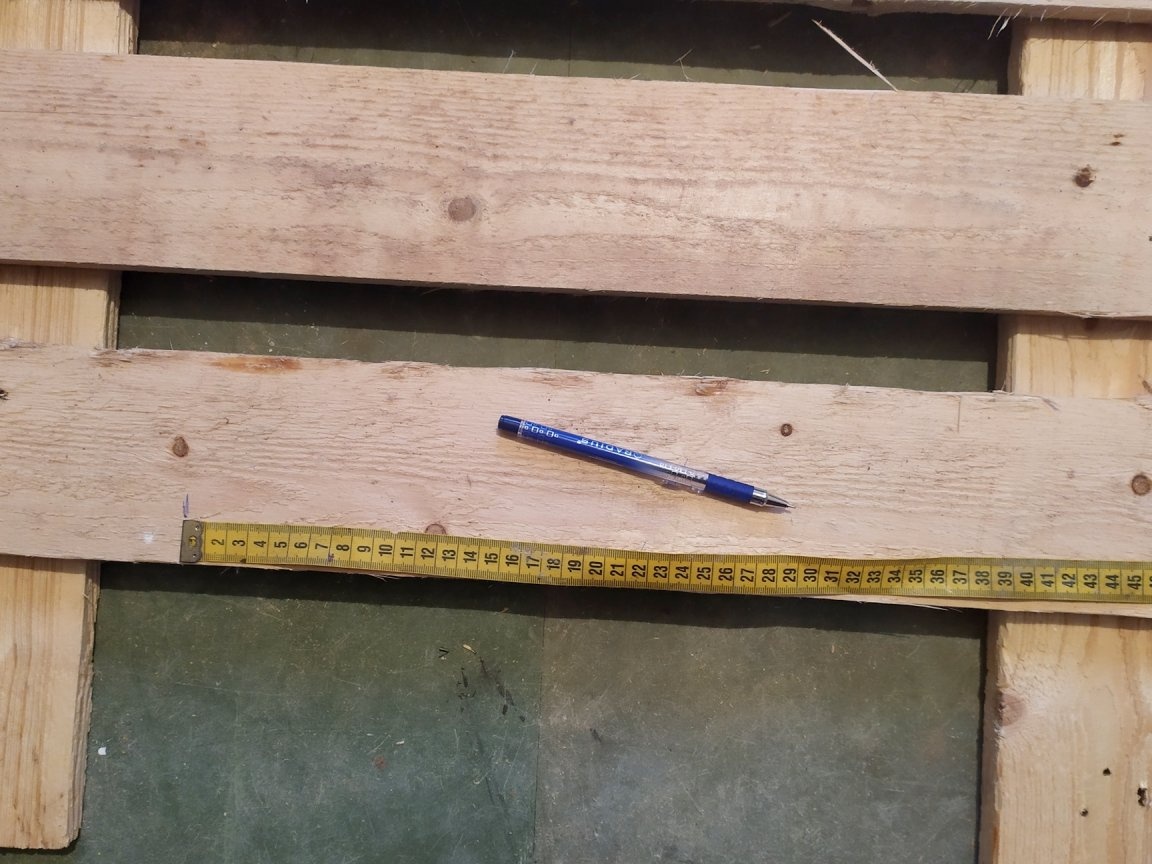
When the marks are ready, we will reduce the points in the form of a triangle. I took what was at hand, because I did not find a ruler of this size.
When the lines are ready, take an electric jigsaw and start cutting. It is important to use a good nail file, otherwise the edges will be torn and will have to be sanded for a long time.
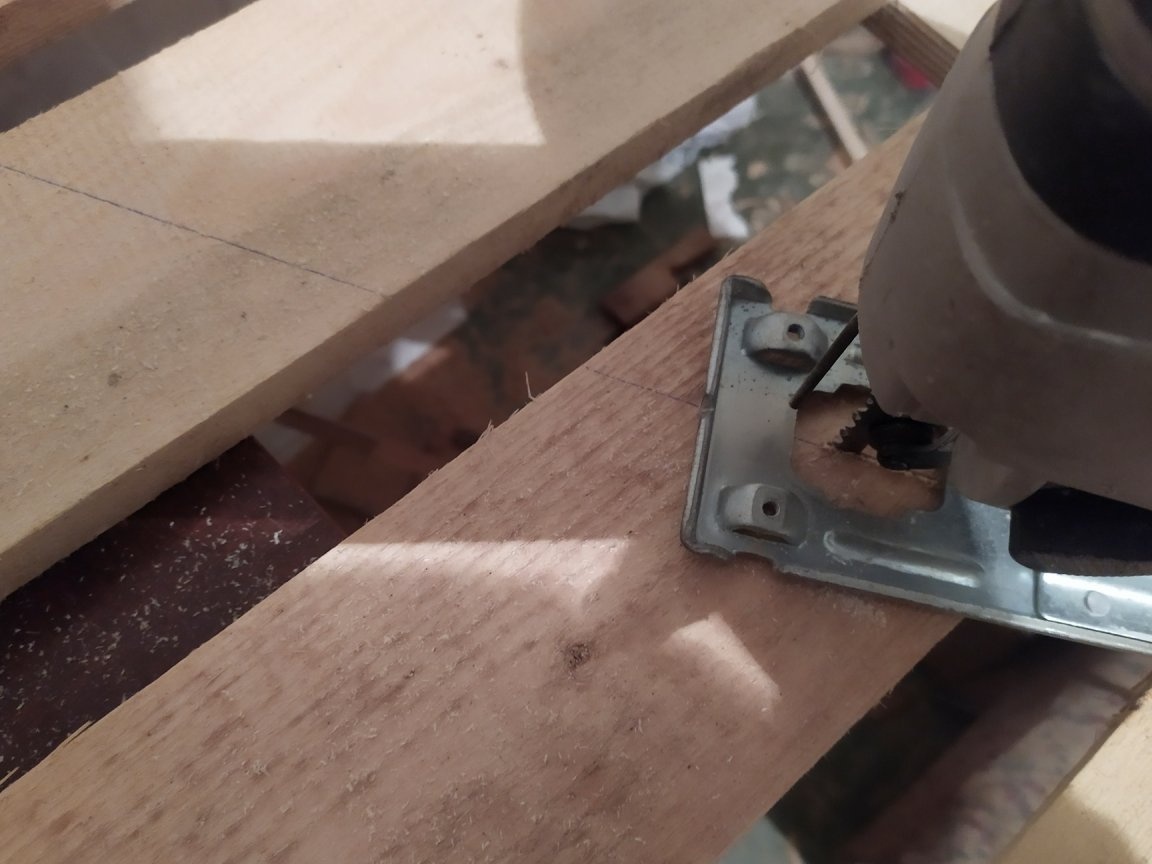
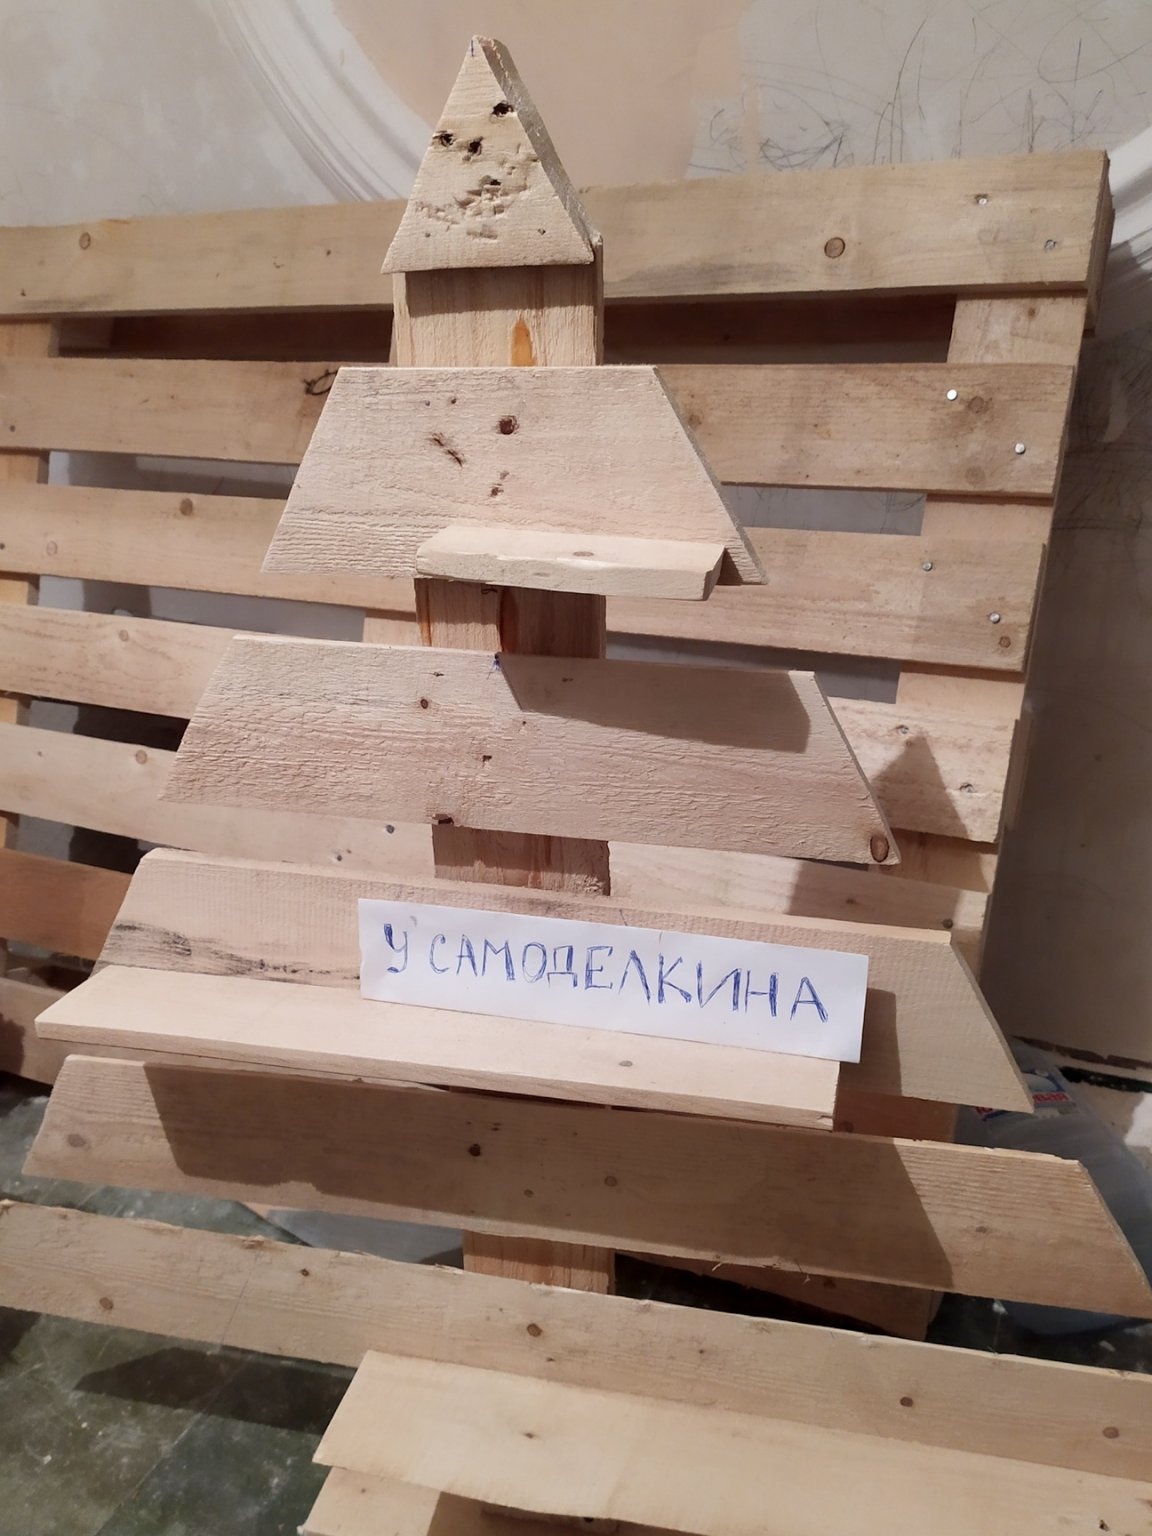
When you finished cutting, you can see what happened.
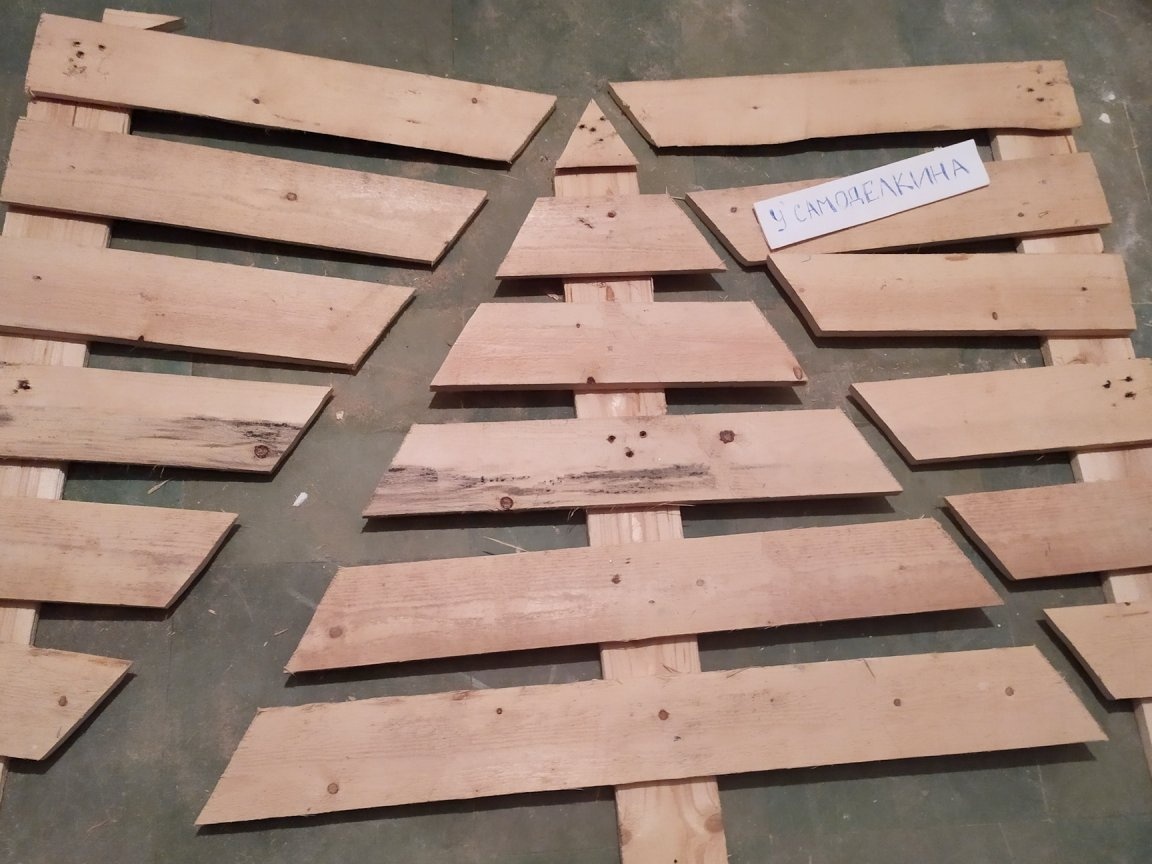
Now, it doesn’t bother to sand this whole thing. If you have a grinding machine, then this will greatly simplify the process, since it is very difficult to do with your hands, and there will still not be an ideal result. Since my typewriter left for acquaintances, and until it returned, I decided to take a chance and sand it with my hands. I will do this not at a time, but from time to time, between stages, since all the time there are protruding villi.
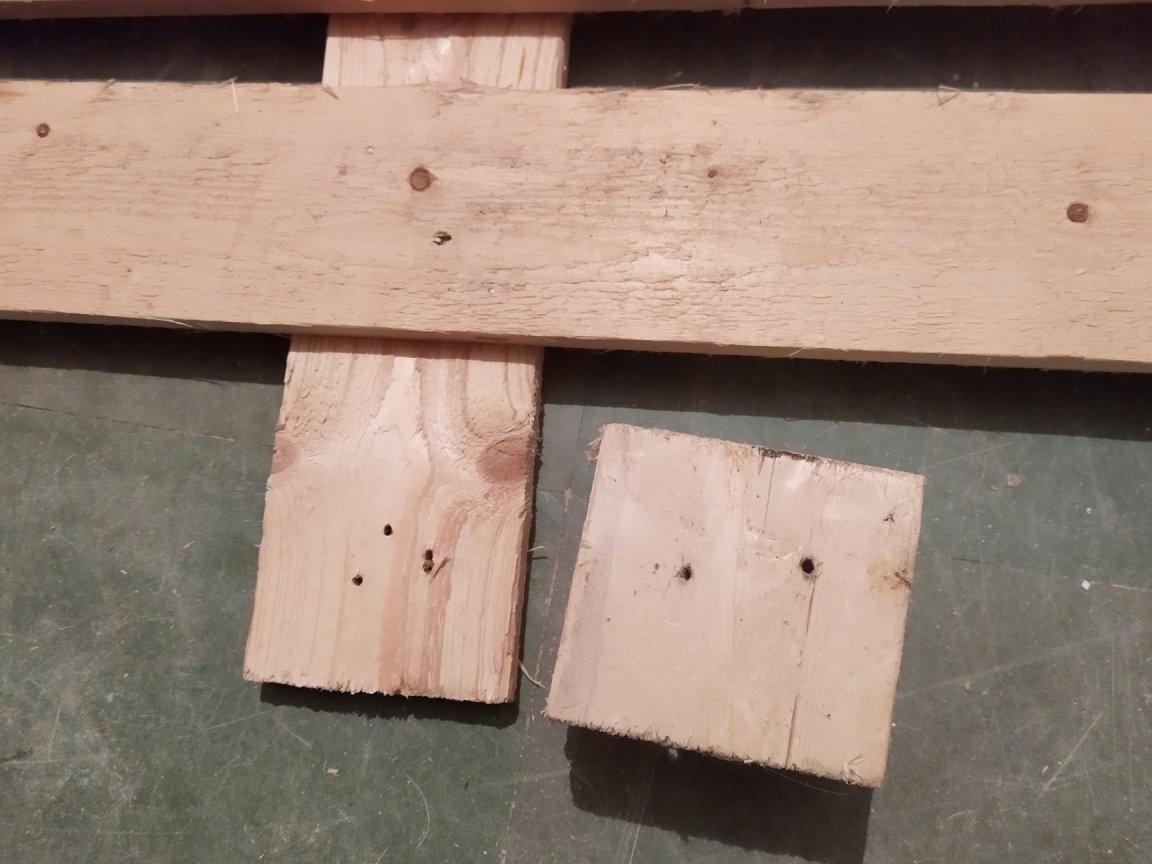
The next step, for the convenience of the rest of the work, we will put the tree on its feet. This will require residues from the pallet. First of all, take a cube and screw it to the back of the leg.
Since I don’t have an assistant who contains all this, I decided to first hammer on small invisible cloves, so as not to slip. But it might even be superfluous.
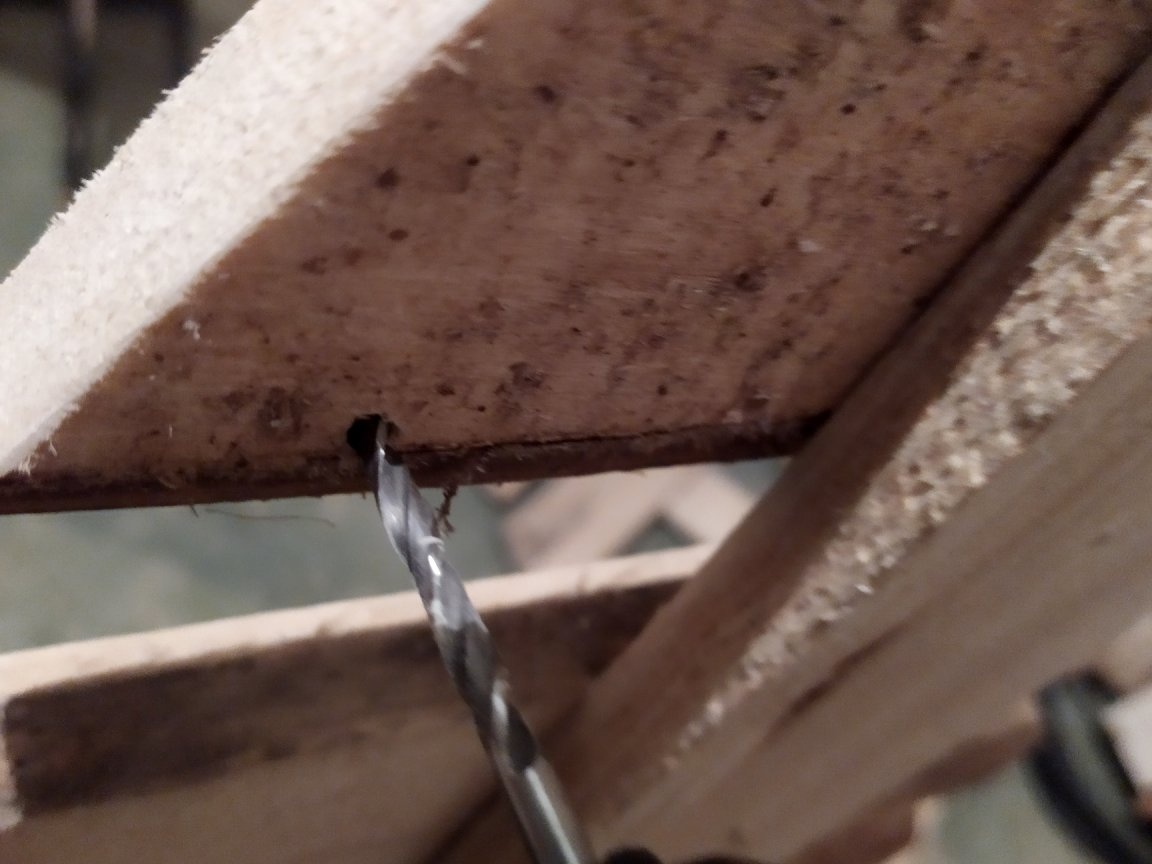
We make holes with a thin drill, and screw in the screws. I need to use long ones, I have about 70mm each.
Could have been made and sweat, but there is a place that will then be little noticeable, so I did not bother.
When the cube is in place, screw the stand.
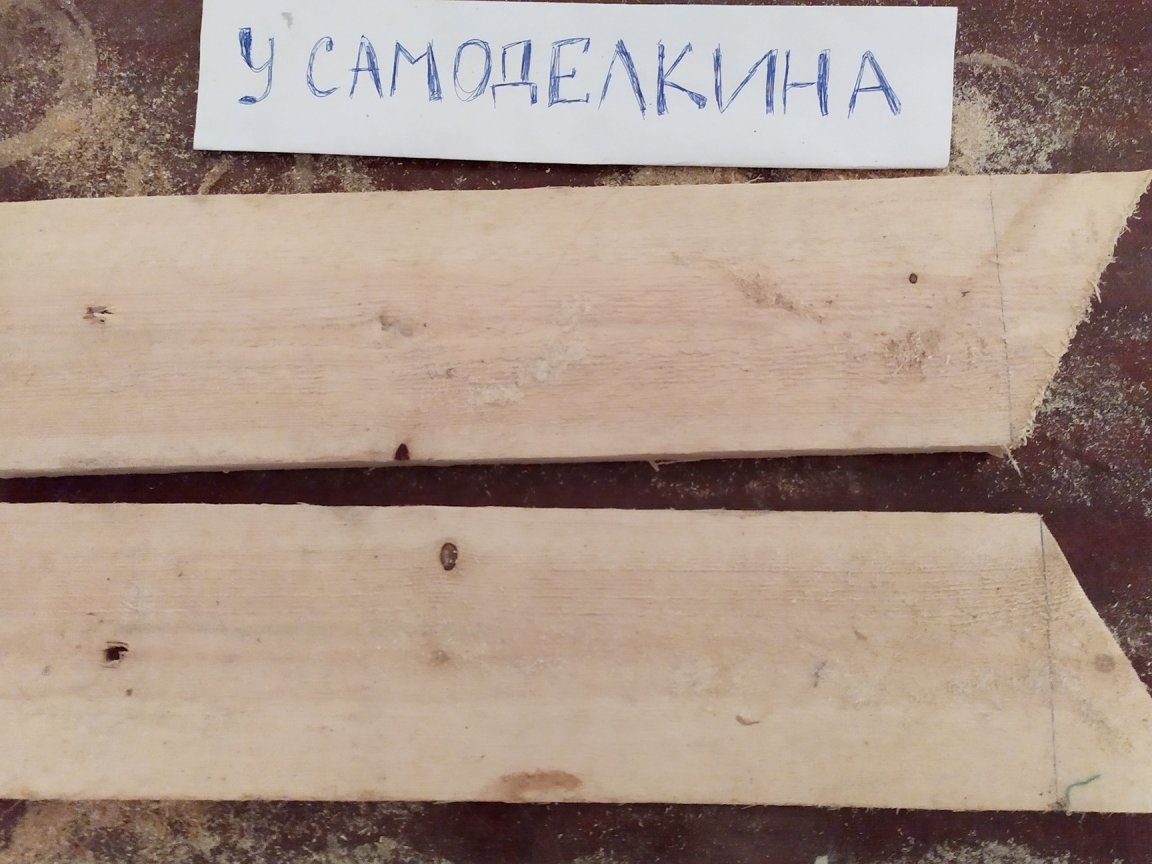
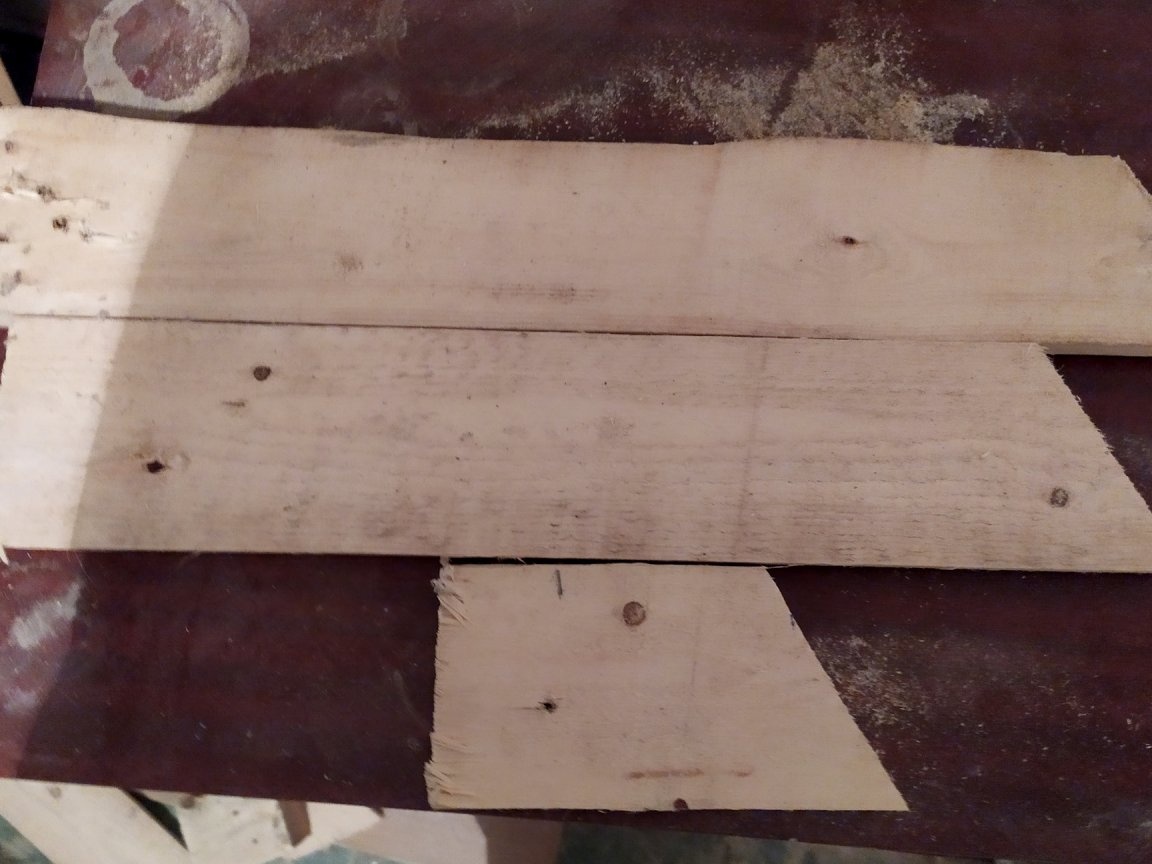
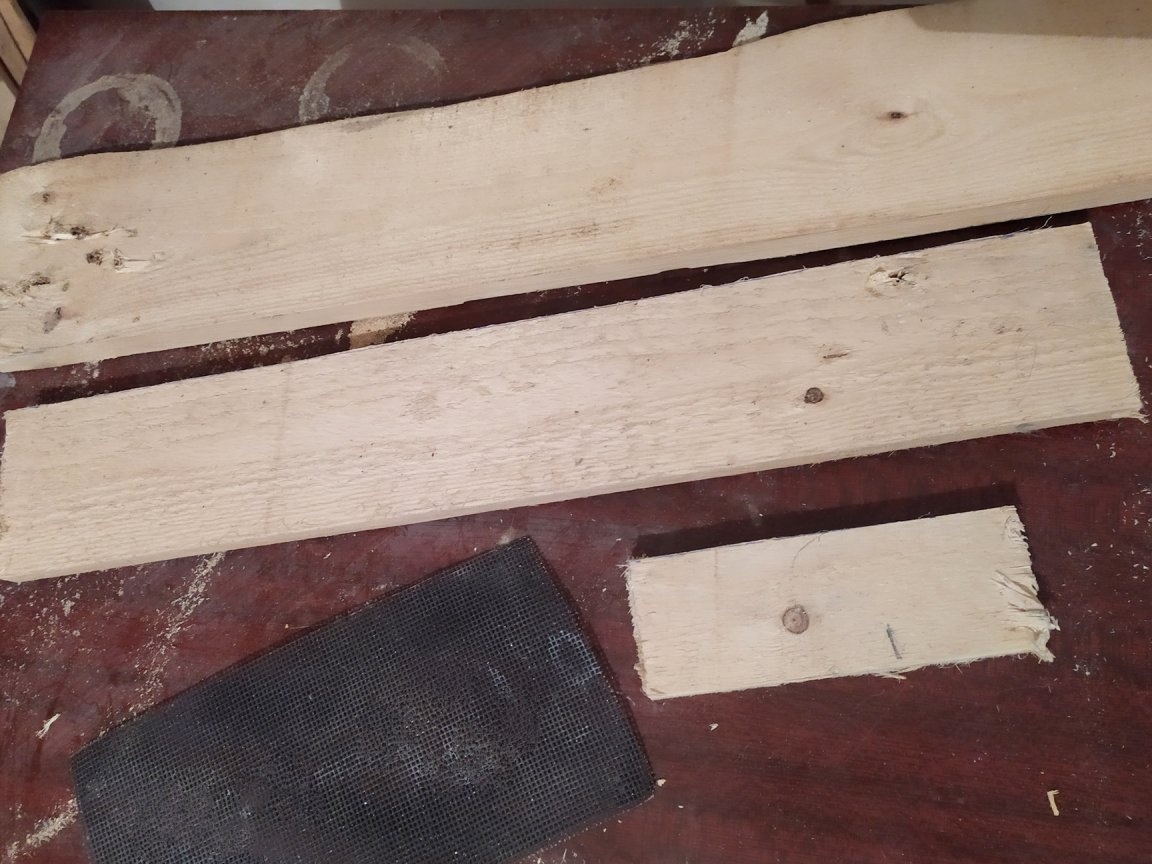
For starters, of course, you need to cut out the necessary details. From the remains of the pallet, we select boards of suitable length, and cut them off. I made boards almost 400mm long, two pieces. They need to be sanded immediately, then it will be hard to do.
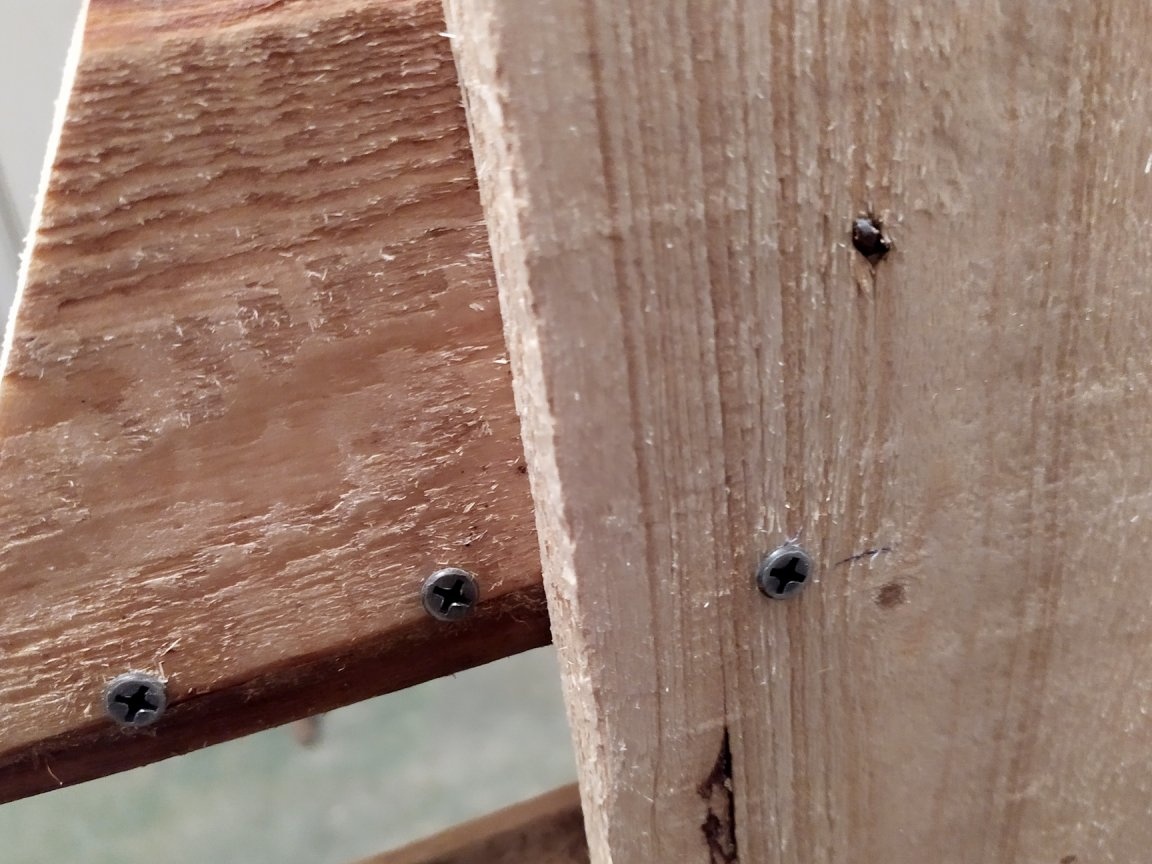
When the planks for the stand are ready, they need to be screwed. Of course, it can be done differently, but I decided to do so. We take it and fasten it to the cube. Again, so as not to move ahead of time, at first I scored not a few nails. On nails alone, this will not last long, so we take a drill and make a hole for the screws.

So, in the end, the stand is worth it.
Where undershot, you need to go through again.
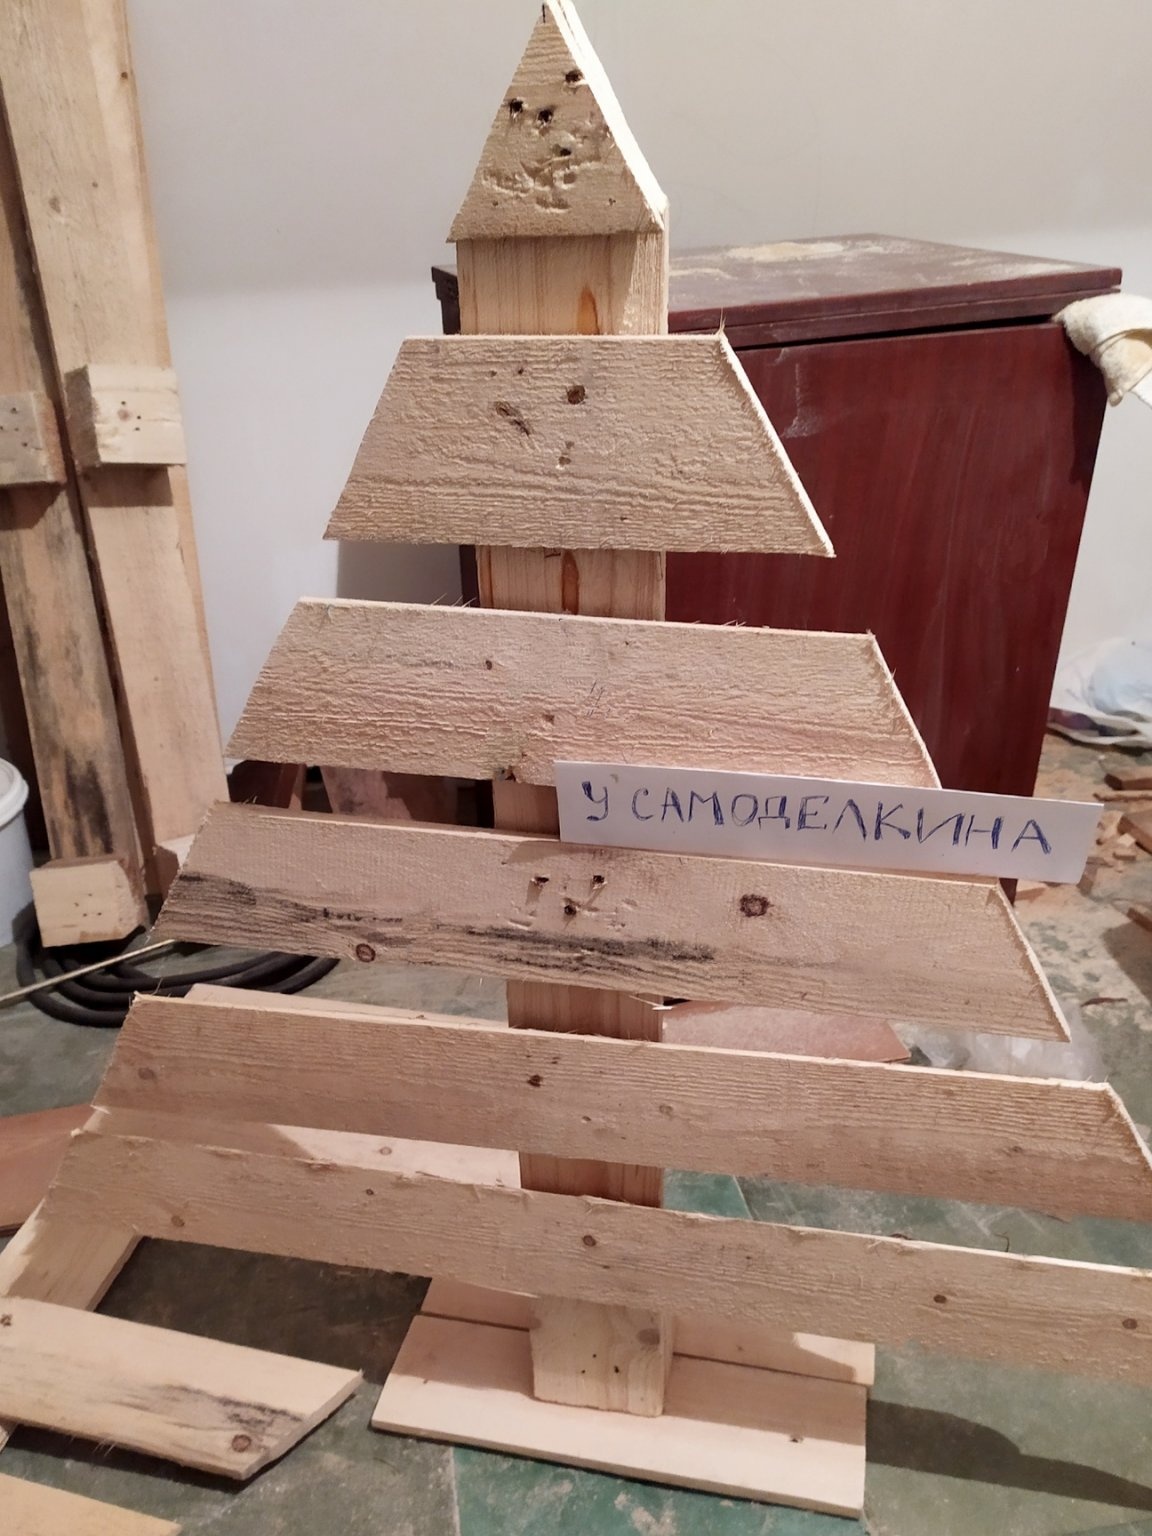
The next step, you need to make shelves so that the Christmas tree has gained functionality. From the rest of the pallet, select the boards that suit you in length, you can take three pieces, or more.
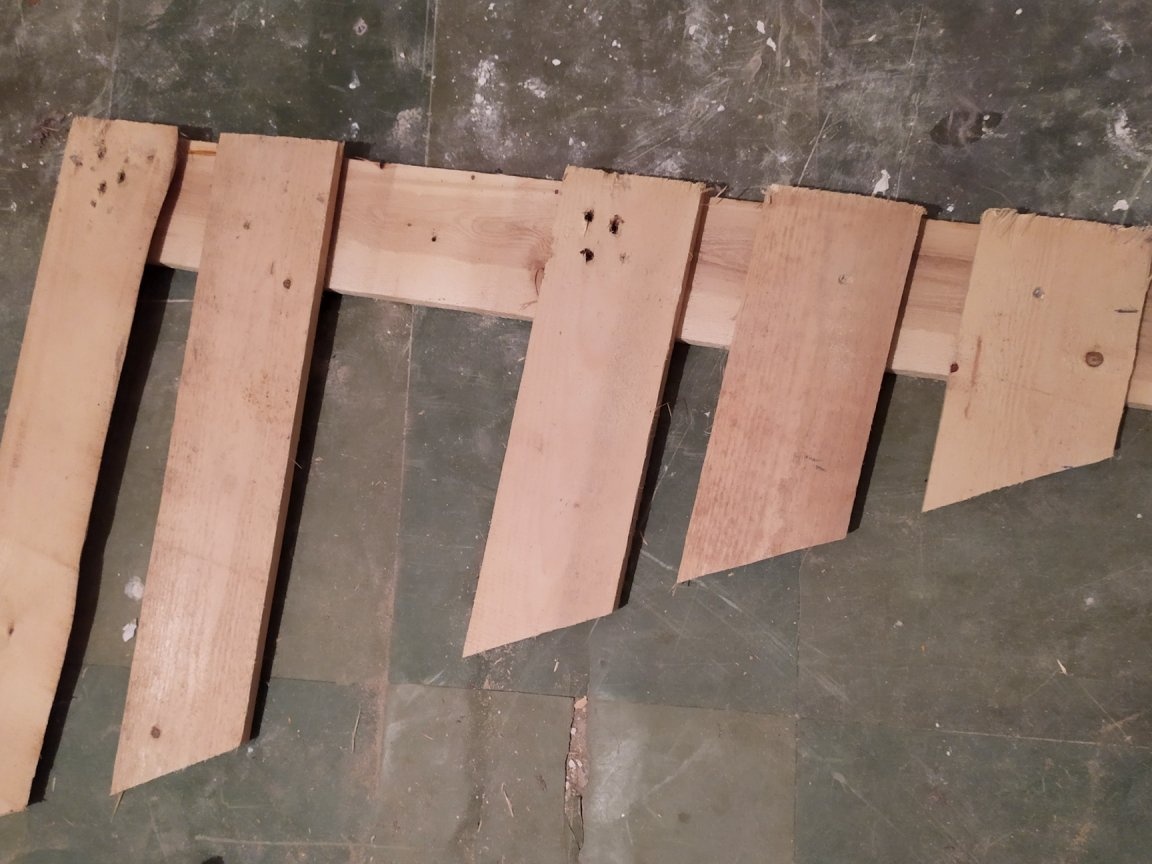
We cut off the unnecessary corner with a jigsaw.
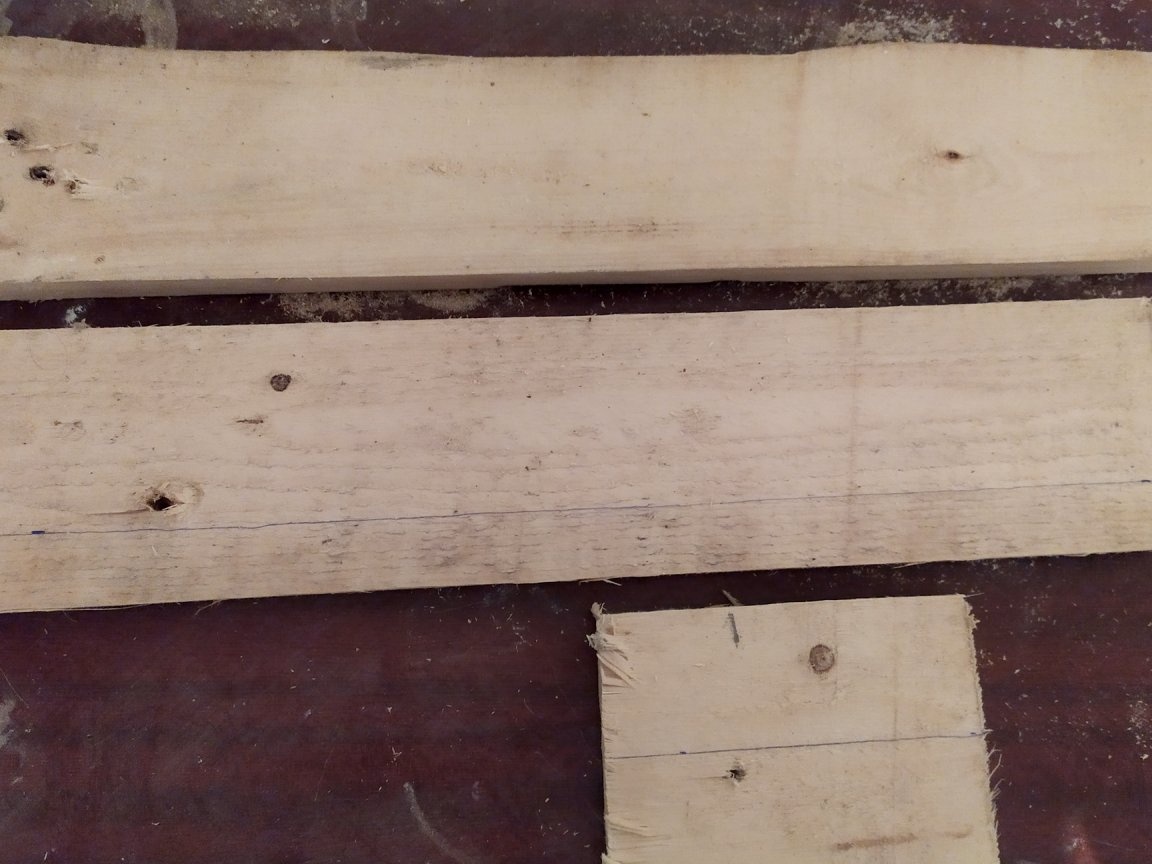
Also, it is necessary to take into account the fact that the upper shelf should be narrower in width and the lower widest. Therefore, I cut off the top half the width, the middle a little less. As a result, the width of the shelves: top 50mm, middle - 75mm, bottom - 100mm. As for the length, it is arbitrary, which boards from the pallet will be torn out, then you can use it.
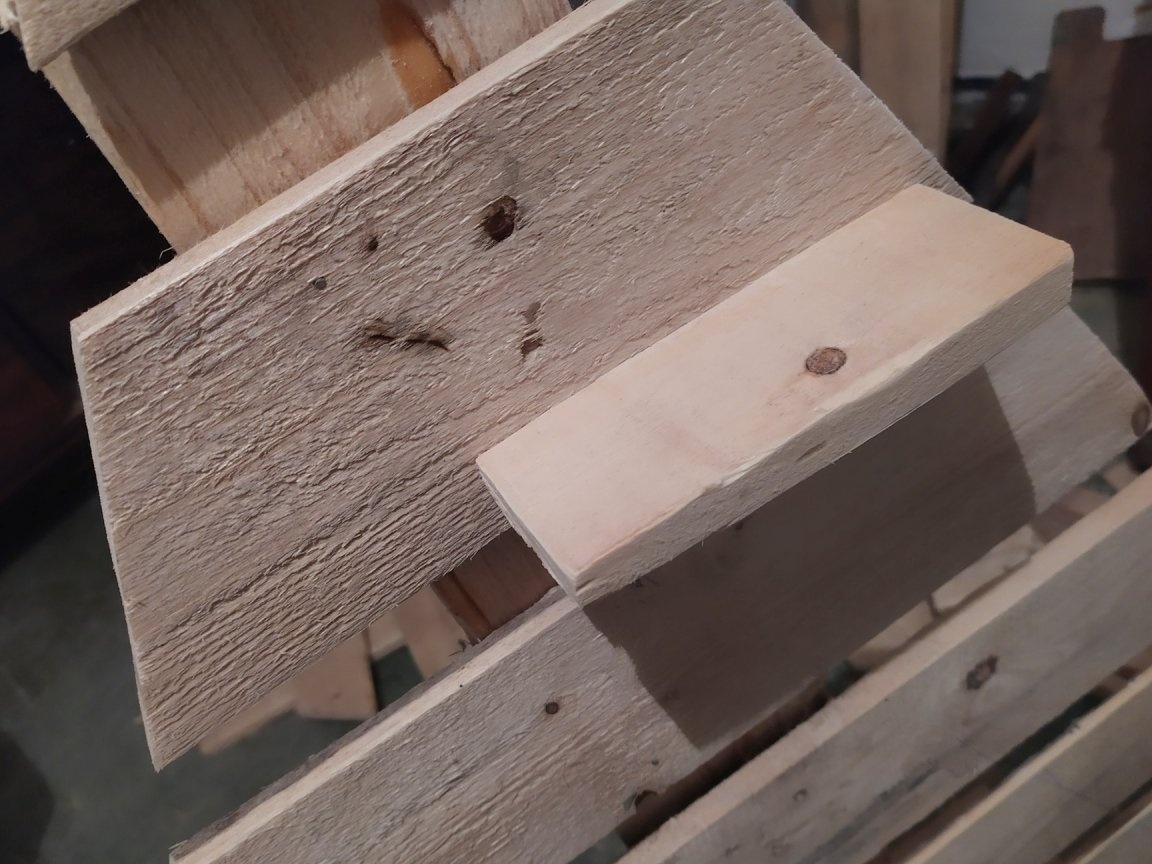
When the shelves are cut out and sanded, you can screw them. We make marks for screws, and drill.
We apply a shelf, and we drill in it too. Then we twist everything. At least three screws on the shelf, and more can be.
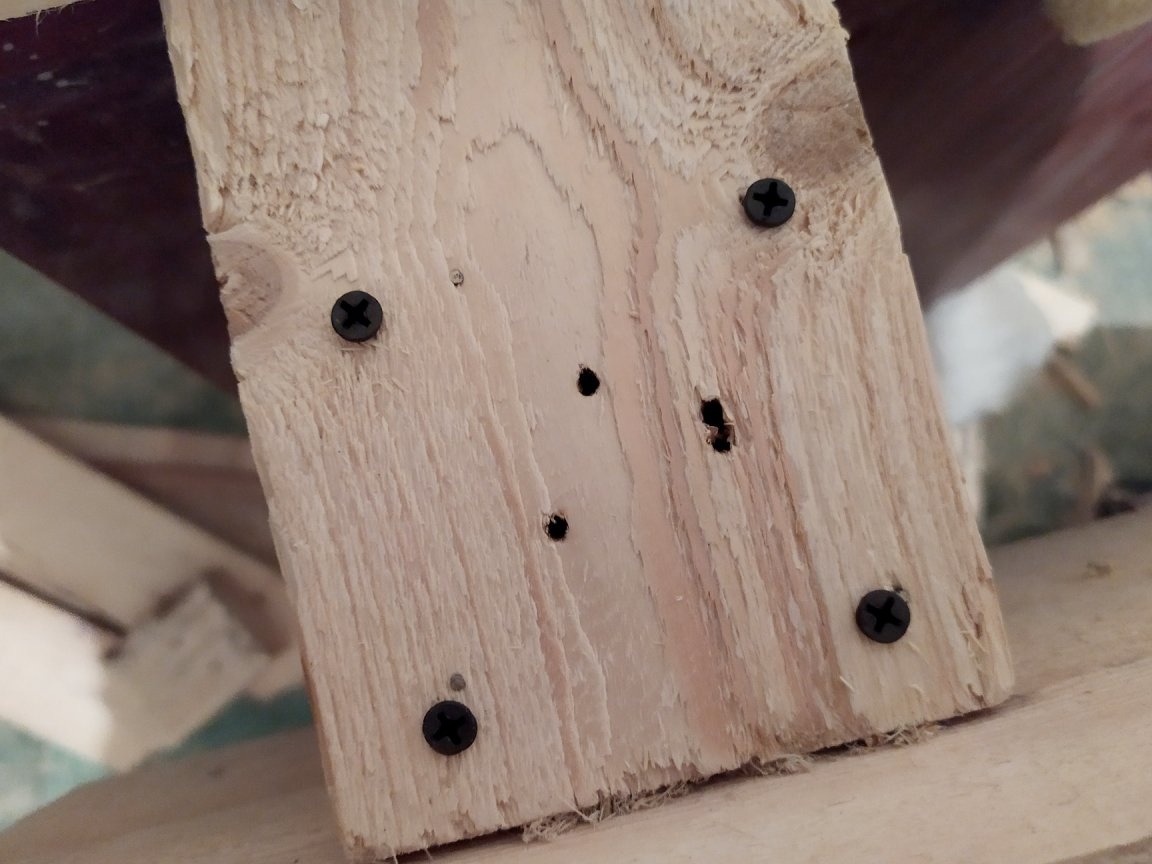
When the shelves are in place, you can grease the holes from the nails. You can use putty for wood, or you can use improvised material - sawdust. Fortunately, there are plenty of them on the floor. Just take a bowl, pour some PVA glue, and pour the sawdust.
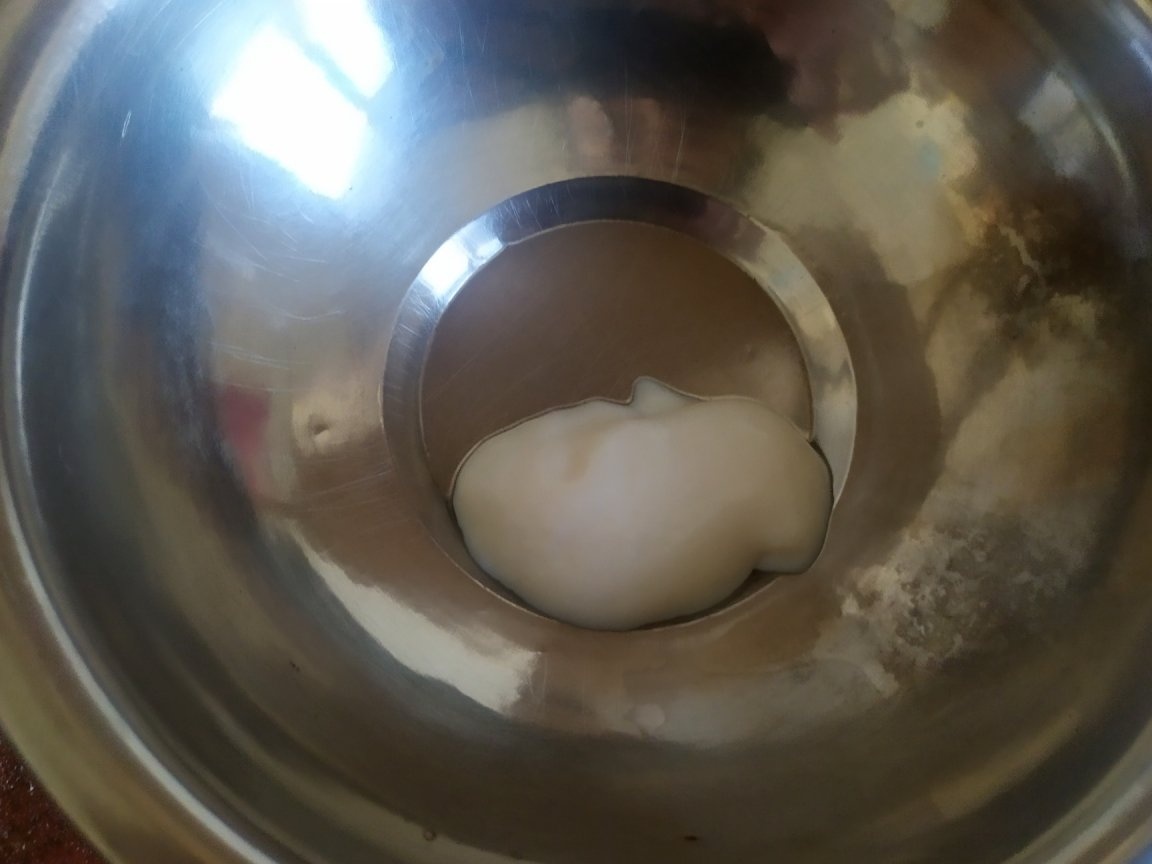
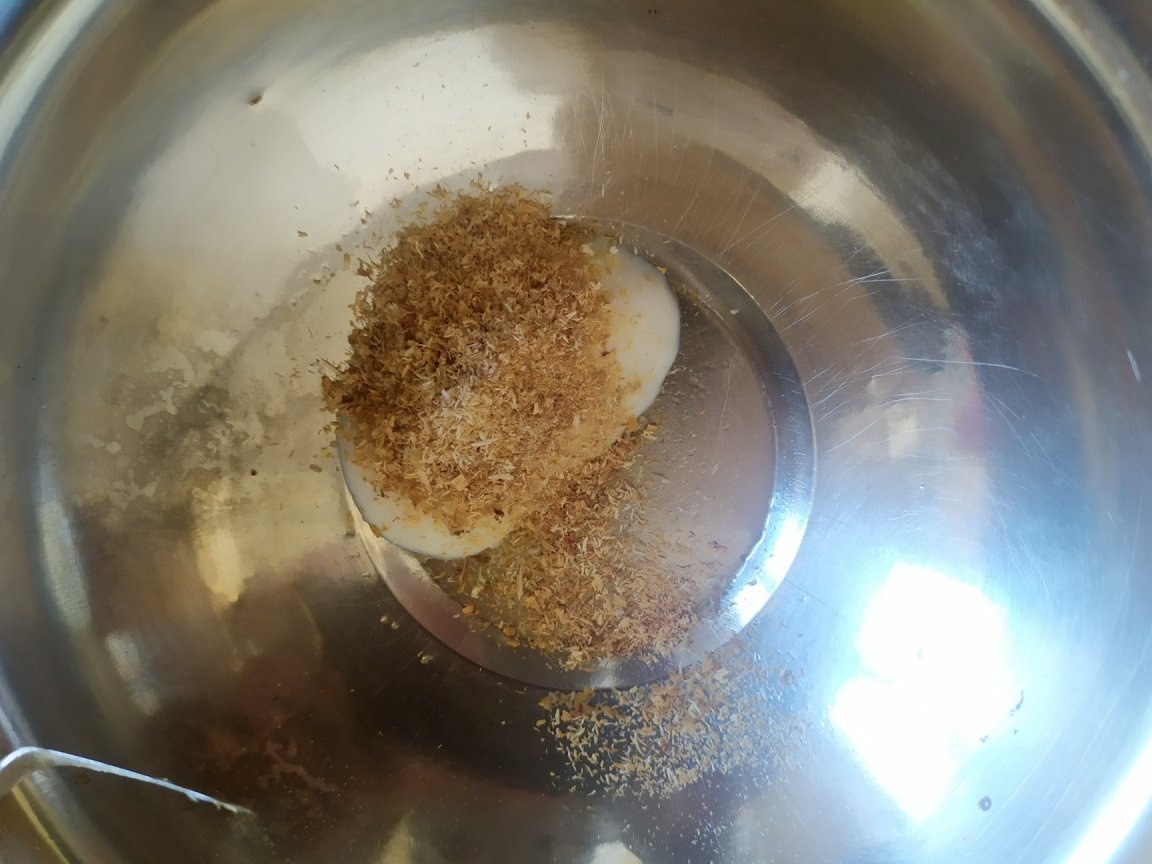
Knead, it should be a tight mess.
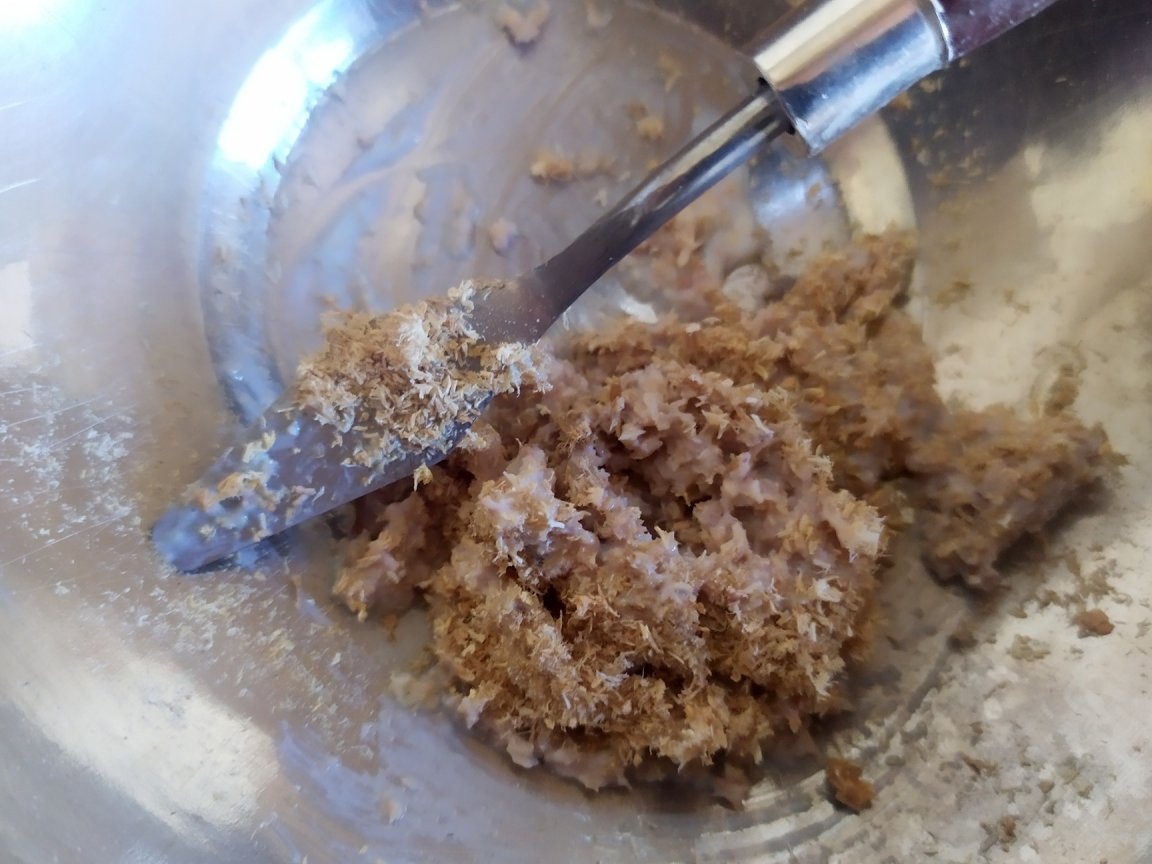
And with this thing we cover the holes. I use a palette knife as a tool, it is small and convenient.
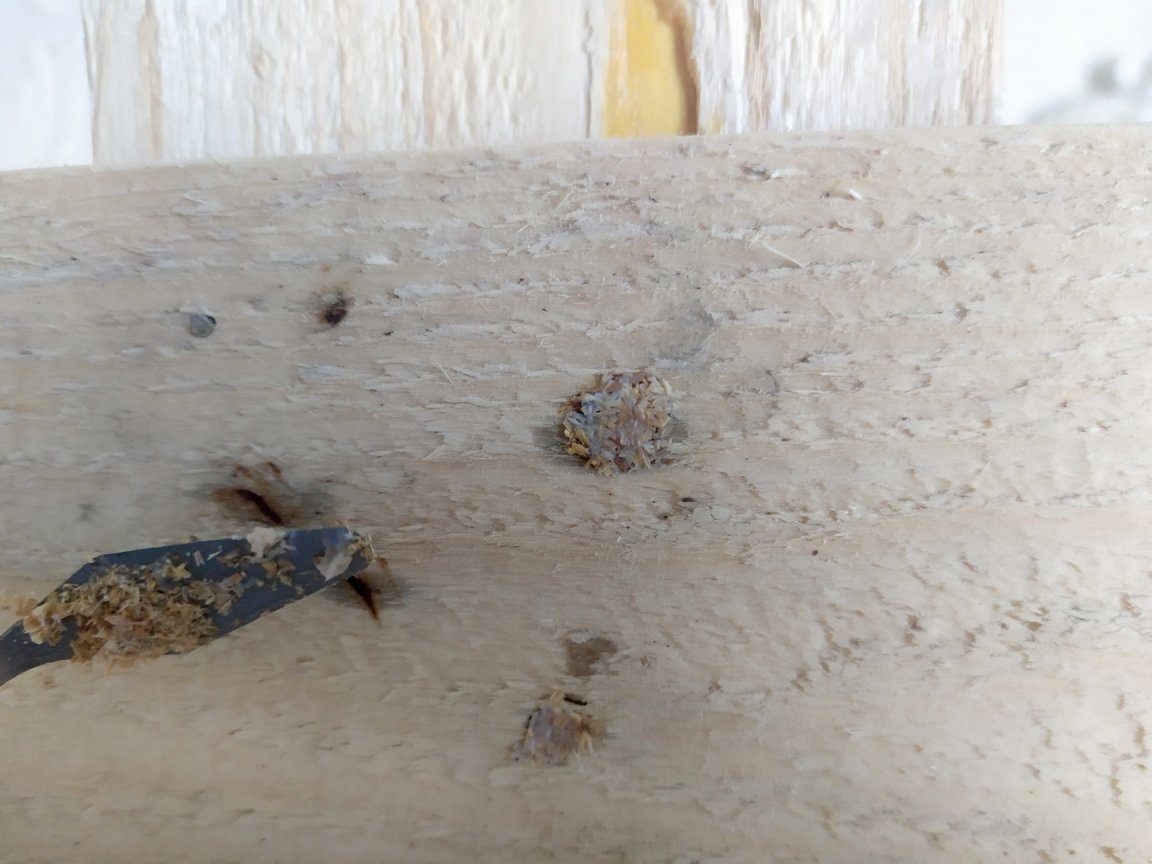
When the sawdust has dried, they will need to be sanded. Of course, it is difficult to achieve the ideal masking result, but under the stain it will be almost imperceptible.
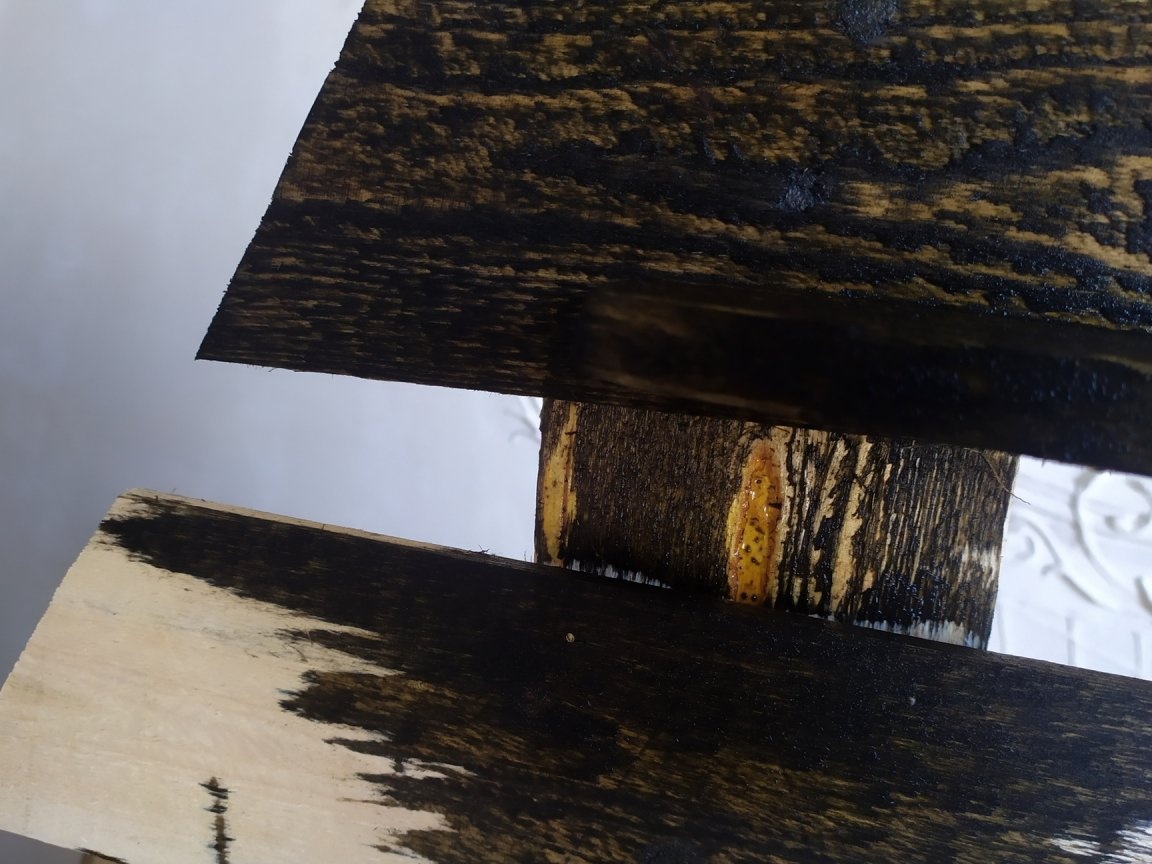
After everything is ready, you can wipe off all the dirt with a damp cloth and start painting. I like the look of the ebony, so I took the black stain.
If you want more texture, it is better to choose the colors more bright.
Stir the stain, pour into a jar, and paint with a thick brush. In hard-to-reach places prolazim thin.
A lot of stains will pour on the hands, therefore, it is better to use gloves.
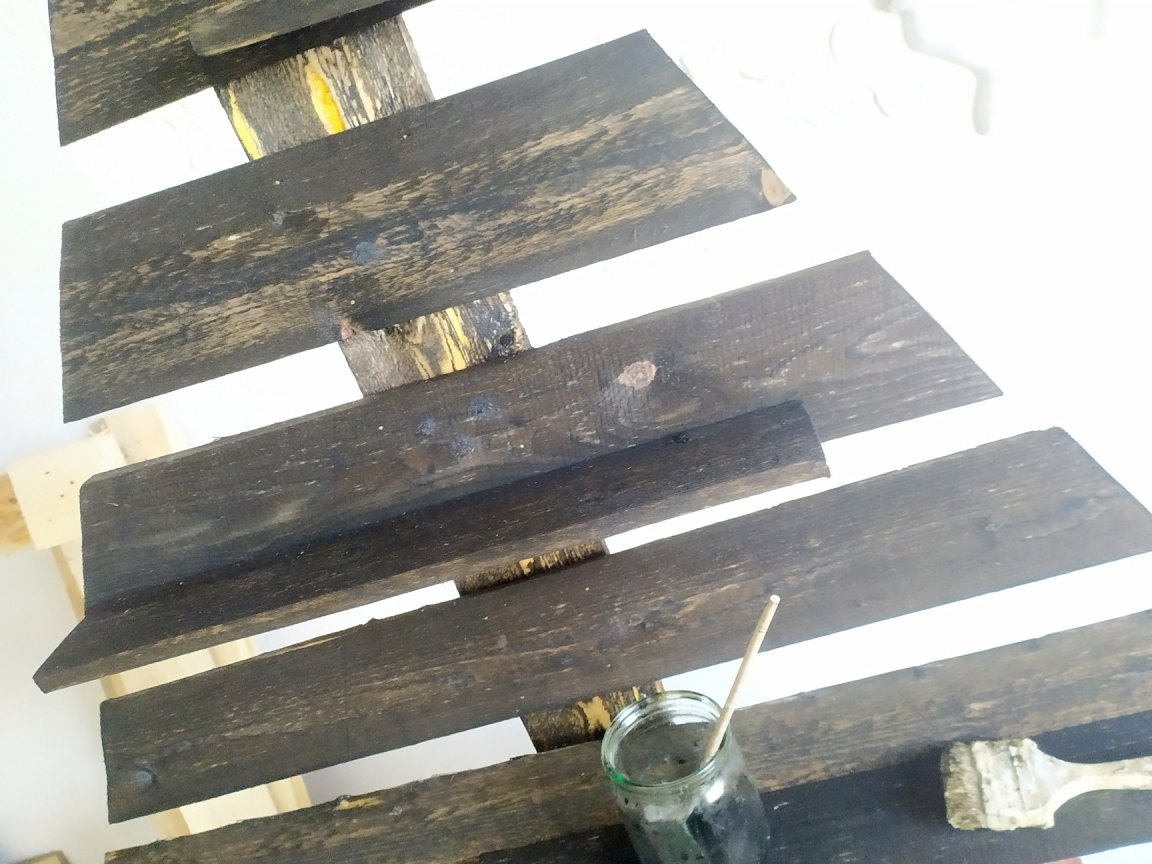
When the stain is dry, to reveal the texture, you can sand a little. Also, the fibers will come out, they also need to be removed.
For a more saturated color, you can repeat the painting. I decided to leave it like that.
Therefore, again, we wipe away all the dust, and you can varnish.
Varnish is suitable acrylic. One or two coats can be applied.
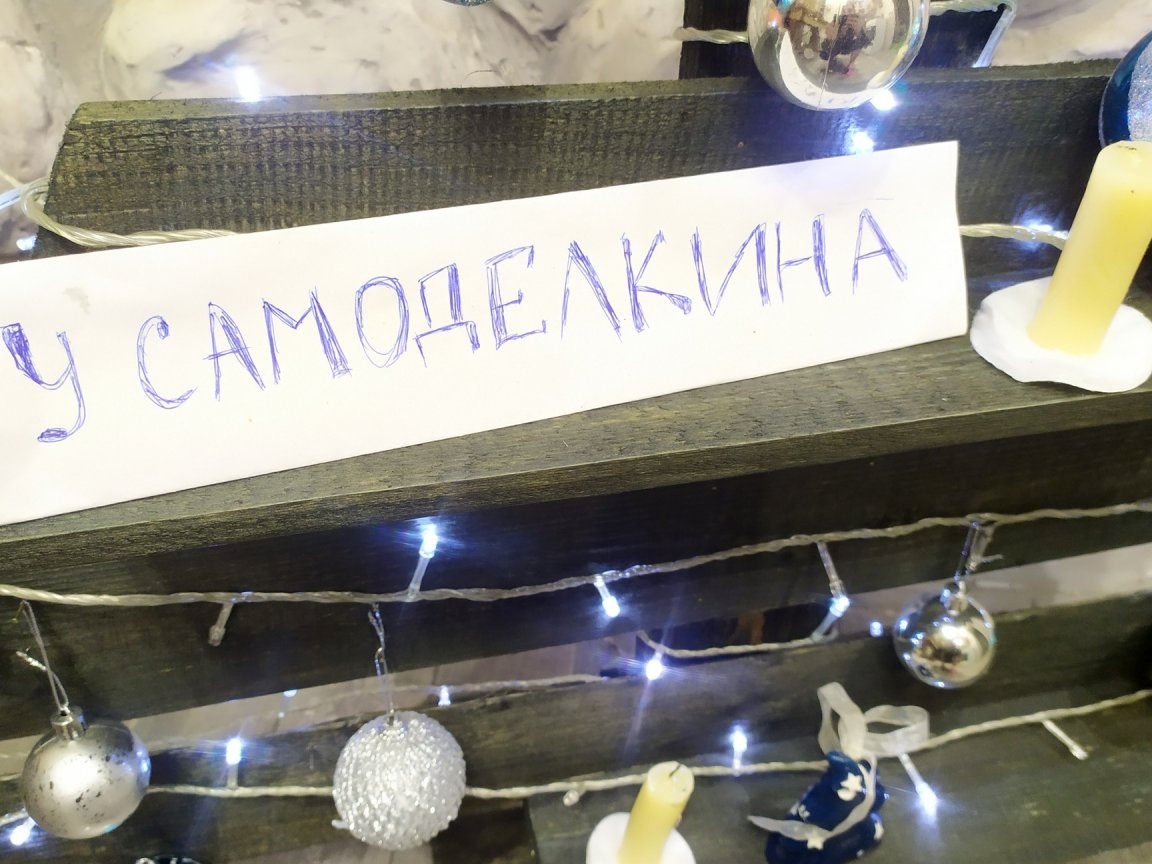
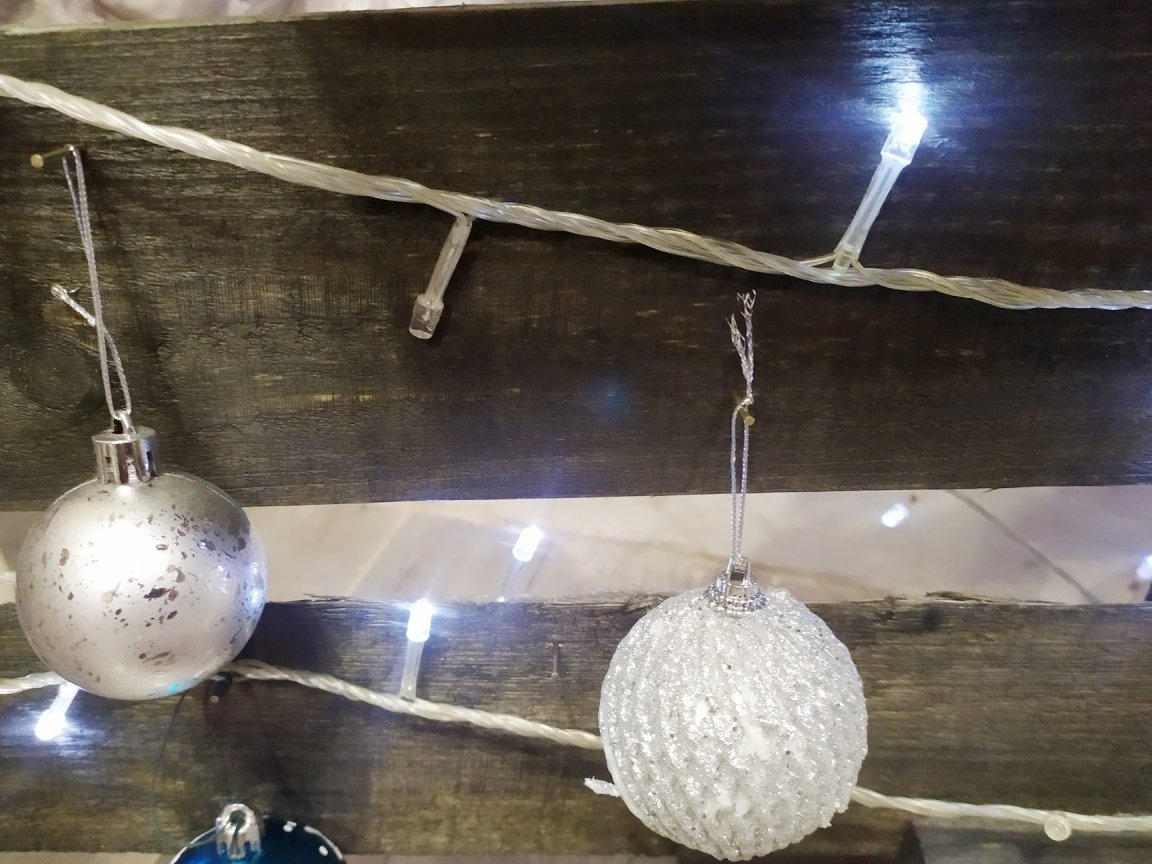
In order to hang toys, you can nail cloves. Selectively, in different places.
That's all, the New Year's stand is ready. Candles, of course, for safety reasons, it is better not to light, but simply put for beauty. You can decorate with a garland, this will create a holiday effect.