Hello dear aircraft modellers.
This is not the first time I have touched on the topic of closed-wing aircraft models, and maybe I would have left it alone, but it wasn’t there. My friend threw an interesting aircraft model, his development and kindly provided the drawings. Well, how could this not be used?
Moreover, the name of the model was very intriguing - “Whack - mutant”.
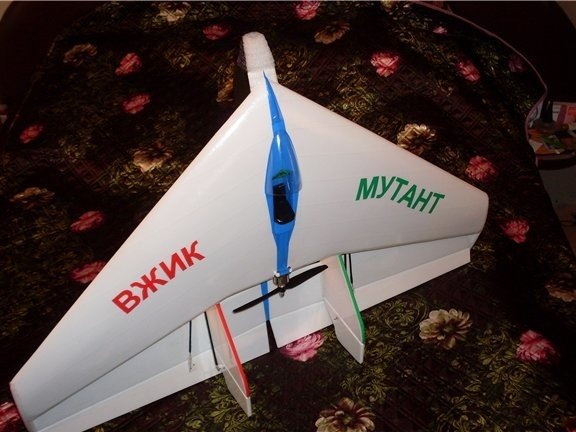
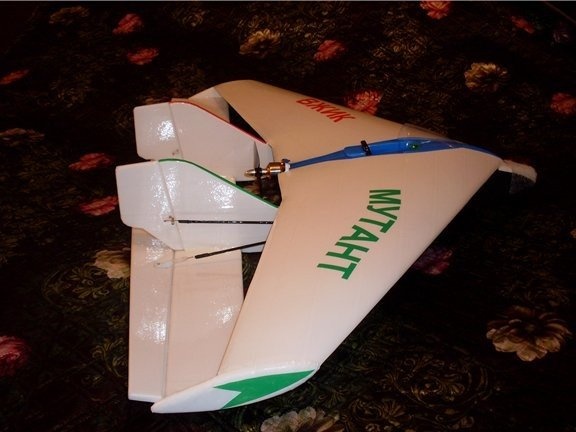
I want to make a reservation in advance that I started building modeltaking only the author’s idea and his drawings as a basis.
I generally do not like to copy other people's models, in each of them, when I create, I make my own corrections and additions. So this time I decided to make a model similar to the author’s model, but with two motors.
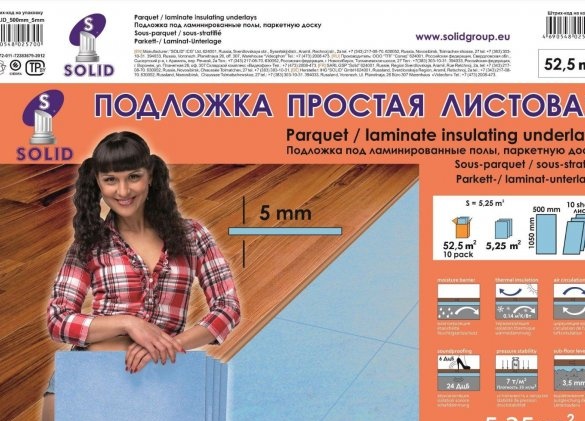
To create this model, I used a simple, sheet substrate for a laminate with a size of 1000 X 500 X 5 mm.
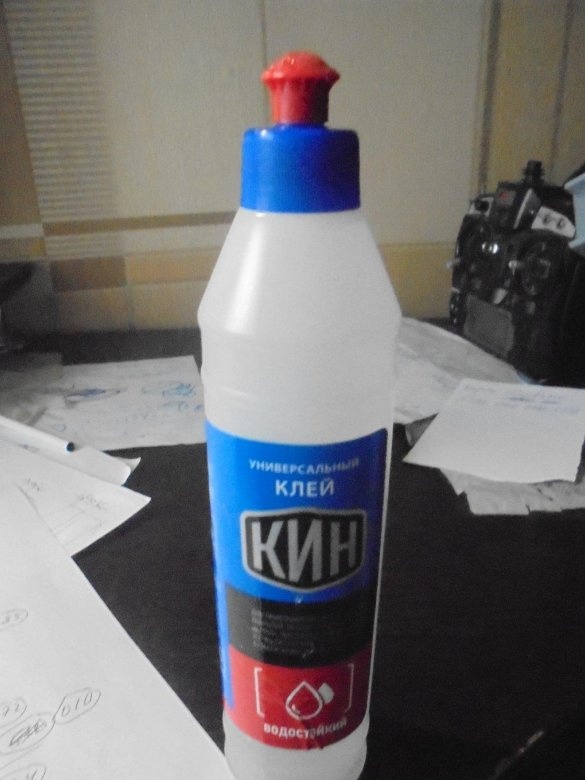
All parts were glued with universal, waterproof glue for KIN ceiling tiles.
For the decoration of the model used colored tape.
During installation, I used pieces of masking tape as temporary screeds that were removed after the polymerization of glue.
Model Dimensions
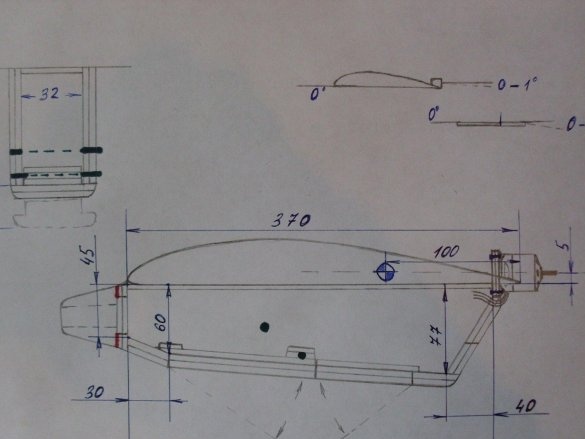
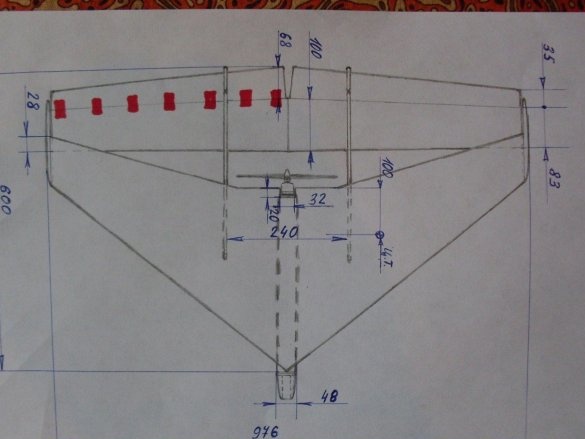
Length - 700 mm.
Span - 980 mm.
Getting started was uninteresting for me, I would say boring. Even the fact that I changed the design of the wing and its shape did not improve my mood. I, terribly, did not want to copy LC “Whack”.
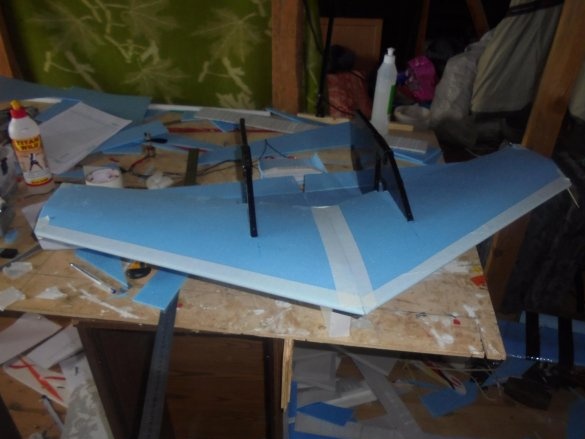
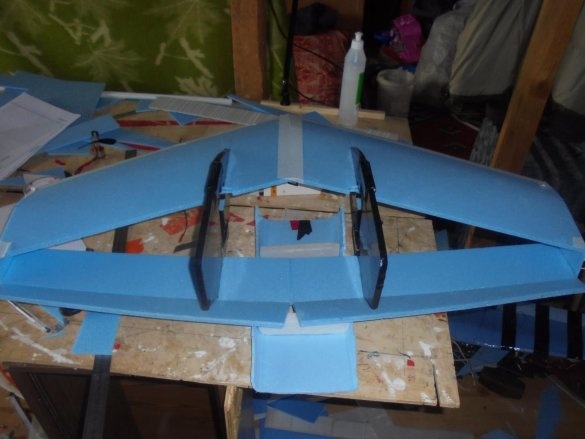
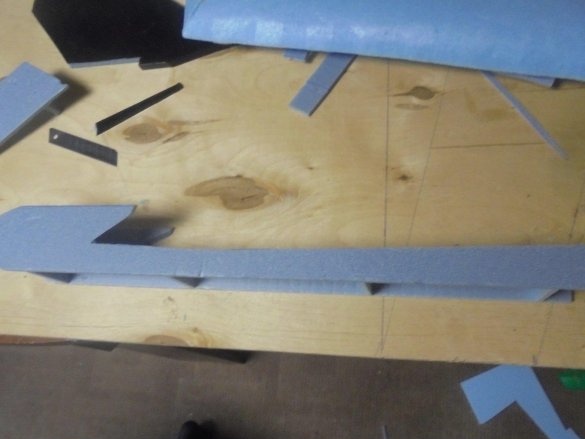
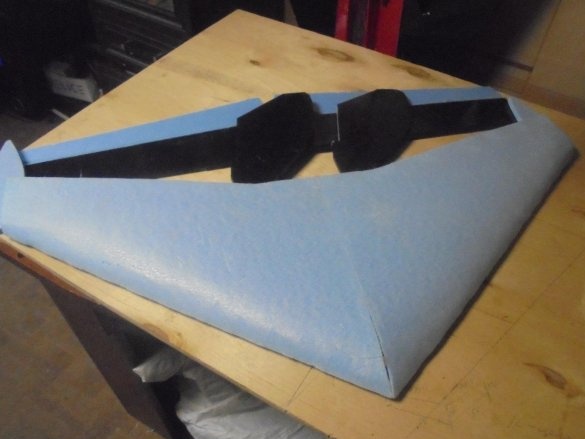
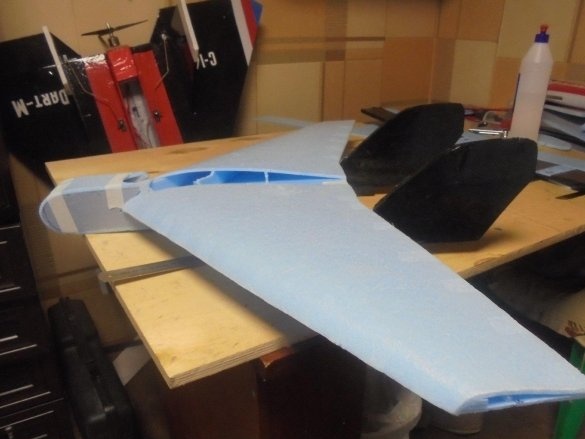
He glued the wing, cut out blanks for keels, in which he made slots for screws and places for installing motors. Mounted the entire structure. Covered in colored tape.
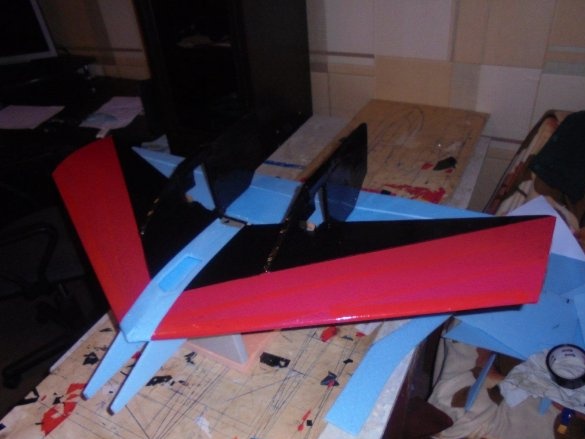
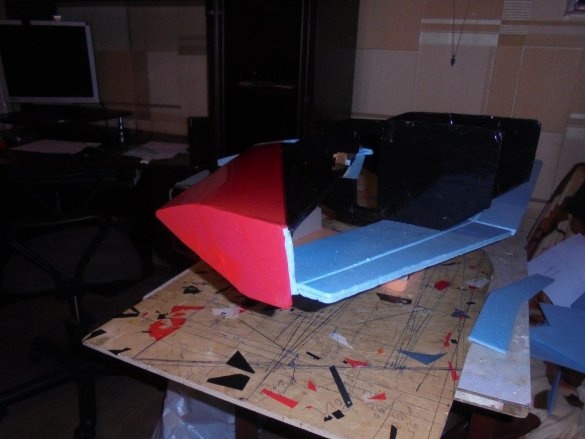
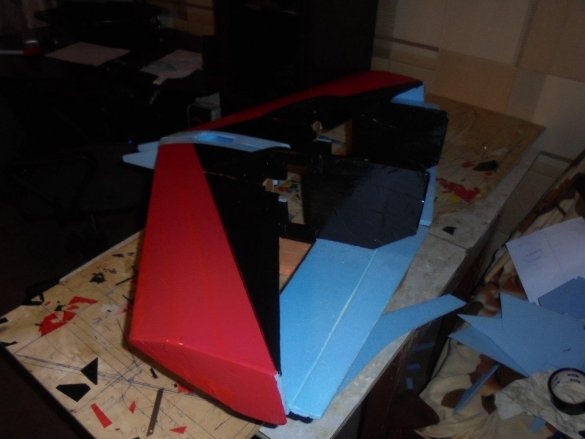
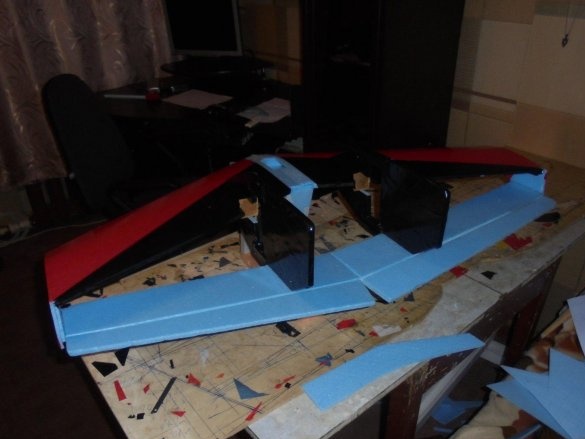
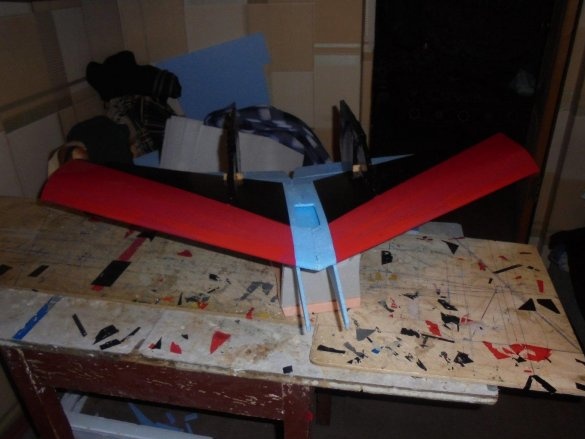
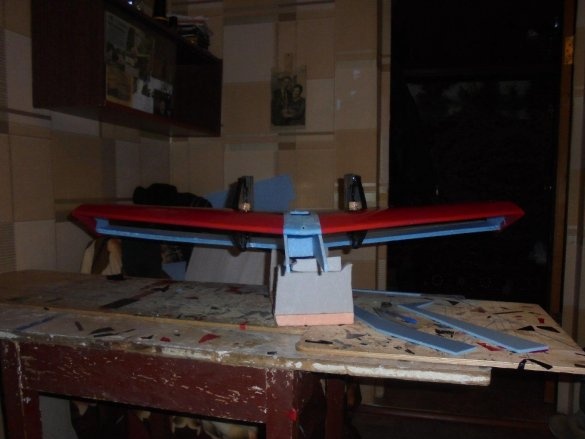
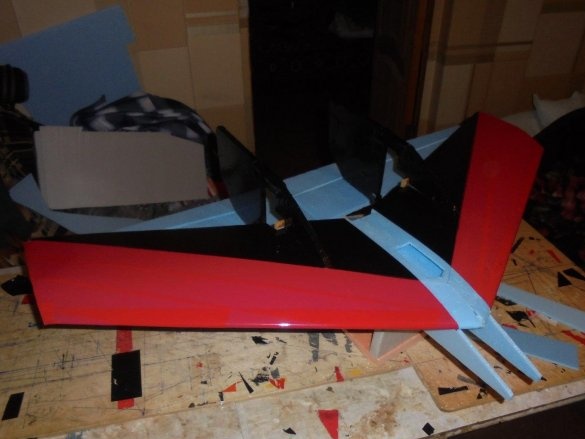
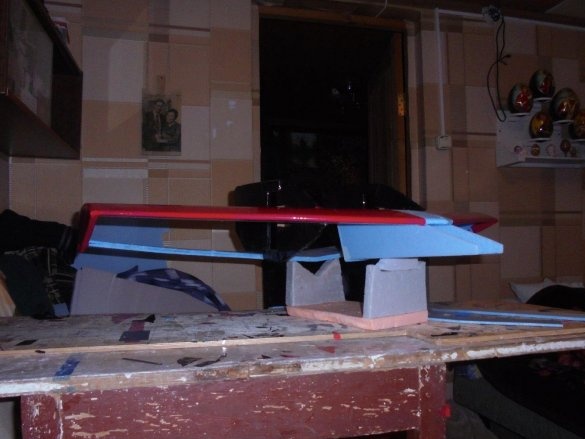
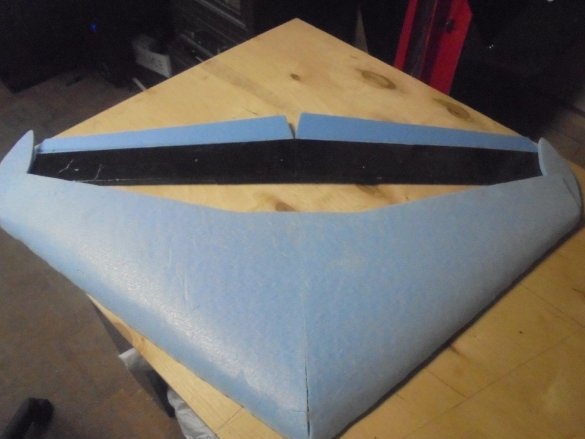
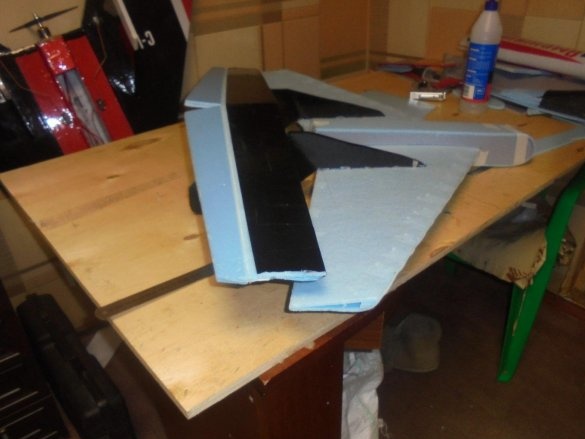
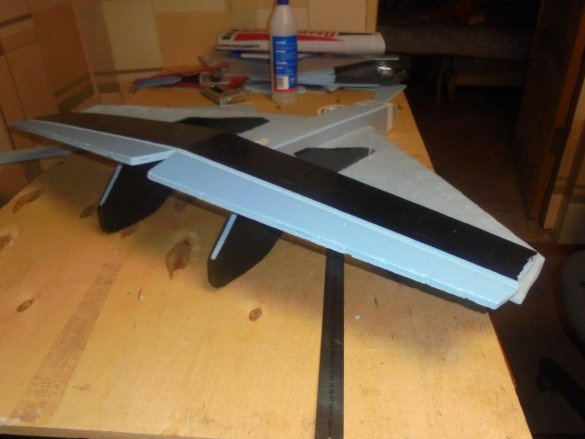
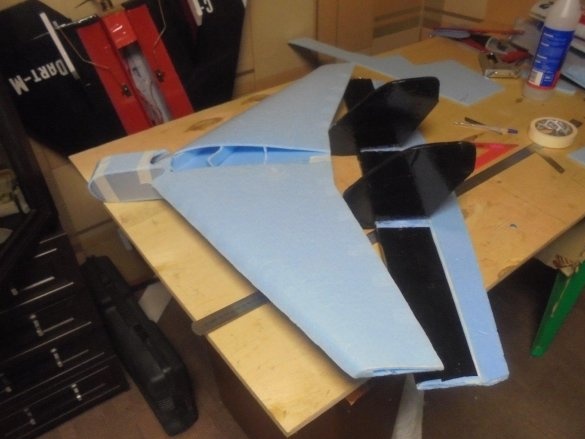
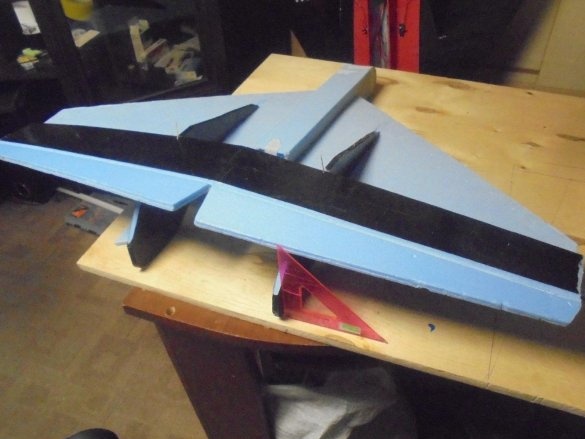
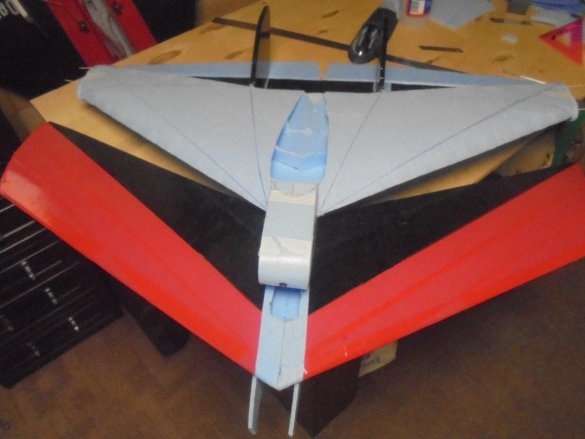
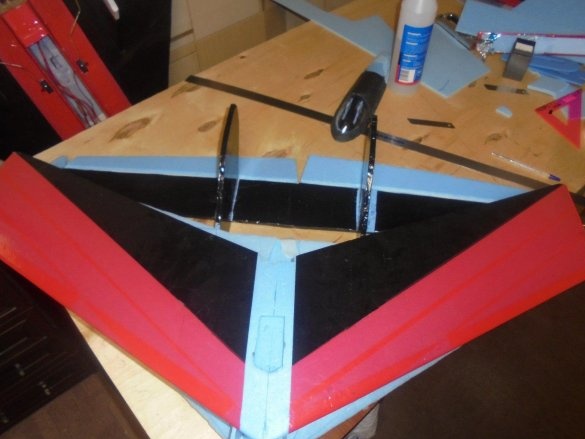
I will not dwell on the details, because, ultimately, I did not finish this model. The reasons were different. But she looked like this.
Six months passed, or even more, and I found this unfairly abandoned model, 00 in the attic of the house. I decided to finish building the model.
Completing is not a true expression. Better to say that I decided to rebuild it. He began, as the author of the project intended from the wing. The Zipper wing is built quite easily and simply.
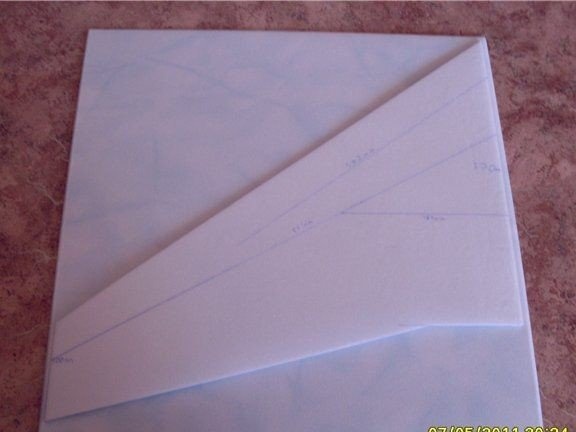
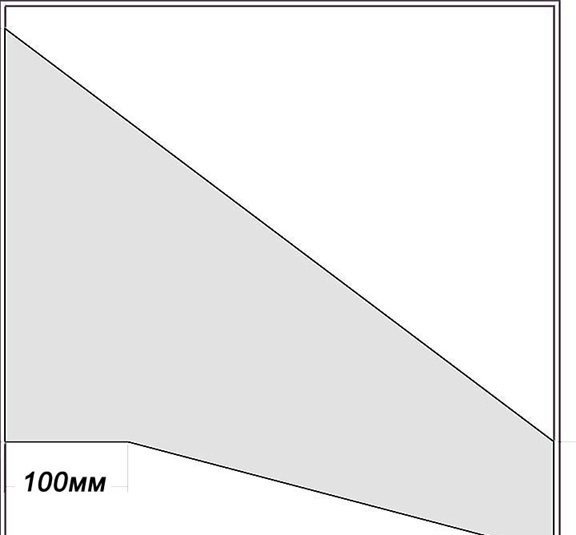
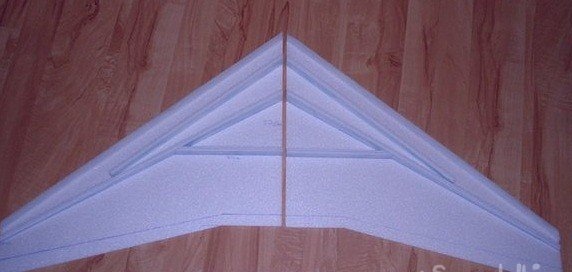
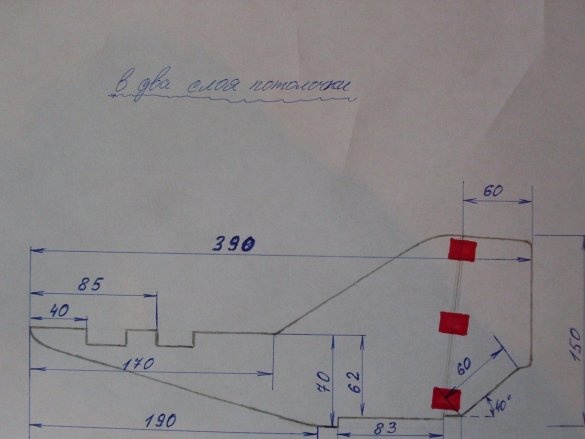
The dimensions of the “Wzhik” flying wing model are such that they can be cut from 4 sheets of ceiling tiles. For this, it took me only 2 sheets of substrate.
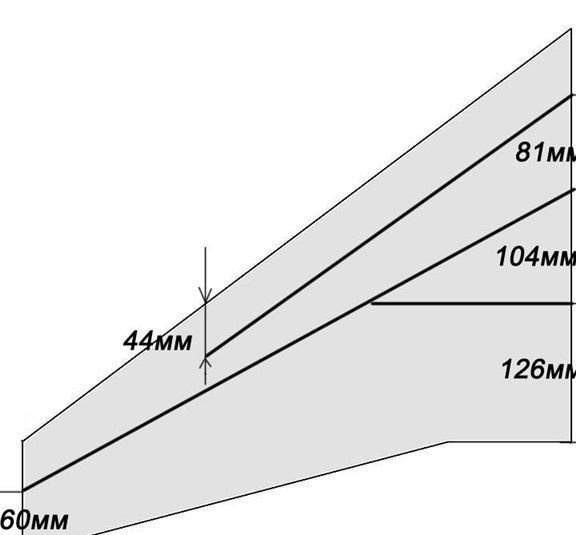
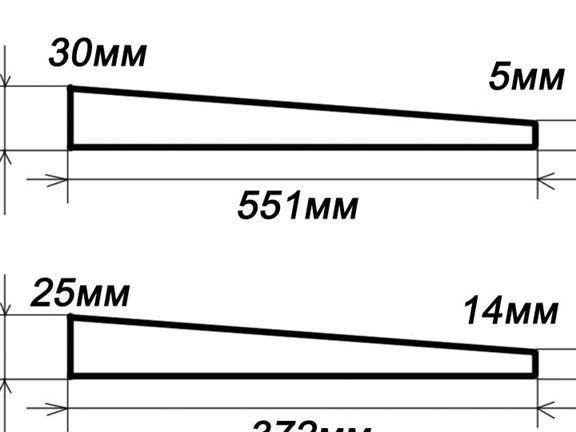
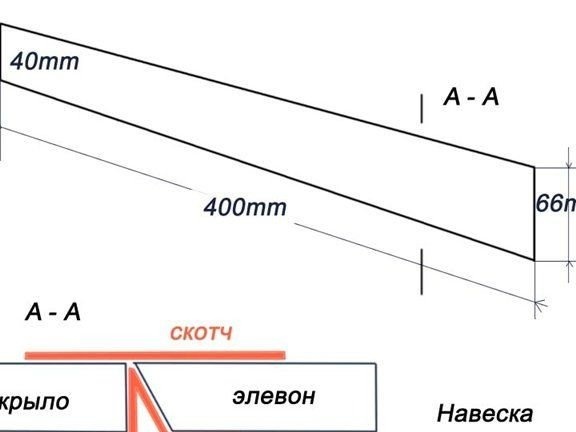
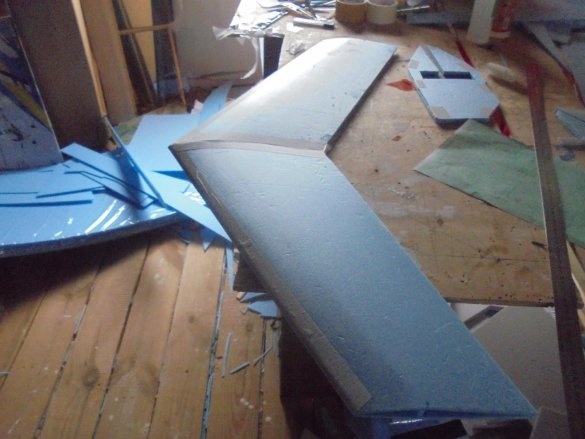
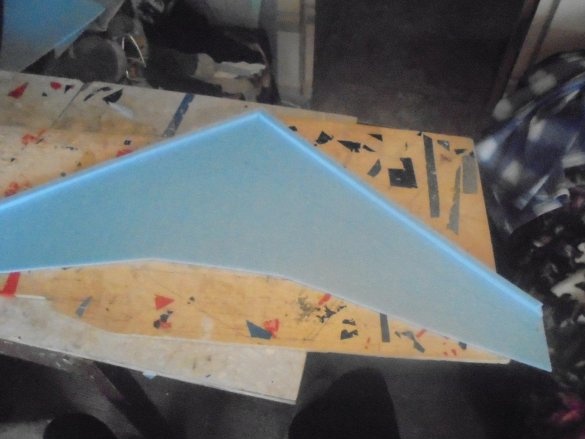
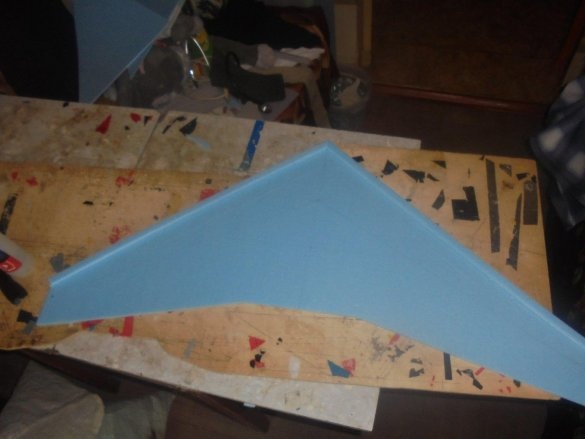
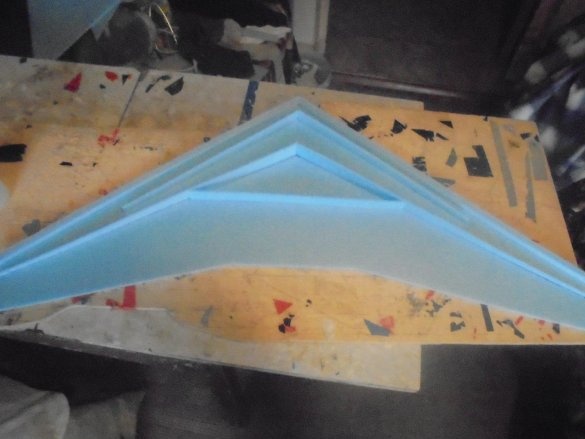
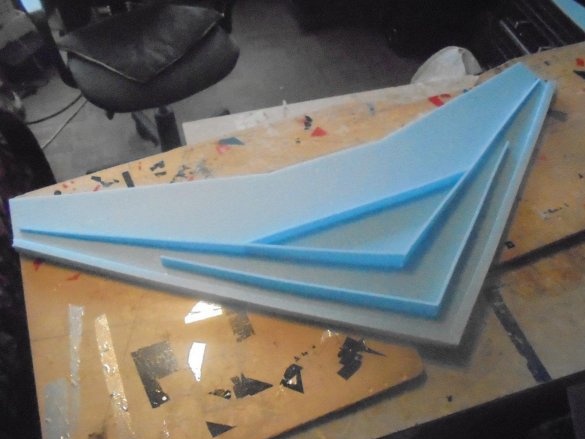
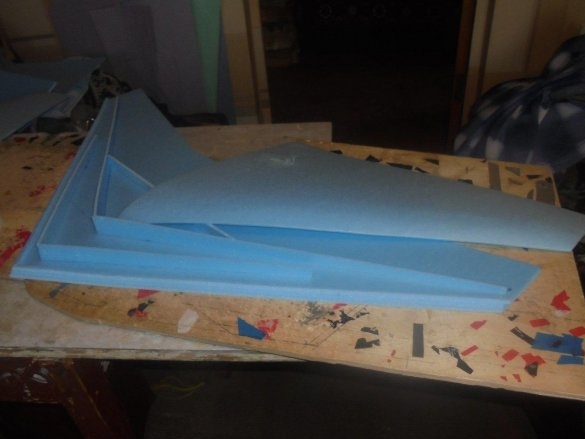
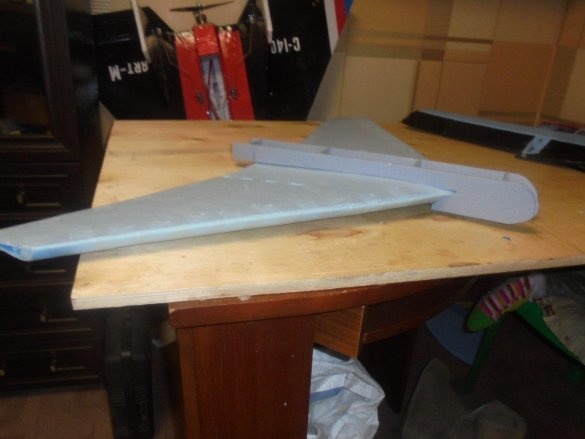
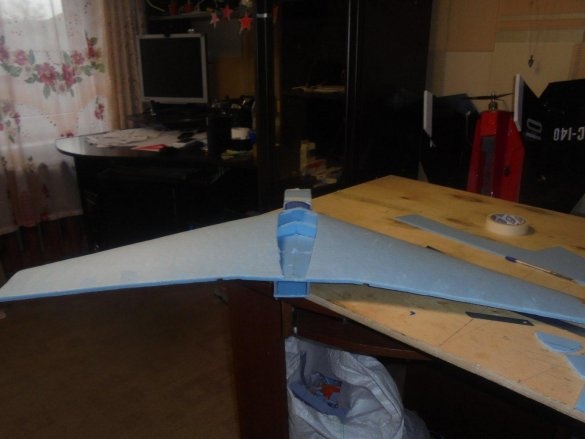
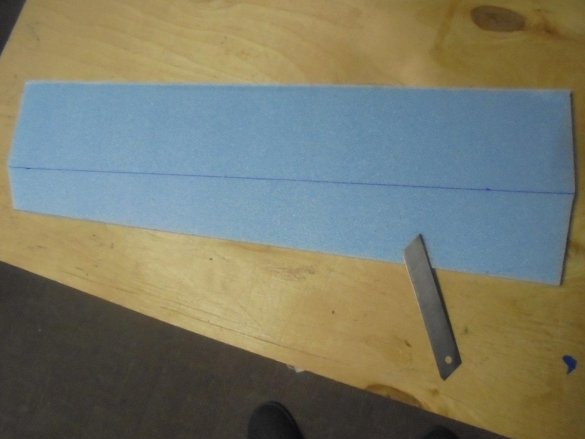
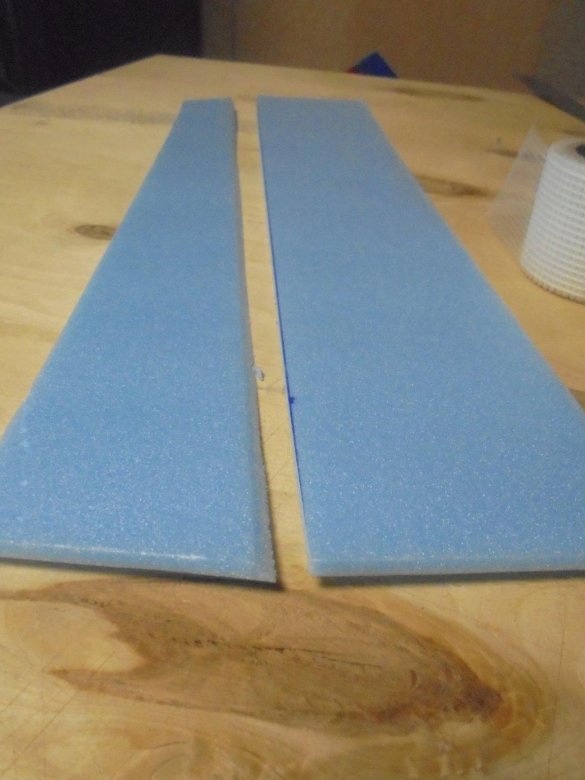
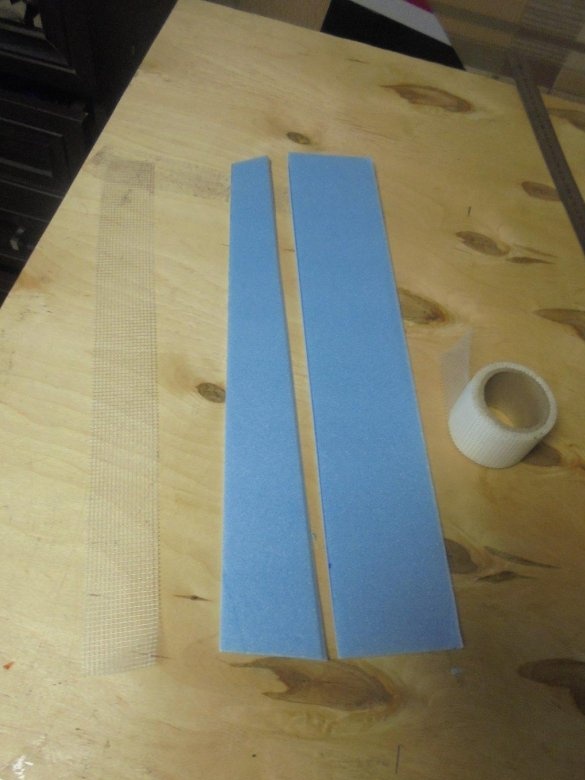
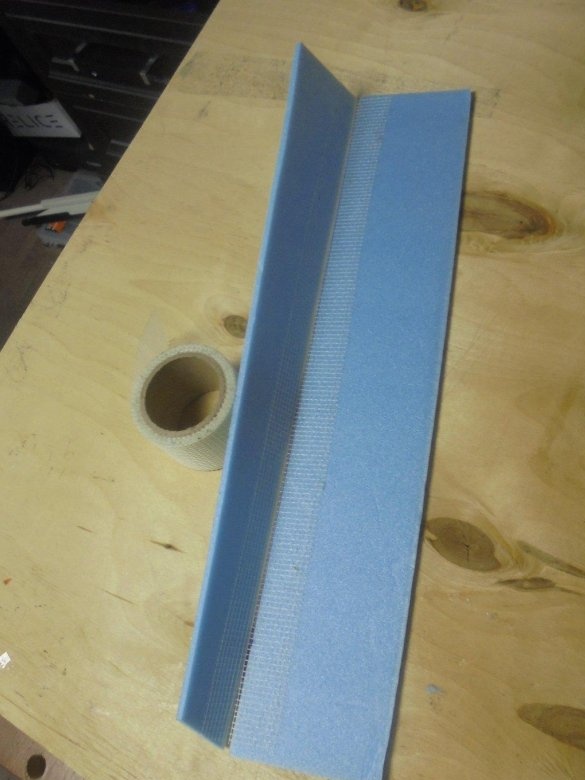
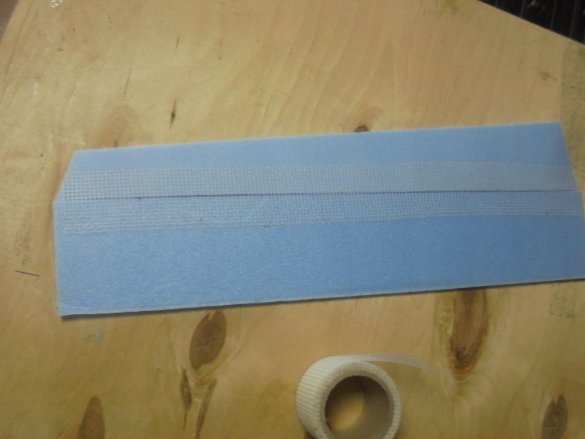
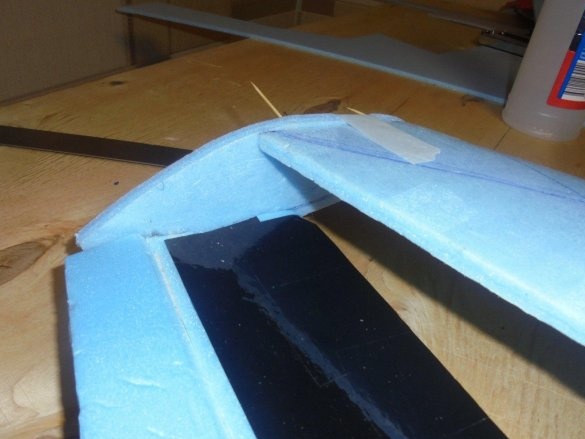
From the substrate, blanks of the right size are cut, and all this is glued together. I want to draw the attention of those who will build the model “Whack, or repeat my model, to the fact that the upper pattern of the wing half is slightly longer in chord than the lower one. This is due to the bending of the wing profile.
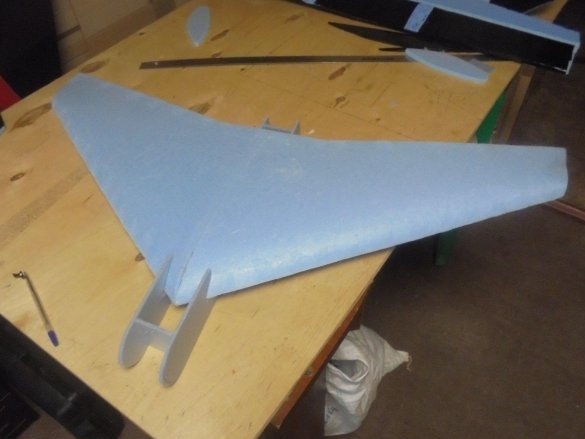
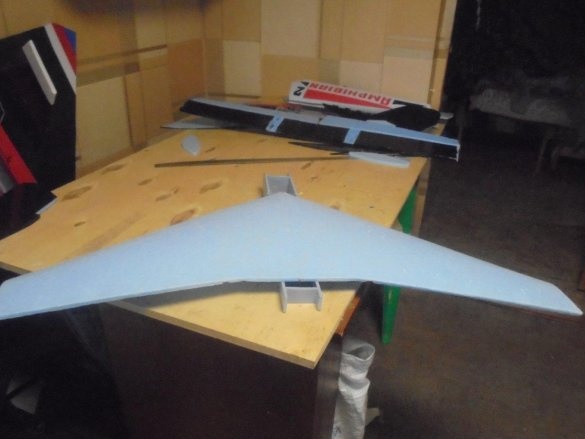
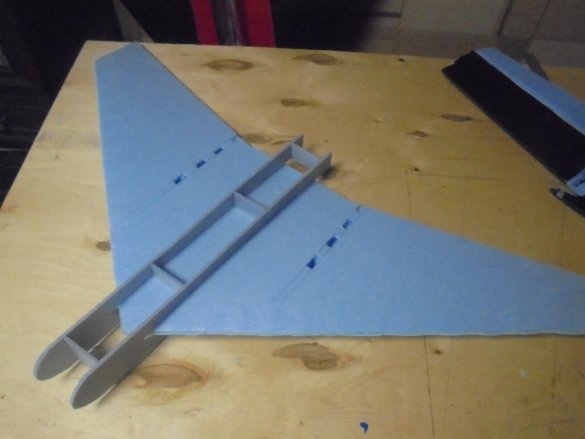
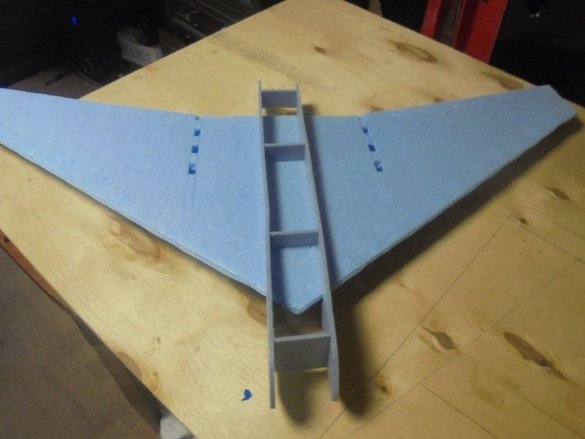
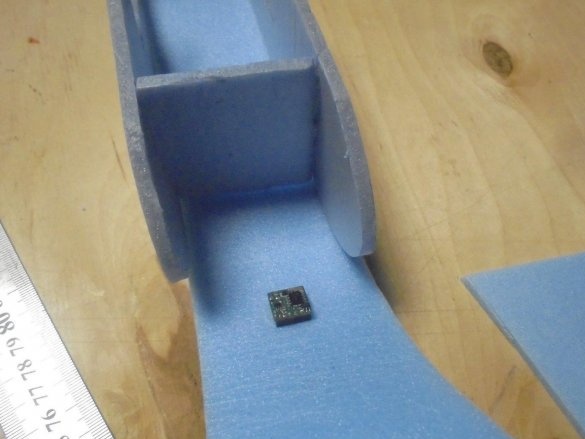
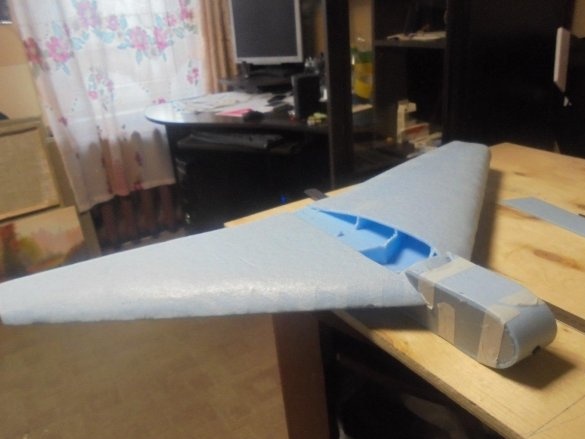
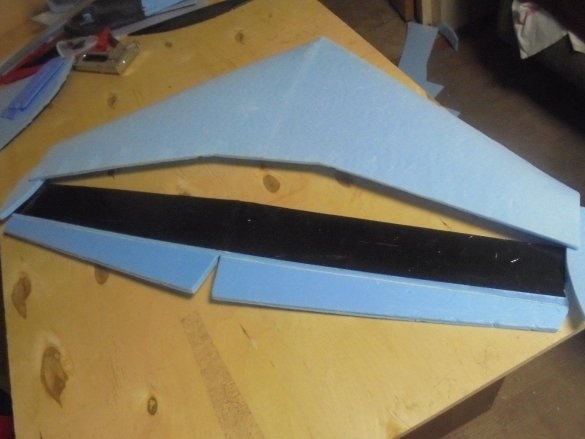
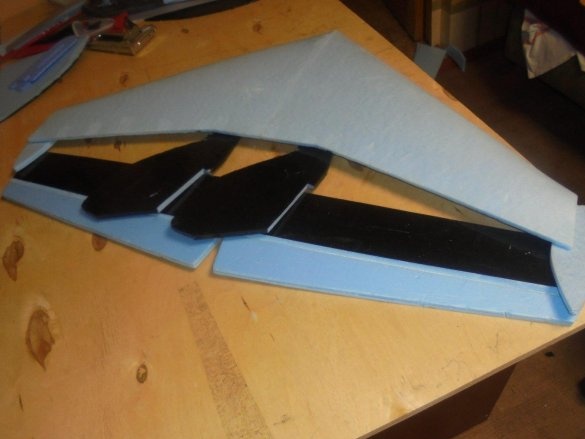
Inside the wing, two spars and one tightening partition are glued, placed on the lower plane of the wing in a certain order, cut from the substrate and glued to the rib. This creates a specific wing profile and its strength. It is necessary to be very careful when pasting the side members, the even profile of the wing and its flight qualities depend on this.
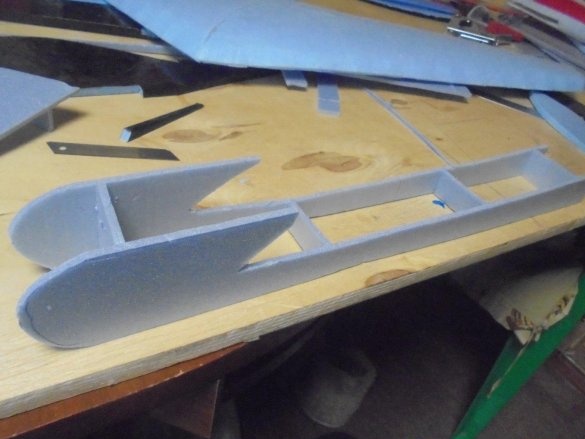
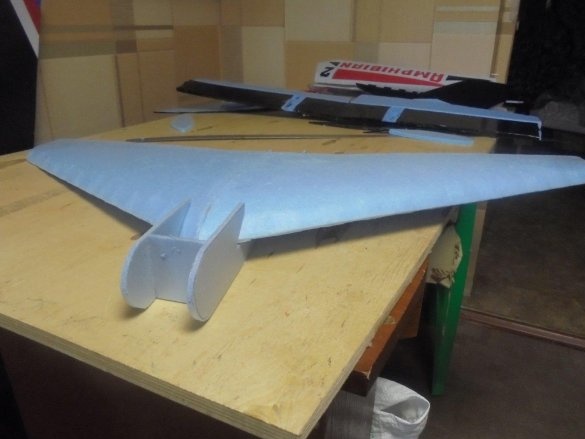
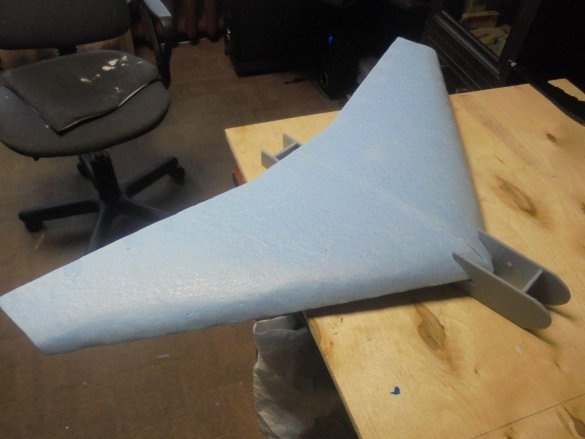
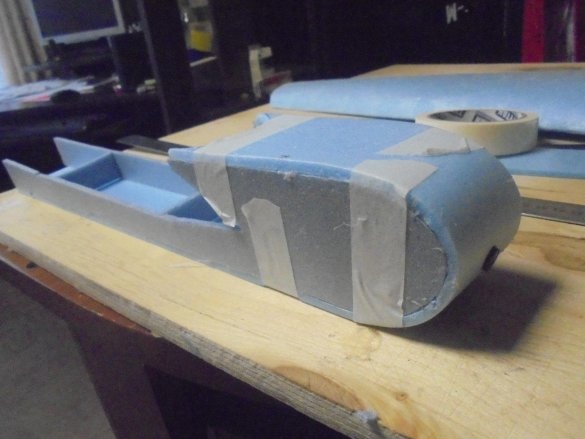
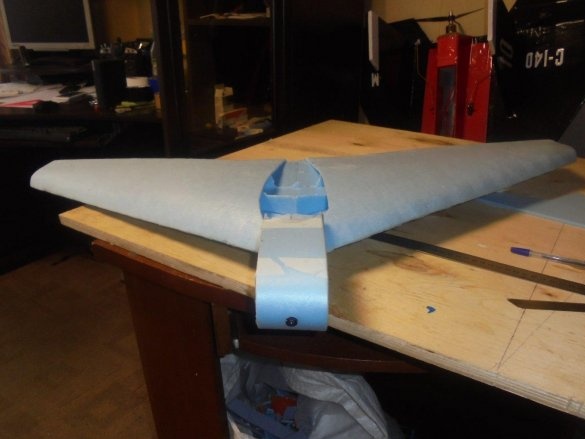
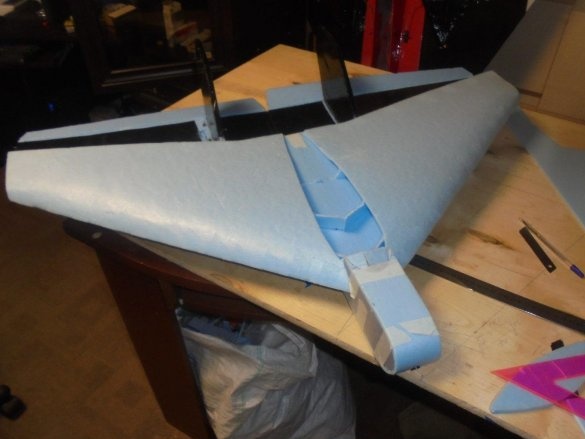
For the fuselage of the model, I glued a semblance of a box, with partitions inside.
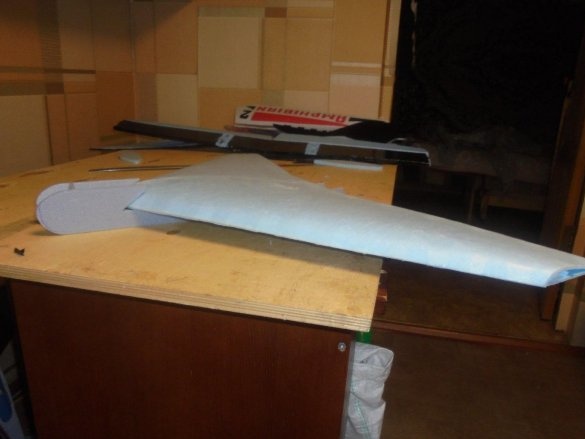
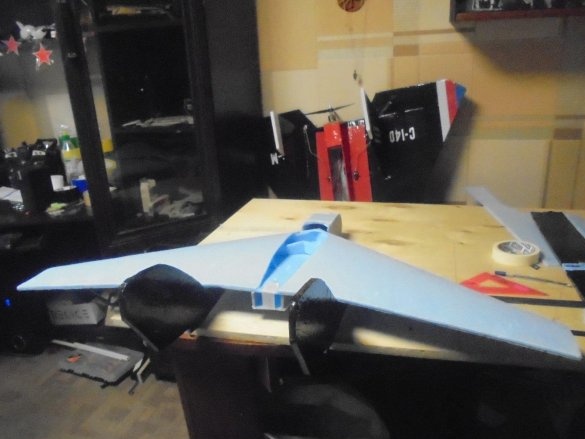
The wing, as if crashes into it.
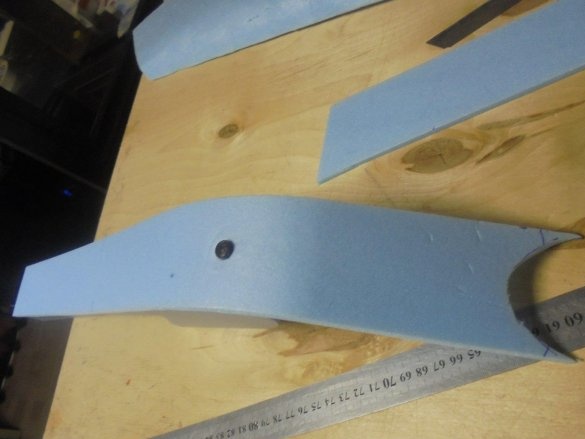
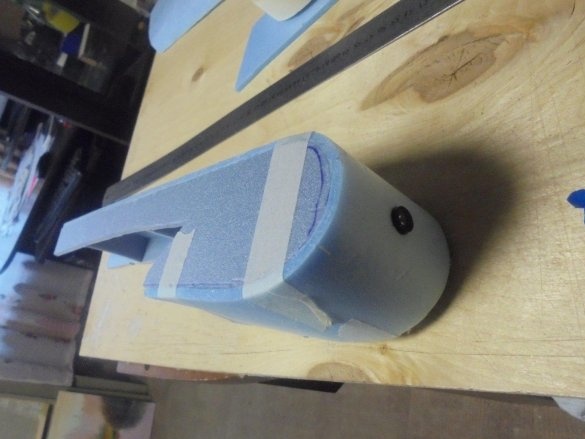
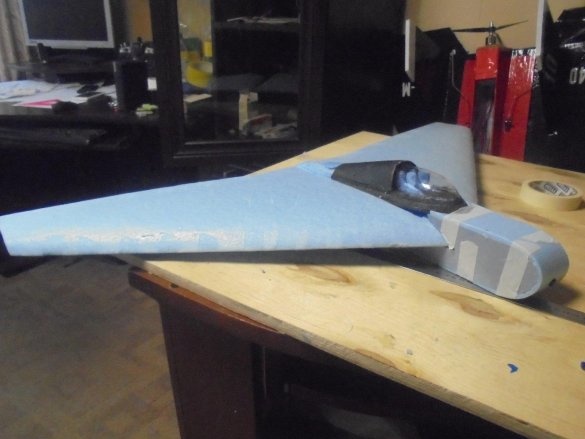
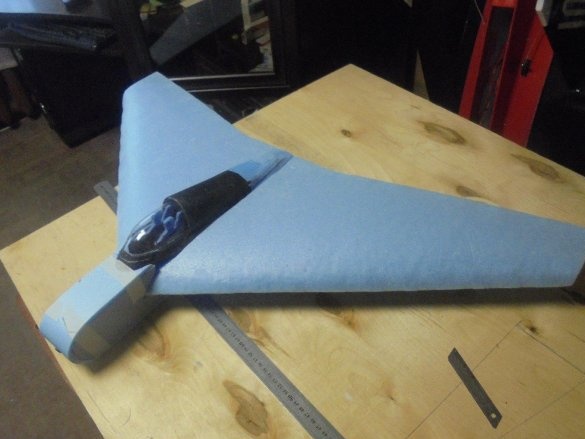
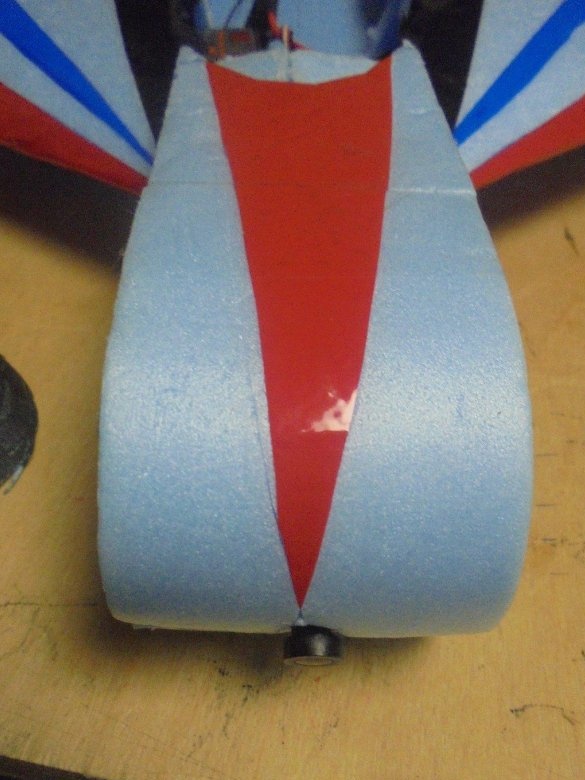
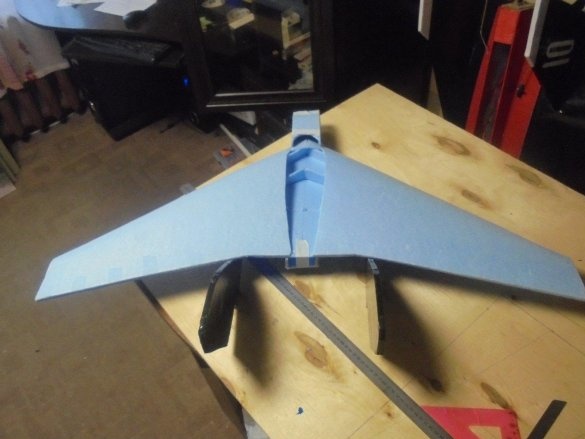
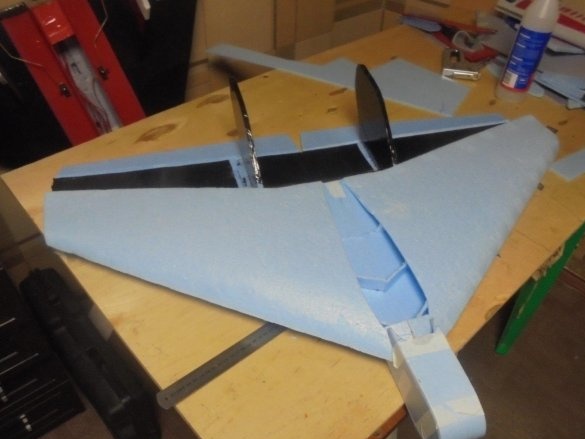
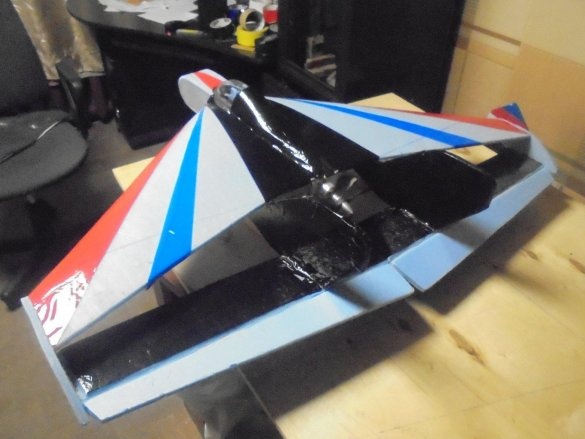
In the future, this box is glued with a substrate. Before gluing, in the bow of the fuselage, I cut a small round hole into which the camcorder lens is inserted. So far it looks like this.
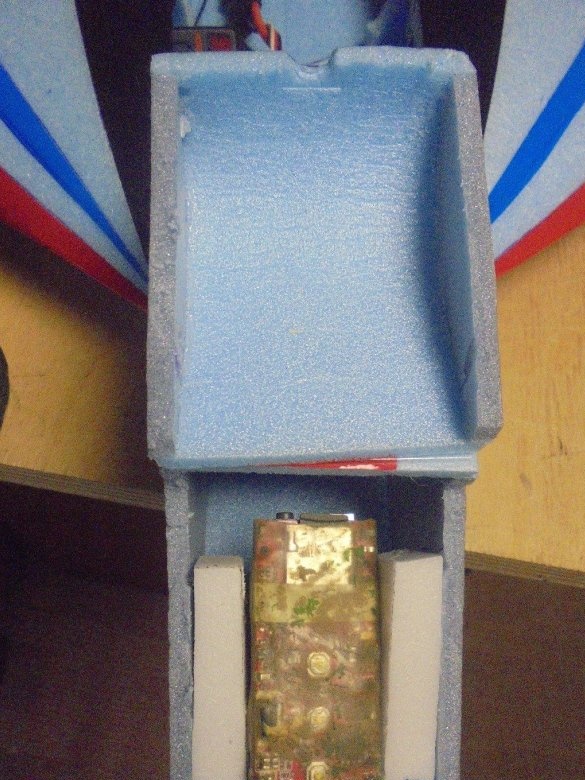
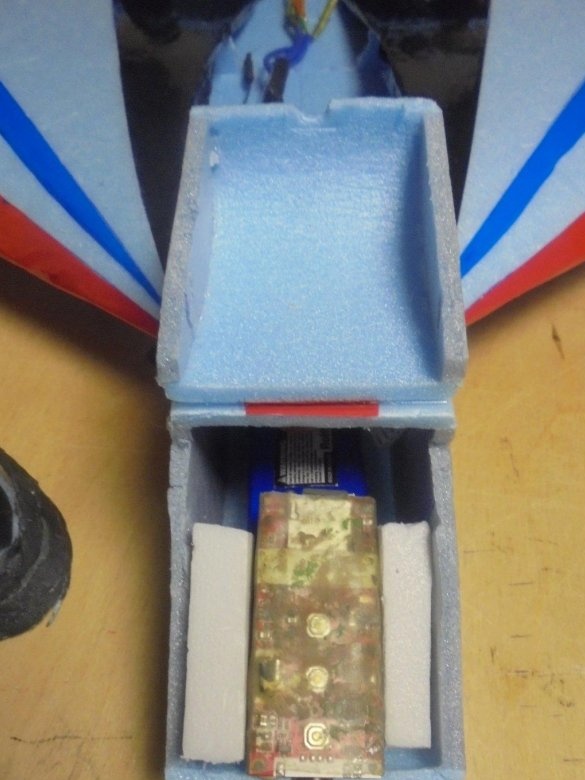
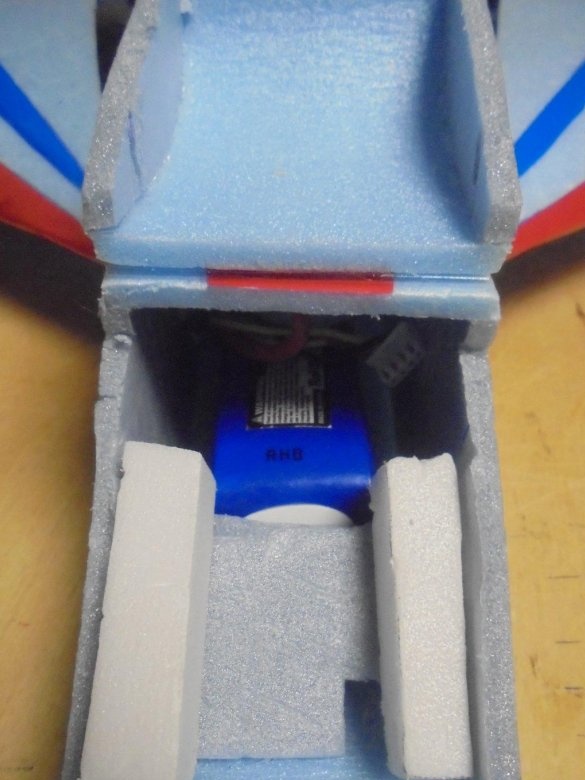
In the future, a hatch will be made to install the battery and camcorder.
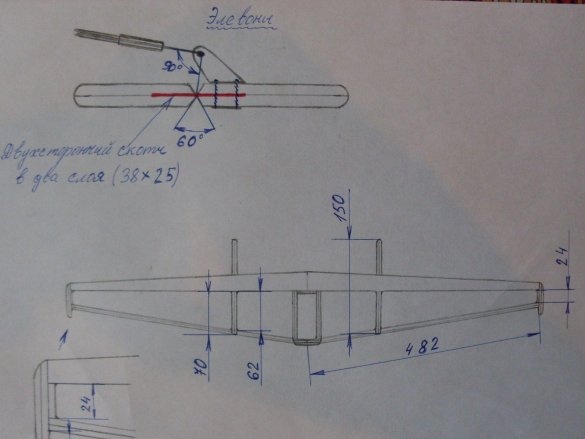
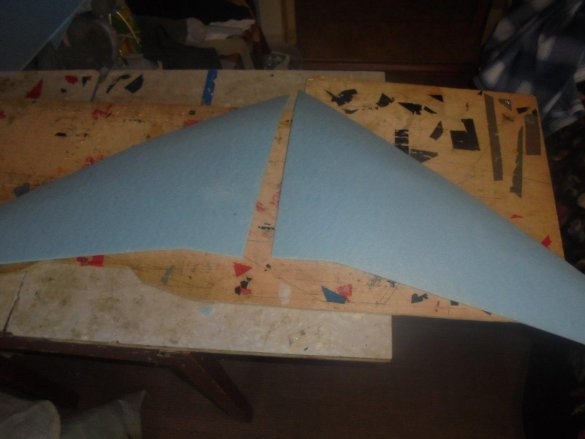
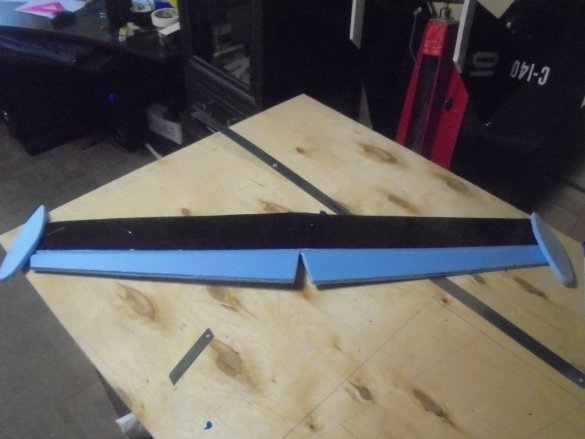
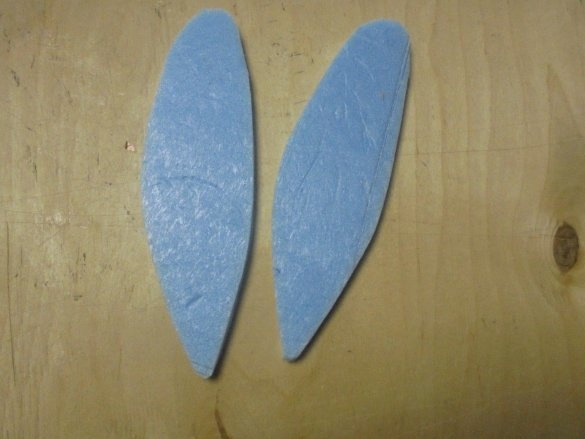
The back, lower wing is cut out along with the elevon. There should be 4 such blanks. Two wing halves of two layers and two elevons, also of two layers.
Then the elevon is cut off, one of its edges is cut off at an angle of 45 degrees, and it is hung on a sickle, as on a loop. Only after that the second layer is glued.
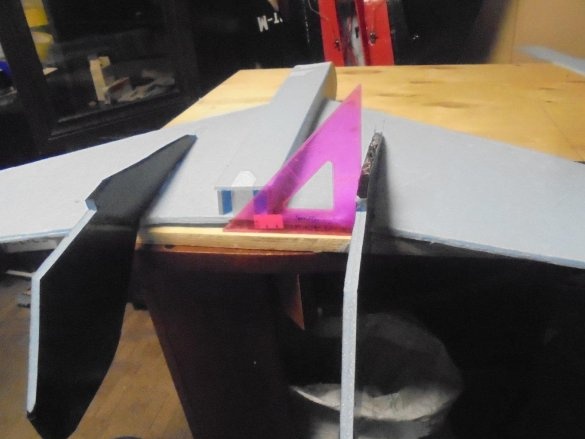
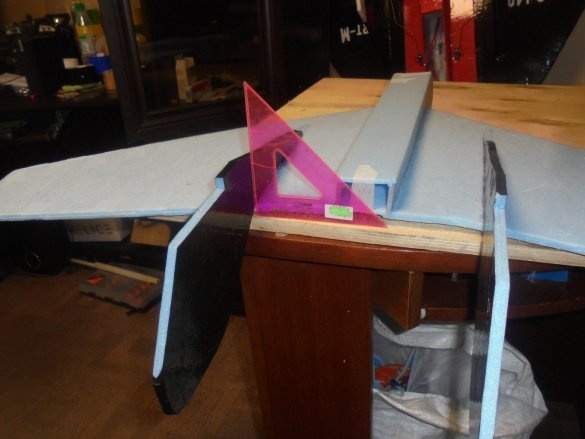
When gluing two halves of the hind wing, a V angle is made within 3-5 degrees.
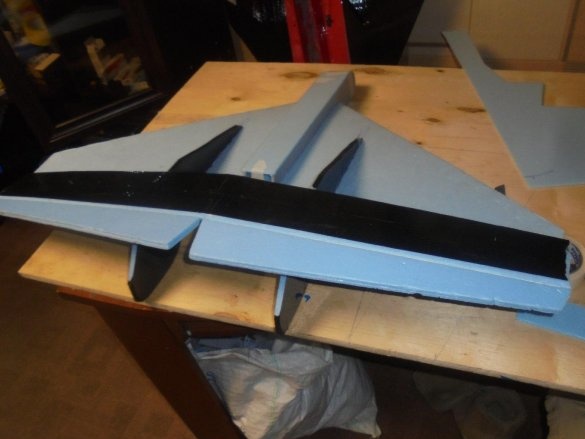
The rear wing, after gluing, is covered with black tape.
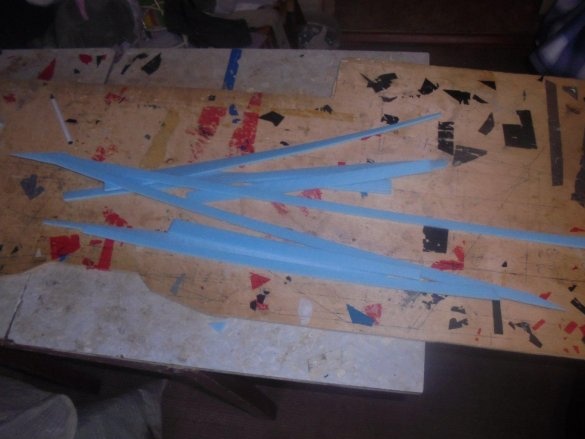
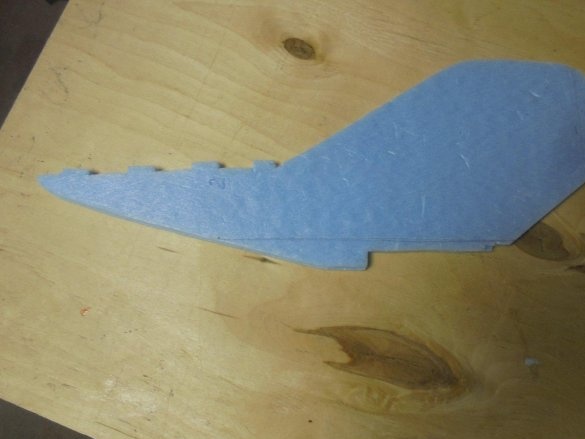
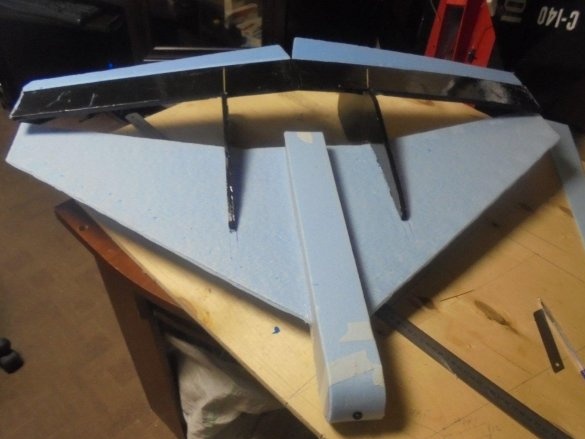
The blanks of the keel jumpers are cut.
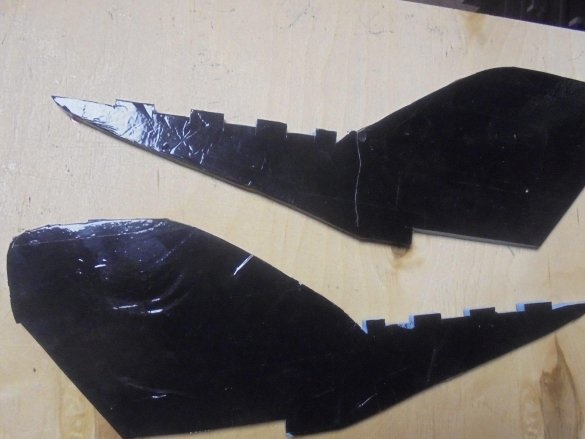
On this model, I decided to do without a rudder. The blanks are glued in two layers and covered with black tape.
Keel jumpers will be mounted in the wing on the spikes.
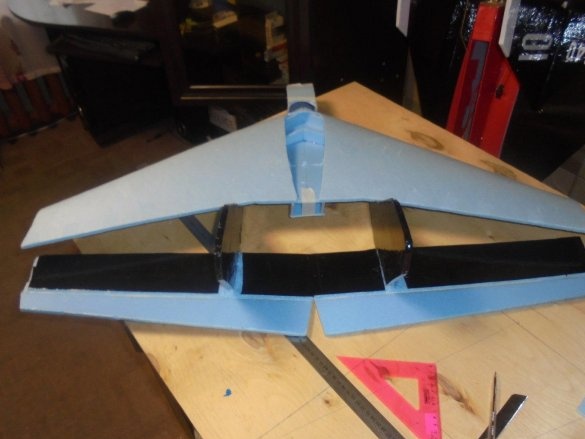
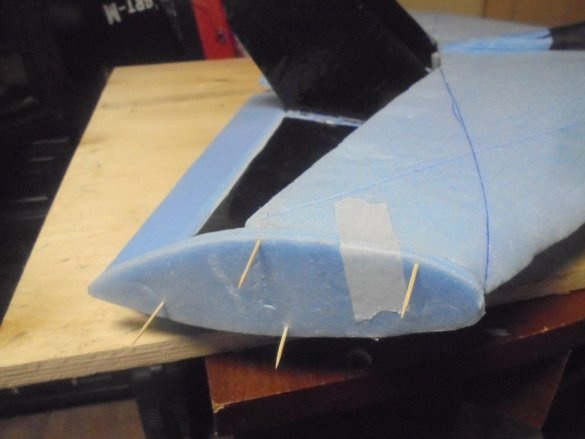
Cutting blanks of connecting washers that connect the ends of the lower and upper wing. They stick together the same in two layers of pads.
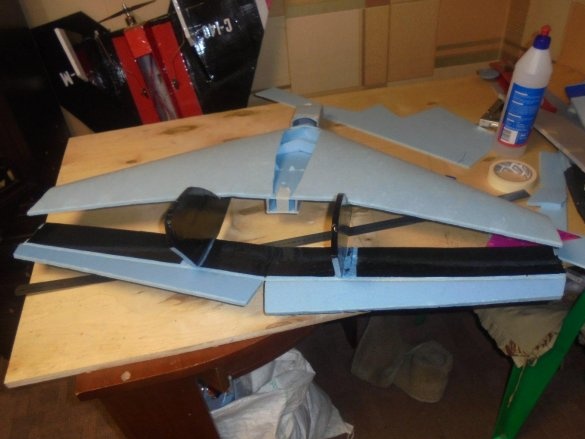
Finished wings, blanks of keels and washers try on their places and adjust.
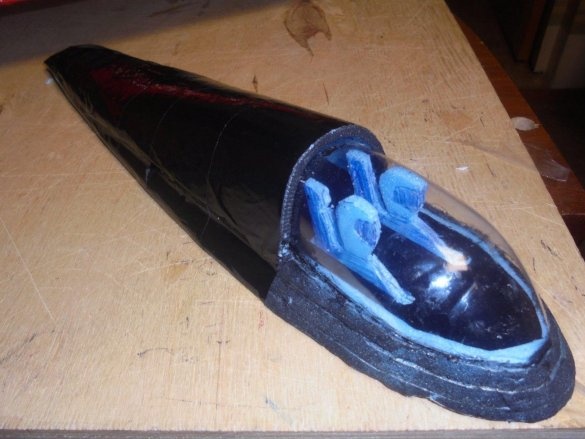
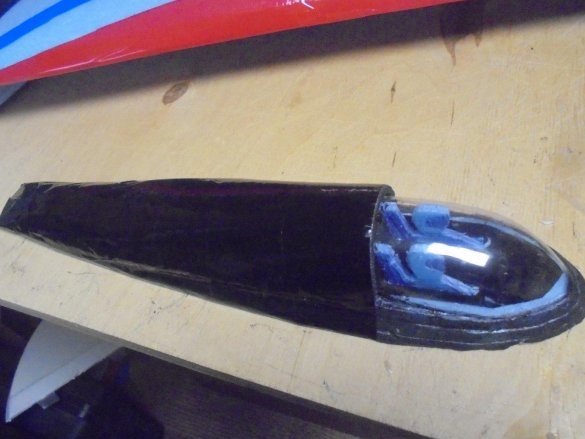
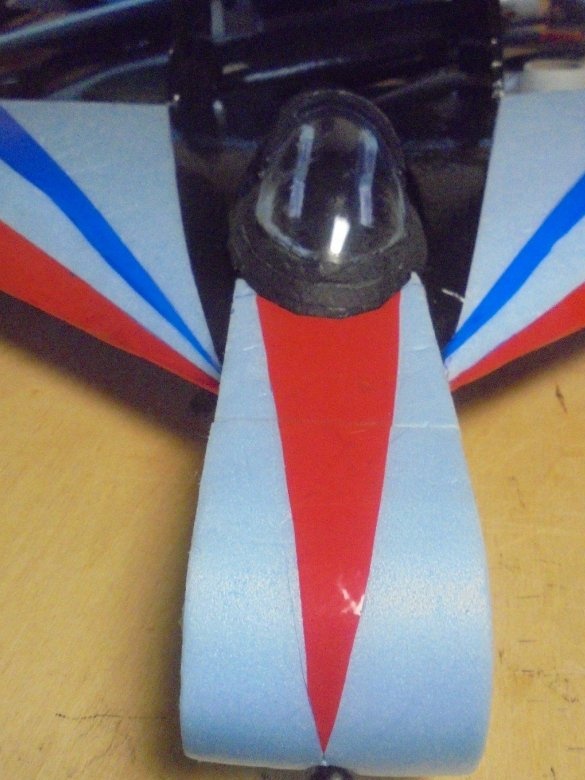
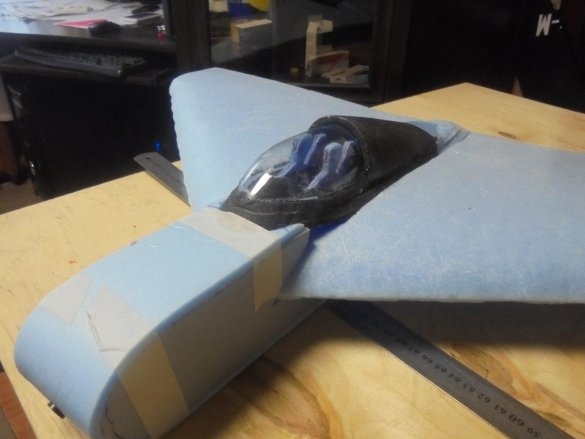
It was the turn of the cab. After a brief search, I found a finished cockpit with the pilots sitting in it, left over from the old model. Updated a little, cleaned, covered with black tape. It is a decent appearance.
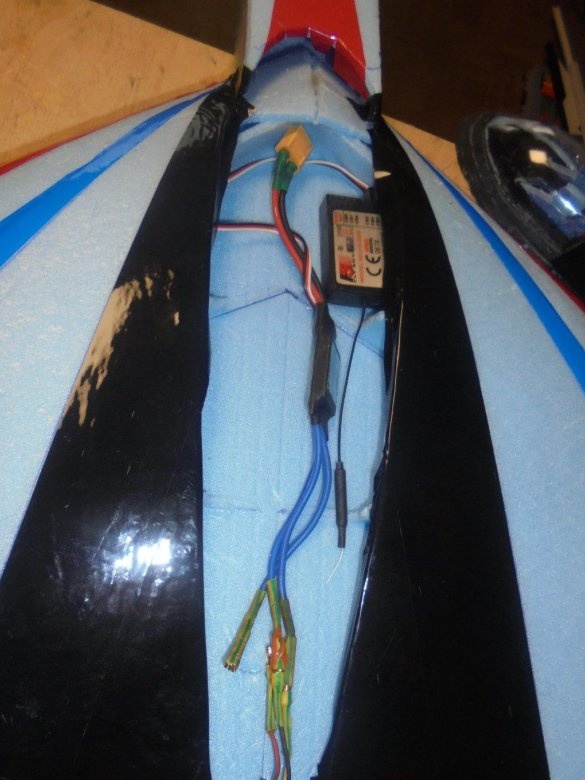
To install the cockpit had to cut a place in the upper skin of the wing.
The cabin itself is like a manhole cover covering the compartment where it is installed electronics.
In the bow of the fuselage cut a hatch for installing the battery and camcorder. The lid is hung on a transparent tape. After installing the battery and camcorder, the lid is fixed with a piece of transparent tape. In the future I will put a magnetic latch.
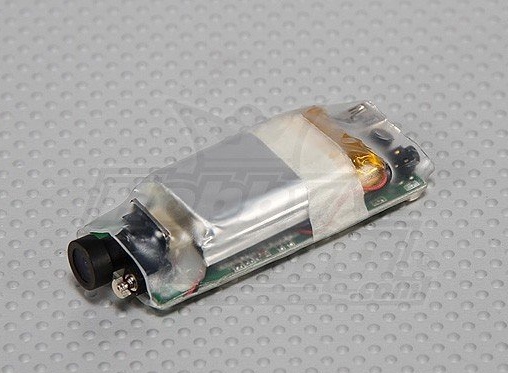
Here is a video camera placed on the model.
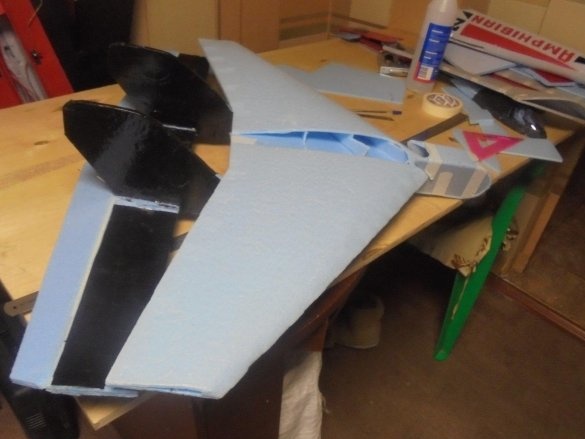
Glue keel jumpers. The installation is verified.
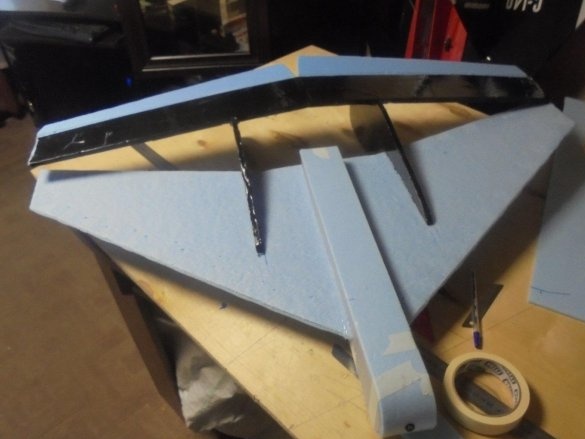
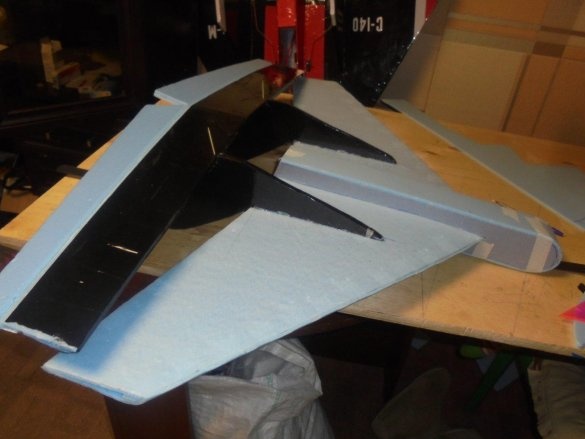
Trying on, adjusted in place and glued lower, rear wing.
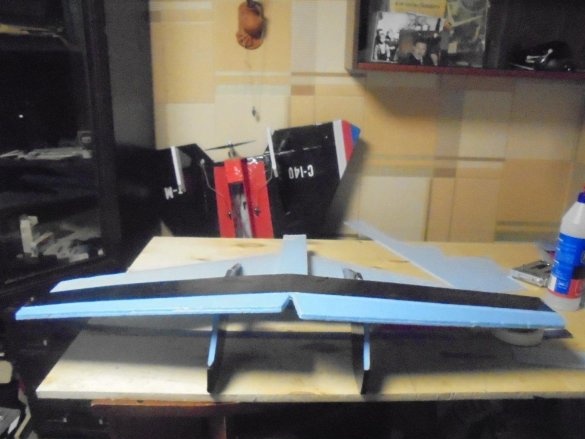
Connecting washers are tried on, adjusted and glued in place.
For comparison, I impose a wing from an unfinished model on a new model.
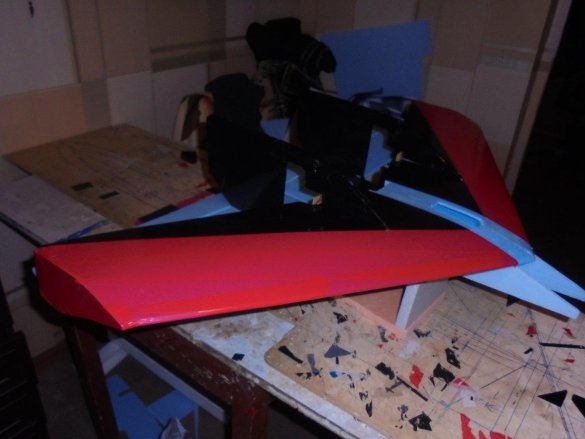
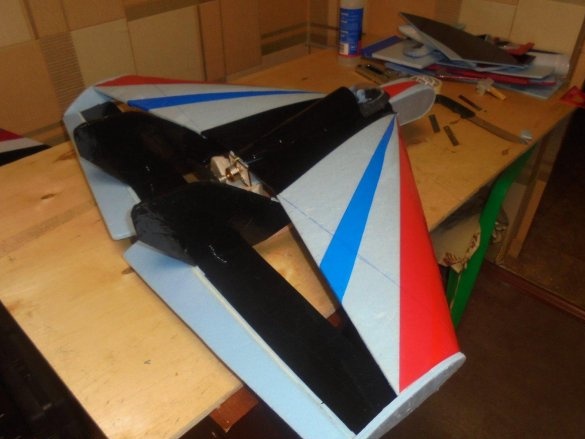
I start the design work, I fit the model with colored tape.
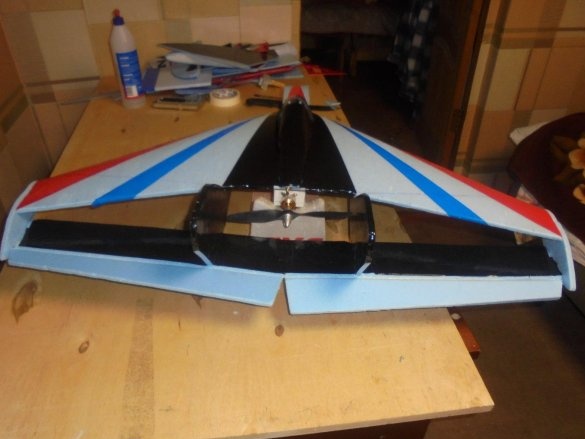
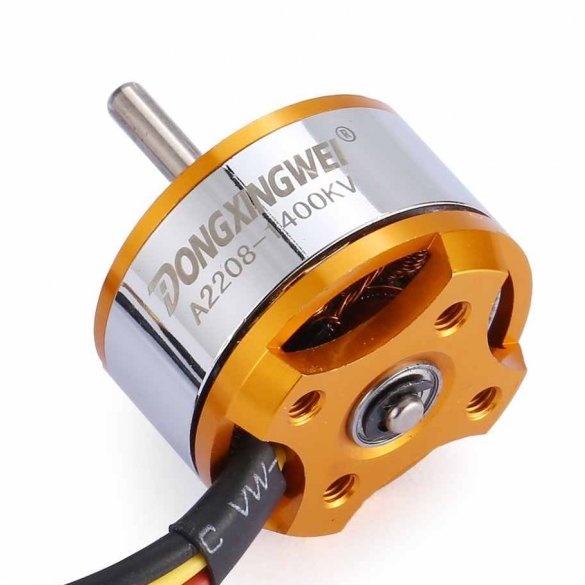
Installed the motor, secured the screw.
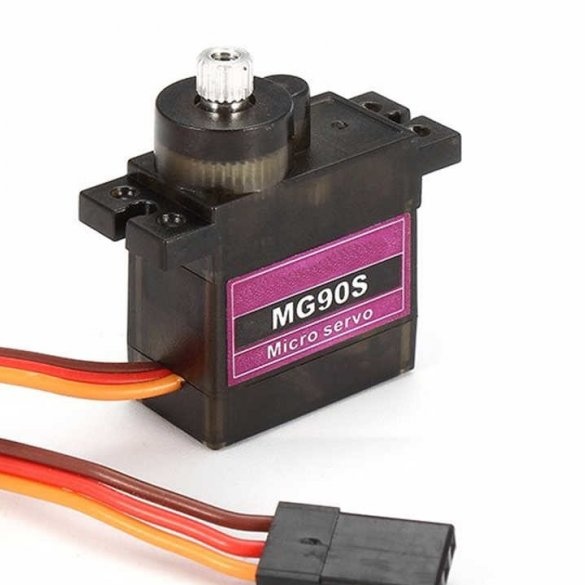
It remains to install servos and connect the rods, but they are still on the way from China.
That's the kind of electronics I put on this model.
Motor - 2208 1400KV
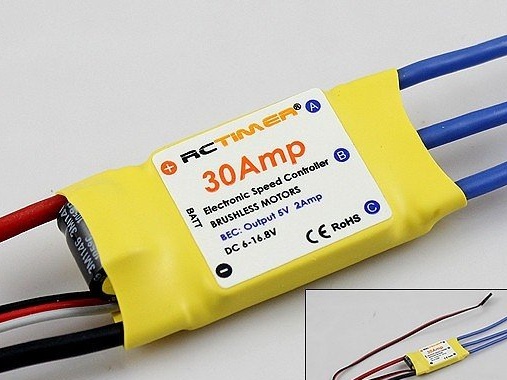
The regulator is 30 A.
Servos - MG90S
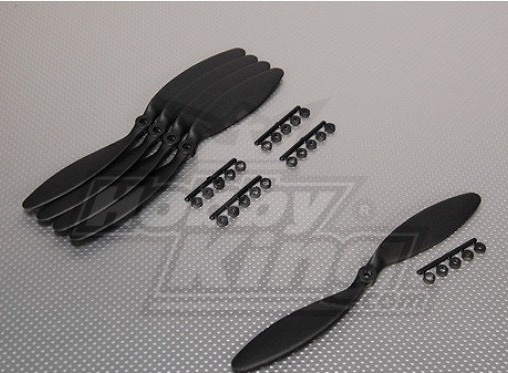
Screw - 9 X 6.
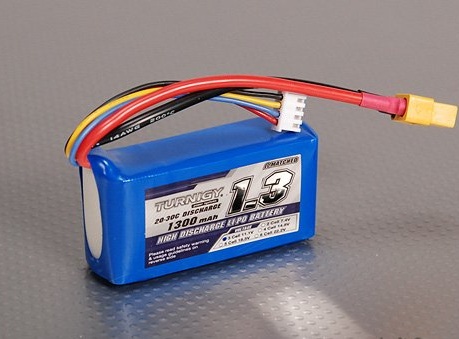
The battery is 1300 3S.
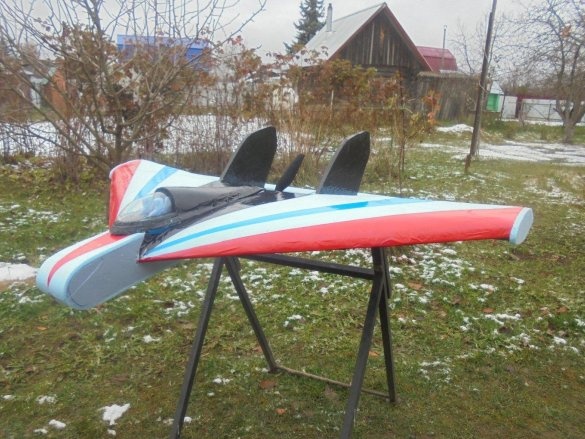
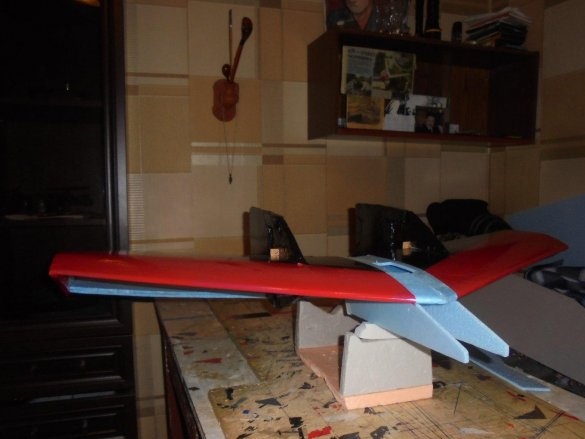
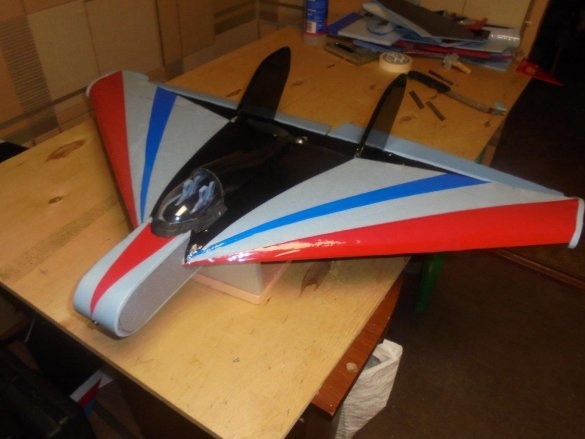
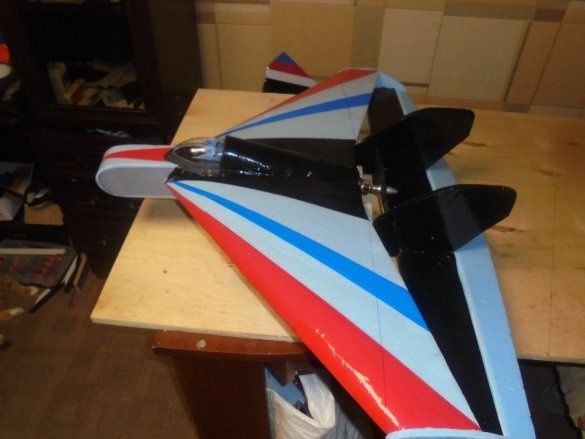
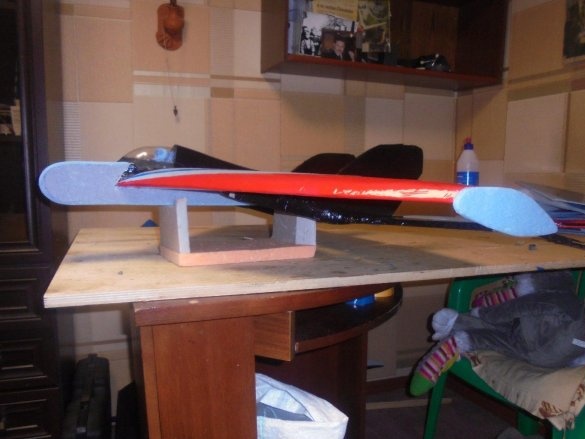
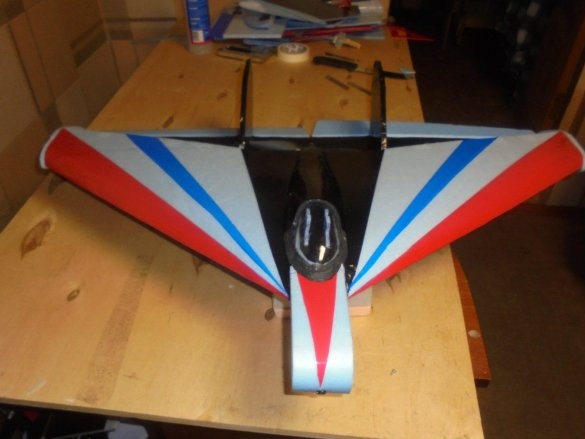
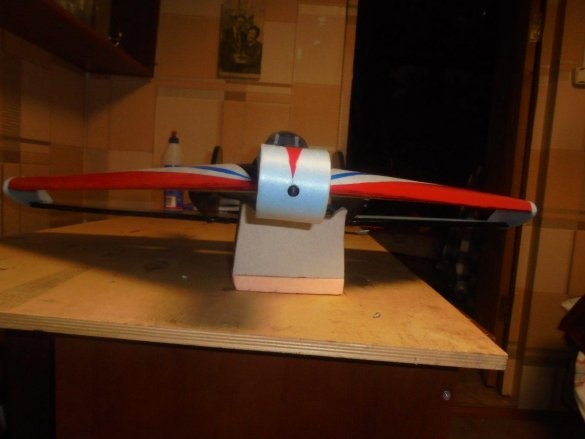
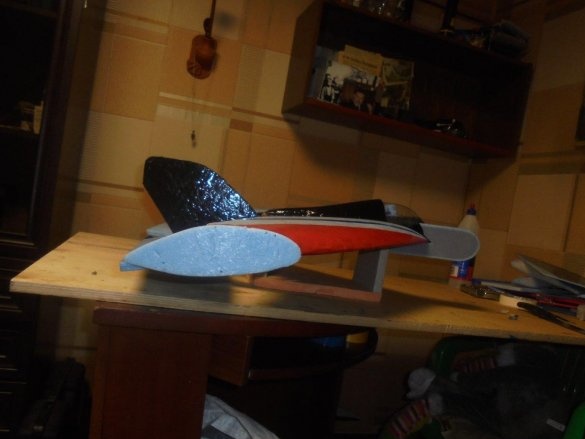
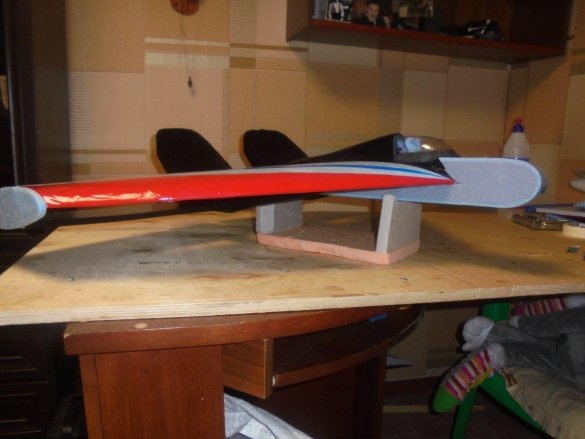
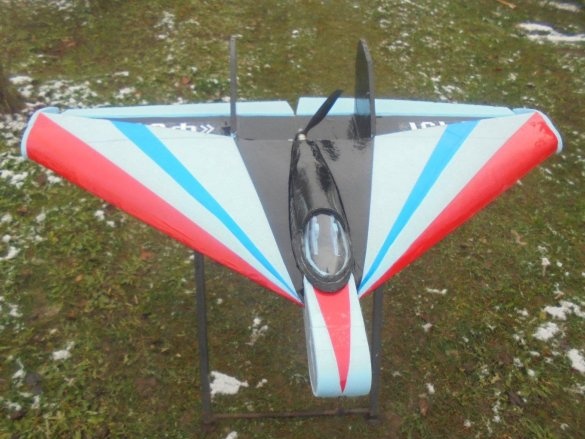
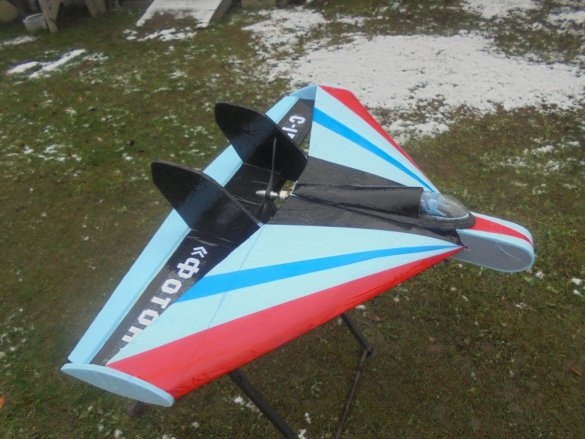
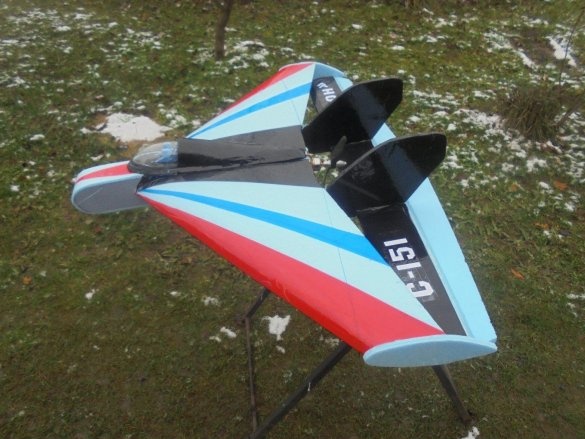
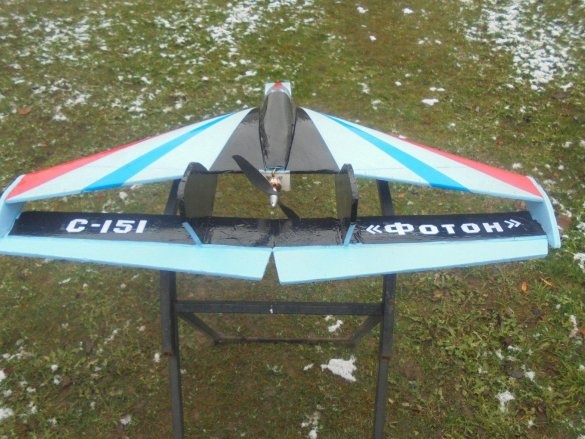
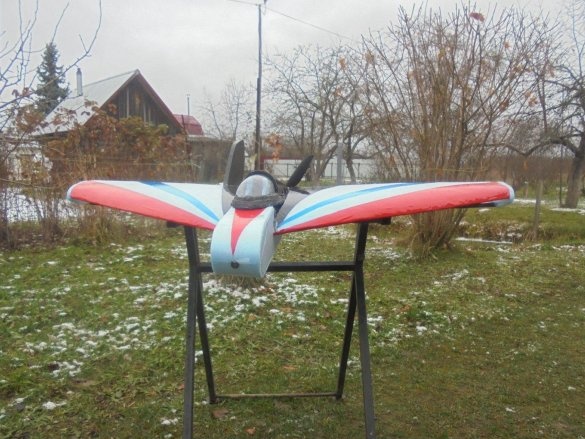
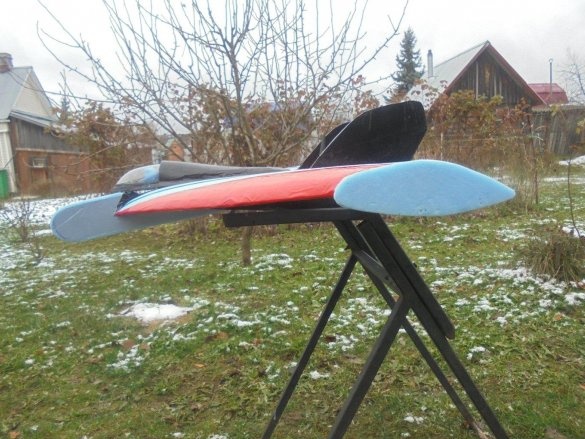
Here I have got such a beautiful diamond model wing with a diamond-shaped wing, which language cannot be called a “mutant”. About the flying wing "Whack" recalls only the shape of the front wing.
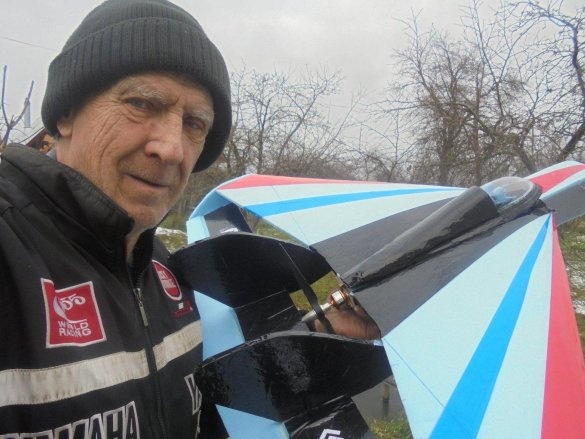
I thought for a long time what name to give this model. As a result, I decided to give her a name - "Photon".
“Light and warmth, taste and smell, color and information - all this is inextricably linked with photons. Moreover, the life of plants, animals and humans is impossible without this elementary particle. ”
Photon - from Greek φῶς, genus pad. φωτός, "light."
Model at the launch pad.
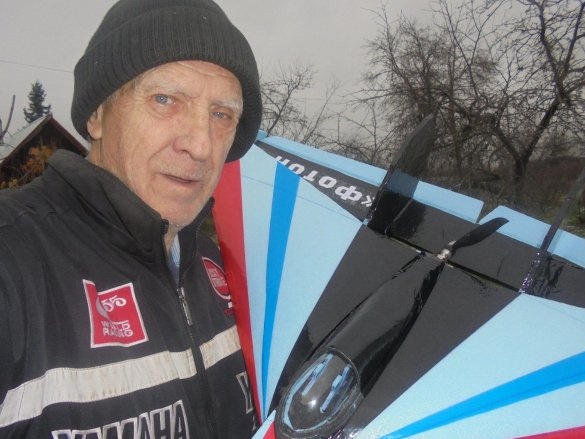
On this, let me say goodbye to you.
Goodbye, see you soon. Your valerian.


