
From the article below you will learn how to make a round bowl from wooden segments.
The following description and instructions are taken from the Matthias Wandel YouTube channel.
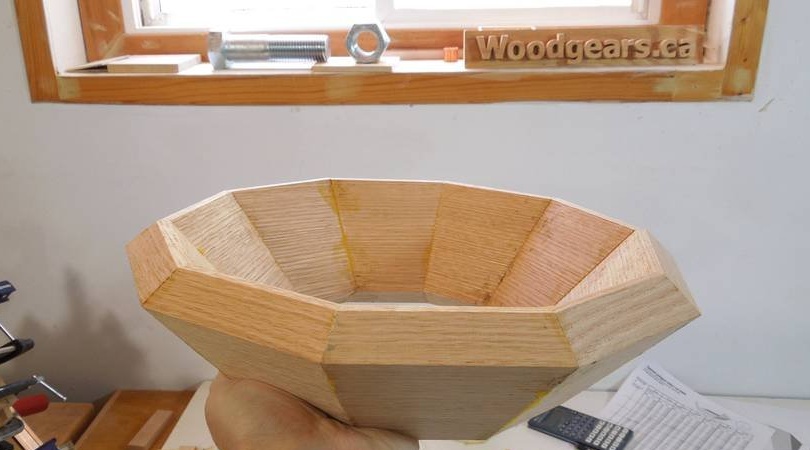
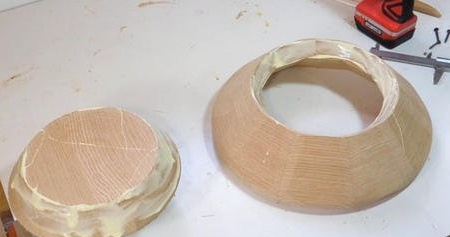
The master made this sample from oak, then to try to make a bowl out of it.
Necessary materials and tools:
- oak tree;
- roulette;
- a pencil;
- square;
- clamps;
- lathe;
- chisels;
- table saw;
- band-saw;
- small;
- PVA carpentry glue;
- sandpaper;
- cyclone vacuum cleaner;
- jointer;
- oil-based finishing composition;
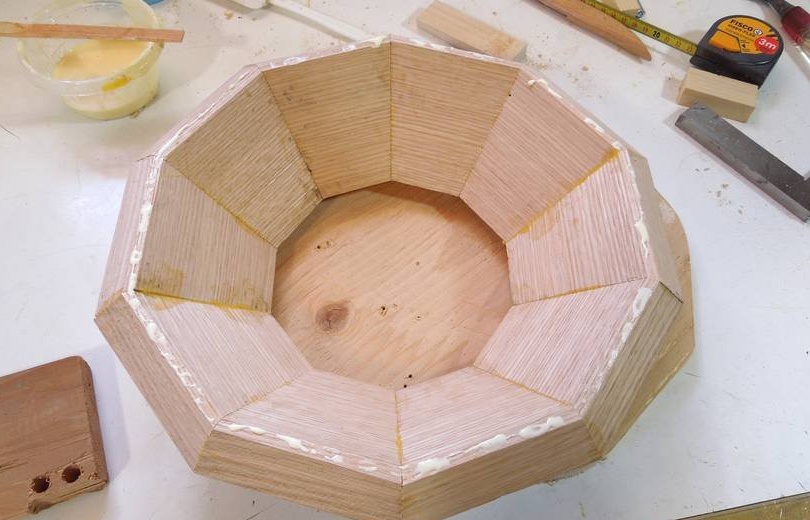
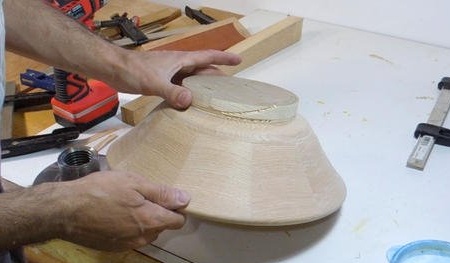
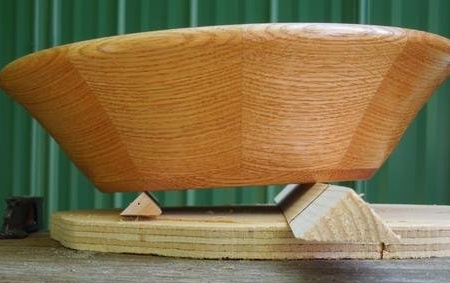
The difficulty is to fix the bowl for further work and add a bottom. Since the accuracy of this form is less than perfect, the master decided that the best option would be to make the inner lower edge of the bowl absolutely round and conical, which would coincide with the same conical "cork".
But the master does not have a turning chuck for installing this form.
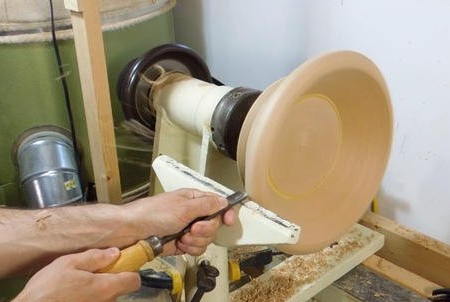
Therefore, the decision of the master was to glue the blank to a piece of plywood. He applied glue (seen in the previous photo), and then pressed it to the plywood.
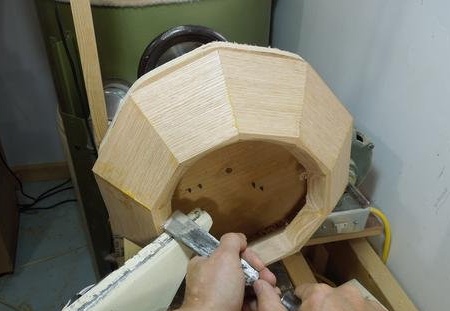
Then he screwed the plywood to the front panel of the lathe, and then turned the inner edge so that it was conical.
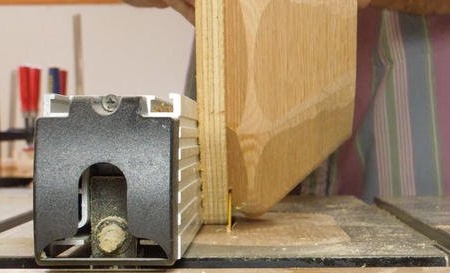
As soon as the cone was ready, the plywood had to be removed again. To do this, the master used a thin saw blade in a table saw and cut the bowl around the entire perimeter. The material was not wasted, because all the same it was necessary to “cut” a narrow edge of the workpiece a little.
The master did not want to make the bottom of the bowl from a single piece of wood, because with seasonal shrinkage it can be deformed. Therefore, he made a sandwich of three layers, with alternating directions of the fibers.
Then the master glued the disc to the bottom to fasten the lathe plate.
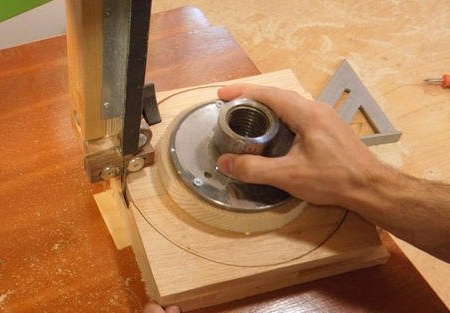
Workpiece trimming.
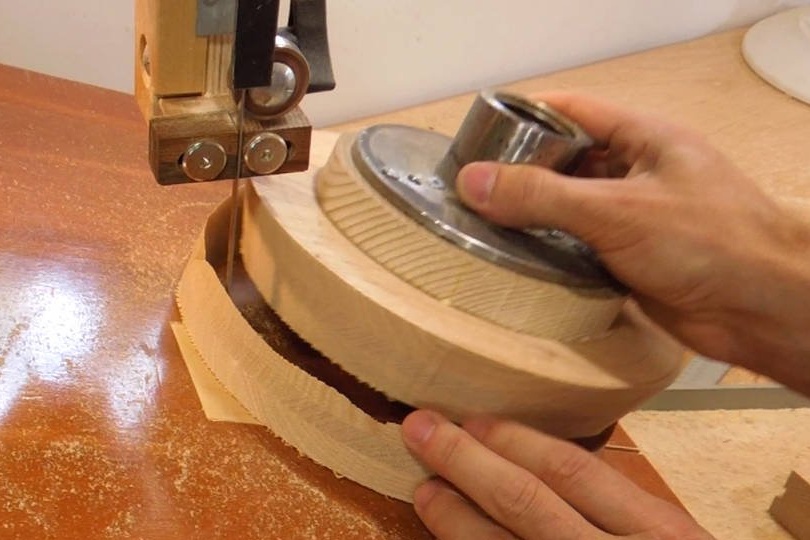
After the workpiece was cut, the master had the idea to make it under the cone on a band saw.
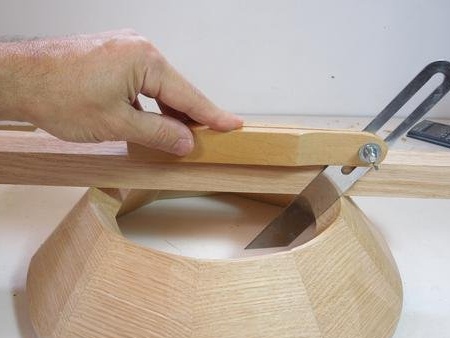
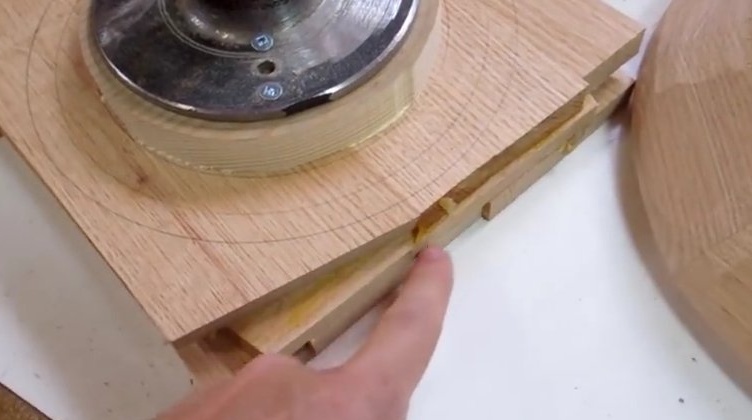
Then, using the malki, the angle at the bottom of the bowl was measured ....
... then this angle was checked on the bottom.

The cone is grinded.
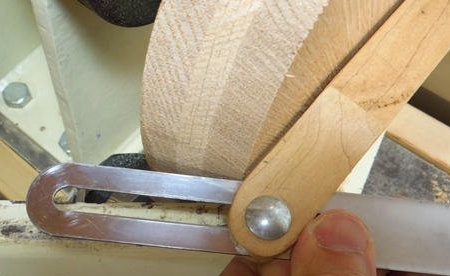
The master set the same angle of support of the tool as the angle of support of the cone.
Check fit.
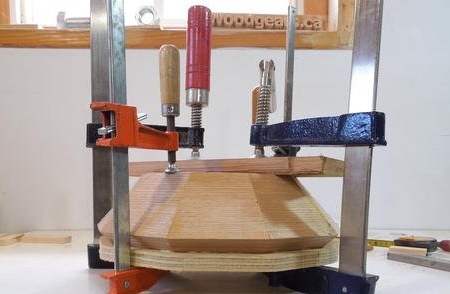
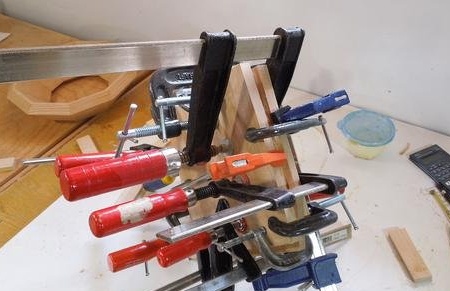
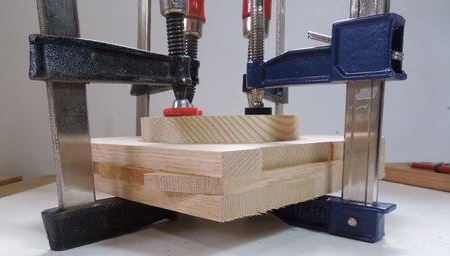
As soon as the master decided that the fit of the parts was good enough, he proceeded to gluing. He applied a lot of glue to both parts because the joint was not sticky.

Clamping parts with clamps.Note that the front panel of the lathe is still attached to the bottom of the bowl.
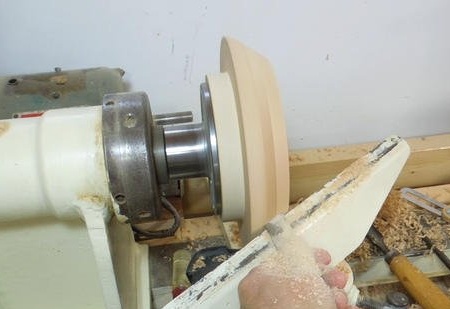
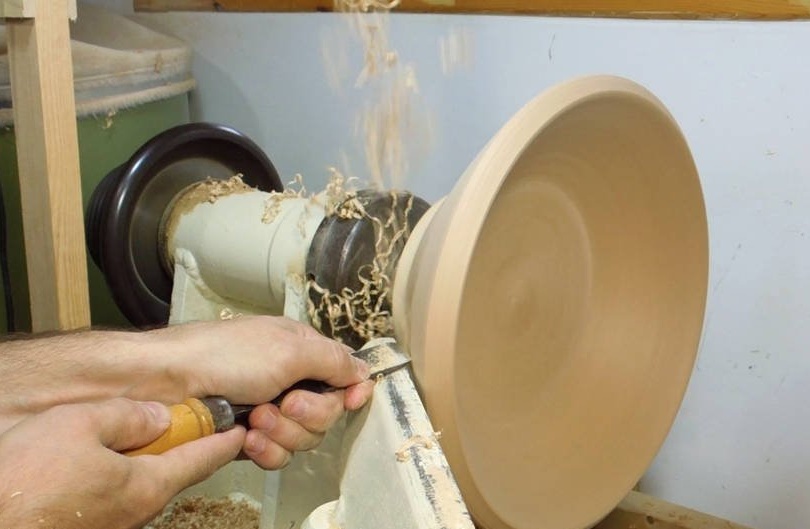
Turning work again.
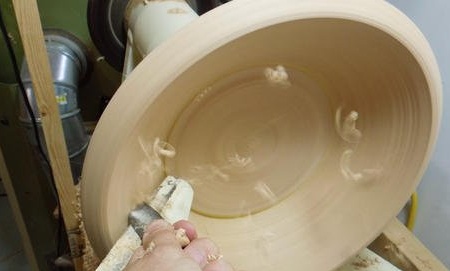
The working process.
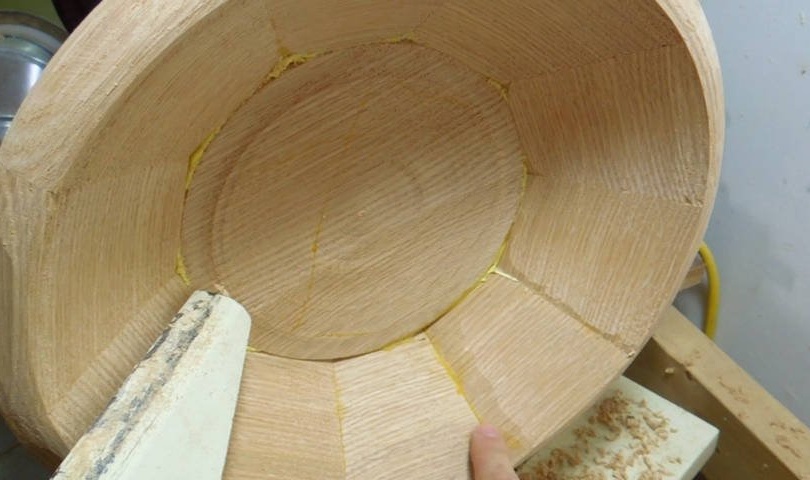
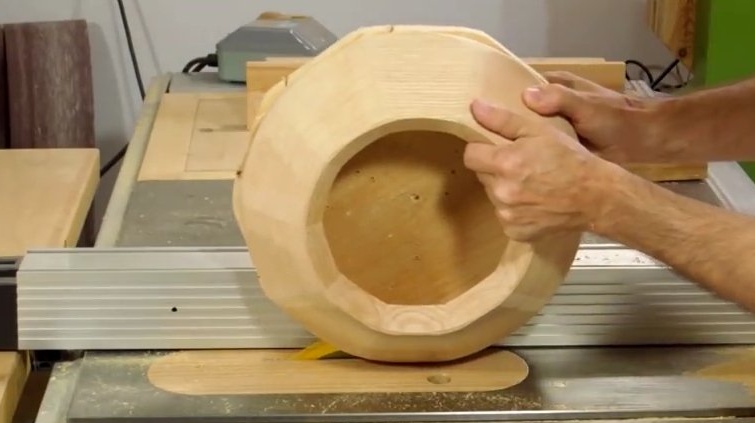
The inner surface is generally circular, with the exception of two seams around the rim and the seam between the side and bottom. Fortunately, there is still enough bowl thickness, so you can reduce it a little more.
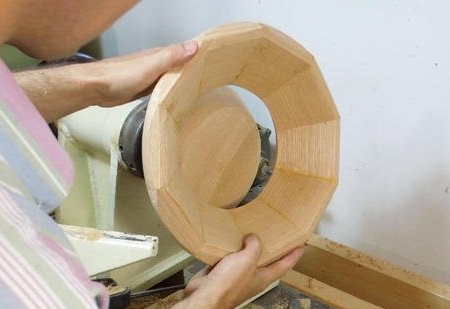
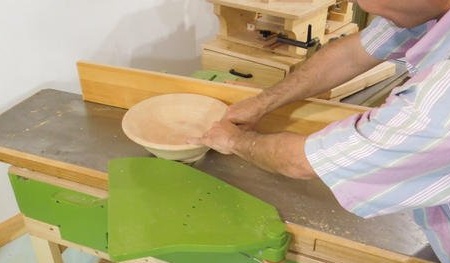
Processing the bowl from the outside.
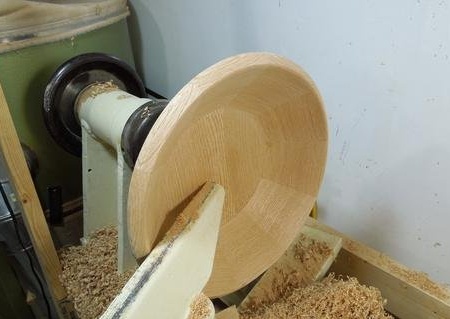
The cup is fully rounded. There was still a lot of thickness for work, so the bowl was reduced to 10 mm. and a small curve was made that resembled a bell.

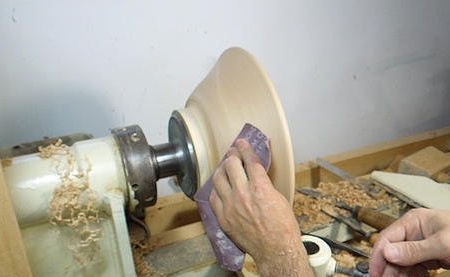
Then the bowl is ground.
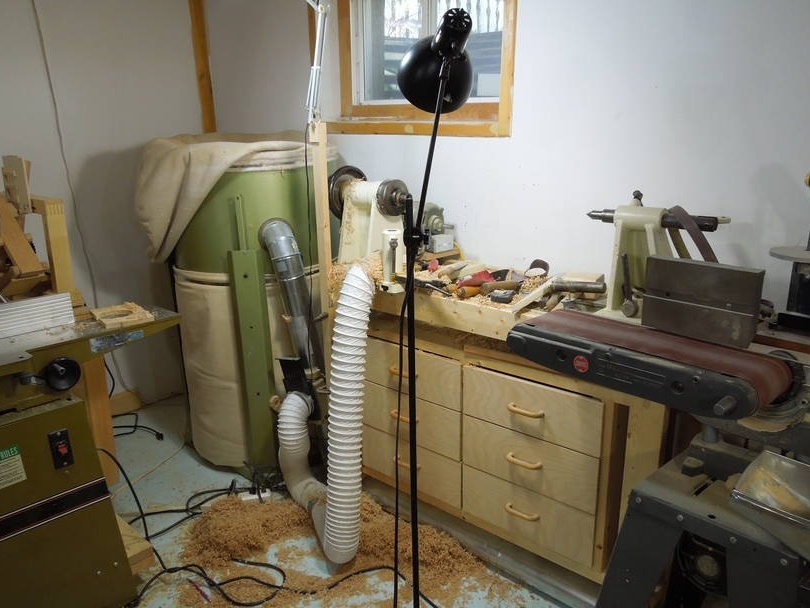
The mess on the lathe. During operation, the vacuum cleaner worked, the hose was next to the chisel. He sucked in most of the airborne dust, but not the chips.
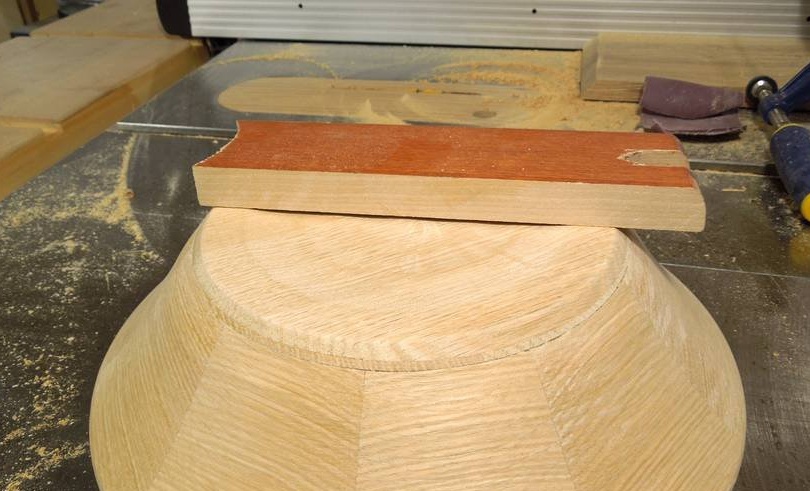
It remained to figure out how to remove that temporary piece of wood that was glued earlier.

The first thought was to cut the bottom with a band saw. The saw has enough space in height.
But then the master decided to skip the bowl on the jointer. Thus, it is not necessary to straighten the plane of the bowl.
The jointer has a cutting head with a diameter of 50 mm and a relatively narrow hole around the cutting head, so aligning the bottom of the bowl did without problems.
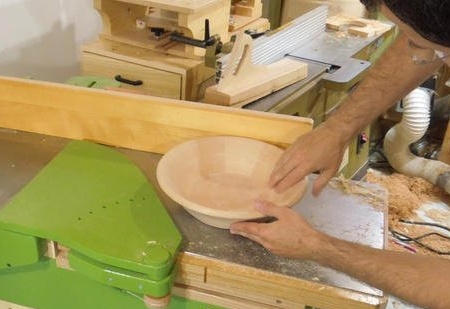
After several passes, the bottom must be checked for evenness. If the bottom is curved, it is necessary to make a conical section to correct the situation. To do this, slightly raise one side of the bowl when the bowl passes by the cutting head of the jointer.
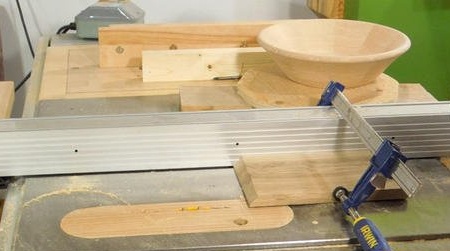
After carpentry, the bottom of the cup became perfectly flat. But the master wanted the bottom to be slightly concave. The output would be a large clamping device for the front panel to hold the edge of the bowl on the lathe, but the master does not have such a clamping device.
Therefore, the master decided to choose the bottom on the table saw. He attached a stop to the stop and raised the blade about 2 mm above the table ....
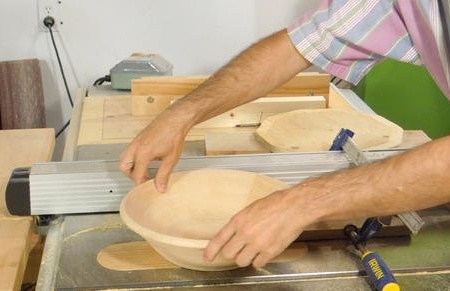
... then, putting the bowl on top of the blade, he slowly turned it around its axis to select the bottom.
He had to make several additional movements, each time moving the back stop a little back to cut a sufficiently large area.
The bottom of the bowl is selected.
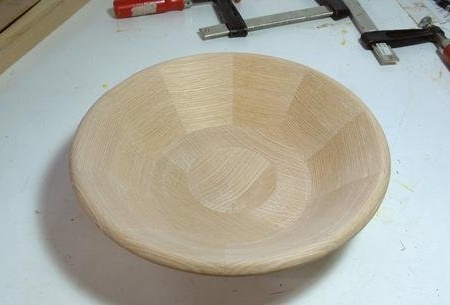
Bowl, top view.
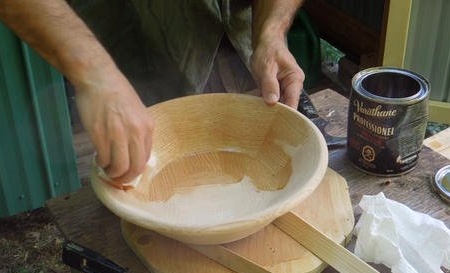
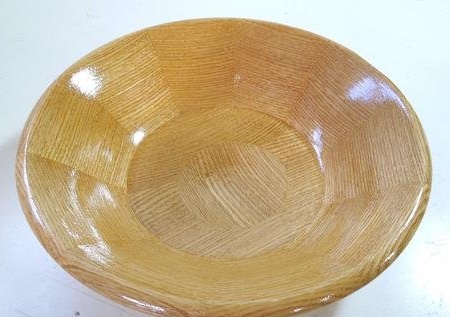
Since this is a cup, it should not let water through. An oil-based finish is best for this.

To perform the oil finish of the bowl, the master uses triangular bars.
With five layers of varnish, the cup turned out beautiful and shiny.
If you like homemade author, then try to repeat and make.
Thank you for attention.
See you soon!