


Make a couple of dancing robots using magnets!
Instead of just playing with the magnets I bought on Ebay, I came up with something really cool. If you place a small washer on a flat surface and move the magnet in a circle under the washer, it will dramatically change the direction of rotation.
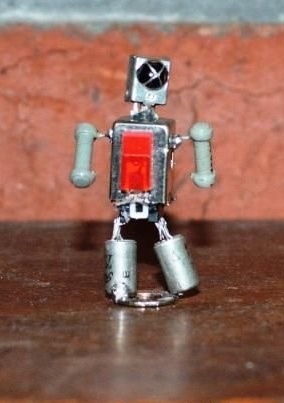
As soon as I saw this, I simply had to create some new invention. As a result, these robots- dancers - the idea is not quite simple to implement, but the end result is just wonderful! Robots really look like dancing little men, and what is good is that the mechanism that sets them in motion is not visible at all.
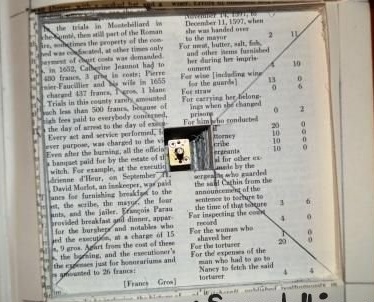
I chose the book as a dance floor for robots, because I wanted the book as a stand. You can take a wooden box or a cardboard box in which the motor will be hidden. But for me, the book seemed the best option.
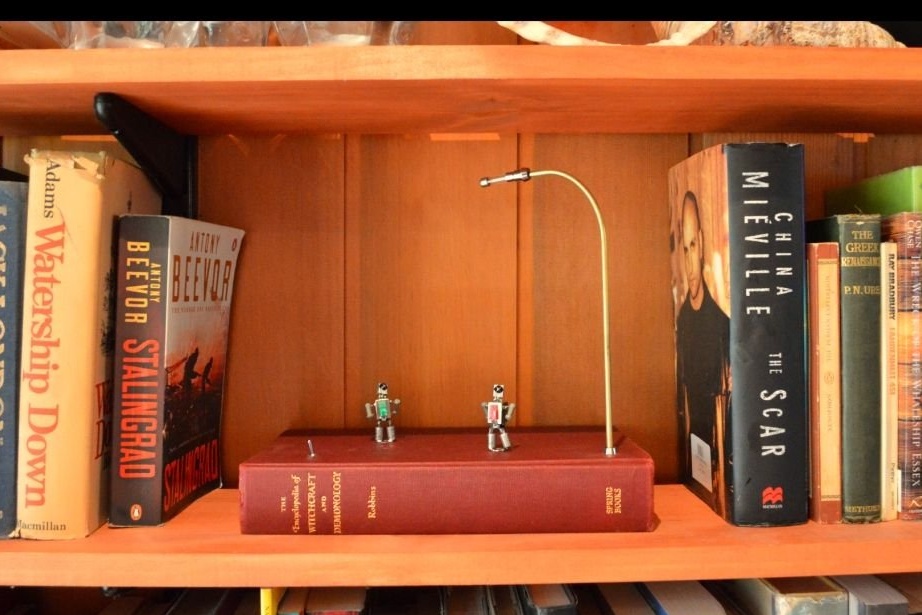
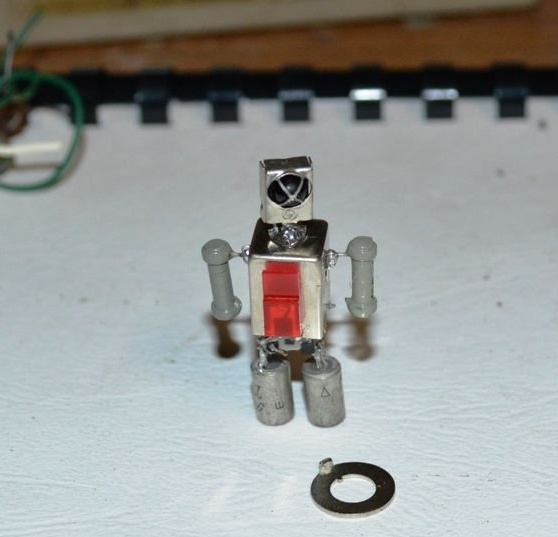
This is how robots look “in action”:
And here is how they are made ...
Step 1: Assembling Parts

Materials
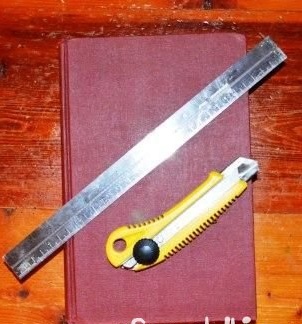
- hardcover book
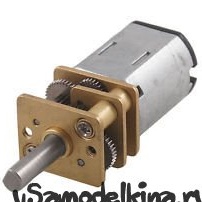
- gear motor 3V, 15 rpm
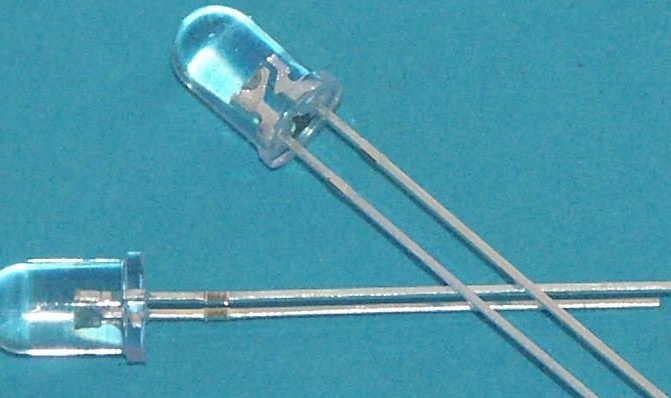
- white LED switch
- 2 LED holders
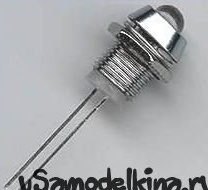
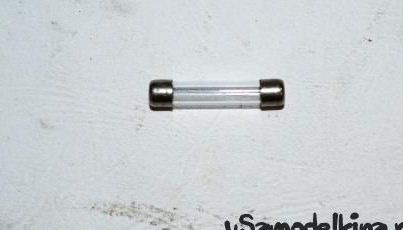
- old fuse
- copper tube - copper wire (thin)
- wire
- 2 magnets
- battery holder
- lever switch
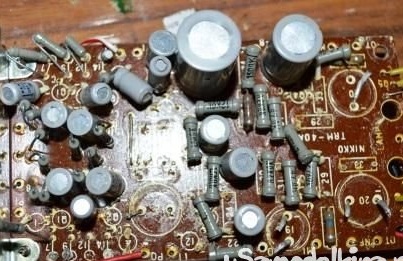
- old electrical parts: resistors, transistors, potentiometers - all that is. From all this we solder our robots.
- 2 washers, as thin and shiny as possible.
Instruments:
- hot glue
- soldering iron and solder
- pliers
- construction knife
Step 2: making the robot - legs
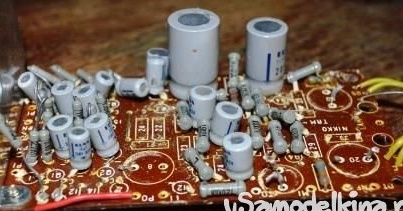
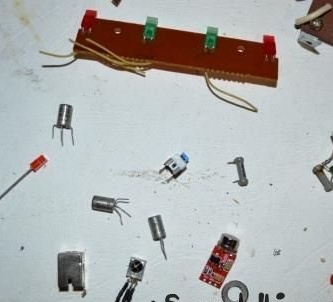
What parts the robot should consist of is up to you. Look at what is in the house from which it would be possible to solder it - old electrical components, spare parts from the radio, everything that is not needed from this can be used in this project.
To get started, put together all the spare parts that, in your opinion, are suitable for the assembly of the robot. Experiment with these details to choose the best.
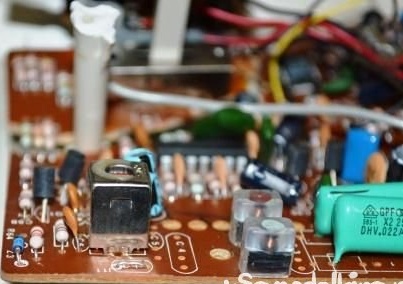
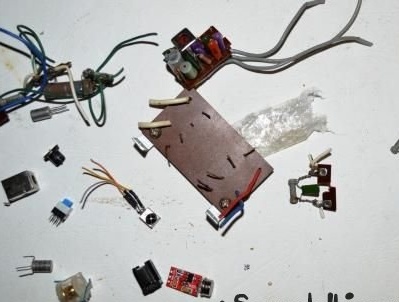
I had an old amplifier, which I found in the trash of one of the neighbors, and it had everything that was needed for robots.
Steps:
1. Assemble parts in one place
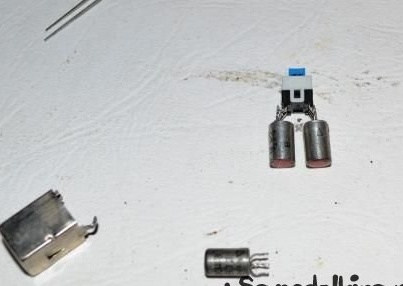
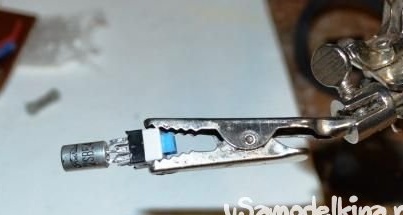
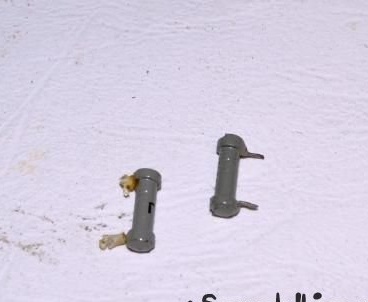
2. For the legs, I used a pair of transistors, which I soldered to the switch, as shown in the photo above.
3. After that, I bent the transistors out a bit to give a shape more like legs.
Step 3: Attaching the arms and torso
Steps:
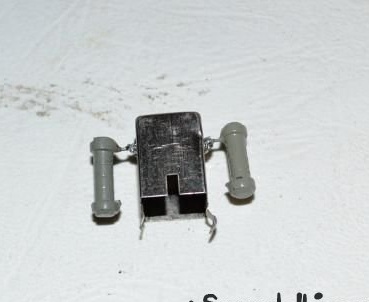
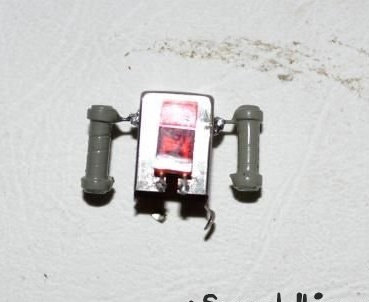
1. As a body, I took the old potentiometer. I took out the insides, and used the body as a body.
2.I attached a couple of resistors to the “body” as hands. I had to tinker with soldering my hands to the body, but I still got my way. For better soldering, heat the case with a soldering iron and add a ball of solder to it before you try to attach a resistor. This should help.
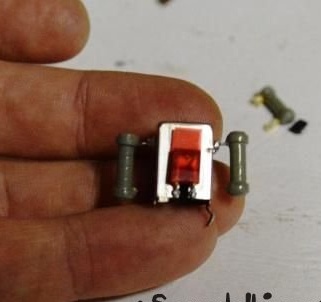
3. I soldered the old diode in front, because I wanted robots in retro style. I just soldered the diode contacts to the case and cut off the excess.
Step 4: Add the rest of the details.

Steps:
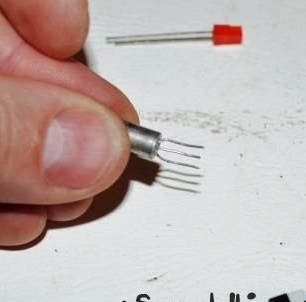
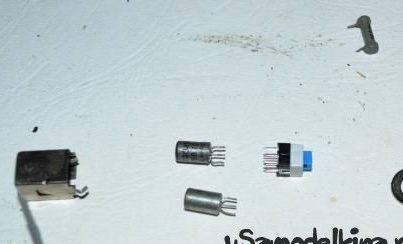
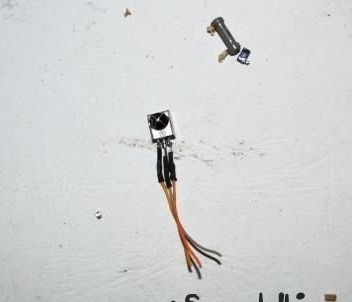
1. Then I made the robots heads. I thought for a long time what to take as a head, and in the end I chose the old phototransistor (it seems that this is it!).
2. I cut off the wiring and attached the phototransistor to the body using hot glue.
3. Then I taped my legs and body in the same way.
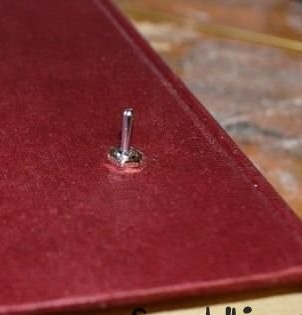
4. And finally, I soldered a small washer to my feet. This is the most important part, since it is the puck that will make our robots dancers!
Note: The washers I used were very thin and well polished. This is really important, use as thin as possible washers. The thicker washers, which I also tested, gave the worst effect, did not work as they should.
5. I soldered my legs to give the robot the effect of a moving man, you see these changes in the photographs from this step.
Step 5: Preparing the book - making the first cut


The next step is to find the right book for embedding the battery, motor and magnets. Here the most important point is the thickness of the book. It should be sufficient to fit all of these parts inward. I have many books, so finding the right one was not difficult (the most difficult is just cutting out blanks from the book for all spare parts!)
Steps:
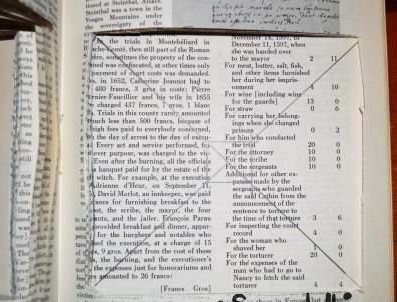
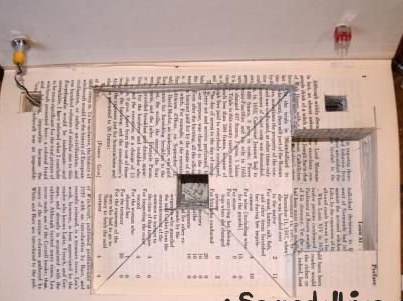
1. First draw a square in the center of the book. This is where we will place the motor and magnets later.
2. Start cutting the pages in parts, and stop when you reach a depth of about 10 mm.
3. In the center of the cut square, measure another 15x15 mm square. Use a construction knife, and cut this smaller square to the very back cover.
Step 6: we stuff the book - we embed the battery
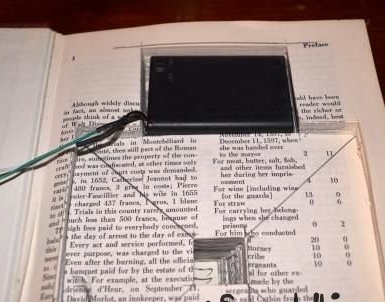

Steps:
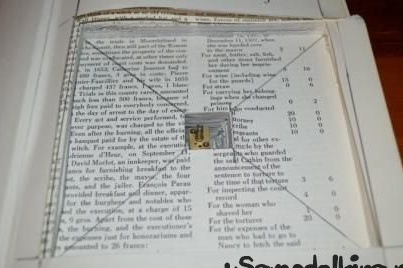
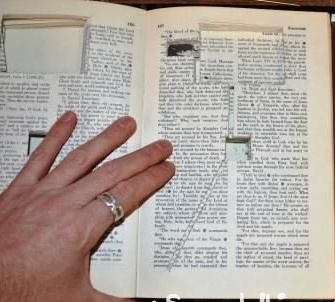
1. Mark the location for the batteries.
2. Cut the notch in the pages so that the batteries fit completely inside.
3. Cut a small “channel” in the book to connect to the motor, as shown in the photo above. In this channel wires from the battery to the motor will be located.
4. The time has come to connect the battery. You will need 3 wires. I used a computer cable, tied 3 wires together, as shown in the photo. One wiring connected to
- switch
- to the motor
- diode
Step 7: We Stuff the Book - Add the Light and the Switch


Now you need to add the on / off switch and the light. In fact, lighting is an optional component, so it's up to you to decide whether to do it or not.
Steps:
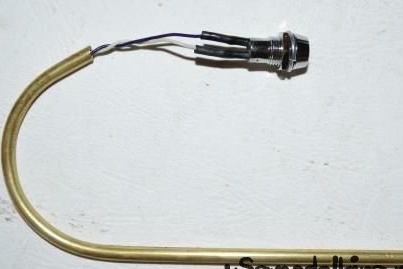
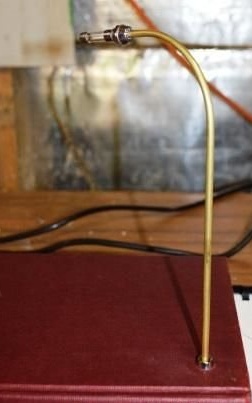
1. Bend the copper pipe as shown.
2. Pull a wire through it, make sure that there is a supply of wire at both ends.
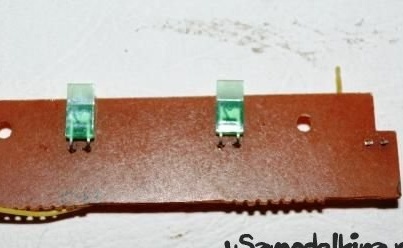
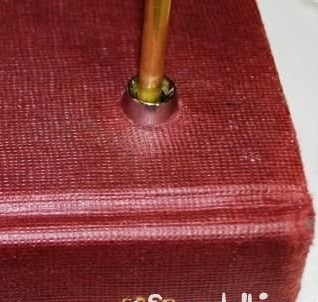
3. On the flat end of the tube, I fixed the holder for the diode. This is necessary to attach the tube to the book.
4. From the other end, I also fixed the holder for the diode, but vice versa. I also attached a fuse to the tip of the holder, having previously cut off one metal tip. I simply inserted the glass fuse tube into the diode holder.
5. Then you need to connect the diode to the end of the copper tube, close it all with a diode holder with a fuse at the end.
6. Next, you need to drill 2 holes in the book. One will be for the switch, and the second for the lamp. Both holes should be close to each other.
7. Again, make two channels in the book for wires, as shown in the photo.
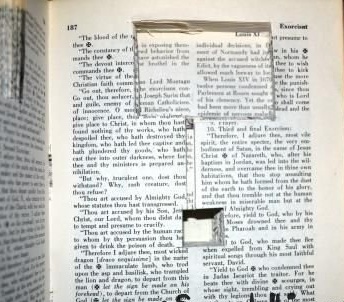
Step 8: we stuff the book - we embed the motor


Steps:
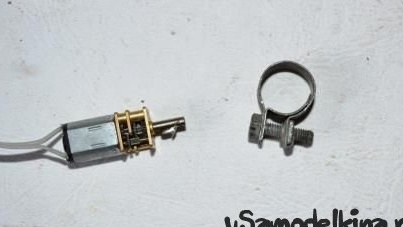
1. While I was busy with the motor, I decided to add a clamp to it, which helped ideally integrate it into the book.
2. I also taped the pages where I laid the channels for the wires. The book is cut up and down, so it will not be superfluous to strengthen the structure by gluing the cut pages of PVA or clerical glue.
3. Place the motor in the middle of the notch in the center of the book and secure with hot glue. The motor should tightly “sit in the book”, if not, wrap the motor with electrical tape.
3. Connect the wires to the switch and the diode lamp.
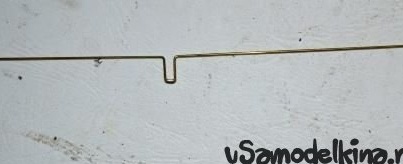
4. You must also add a lever to the motor.There will be magnets on both ends of the lever. which will set the robot in motion. First bend the lever as shown in the photo. Then set the lever inward so that it rotates inside the larger slotted square.
5. Glue magnets to the ends of the lever with hot glue. I set the magnets at a slight angle to help my robots dance.
6. Solder the lever to the motor as shown above.
Step 9: The job is done!


The result should be robots circling on the book.
Here are a few key points to remember if you decide to take on this project:
1. Be sure to take the thinnest washers possible. You can experiment with magnets to find out which washers rotate best. I took my washers from the old scheme, but you can buy new ones if nothing is at hand.
2. Try several options for how close the magnets should be to the top of the book. I noticed that if the magnets are directly under the cover, robots are more likely to dance.
3. Find the right book - the thicker the page, the better.
Good luck if you have questions and need my help - I will be happy to answer comments.