
Perhaps many of you have encountered the problem of getting a key into a castle well in an unlit stairwell.
In this article, the YouTube author of the Lefty channel will tell you how he improved the flag key by incorporating an LED flashlight with a battery into it.
Materials
- Wrench
- Magnesium plate, brass bar
- Battery 3.7VX100mA
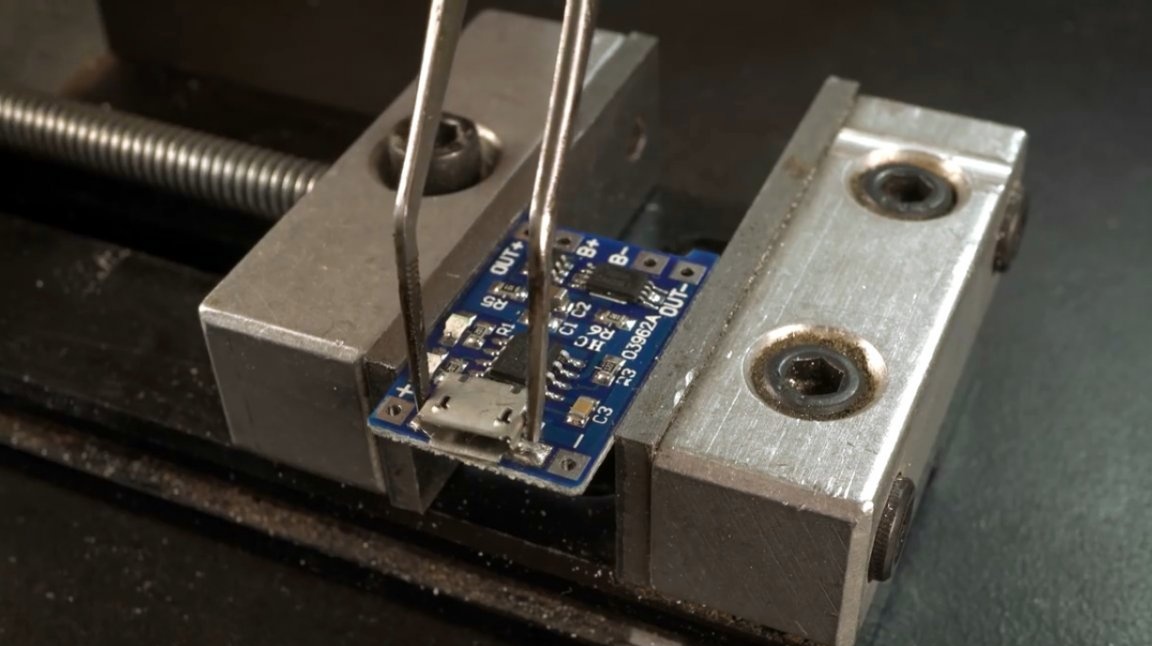
— USB battery charger module
- Clock button
- Flux, solder
- MGTF wires, heat shrink tube
- SMD LED
— Two-component acrylic adhesive
- Self-adhesive film
- Machine oil.
Instruments, used by the author.
— Bulgarian
- Vise, pliers, electronic vernier caliper, tweezers, needle file
- Lathe
- Orbital sander
— Automatic core
- Drilling machine, drill bits for metal
— Tap
— Dremel
- Hacksaw
— Soldering iron
— Gas-burner
- Compass, marker, nippers, screwdriver.
Manufacturing process.
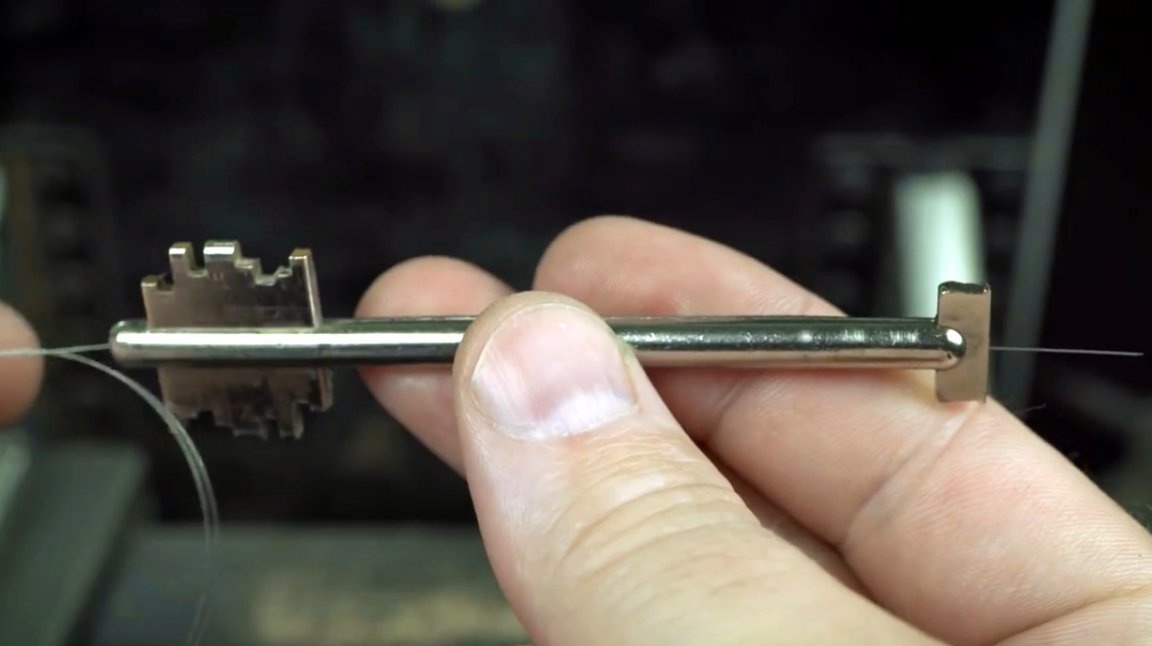
So, for improvement, the author chose the usual flag key.
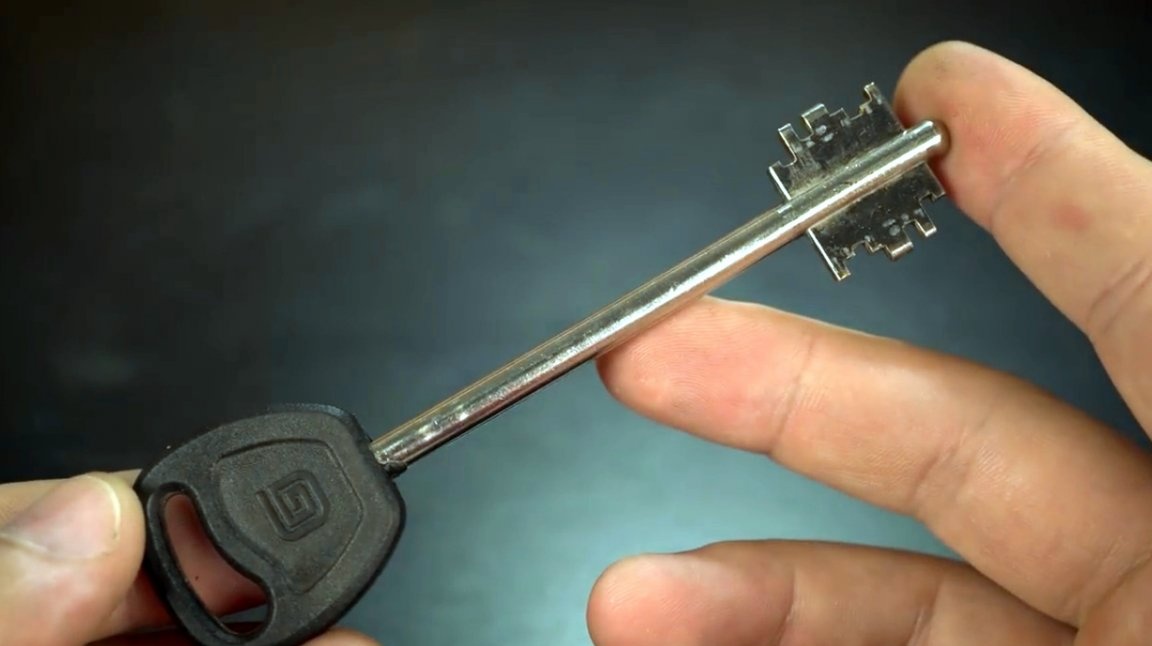
To begin with, he fixed it in a vice, and cut off part of the plastic case with a hacksaw. He broke off the remnants of plastic with pliers.

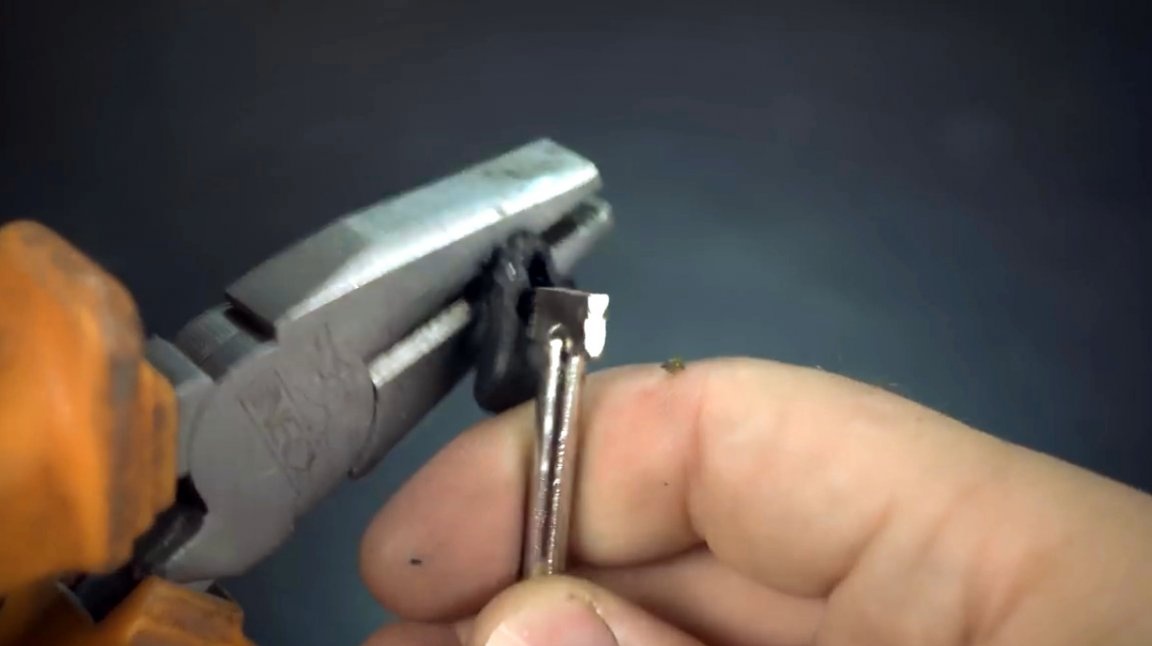
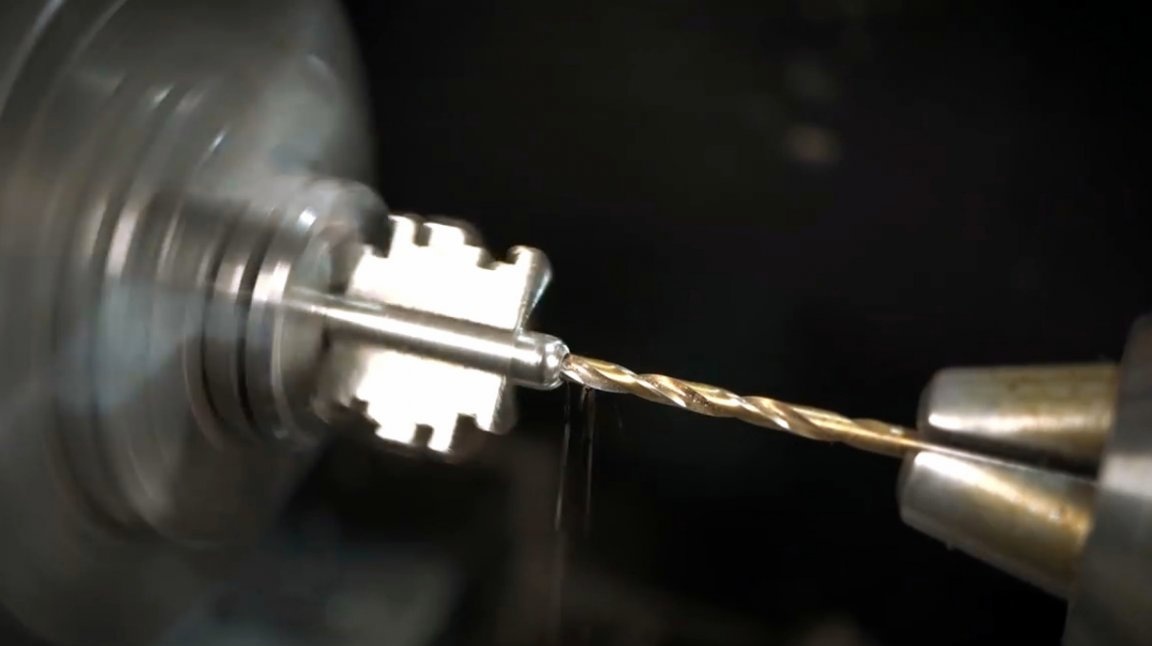
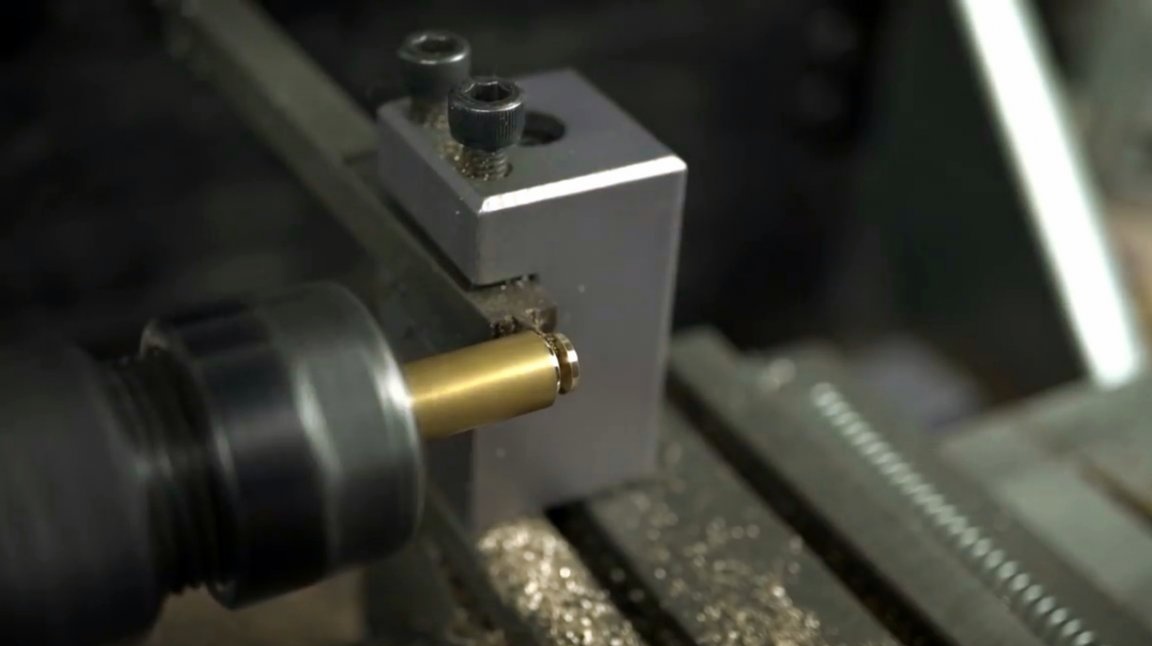
Then the key is fixed in the chuck of the lathe, and a hole is drilled through it with an elongated drill.


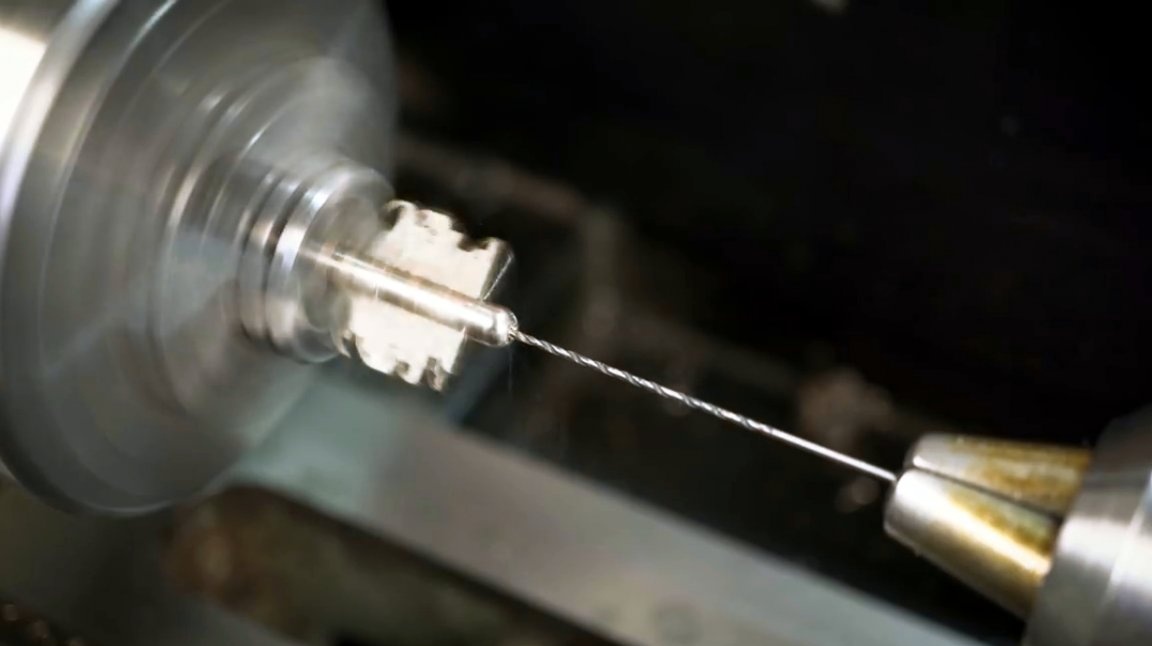
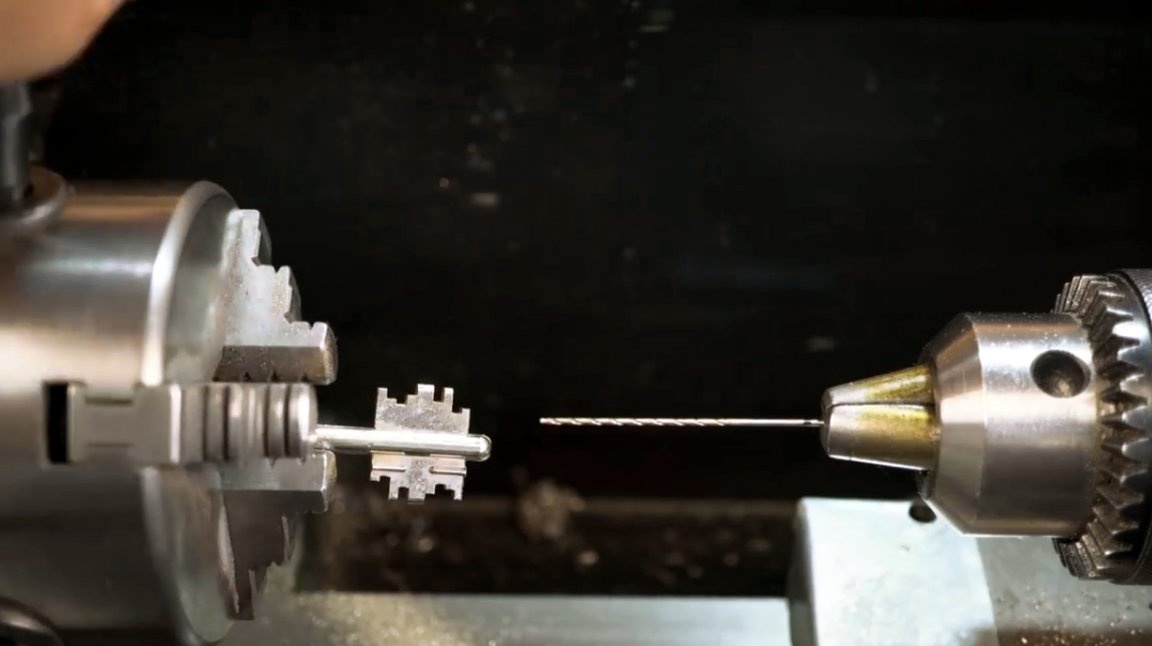
The length of the drill for the manufacture of a through hole was not enough, the master turned the key 180 degrees, took advantage of the backrest and drilled the oncoming hole.
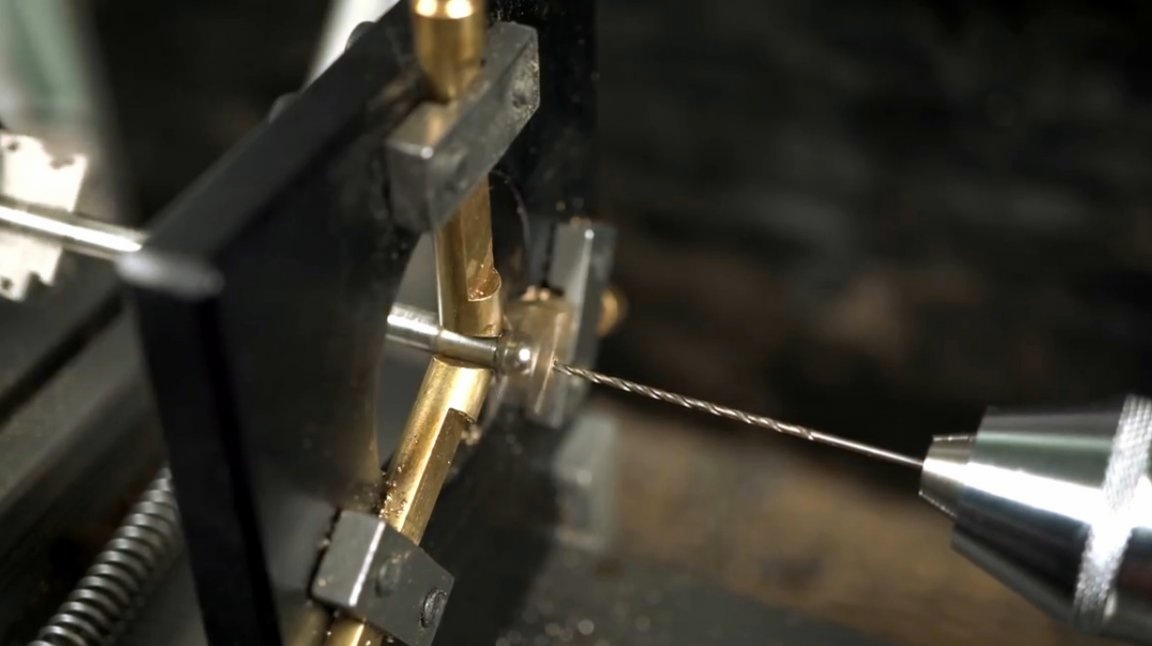
Actually, the hole is ready, and the wire freely passes through it.
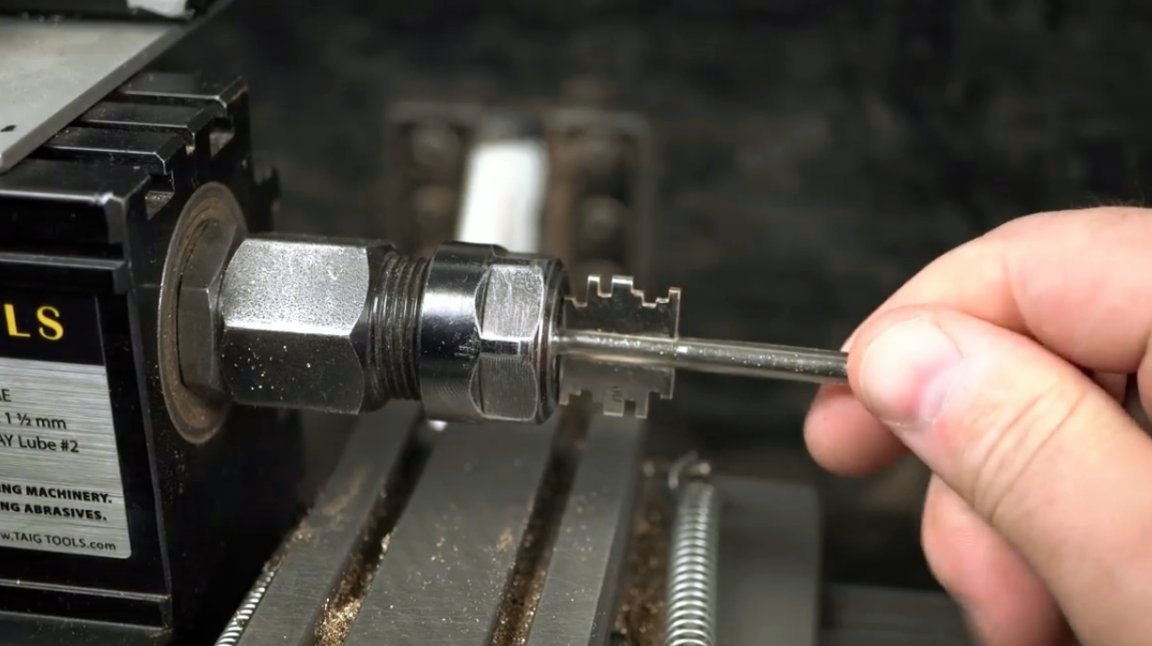
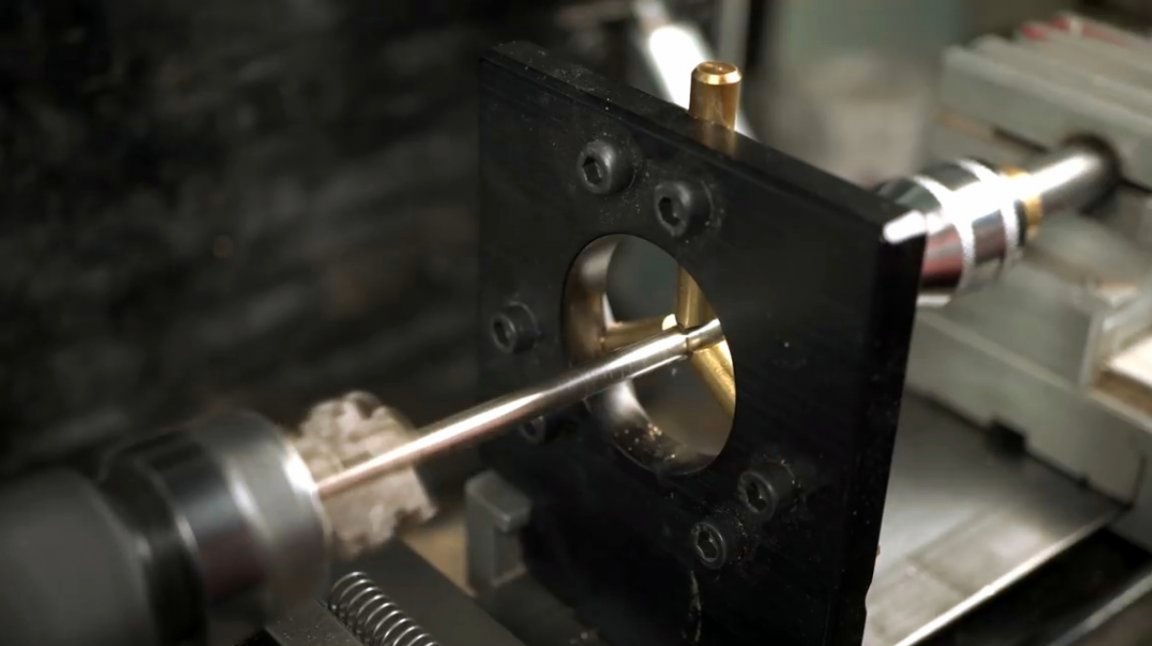
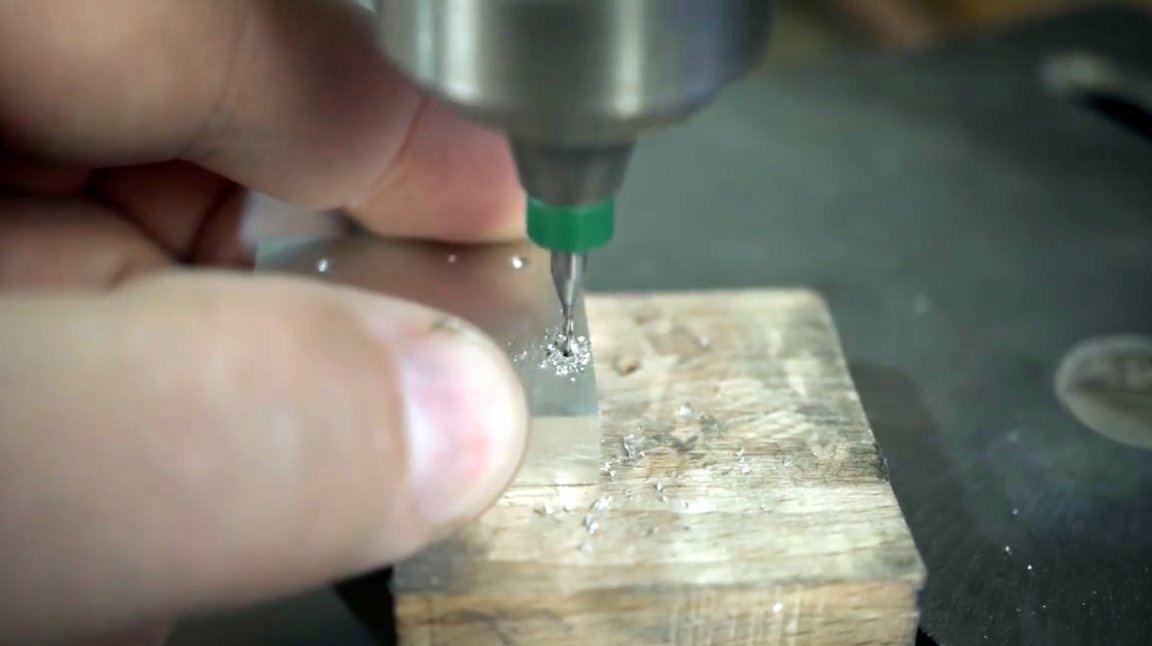
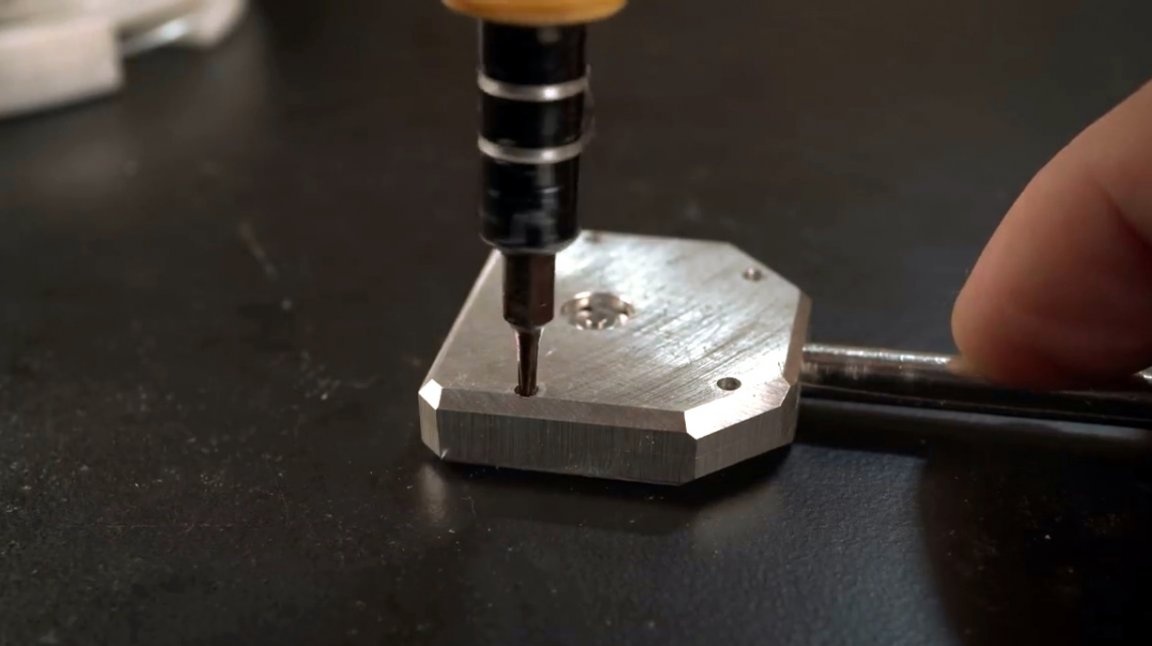
Now you need to make a landing hole for the LED at the end of the key, and remove the chamfer.

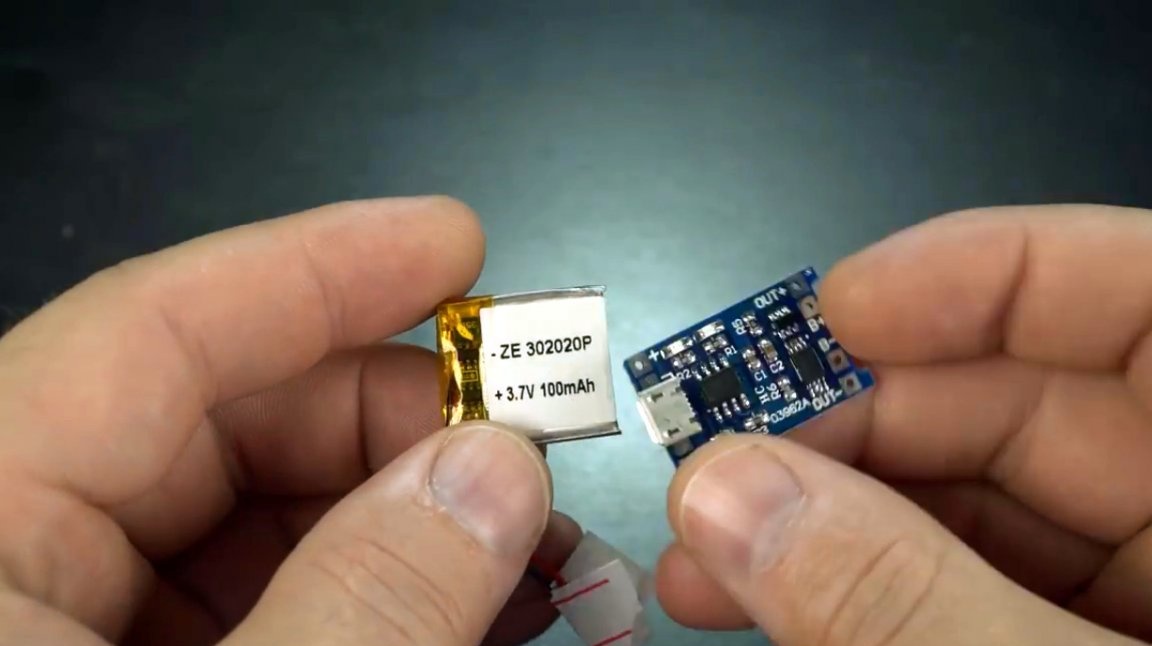
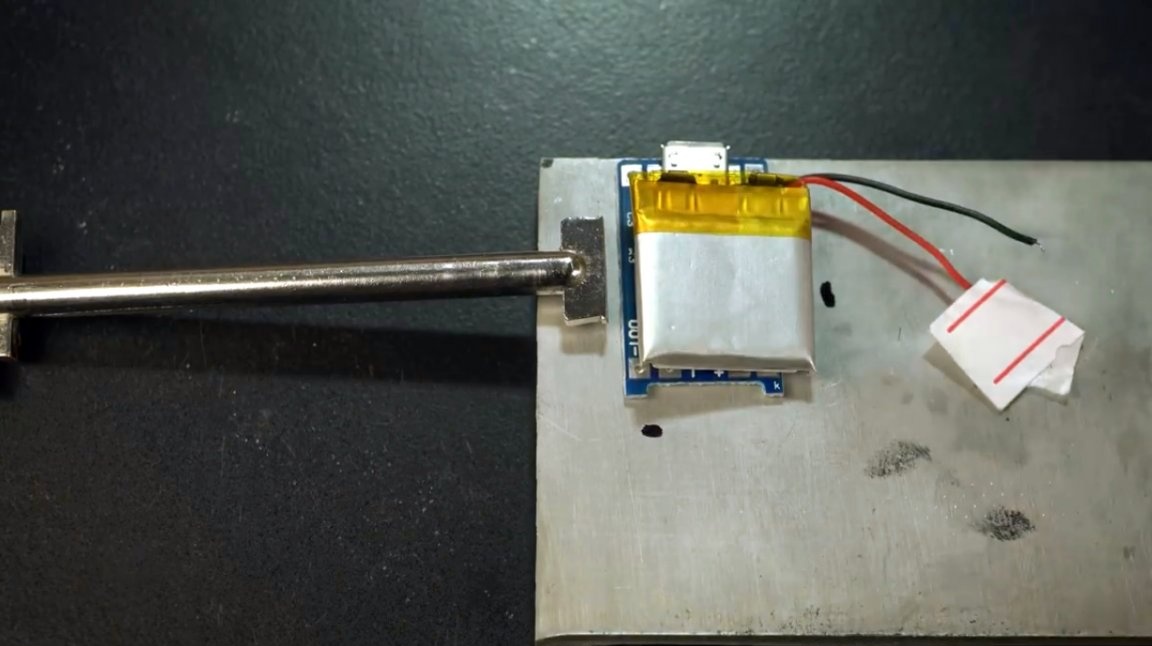
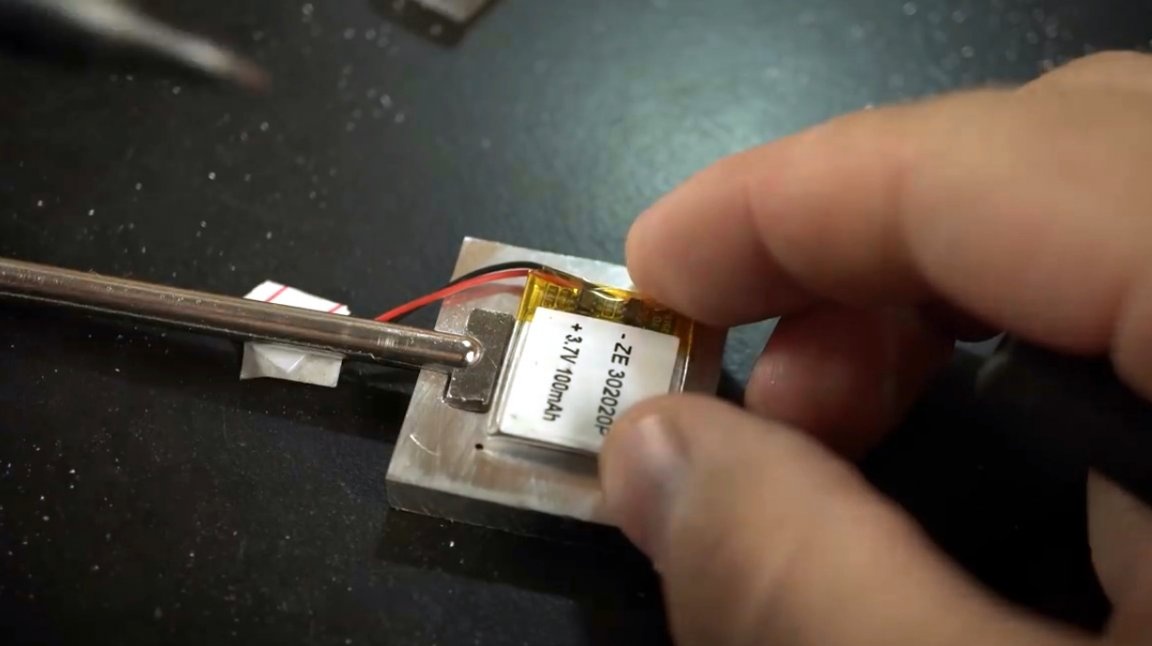
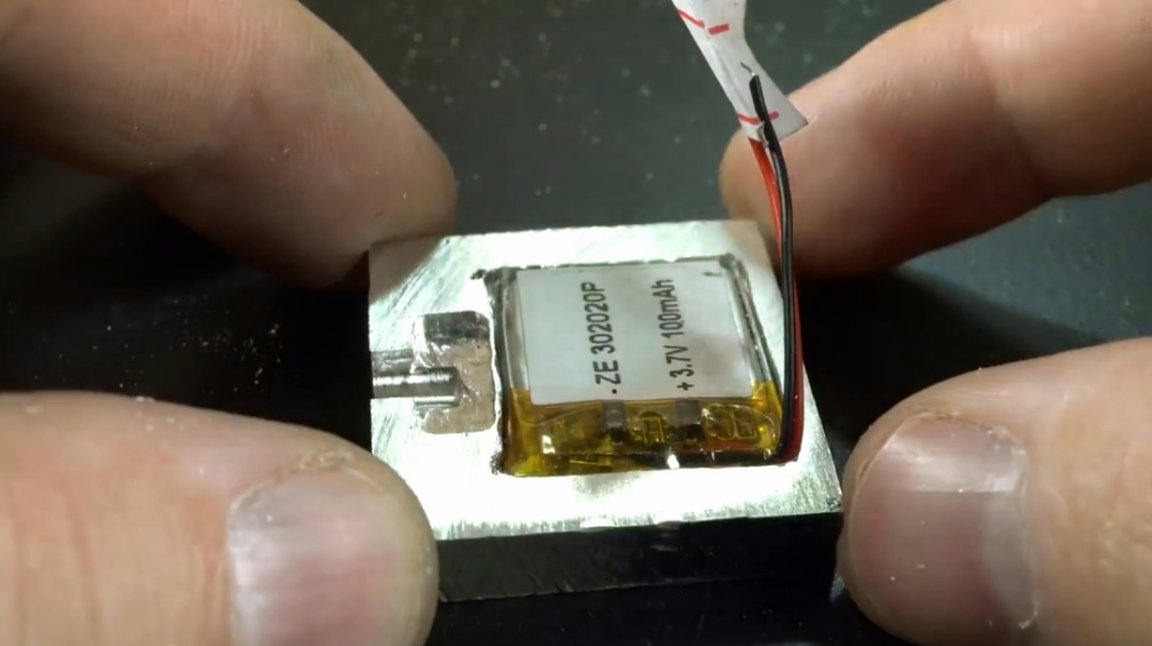
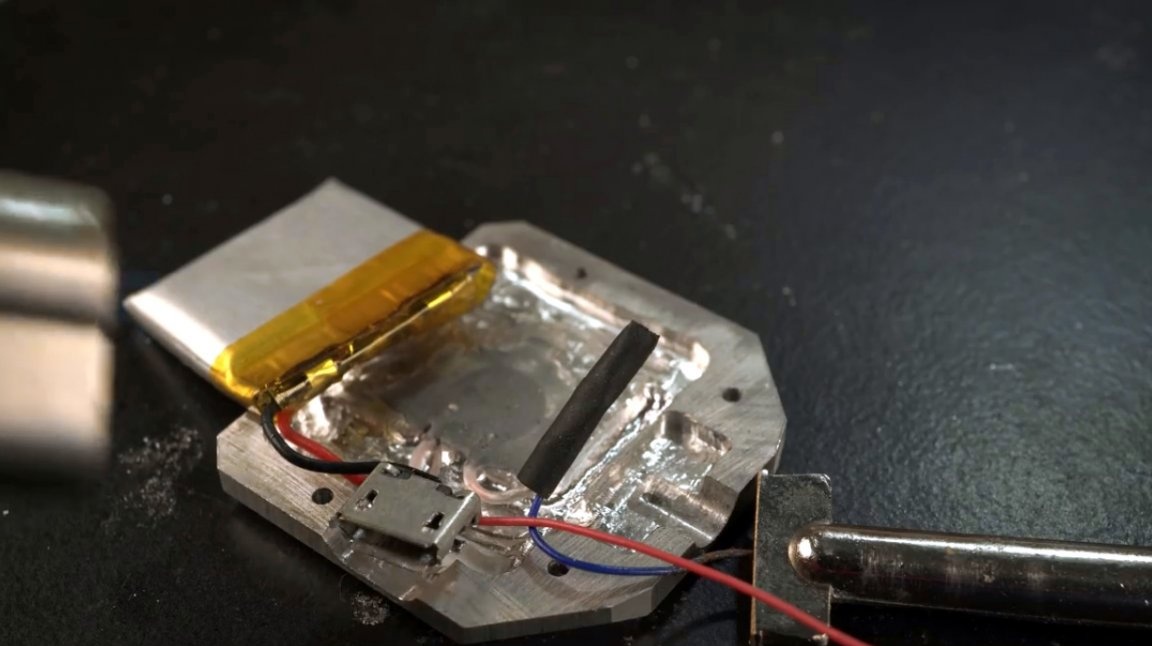
He will use a magnesium plate as a replacement for the plastic holder and battery case. The charge controller itself is too large, and it will have to be placed in the charger. But the 3.7 Volt and 100 mA battery is just right.
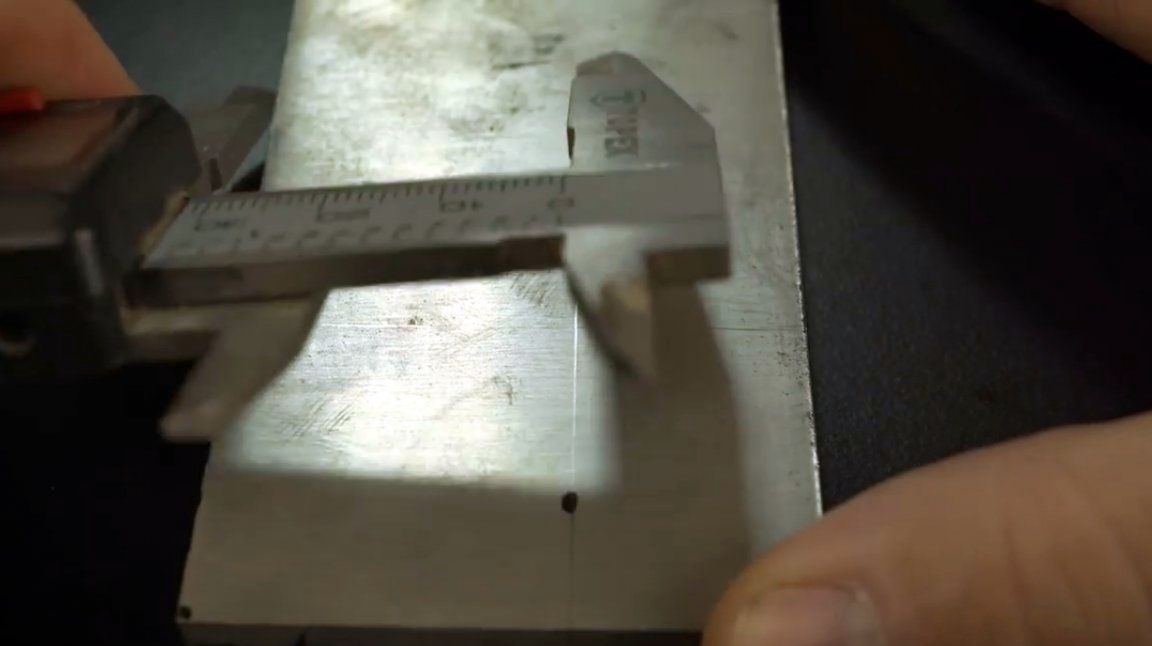
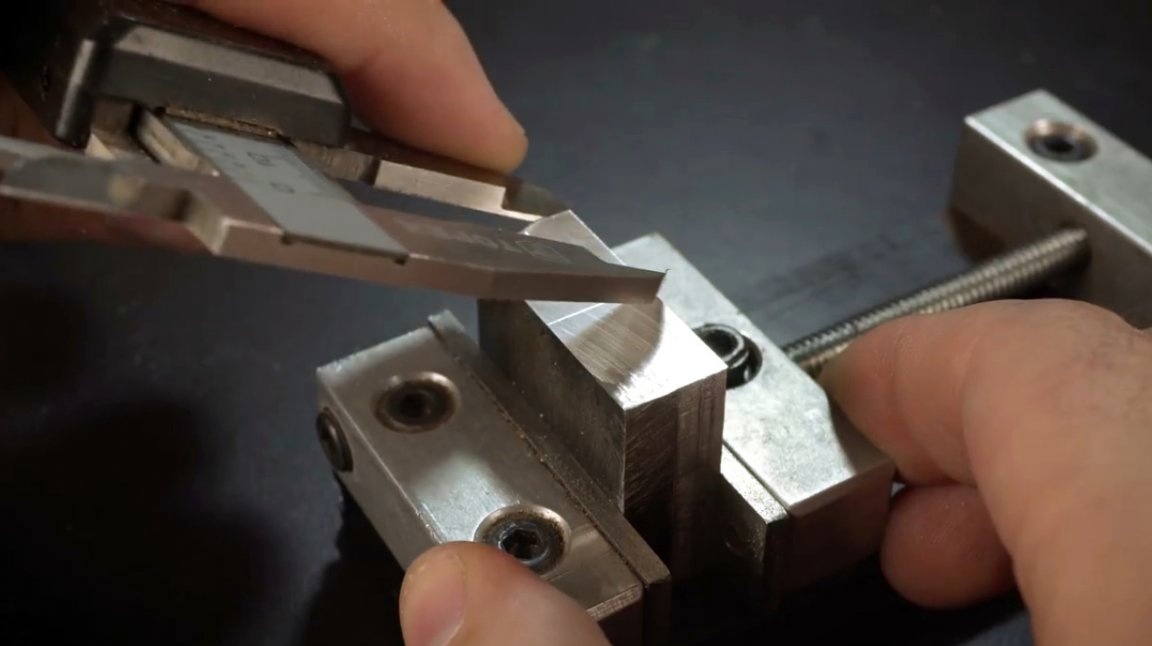
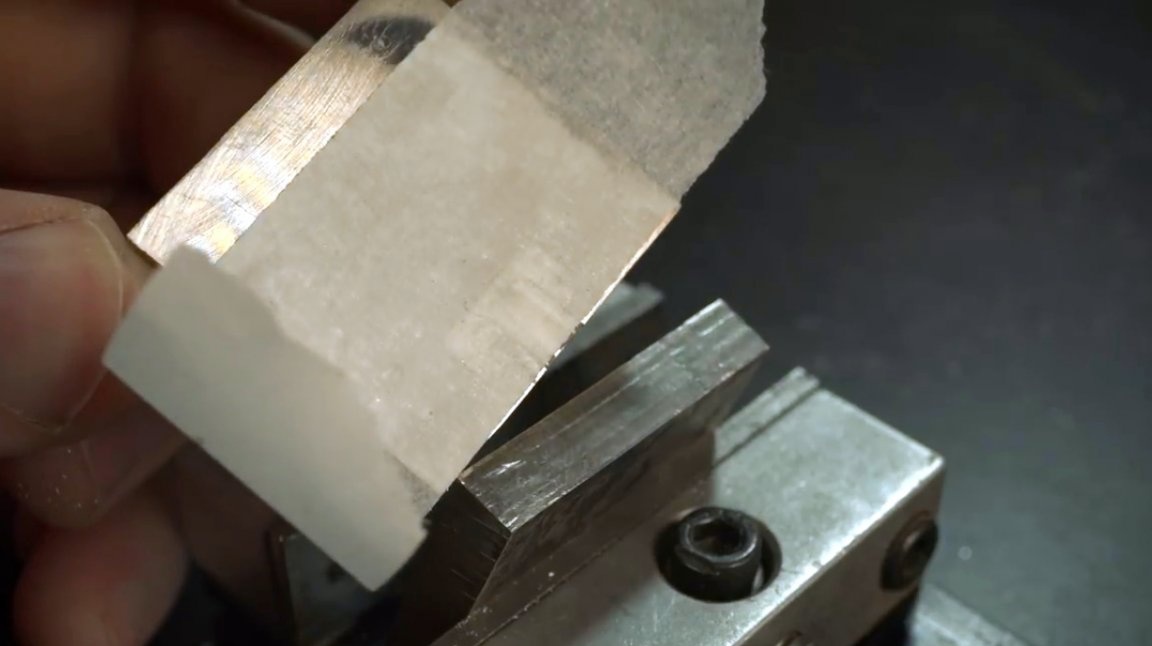
The plate is marked with a caliper, and a pair of workpieces is cut with a jigsaw.
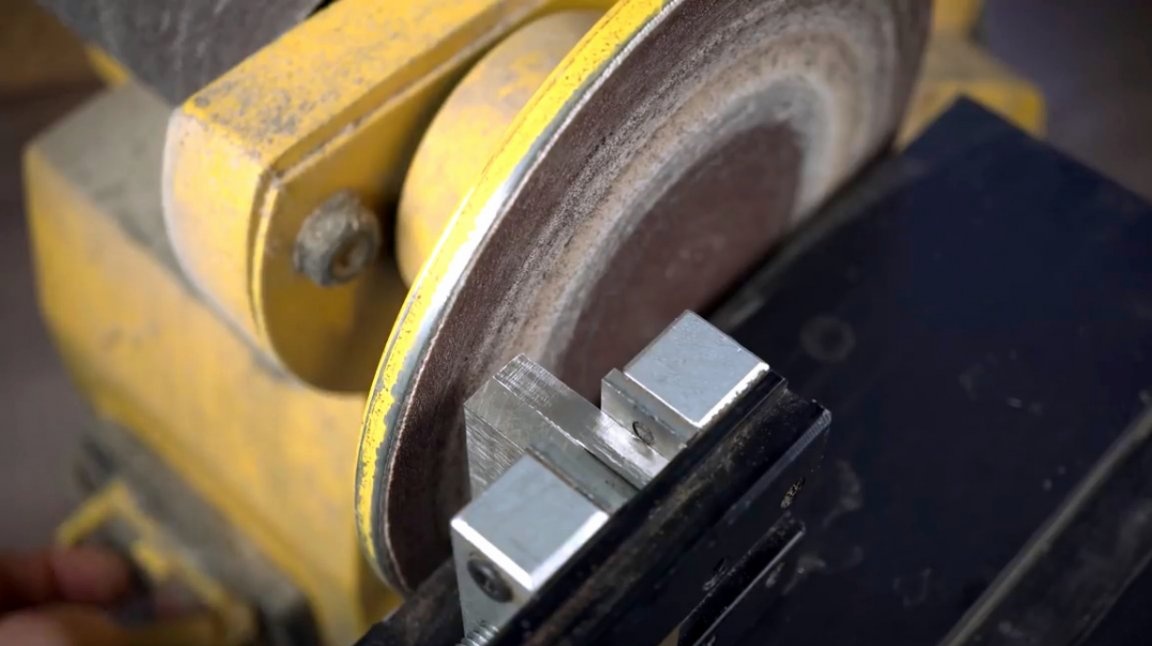
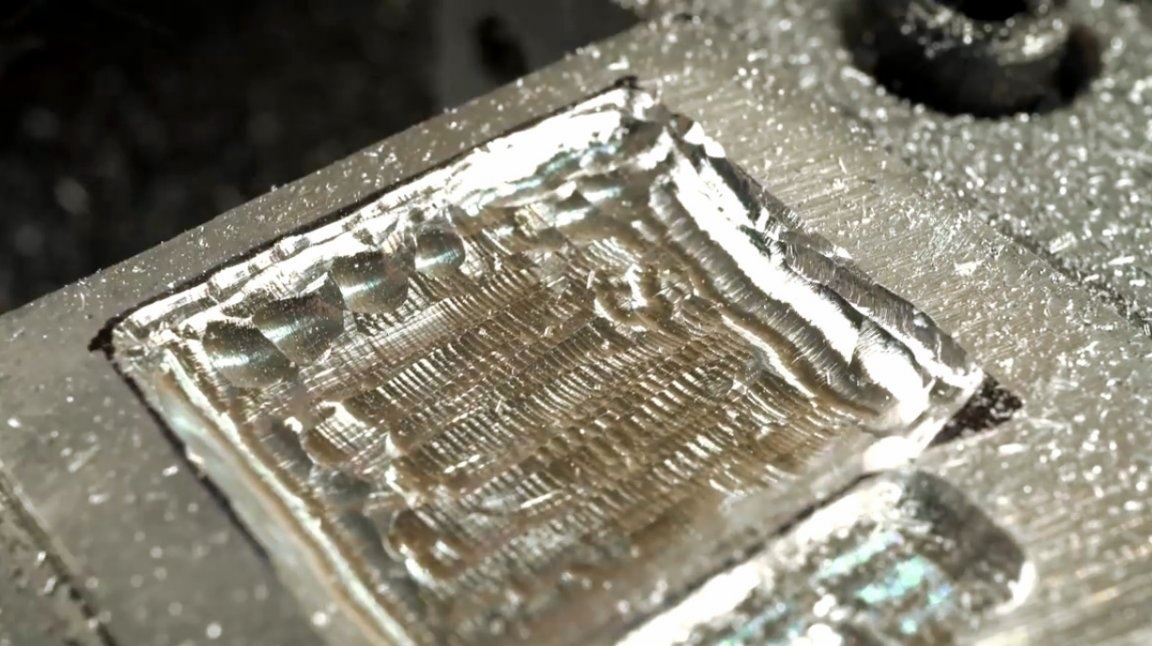
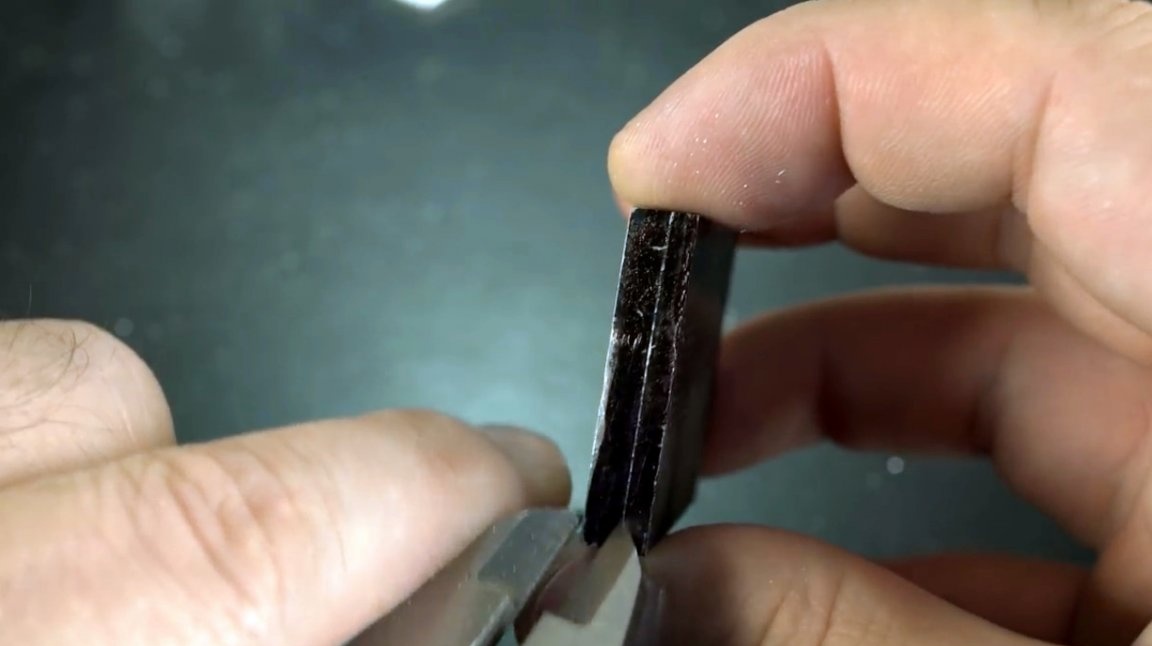
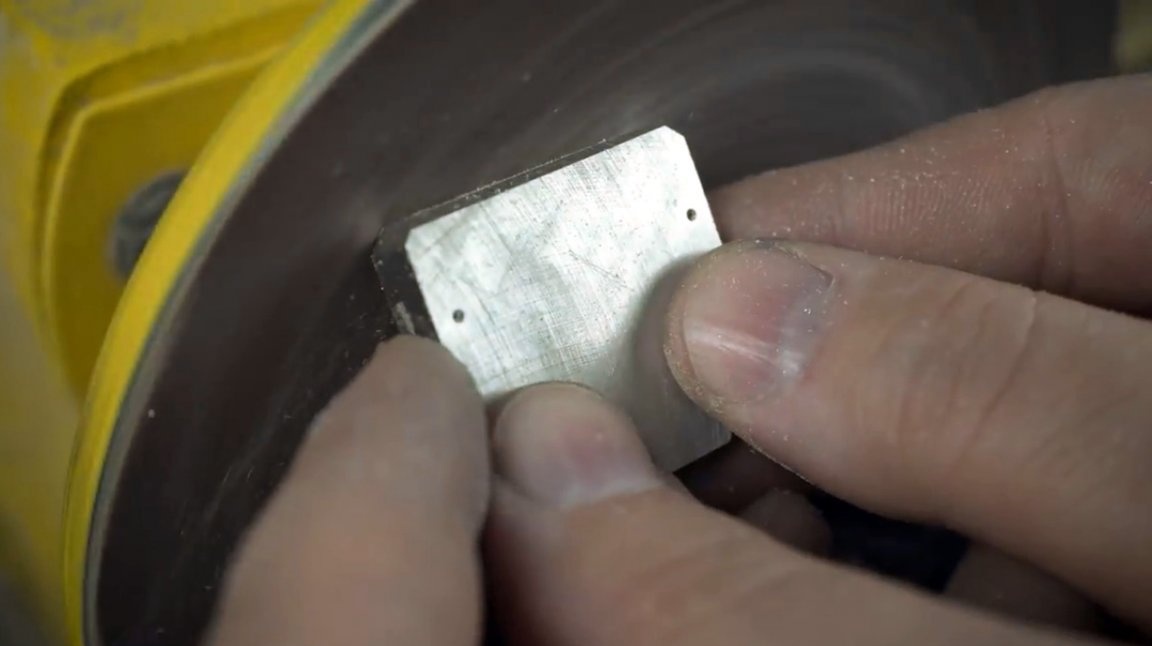
These two parts are fixed in a small vice, and their edges are aligned on an orbital sander.

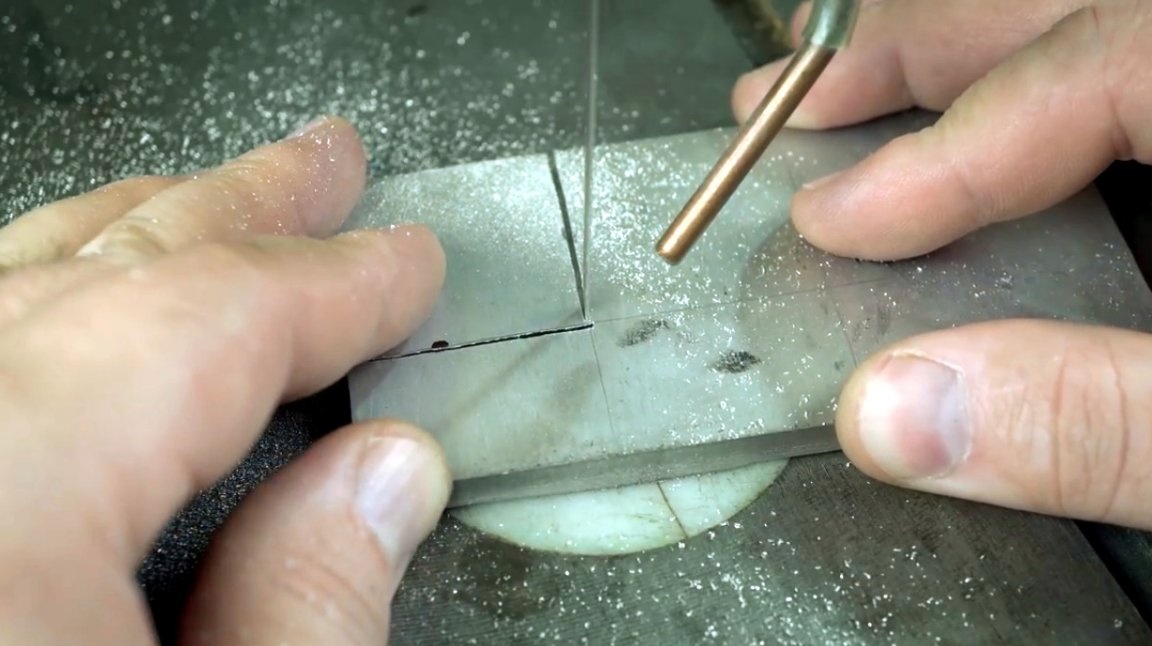
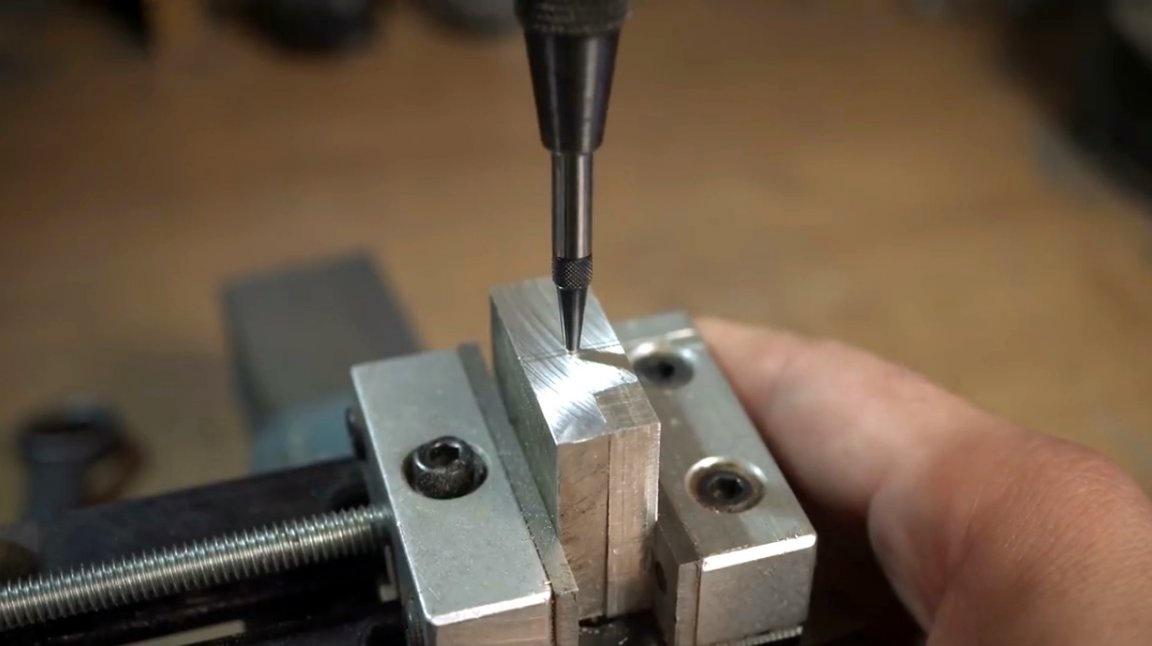
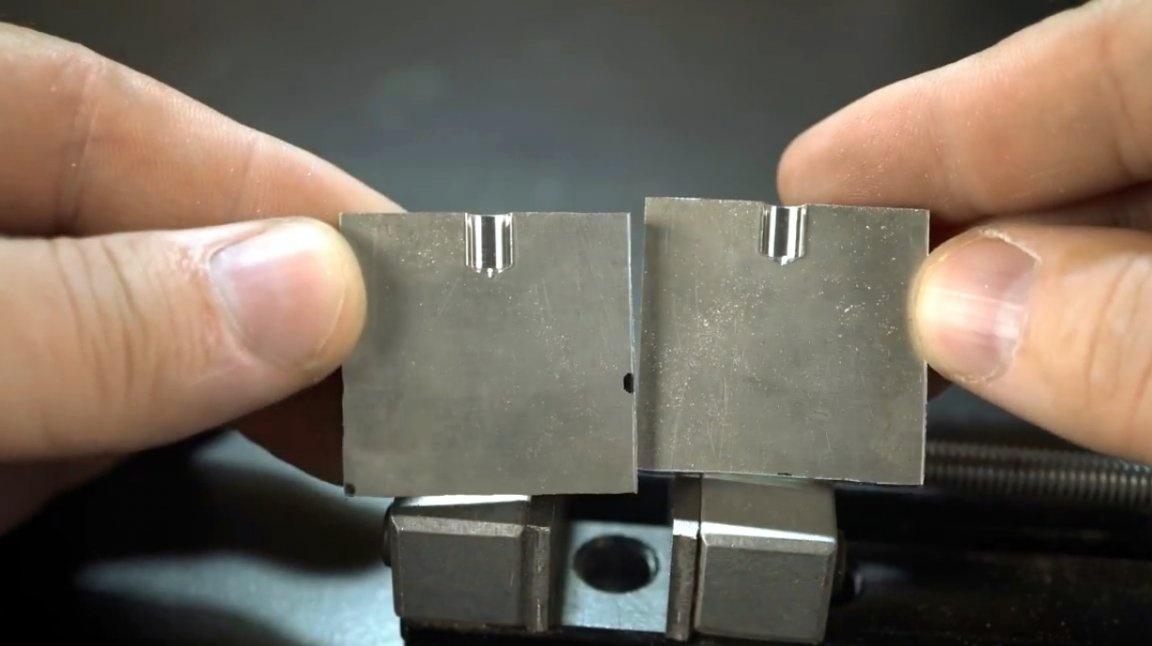
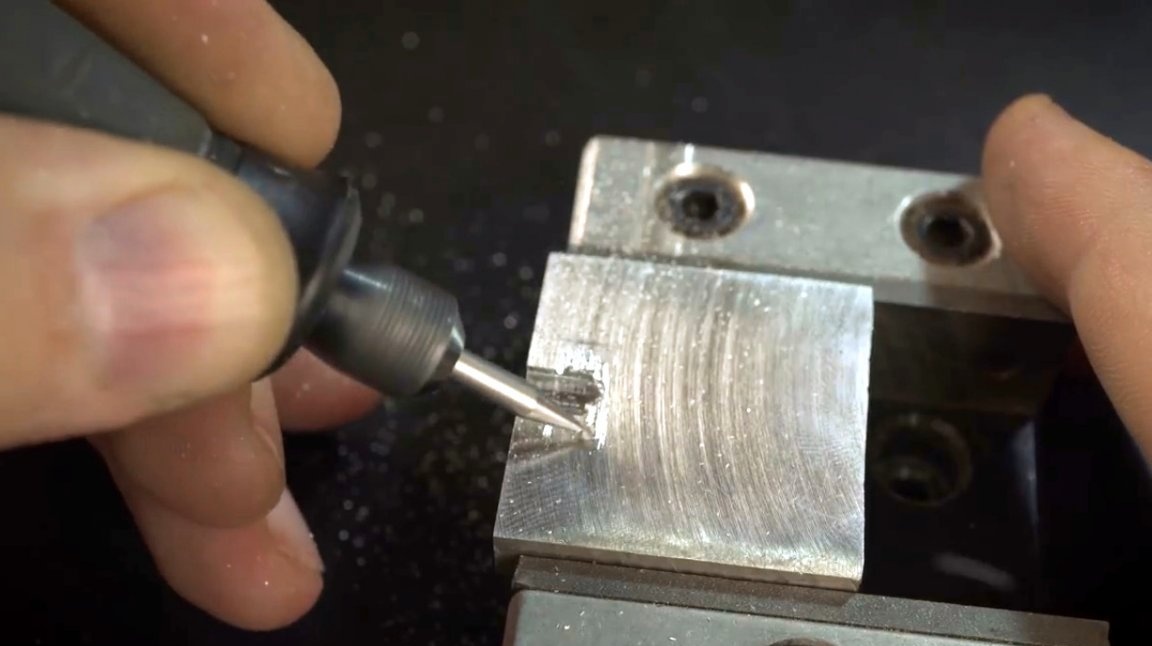
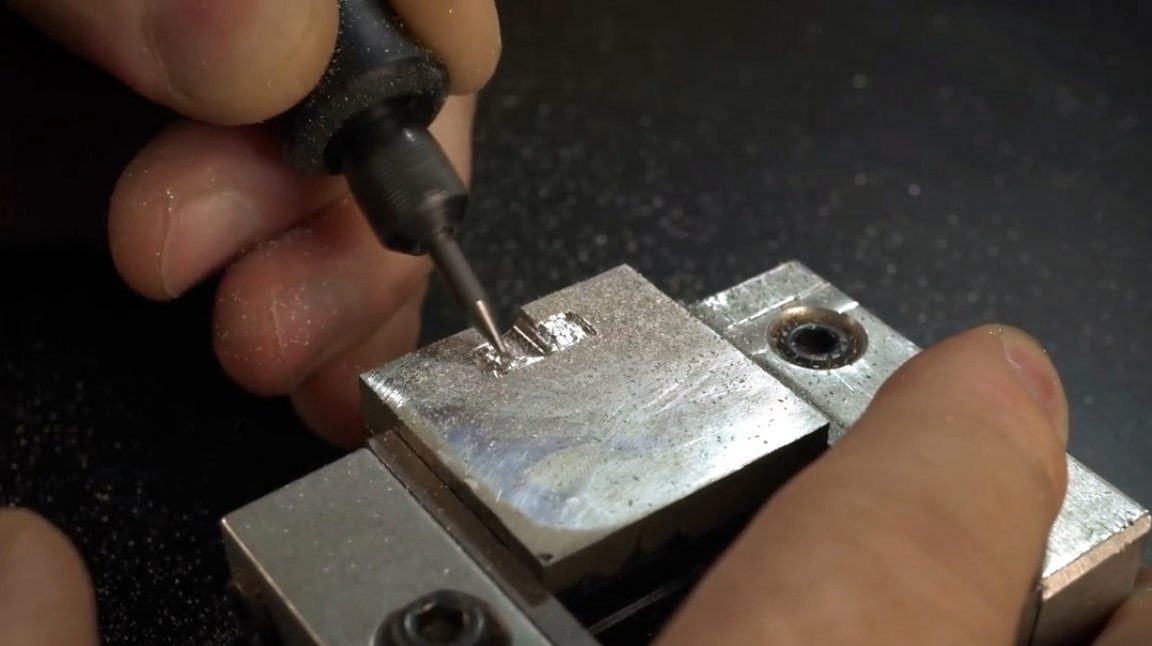
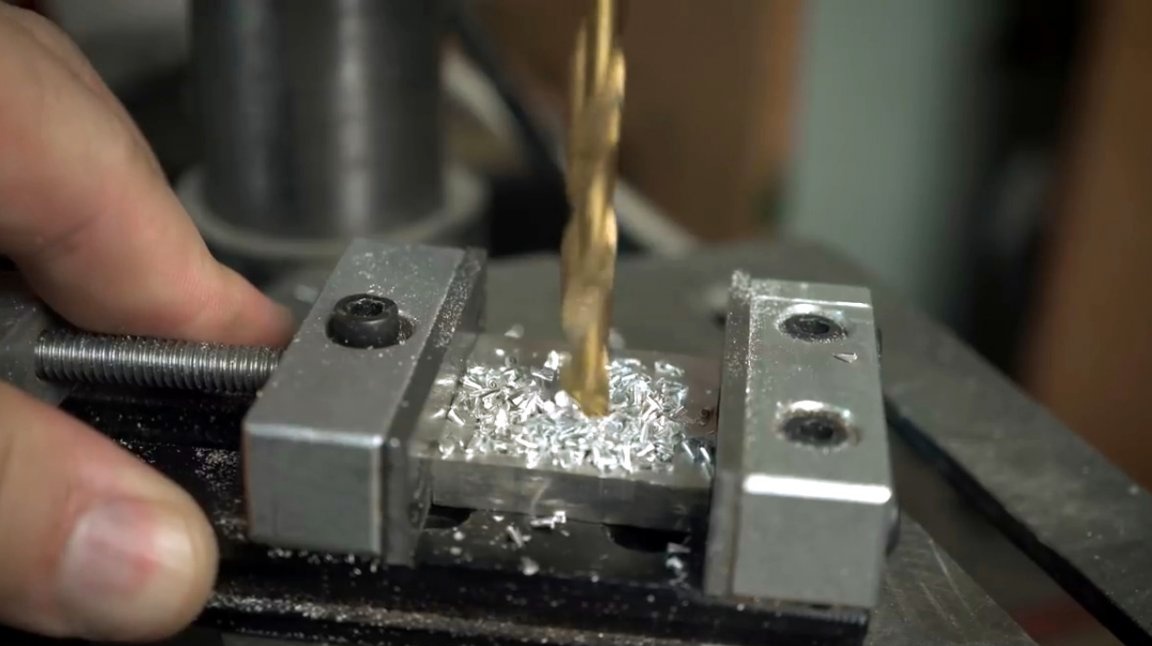
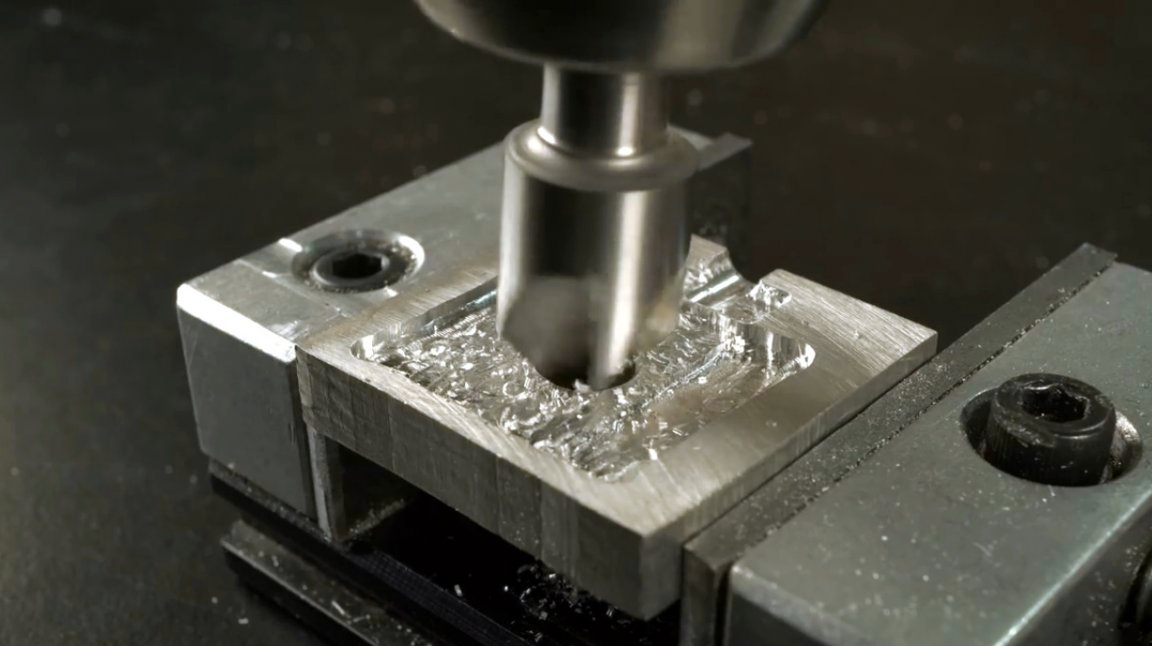
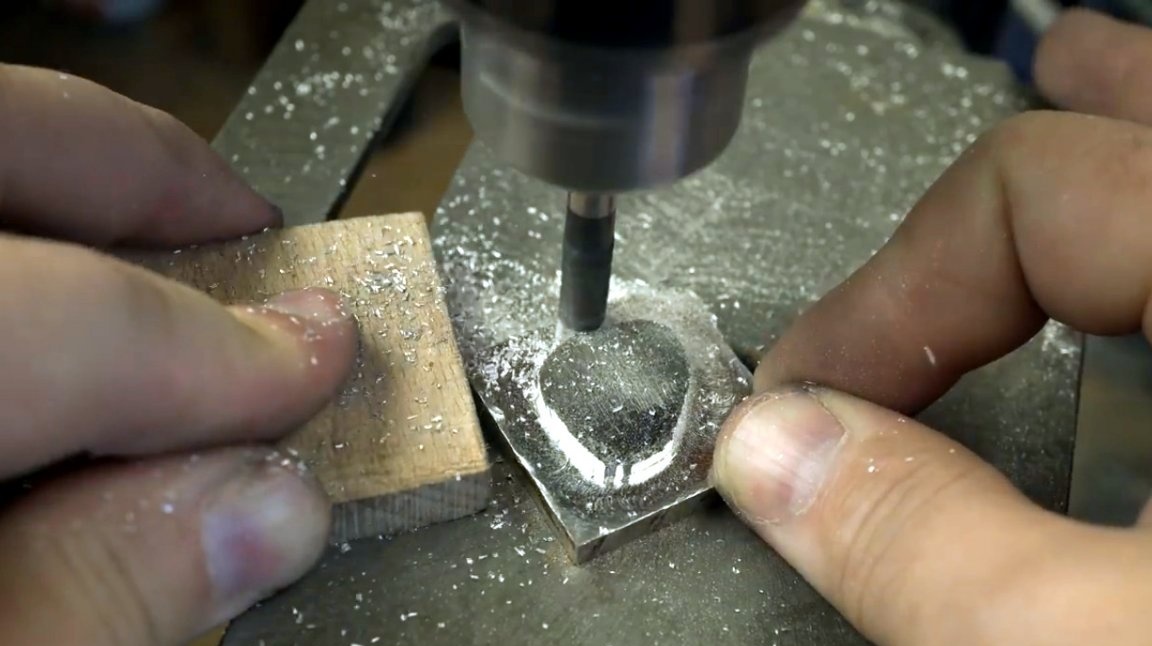
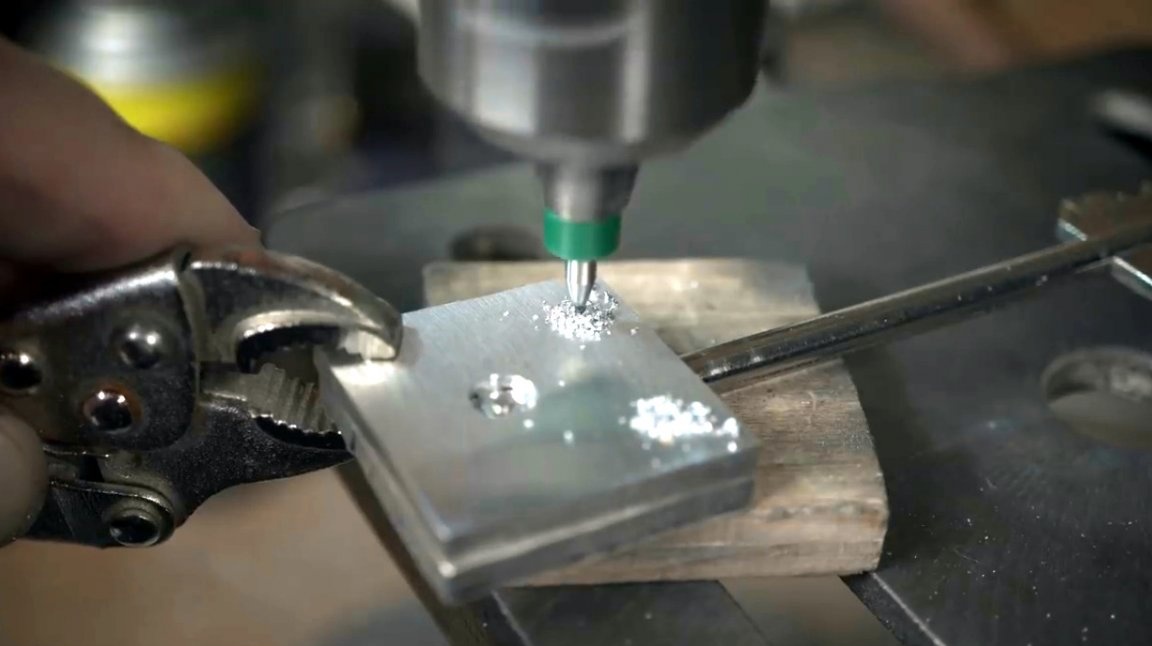
On one side of the blanks, a center is drawn and pivoted, a blind hole is drilled in it along the diameter of the key.

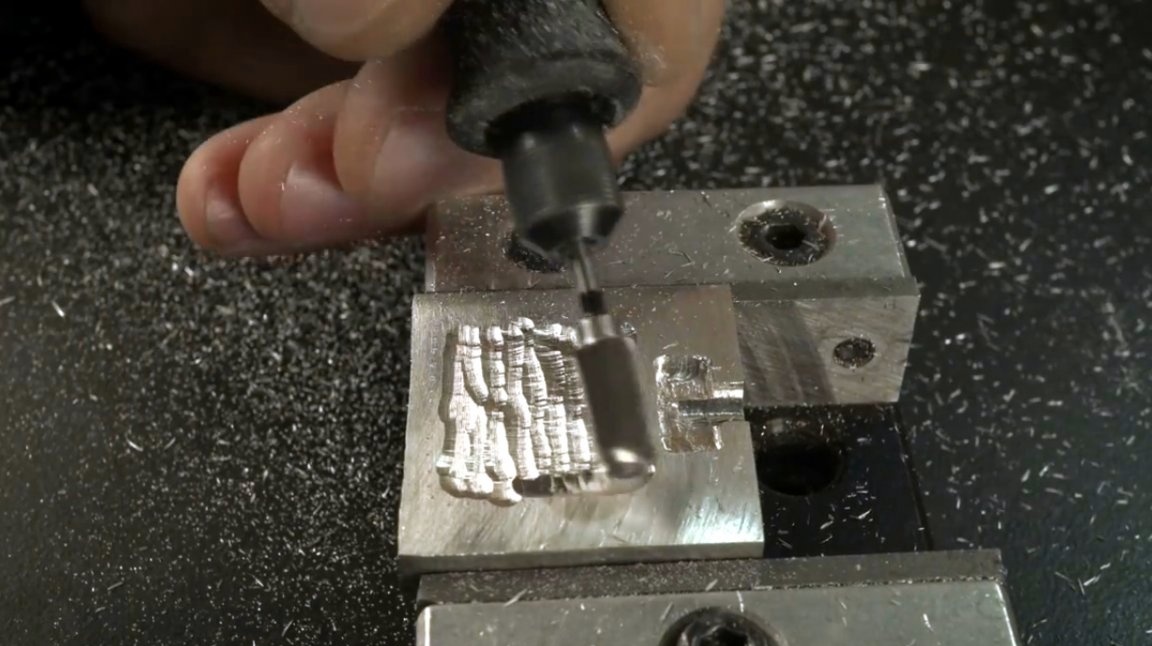
Next, the groove for the mounting flag is marked, and a selection is made in the first half of the case with a dremel.
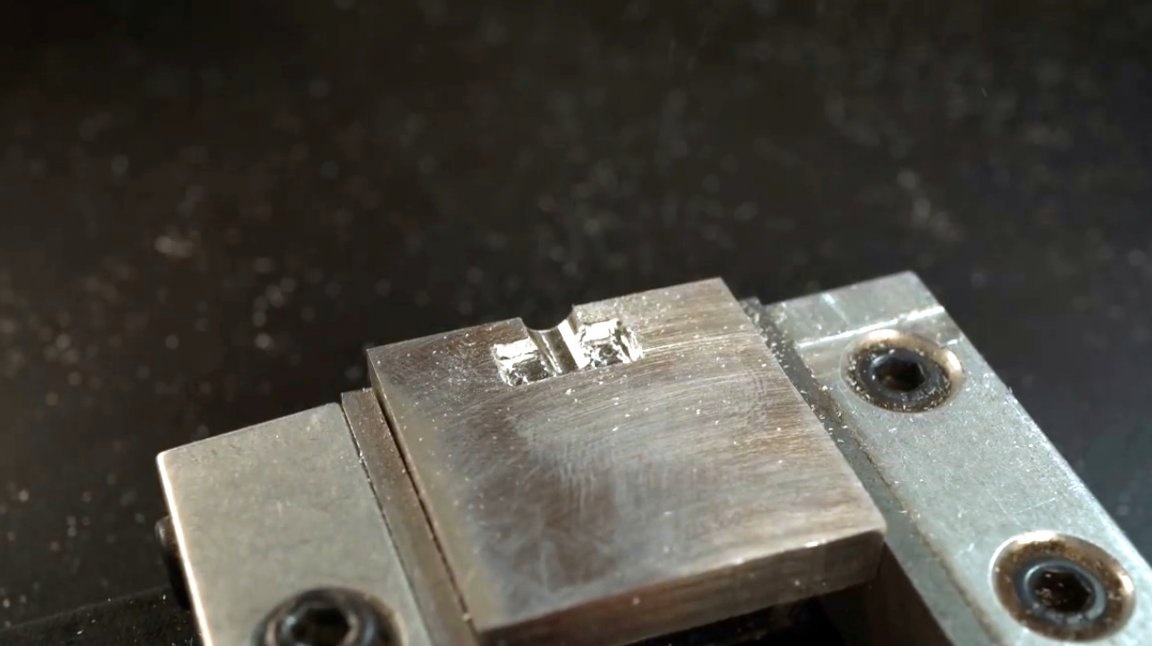
Using the masking tape, the marking is transferred to the second part, and a selection is also made in it.
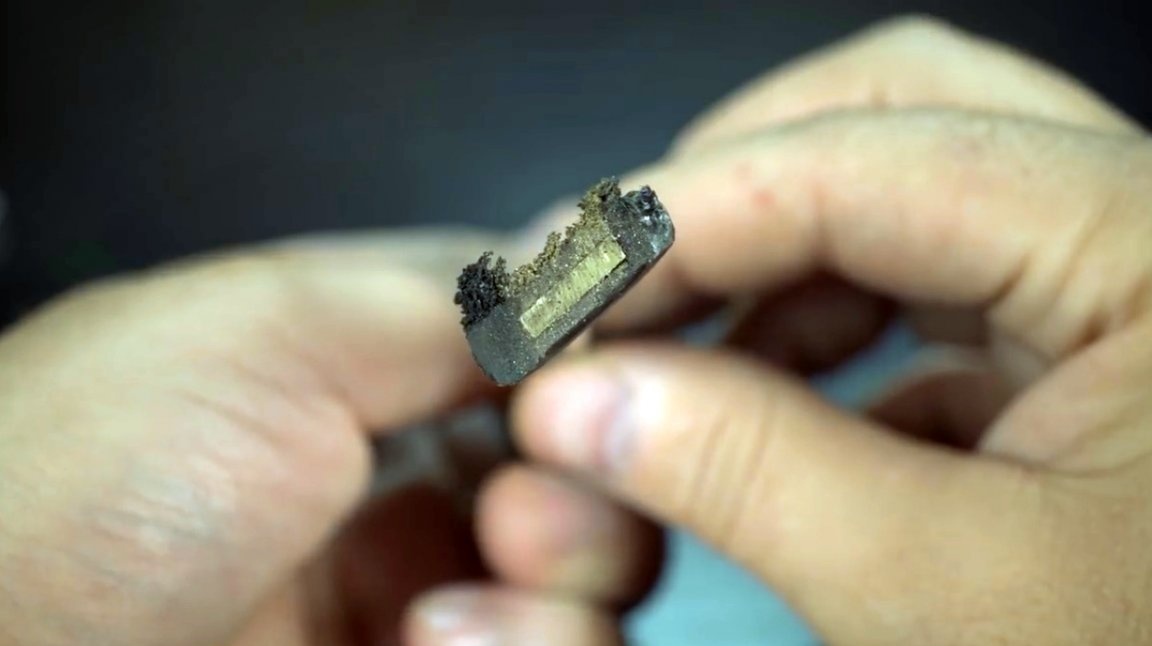
Now it's time to make a groove for the battery. In one of the halves you need to make it of greater depth. And in the second, leave the material thickness a little more, there should be room for a small tact button.

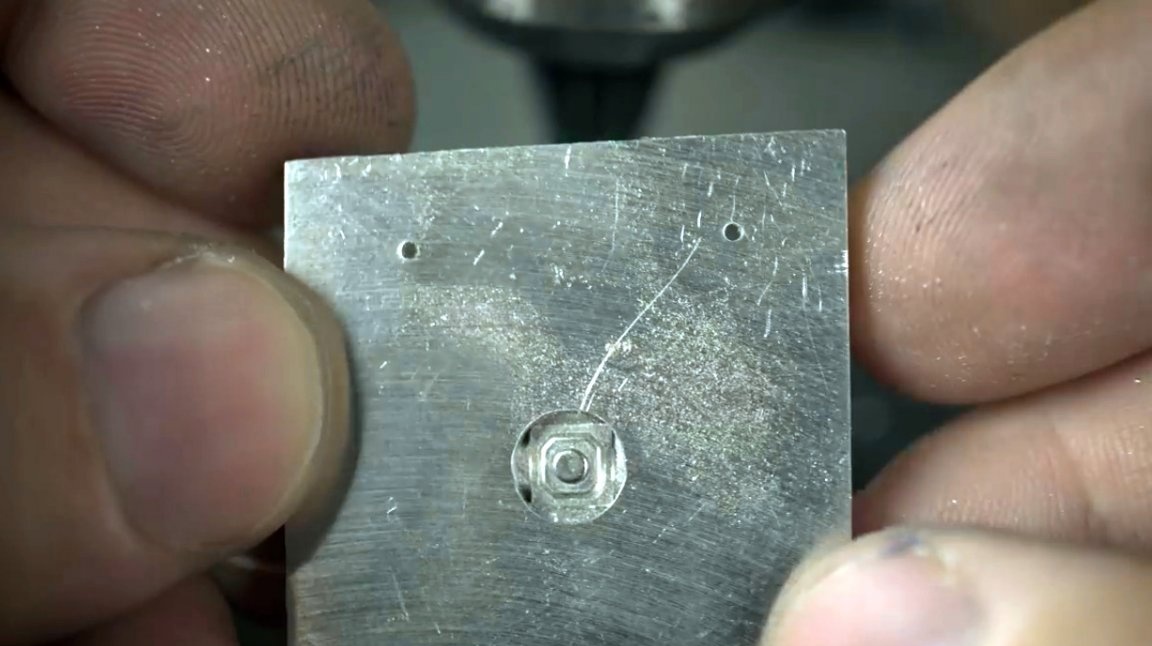
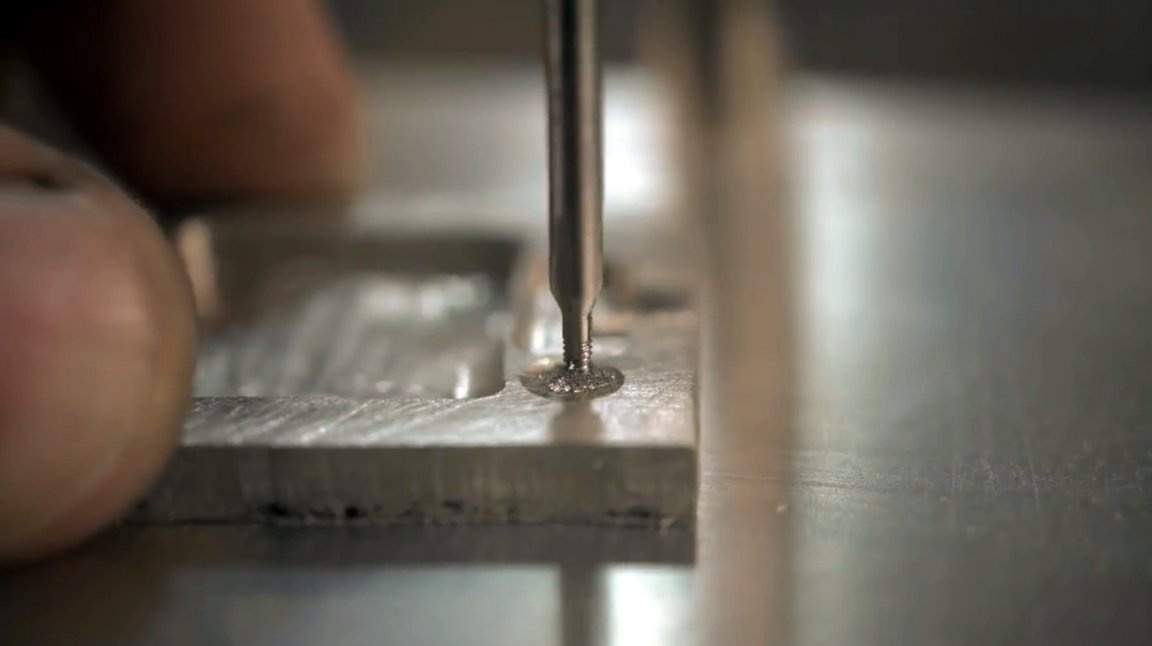
In the second half, a hole for the button is drilled and countersinked.
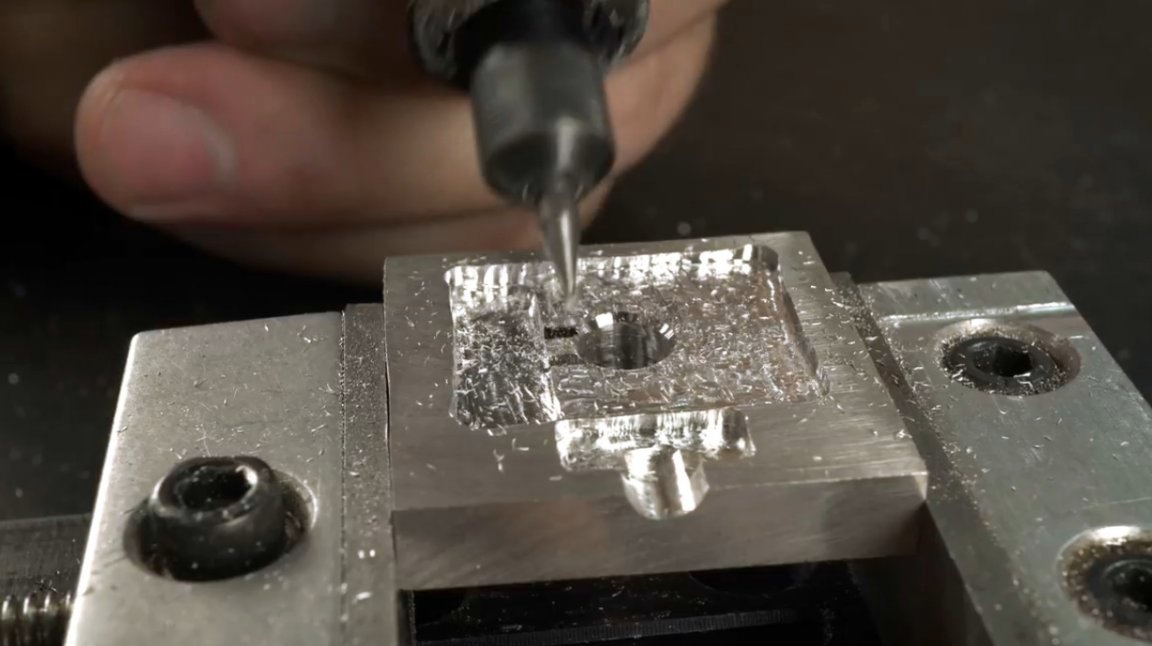
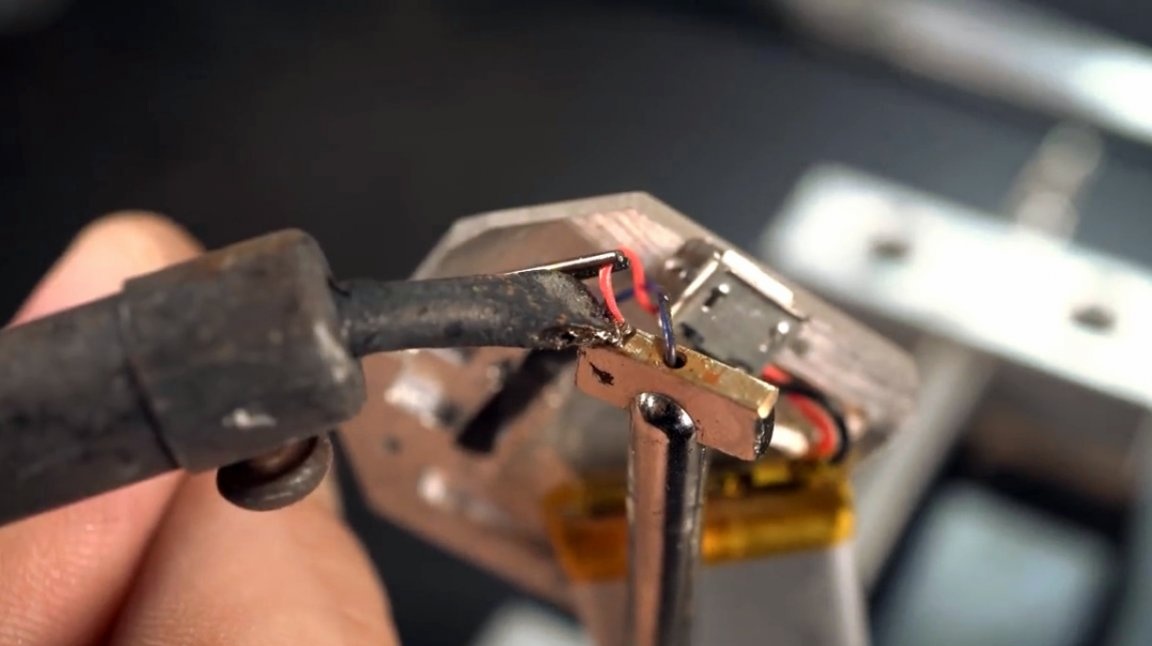
The master solders the wires to the button itself, he prefers to use MGTF, they are very durable, and high-quality. The button is fixed using two-component epoxy glue.
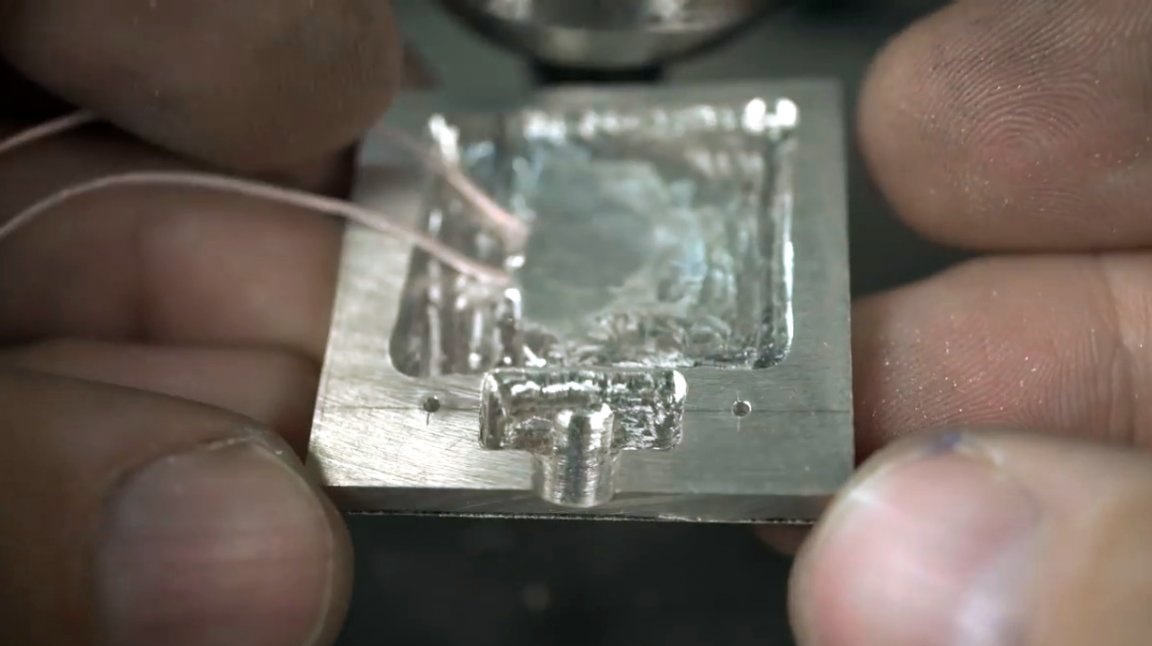
After polymerization of the adhesive, its remnants are simply turned over with dremel.
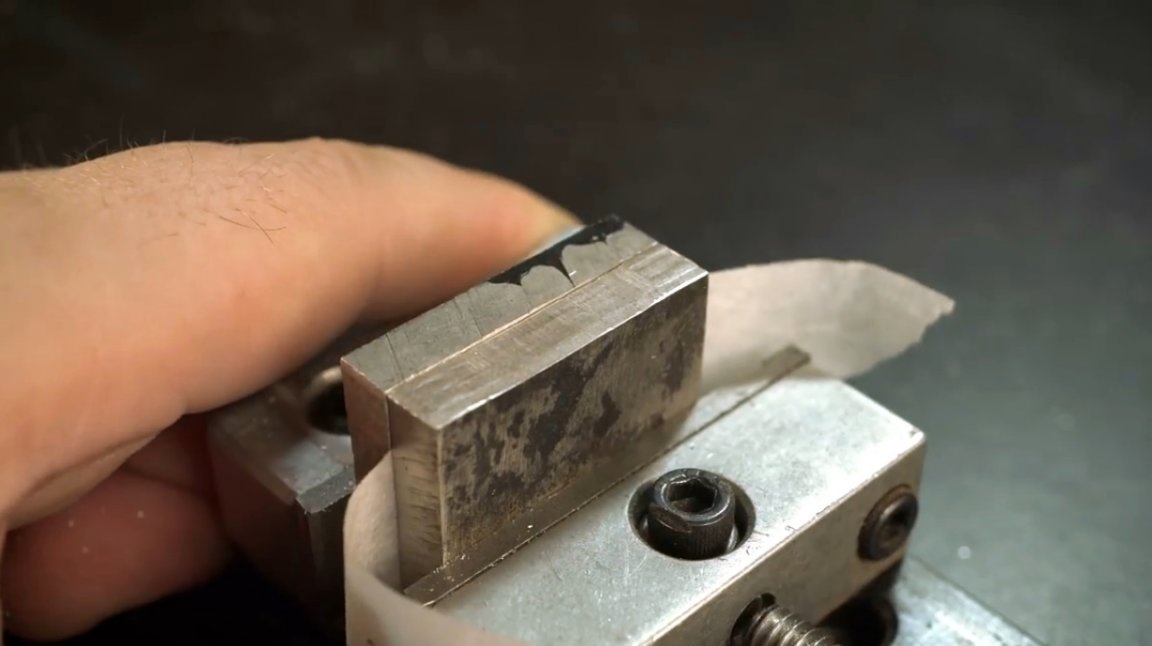
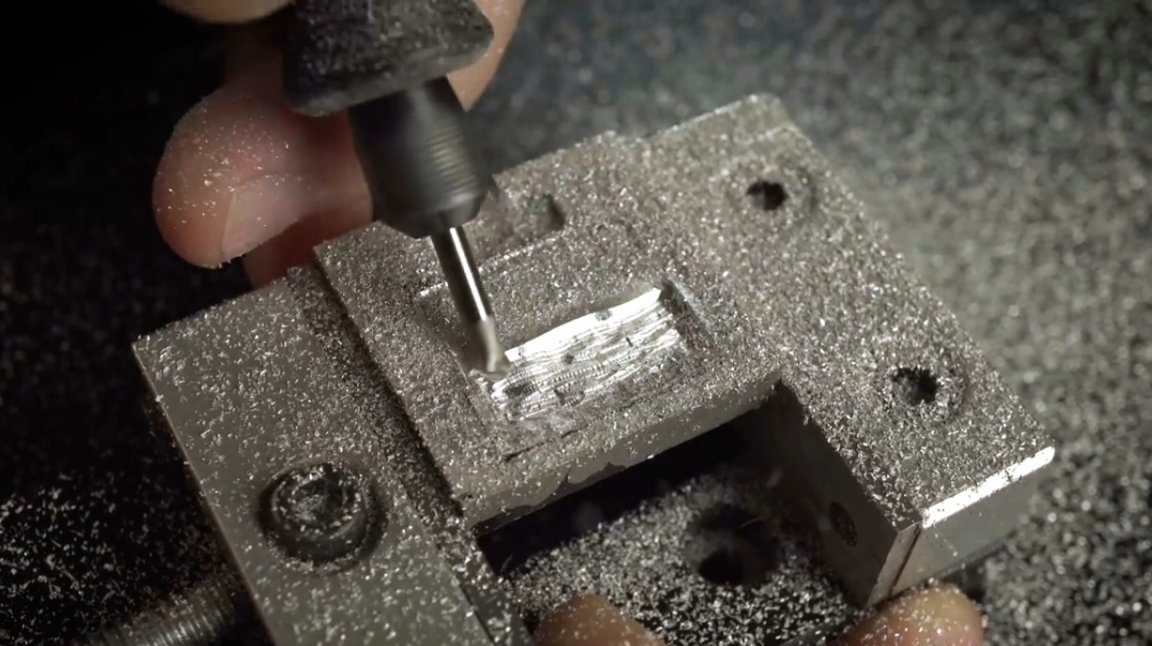
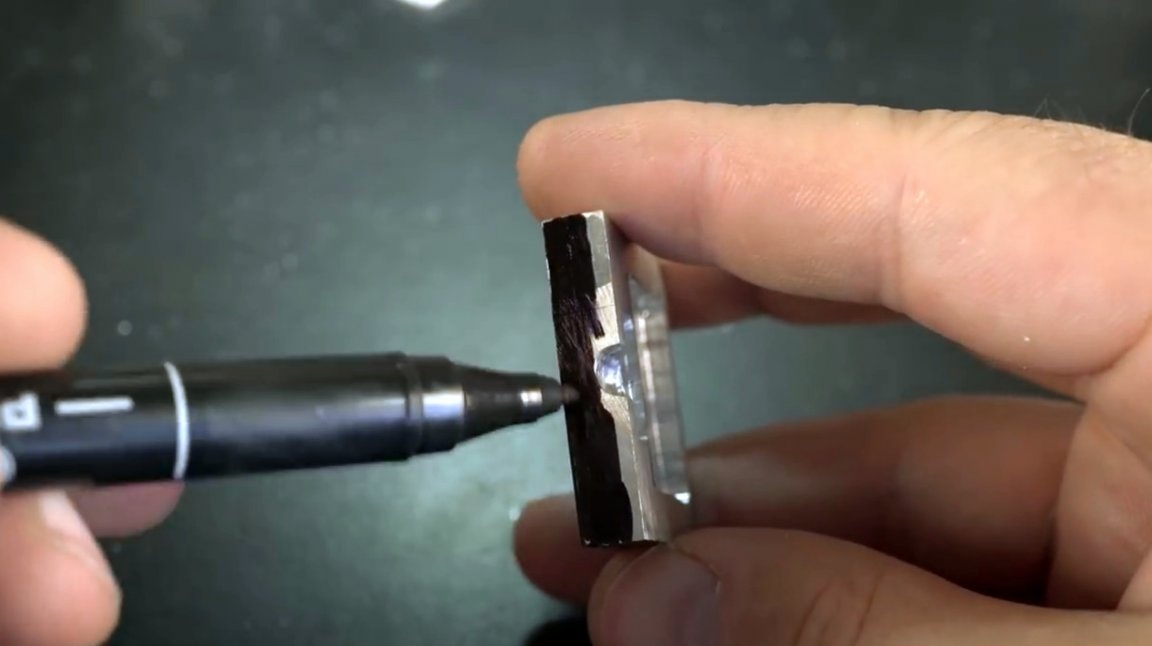
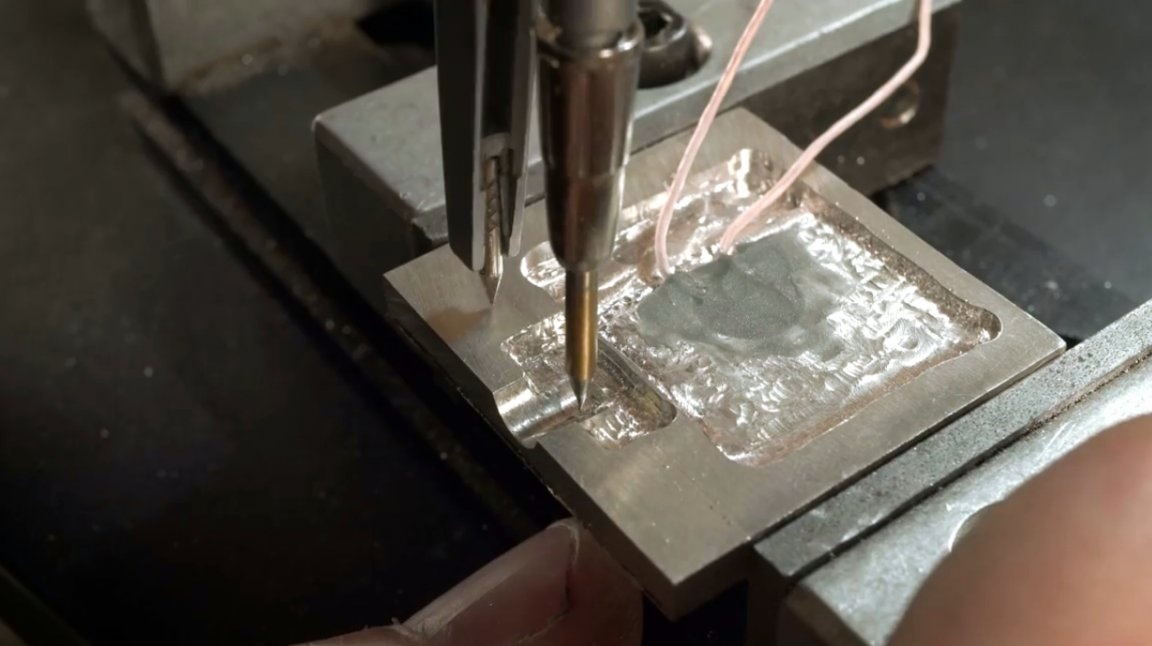
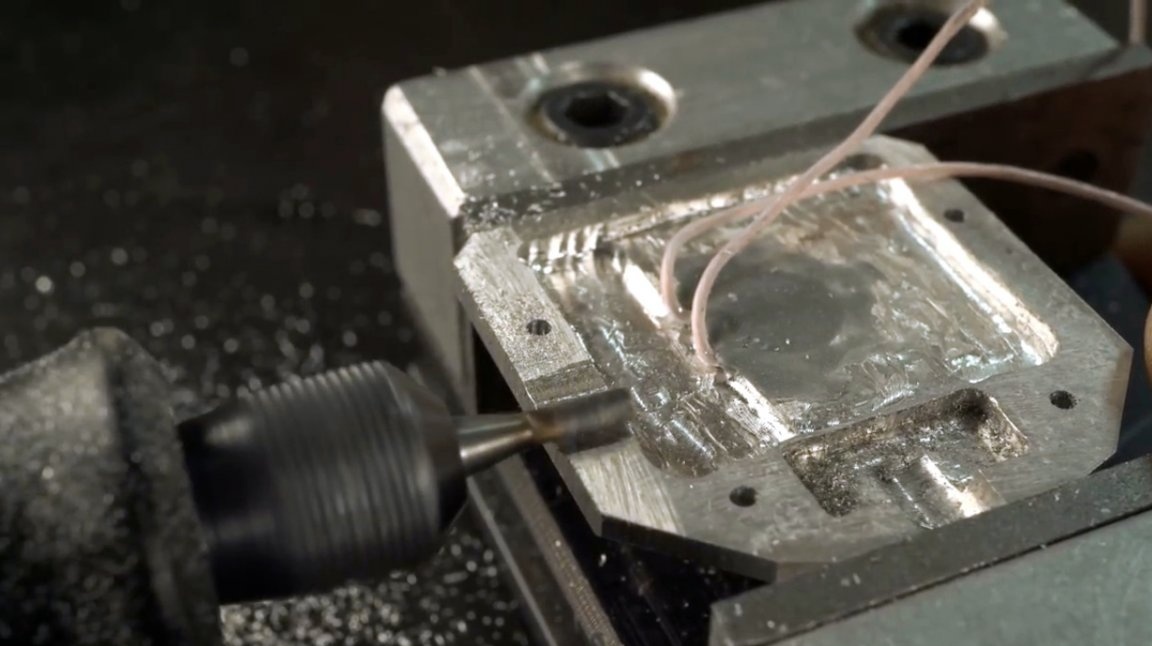
Next, you need to remove excess material from the second part of the housing. The author painted its end with a marker, and made the mark with a caliper.
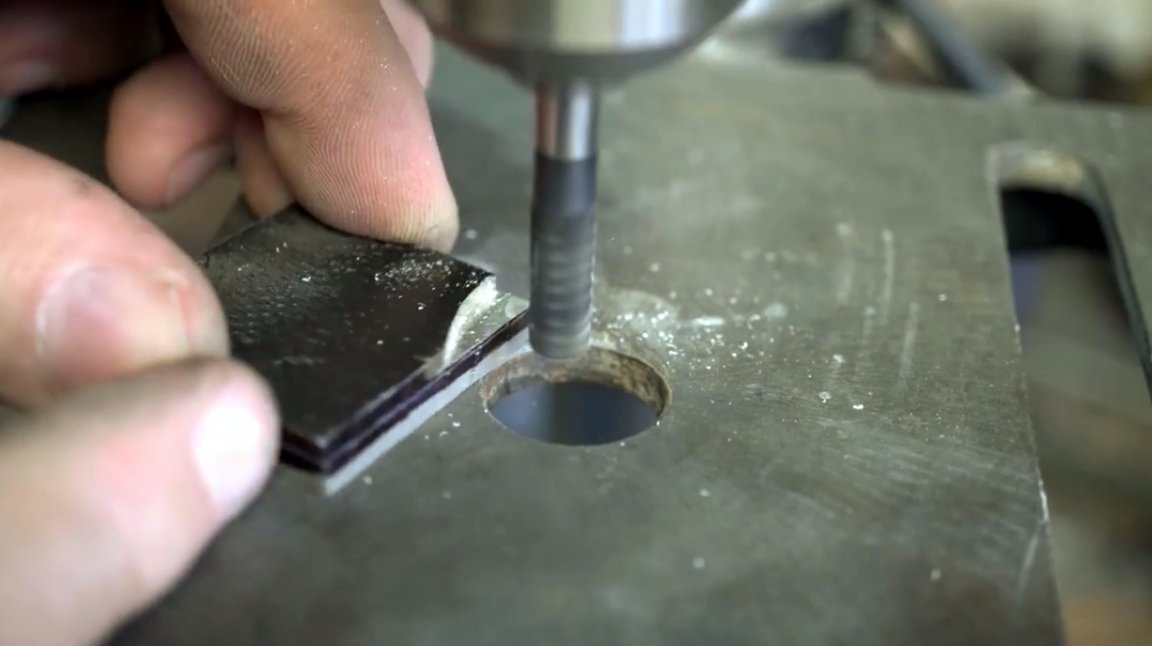
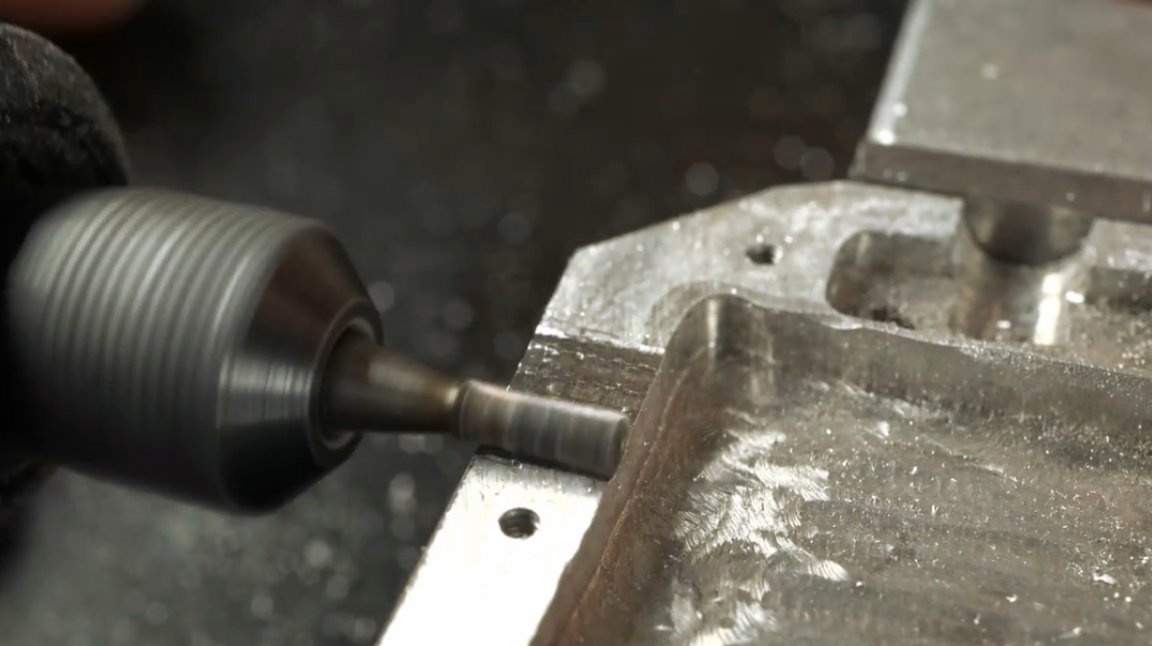
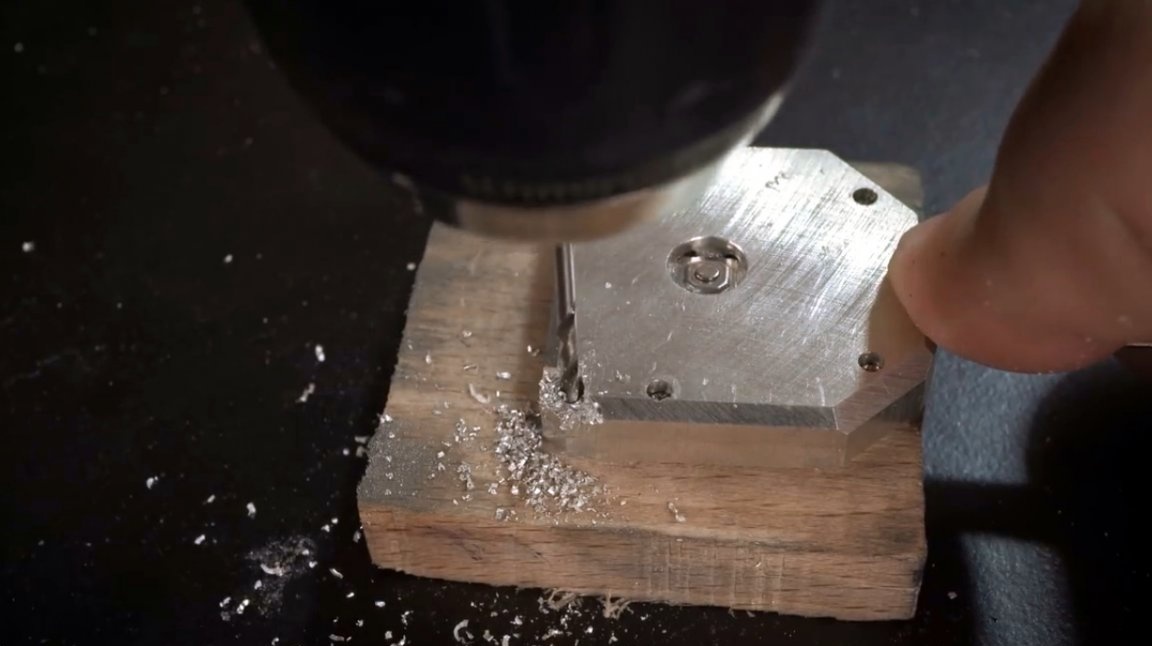
Now he removes excess material on the drilling machine with a milling cutter.
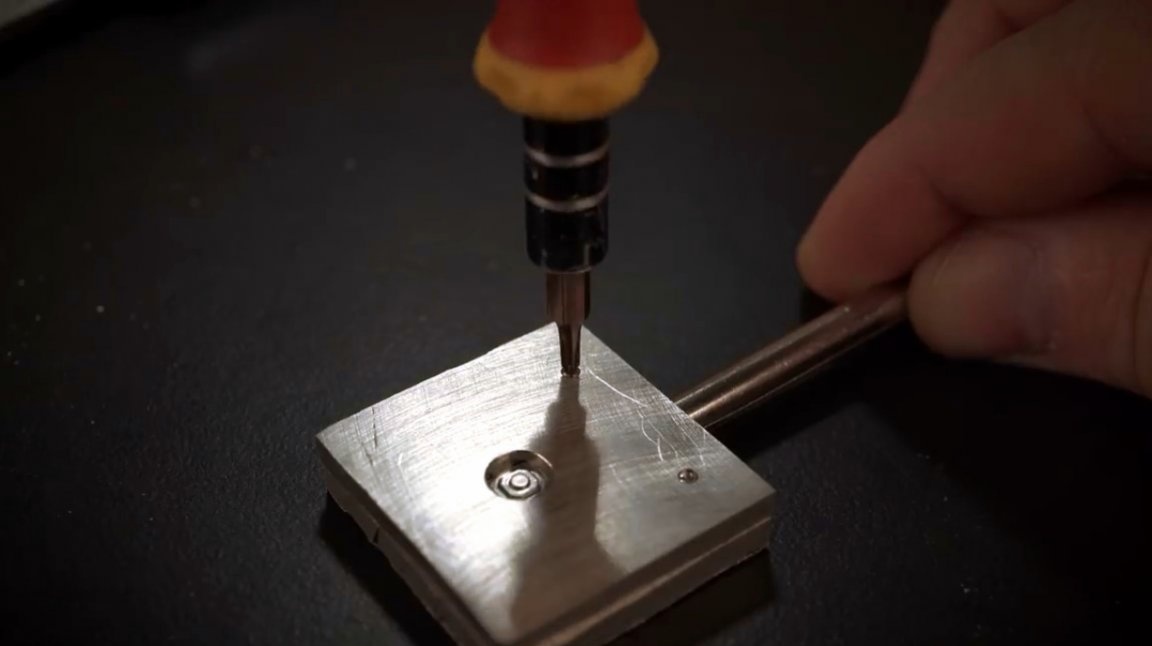
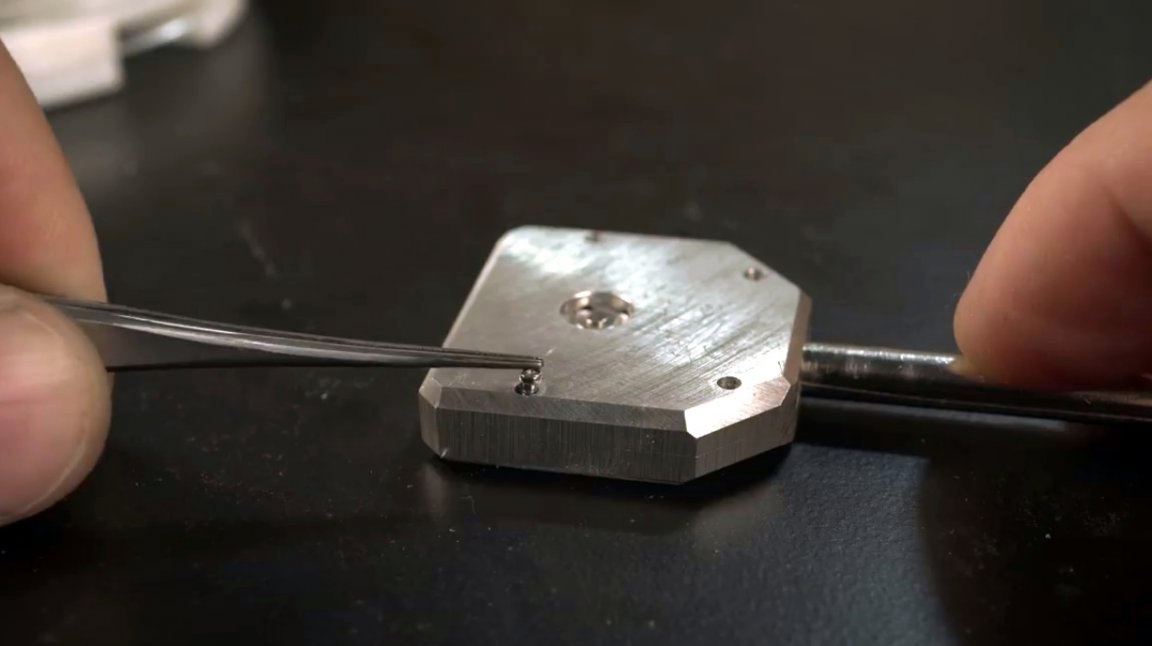
To connect the two halves of the body, you will need to drill several holes for the miniature screws. First you need to make two holes.

Repeat them in the second half of the case.
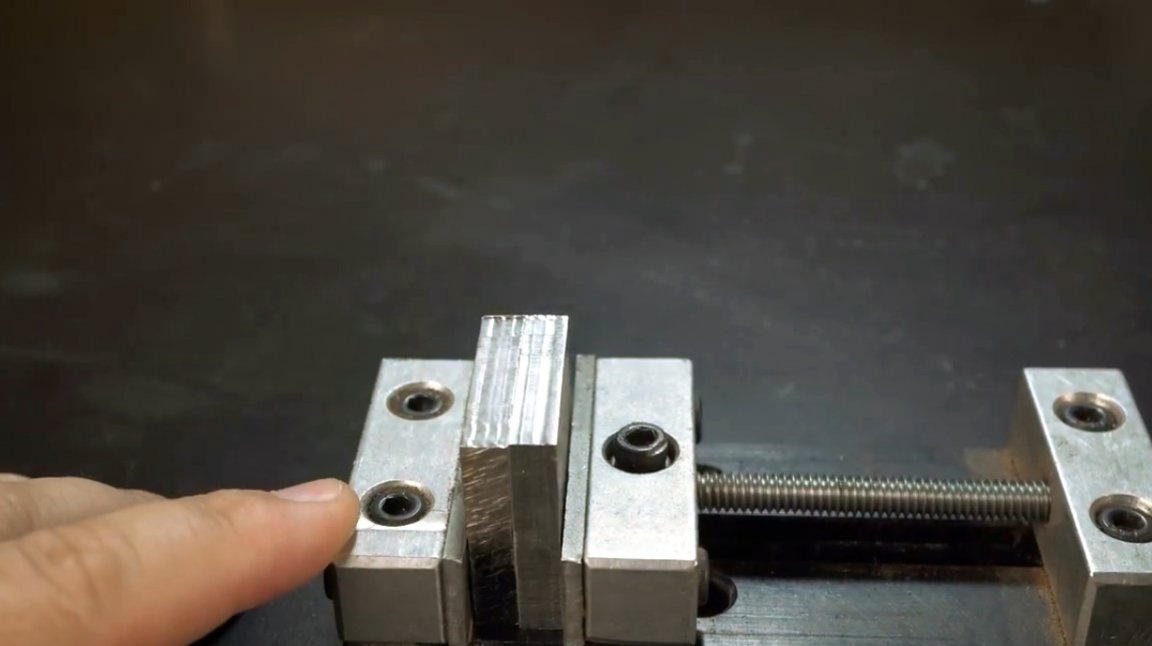
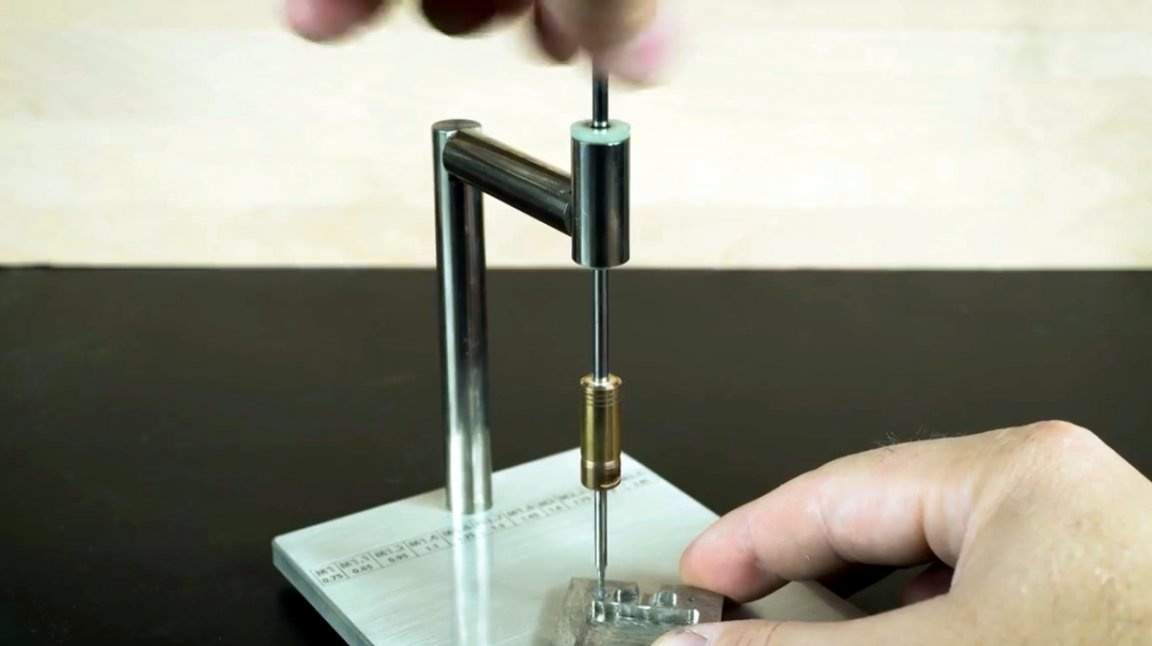
Next, the author cuts the thread for the screws using a homemade machine, the manufacture of which was described in this article. The housing is connected by the first two screws.
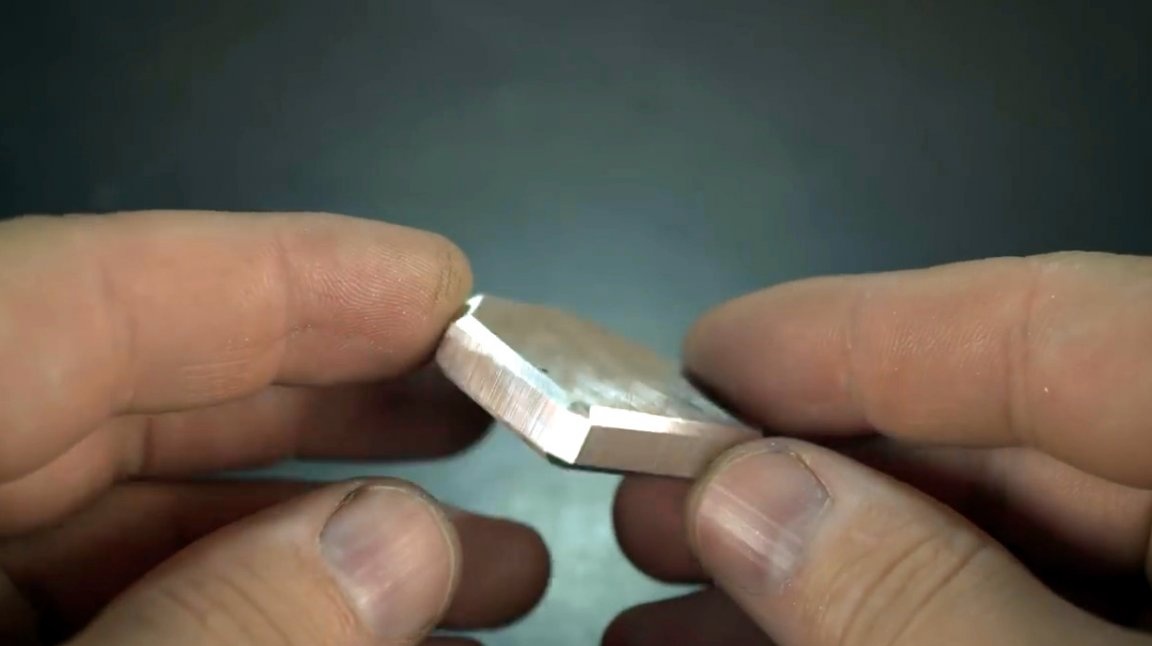
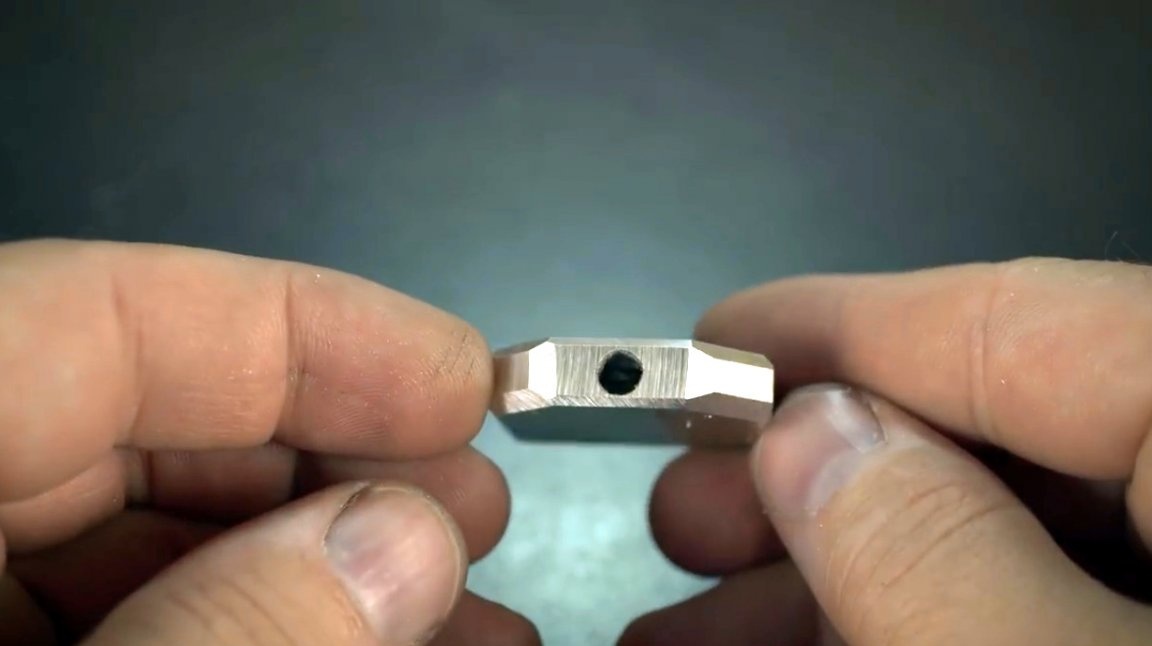
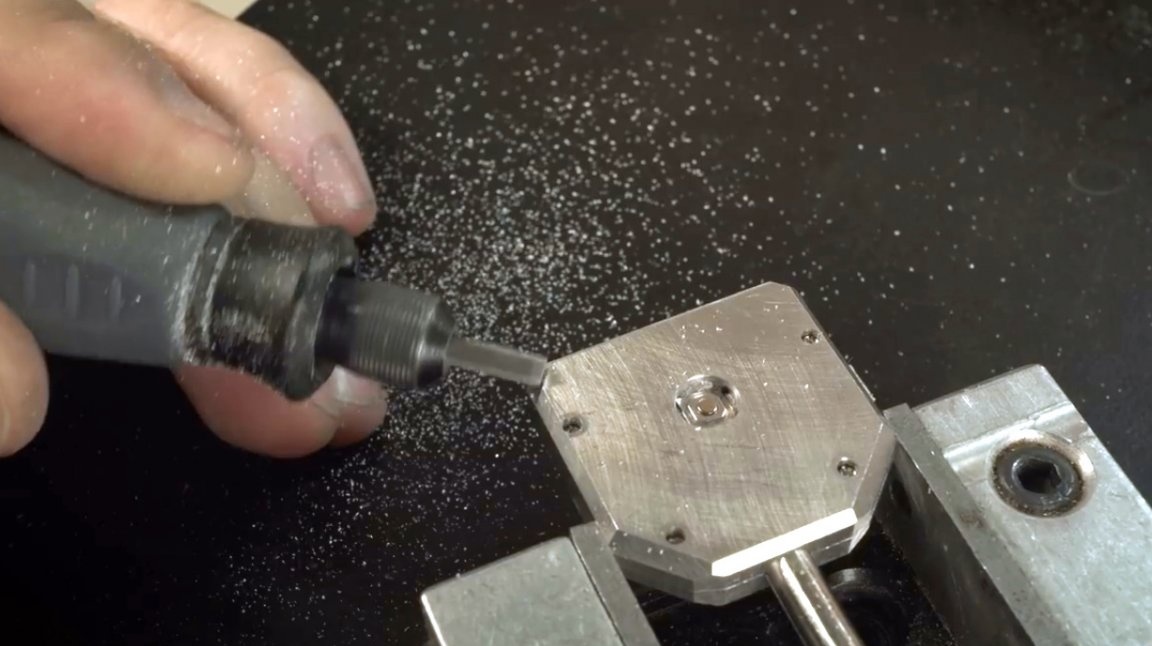
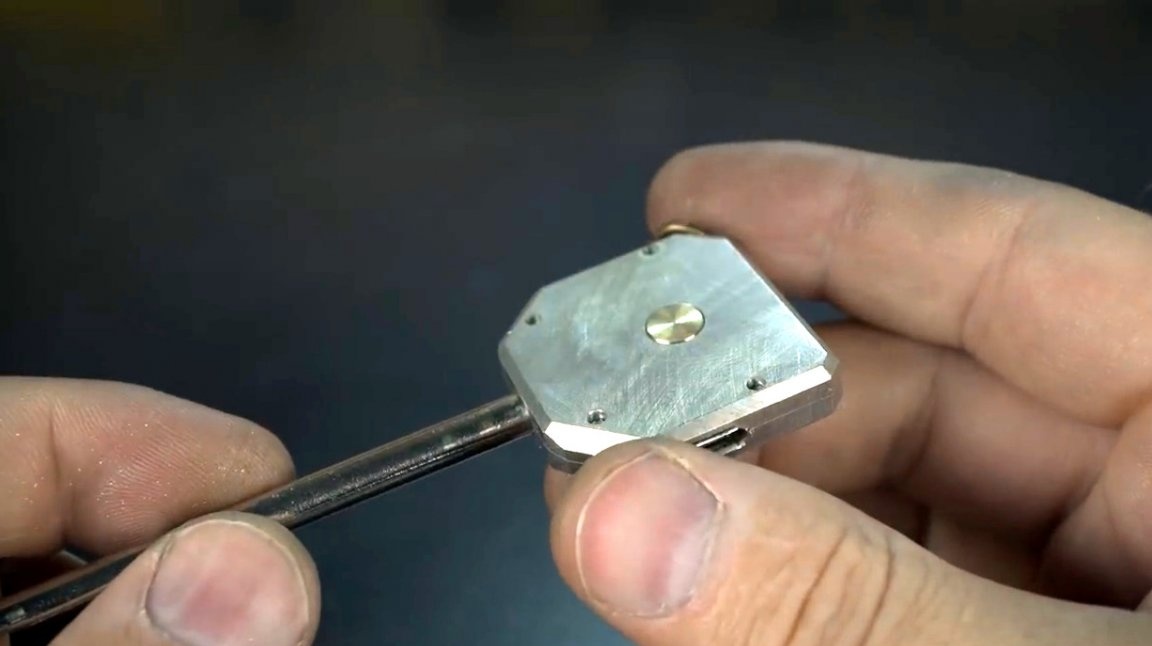
The ends of the case are sharpened, and beautiful edges are formed. Two more holes are also drilled, and a thread is cut into them.

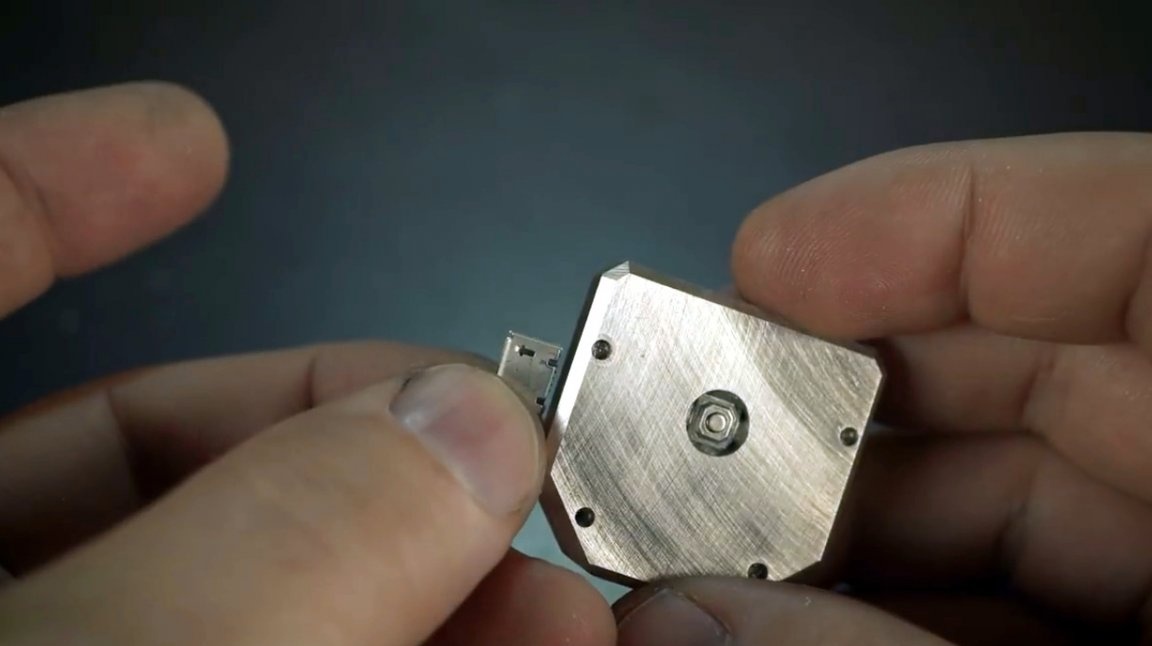
So, the case is almost ready, you need a few more improvements.
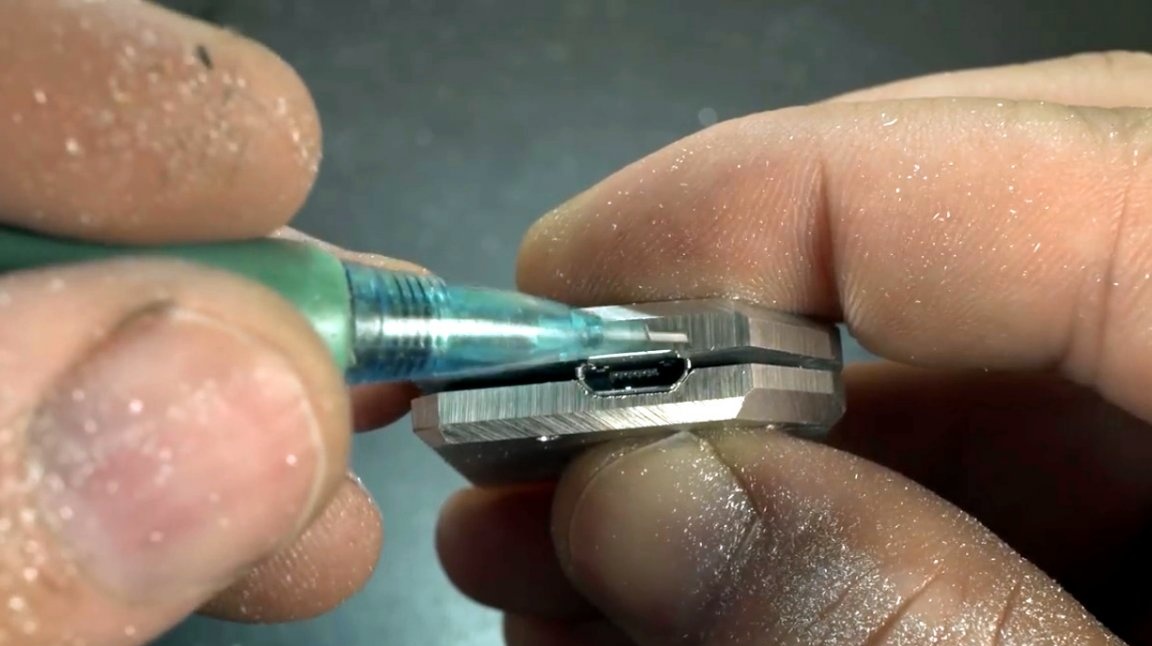
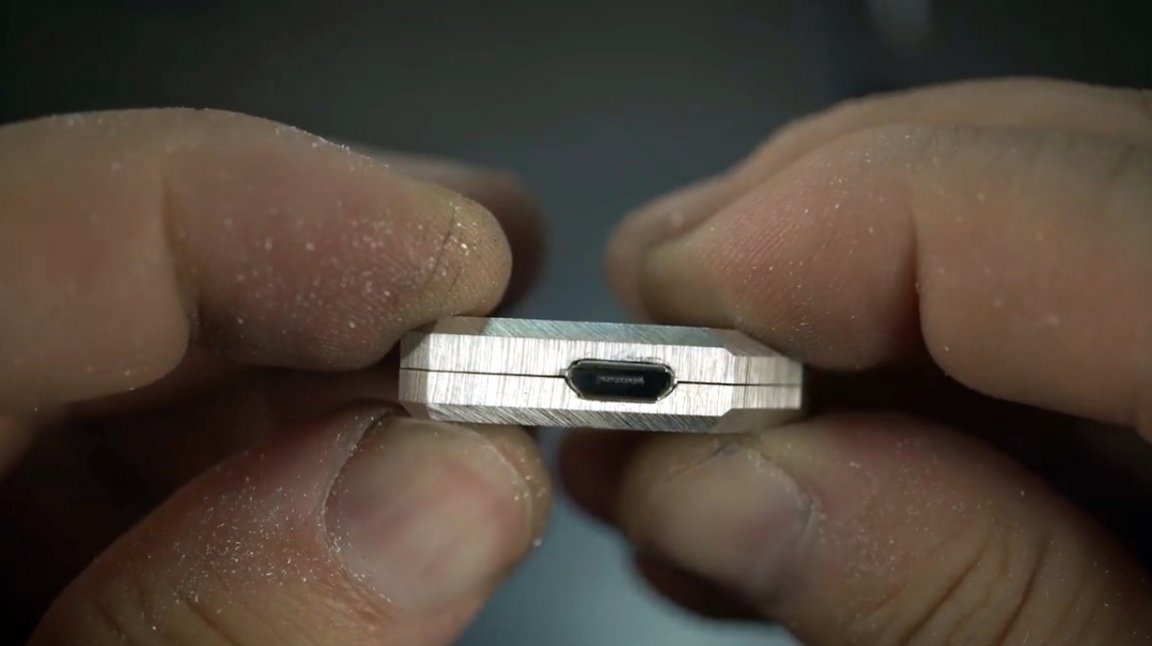
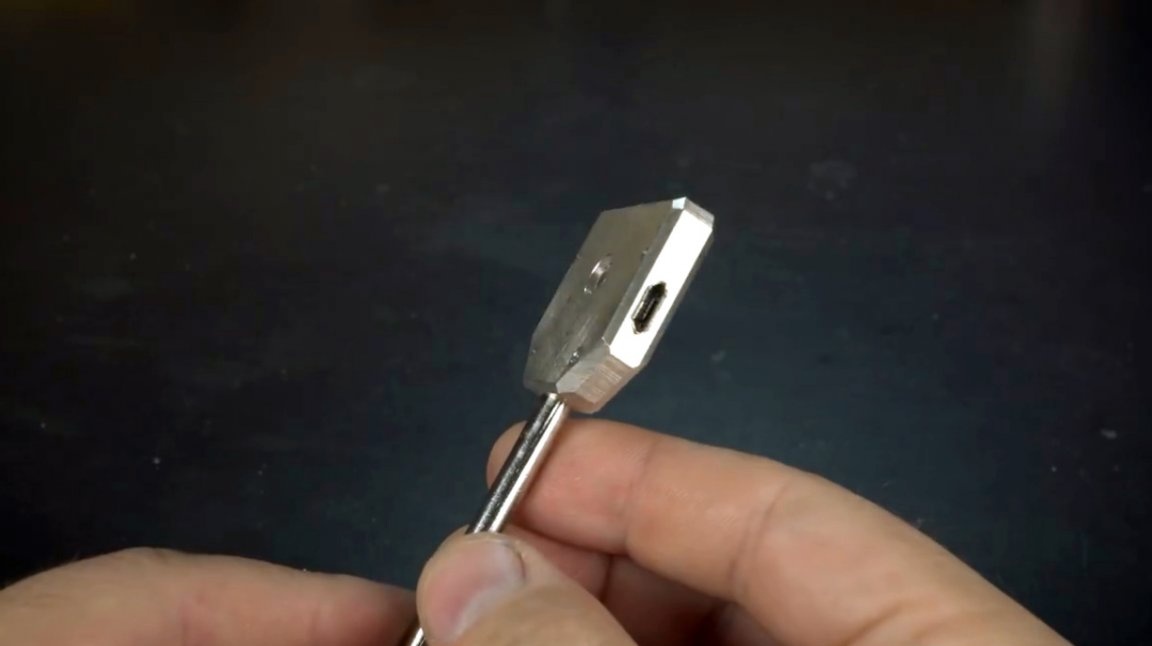
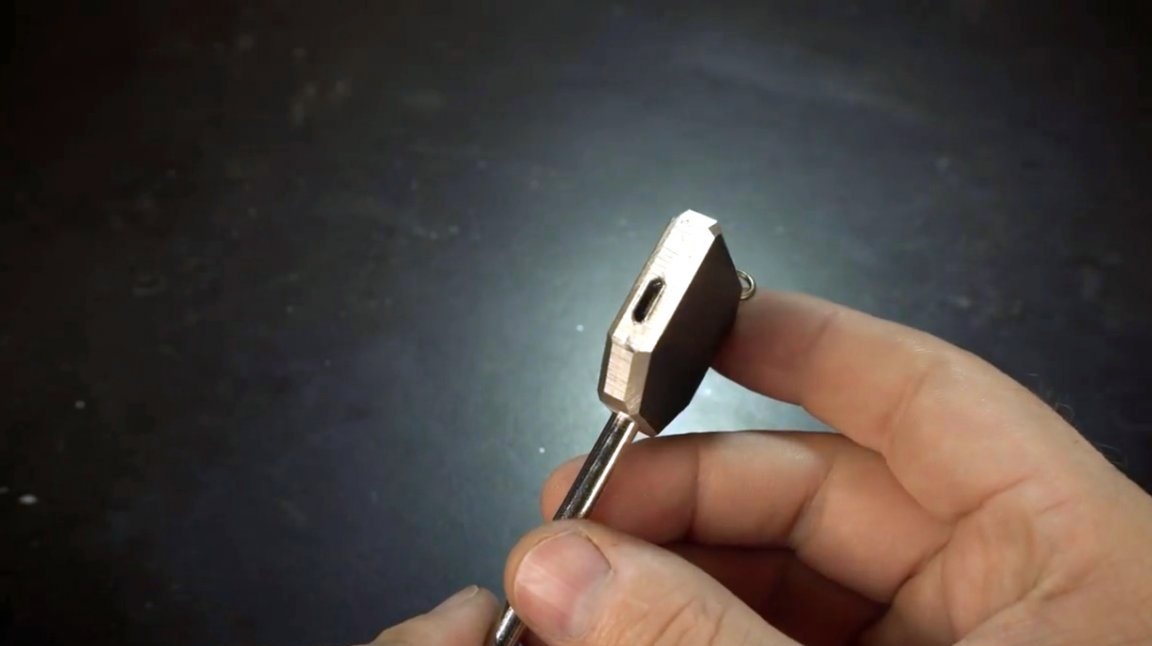
Now a microUSB connector is tried on to the case, and a groove is made for it.
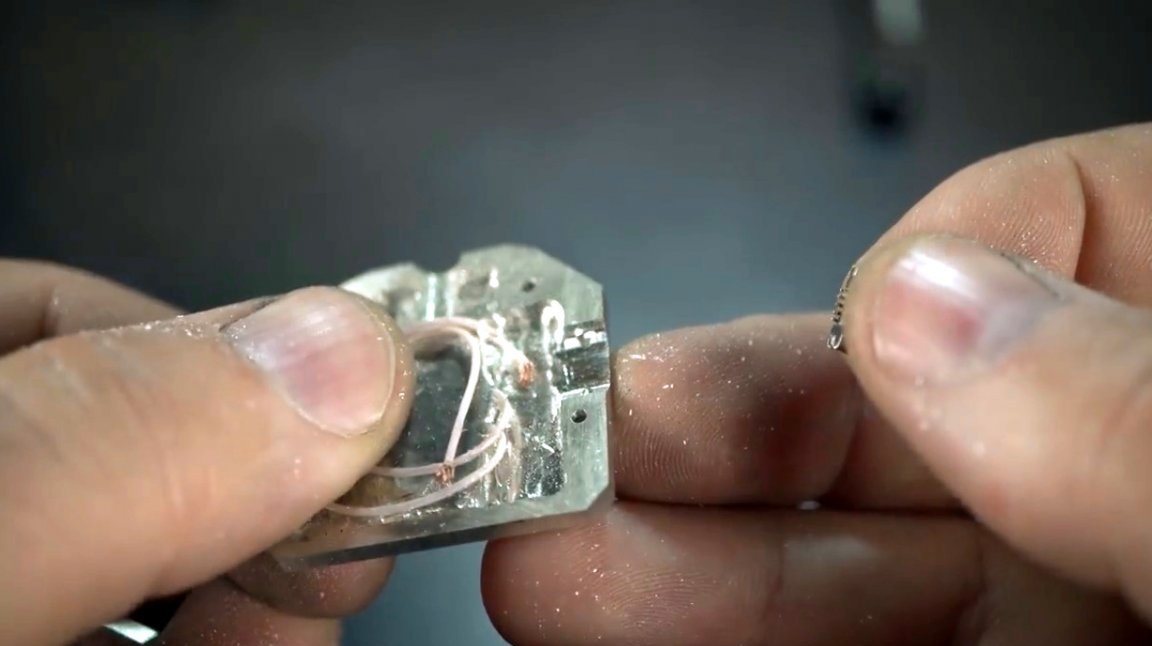
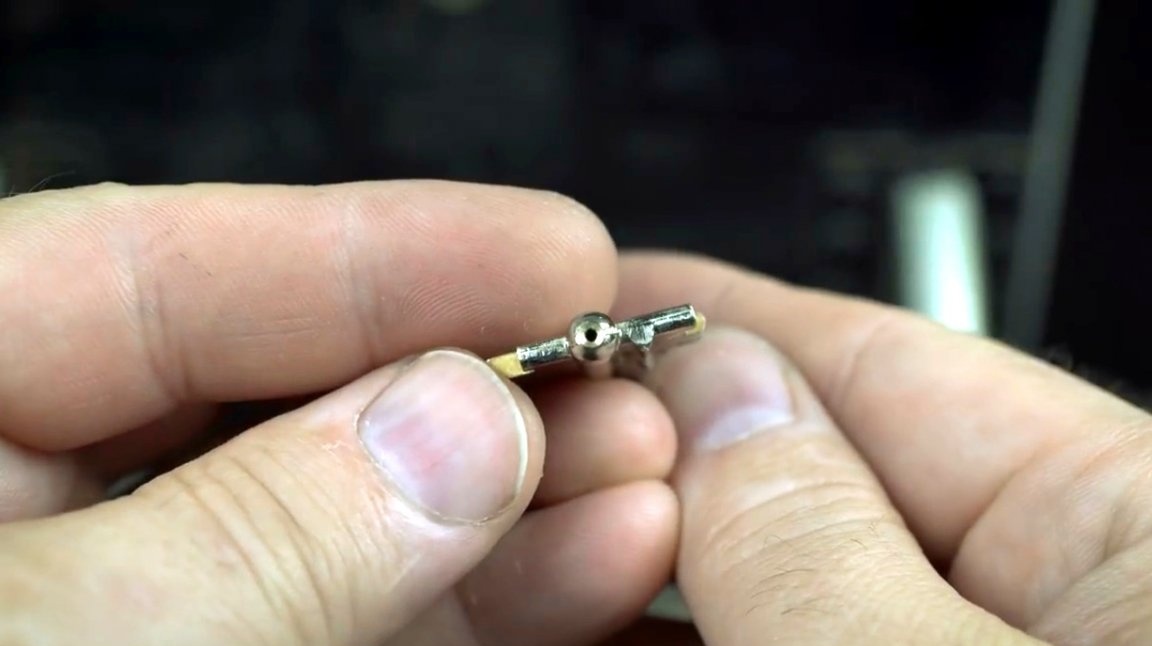
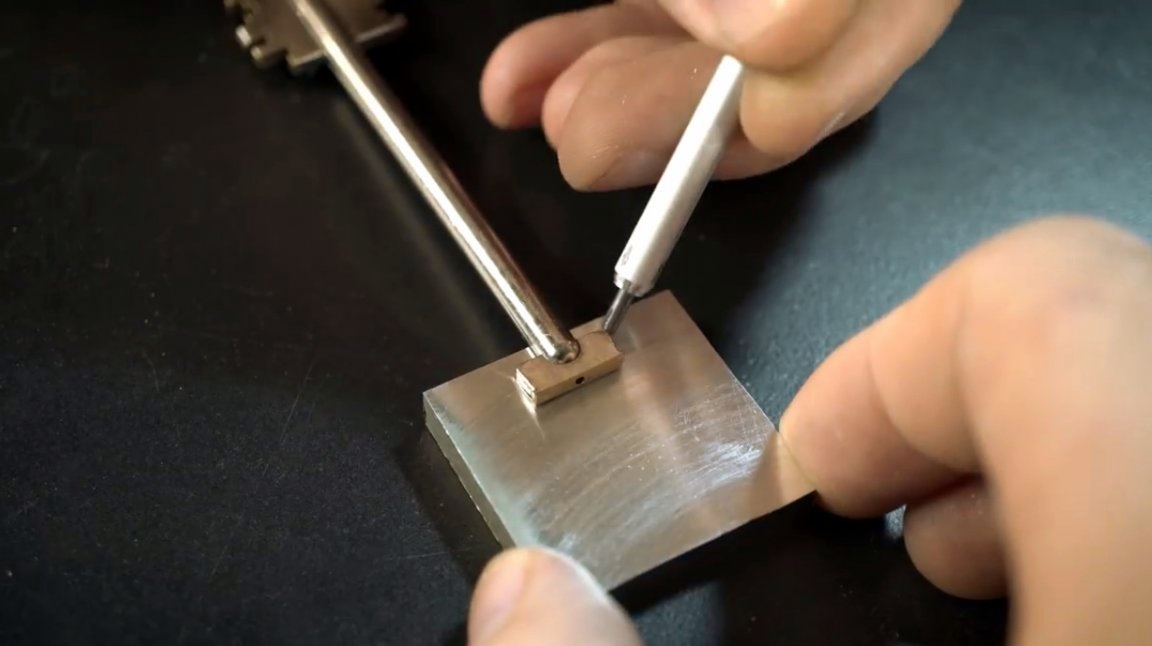
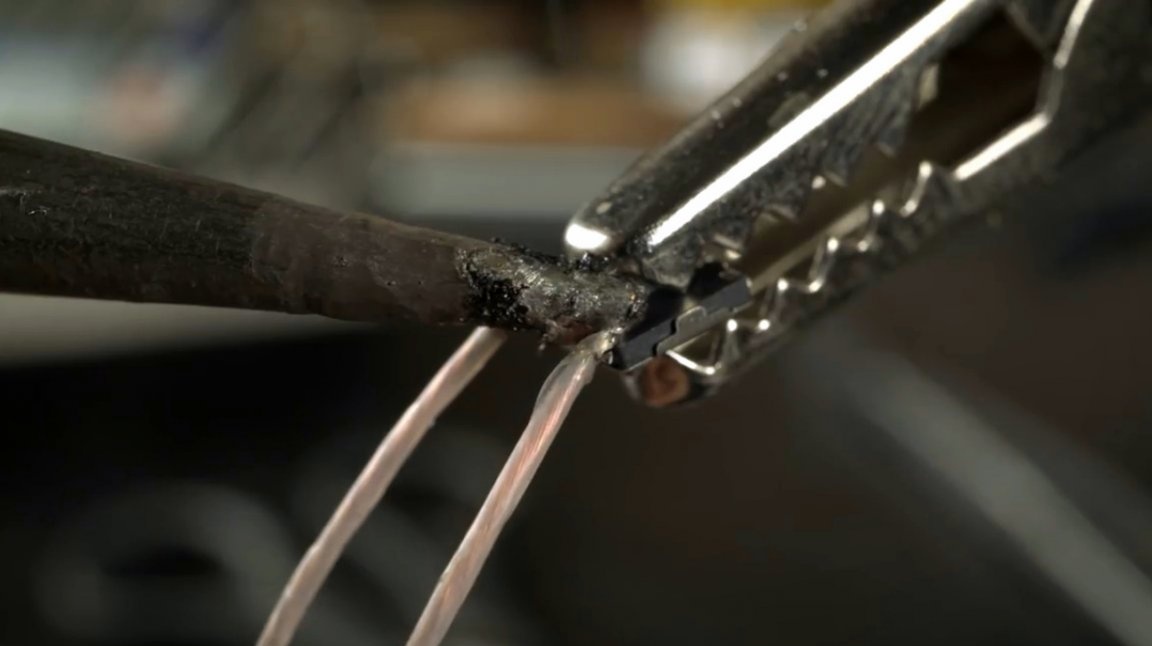
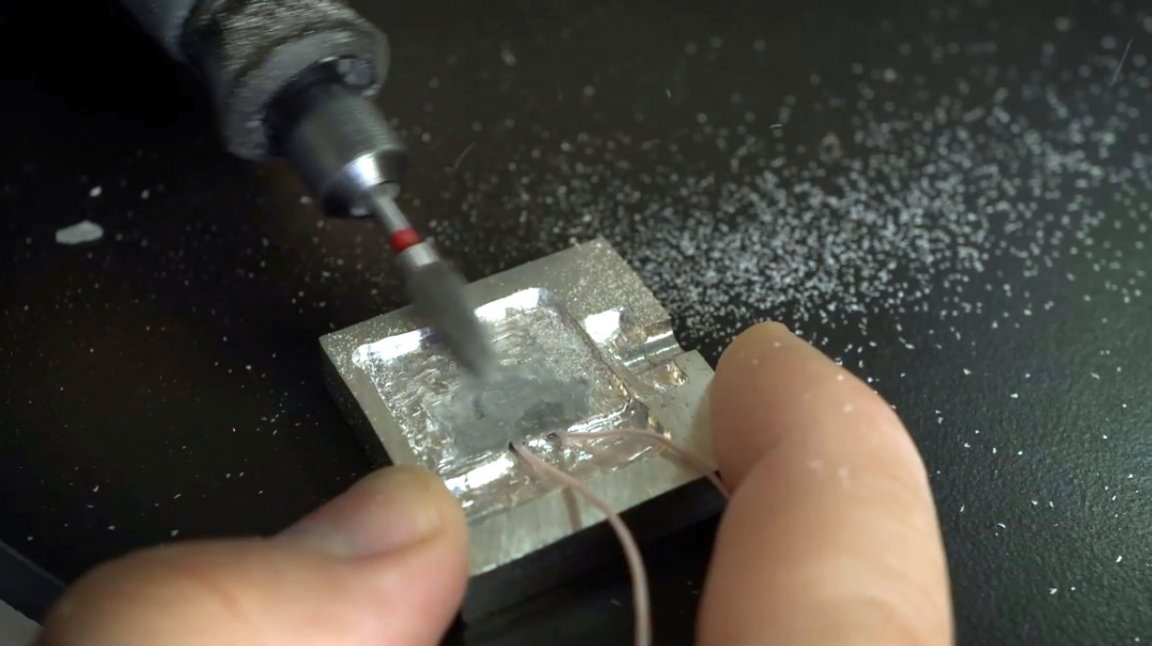
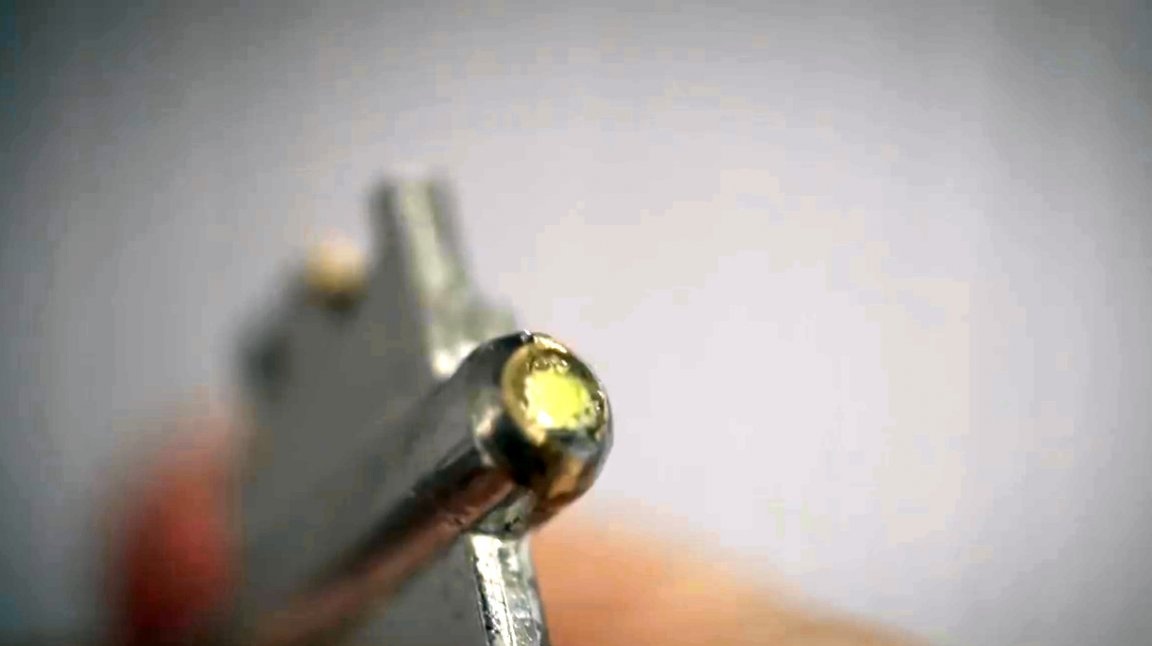
A thin single-wire wire is soldered to one of the LED contacts and passed through a key. The second contact of the LED is soldered directly to the key body.
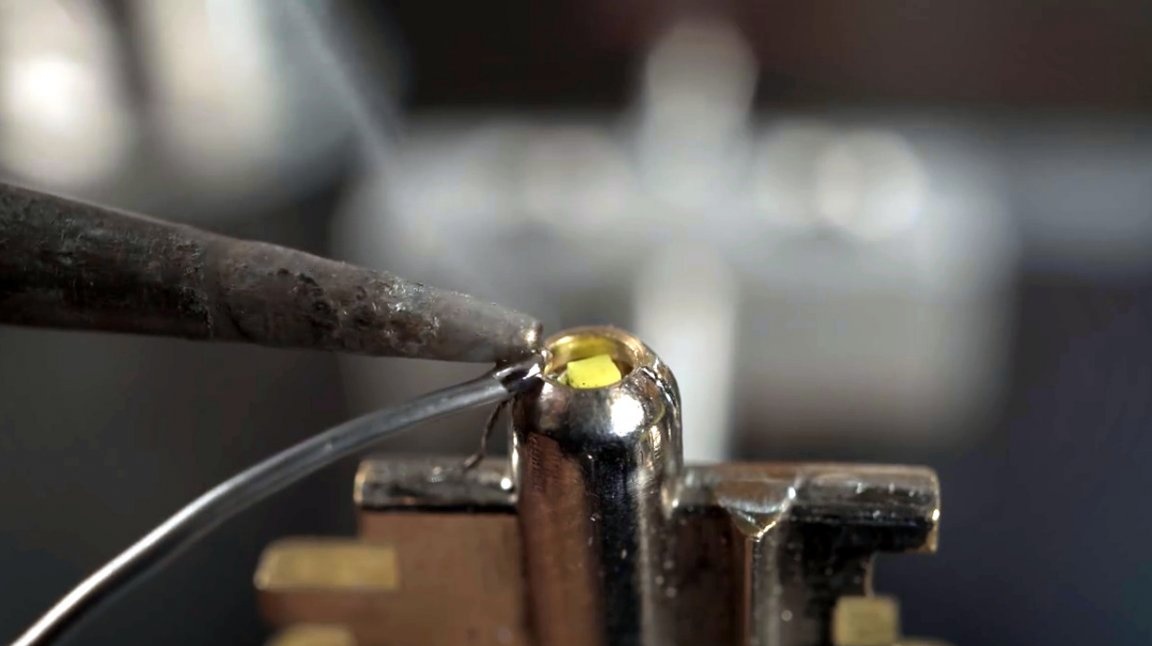
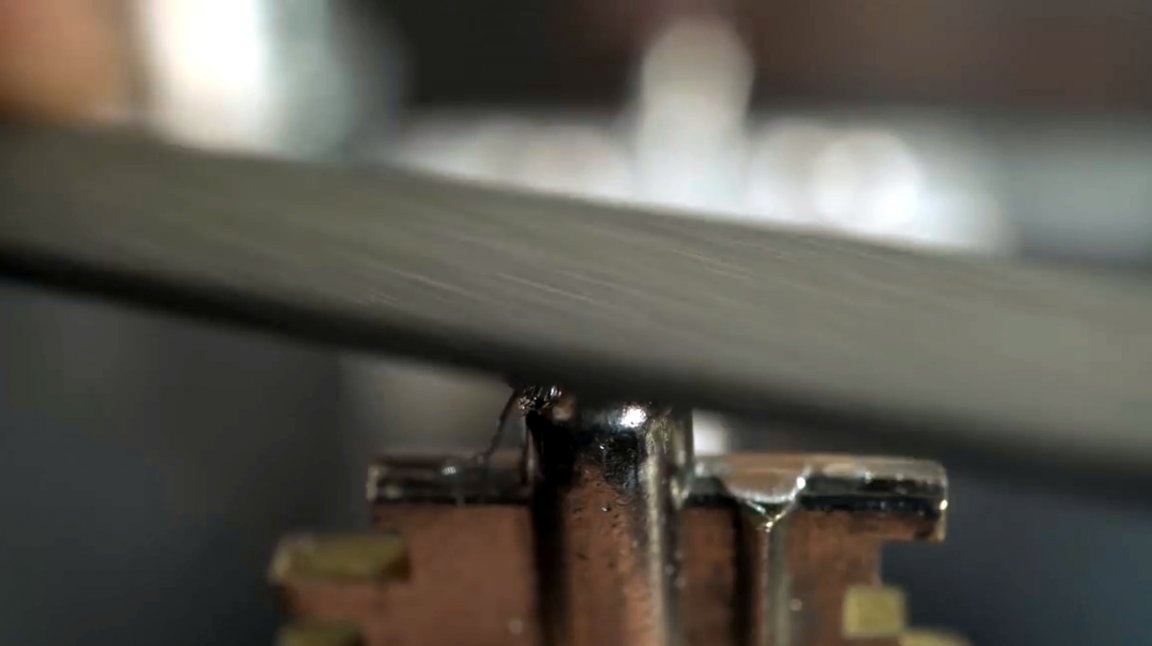
Excess solder is removed with a needle file.
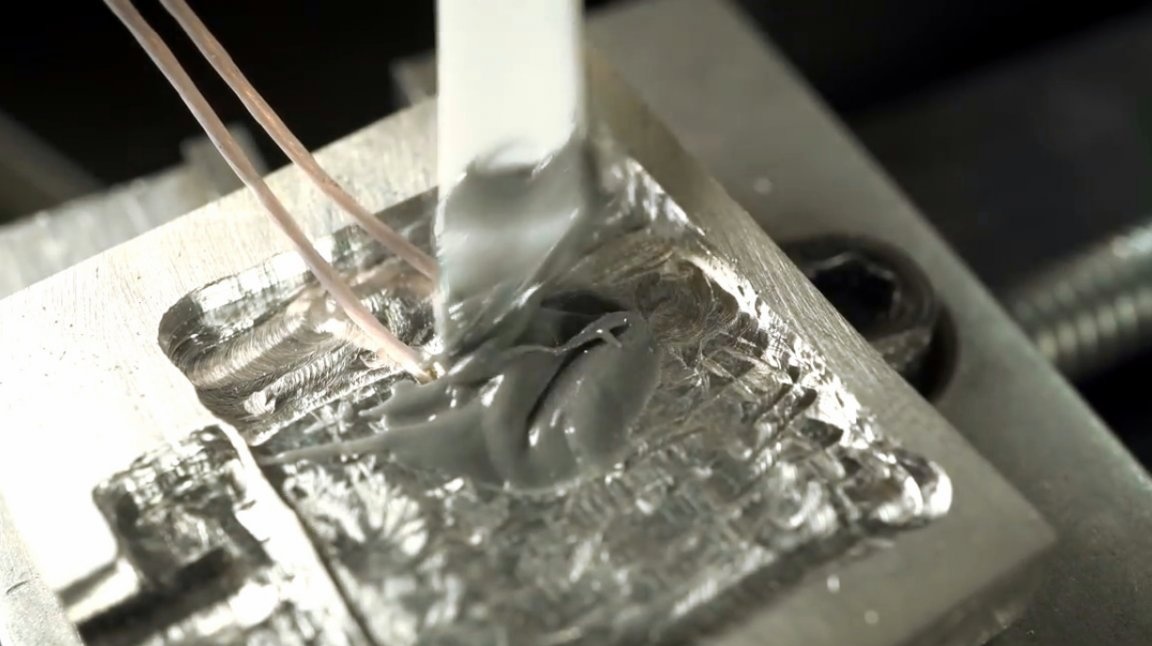
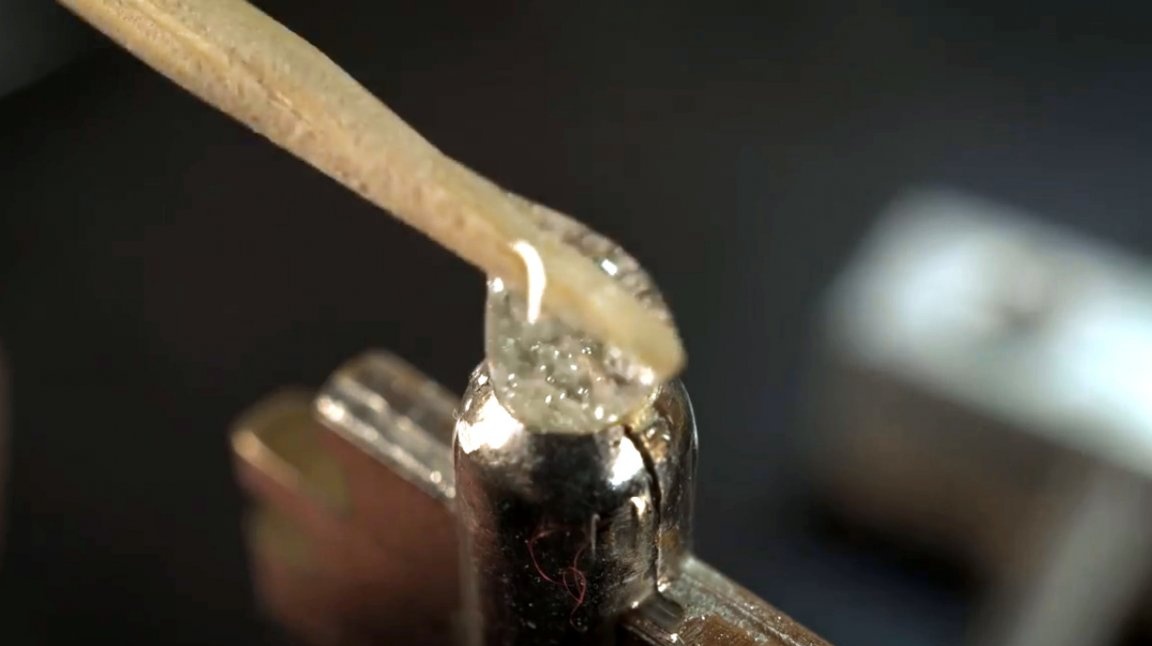
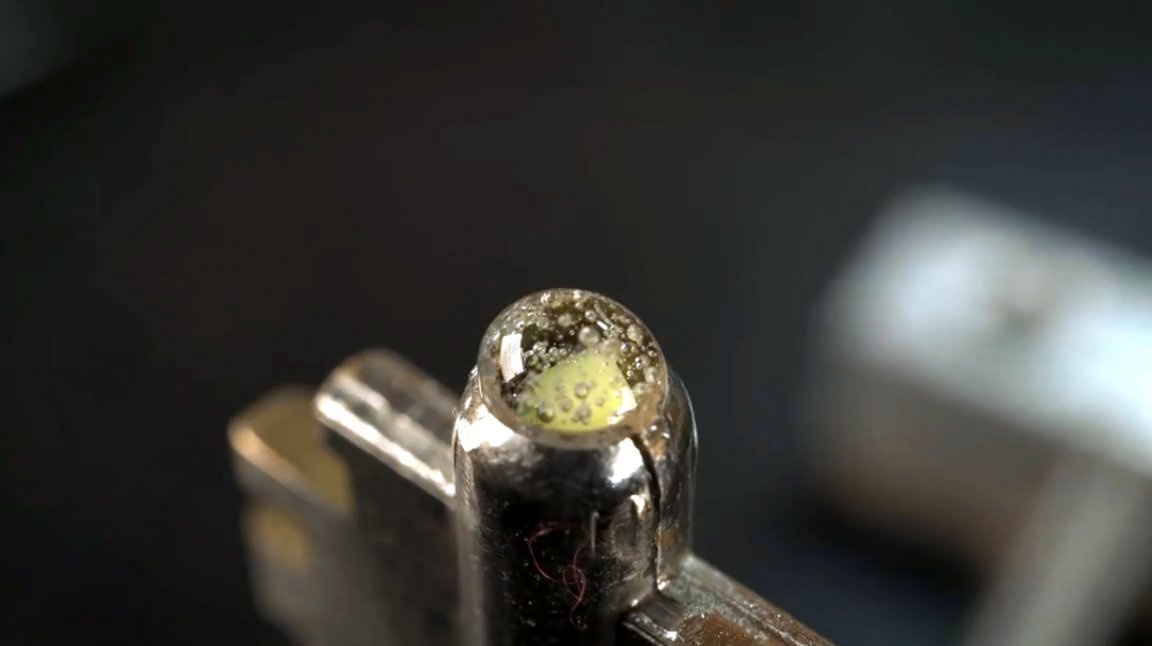
The LED itself is sealed with a transparent two-component acrylic adhesive.
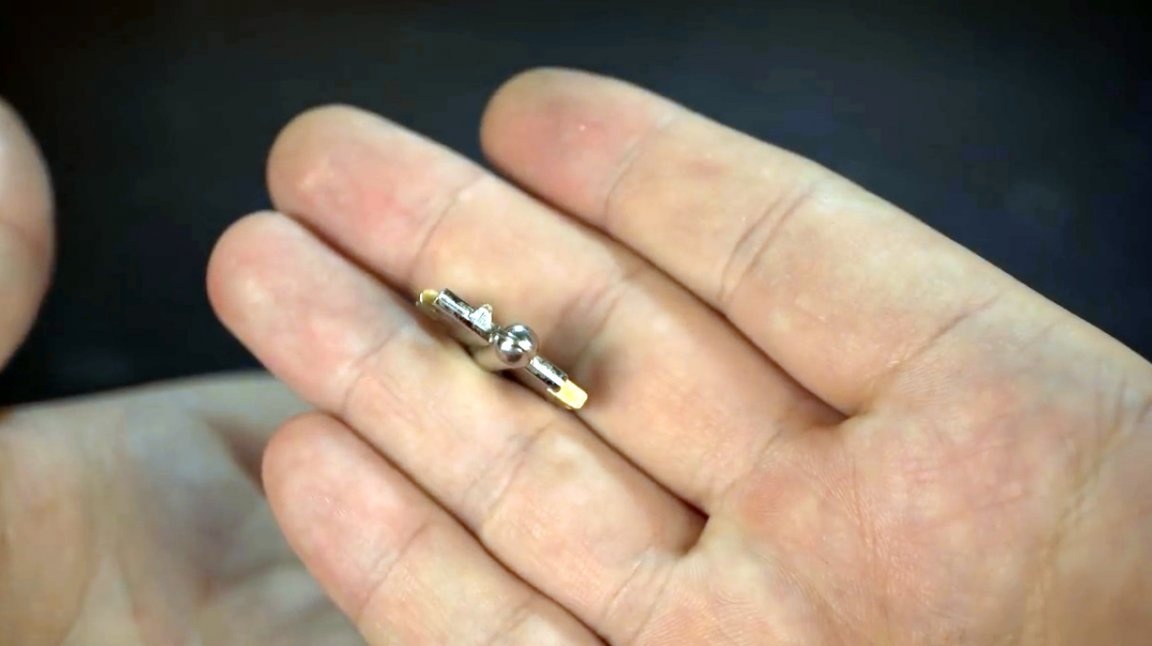
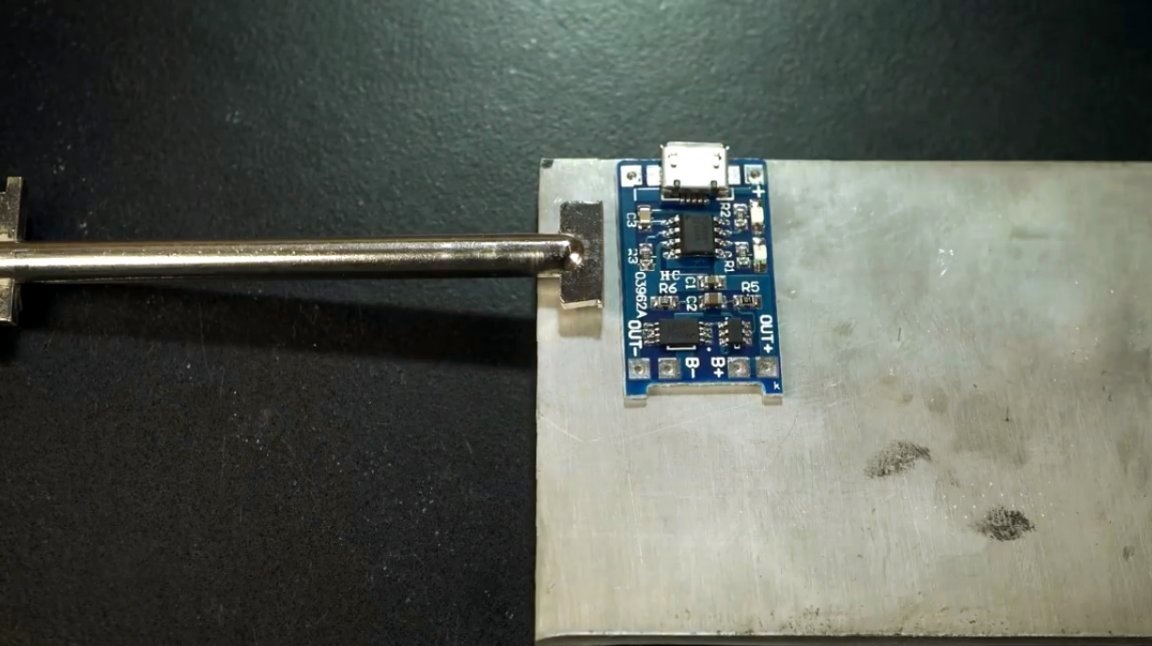
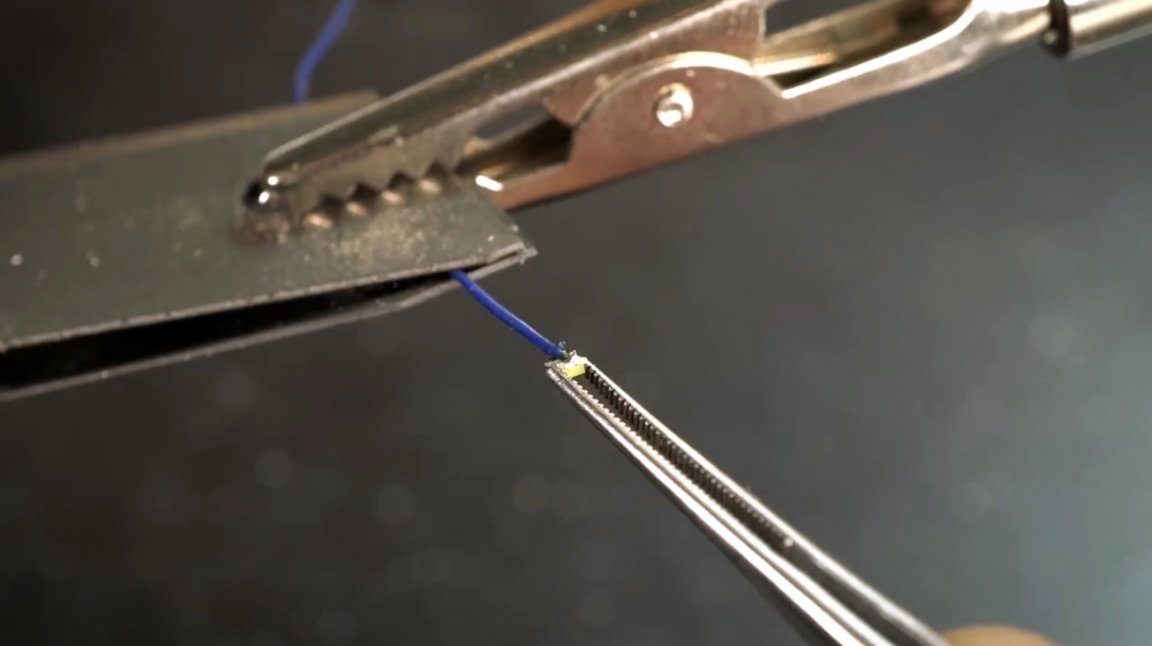
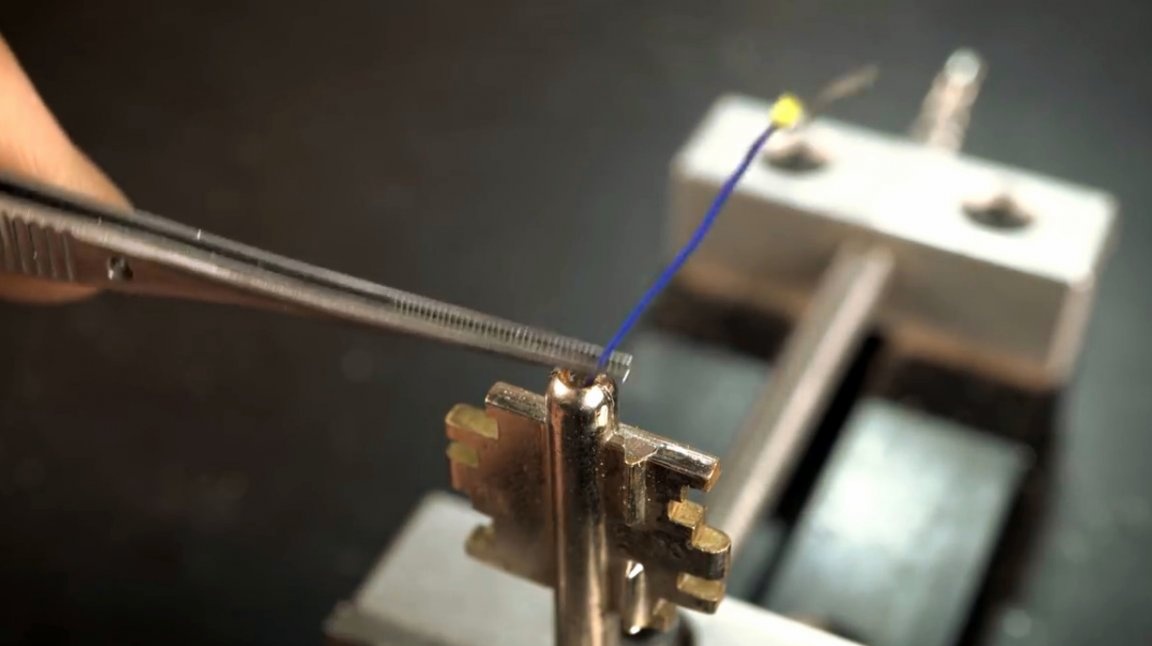
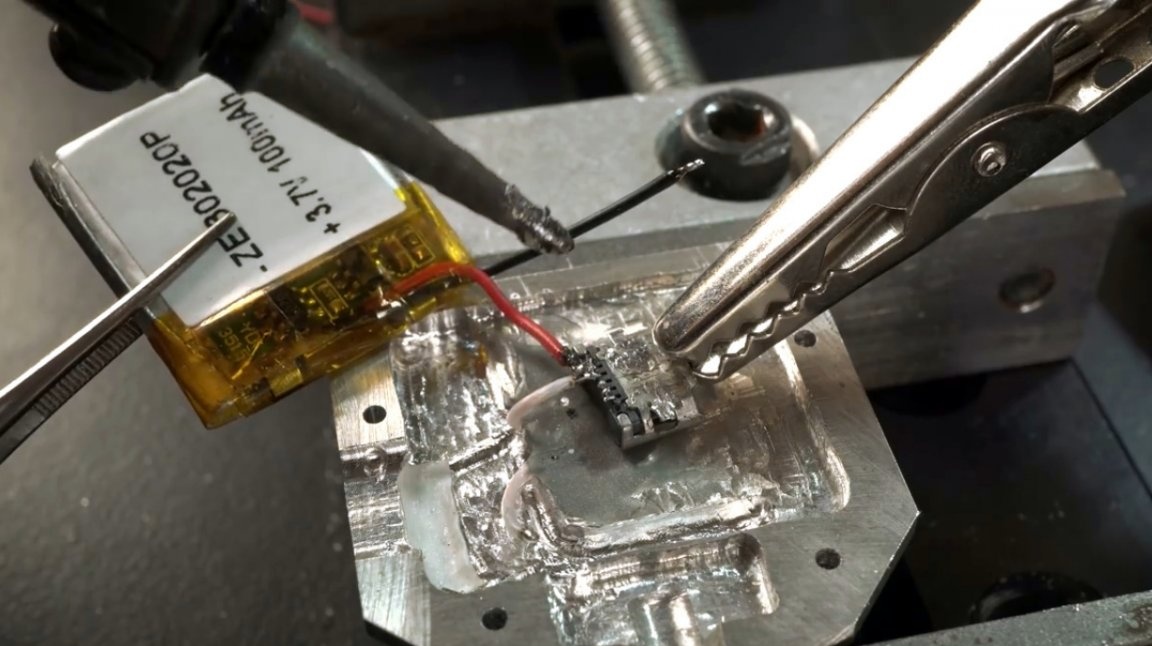
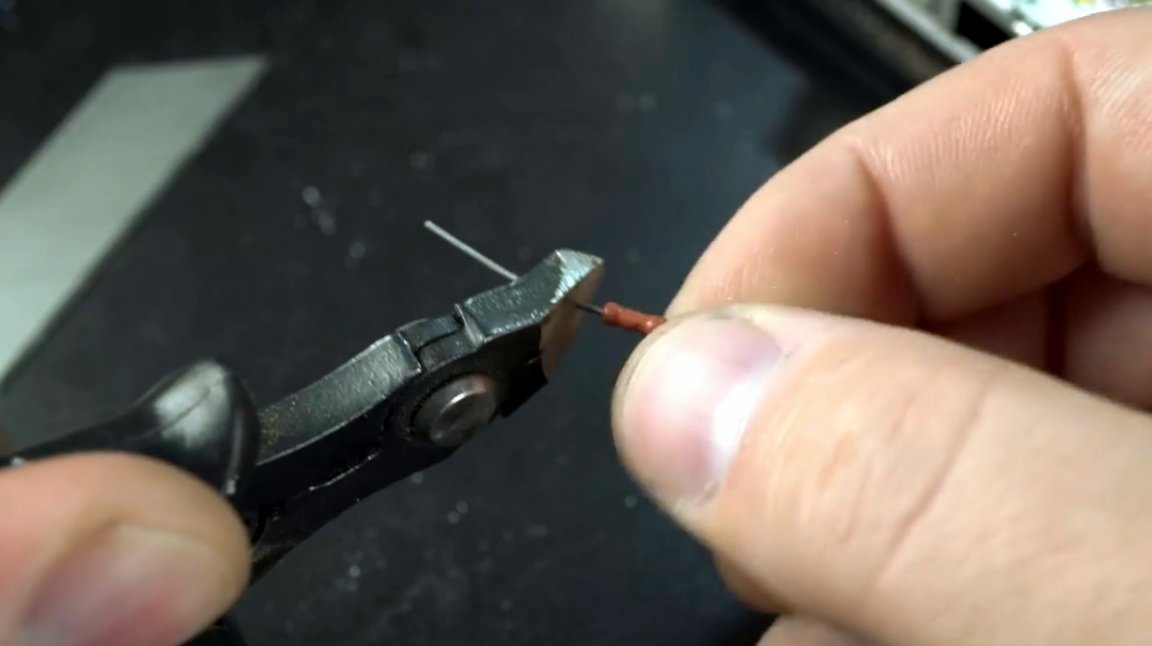
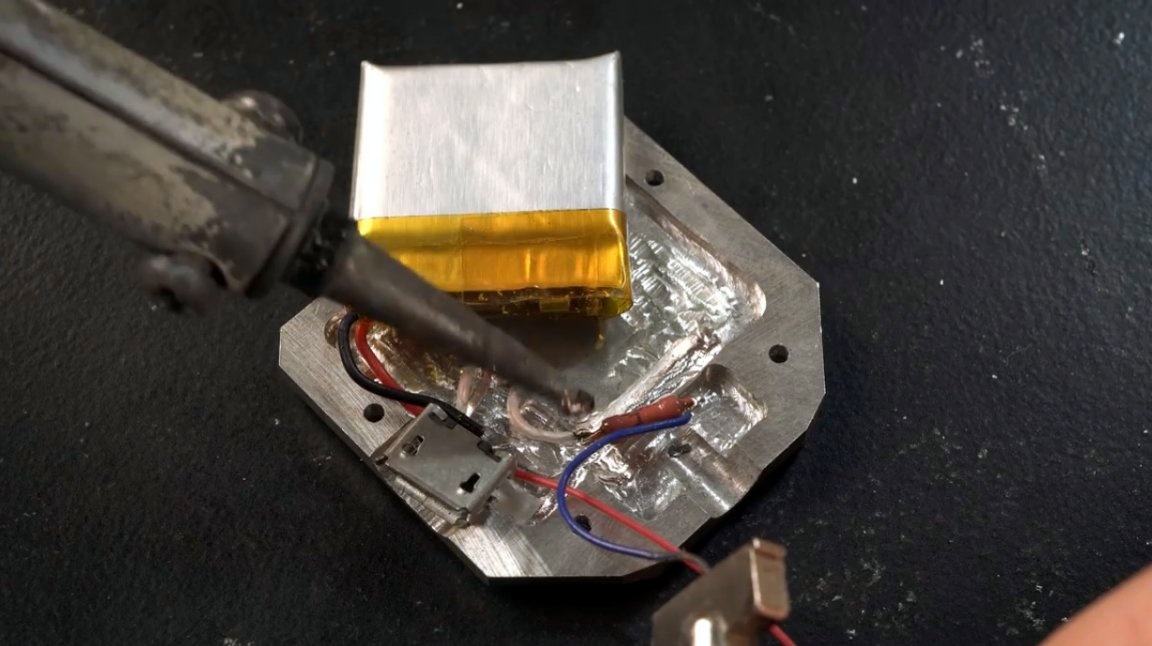
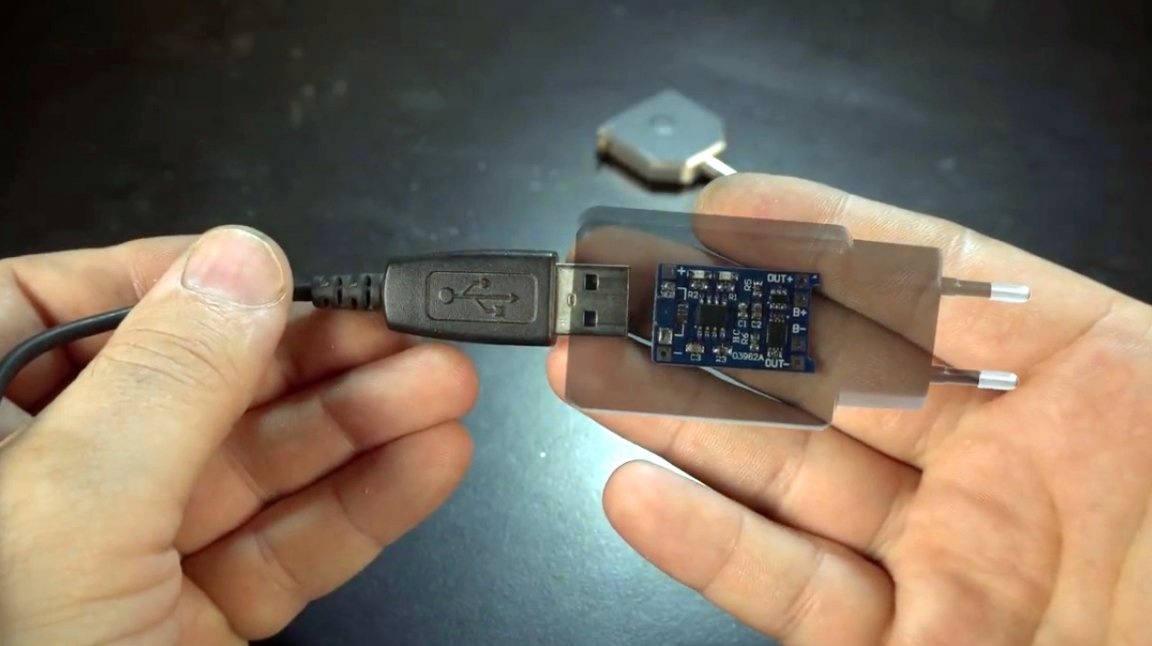
Now follows the electronics assembly process itself. The author borrowed a microUSB connector from the charge control board itself. It is connected directly to the battery, and the LED is connected in series with a button and a current-limiting resistor with a resistance of 120 ohms. Of course, you could use a simple "cheap" battery 2032 voltage of 3 Volts.


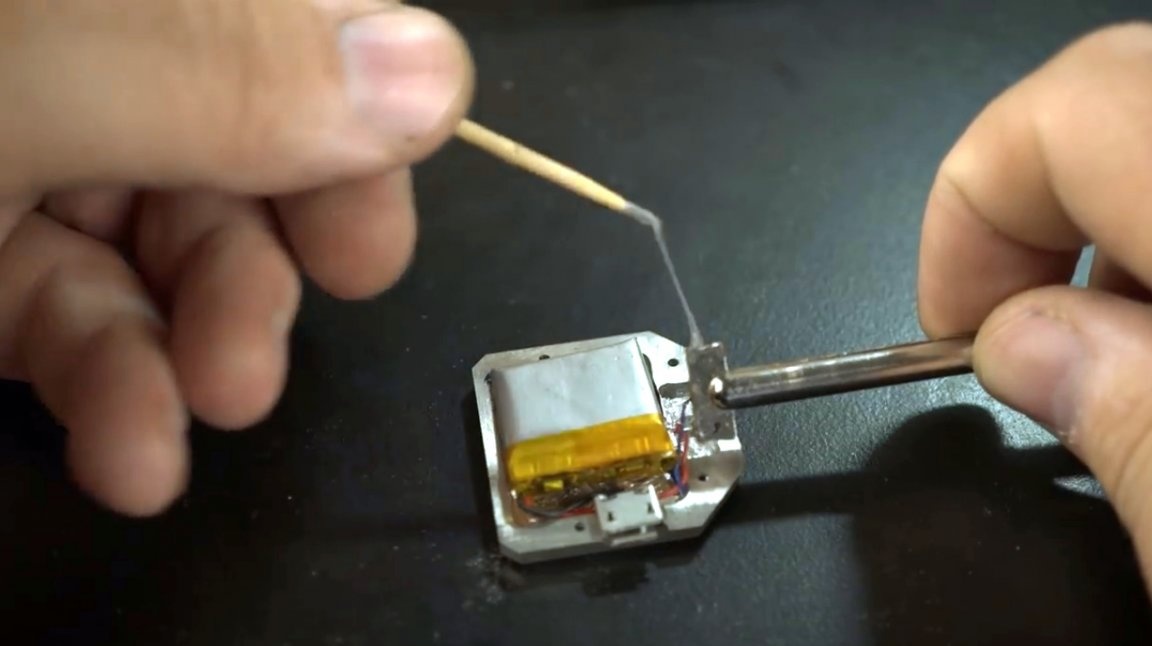
Since the key is not very rigidly fixed in the case, and has a slight backlash, the master decided to fix it with epoxy to one half of the case. Then the lid is closed and fixed with screws.
Of course, no one carries the keys in his pocket, so the author makes a hole in the case for the ring so that the key can be attached to a bunch.
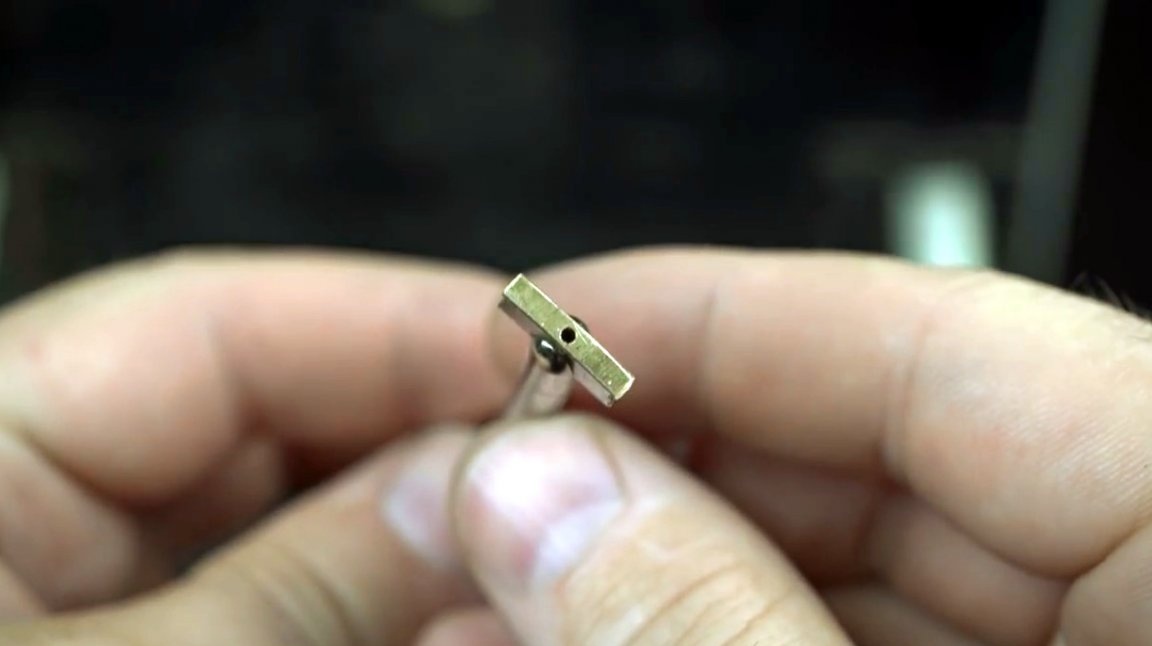
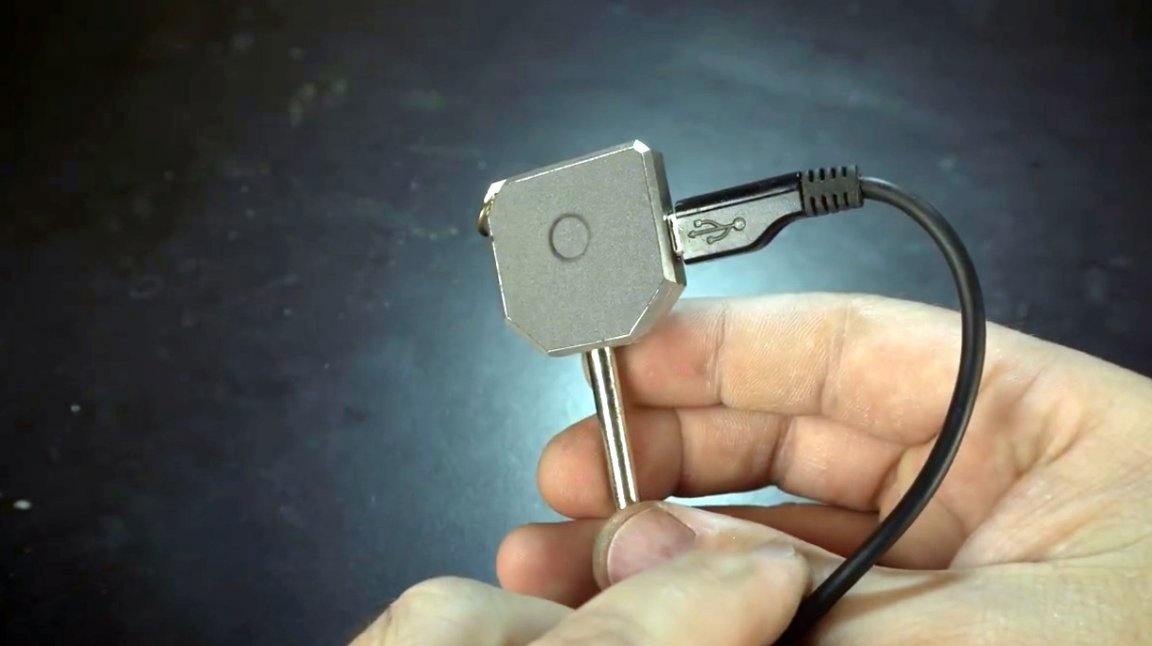
The power button for the flashlight turned out to be quite deeply recessed in the case, and he had to carve a small tab out of the brass bar.
To fix the tab, and complete the appearance, the master used a self-adhesive automotive film.
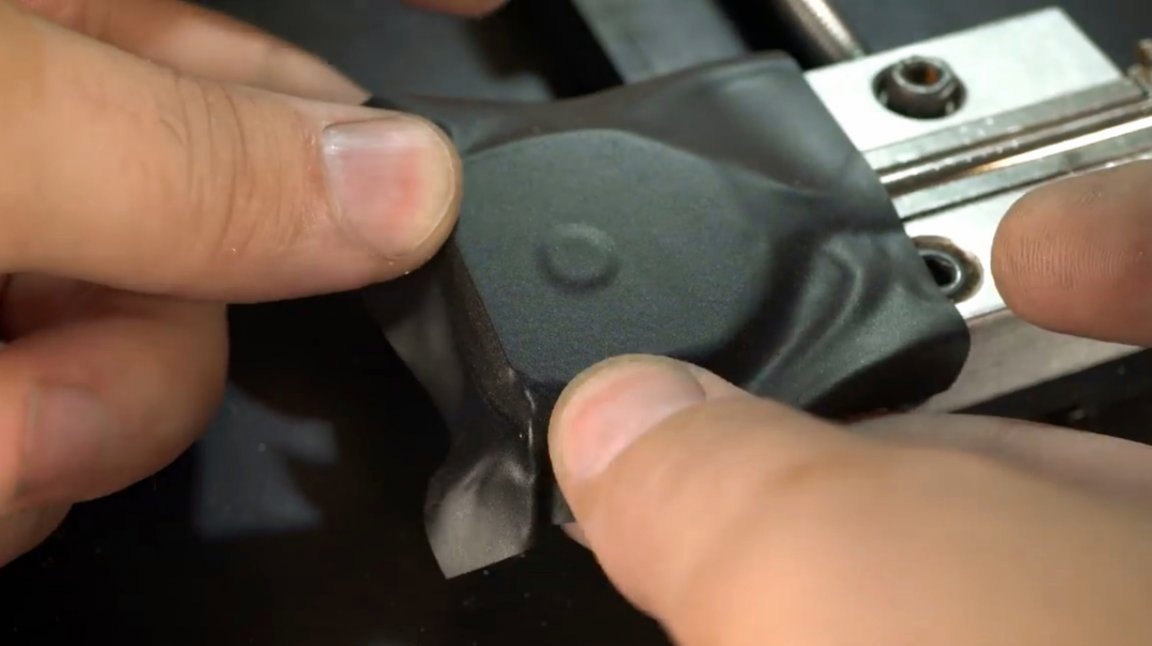
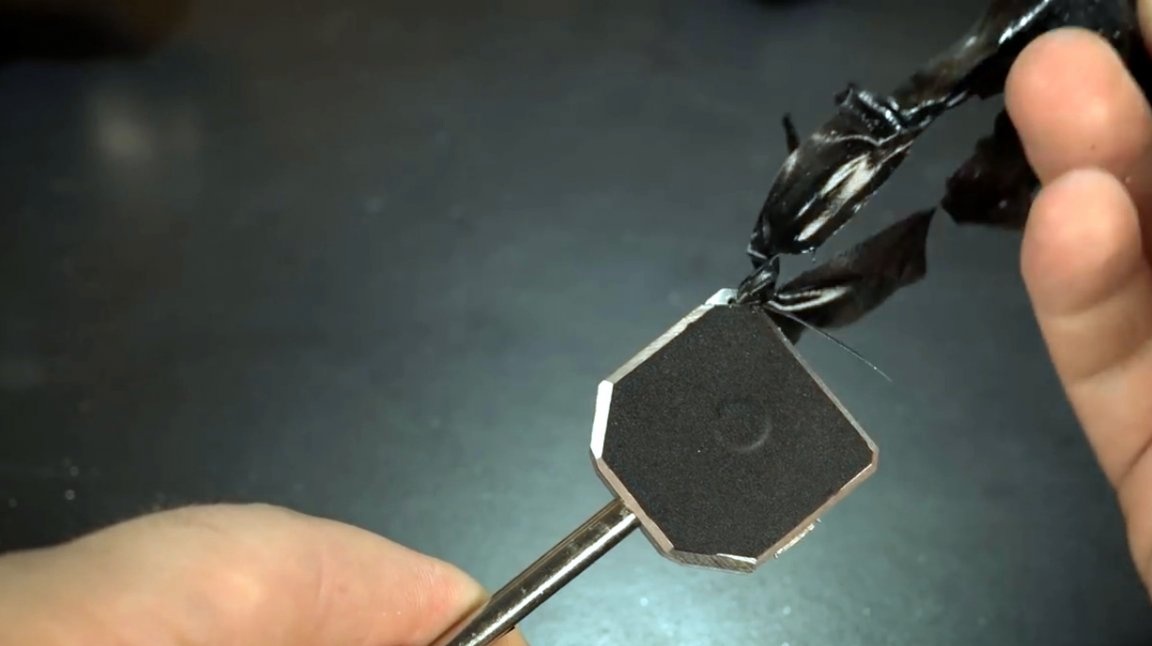
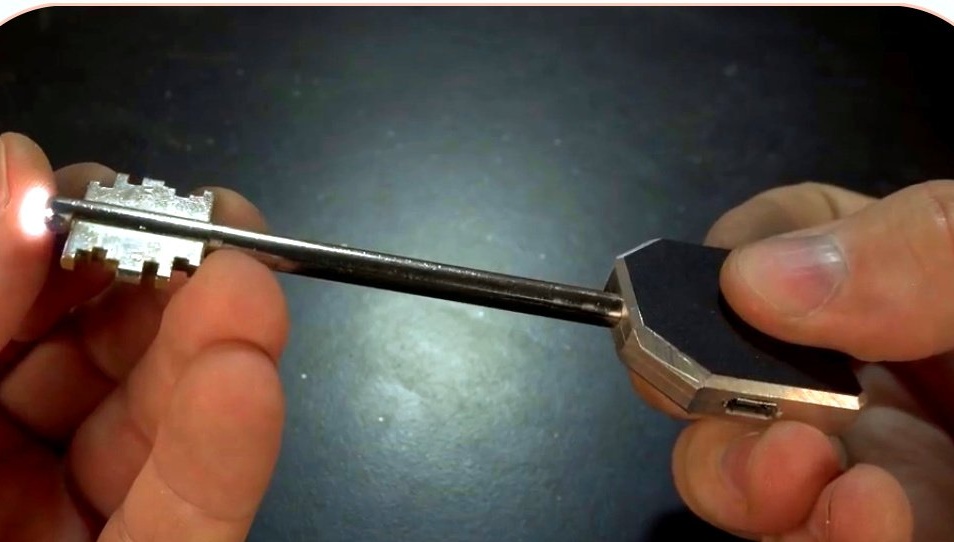
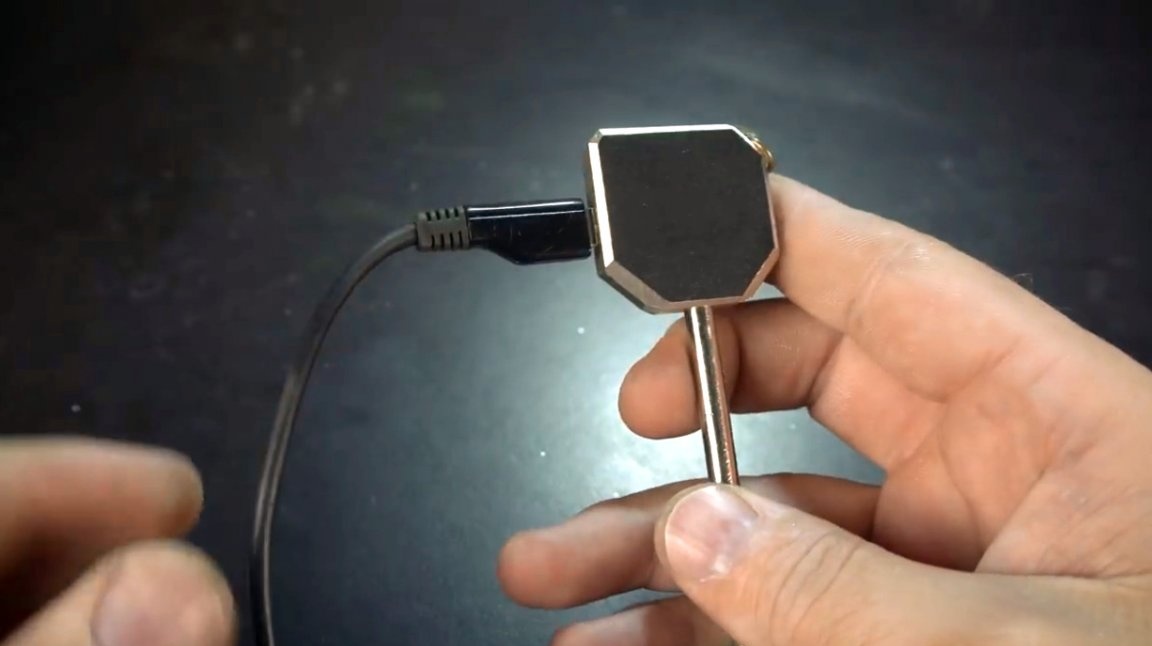
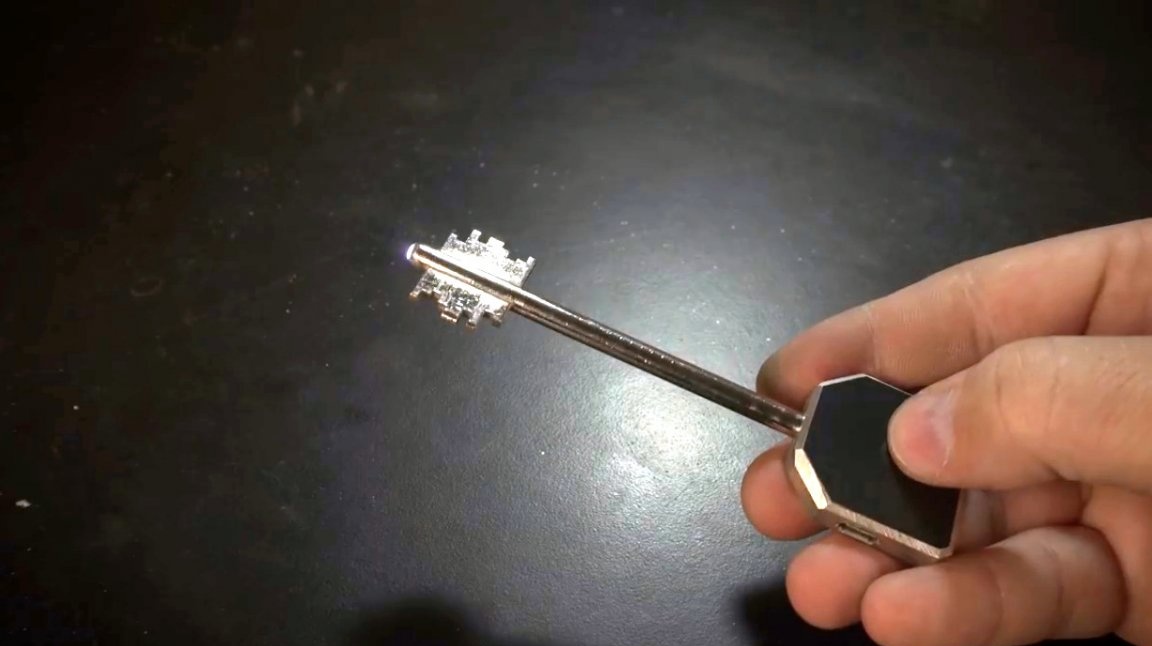
That's all, the homemade optimization key is ready!
Even such a small battery lasts for several hours of continuous glow of the LED flashlight. And the charge control board can be hidden in the charger itself.
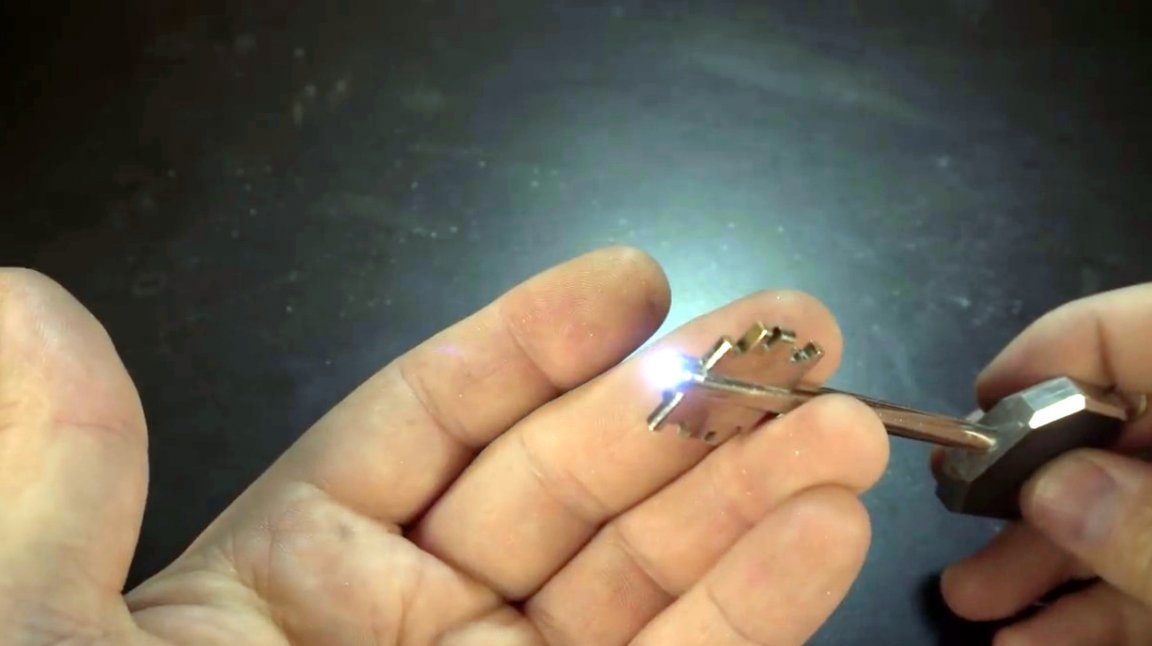
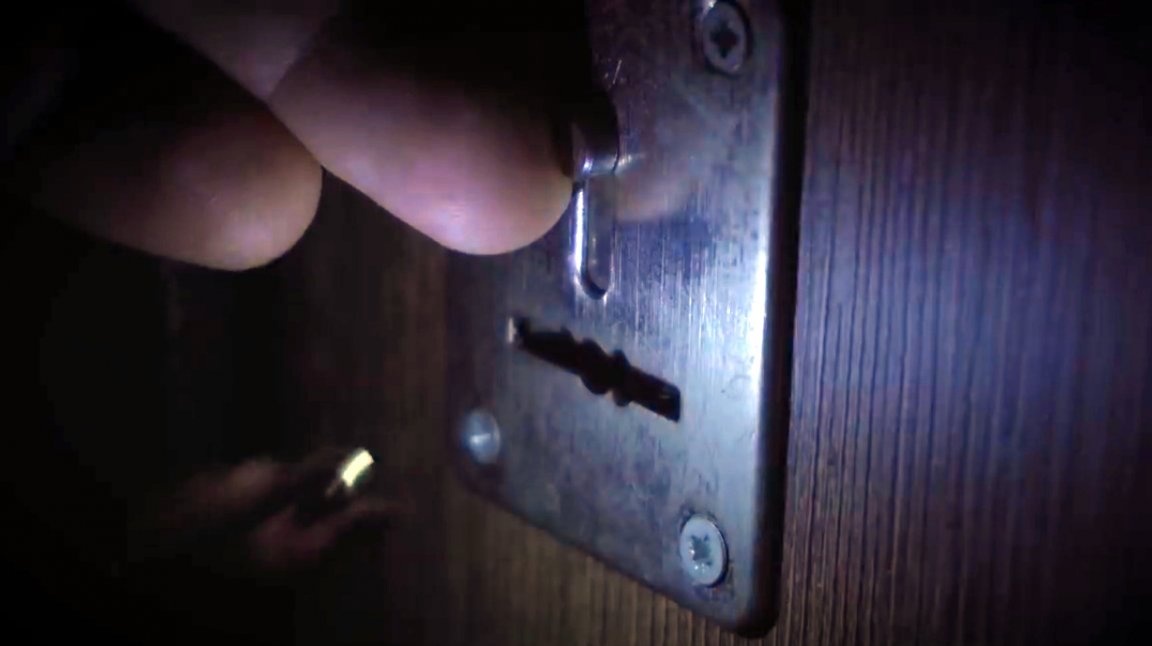
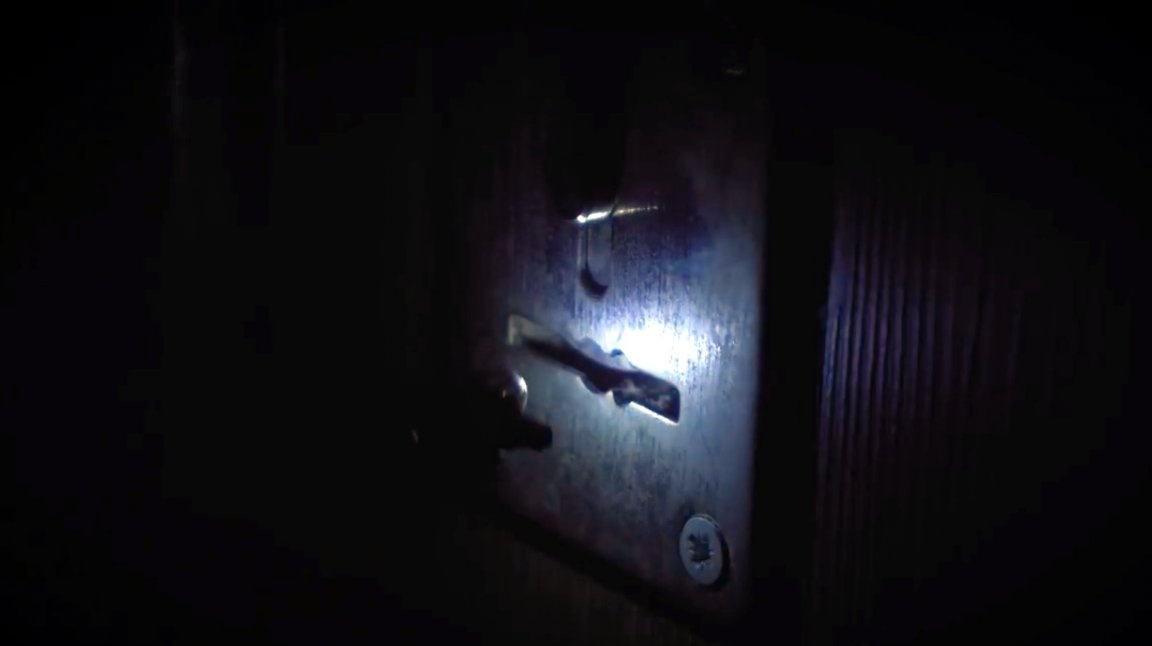
And here are the tests in the dark. Now getting into the keyhole is much more convenient.
I thank the author for the interesting idea of improving the flag key! Indeed, this is a very unusual homemade!

All good mood, good luck, and interesting ideas!
Author video can be found here.