
Almost every master needs to have either a miter saw or device for precise manual cutting of workpieces. Often, a regular miter box is used for this.
In this article, the author of the YouTube “Hands from the shoulders” channel, will tell you about a very simple and reliable device that can easily cope with this task.
This homemade product is extremely easy to manufacture, and repeats in a few minutes.
Materials
- Pine boards
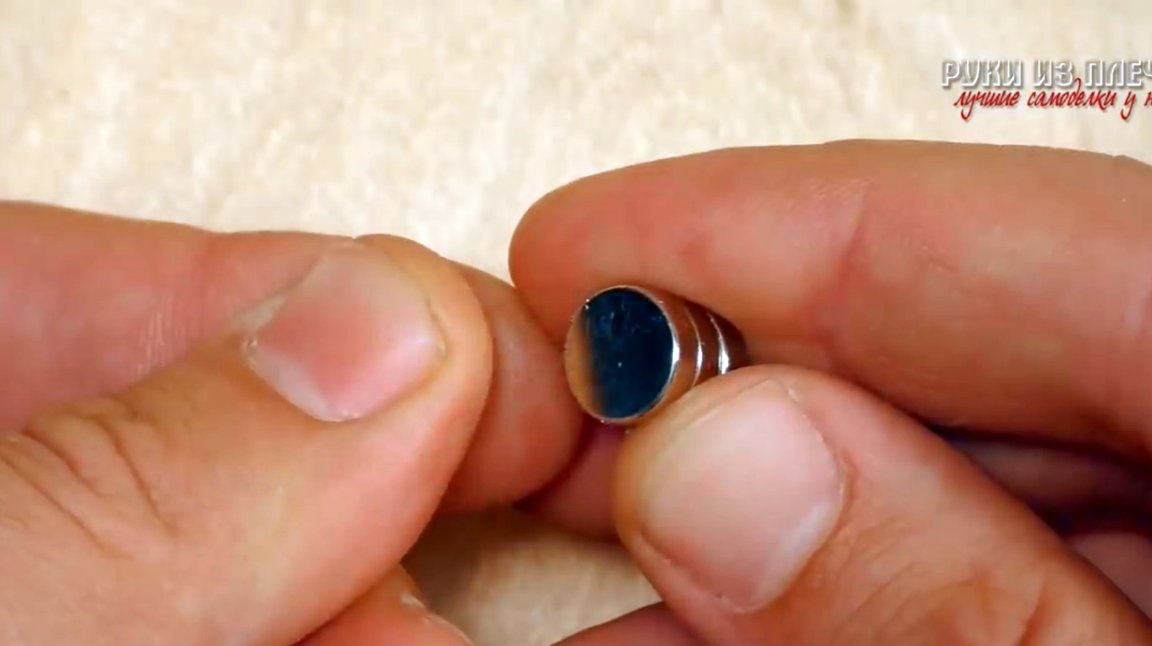
— Neodymium magnets
- Second glue
- Wood screws
- PVA glue.

Instruments, used by the author.
- Drilling machine, or drill stand
— Clamps
- Ruler, square, pencil, awl
- Feather drills for wood
- Hacksaw.
Manufacturing process.
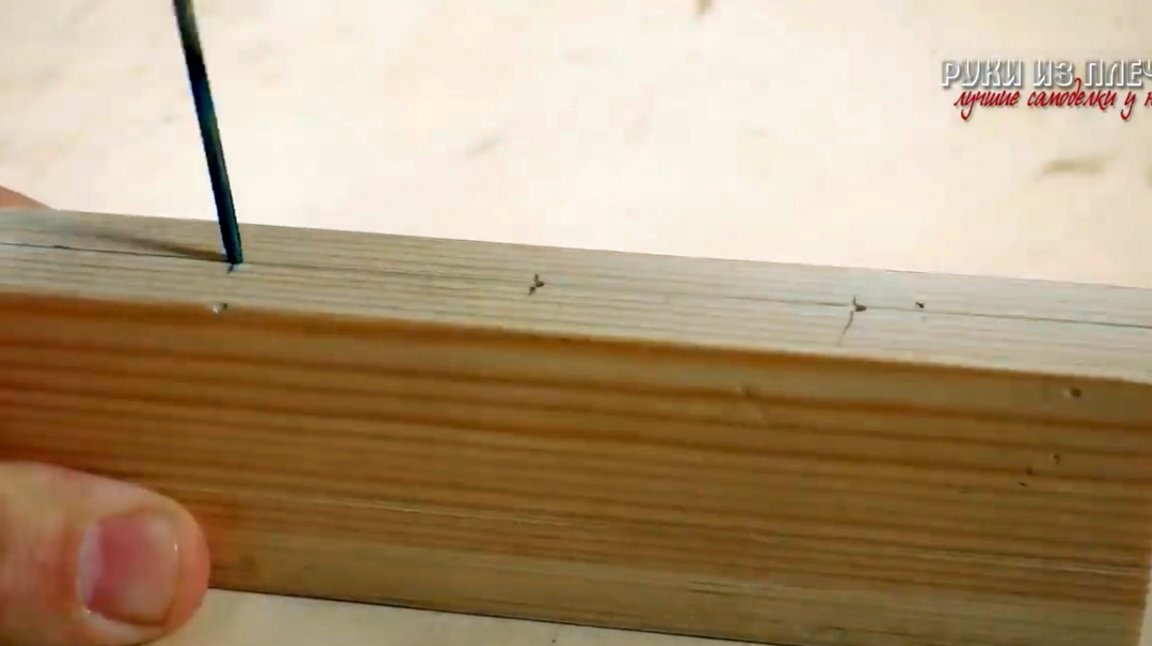
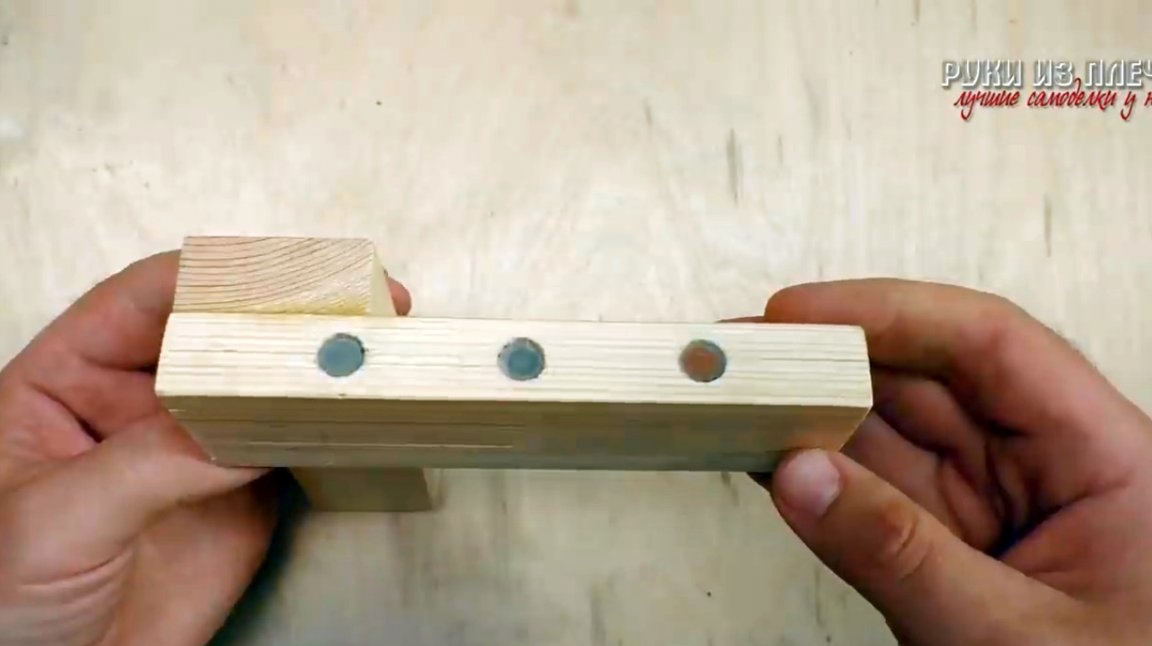
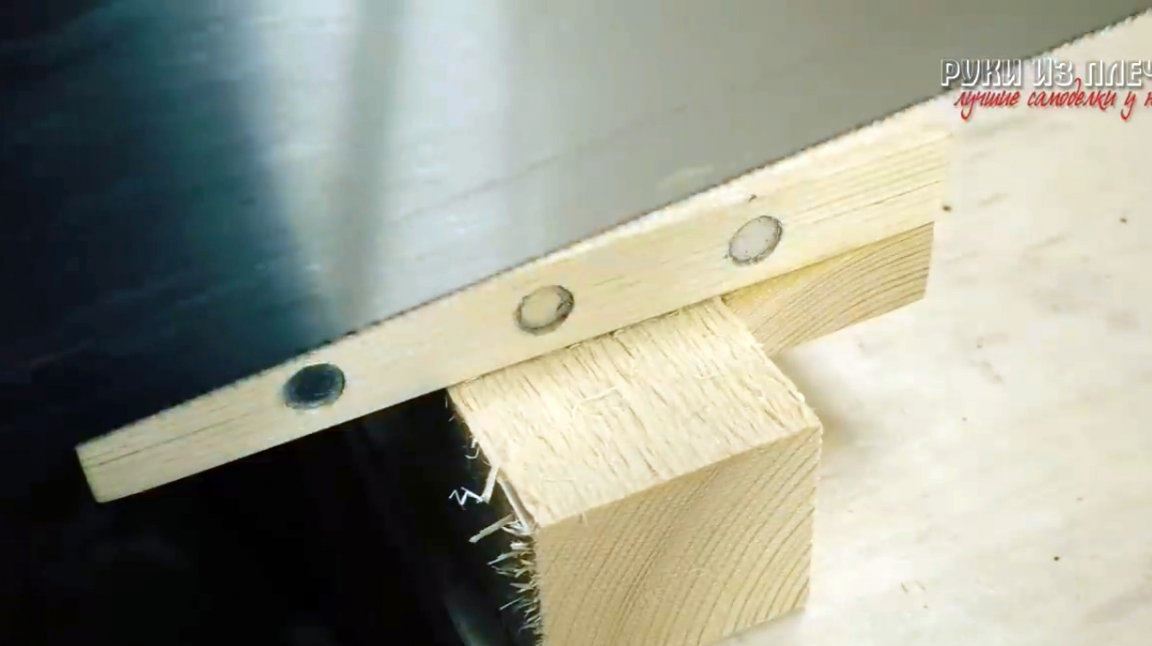
So, the first thing you need is two small pruning boards or bars. They must be cut and processed with sufficient quality, the accuracy of the future device depends on this. At the end of one of the planks, the master marks and pricks three centers.

Then he drills holes using a drill and stand for it.
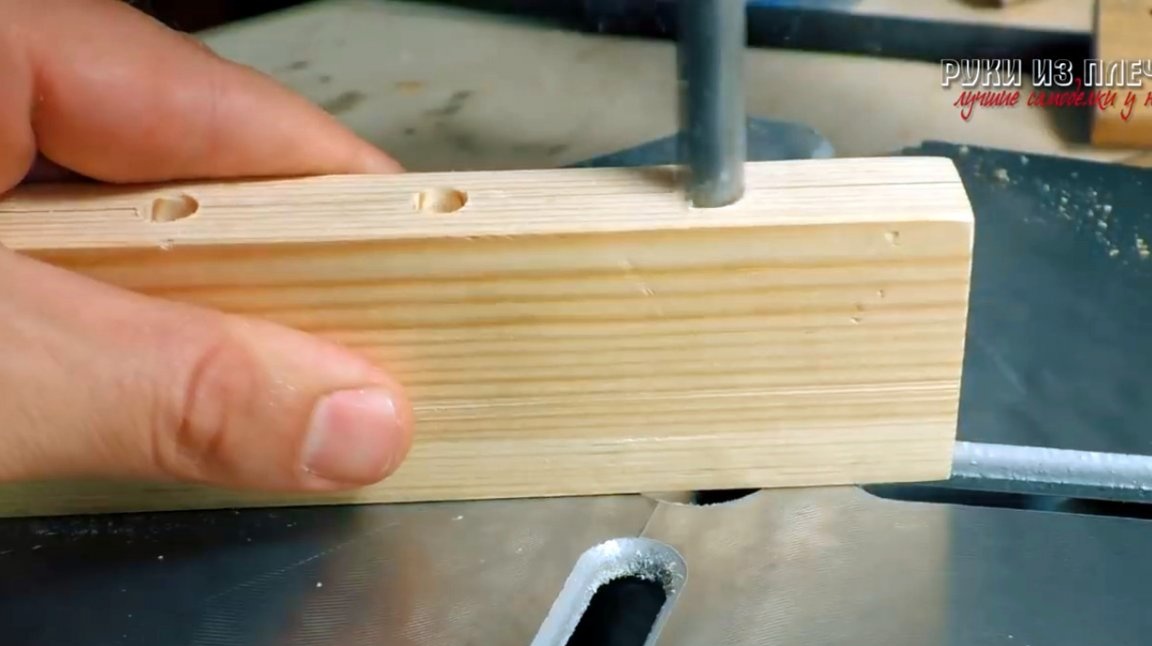
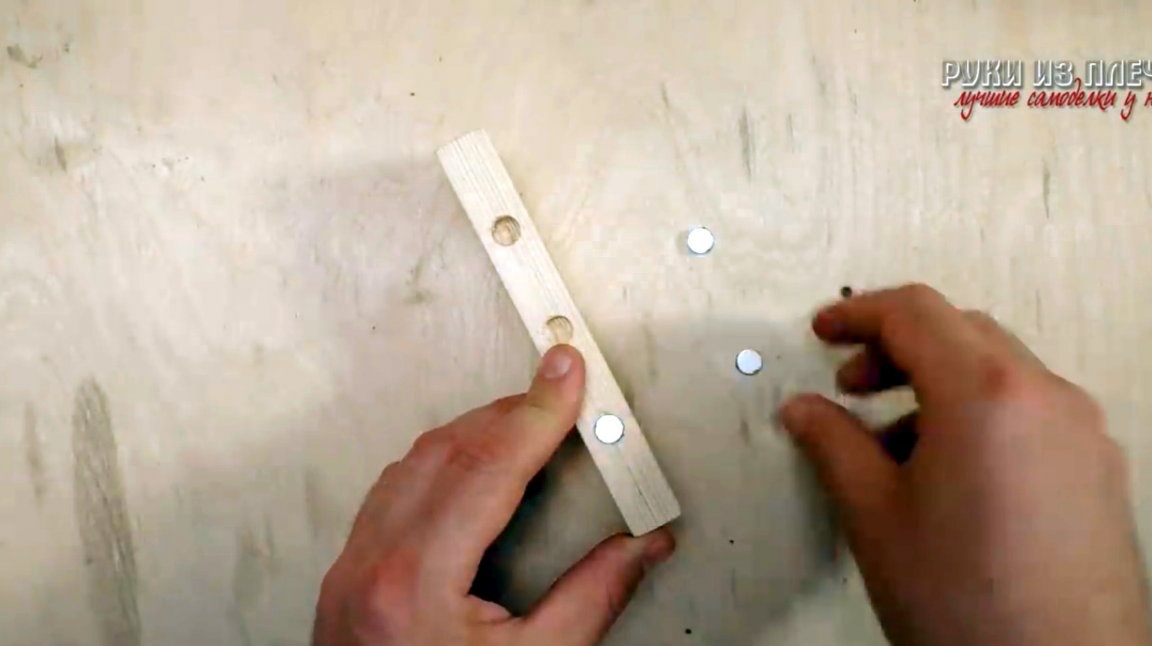
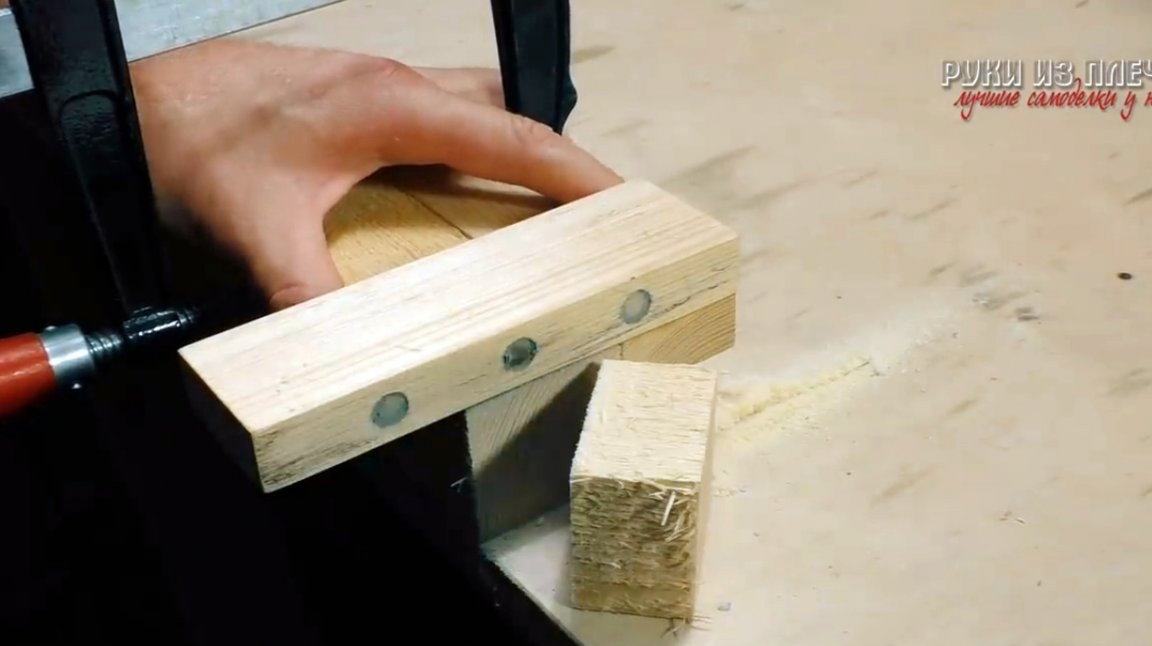
Now small neodymium disk magnets are glued into these holes. Their edge should be slightly recessed deep into the wood, literally by 0.5-1 mm.
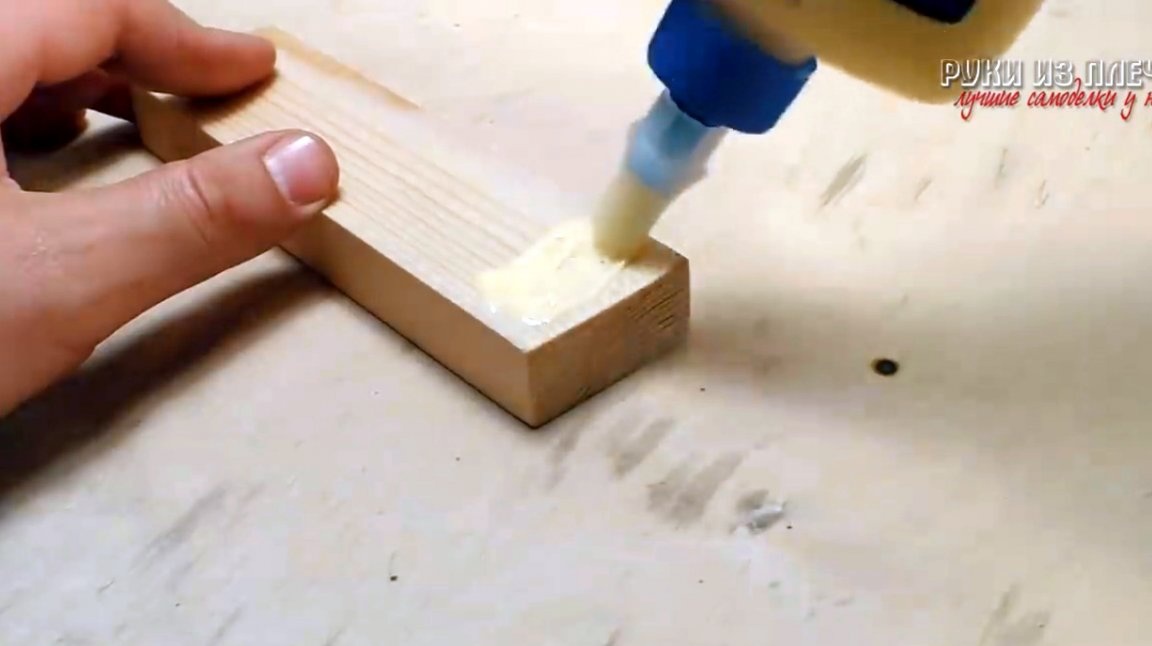
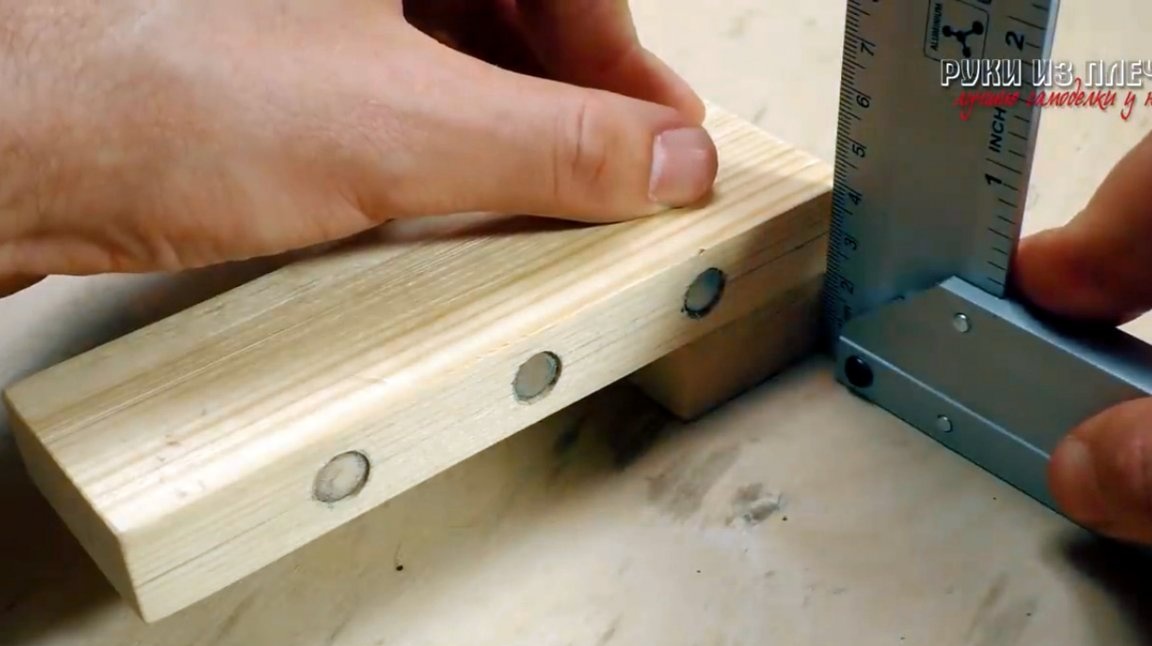
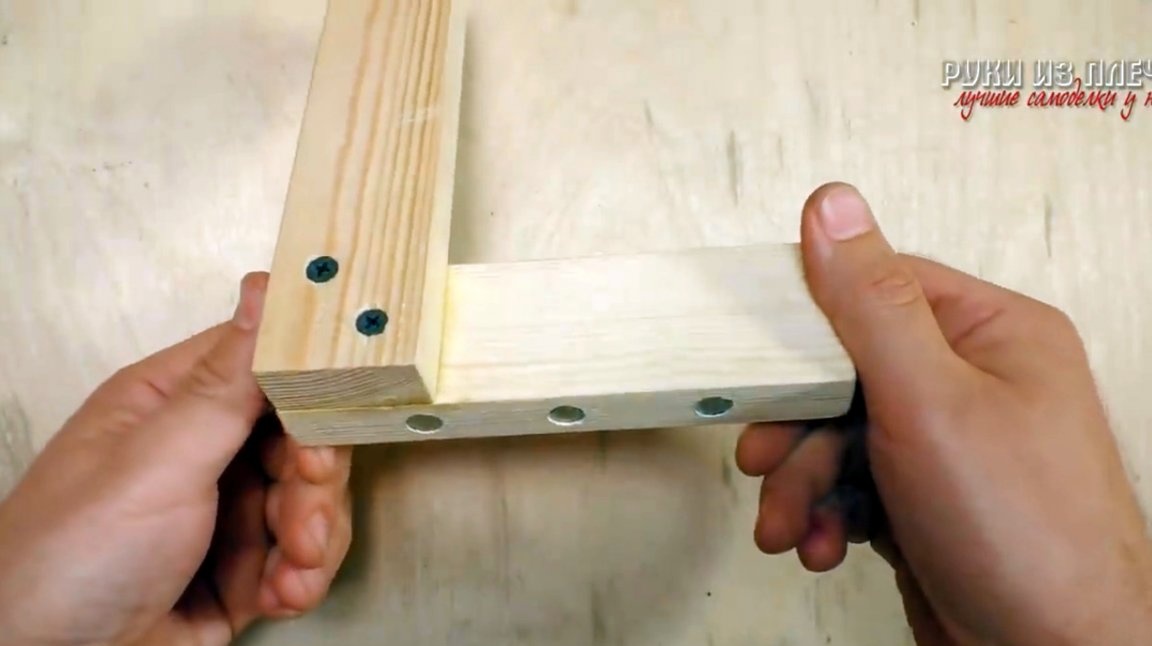
The edges of the boards are glued at right angles, and the accuracy of the connection is controlled by a square.
For a more reliable and rigid connection, the parts are additionally fixed with self-tapping screws.
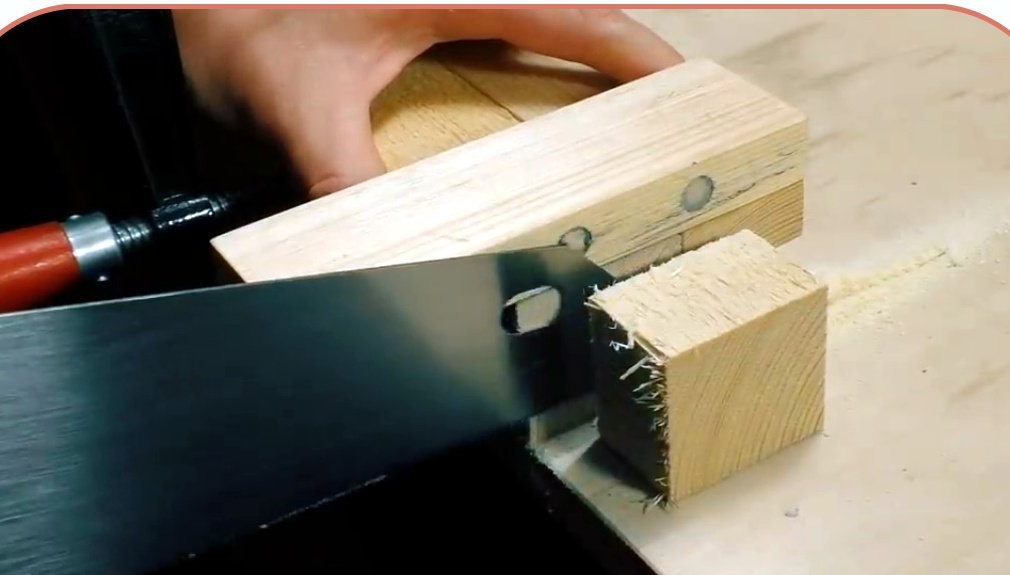
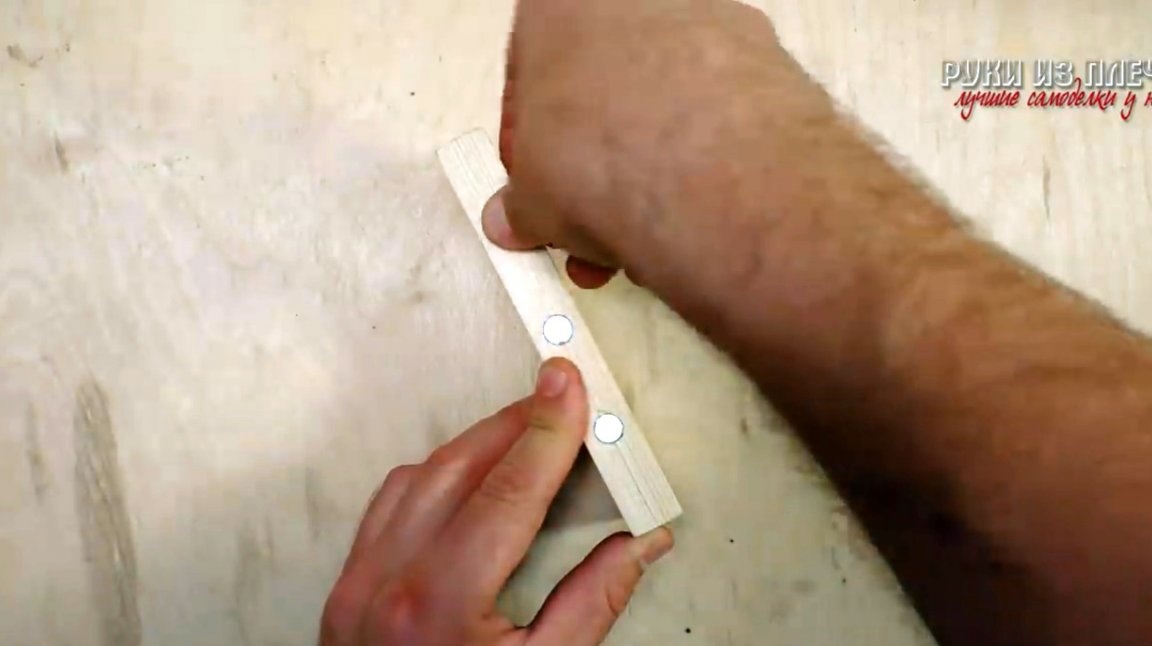
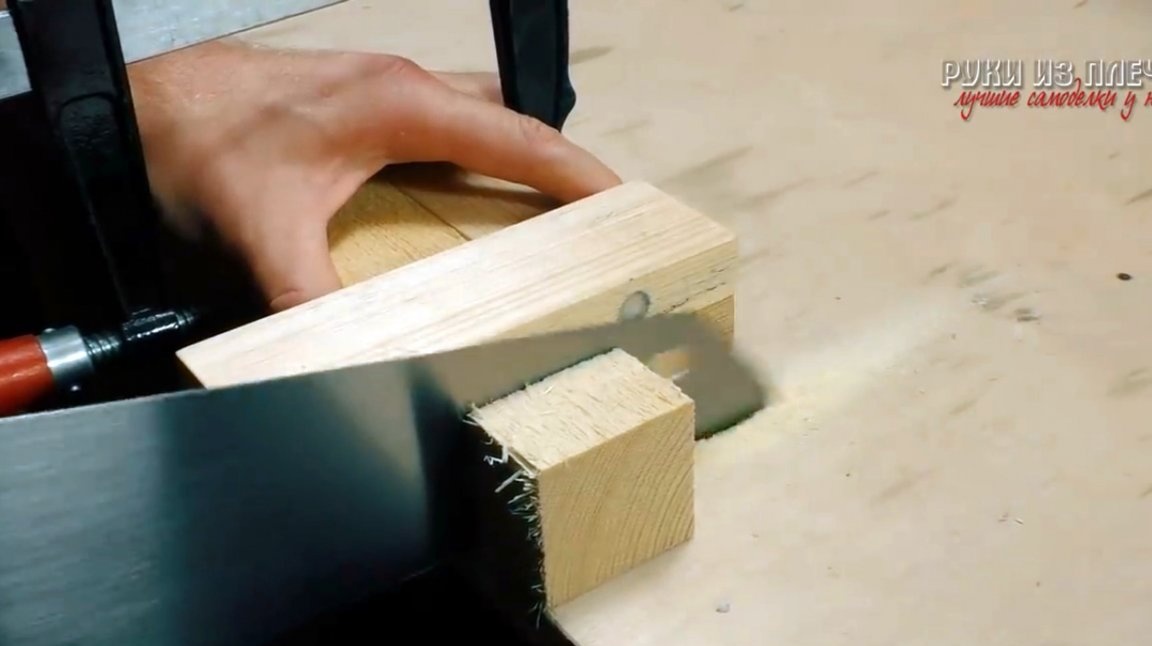
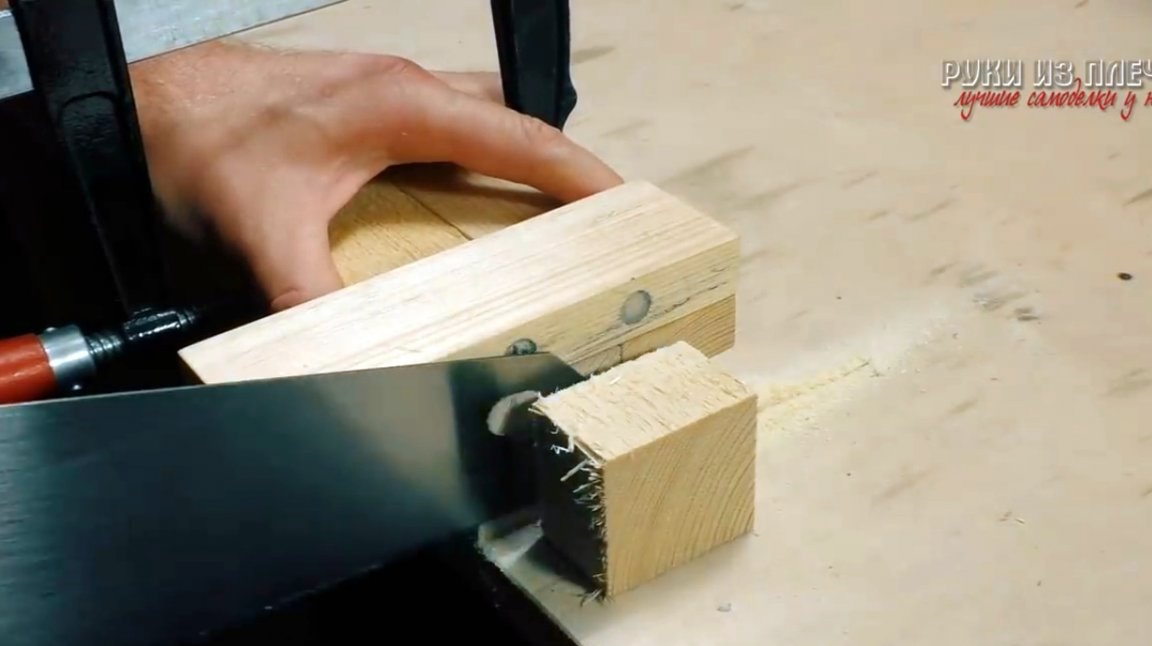
How does this device work? Yes, everything is extremely simple. It is enough to attach the surface of the hacksaw blade to the magnets, and it will be set at the right angle to the workpiece.
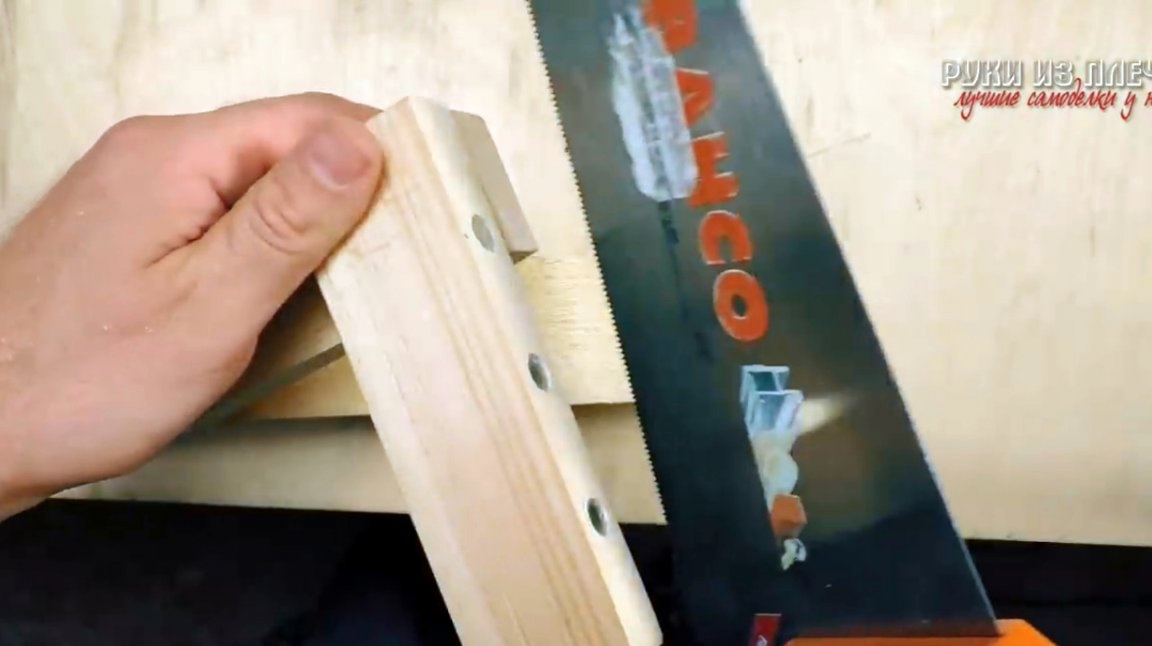
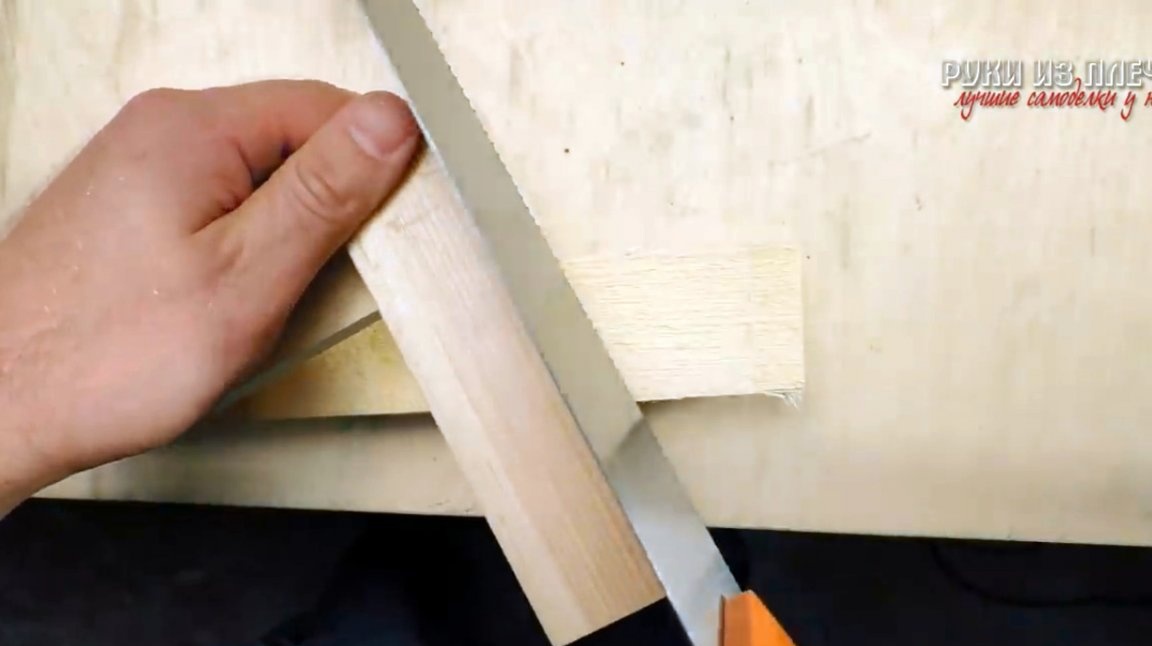
Now you can test the resulting device. The author recommends making the guide shorter, otherwise it limits the working stroke of the saw blade. Also, the edge in contact with the canvas needs to be lubricated with laundry soap or wax. The arrangement of magnets is also better done not in one line, but in the form of a zigzag or a snake.
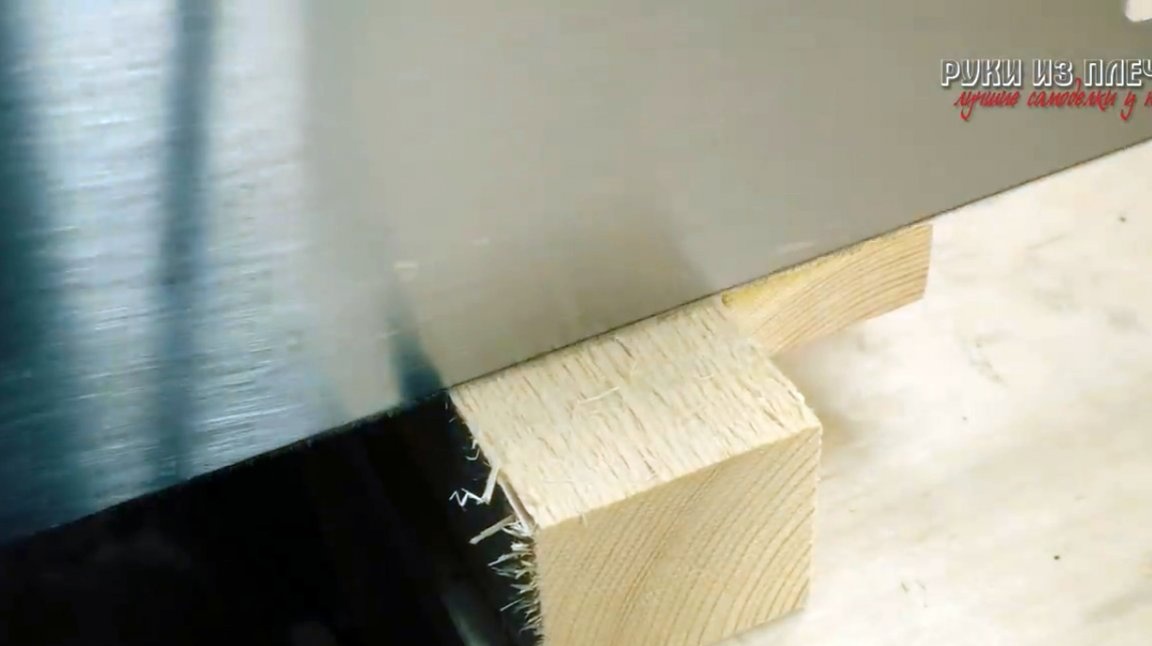
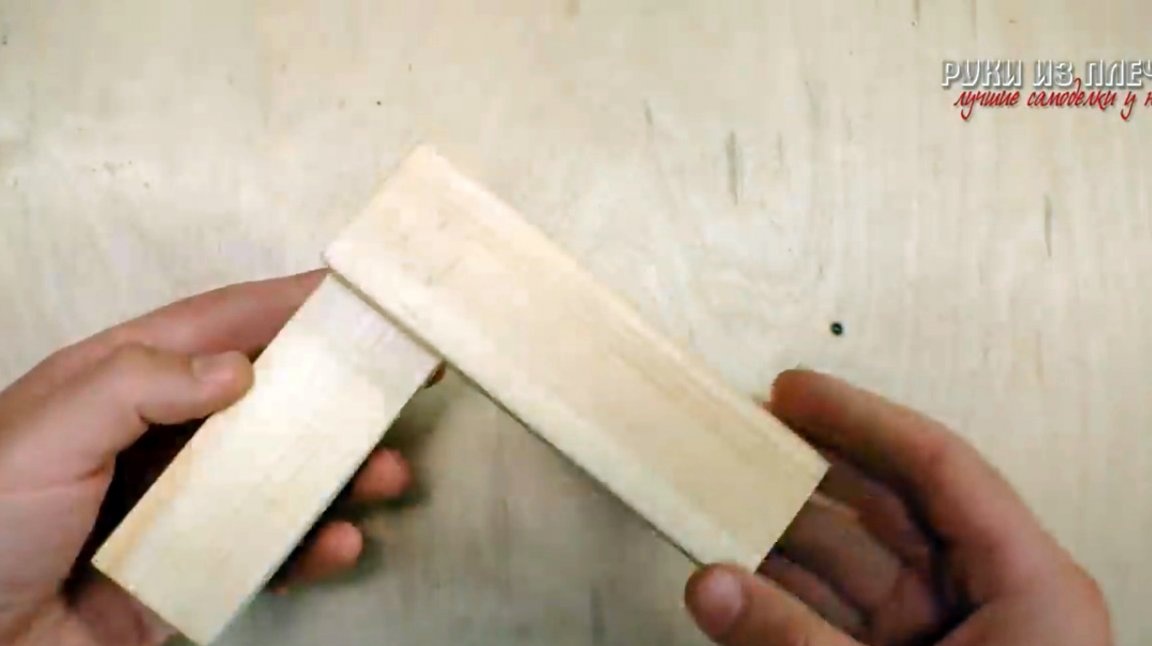
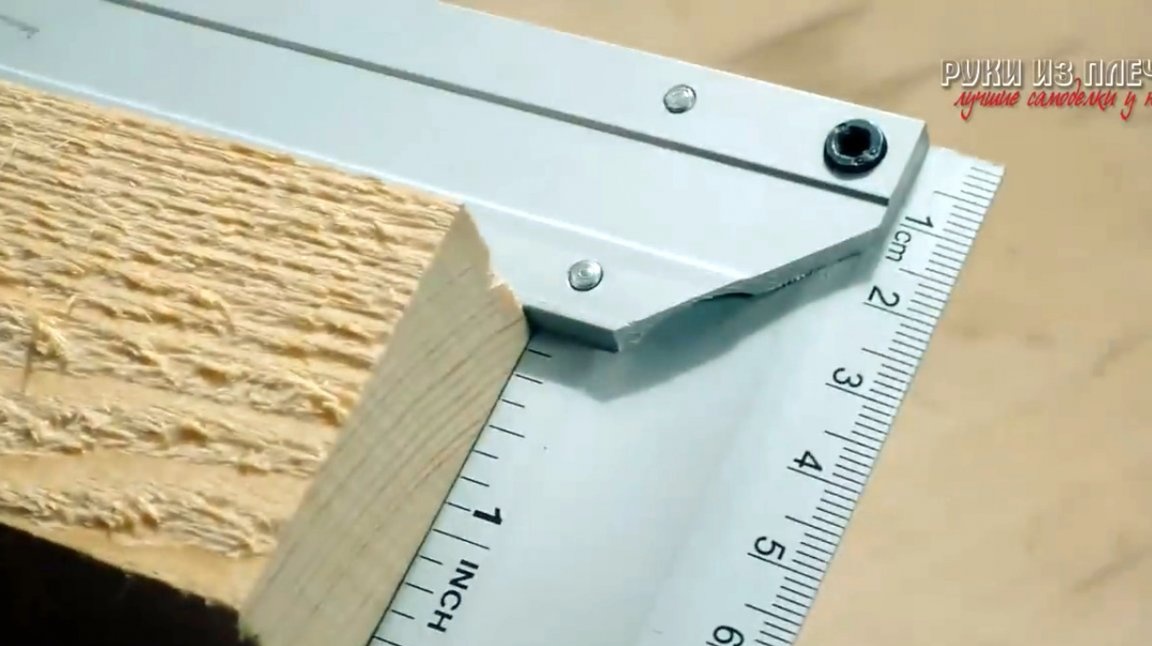
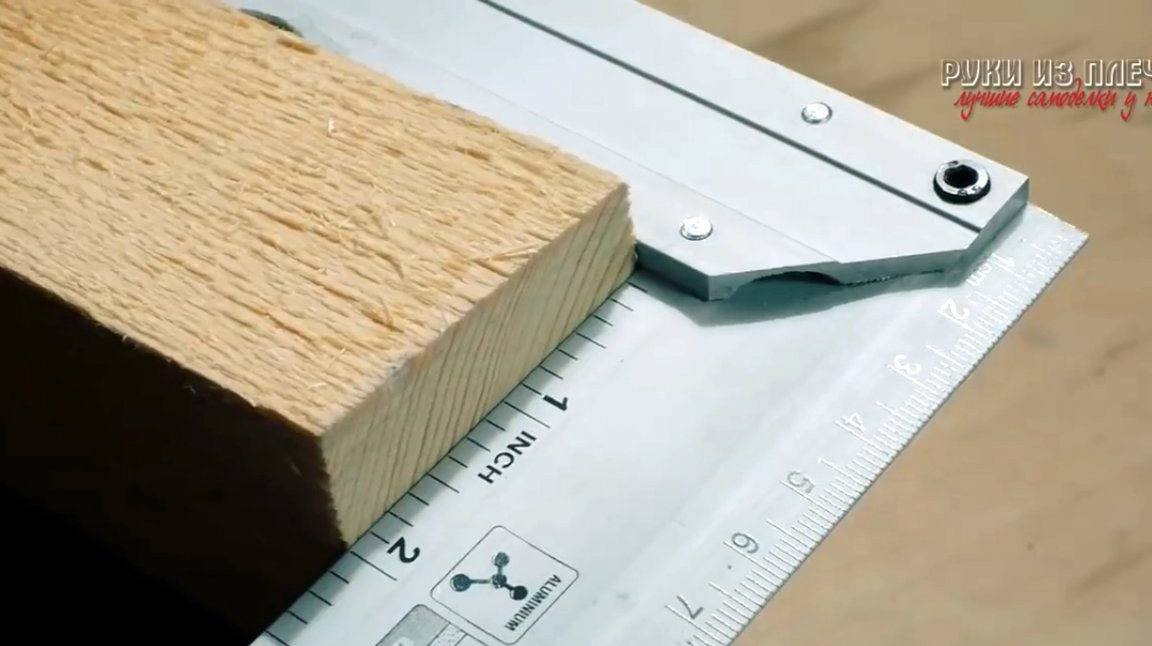
And here is the result. The cut end of the bar turned out exactly at 90 degrees, which corresponds to the quality of the cut with a miter saw.Of course, this device can also be made for cutting at any other angles, even with a “double tilt”. That is, you can cut the workpiece immediately under 45 degrees across, and with an inclination relative to the surface. This focus can only be repeated on a circular saw with a carriage and an inclined disk.
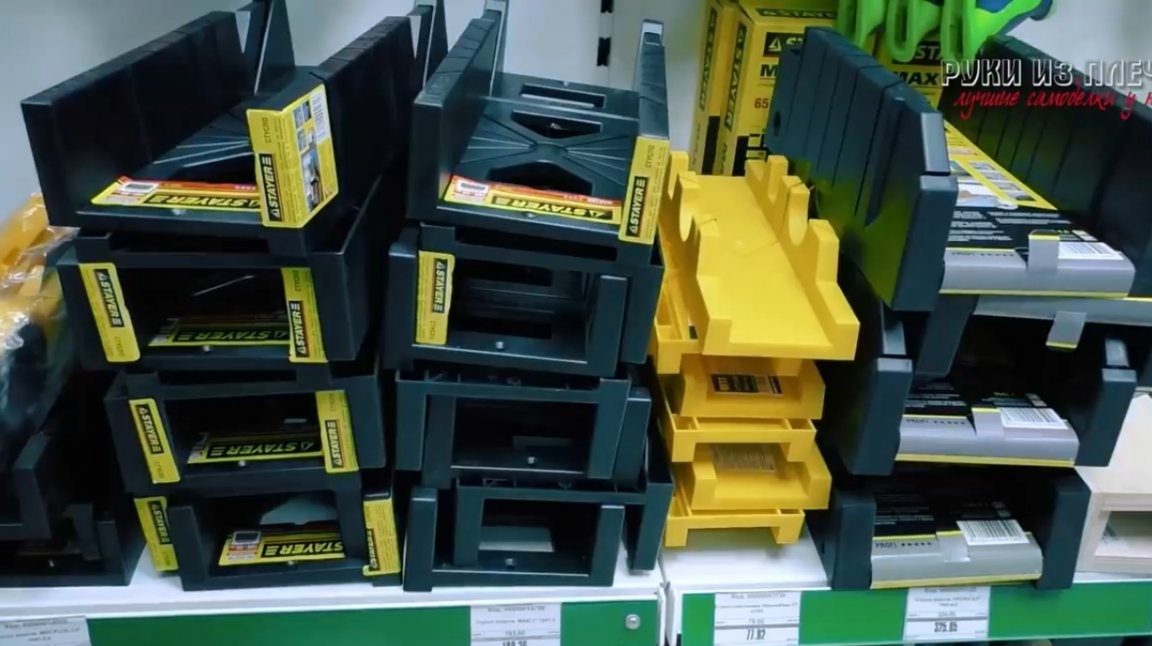
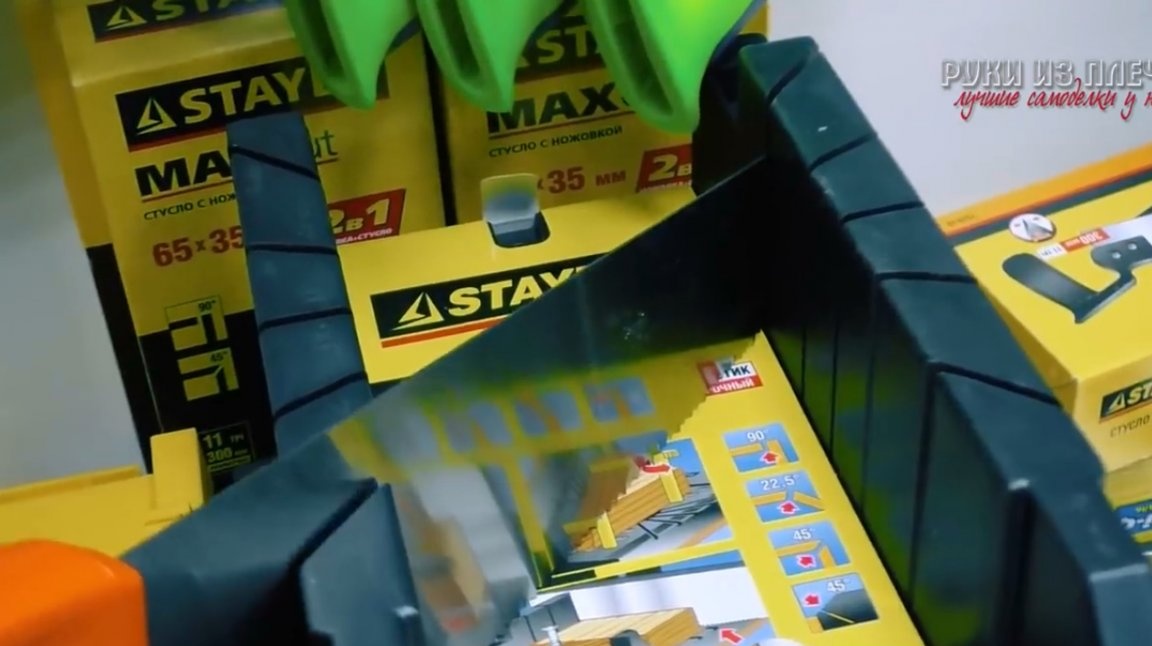
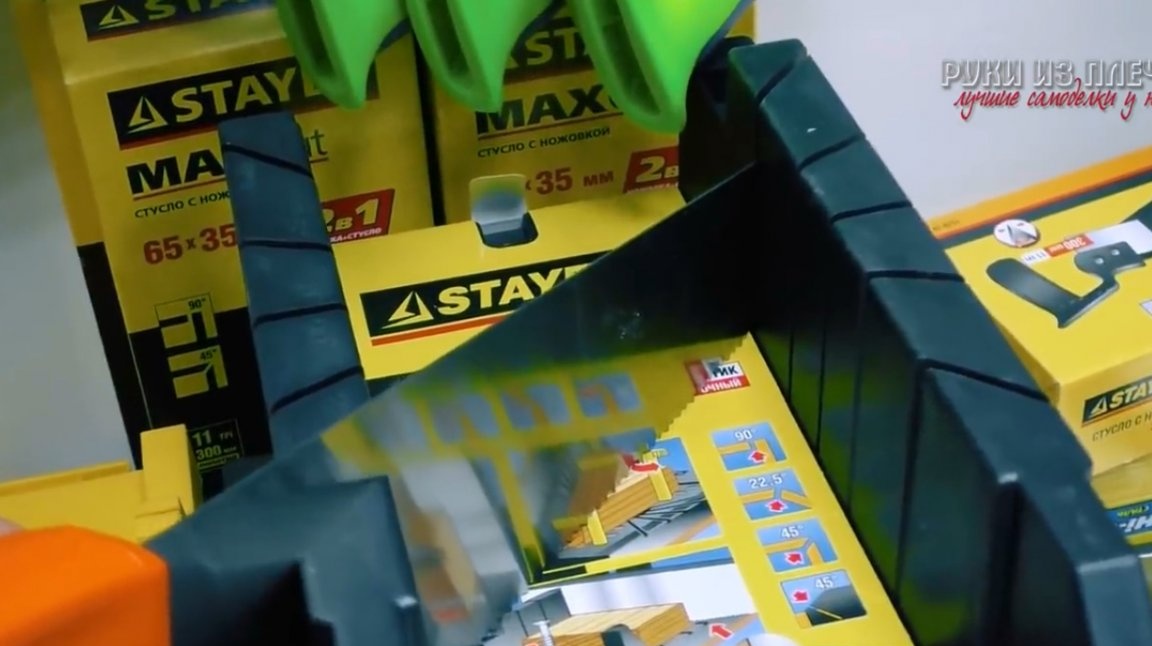
Of course, you can buy a simple plastic miter box, but even a new such device does not give a rigid fixation of the canvas in the grooves, and there is considerable backlash. And after several sawn blanks, it will only increase, and you will not have to wait for high accuracy from it.
I thank the author for a simple but very useful tool for the workshop!
All good mood, good luck, and interesting ideas!
Author video can be found here.