
From the article below you will learn how to make wooden blinds using a pantorouter. The following description and instructions are taken from the Matthias Wandel YouTube channel.

These blinds will be made using a home-made pantorouter.
Necessary materials and tools:
- trim board size 50x100 mm;
- template for pantorouter;
- band-saw;
- rasp;
- pantorouter with cutters;
- vernier caliper;
- table saw;
- clamps;
- stationary grinding belt machine;
- PVA carpentry glue;
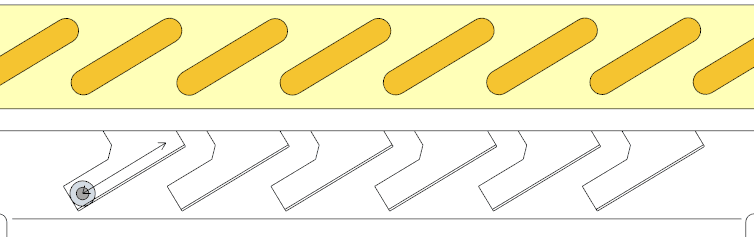
To avoid a lot of trial and error, the wizard began by developing a layout for the strips in Google SketchUp.
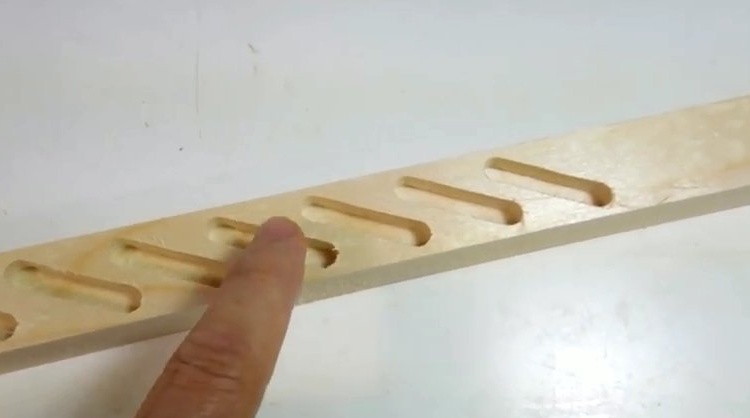
He used this shape to generate a template for cutting oblique grooves. The template has a number of angular guides along which a guide bearing can roll.

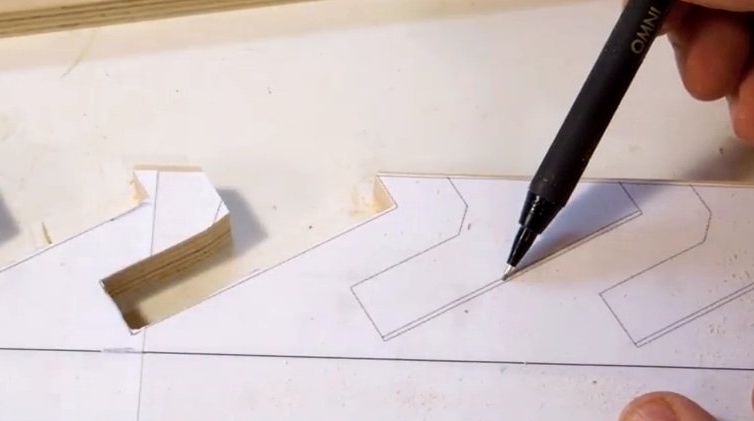
Then the wizard completely looked at the image, took a screenshot by pressing the "Print Screen" key on the keyboard, and then imported the image into BigPrint. He then used the desired size on the template to set the scale, and printed it on two pages.
You can download this blinds template. in pdf format
…or as an image filewhich can be printed:
Also possible download model sketchup
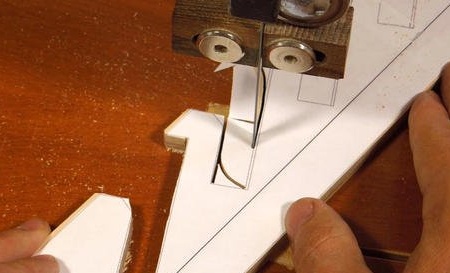
The master glued the template onto a piece of plywood 8 mm thick and cut it on a band saw. He drew a double line for the bottom and cut the first groove with a band saw ...
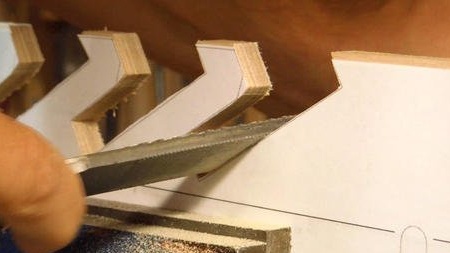
... and then, using a rasp, gently scraped the material to the second line.
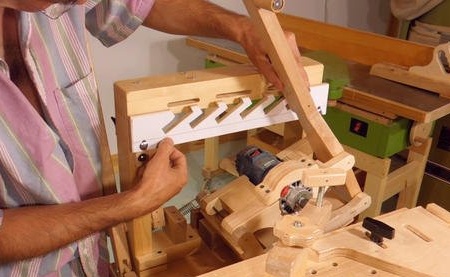
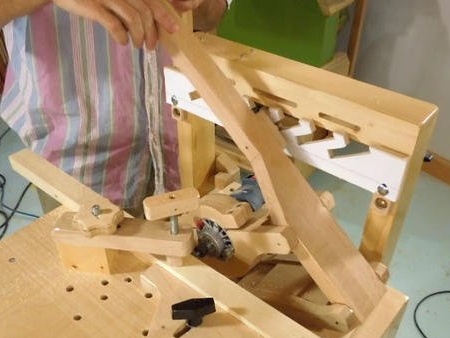
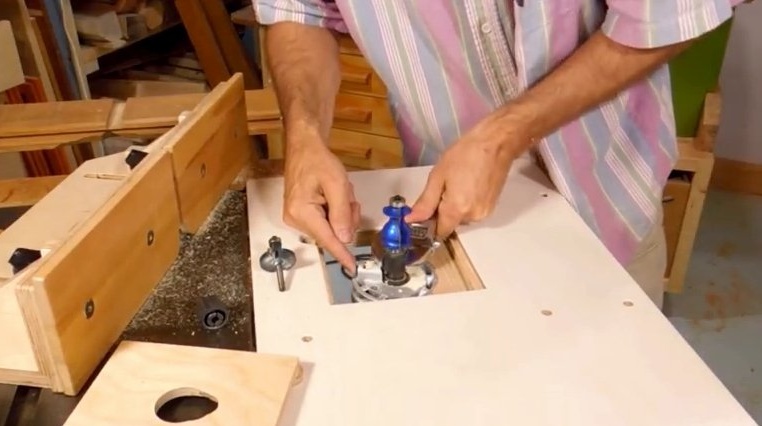
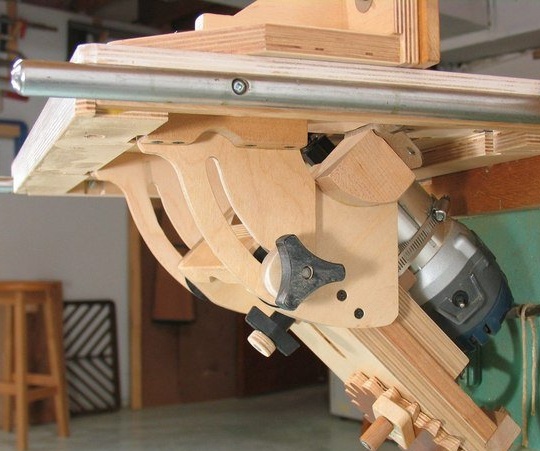
The template is attached to the pantoruter.
The master made two wooden spacers to hold the template in place, on the pantorimeter template frame.
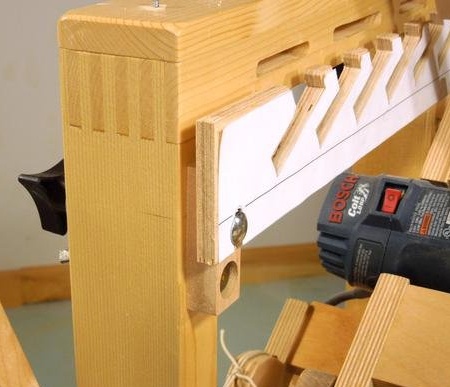
The difficulty lies in the correct alignment of the template vertically. The black line on the template represents the level of the table. In the presence of 6 mm. cutters in the router and 12 mm of the bearing, the bit should lie on the table, and the lower edge of the bearing should be on this line.
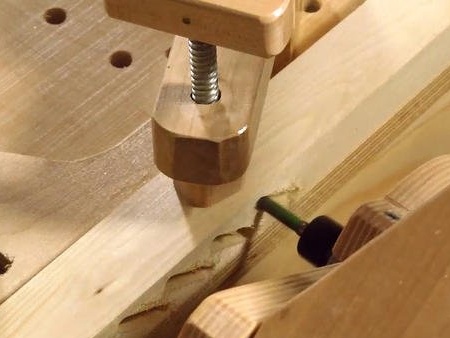
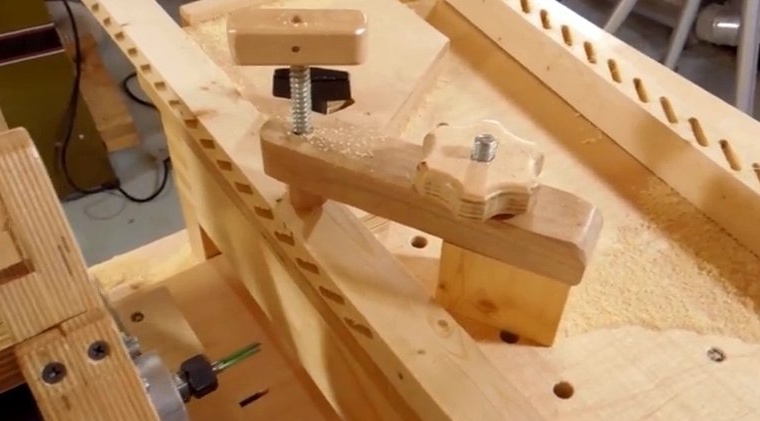
It turned out to be very difficult to set the position of the support blocks with the template installed, but the black line on the template is exactly 19 mm from the bottom edge, so the wizard removed the template ...
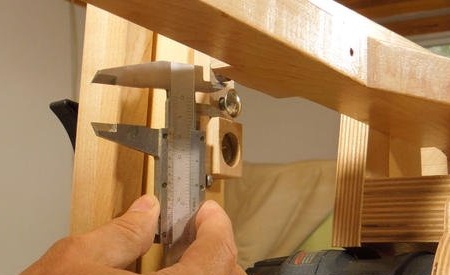
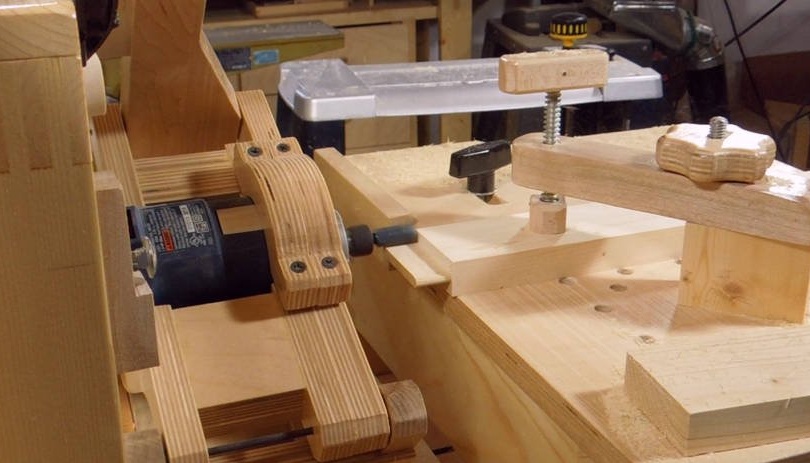
... and with the help of a caliper, the master set the position of the block 19 mm below the bearing, with the position of the cutter lying on the table.
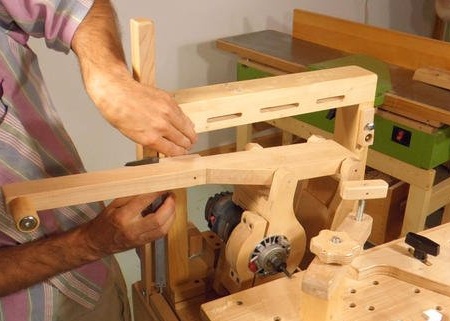
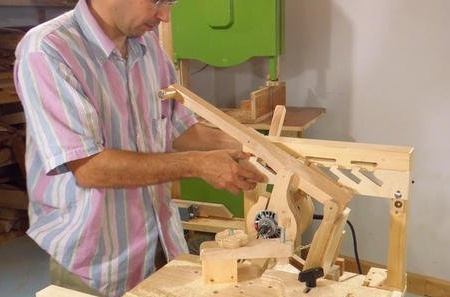
By setting the template and securing the workpiece to the table, you can cut six grooves without the need to move the workpiece.
After cutting six slots, the master turns off the milling machine, unclenches the workpiece and moves it into five slots. Then it moves the router back to the first position of the groove and aligns it with the last cut groove. Once this is done, you can fix the part and mill five more grooves.
The two guides are a mirror image of each other, so another template with slanted in the opposite direction is required. But the master made his template in such a way that you can simply remove it, turn it in the other direction, and use it to mill the corresponding grooves.
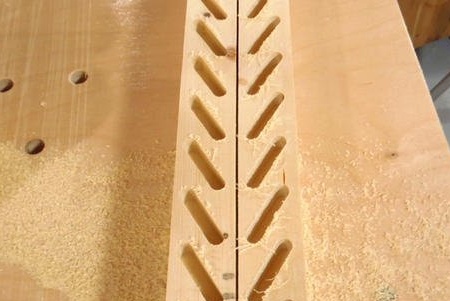
Two beams with milled grooves.
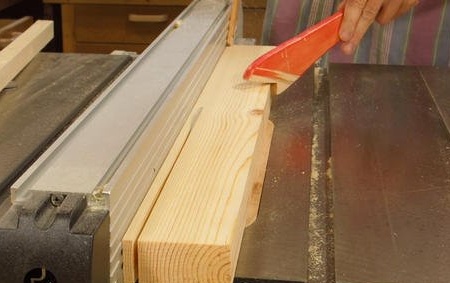
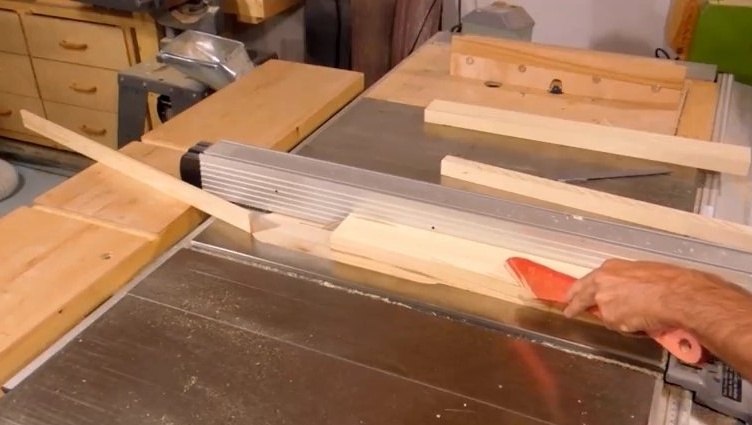
Then you need to file the trims. To do this, the master used a table saw to dissolve a 50x100 mm board.
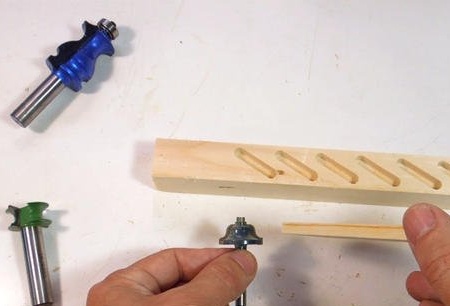
It was required to round the edges of the strips so that they fit into the holes.
The master had an edge edging mill, as well as a curly edge with a radius of 3 mm. inside a circle that could be used, but it would take two side passes for each bar.
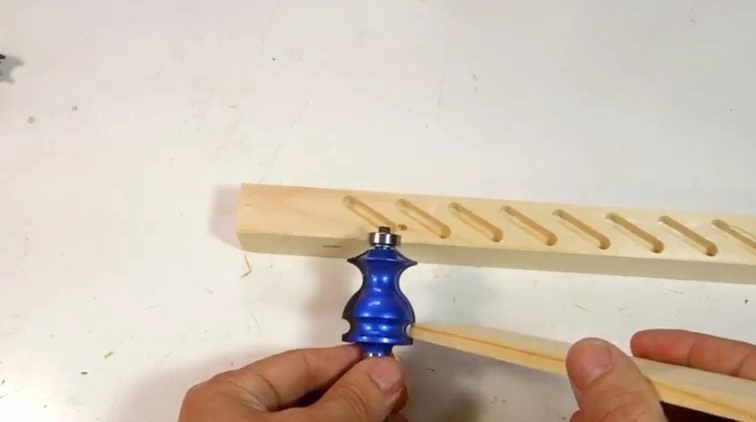
So instead, he used a large curly router cutter, which included a half-circle of the right size.
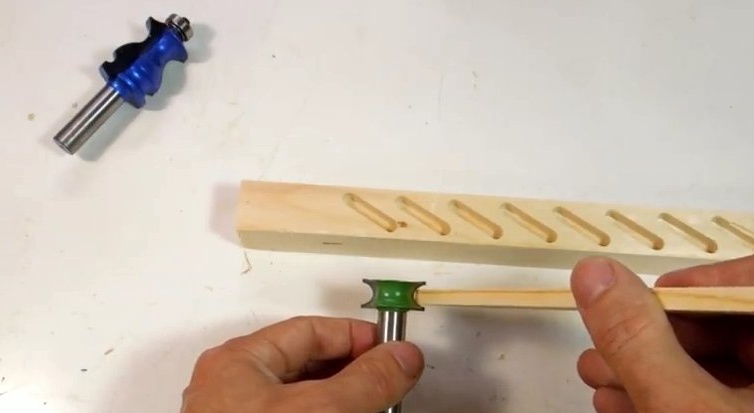
But the catch is that it has another cutting edge at the top, and you can accidentally hook a workpiece with this edge.
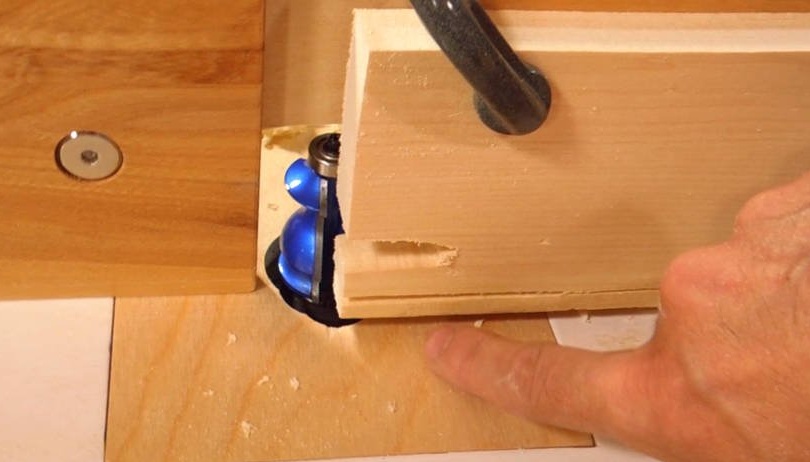
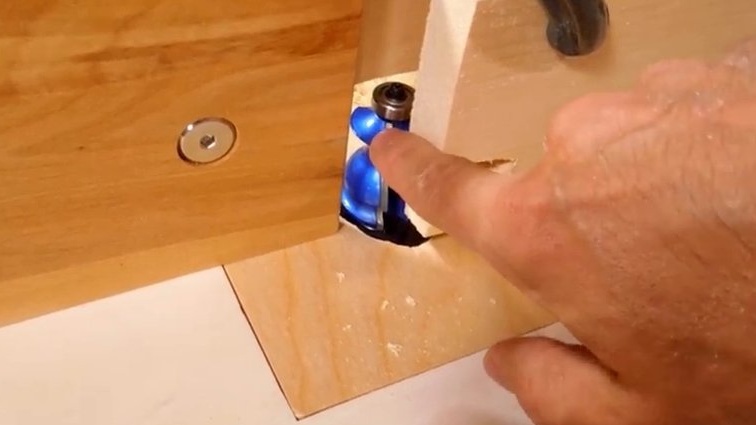
Therefore, the master prepared a piece of wood to hold the cutter, as well as to keep his fingers away from this protruding edge.
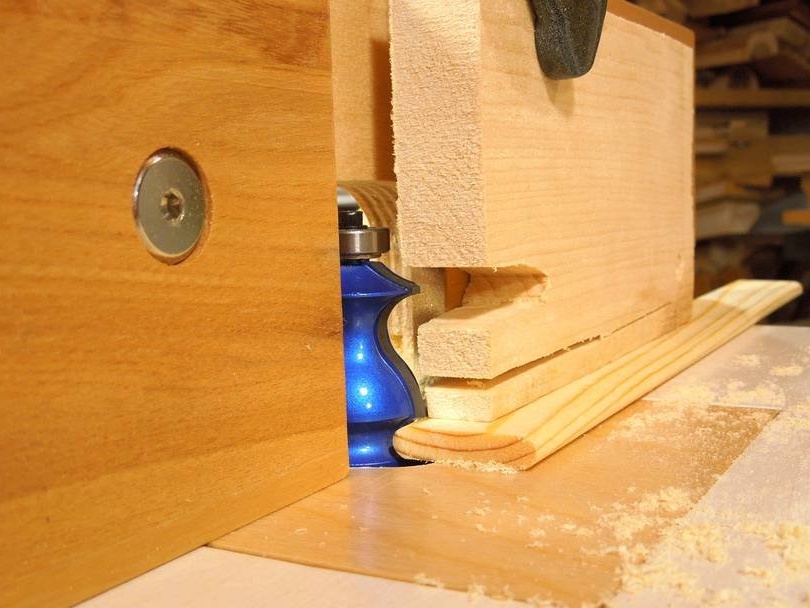
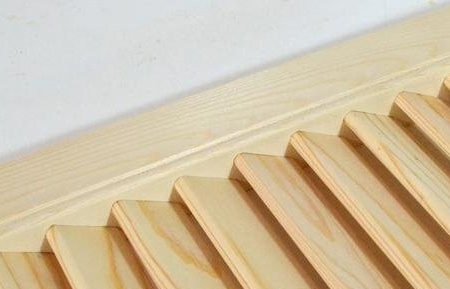
Milling the rounded edges of the plank.
Checking the fit of the slats.
The result is a tight fit - so tight that it is difficult to assemble the entire shutter.
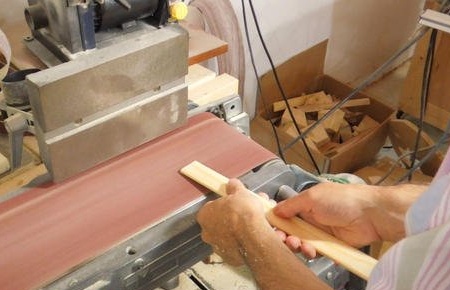
Therefore, with the help of a belt sander, the master slightly narrowed the edges of all the planks.
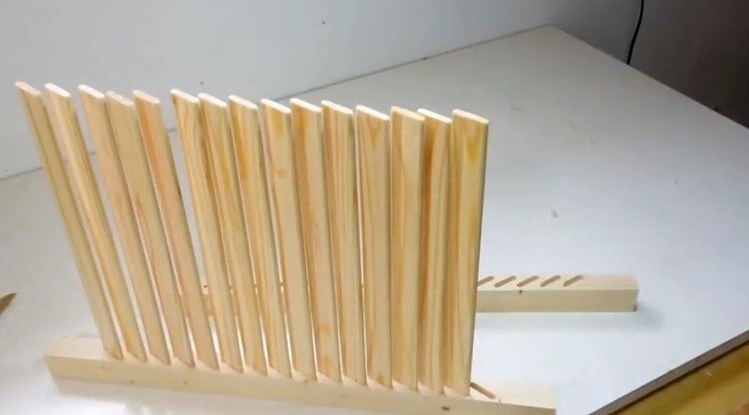
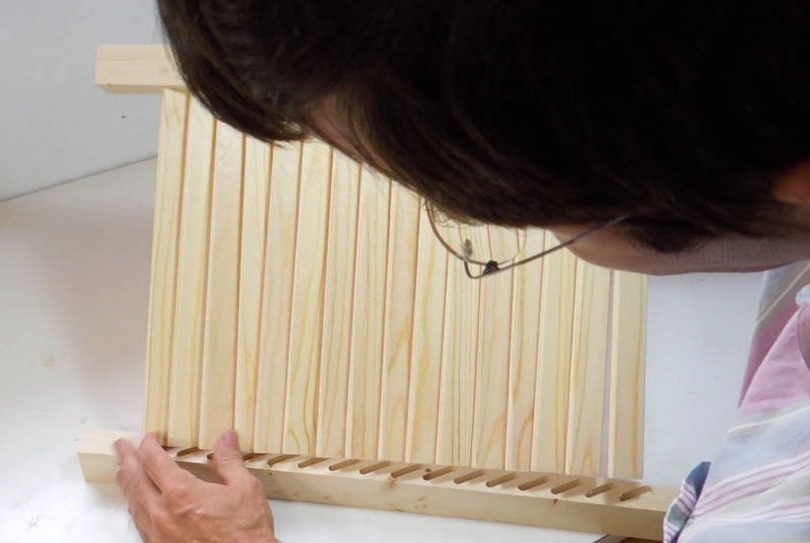
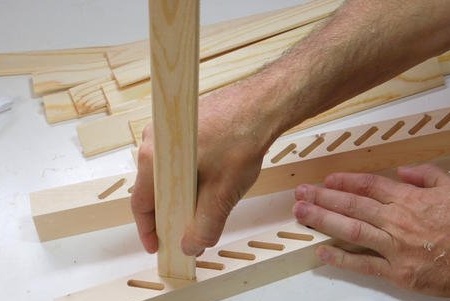
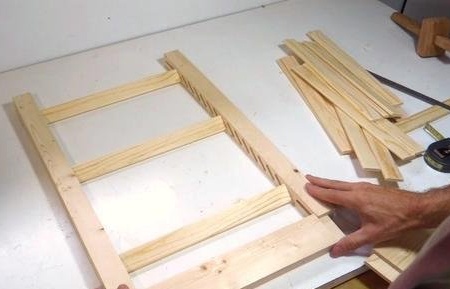
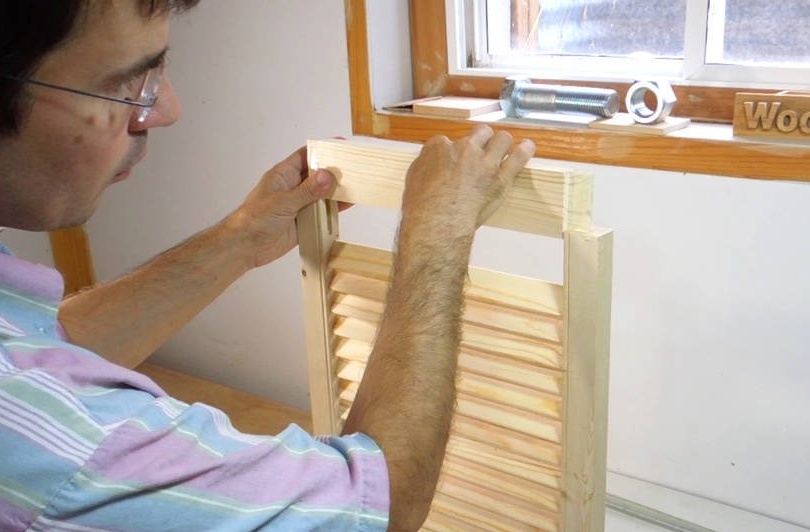
Installing all of the trims on one rail was quite simple, but making it so that they are in line with another rail is much more difficult!
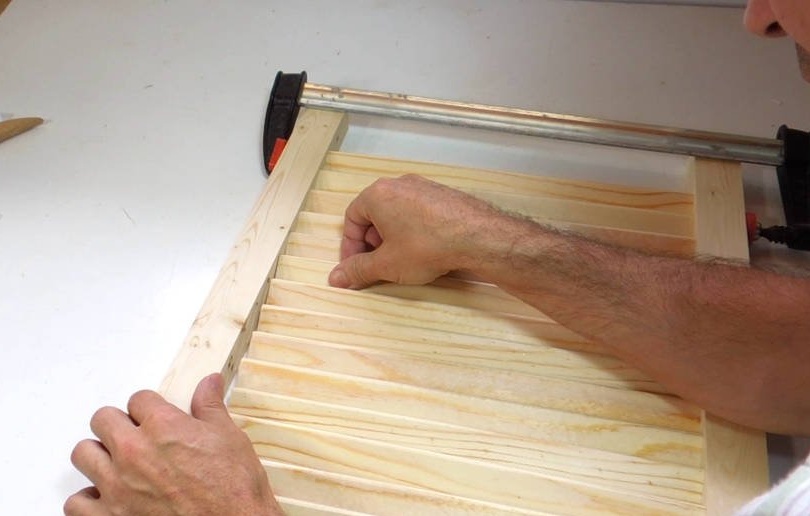
After a small experiment, it was found that installing them from one end and working towards the other is best. It is necessary to put the clamp on one edge to prevent the structure from dispersing again.
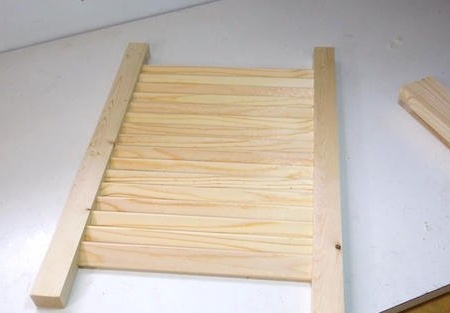
All planks are inserted, but you need to trim the joints of the upper and lower guides, so that everything will have to be disassembled again.
Initially, it was planned to use the groove-tongue joints above and below, but for this it was necessary to assemble a studded insert at the same time as the rails, which is quite difficult.

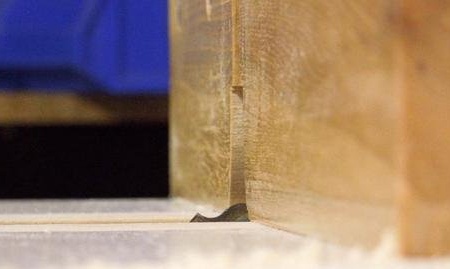
Therefore, the master cut the edges in the vertical bars to insert horizontal bars from the ends after all the rails have already been inserted.
The master cut the bars with a pantoroter.
And accordingly, with the help of a pantorotor, thorns were also cut out on the edges of the bars.

A quick check on the installation of the upper and lower bars. This time the master did not insert all the slats of the blinds.
Usually, a small selection is made near the blinds near the gratings.
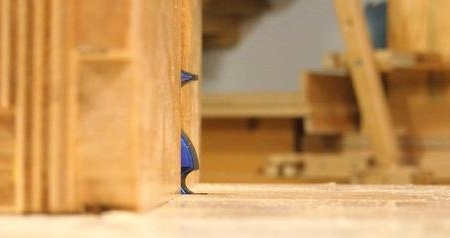
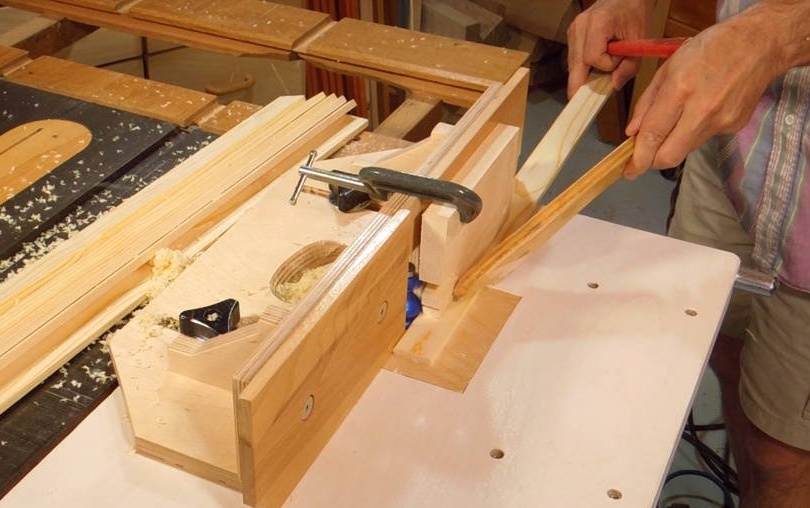
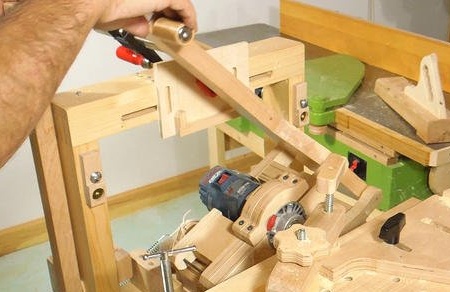
The master also made a selection using a makeshift elevator with an installed edge mill, with an inclination of 45 degrees.

Milling sampling.
Final assembly, installation of one of the bars from the end ....
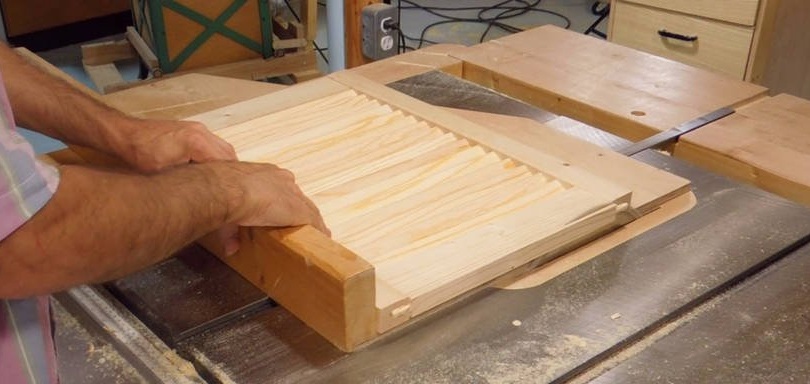
... and then trimming the product at one level.
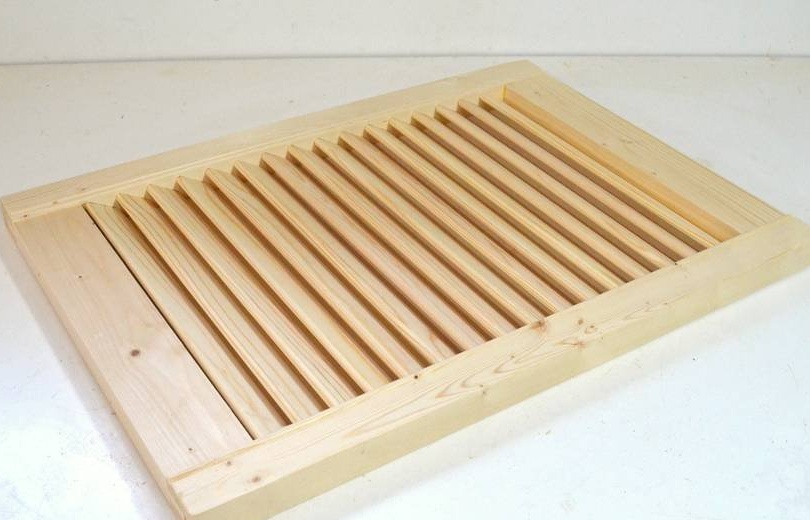
Ready-made blinds.
If you like homemade author, then try to repeat and make.
Thank you for attention.
See you soon!