
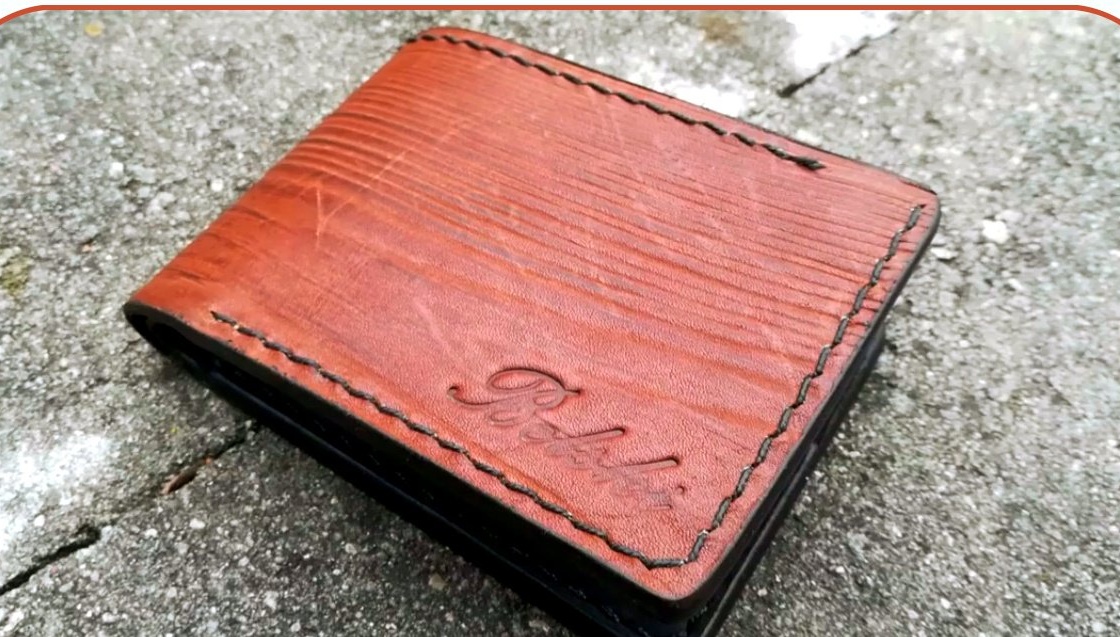
One of the main accessories for any person is a wallet, and sometimes he can "say" a lot about the profession of the owner.
In this article, the author of the YouTube channel Vladimir Natynchik will tell you how he and his friend made a leather wallet with wood texture. This will emphasize the professional image of the author, since he mainly works with wood. A simple method for embossing the skin will also be disclosed.
This homemade wallet is very easy to manufacture, and can be made inhome conditions.
Materials
- Sheet leather
- Pine boards
- Rags
- Aperture for skin
- Beeswax
- Skin glue
- Coarse thread.
Instruments, used by the author.
— Gas-burner
— Screwdriver
- brush or manual metal
— Clamps
- Sewing machine
- Ruler, square, awl, knife
- mallet, punches, needles
- Scissors, brush.
Manufacturing process.
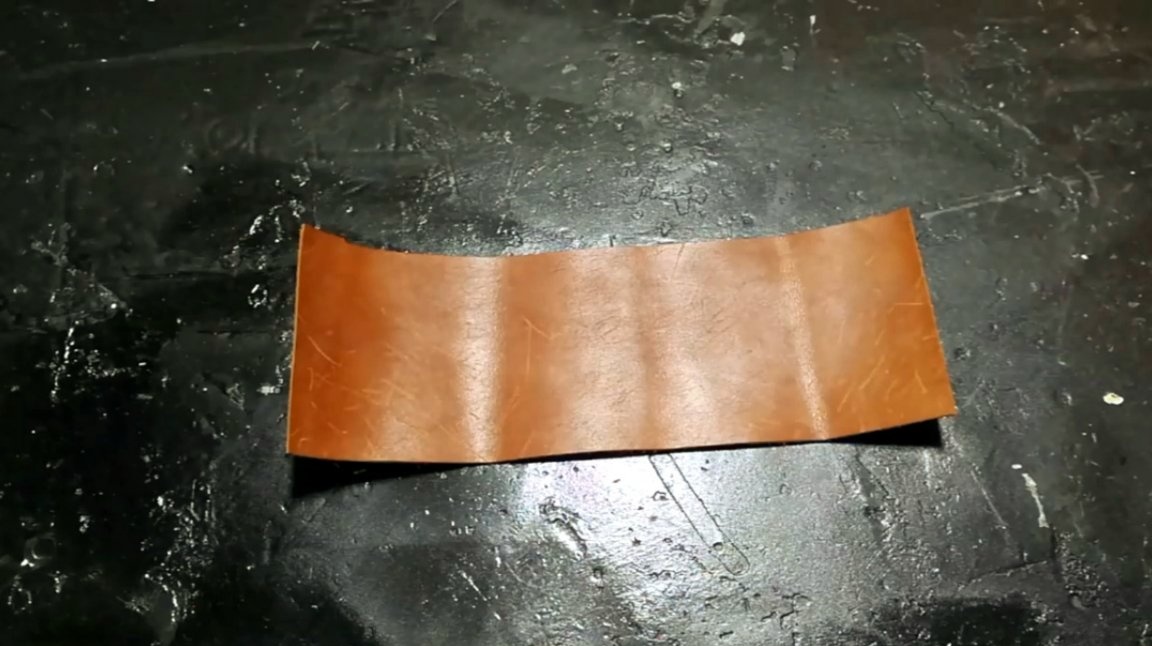
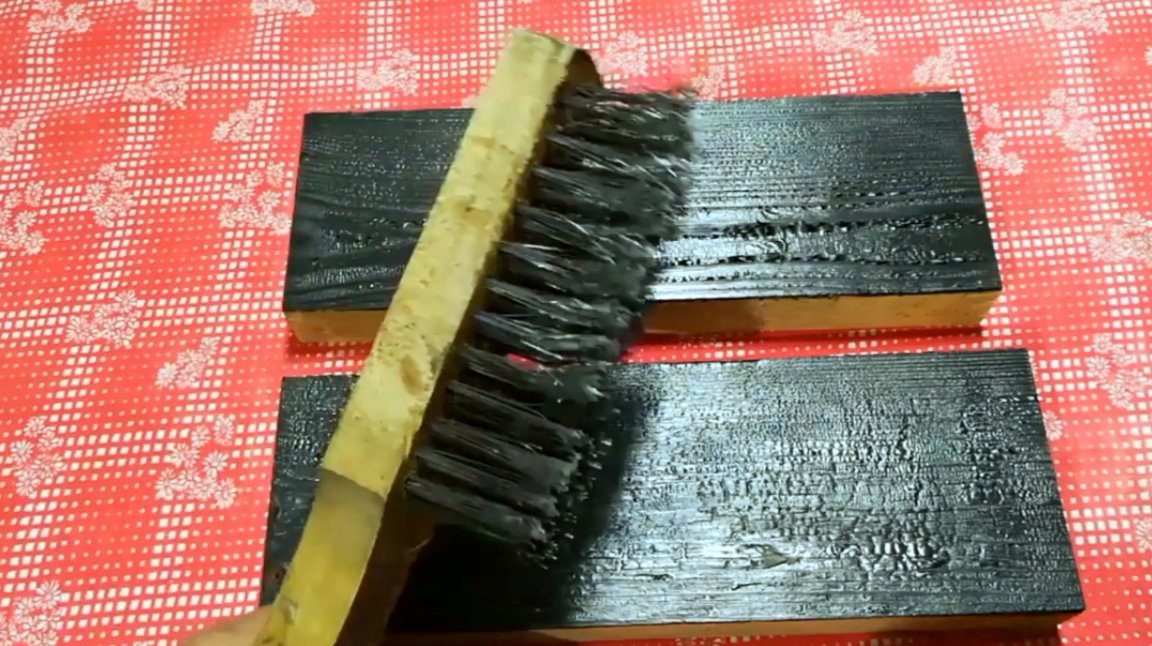
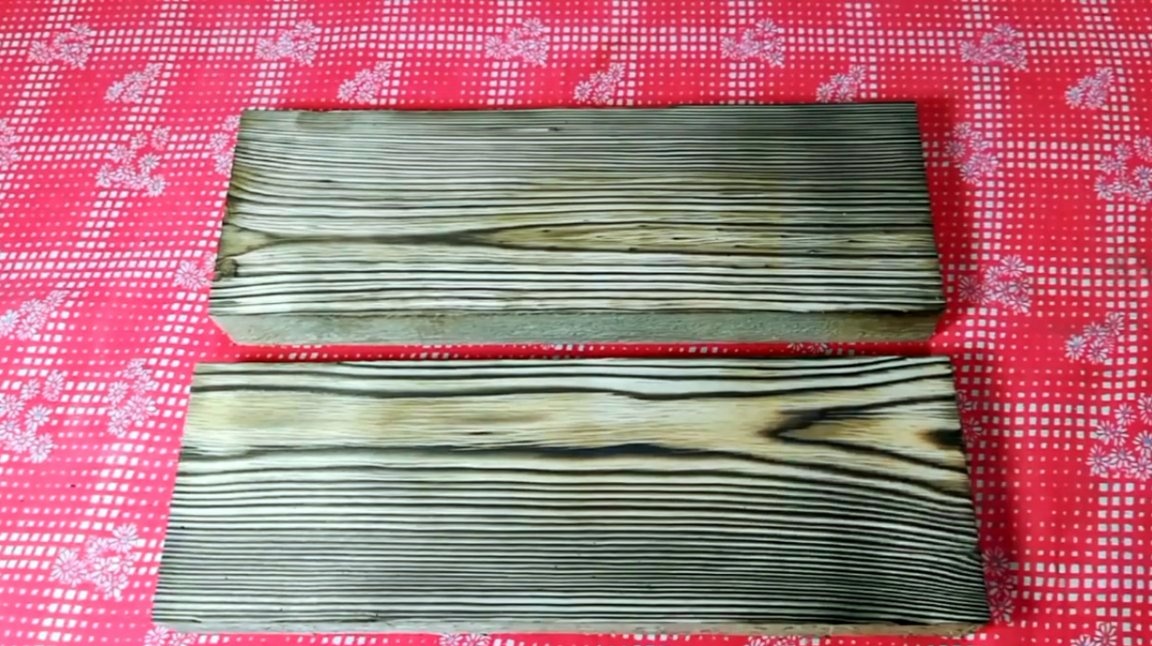
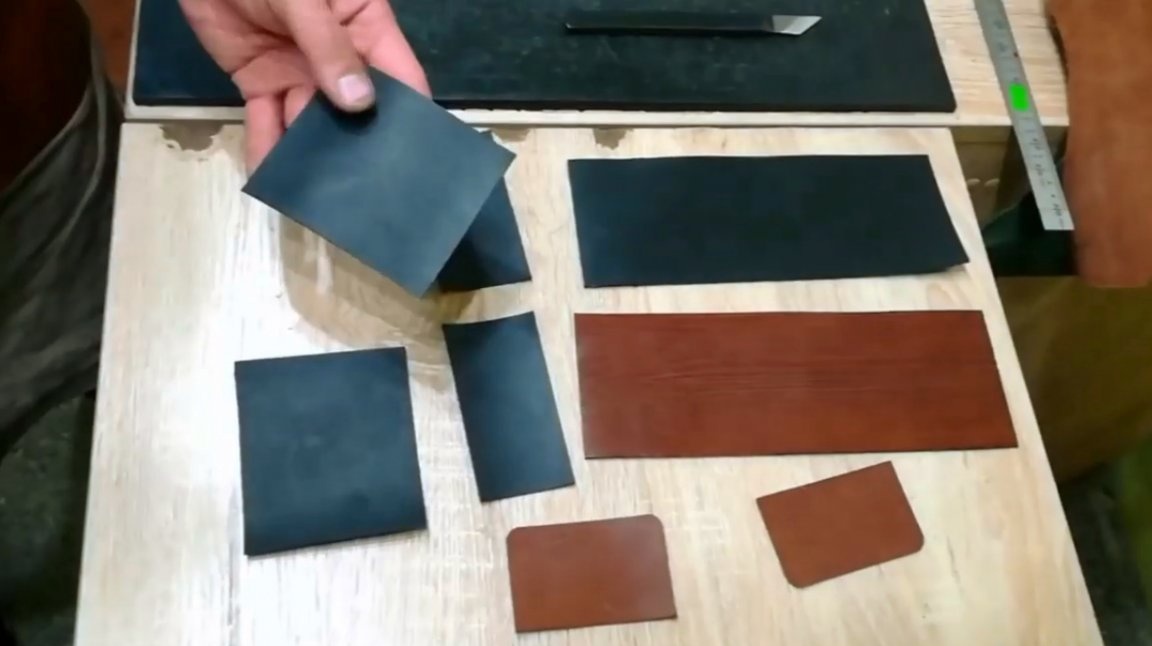
So, the master will need a pair of pine boards and sheet skin of light brown and black colors.
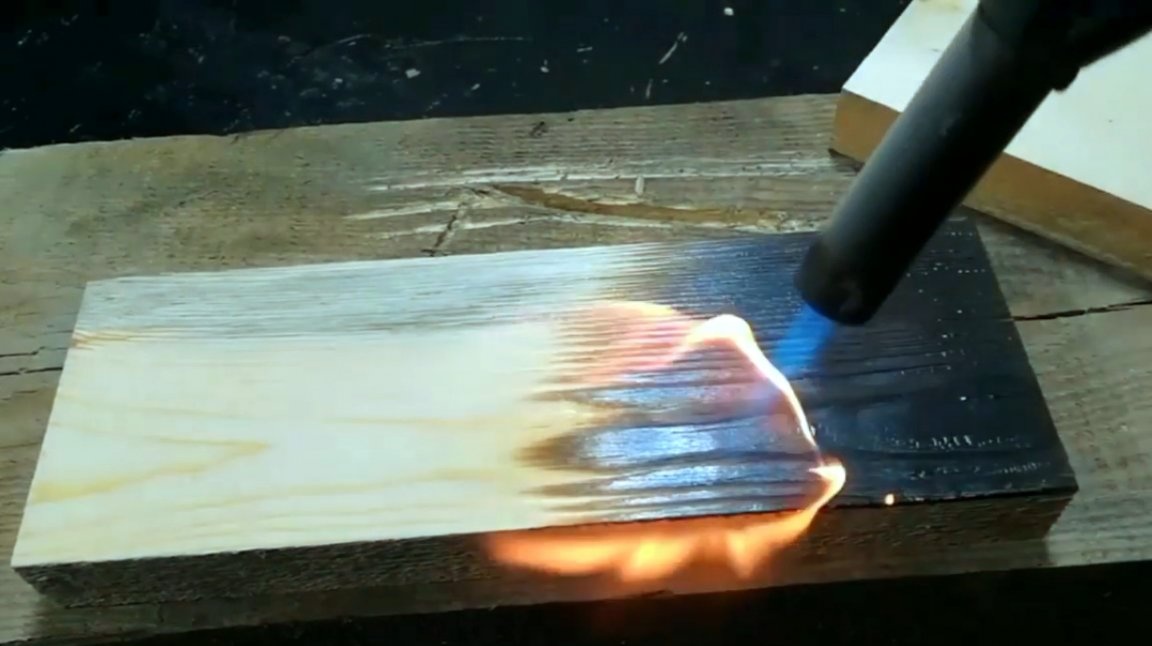
First of all, Vladimir begins to brush the surface of the boards. To do this, he burns two blanks with a gas burner. Later, he will choose the most interesting texture.

Next, you will need either a simple metal brush or a nozzle for a drill or screwdriver.
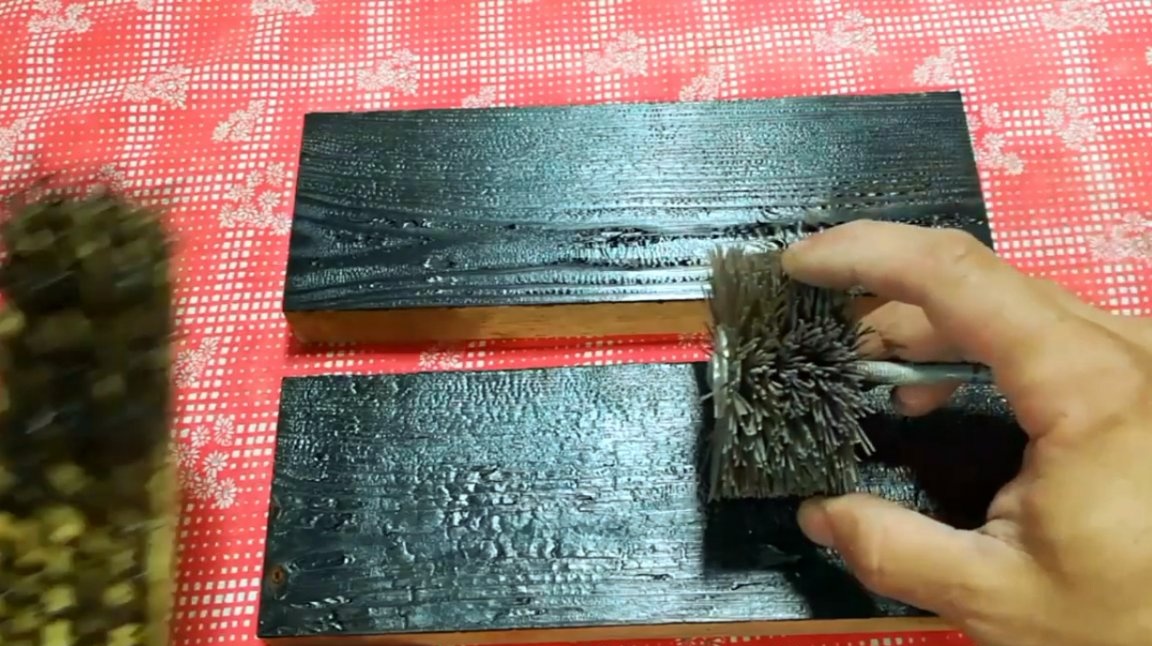
Of course, with a screwdriver, the surface cleans much faster.
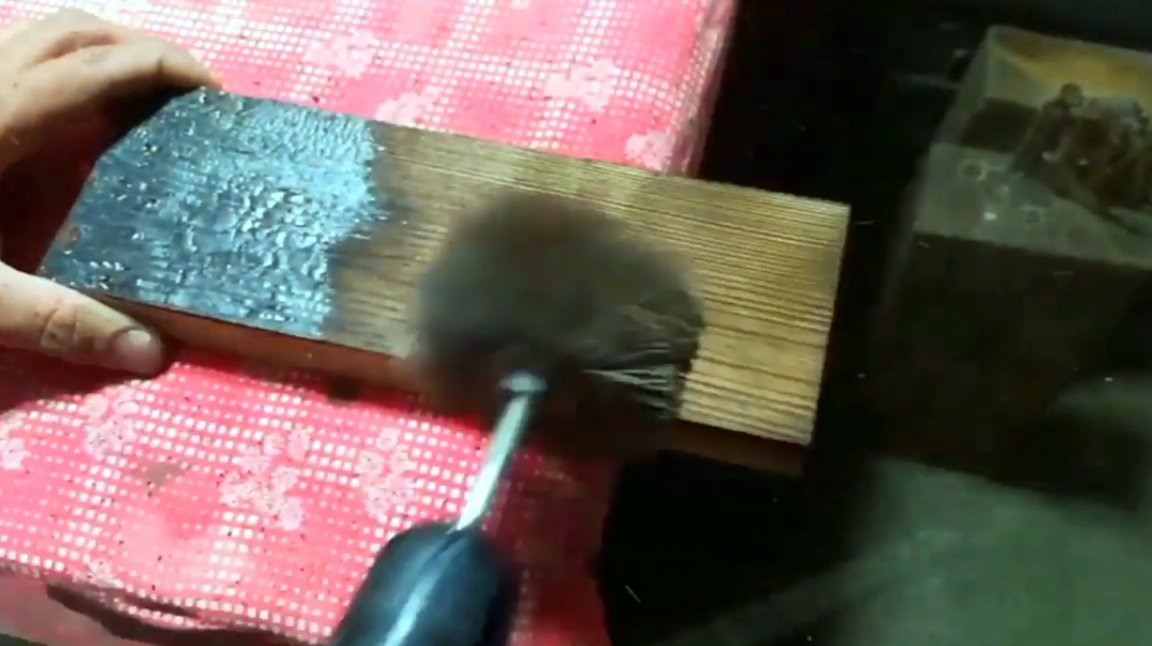

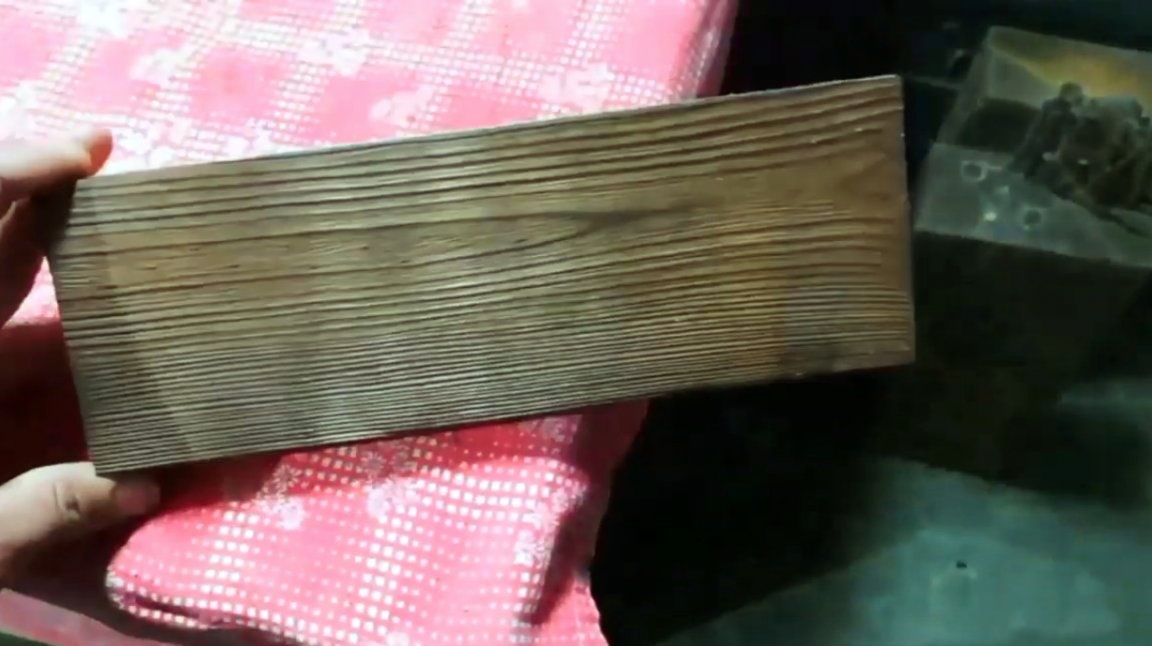
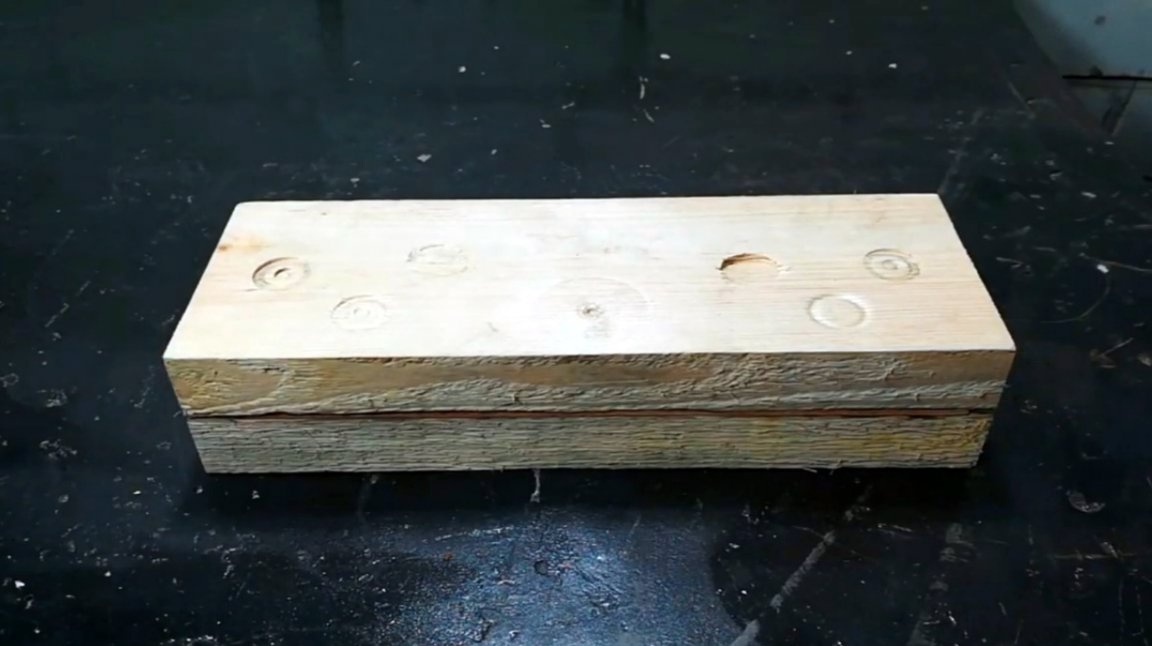
So, the deep texture of the wood was obtained, and Vladimir chose the bottom "matrix".
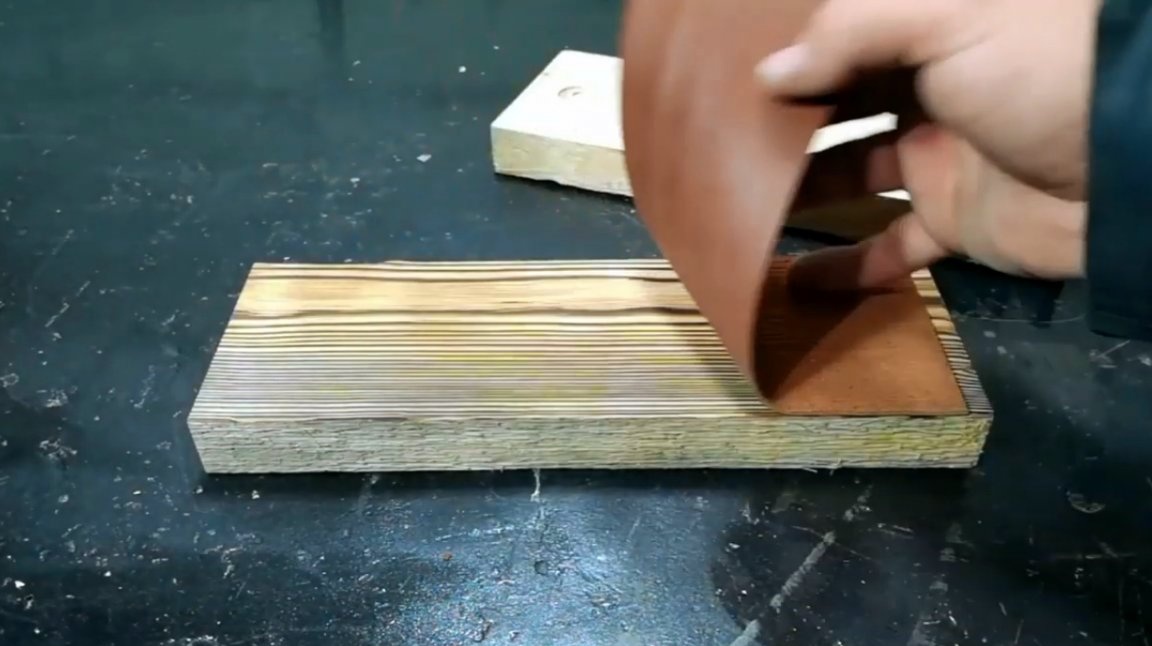
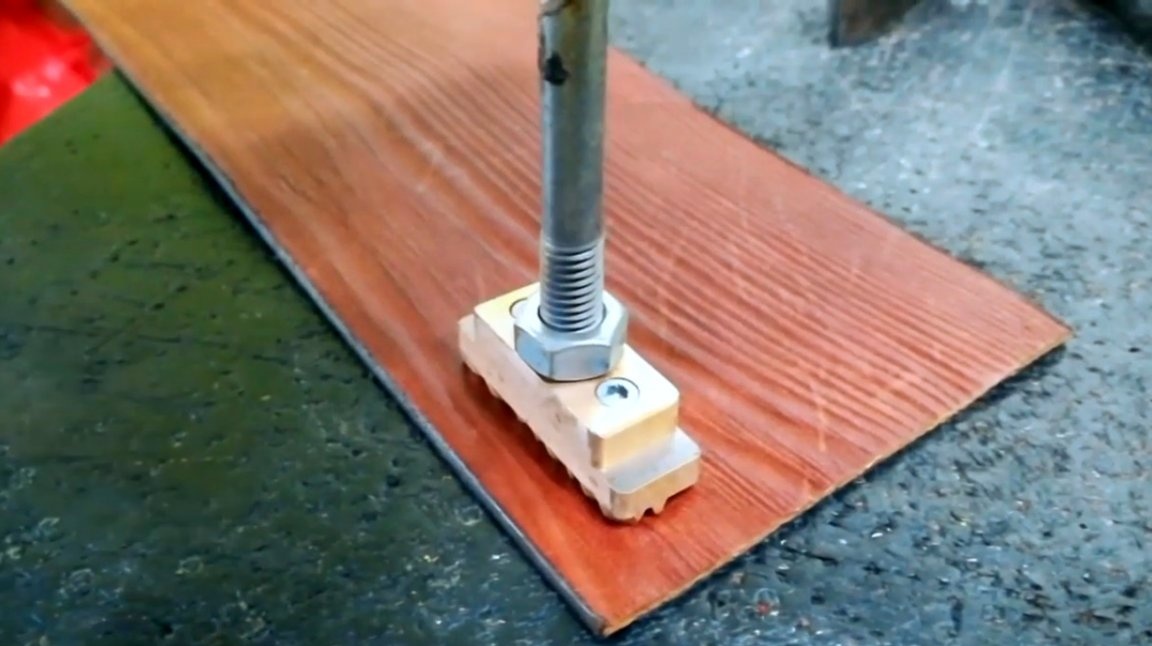
Now a piece of skin is wetted with water on both sides.
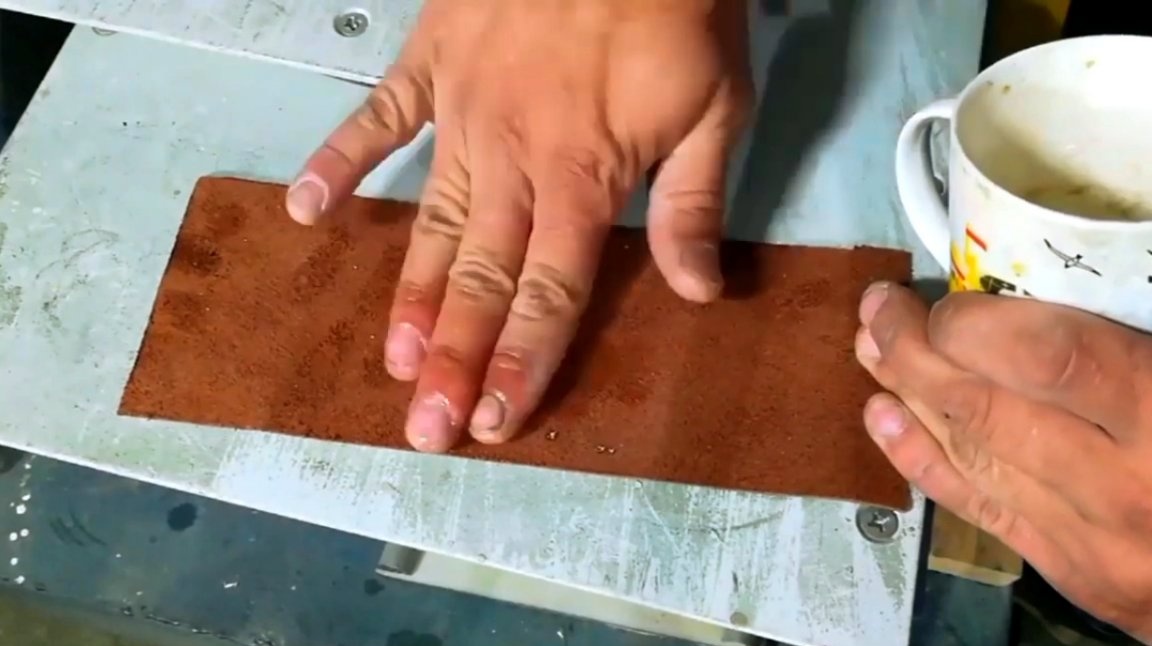
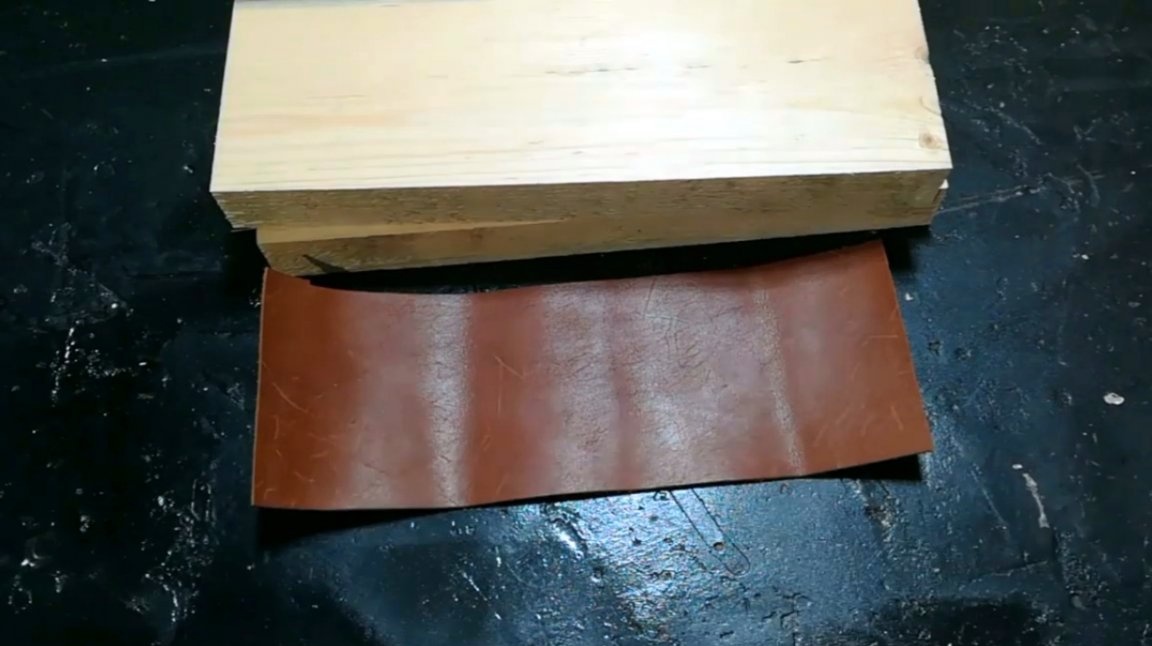
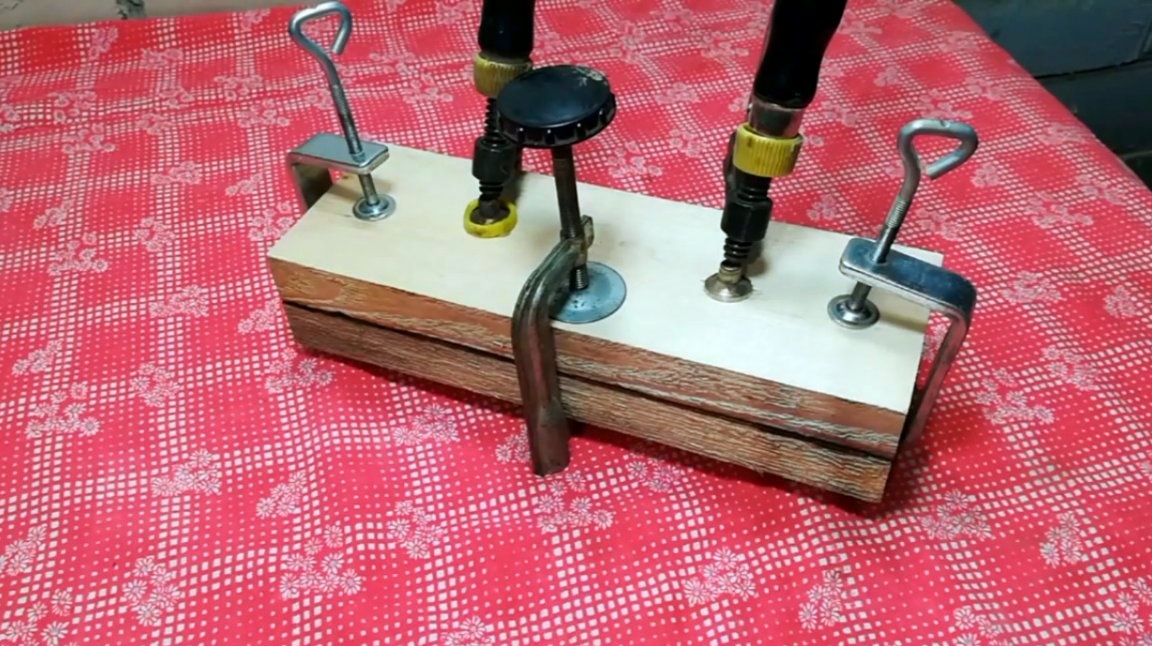
After the cut has been saturated, it is laid with its face on the surface of the print.
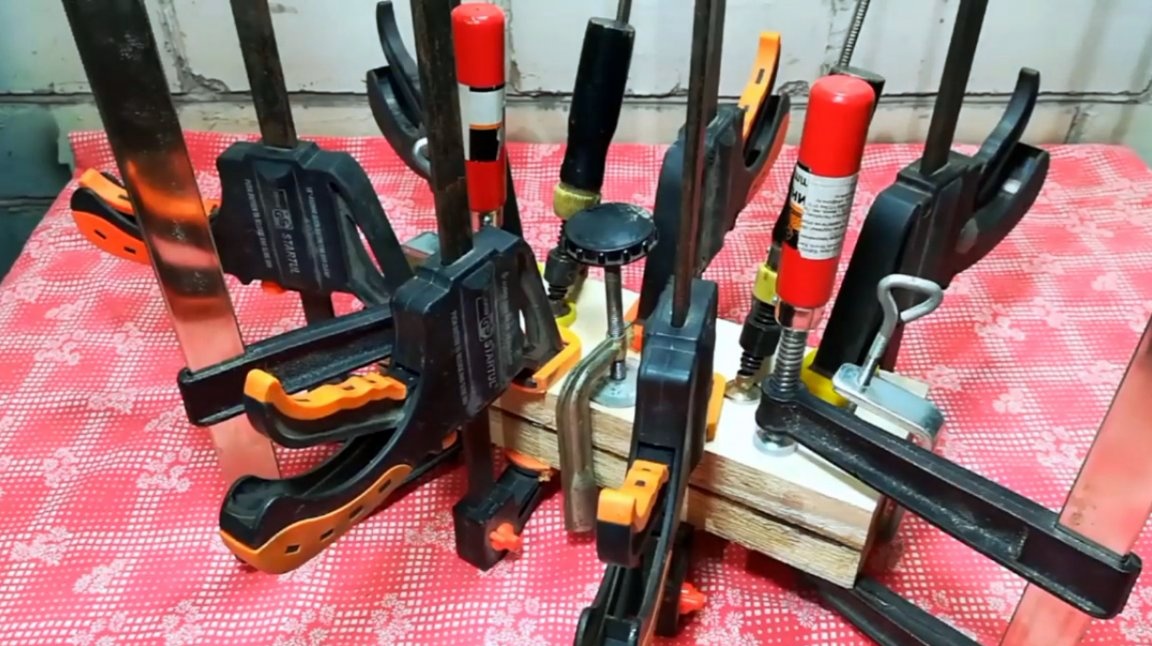
Then a sheet of skin is pressed by another flat board. The compression force of the product should be maximum, and in general, there are few clamps for this business.
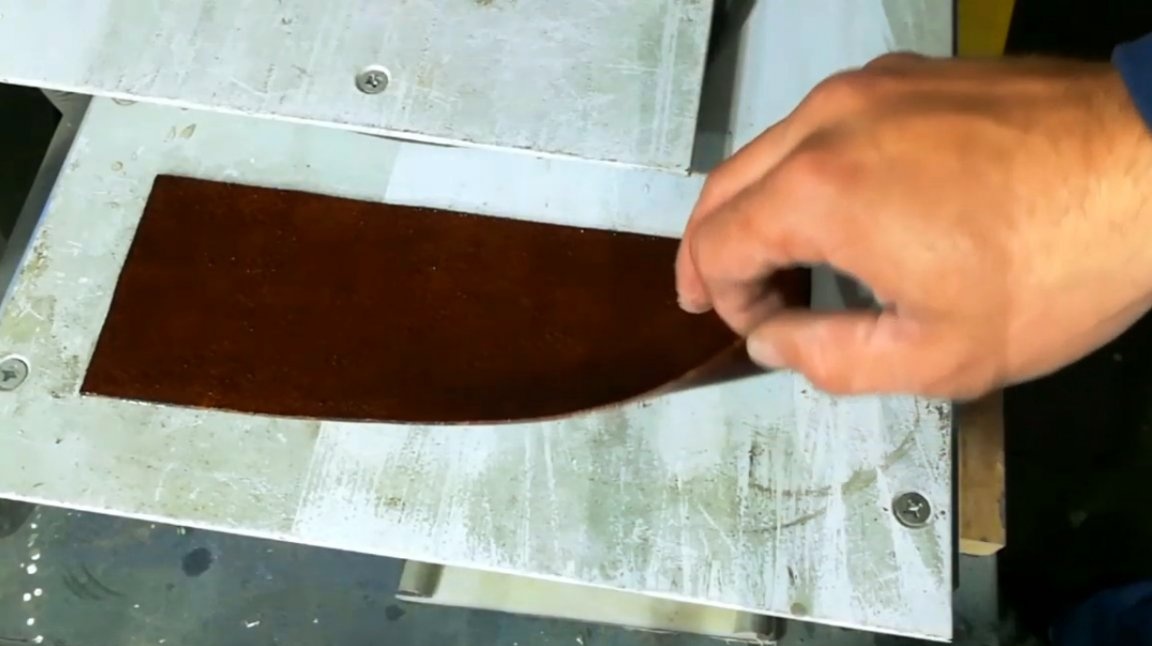
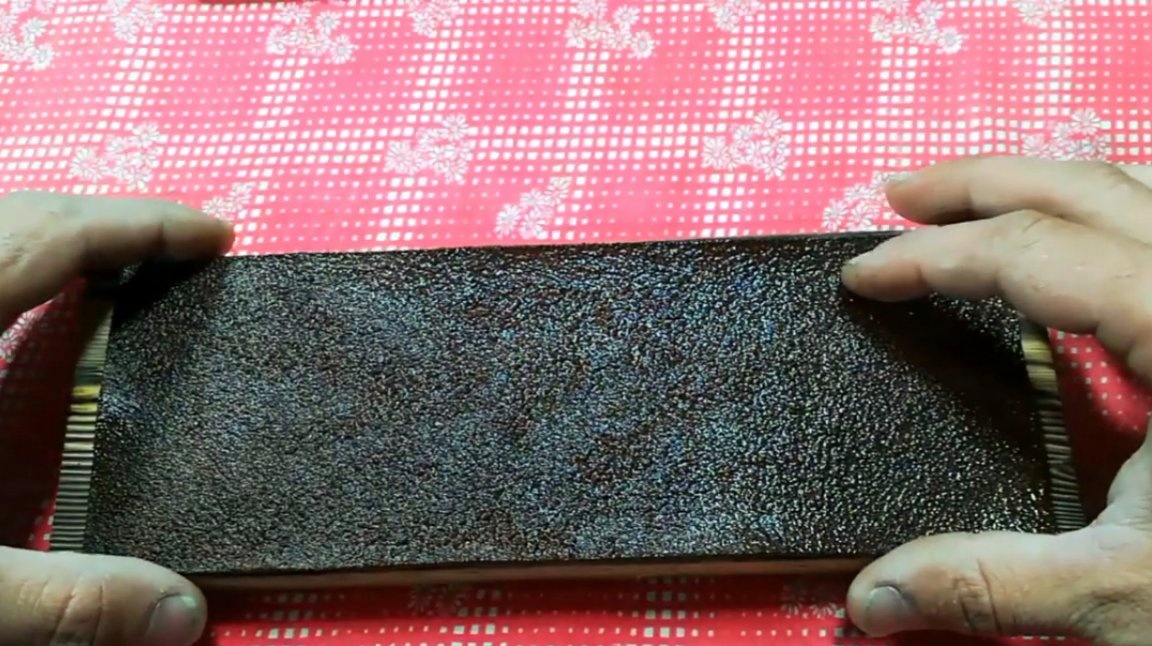
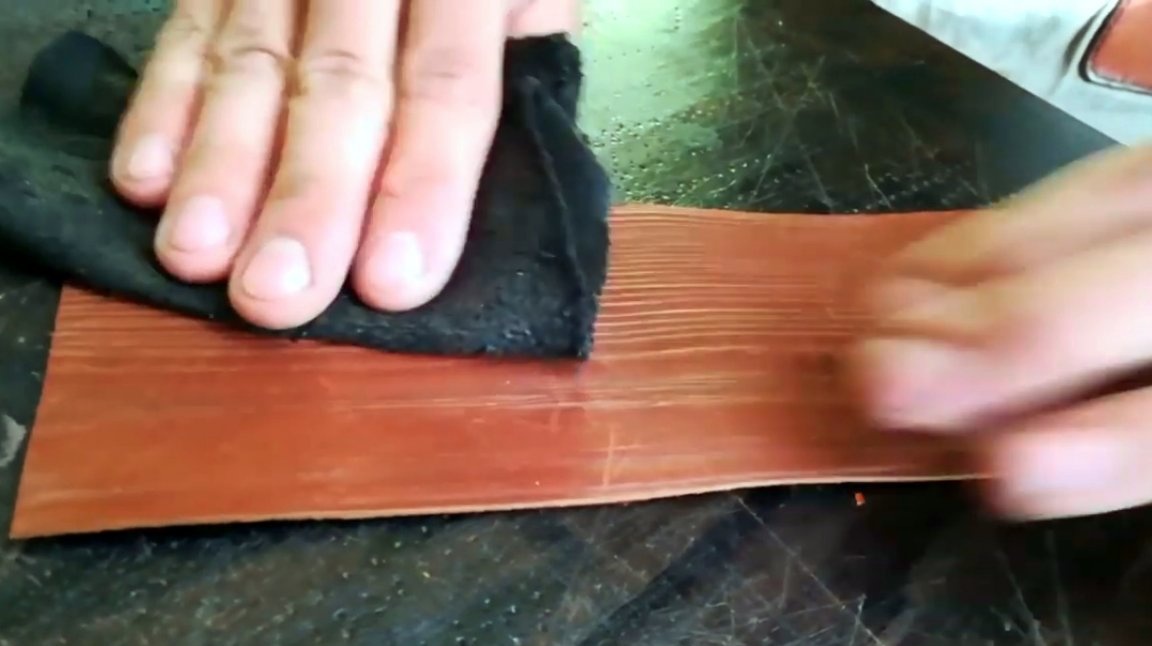
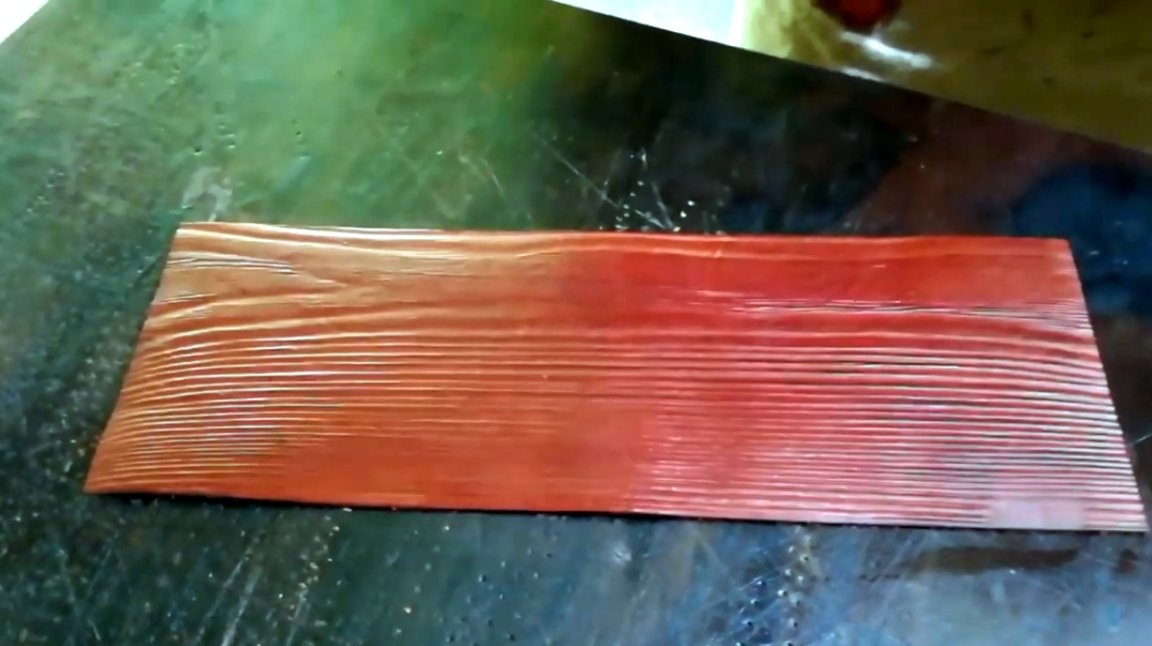
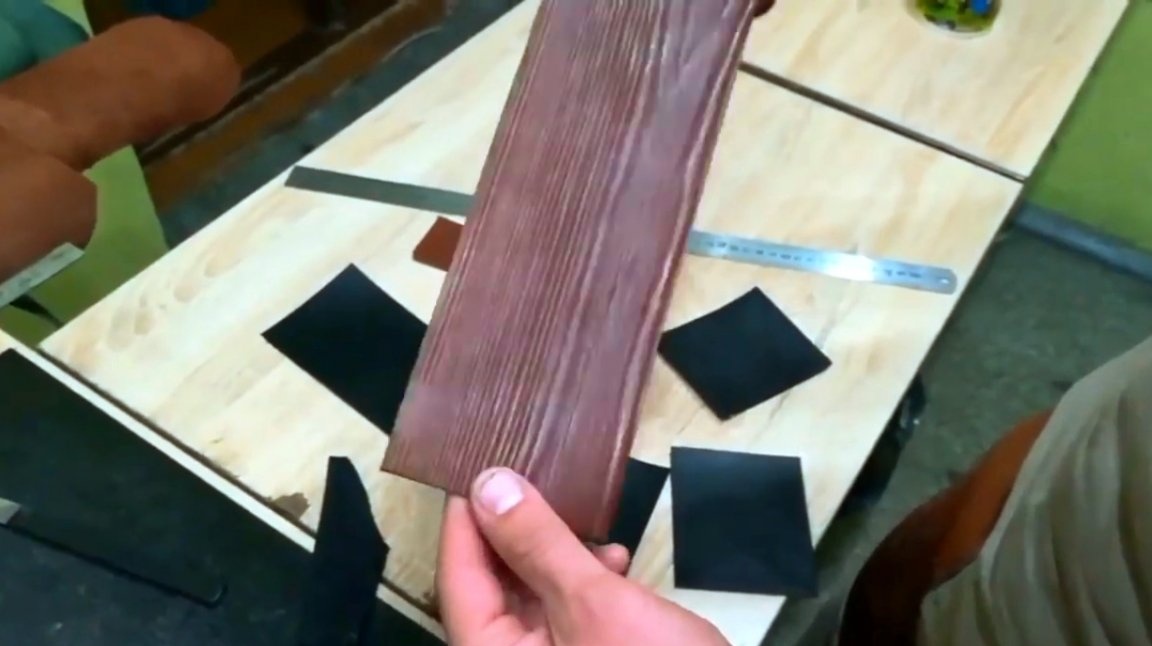
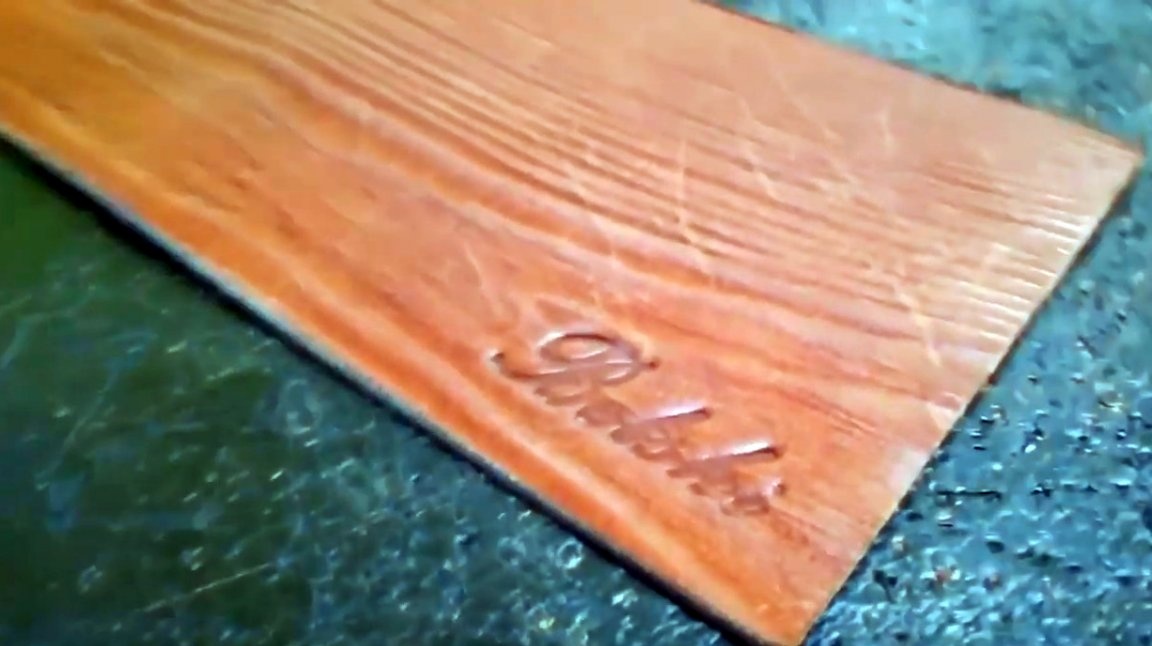
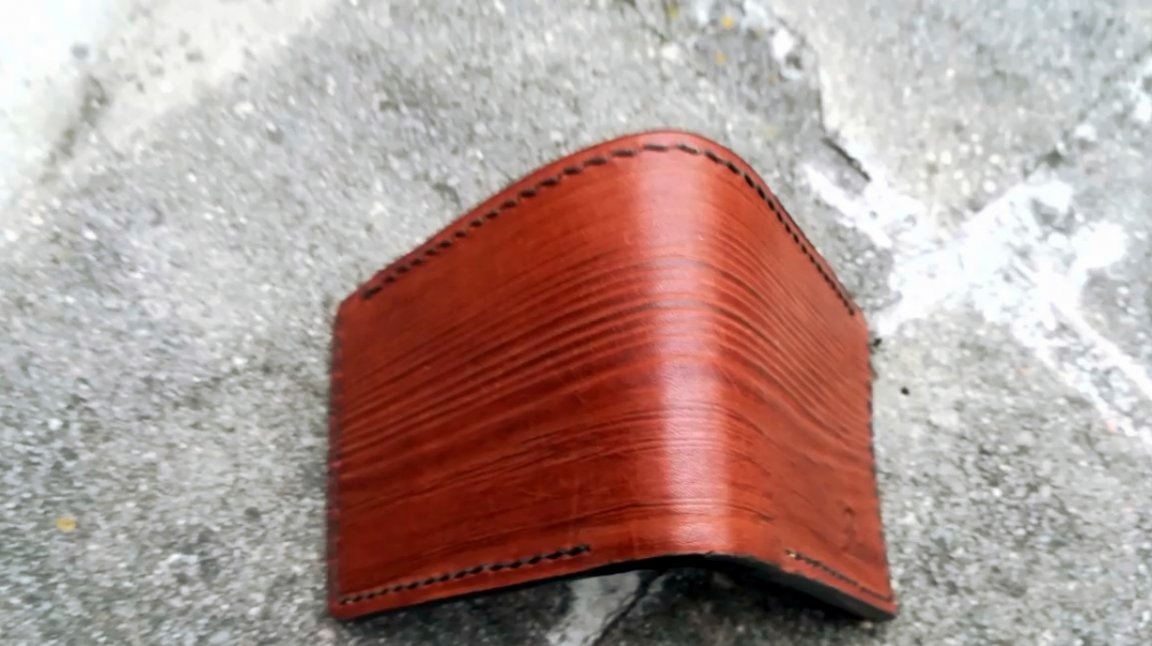
After a few hours, when the workpiece has dried, it can be removed. The surface remembered the texture of wood.

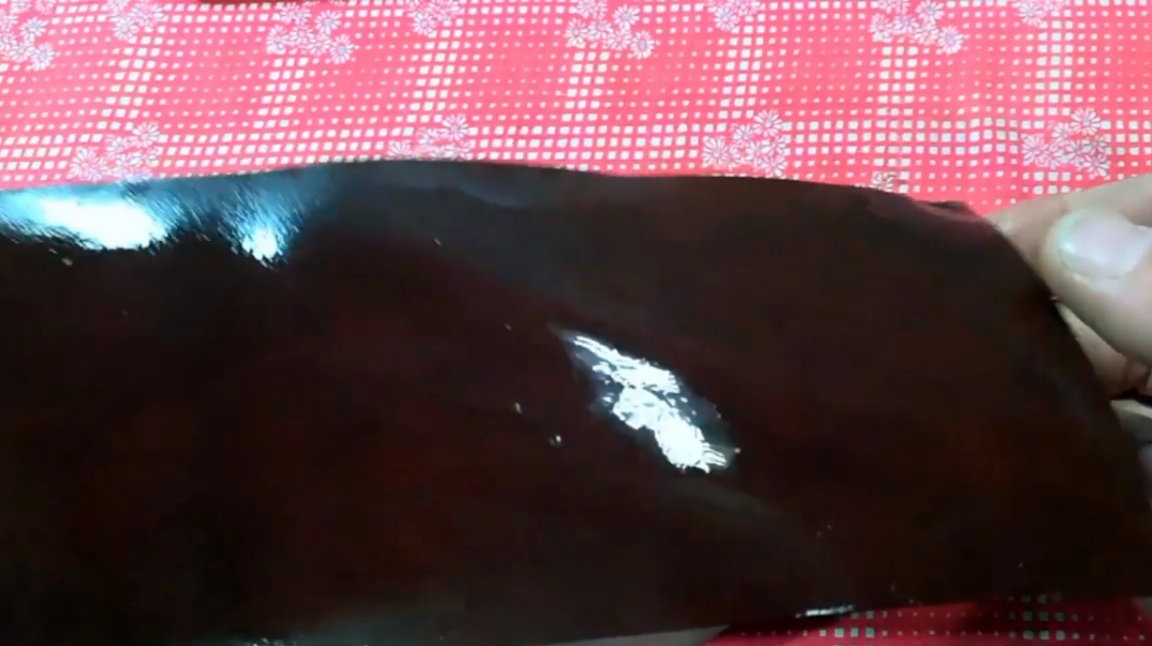
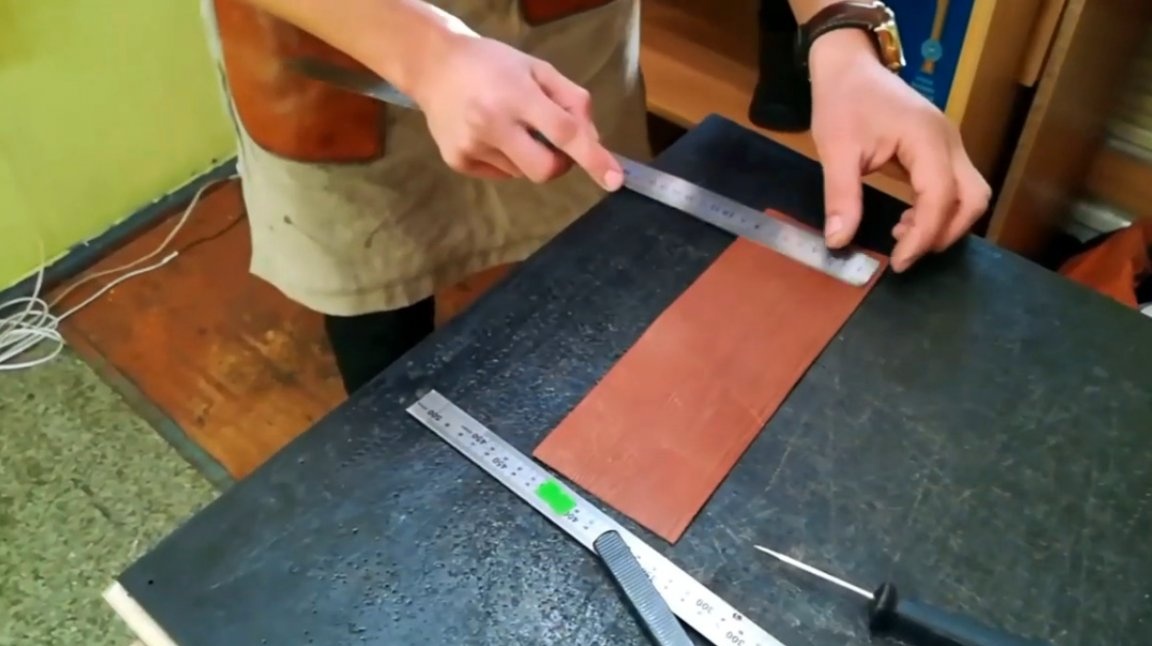
The edges of the workpiece are cut at right angles, and the surface is waxed.
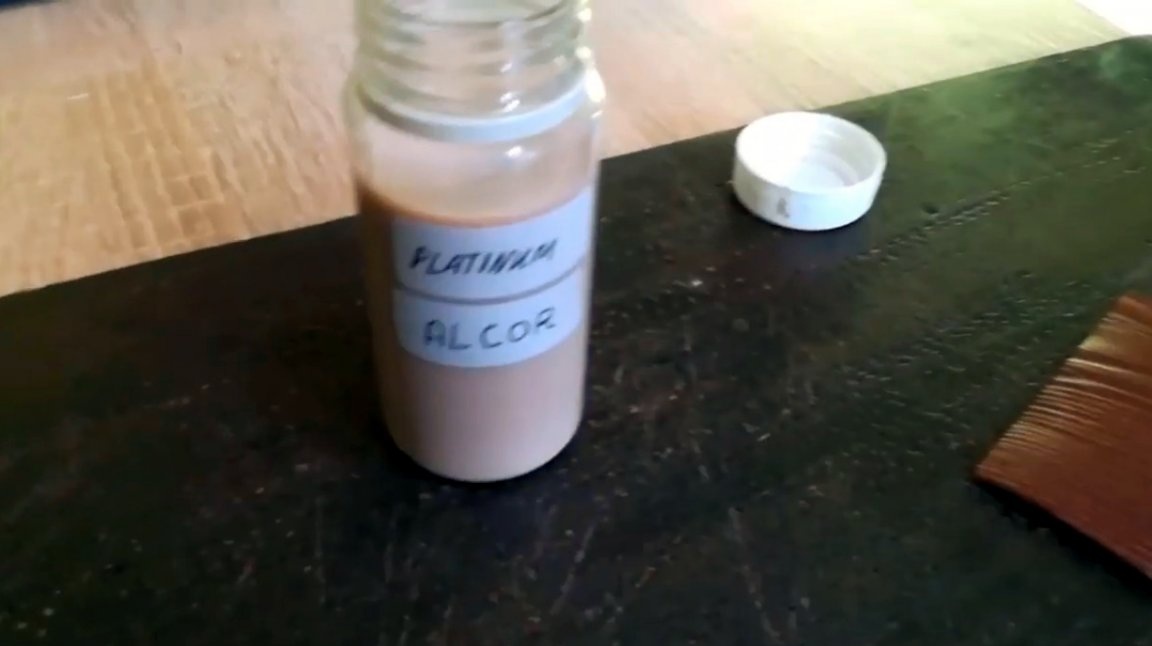
After that, the surface is treated with an aperture, so it will receive additional protection. Yes, do not confuse this word with the characteristics of optical instruments. In this case, it is written with one letter "P".
Basically, the composition of these liquids is quite simple, it includes shellac, wax, terpentine, wine alcohol, ammonia, various dyes.
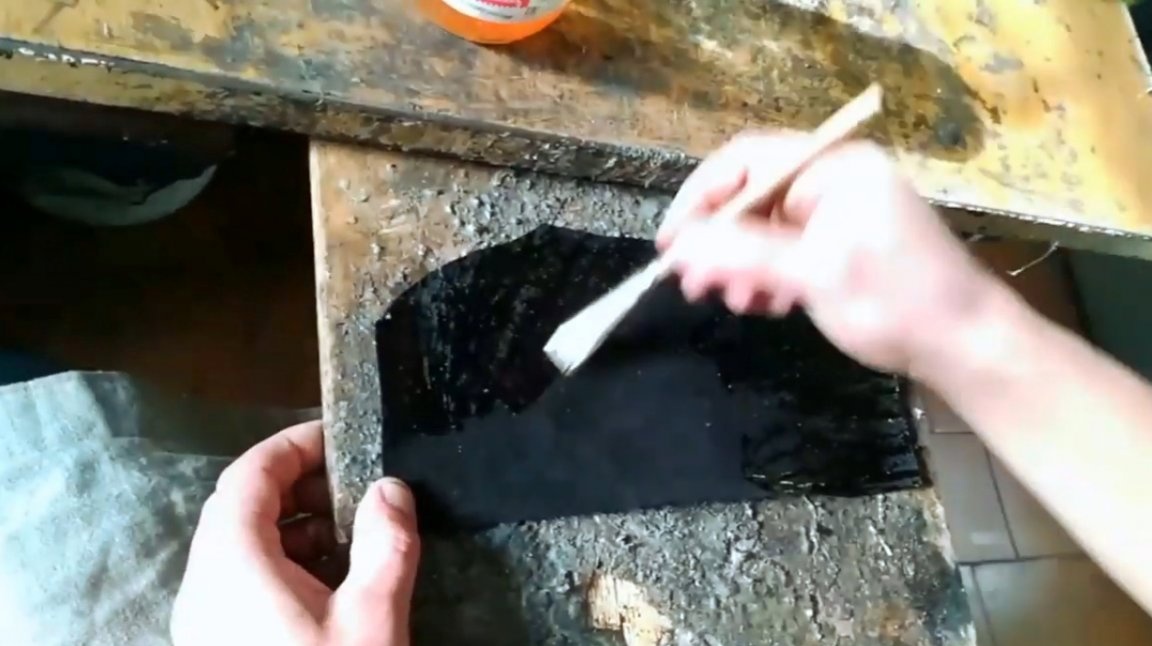
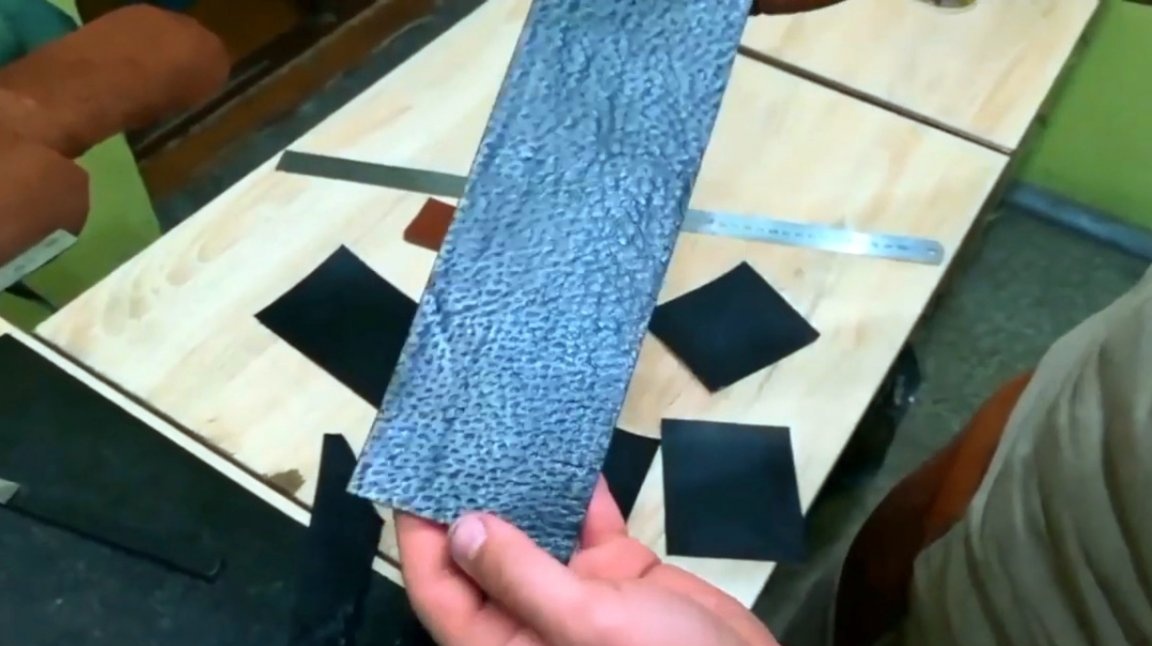
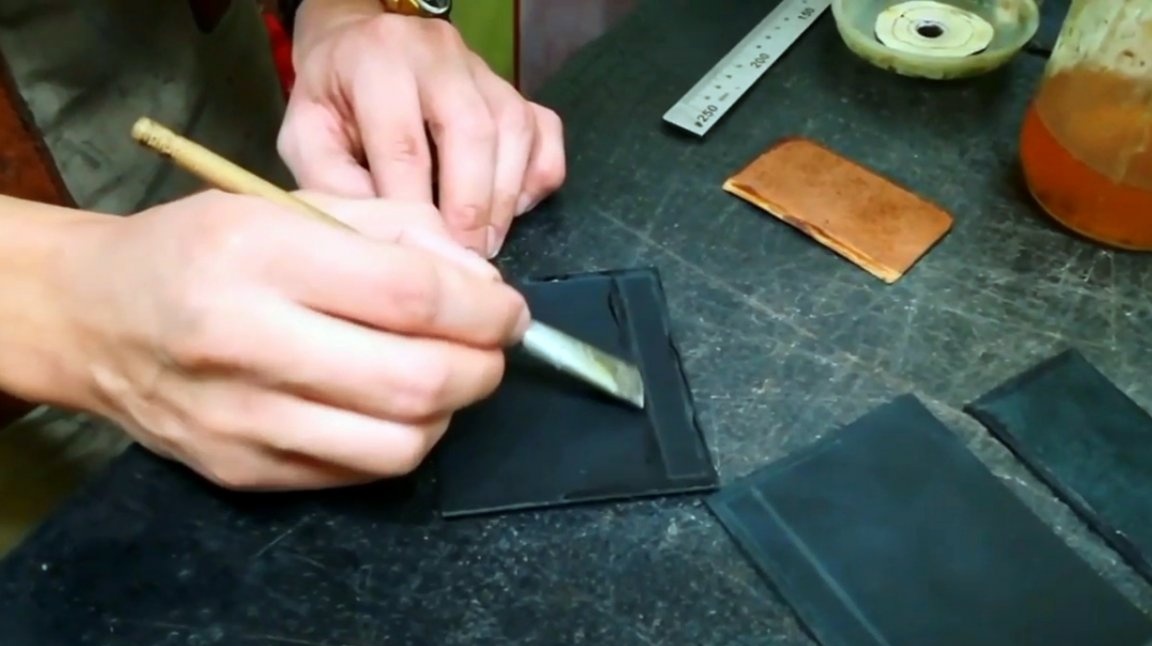
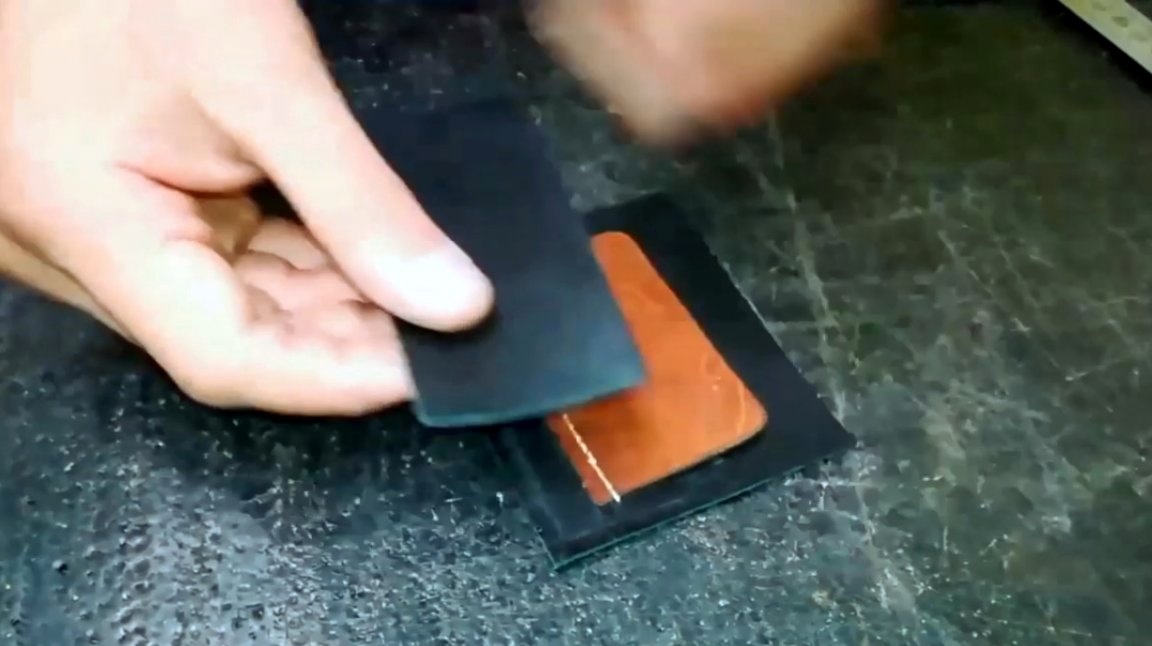
Now you need to strengthen the outer part of the future wallet, and stick to it another layer of black leather. This is best done with nairite glue. It is made from nyrite, chloroprene rubber. Such glue is perfect for gluing leather products, it is very plastic, not afraid of the effects of various aggressive environments, and is resistant to abrasion.
It is for these properties that shoe masters love him very much. Also, this glue can be used to connect rubber, PVC, fabrics, metals and wood, as well as various combinations of such materials with each other. The glue has a light orange, or yellowish color. In addition, this composition has excellent water-repellent characteristics, and is not toxic. High-quality nairite glue is quite expensive. The glue is applied to one of the surfaces, then both sheets of skin are joined together and placed under the press. In order not to disturb the texture, it is necessary to lay a lining of porous rubber.
After a few hours, the glue had already set, and processing could continue. Excess lining is trimmed.
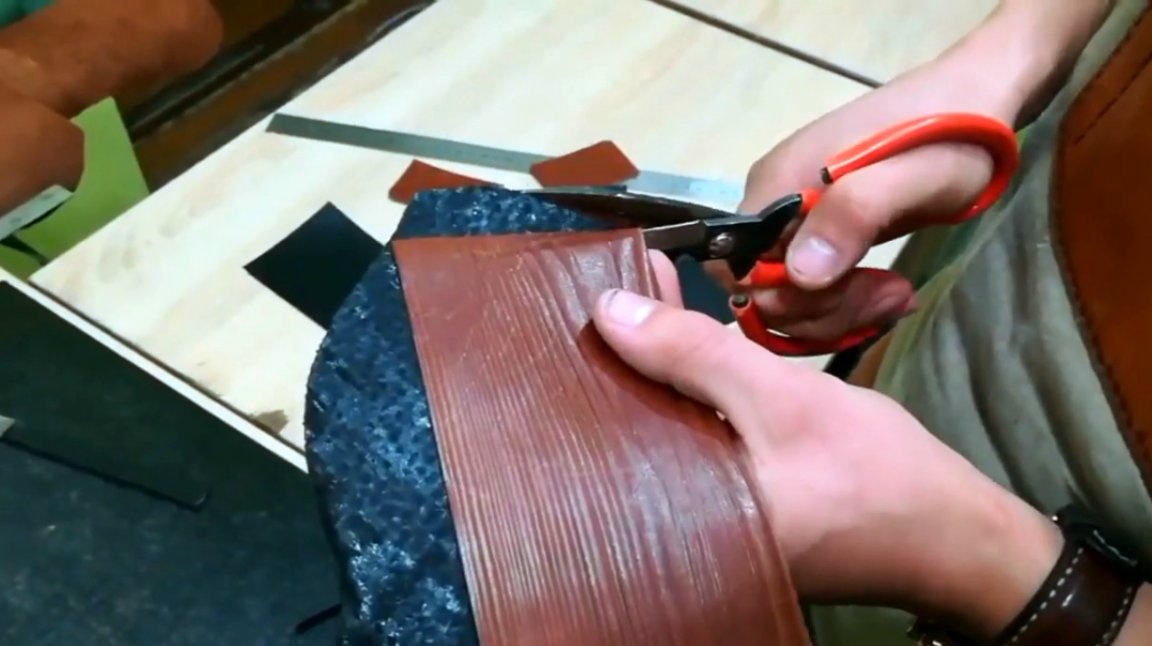
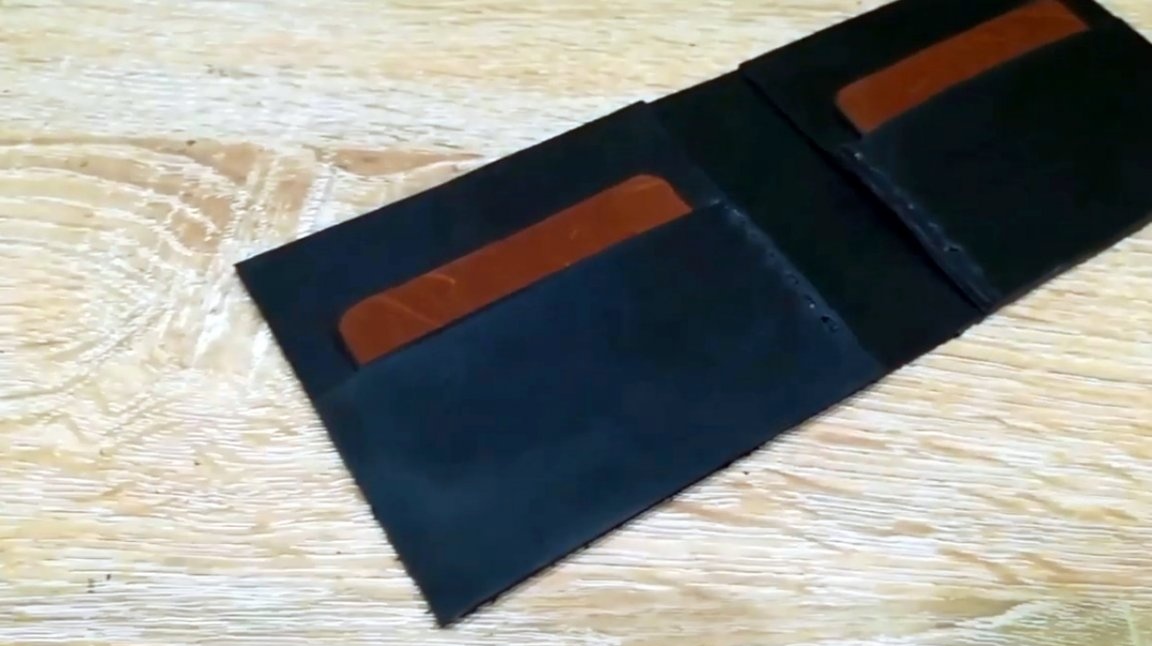
The next step is the manufacture of clippings for pockets and the inside of the wallet. It is important to use a very sharp knife and a square.
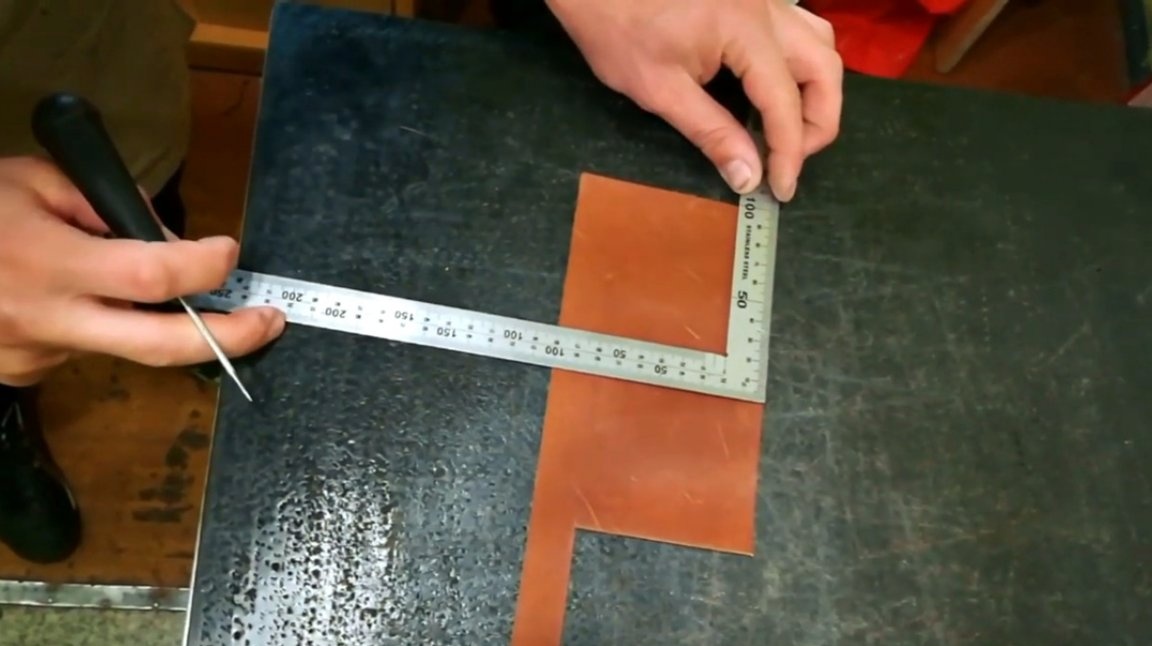
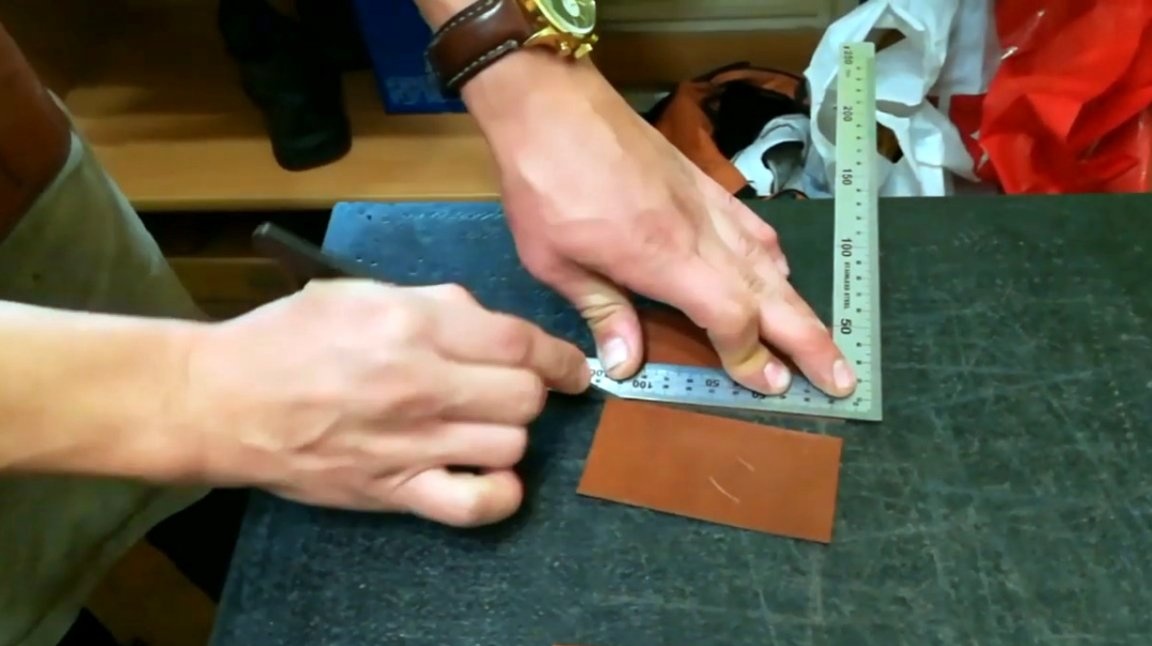
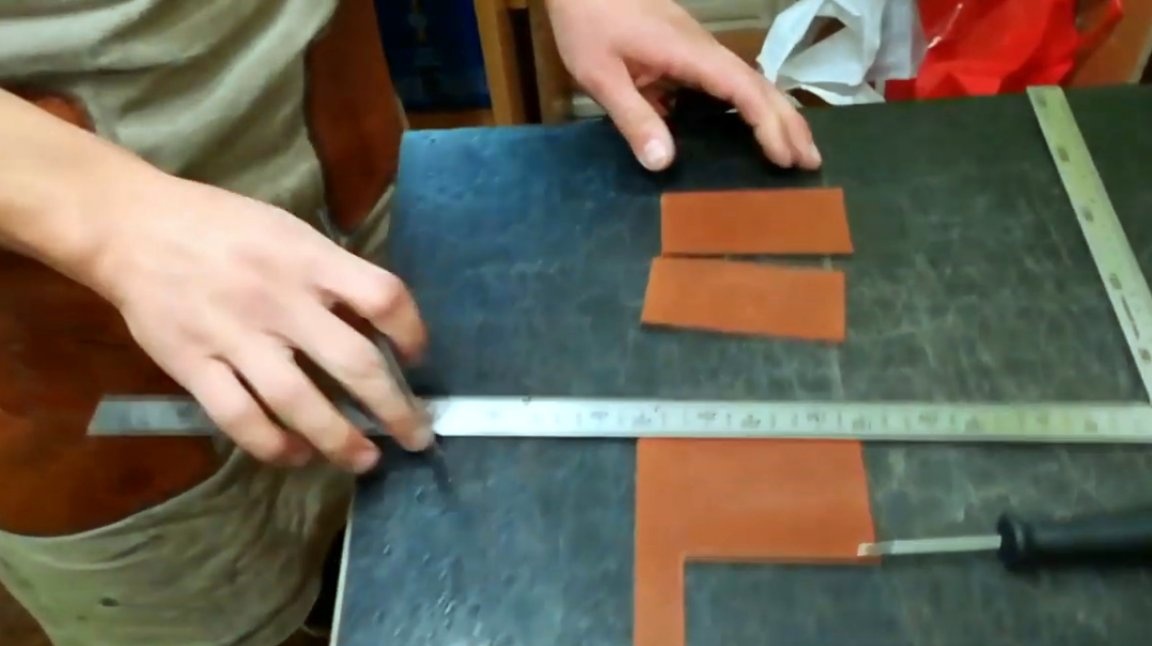
These are the blanks for the inner pockets turned out.
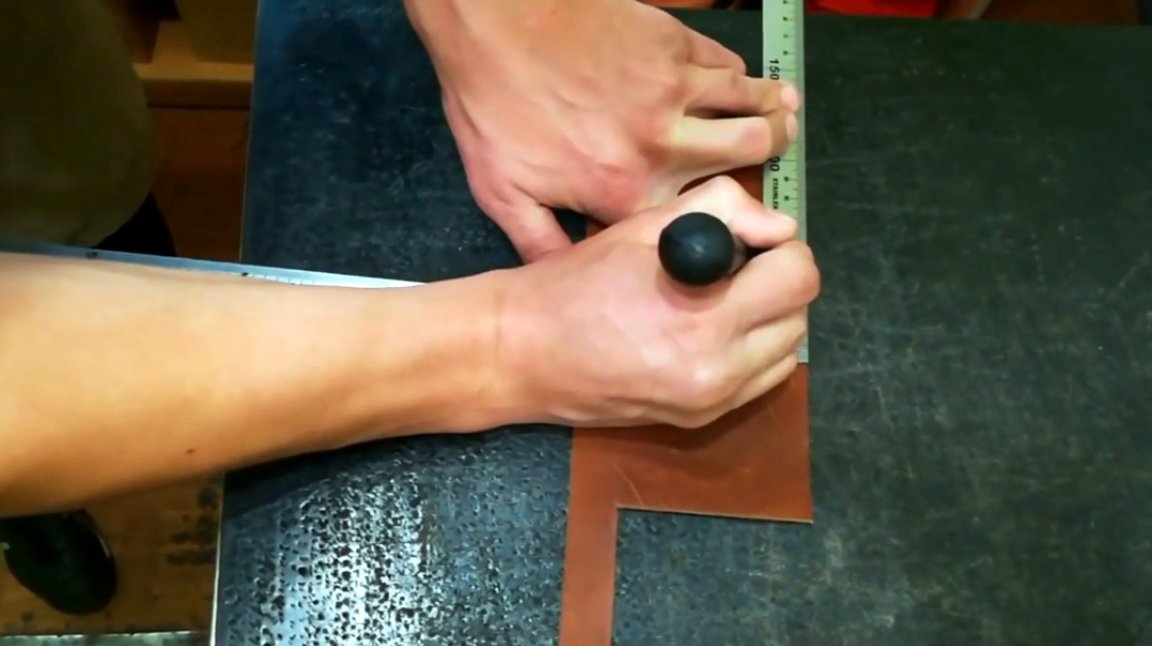
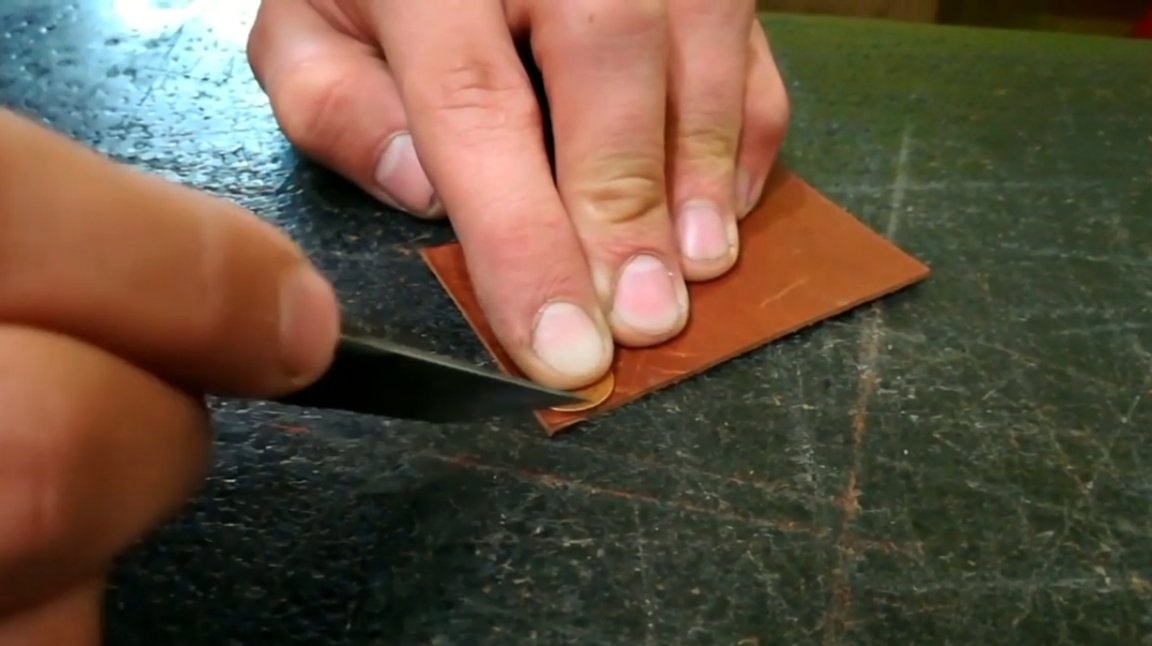
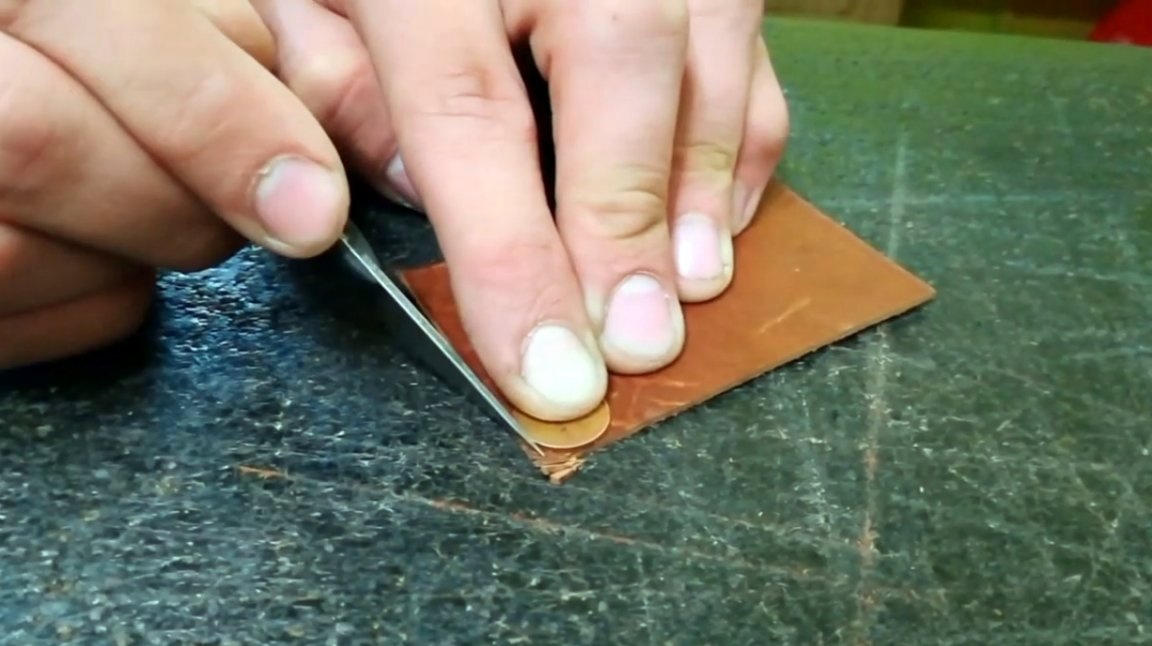
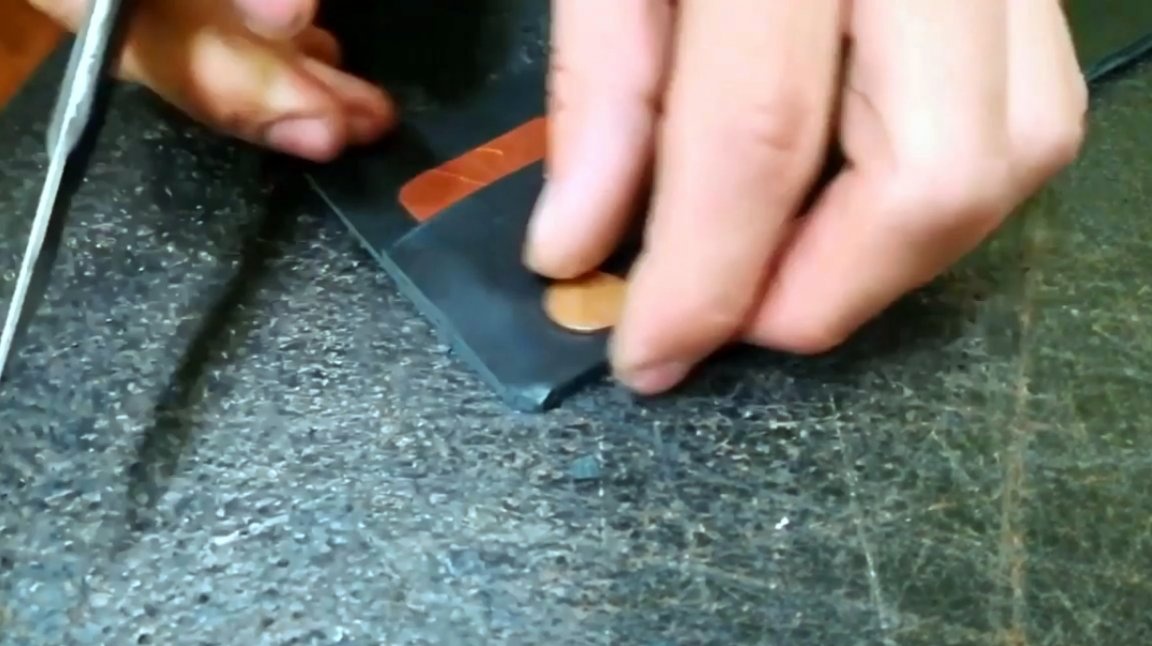
The corners of the inserts need to be rounded, for this the master used a coin. An important point. Do not round corners in one motion. So the edge of the workpiece can pop out, and the cut line will be a curve. It is better to make a few short cuts.
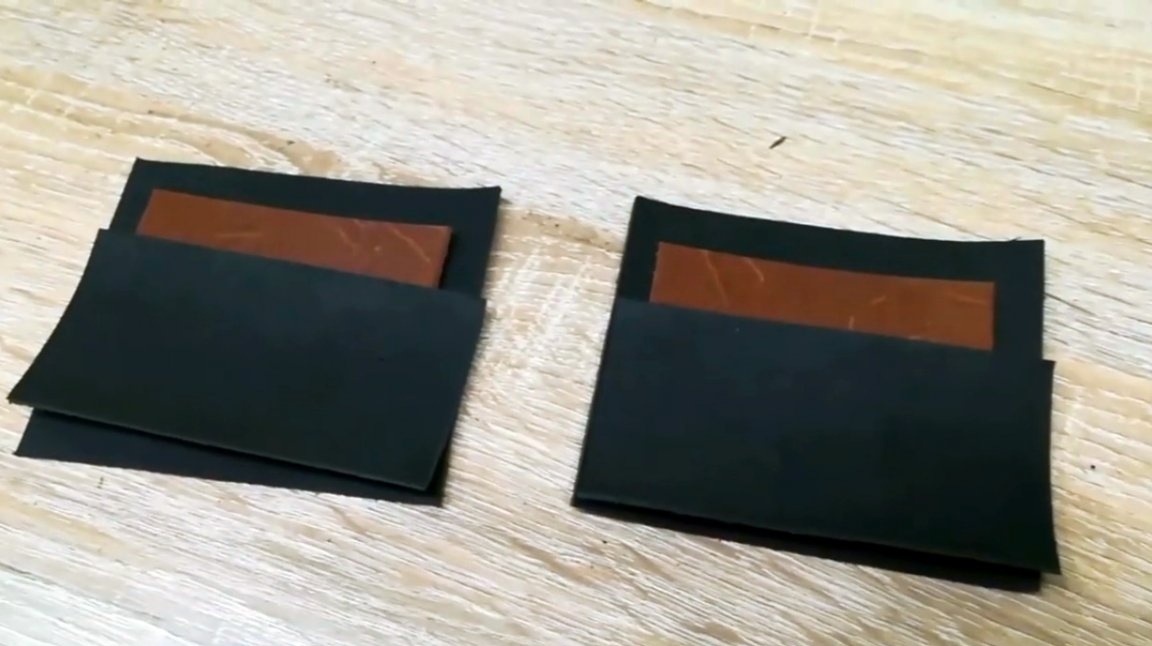
So, all the patterns for the wallet are ready.
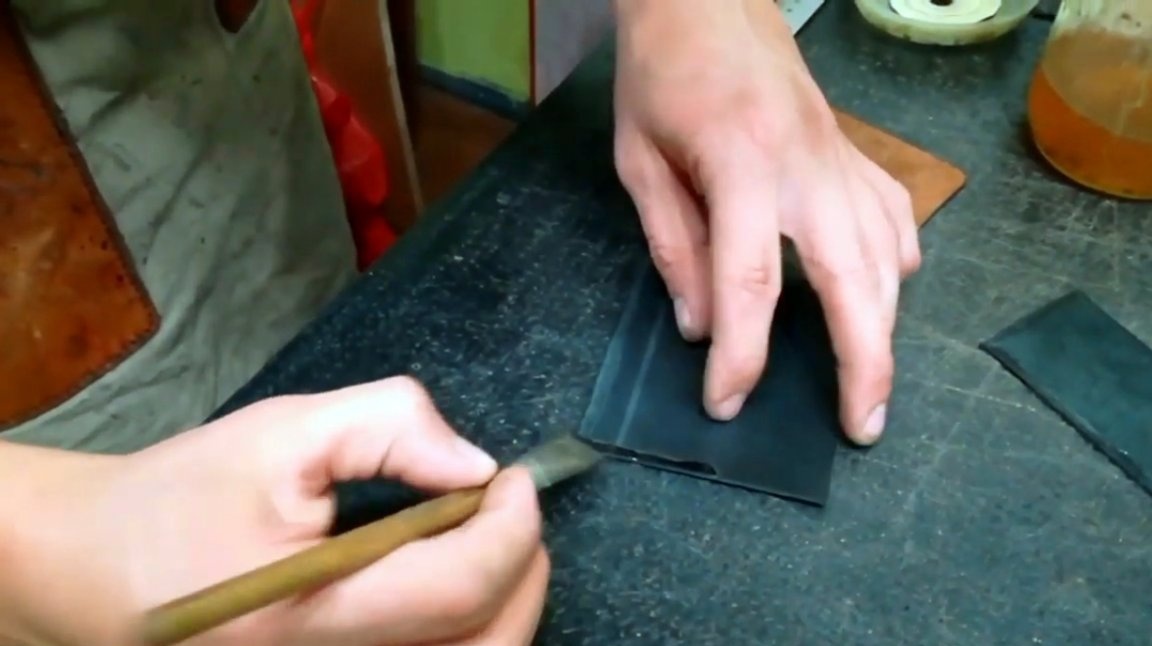
Gluing places must be cleaned with sandpaper, and be sure to degrease.
Details are interconnected, and stitched.
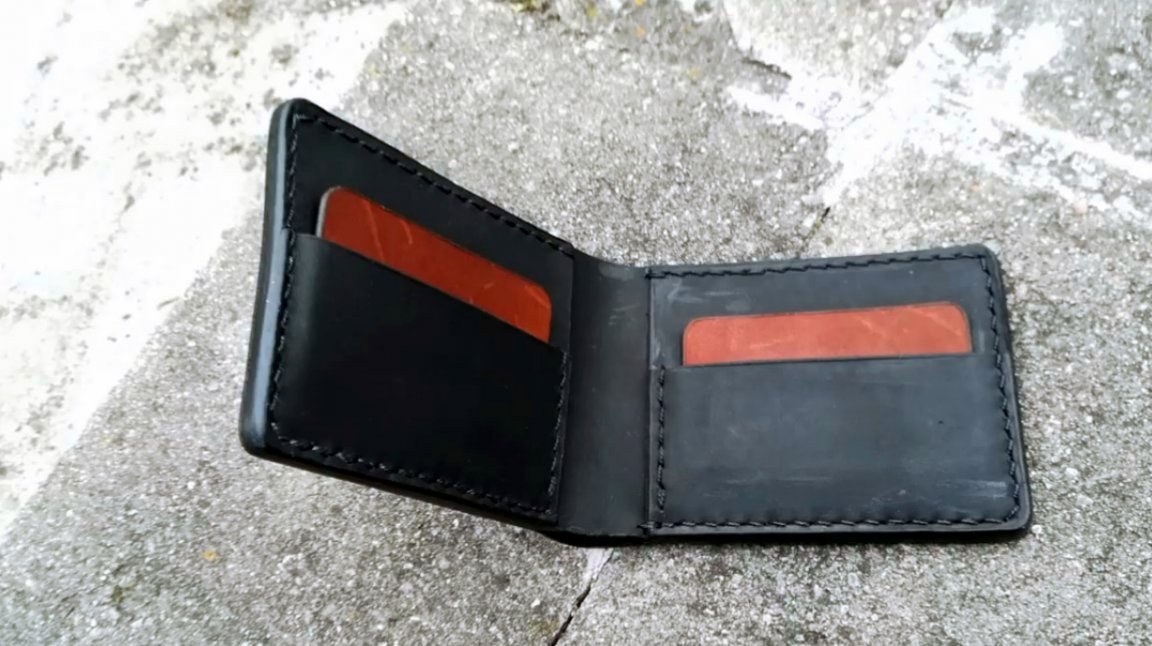
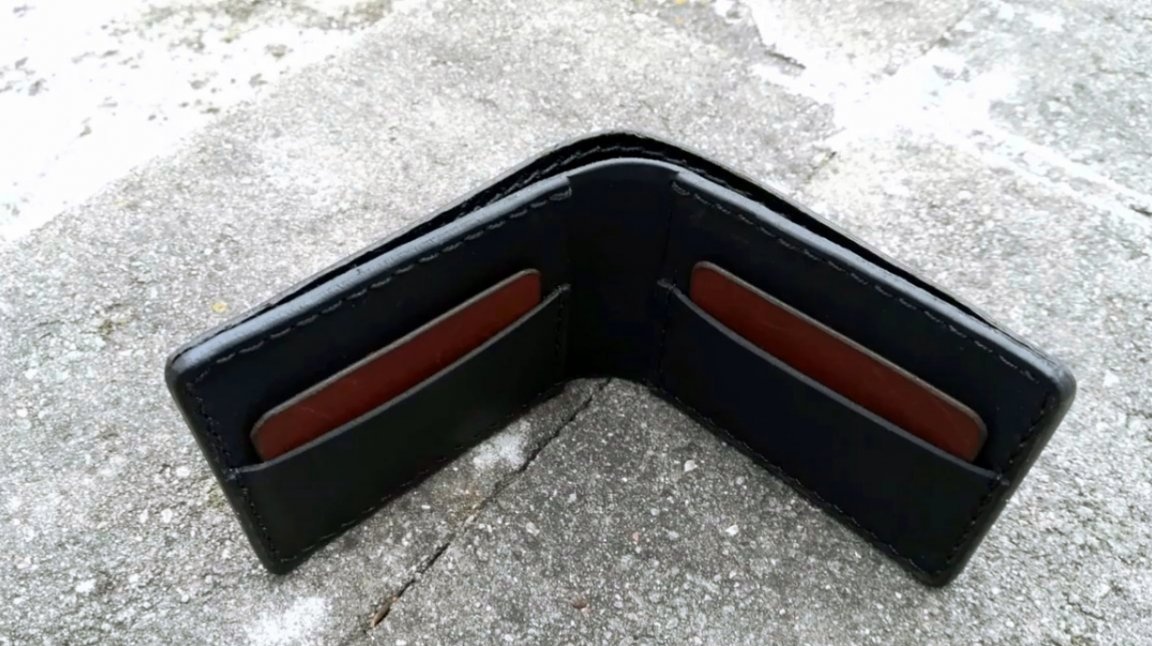
Now you can completely glue the pocket. It will consist of two branches.
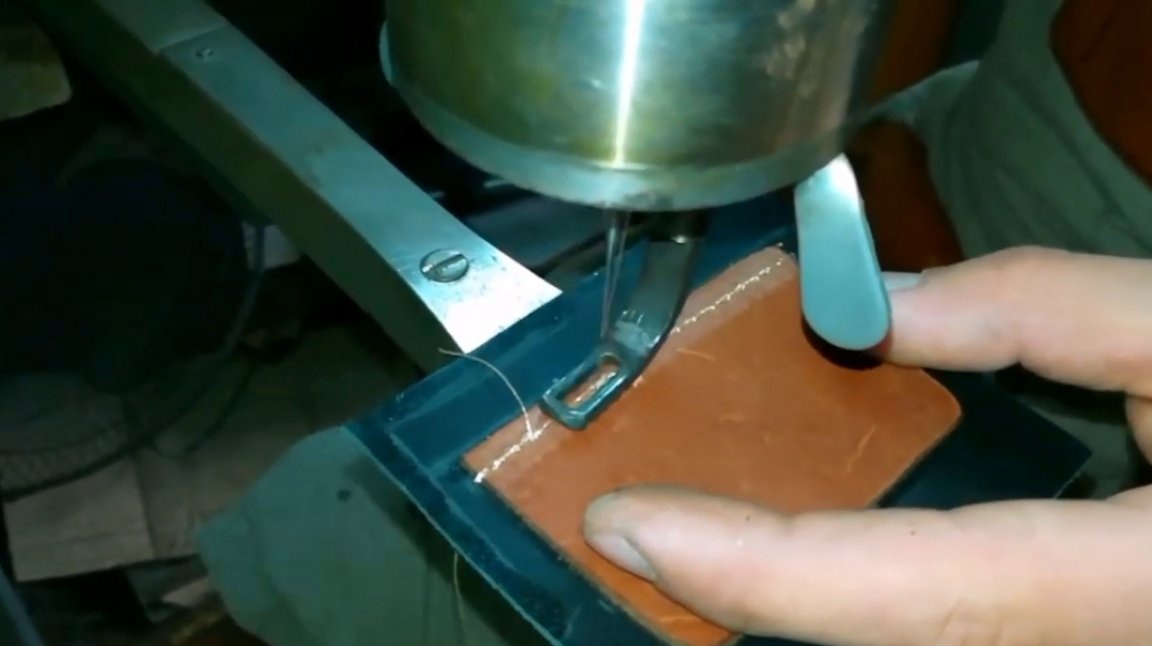
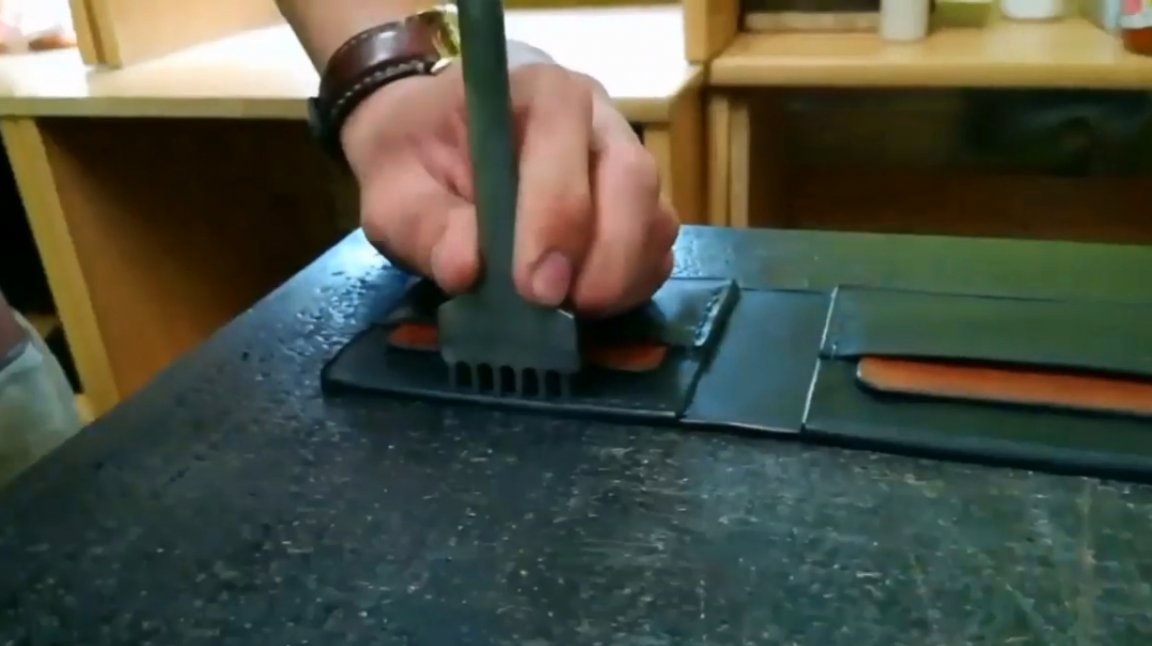
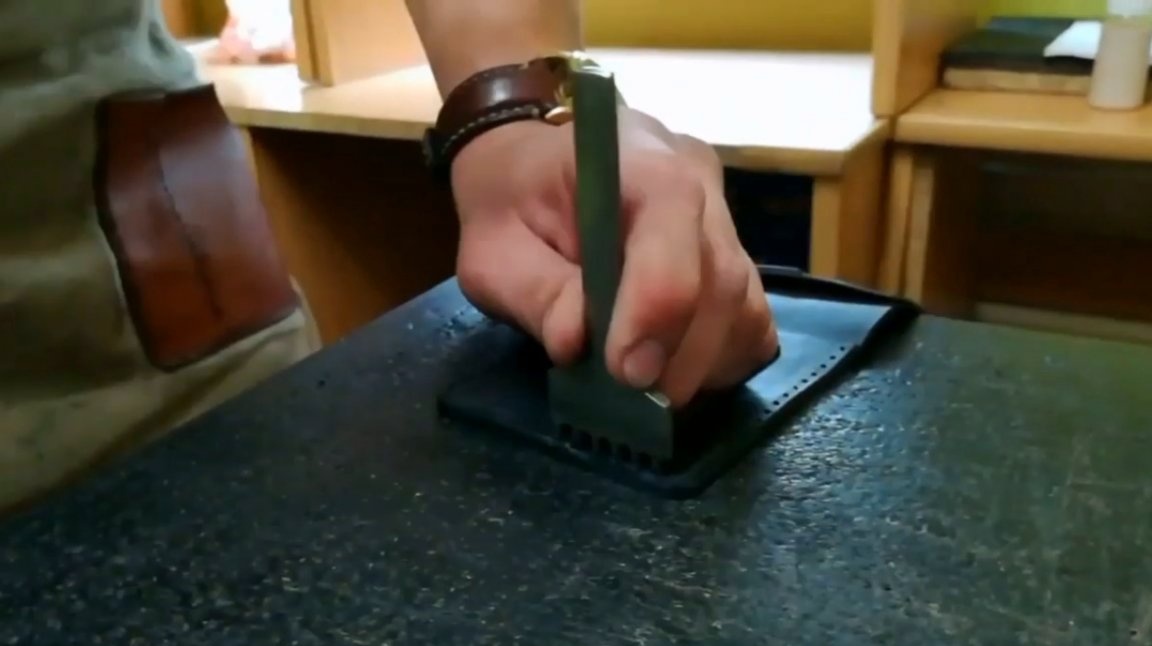
After the glue dries, holes are made around the perimeter of the workpieces using a punch.
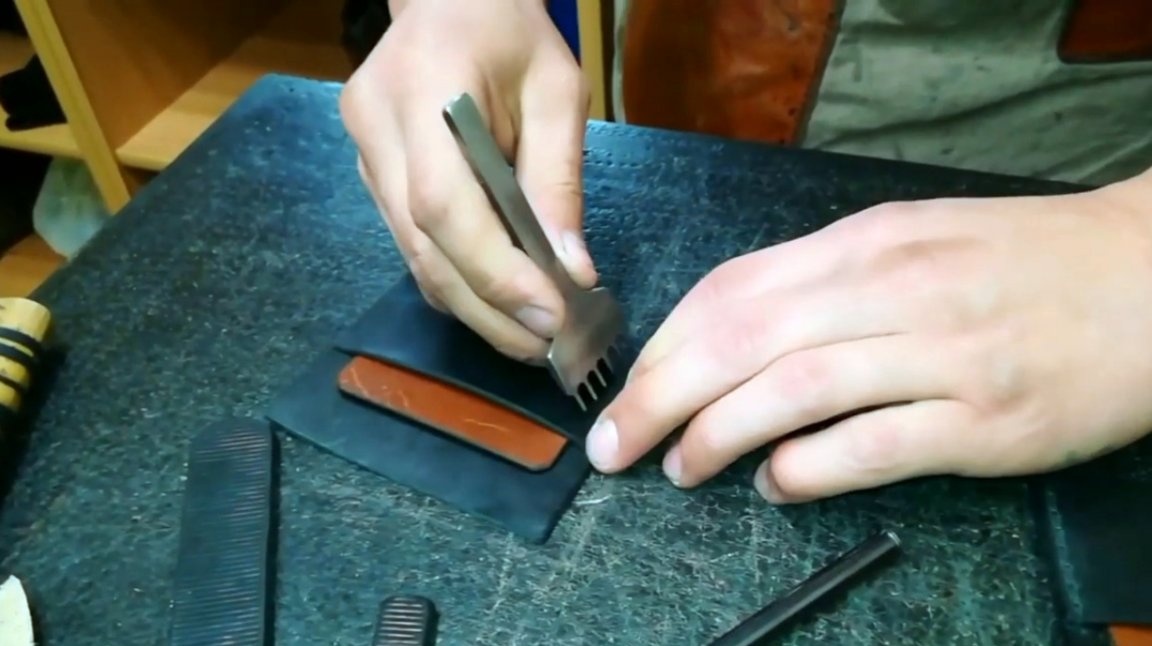
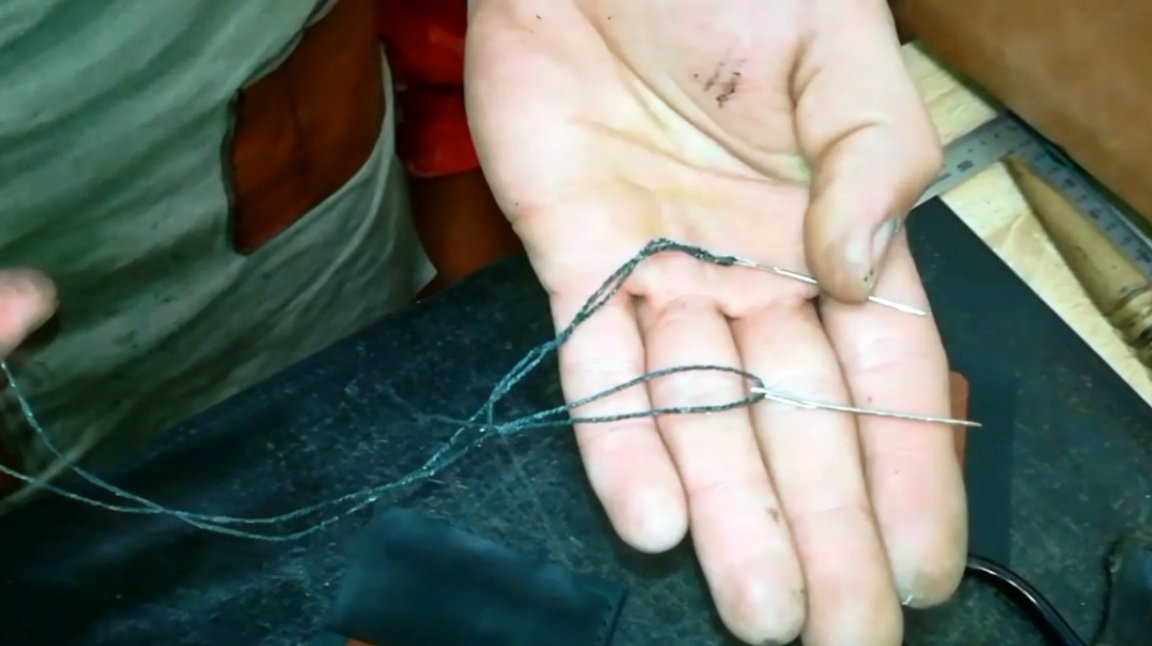
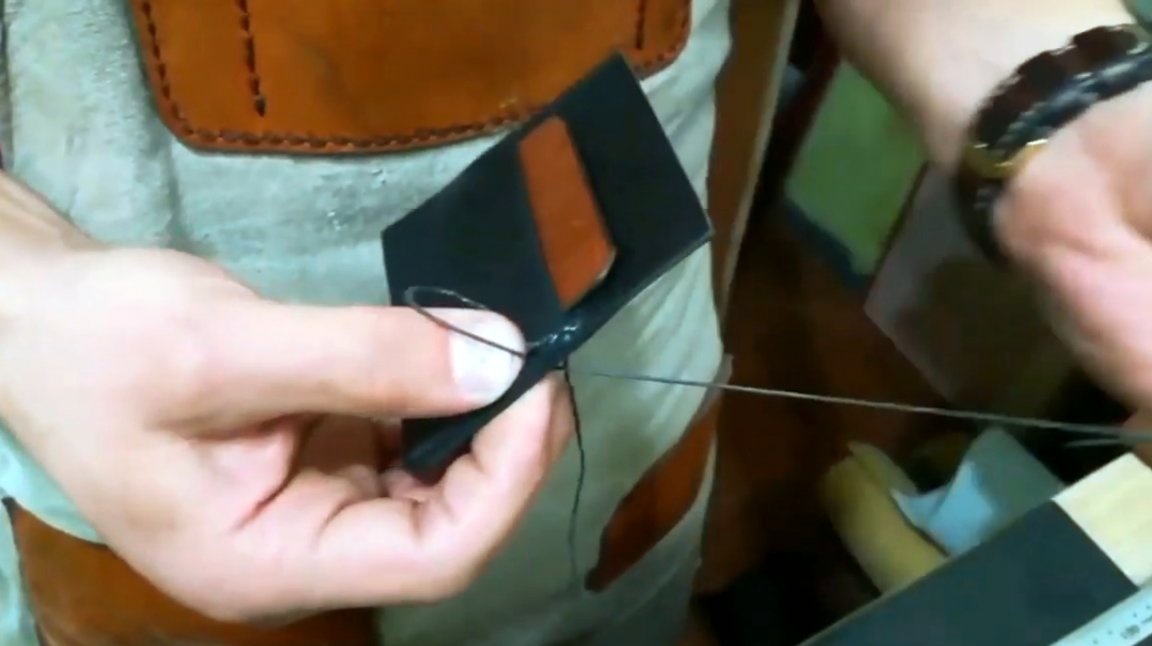
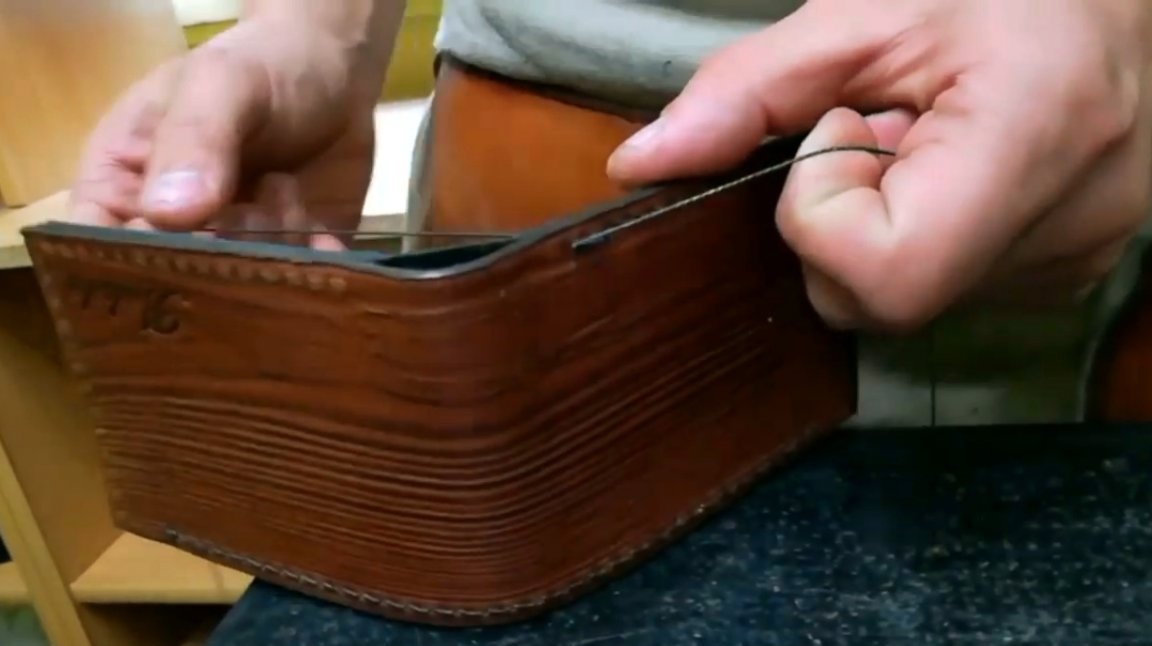
The edges are stitched with a coarse thread.
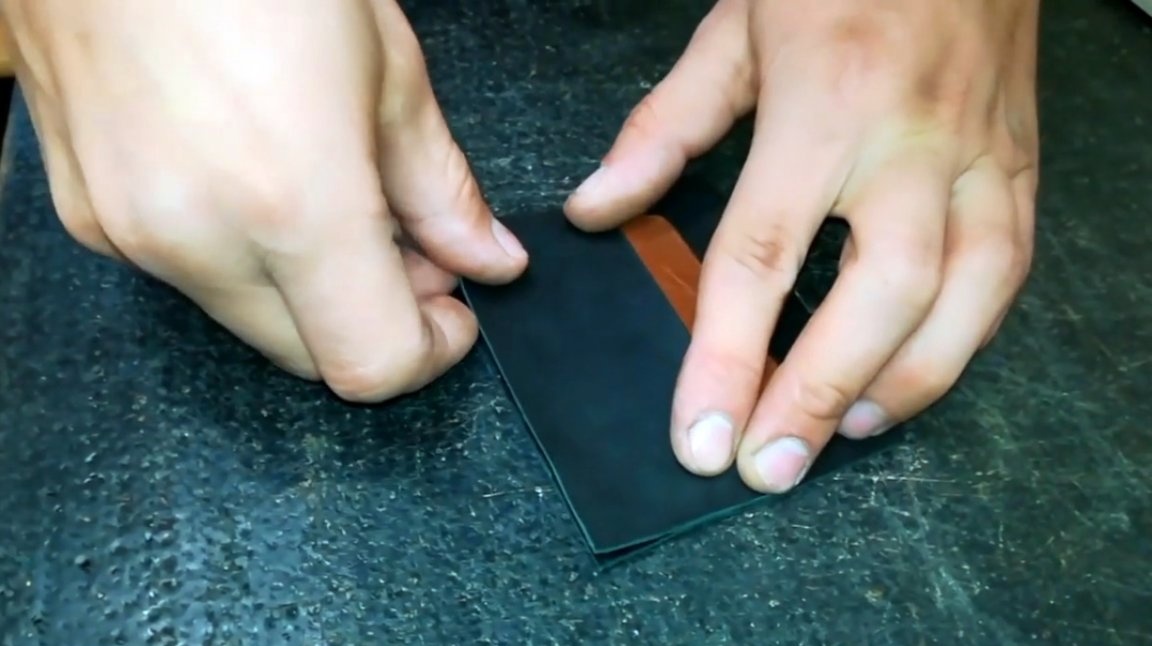
Then the pockets are glued to the second lining.
Again the outer corners are cut off.

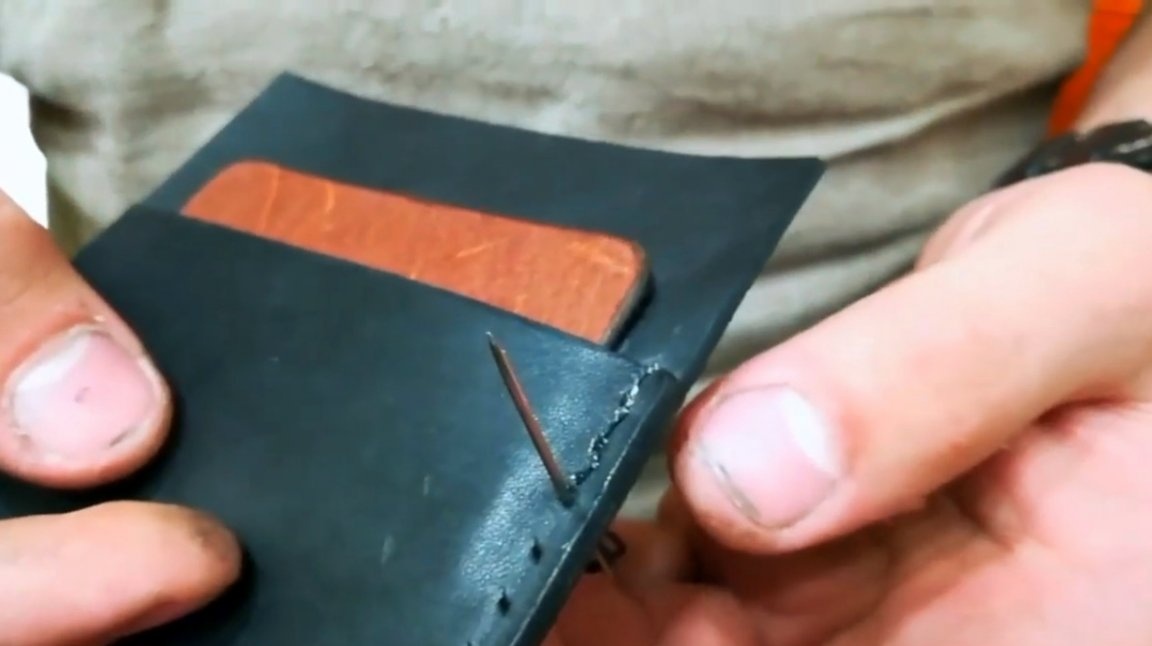
Rows of holes make their way around the perimeter of the product.

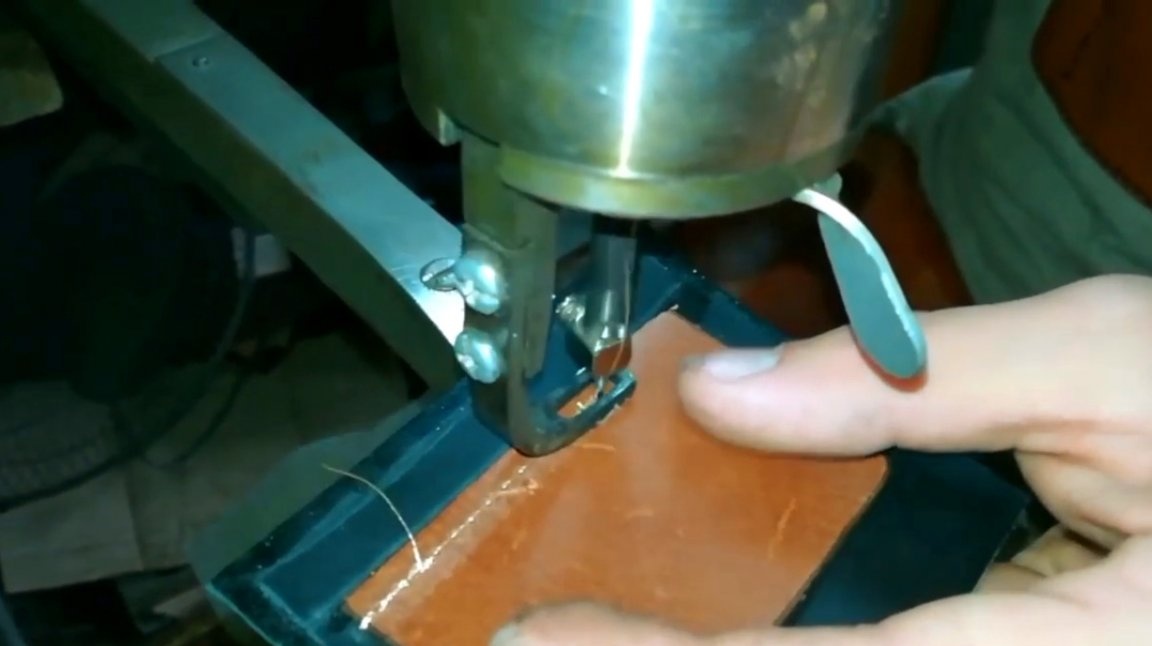
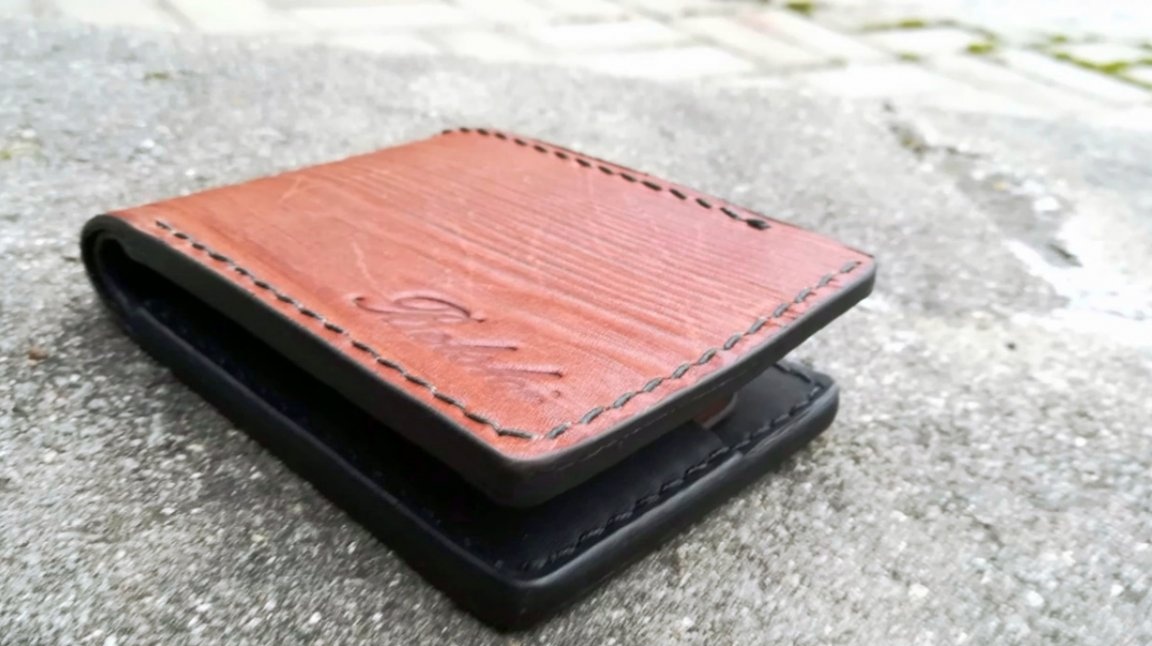
On the outside, the master decided to put his stigma in a hot way.
It remains only to sew the inner and outer parts of the wallet.
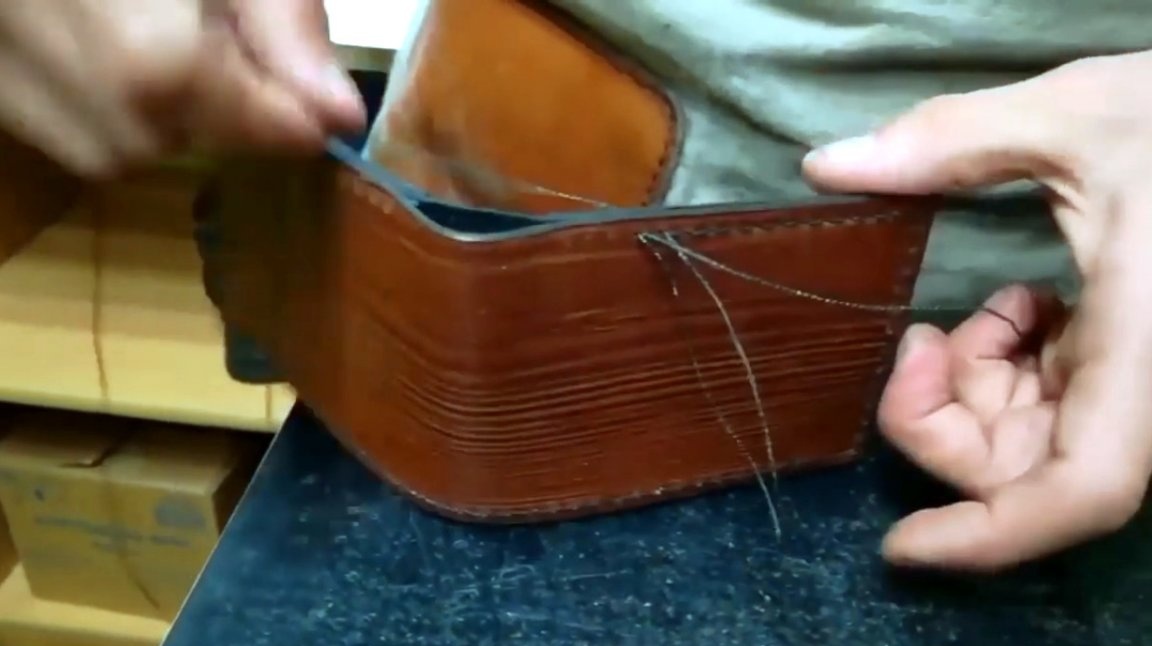
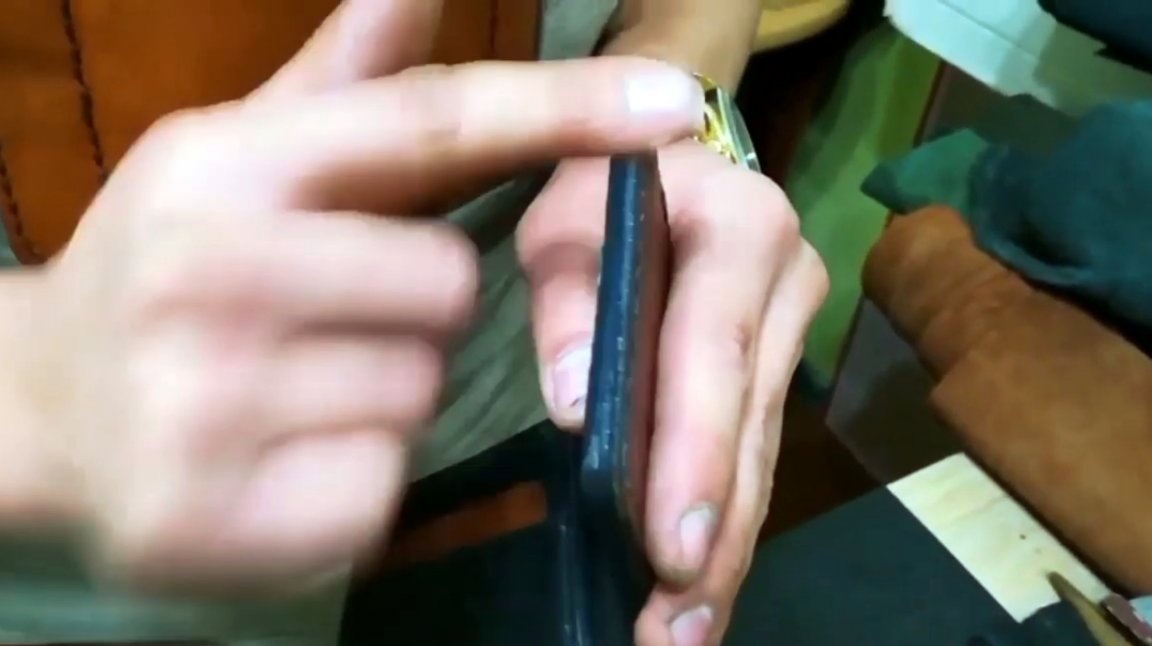
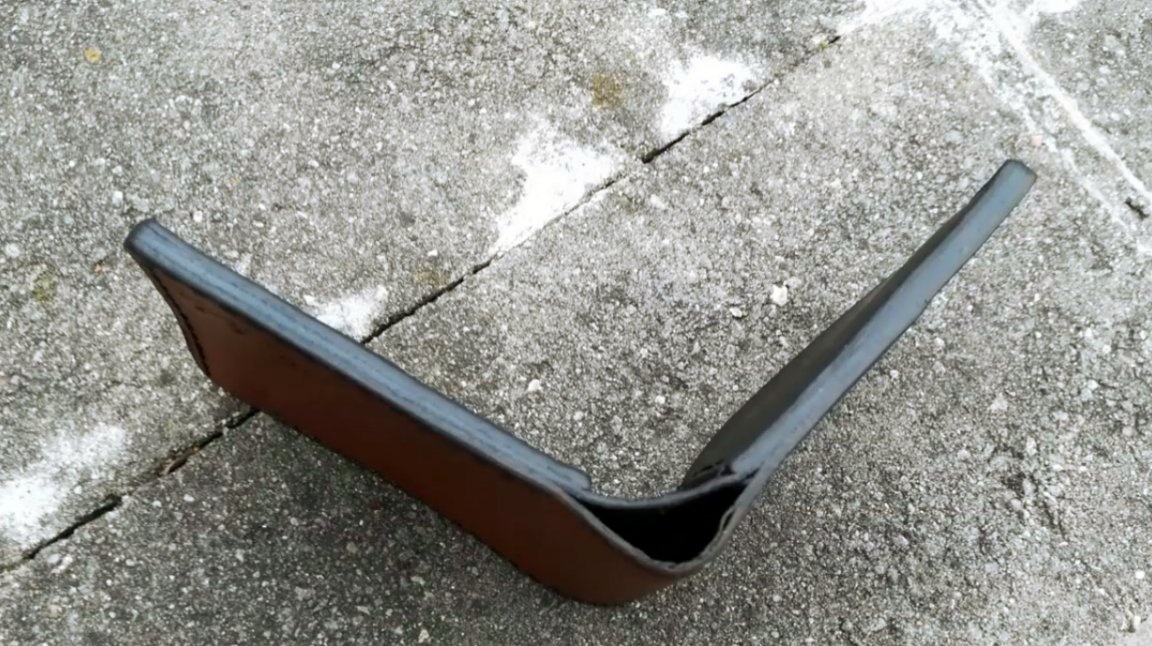
Almost everything is ready, you should still polish the ends.
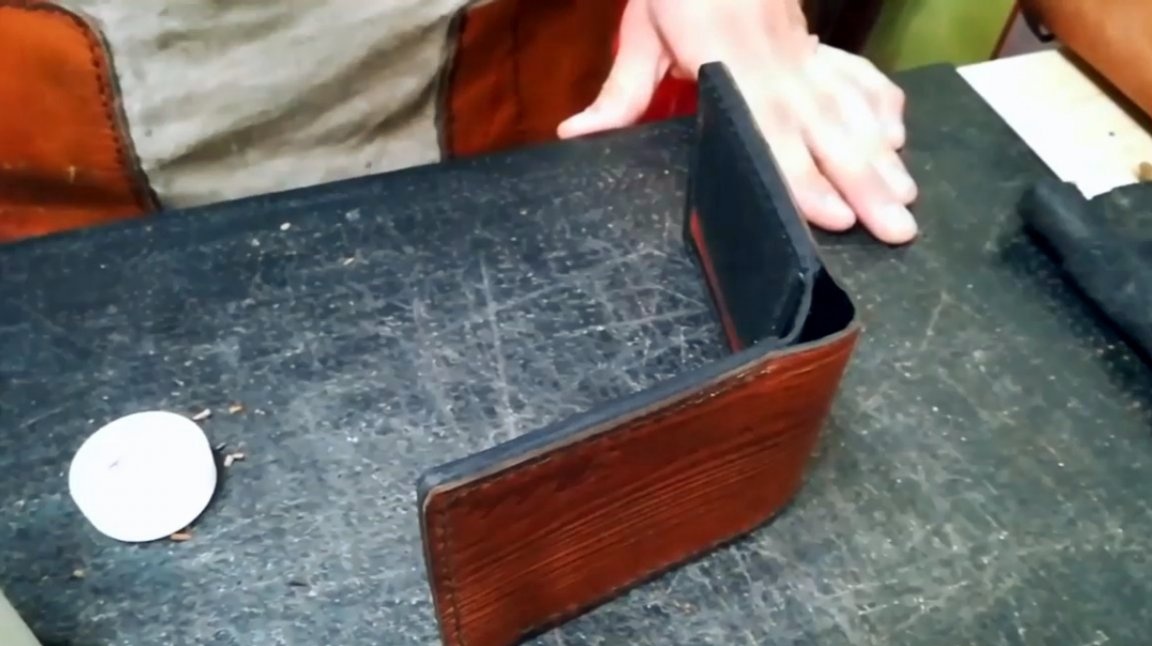
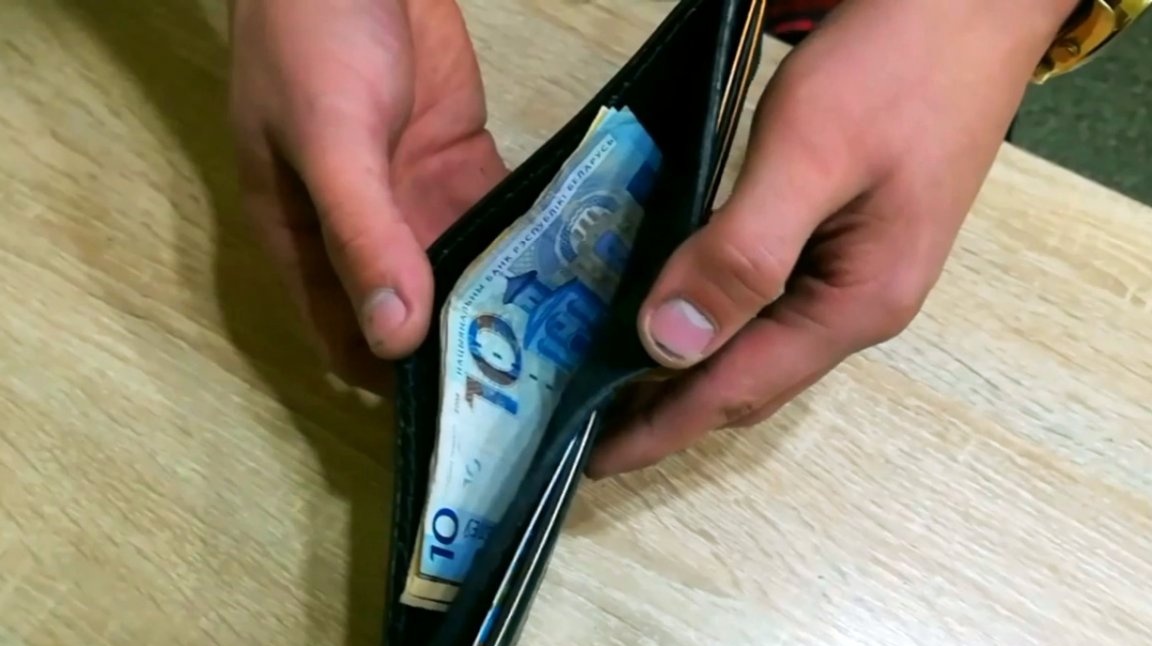
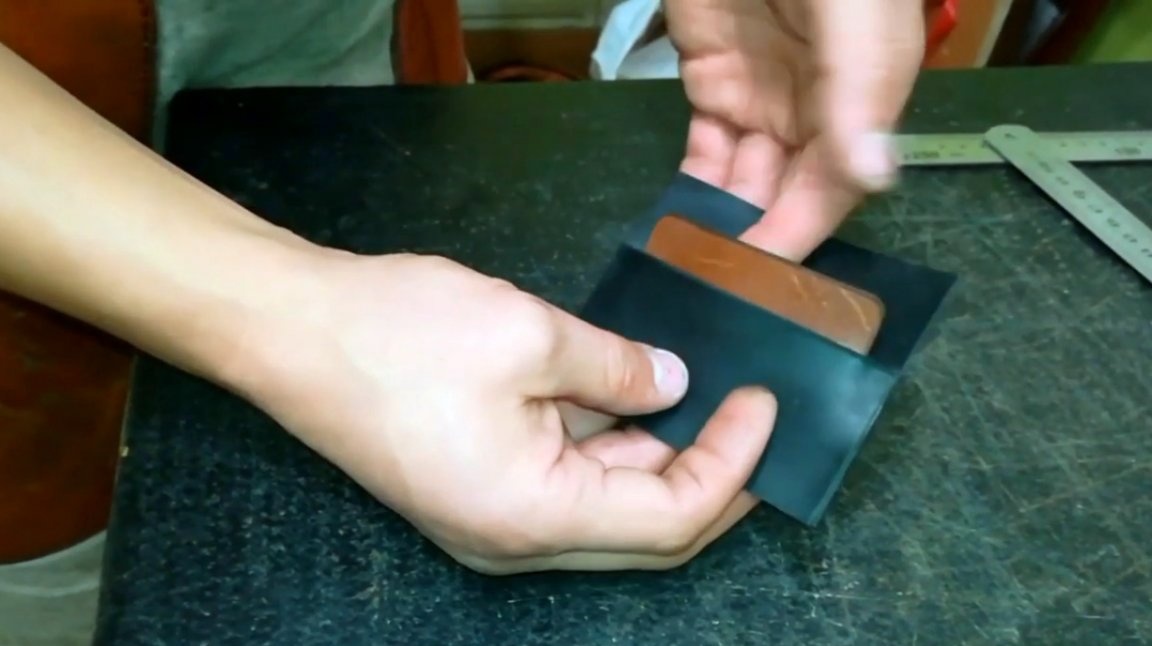
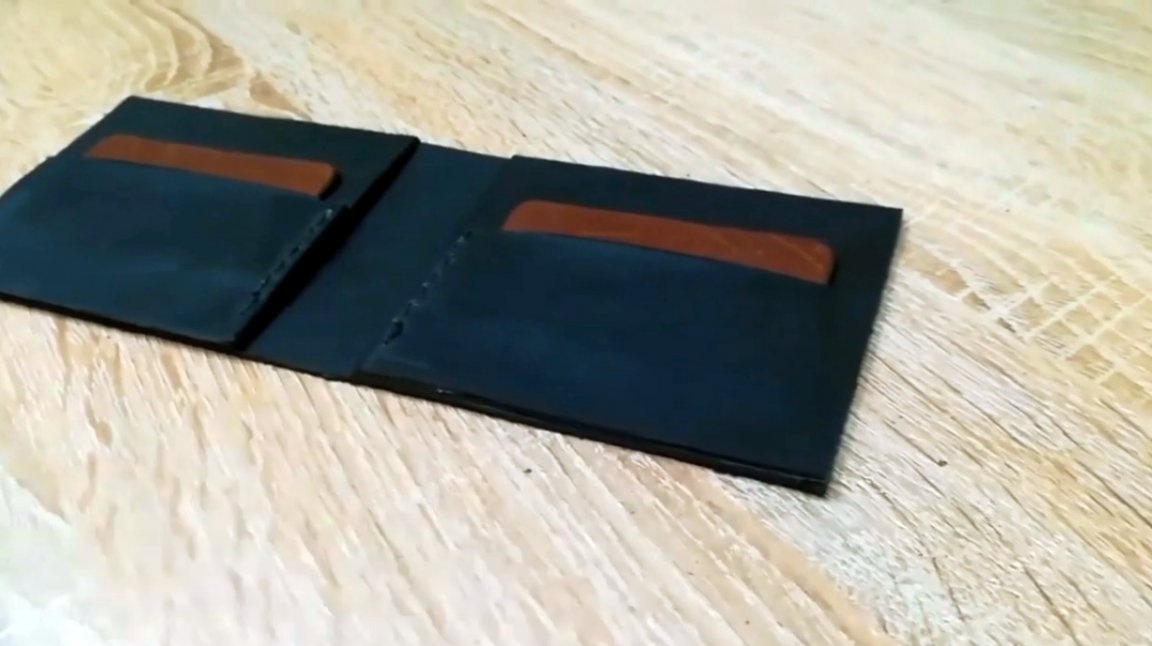
This is such a wonderful wallet. Immediately you can not guess that it is made of leather, not wood.
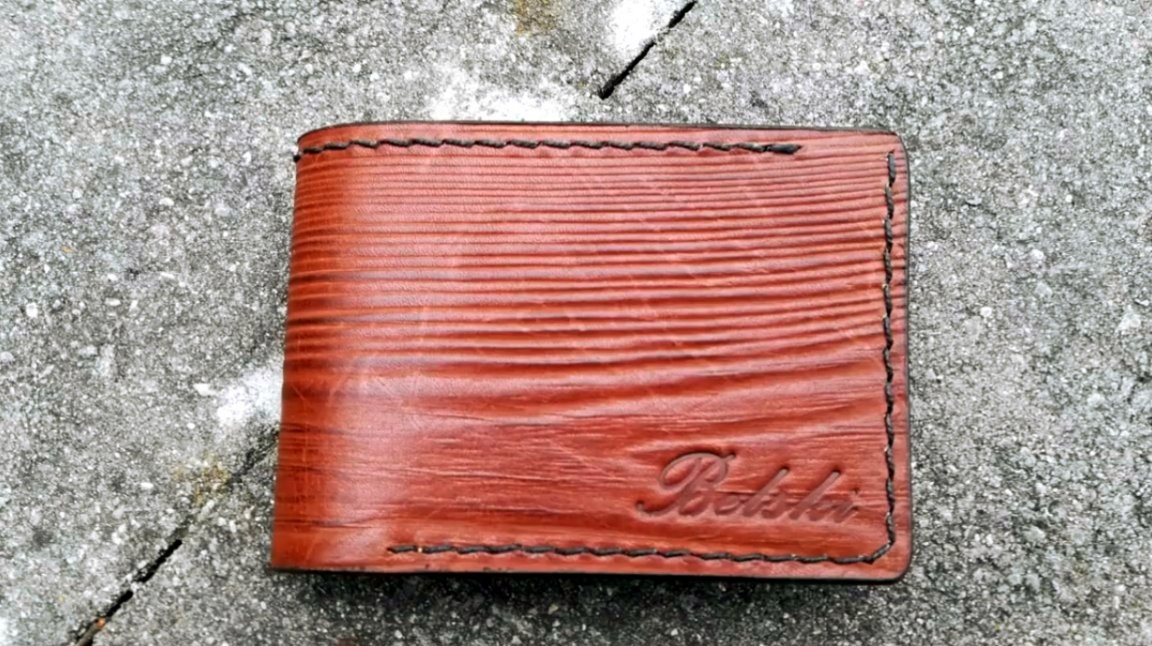
I thank Vladimir and Artem for an interesting master class on making a beautiful leather wallet!
All good mood, good luck, and interesting ideas!
Author video can be found here.