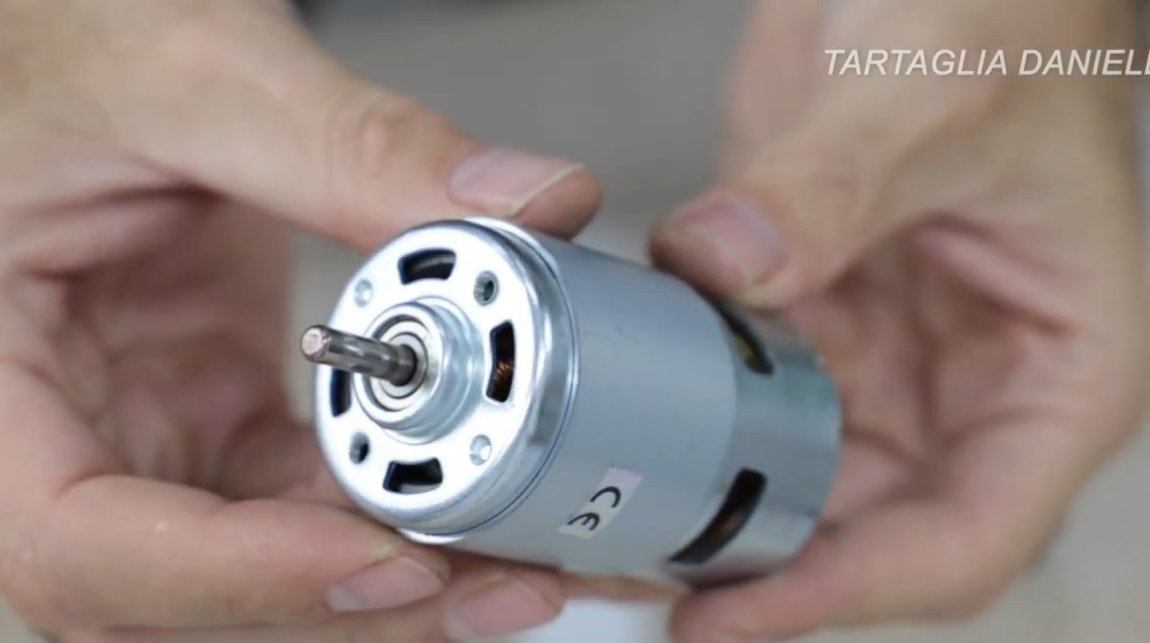
I welcome all fans to craft, I propose to consider a simple and reliable grinding machine based on motor 775. The advantage of such a machine is that it makes little noise and consumes little electricity, thanks to the small power the machine can be used in the apartment and your neighbors will not hear you. In addition, such a machine can even be powered by a battery; a 12-24V motor is used here. As for sanding belts, the author used ready-made, purchased ones, they can be cut to the desired width. If the project interests you, I propose to study it in more detail!
Materials and tools used by the author:
Material List:
- aluminum corner and plates;
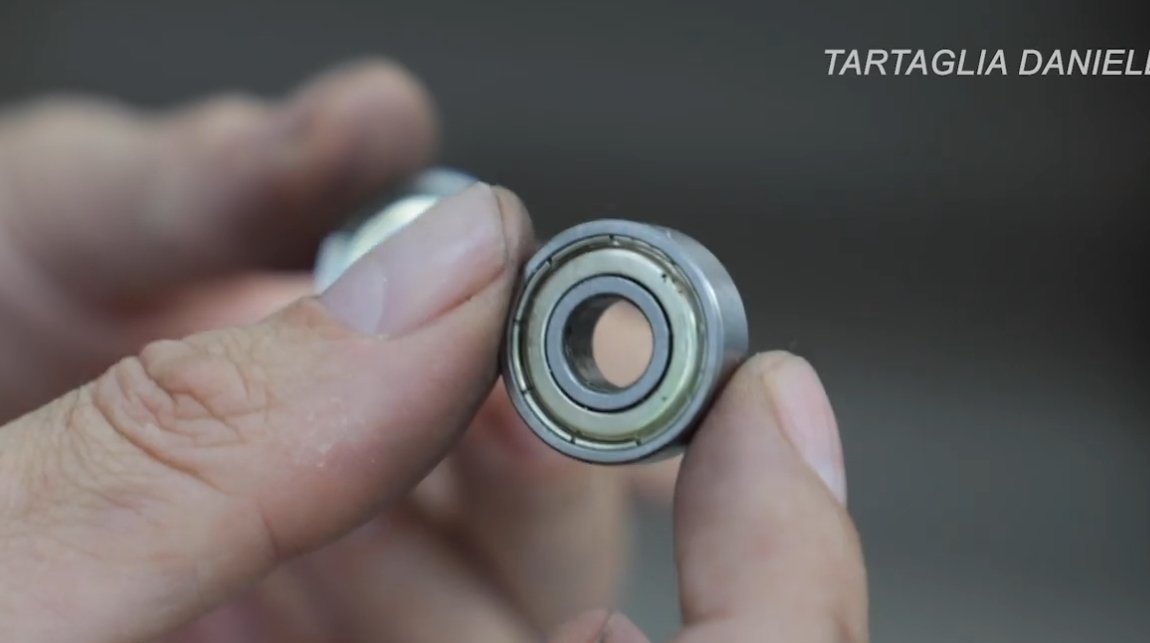
- bearings for rollers;
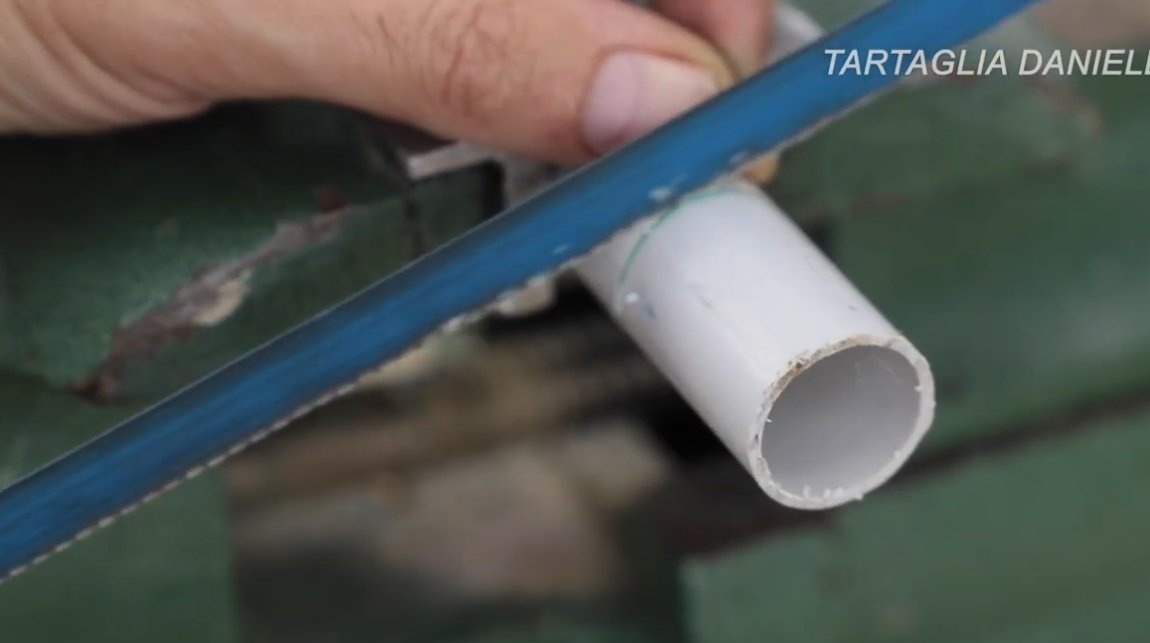
- plumbing pipe;
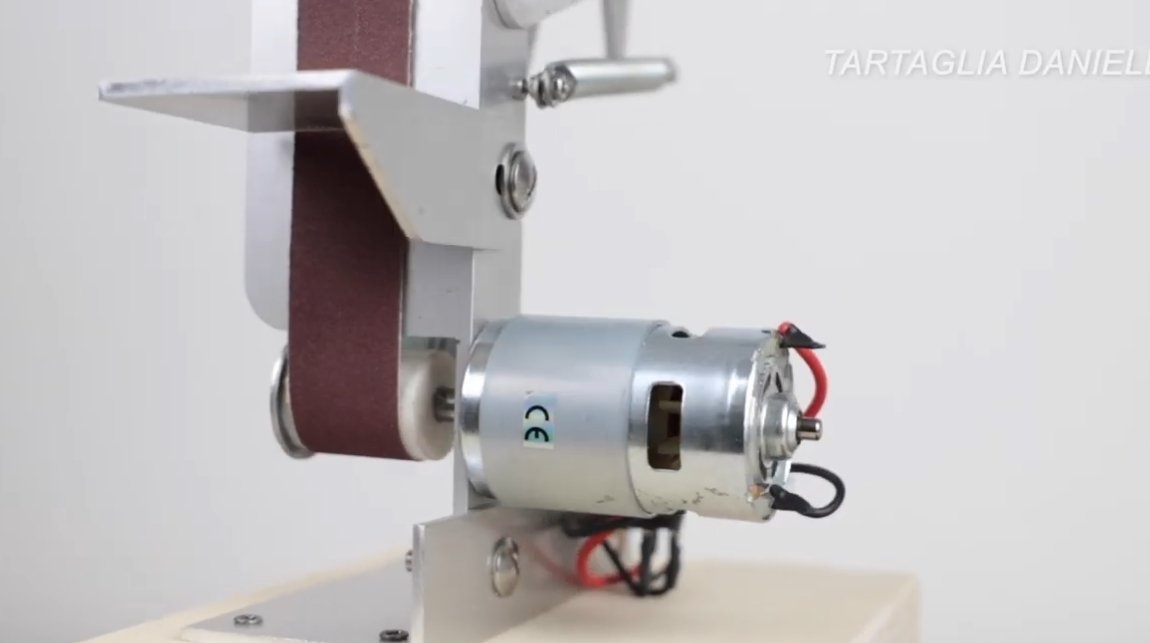
- motor 775;
- spring;
- screws, washers, nuts;
- steel rod;
- plywood for the base;
- socket for connecting the power supply;
- switch;
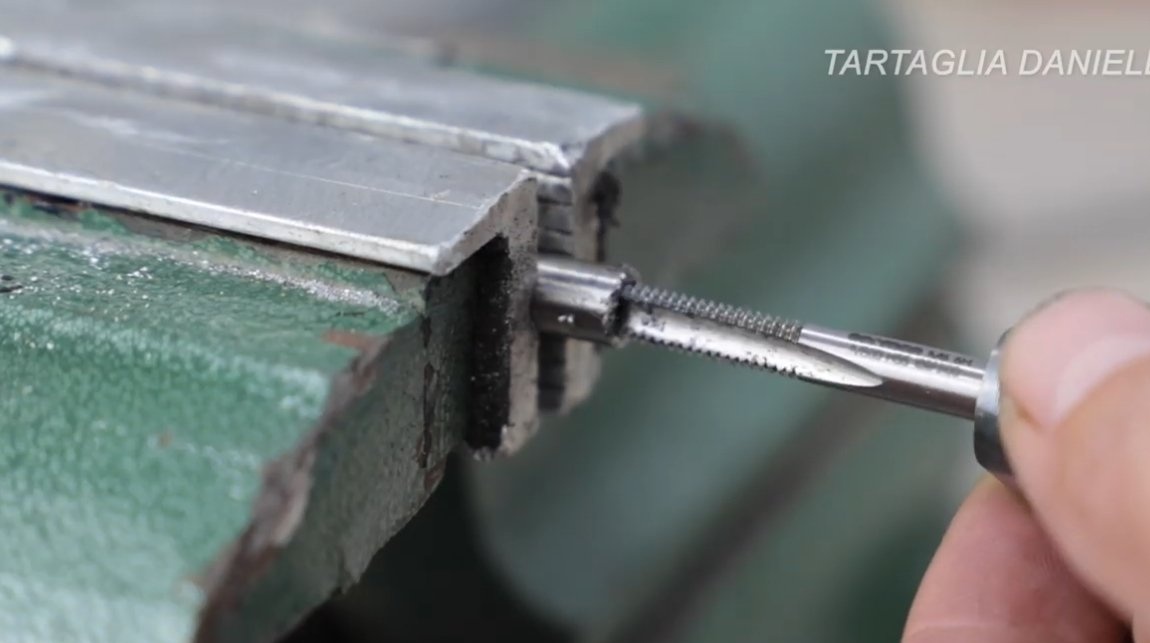
- riveting nuts;
- wires.
Tool List:
- file;
- vise;
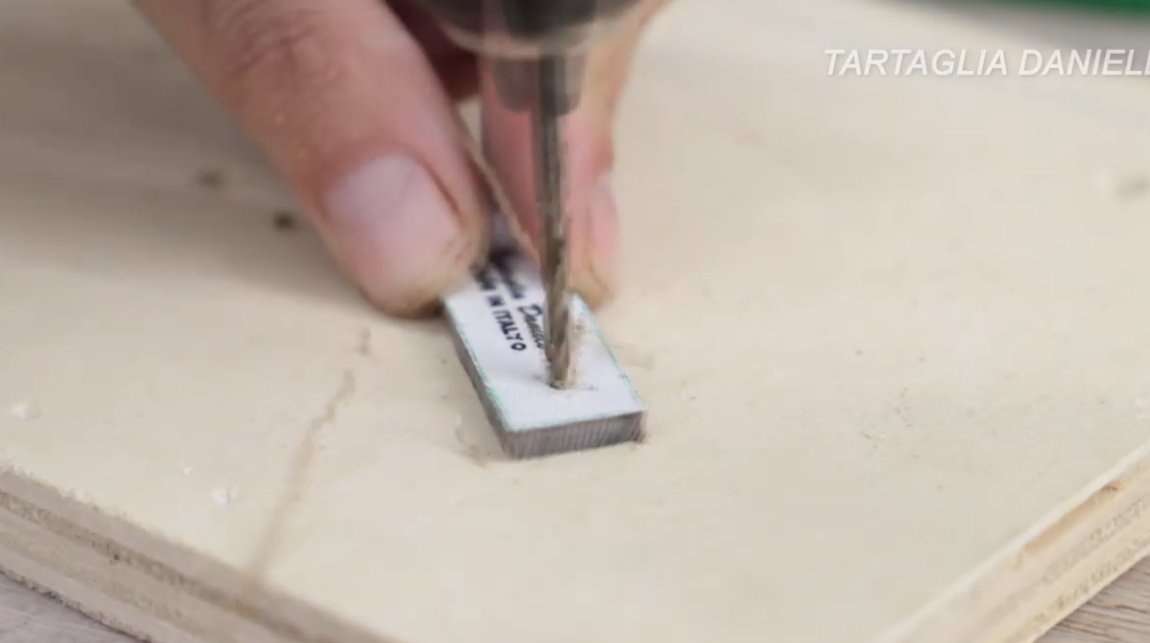
- drill;
- roulette;
- a hacksaw for metal;
- vernier caliper;
- marker;
- soldering iron.
Machine manufacturing process:
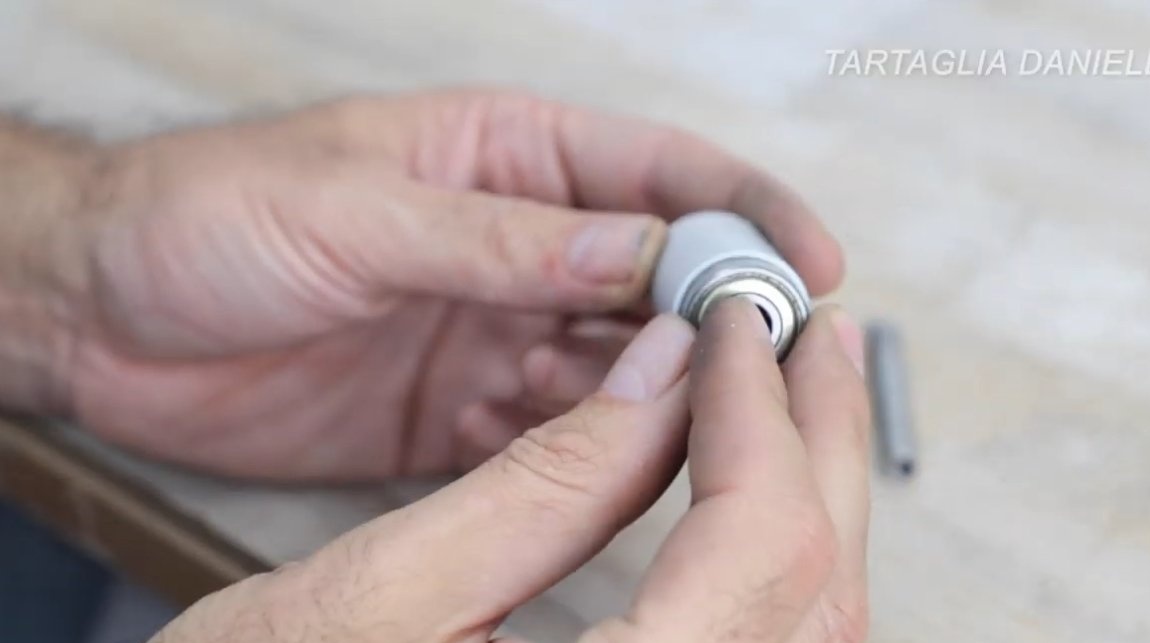
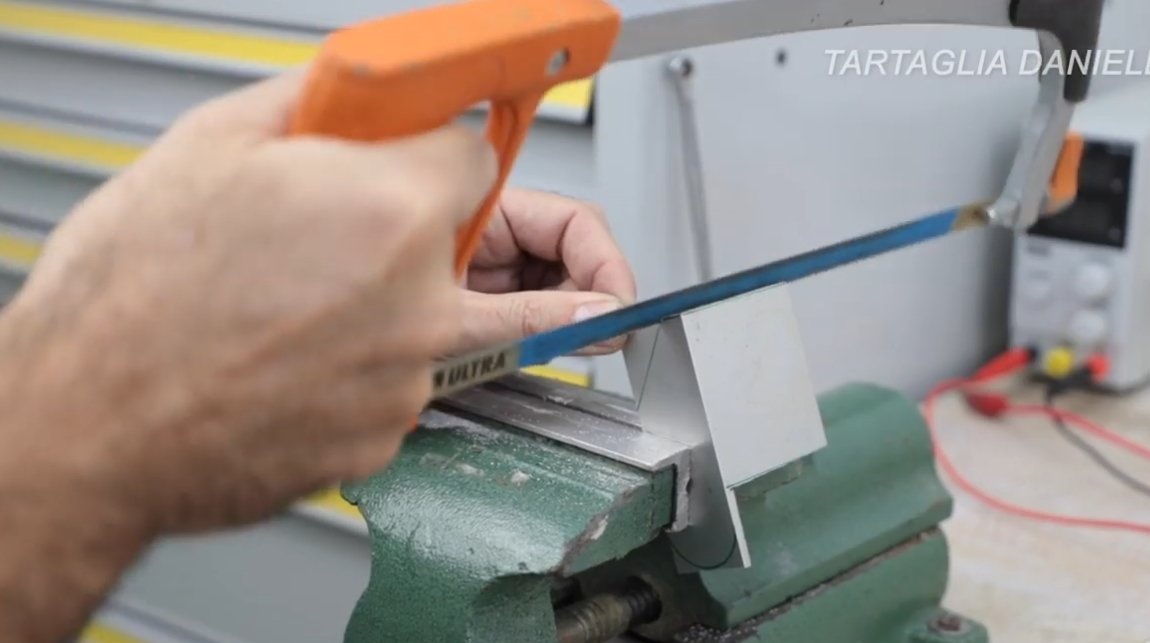
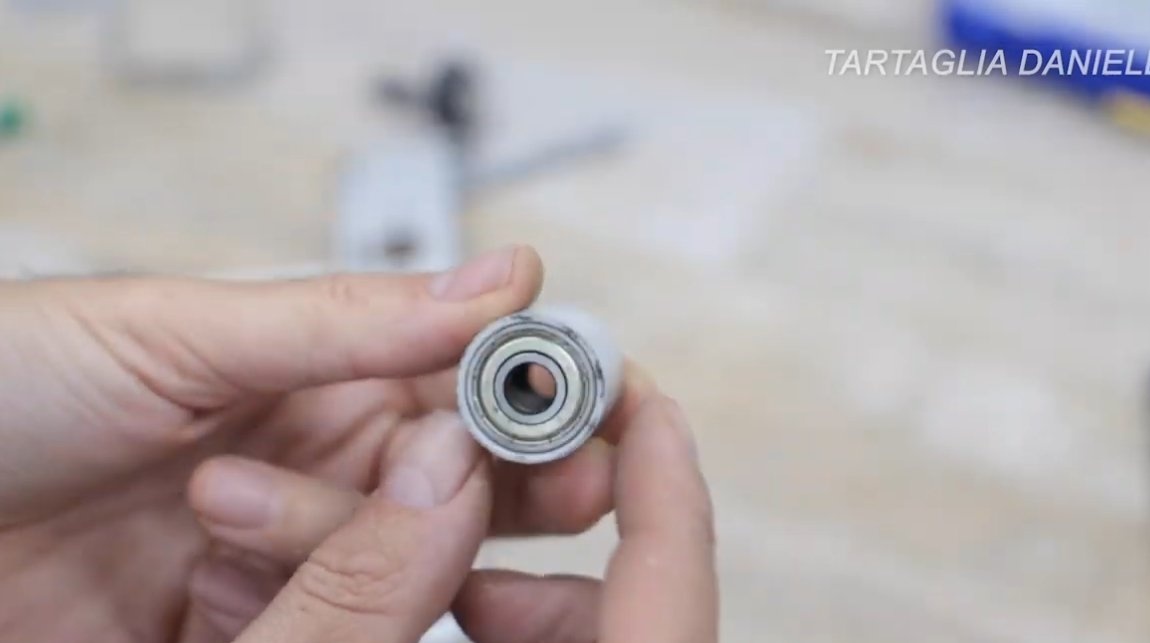
Step one. Driven rollers
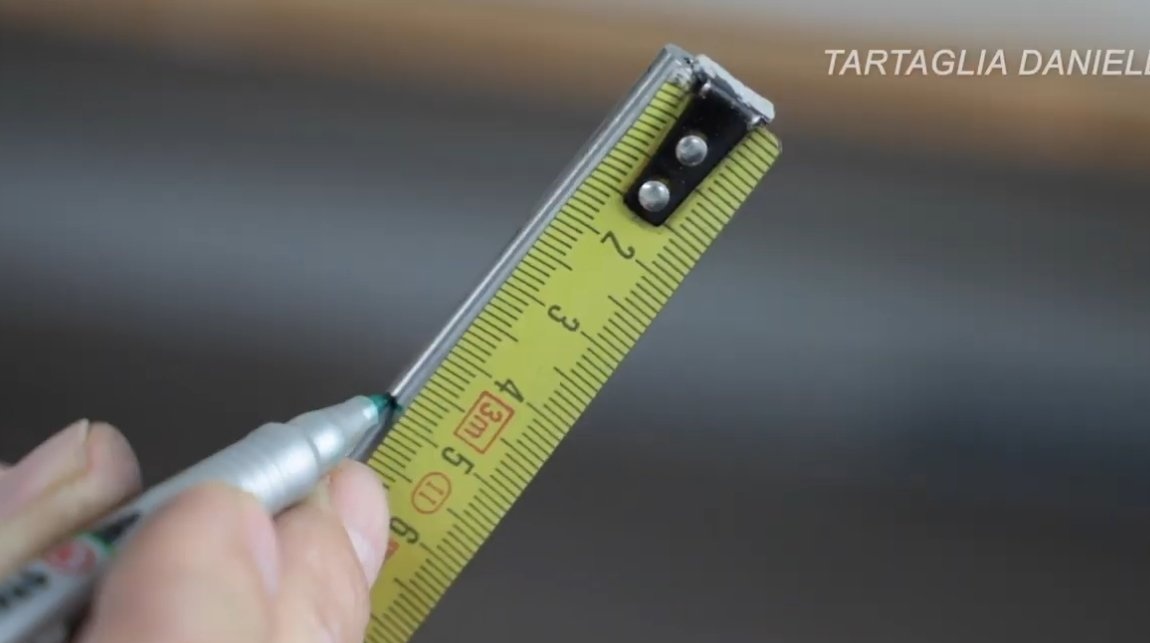
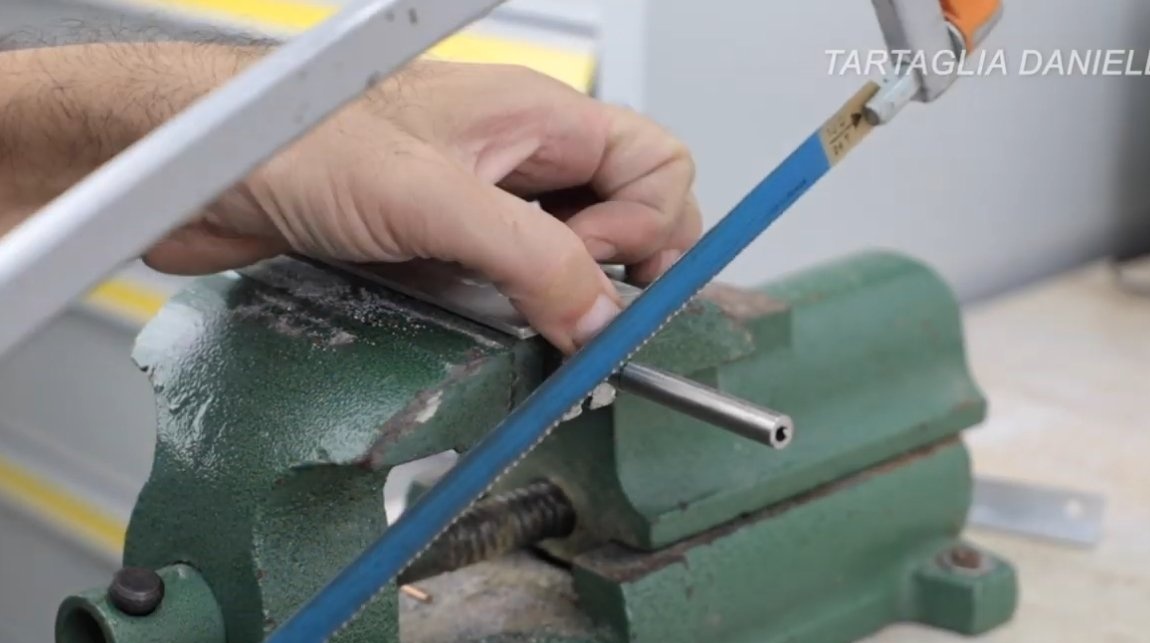
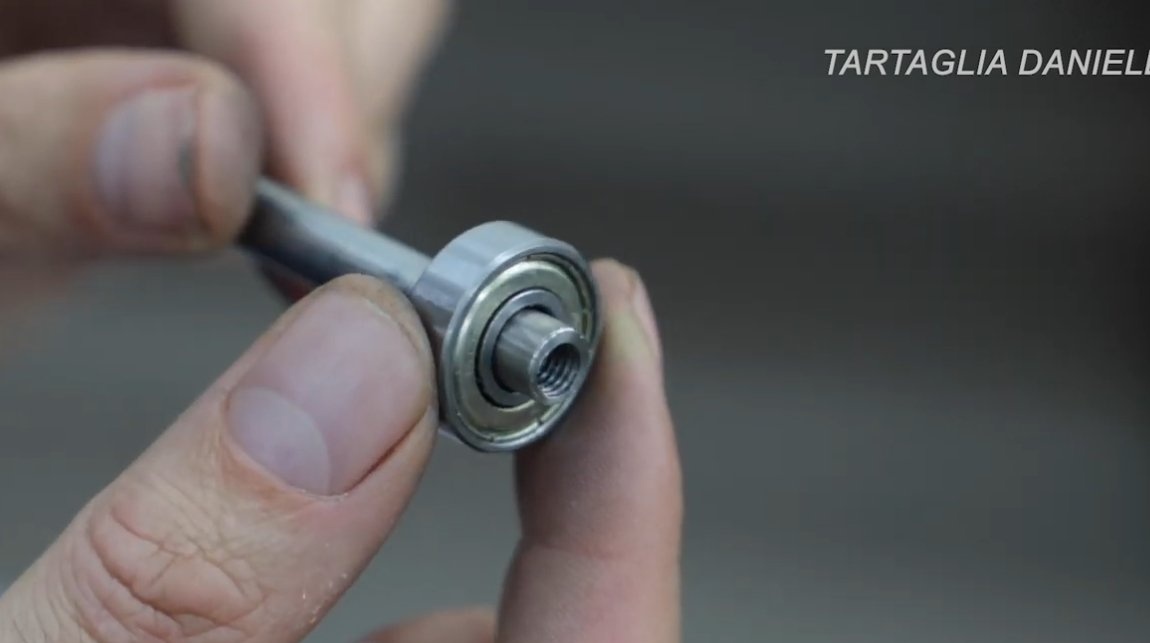
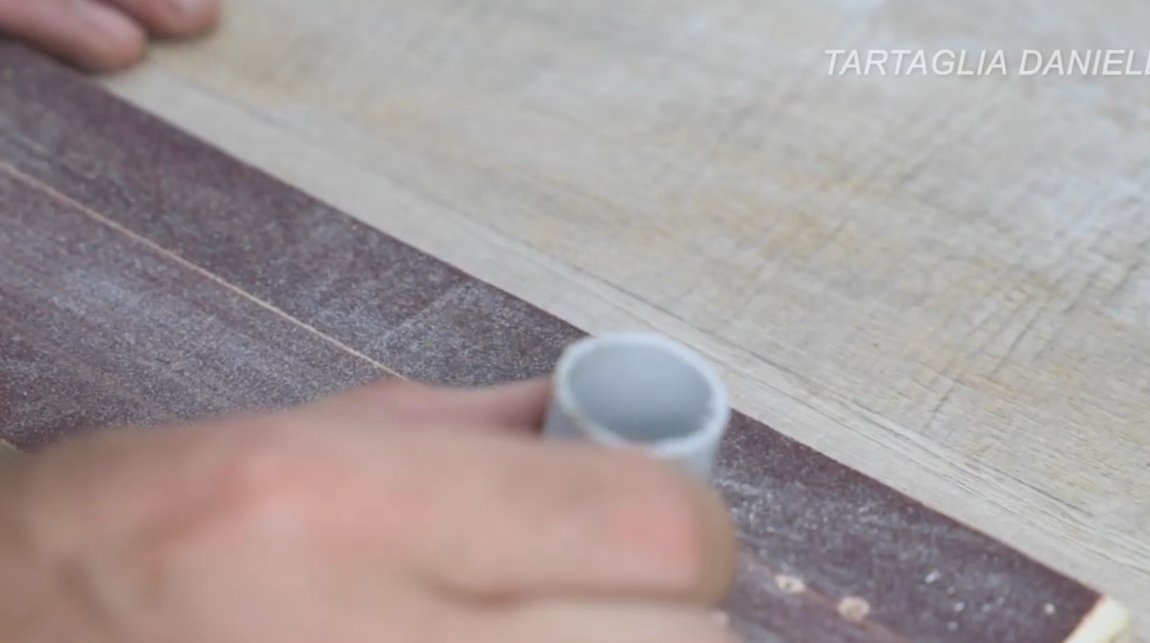
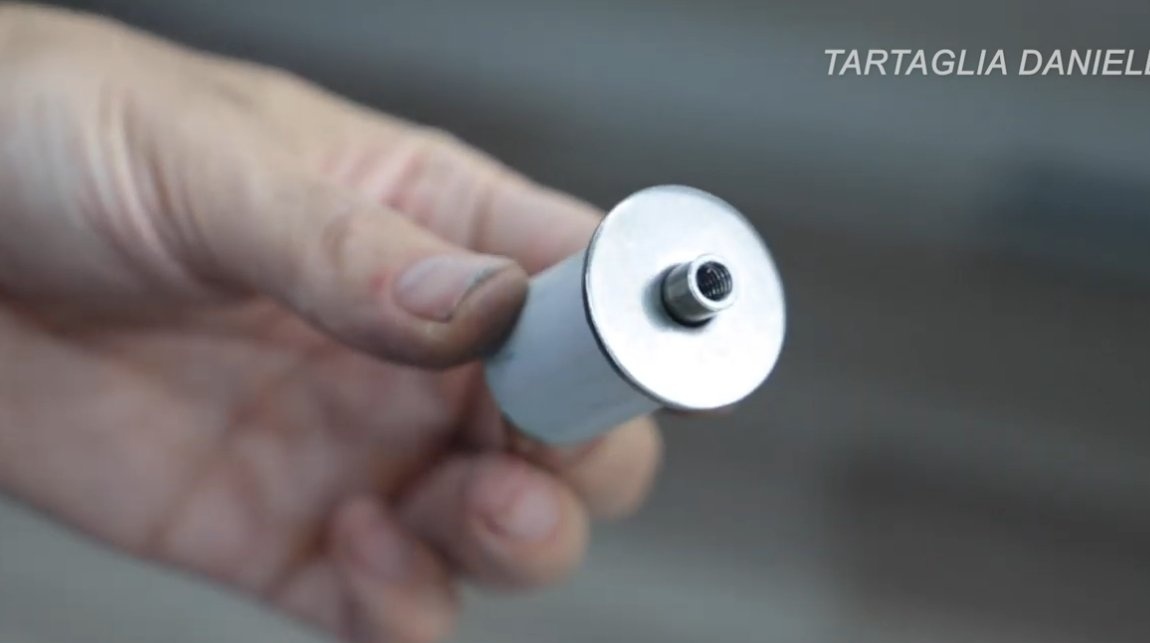
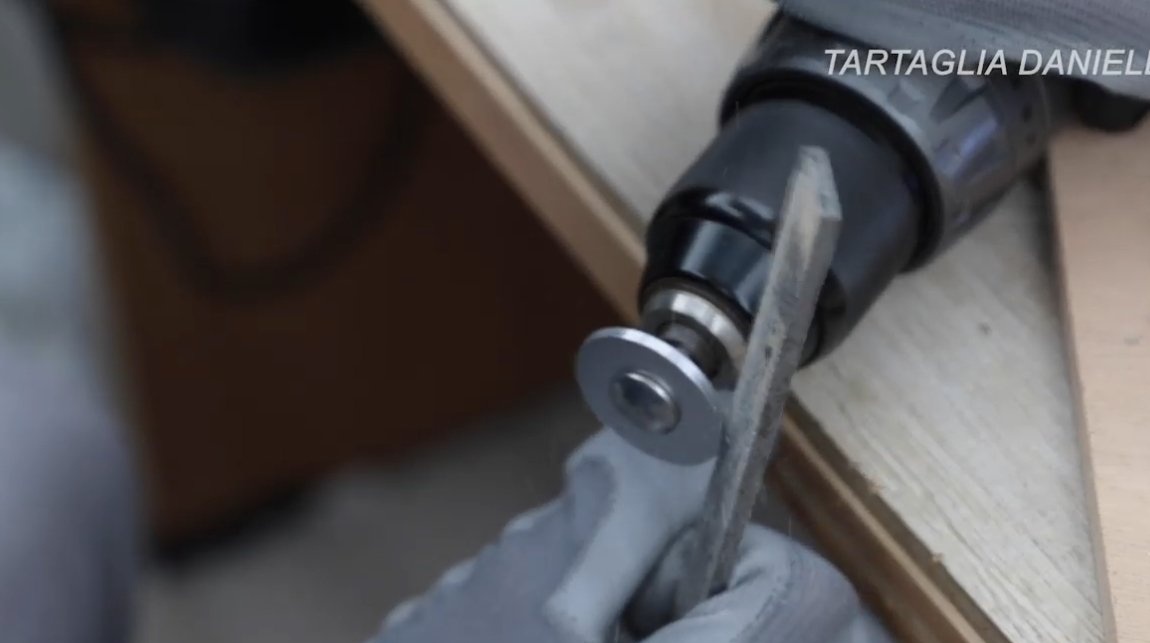
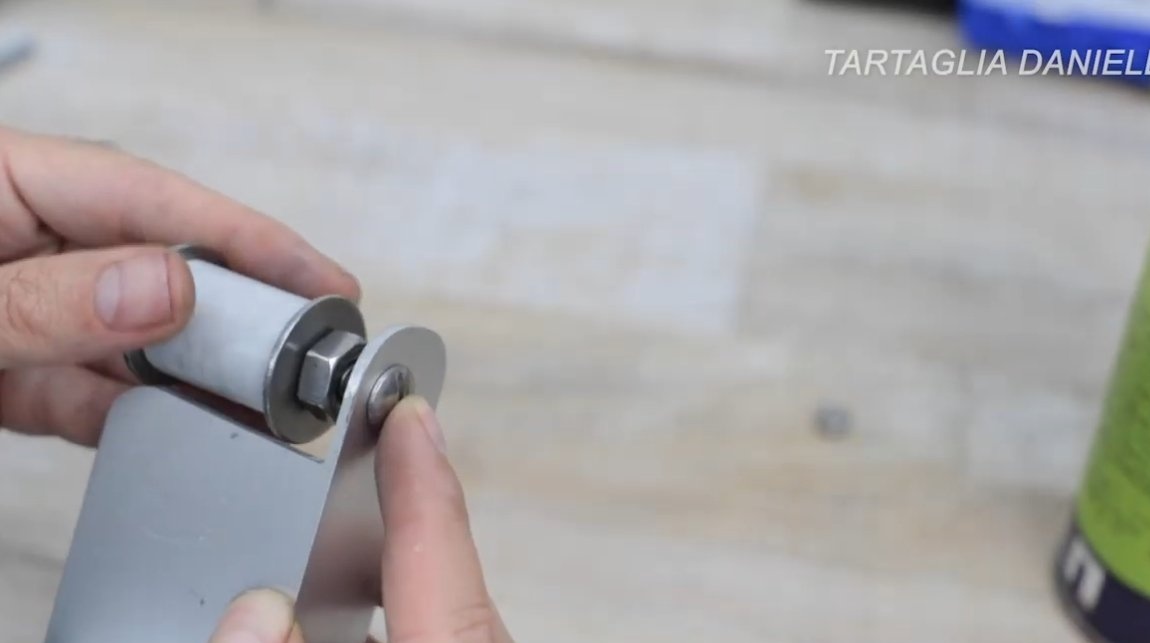
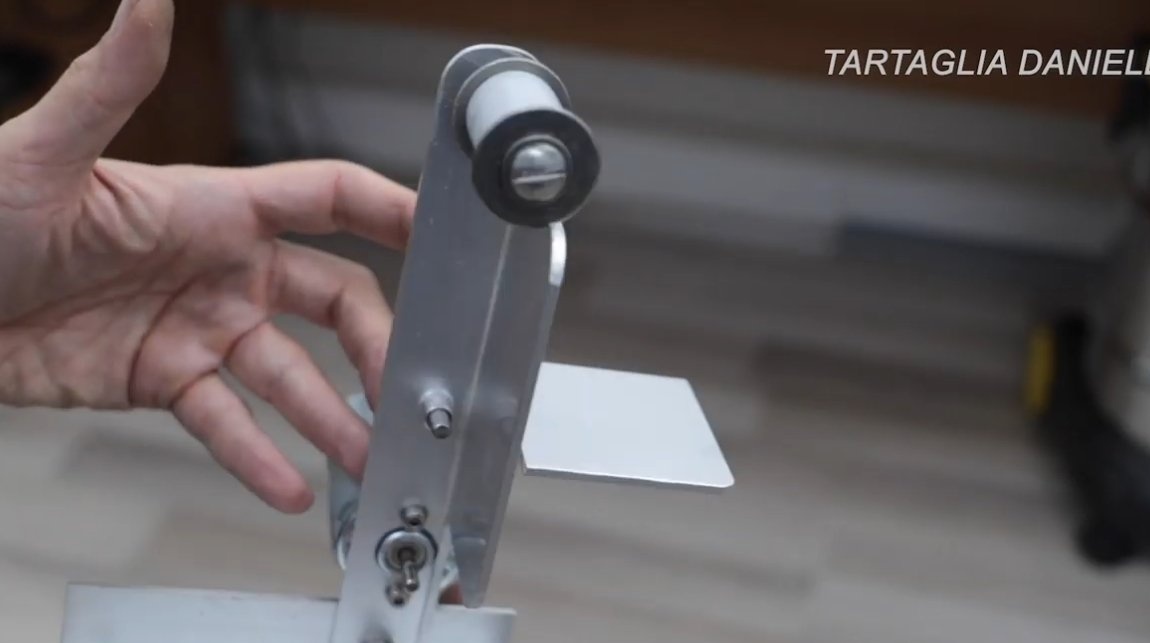
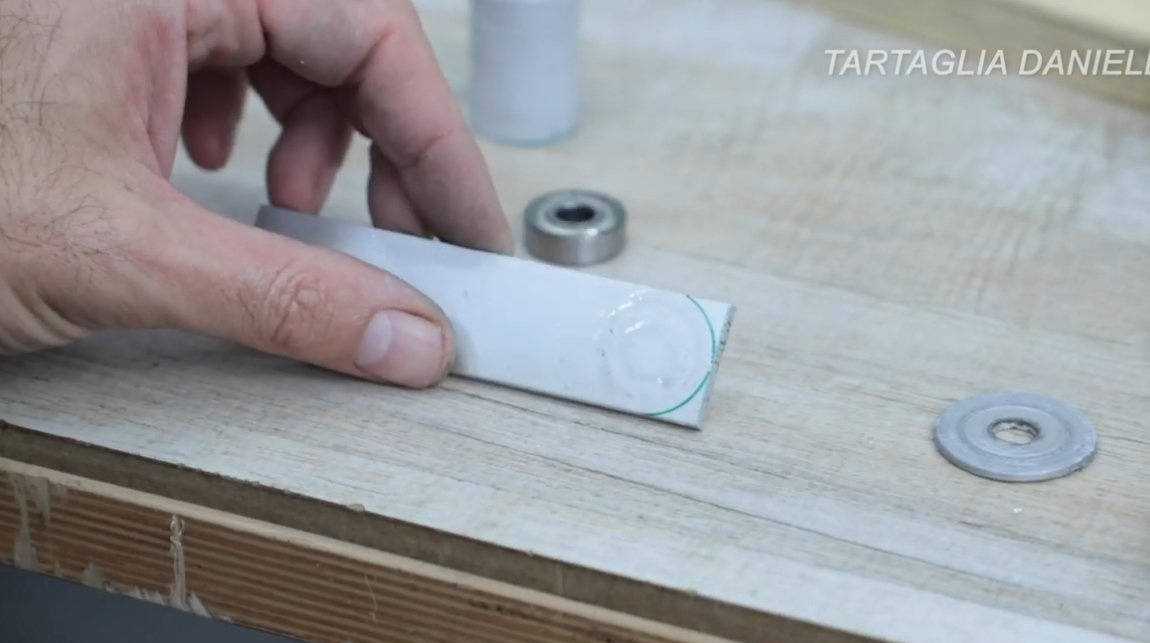
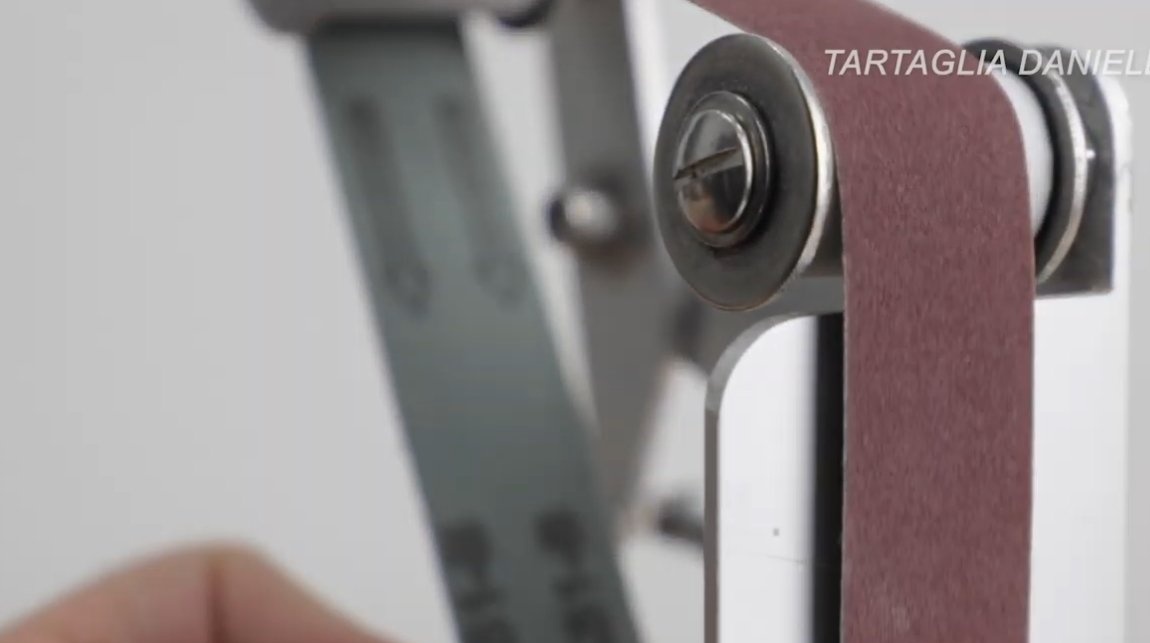
We make driven rollers, we need to make two of them. We use plastic plumbing pipes as the basis for the rollers; bearings are pressed into them.
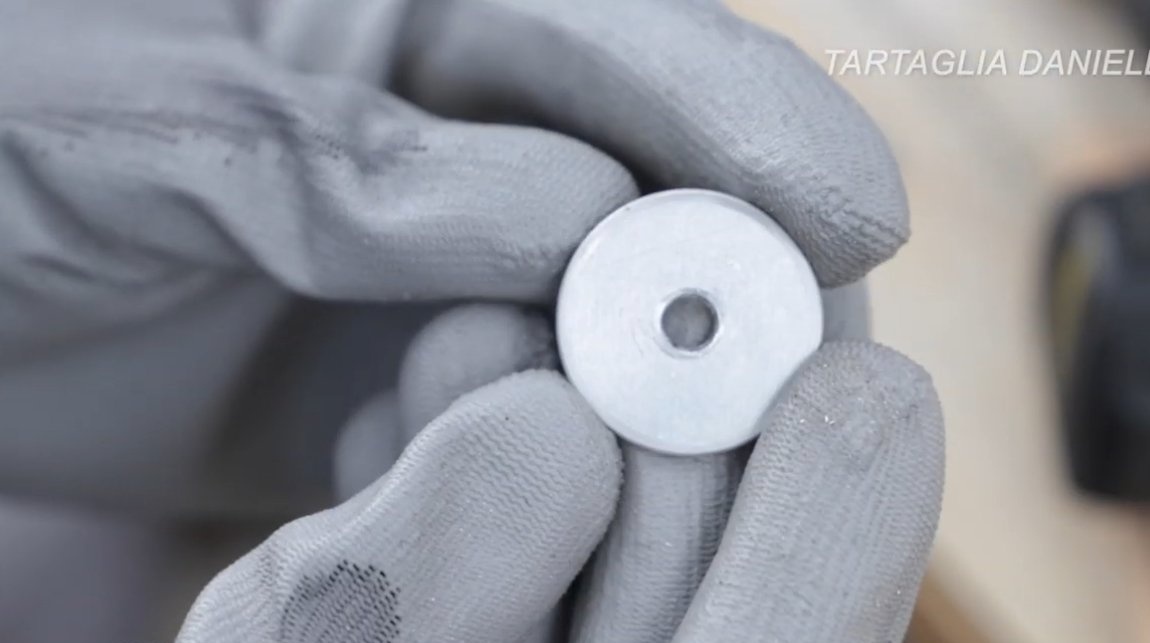
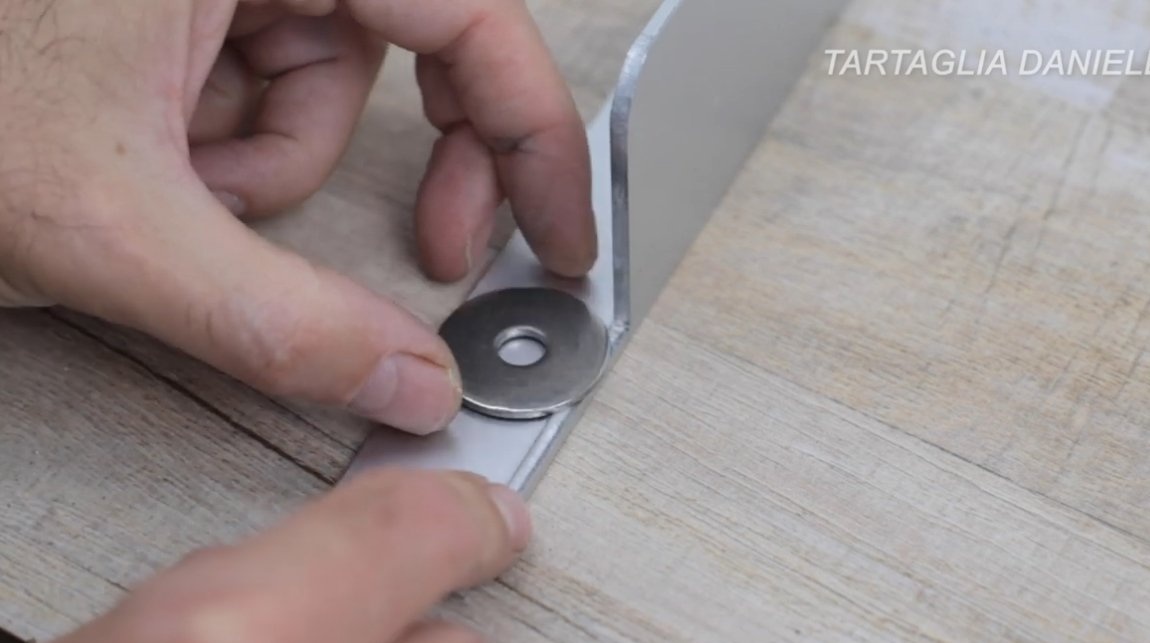
We also need to make axles for the rollers, the author used steel tubes, inside of which I cut the threads for the fixing screws. On both sides of the rollers there are washers against which the sanding belt rests; if there are no ready-made washers, they can be cut with a suitable metal crown.

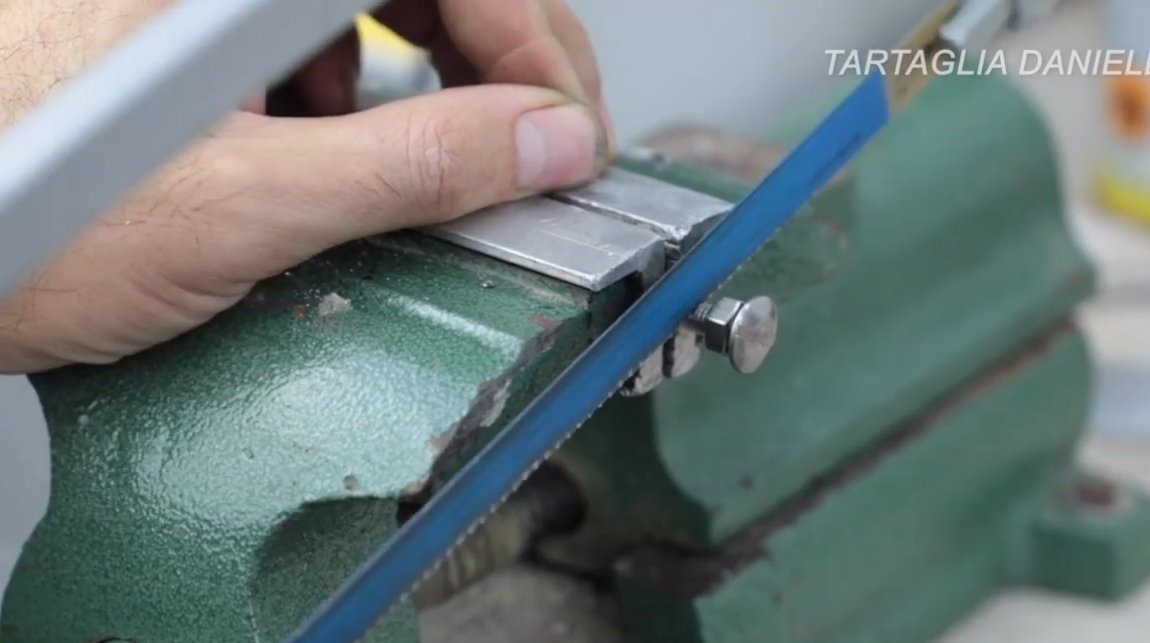
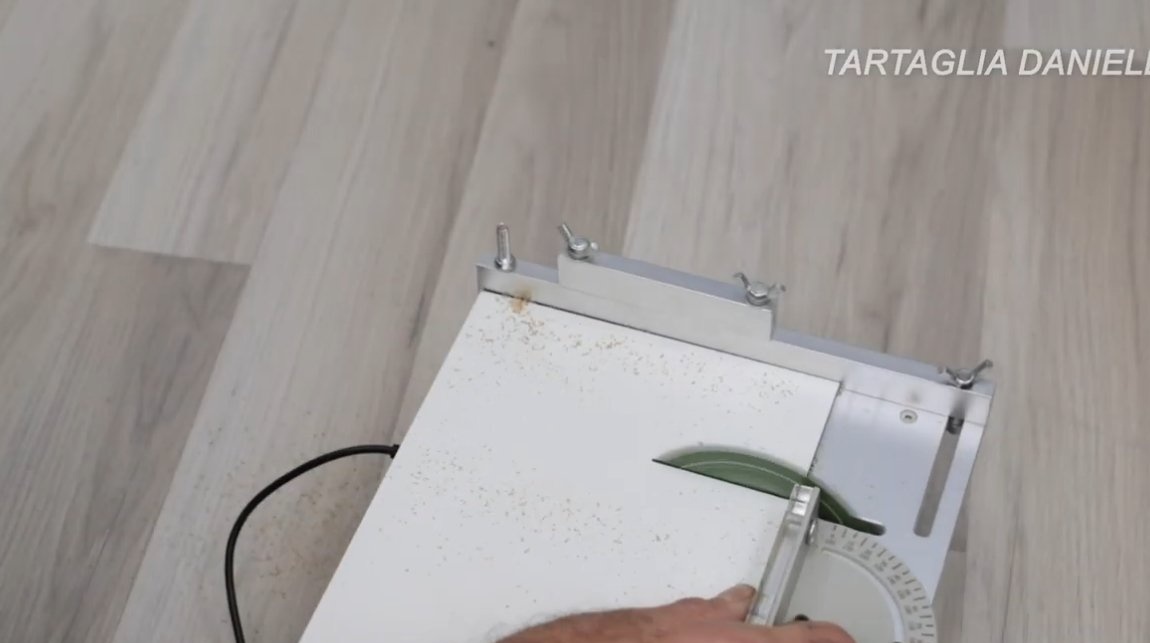
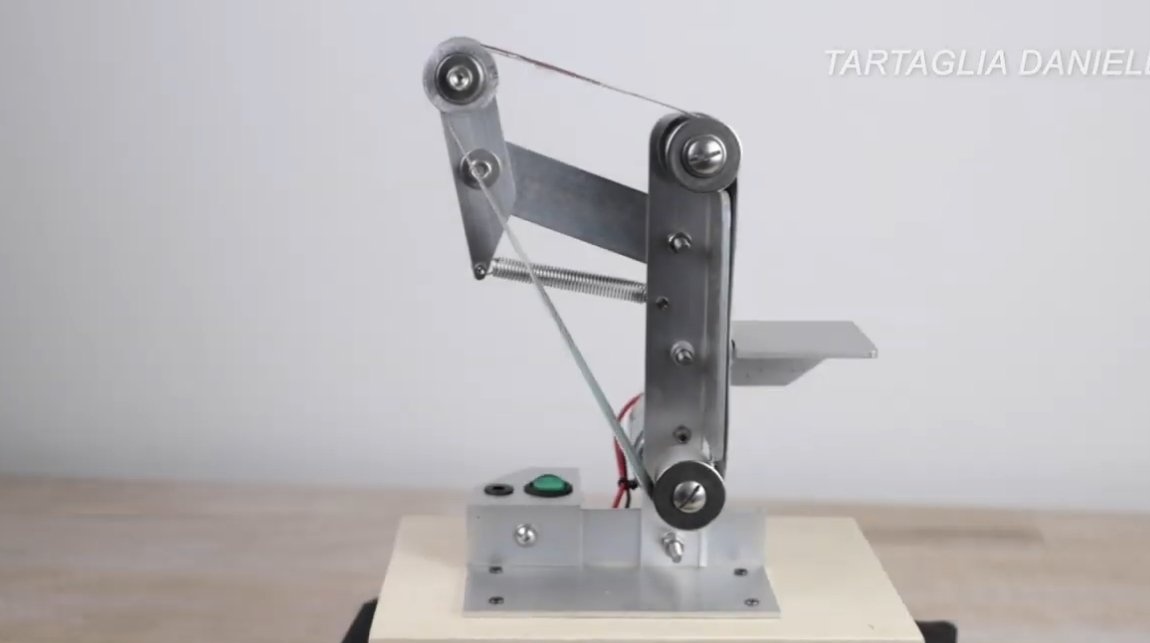
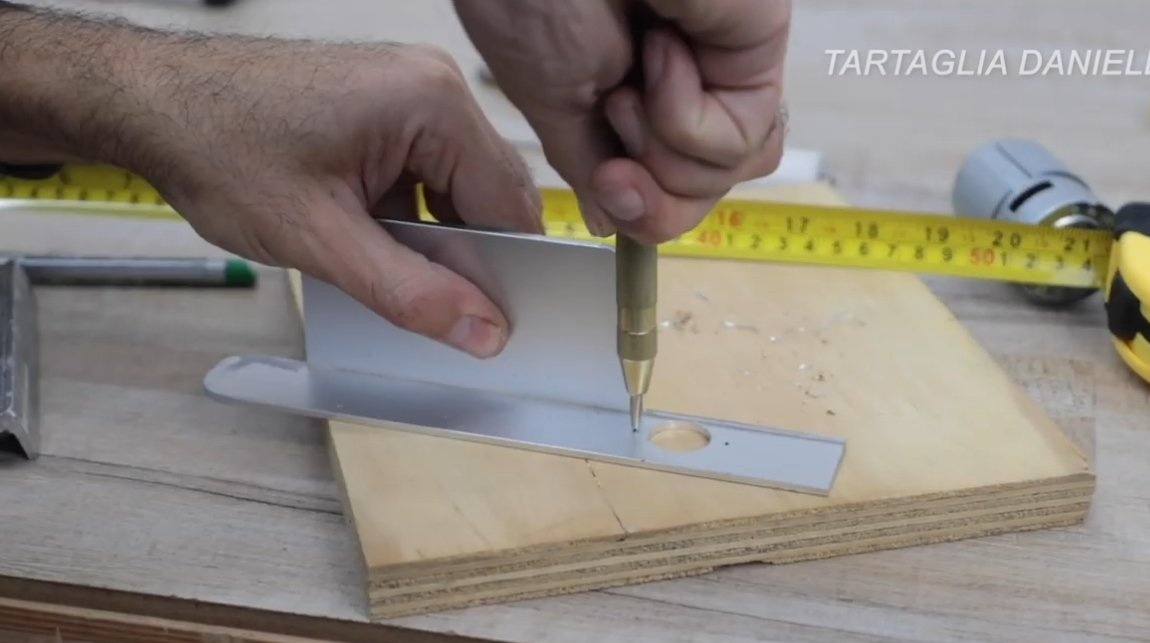
Step Two Frame manufacturing
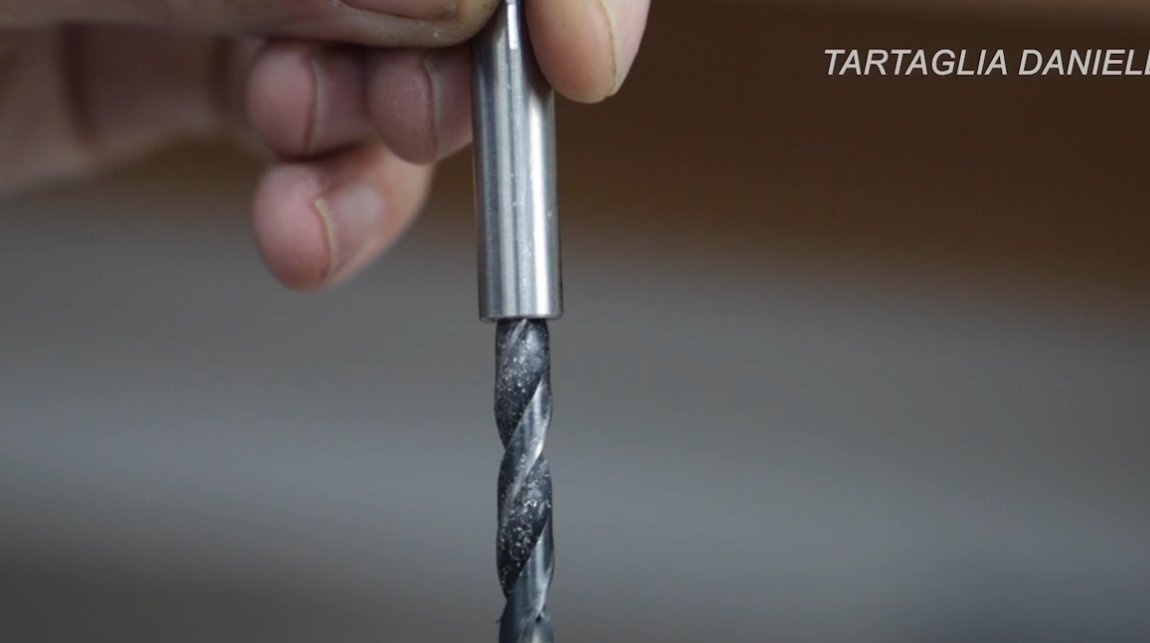
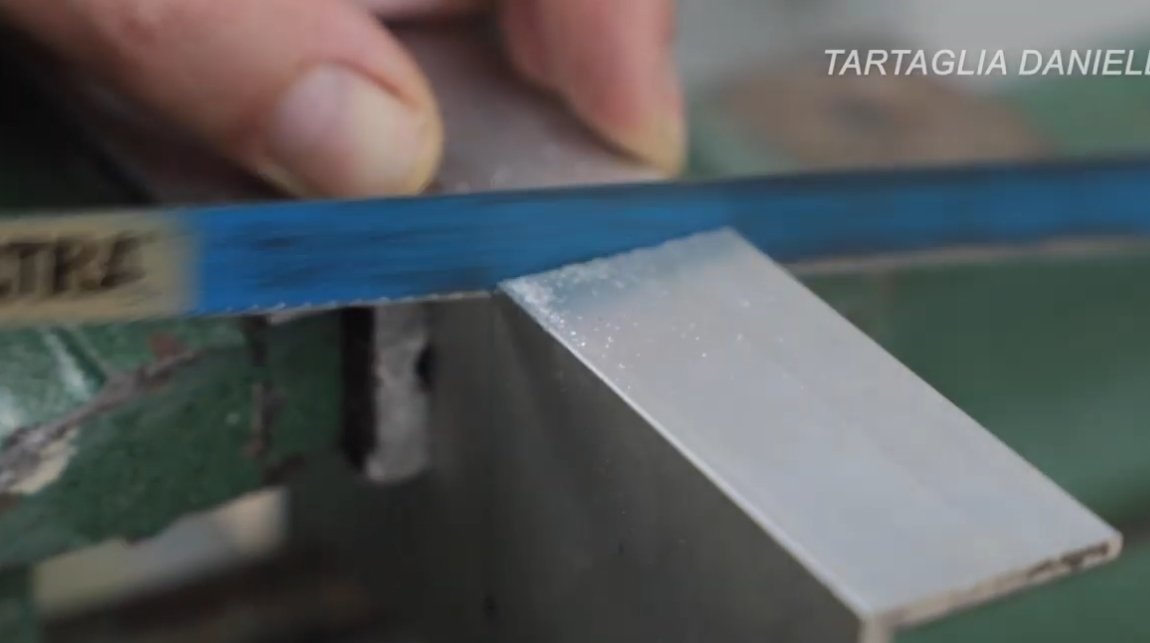
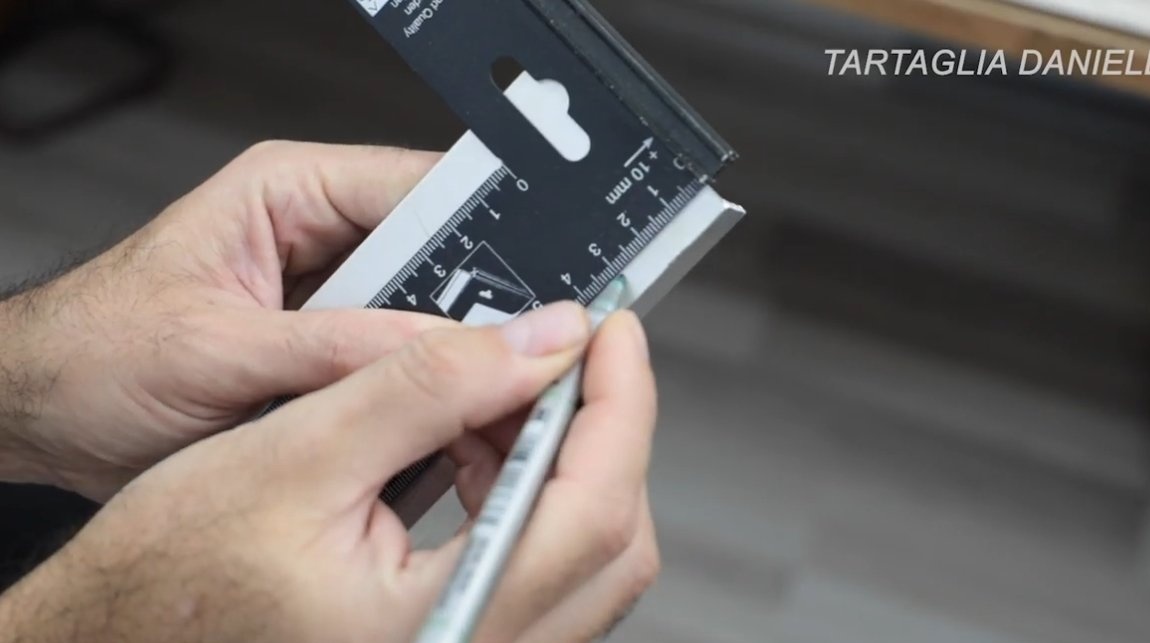
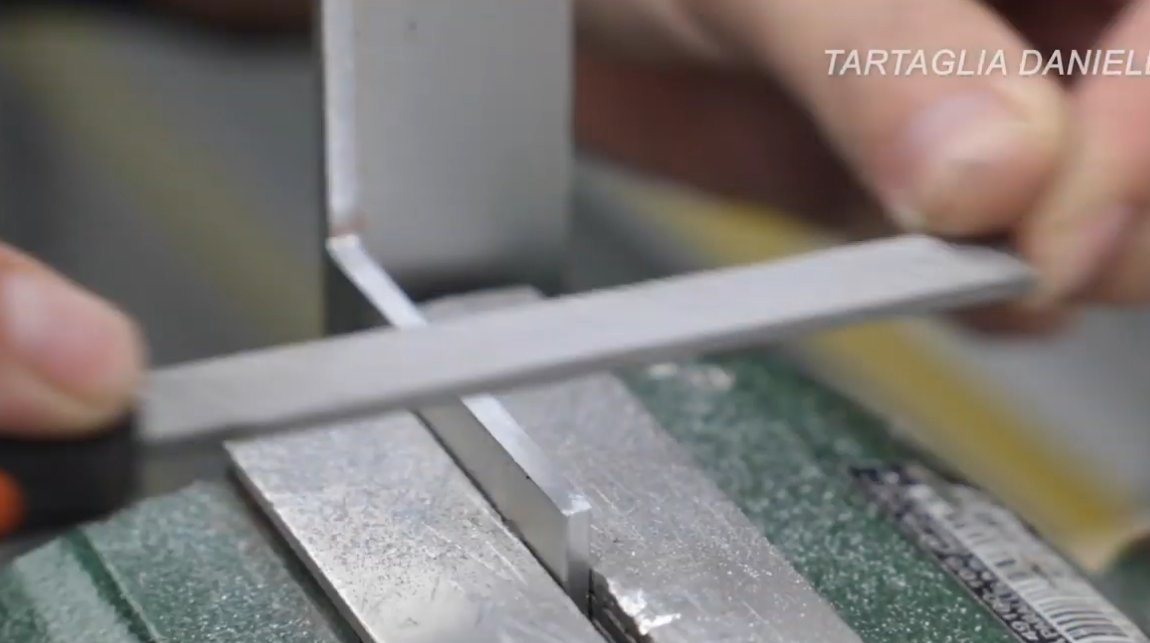
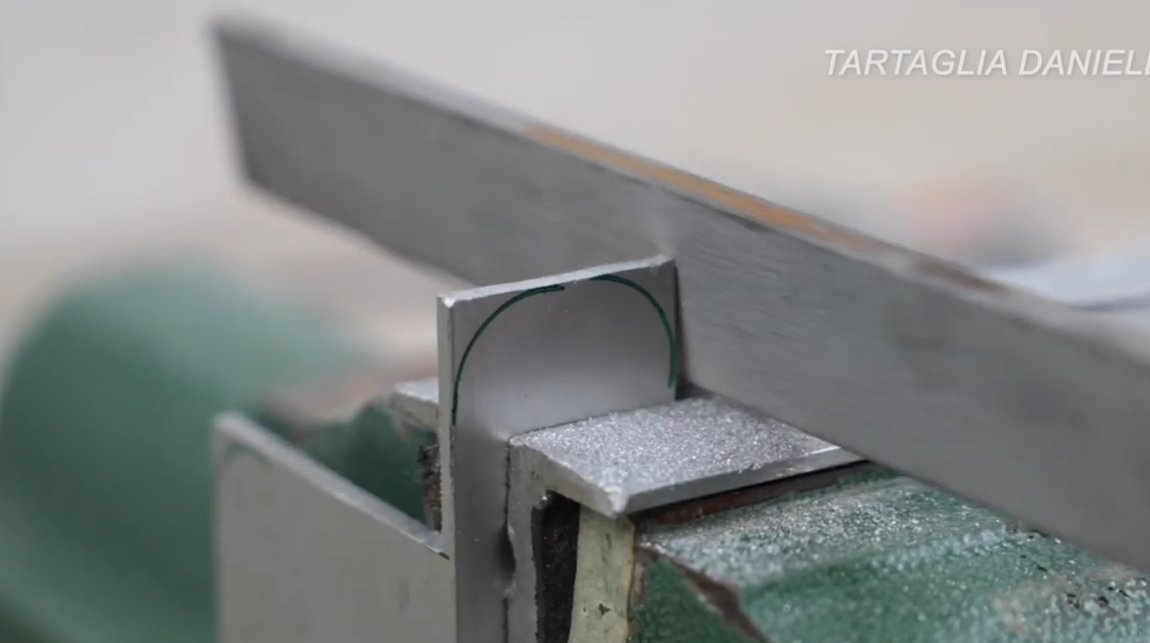
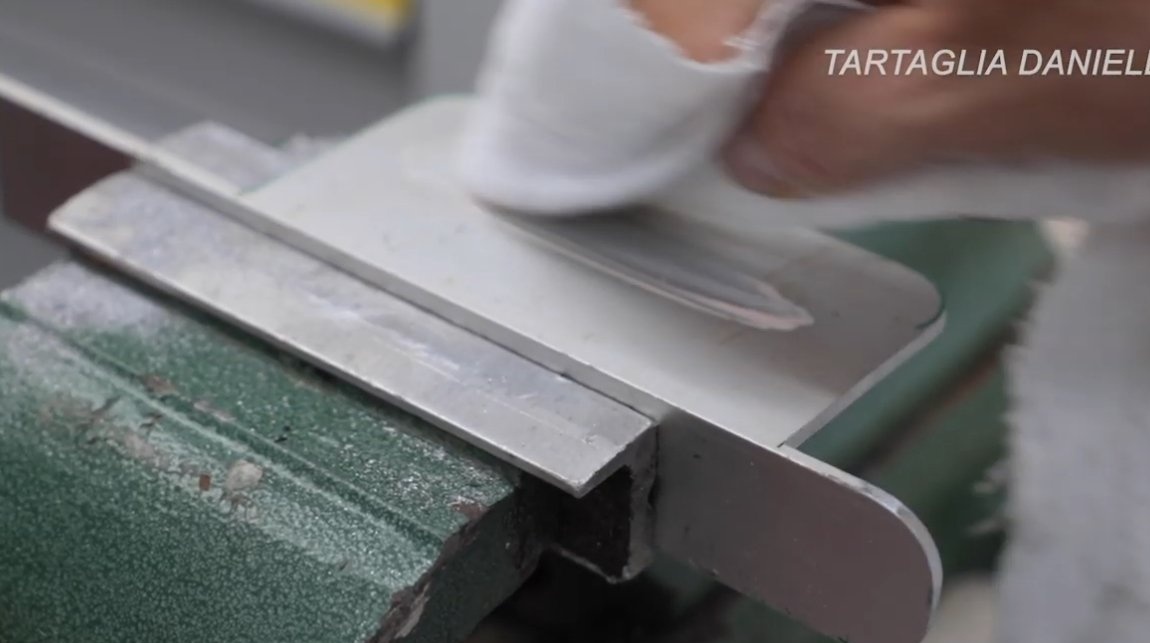
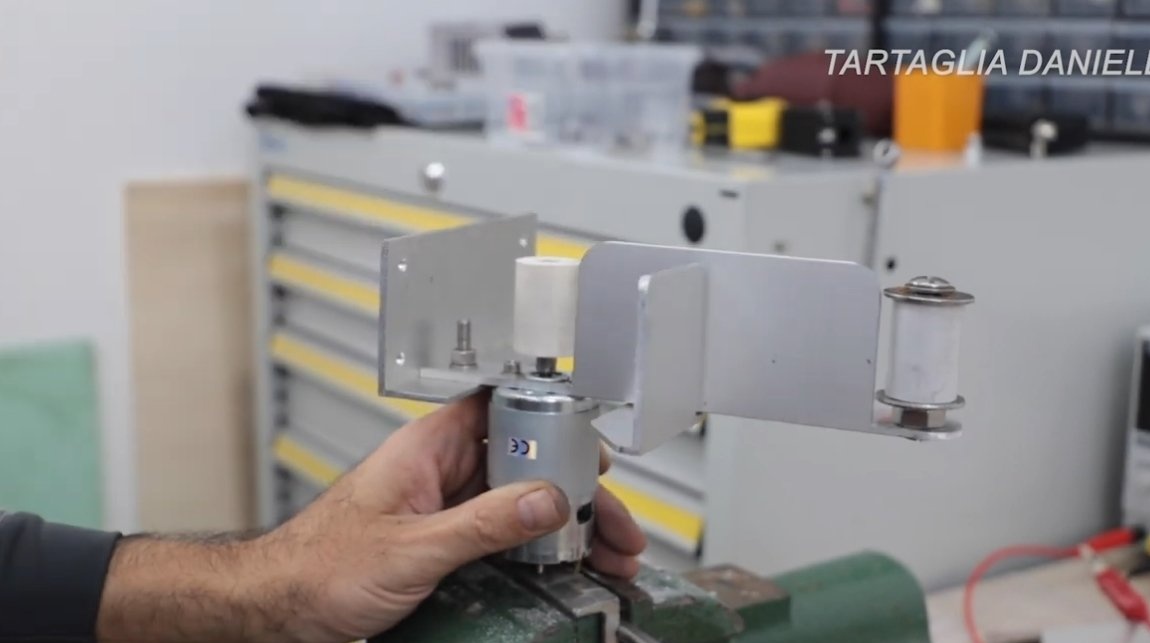
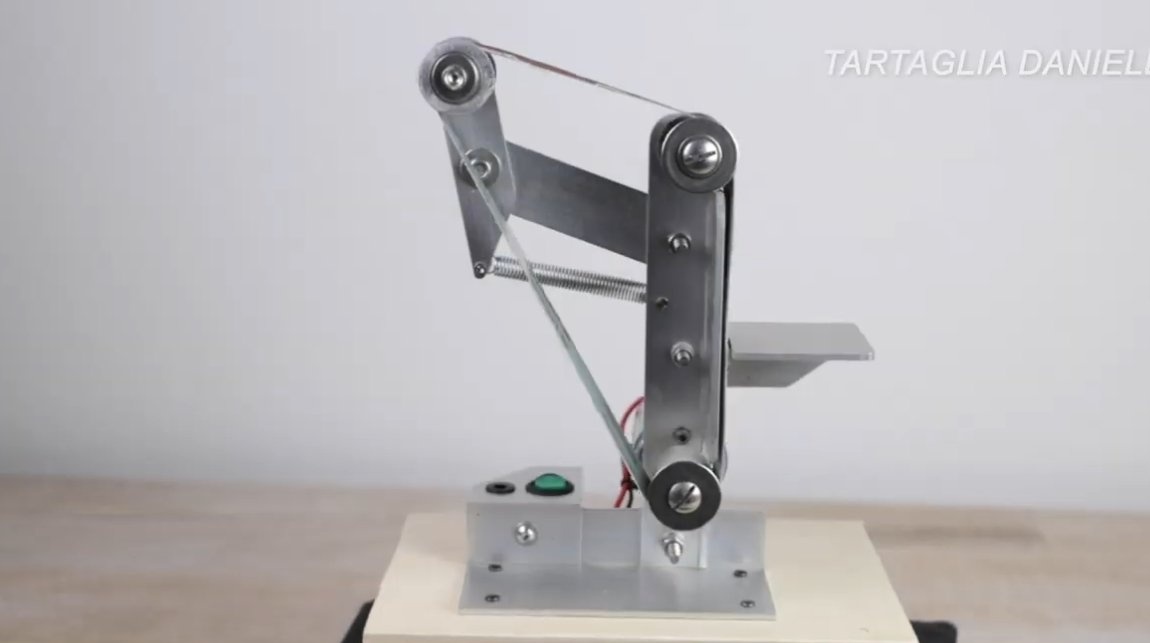
We make a frame for the machine, the first thing we need is an aluminum corner, this will be the main stand, to which everything will be attached. We cut out pieces of metal from the corner, we finish everything with a file and sandpaper, as in the author's photo. The engine will be mounted on the rack, we drill holes for its installation, we fasten the motor with two screws.

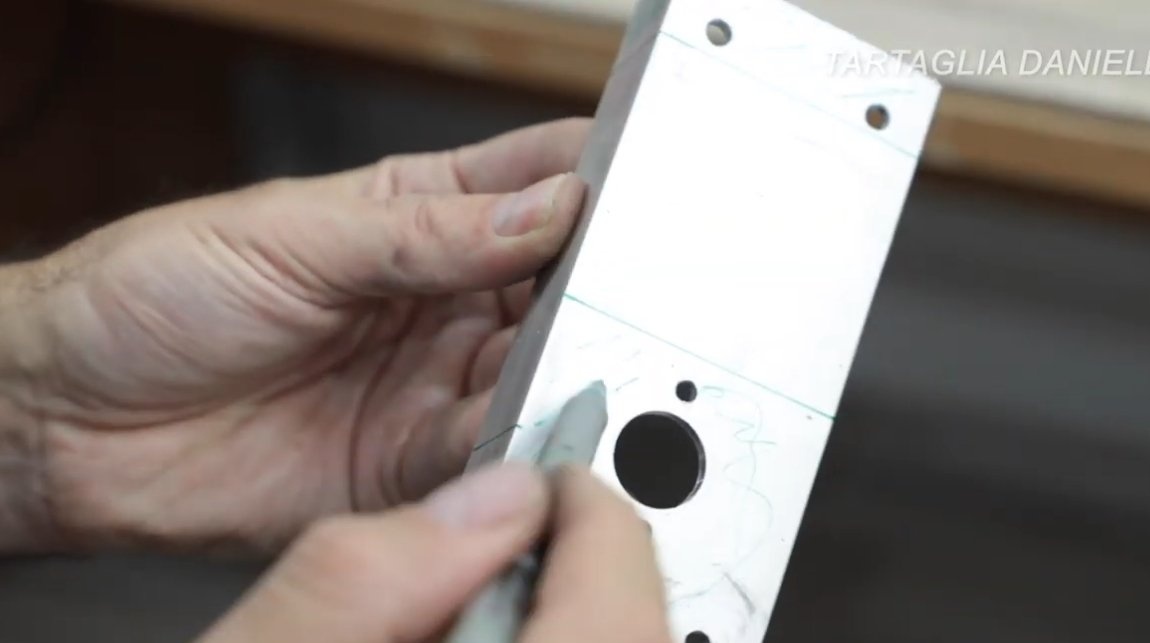
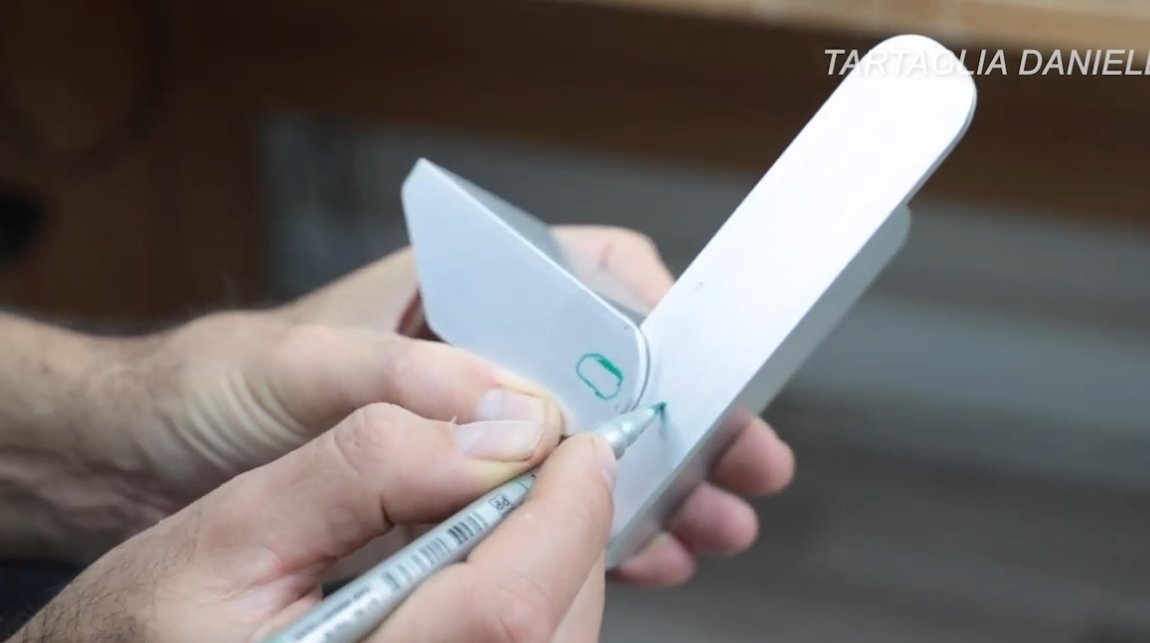
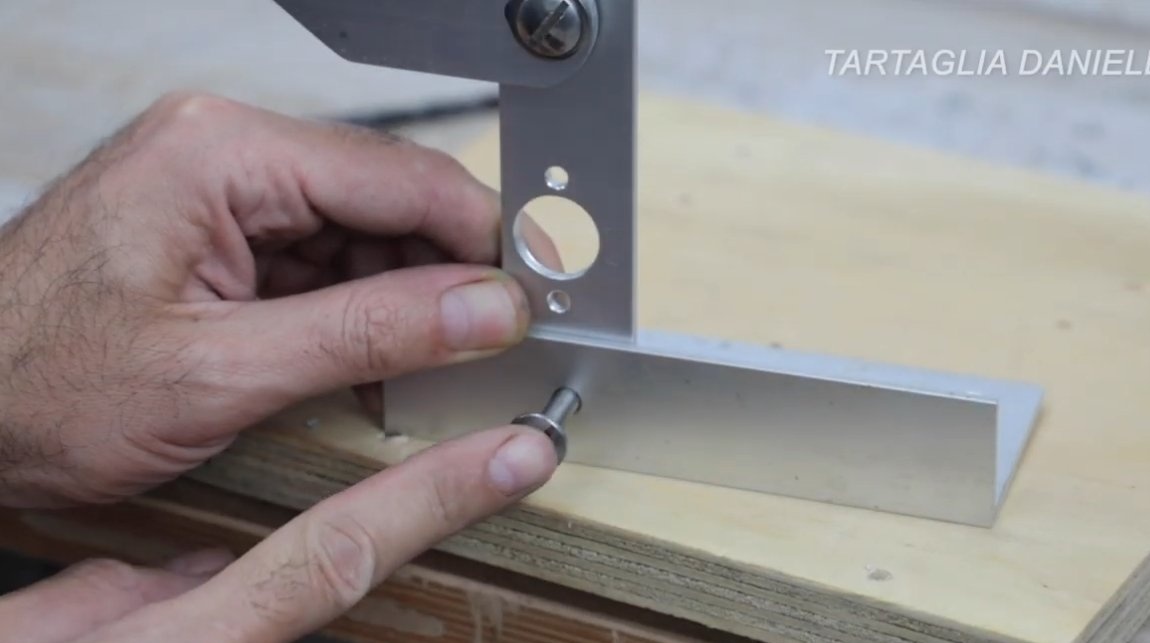
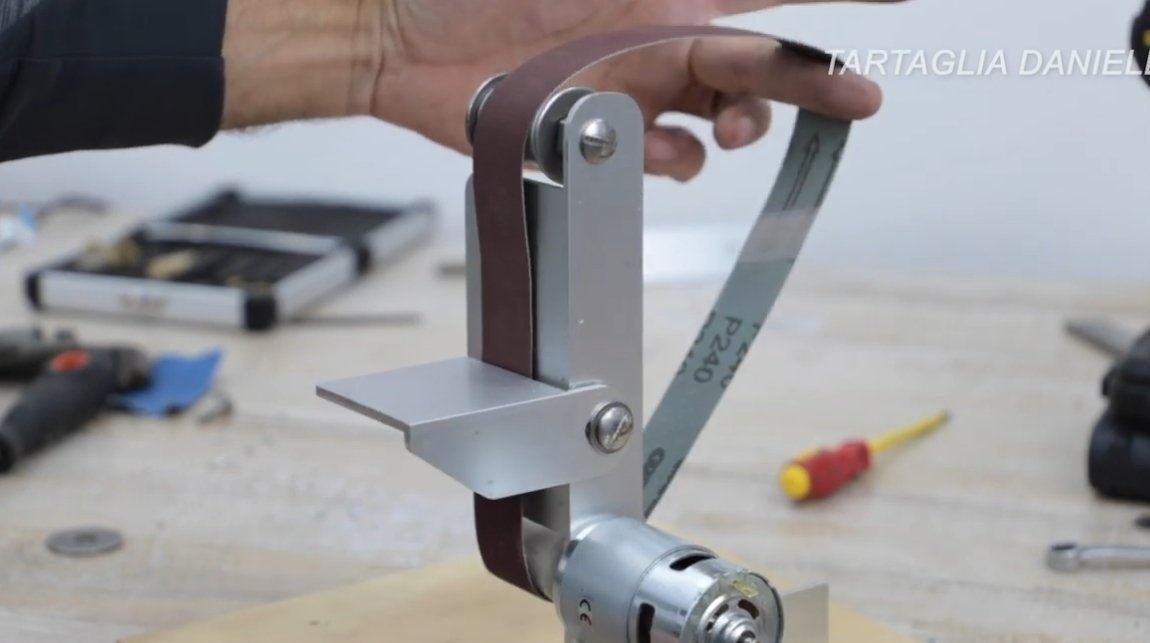
To fix the rack, you will need to make a base from the corner, fasten it with screws and nuts to the rack. Further, this whole thing is screwed to a sheet of plywood or other material. We also focus from the corner, it is hinged to the rack, through a screw with a nut, this will allow changing the grinding angle if necessary.
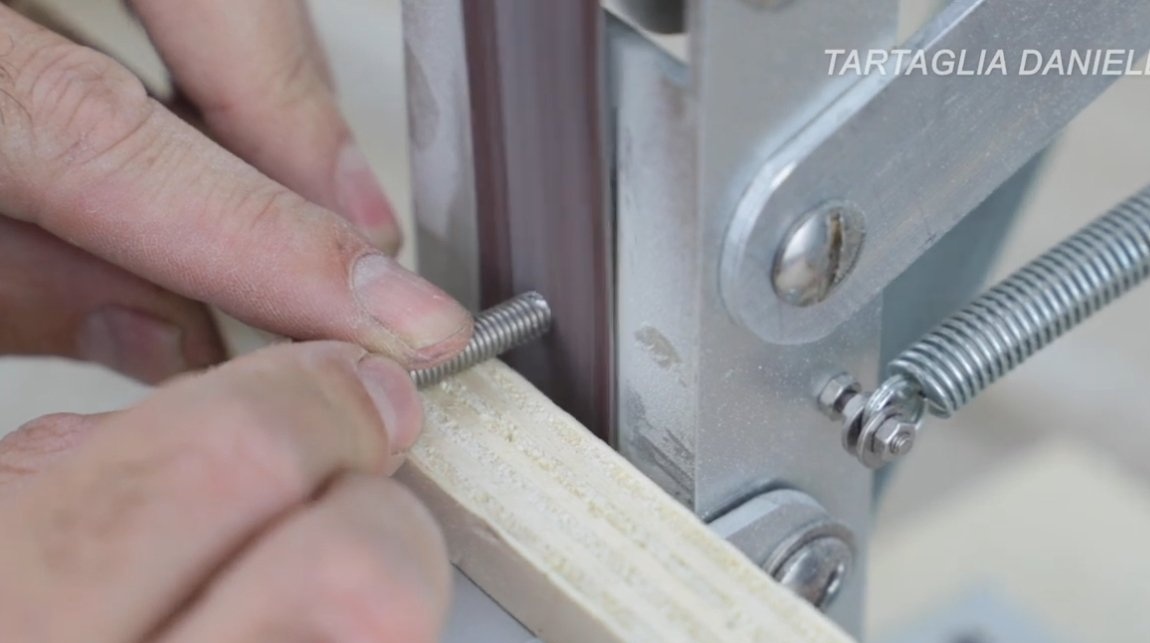
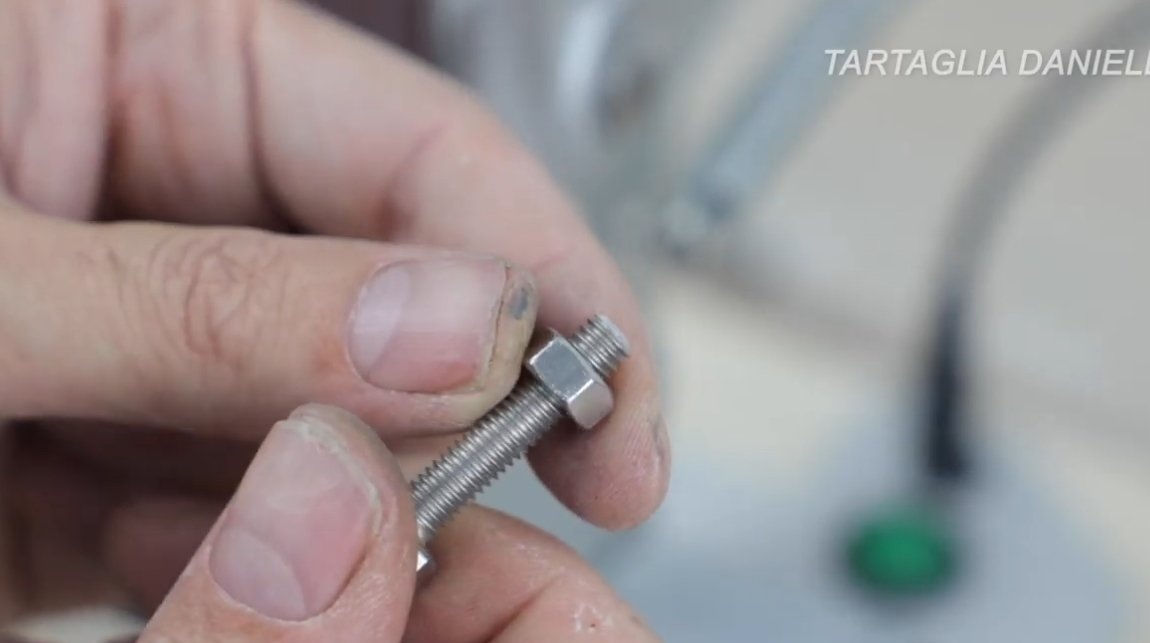
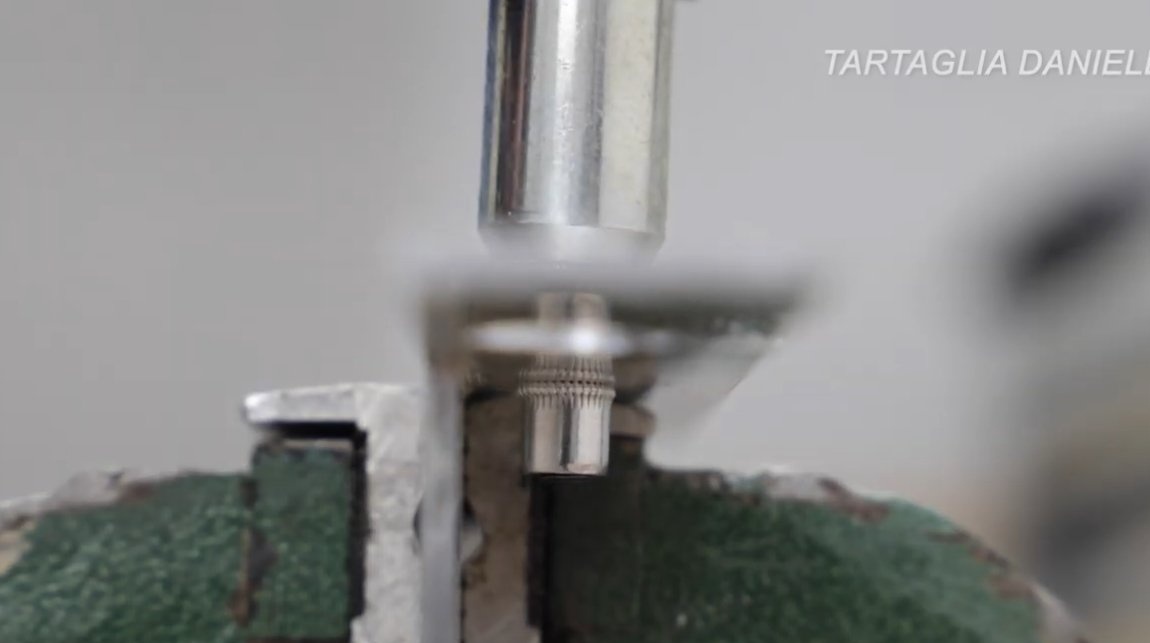
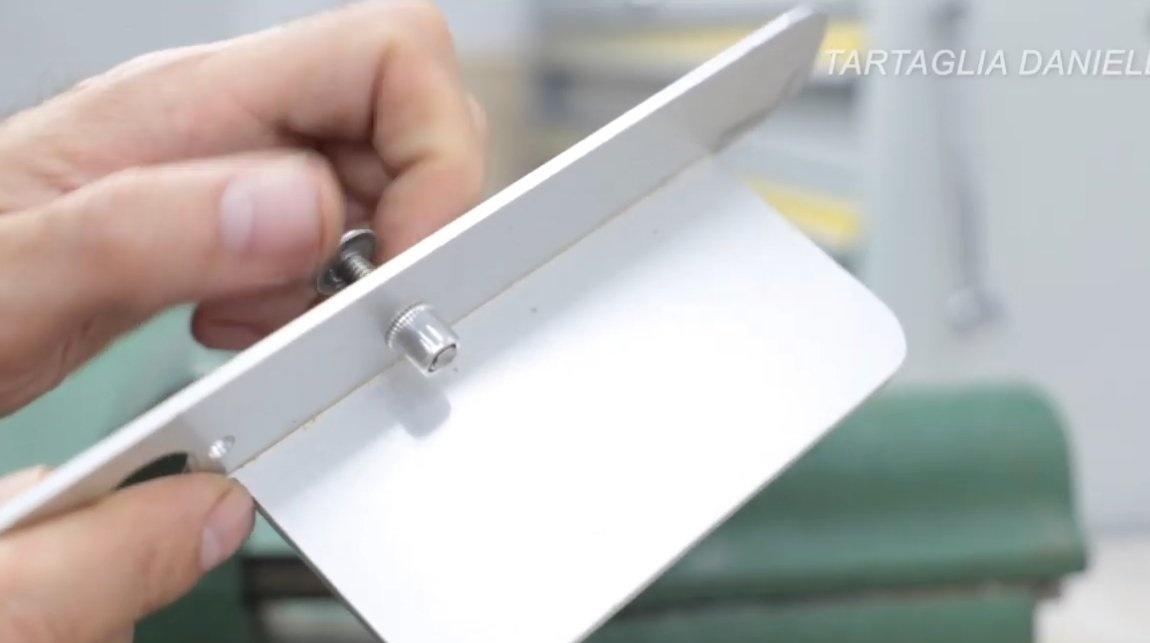
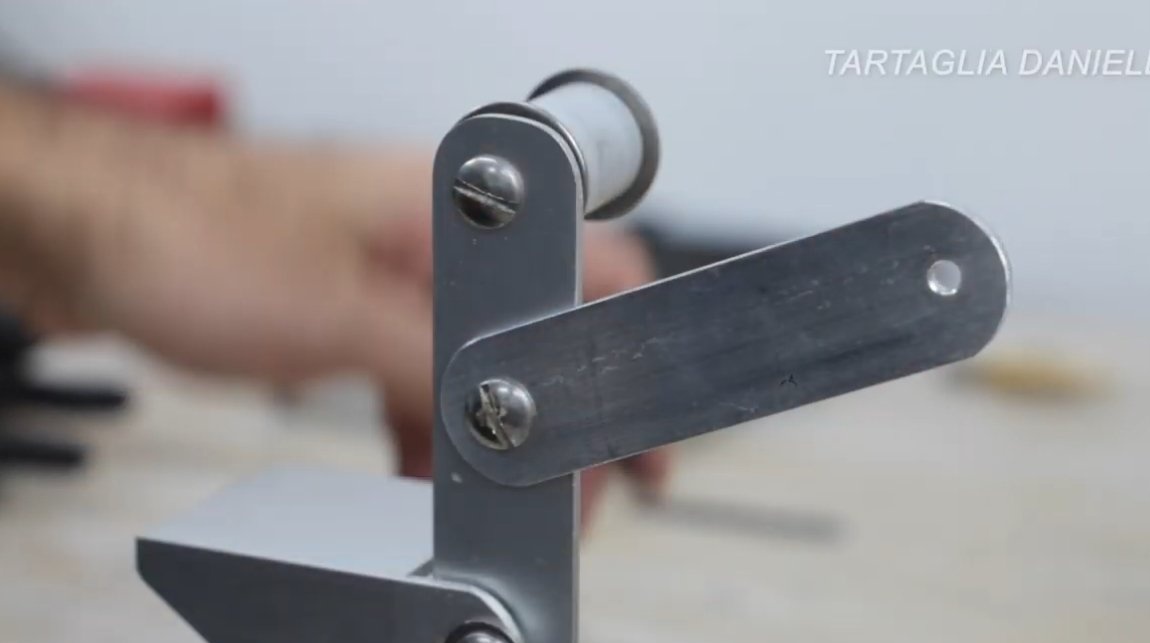
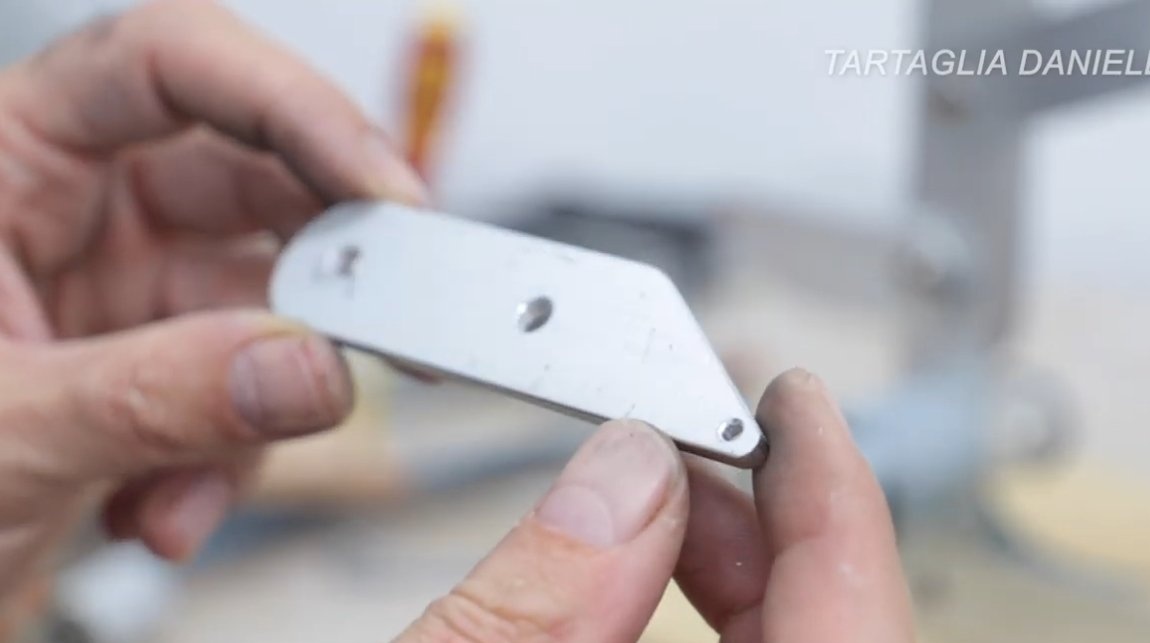
Step Three Tensioning mechanism
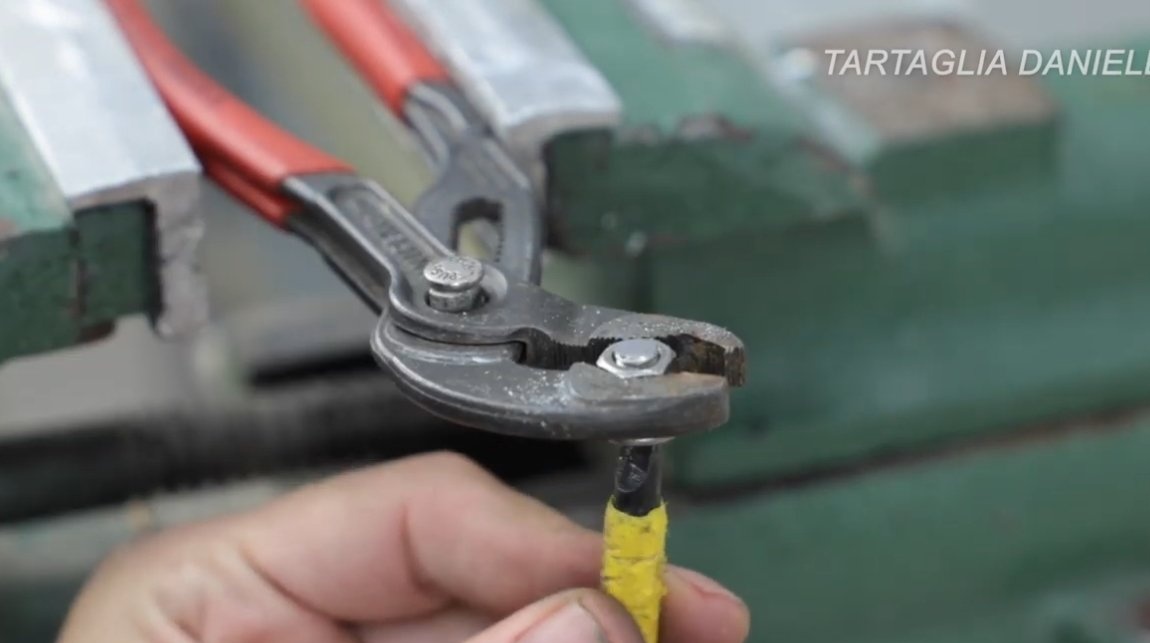
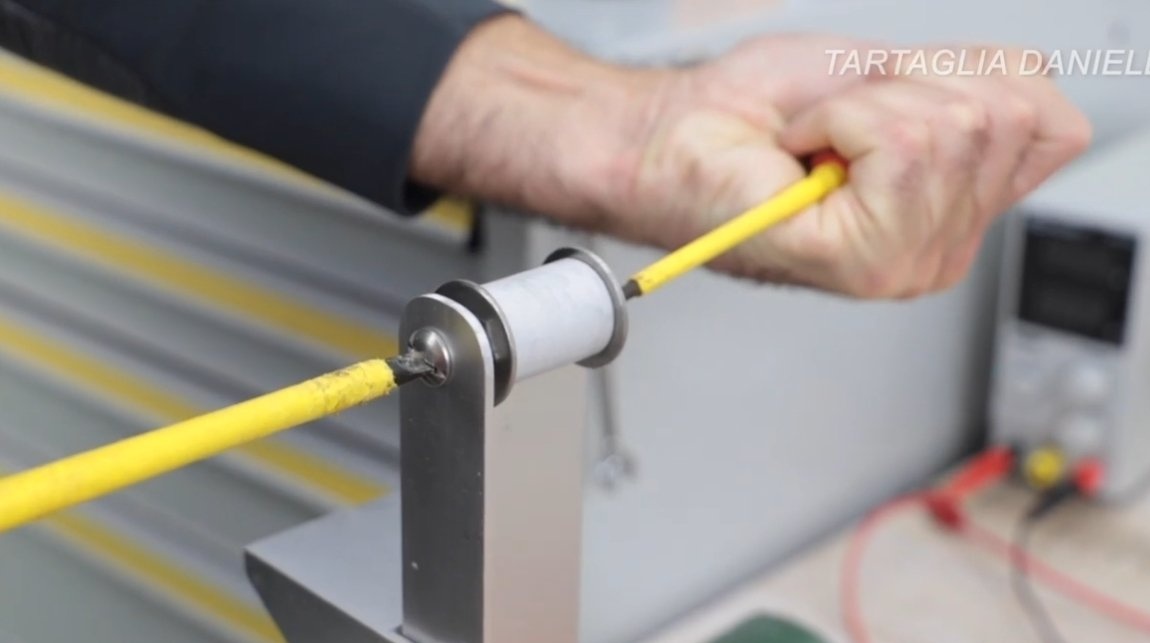
The grinding belt must be constantly tensioned so that the drive roller does not slip.One of the rollers should be fixed on the lever, and the lever should be pivotally attached to the rack. The author made all the necessary levers from aluminum plates, and a spring is used for tension. The hinge axis is a screw with a nut; the nut must have a plastic retaining ring so that the desired clearance can be adjusted.

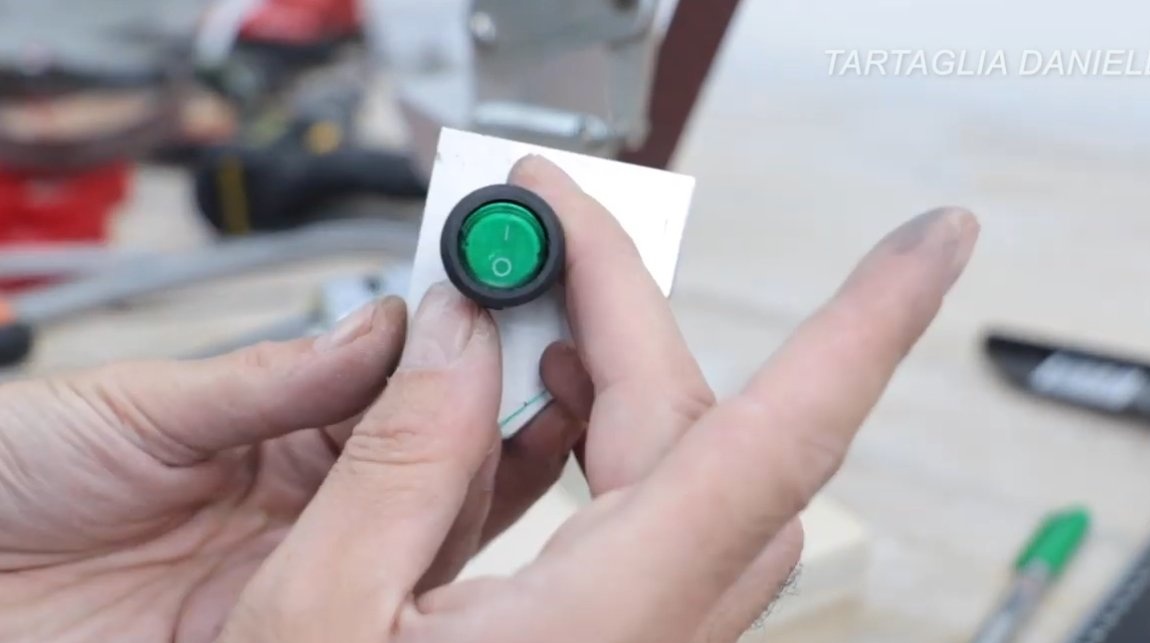
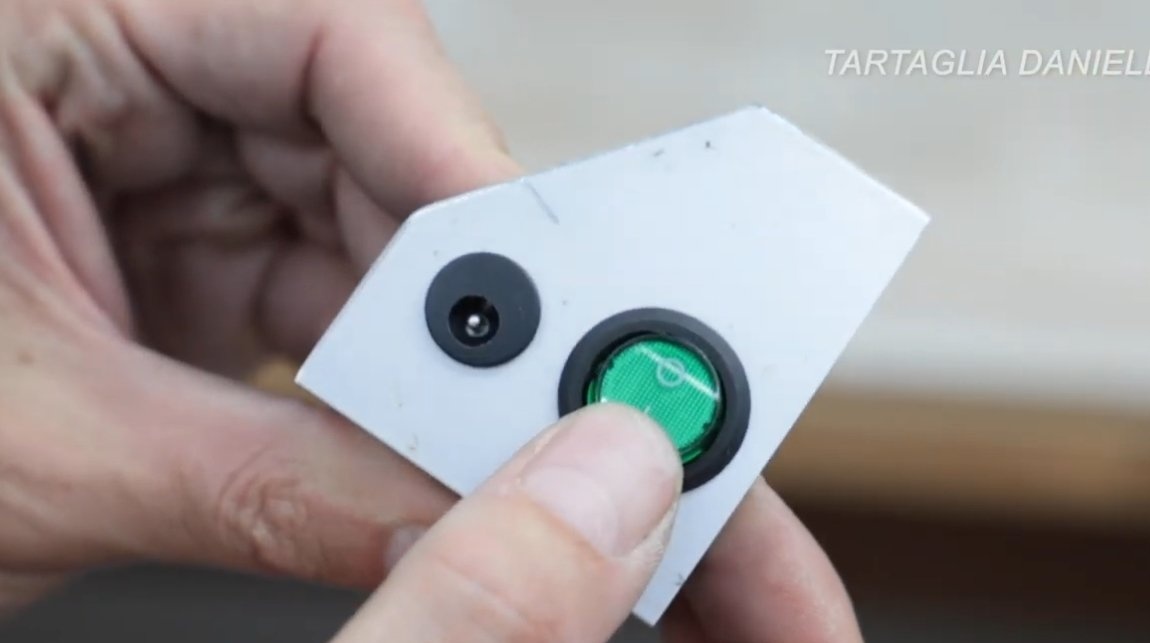
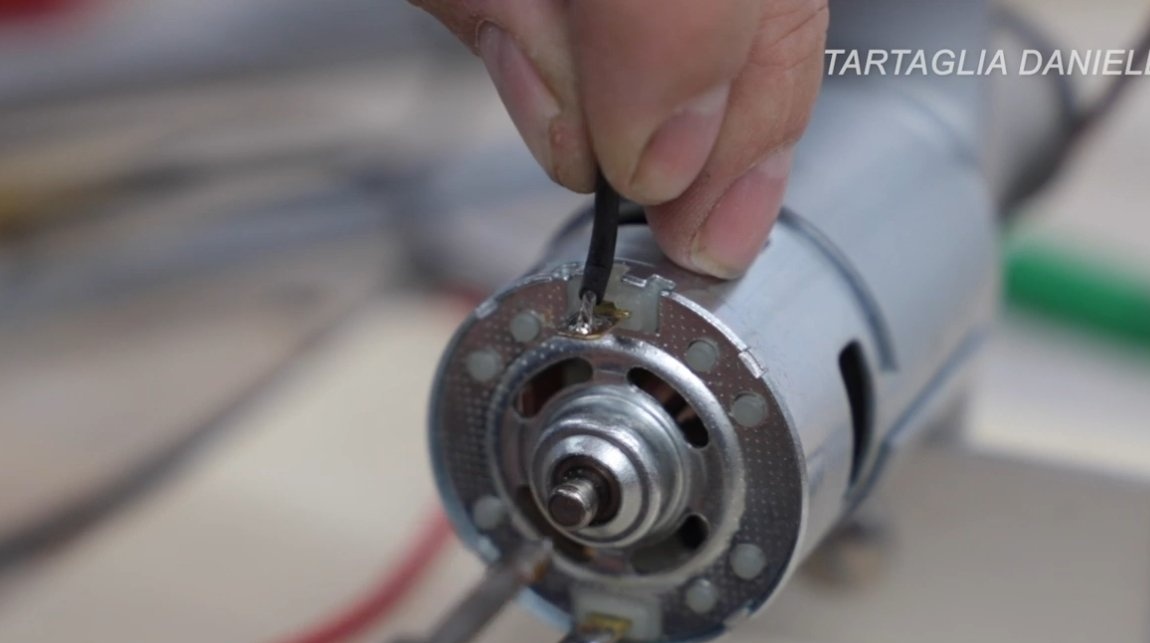
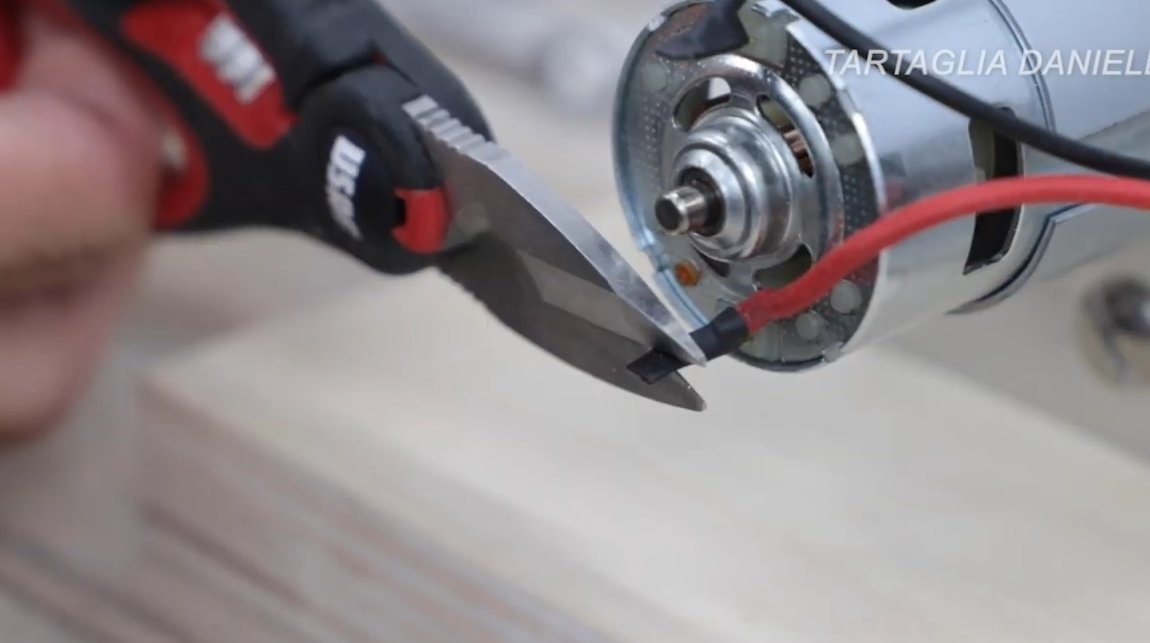
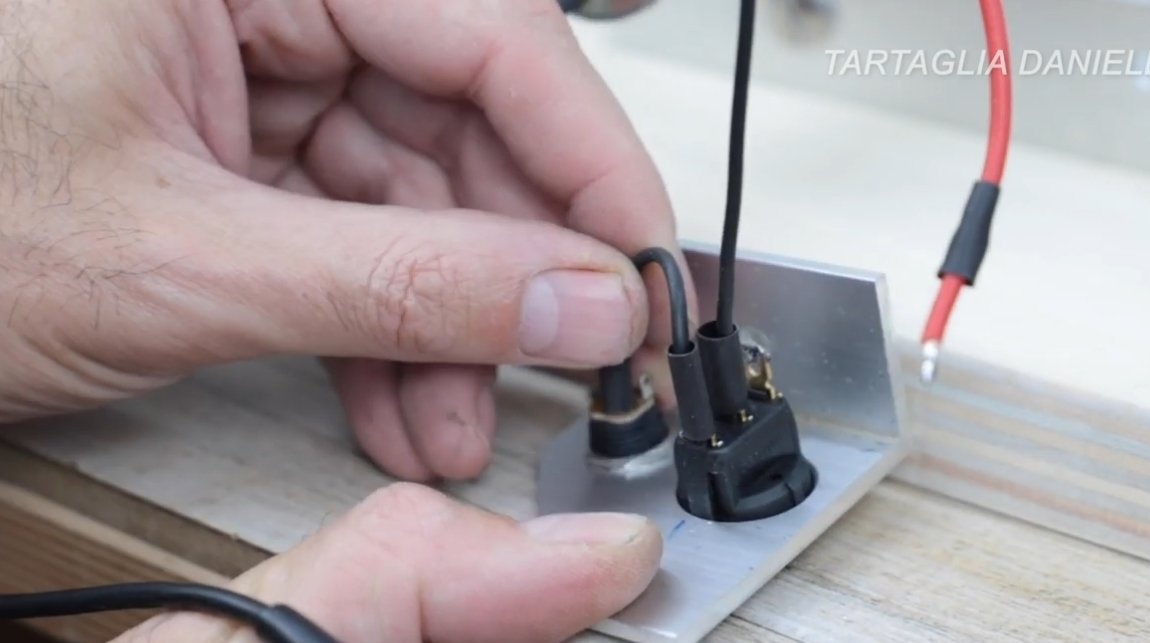
Step Four Motor connection
On the machine you need to install a switch, as well as a socket for connecting a power supply or battery. The author made a special fastener for these parts from an aluminum corner. We solder to the contacts of the wire, do not forget to determine the polarity in advance, otherwise the sanding belt will rotate in the wrong direction.

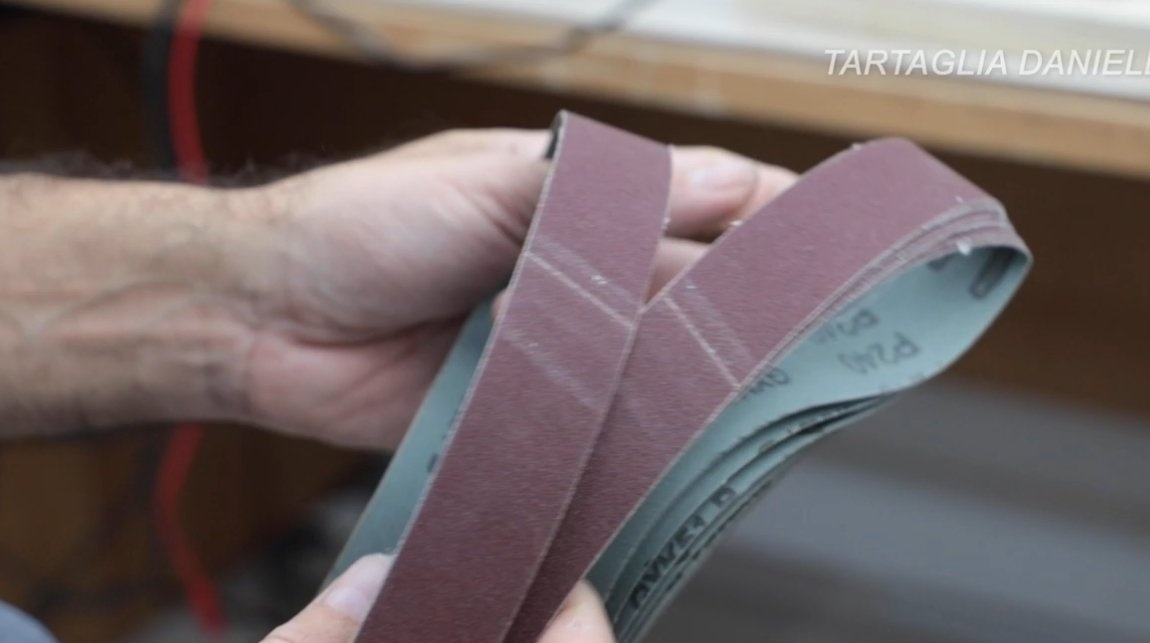
Step Five Finishing touches
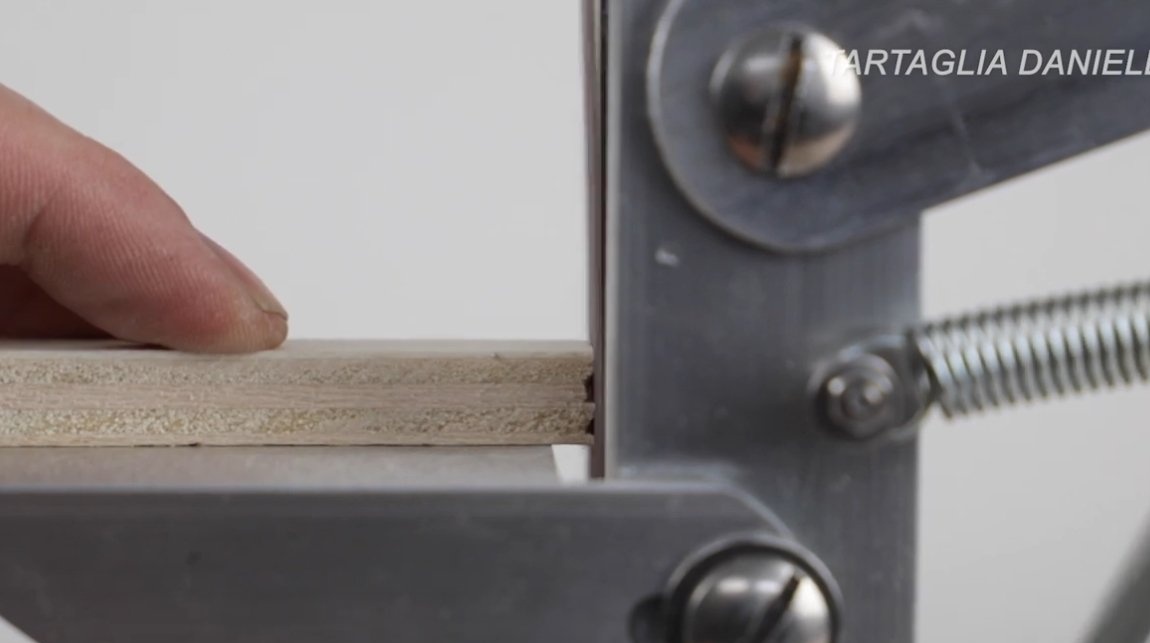
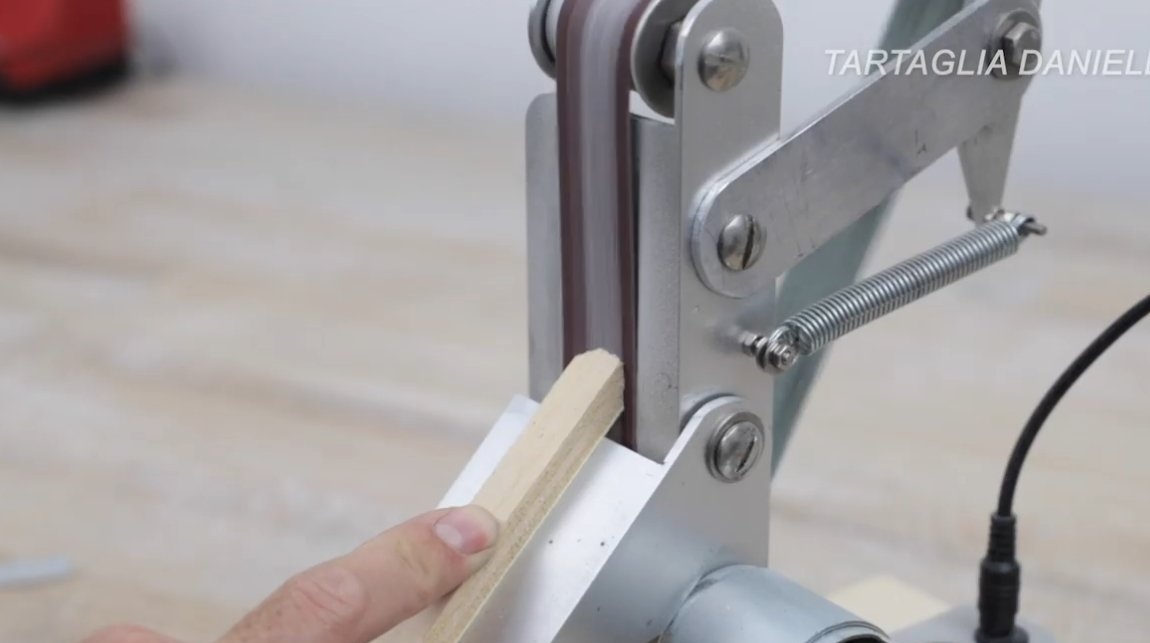
We install a sanding belt on the machine, you will need to buy a finished sanding belt for hand sanders. And then just cut the tape into strips of the desired width, you can choose your own tape with the desired grain size. If there is no desire to buy tapes, you can make them yourself by gluing, but it is better to choose paper on a fabric basis, it will last longer.
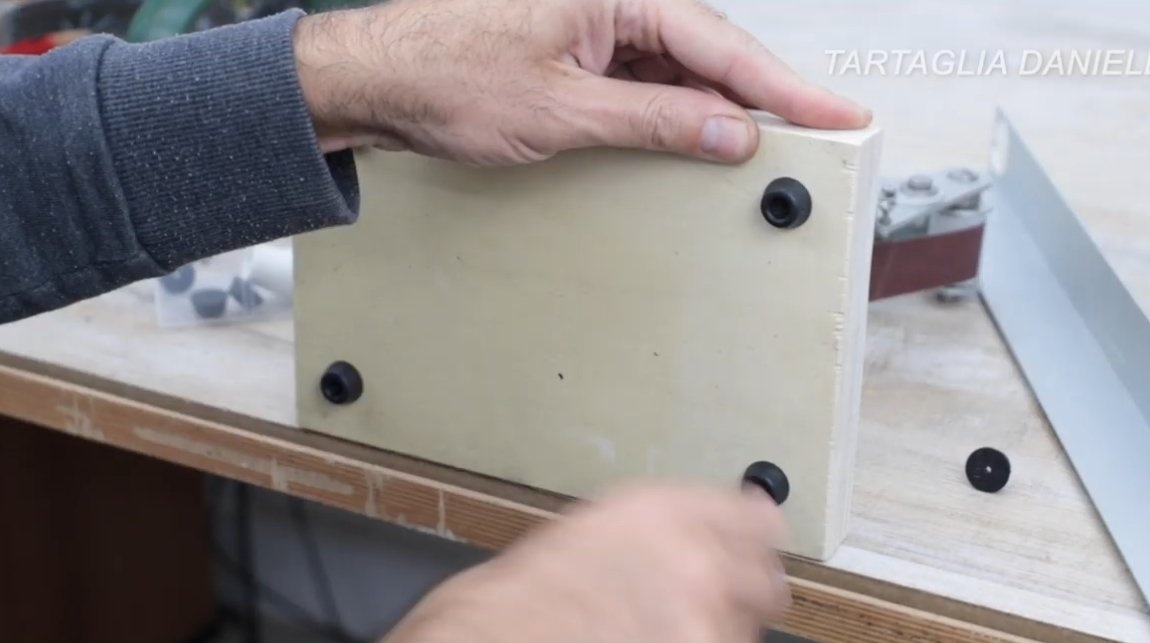
So that the machine does not stagger and does not slip during operation, the author screwed the rubber legs to the base, such can be ordered from China. Instead of legs, you can stick pieces of rubber, for example, parts of rubber from a bicycle or car camera.
That's all, now the machine is completely ready, you can work, the machine easily polishes not only wood, but even a steel bolt. If you wish, you can connect the motor through a dimmer, you can precisely adjust the speed of the machine depending on your needs. That's all, this project is completed, I hope you homemade I liked it, and you found useful thoughts for yourself. Good luck and creative inspiration, if you decide to repeat this, do not forget to share your ideas and homemade things with us!