When executing a logical device for controlling electric curtains only on one relay, you have to choose between the implementation of one of two modes: "pressed - and the curtains continue to open / close until the limit switch is reached" or "the curtains move only while you hold the button, and release - stop right there. " The author of Instructables under the nickname andrewblog suggests adding a bit of electronics to the logical device, which allows you to implement both modes and select the one you need automatically depending on whether you hold the button pressed for less than or more than four seconds.
The algorithm of the device is as follows:
- when holding the open or close button pressed for less than four seconds, the first of the above modes is selected, while holding for more than four seconds - the second.
- when the device is working in the second mode, you can intervene at any time and forcibly stop the engine by pressing the button corresponding to the opposite direction.
- when reaching the limit switch, the curtains stop in any case, you can start the engine again only in the opposite direction.
- when both buttons are pressed at the same time, the engine does not turn on at all.
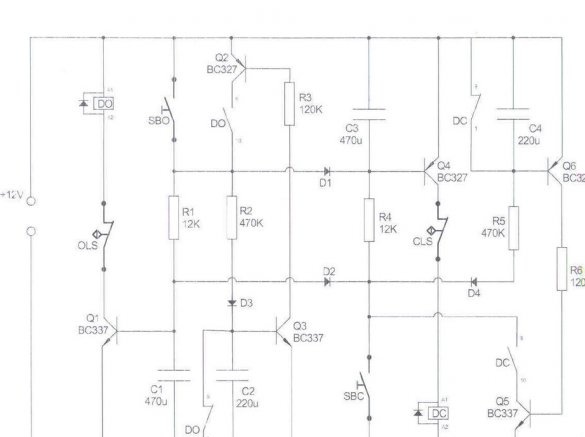
Scheme homemade shown below:
The decoding of the notation on it is as follows:
- DO - relay, when triggered, the engine rotates in the direction corresponding to the opening of the curtains, as well as additional contacts of this relay.
- DC - the same for closing curtains.
- SBO - open button.
- SBC - close button.
- OLS (where LS is the limit switch) - limit switch that trips when the curtains reach a fully open position.
- CLS - no, not a command to erase the display screen in the BASIC programming language, but the same switch that operates when the curtains are completely closed.
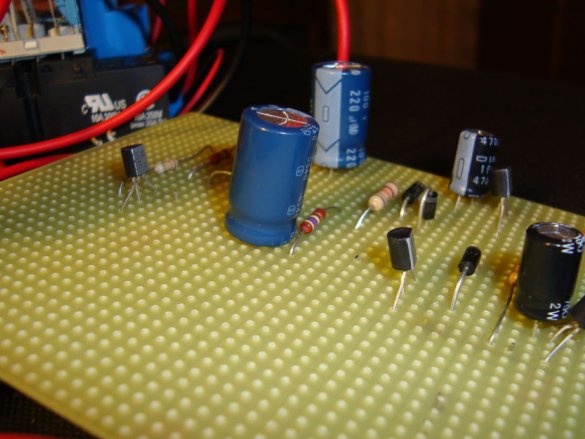
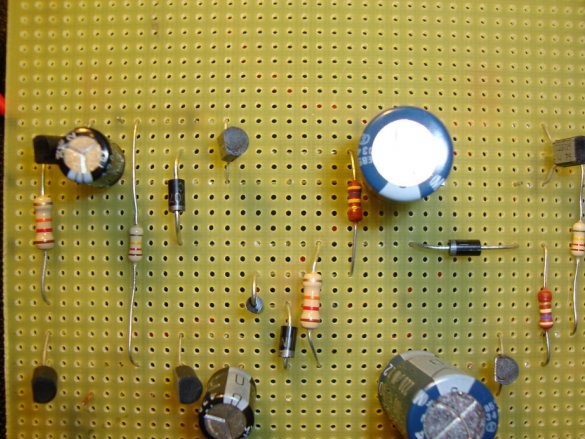
All components of the circuit, except for the relay (they were left behind the scenes), the wizard installs on a breadboard like perfboard, occupying only a little more than half of its area.You could, of course, first saw off a piece of the right size from the board.
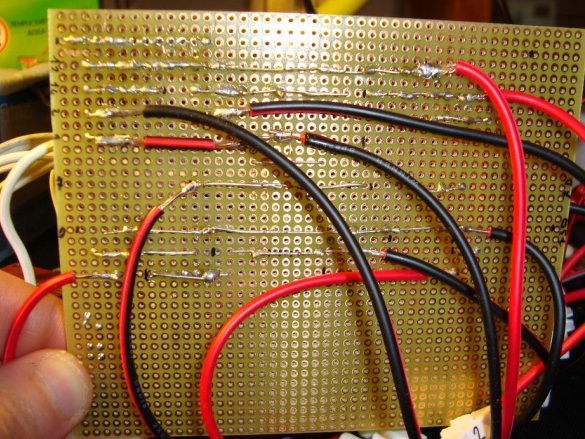
When all the necessary components are on the board, the master begins to connect them by soldering using jumpers on the back:
After completing the assembly of the circuit, you can connect the power supply to it, observing the polarity, and, listening to how the relays operate, or by connecting LEDs with current-limiting resistors through their free contact groups, make sure that the logic of the device corresponds to the one described above. By selecting electrolytic capacitors, user-friendly shutter speeds can be set.
After the setup is completed, the LEDs and resistors must be removed, and instead of them, through the free contact groups of the relay, the windings of the reversing contactor controlling the curtain moving motor. For example, a reversing contactor can be made up of two conventional contactors of the KMI-10910 type and a mechanical interlocking device for KMI contactors with a rated current of 9 to 32 A.
It is possible to increase the convenience of using electric curtains by connecting the receiver of the two-channel remote control system from the remote control in parallel with the buttons. The system must ensure that the relay is released in the receiver immediately after releasing the corresponding button on the key fob. You can open or close the curtains without getting up from the couch.


