
Greetings to all fans of craftsmanship, today we will consider how you can make an excellent electric card for a child. The machine is powered by two brushless motors, which the author got out of a faulty hoverboard. To bring such motors into action, you need to buy special controllers for them, such there is on Aliexpress. The author assembled the battery himself, from 18650 cells that can be obtained from old laptop batteries. The car turned out pretty frisky, your child will be happy with this homemade. Each engine has a power of 350 watts, which in total is 700 watts, this is enough to ride on such vehicles. If the project interests you, I propose to study it in more detail!
Materials and tools used by the author:
Material List:
- old hoverboard;
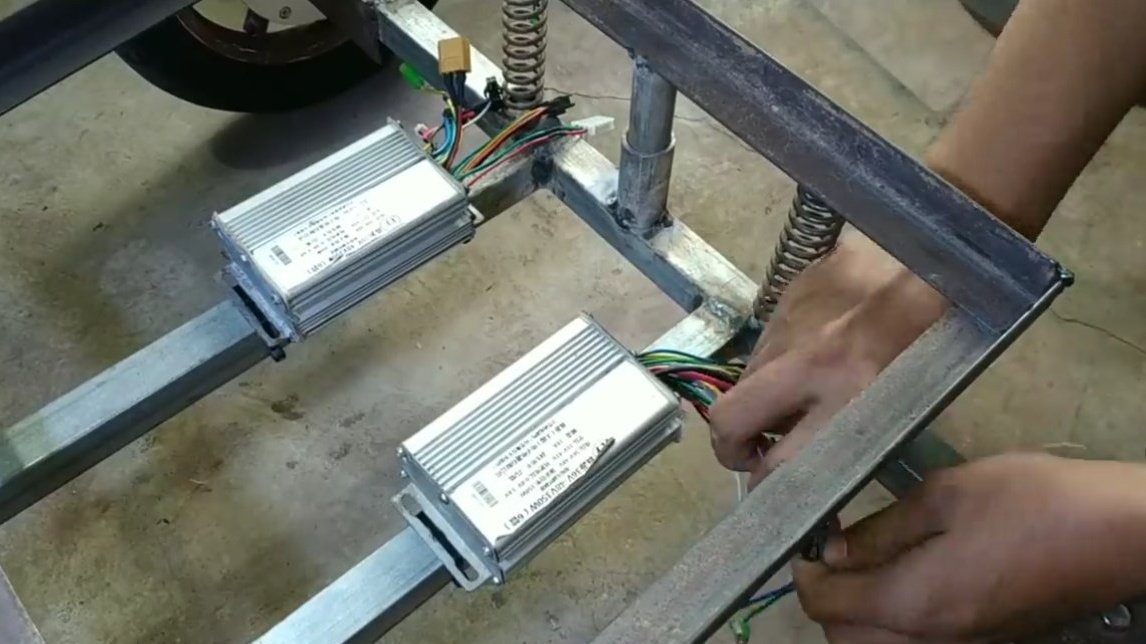
- two motor controllers;
- cells 18650;
- wheels from a moped or scooter;
- corner;
- steel plates;
- bolts and nuts;
- profile pipes;
- bushings from bicycle wheels;
- round pipes;
- rods;
- springs for suspension;
- a plastic chair;
- plywood;
- BMS for battery.
Tool List:
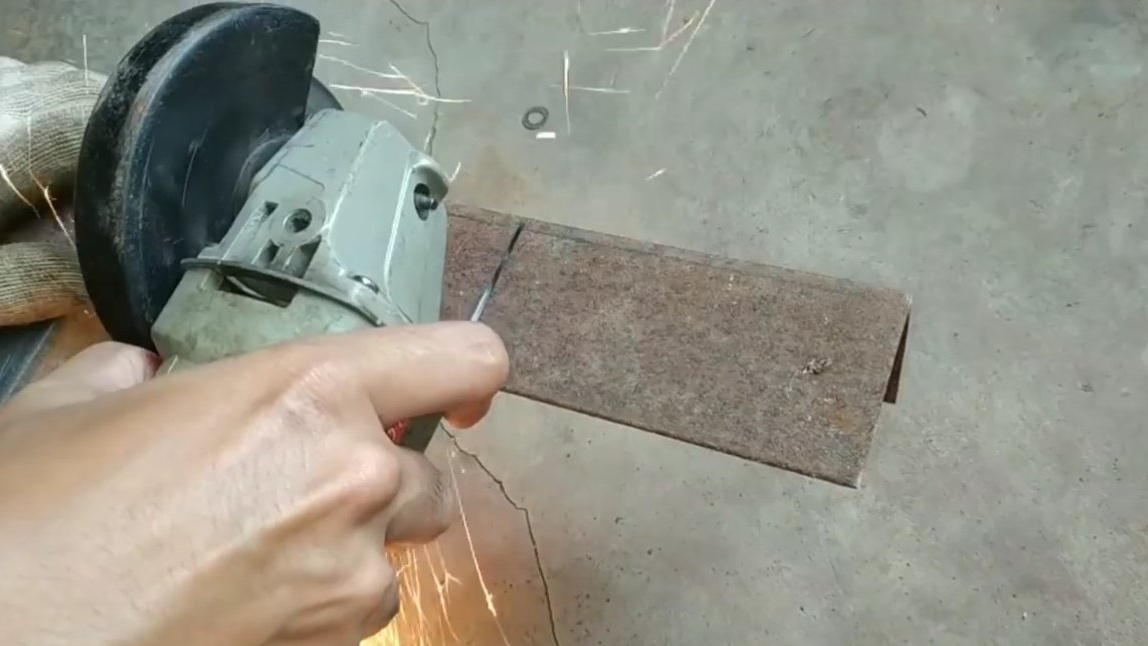
- grinder;
- welding machine;
- drill;
- roulette;
- marker.
Homemade manufacturing process:
Step one. Wheel making
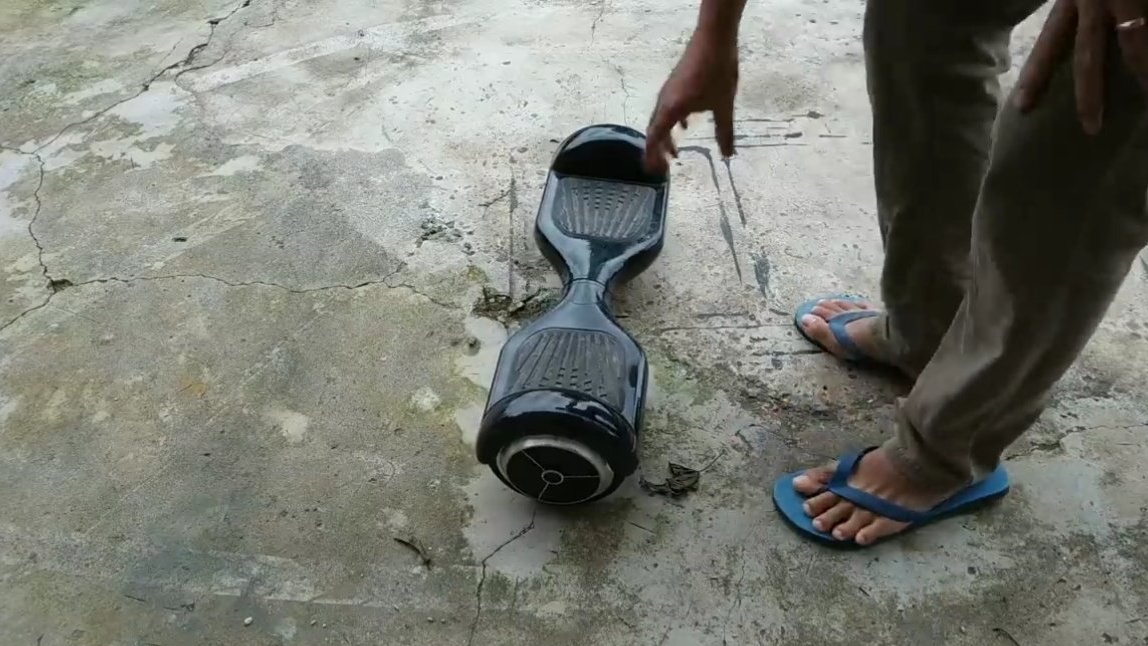
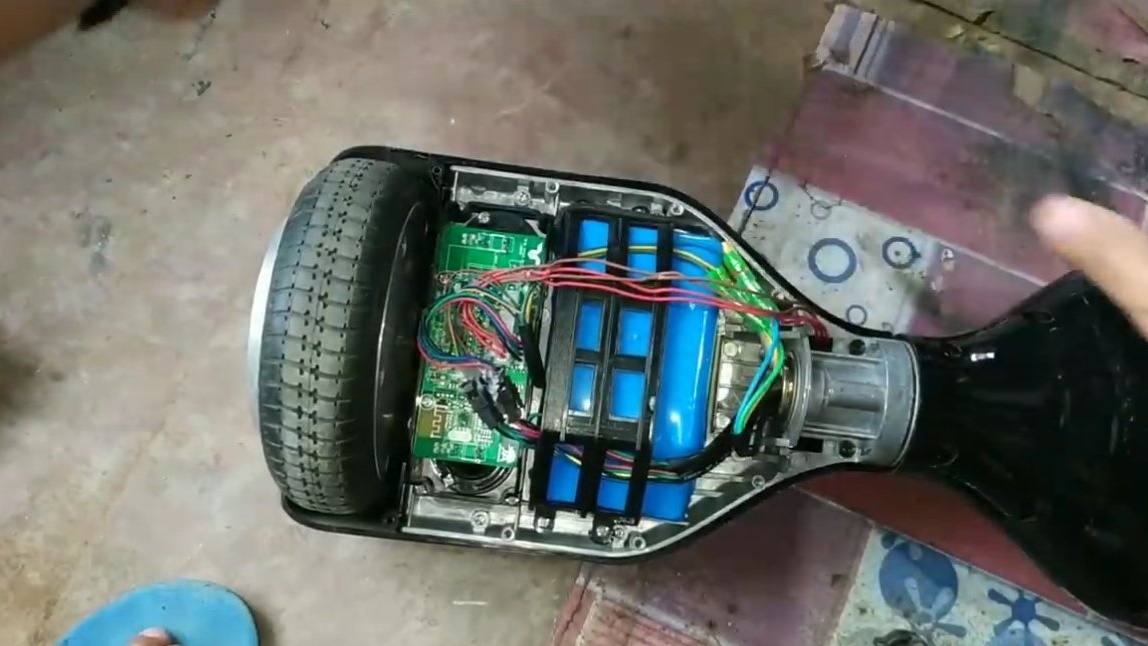
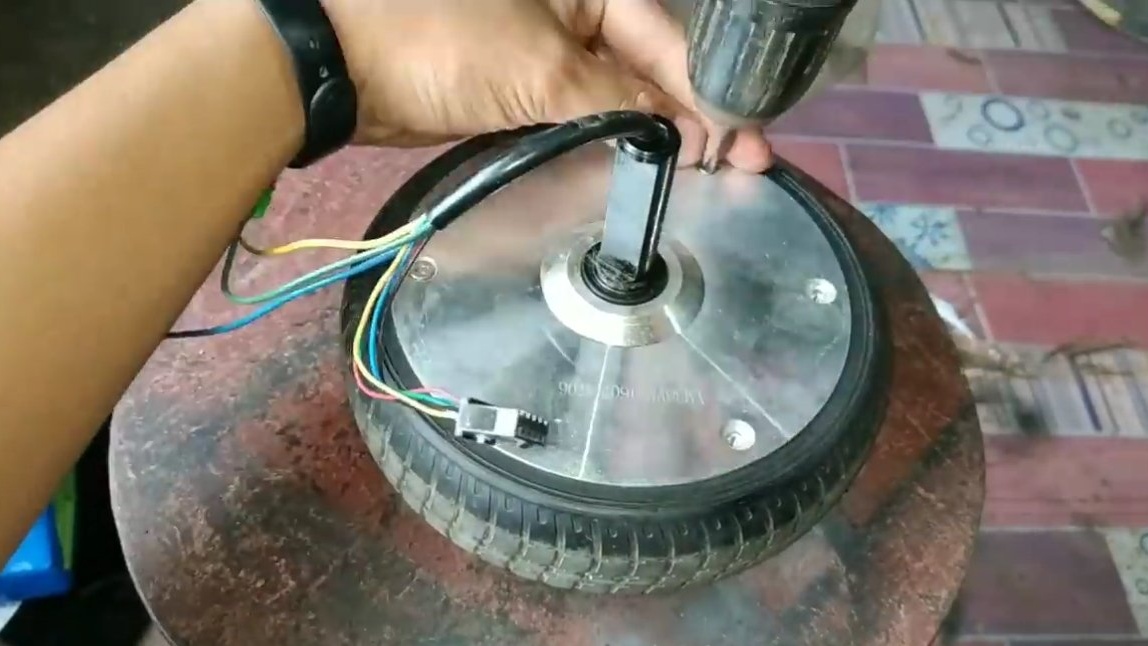
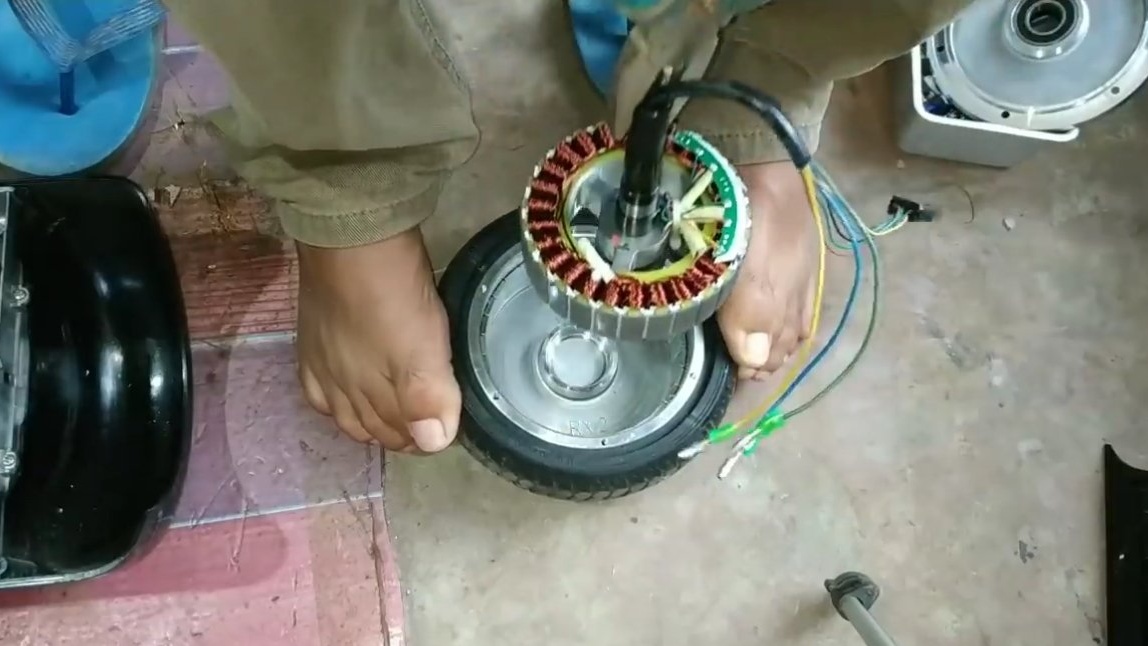
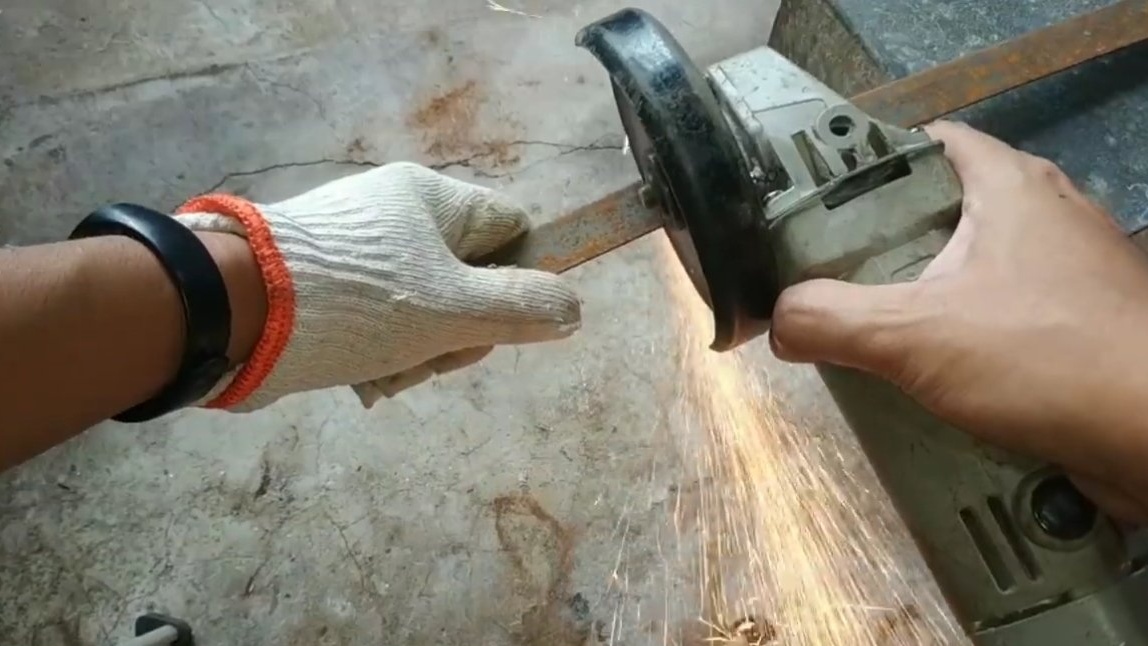
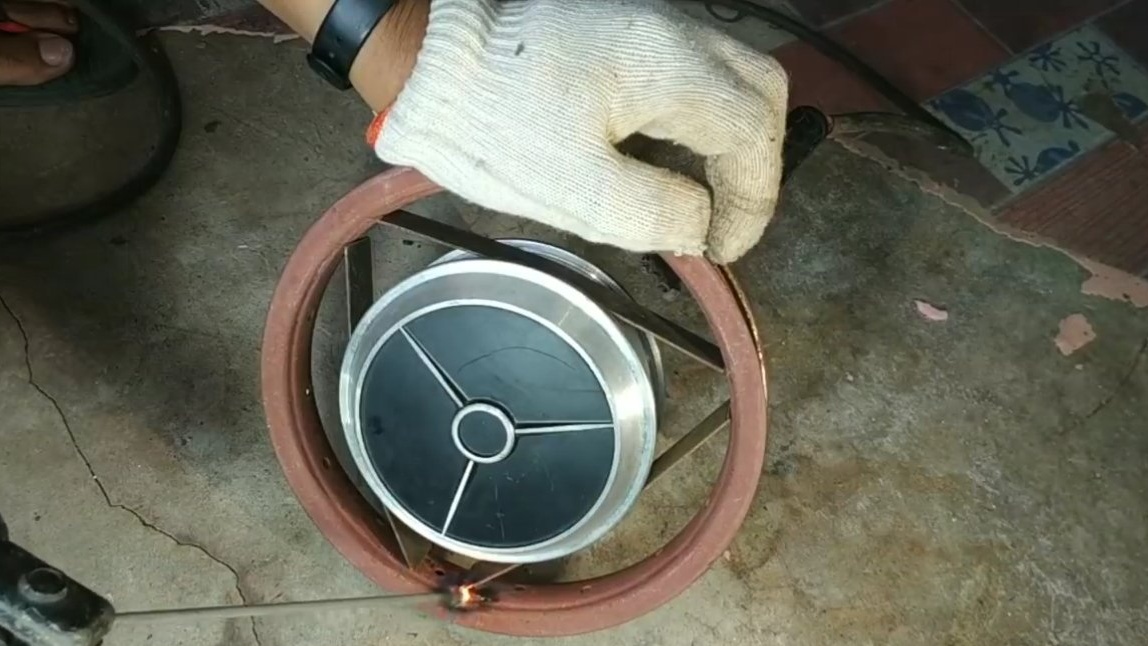
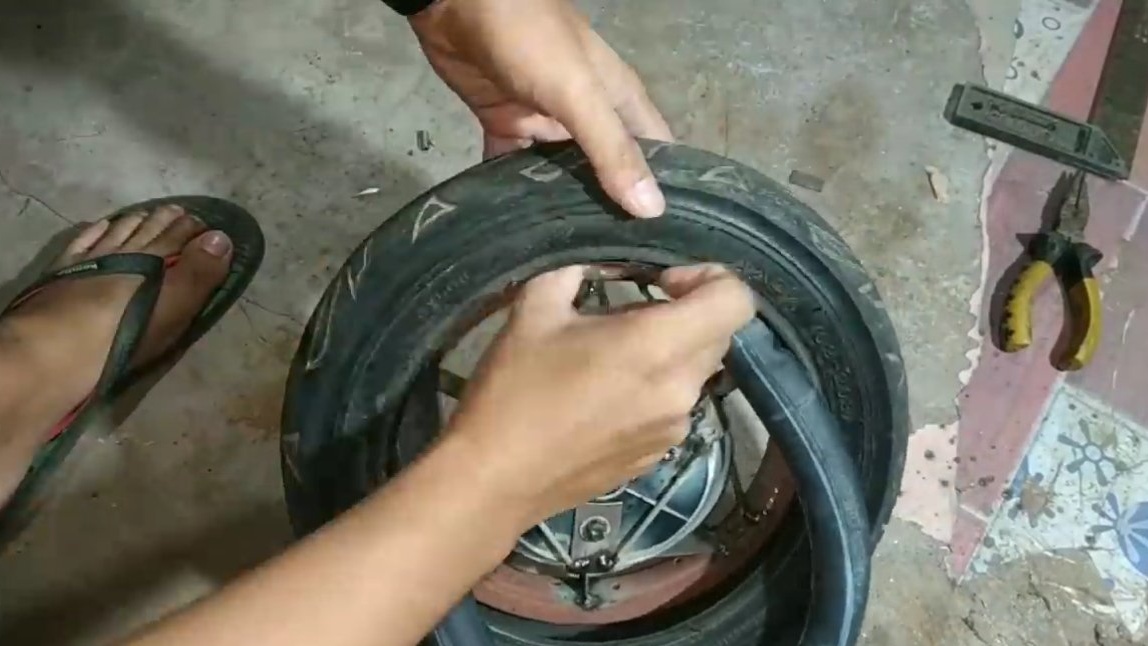
First of all, we disassemble the gyro scooter, even if it is faulty, the engines in it with a high probability are still alive. We remove the tires from the wheels, in the end we get two excellent engines that we have to disassemble.
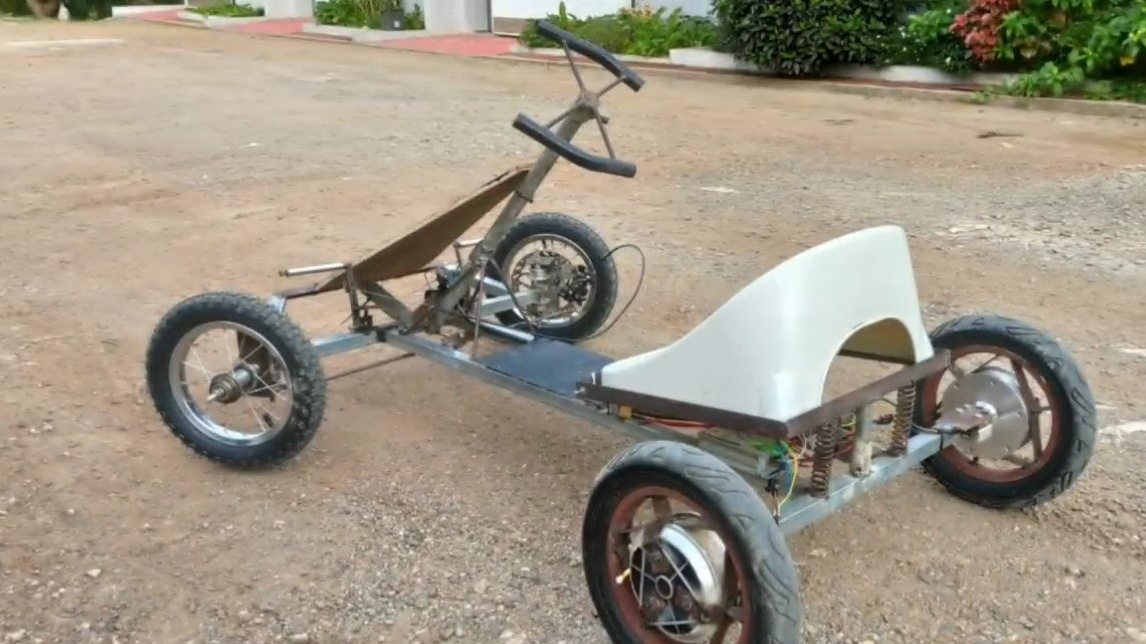
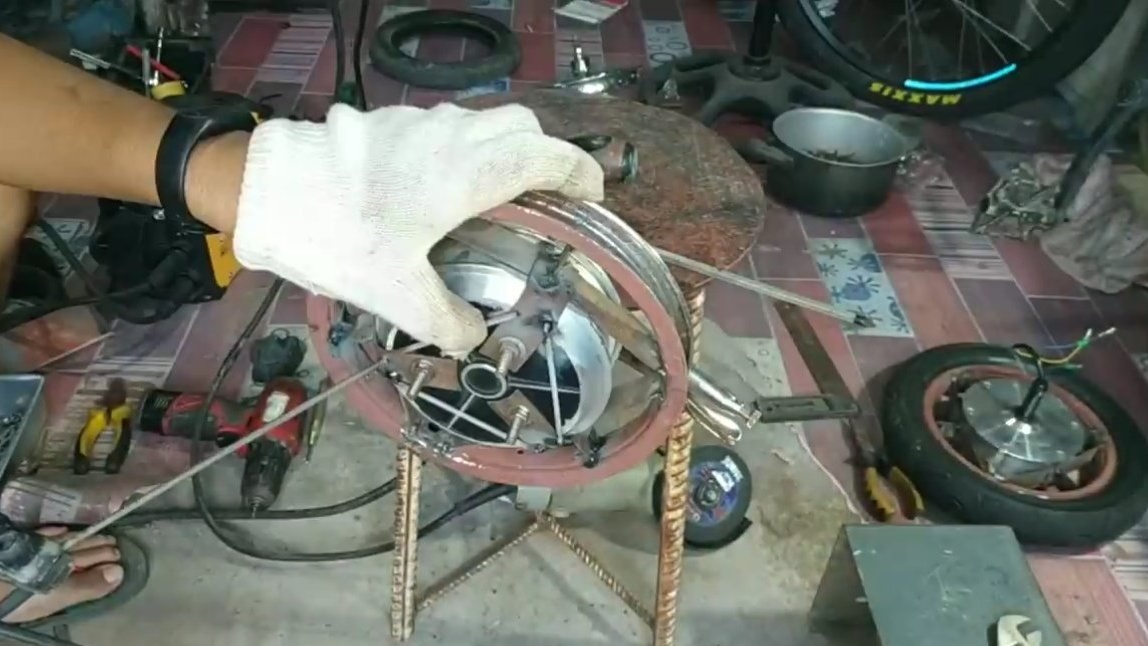
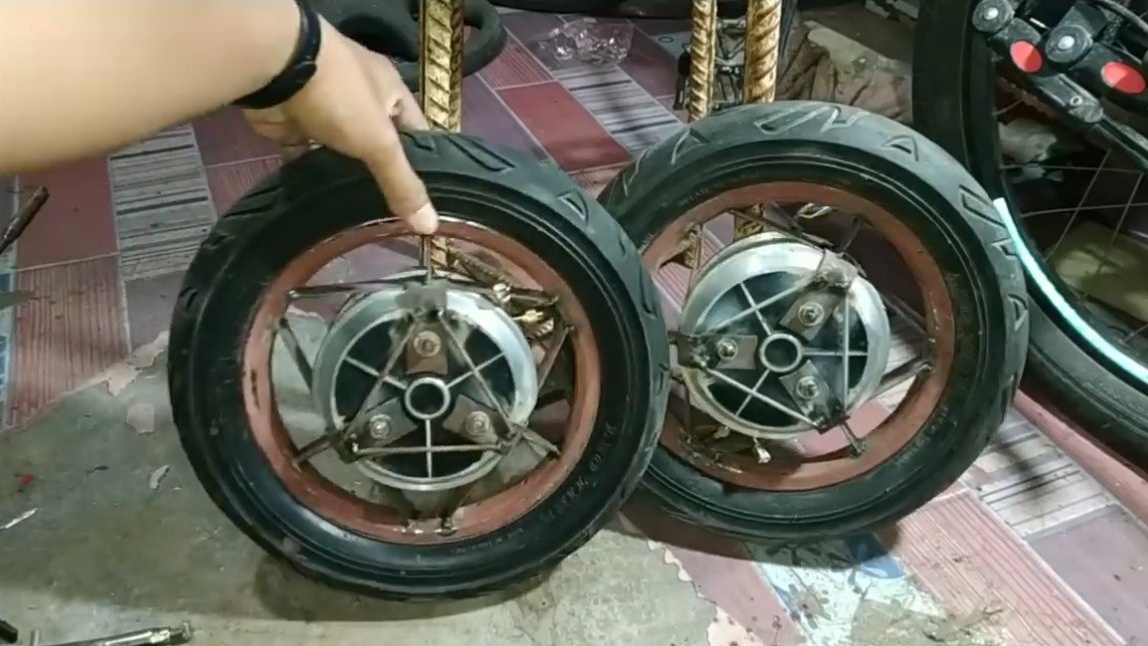
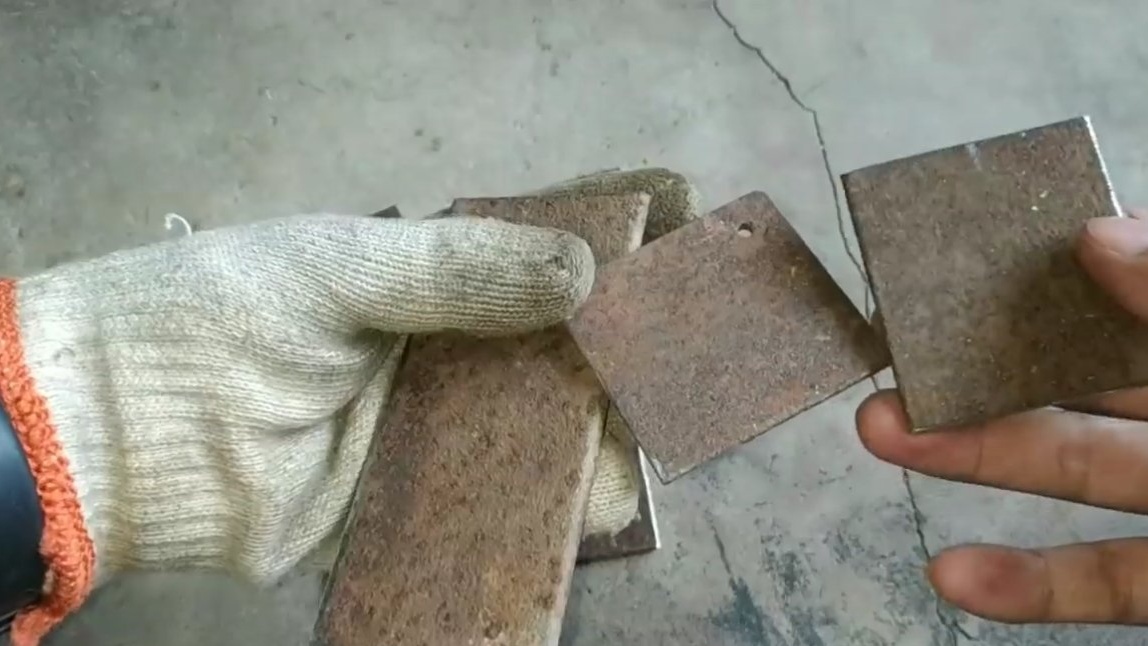
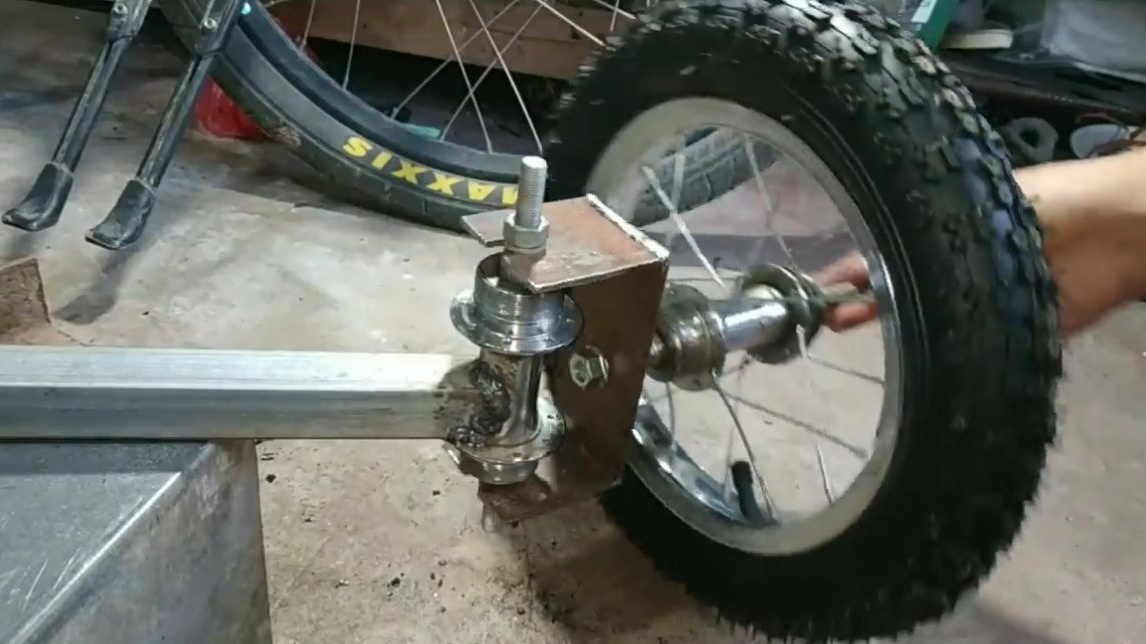
Engines need to be installed on new wheels, in our case these are wheels from a scooter or a moped. The author made special fasteners from steel plates, which were eventually welded to the rims of the new wheels. As a result, we get two excellent motor wheels, the main thing during assembly is to assemble everything exactly so that the wheels remain as round as possible.


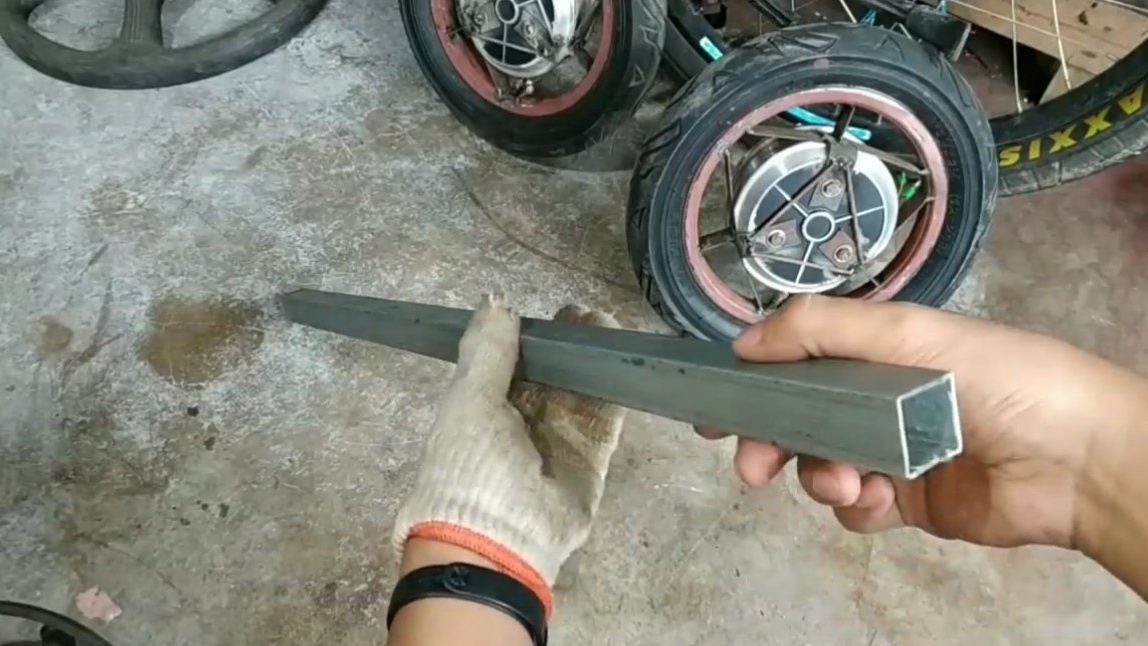
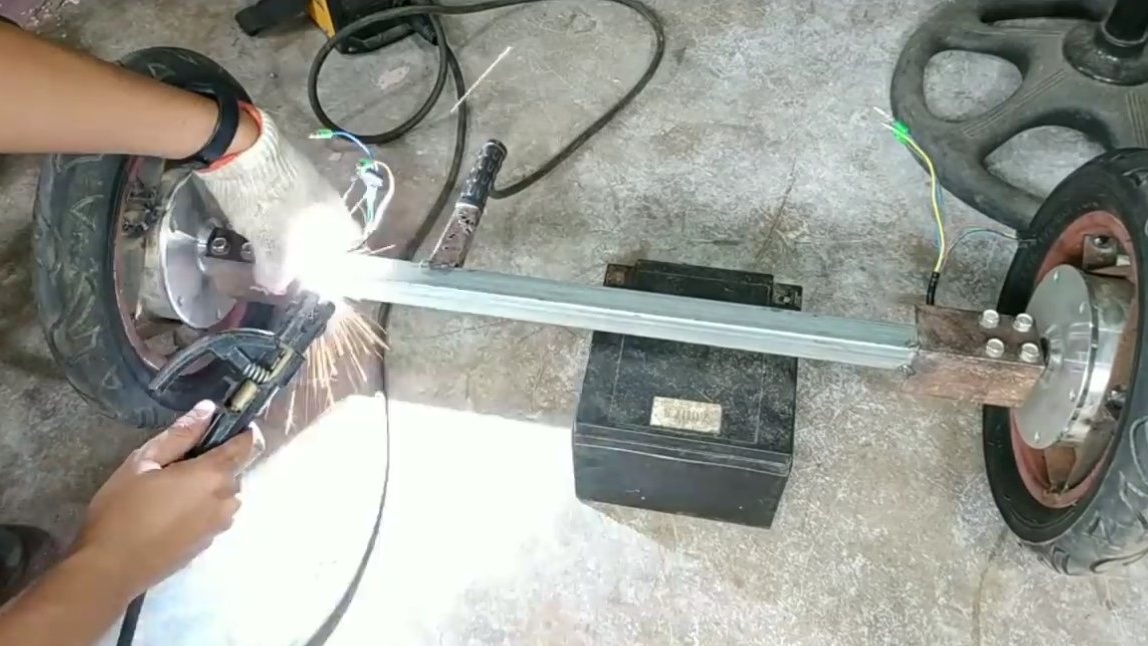
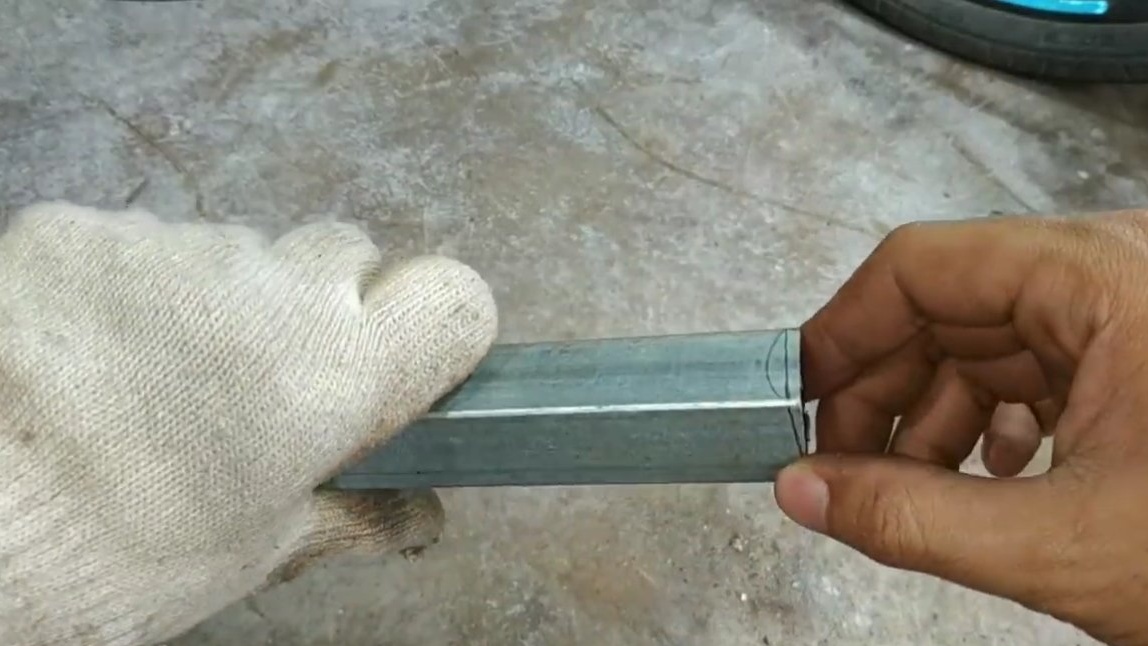
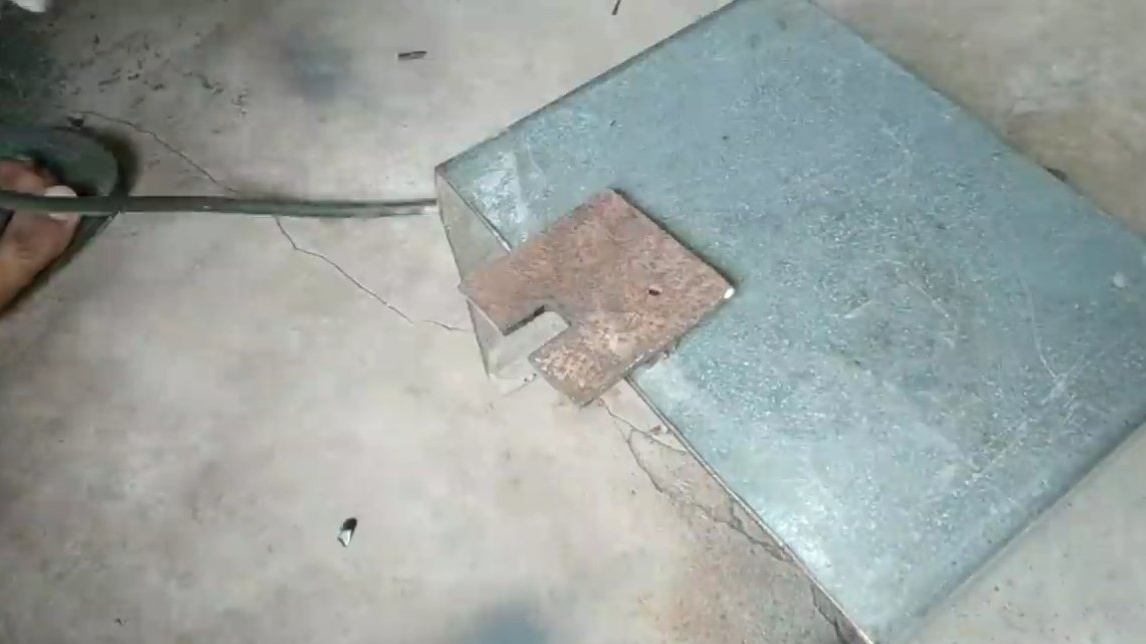
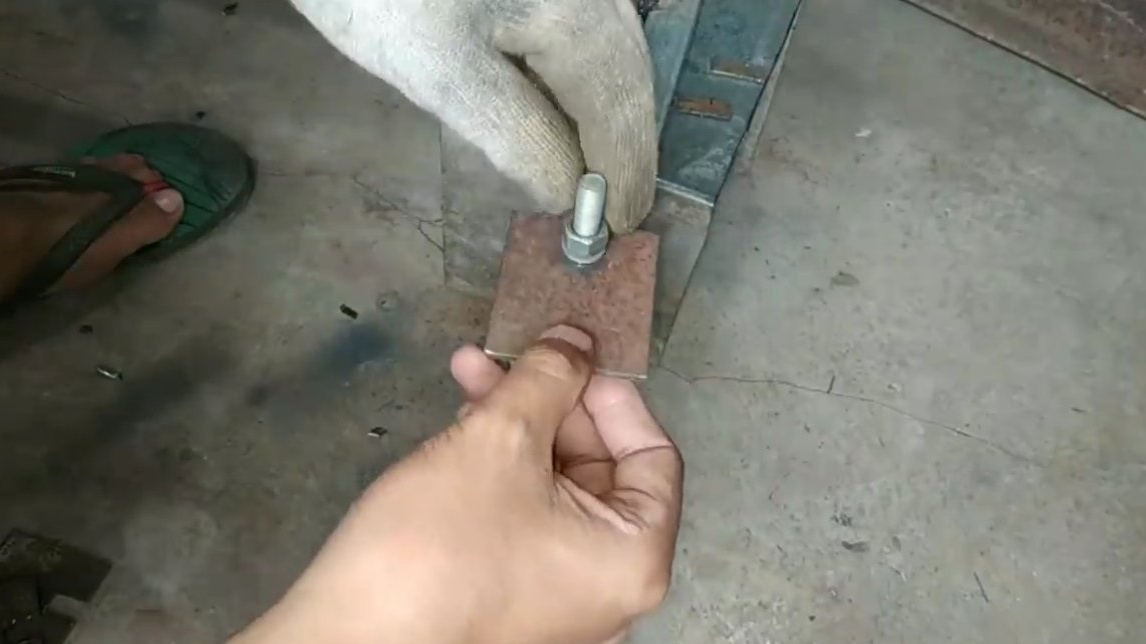
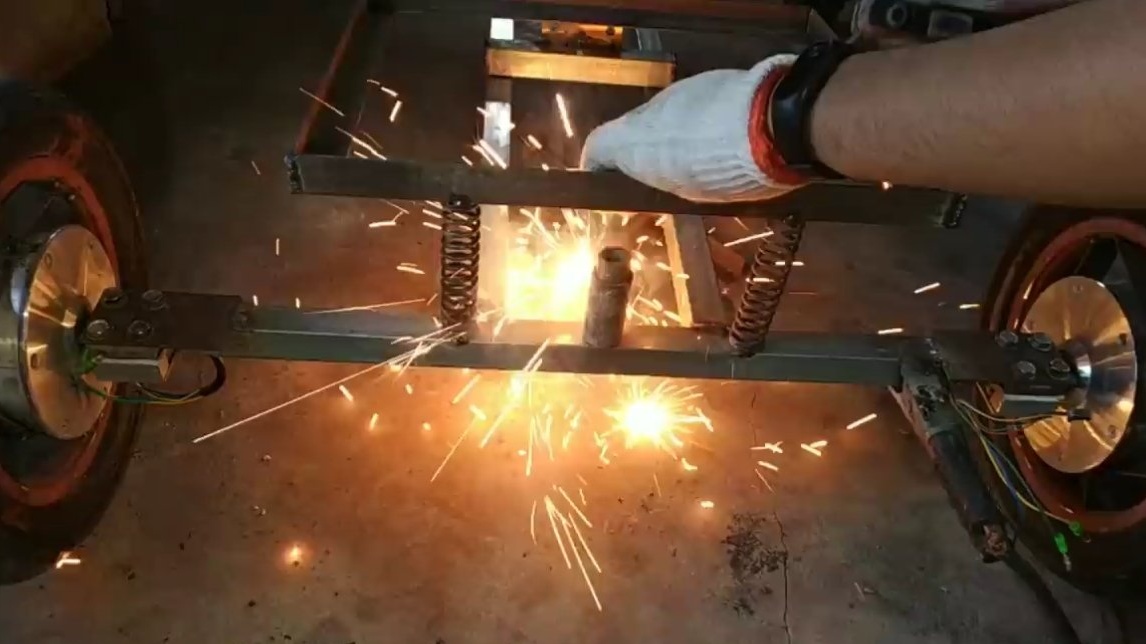
Ready wheels are installed on the rear beam. As a rear beam, a square profile pipe can enter, we make fasteners from a steel corner and we securely fasten everything with bolts and nuts.
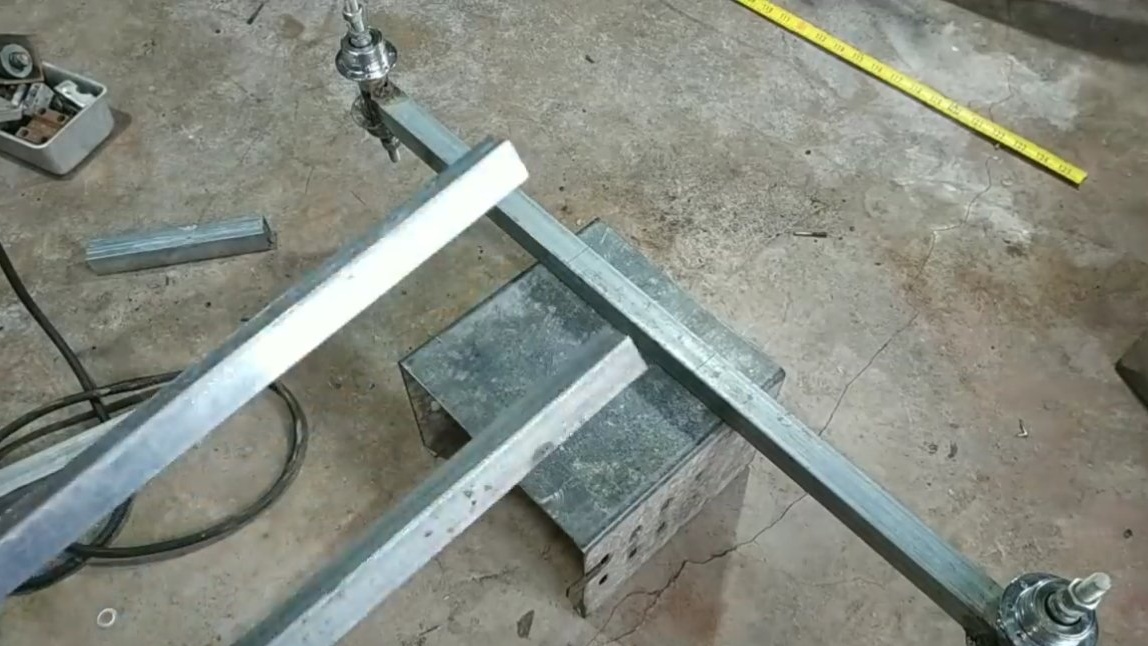
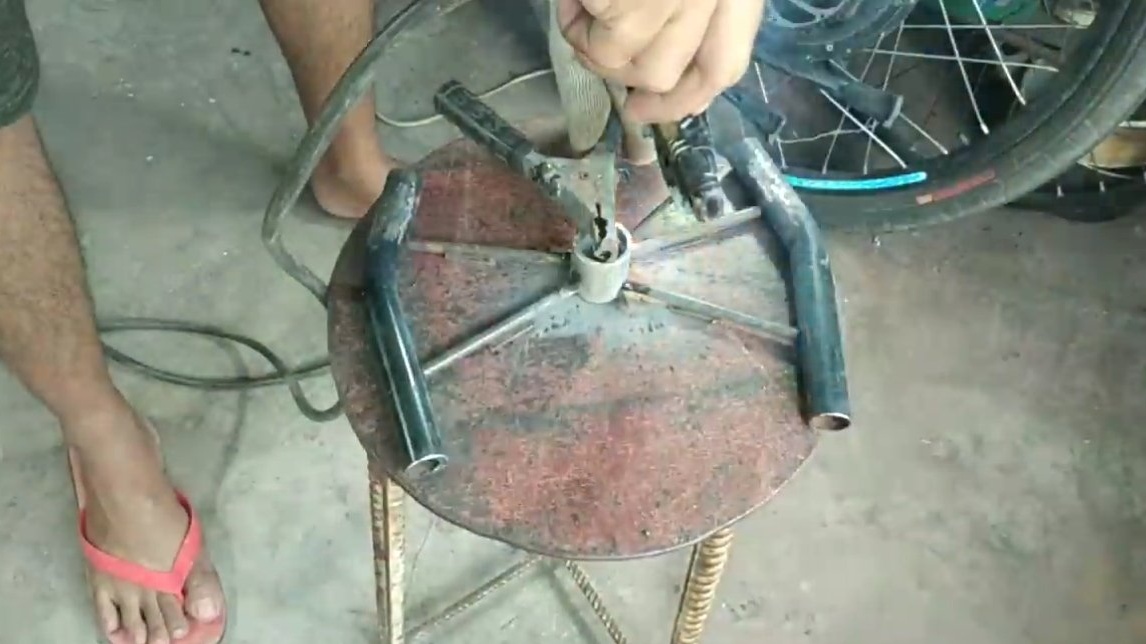
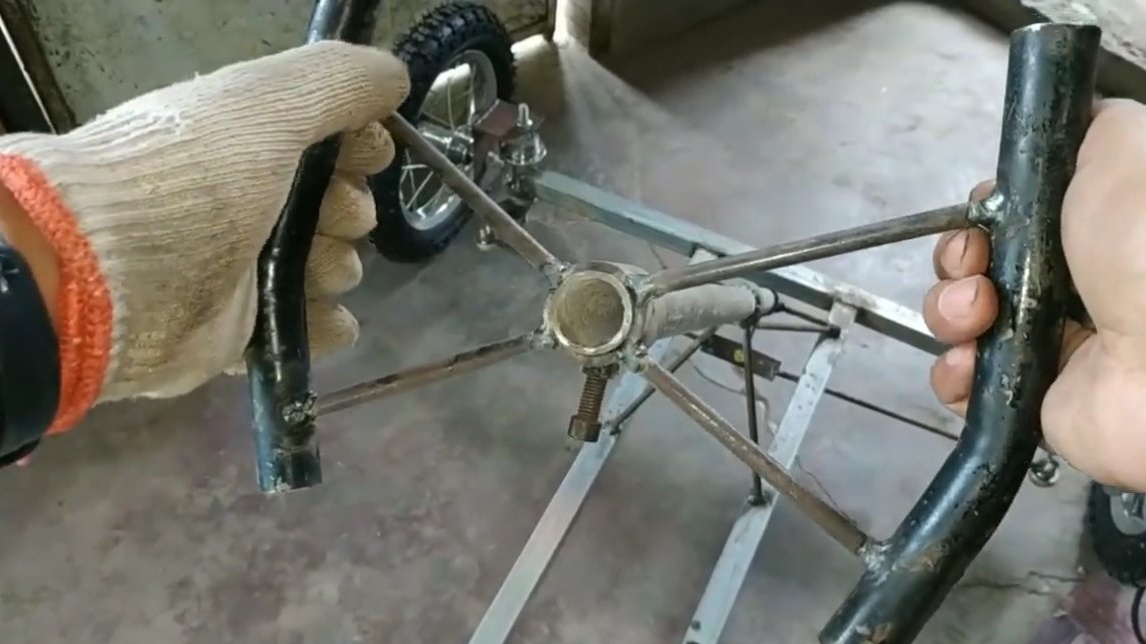
Step Two Front beam and frame
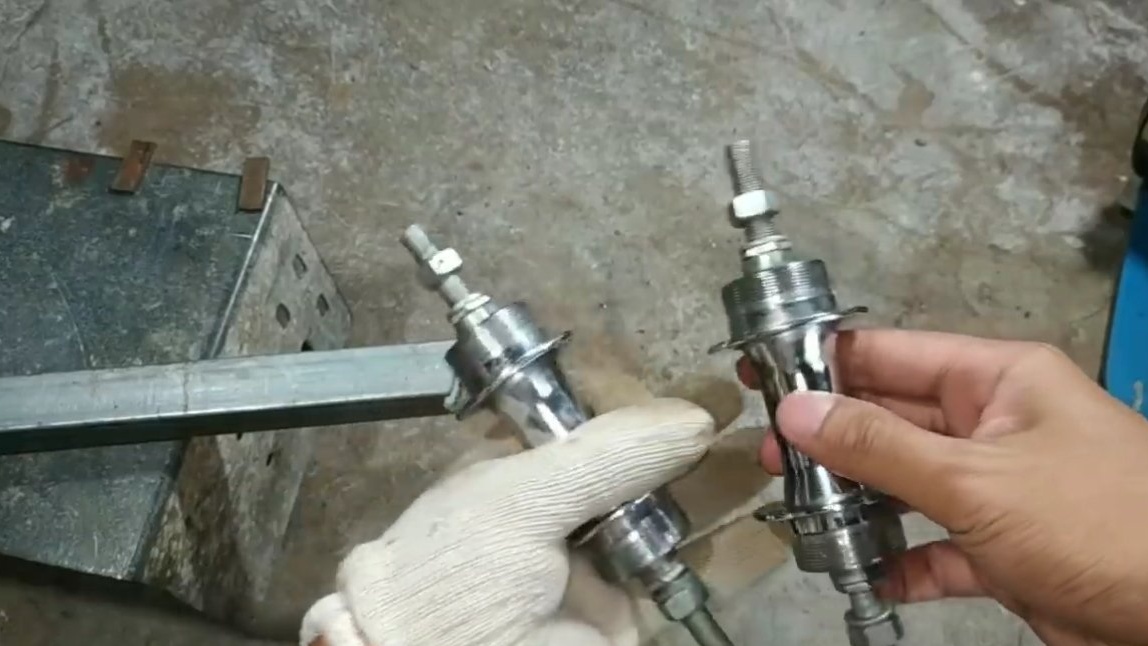
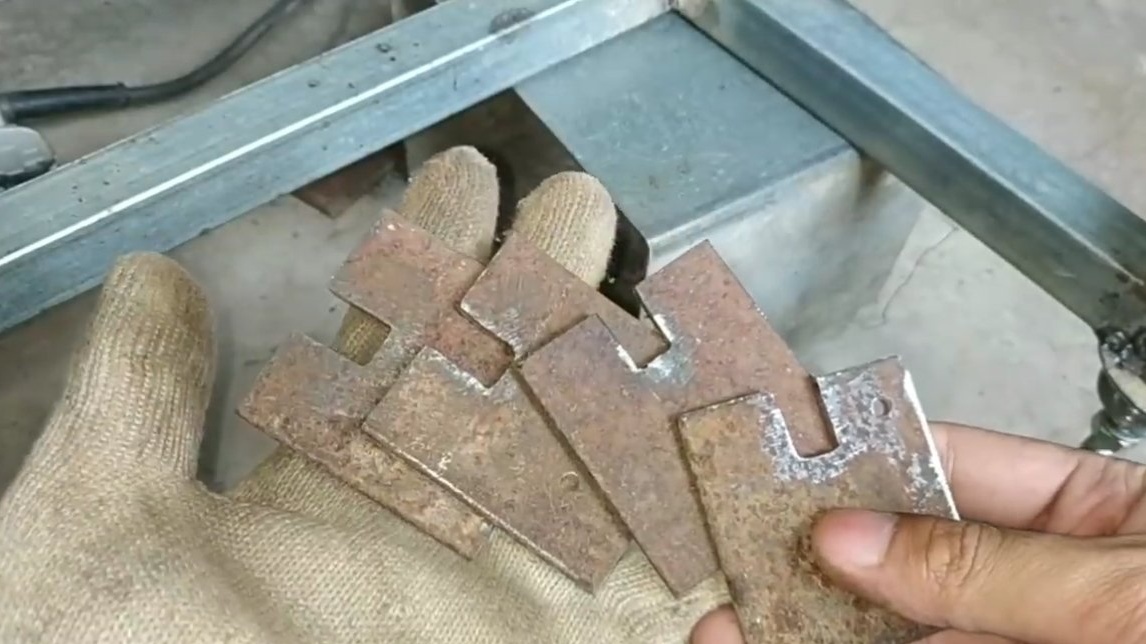
We also make the front beam from the profile pipe, we weld the swivel joints to the ends. As such hinges, hubs from bicycle wheels are great, they are strong and you can remove the backlash in them. Wheel fasteners are welded to the axles of the bushes; they can be made from a corner or thick sheet steel.
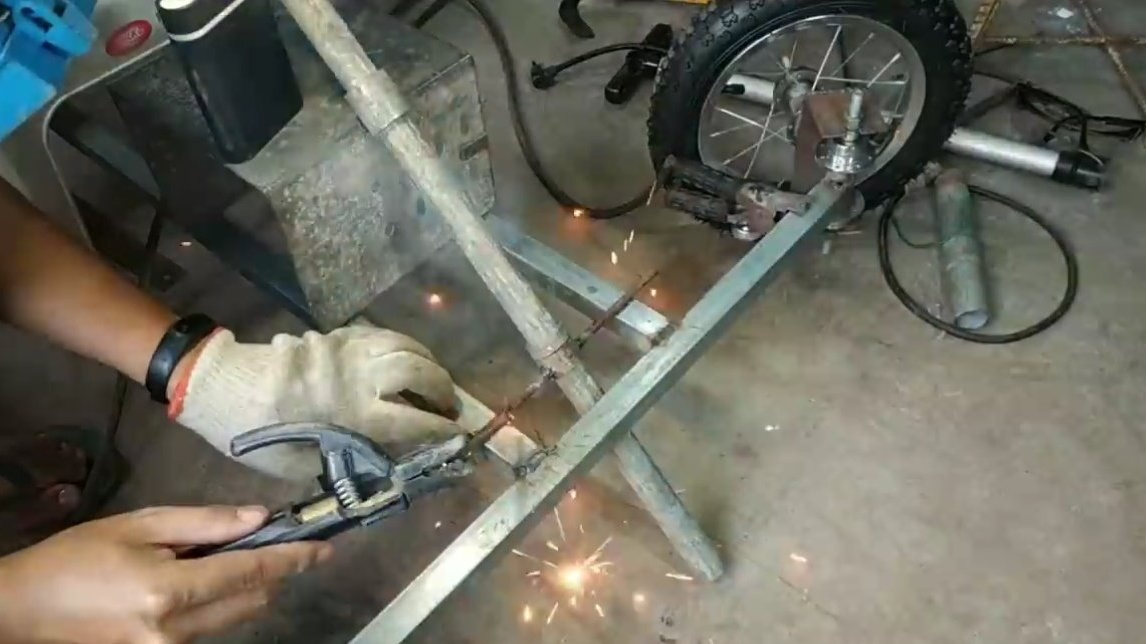
At the end, we weld the whole frame, use profile pipes, we cook everything reliably, it is inadmissible for the frame to fall apart when driving.

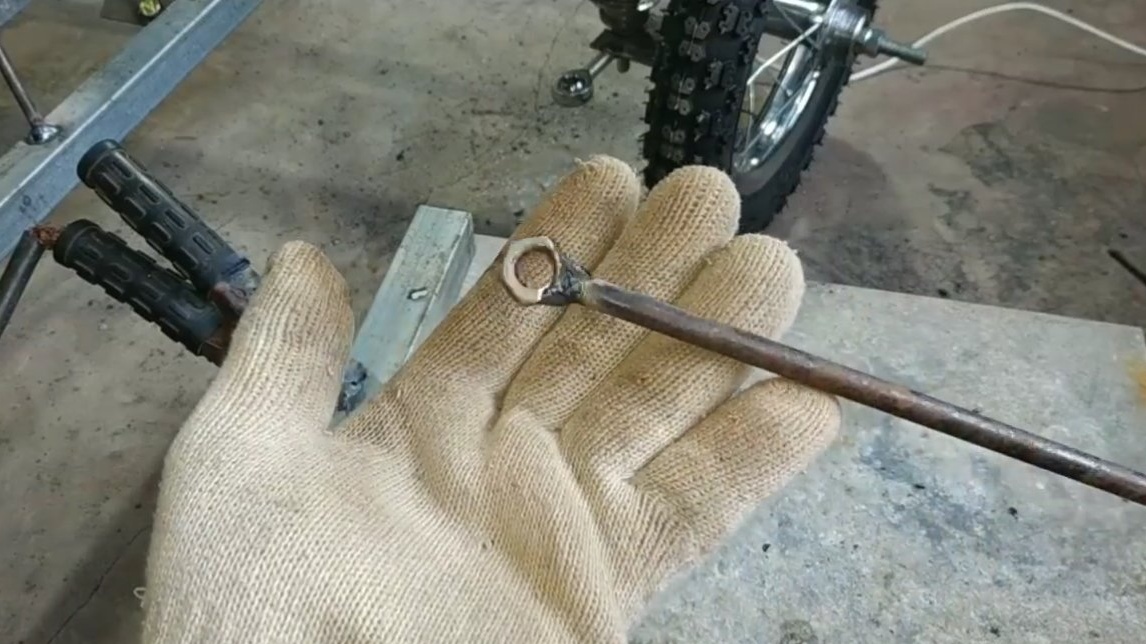
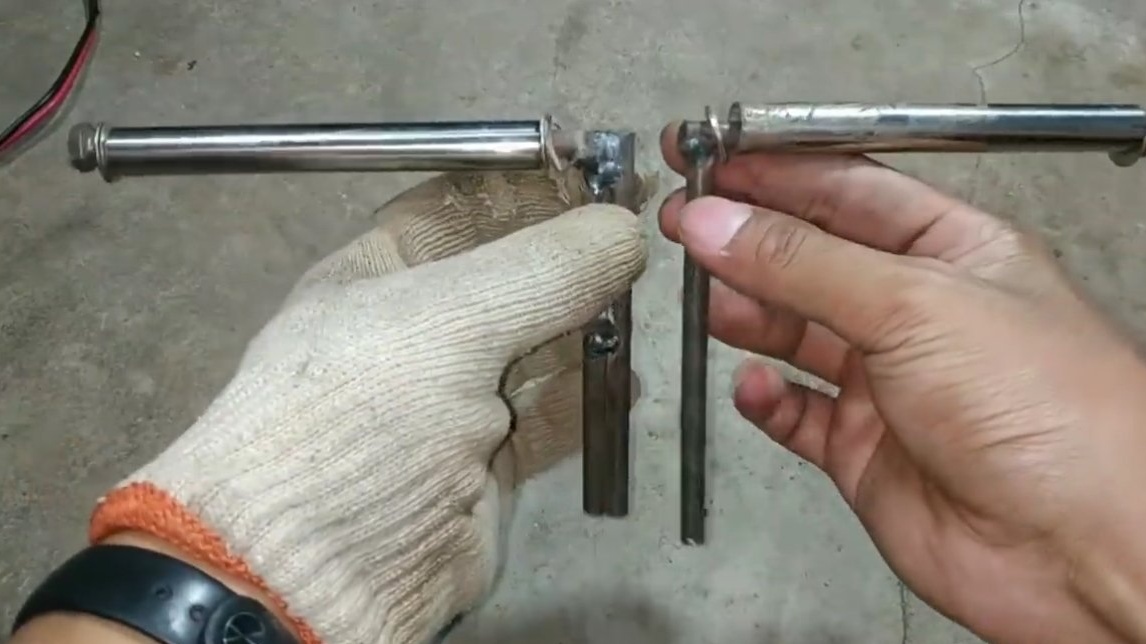
Step Three Steering
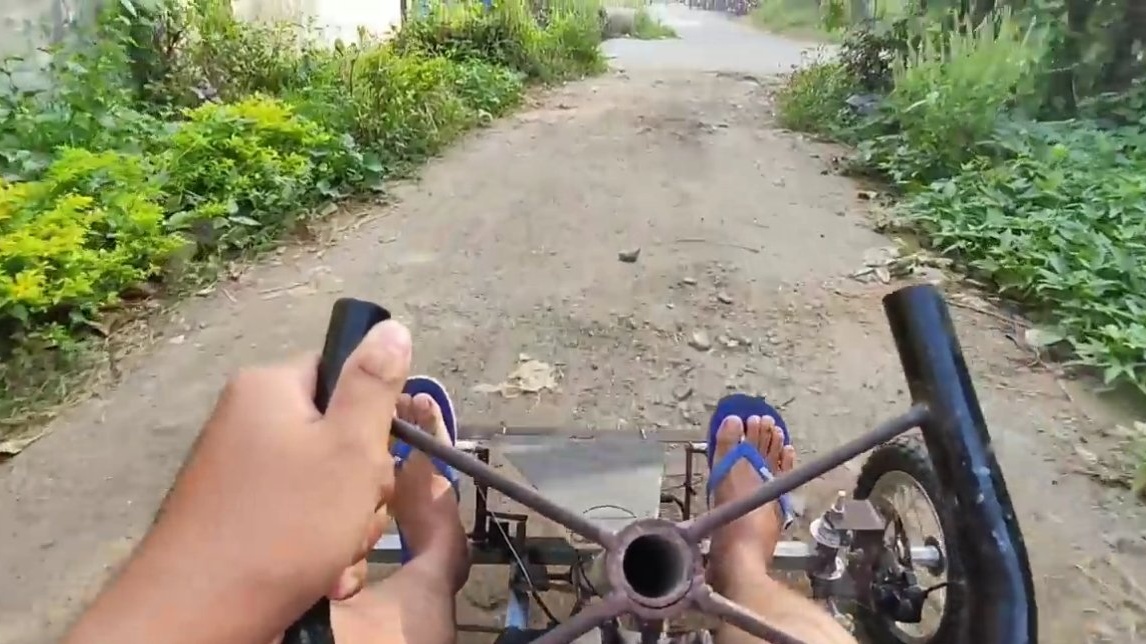
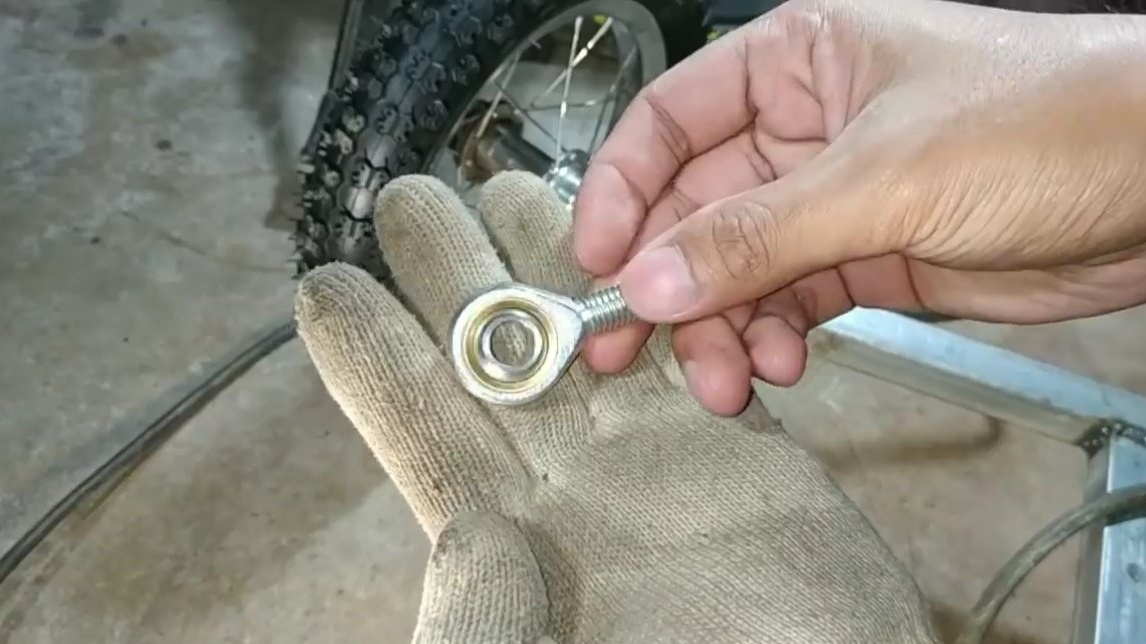
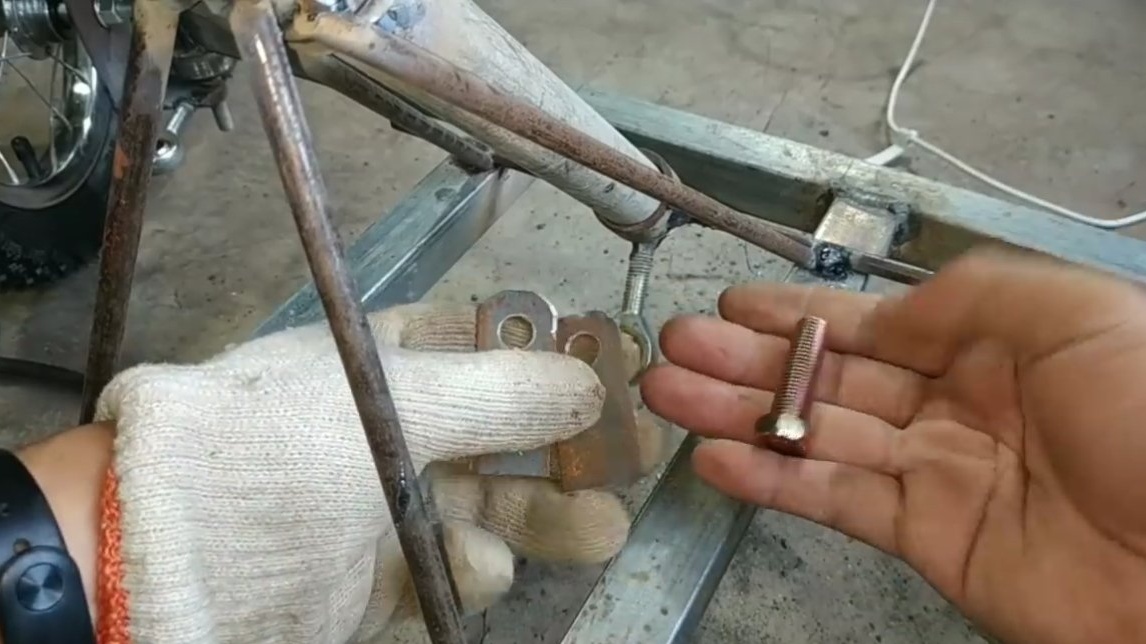
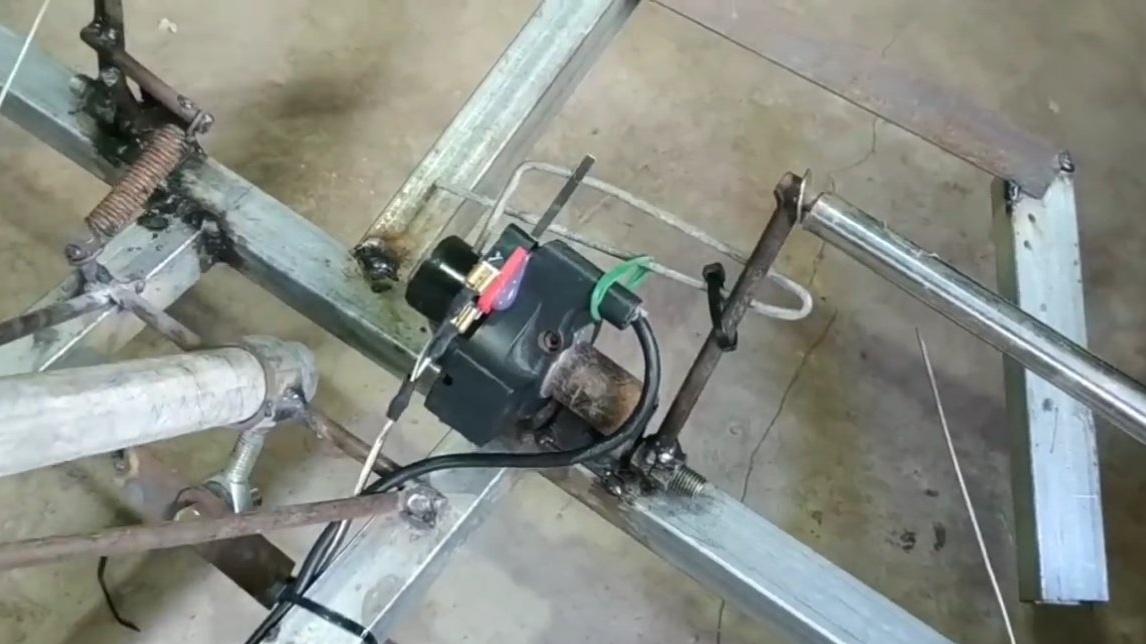
We do the steering, the author made the steering shaft from a round steel pipe, and the steering wheel itself can be welded from the trash lying around or you can find the finished steering wheel from the car. We install steering rods, there should be hinges at their ends, you can look at the hinges that are on gas springs or the like.


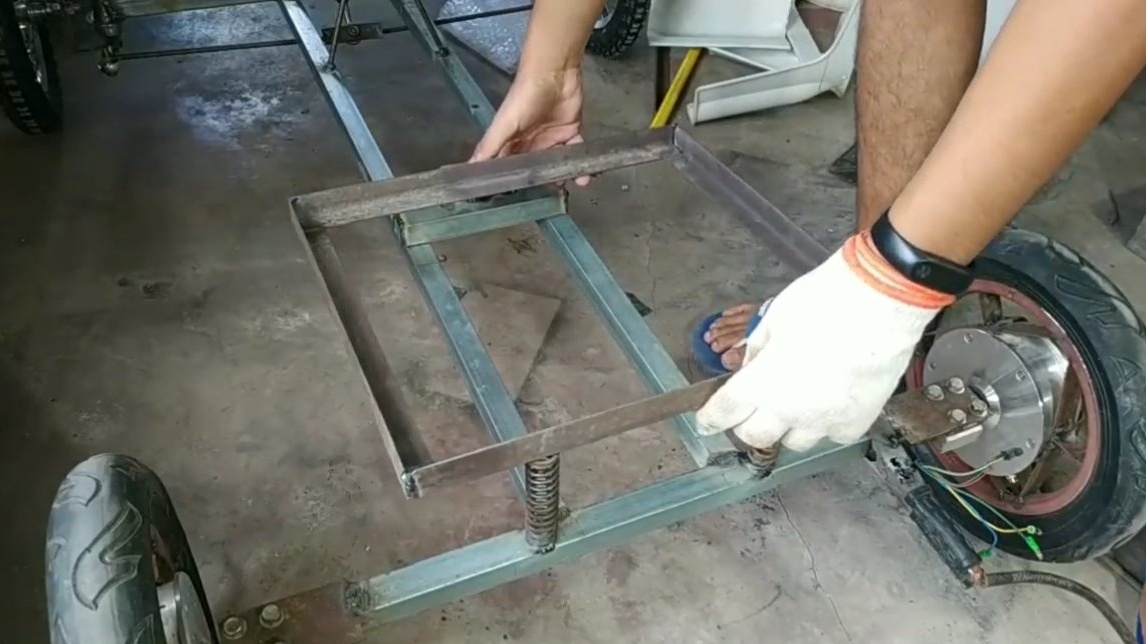
Step Four Seat
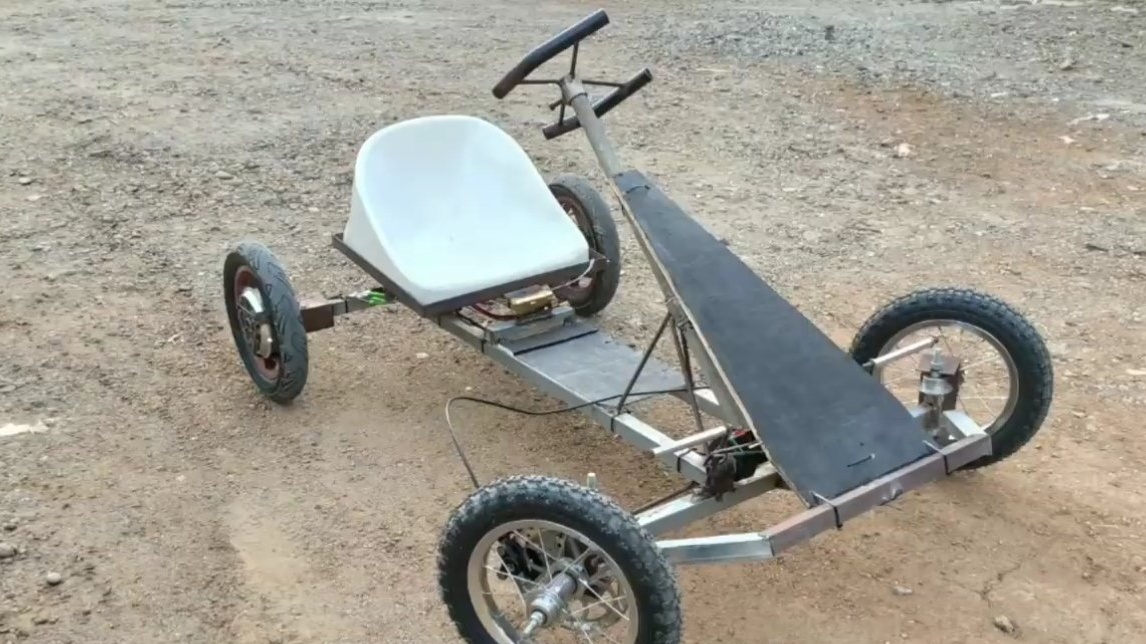
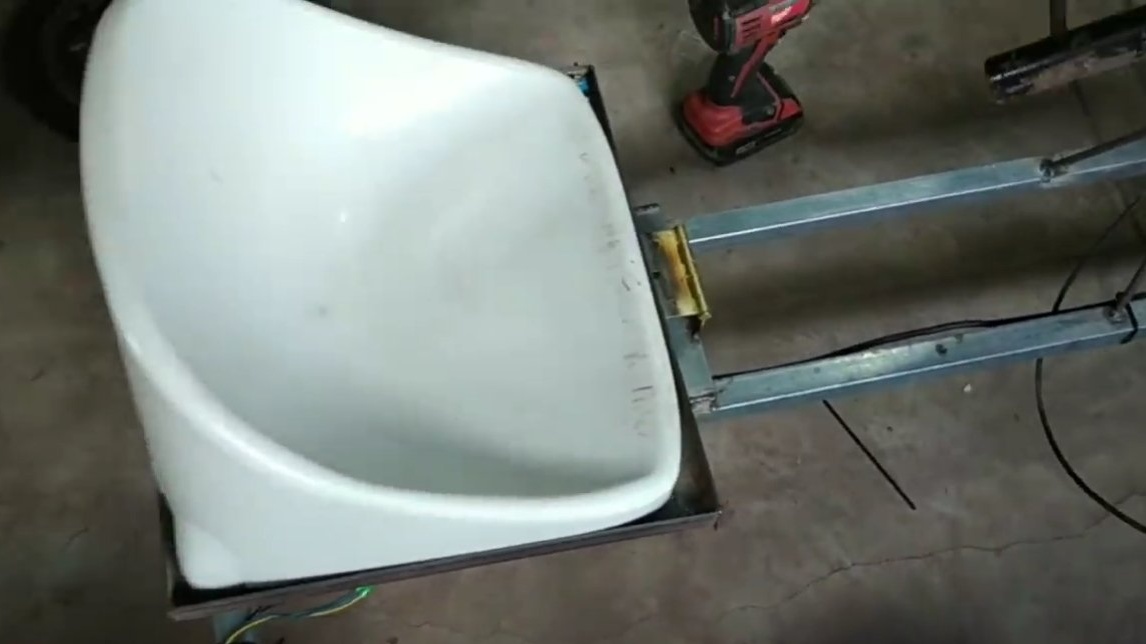
We make a seat, for its manufacture the author used a ready-made plastic chair. Just cut off the legs from the chair and all the excess, in the end it turns out perfectly sitting. To increase comfort, the seat is mounted on a special frame from the corner, which is attached to the main frame through springs. As a result, on the map you can jump over bumps and with correctly selected springs it should be quite comfortable.


Step Five Pedals
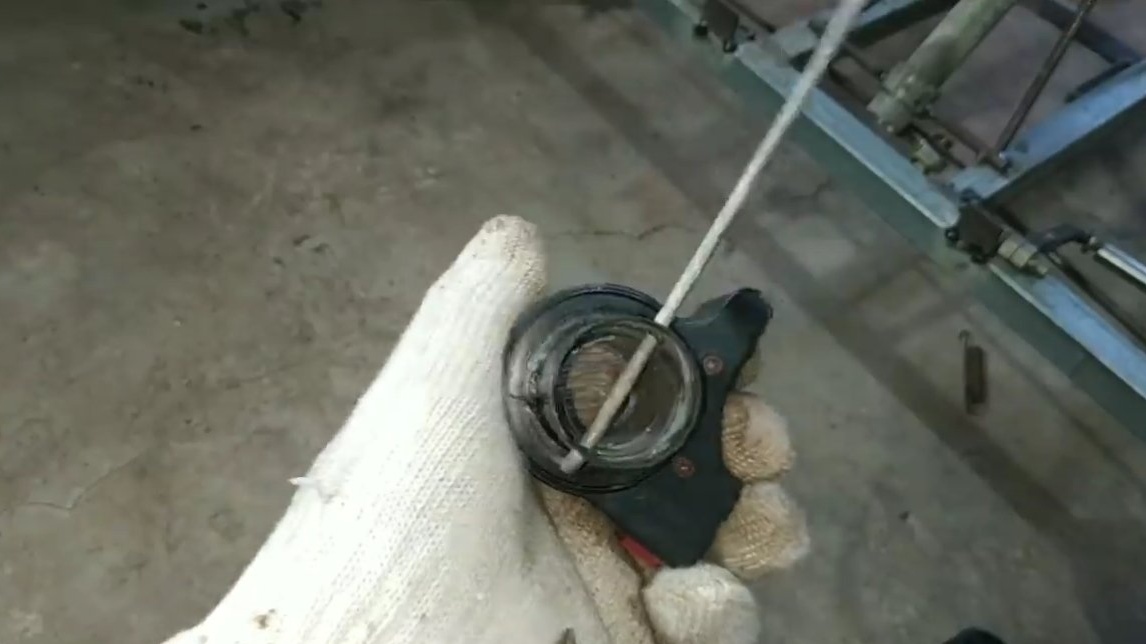
We weld from suitable parts of the pedal, you need to connect to the "gas" electronic throttle grip.
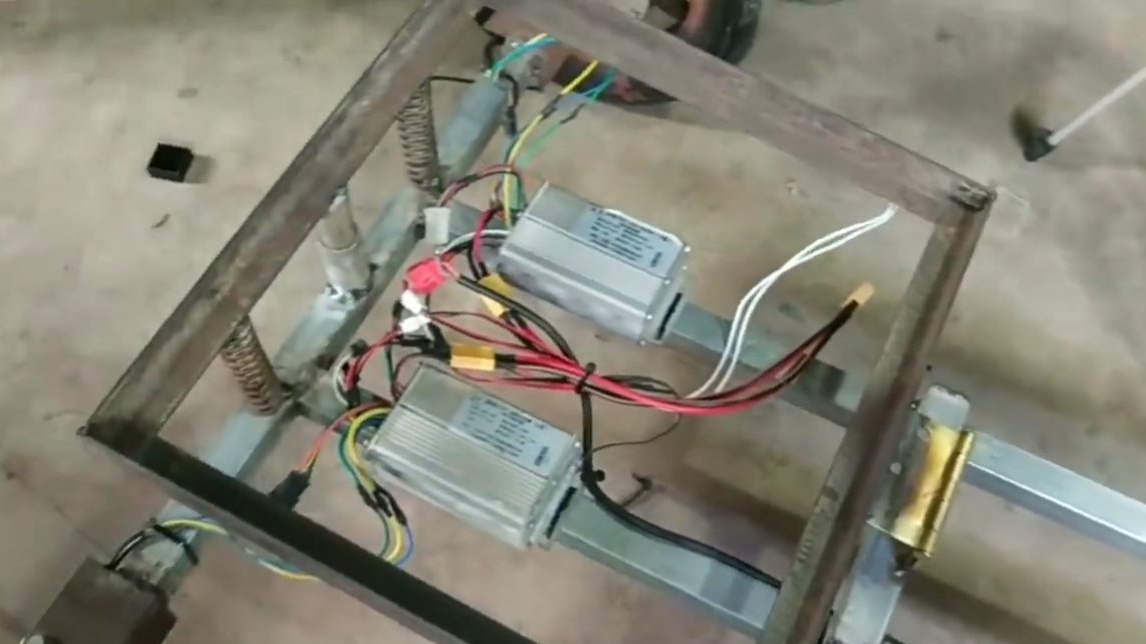
We have engine controllers in a protected place, they should not pour water and fly dirt.
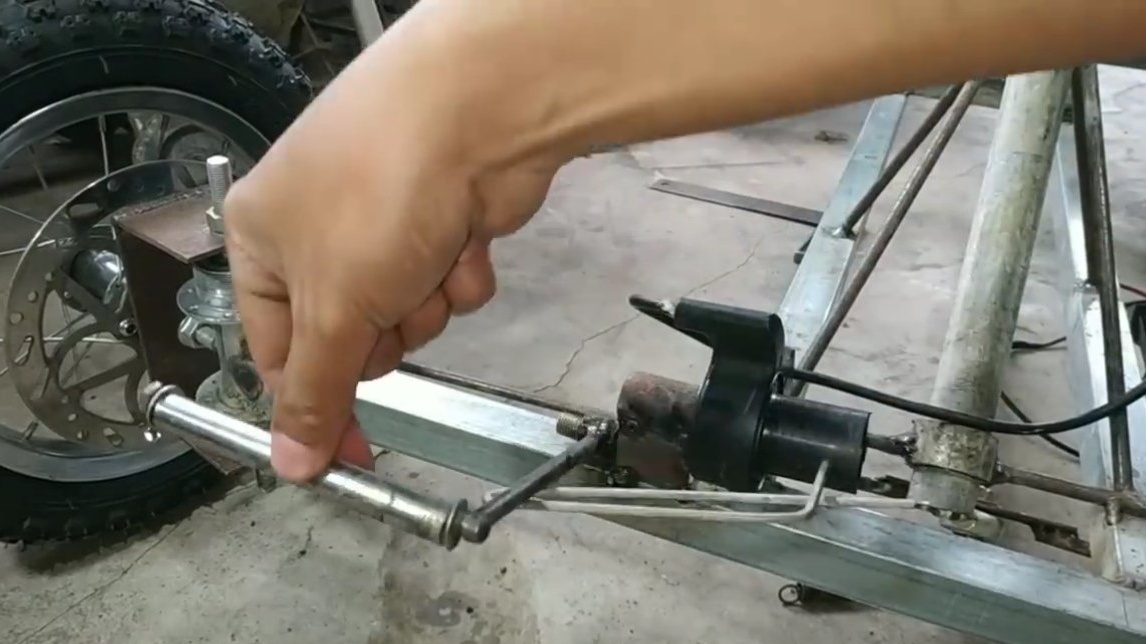
As for the brake pedal, the front bicycle wheels with disc brakes are responsible for braking. And to simplify the brake system, you can just make a lever that will be pressed against the wheel.
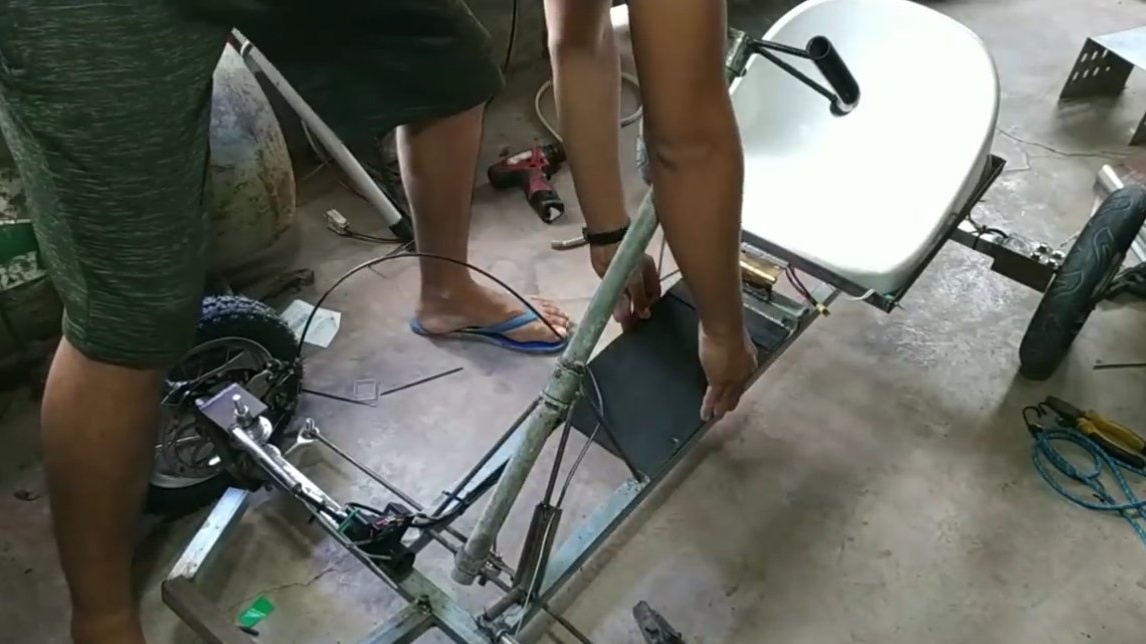
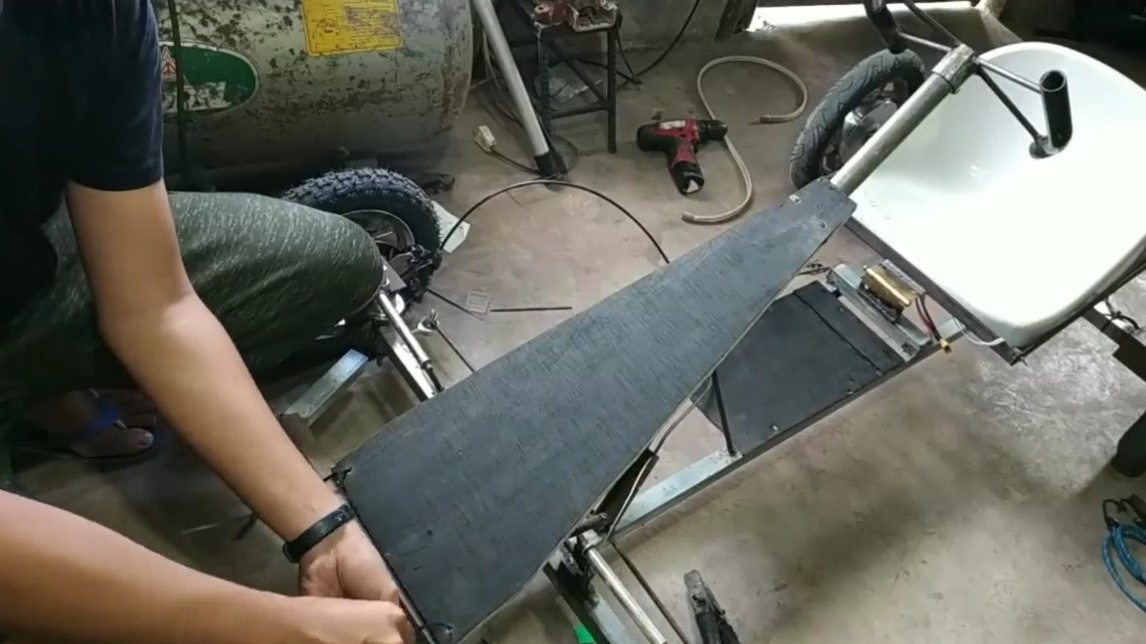
Step Six Sheathing
We cover the cards with plywood or other sheet material. Be sure to make a reliable polik, it can be made of sheet steel.
Seventh step. Battery and tests
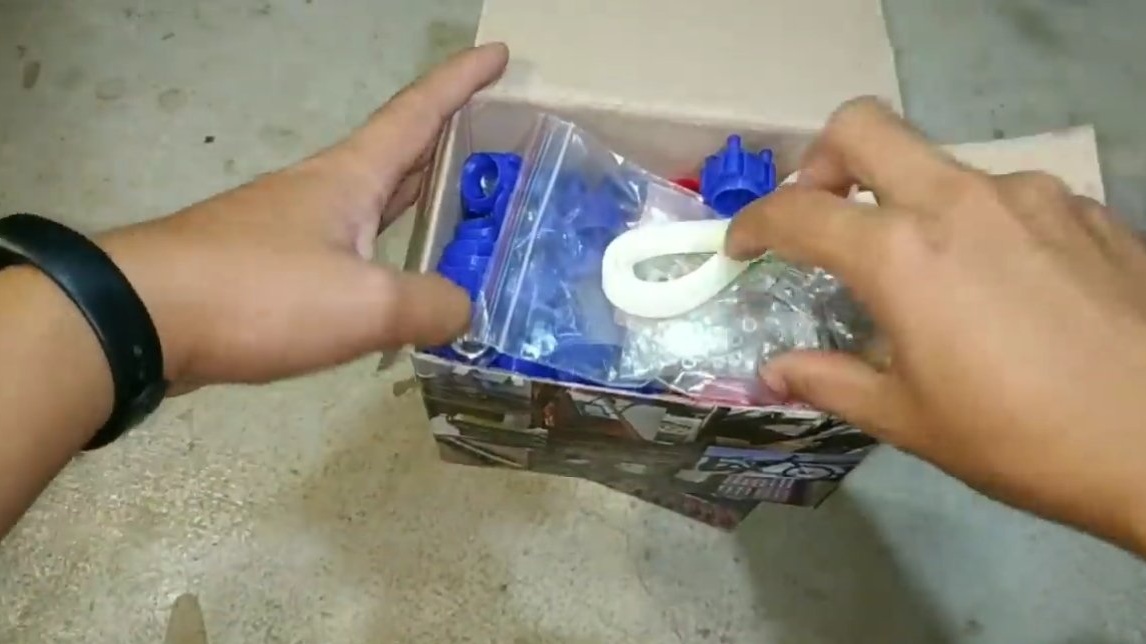
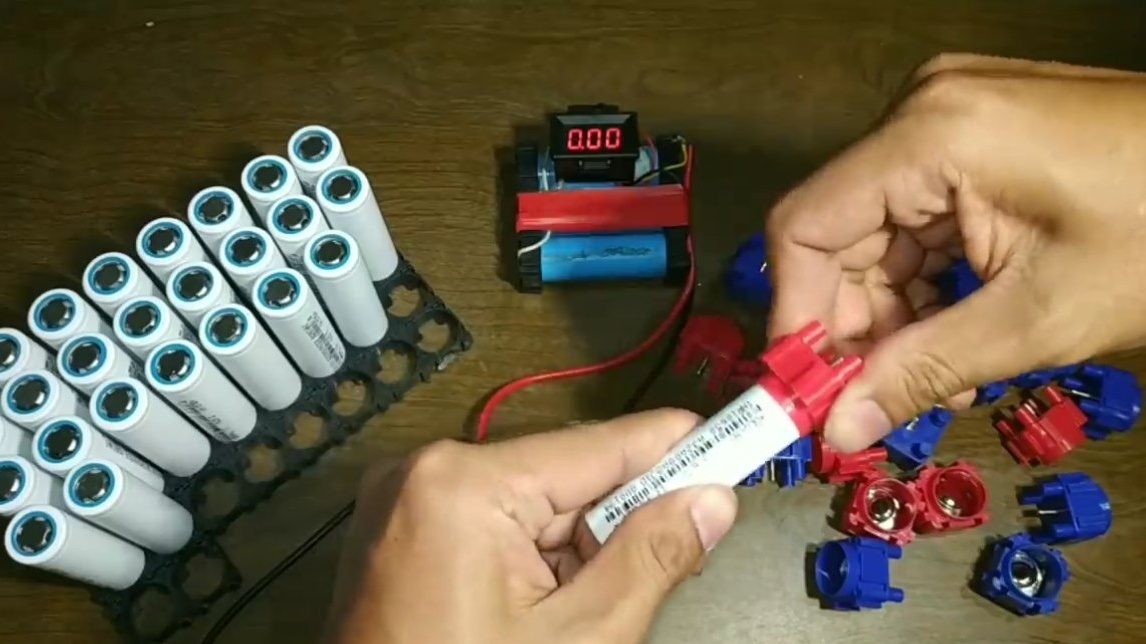
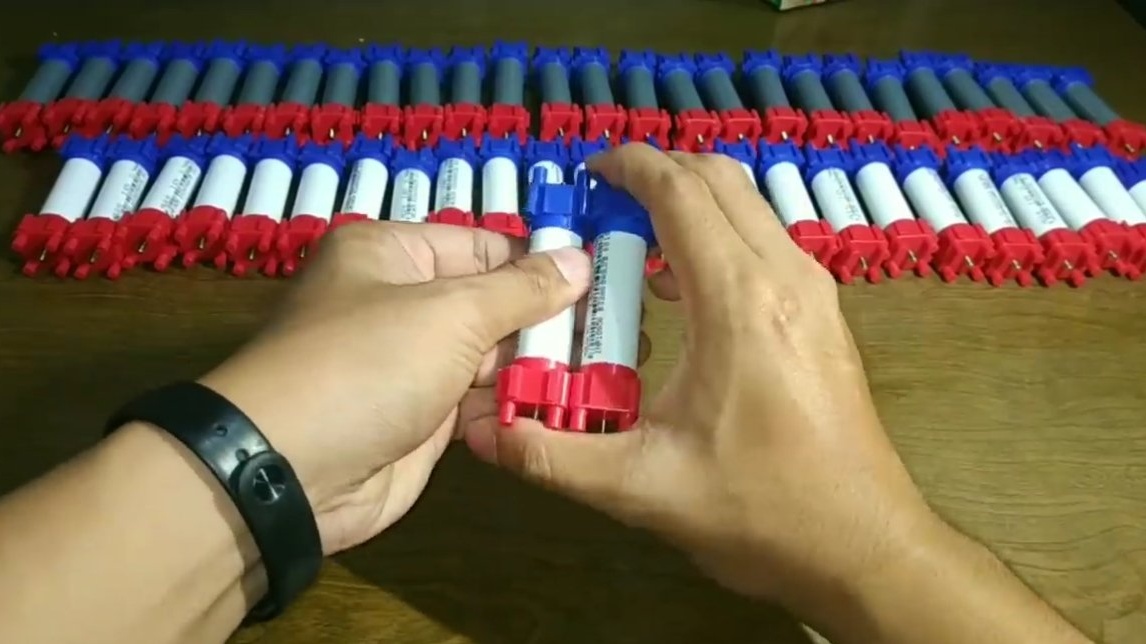
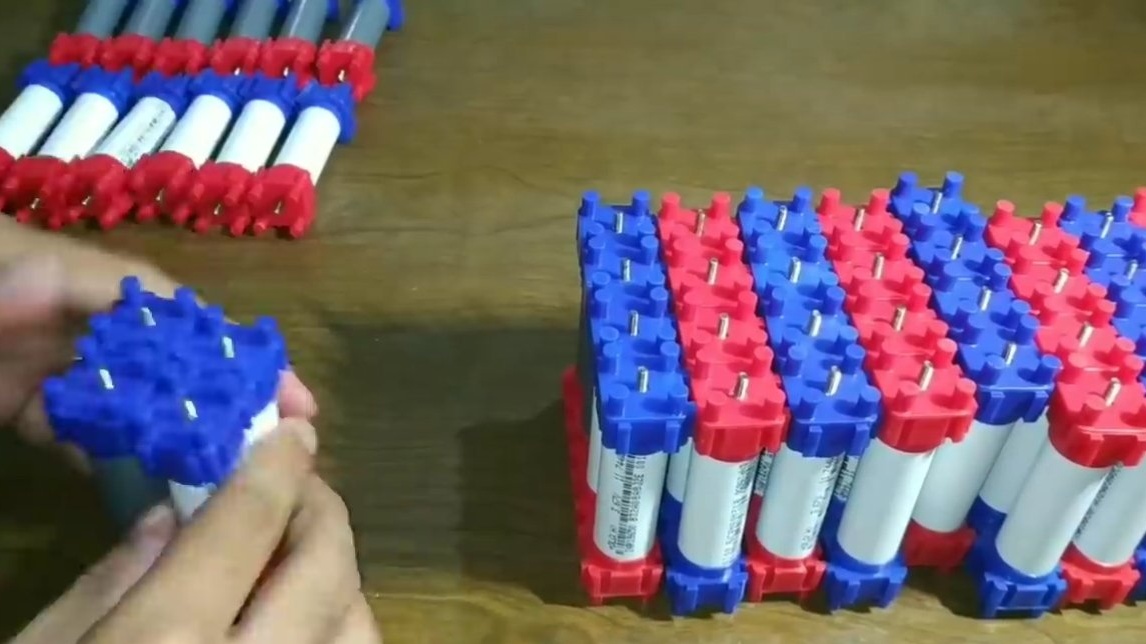
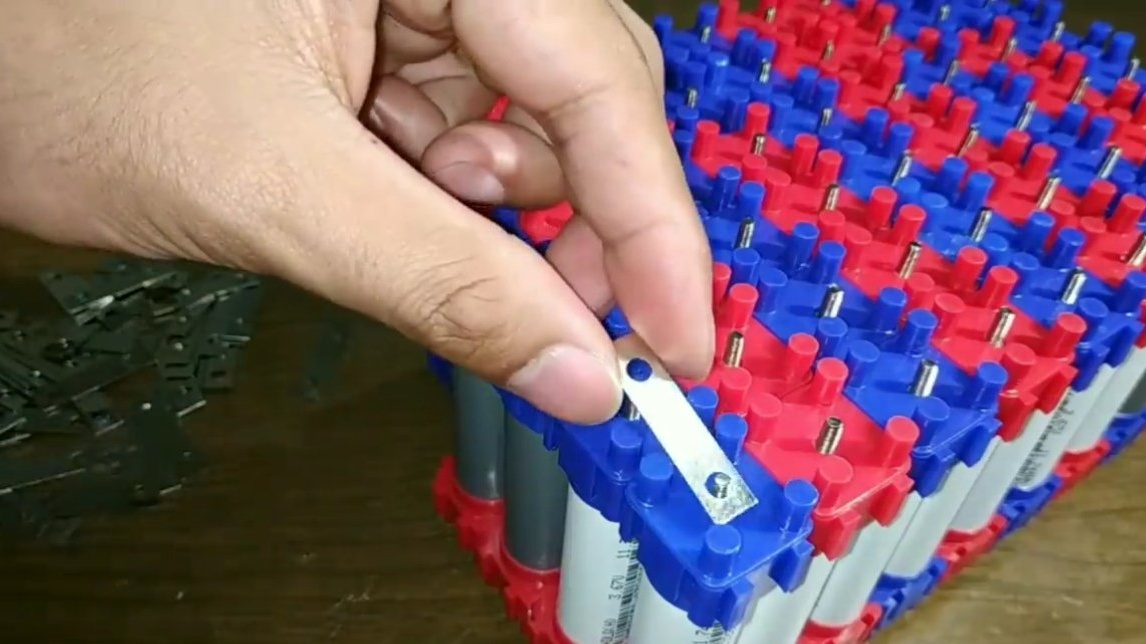
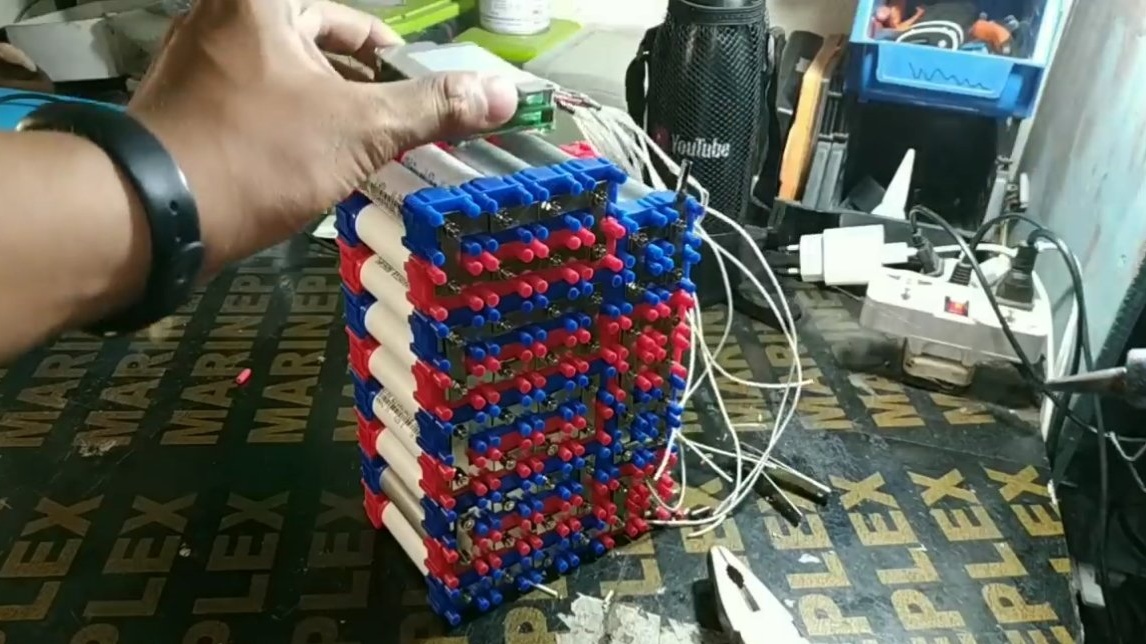
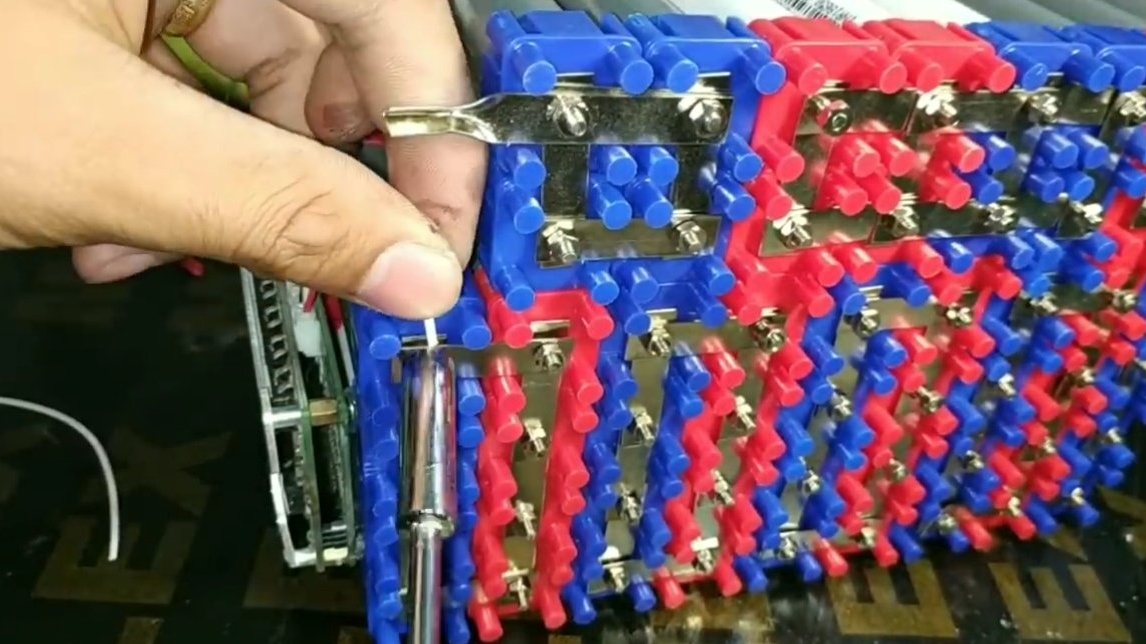
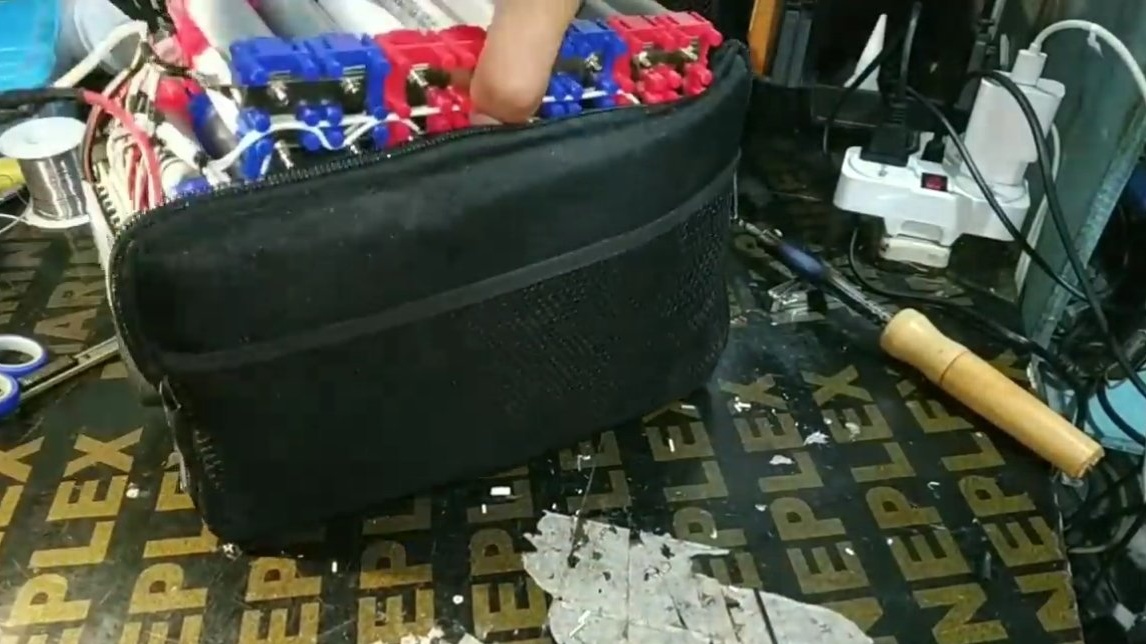
The author made the battery himself from the old 18650 cells. Such cells can be obtained from old laptop batteries, but each cell must be checked for operability. The author assembled a battery using special connectors that connect together as a designer.
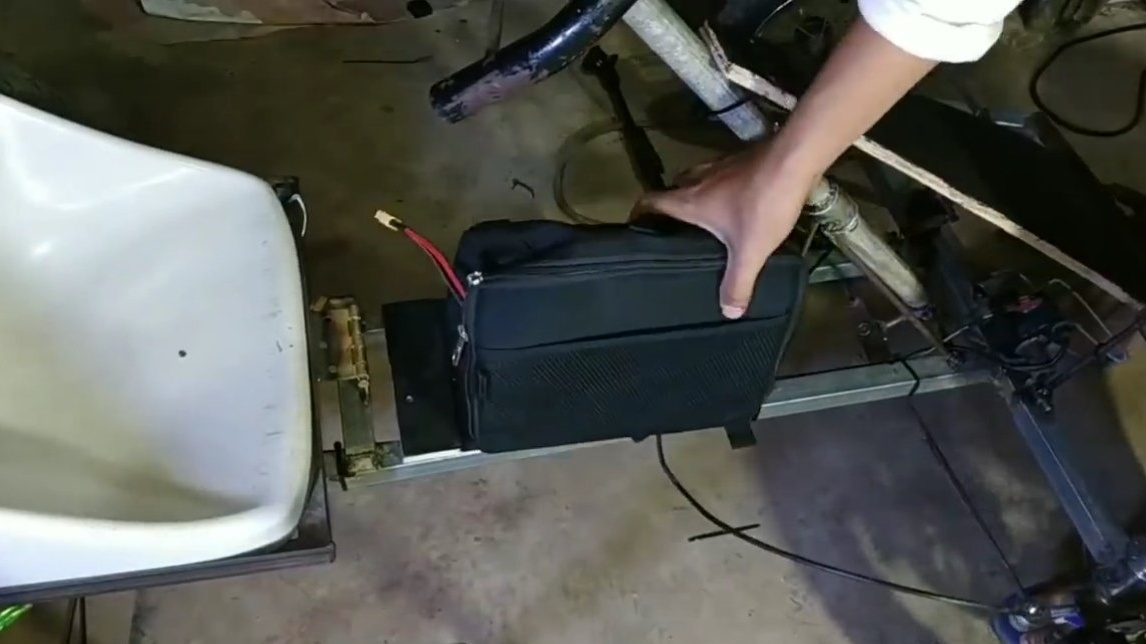
Be sure to put a BMS controller under a specific battery, which will protect your battery from deep discharge and overcharging. So that the battery can be removed and taken away for charging, the author installed it in a fastening bag.
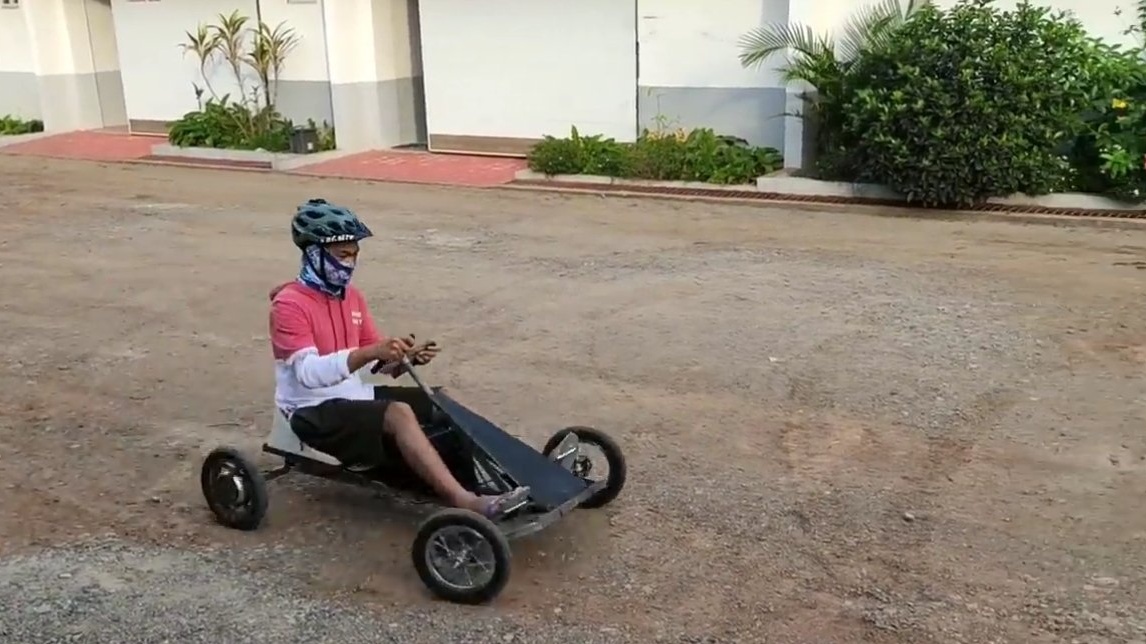
That's all, the car is ready, you can experience it. The author travels quite briskly, the cards turned out to be successful, the child will be happy with such homemade work. The project is completed on this, I hope you liked the homemade work, and you found useful thoughts for yourself. Good luck and creative inspiration, if you decide to repeat this, do not forget to share your ideas and homemade things with us!