
In this article we will look at how do it yourself make a curved board - a children's toy. The following description and instructions are taken from the Matthias Wandel YouTube channel.
This board will be a good gift for children, it remains to figure out how to make it. According to the master, curved lamination from thin pieces of plywood will be the least labor-intensive manufacturing option.
Acquainted with homemade in video format you can see below:
Necessary tools and materials:
- a sheet of birch plywood with a thickness of 3 mm and a size of 1.5 x 1.5 m .;
- roulette;
- a pencil;
- table saw;
- automobile belt for securing cargo;
- PVA carpentry glue;
- a lot of clamps;
- router;
A large part of this project is the creation of a bending form. This form requires more work and material than the board itself. The task of the master was to try to make a board without bending the form.
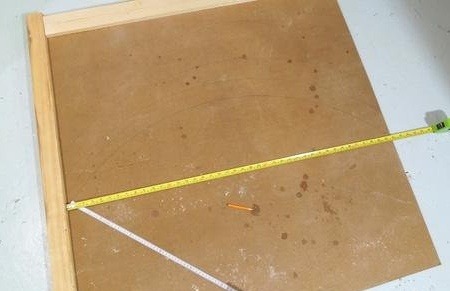
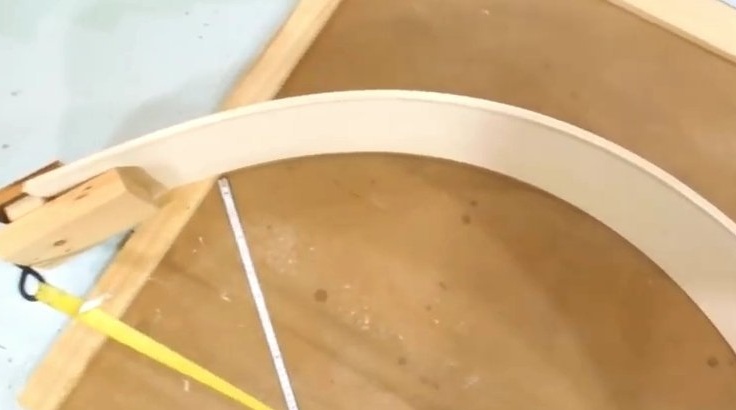
The first step was to work out a form. The master used roulette as a compass to draw lines of different radii to figure out which curve he would like to see.
As a material, a 3 mm sheet was purchased. 1.5 mx 1.5 m birch plywood.
This sheet was cut in half in the store. Then the master cut each half into three strips 25 cm wide.
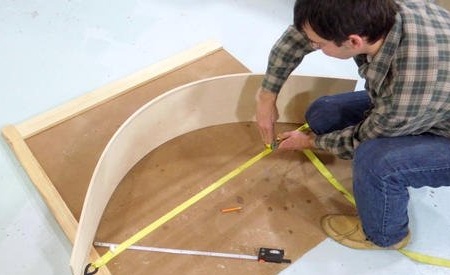
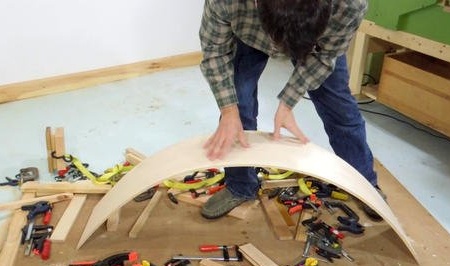
The first experiment with curve bending. The master uses a belt to secure the load, tied to one end, to see which bend is obtained.
The load belt has no leverage on the edges, so the ends of the boards, with much less bending moment, are relatively straight.
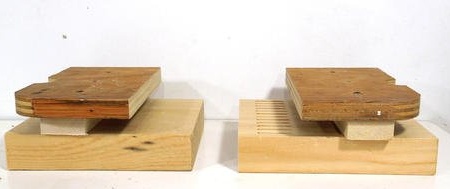
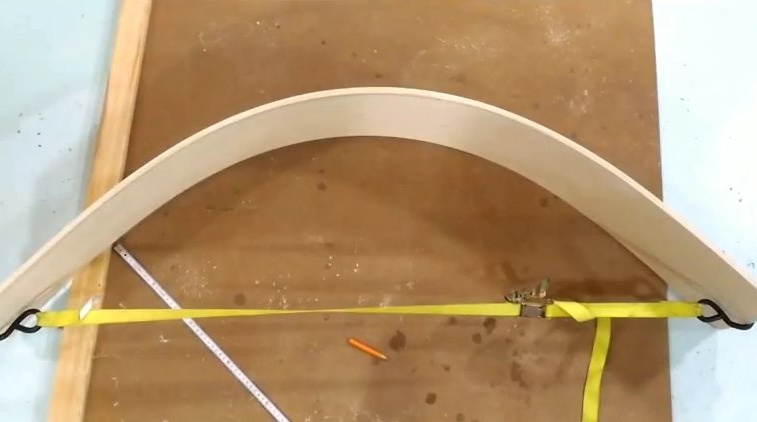
Therefore, the master made blocks so that you could catch on the edges of the board and thereby lengthen it.
Check first with three layers. Blocks have worked.

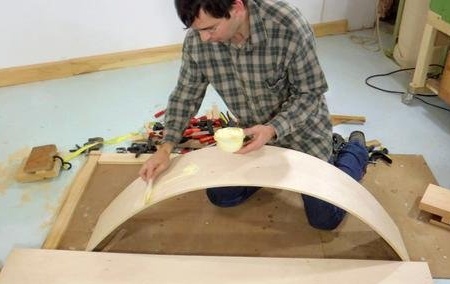
The next step was a gluing attempt. The master decided to glue three layers, and if possible, add the remaining layers.
He uses a rubber spatula to apply glue.
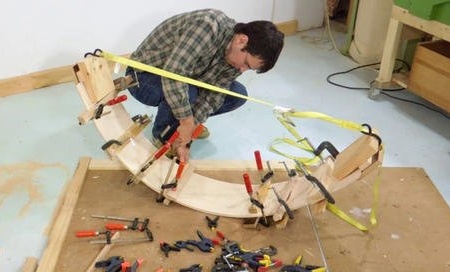
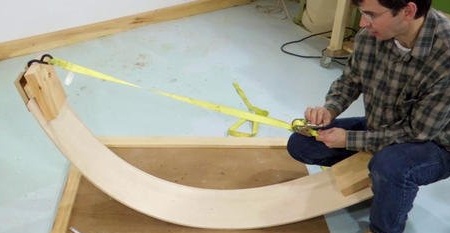
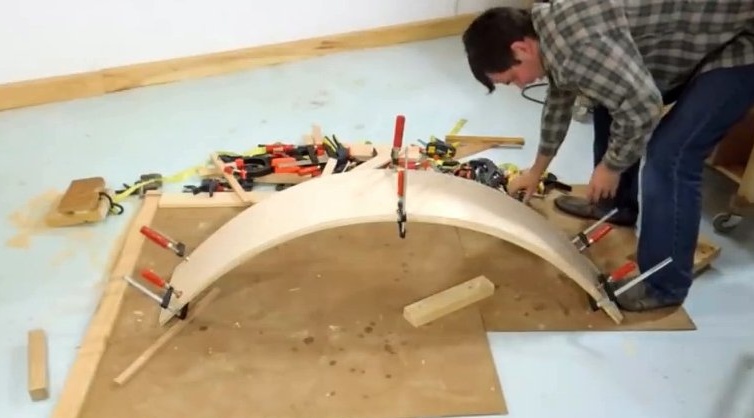
On a three-layer lamination, stretched in an arc, the master fastens many clamps.
The glue should dry within 24 hours.
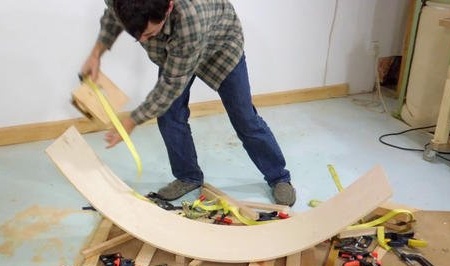
The next day, the master removed the clamps and belt.
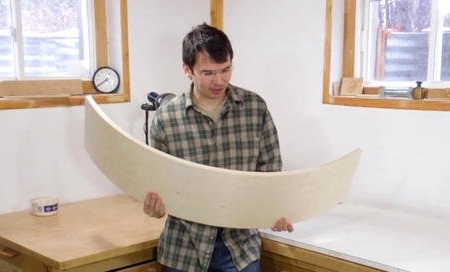
The future board retained its shape quite well. But with a thickness of only 9 mm, it is quite flexible.
The master began by applying glue to the outside of the already built form.By the time he finished applying the glue to the other five surfaces, the first surface had already begun to dry, so he had to apply a second layer of glue.
For the first three layers there were only four surfaces for applying glue, but adding three layers meant applying glue to six surfaces.
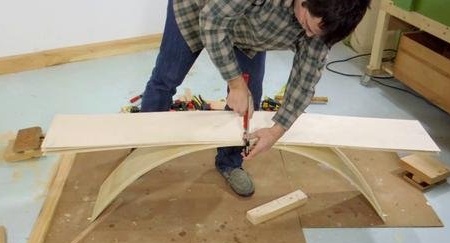
Before starting gluing, the master outlined the centers of all the boards. For proper alignment, he first just aligned the centers.
After that, the layers were stretched to the bottom and clamped on each side.
This straightened the curve a little.
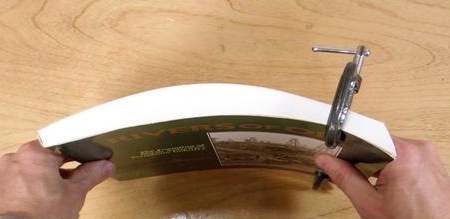
To illustrate the process, you can look at the pages of the book. Pages are rigidly attached to each other on both sides ....
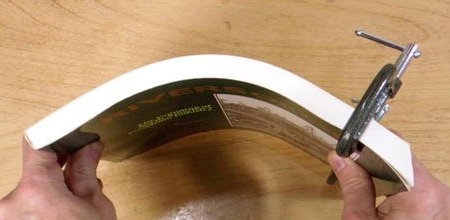
... if the curvature is increased, then the layers will be compressed together.
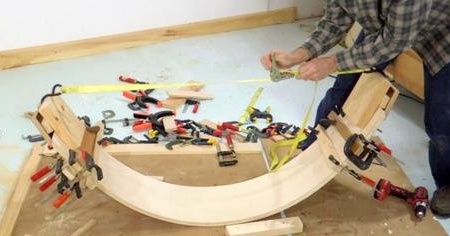
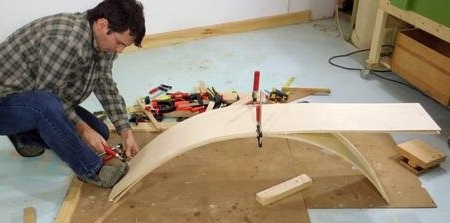
Therefore, the master clamped the parts at both ends, and then again pulled the edges with the help of a cargo belt, believing that this should bring the layers together everywhere.
The situation was complicated by the fact that the sandwich was too thick for the blocks to catch on the edges. This led to large delays when unscrewing the blocks and twisting them together with a small gap in them.
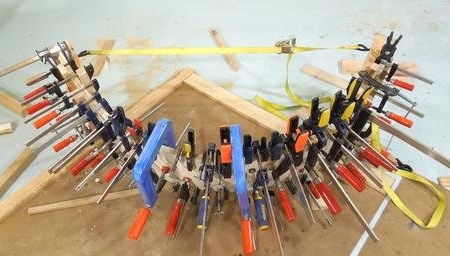
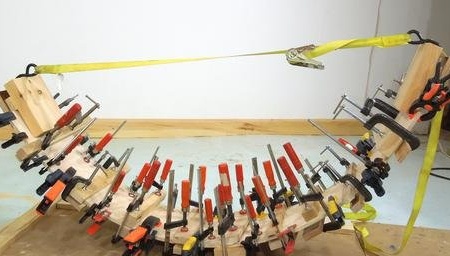
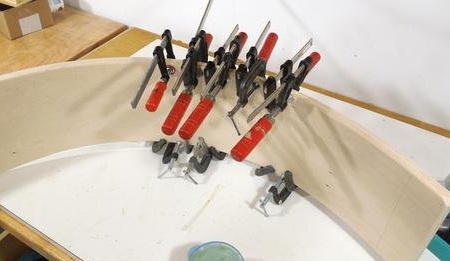
While visible gaps remained at the edges of the tree, clamps had to be reinstalled. A lot of clamps!
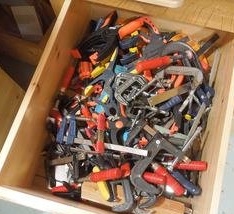
Fortunately, the master has a lot of different clamps!
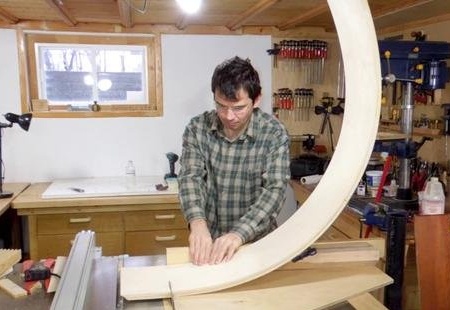
The next day, the master cut the board to the required length. She was 1.5 meters, but she still looks a little bulky. The length of such a curved board, which you can buy, is only 86 cm. Therefore, the master left the length of his board about 1.2 meters.
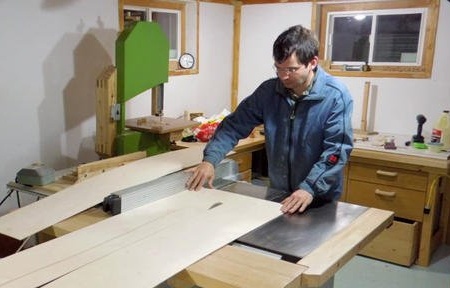
Trimming edges on a table saw.
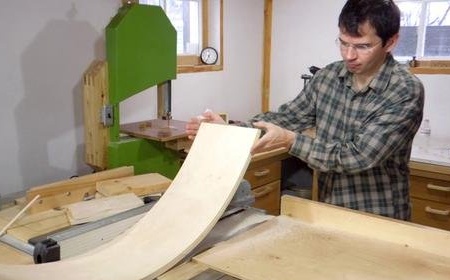
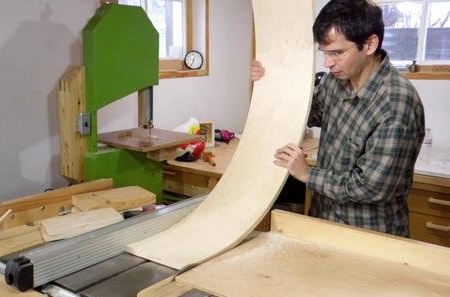
It would be too difficult and unsafe to push the entire arc along the saw in one motion, so, having gone half the way, the master pushed it past the disk ....
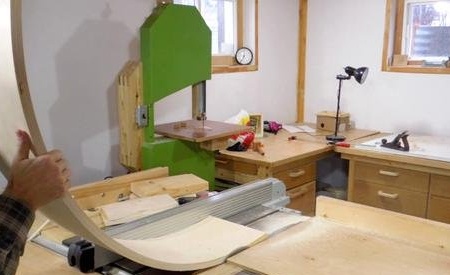
... then he went around the saw, turned the board over himself and finished the cut.
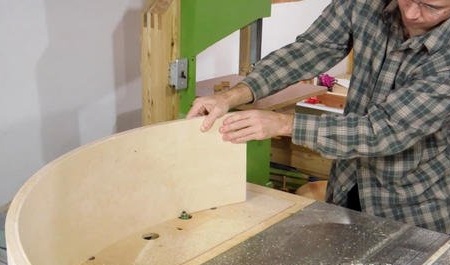
The next step is rounding.
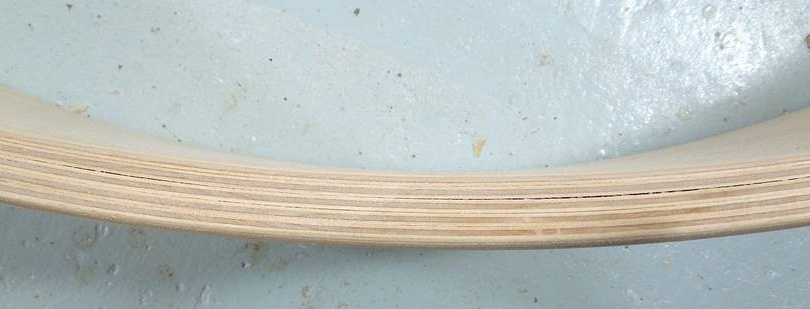
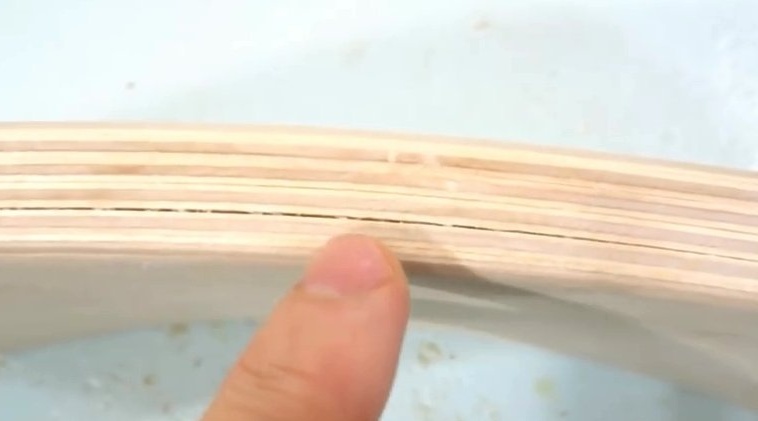
Unfortunately, the plywood sheets were glued with some errors, as can be seen in this photo. The use of glue and clamps takes too much time, so the glue becomes too dry. Have to apply more glue. The master spent about 300 grams of glue.
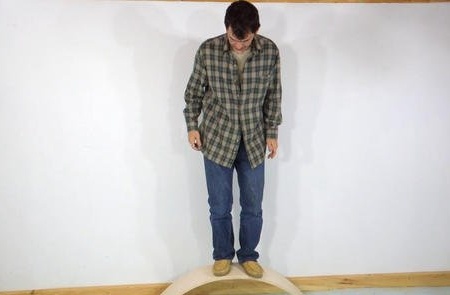
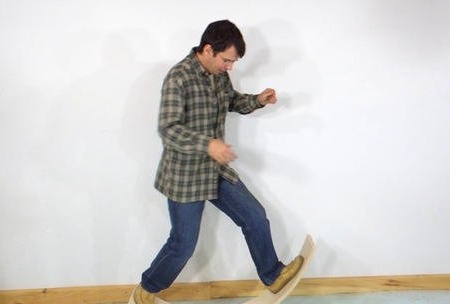
Surprisingly, standing on the board, even a little bouncing up and down, she withstood the weight of an adult!
An attempt to move glued plywood sheets off the ground did not lead to exactly any result. If you look at an example with a book, an increase in curvature compresses the plywood layers together and an attempt to straighten a curve can only break them!
However, the master managed to push one layer of plywood about 5 cm into the largest open gap, so he applied a lot of glue to the cracks and processed the gap as best as possible, and then clamped the plywood with a clamp along with the rest of the layers. After that, he shortened the board by about 10 cm, so that it was shorter and thus less damaging.

The best way would be to have a convex cylindrical shape, and then bend the plywood around the shape, pulling very tightly several belts around the curved shape. This would provide more uniform pressure.
What is a curved board for?
Well, this is an oscillating wheel, a rocking cradle, a bridge, a ramp for hopping toy cars, a fort roof beam from sofa cushions and everything that comes to mind of children.
But in a children's world dominated by television, video games and action figures, the child may not know what to do with this board.
You can watch the video how the children of the master play with this board:
If you liked the author’s homemade, then try to repeat and make.
Thank you for attention.
See you soon!