
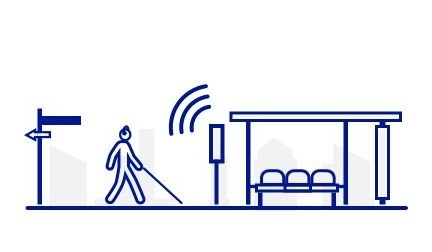
Using the Microsoft Soundscape application (for some reason only available for the iOS operating system), which allows the blind to navigate in space and find out what is around them, using voice prompts, will be even more convenient if you make an external six-button remote control proposed by three authors Instructables - Jazz Ang, Ana Liu and Venkatesh Potluri.
Strictly speaking, Soundscape is not a development of Microsoft Corporation itself, but its division under the name Microsoft Research, which is engaged in experiments and research in various fields. It is believed that even the internal atmosphere there is completely different than in the rest of the corporation.
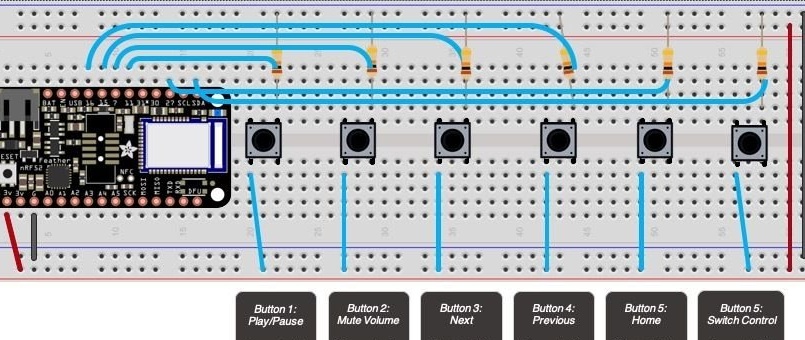
The buttons on the remote control:
1 - start / stop playback of an audio or video file, and when the Soundsdape application is running and running in the background, it also turns on / off voice notifications from this program.
2 - full on / off sound, an analogue of the Mute button on the TV remote.
3 - go to the next track in the audio or video player, and in the Soundscape program - go to the next voice notification.
4 - go to the previous track or voice notification.
5 - duplicates the Home button.
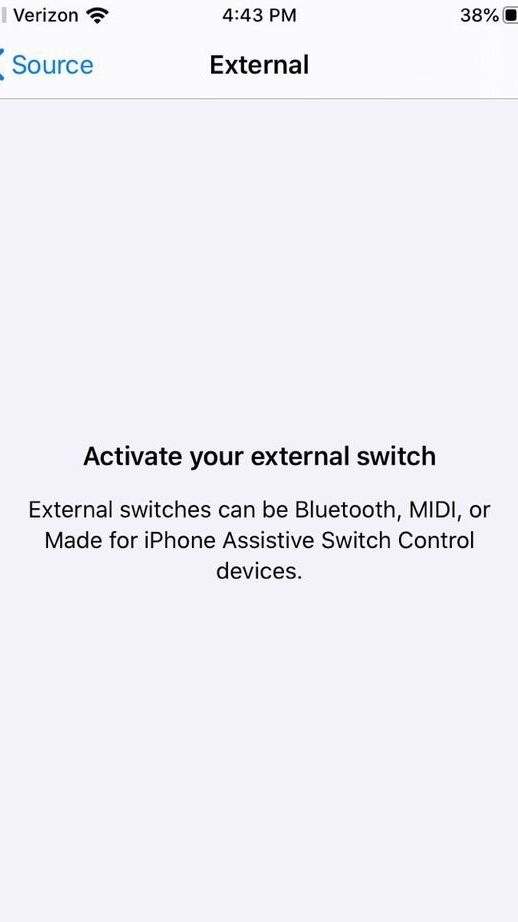
6 - control of the "Virtual controller" mode of the iOS operating system (allows you to use external remotes like described).
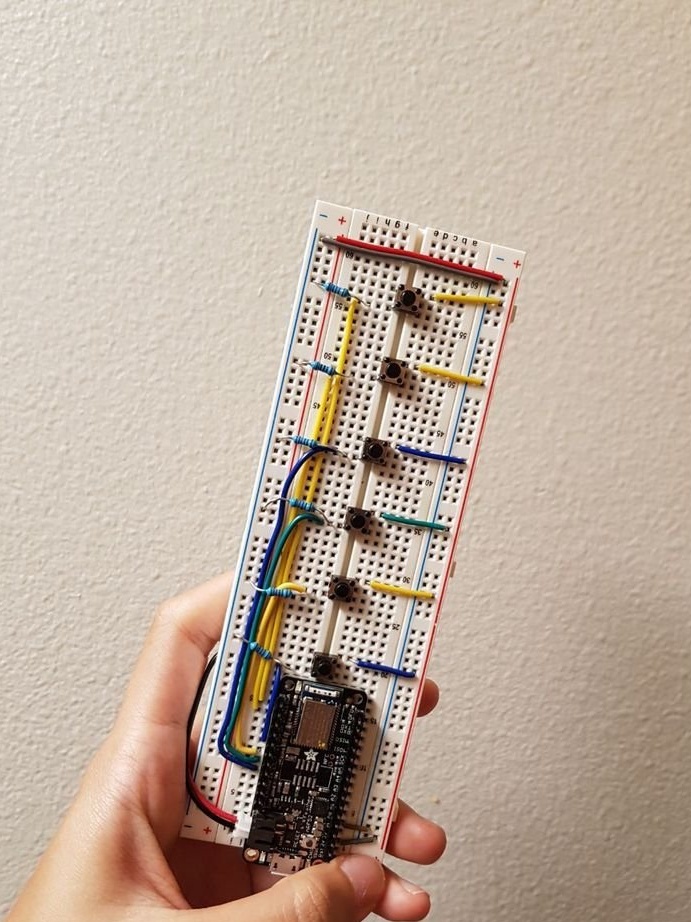
As can be seen from the diagram homemade, compiled in the Fritzing program, the buttons, each of which is supplemented by a 10 kOhm pull-up resistor, are connected to the terminals 11, 7, 15, 16, 27 and 25 of the rather expensive Adafruit Feather nRF52 Bluefruit LE board, which is compatible with Arduino IDE and contains a bluetooth module. When using the device, this board is powered by a standard Micro USB cable from the power bank, and when programming - from a PC. Please note that many power banks turn off automatically when the current consumption is too low, and the shutdown threshold depends on the model.
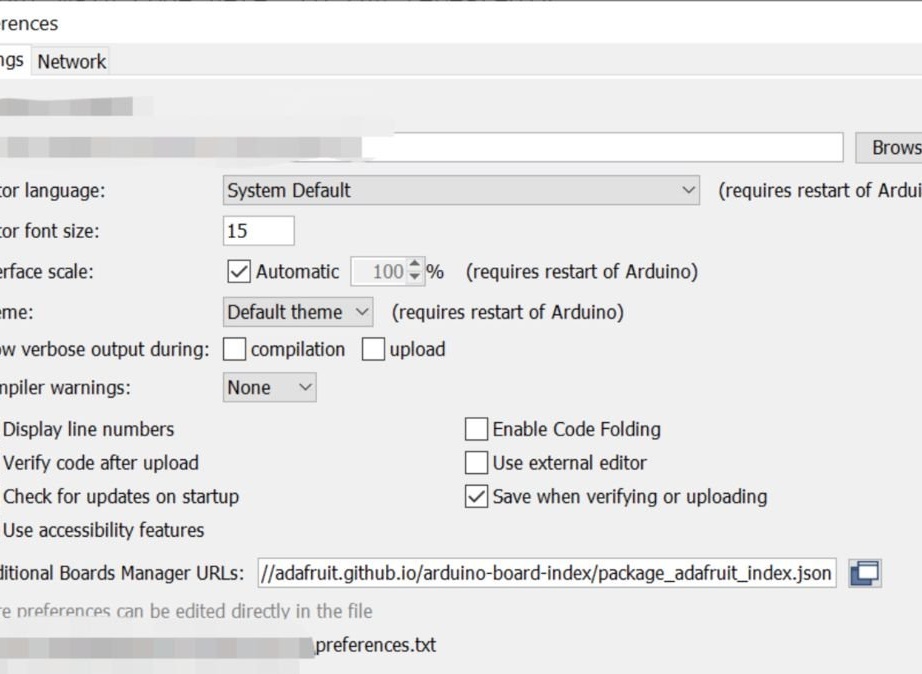
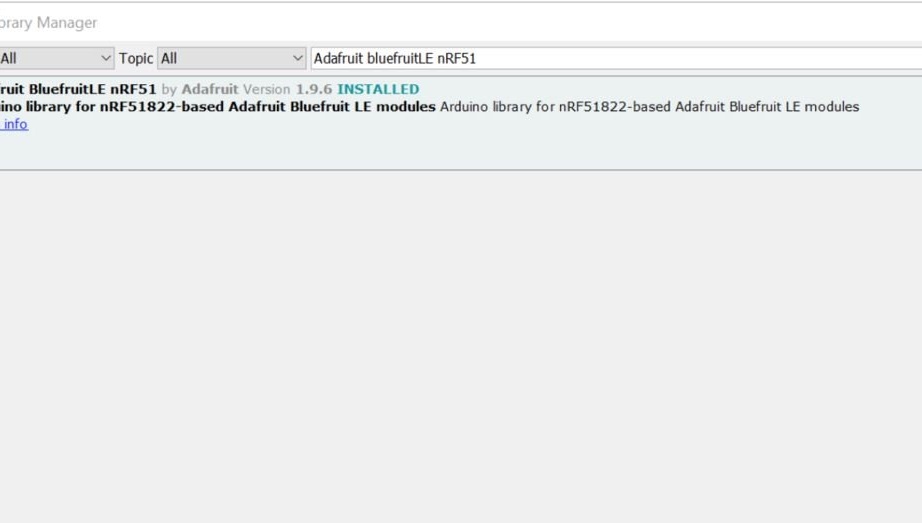
Having assembled the design according to the scheme, the wizards configure the Arduino IDE to work with this board, as shown in the following two screenshots:
Having configured everything, the masters fill in the sketch into the board:
#include

#define CONTROL_PLAY_PAUSE 0x00CD
#define CONTROL_SCAN_NEXT 0x00B5
#define CONTROL_SCAN_PREVIOUS 0x00B6
#define CONTROL_MUTE 0x00E2
#define AC_FORWARD 0x0225
#define AC_BACK 0x0224
#define CONSUMER_BROWSER_HOME 0x0223

BLEDis bledis;
BLEHidAdafruit blehid;

bool hasKeyPressed = false;
// connect pins in the board
int playpauseButtonPin = 11;
int muteButtonPin = 7;
int nextButtonPin = 15;
int backButtonPin = 16;
int homeButtonPin = 27;
int switchControlButtonPin = 25;

void setup ()
{
  pinMode (playpauseButtonPin, INPUT);
  pinMode (muteButtonPin, INPUT);
  pinMode (nextButtonPin, INPUT);
  pinMode (backButtonPin, INPUT);
  pinMode (homeButtonPin, INPUT);
  pinMode (switchControlButtonPin, INPUT);

  Serial.begin (115200);
  while (! Serial) delay (10); // for nrf52840 with native usb

  Bluefruit.begin ();
  Bluefruit.setTxPower (4); // Check bluefruit.h for supported values
  Bluefruit.setName ("TESTArroundMeBluefruit52");

  // Configure and Start Device Information Service
  bledis.setManufacturer ("Adafruit Industries");
  bledis.setModel ("Bluefruit Feather 52");
  bledis.begin ();

  / * Start BLE HID
   * Note: Apple requires BLE device must have min connection interval> = 20m
   * (The smaller the connection interval the faster we could send data).
   * However for HID and MIDI device, Apple could accept min connection interval
   * up to 11.25 ms. Therefore BLEHidAdafruit :: begin () will try to set the min and max
   * connection interval to 11.25 ms and 15 ms respectively for best performance.
   * /
  blehid.begin ();

  / * Set connection interval (min, max) to your perferred value.
   * Note: It is already set by BLEHidAdafruit :: begin () to 11.25ms - 15ms
   * min = 9 * 1.25 = 11.25 ms, max = 12 * 1.25 = 15 ms
   * /
  / * Bluefruit.Periph.setConnInterval (9, 12); * /

  // Set up and start advertising
  startAdv ();
}

void startAdv (void)
{
  // Advertising packet
  Bluefruit.Advertising.addFlags (BLE_GAP_ADV_FLAGS_LE_ONLY_GENERAL_DISC_MODE);
  Bluefruit.Advertising.addTxPower ();
  Bluefruit.Advertising.addAppearance (BLE_APPEARANCE_HID_KEYBOARD);

  // Include BLE HID service
  Bluefruit.Advertising.addService (blehid);

  // There is enough room for the dev name in the advertising packet
  Bluefruit.Advertising.addName ();

  / * Start Advertising
   * - Enable auto advertising if disconnected
   * - Interval: fast mode = 20 ms, slow mode = 152.5 ms
   * - Timeout for fast mode is 30 seconds
   * - Start (timeout) with timeout = 0 will advertise forever (until connected)
   *
   * For recommended advertising interval
   * https://developer.apple.com/library/content/qa/qa1931/_index.html
   * /
  Bluefruit.Advertising.restartOnDisconnect (true);
  Bluefruit.Advertising.setInterval (32, 244); // in unit of 0.625 ms
  Bluefruit.Advertising.setFastTimeout (30); // number of seconds in fast mode
  Bluefruit.Advertising.start (0); // 0 = Don't stop advertising after n seconds
}

// using this function to control phone
void sendCommand (uint16_t command) {
  // Make sure we are connected and bonded / paired
  for (uint16_t conn_hdl = 0; conn_hdl  connected () && connection-> paired ())
    {
      // Turn on red LED when we start sending data
      digitalWrite (LED_RED, 1);
      Serial.println ("Sending command ...");

      // Send key press
      blehid.consumerKeyPress (conn_hdl, command);

      // Delay a bit between reports
      delay (10);

      // Send key release
      blehid.consumerKeyRelease (conn_hdl);

      // Turn off the red LED
      digitalWrite (LED_RED, 0);
      Serial.println ("Command sent!");
    }
  }

  delay (250);
}

// using this function to configure with switch control
void sendSwitchControl (String command) {
  for (int i = 0; i
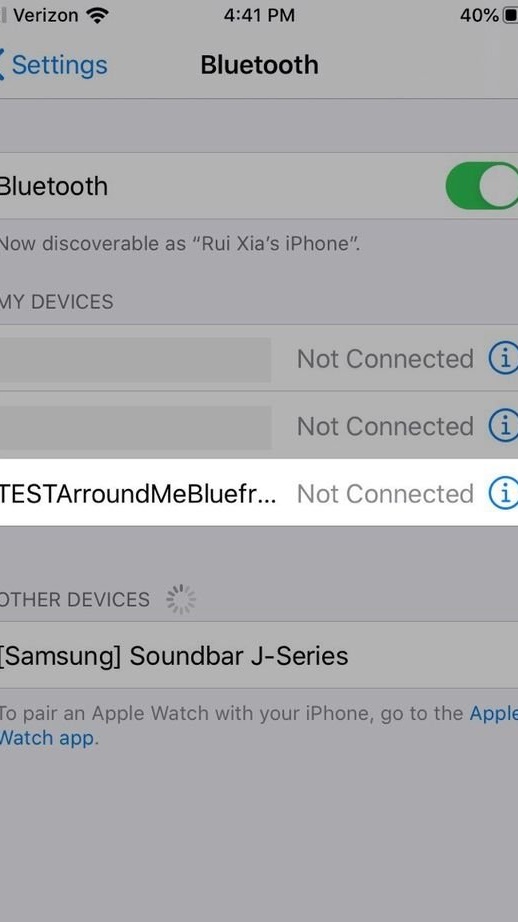
From the side of the iOS operating system, the wizards first set up pairing with the remote control via Bluetooth:
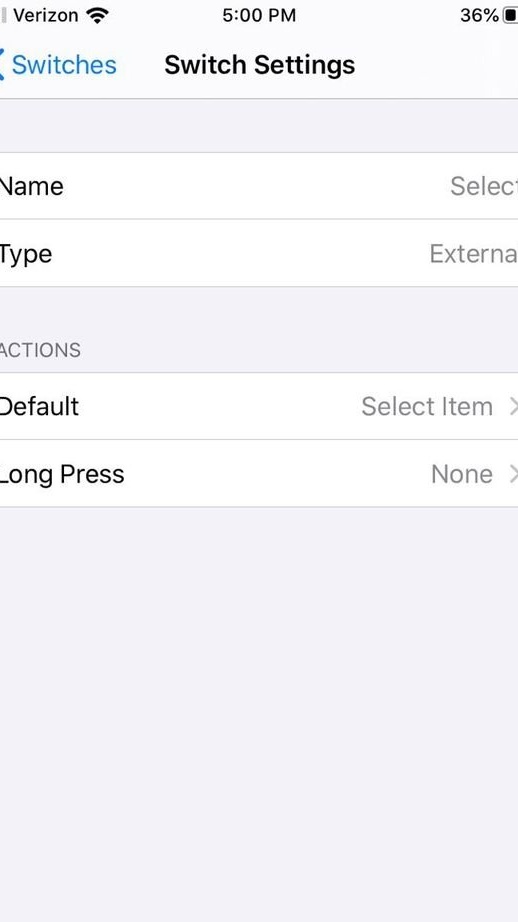
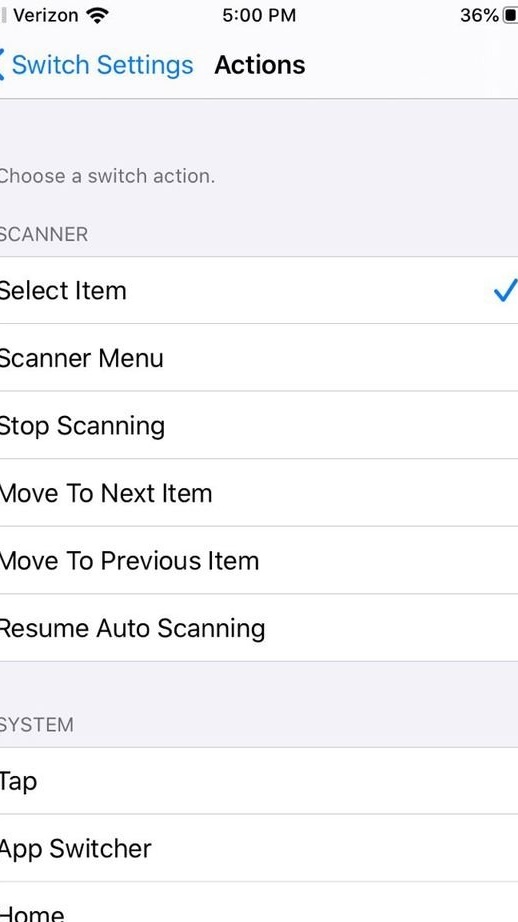
Then - the functions of all buttons in the accessibility section:
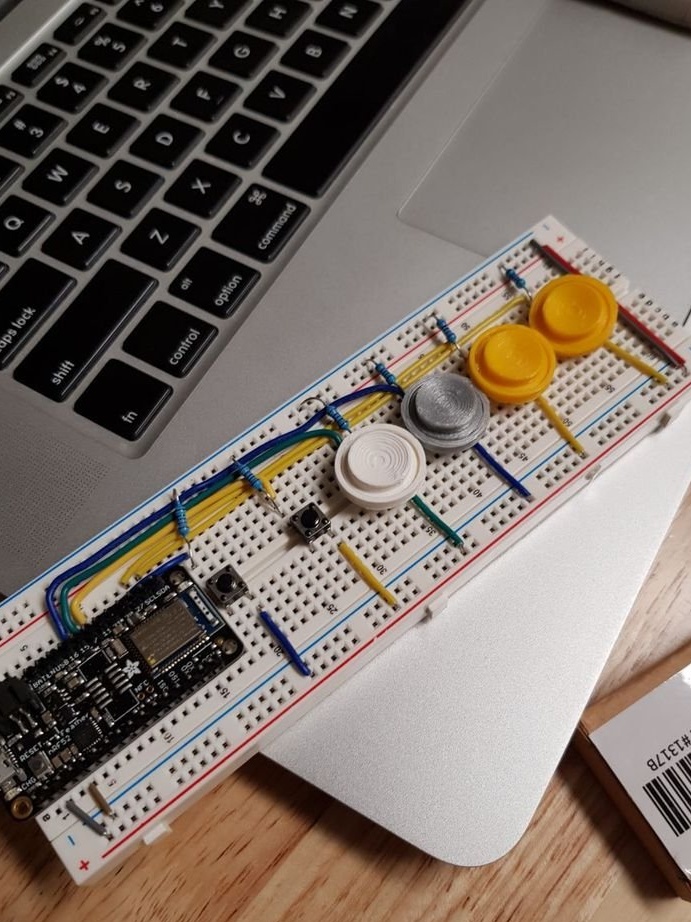
After making sure that everything works, the wizards print button pushers on a 3D printer and share the necessary files with readers on thingiverse licensed under CC-BY 3.0. These parts can be made in other ways, or not made at all.
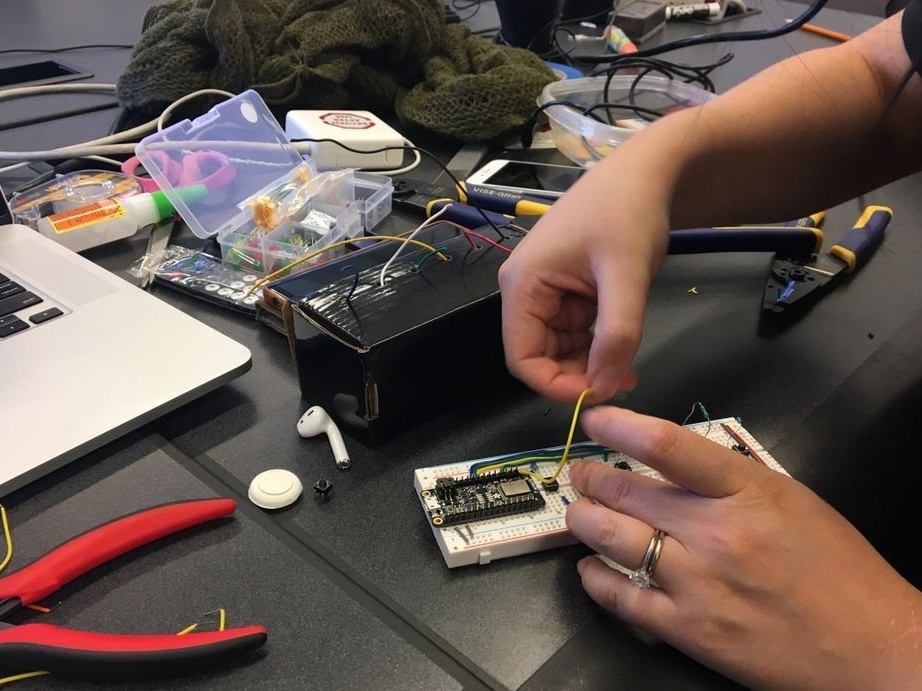
The following two videos show how masters test the remote in action:
It remains to rebuild the remote control in the same way, but by soldering, and put the result in the case, and in iOS install the Soundscape application and run it in the background, and you can use the device.