
Hello dear readers!
From the article below you will learn how to do it yourself make a gate for the stairs in the form of a moving parallelogram for protecting children.
The following description and instructions are taken from the Matthias Wandel YouTube channel.
The child at the master grows and becomes more mobile, so children's gates on the stairs are simply necessary. Some gates are already installed at the top of the stairs, but at the bottom they are much more difficult to do. The gates should lean against the wall so that they simply do not interfere with walking and at the bottom of the stairs there is no such possibility ... or is there?
Necessary materials and tools:
- slats from the old of furniture;
- table saw;
- jointer;
- roulette;
- a pencil;
- square;
- clamps;
- drill stand;
- band-saw;
- mallet;
- screwdriver;
- self-tapping screws;
- loops;
- drill 9 mm;
- crosshead screwdriver;
- cutting knife;
The master had an idea for a children's gate that could really open up the stairs and he decided to bring the idea to life.

The master dismantled the pantry and took out various hardwoods that were preserved from old, discarded furniture.
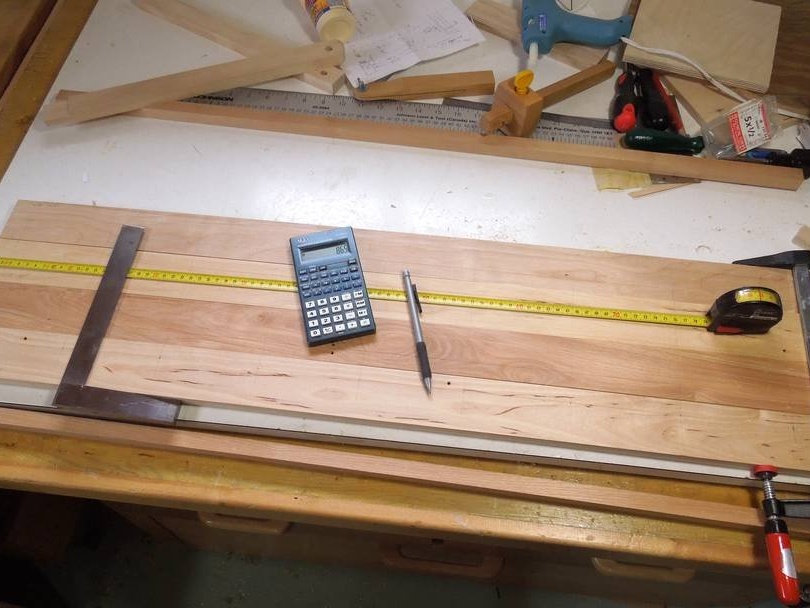
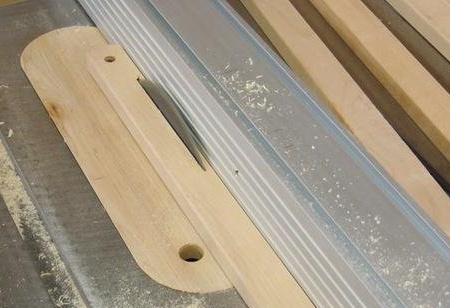
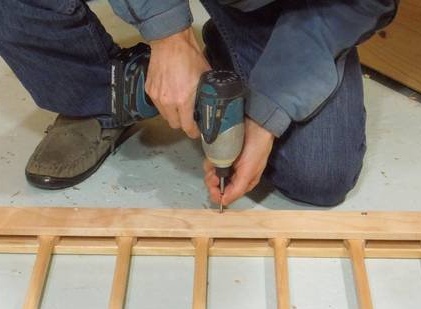
Here the master makes a mark for the guides along which the vertical rails will be attached to them. Reiki will be centered at a distance of 10.5 cm from each other. The distance is narrow enough so that the child’s head cannot climb between them.
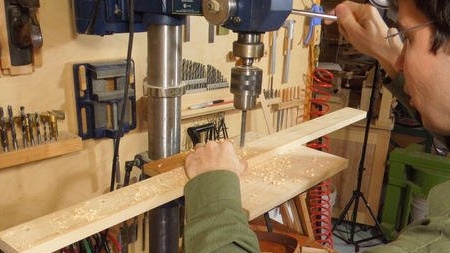
Drilling holes in the guides.
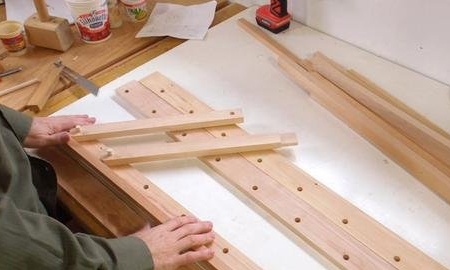
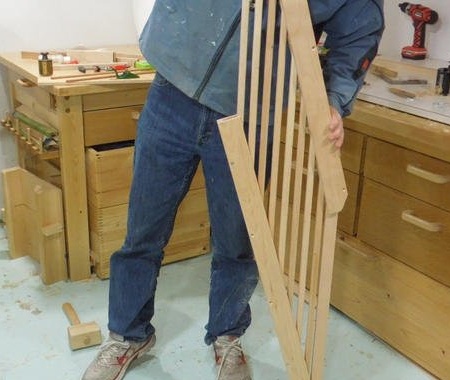
And here you can see how it will work. The slats at this gate will rotate on the dowels, so that all the gates can rise up like a parallelogram.
The rails themselves will certainly be much longer than those with which the master checks.

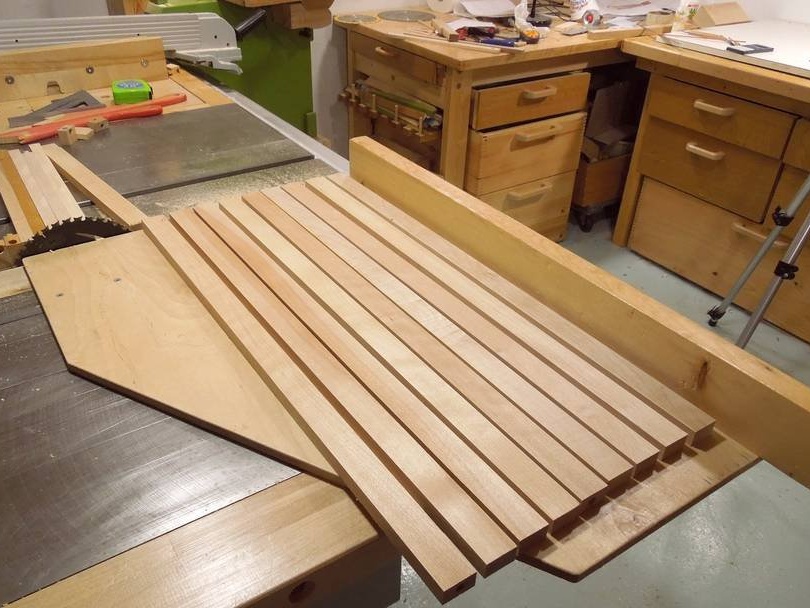
All slats are drilled and trimmed.
However, these gates are quite heavy, especially when compared to light (and fragile) ones that are at the top of the stairs.
But the masters were more concerned that the gates could withstand if a baby climbed over them than that they would be too heavy.
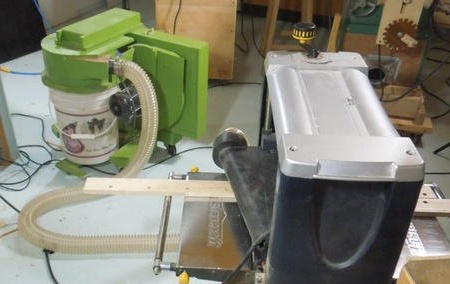
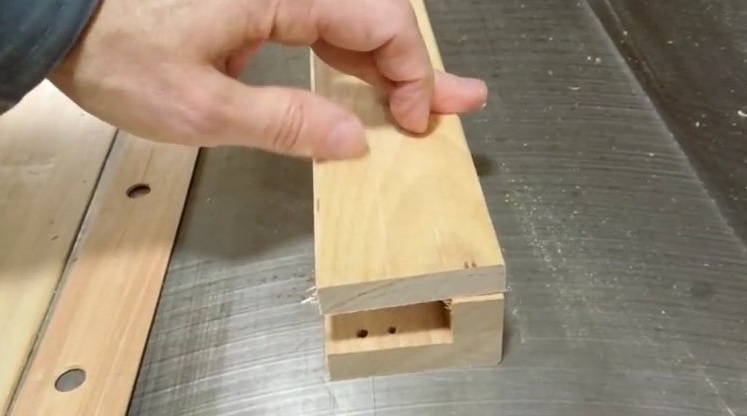
To reduce weight, the craftsman planed the flat part of the horizontal rails. The second half of the horizontal guides was already glued in an L-shape, so he cut it off, cutting it from the inside with a table saw. If you cut the thickness of the material from the outside, then the holes for the pins will be open.
But the bulk of the weight savings was to be obtained by reducing the thickness of the rails themselves.
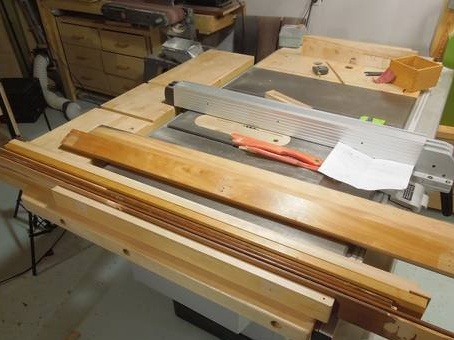
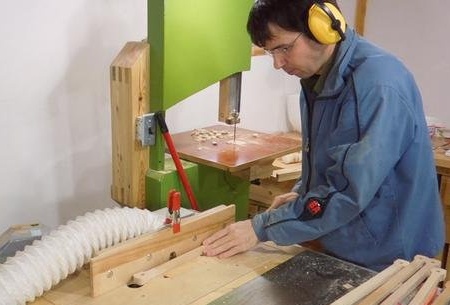
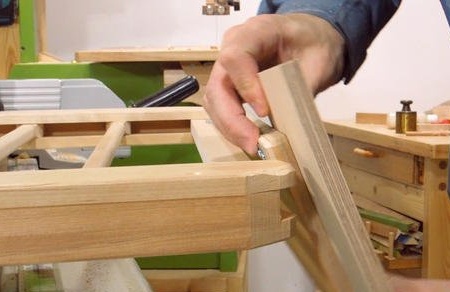
In the photo above, the master cuts the strip from the side of each rail. The mounting points of the rails at the ends, the master wanted to leave thickened over the entire width, so the reduction in thickness had to start with a mortise cut on a table saw. He used a table saw for direct cut, because it makes a cleaner cut.
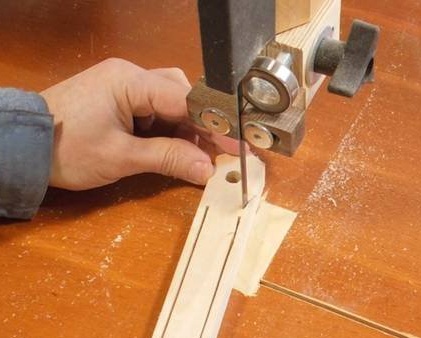
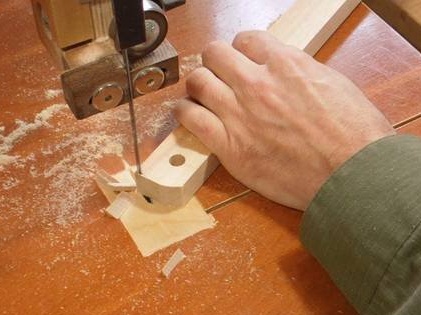
The figured cut on both ends was performed on a band saw.
Then the master rounded the slats with a 6 mm mill. Thanks to rails about 16 mm thick, fastenings look almost round.
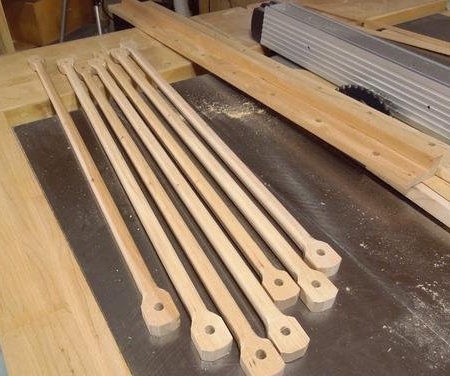
This is how rails look at this stage of work.
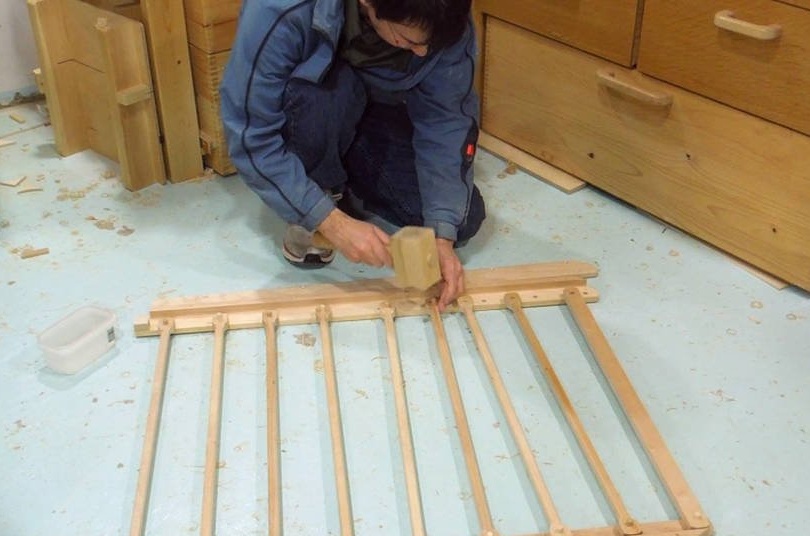
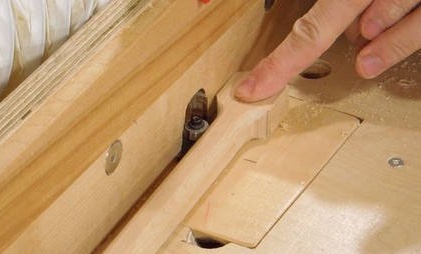
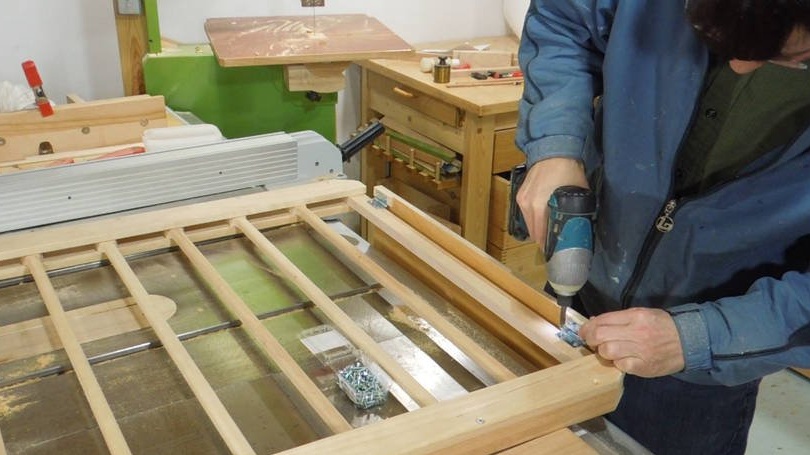
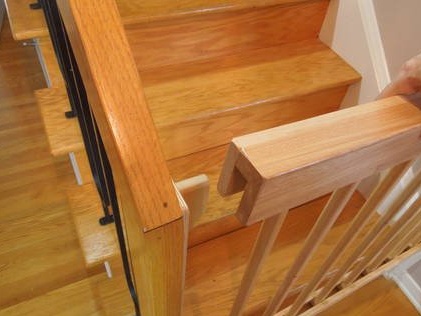
First assembly of gates and installation of rails. The master inserted a short piece of a 9 mm pin into each rail so that this connection acts like a hinge. The dowels fit snugly against the holes in the rails, but the holes in the rails are about 0.8 mm larger, so the dowels can be easily rotated.
The second rail above the first holds the slats and dowels in place. This guide is mounted on self-tapping screws.
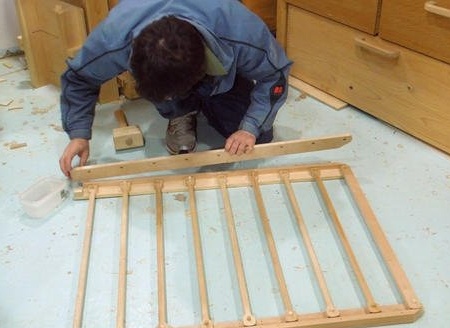
Checking the movement of the parallelogram gate.
The first rail has loops attached to a rectangular profile.
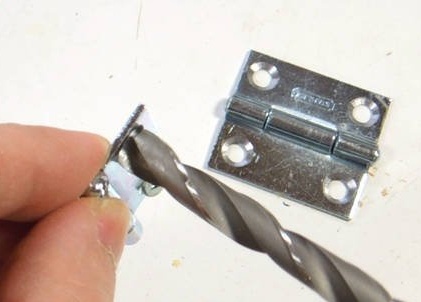
For fastening, the master used several large self-tapping screws instead of the smaller self-tapping screws that come with the hinges. But with large self-tapping heads, the loop no longer folds completely, since they do not twist flush. Therefore, I had to slightly countersink the holes in the hinges with a 9 mm drill.
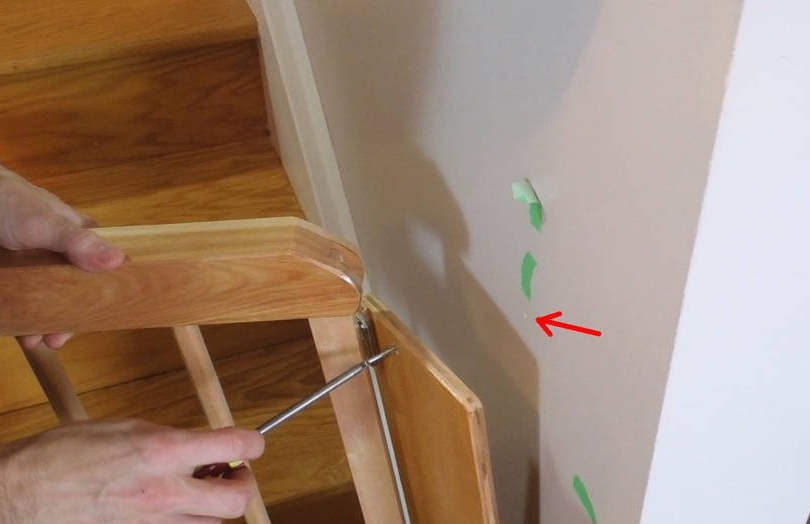
First, a mounting plate was attached using clamps to verify fit. The location of the fasteners with a green ribbon was also noted. First, the master drills a hole through the mounting plate and drywall. When drilling holes for screws, drywall is damaged less.
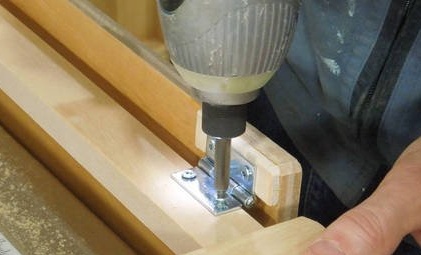
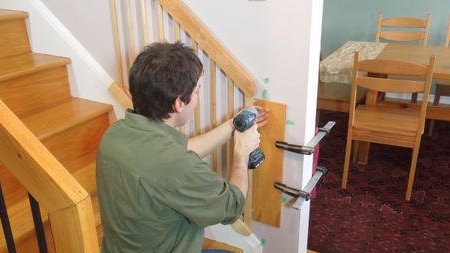
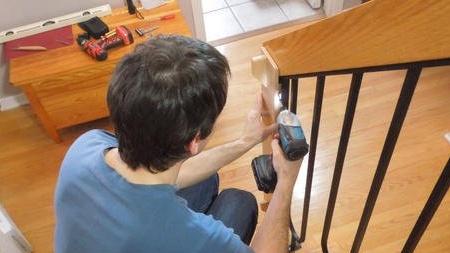
Now, with the help of a wood screw, the master screws the plate directly into the drywall rack.
Since the screw is screwed into the rack, it will have more support, so there is no need for a drywall anchor. This means that the hole should be as large as the screw. This will make it easier to patch the wall in the future when the gate is no longer needed.
It was also required to add several tabs for the gate, so that it was possible to catch on the railing side.
At first, the master wanted to screw them directly into the railing, but then changed his mind, since ugly holes would remain after the children's gates were removed.
Therefore, the blocks were mounted on a piece of plywood. The master glued the rail to the edge of the plywood and screwed it to the rear of the railing, from the end. This mounting also leaves two small holes for screws, but not where the eye usually falls.
In addition, I had to drill four holes, because initially the master mounted the plywood too low. Therefore, he squeezed the railing.
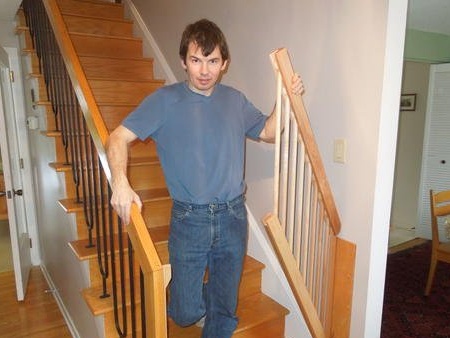
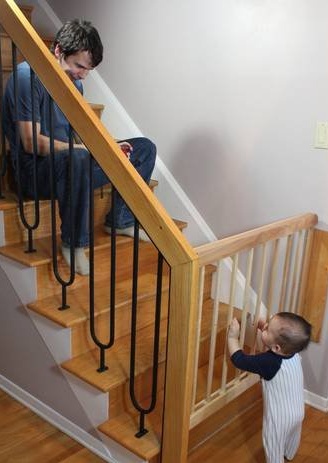
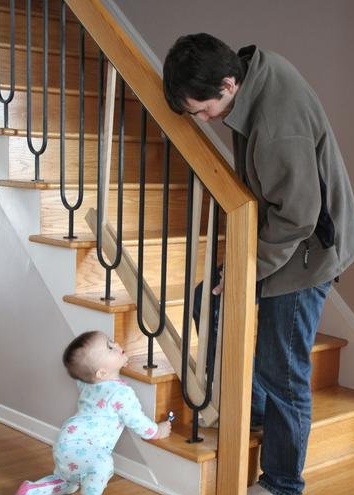
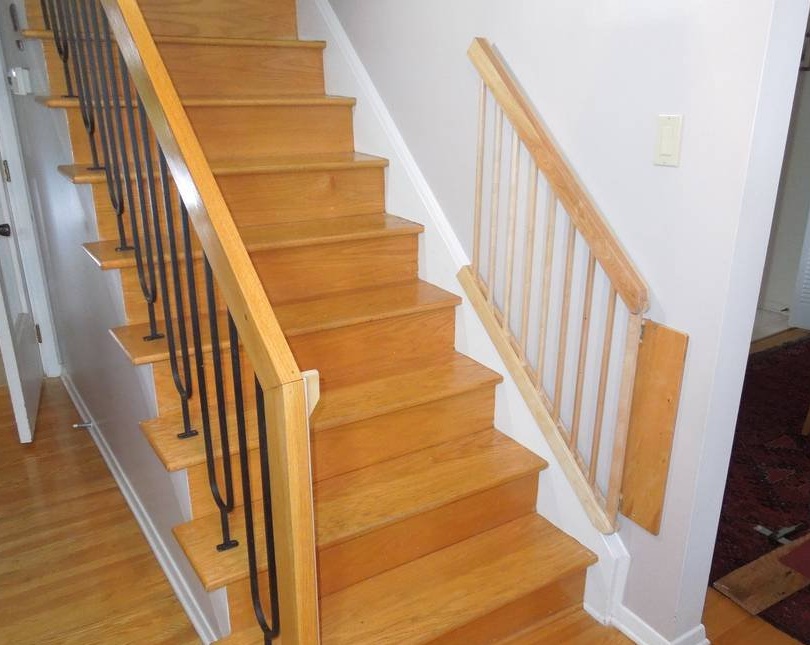
The gates are installed. It's hard to get a good photo showing how the gate works. Here the gates are lifted straight up, but without clues about the depth, the eye simply assumes that the parallelogram effect should be determined by the perspective, so that everything looks wrong.
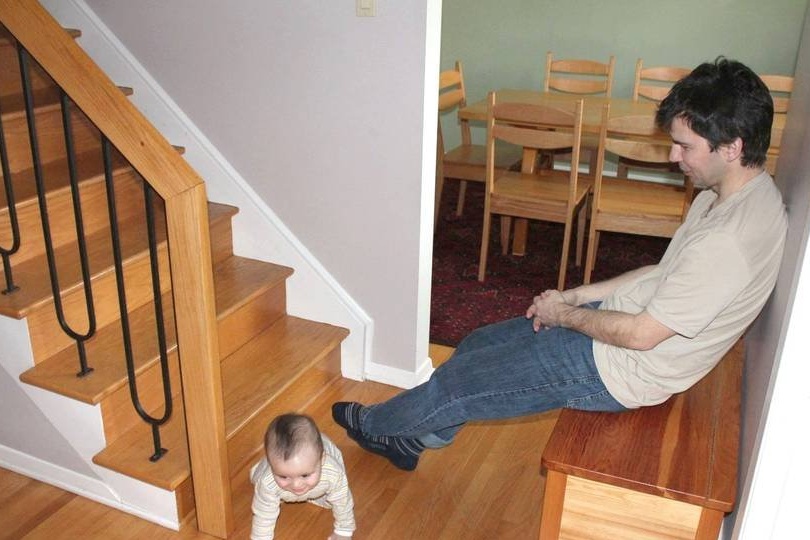
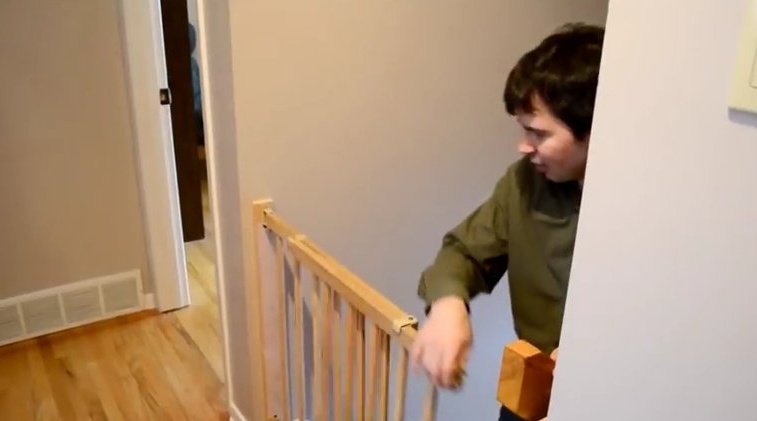
After installing the gate, it became clear that the most natural way to temporarily open them when passing is to open it out. To raise the gates up the stairs is too far, and to go up is illogical. If you turn the gate only 30 degrees, then there is enough space to climb or go down.
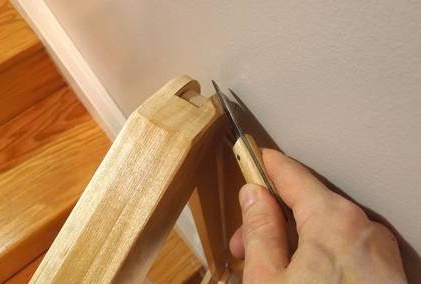
The master did not plan that the gates would generally open outward, but the way the hinges were mounted allowed the gates to open 45 degrees, but only without the ends of the horizontal guides that cut into the walls. Therefore, the master cut them off the wall with a cutting knife. If this state of affairs were to be expected, then loops should be placed at a distance of about 1 cm further from the walls.This would allow the gate to open 180 degrees.
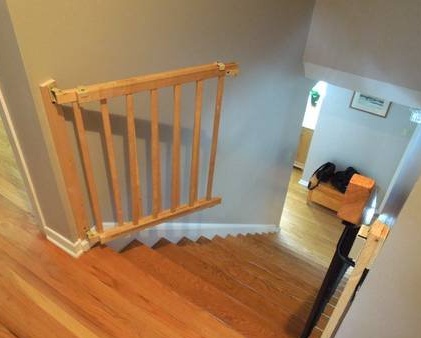
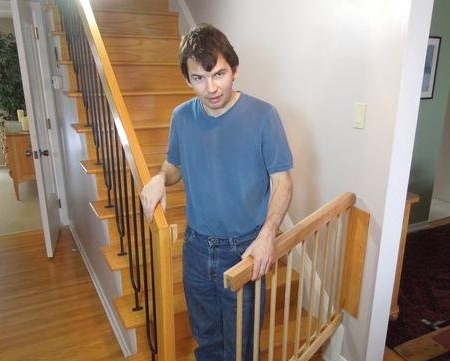
The gates are closed.
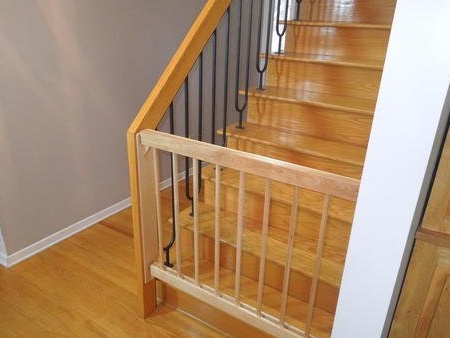
The gates are open and leaning against the wall up the stairs.
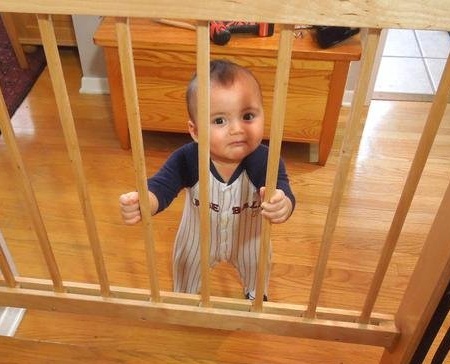
Access is denied!
If you like homemade author, then try to repeat and make.
Thank you for attention.
See you soon!