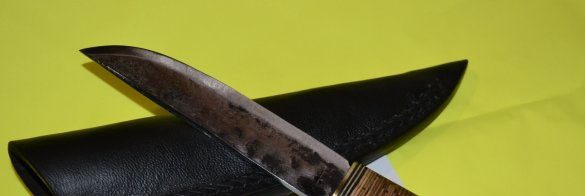
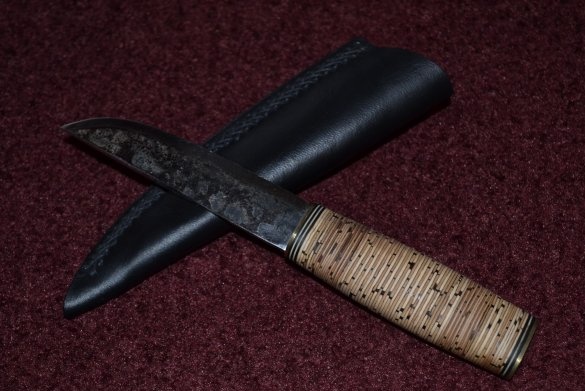
Frankly, initially, when making a knife, I was not going to write and publish an article. There were two reasons for this choice: firstly, this is the first work in this direction, and secondly ... Secondly, that in the runet space a strange situation arose regarding knives, for some reason each counter cross considers himself a master in this matter , and under articles on knives there is always a darkness of angry reviews, even when the work is quite worthy. Although in general I understand the reason for this behavior. The knife is the basic subject of human survival as a species; it is already thousands of years old. Therefore, even in the era of home delivery of noodles, something remained of a hunter in a person, forcing him to express his position very specifically on this subject. But fear the wolves - do not go to the forest, so ...
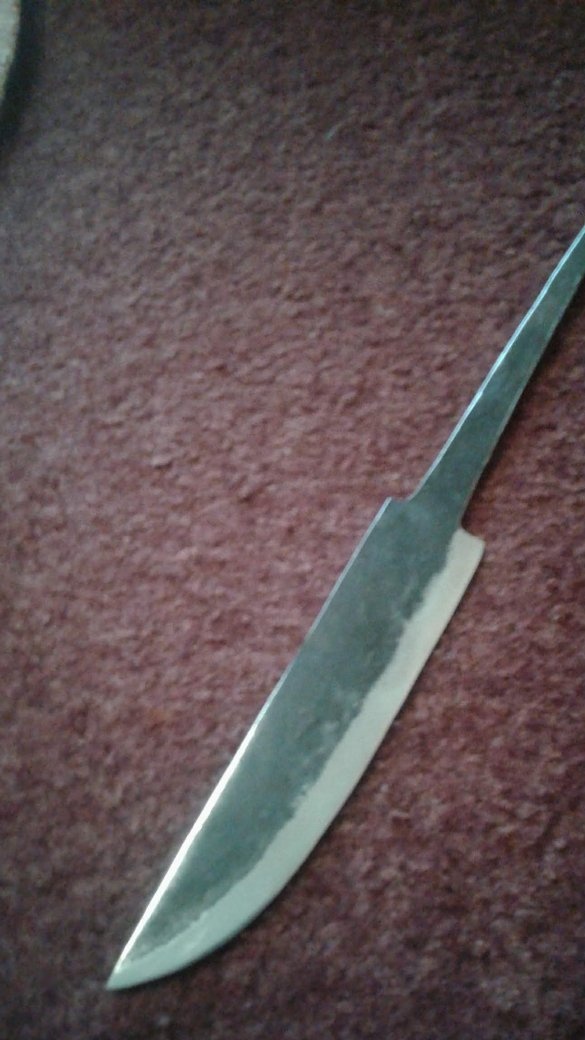
I will start, as always, with the background. I have long wanted a good camping knife, but all the same, my hands didn’t reach, the toad came. And then one summer day, my friend Vladimir suggested to forge the knife yourself. The idea was picked up with enthusiasm and the very next day on hand was such a blank.
Some photos were taken on the phone and didn’t come out very well, because there was no camera at hand. But there are not many of them.
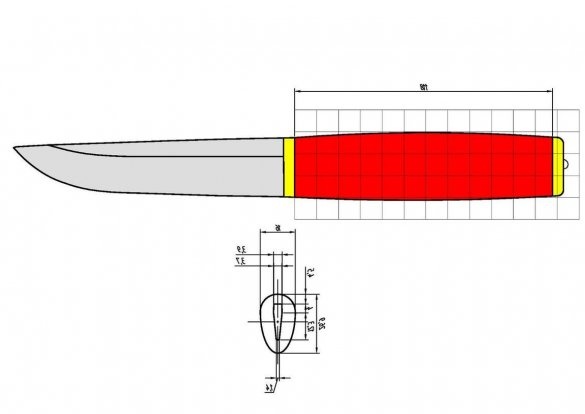
But that I ran ahead. The process began of course with a drawing. In principle, I already knew what I wanted, Finnish puukko. Searches on the Hanseatic League were not long in coming, and after a minute of buzzing the printer, I had a printout of the Scandinavian Tommy, a close knife with which I went to an impromptu blacksmith.
But that I ran ahead. The process began of course with a drawing. In principle, I already knew what I wanted, Finnish puukko. Searches on the Hanseatic League were not long in coming, and after a minute of buzzing the printer, I had a printout of the Scandinavian Tommy, a close knife with which I went to an impromptu blacksmith.
Who cares about the size of the knife - the step of the cage is 10 mm. In the manufacturing process, of course, he left the drawings a little, but not significantly, the blade is several millimeters longer, and the handle is about a centimeter shorter.
Unfortunately, I did not shoot the forging process, but somehow it was not at all before. But in general, this does not matter, since words cannot be explained, this is one of those things that, as they say, you will not try - you will not understand. Briefly - the blade is forged from an automobile spring, tempered in mining. Normalization carried out at home in the oven. The knife is forged by a wedge, that is, the arches are formed during forging. And you need to puff well)
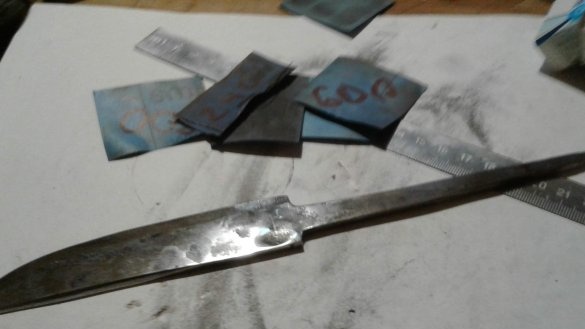
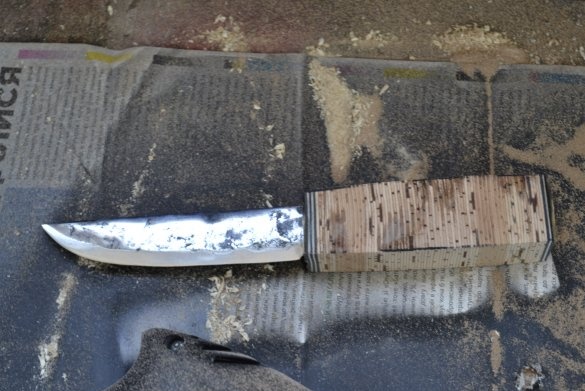
After some time with sandpaper I got this from the workpiece.
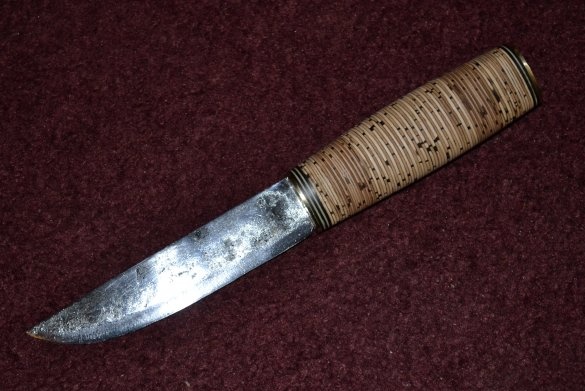
He deliberately did not begin to remove all the pits from the forging. The pits are not deep, they can easily be cleaned of impurities, but at the same time give the knife a certain “primitive” look. This is of course a matter of taste, you may not agree with this, your right.And yes, I know that processing is usually done before hardening. The point is that Vladimir, comrade, does not process his knives after hardening at all (except for sharpening, of course). When quenched in oil on a knife, natural burnishing is obtained, which it leaves to protect against corrosion. But I did not like this appearance and I decided to polish it at least more or less. I decided to make the handle out of birch bark. In general, according to the "classic", the handles for such knives are made of Karelian birch burl, but I went the way of cheapness and accessibility. Looking ahead, I’ll say that birch bark is a great material for these purposes. It is available in our regions (if you know Russian then 99% say that birch trees grow), it is easy to process, the finished handle is very pleasant to the touch and well preserved. In general, a package was drawn from birch bark, I lost a photo of the finished package somewhere, I borrowed it on the Internet, they are no different.
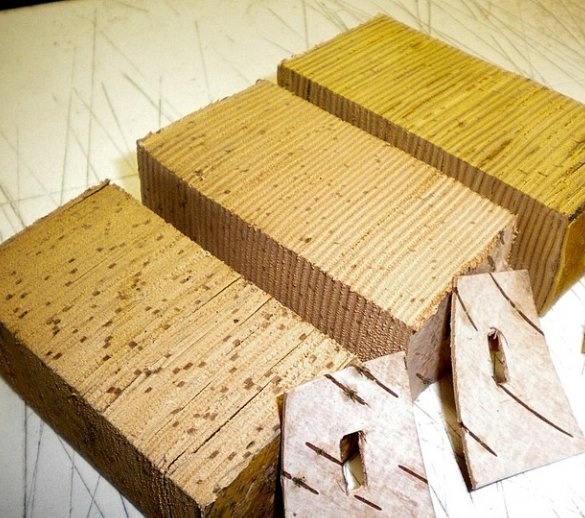
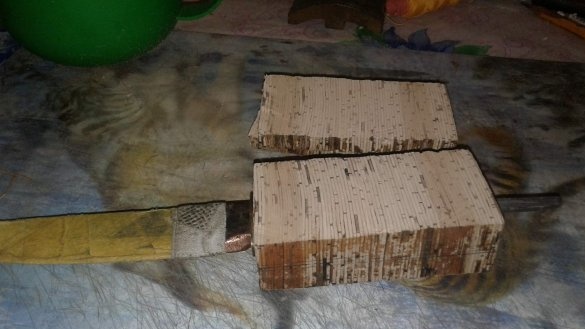
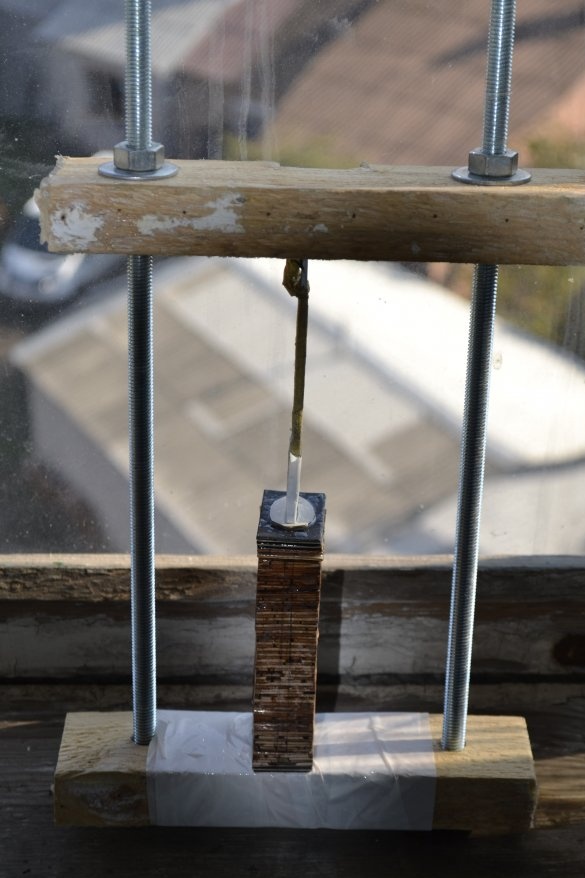
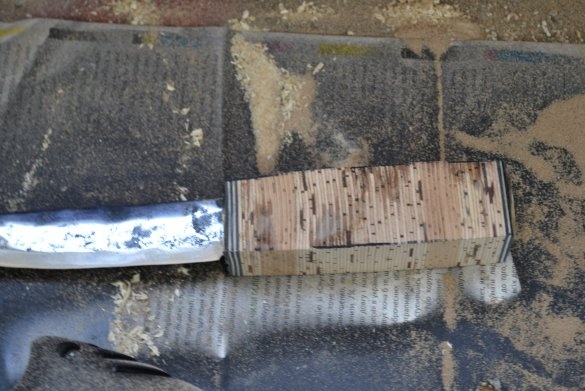
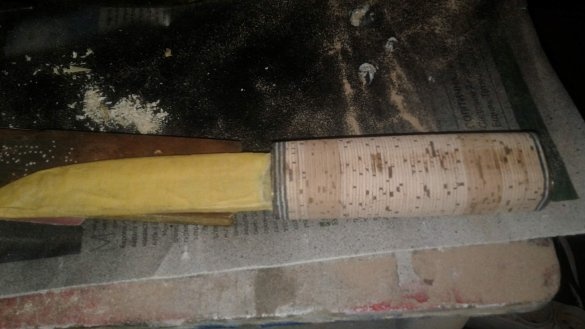
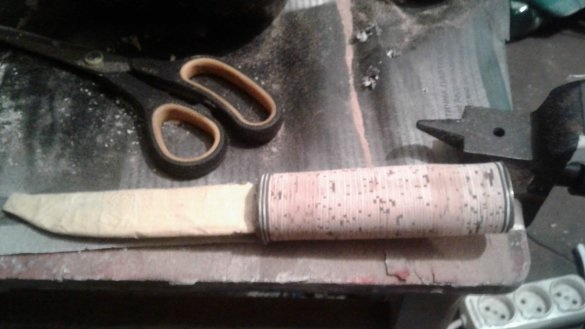
The only thing I did not cut out such holes. I just pierced them with a notch in the middle, although then they were flooded with epoxy anyway. The bag is glued together with a simple device, which can be seen below when the bag was mounted on the workpiece. A drill in the package selected a channel for the shank and all this is tried on the workpiece.
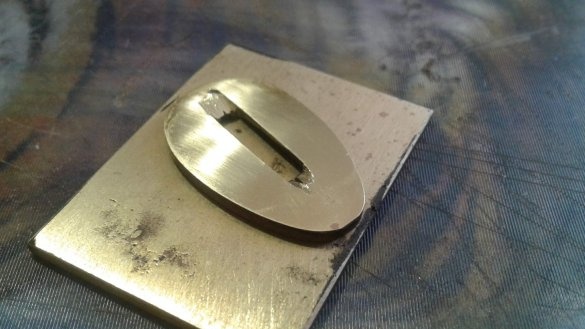
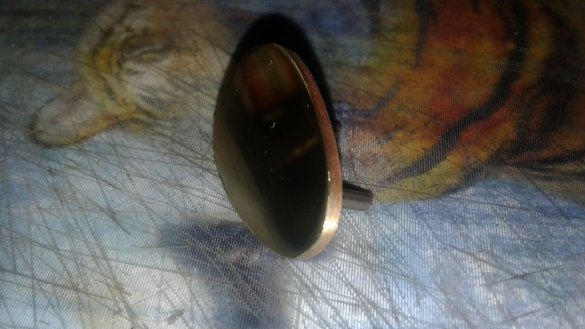
There are nuances. The forums advise you to pack packages in different ways, from cooking and bonding in a natural way to gluing with epoxy resins. I tried this and that. After cooking, the bag was very strong (as can be seen on the already glued epoxy bag), as a result, it was necessary to dry and collect on resin. Here, of course, I myself am to blame, but this did not affect the final result. What is important, when typing a package, you need to alternate the directions of the bark fibers with each layer. Now is the time to think about bolster and back. I made them from a piece of brass. The slot in the bolster is pierced with a thin disk using an engraving machine, and finalized with a file. Be careful when working with these discs, be sure to protect your eyes, they are not reinforced and fly apart at the slightest distortion. The slot does not need to be brought to a perfect fit on the blade. When the slot is almost ready - the bolster is stuffed onto the blade with a flattened tube, this allows you to achieve a good fit.
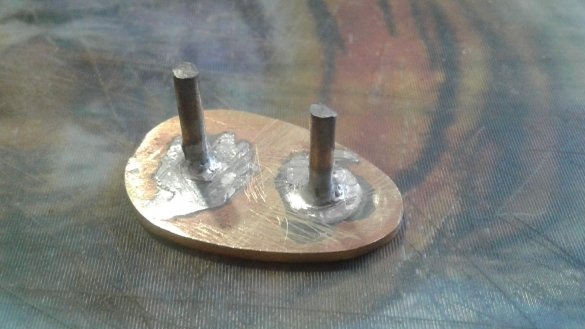
You need to solder a pair of pins on the back, for good fixation and putting it in place. I used pieces of a knitting needle, but you can take anything, a shank from a thin drill or even a nail. Steel is soldered well with hydrochloric acid fluxes, I used the ACTIV flux.
A small digression. In general, on such knives, the handle is installed through installation, that is, the shank passes through the entire handle and rivet on the back. I was afraid to do this, and not everything worked out exactly the first time, so I put the handle on an epoxy.
And the back and bolster, of course, are polished and polished, for this in the store of construction goods and auto sandpaper with a grain size of 40 to 2500 is bought. This sandpaper is also useful in the manufacture of the handle and scabbard for it, and in the future. As spacers, I used black and white thick cardboard, impregnated with cyanoacrylate glue. Mikarta somehow did not roll up) The bolster, spacers, and the main unit are assembled on epoxy resin, for which a simple fixture was made from improvised means (the package was also assembled for it).
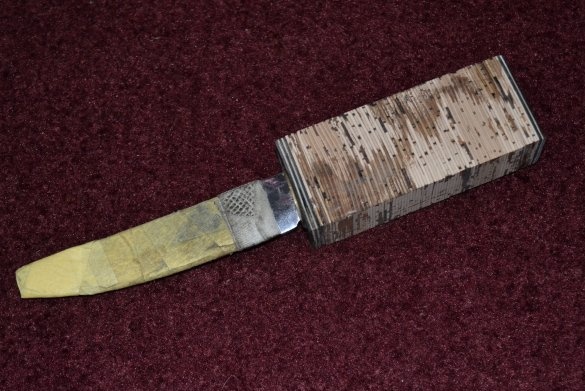
In this case, the knife shank must be roughened with a file, a circle or something else. Also on the shank, you need to make a few notches with a hacksaw or, like me, a cutting wheel of an engraving machine. By the way, it is also necessary to do on the "tails" of the back. The assembly in the photo looks crooked, it is. This was corrected in the process of removing the handle. It is better to glue the backcloth separately after the main gluing, it is convenient to do this with a "five-minute" epoxy.
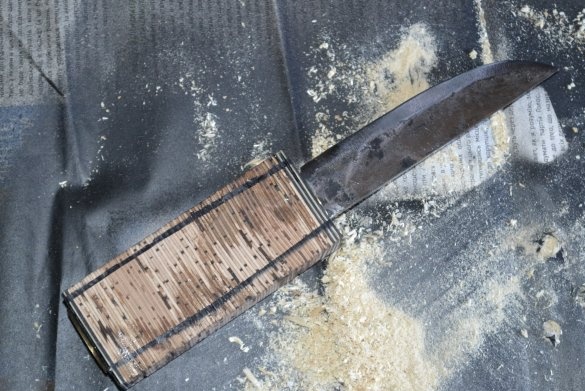
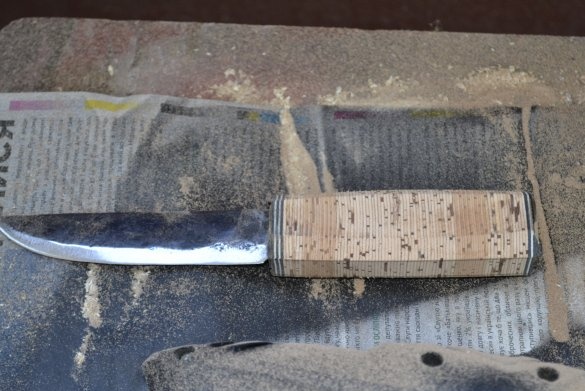
The assembled workpiece is sent under the emery wheel to display the main contours. To do this, I used the nozzle on the drill, pressing the drill against the stool with one hand and processing the future handle with the other. I don’t have a normal emery, but even so, the initial forms are displayed in 20-30 minutes. First, planes perpendicular to the blade are ground, defining the basic shape of the handle.
Further corners.
And then the pens ...
Pens and pens again
The handle is displayed with sandpaper with grit from 40-80 to ... Here's the nuance. Somewhere around 180 the handle is already quite neat and just perfectly sits in the hand. With such a roughness, birch bark simply digs into the hand. However, I wanted, firstly, to experiment, and secondly, a smoother texture. Well, I like the polished wood. True, do not polish birch bark, do not try, but more on that later. In general, I continued to grind to a grain size of 2500.
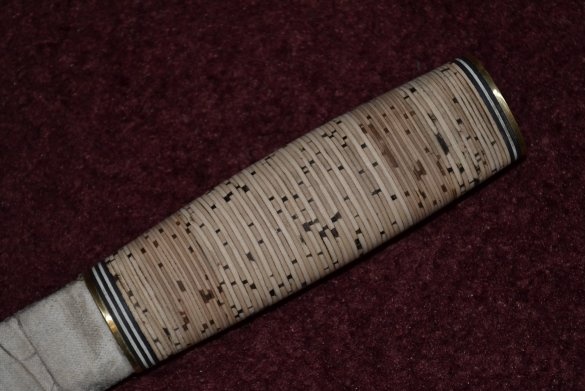
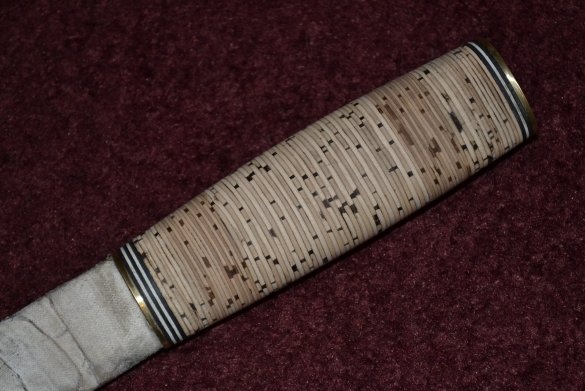
Surprisingly, even with such an almost polished birch bark it sits in a hand very nicely. Not so tenacious, but still the feeling, as if you were holding in your hand some kind of "soft" plastic, or rubber, but very "warm" to the touch. In general, I did not lose the choice of material, I am very pleased with the result. And it’s possible to ruin sandpaper, if anything.
A few words about the processing. After some number, I don’t remember which one, you will see for yourself that birch bark begins to become very dirty, from polishing itself. It becomes a gray, nondescript appearance. Do not be afraid of it. Grind. At the end of grinding, the handle is wiped with isopropyl alcohol, in two or three runs all the dirt comes off. Ask where to get it? Mosquitol for example, I used a deodorant for shoes. Whoever at least once smells the smell of isopropyl alcohol will not confuse. And it is used as a solvent in many aerosol products. Perhaps ordinary alcohol is possible, but I haven’t tried it. On the forums they write and warm water with soap is possible.
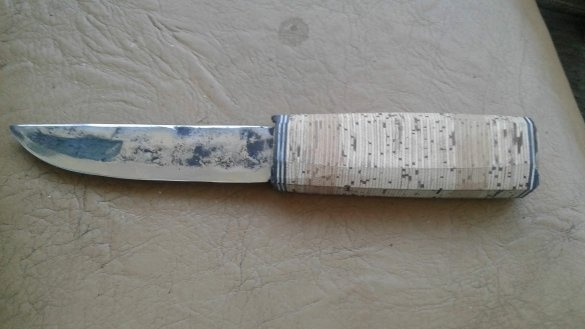
Actually, I decided to impregnate the finished hilt. I must say right away that birch bark almost does not take on impregnation, because it itself is full of various substances like tar, which give this material such durability (recall birch bark letters). But it takes a little, for the top layer, that would not get so dirty, enough. I heated the handle with a hairdryer and spread it with heated linseed oil. After that he melted a couple of church candles (wax ended) and spread on the hilt. Without waiting for it to solidify, he rubbed it with an old towel. Here, as I said, polishing is pointless, shine, as one famous place in a cat, you still will not achieve. On the Internet you can see photos of birchbark hilt that shine. This is how the handle looks if you wipe it with oil and take a picture, but if you wipe the oil with a rag - and it is again dull. Some bark bark even varnishes - but this, IMHO, is nonsense, since it kills the whole point of such a hilt.
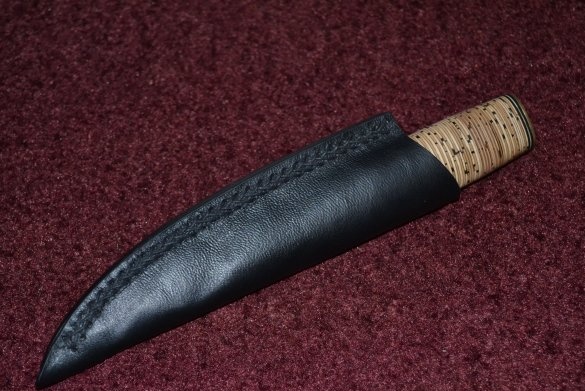
Since the knife was marching for him, sheaths were made. Everything is pretty prosaic here. The knife is wrapped in a sheet of paper on which the outline is drawn. This contour is cut out and transferred to a piece of leather. I bought leather, a boot hook and a waxed thread from a shoemaker under the house, for all I gave about $ 4. Seen enough on the Internet of clips and stitched. The seam chose a "pigtail", I liked this one. He worked with skin for the second time in his life, it’s not bragging, it would be something, it’s a hint that even without experience, simple sheath is easy to do.
I said that sandpaper is still useful for the scabbard. So the skin section is processed exactly for her. After drawing an even contour in the same circle, and after rough sanding, the cut was painted over with a regular inkjet printer, saturated with cyanoacrylate and sanded with sandpaper up to 2500. Not professional, but a good result on the knee.
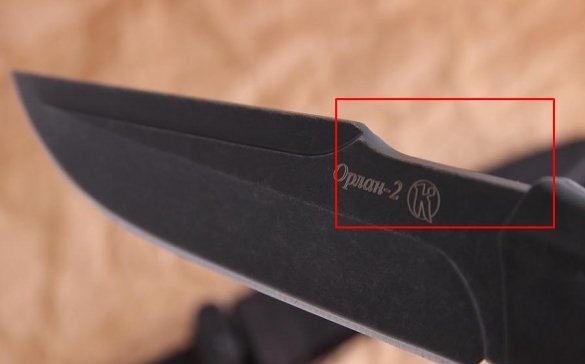
And one more small moment. This is, so to speak, the author's refinement. Not mine, Vladimir. When we forged the blade and gave it the original shape on the sharpener, I expressed the desire that there would be a section on the butt of the knife for them to cut sparks from the flint. Not that I use it all the time, but if it’s marching, it’s so marching) The idea, by the way, is not mine. I saw this option a long time ago on an Orlan-2 knife made by Kizlyar.
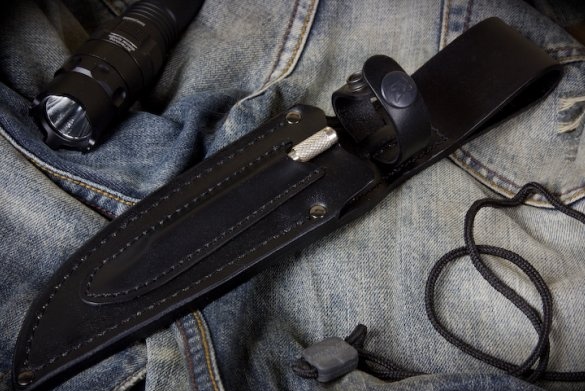
At the same time, the knife came in some trim levels with a scabbard, on which there was a small pocket, designed to store flint or small musat.
In general, Vladimir answered this idea with his own. On the butt of the knife, a bevel is made at a slight angle. Vladimir makes such a bevel on his camping knives, and he is designed to open tin cans, so as not to spoil the working edge of the knife. The bevel is sharpened quite sharply, not enough to cut itself, but it will carve sparks. The result was such a multi-refinement.
Well, in conclusion. Experience is a priceless thing. You can read a lot, but until you try it yourself, you won’t understand. I am glad for my experience, the result did not exceed my expectations, but also did not disappoint, I got what I wanted. Simple, good and working camping knife. Yes, and I really liked working on it. Now in the Wishlist is another knife, small, with a blade of 80-90 mm "mushroom picker". But I will already do it, most likely, from a piece of the Soviet frame saw.
That's all, thank you all for your attention and good luck in your work!


