

Today we will make a full-fledged easel for drawing or art drawing.
It all started with the fact that a couple of days ago I got a Soviet brand new drawing device "Designer". At that moment, I realized that I could not leave him gathering dust. Perhaps I don’t need it to the full and everything that I will do on it, I could calmly
make an ordinary ruler. But to leave such a tool idle is simply a “crime”!
Therefore, I decided to use as much as possible all the features of the "Designer" drawing set.
To use it, you need an easel or drawing board. Having studied the prices of easels, I decided to make it myself. Moreover, it is not so difficult.
We will need:
1. Instruments
- screwdriver
- Sander
- bits and drills
- hacksaw
2. Materials
- boards (slats)
- plywood
- fasteners
- the loop
1 step
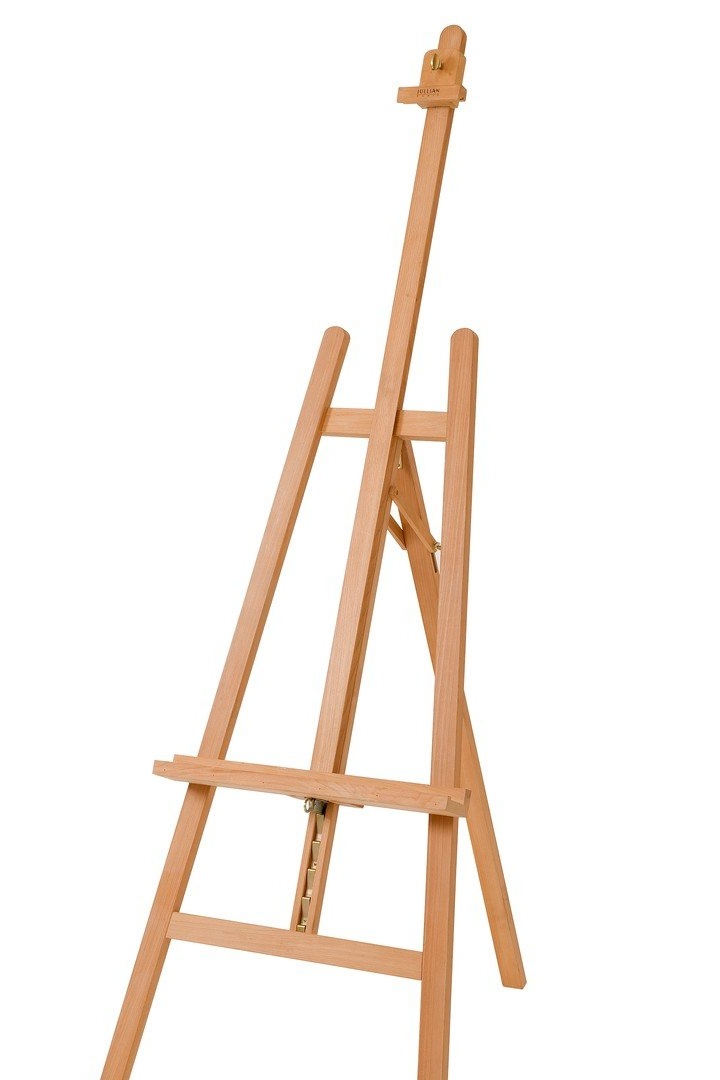
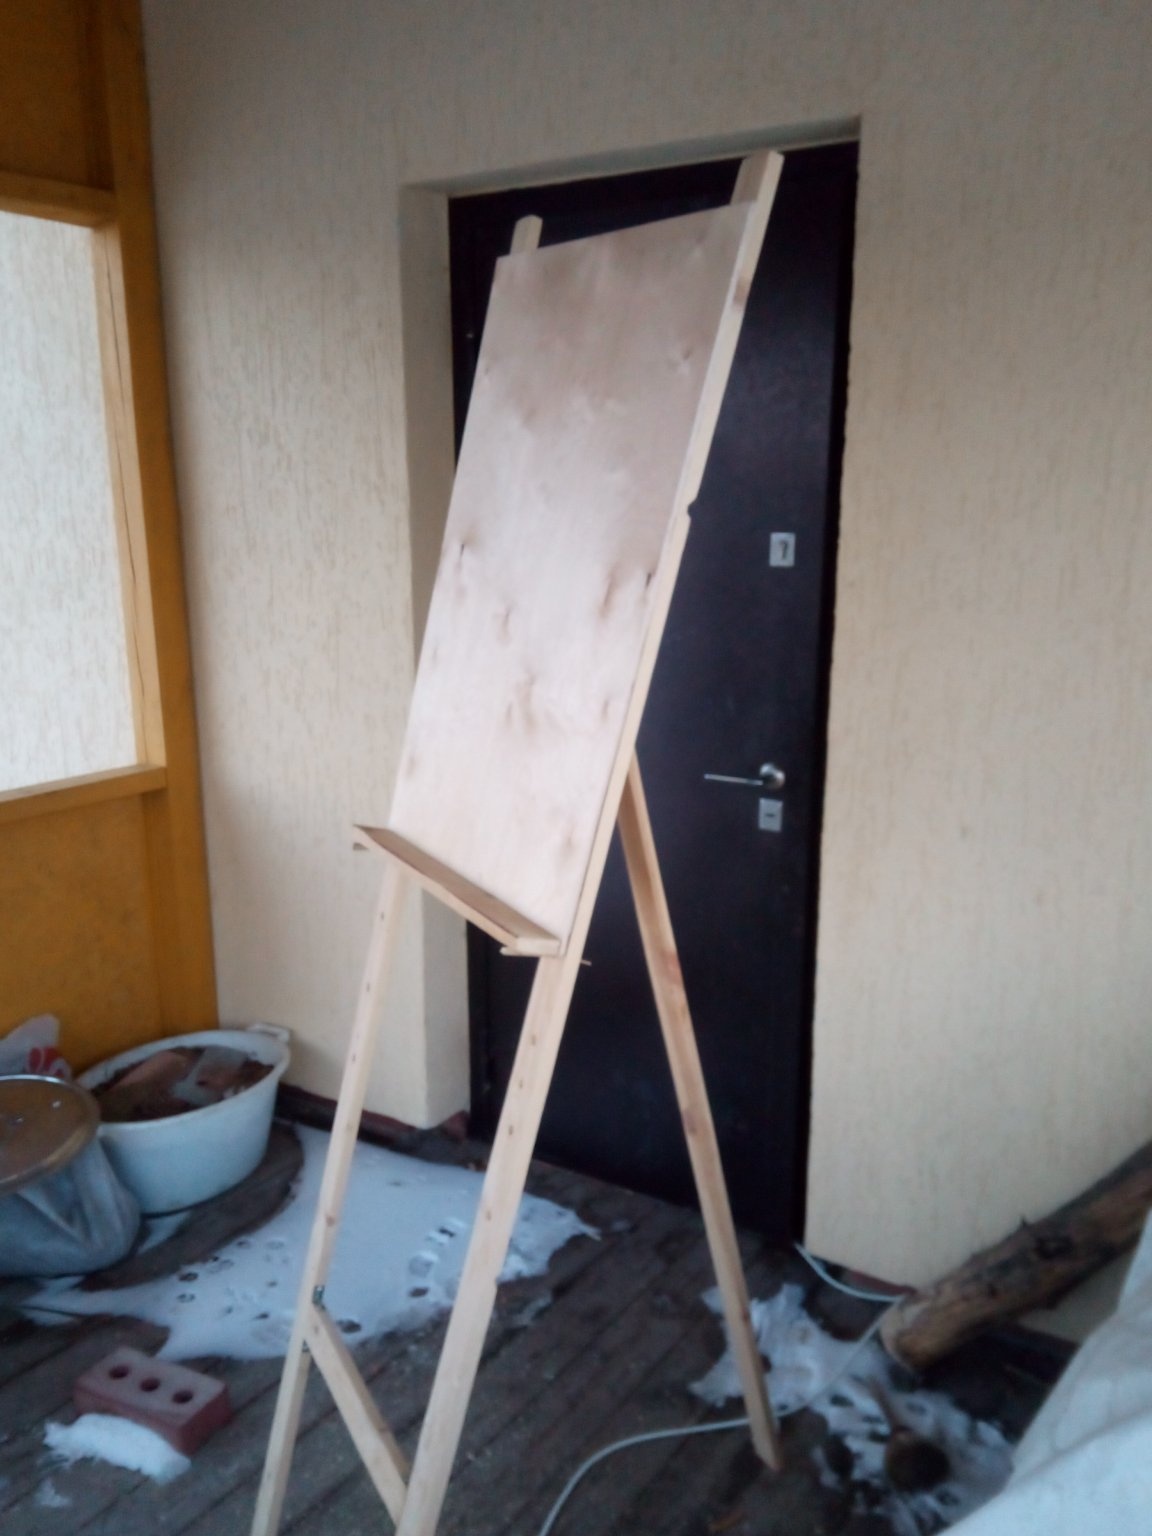
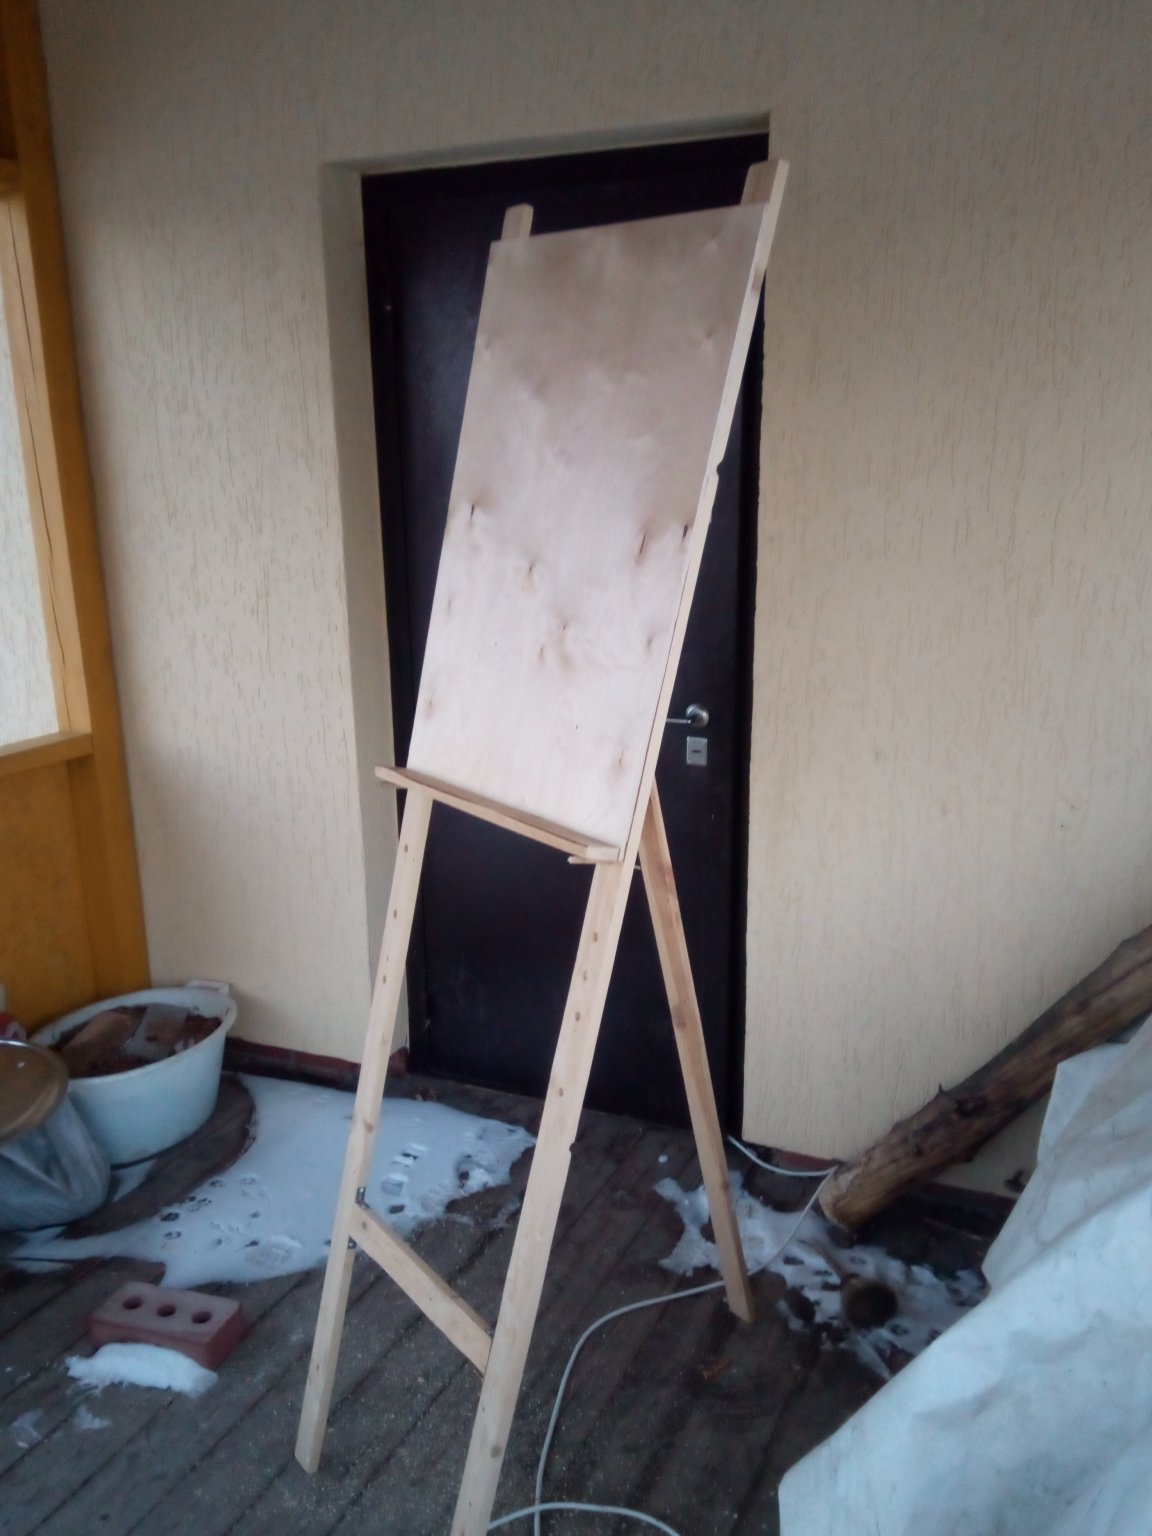
Let's first decide on the design. There are two options. The first is bilateral easels, most often for children. You can only work behind them. And the second is one-sided.
You can work behind him, both sitting and standing. Also, this type of easels allows you to adjust the height and size of the working surface (which is not the case with the first type). So the choice is obvious!
But here it is not so simple. Shop easels of this type have the convergence of two of the legs and a complex height adjustment system. So we will change that and I have a few ideas about this.
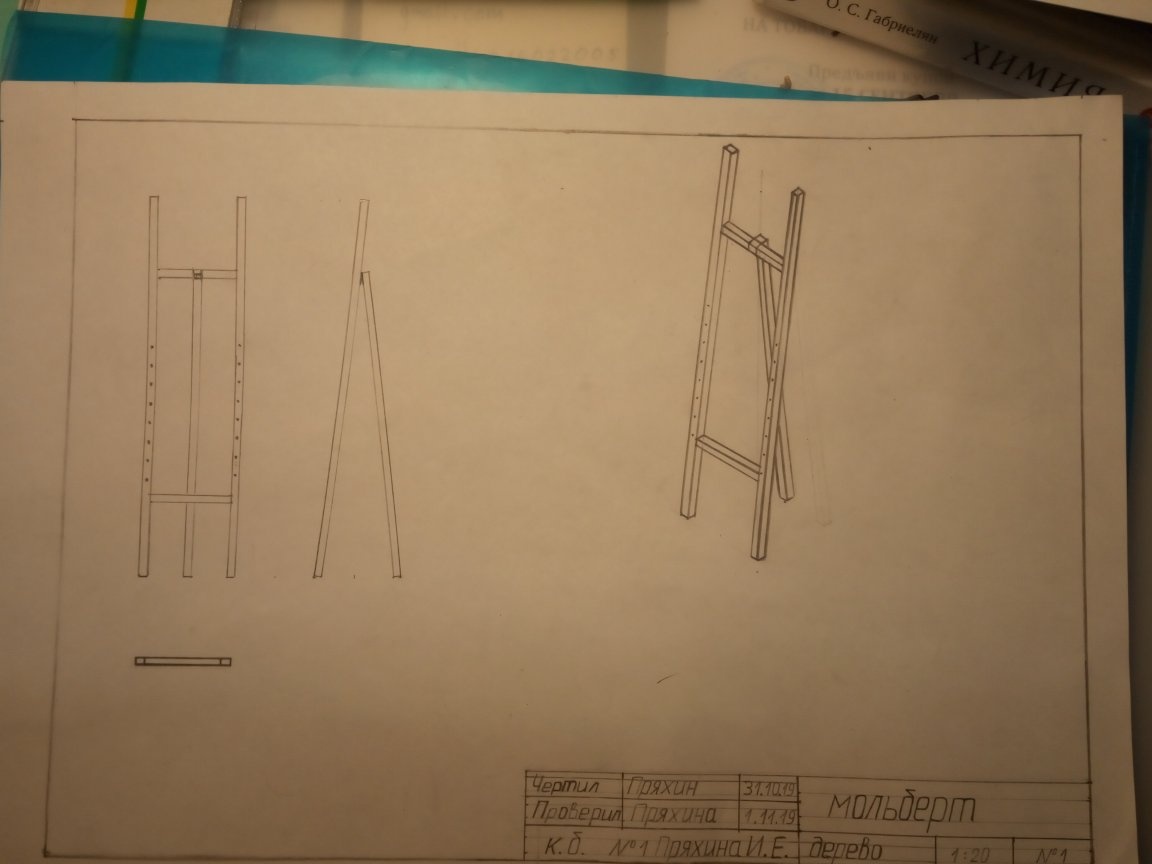
2 step
Let's determine the size. The instructions for the drawing device say that the preferred board size is 1000mm * 750mm. But it seems to me that we don’t really need such a format, because I think none of us are going to draw huge cathedrals or full drawings of houses. And for small jobs, board sizes 750mm * 500mm are enough. Now, based on the size of the working surface, we calculate the dimensions of the easel itself. In order for an adult to work standing and sitting, the approximate length of the easel should be 2 meters and a width of 0.5 meters. Knowing the main dimensions, let's draw a more accurate drawing. All sizes I will specify in the manufacture of this part.
3 step
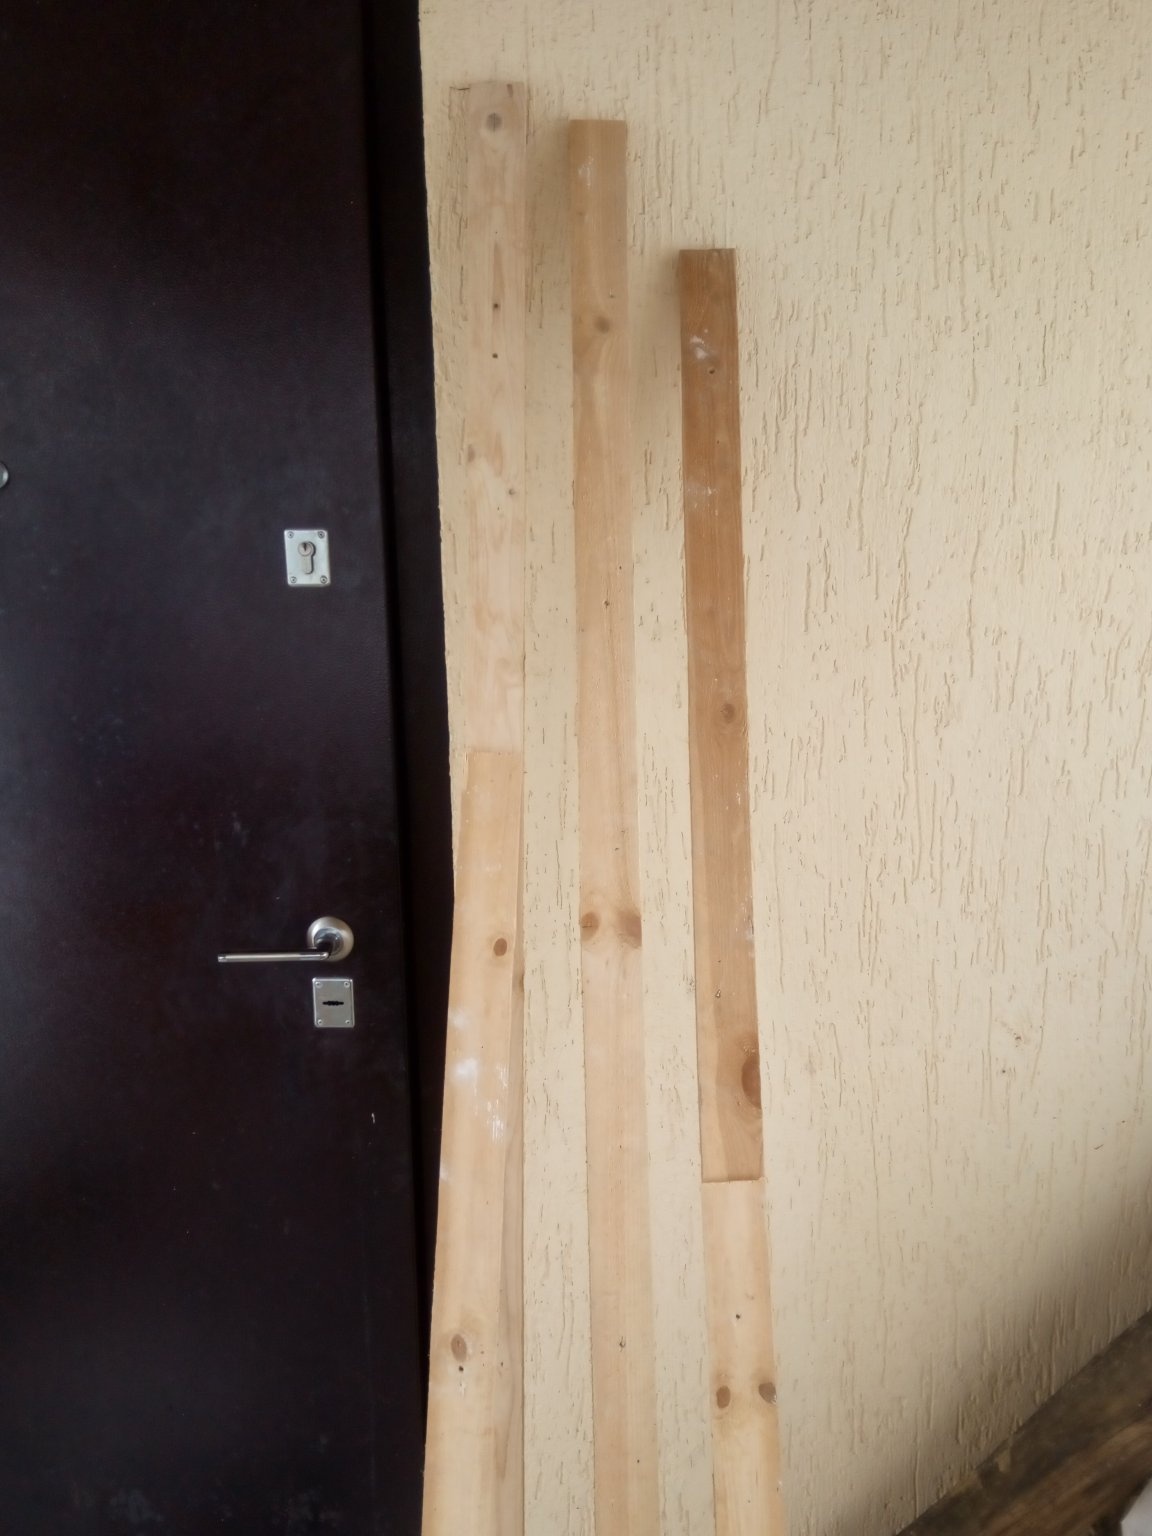
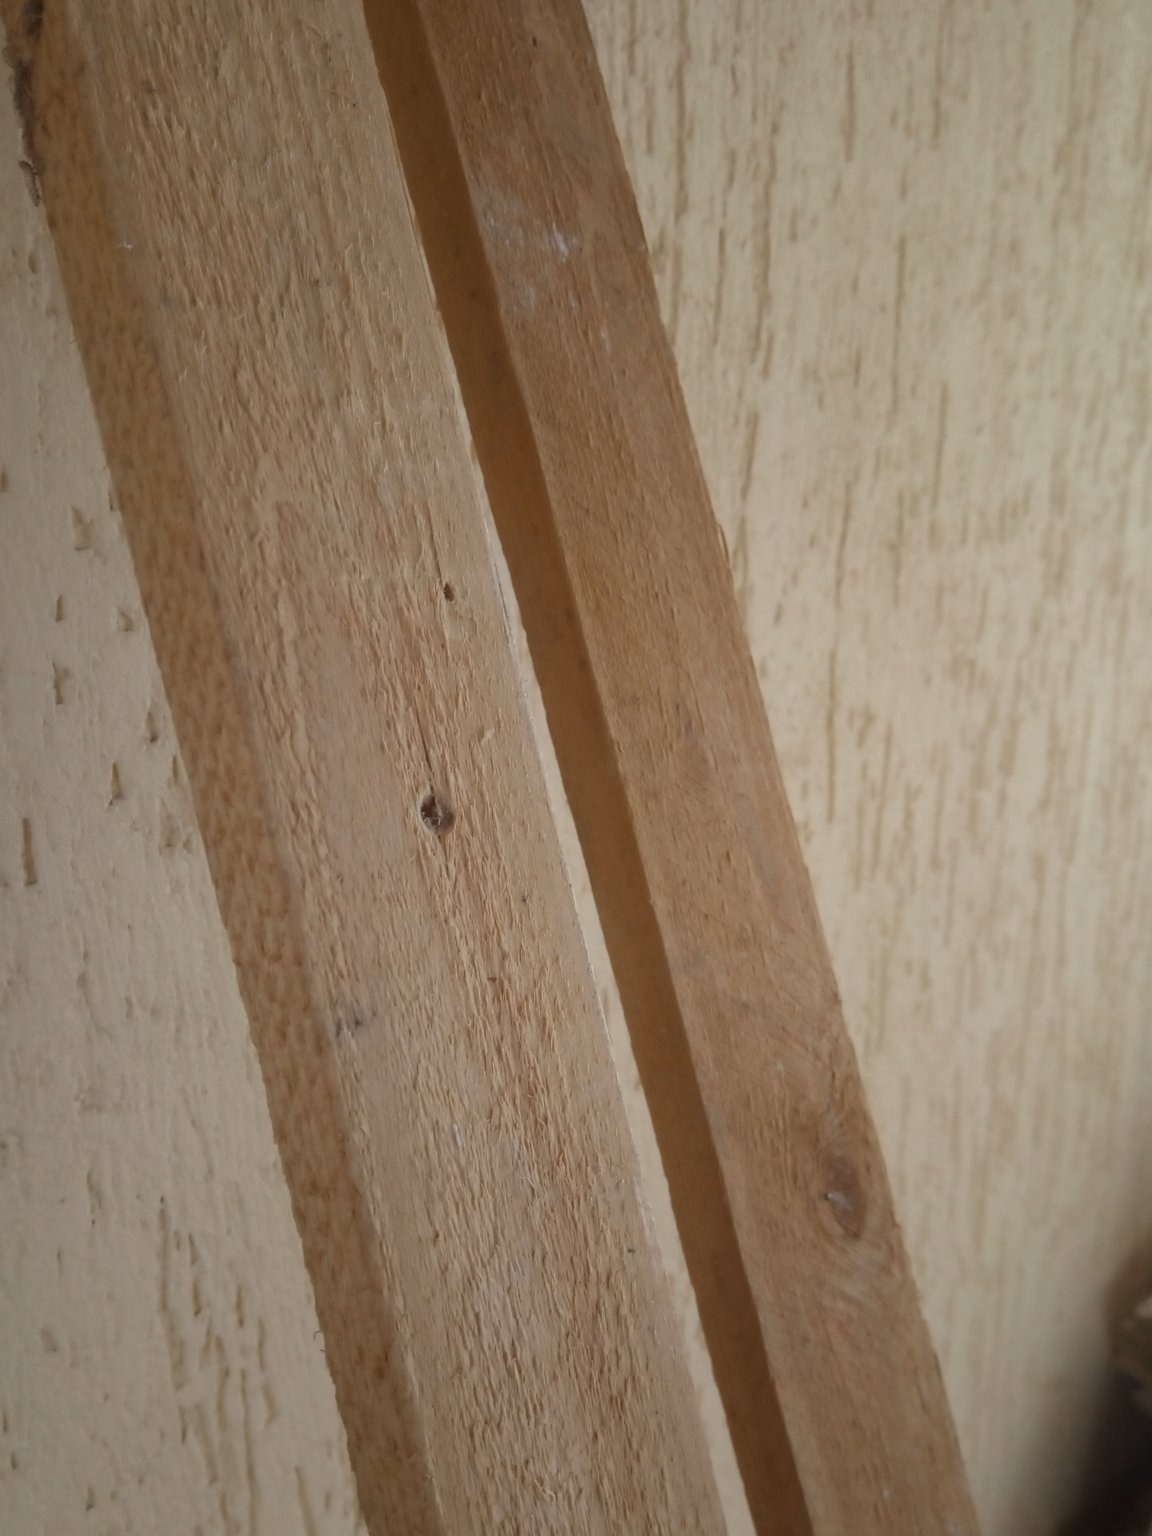
I used uncouth boards as there were no others. So they had to be polished.
I did this all day, so it's better if you spend an hour or so, go to the store and don’t suffer.
4 step
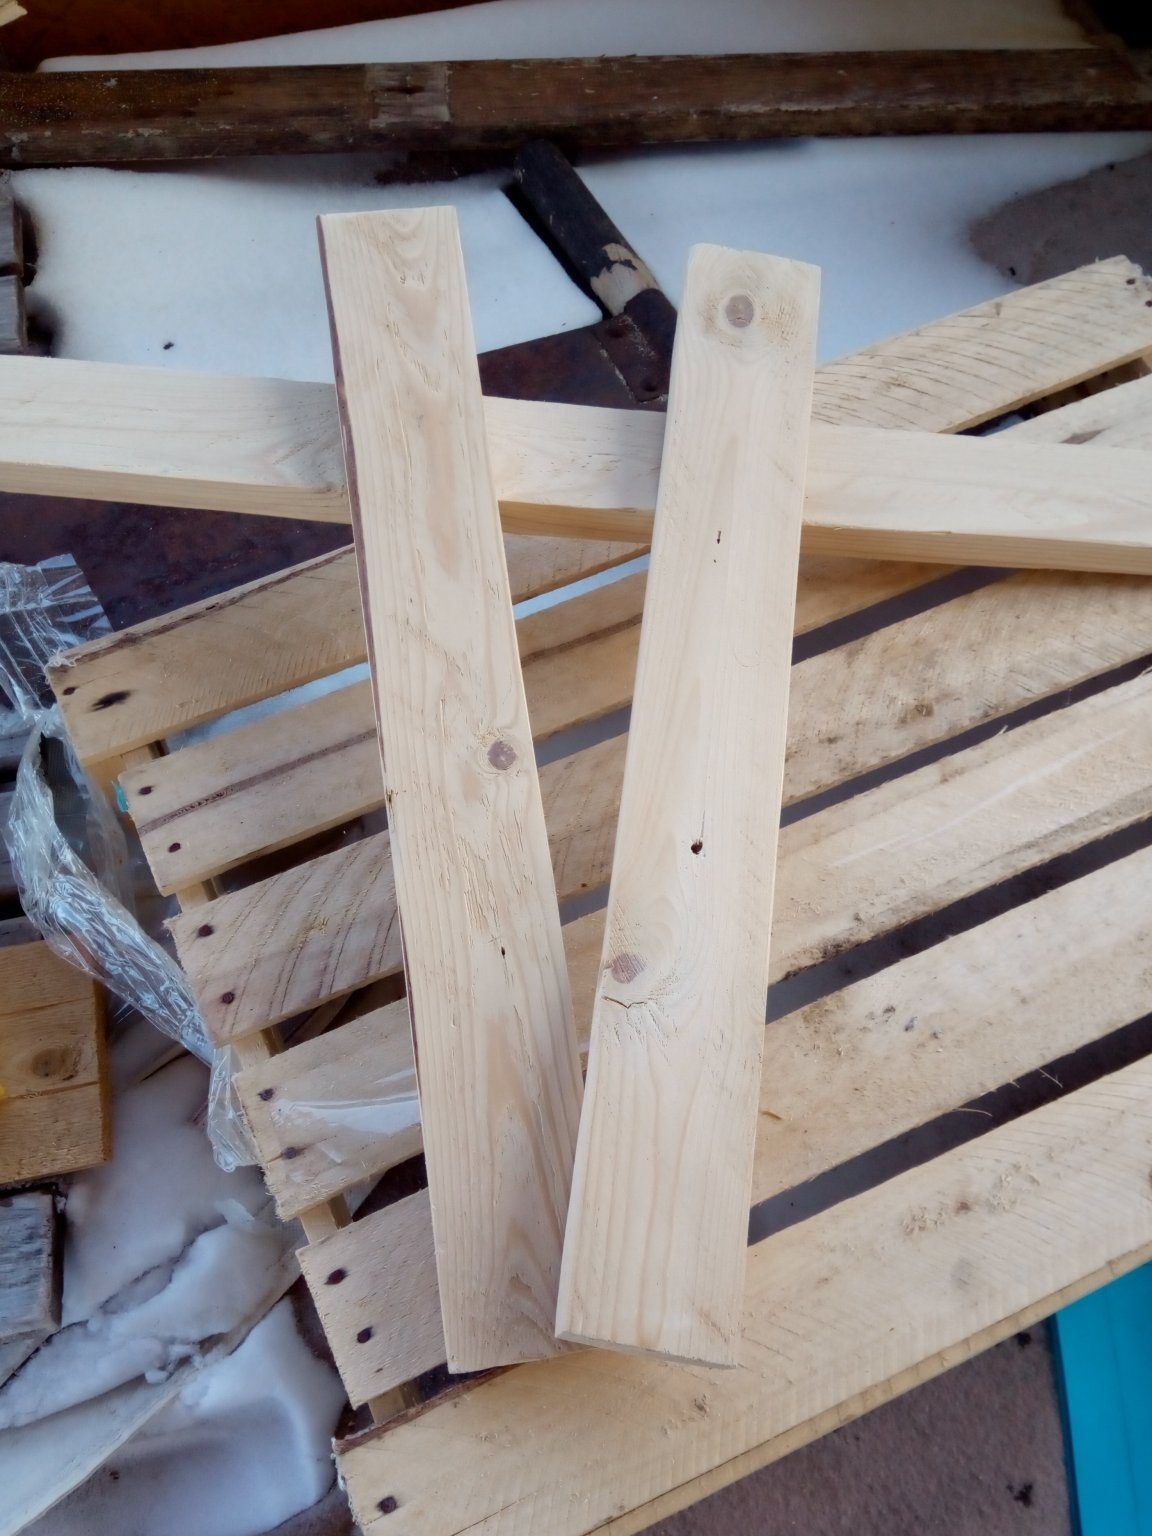
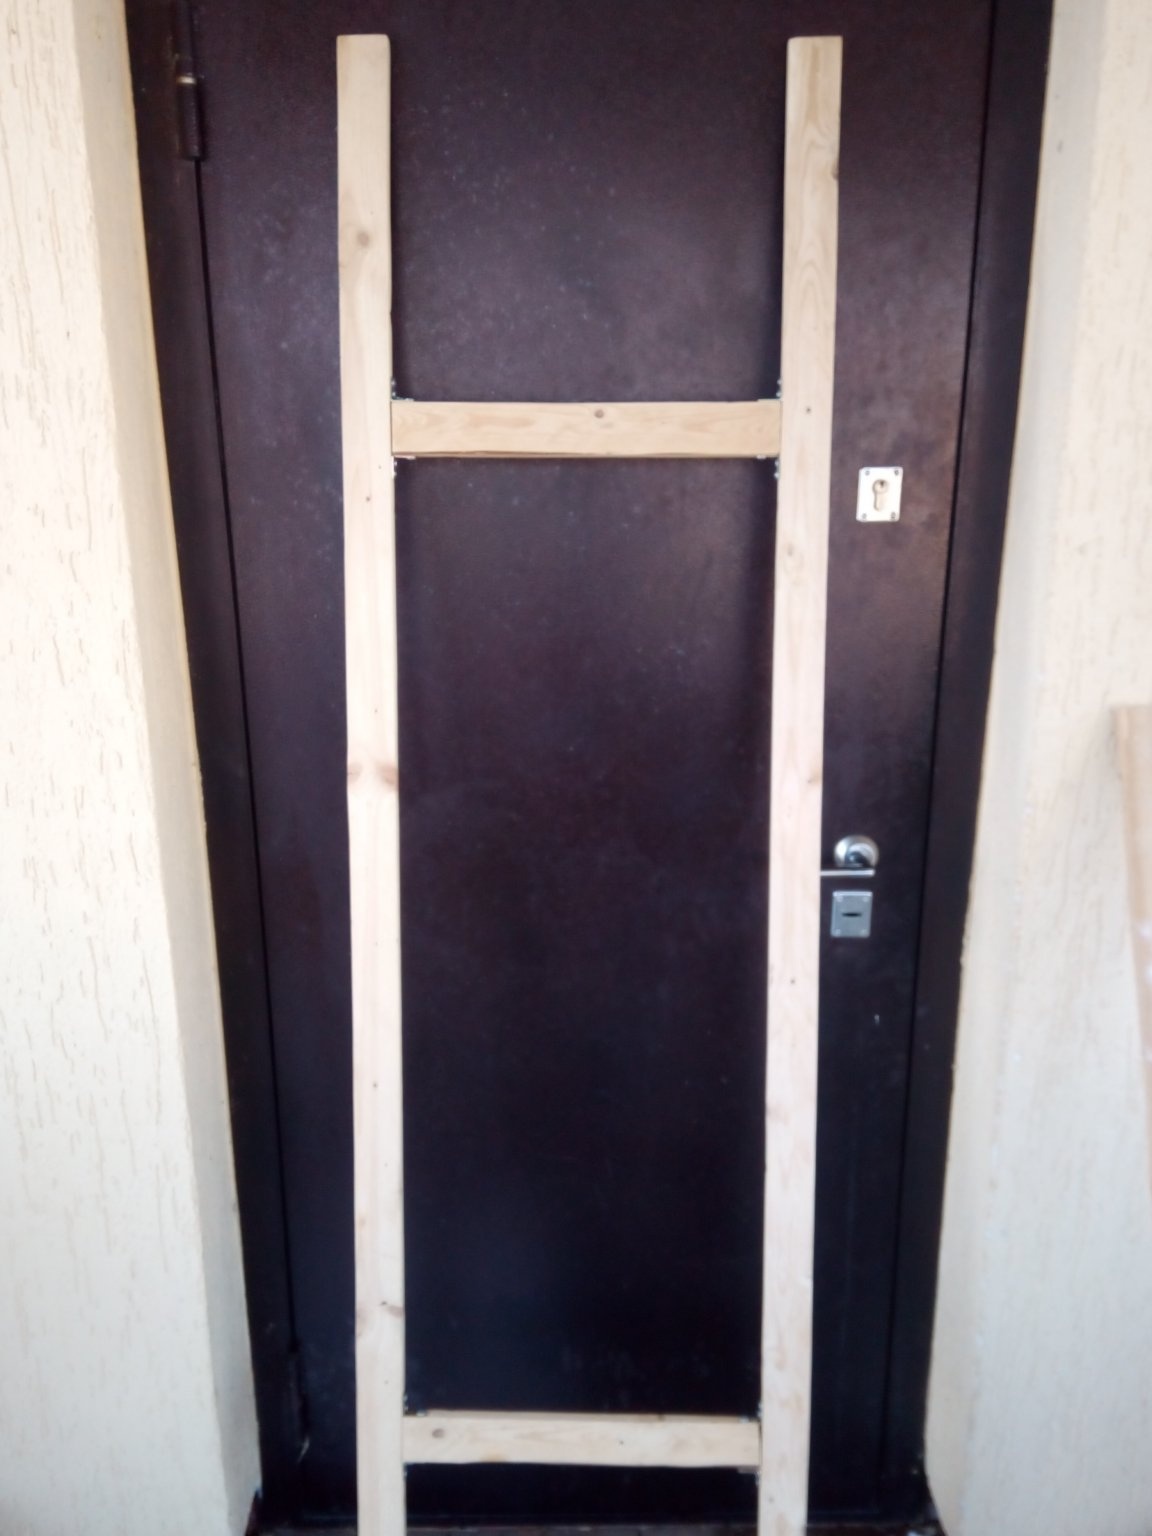
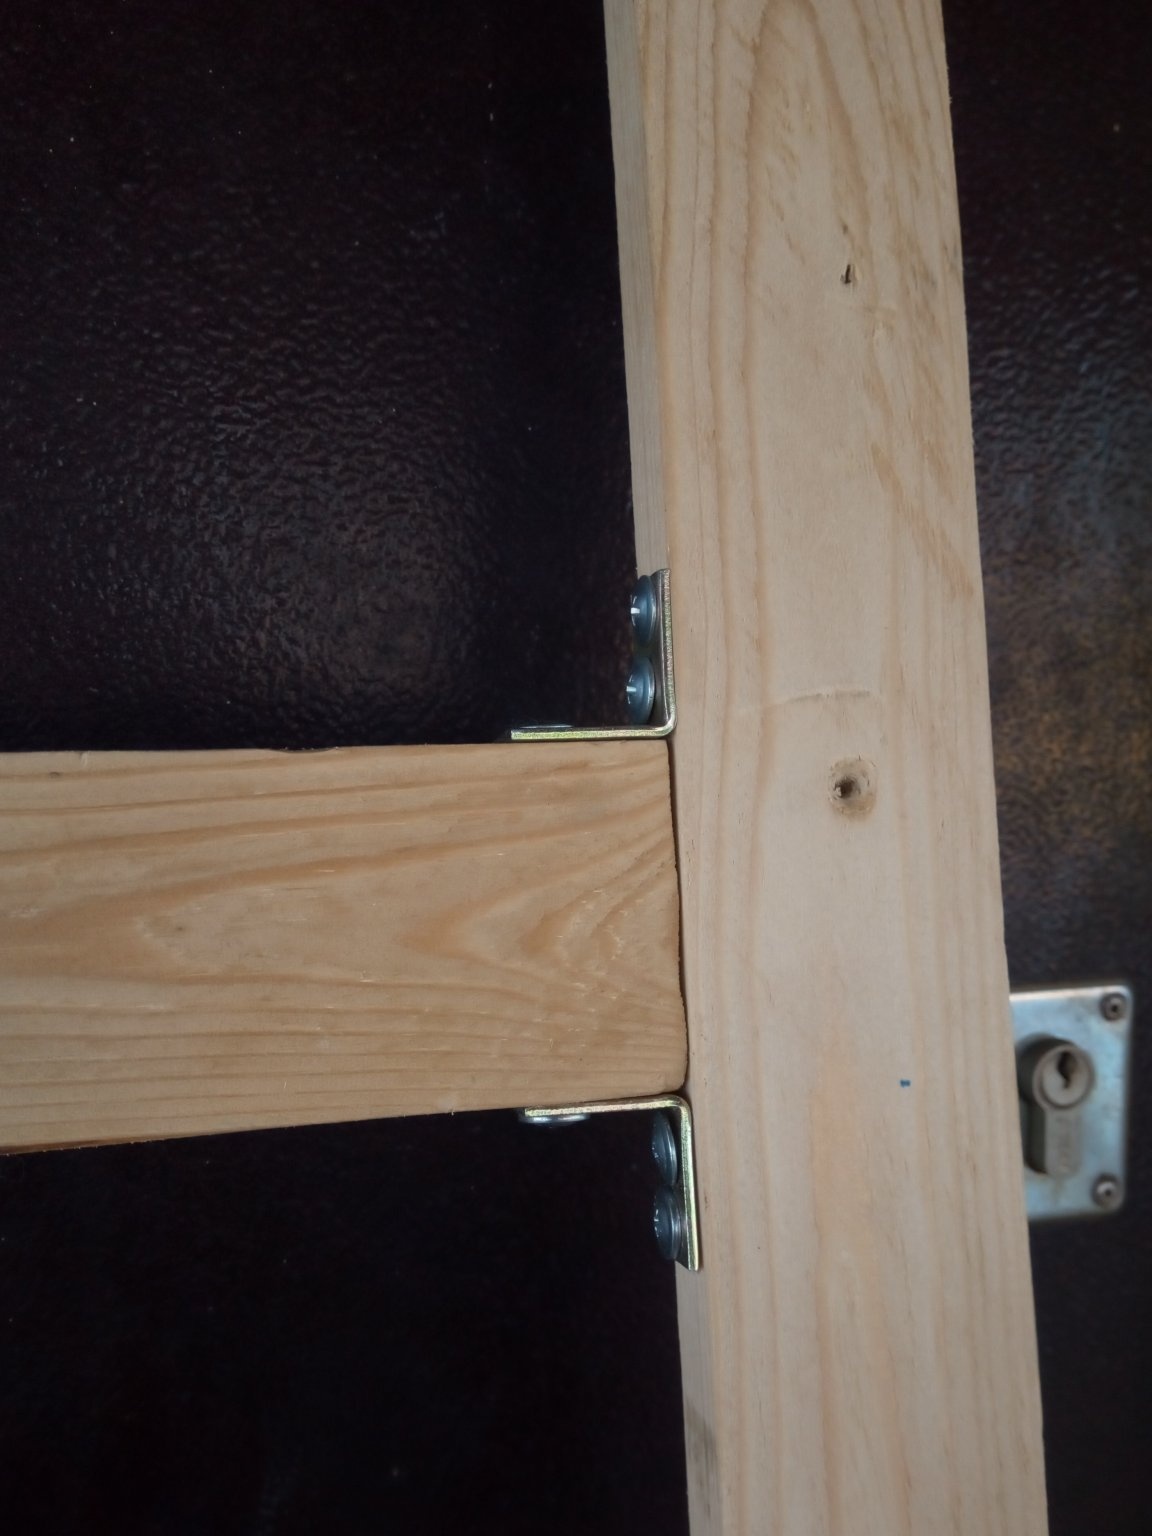
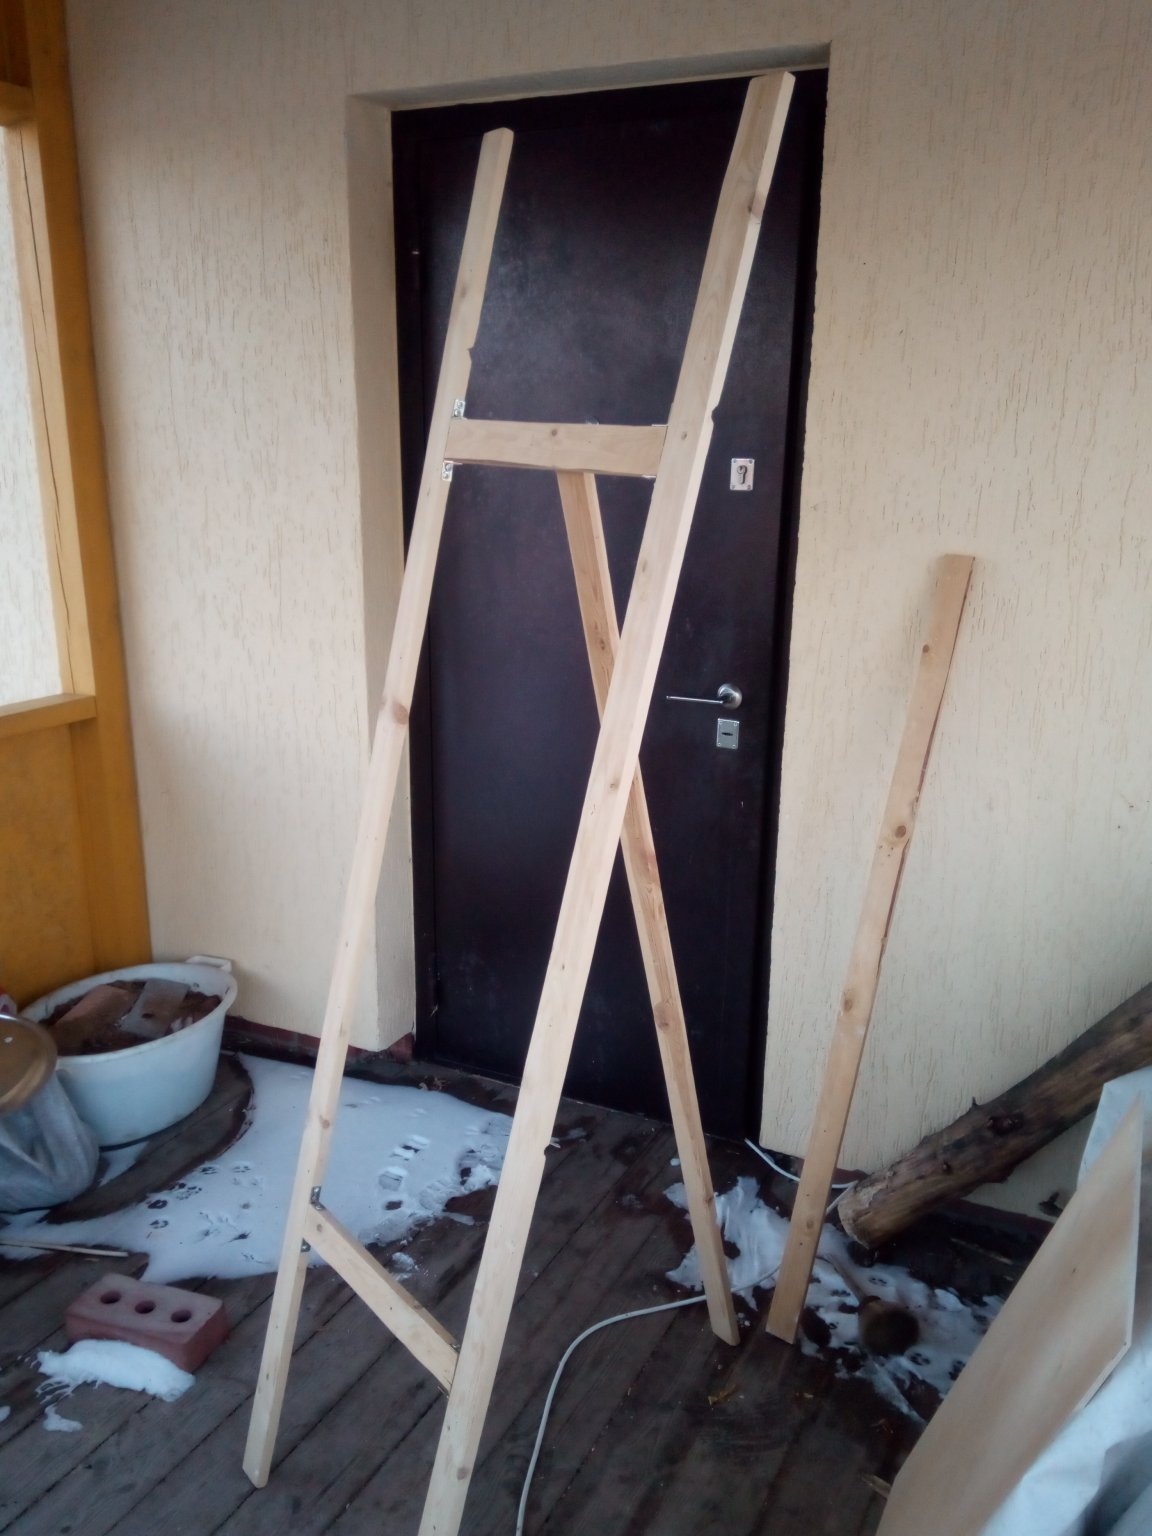
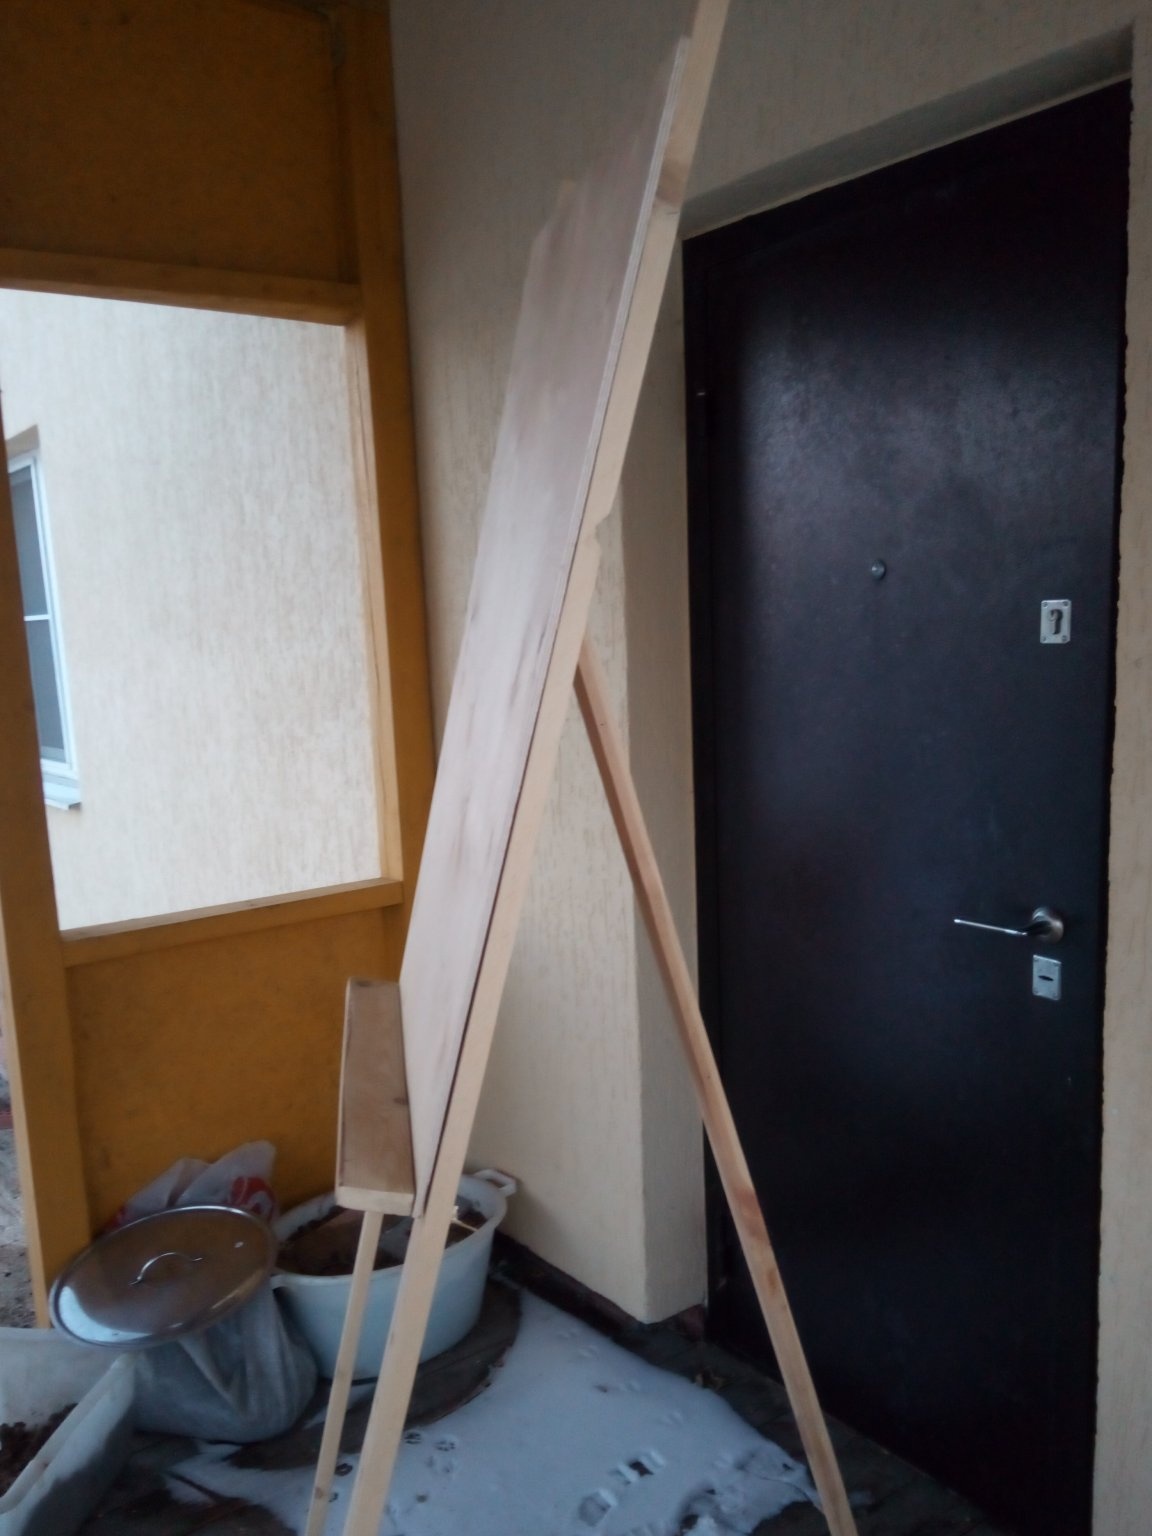
Now a very important point - we cut off the two main legs 2 meters long.They should be perfectly even and the same. Otherwise, the easel will swing and it will be very difficult to work on it. Then we cut out the cross-pieces, they will be 0.4 meters long. They need two pieces. They need to withstand a right angle at the ends so that there are no gaps. This is very important, since the length of the easel is large and it is necessary that the partitions are in full contact with the legs and the easel, again, does not stagger.
5 step
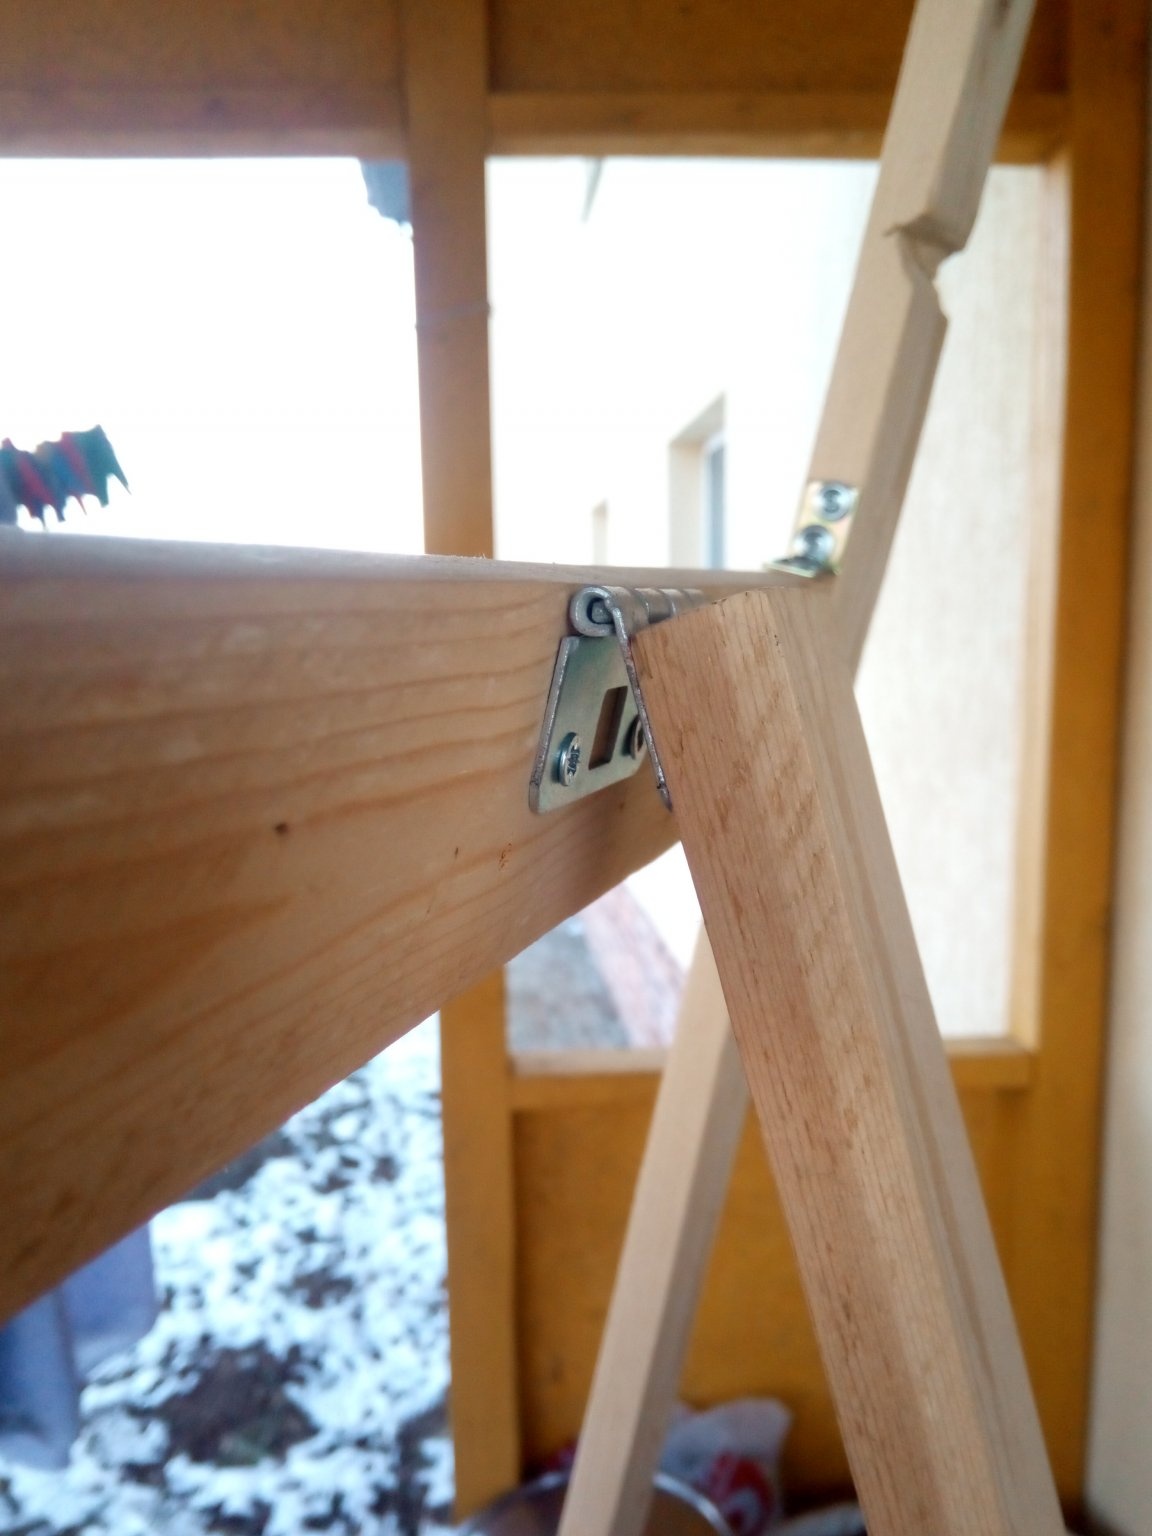
Next, we cut the back leg, which will hold the entire structure and adjust the angle of inclination. It will be attached to the upper quail on a loop. Its length for all can be different in essence, this is the distance from the upper spike to the floor with the easel position perpendicular to the floor.
6 step
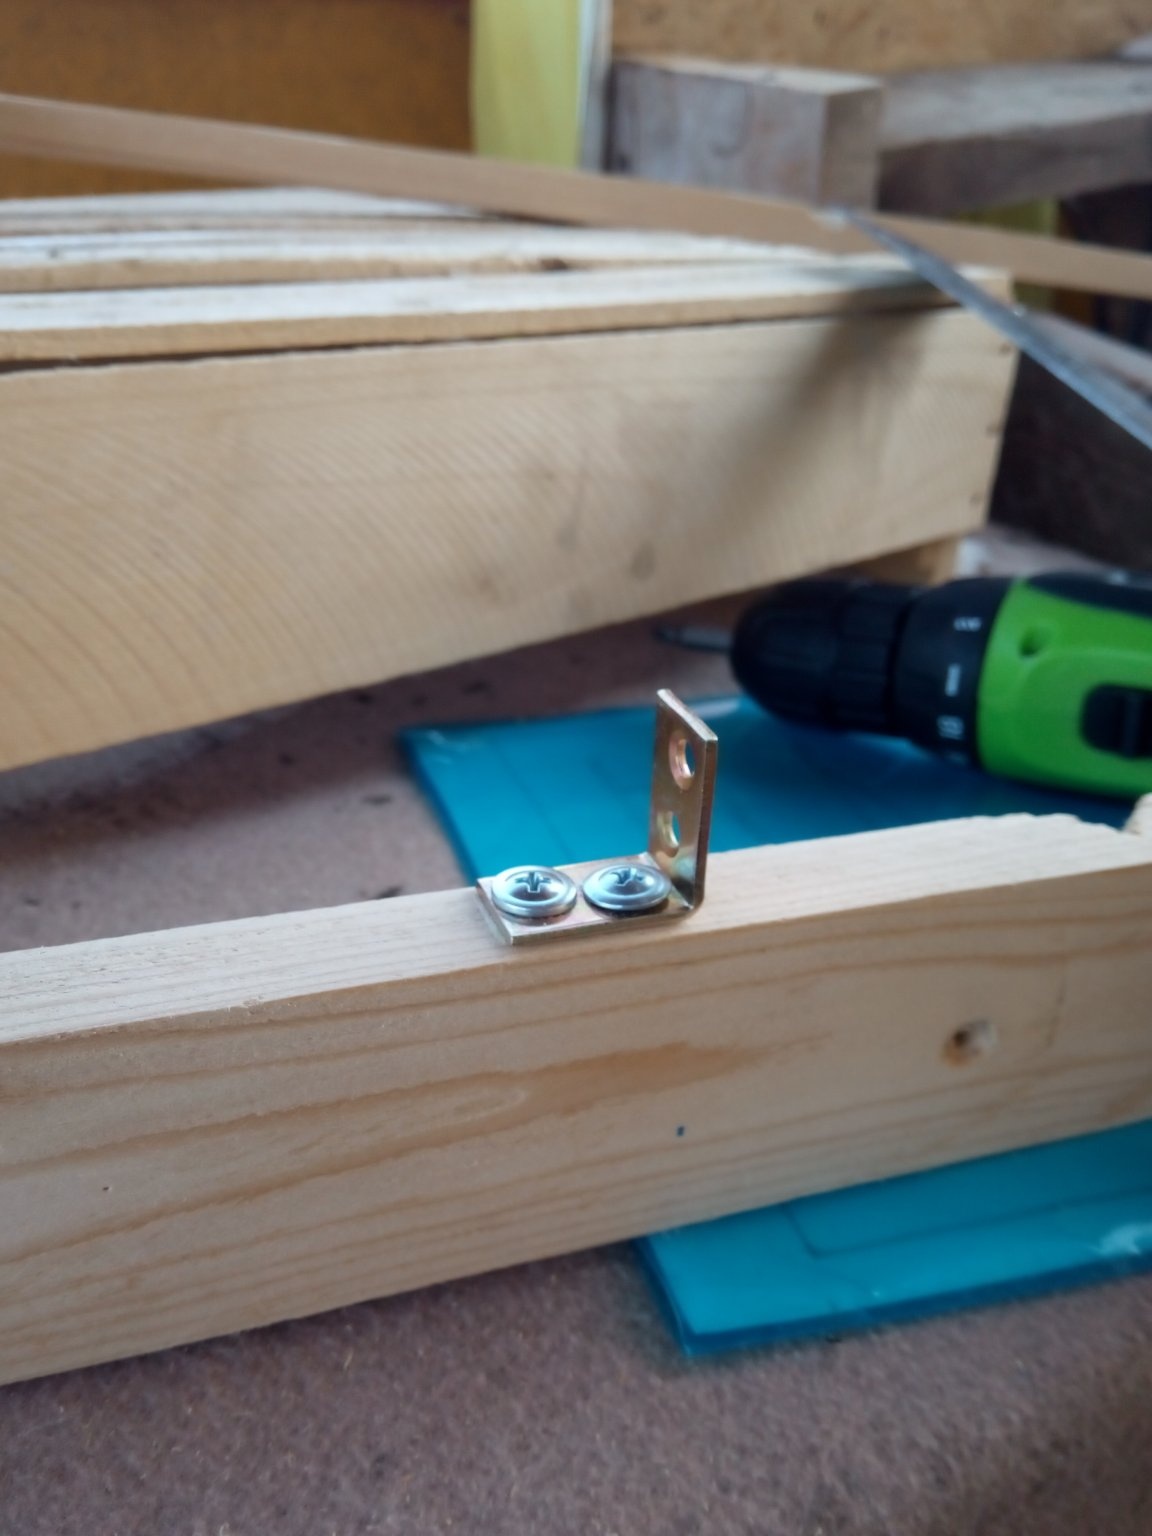
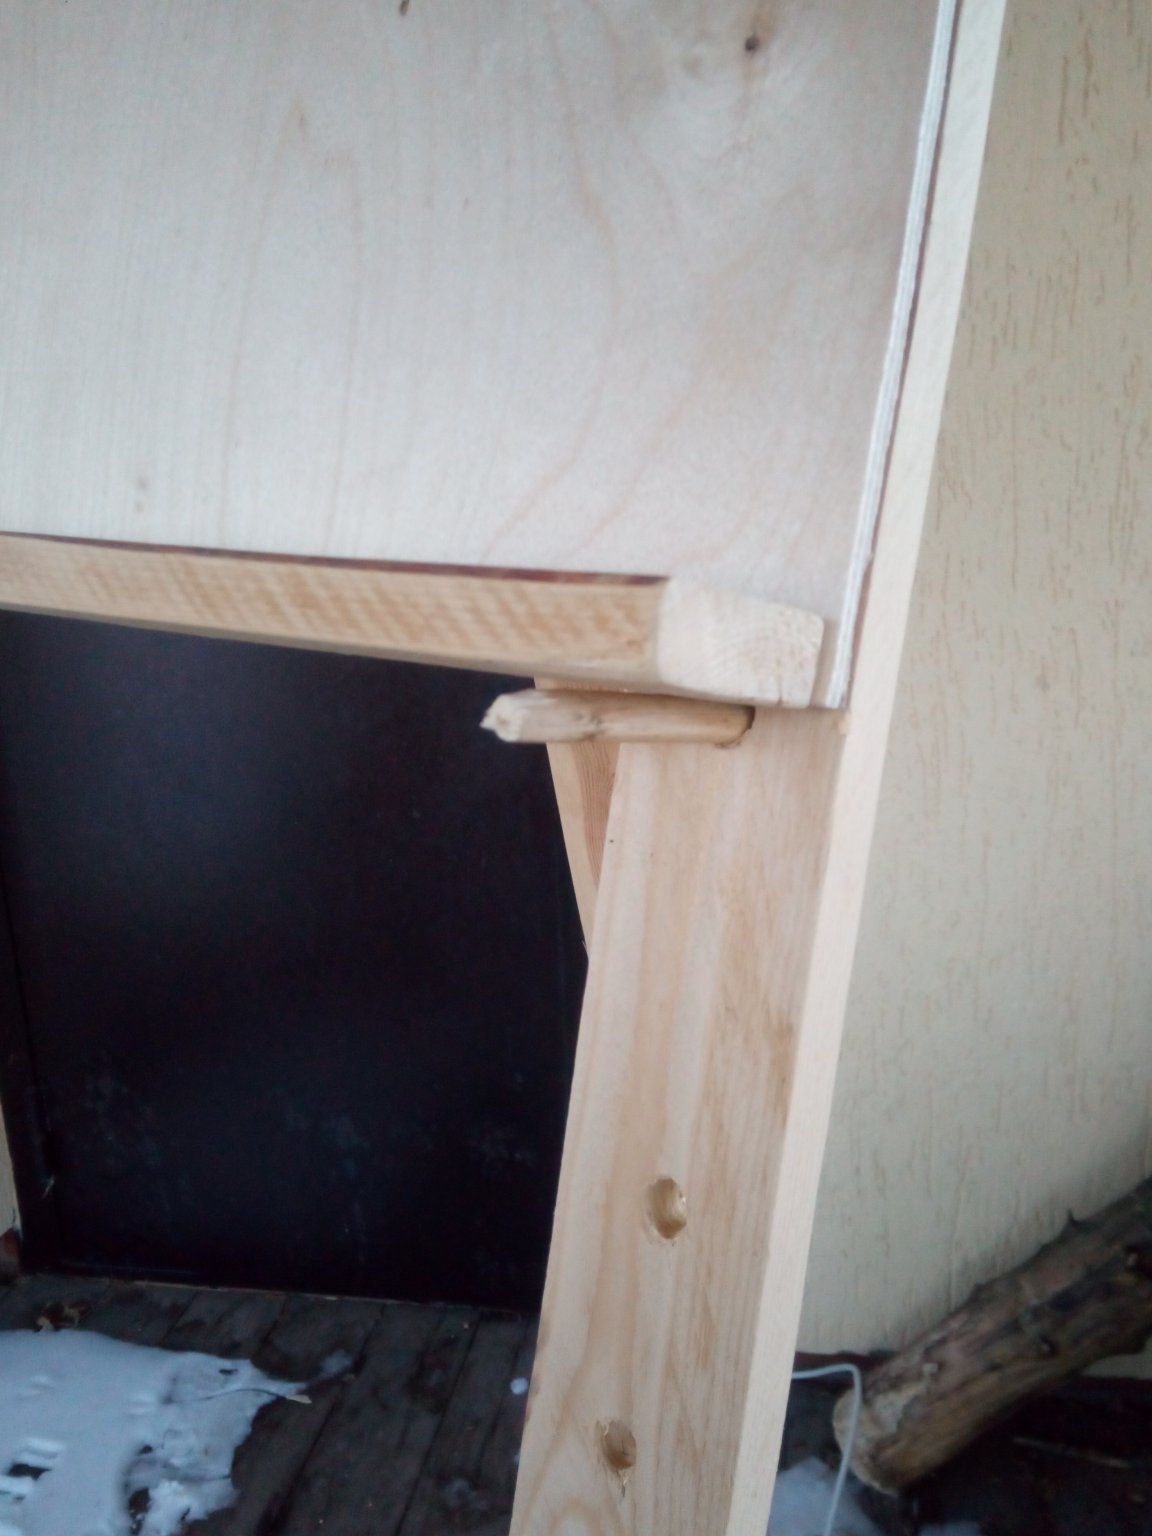
Now we twist everything as shown in the drawing. We fasten the spacers at a distance of 40 cm from each edge of the legs. We fasten the quips on the corners on both sides for the sake of greater reliability. By the way, I used 10mm to 50mm boards. We fasten the back leg to the loop
in the center of the upper quail.
7 Step
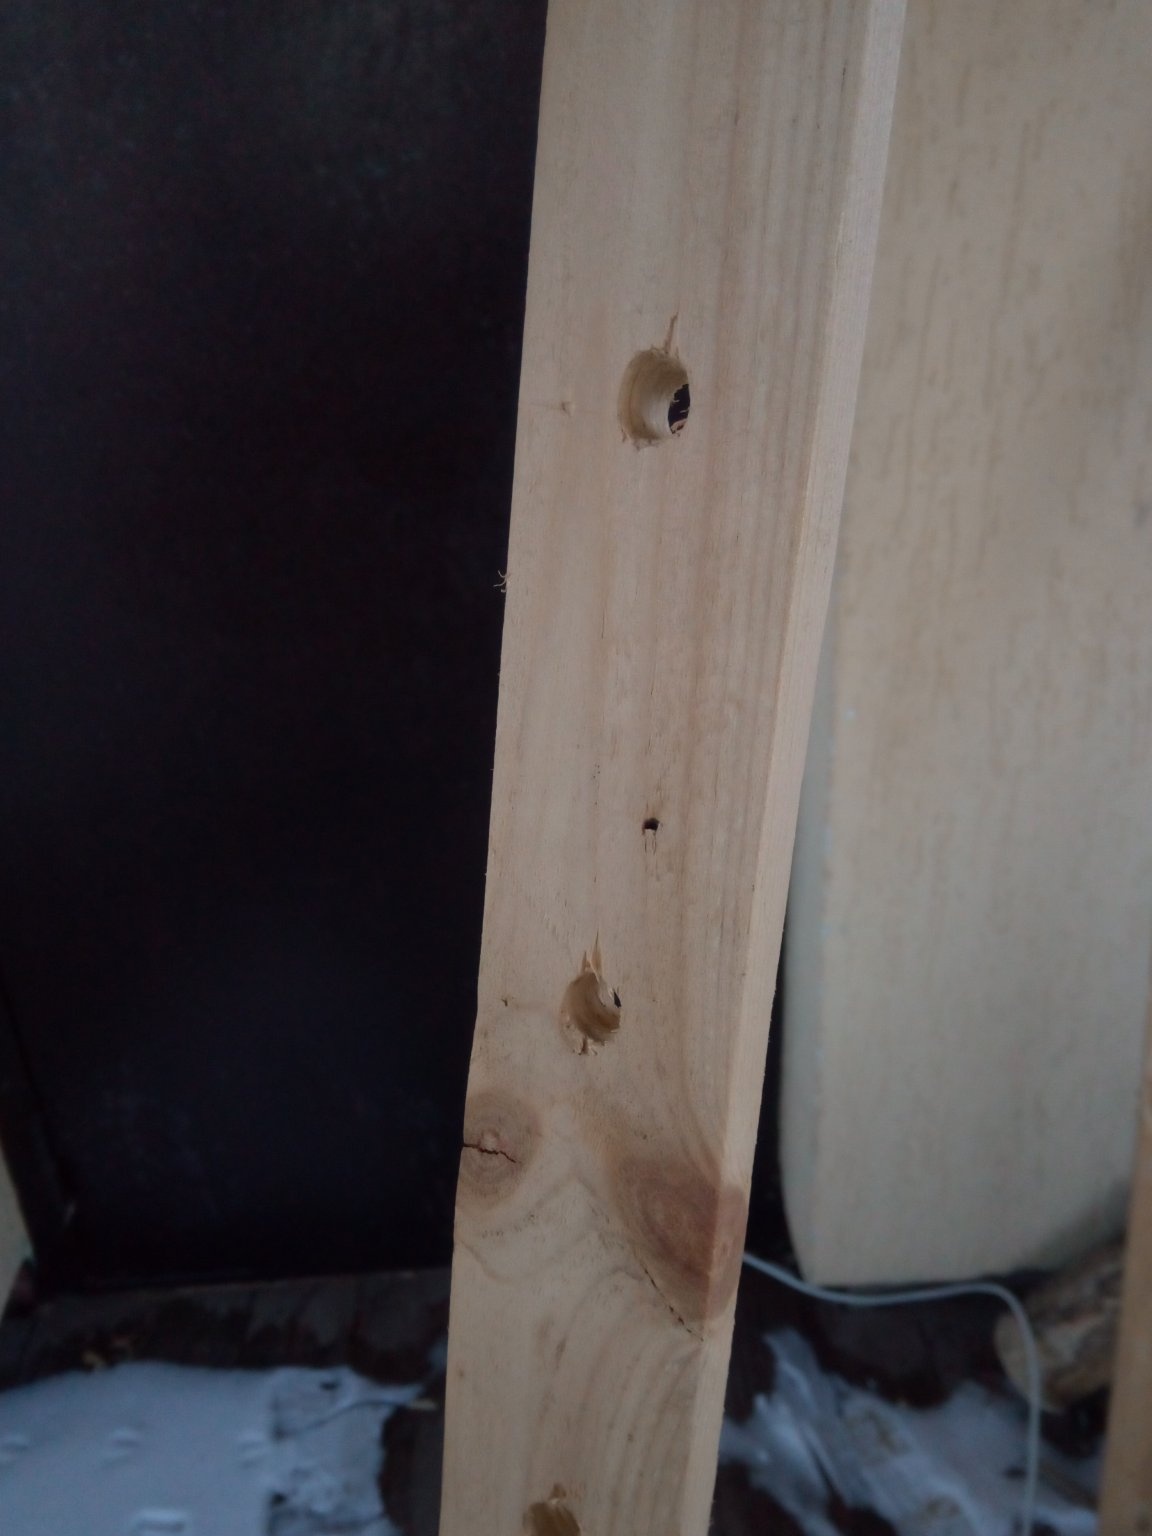
Now let's do the height adjustment. Let's get away from complex mechanisms in the name of simplicity and convenience. I think you can make adjusting the table much easier. It is enough to drill holes on the main legs every 10 cm and at the height you need just insert bolts or something else into the holes. Which will fix the board at the height you need.
8 Step
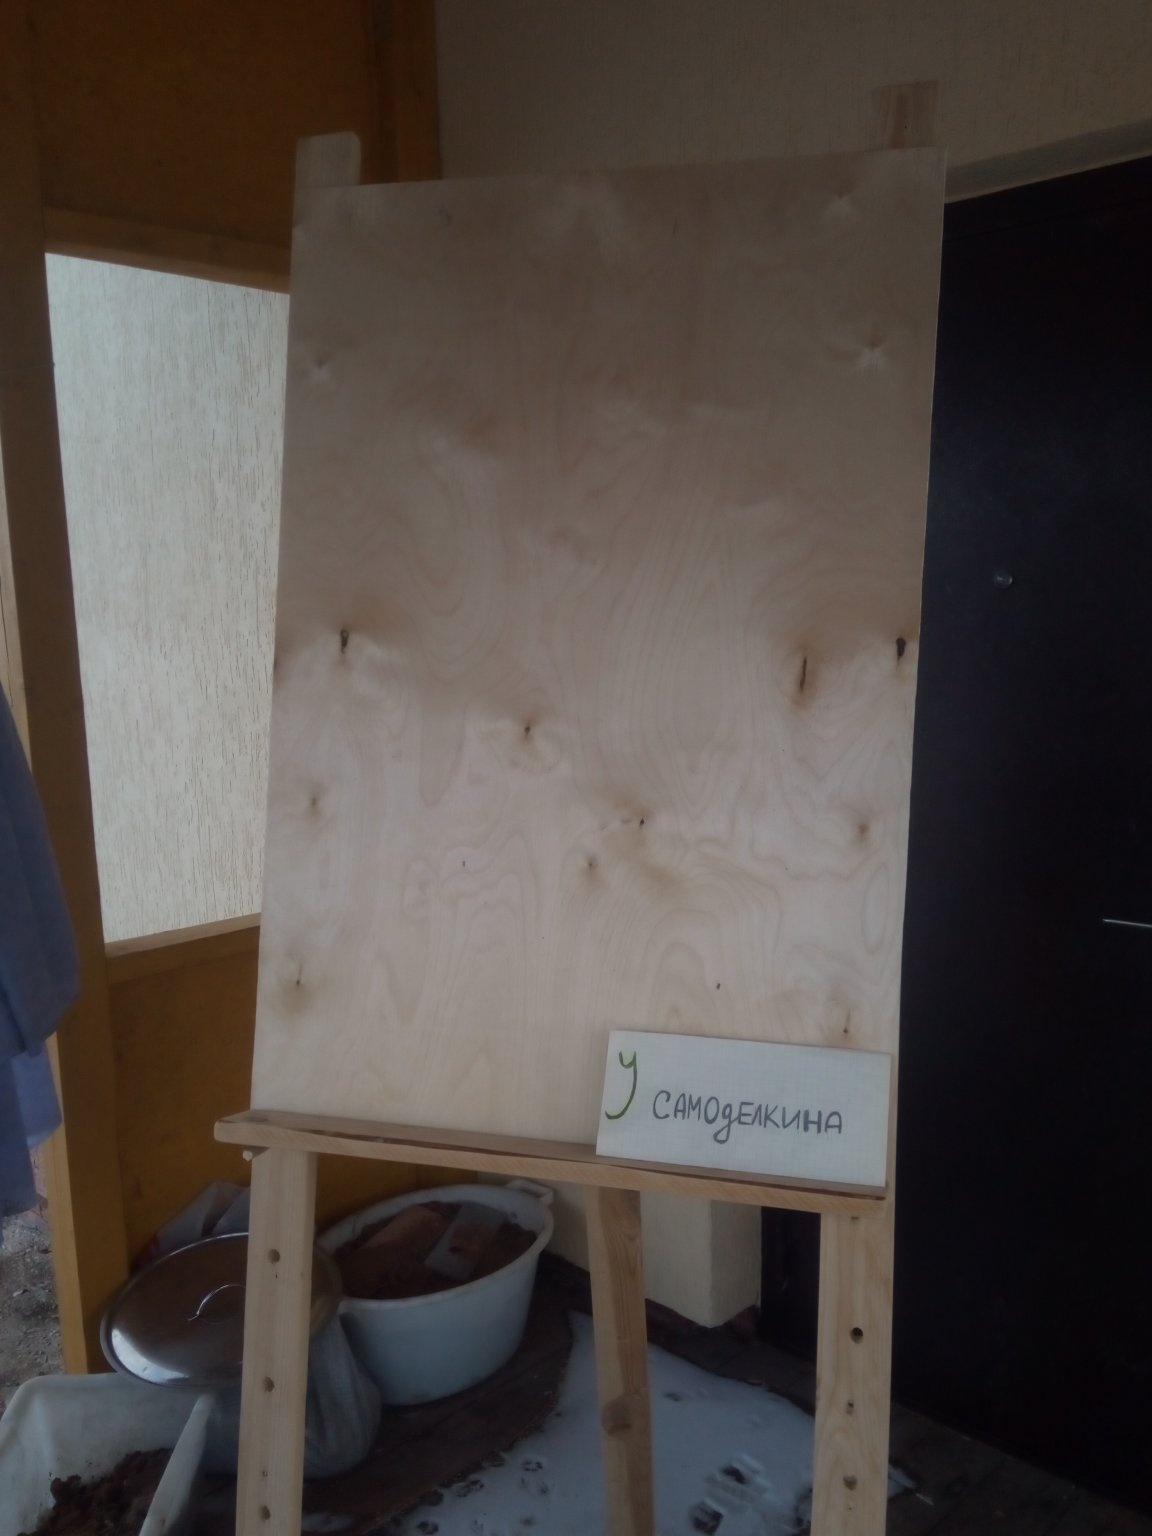
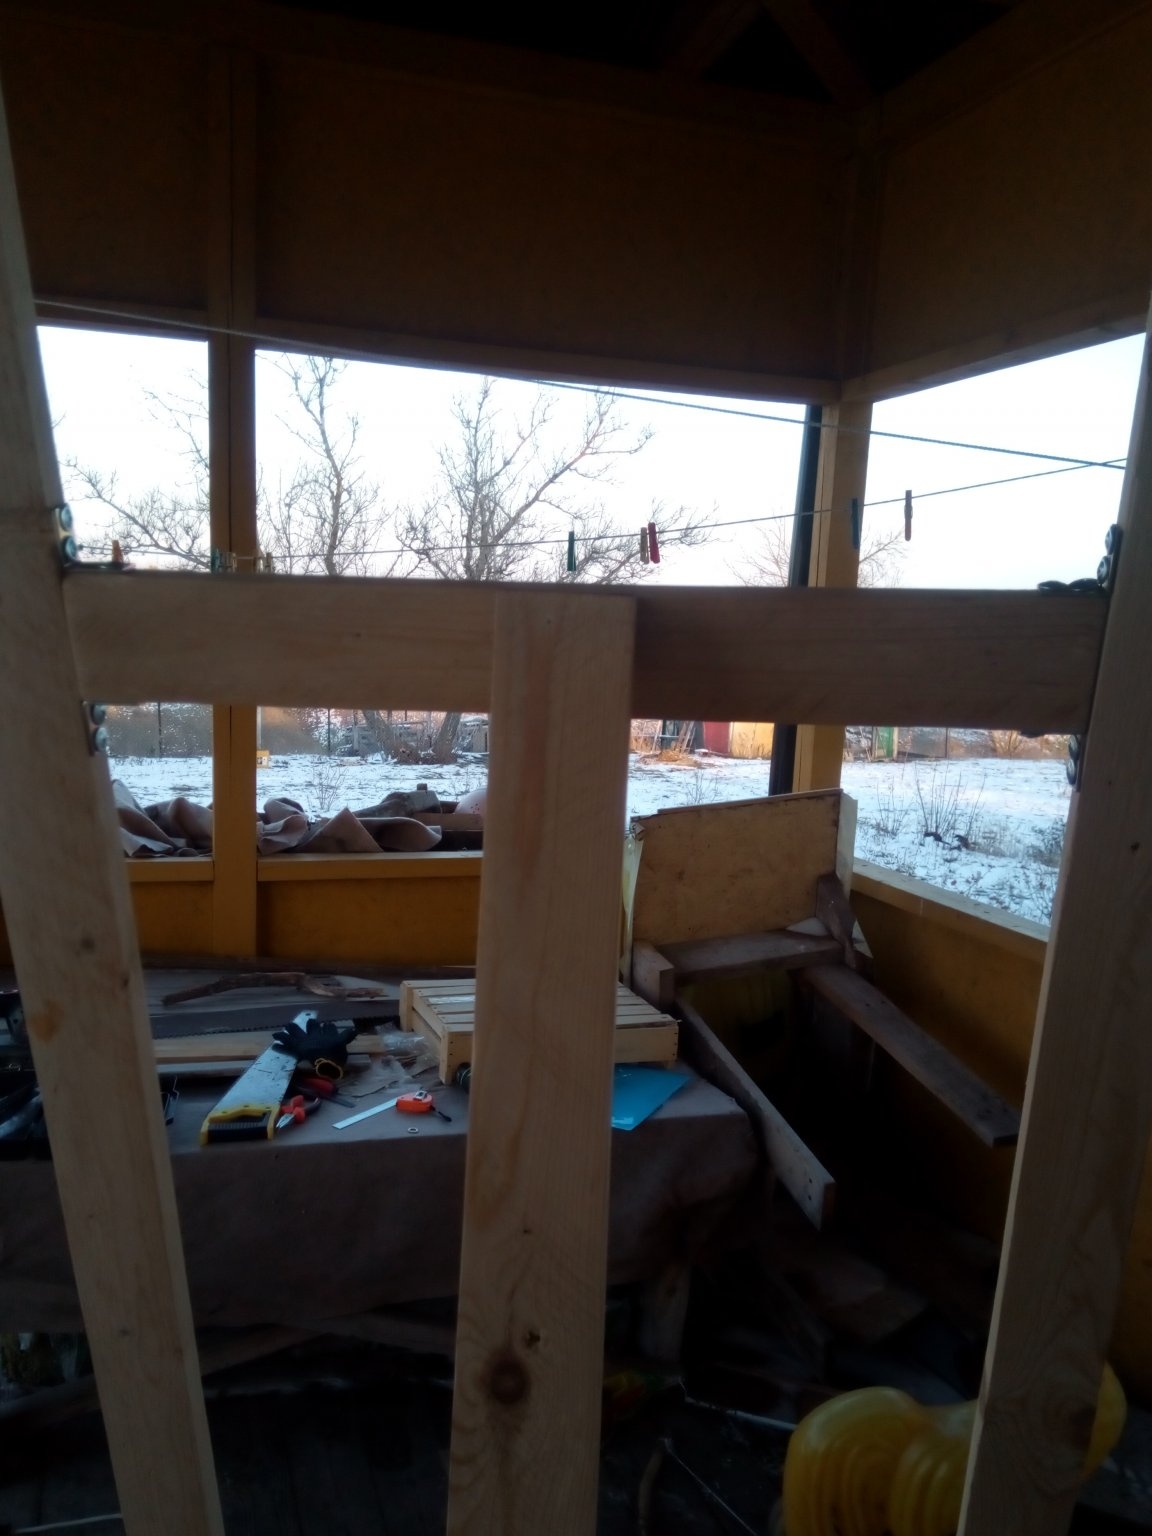
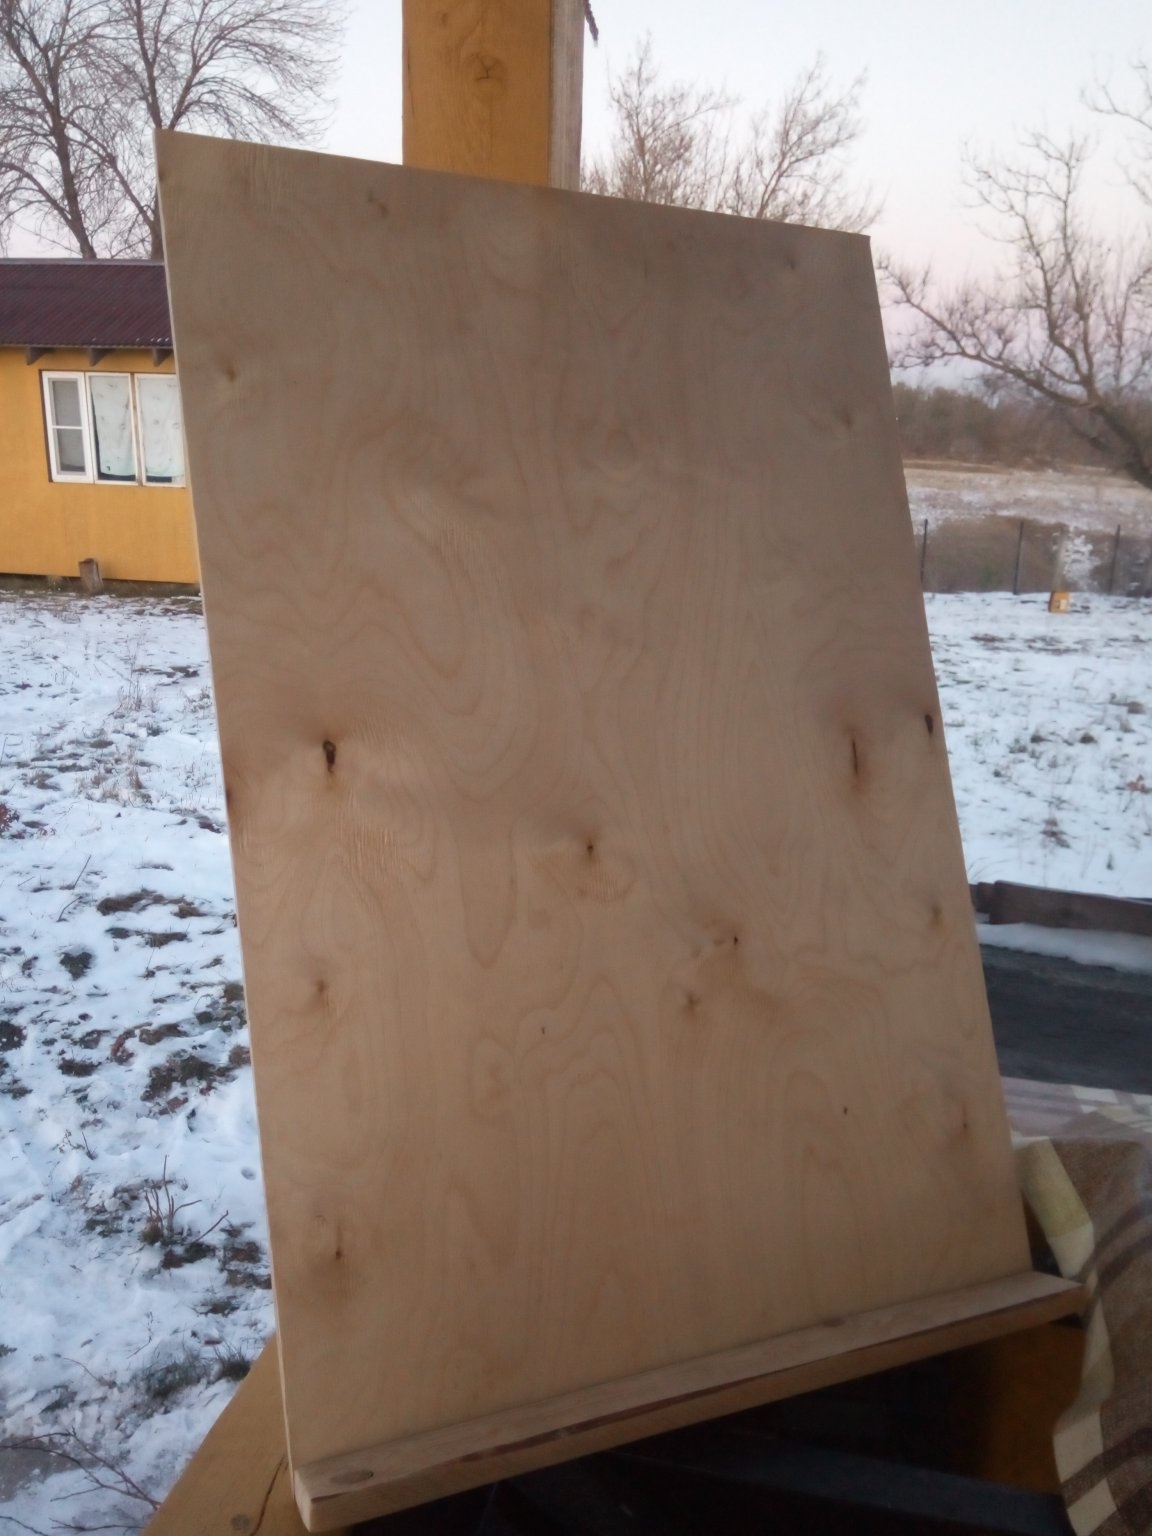
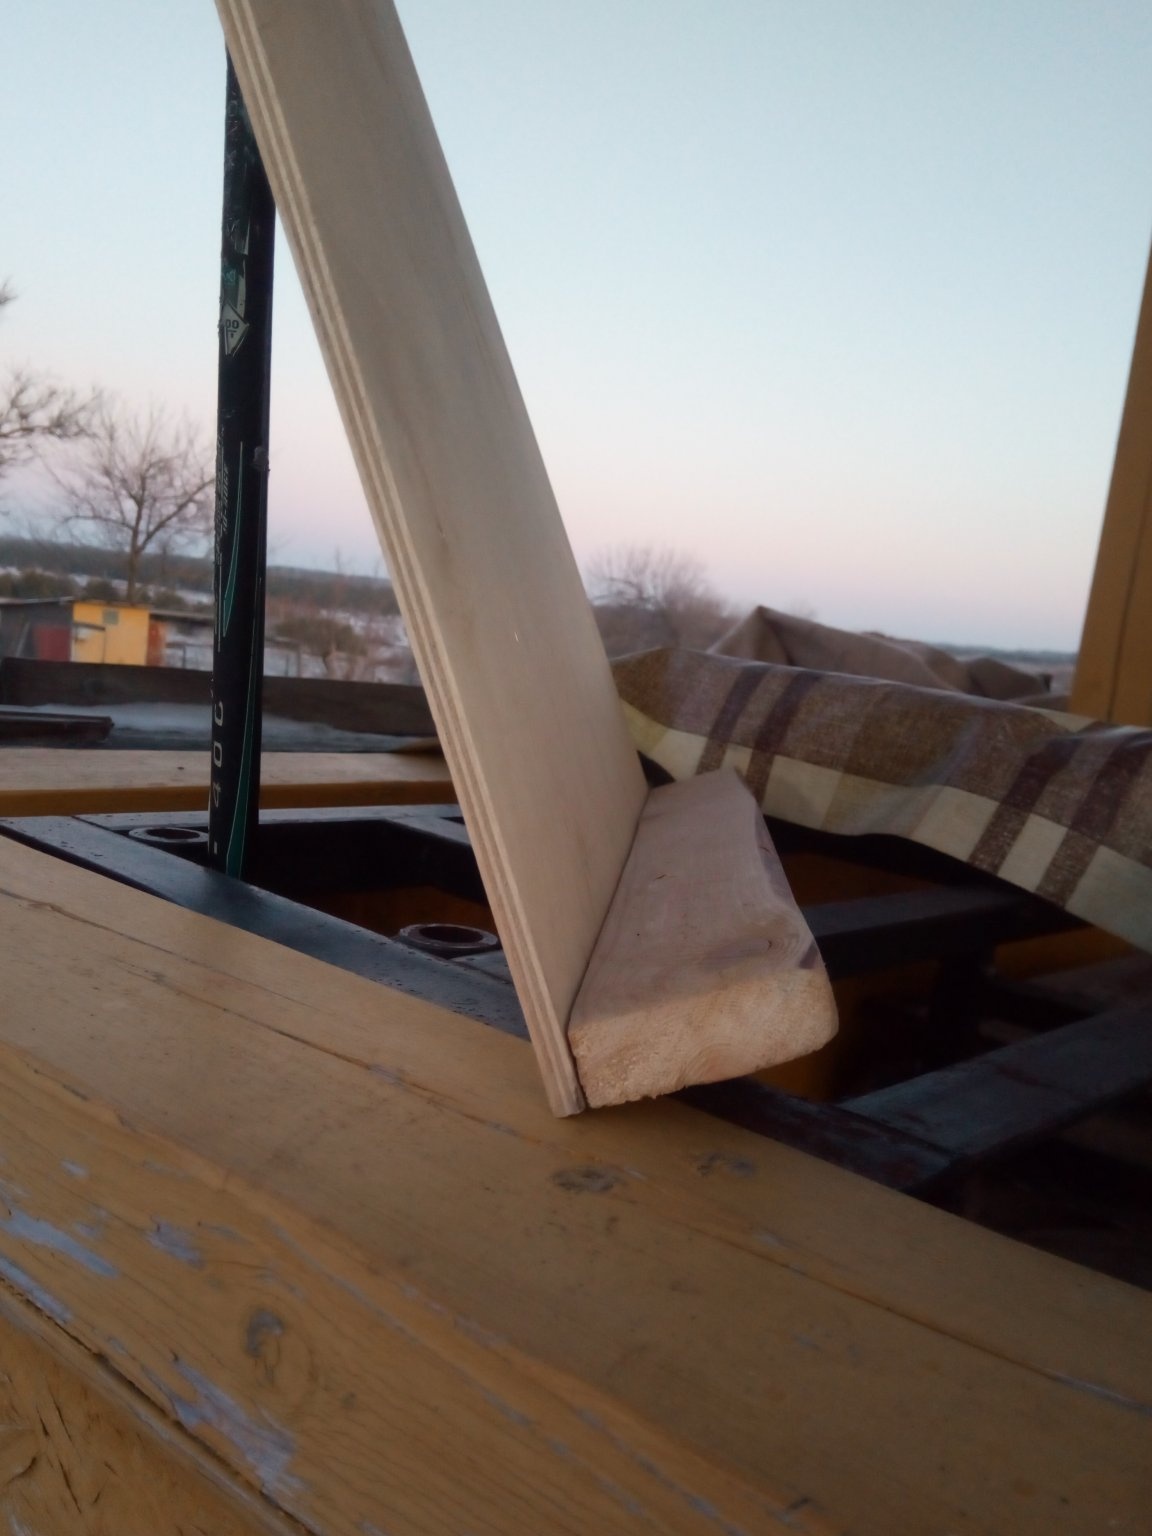
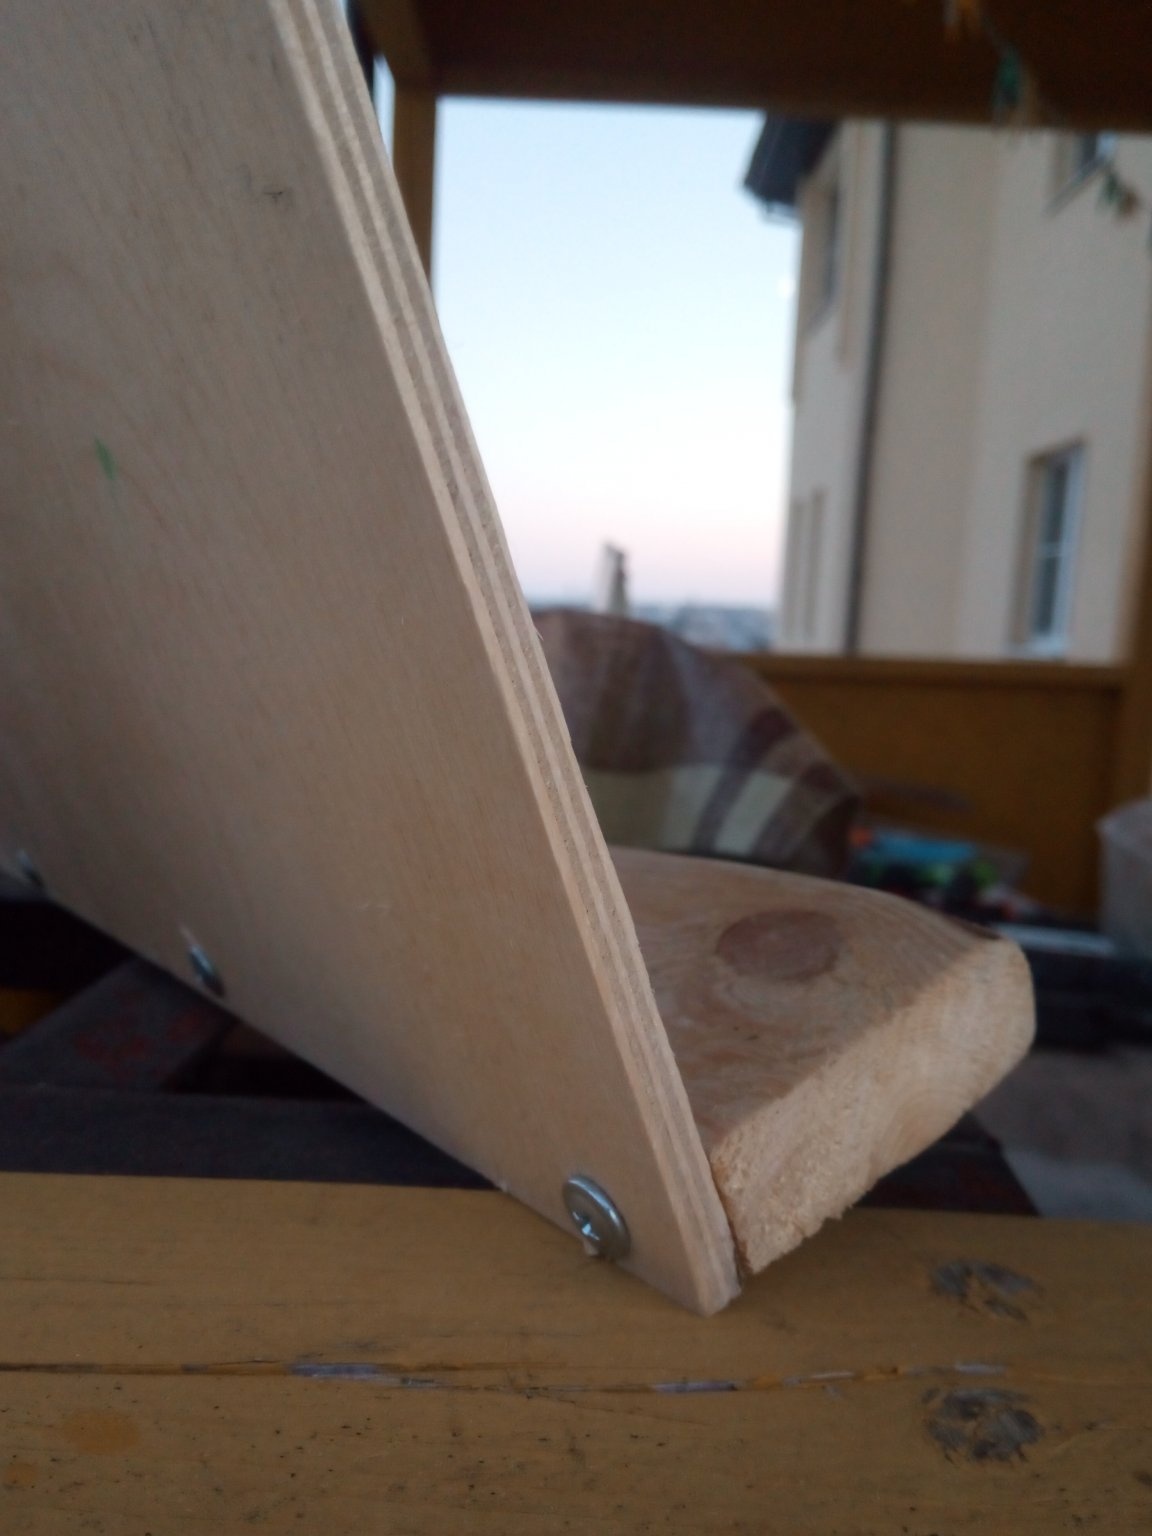
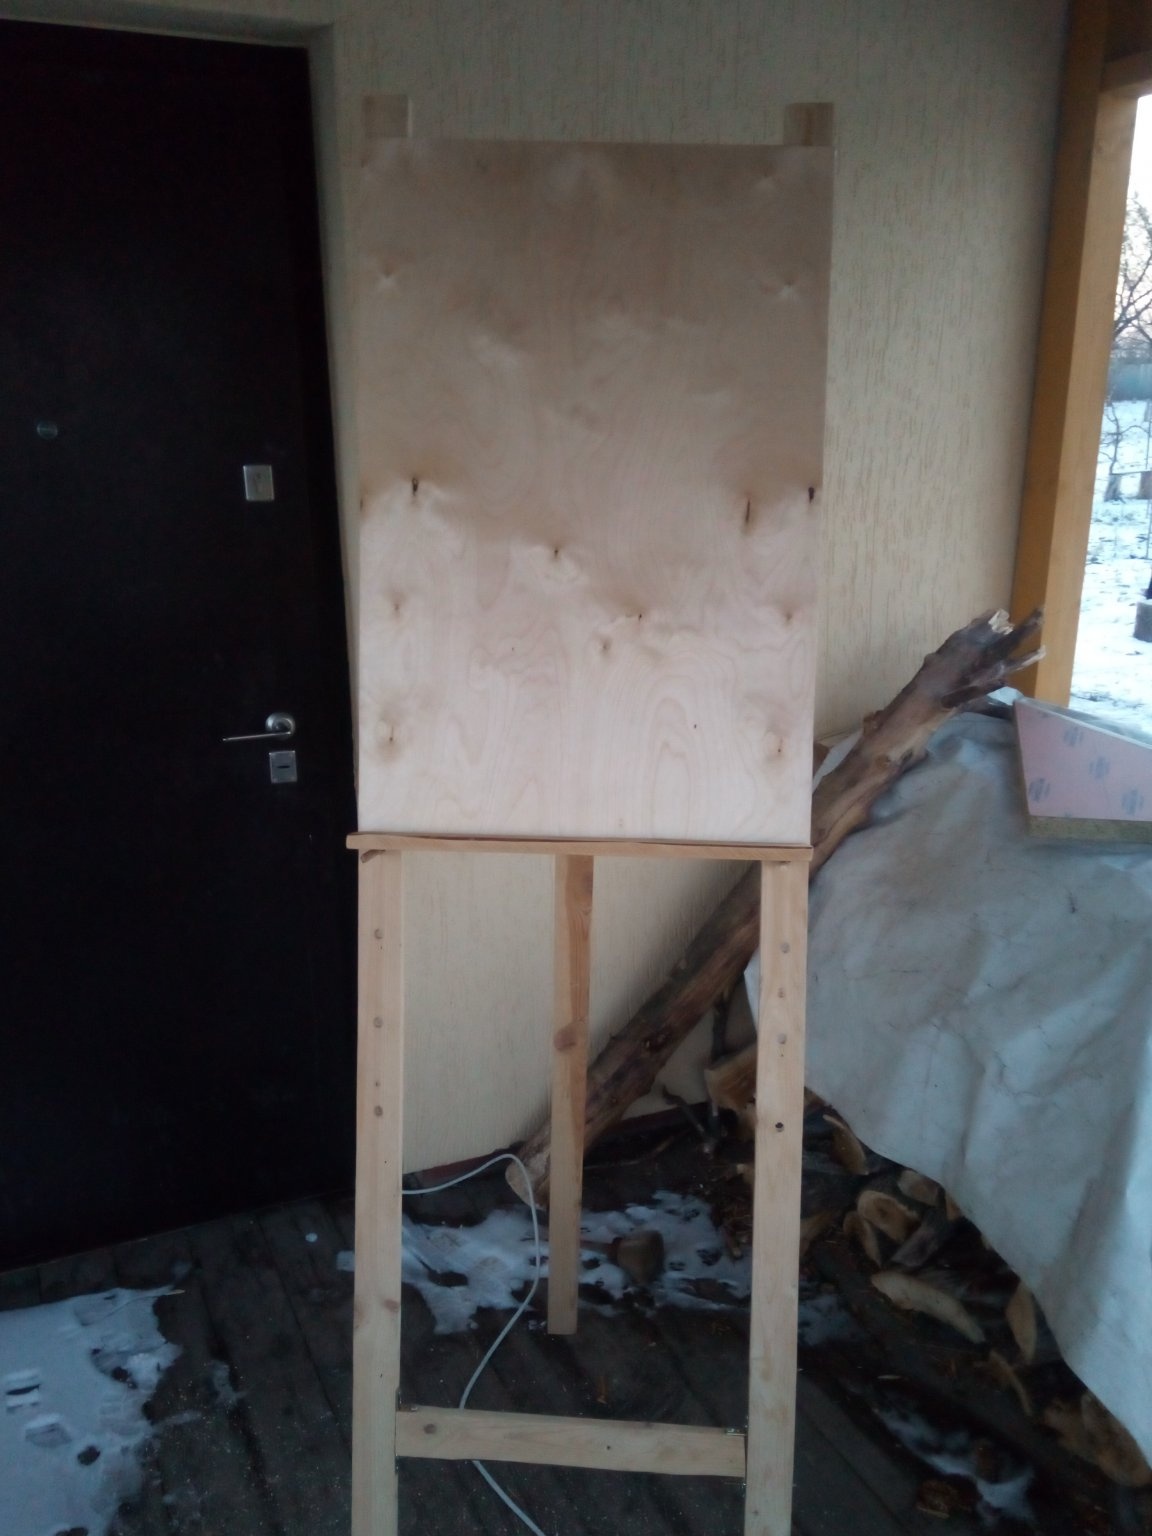
Now let's make the working canvas itself. As mentioned above, the dimensions of the board will be 750mm * 500mm. It is logical that when drawing or drawing, you will need to put a pencil and an erase somewhere. To do this, cut and grind (if necessary) a piece of rail 0.5 meters long. Next we fasten it to the plywood on the screws on the reverse side, thereby forming a small shelf. Where can I put stationery.
Well, that’s it, the easel is ready! Now that I have done it, I can do some drawing, since this is the case. But seriously, it is quite possible to draw on it and it can easily withstand a drawing device (I was afraid that it would overturn the easel because it would be mounted on the edge). For aesthetic pleasure, it can be painted and varnished. The only thing is that you can use thicker boards (slats) for even greater stability.
I wish everyone who will do something like good luck!