
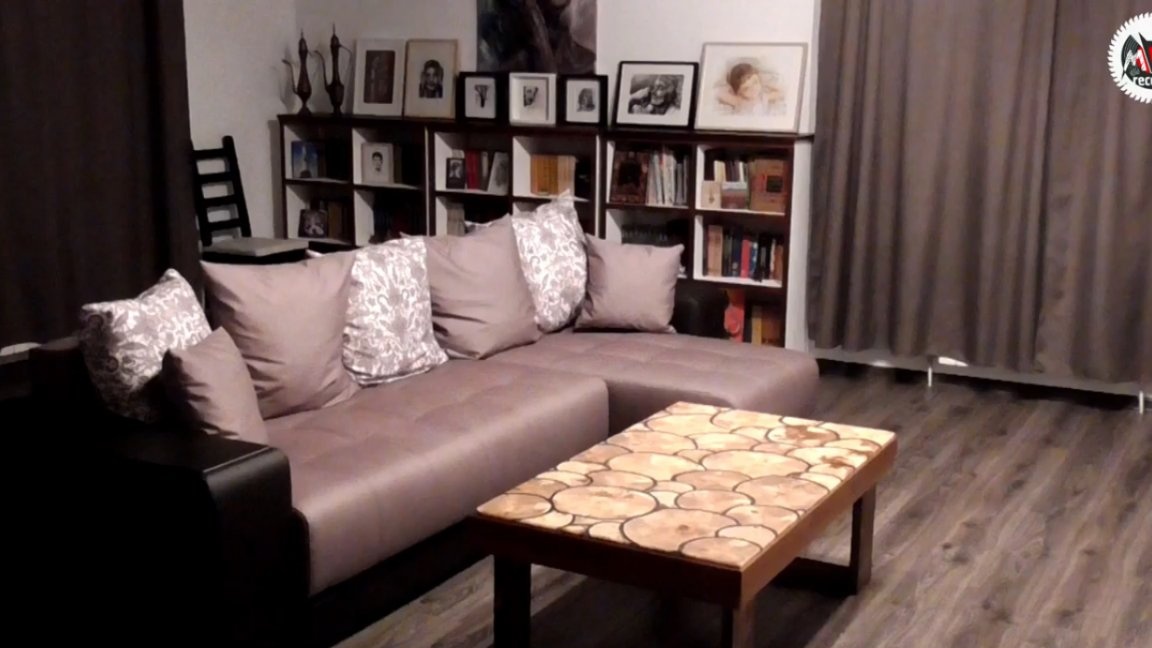
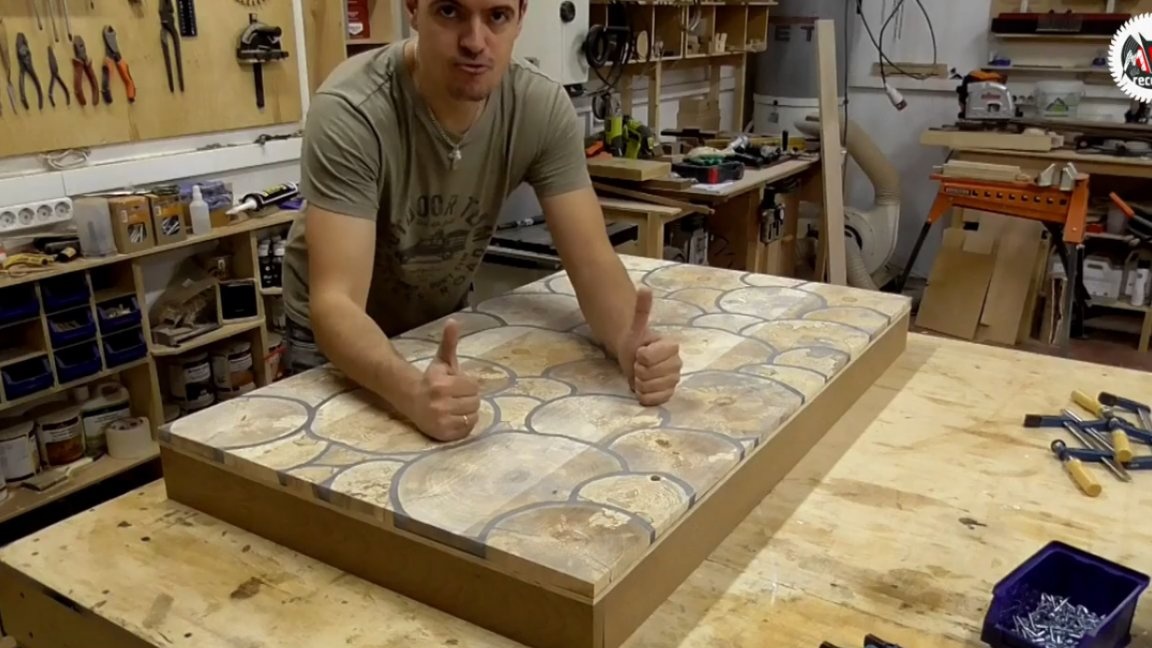
This article will show you how to do it yourself make a coffee table for the living room.
The author of this homemade product is Maxim Kozlov (YouTube channel "Maxim Kozlov"). For the production of such a magazine, these birch chumps, which were prepared by the author a couple of years ago, were used.
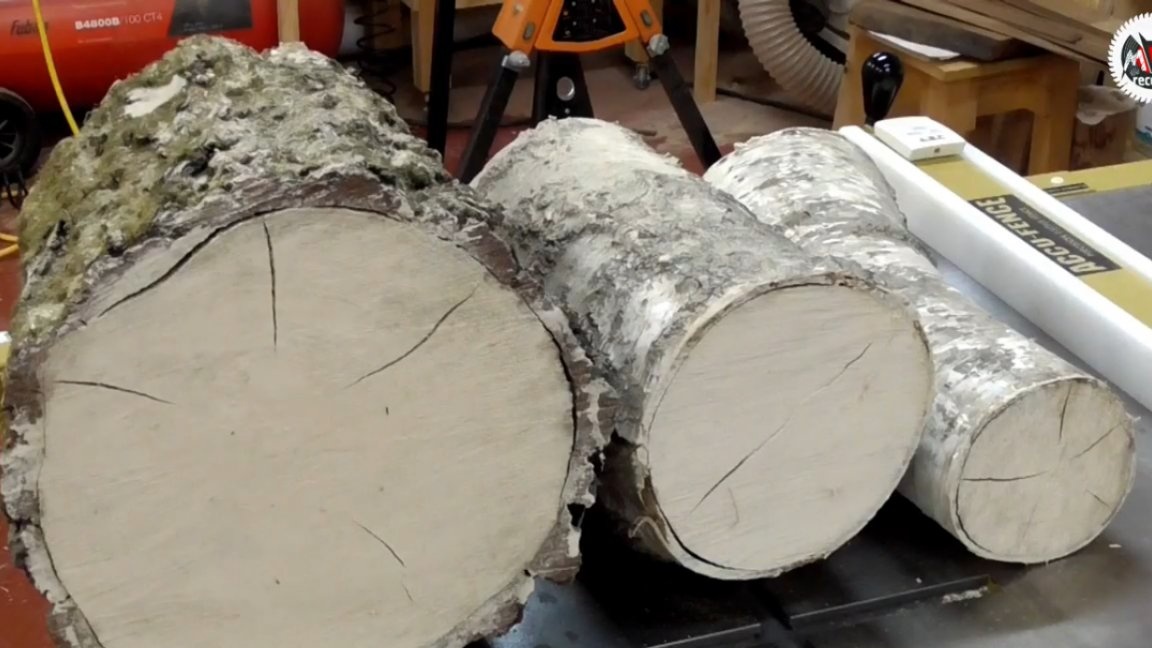
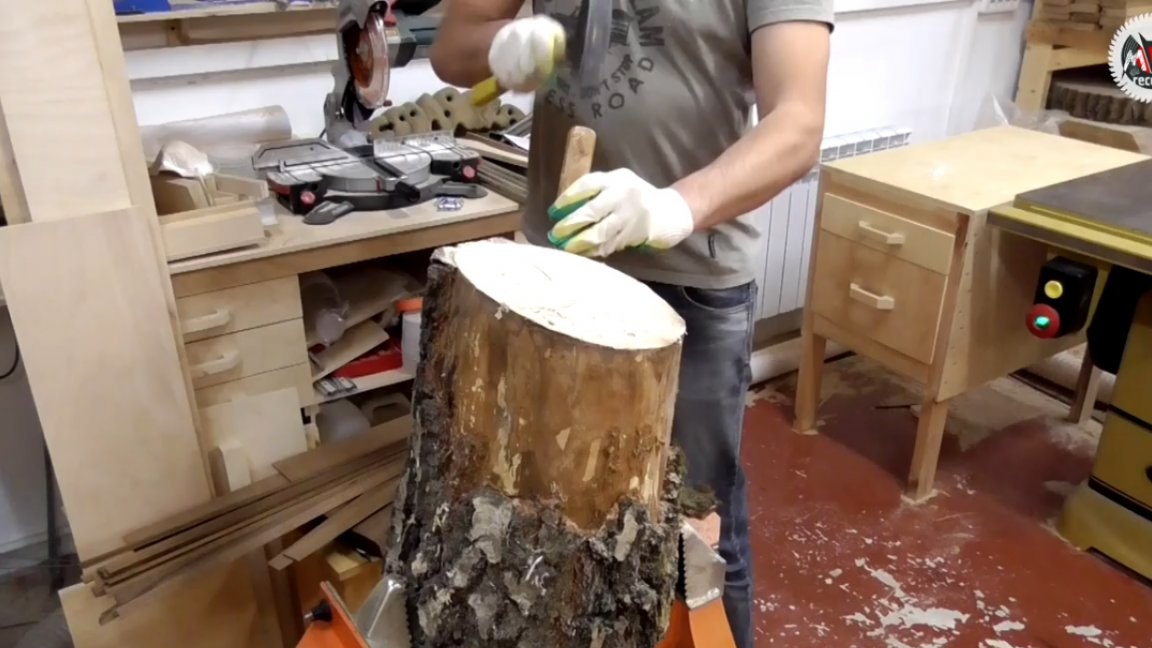
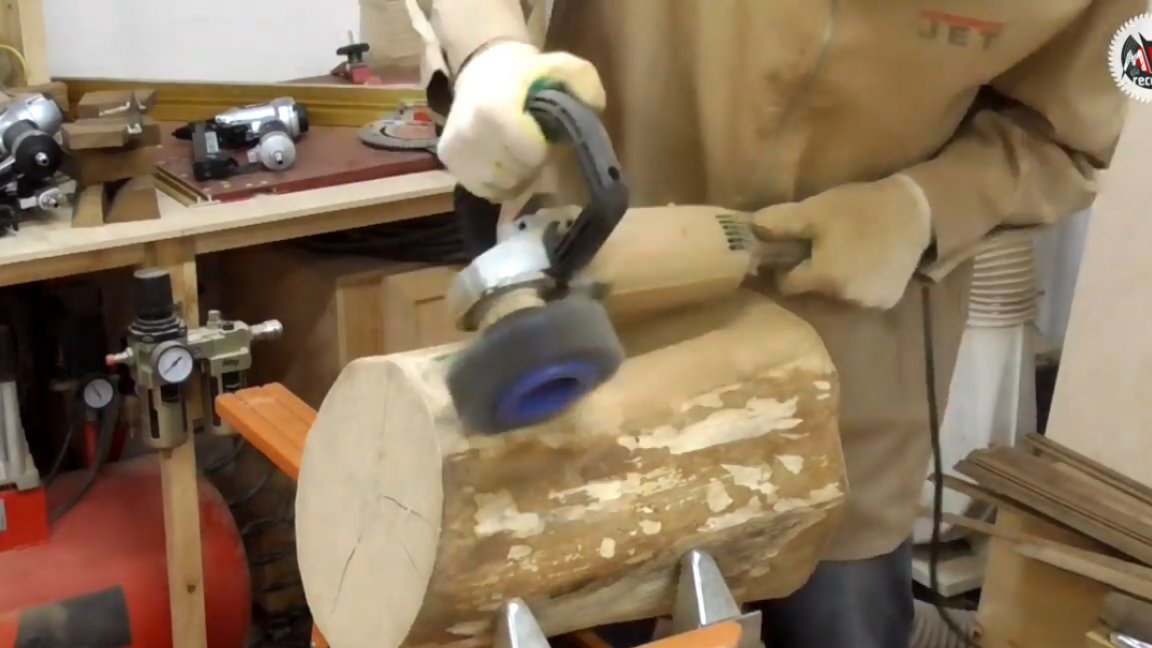
The plans for these blanks were exclusively turning, but after trying a couple of times it became clear that this material is not quite suitable for this. In addition, in two years, the birch managed to slightly rot, since the bark still had to be removed after the first year. Therefore, the first thing we begin to rid the blanks from the bark, which is the main destroyer of wood.
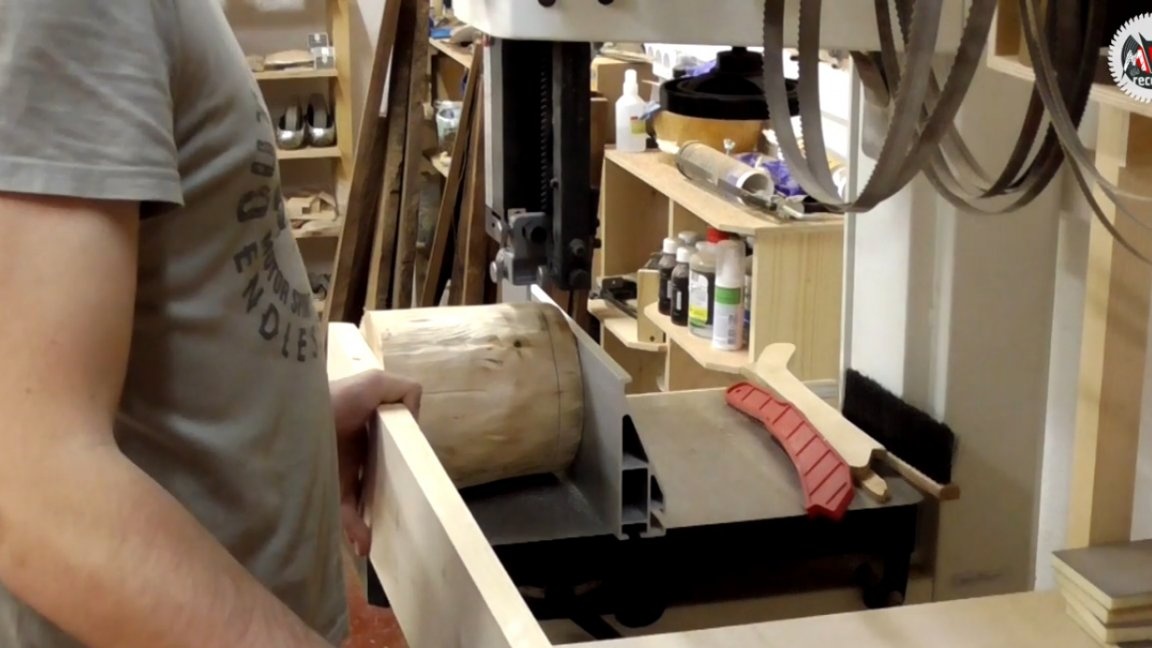
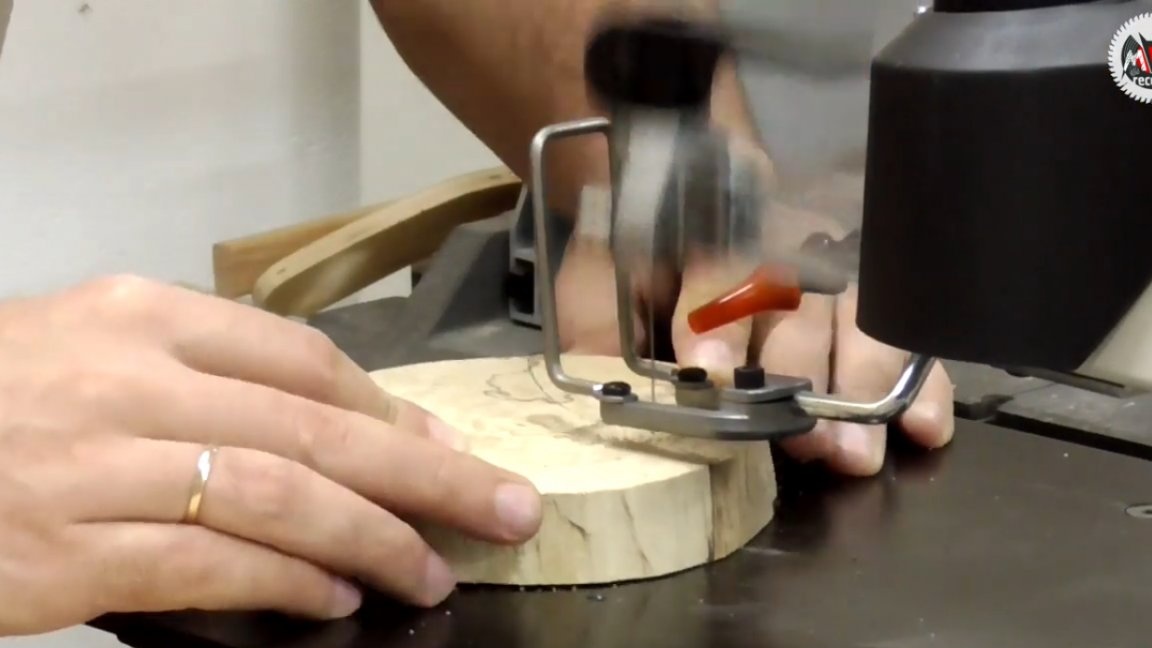
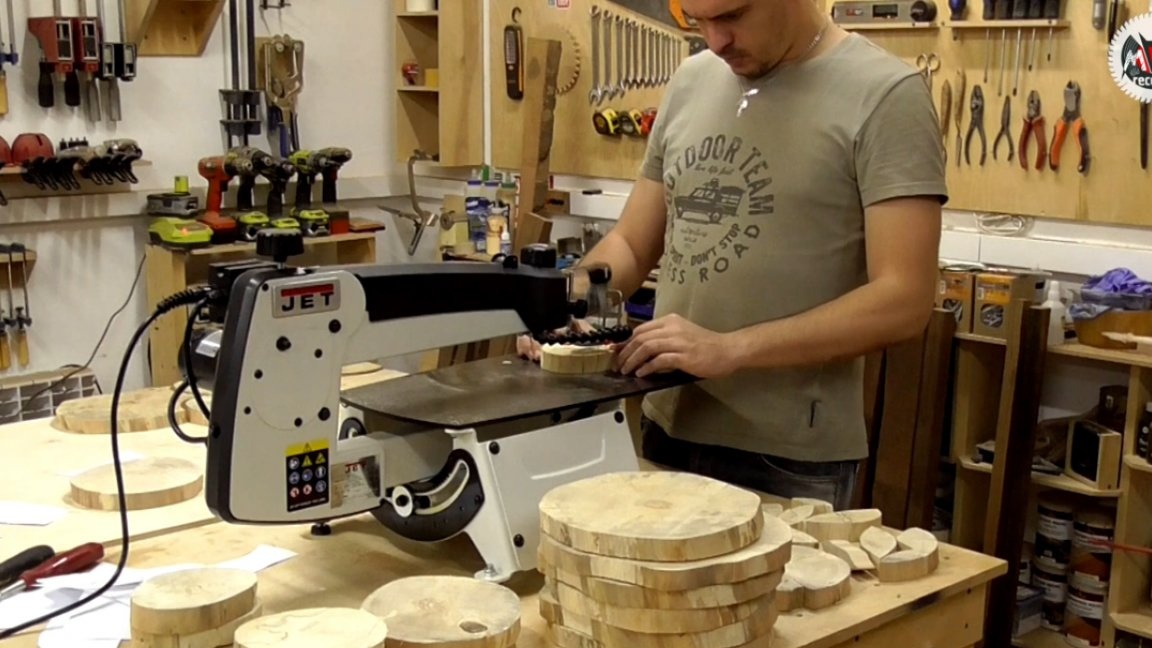
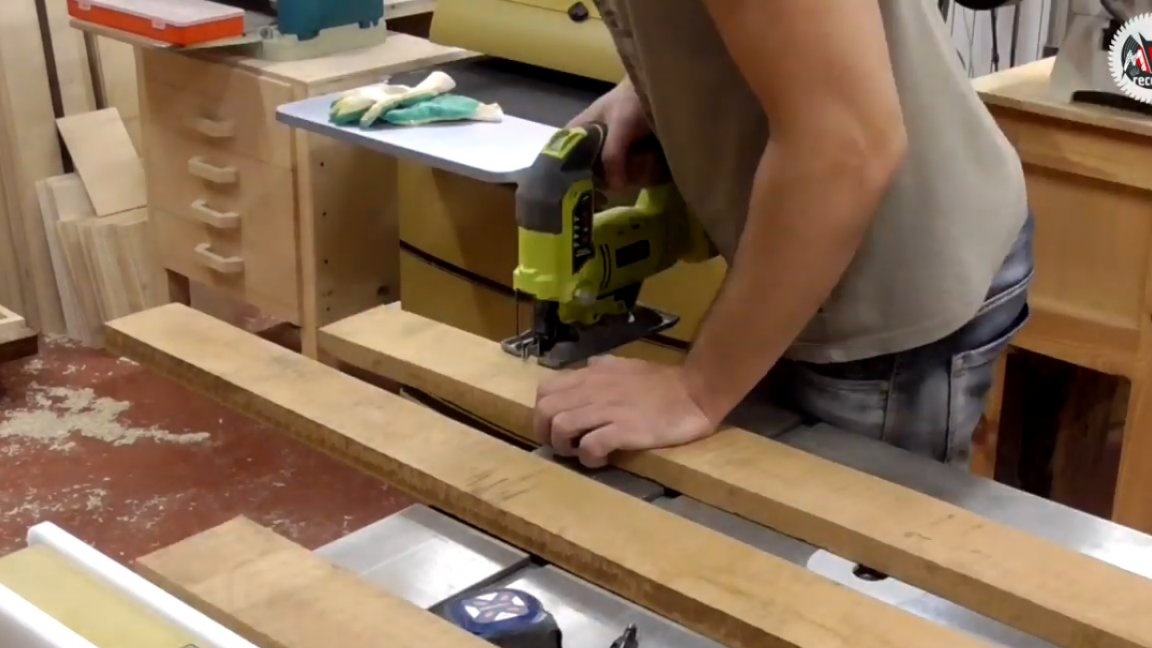
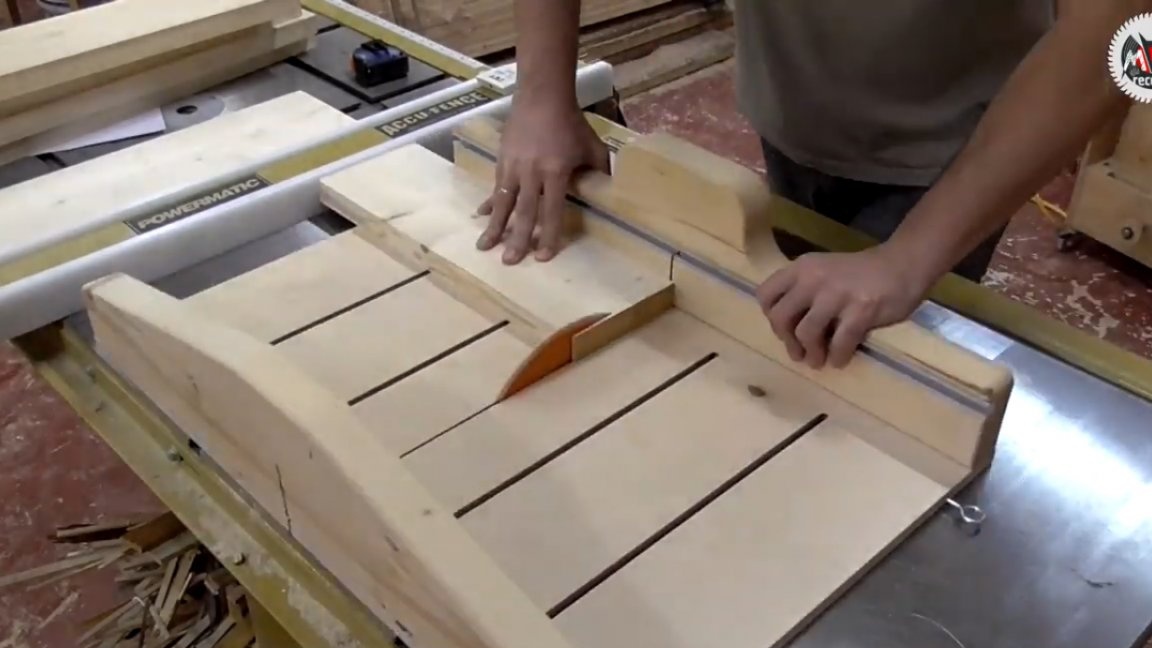
Next step it is necessary to cut the logs in half in order to reduce the lever in the future process of sawing round logs on a band saw.
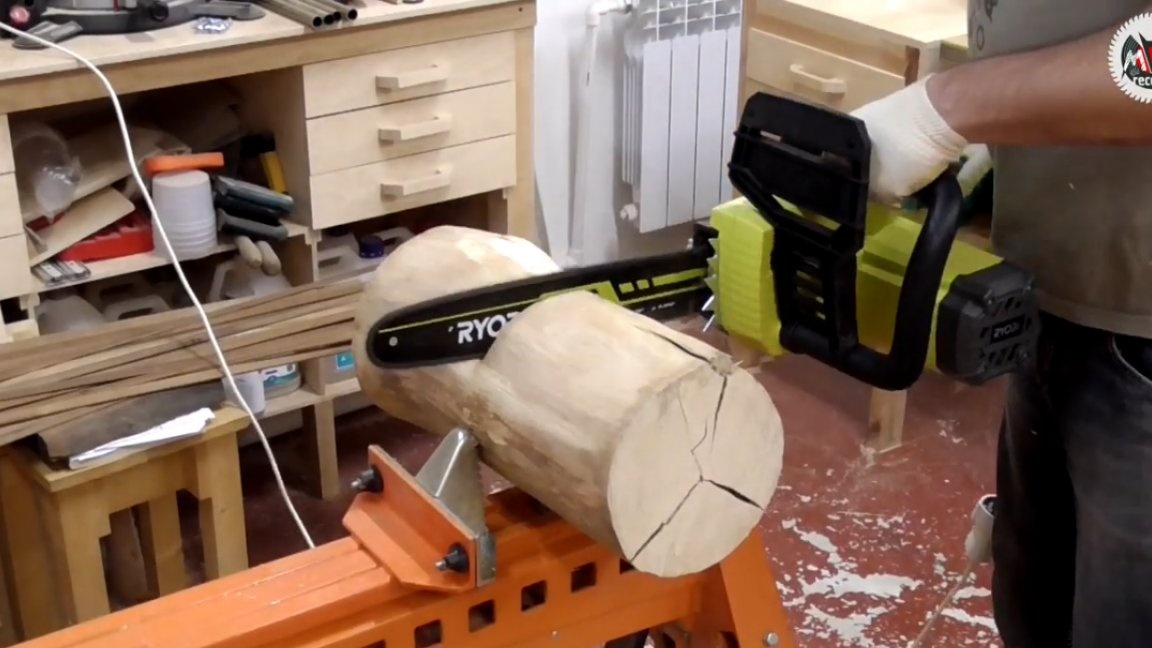
This process is quite responsible and quite dangerous, if you approach this unprepared. I think that many people went through biting and scrolling round timber with a ribbon cloth and know what it is. So, the safest and most effective method of such a cut is to fix the workpiece on a support guide, which prevents the workpiece from turning, and therefore bite with a saw blade.
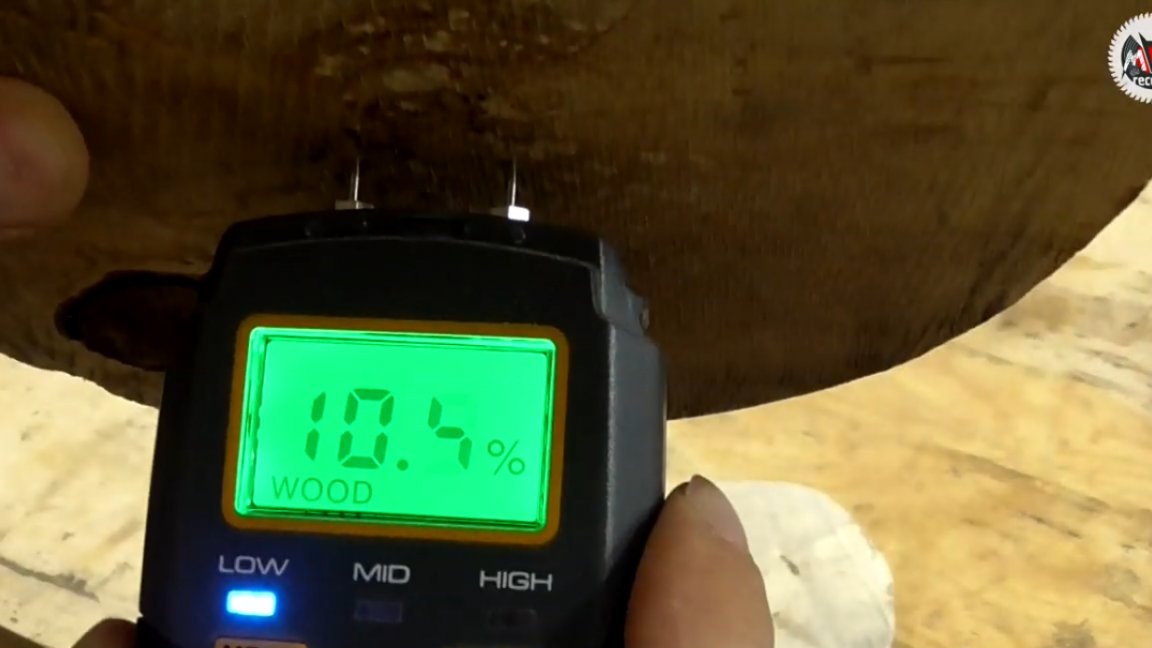
Over the past 2 years, birch blanks have dried quite well. The moisture meter showed an average of 10%, which is quite acceptable for this task.
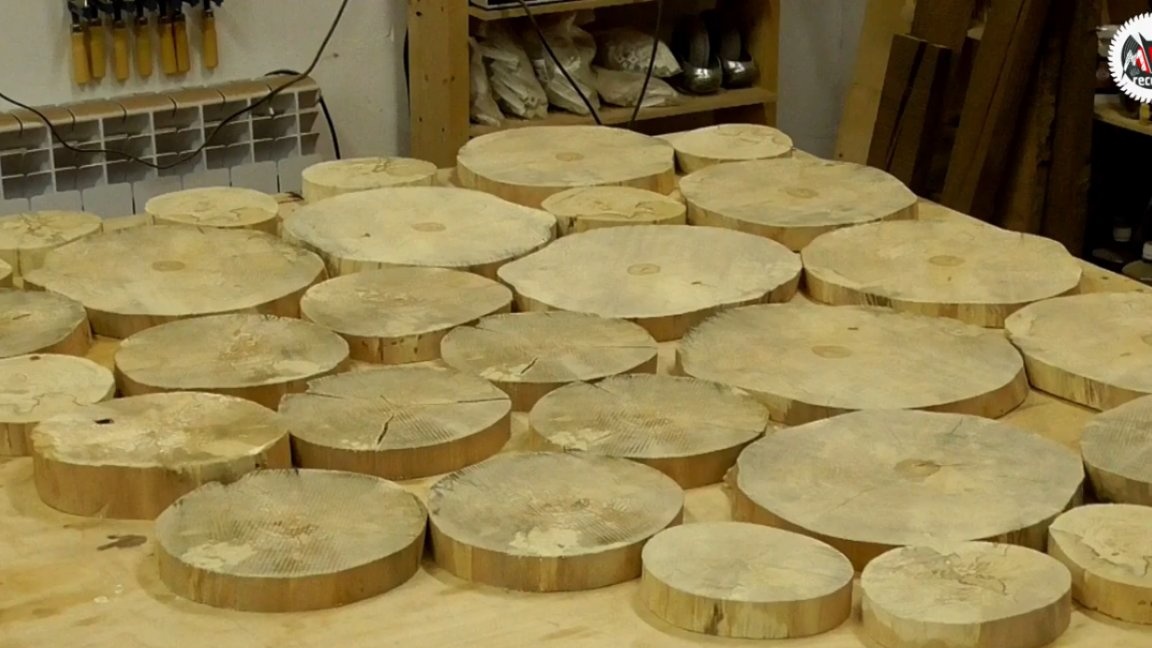
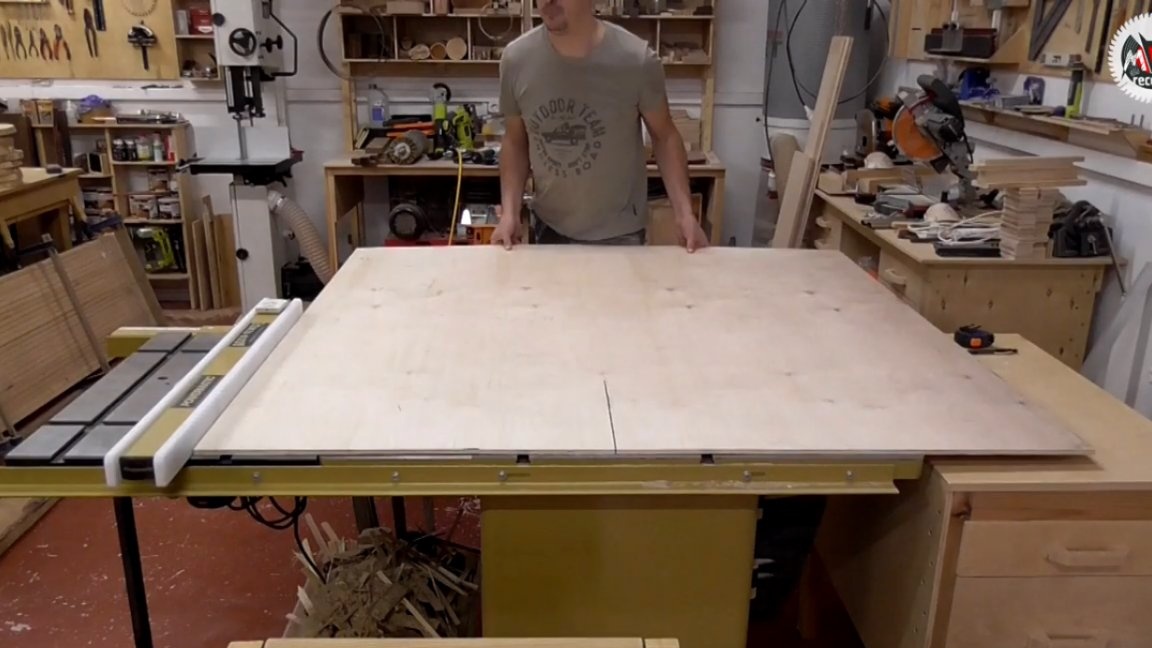
After the first batch of round logs of three different diameters was obtained, we can begin to prepare the foundation of the future countertop, to which our entire still life will actually be attached. For this, the tenth plywood was used. The size of the countertop was chosen 120 by 70 cm.
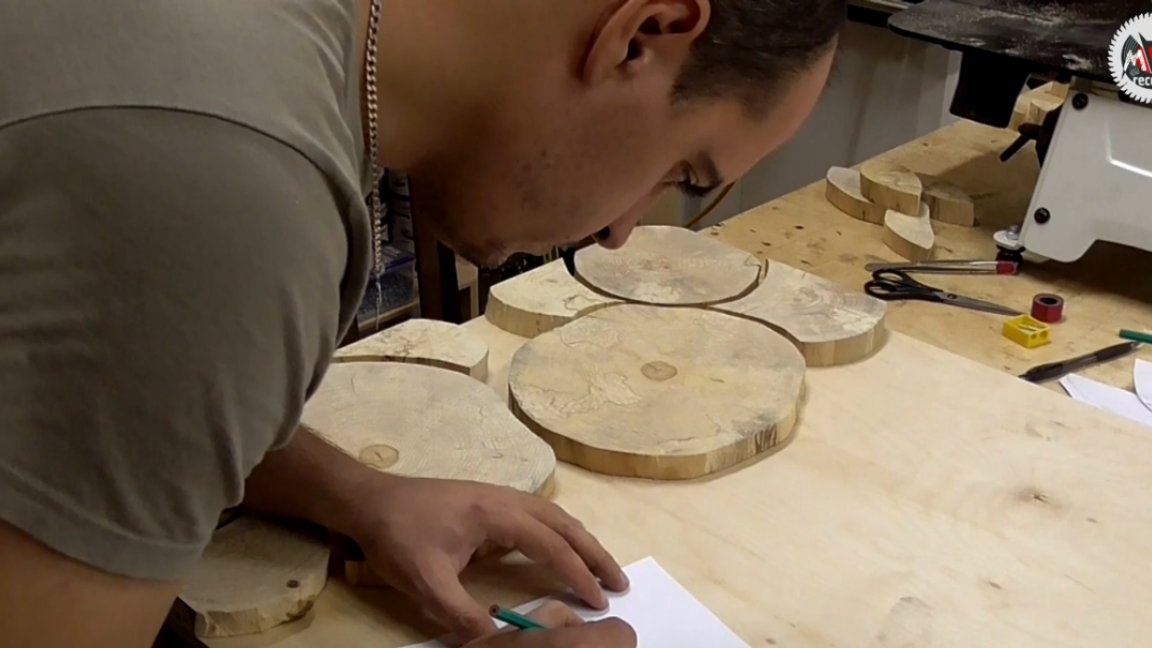
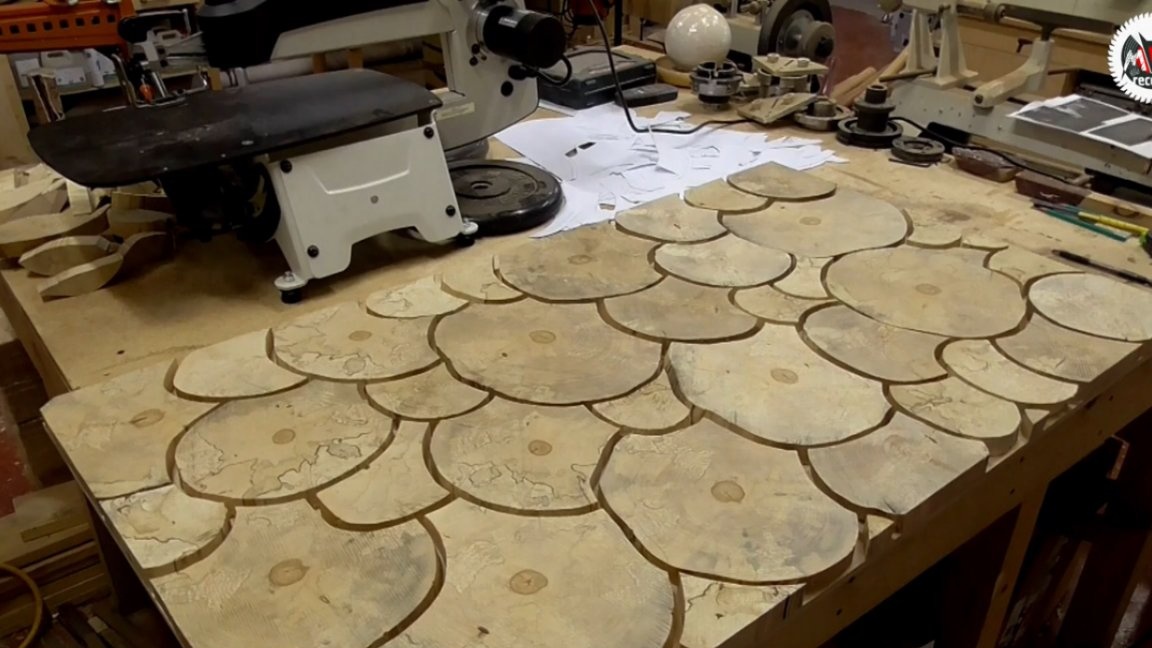
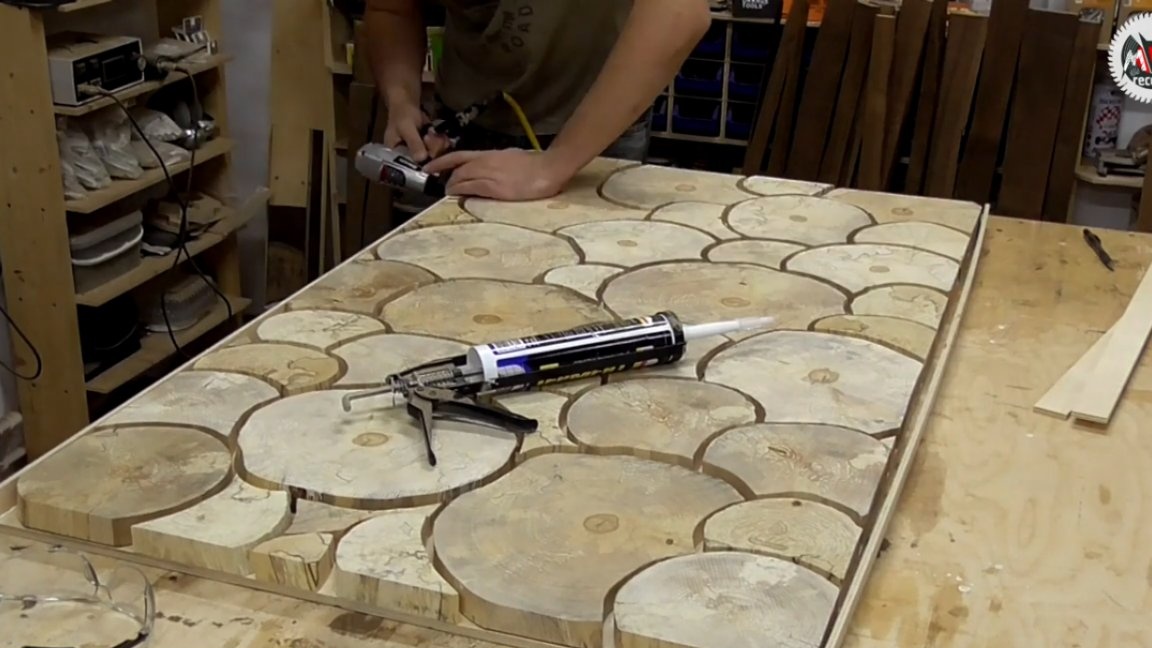
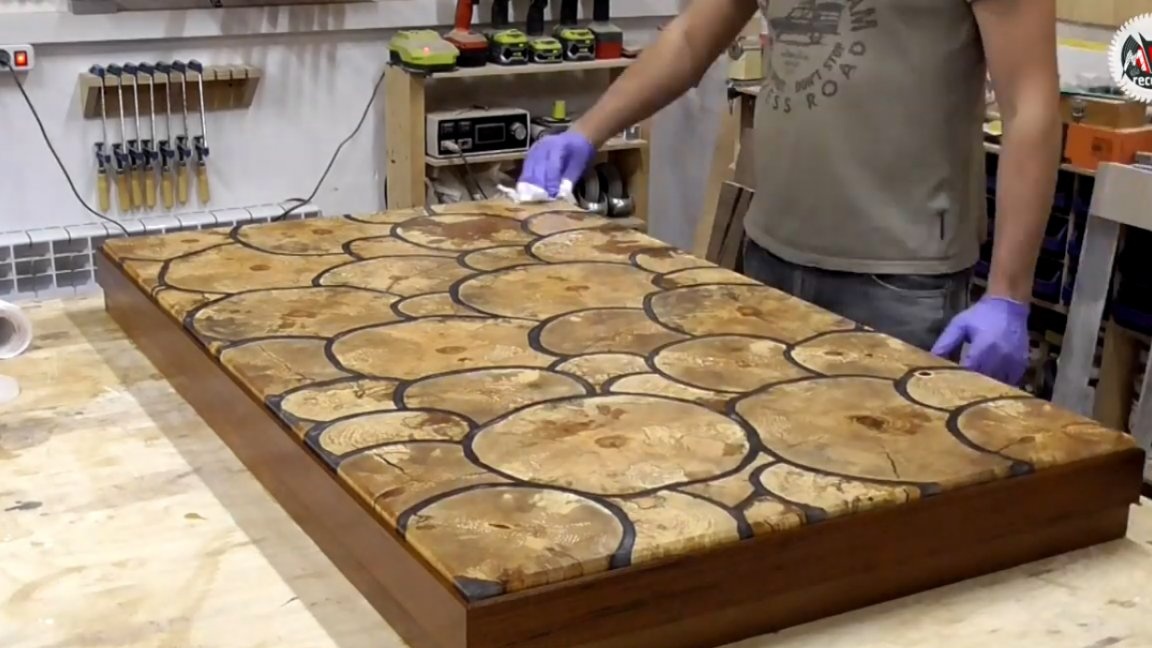
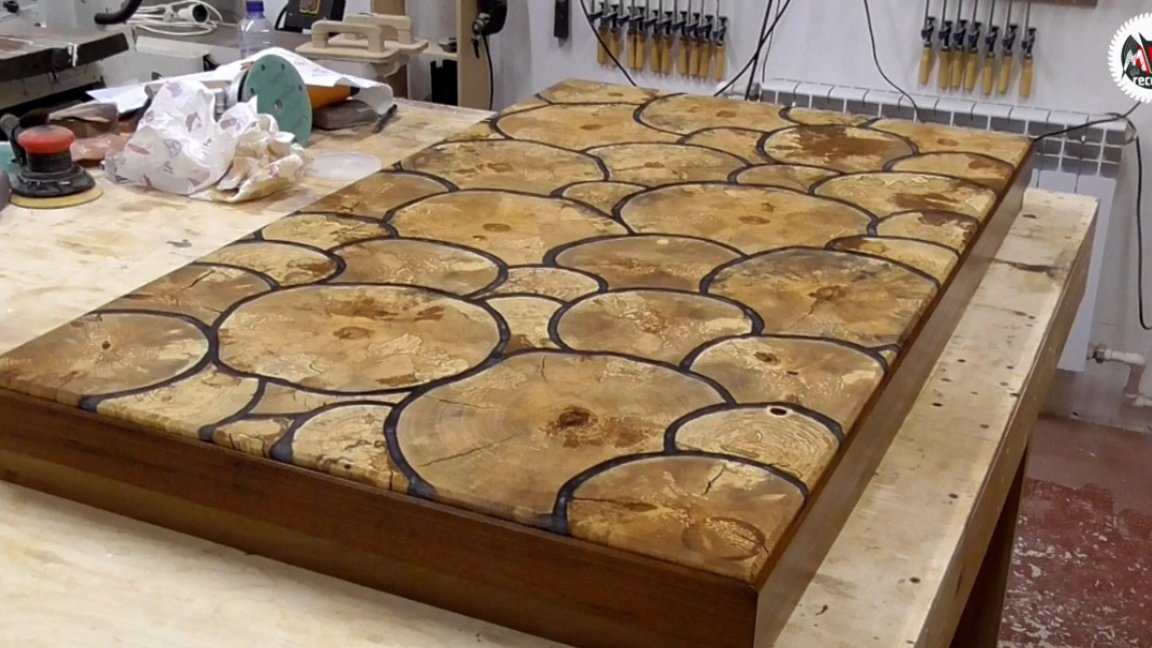
Next step we have a rather routine process - laying out round logs on the base. The idea is this: it is necessary to make sure that the cuts are as if inscribed in each other.
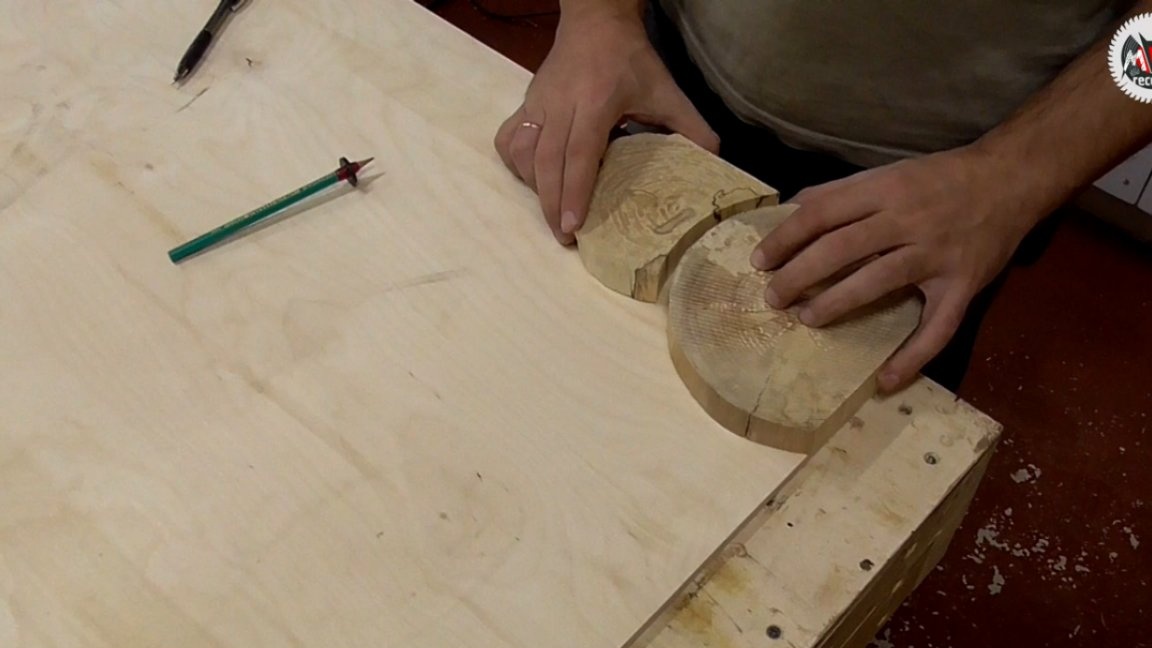
Such a solution will make it possible to dispense with filling the voids with branches, as is done according to the classics in such cases, and thereby set a seam of equal thickness between all elements. The process, although routine, but allows you to make quite interesting drawings using fairly simple (including junk) material.
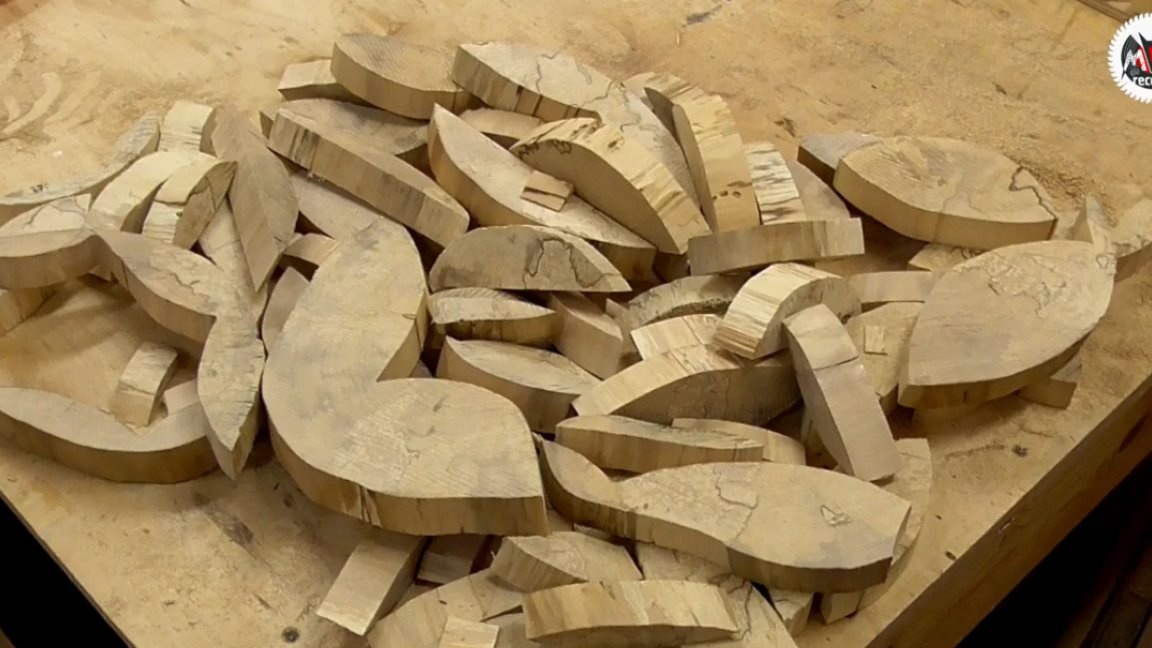
Naturally, with this approach, there is a lot of waste, but since we are essentially working with firewood, this is not at all scary.
Next stage –Preparation of tabletops for resin pouring. The first step is to make the formwork, which will need to close the perimeter of the product. To do this, six-millimeter plywood trimmings were used.
During the installation of the formwork, it is necessary to seal it. This can be done with silicone sealant. The sealant is applied directly to the very base of the countertop, as well as to the formwork, and then the whole thing is fixed to the microsocket.
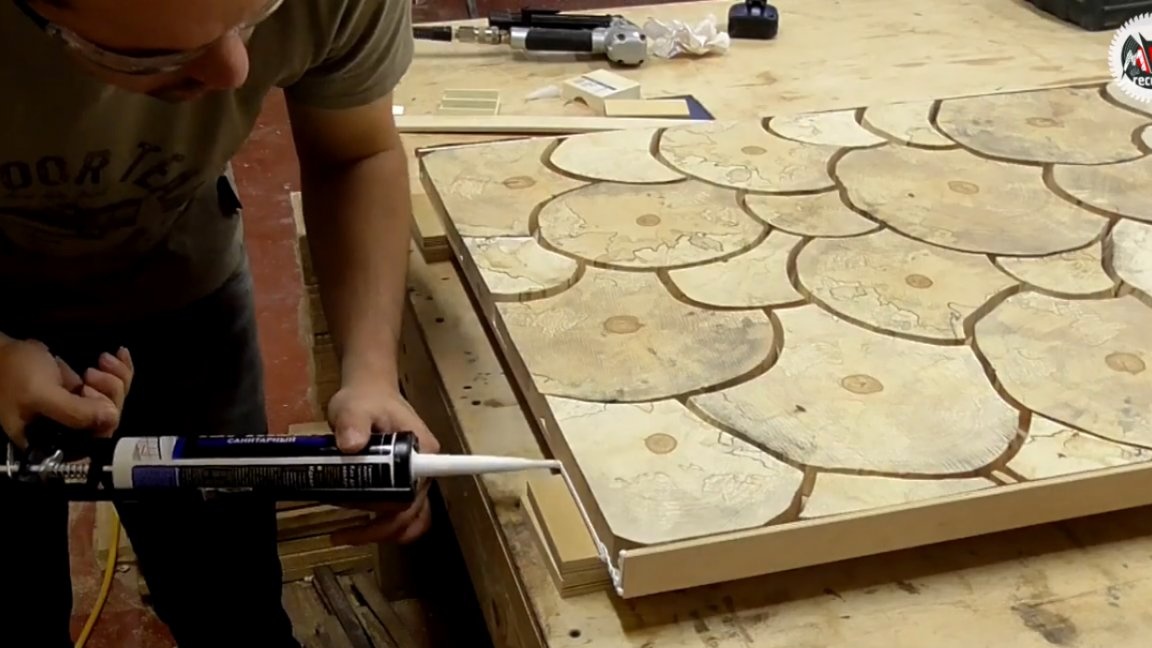
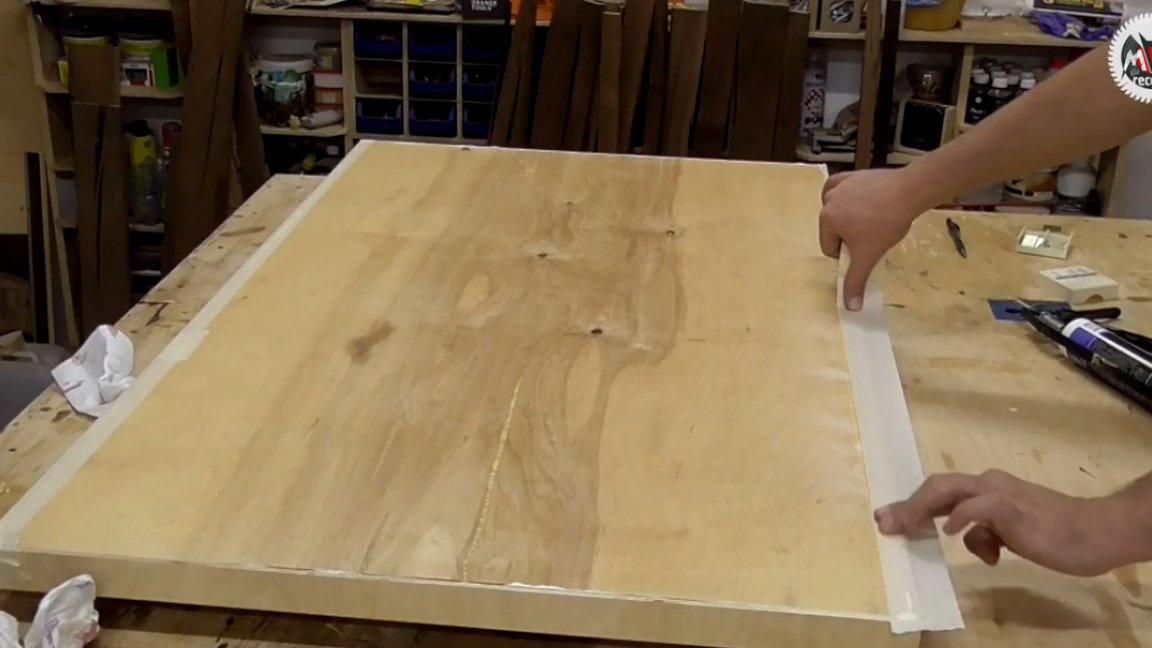
As it turned out, such sealing of the joints was quite enough, but at that time the author decided to play it safe and additionally walked around the corners with masking tape.
Next step it is necessary to prepare the epoxy resin for pouring.
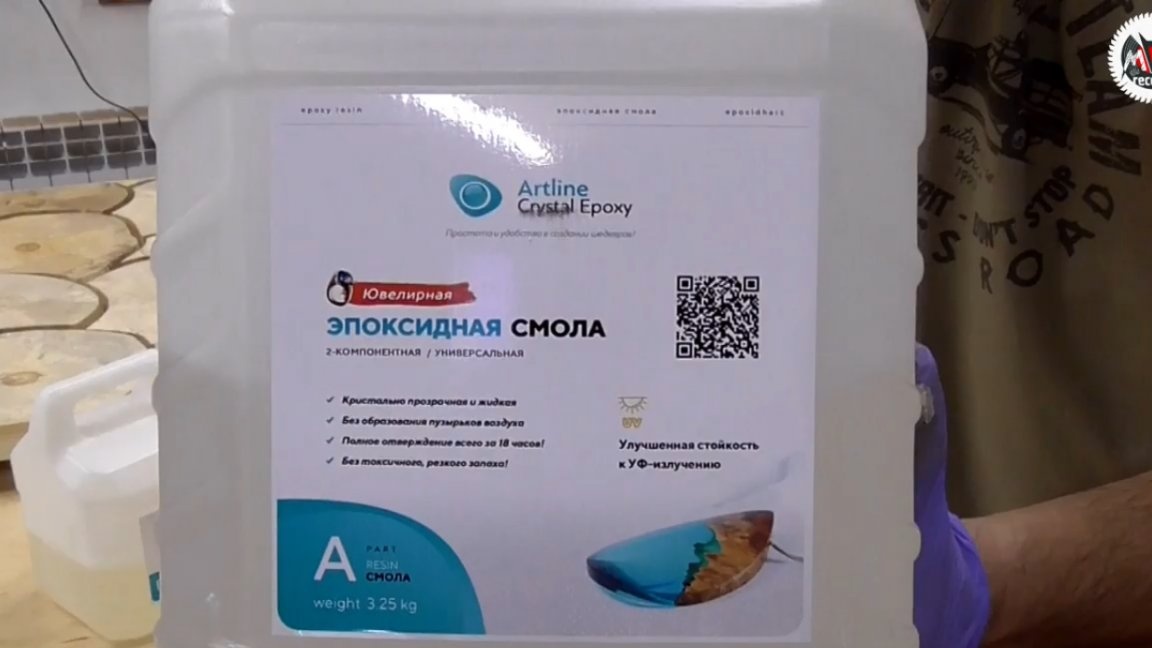
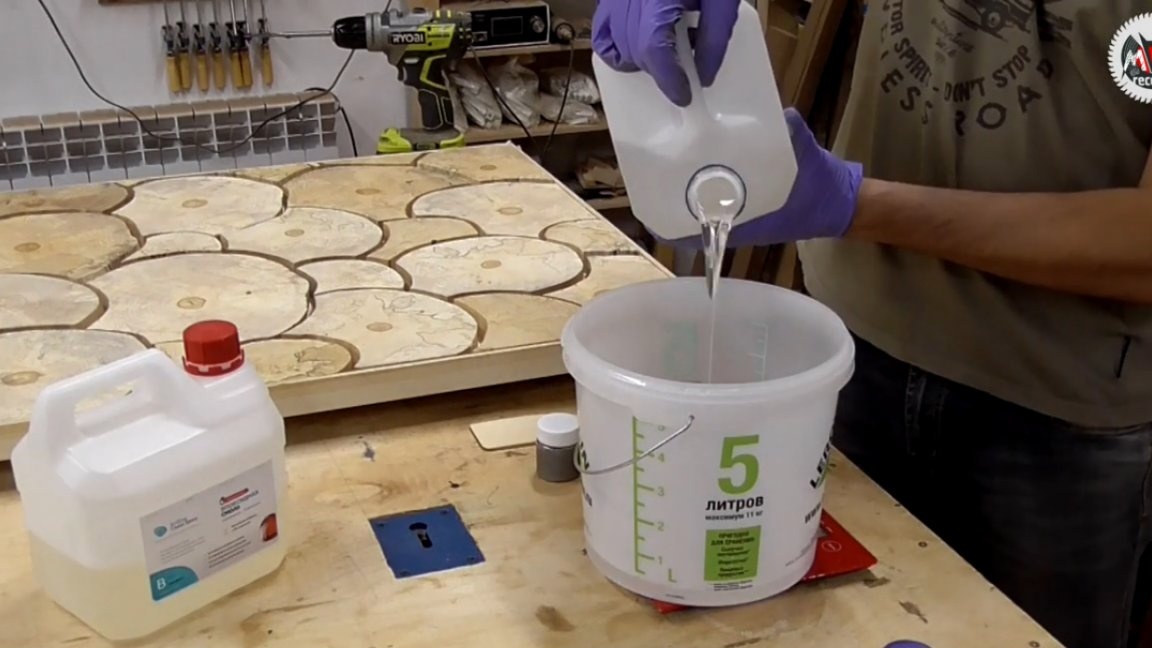
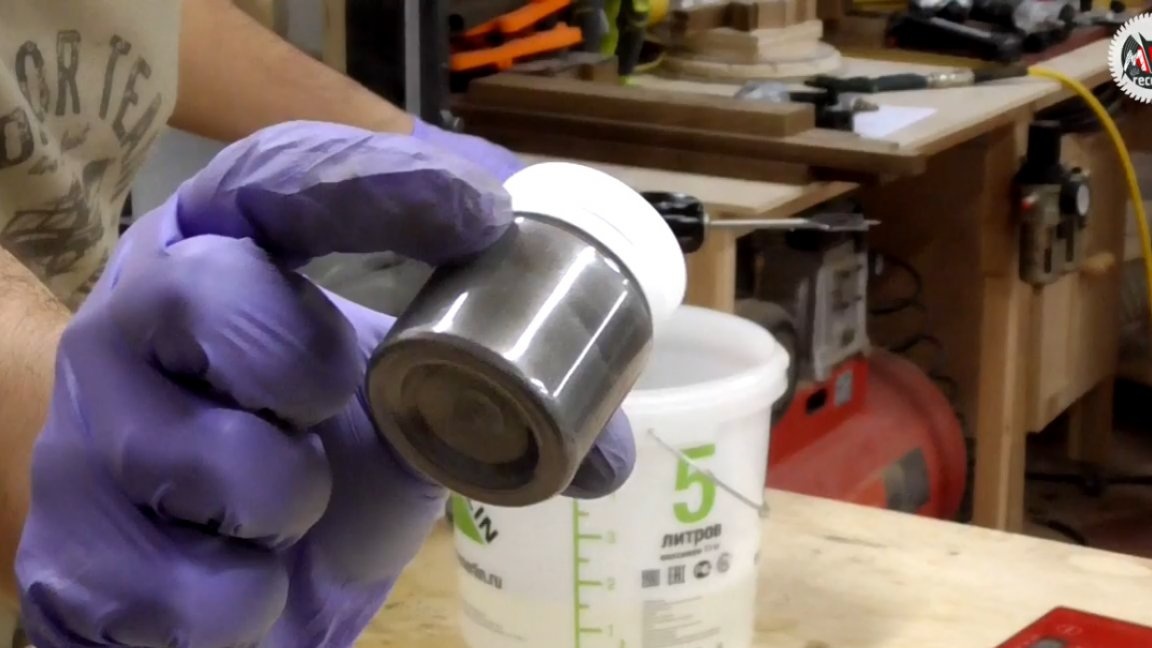
A gray metallic pigment was used as a color scheme.
Next stage - pouring resin. In this case, it is necessary to fill in the resin directly into the seams, otherwise when it comes to the ends of the workpieces, it will simply be absorbed into the pores of the wood.

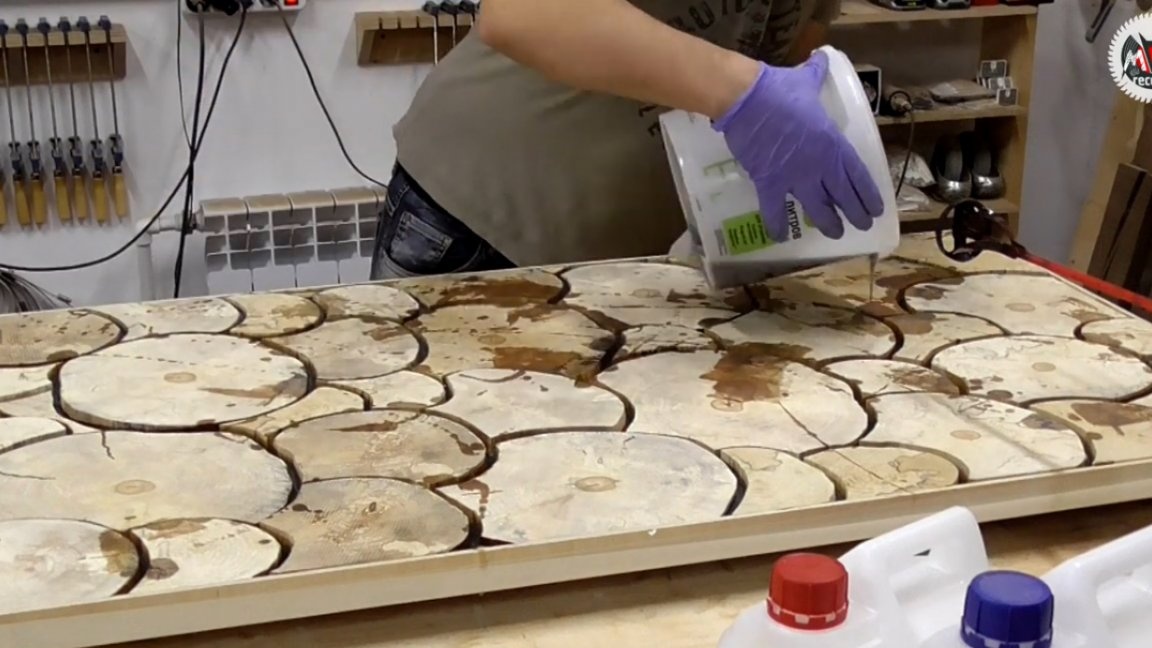
Specifically, in this example, it is possible to fill everything all at once, because despite the thickness of 25 mm, the epoxy layers do not contact each other and cannot combine the heat that is released during the reaction with the hardener. Thus, the rule of centimeter-by-layer filling in this case can be neglected.
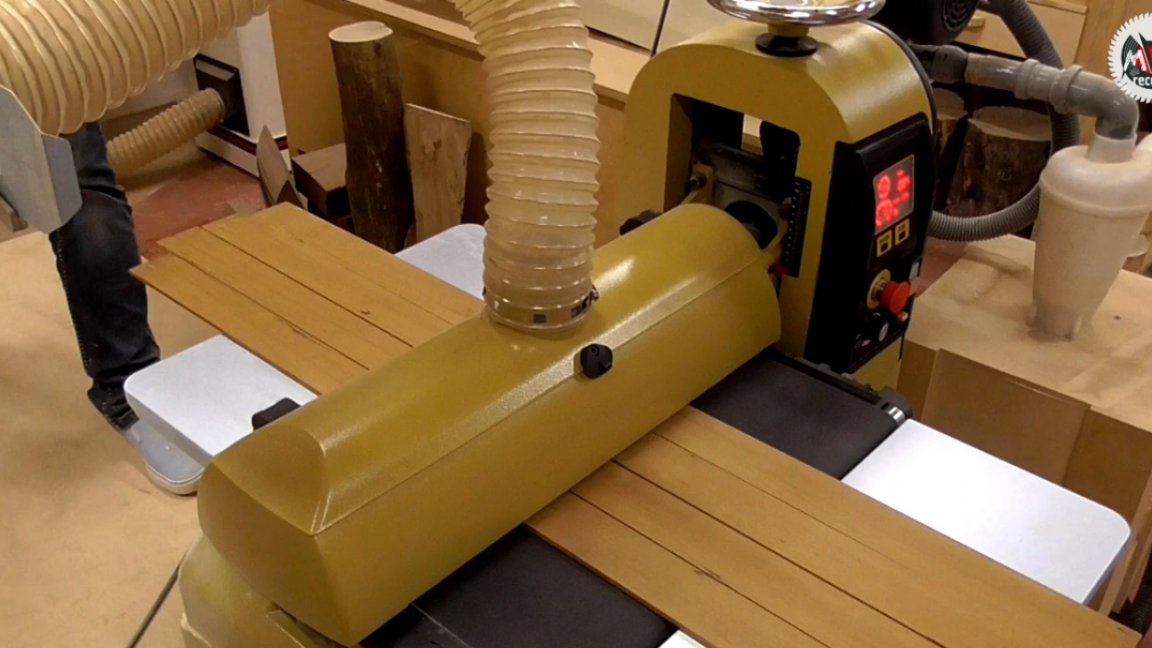
After a day, the resin is completely dry and you can start grinding, which traditionally begins with a drum grinding machine. This machine allows you to get a surface of excellent quality without waves and potholes, which can usually be done with large grains in manual mode.
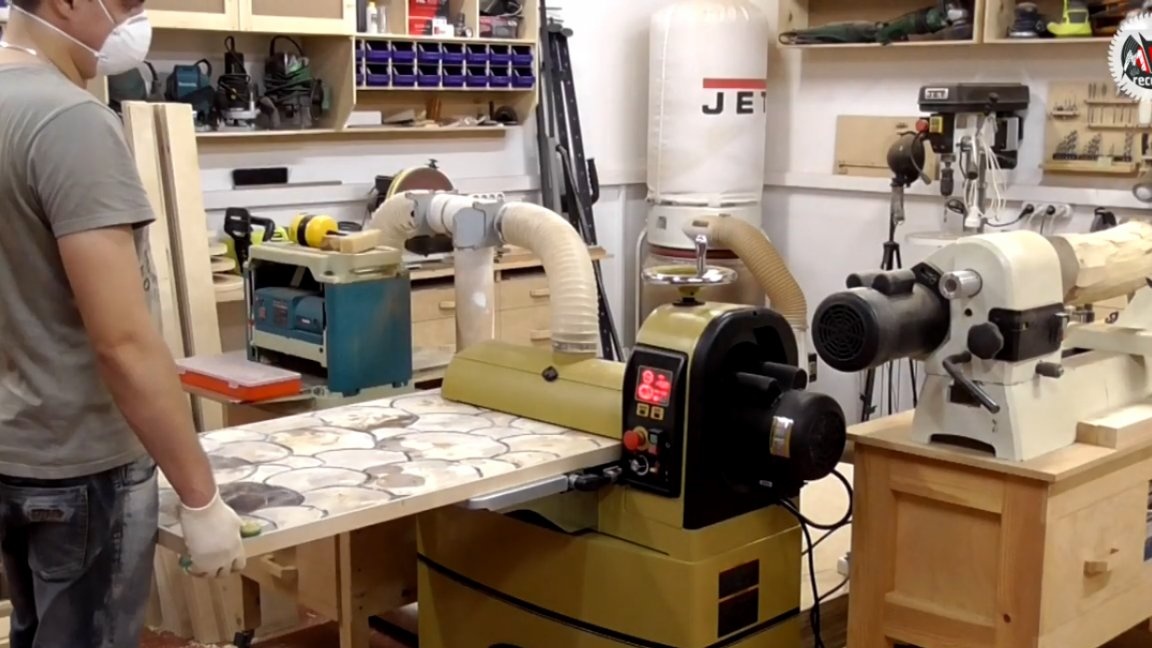
After the machine, as a rule, only finishing with two or three numbers will be needed, but this time the grinding process on the machine took a decent amount of time, since the plane of the saws still walked and the protruding top had to be polished very carefully.
Continuing grinding on the machine, it became clear that since grinding the resin heats up and removing layer by layer, we remove more resin than wood. When everything cools down, the resin narrows and presses the wooden elements closer together. This actually led to the curvature of the plane towards the fill.
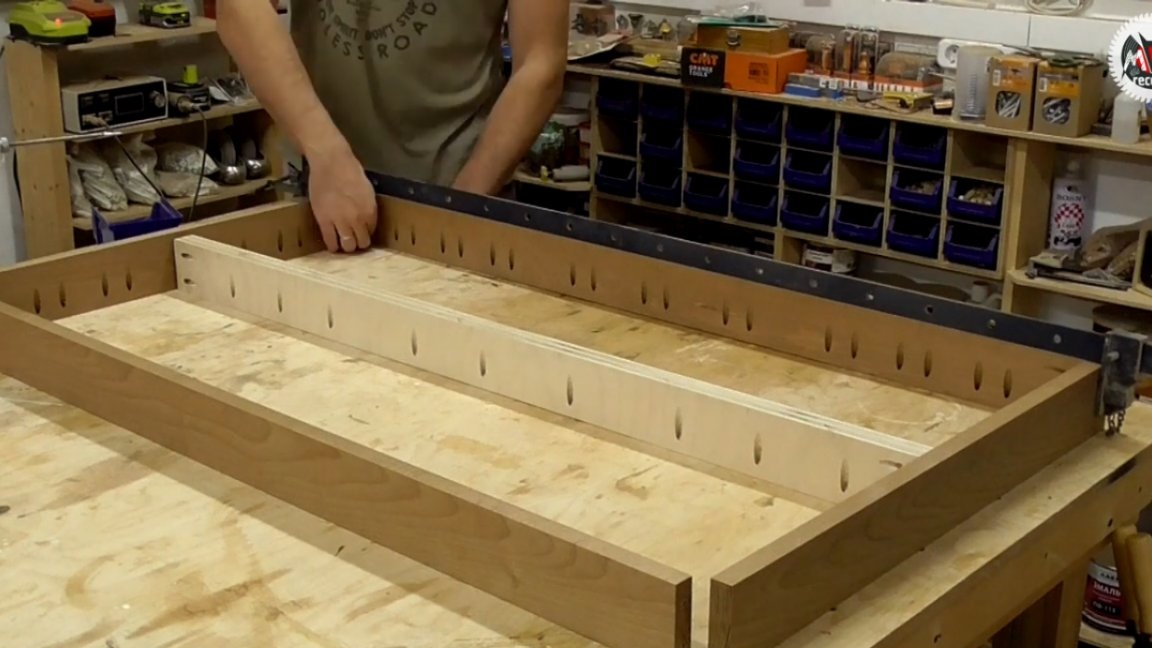
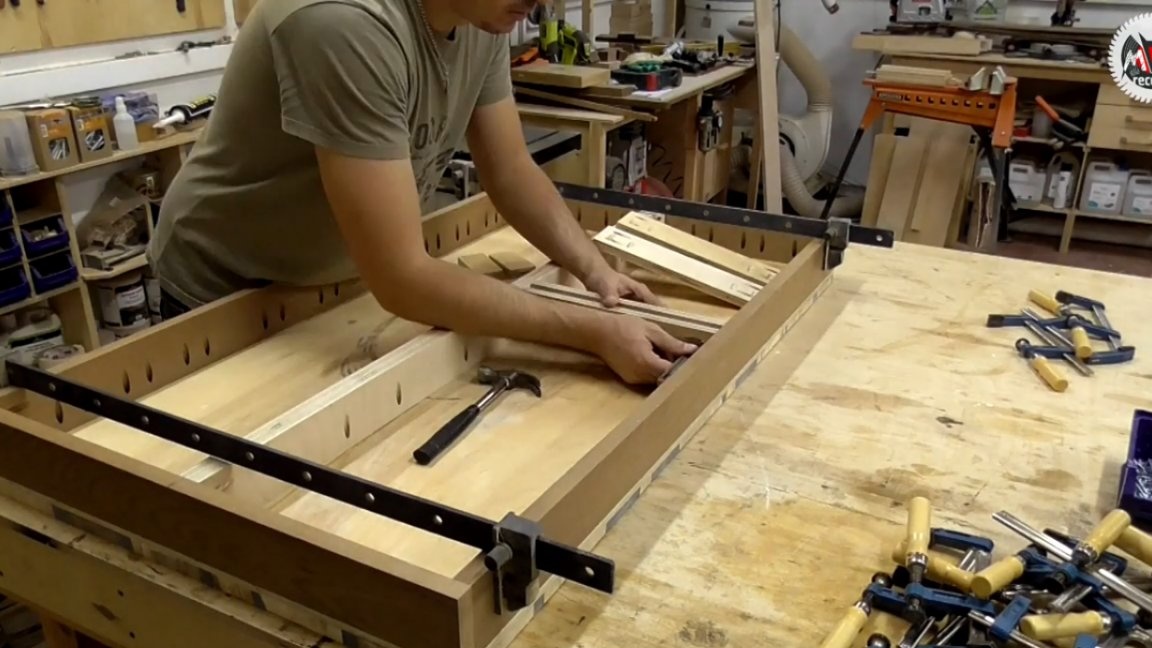
In this case, the only way to return to the normal plane of the countertop was to impose stiffeners, which in this case would also serve as a visual thickening. The material for the stiffeners was a thermal book.
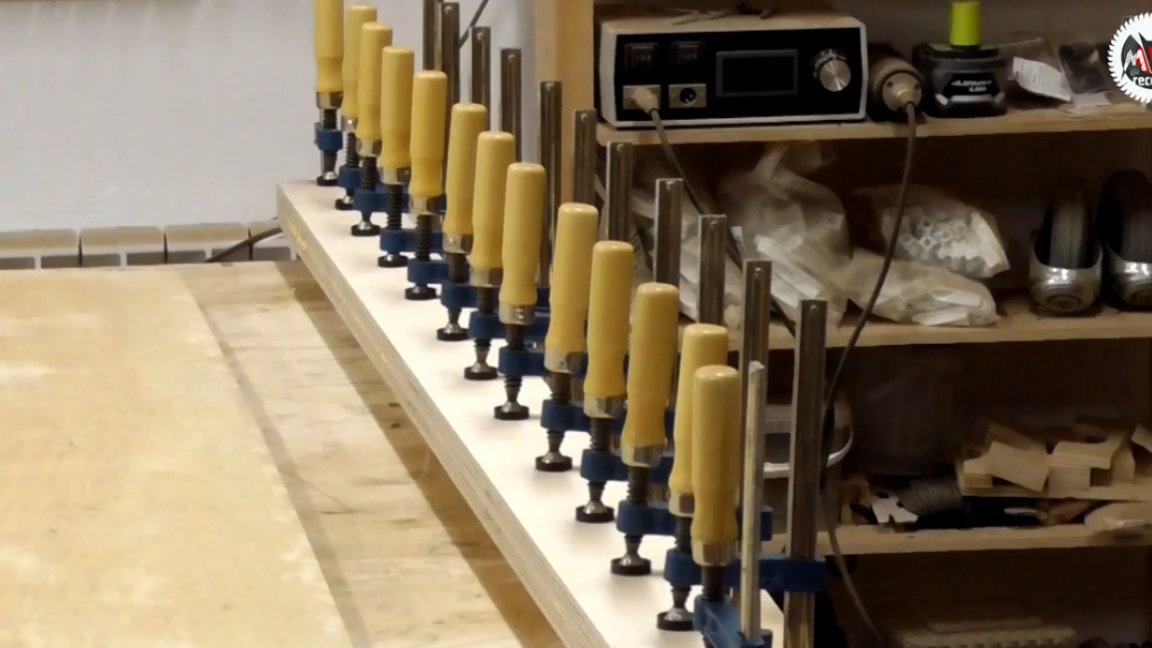
As soon as everything was ready, the neat process of stretching the countertops began by gradually pulling the clamps assembled under the table.
In the process, a couple of times something cracked somewhere, which did not come as a surprise. And as it later turned out, as a result of such crunches, a couple of new cracks appeared on the round logs, but since the main task was to return the plane at any cost, it is not worth paying special attention to.
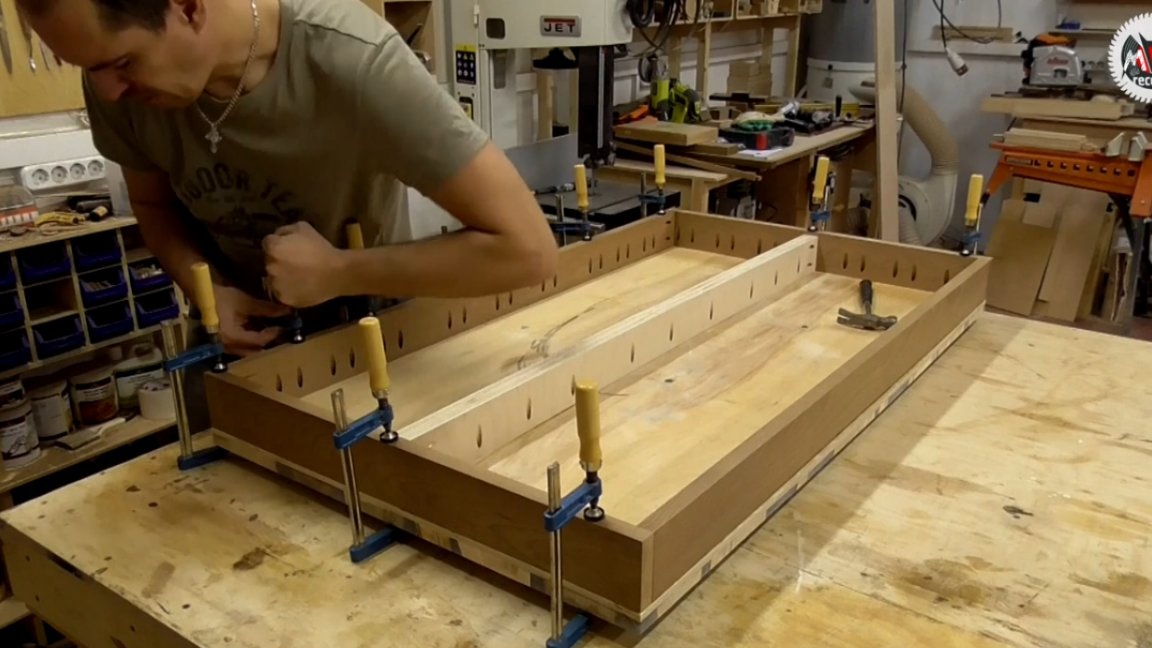
The result was not bad, but not perfect, and the author decided to add additional stiffeners, which not only reduced the load from the central axis of the product, but also straightened the tabletop completely.
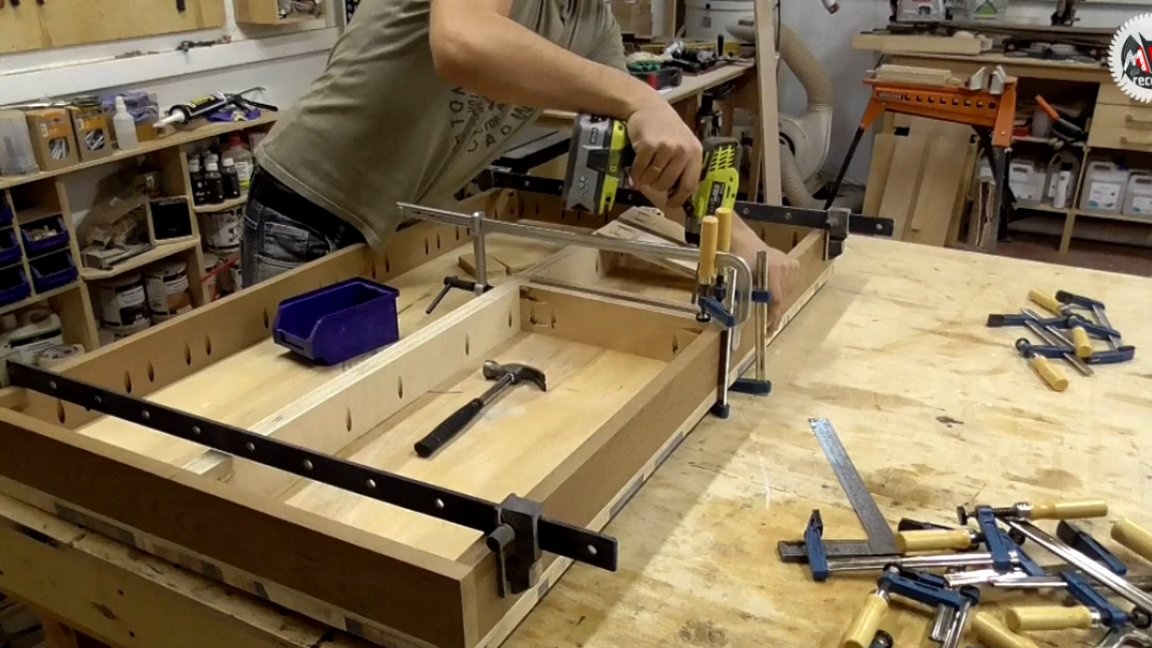
And the final touch in fixing this joint was gluing plywood blocks over all four corners to reinforce the angles at which the maximum force was necessary.
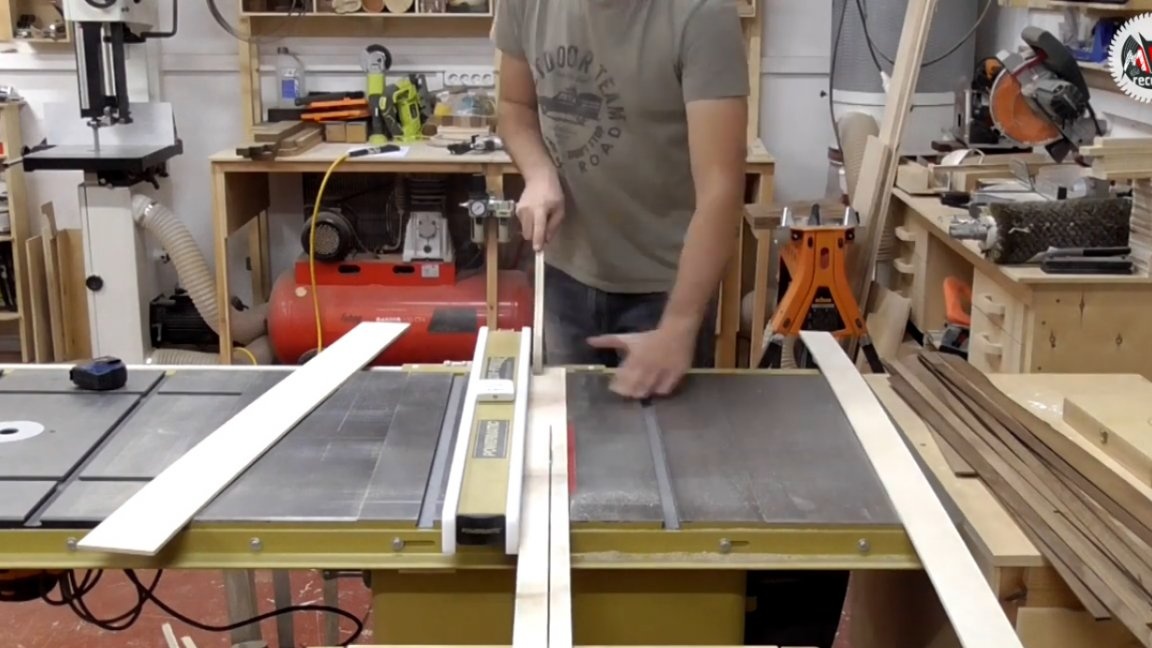
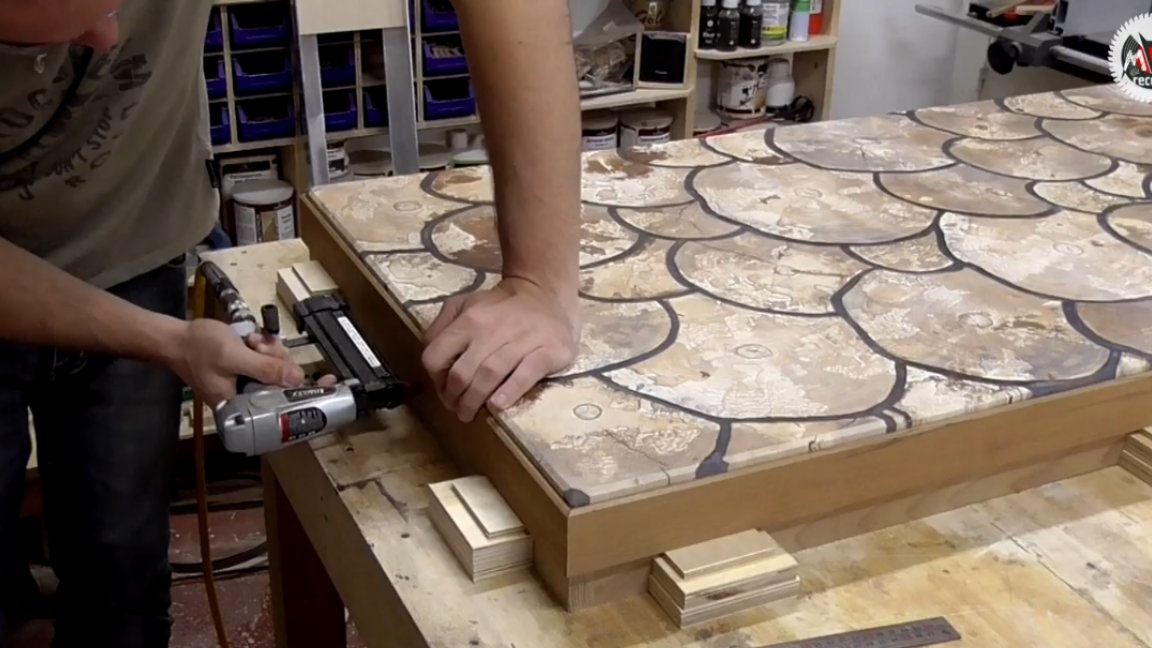
Next, we will deal with the border elements. It will be made all from the same thermal book.

Next step apply oil.
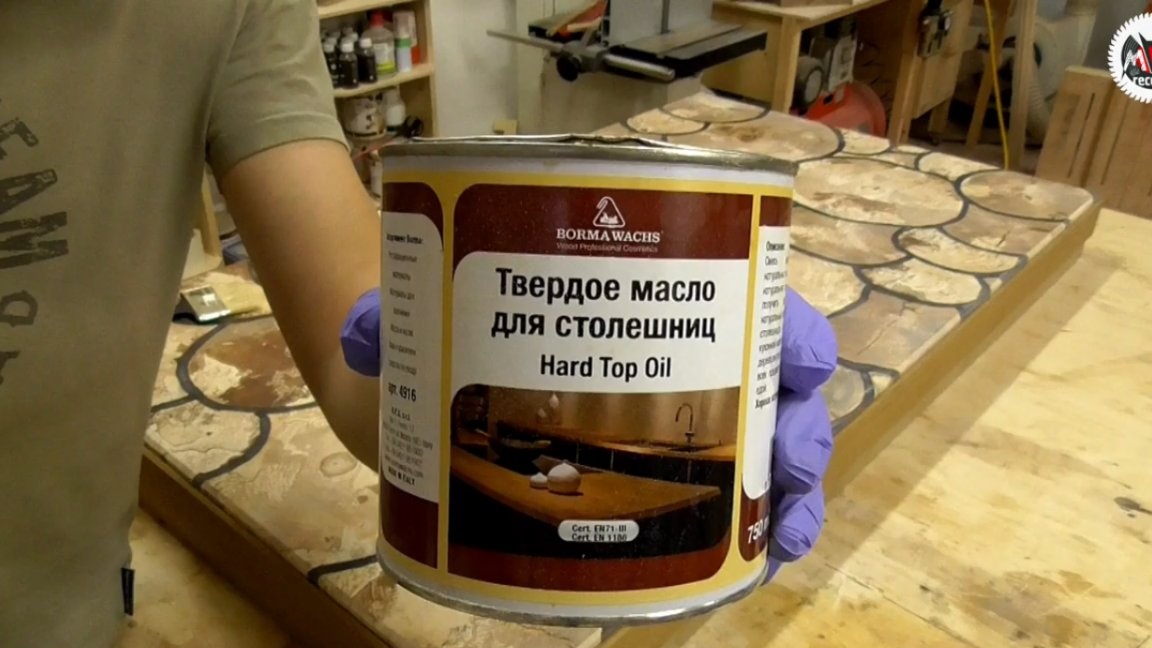
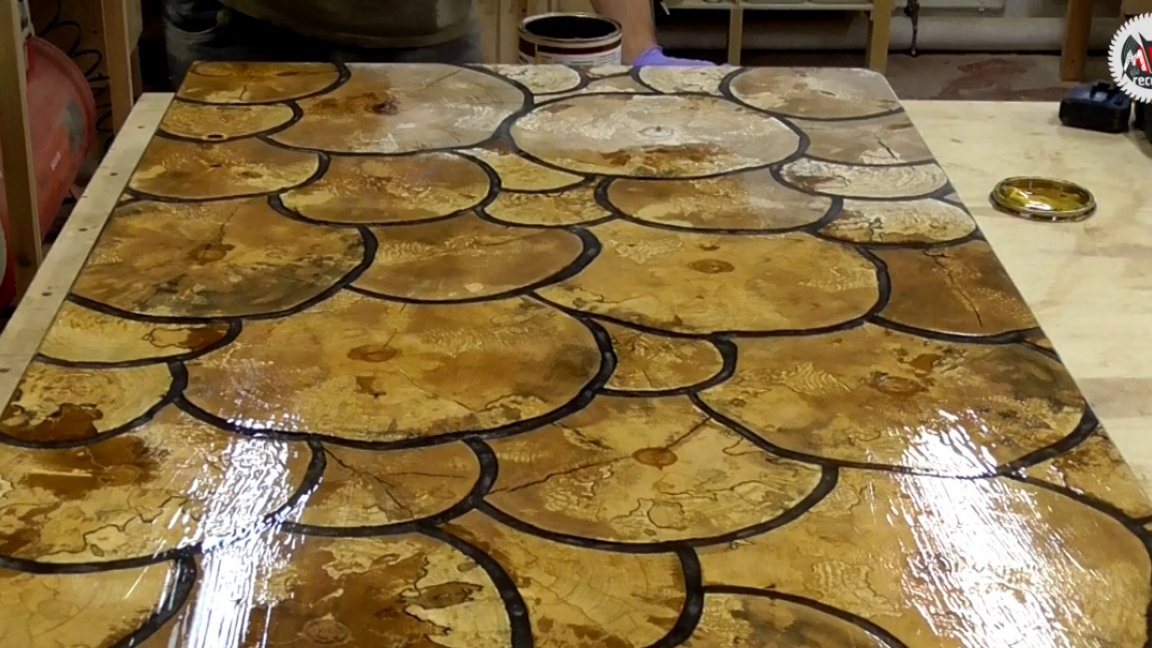
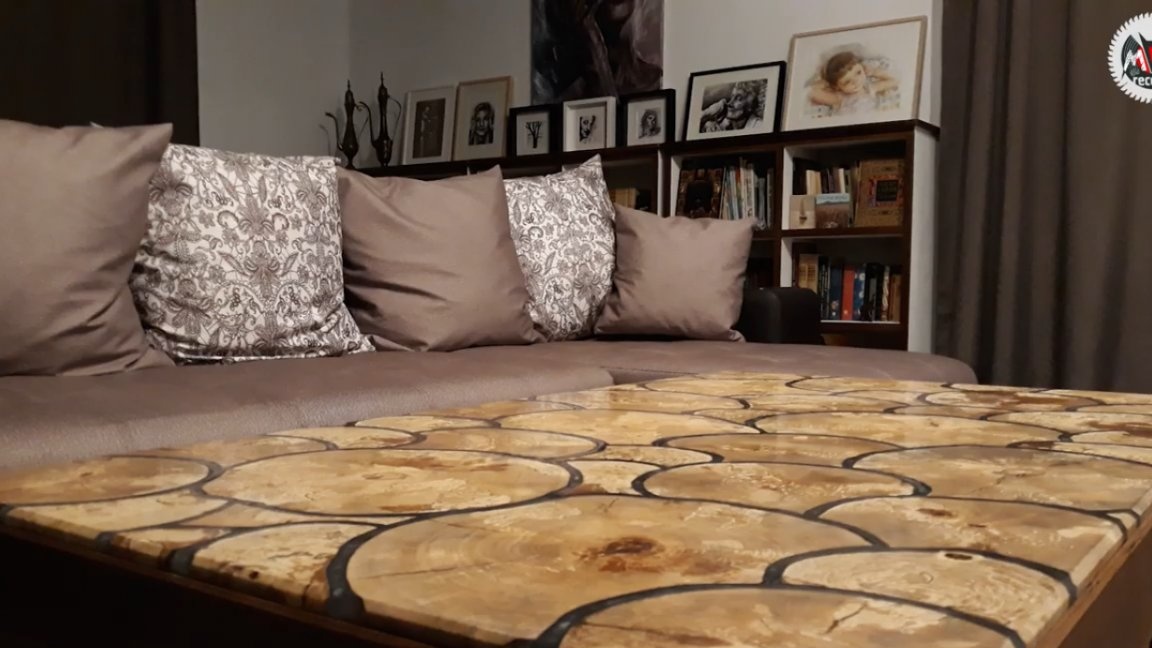
The result exceeded all expectations, because do not understand what quality the birch became like amber. Literally immediately after coating with oil, you can begin to remove its excess. The oil is quite thick, and if you procrastinate with the removal, then you can cool off with this procedure.
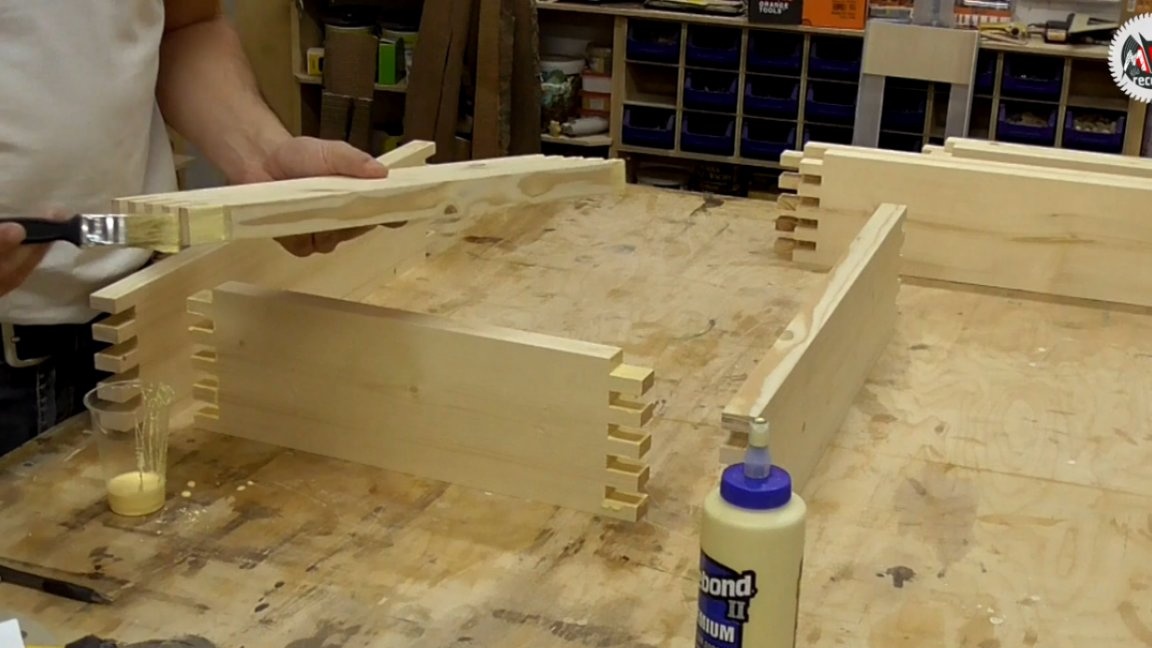
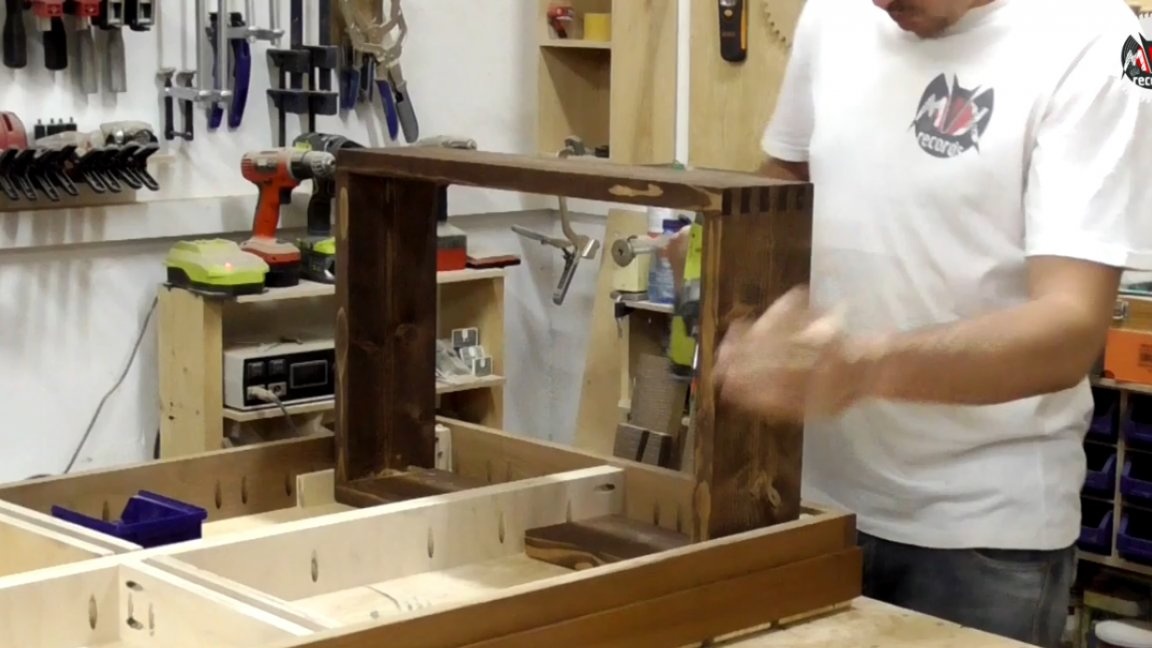
With the countertop finished. Next step can be taken for the manufacture of legs.Initially, the author wanted to make them from a thermal book, but did not find a suitable width. Therefore, it was decided to make pine.
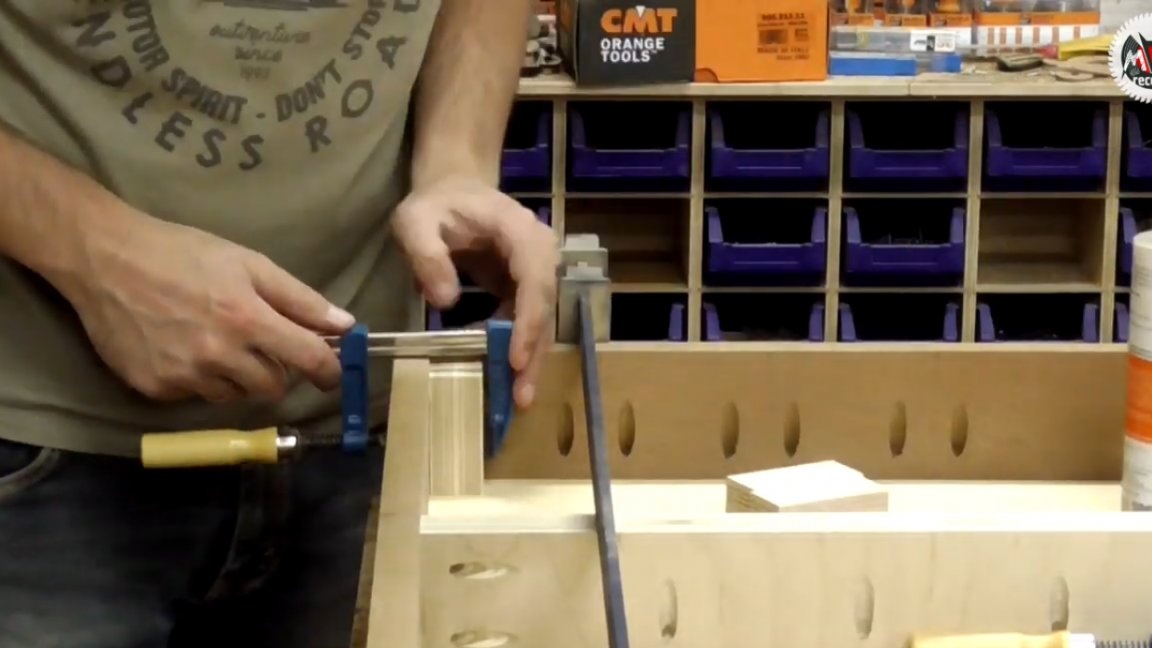
After preparing all the compounds, you can proceed to bonding. The bonding process at a given density of the connection occurs rather quickly. It is best to tighten this design with the help of case clamps; they do not leave marks on the product due to the large area jaws and hold the parts to a clearly right angle. After pressing, the clamps can be removed immediately and proceed to the next product, leaving the first to dry.
An hour later, the protruding glue hardened. You can proceed to the next step - grinding. It is best to remove the spikes on a belt grinder, and then finish it with an orbital, and if you have a machine for grinding edges - generally super.
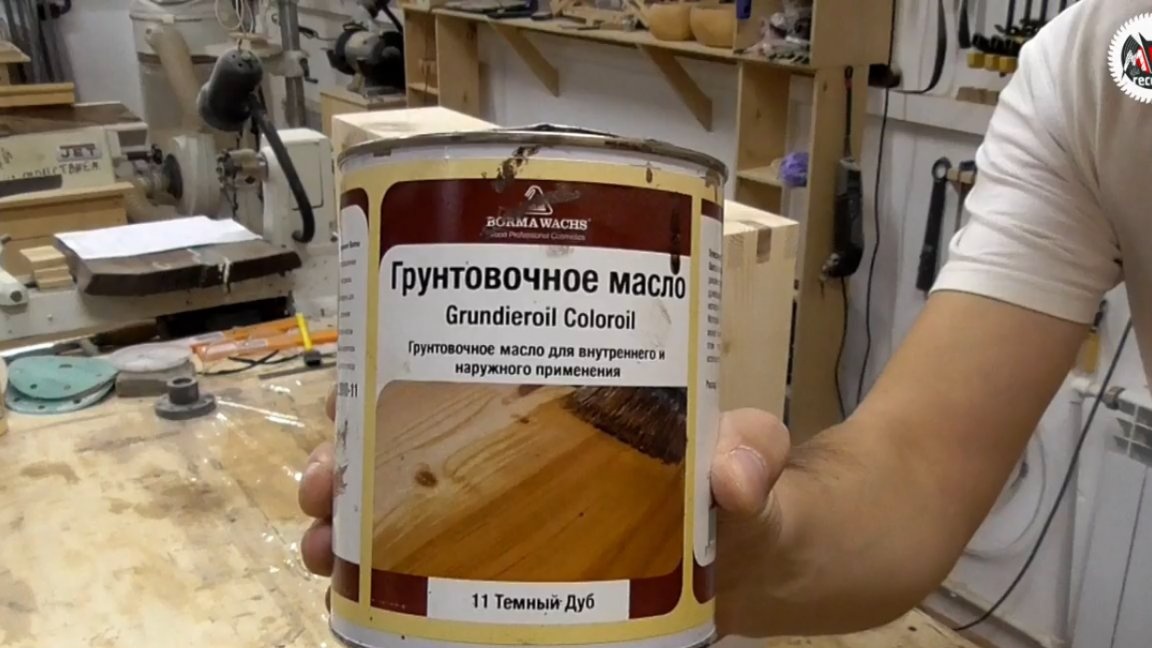
Next step will cover the table legs with primer oil. The author chose the color “dark oak”, since this shade prevail in the living room, where this homemade coffee table is actually planned to be installed.
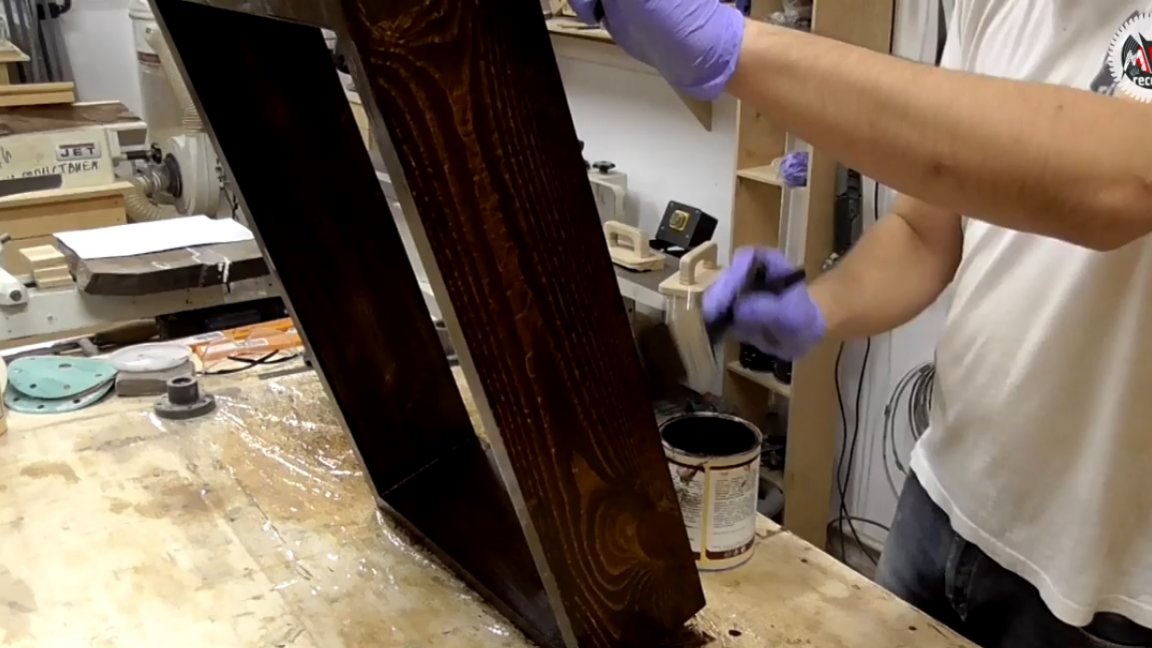
And the final stage - we fasten the legs to the countertop.
Well, in the end, it turned out to be a rather interesting solution, except for all the jambs that were nevertheless defeated. Thank you for attention. See you soon!
Author's video: