From the article below you will learn how to do it yourself make hooks for simple hangers in the hallway. The following description and instructions are taken from the Matthias Wandel YouTube channel.
For reasons of expediency, the master decided to make hooks without using a lathe.
The first attempt was to cut a figure on a band saw and lay a bypass circle with a mill on the edges. But the hook looked ugly. Therefore, the master made a template for an improved form.
Necessary materials and tools:
- oak board;
- ruler;
- a pencil;
- band-saw;
- stationary belt grinder;
- belt grinding machine;
- milling machine;
- brush;
- varnish;
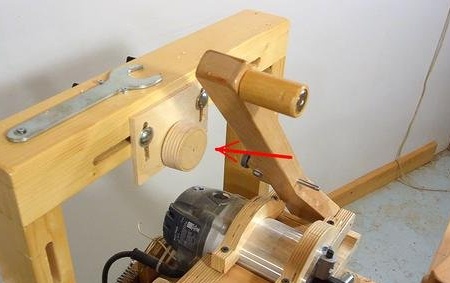
- pantorouter;
- drilling machine;
- PVA carpentry glue;
- screwdriver;
- manual frezer;
- self-tapping screws;
- Forstner drill 12 mm;
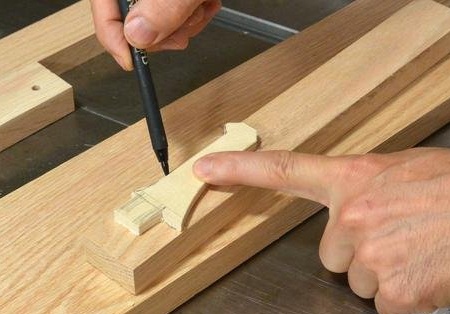
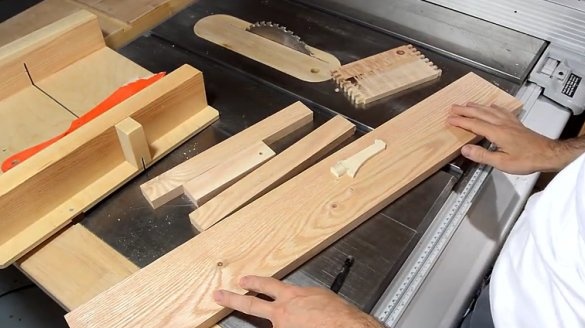
The master painted five samples on an oak block ...
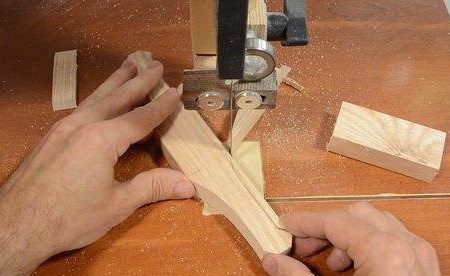
... and then cut them out on a band saw.
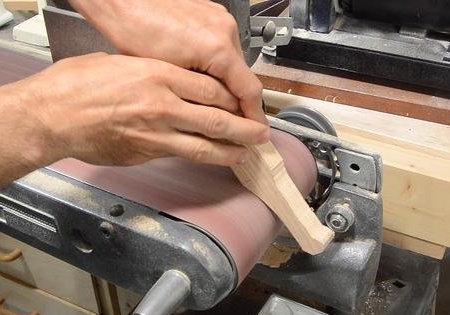
Smooth edge grinding.
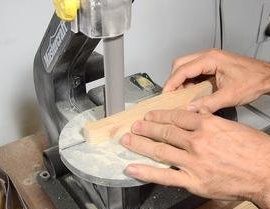
Many people would attach the template and use the milling bit to get a smooth shape, but the master prefers just to carefully cut the part and make smooth edges with a belt grinder.
I had to use a belt grinder to grind the inner edges.
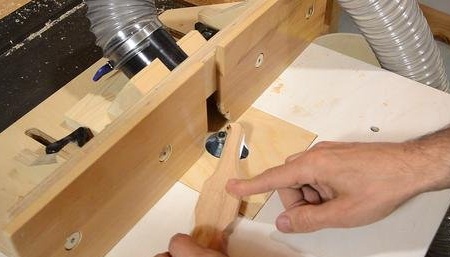
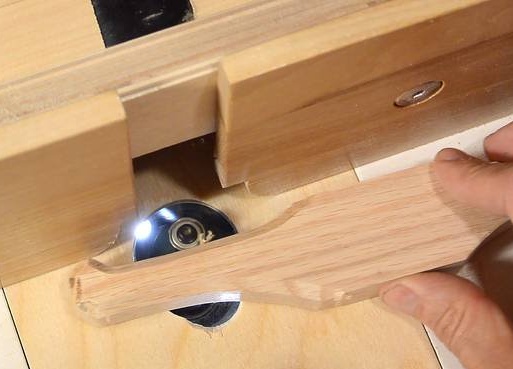
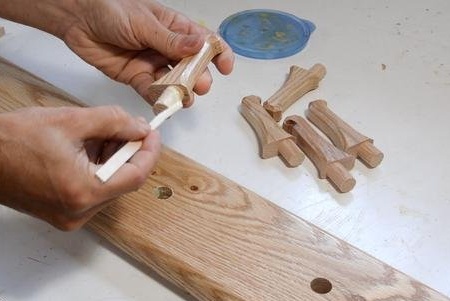
The presence of two hooks back to back greatly facilitates the retention of parts when milling chamfers at the edges. The chamfer looks much sharper.
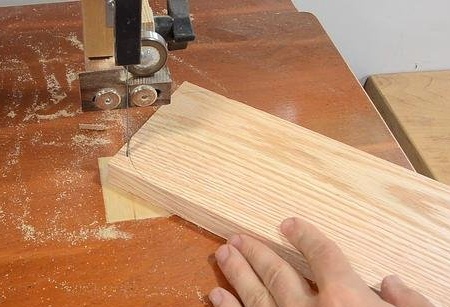
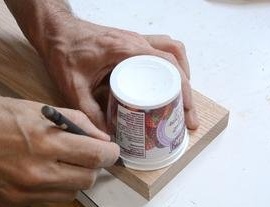
The master used the yogurt cup to draw a round edge on the board on which the hooks would be mounted, and then cut the outline on the band saw (and grind the resulting edge).
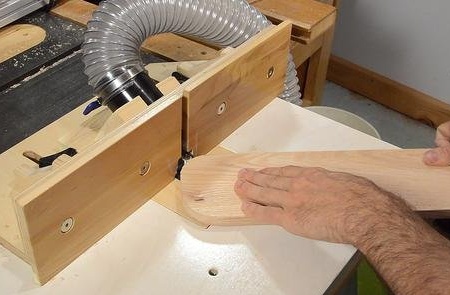
Then the master rounded the edge of the board with a round cutter with a diameter of 12 mm.
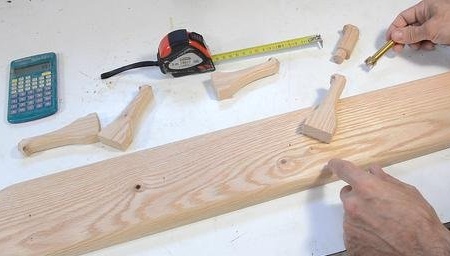
Usually the next step is to connect the hooks to the board before varnishing, but the master decided to try to do it in a different order.
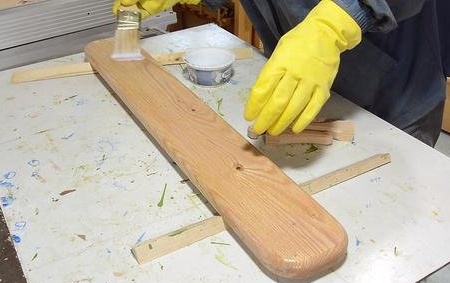
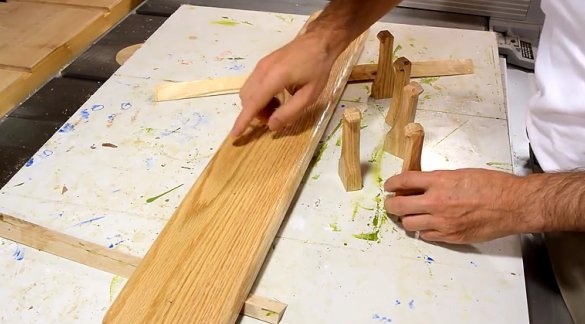
Parts are easier to varnish when they are not yet assembled, so the master did this even before cutting holes and pins on the hooks.
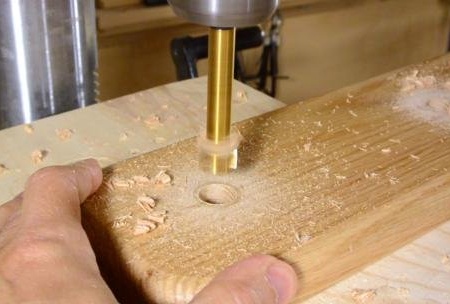
Drilling holes in a varnished board.The Forstner drill does not pull out material and does not burr.
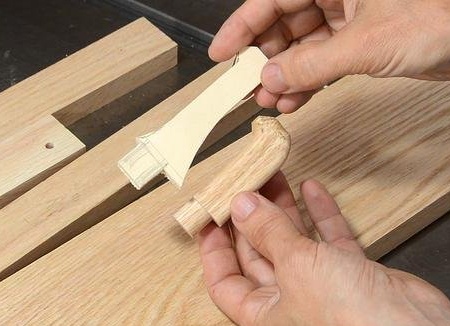
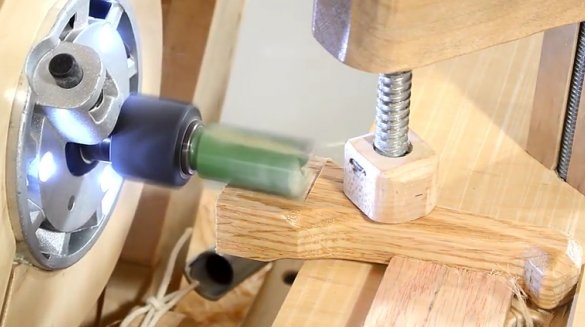
The master cut off the ends of the peg on the pantoruter and used a round pattern to make a pin. The template is slightly tapered, so you can fine-tune the size by moving the guide bearing further back along the dowel.
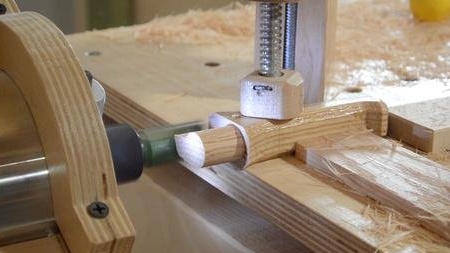
Cutting the pin at the end of the hook. Always work clockwise. Thus, the milling machine always cuts into the tree and no chips are formed.
It is usually not recommended to cut in this direction, since the router pulls itself along the tree, but the fingers are far from the router, and with the pantoruter the control lever gives a great mechanical advantage, so the router is well controlled.
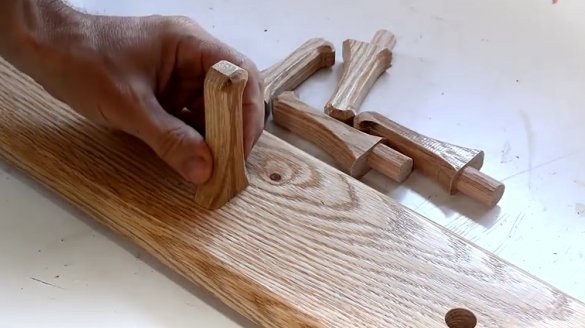
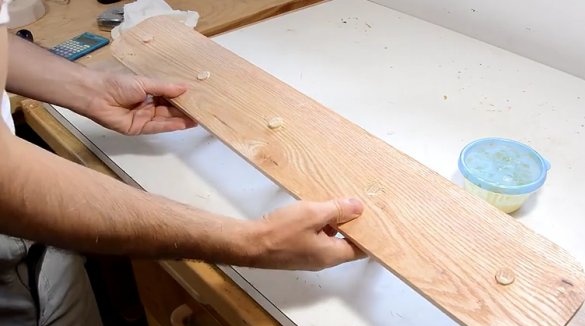
Now the master glues pegs - hooks. Since the holes and dowels are cut after varnishing, there is no need to worry about the varnish not falling onto these parts of the product. Now any extrusion of glue is on the varnished surface, so that it is easy to erase.
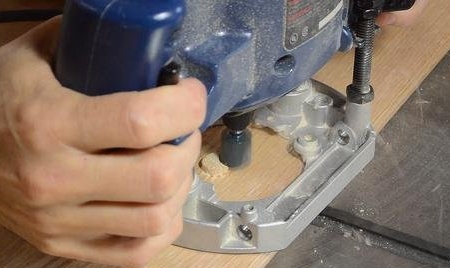
The pegs protruded slightly from the back, but the manual milling cutter with a direct protrusion did the work of cutting them very quickly. Much faster than flush cutting and less risk of surface damage.

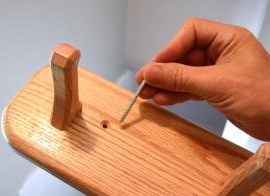
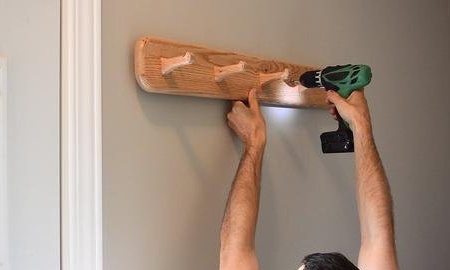
To fix the hanger with hooks on the wall, the master simply twisted the screws on the front. This is the easiest way. As soon as the clothes are hung on the hooks, the self-tapping screw will not be visible.
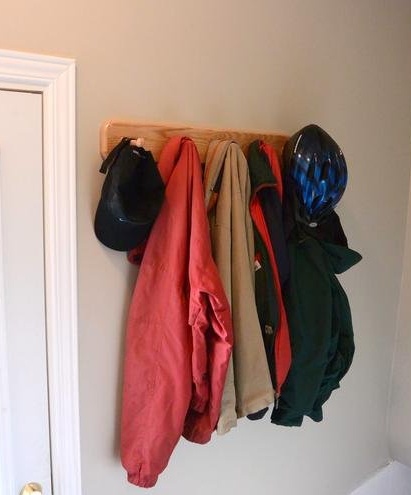
The hanger is ready.
If you like homemade author, then try to repeat and make.
Thank you for attention.
See you soon!

