
Hello dear readers!
From the article below you will learn how to make a cutting board that does not bend when wet during operation. The following description and instructions are taken from the Matthias Wandel YouTube channel.
The master is tired of using a plastic cutting board, but wooden boards tend to bend when wet on one side. Making the cutting board thick enough (as is usually the case with end cutting boards) counteracts this somewhat, but makes it clumsy.
Necessary tools and materials used by the master:
- oak board;
- table saw;
- clamps;
- manual jointer;
- a planer;
- PVA carpentry glue;
- plywood;
- polyethylene film;
- towels;
- manual belt sander;
- belt grinding machine;
- band-saw;
- vegetable oil;
Unlike solid wood, plywood is less prone to deformation.
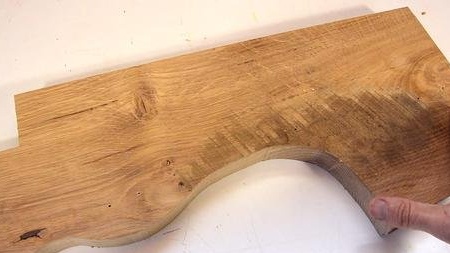
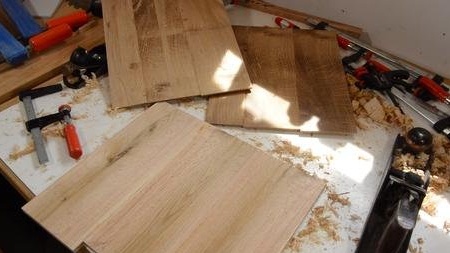
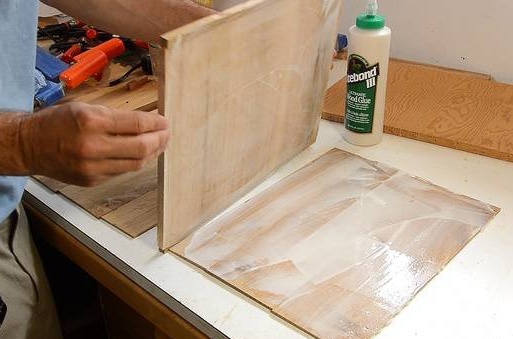
The master wanted to make a white oak cutting board, but he only had one piece left.
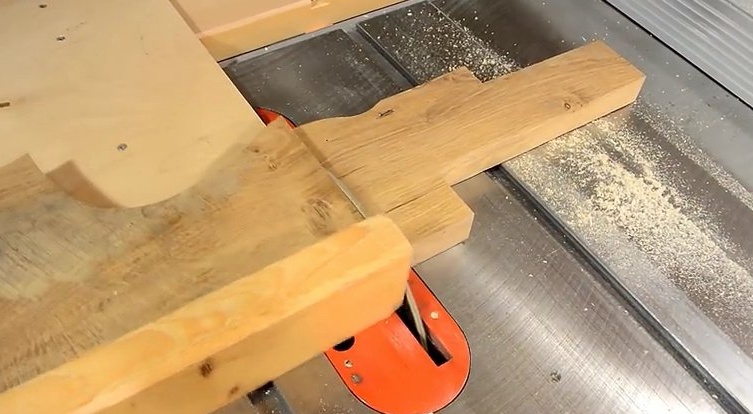
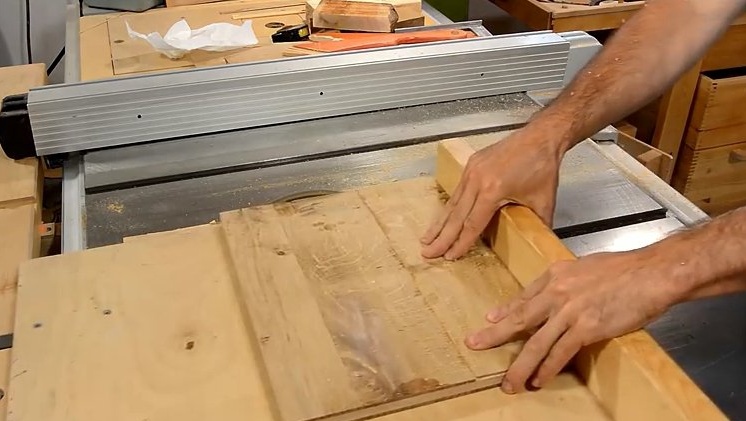
The master set 2 mm. blade into a table saw to saw wood. At first, he decided to go only part of the way with a disk on a tree, and then cut the board to half on each side.
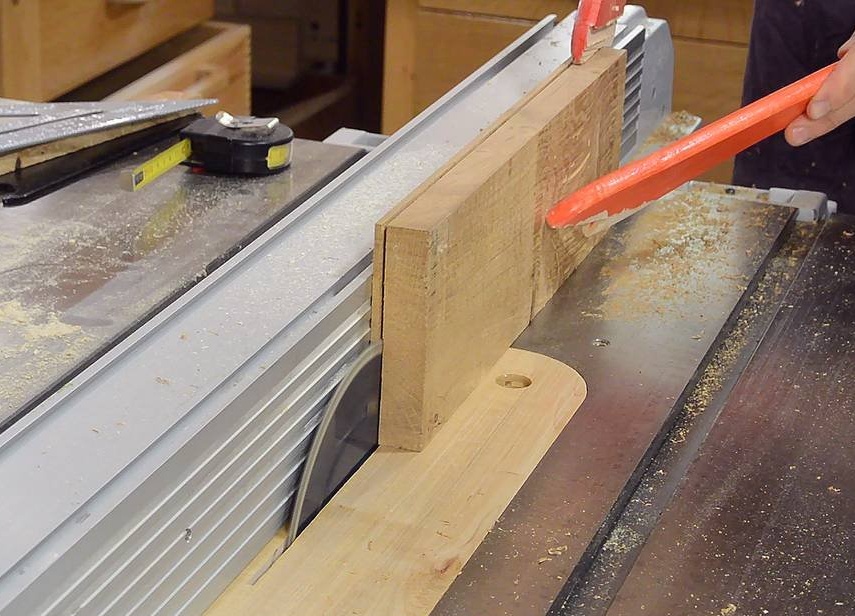
Thus, the oak will be cut faster, and it will also be possible to avoid possible burns on the tree from the disk.
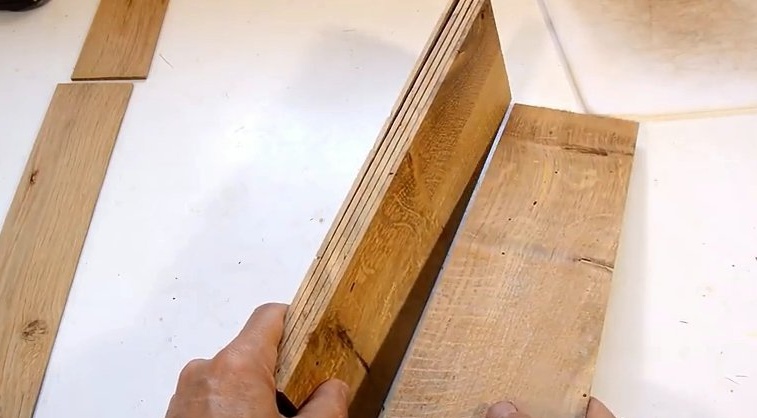
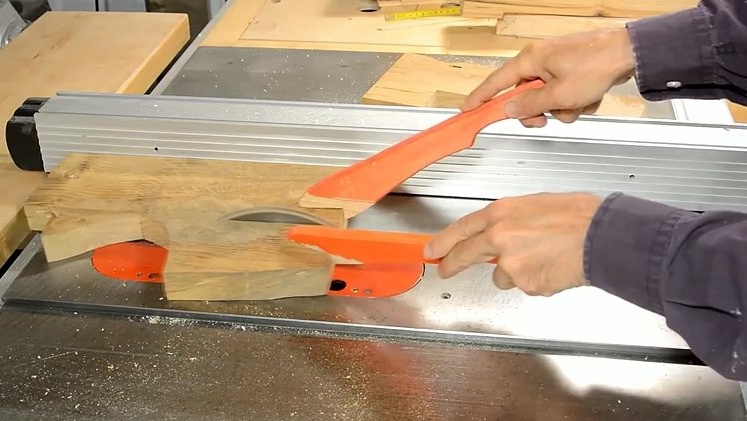
The master hoped to get six layers from this board, but the sixth layer was too thin.
Therefore, he cut out several more strips from another material to make the third strip not so wide.
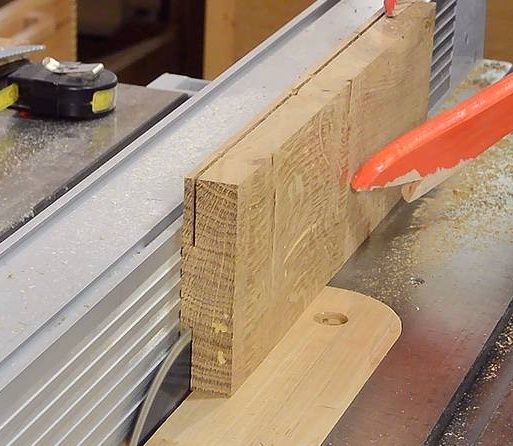
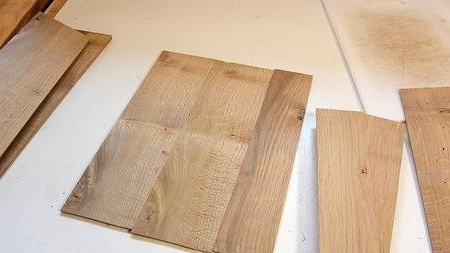
The middle layer for the cutting board had to be made of red oak. The middle layer should be completely hidden in the final cutting board.
The middle layer has a thickness of 10 mm, the fibers of which will be at an angle of 90 degrees to the outer layers.
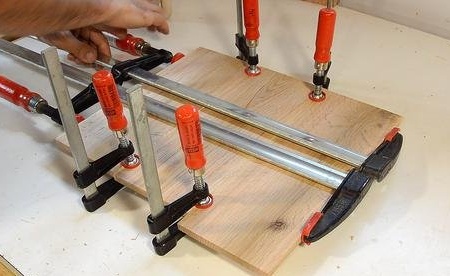
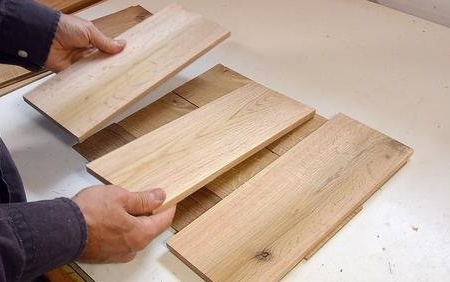
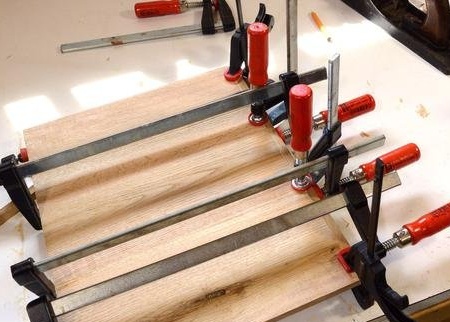
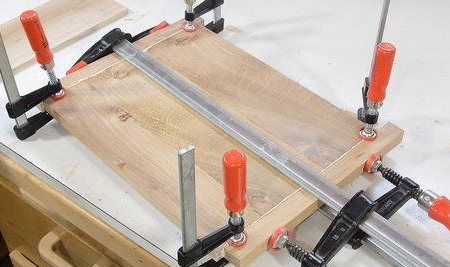
The middle layer is glued. Small clamps provide alignment of parts at the place of their connection.
And while the glue dried, the master glued the thin upper and lower layers. I had to use C-shaped clamps with a large radius of action to reach the middle of the joint, so that they could align the stripes.
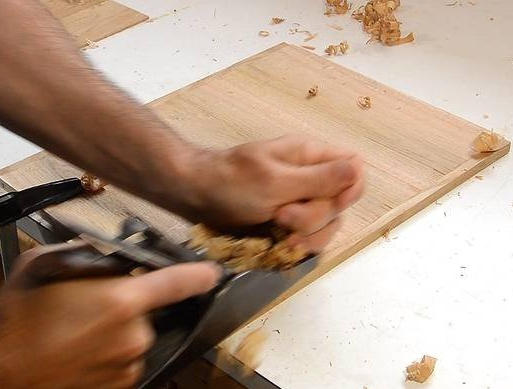
It's time to clean the glue joints. The master began work with a manual jointer, but he walked too slowly, so he switched to a planer.
After some time, all panels became flat.
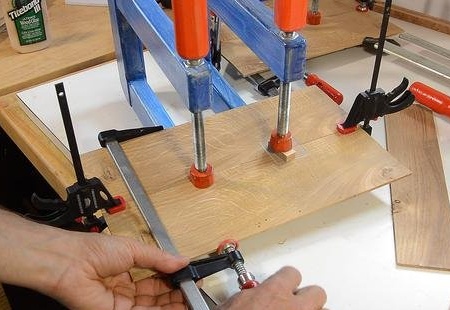
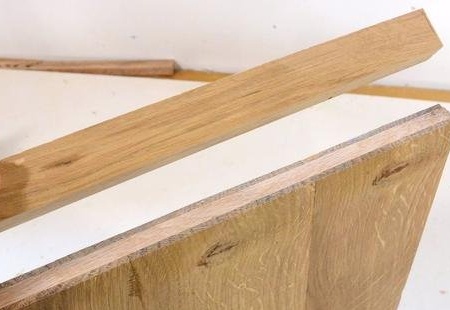
The master glued a strip of wood along the end surface of the middle layer.
Gluing a strip with a perpendicular fiber direction is usually a bad idea. Wood shrinks and expands perpendicularly to the fiber much more than along its length, so seasonal moisture fluctuations can cause the strip to fall off sooner or later.
But in this cutting board, the middle layer will be protected from shrinkage and expansion by the outer layers, as in plywood.
Then three layers are glued together at once.
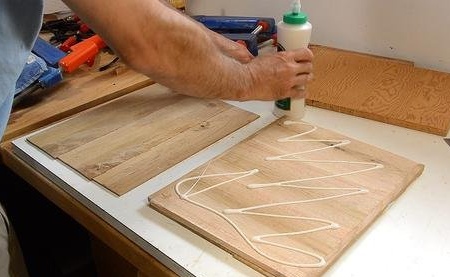
The master glued all three layers at once. So there is less chance that the board is deformed and you do not need to wait twice until the glue dries.
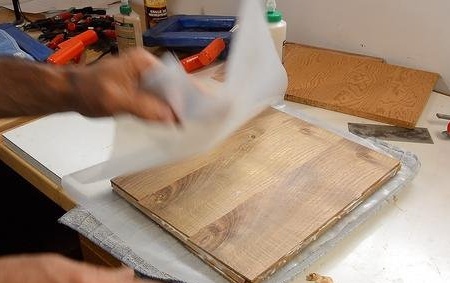
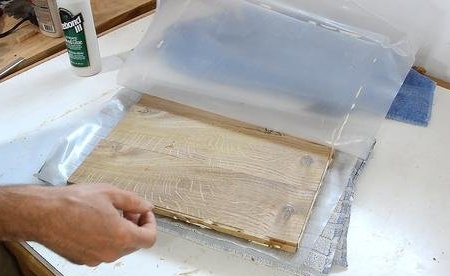
The master puts the finished “sandwich” between the layers of polyethylene so that the glue does not get on the towels.
Then he clamped it between two layers of plywood, with a folded towel between the workpiece and plywood.
Hopefully, this will ensure uniform clamp pressure even if the workpiece is not completely flat.

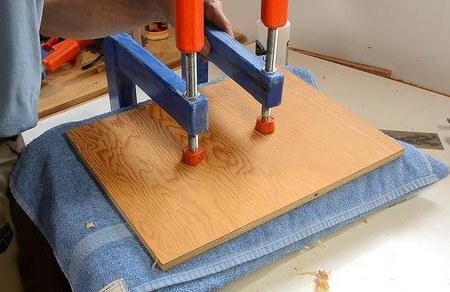
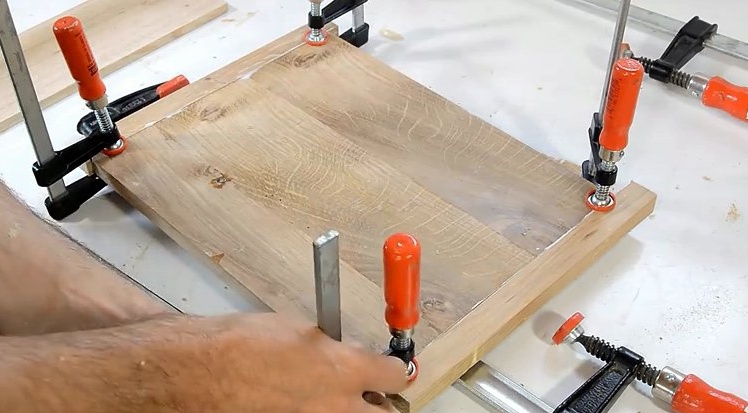
The master installed a lot of clamps, just in case. The pressure force was probably much more than a ton.
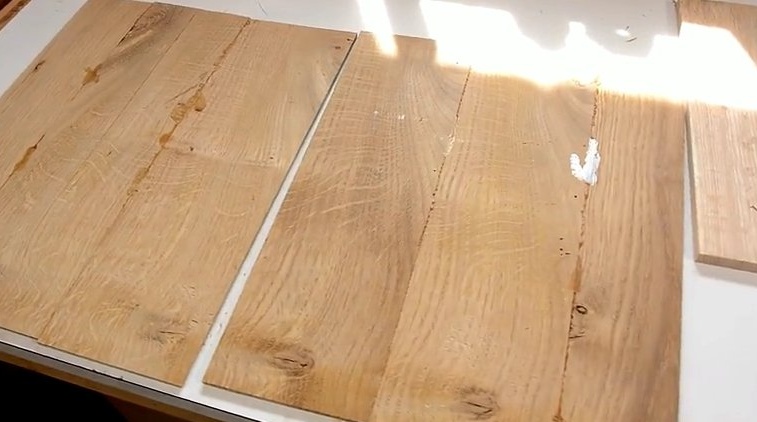
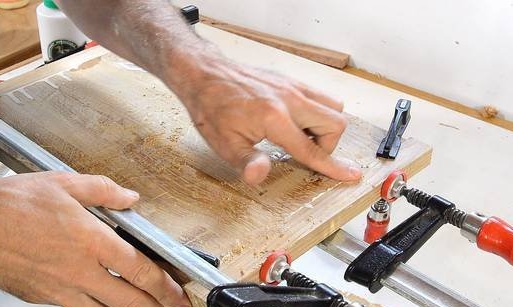
Two hours later, the master removed the clamps and opened his "sandwich". As far as the edges can be judged, the wood is perfectly glued.

The layers were not perfectly even, so I had to trim them a bit around the edges.
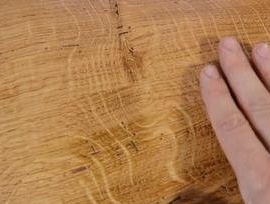
Here you can see the inner layer of red oak, the fibers of which extend perpendicular to the rest of the cutting board.
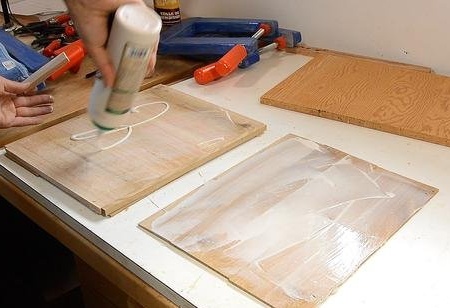
From above, the master glues an end cap made of white oak to hide it inside. Typically, wood fibers do not stick perpendicularly, because the movement of the wood can lead to rupture of this compound. But with a transverse layer in the middle, the wood does not expand and shrink too much, so this seam must withstand the load.
Bonding end caps. While the glue was drying, the master tried to fill the voids in the wood from a mixture of sawdust and glue, but without much success.

End cap flush with main board.

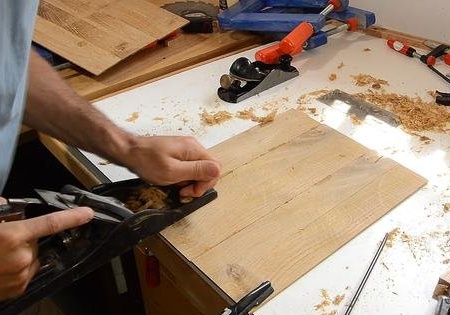
It was strong wood, so I had to remove it very slowly with a planer.

Then the master smooths out the errors using a manual belt sander.
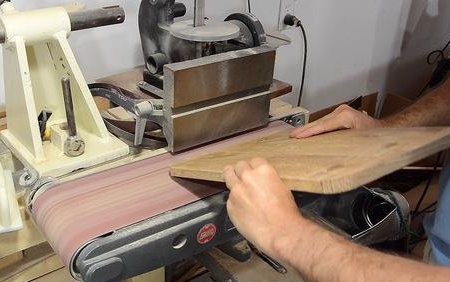
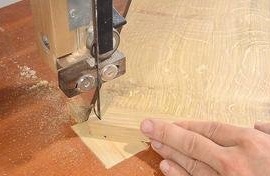
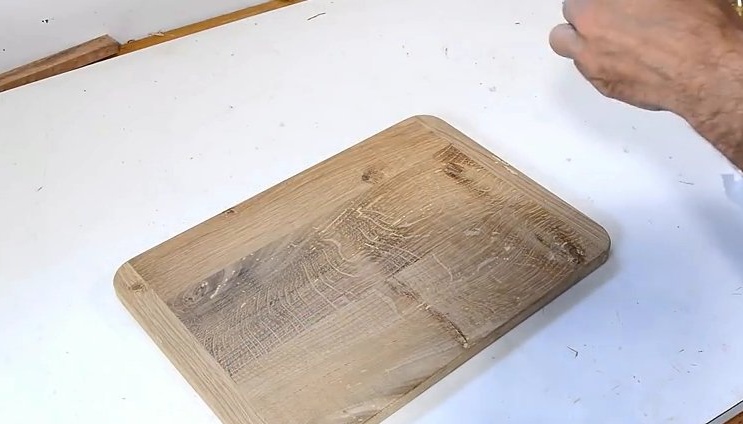
The craftsman rounded the corners with a band saw, then used a stationary belt grinder to round edges and corners.
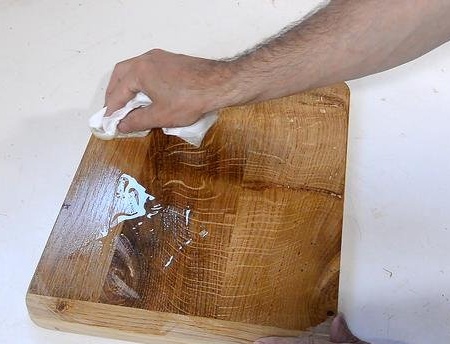
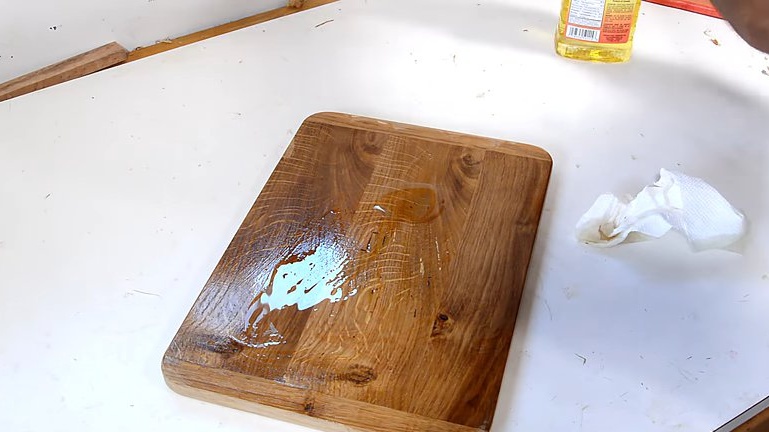
Finally, "finishing", the master rubs vegetable oil into the board.
Vegetable oil protects the board from moisture, although this is not ideal, because over time it becomes rancid. Rancid vegetable oils seem to be unhealthy, as are trans fats. Just do not eat this chopping board and everything will be fine.
You can also watch a short video about this board in work:
If you like homemade author, then try to repeat and make.
Thank you for attention.
See you soon!