
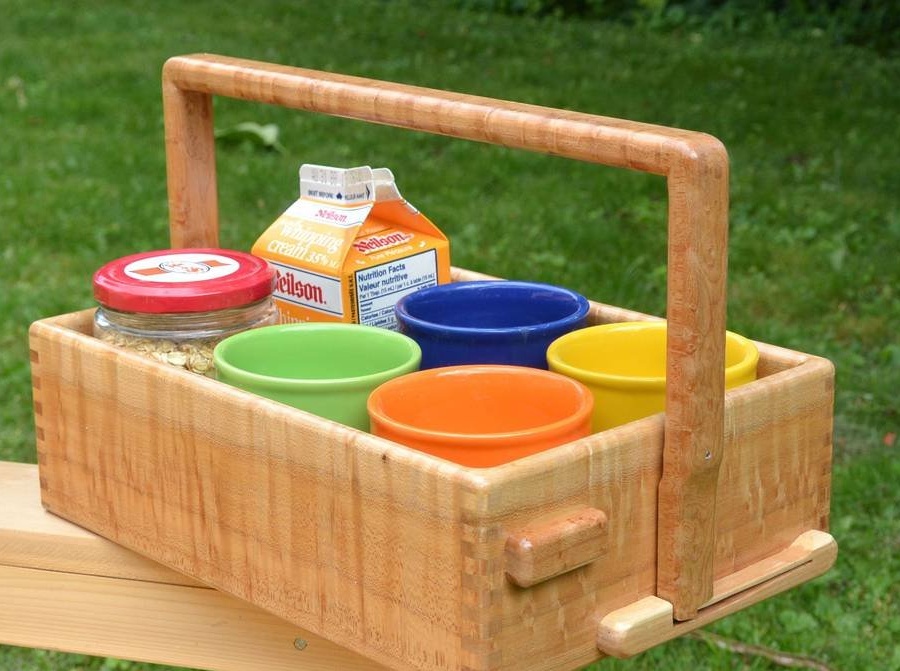
In this article, you will learn how to do it yourself make a tray with a folding latch handle. The following description and instructions are taken from the Matthias Wandel YouTube channel.
The master often carries dessert for lunch. Usually he puts it in an old wooden box with cream. But the box is not very convenient to carry, so the idea was born to make a mobile tray.
Necessary materials and tools used by the master:
- a pencil;
- maple log;
- plywood 10 mm .;
- desktop circular saw;
- a homemade template for cutting a stud connection;
- square;
- PVA carpentry glue;
- belt grinding machine;
- jointer;
- clamps;
- band-saw;
- self-tapping screws;
- nails;
- router;
- screwdriver;
- drilling machine;
- oil-based varnish;
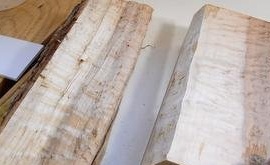
He had available maple wood. It was the maple that the master used as material.
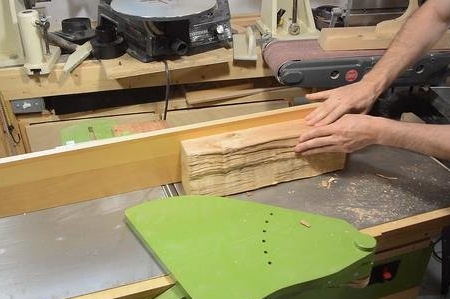
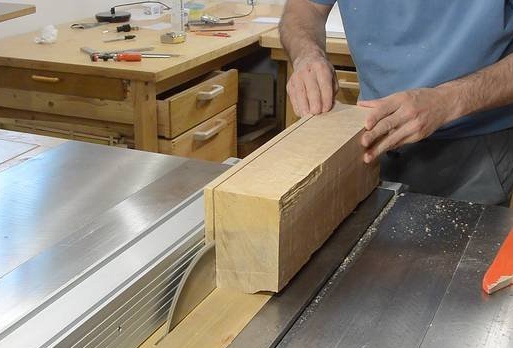
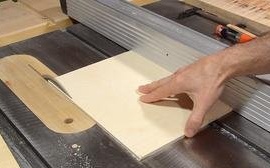
The wizard began with the preparation of the material. First, he drove a suitable log on a jointer, and then sawed it into planks on a table saw. A table saw provides a relatively smooth surface.
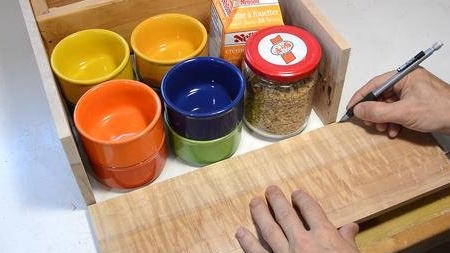
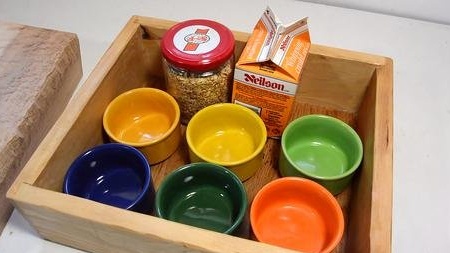
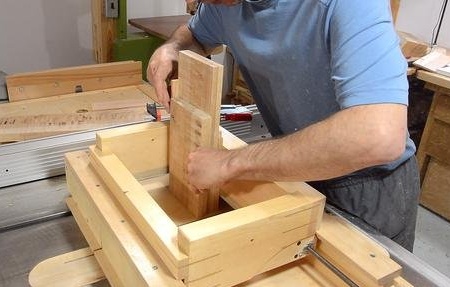
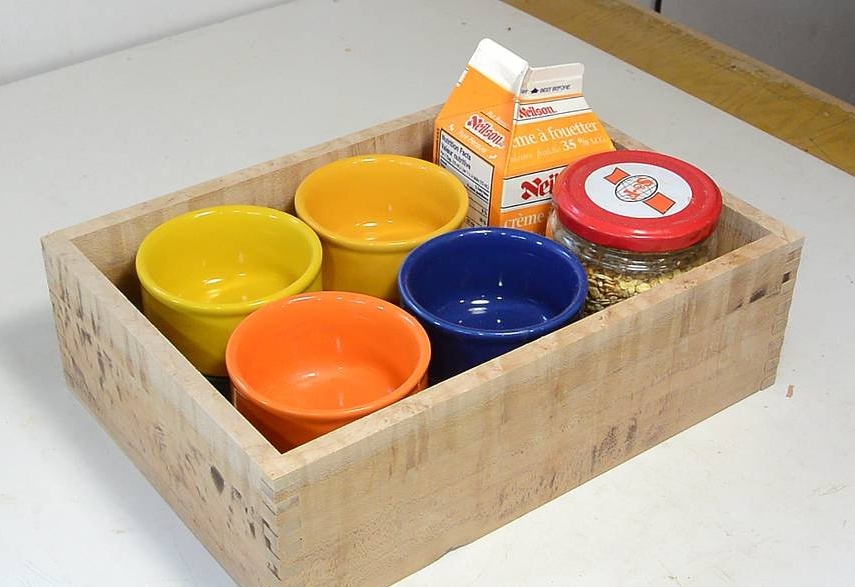
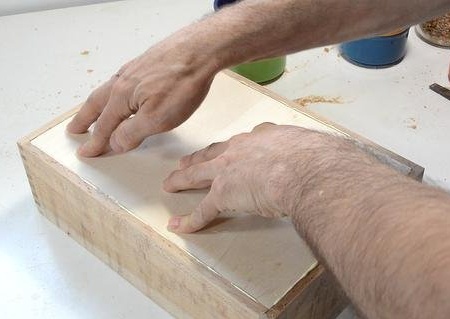
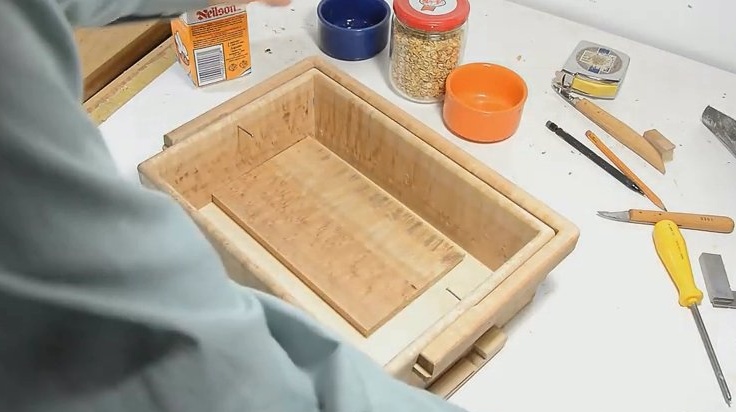
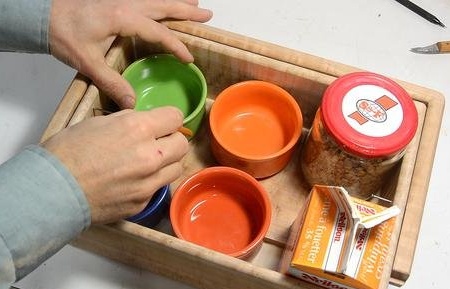
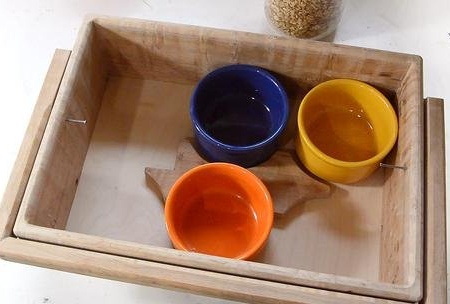
Good size for four ramekins, with the possibility of folding four more on top of them.
The master noted the size that was needed immediately after the arrangement of the ramekins, in fact, without taking measurements.

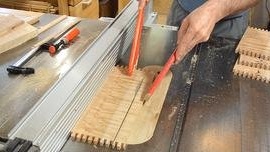
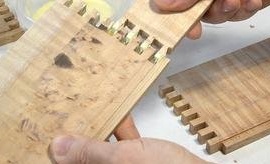
Using a makeshift template, the master cut a spike joint on the boards.
First, he made a trial joint with several slices to make sure he sits well.
Then the wizard loads all four parts at once into the template snap-in. He shifts the two short parts of the tray by 6 mm. so that the spikes in one part coincide with the grooves in the other. Workpieces are fastened with clamps.
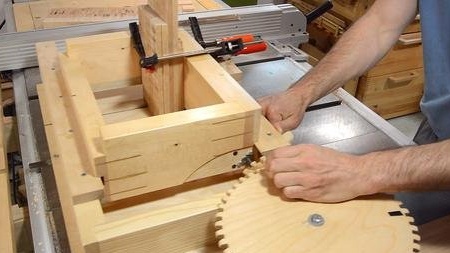
Groove cutting.
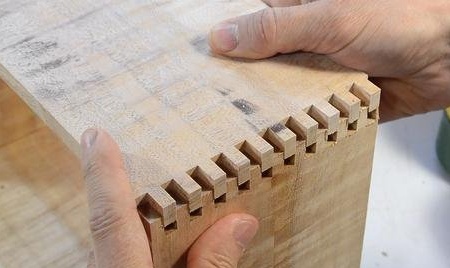
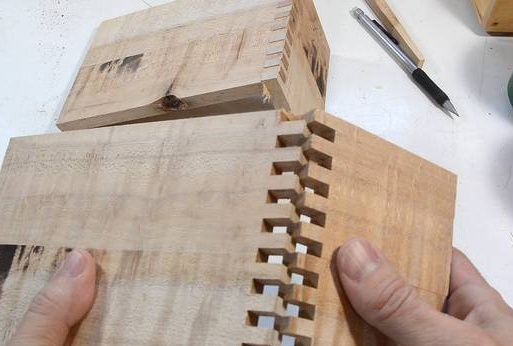
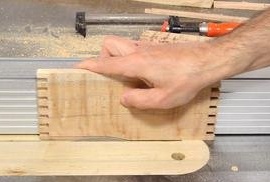
Checking the finished connection.
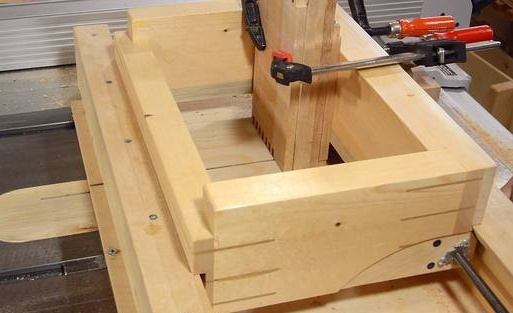
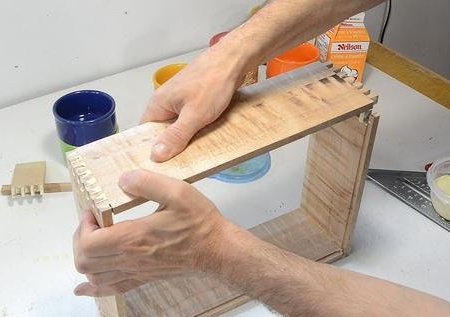
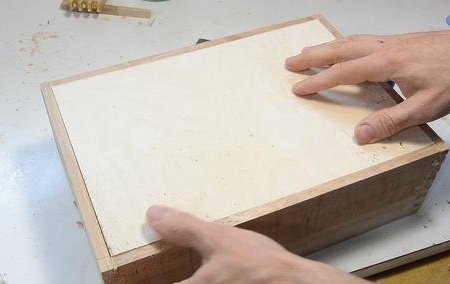
Then the master sawed the boards to their final width and checked how the frames fit into the box.
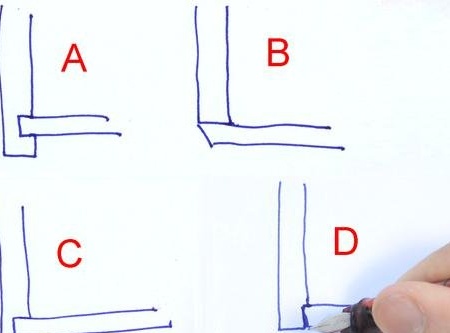
Before gluing the parts together, you need to figure out how the bottom will be attached.
Traditionally, this is done by inserting the bottom into the groove (A), but this mount takes up a lot of space in height, and not so tight, because the groove weakens the side wall of the box.
A simpler and more reliable solution is simply gluing the bottom to a flat surface (B), but this connection does not look good, even if the bottom is beveled.
It can also be joined using the corner joint (C), but it leaves a relatively narrow part of the sidewall from the bottom.
As a result, the master decided to insert the bottom using a very shallow corner joint (D). Although for this you need to cut the bottom very precisely so that there is a good adhesive bond on the surface (indicated by the arrow).
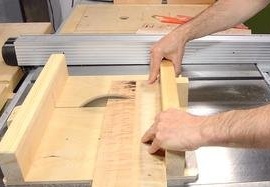
The groove for this connection was cut by the master on a table saw.
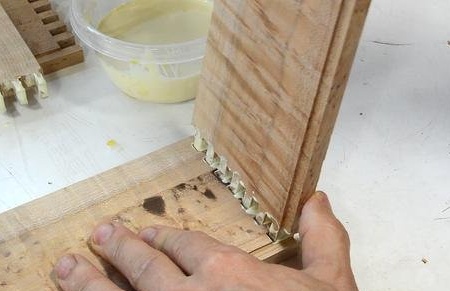
With the finished corner cutouts, it's time to collect the sidewalls.
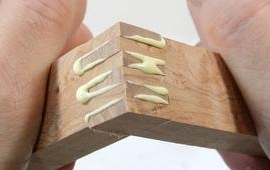
The master made a wooden comb to apply glue to several spikes at the same time.
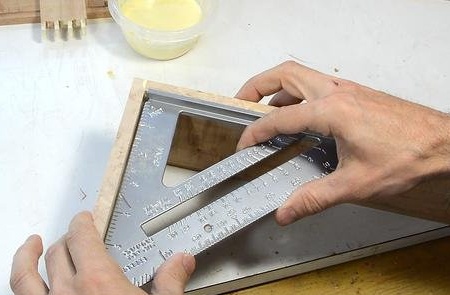
A thin layer of glue in the narrow seams between the spikes can dry very quickly, so the master checks that the assembled corner is rectangular before moving on.
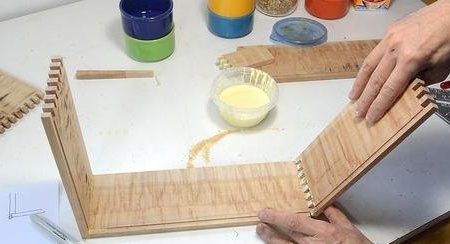
Sizing of the second side ....
... and now the fourth side. At the same time it is necessary to connect two adhesive seams.
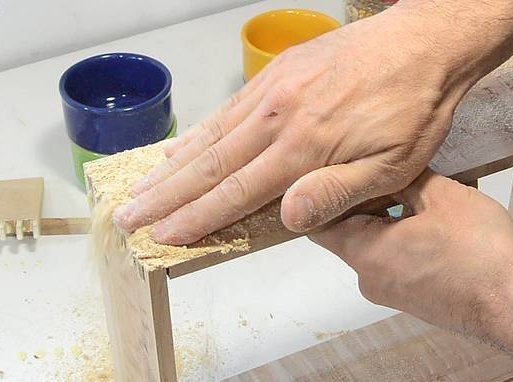
Also, until the glue is completely seized, the master tries to fill the slots with sawdust.
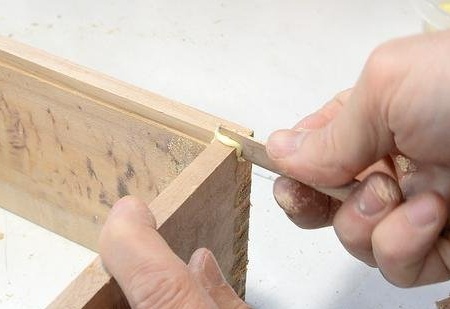
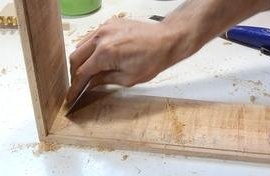
The craftsman glued wood chips to the ends of the cut groove to fill the void. After the glue had dried, the chips were cut flush.
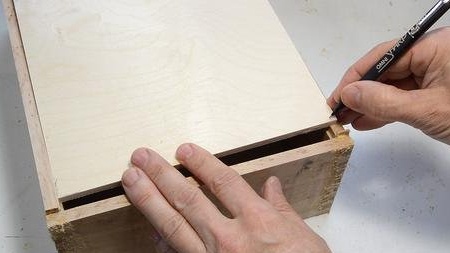
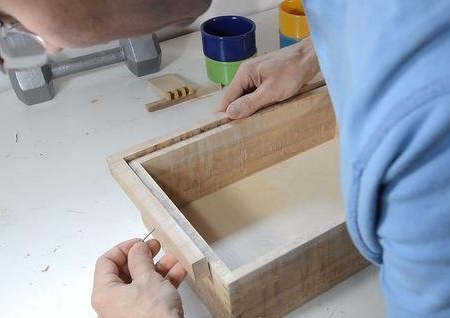
The bottom should be made so that it fits very accurately. The wizard checked both ends of the tray. One end was approximately 0.2 mm wider. To fit one edge, the master used a folded sheet of paper, made a mark, and then sawed.
The length of the sides of the tray was not very accurate. On one short edge there is a gap of half a millimeter.
Before gluing the bottom, it is necessary to grind and clean the inner surface of the product.

Then a large amount of glue is applied to the bottom and glued, and a load in the form of a dumbbell weighing 5 kg is placed on top.
The master wanted to have a carrying handle on the tray, like a basket.
He carved narrow spikes for this pen.
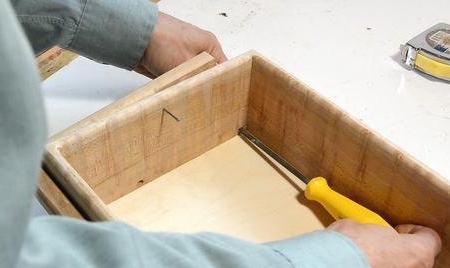
It was necessary that the handle was rotated to the side, but at the same time fixed in a vertical position. The master did not know how to do this. To begin with, he drilled a few small holes and used the finishing nails as hinges to determine the type of mechanism.
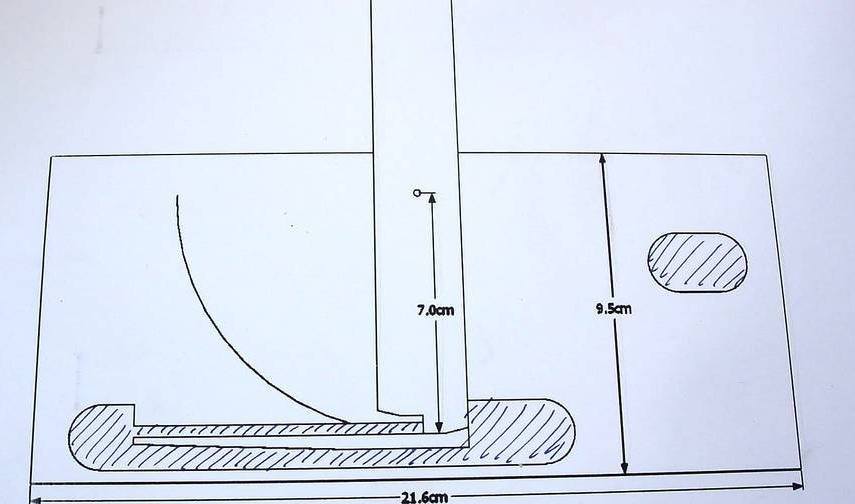
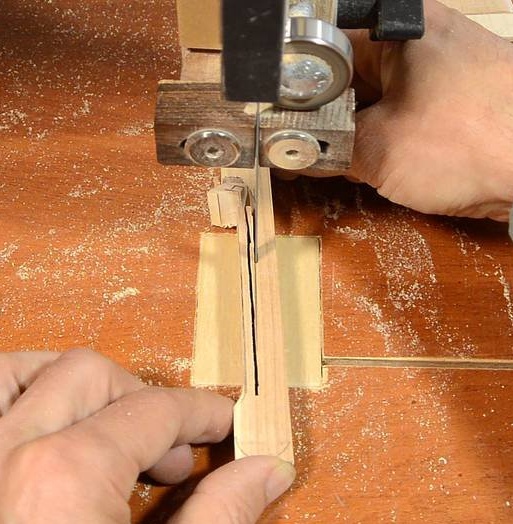
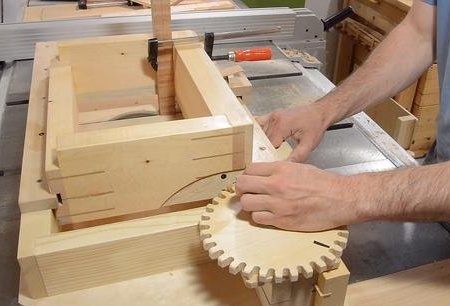
The wizard drew the mechanism action in SketchUp. He then printed it in a 1: 1 ratio using BigPrint, and then copied the form onto a piece of wood and cut it out with a band saw.
Download this template
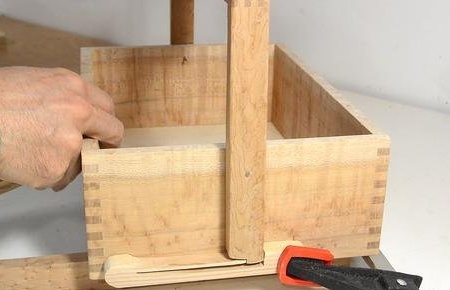
The latch is temporarily locked in place to check its functionality. Works!
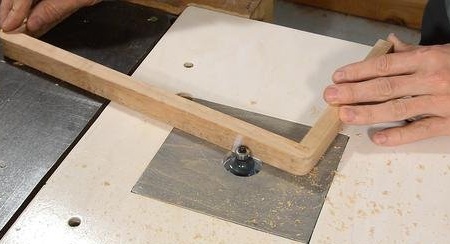
After checking, the wizard rounds the edges of the handle on the router ...
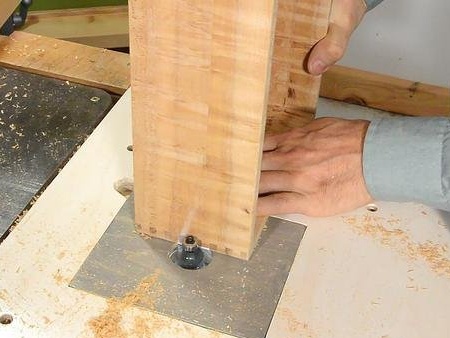
... and then all open edges of the tray.
The latch is screwed inside. The master plans to paint the latch separately, and then attach it. This facilitates finishing and prevents the varnish from sticking to the latch.
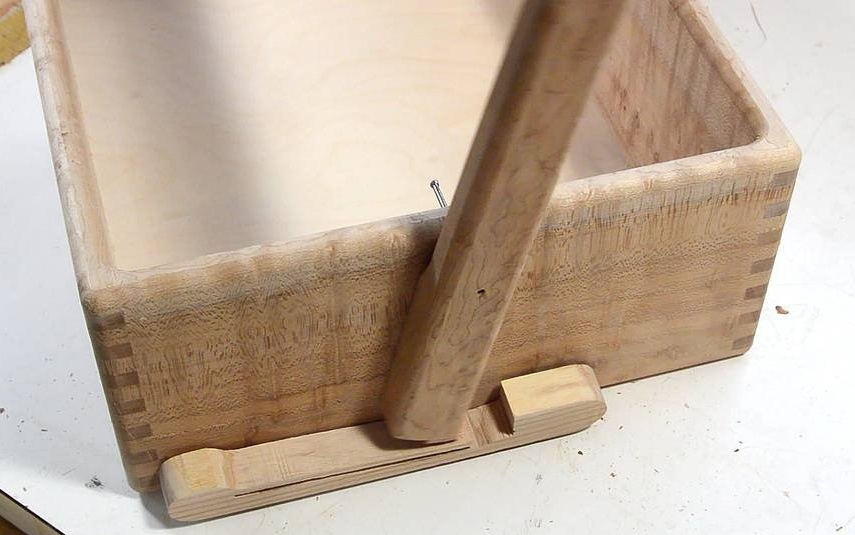
According to the master, the latches emit a pleasant click when the handle is raised to a vertical position. There is a latch on each side, although only one would be enough.

A small wooden block glued to the side of the box holds the handle horizontally when it is turned down.
The master made a small bottom - a template that is placed around the ramekins so that they stand tight and do not slip.
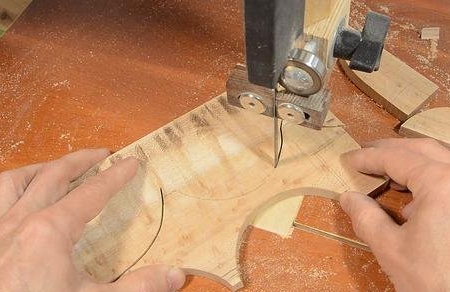
The master took the necessary dimensions of the bottom, and then cut it out on a band saw.
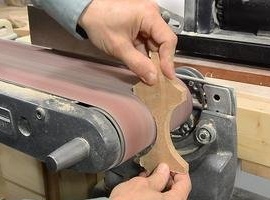
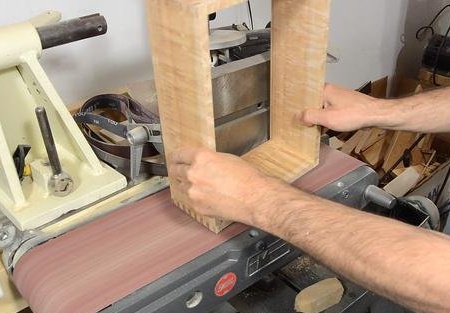
After that, of course, he polished on a belt grinder.
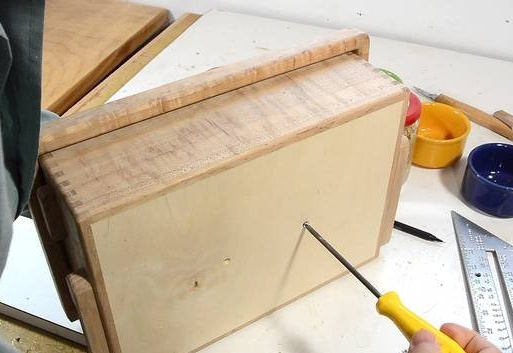
This piece is attached with screws from the bottom. As with the latch, it will be easier to varnish the tray without a bottom installed.
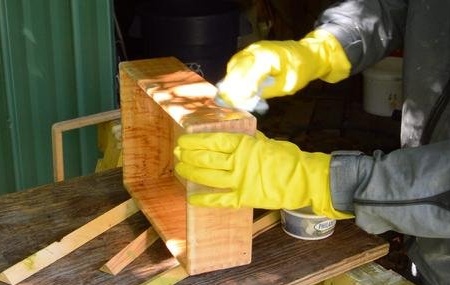
The tray was painted with oil-based varnish. Oil-based varnish prevents moisture from entering the wood much better.
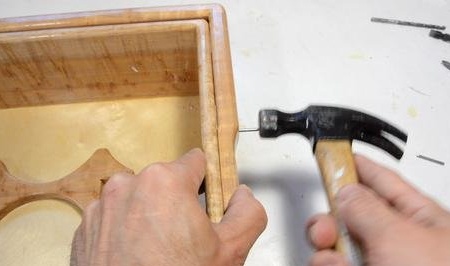
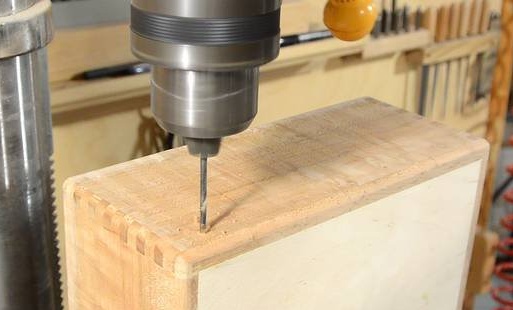
For the hinge pin, the master used thicker trimmed nails. He drilled a hole a little less than a nail in a pen, but a little more than a nail in a box. When driving a nail into the handle, it remains in place and provides a good turn.
Finished Tray.
If you like this homemade masters, then try to repeat and make.
Thank you for attention.
See you soon!