
As you all know very well, sometimes in small rooms there is a catastrophic lack of space, and this is solved with the right choice of furniture.
In this article, the author of the 김팀장 크래프트 Dekay’s Crafts YouTube channel tells you how he made a small folding table with wall mounts.
Materials
- sheet plywood
- Pine beam
- Lauana wood planks
- Furniture hinges
- Wood screws
- PVA glue
- Second glue
- Acrylic lacquer
- Magnetic latch
- Sandpaper.
Instruments, used by the author.
— Electric jigsaw
— Screwdriver
— Manual frezer
— Orbital sander
- A circular saw
— Battery Neiler
— Japanese saw
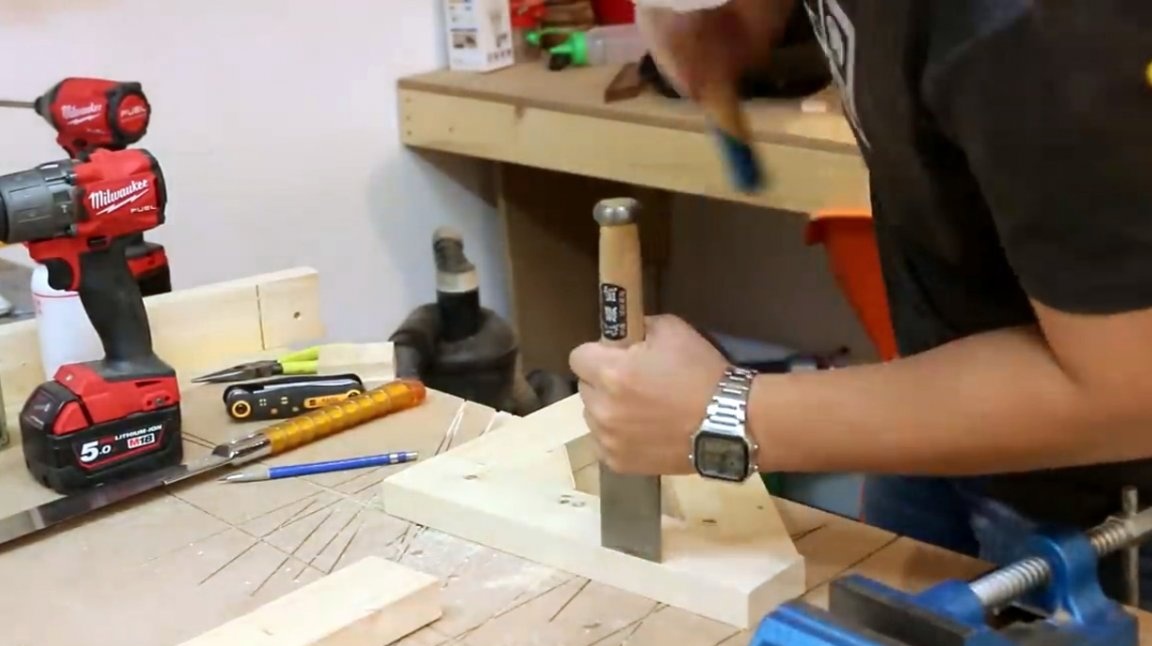
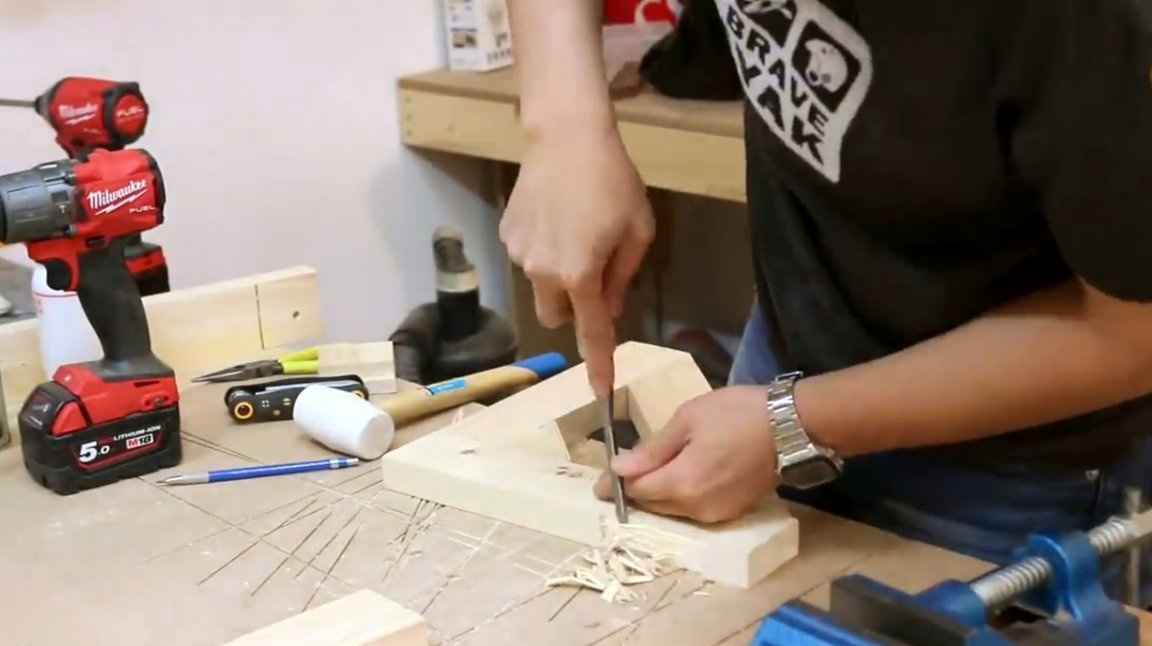
- Square, vise, chisels, mallet, brush, nippers
- Level, tape measure, pencil.
Manufacturing process.
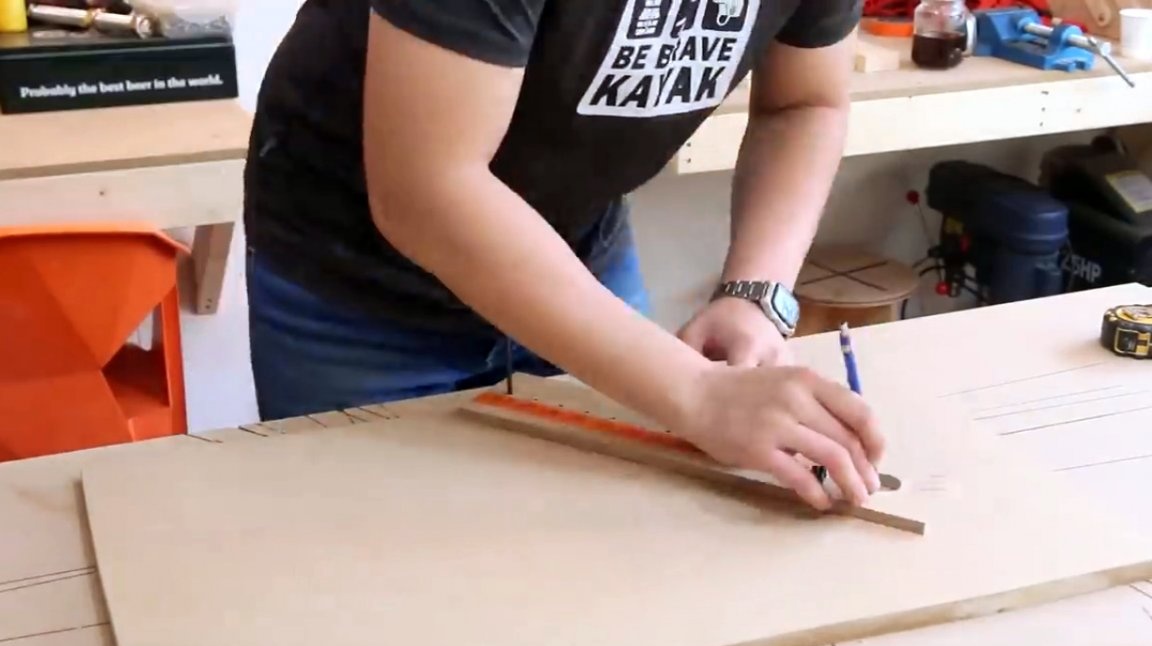
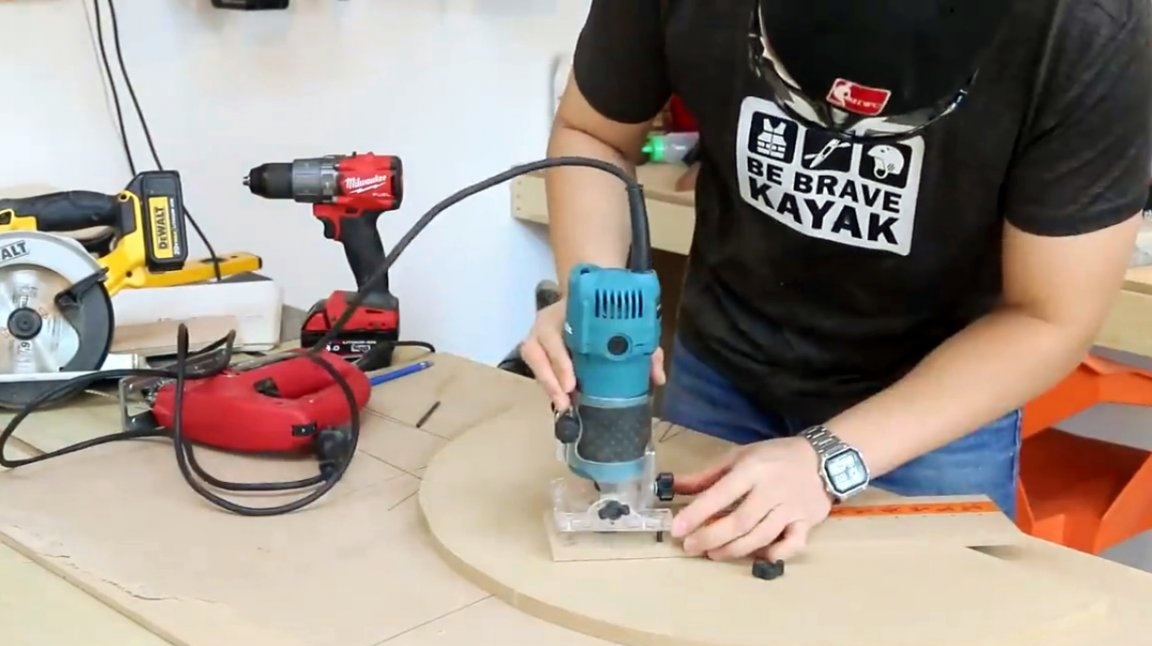
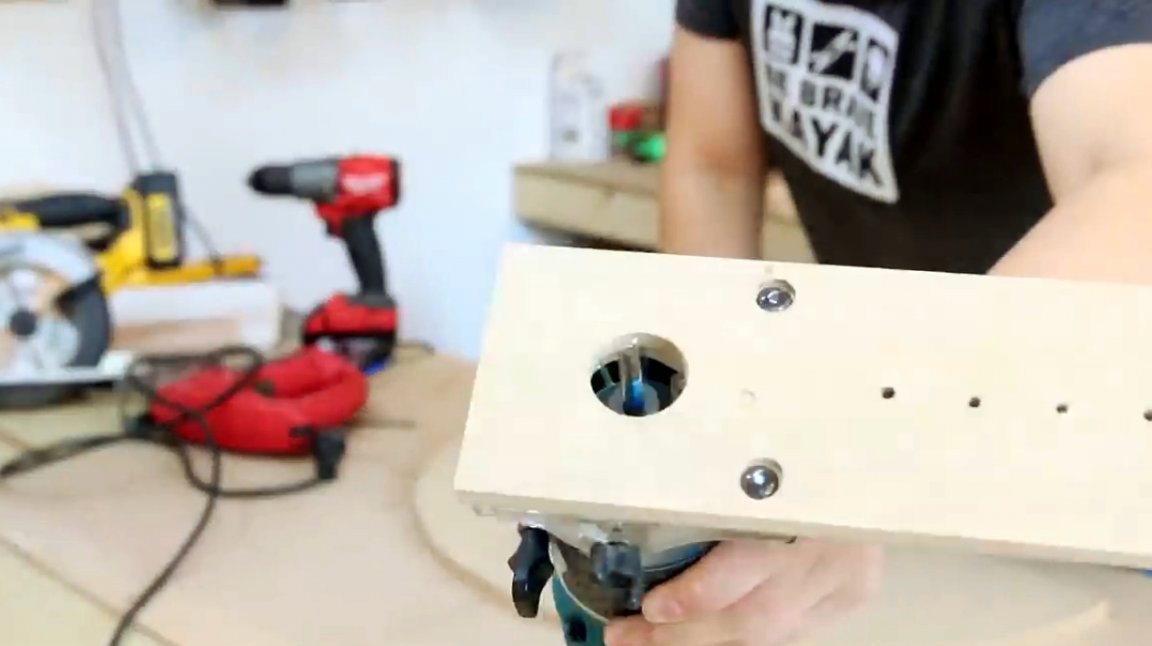
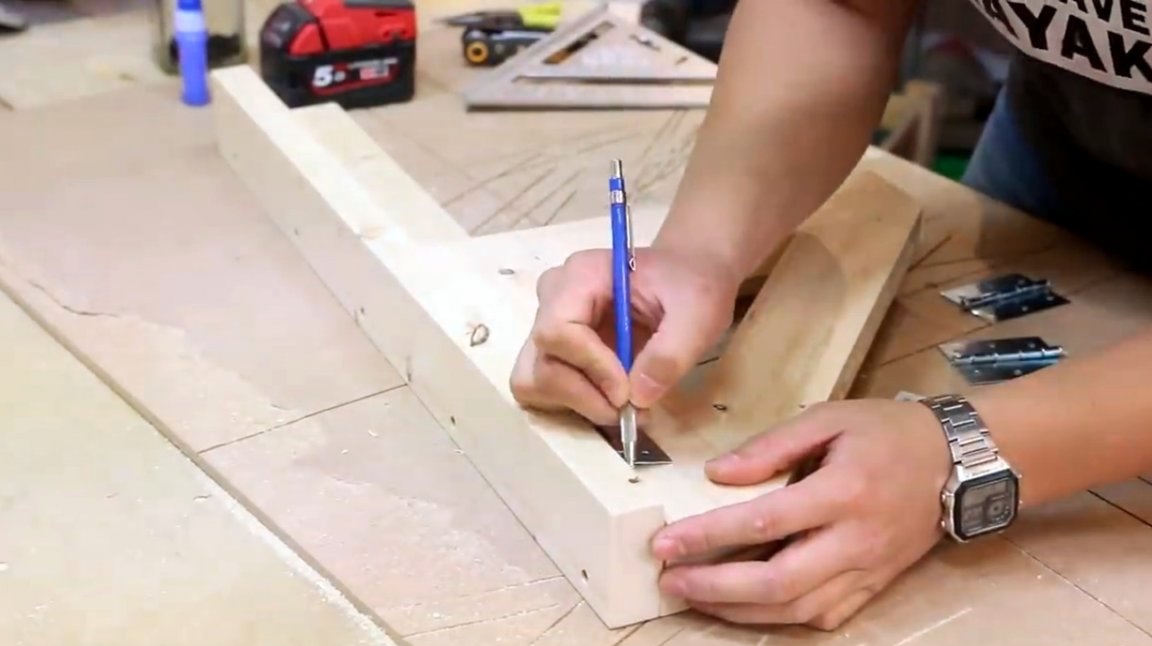
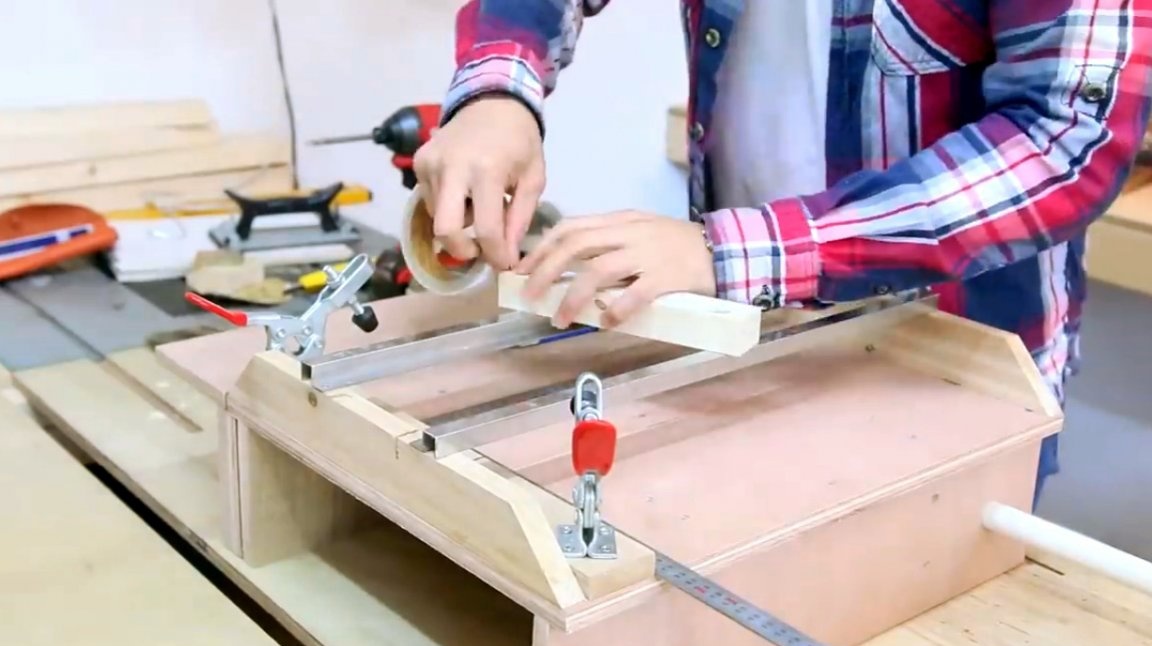
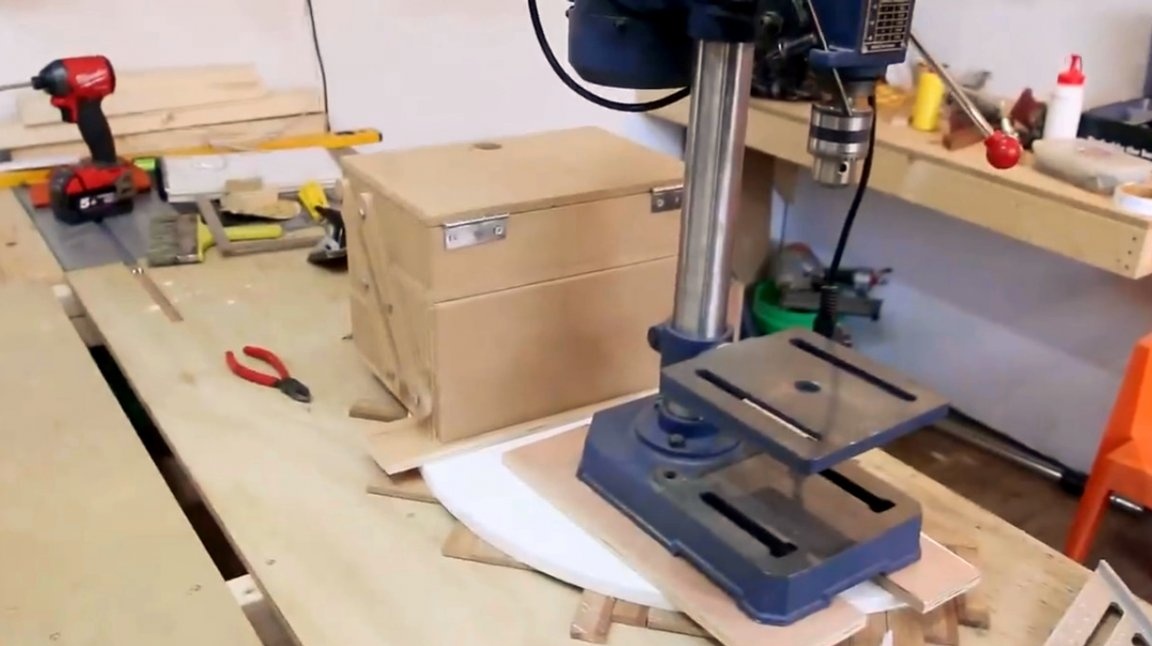
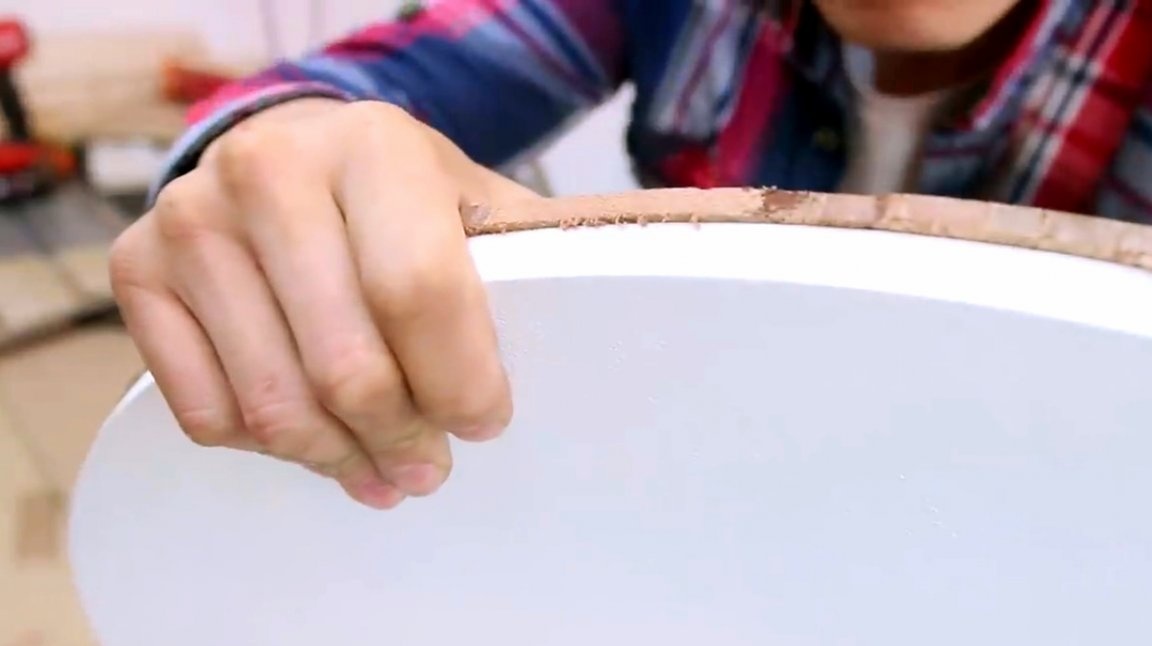
First, the master will need to mark the workpiece on a plywood sheet. To do this, he will use this device. Its edge is attached to a sheet of plywood.

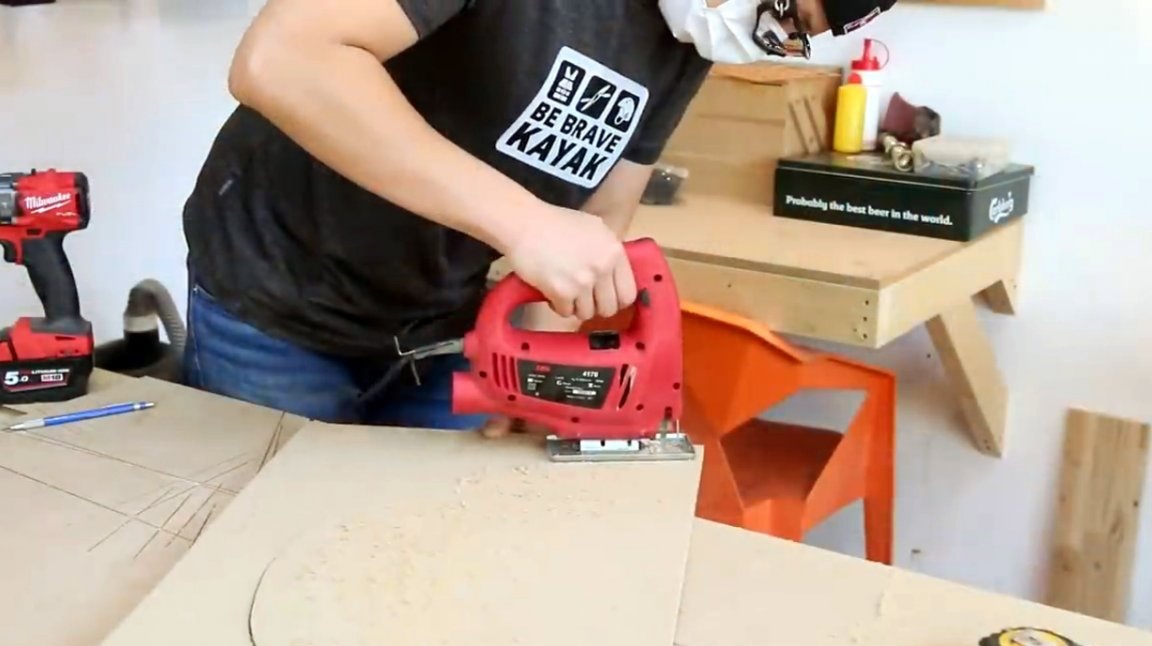
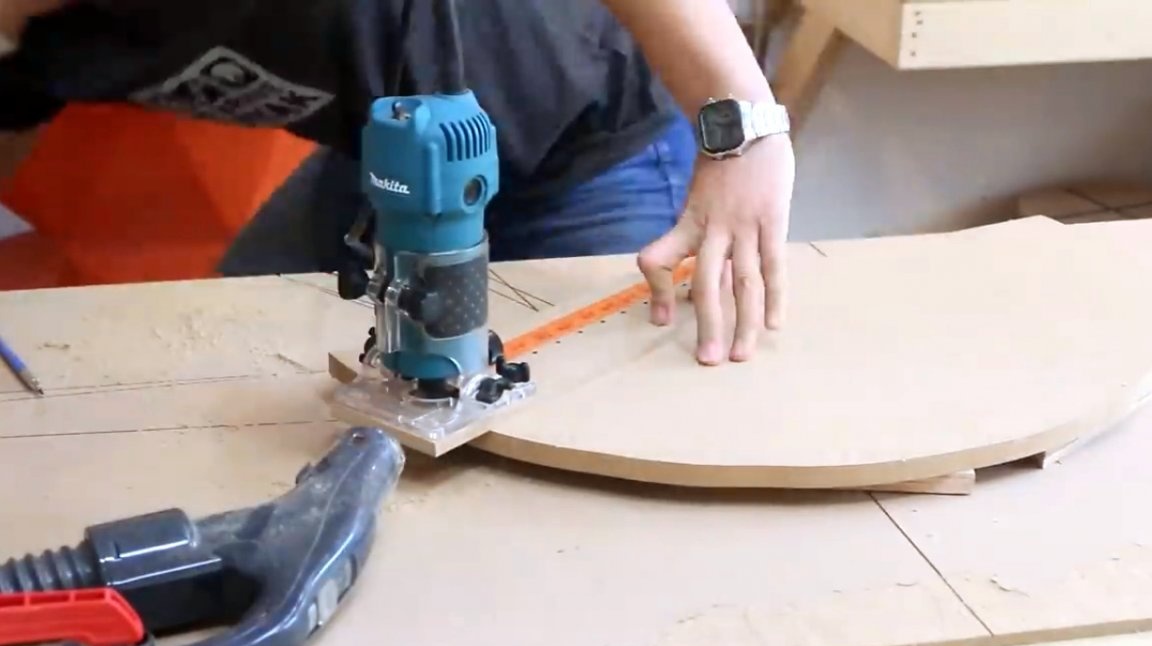
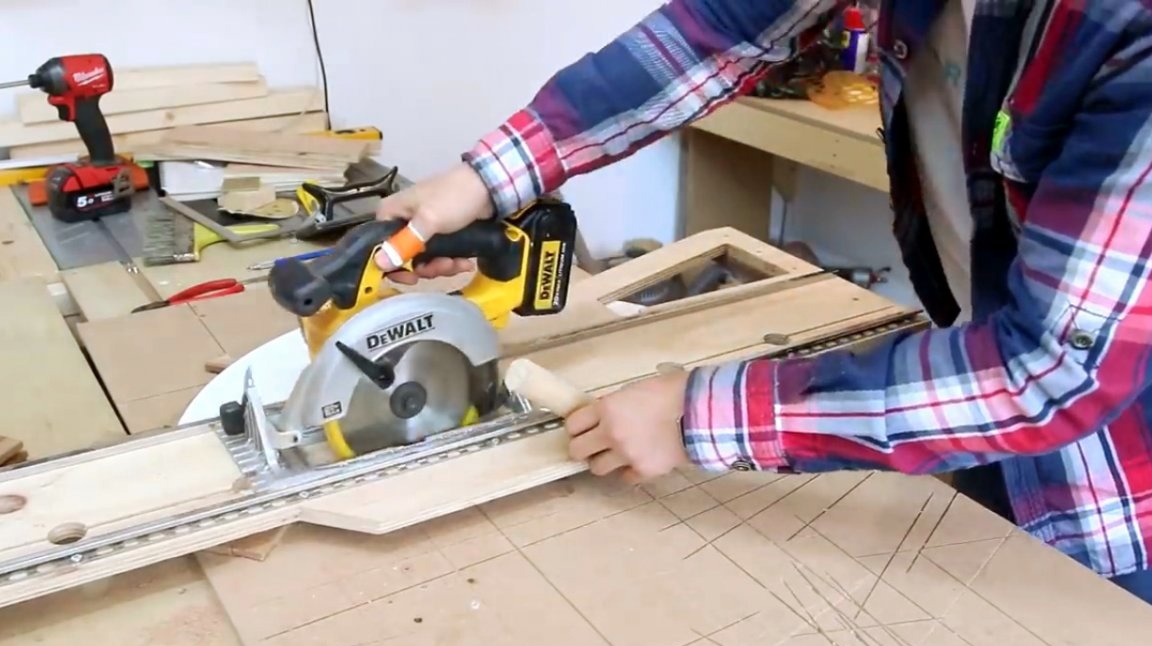
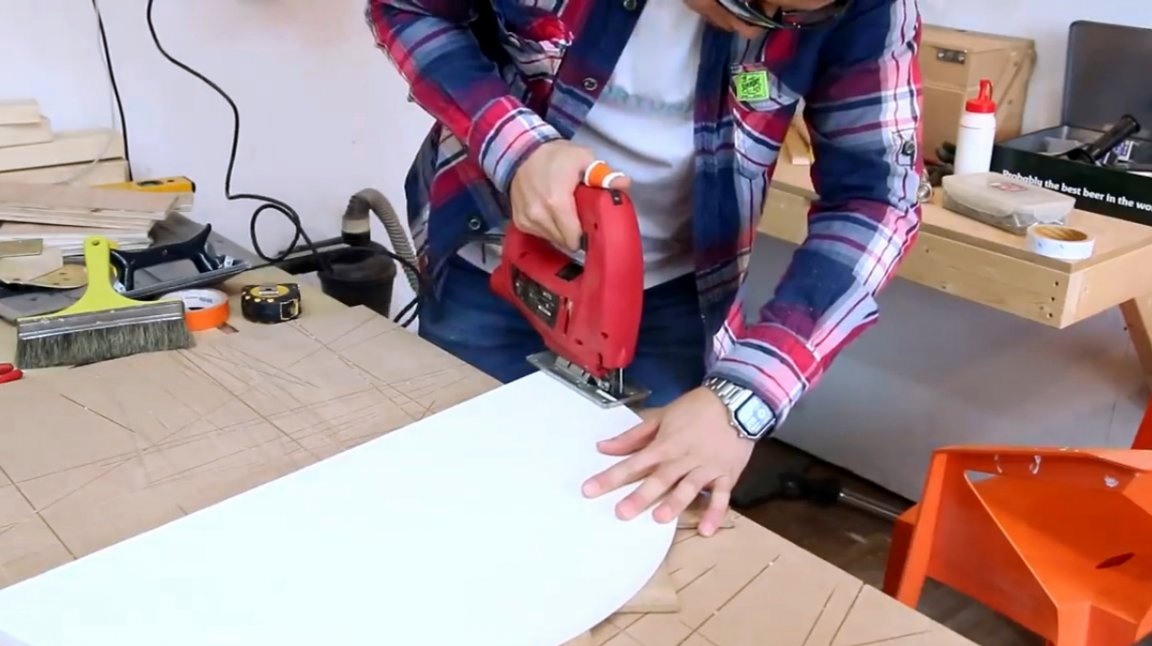
Then radius marking is done, and the workpiece is cut out using a jigsaw.
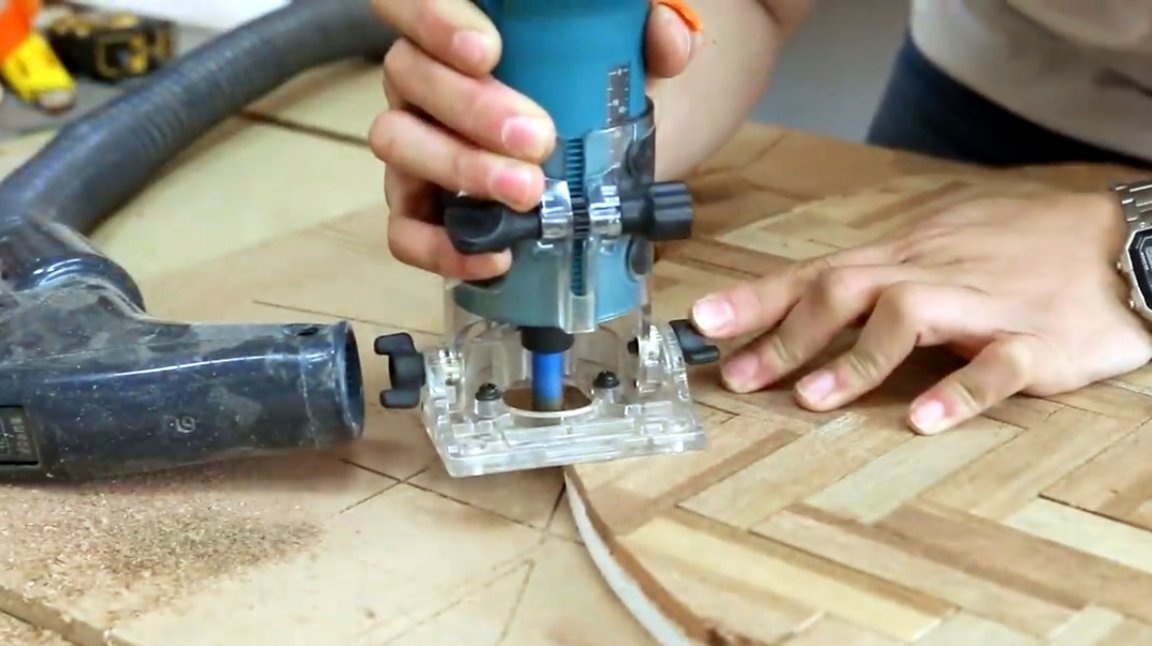
After this treatment, the edge of the workpiece remains uneven. It can be easily leveled by the same device on which the milling cutter is fixed.
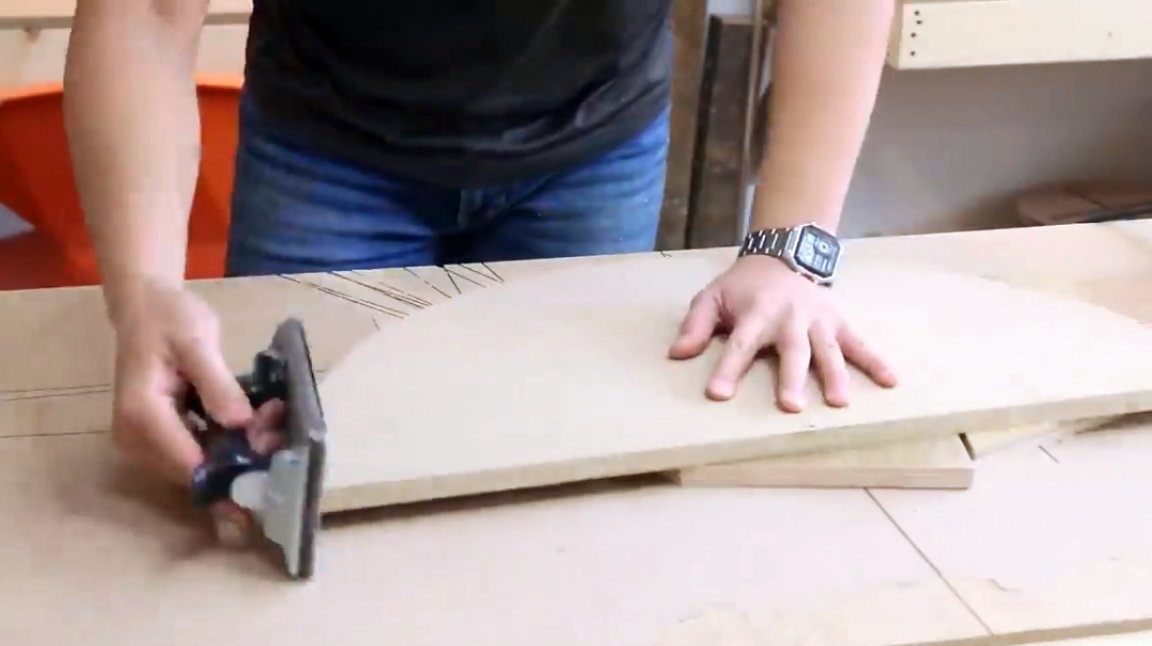
The edges are additionally sanded with sandpaper manually.
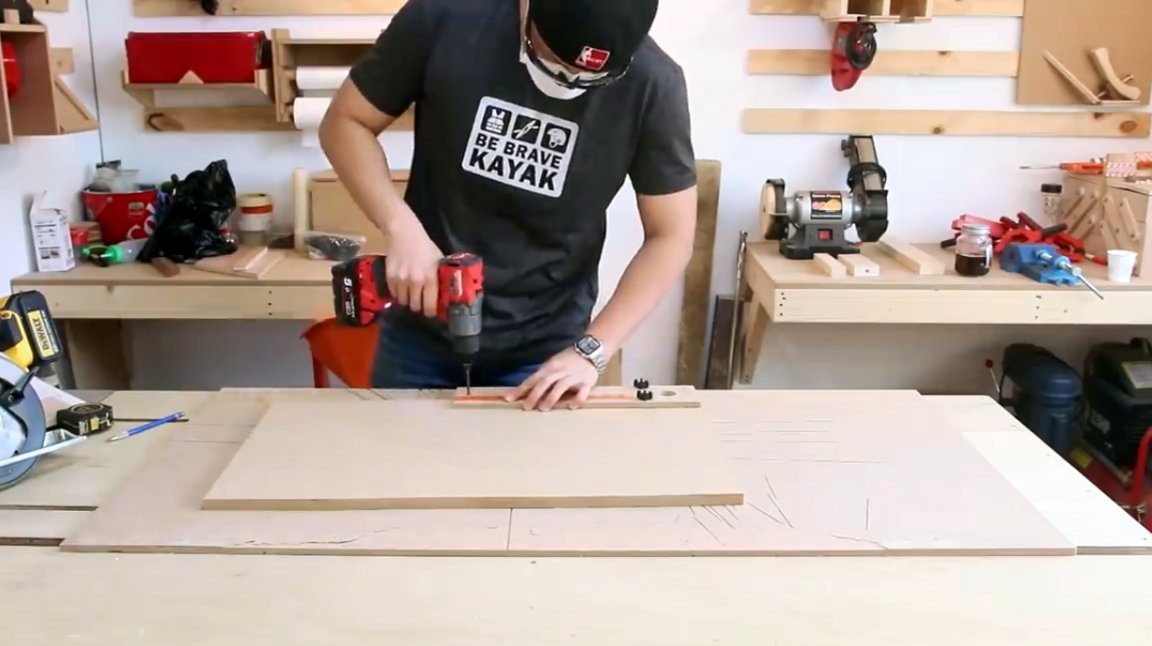
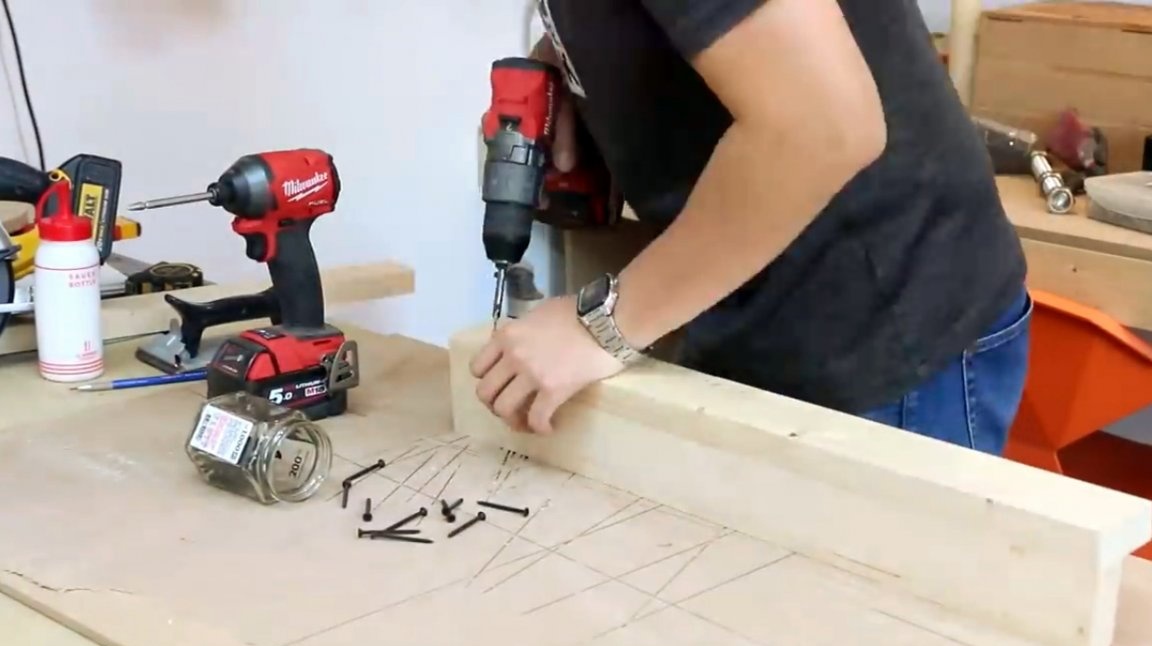
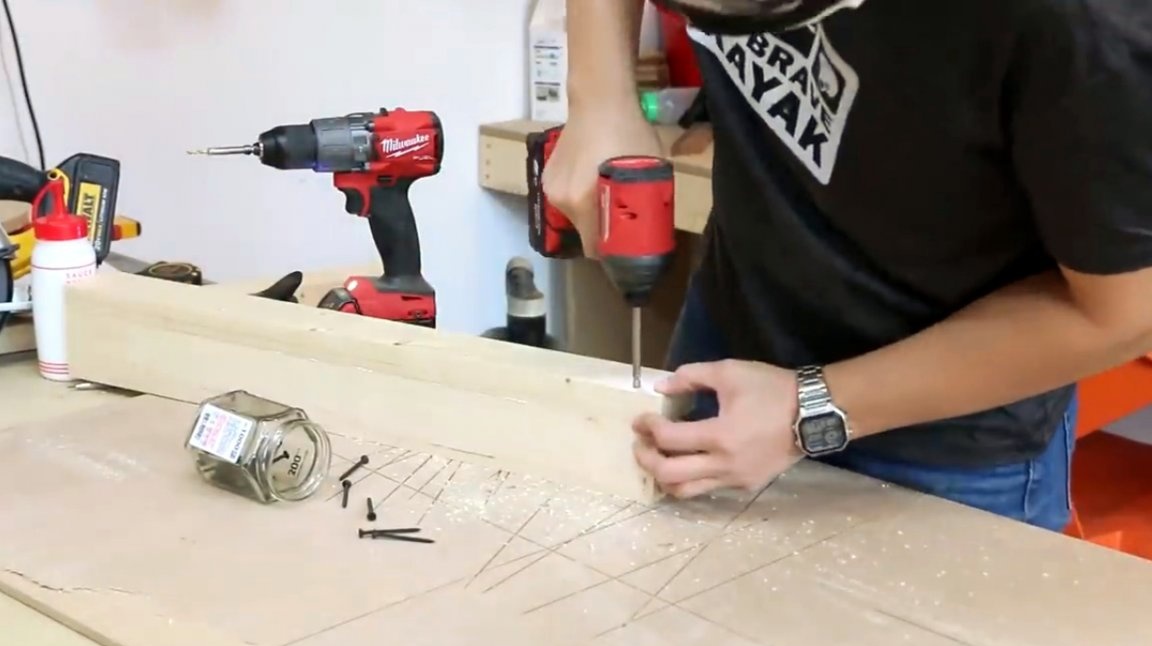
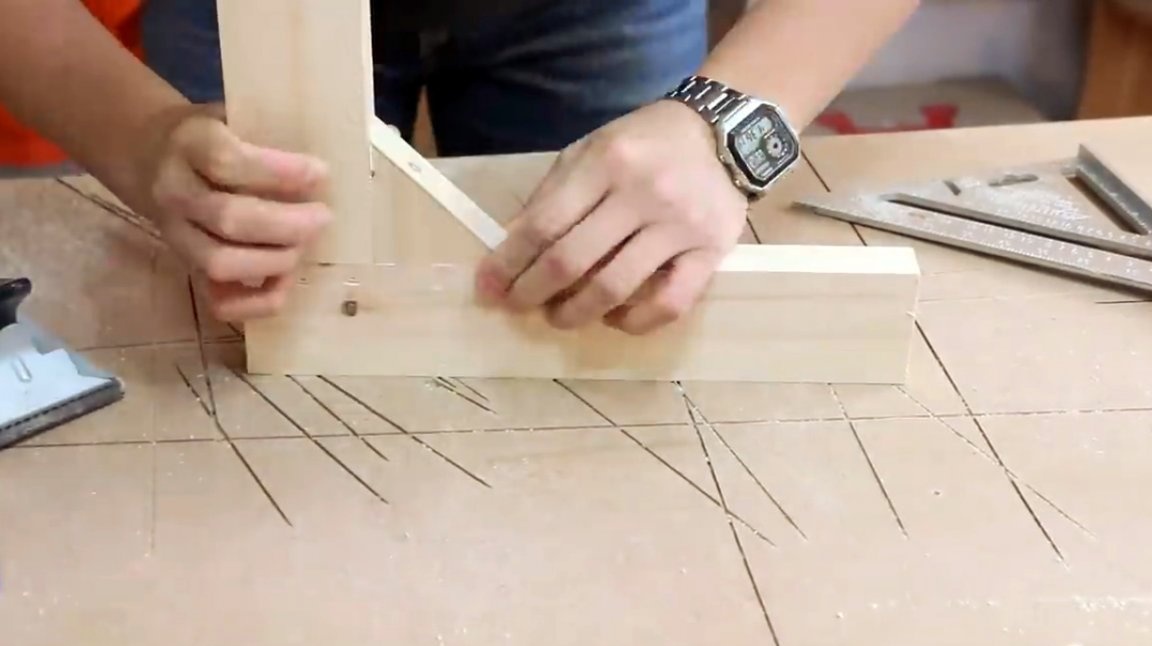
For the manufacture of mounts and supports, the author uses a pine beam.
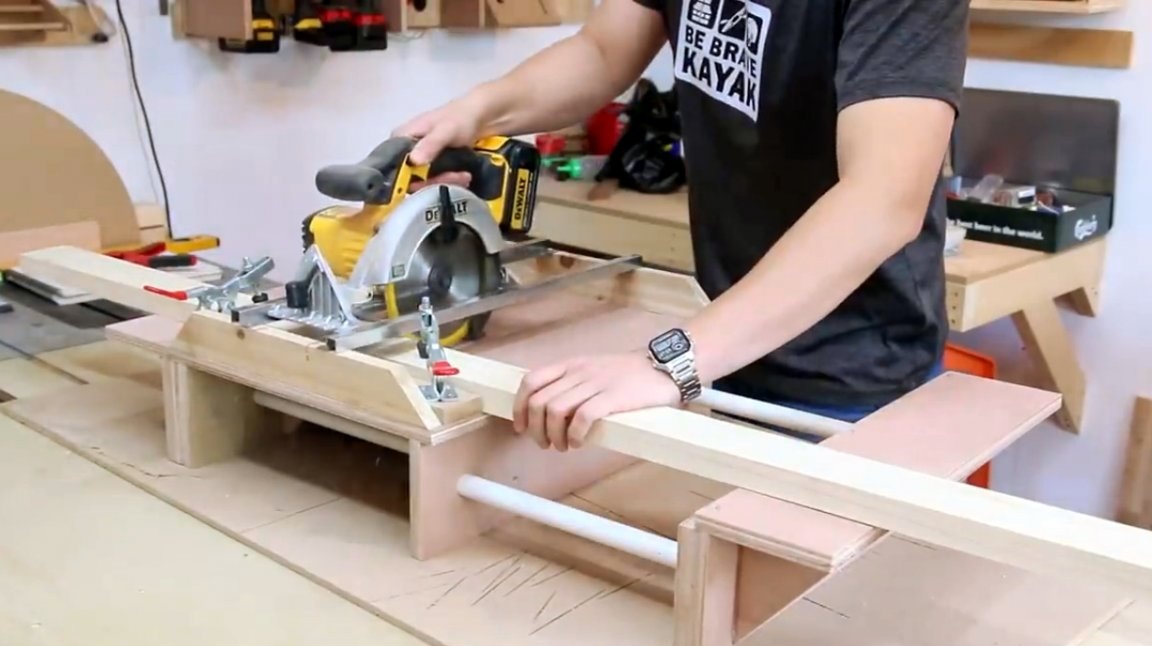
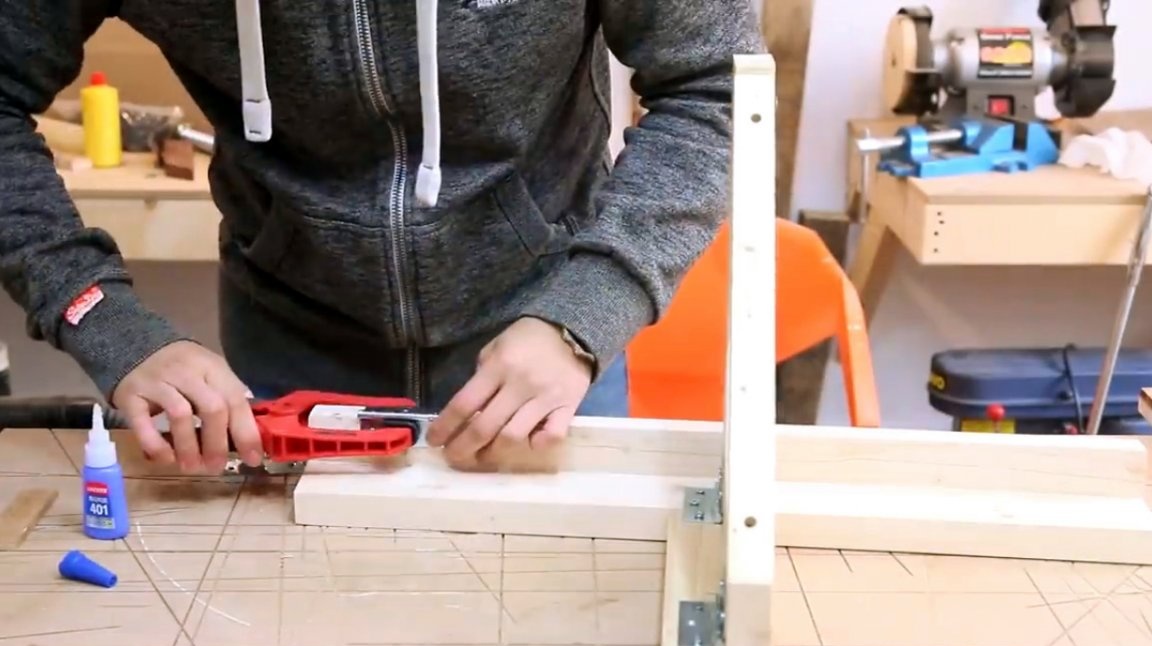
Next, the first two slats are glued together, and are fixed between themselves by a neiler.
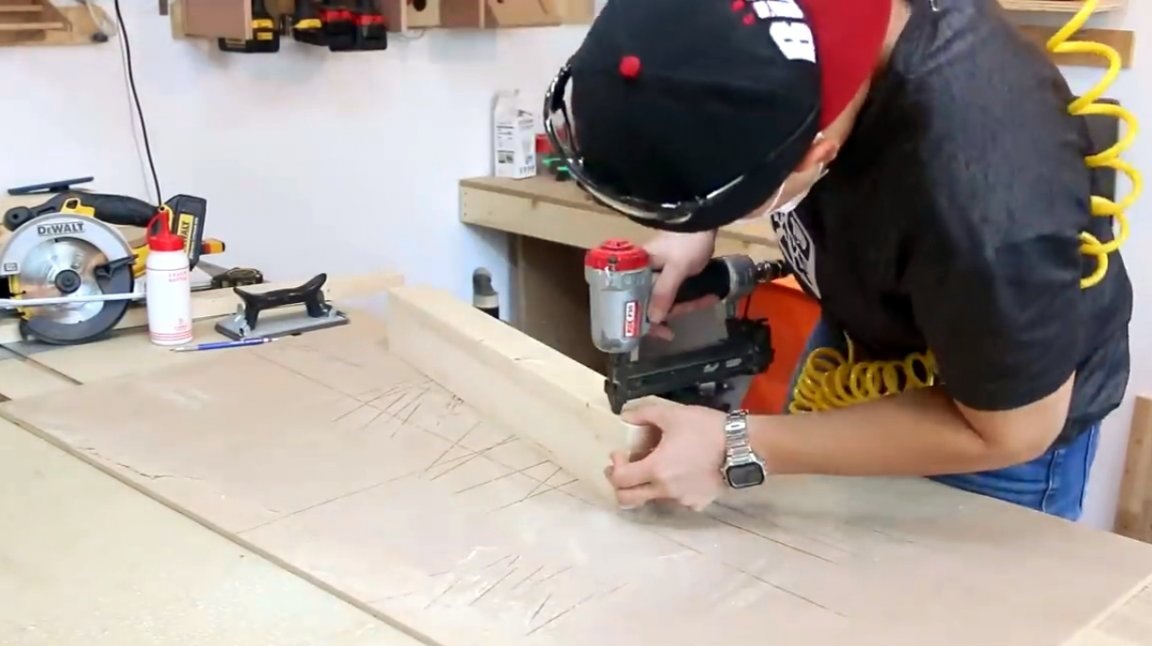
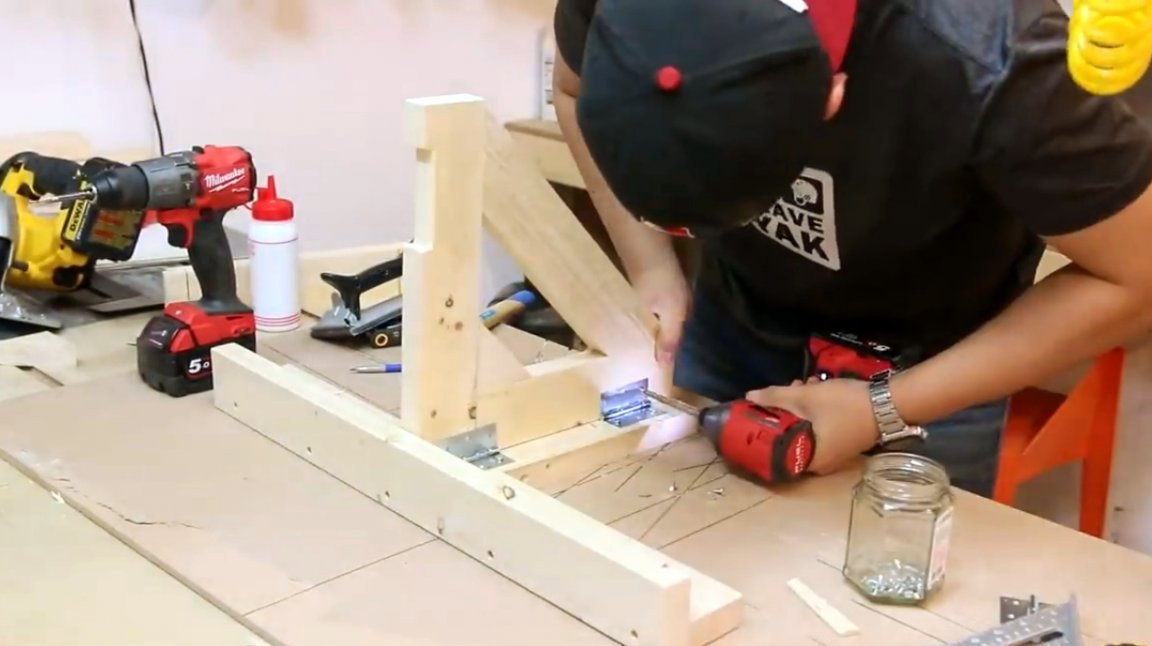
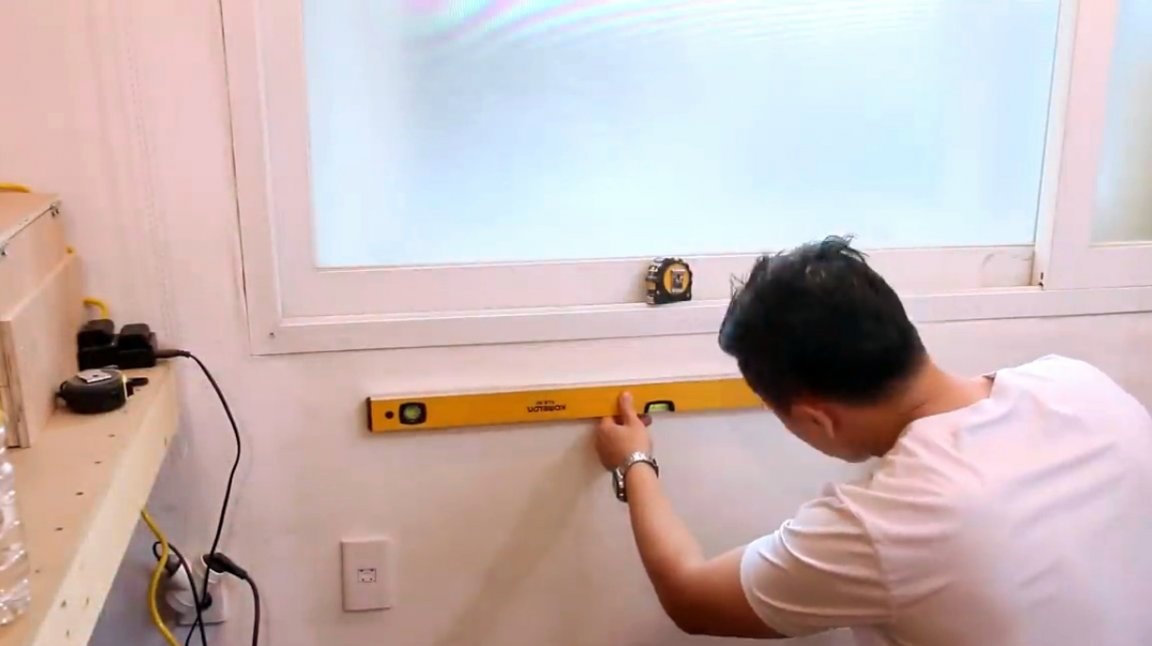
This part of the structure will be attached to the wall, and the joint must be strengthened with several screws.
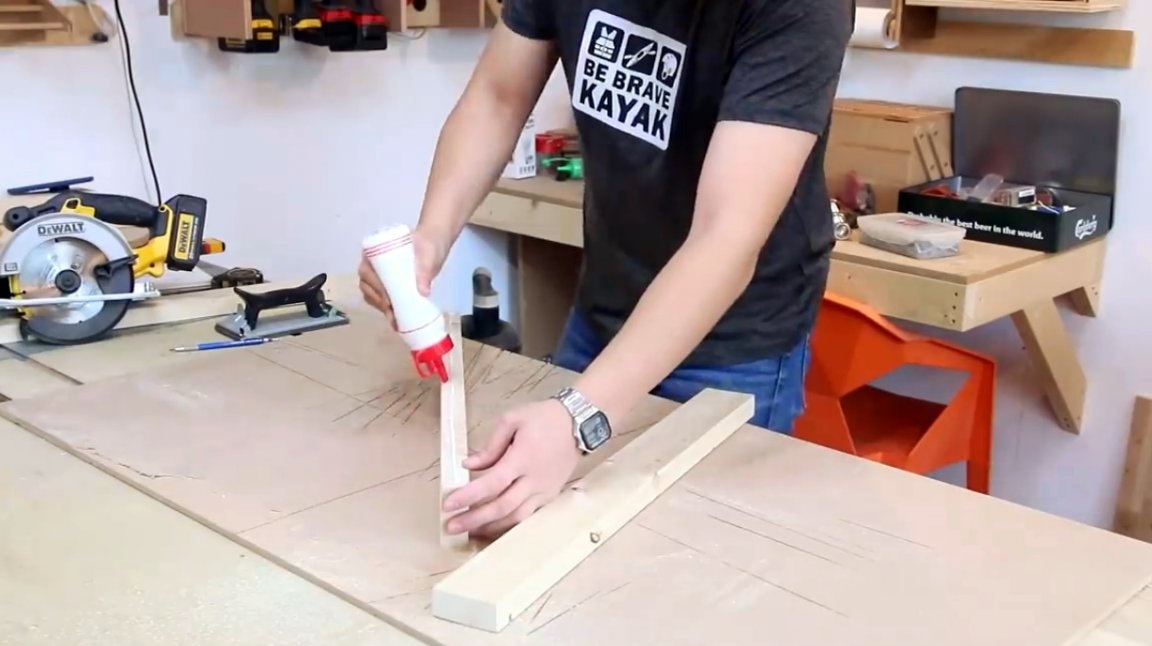
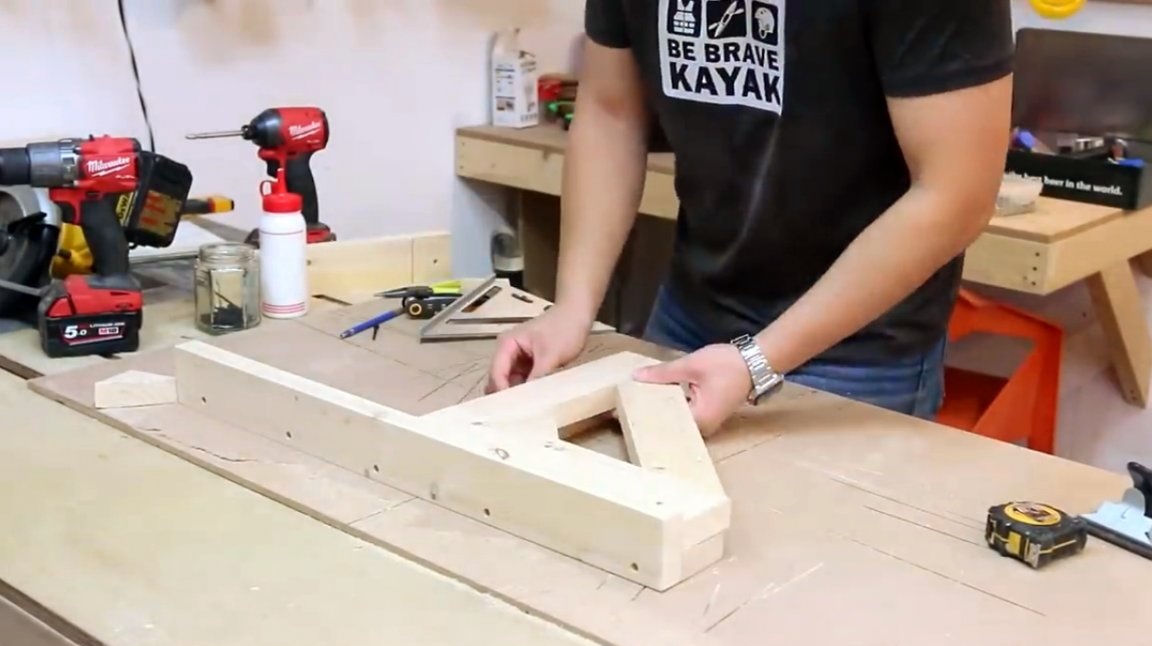
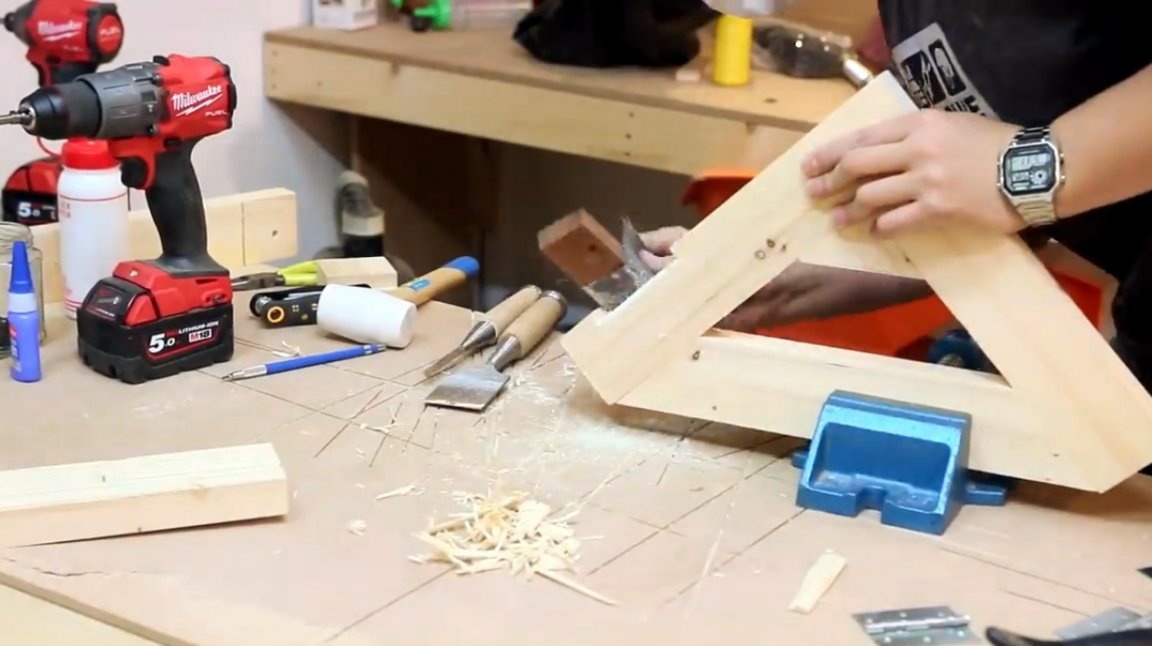
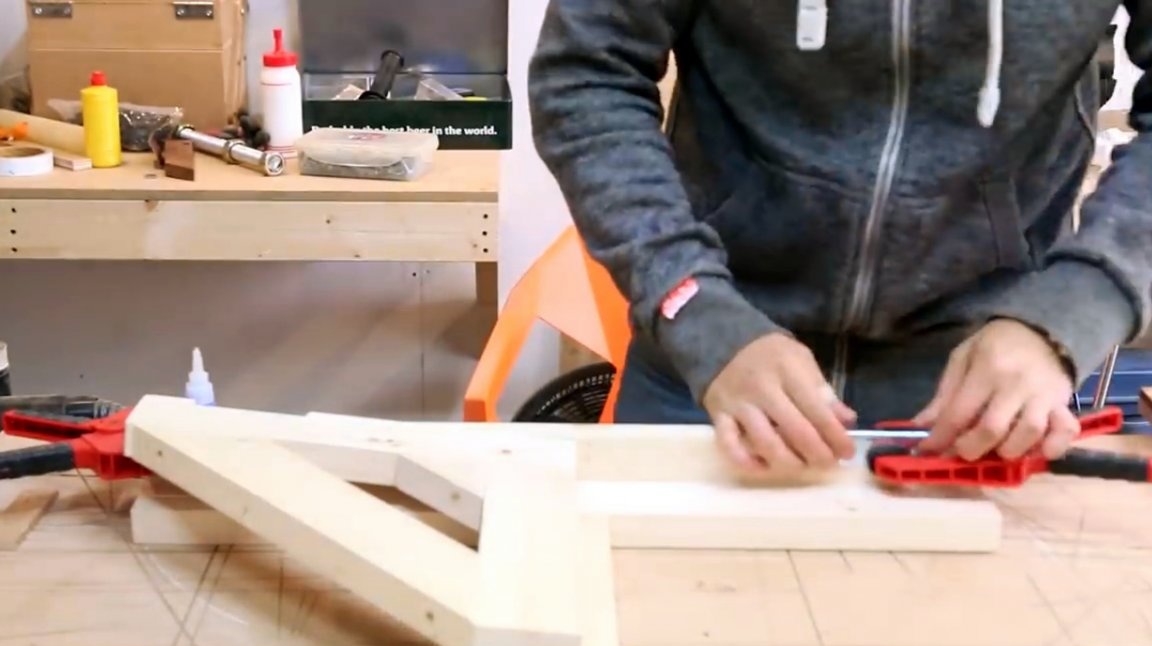
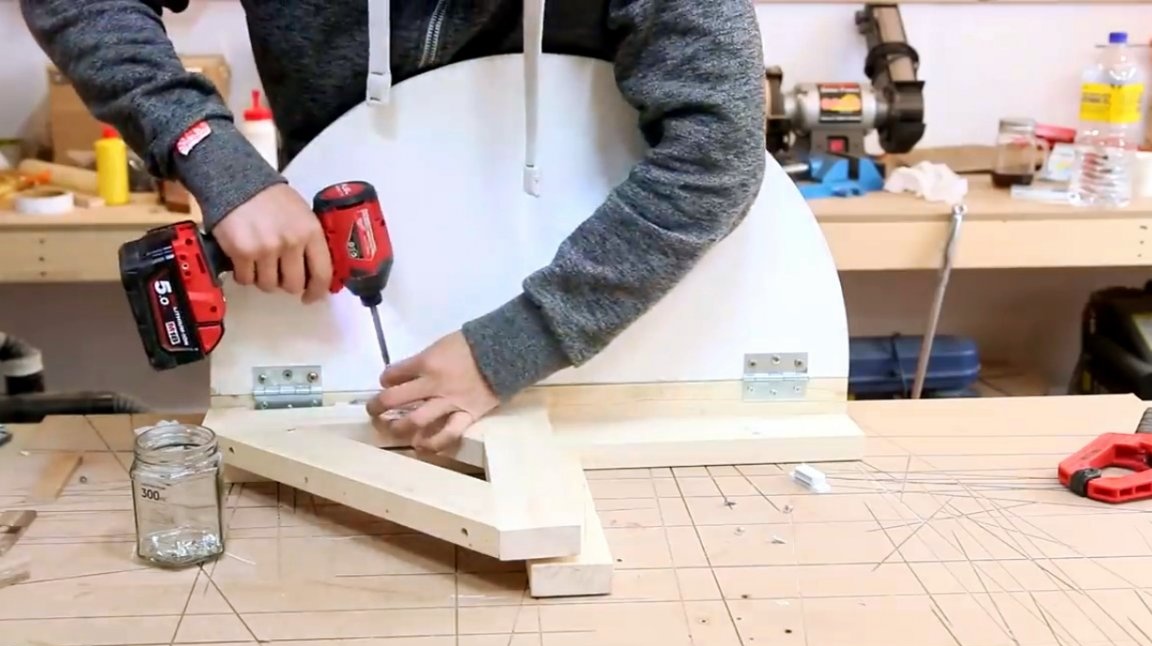
Then the author proceeds with the manufacture of the backup. Their edges are connected to a slanting screw.
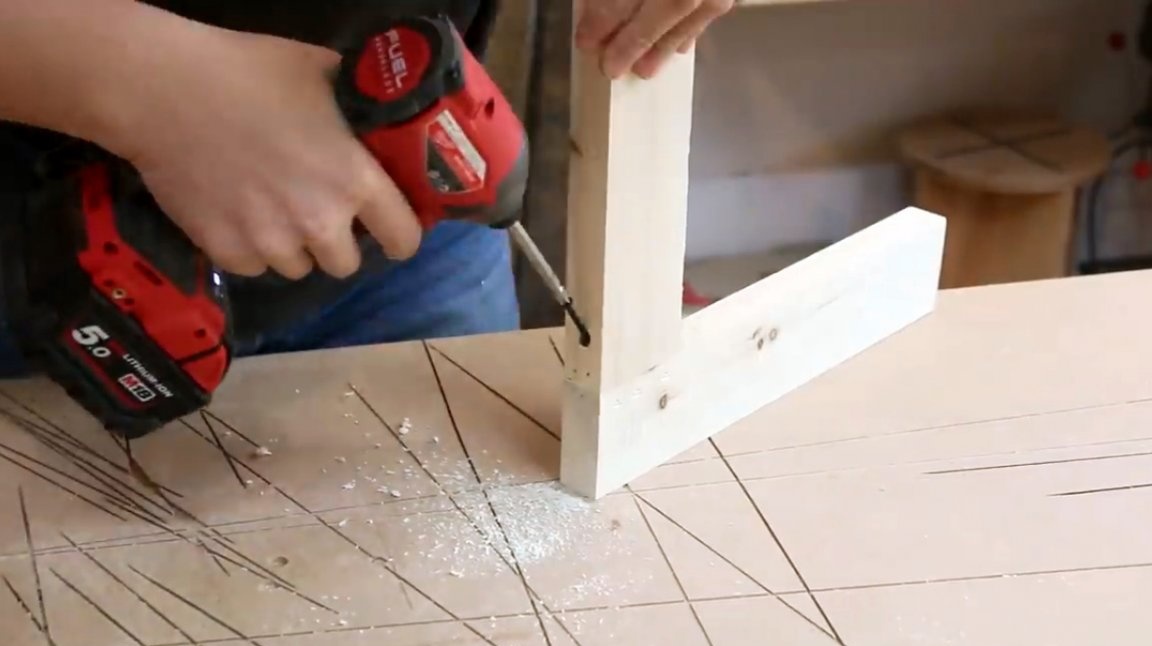
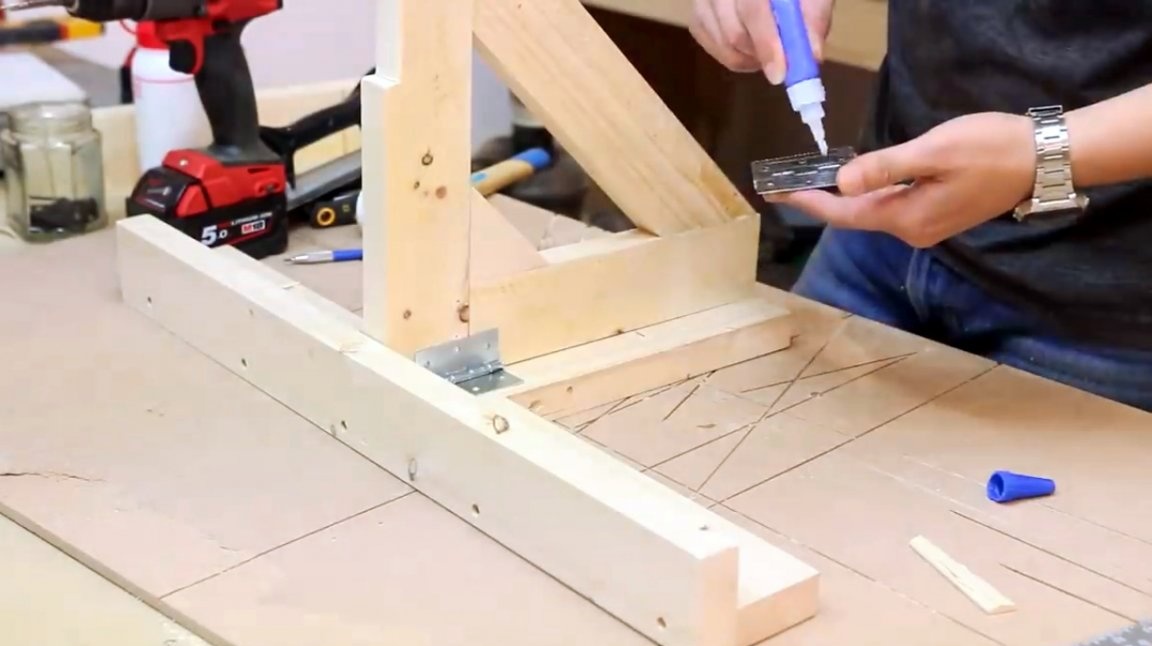
With the help of second glue, a reinforcing corner is attached.
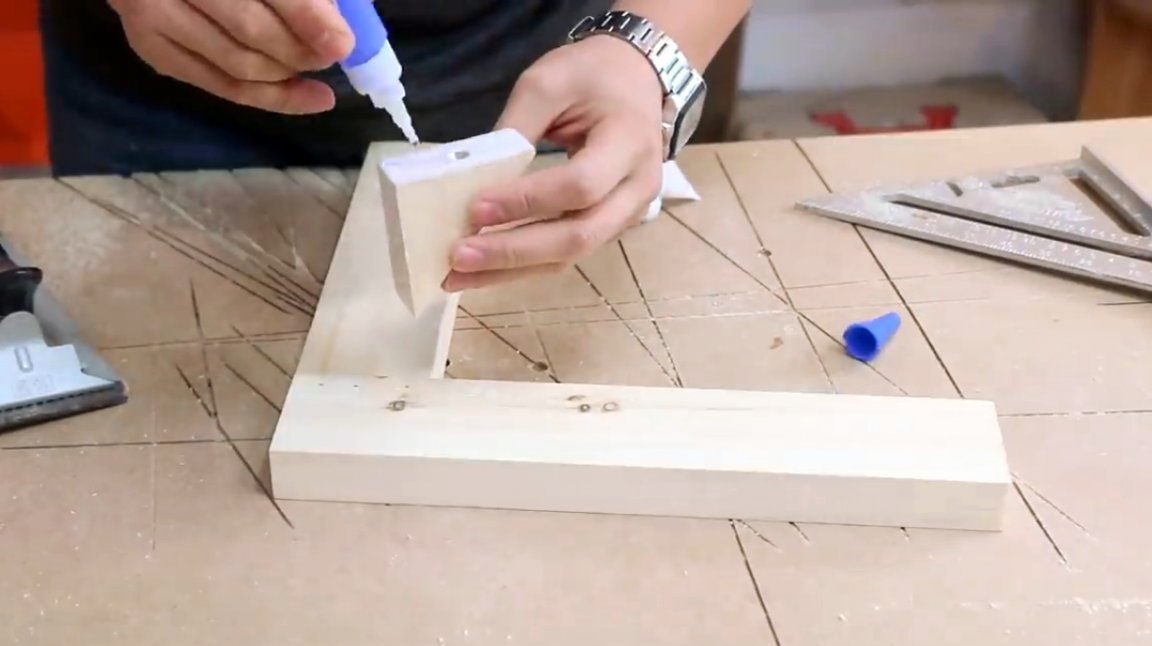
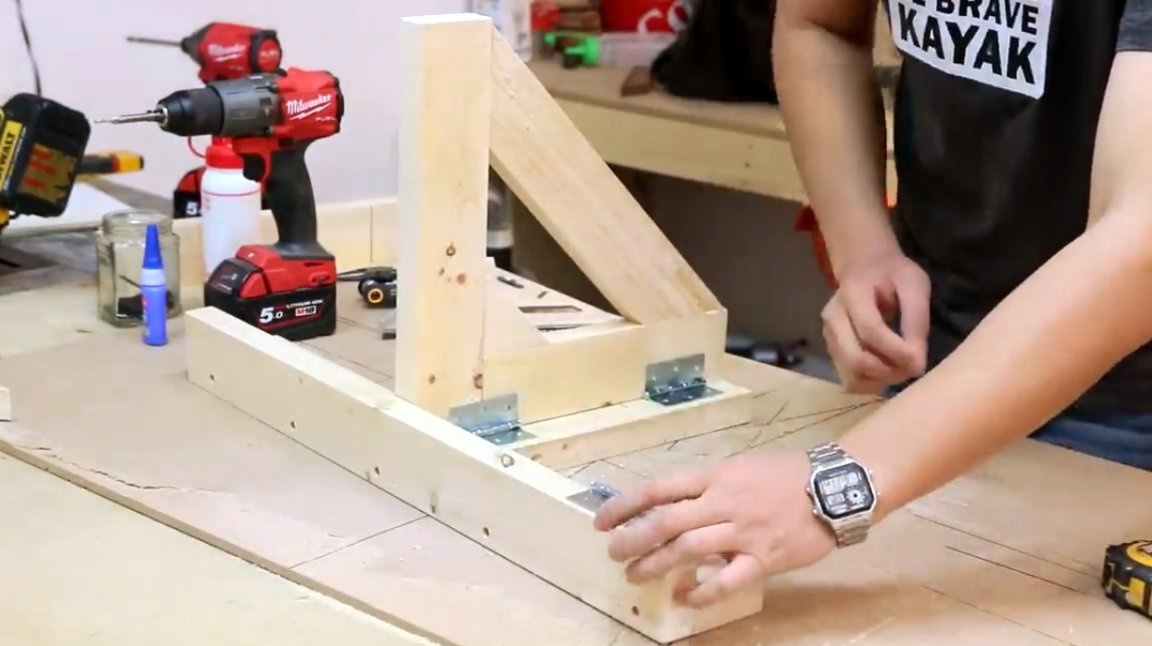
And the diagonal strut is screwed.
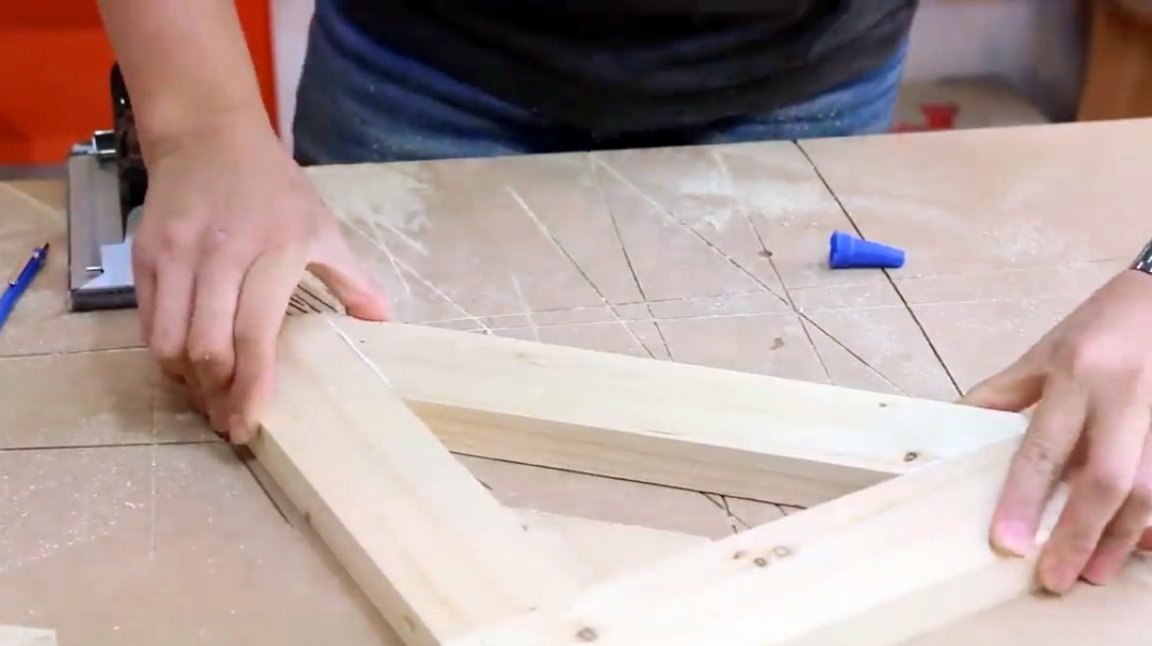
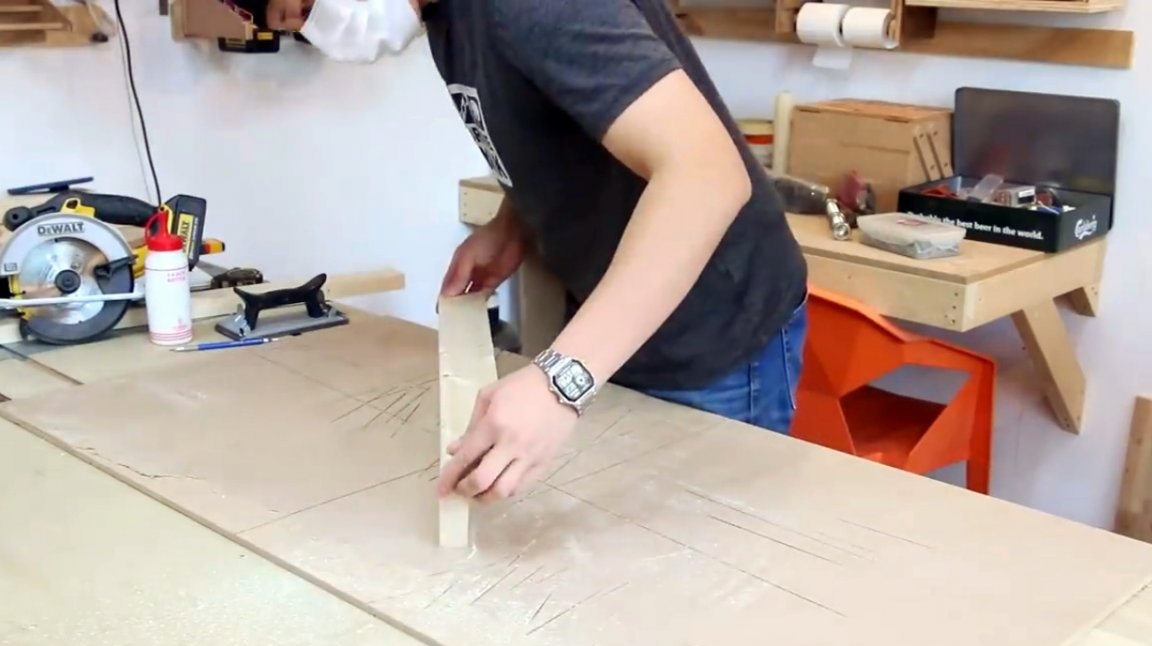
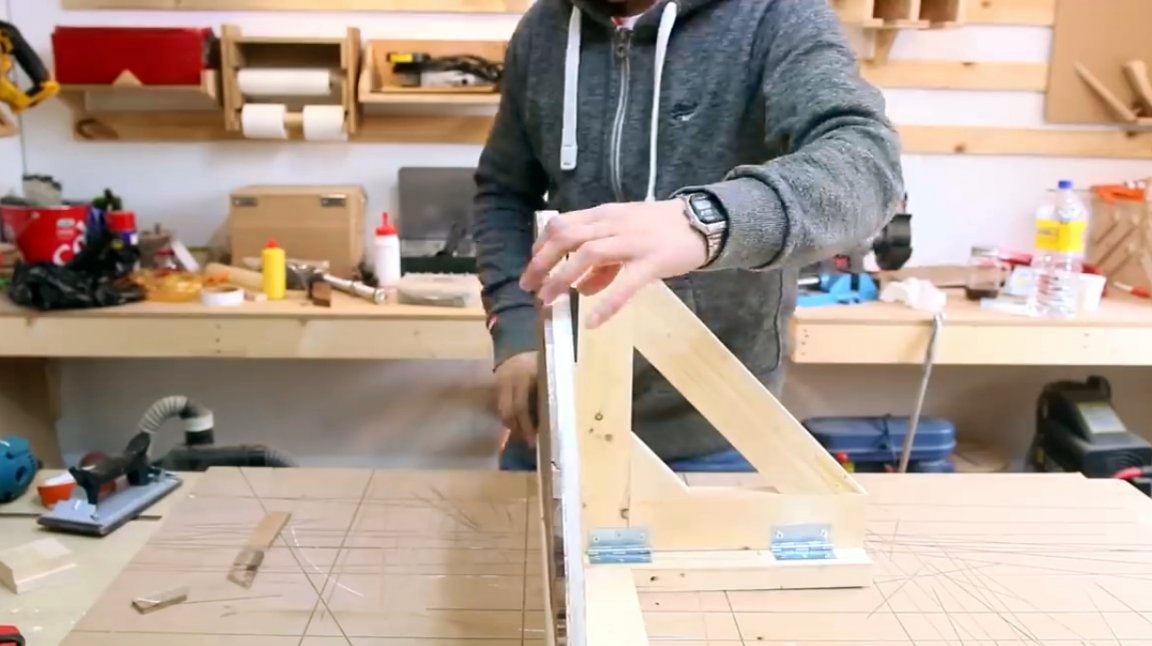
Fasteners and supports are almost ready.
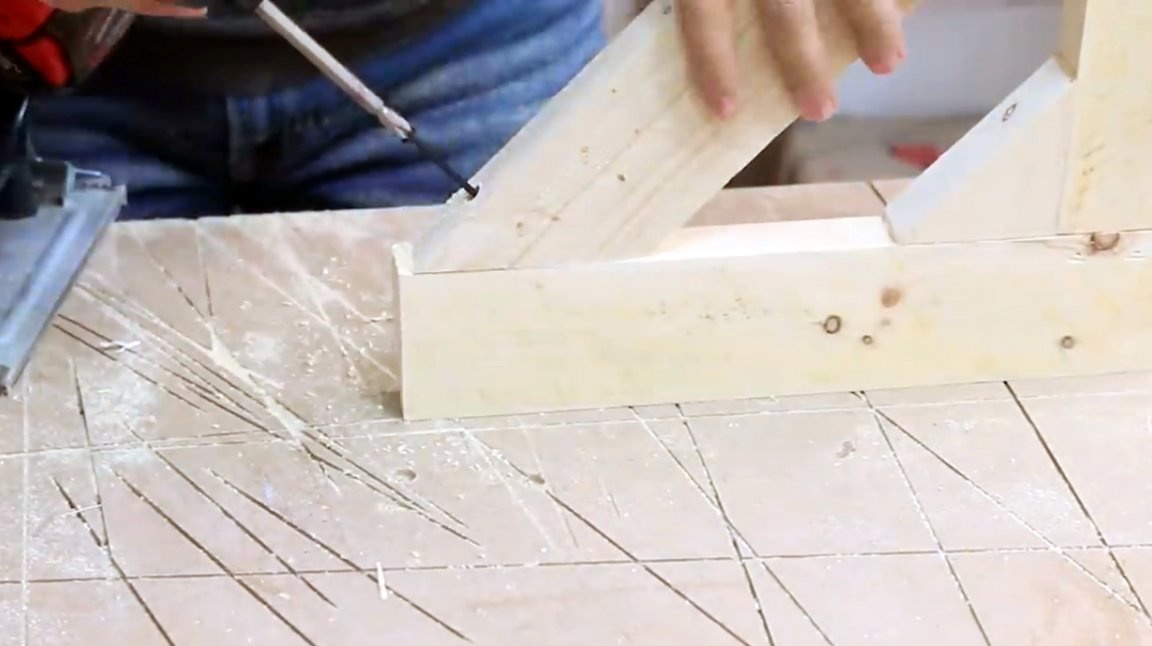
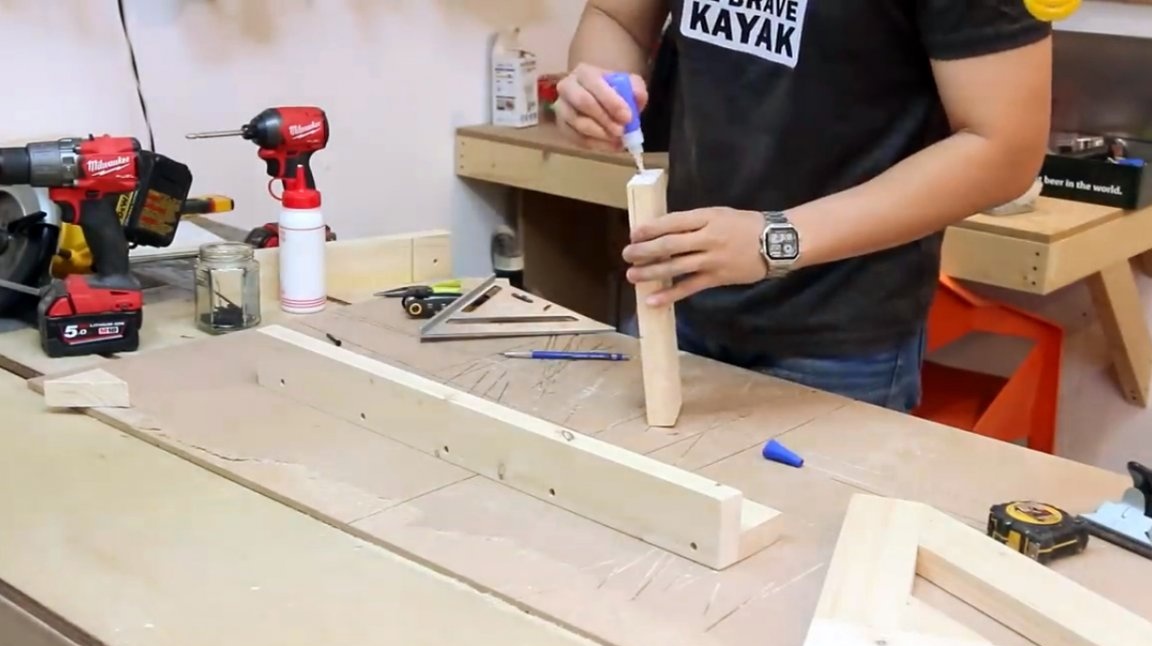
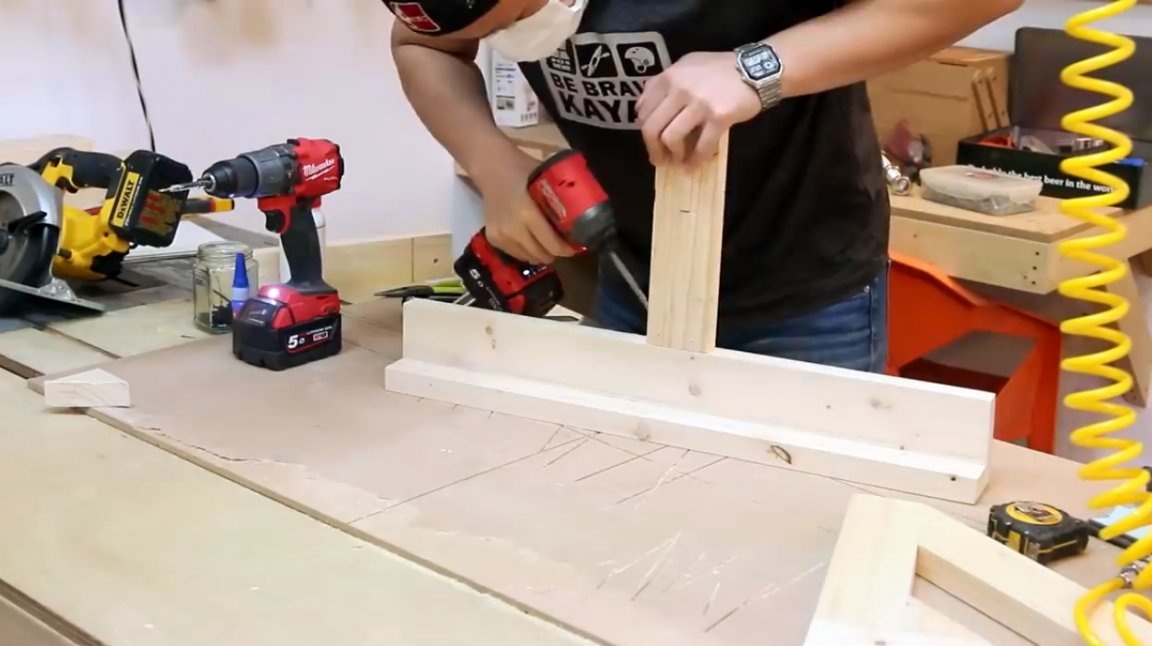
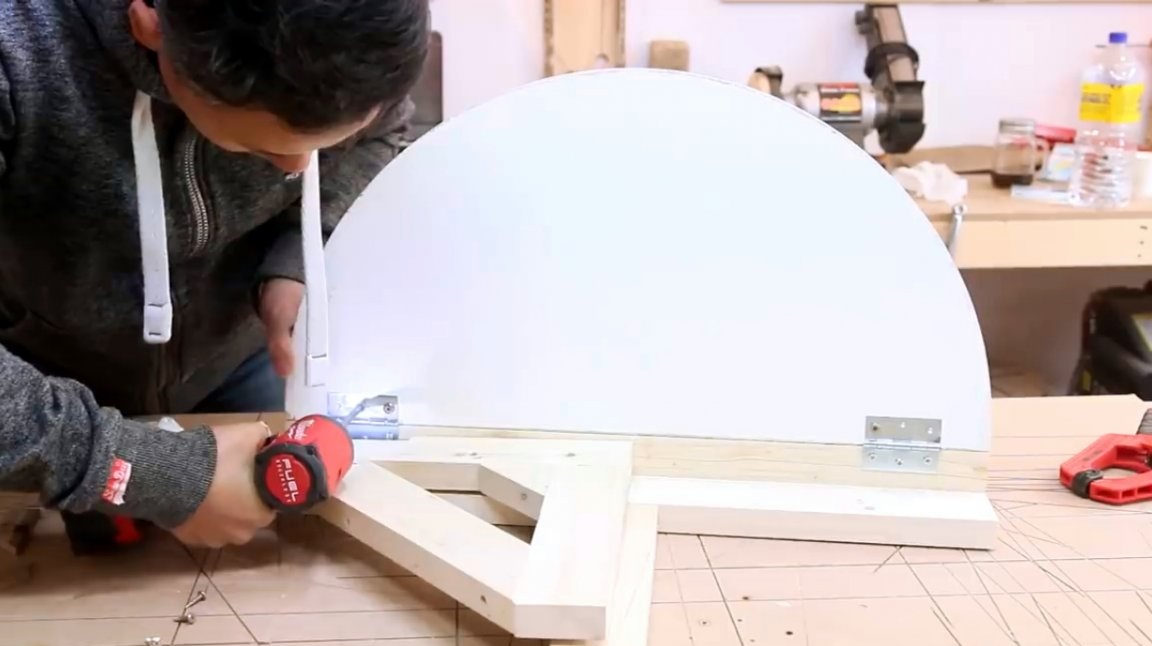
Another vertical part of the suspension is also glued and screwed to the upper bar.
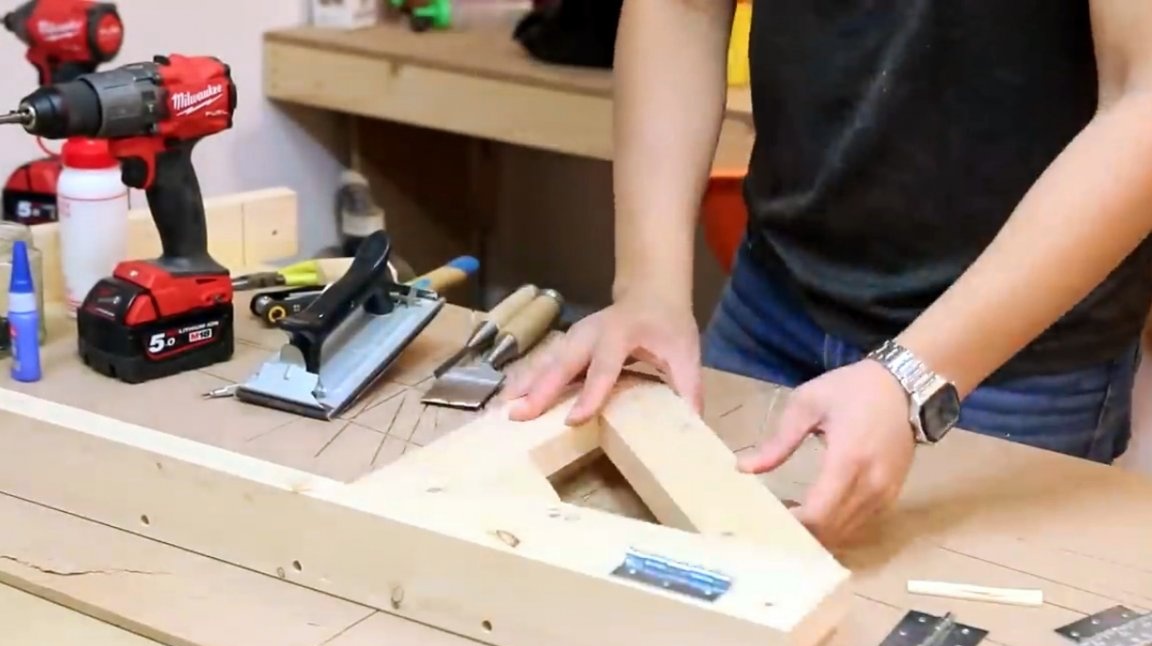
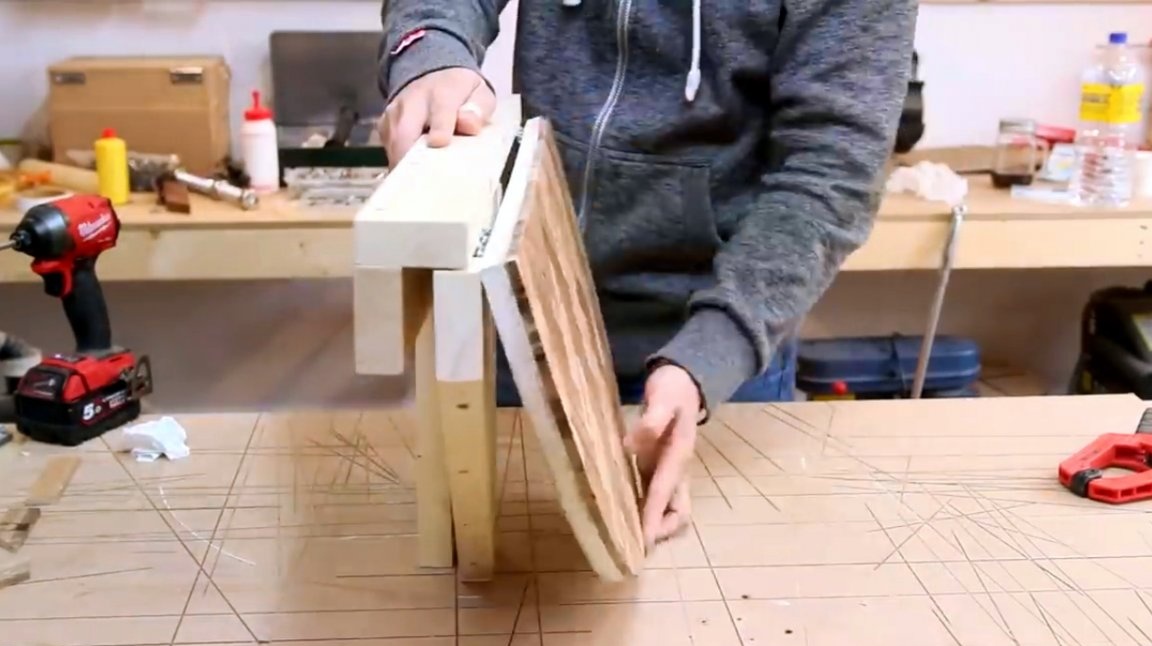
The author tries on loops to the support and the upper bar.
When closing the support, the upper hinges of the countertop will interfere with it, and a small cutout should be made in the upper part of the support.
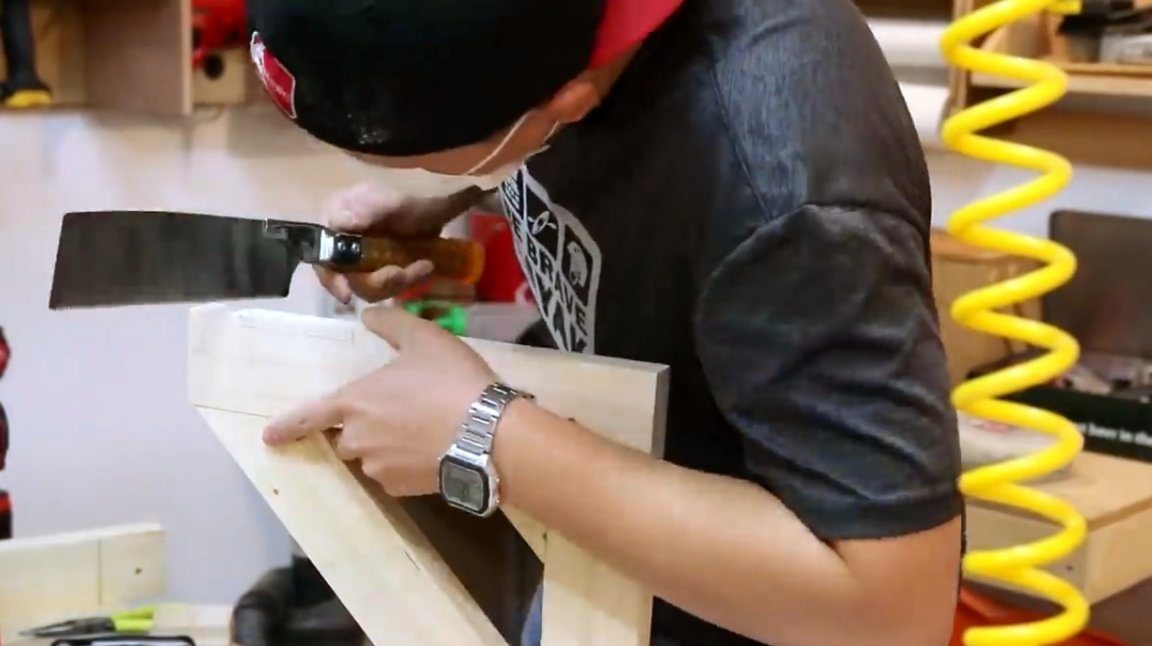
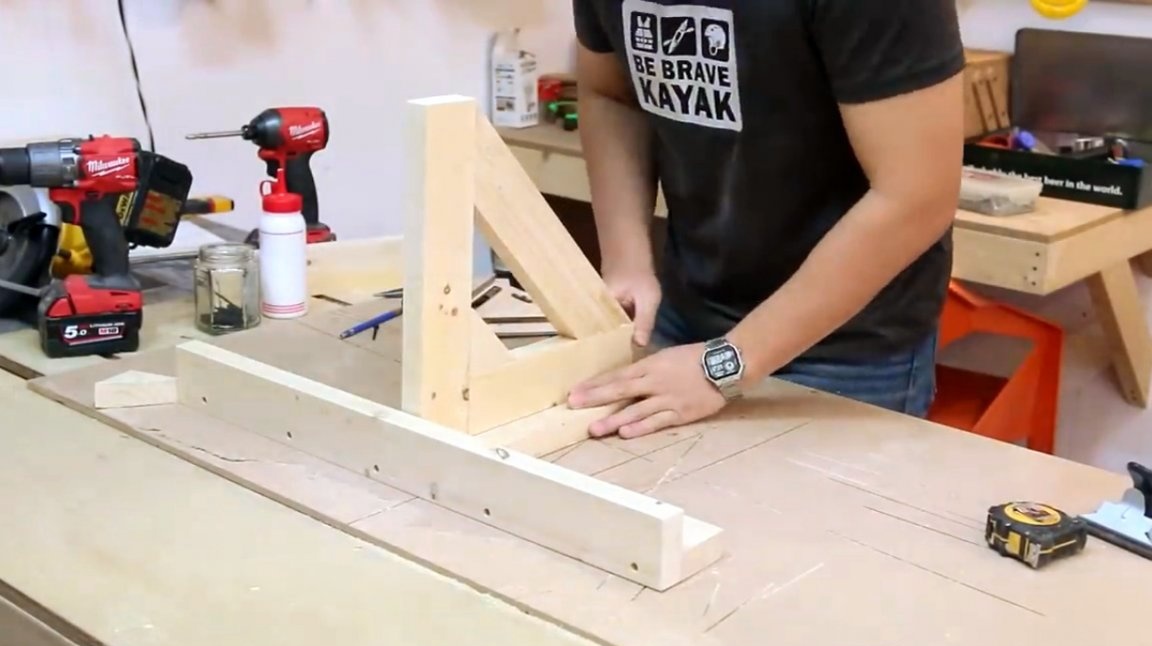
The edges of the groove are sanded with sandpaper.
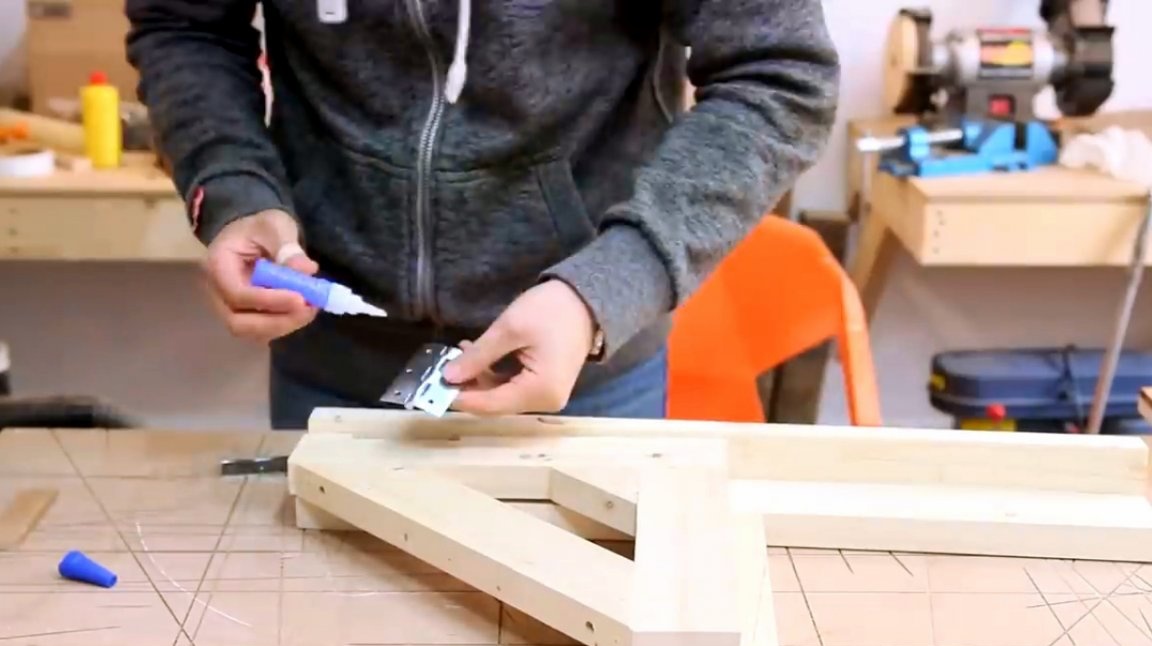
The hinges are glued to the support, and screwed with screws.

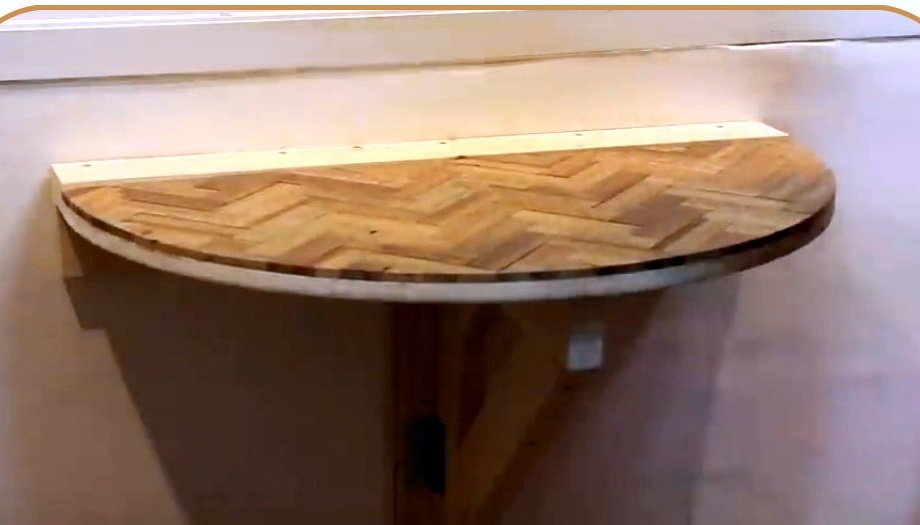
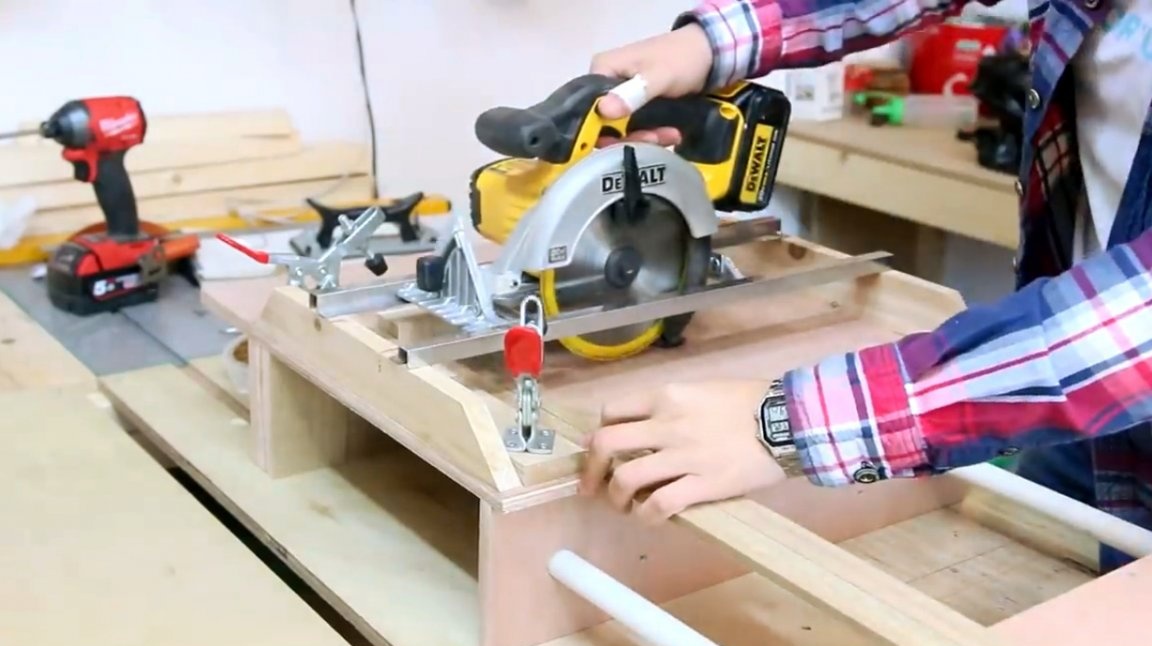
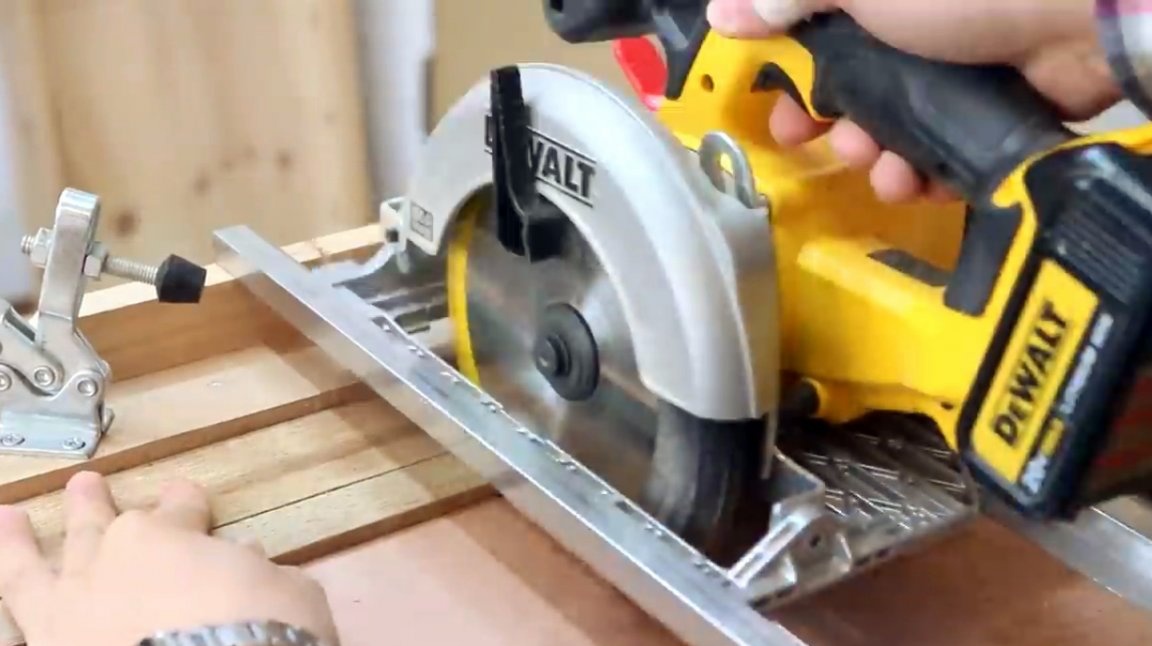
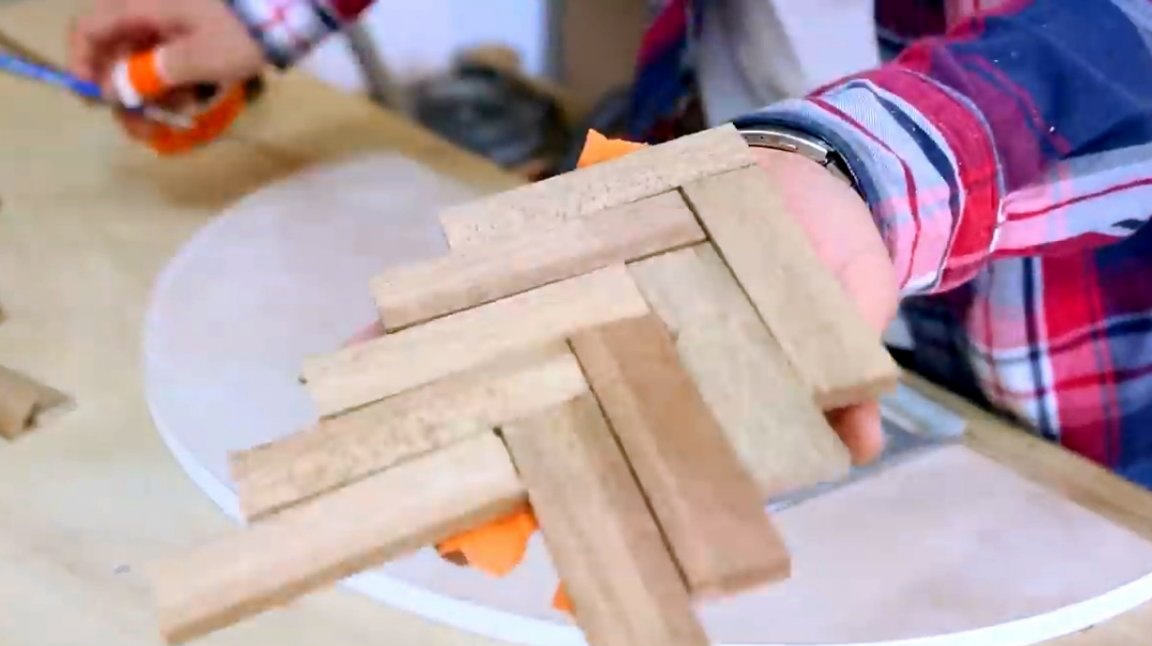
The next step is the master needs to make the top cover of the countertop. He decided to make it from planks of lauana. And since they need to be cut exactly to the size, he glues a small emphasis to the sawing table.
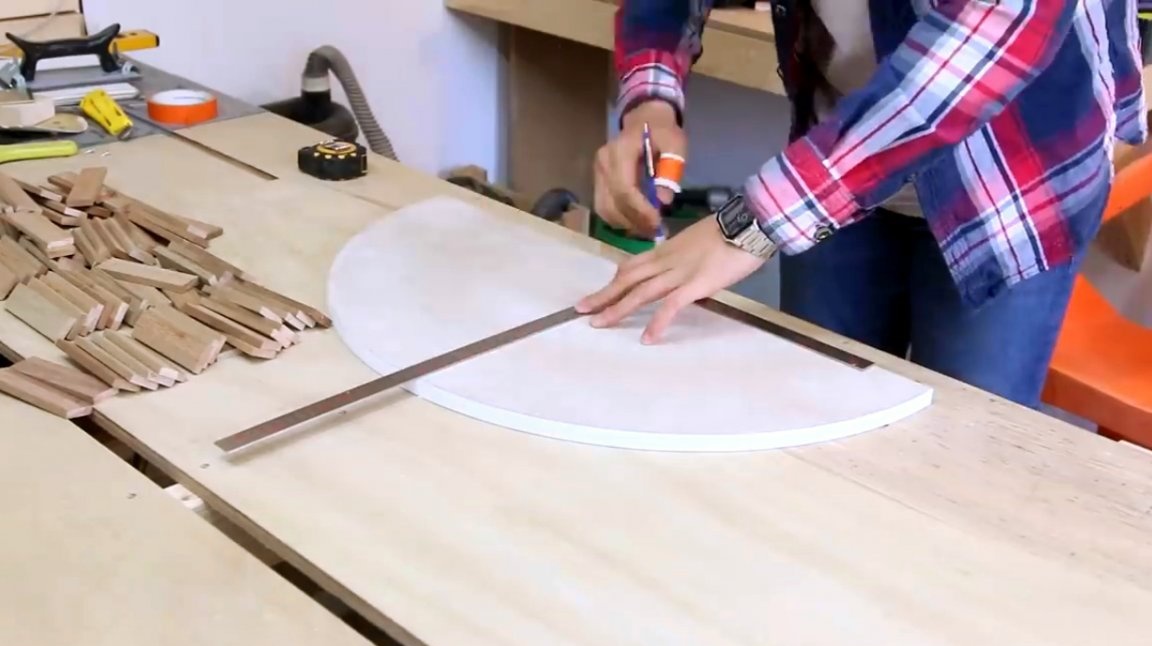
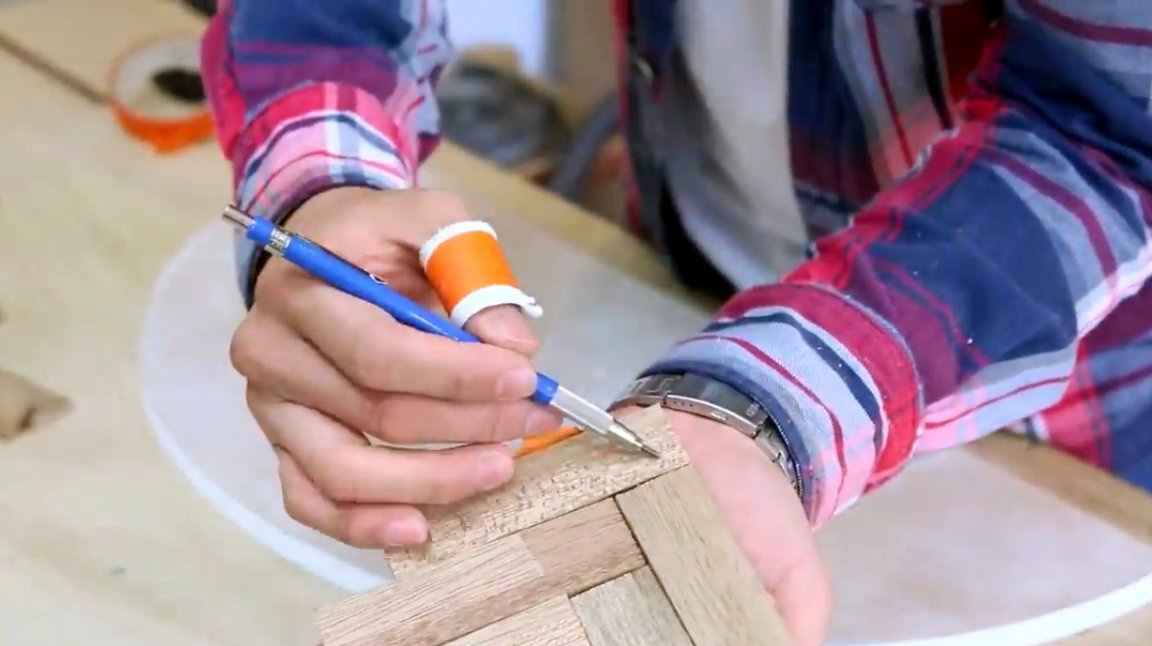
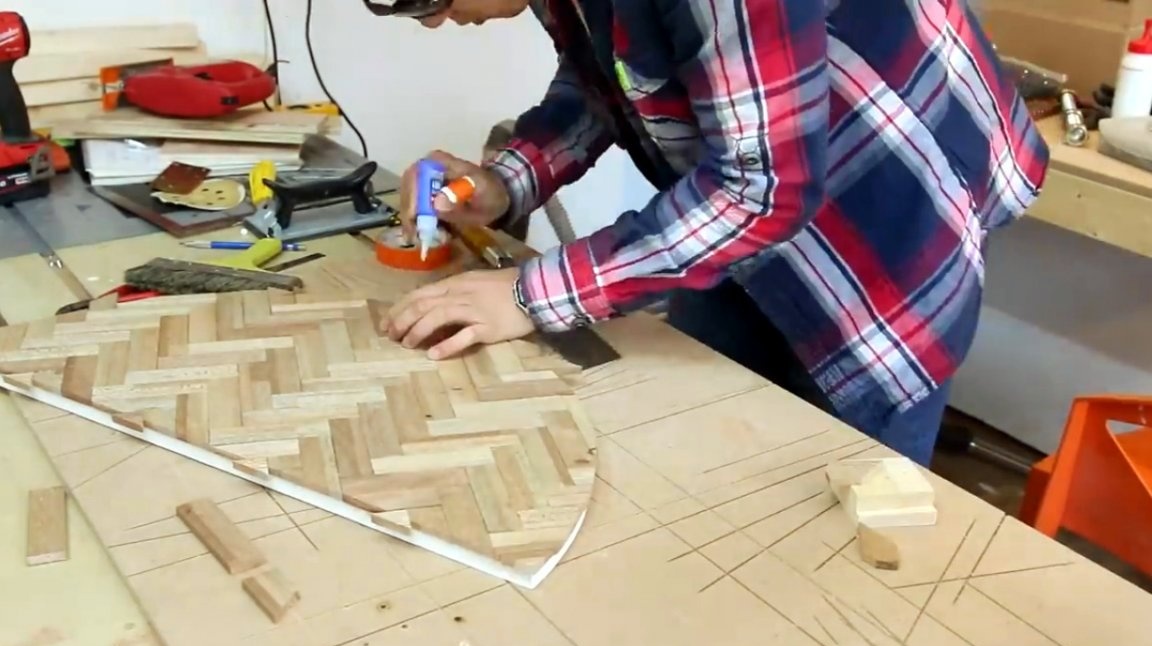
So, all the planks are cut, the author finds the center line of the countertop. It is being guided by it that it is necessary and will add the Christmas tree pattern of planks.

On the edge of thin plastic sheet, he cuts out small cloves.
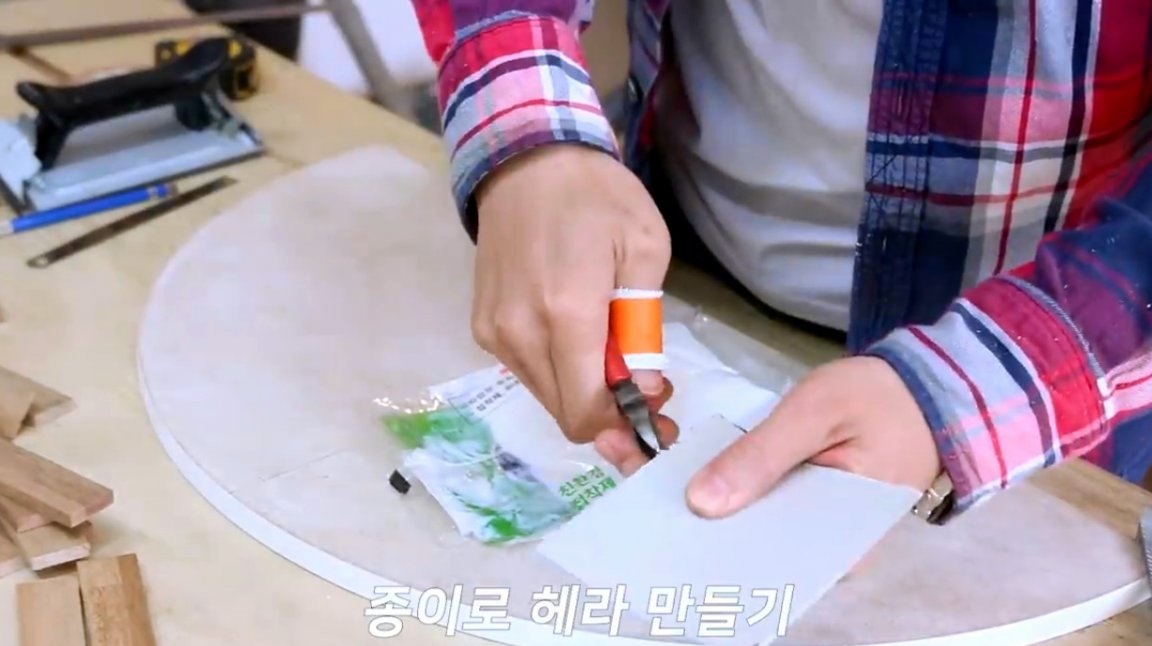

The resulting comb is very convenient to level the glue on the surface.
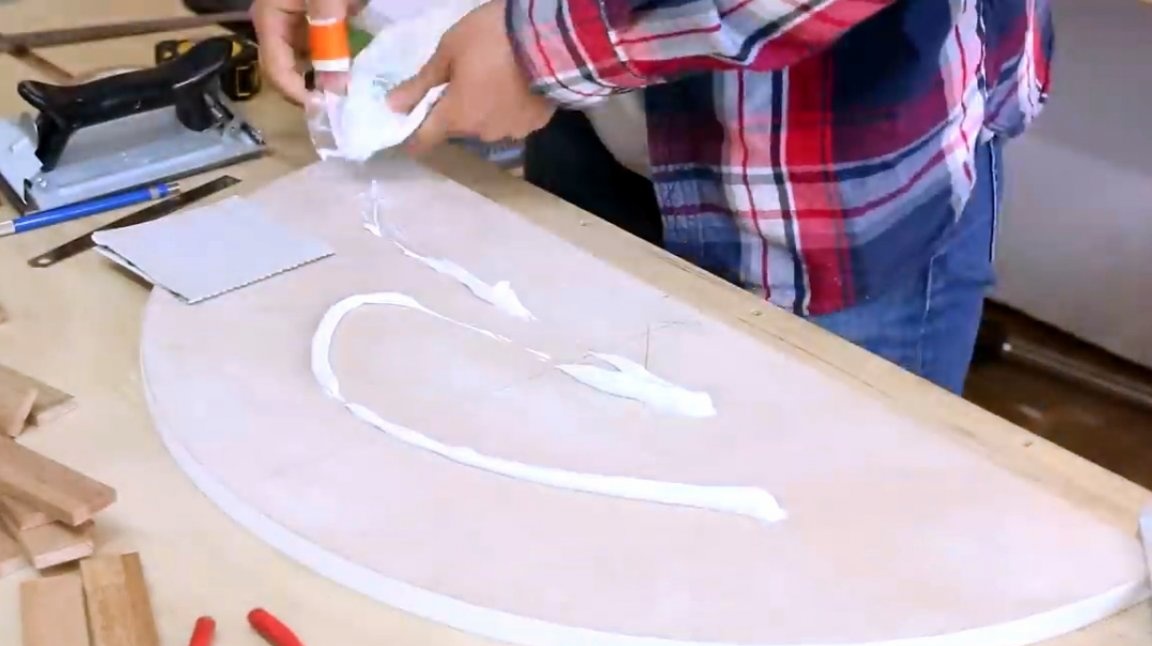
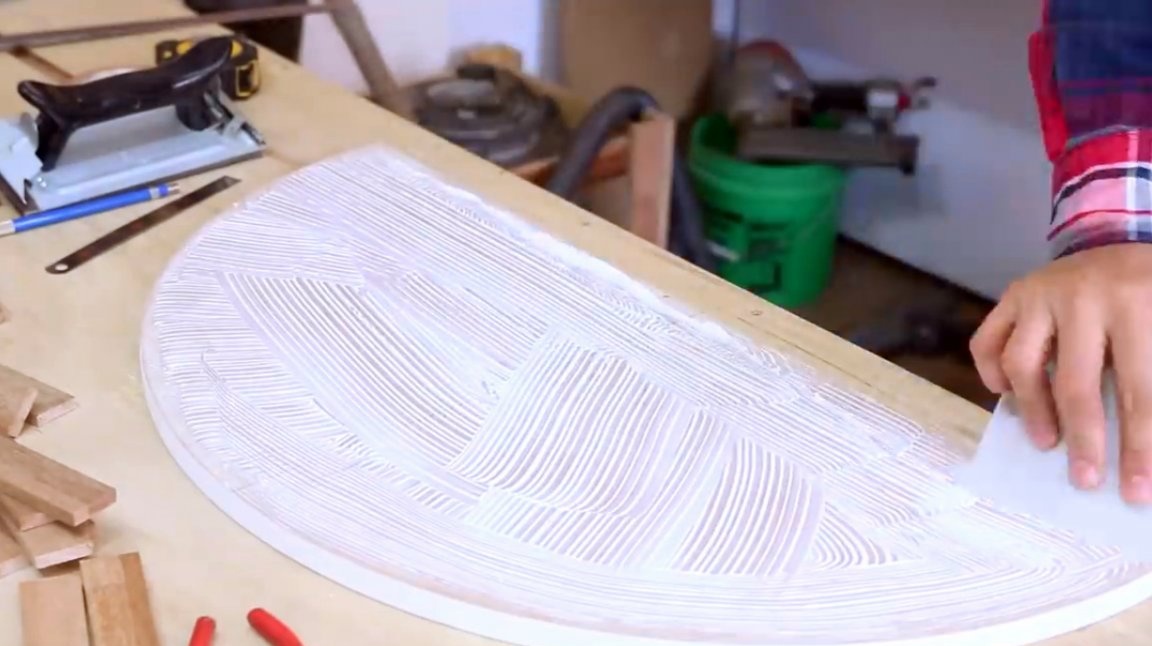
After giving the glue a little dry, the central part of the planks is laid out.
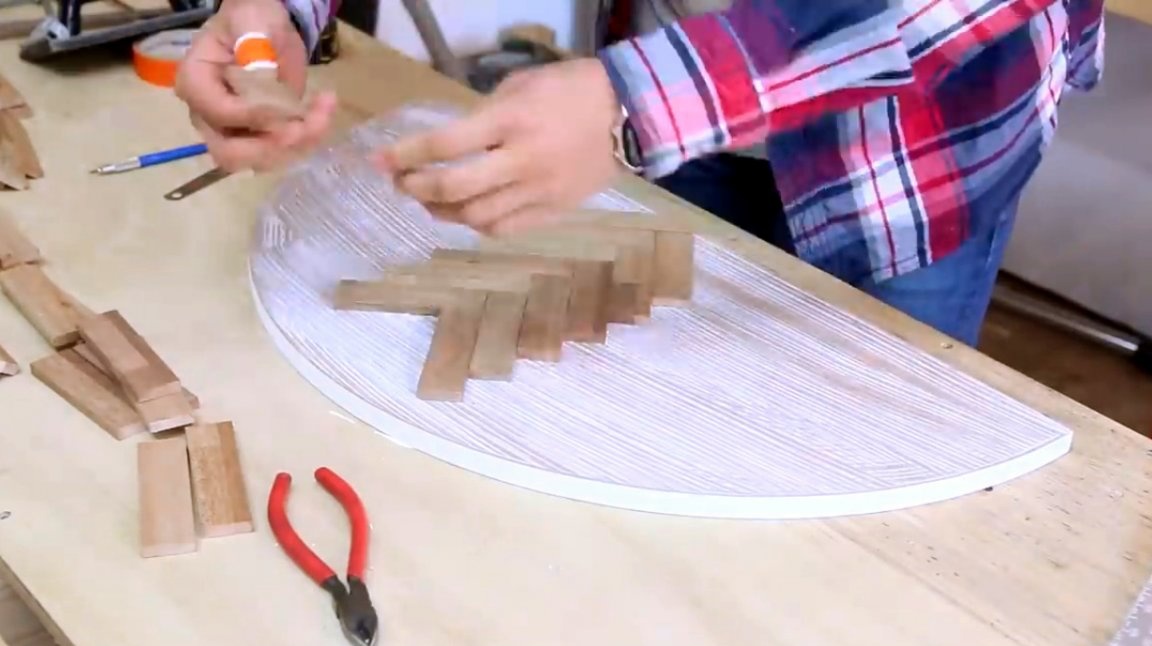
Then the rest of the pattern is folded, the extreme strips are glued to the second glue.
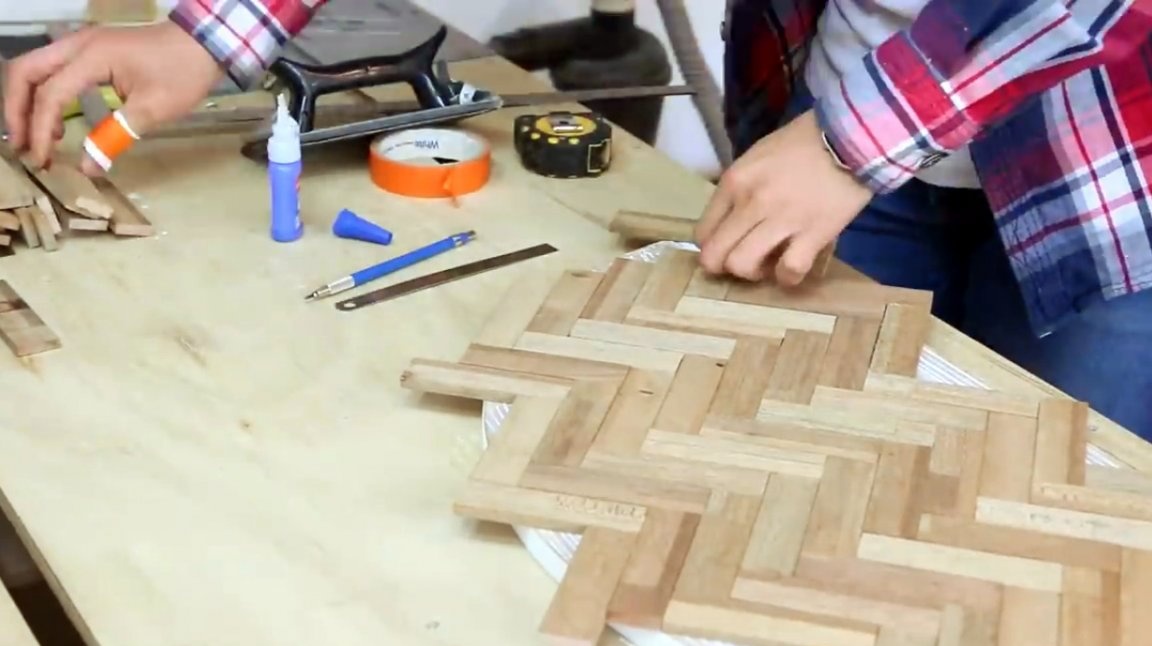
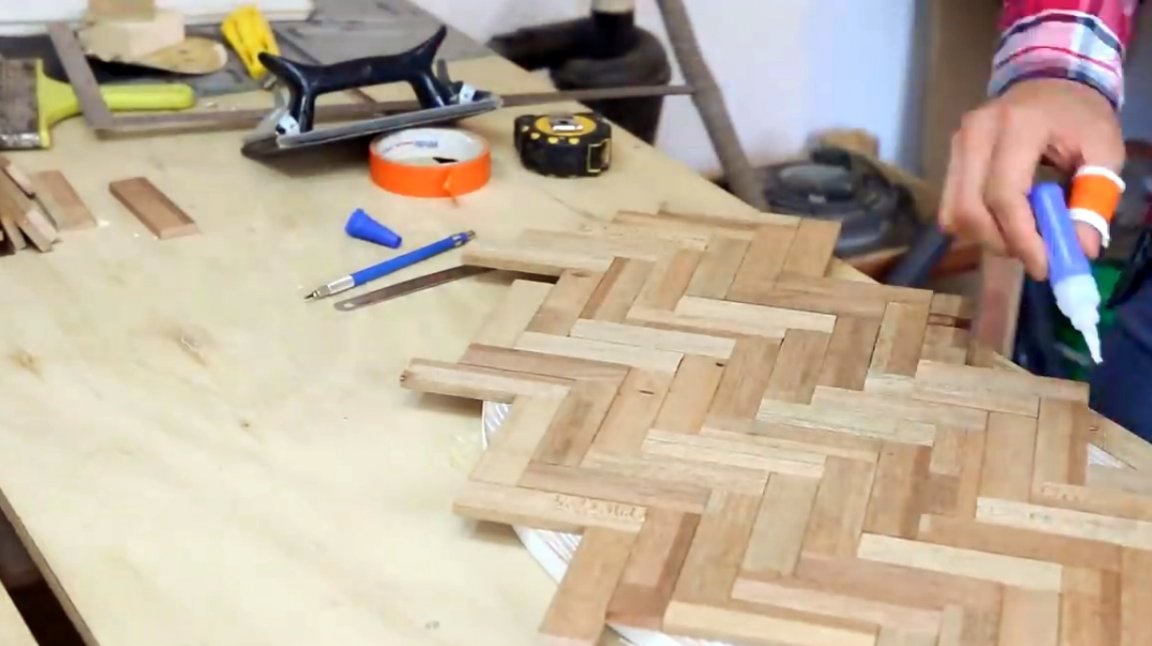
The table top is turned over and pressed against the workbench with a load.

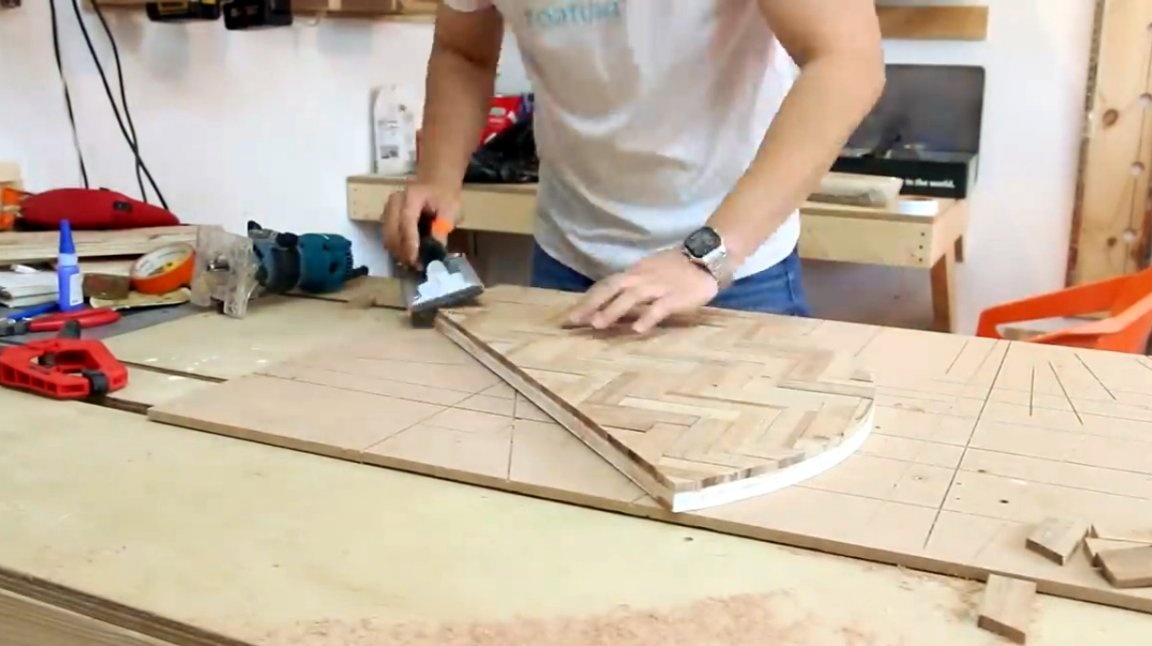
After the glue dries, the protruding edges of the planks are cut off.
It is these scraps that fill the remaining voids.
The outer edge is machined with a thrust bearing mill.
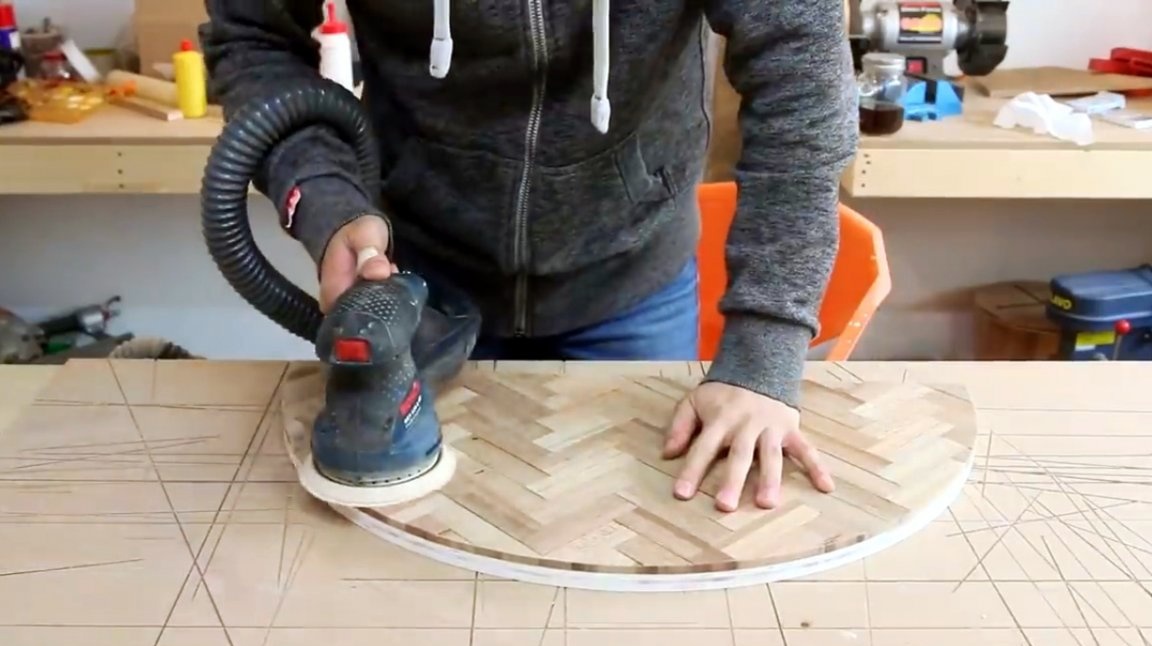
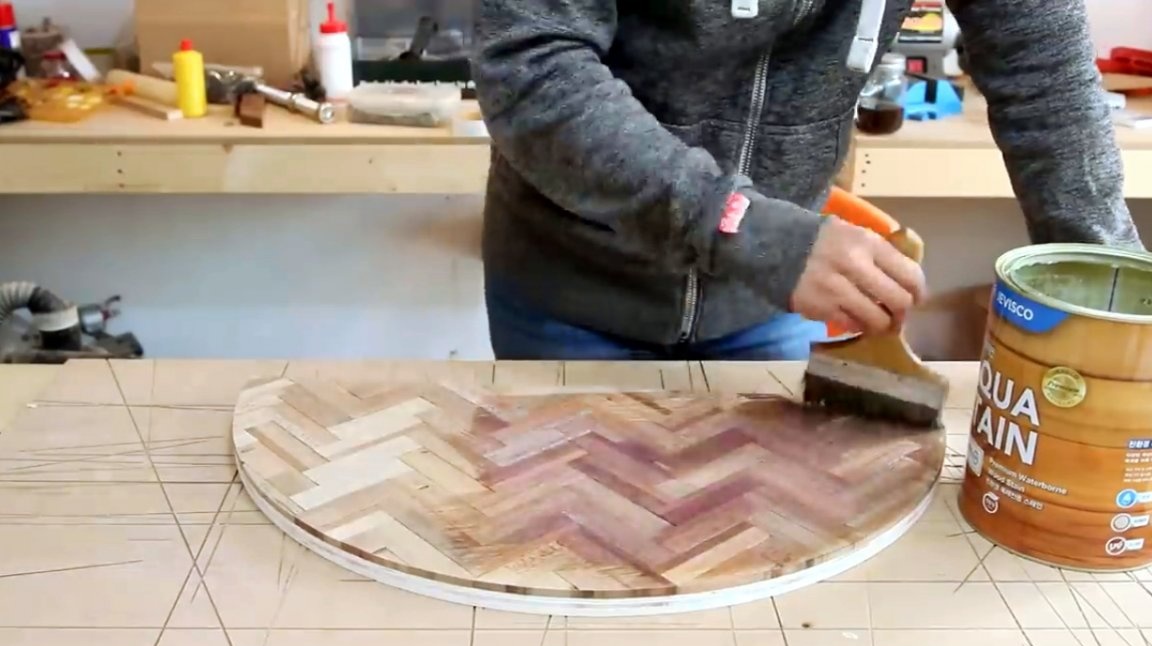
The ends of the product are polished by hand, and the surface - using an orbital machine.
As a topcoat, the author applies a couple of layers of water-based acrylic varnish. Although, if you use its surface for direct contact with food, it is highly advisable to soak its surface not with varnish, but with linseed oil, or wax. Also in recent article the master shared a simple recipe for making such an impregnation from rosehip oil and natural beeswax.
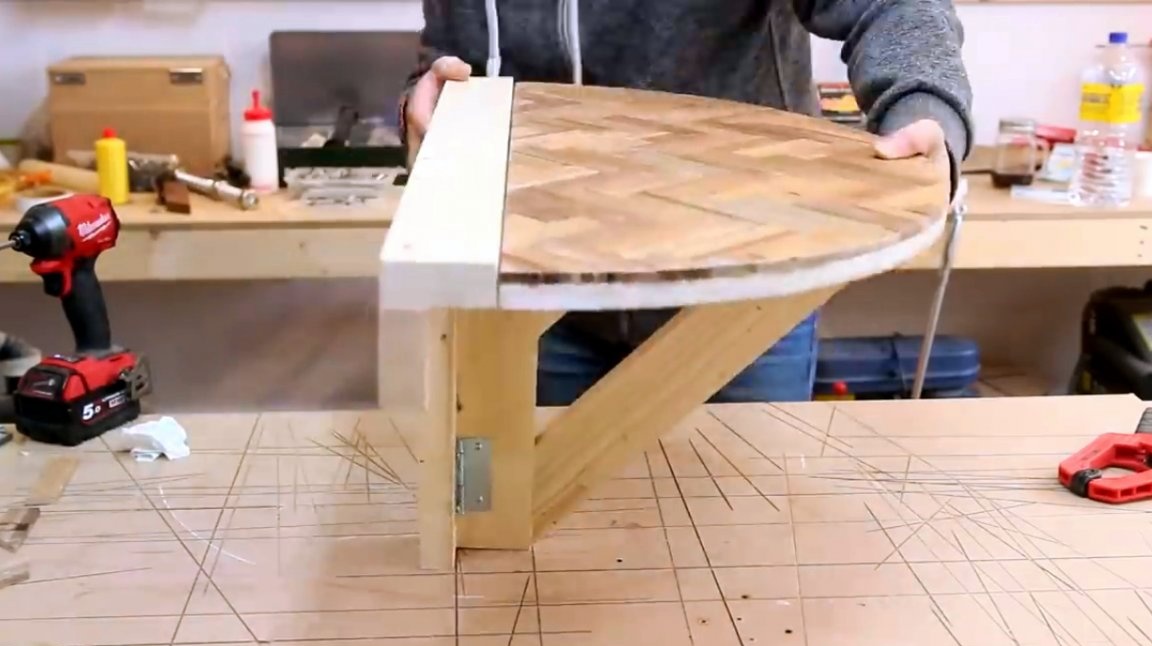
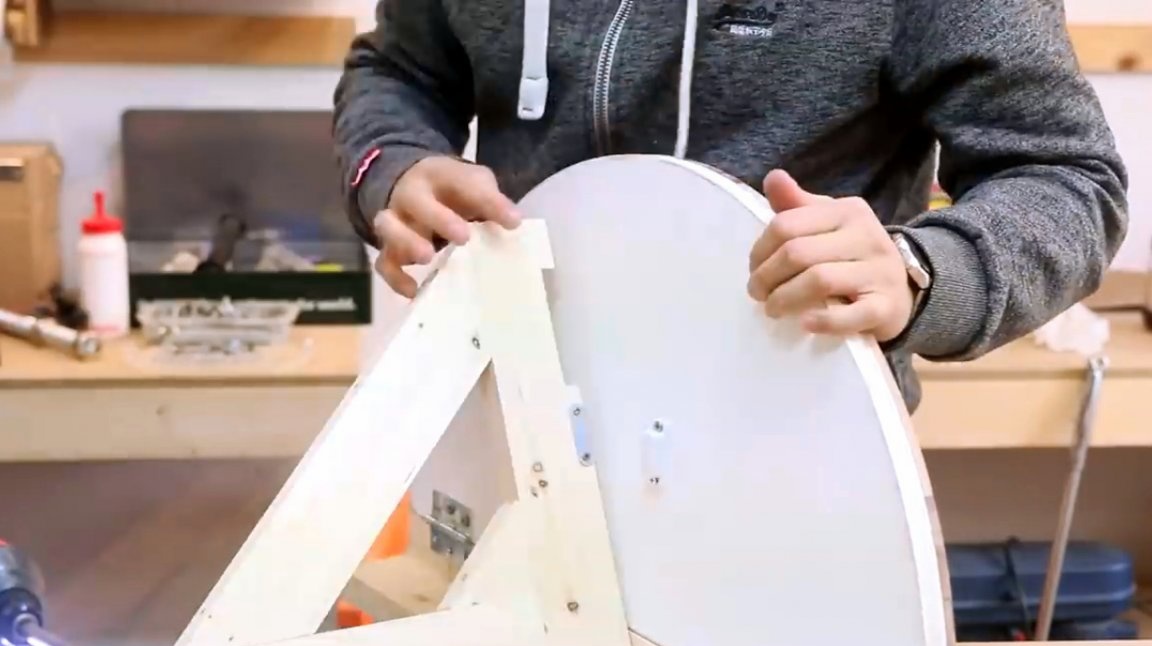
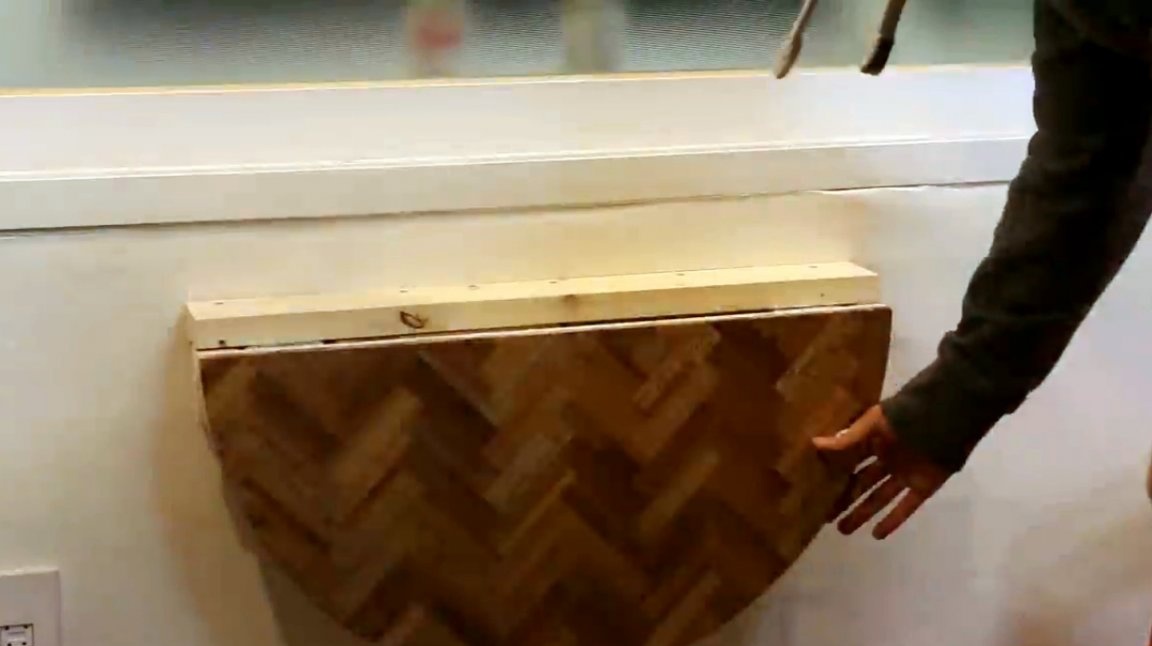
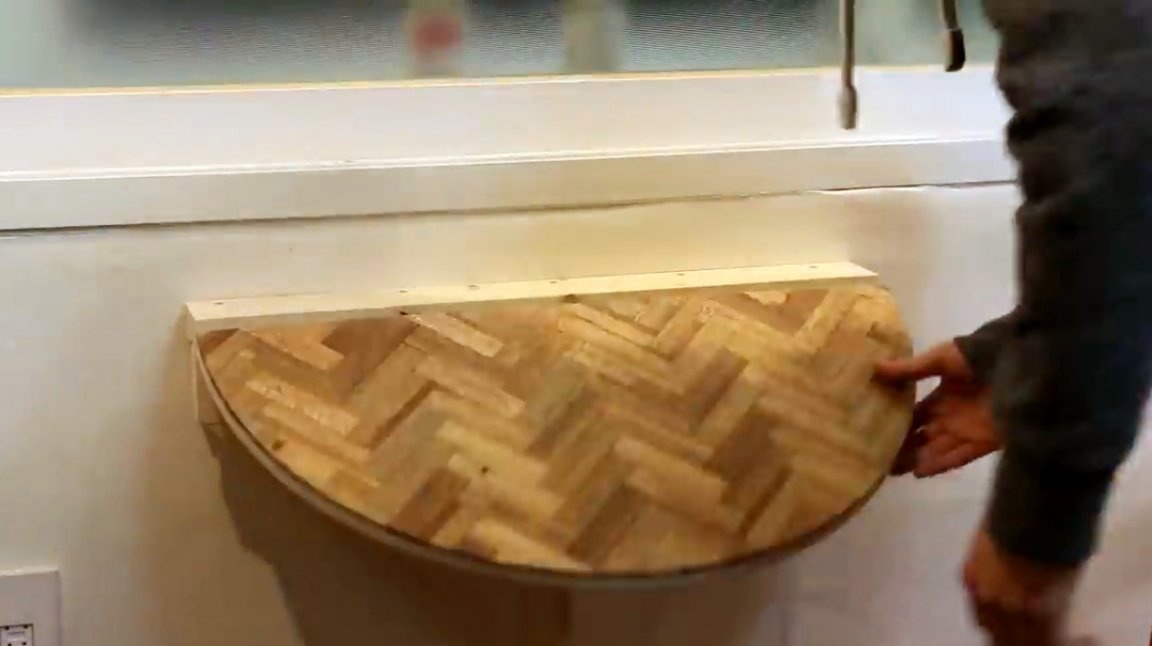
All sizes fit perfectly, you can stick and fasten the hinges to the upper bar and the bottom of the countertop.
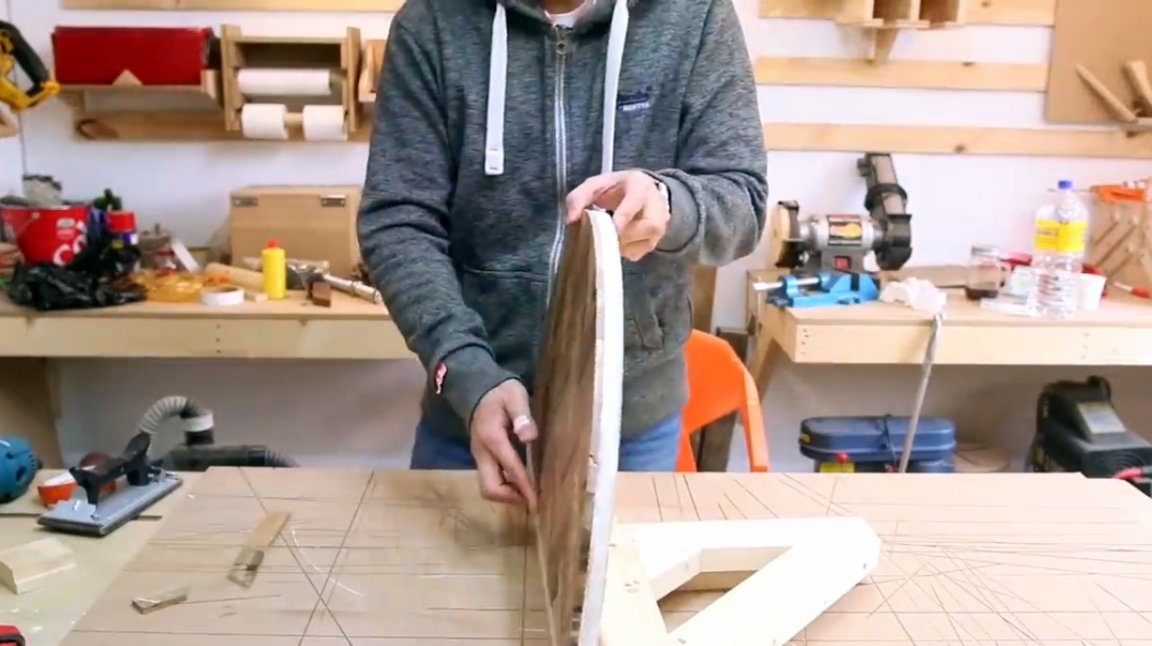
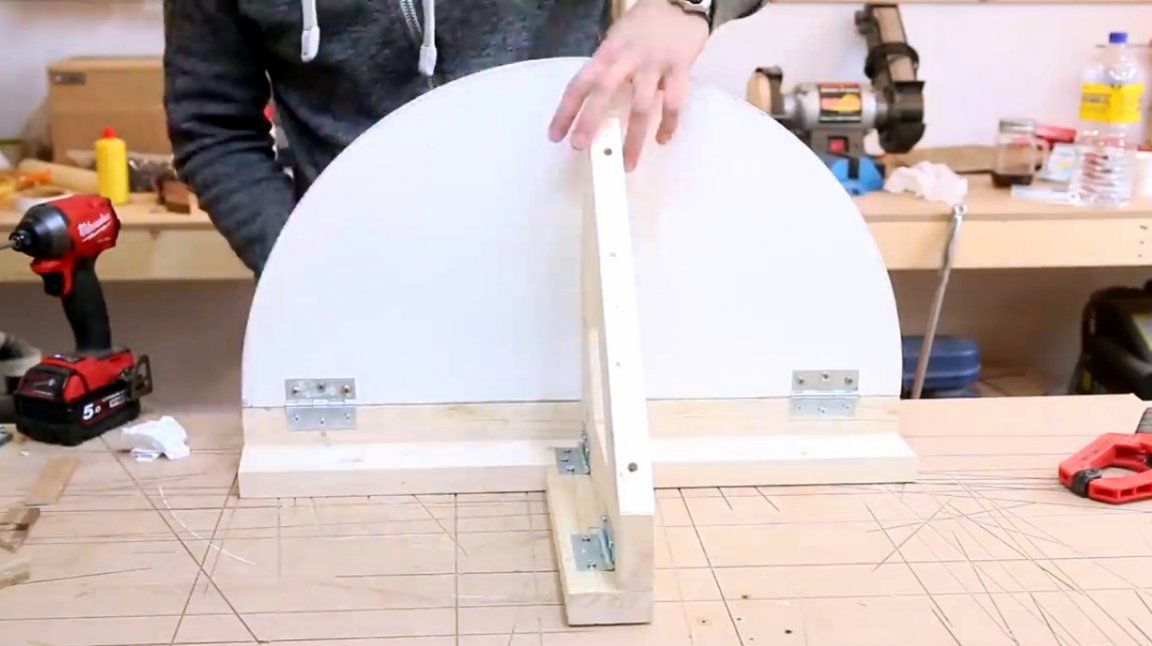
So, the whole mechanism works great.
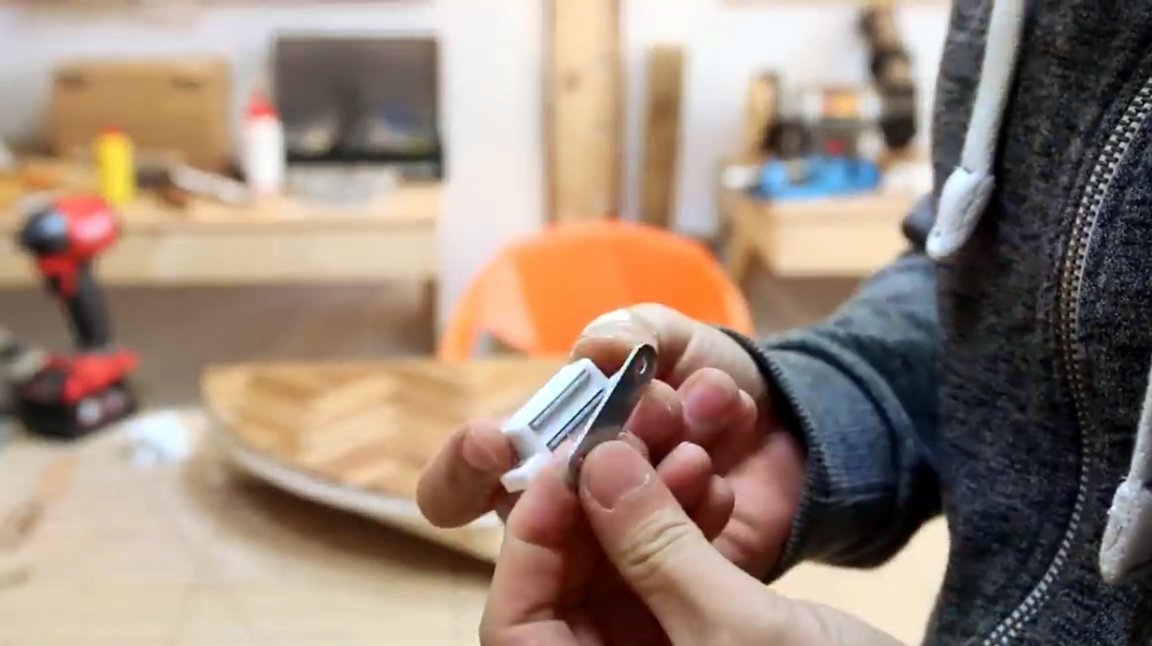
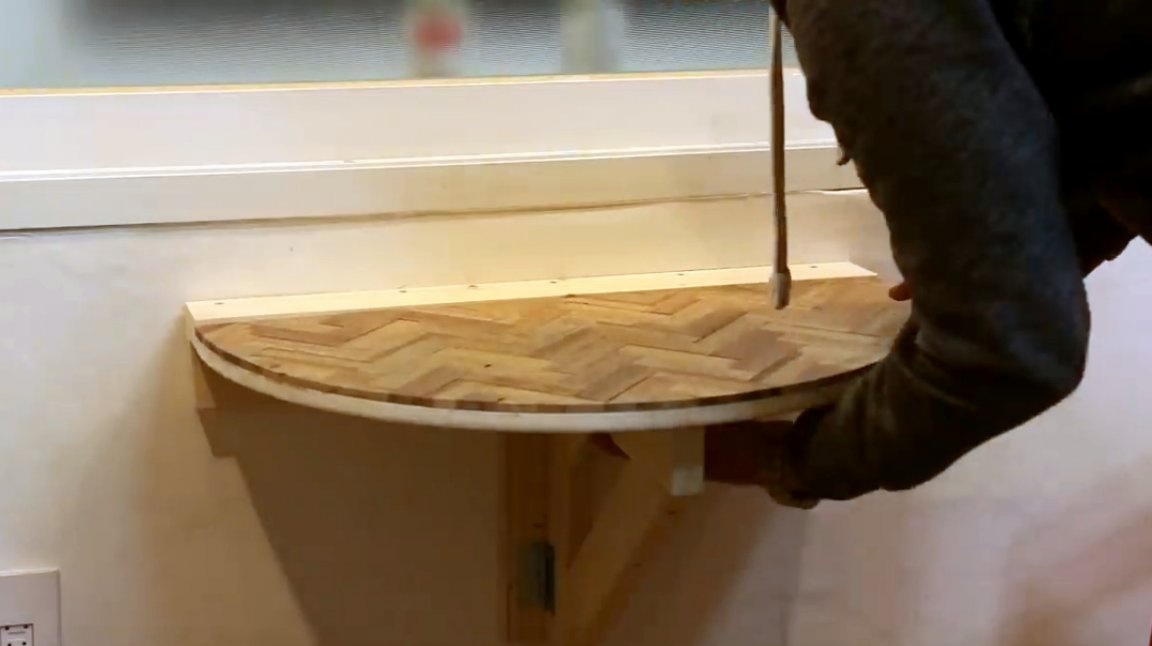
To fix the support in a central position, the author decided to attach such a magnetic latch to it.

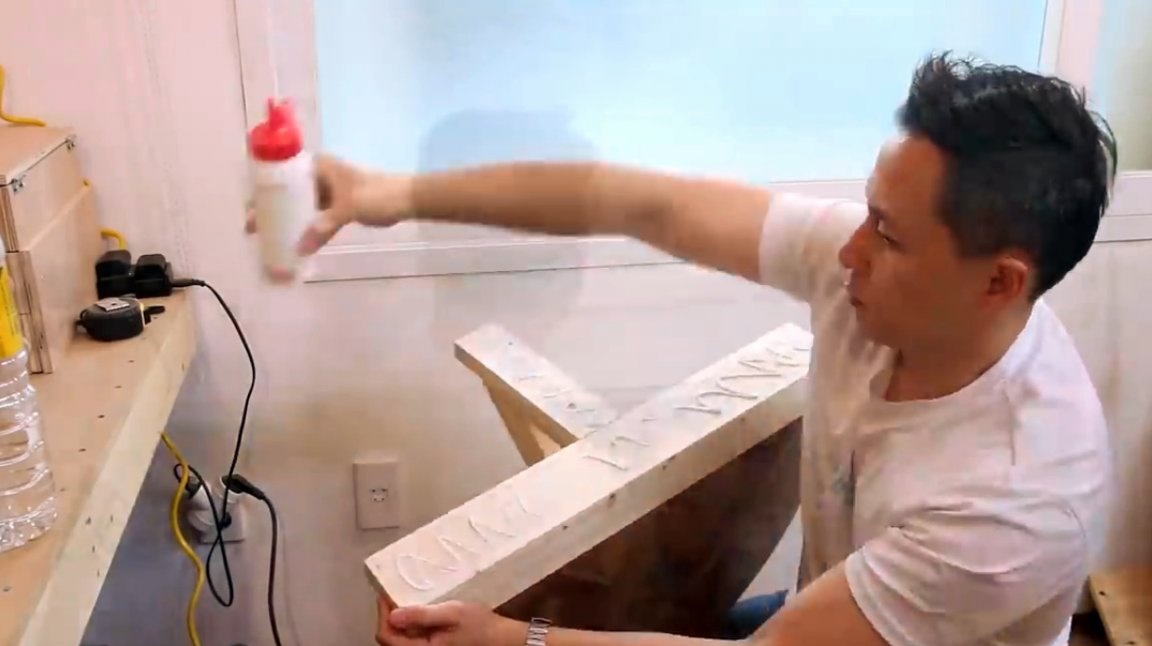
A layer of glue is applied to the frame, and the structure is attached to the wall with a neiler. Later, the author will strengthen the anchoring.
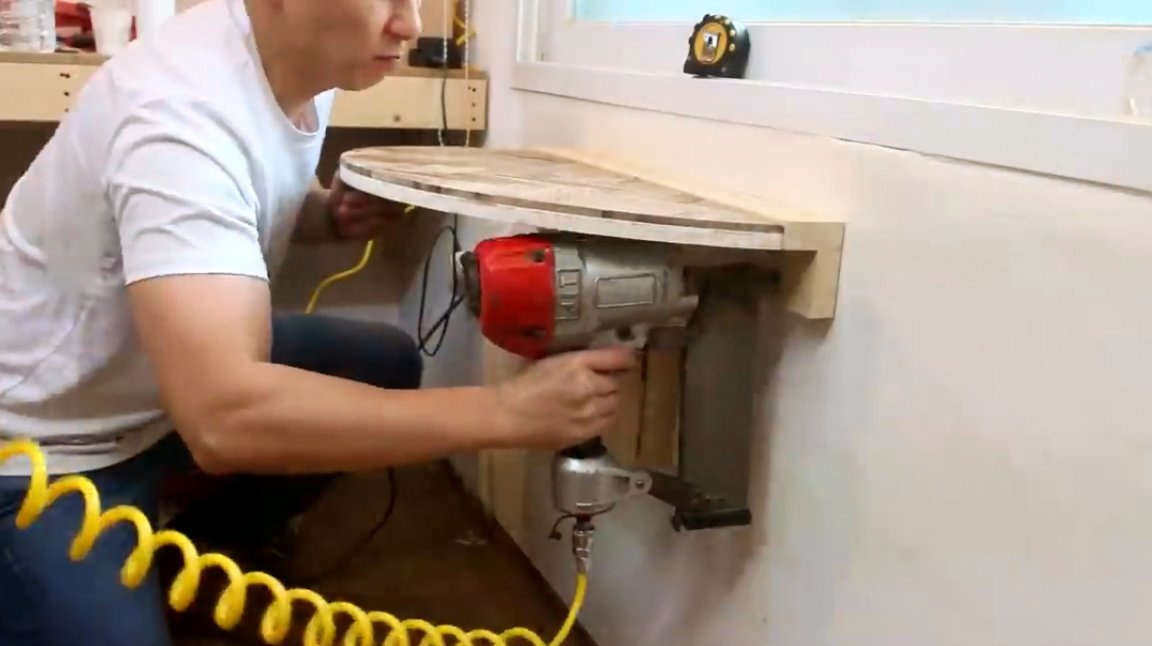
That's all, the table is ready, and set. The design is very simple and compact. And its dimensions can be selected individually. In addition, thanks to the wall mount, he has no legs, and this will facilitate cleaning.

I thank the author for the simple but very original idea of the design of a small folding table!
All good mood, good luck, and interesting ideas!
Author video can be found here.