
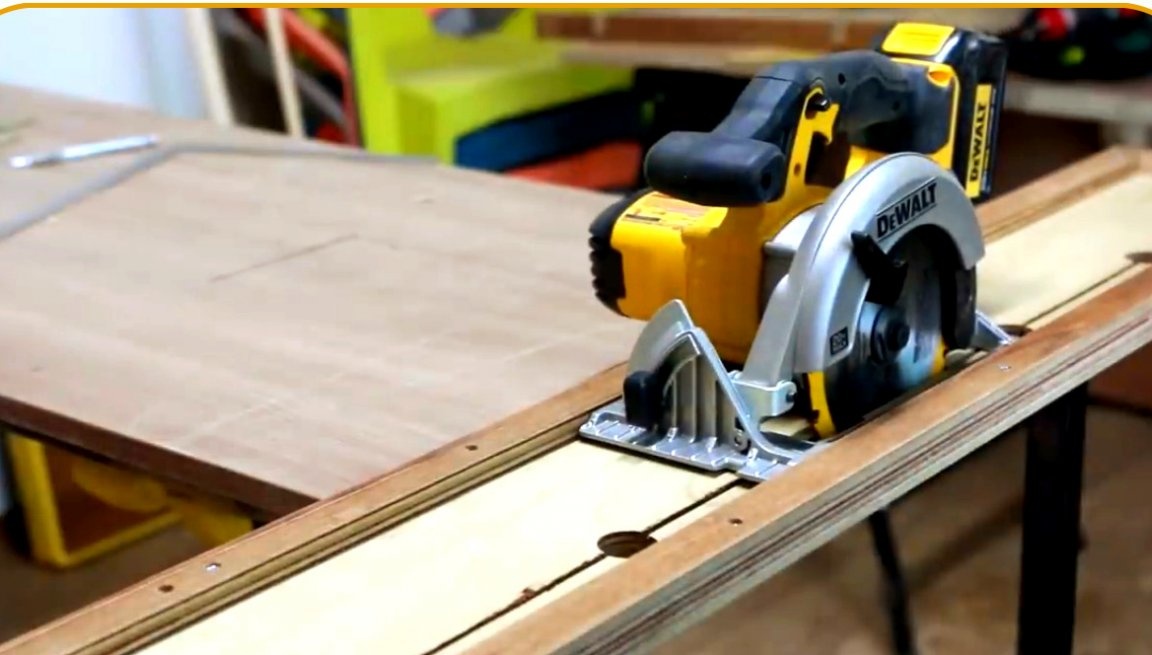
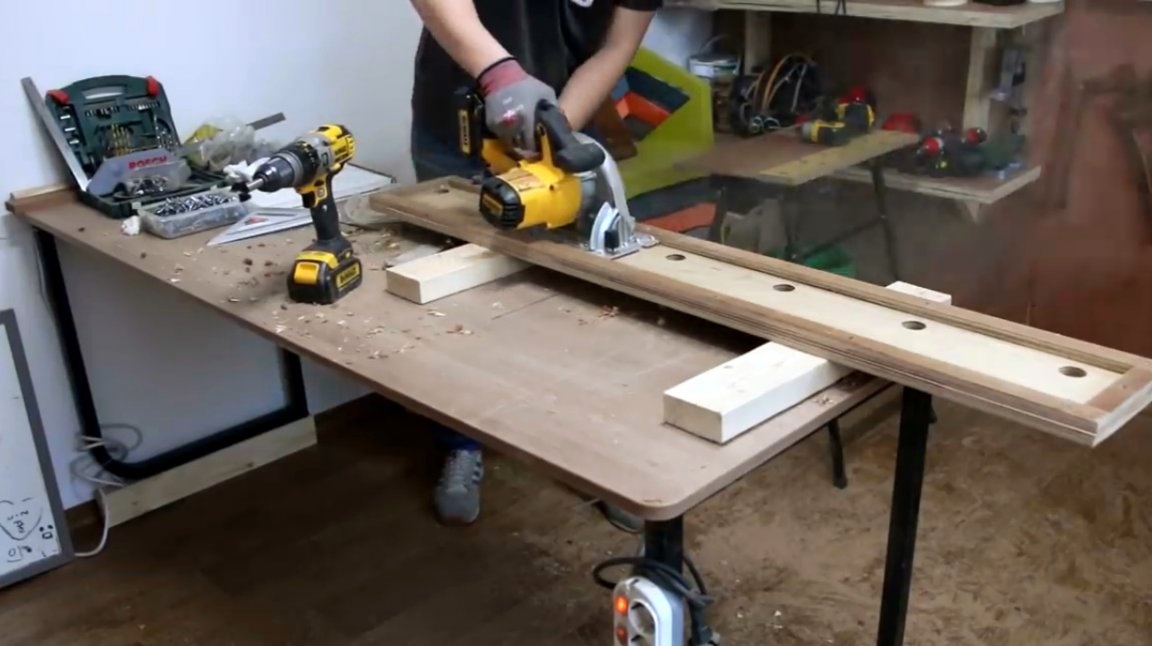
Many of you have to use a hand-held circular saw, and different stops or fixtures.
In this article, the author of the 김팀장 크래프트 Dekay’s Crafts YouTube channel will tell you how he made a simple but highly accurate guide for cutting long parts.
Materials
- sheet plywood
- PVA glue
- Wood screws
- Sandpaper.
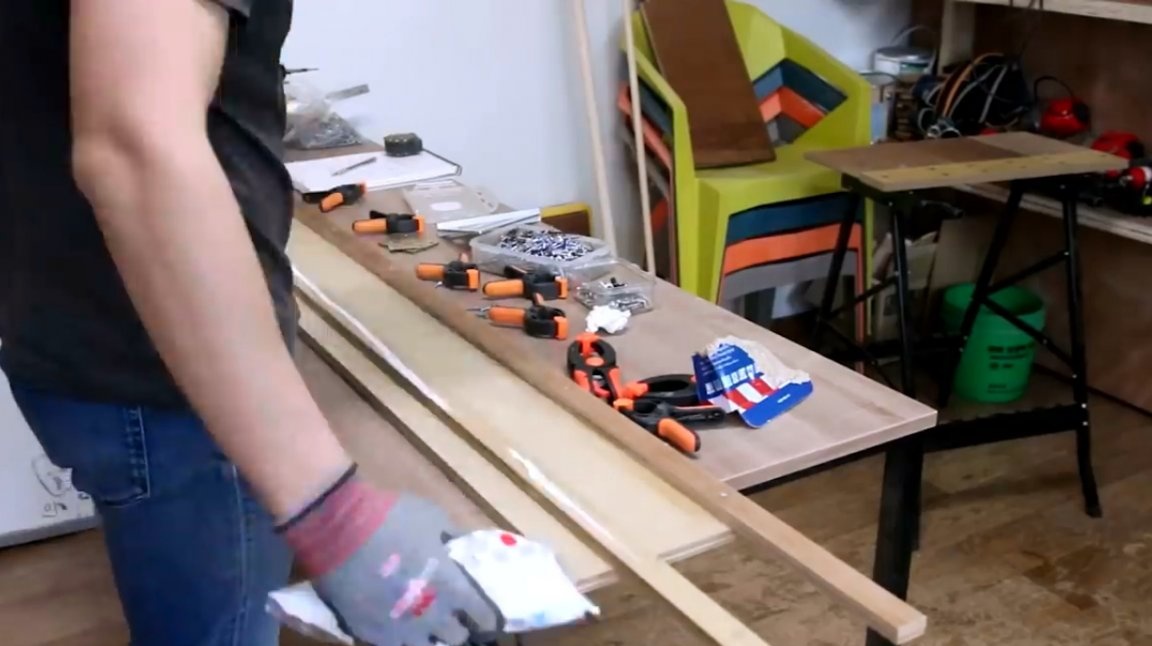
Instruments, used by the author.
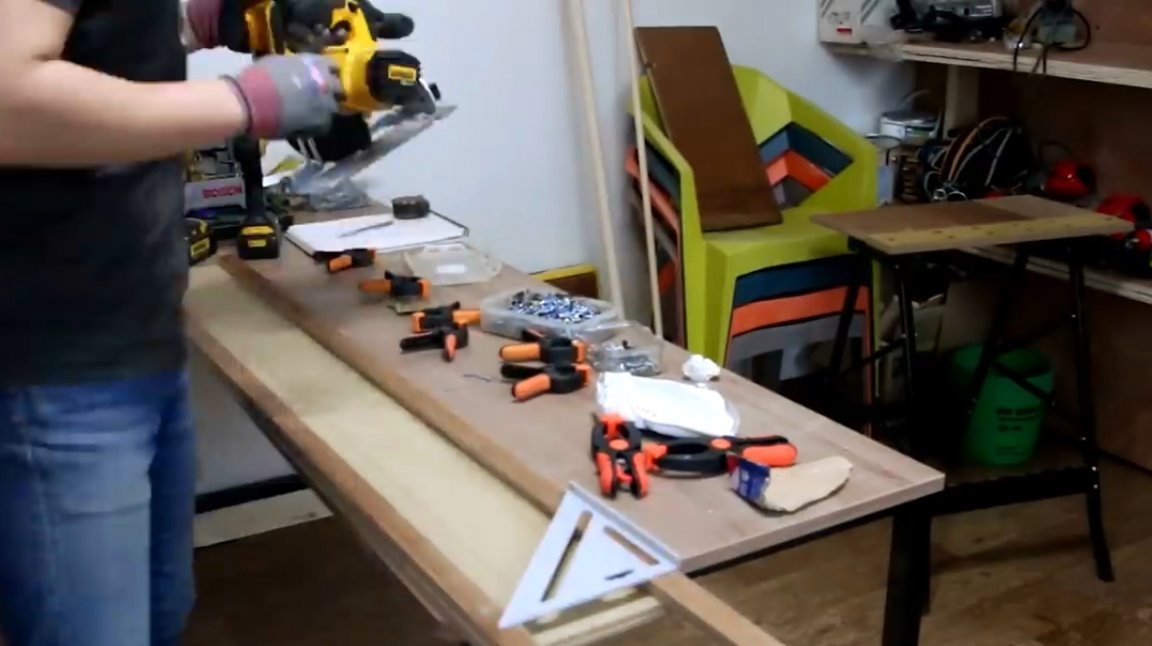
- Hand circular saw
— Orbital sander
— Clamps
— Japanese saw
— Screwdriver
— Forstner Drills
- Square, tape measure, pencil.
Manufacturing process.
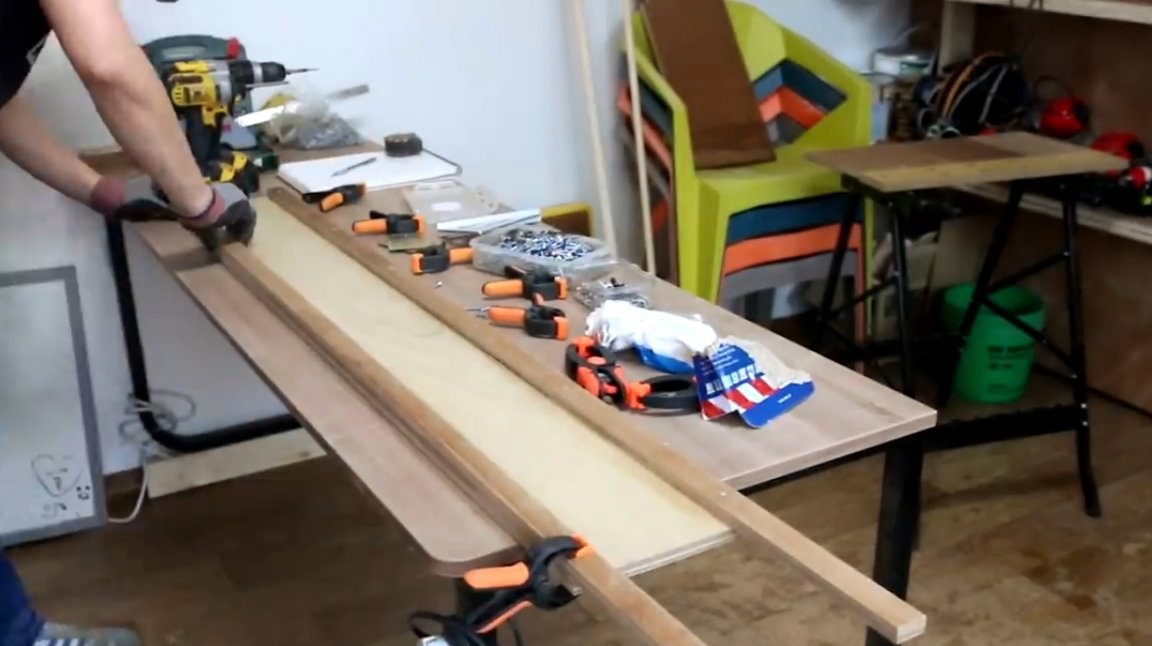
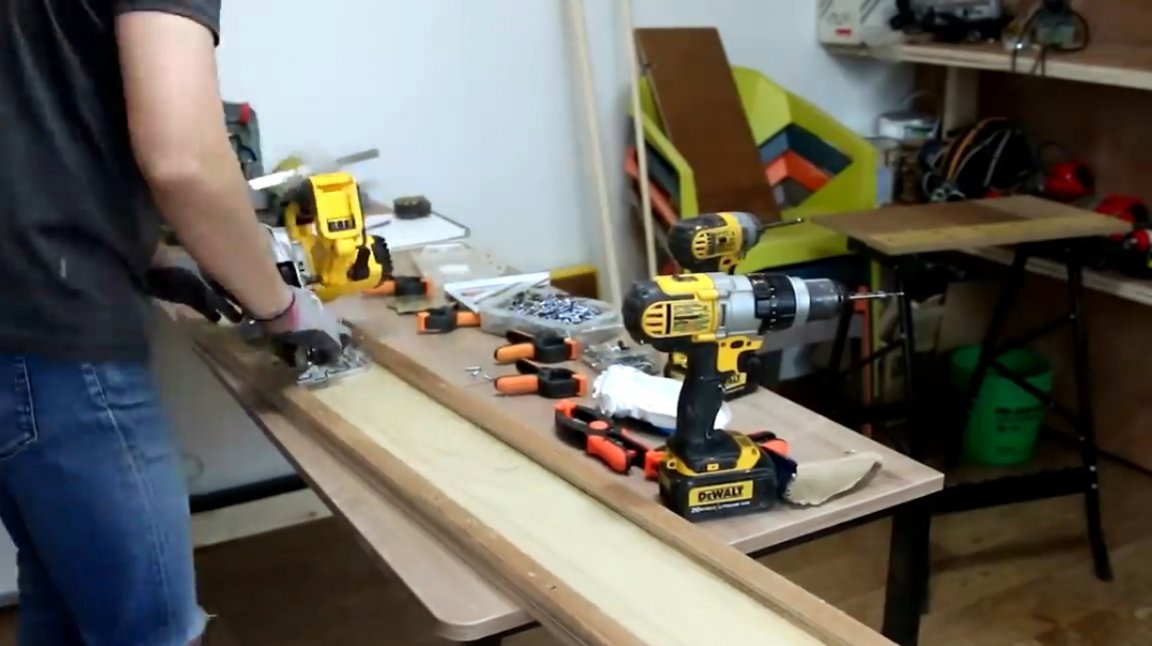
Previously, he used a sheet of plywood with an emphasis for this, but he was not satisfied with the moment that the edge of the sole of the saw hangs in the air.
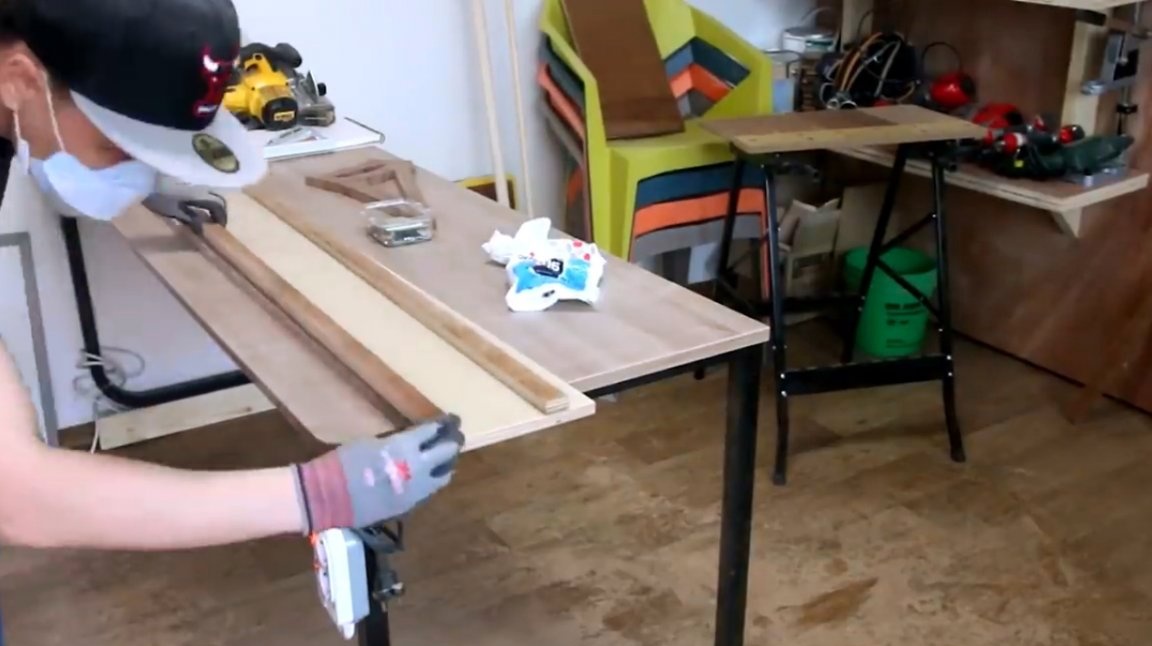
He measures the width of the sole, and proceeds to cutting blanks. The first step is to make two long slats 25 mm wide from plywood.
A wide part is required for the base, 50 mm wider than the sole of the saw.

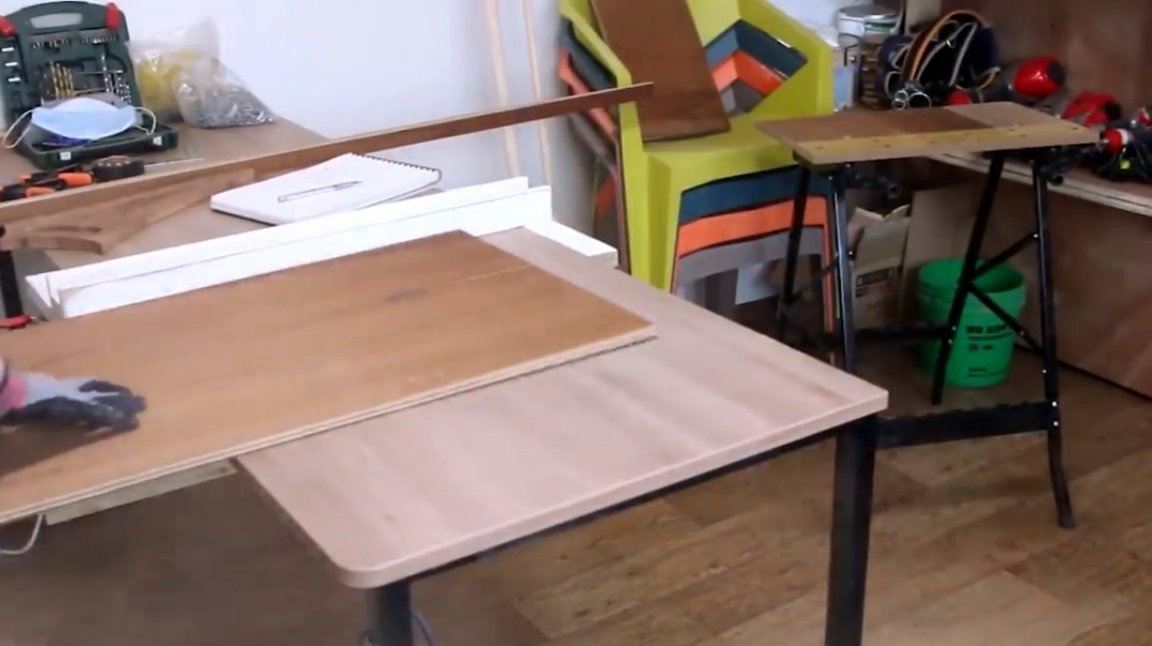
The resulting parts are folded as follows, so it turns out two side stops.
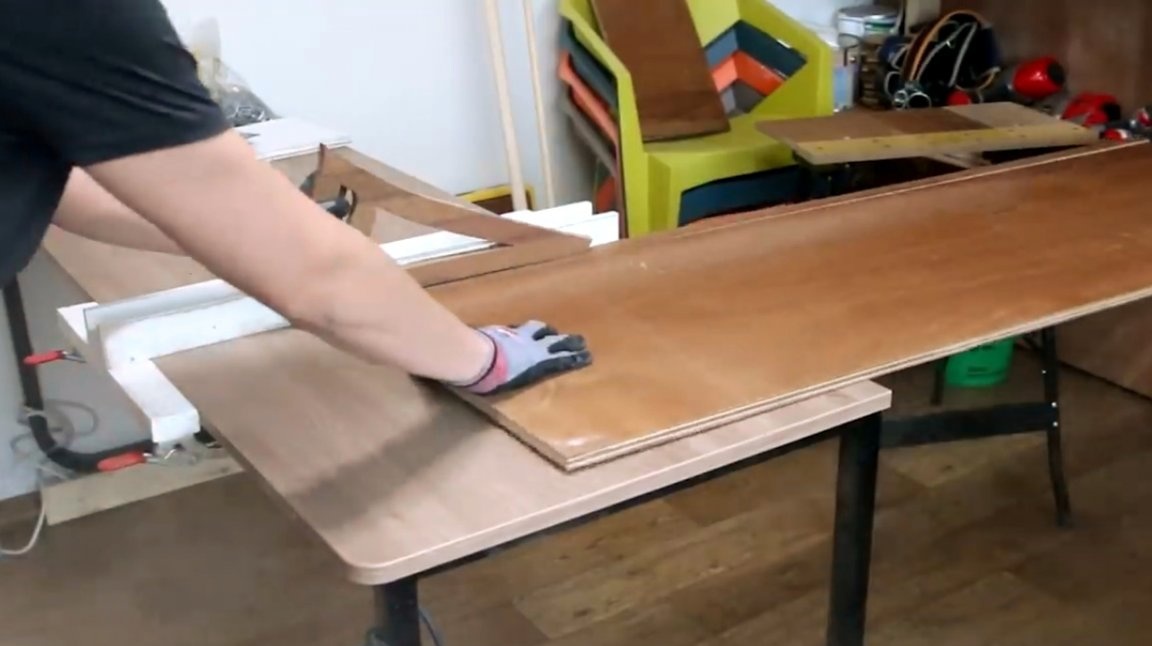
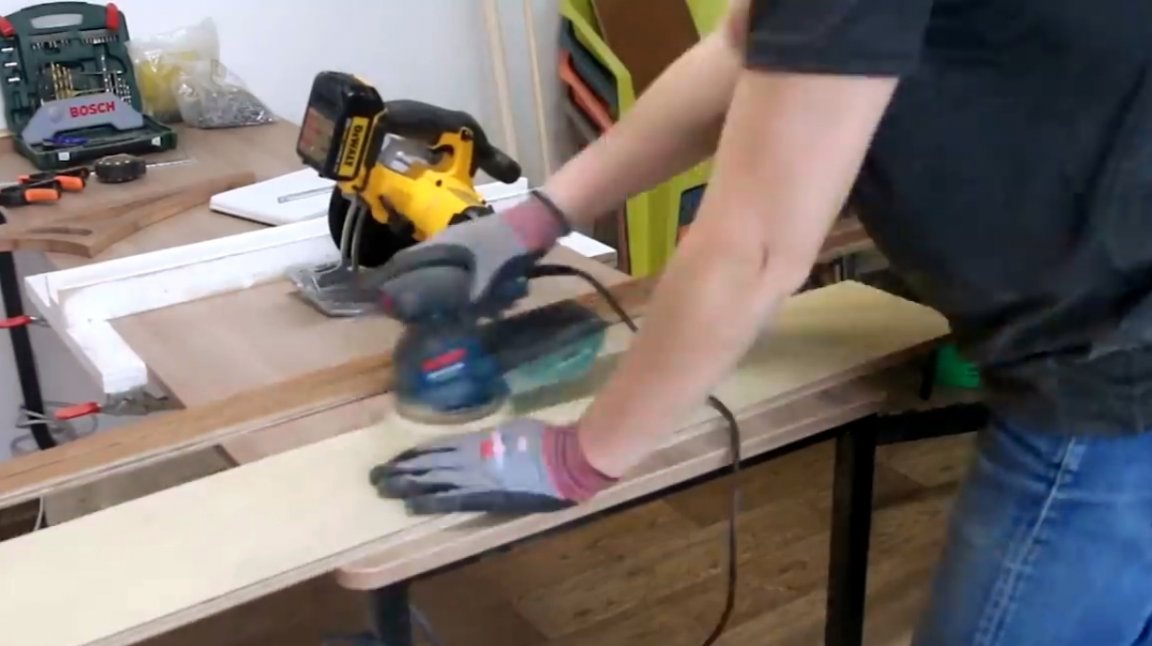
All blanks are carefully sanded with an orbital machine.
The lengths of the base turned out to be a bit too much, and two more details are required for emphasis on the edges.
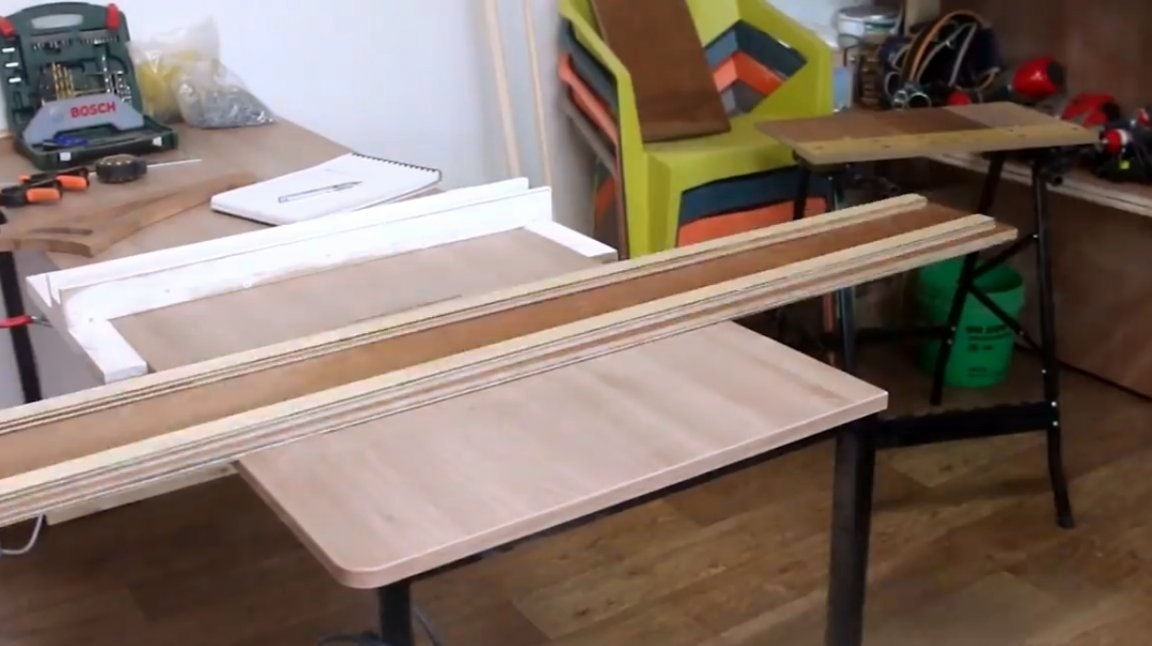
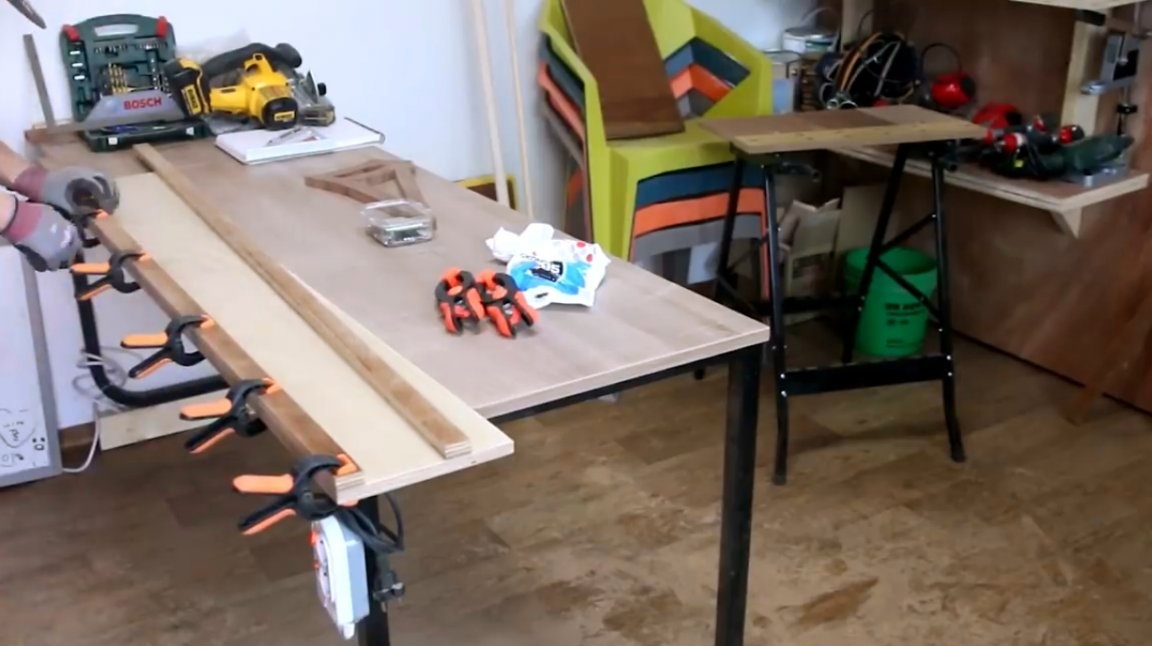
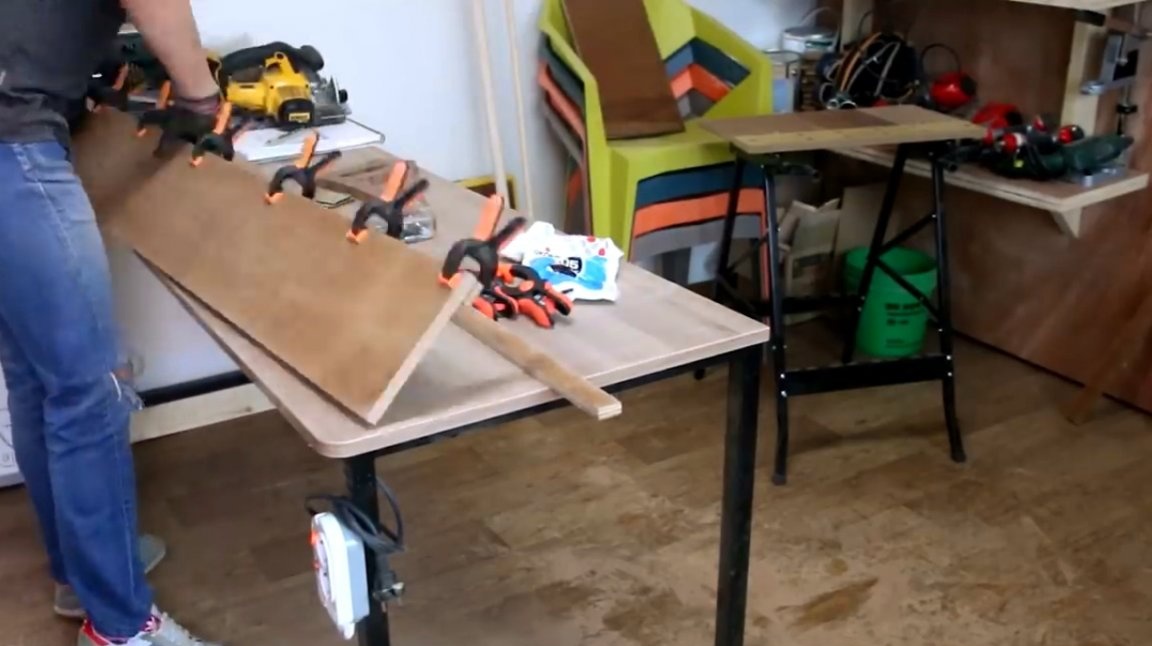
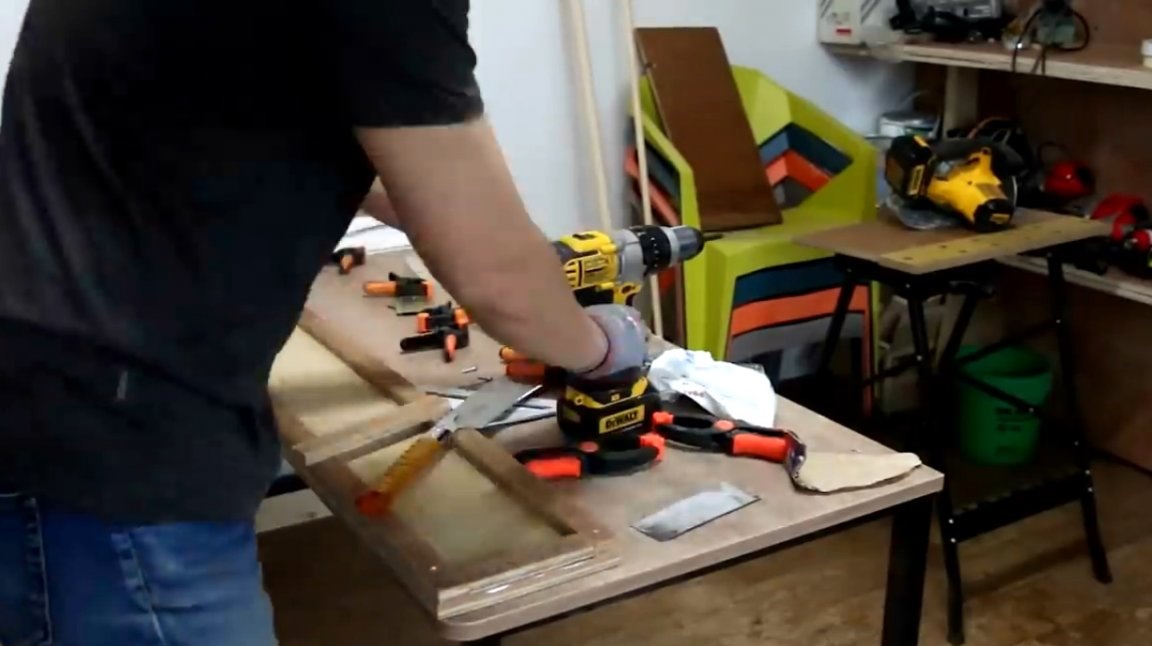
So, the master glues the first side bar, and fixes it with clamps.
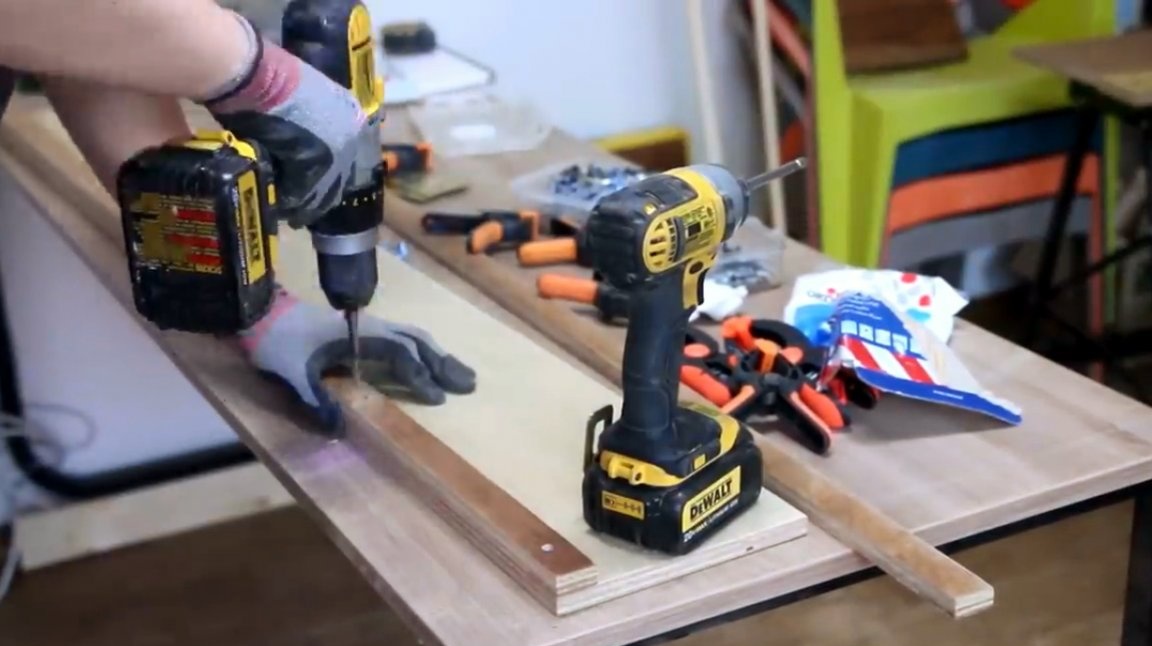
After the glue dries, the plank is additionally fixed to the base with self-tapping screws. Pre-drilled pilot holes with a countersink.
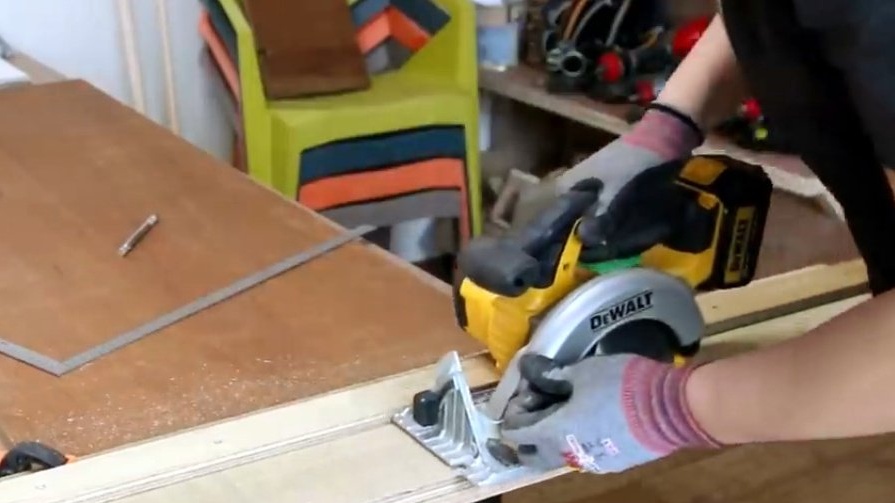
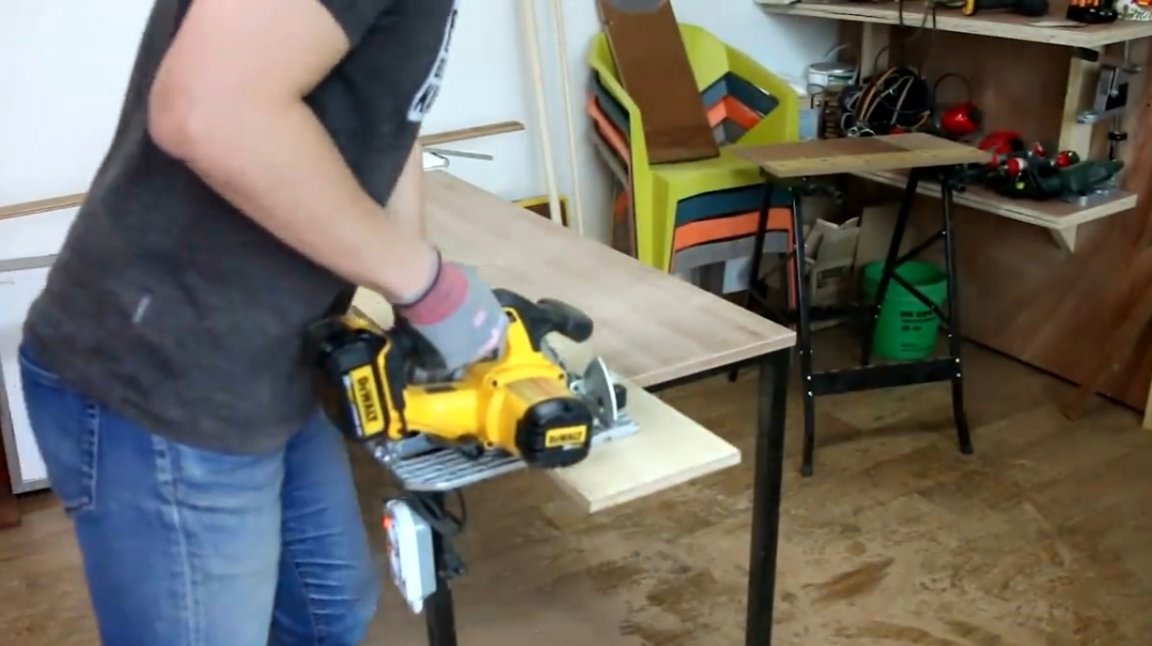
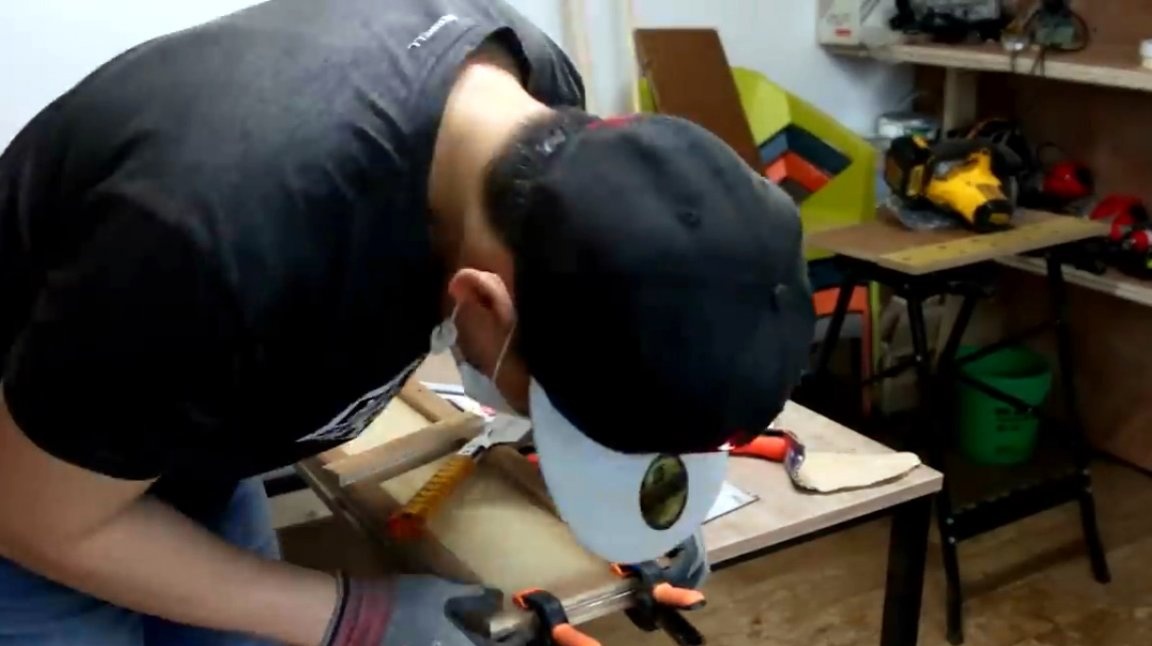
Now you can stick the second bar, however, there is one caveat, the sole should be fairly easy to walk between the rails, but have minimal backlash.
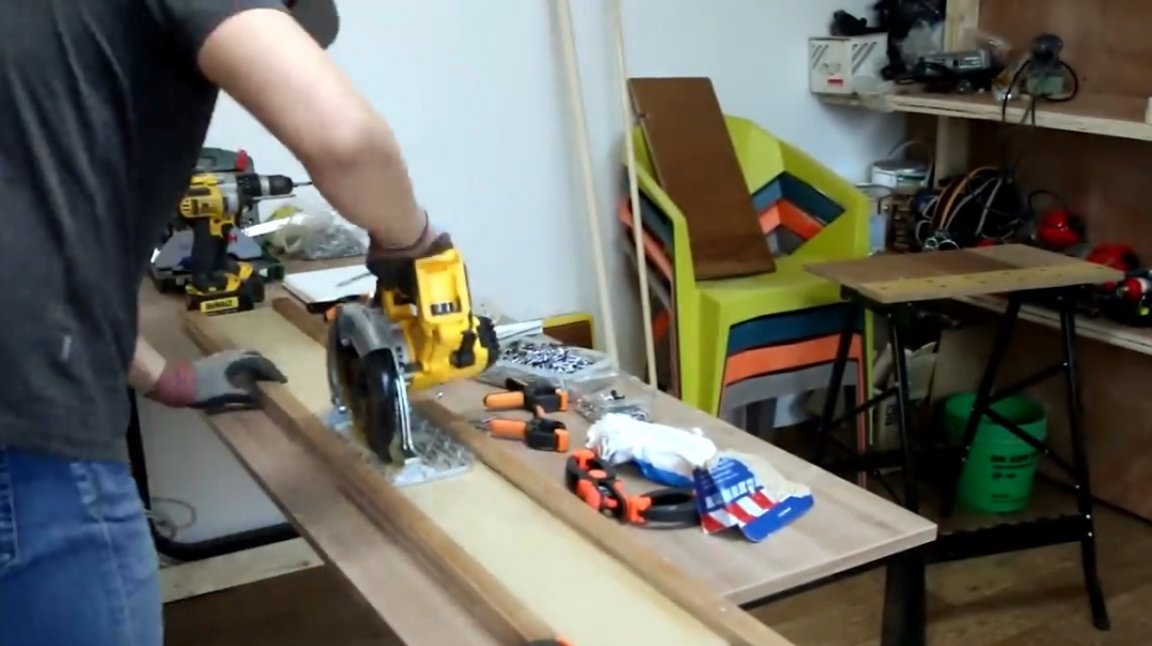
To this end, the master decided to connect the guide bar to the base with self-tapping screws, without waiting for the glue to dry. He simply moved the saw along them, and immediately fixed the bar with a self-tapping screw.
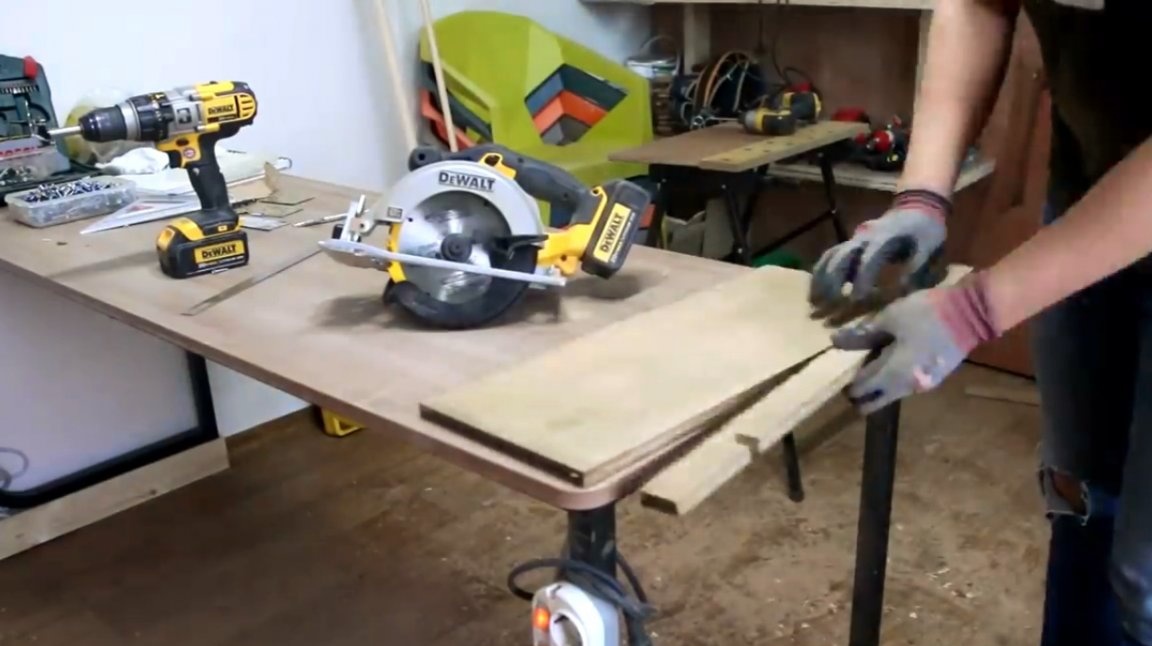
The two remaining parts of the slats are cut off, and the stops will be made of them.
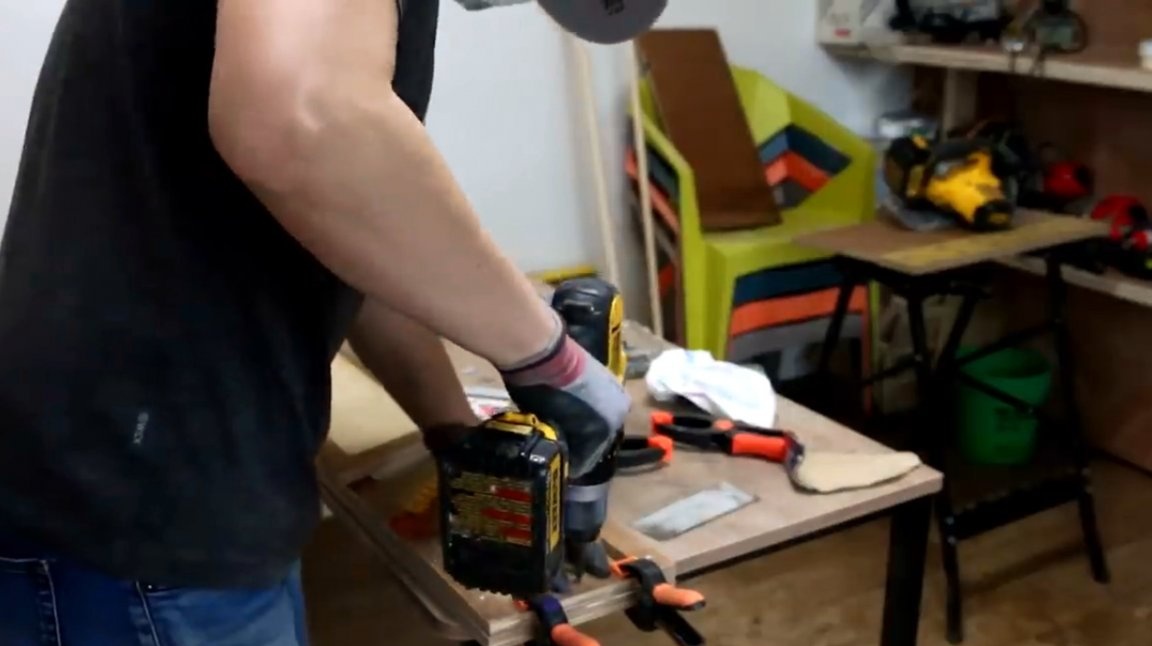
Cuts them in width, lubricates with glue, and screws them to the base.
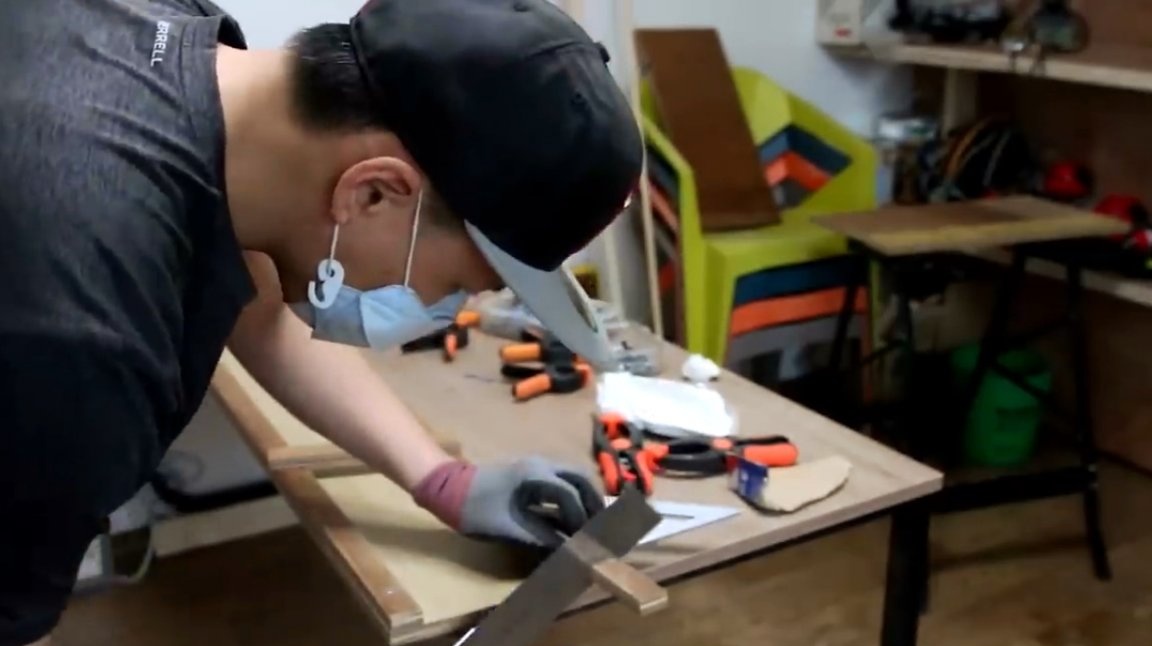
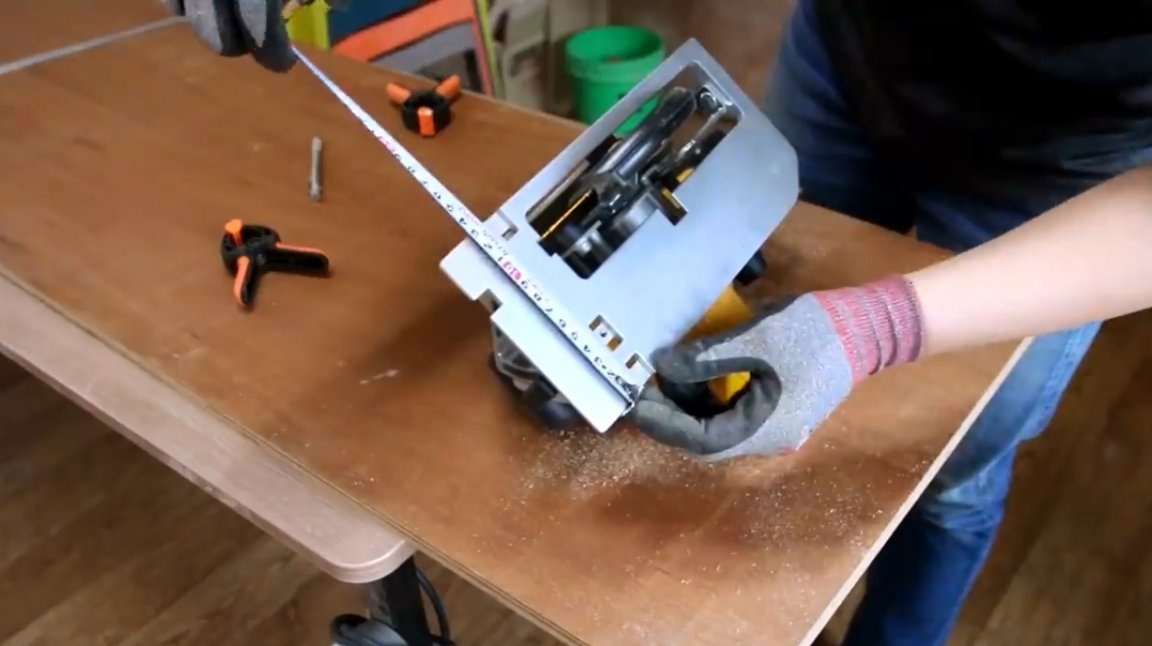
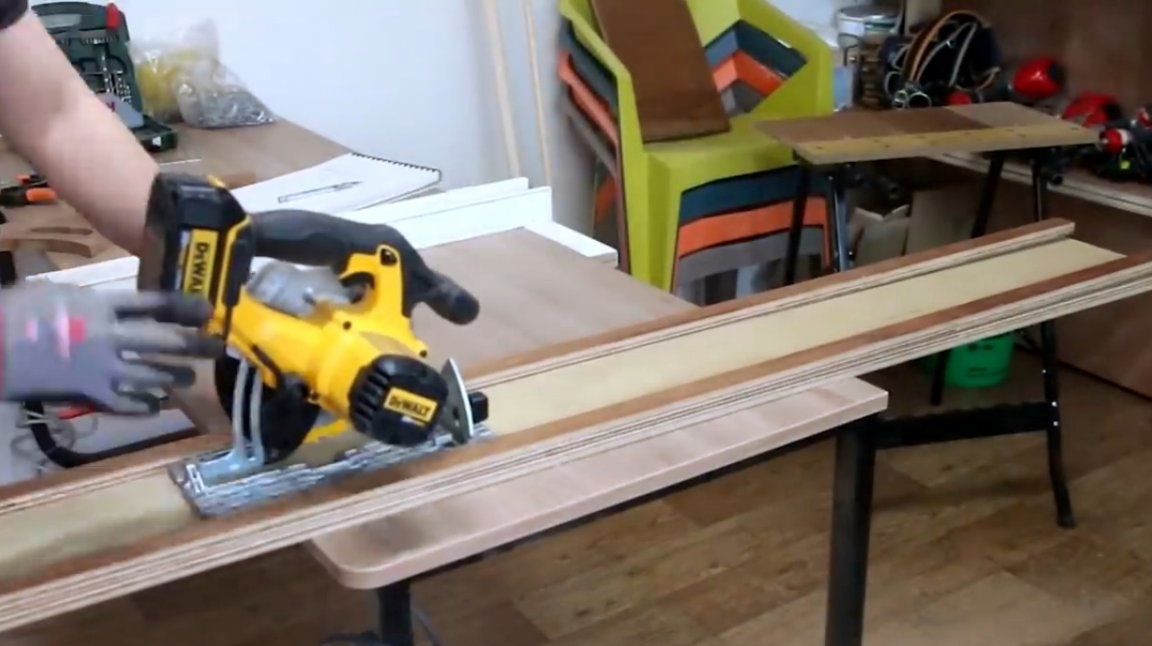
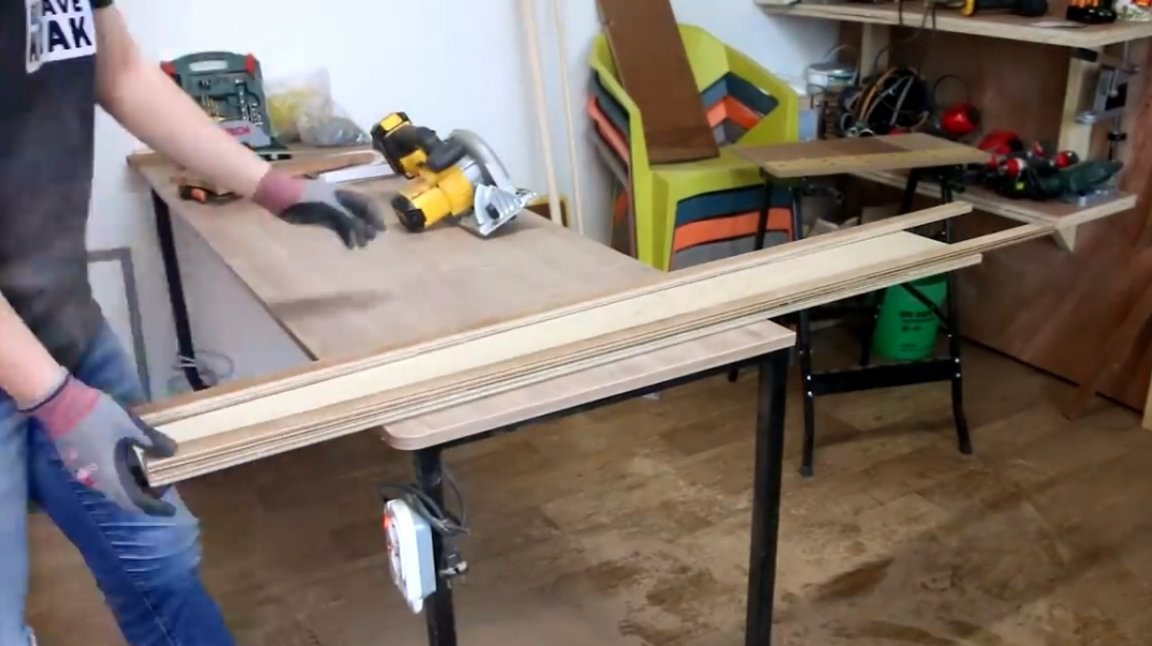
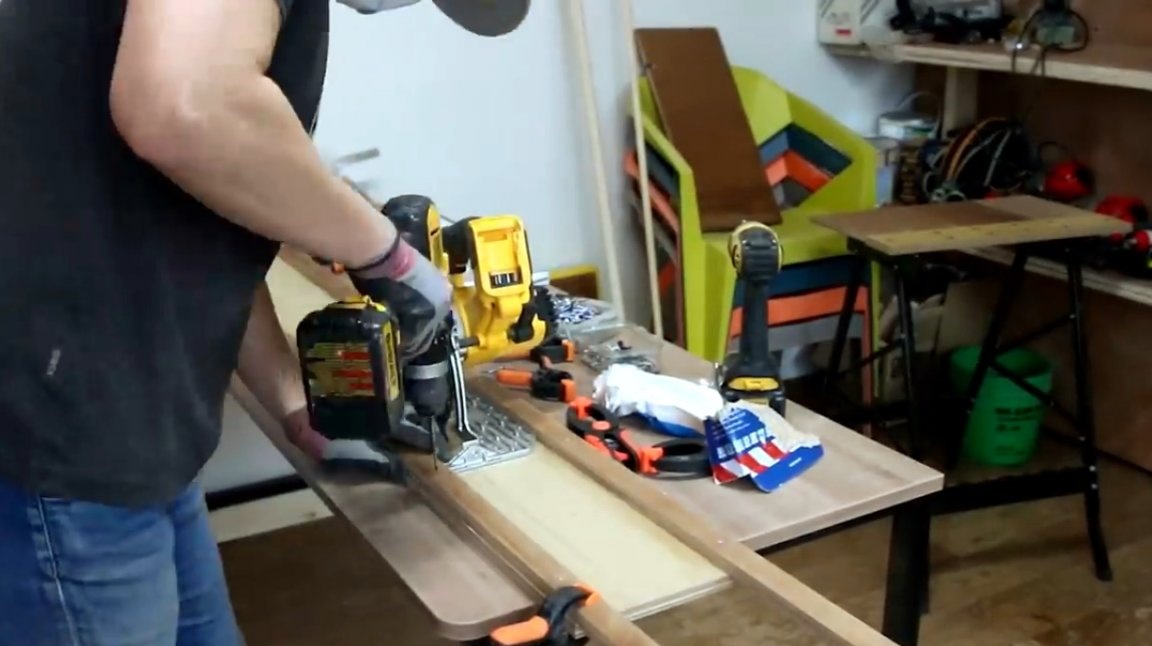
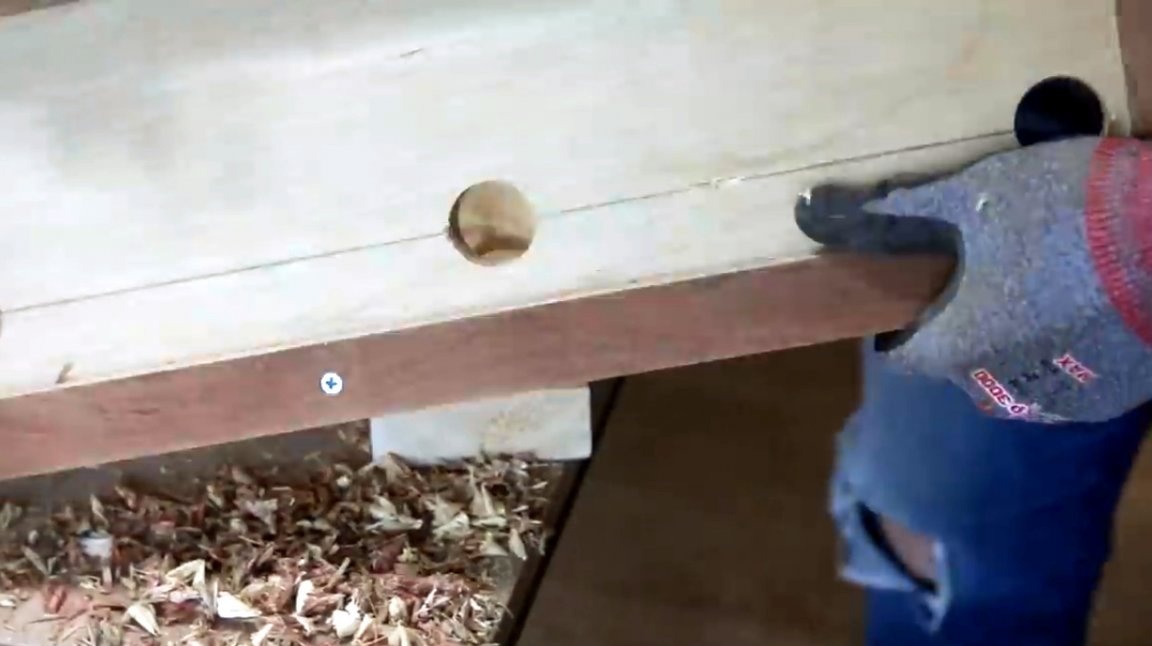
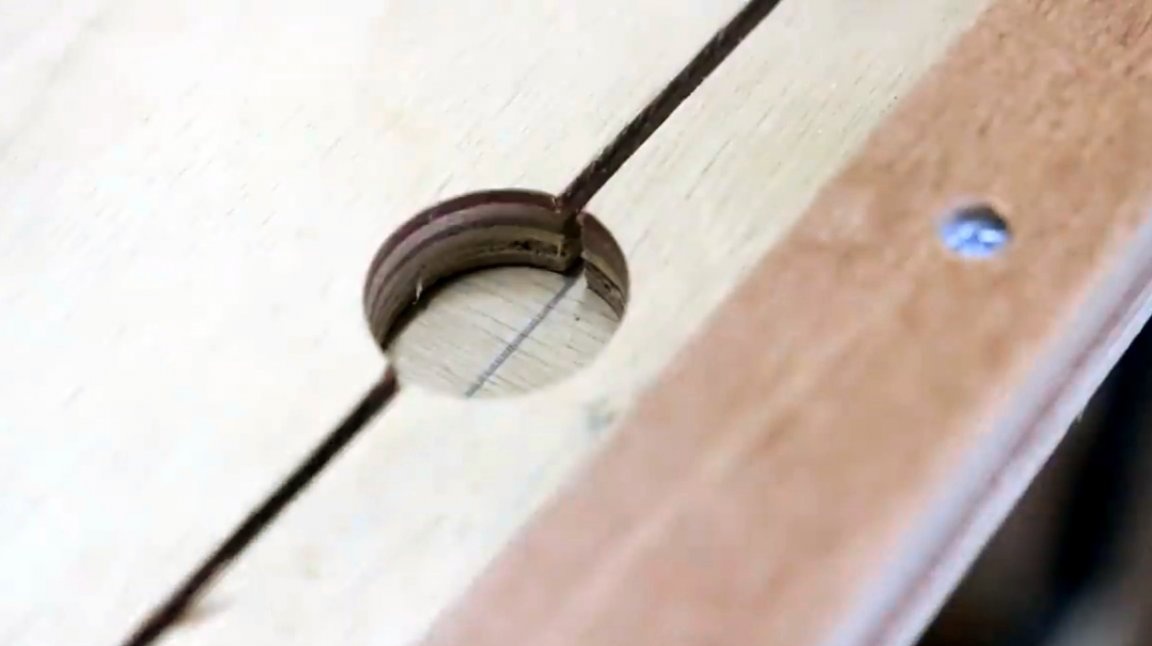
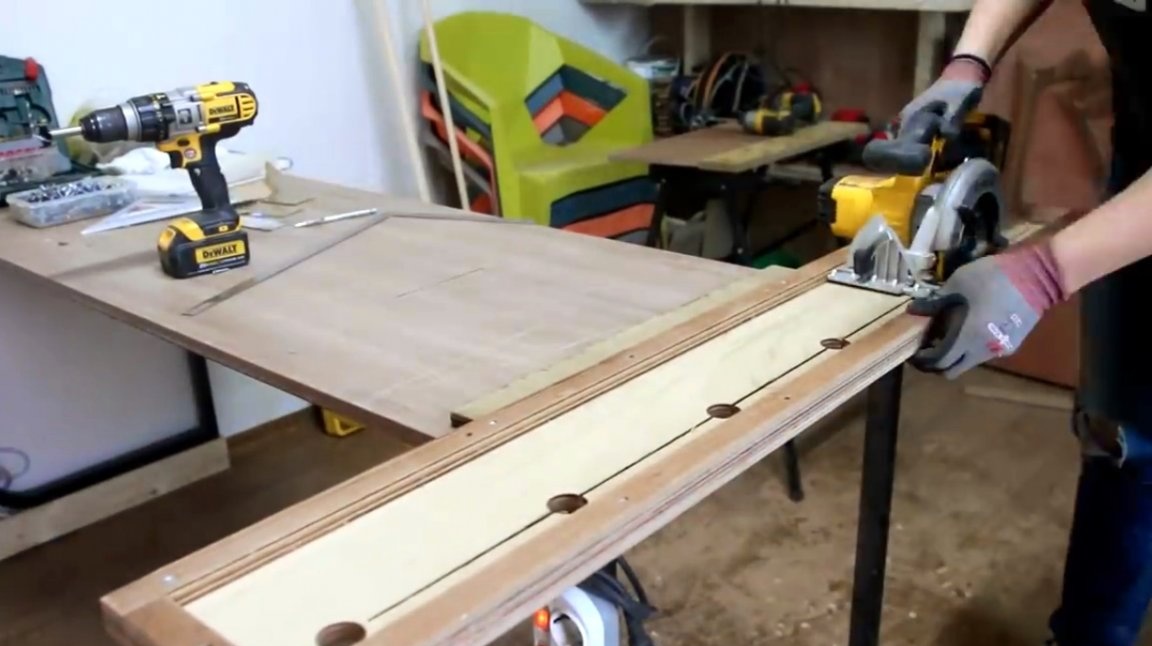
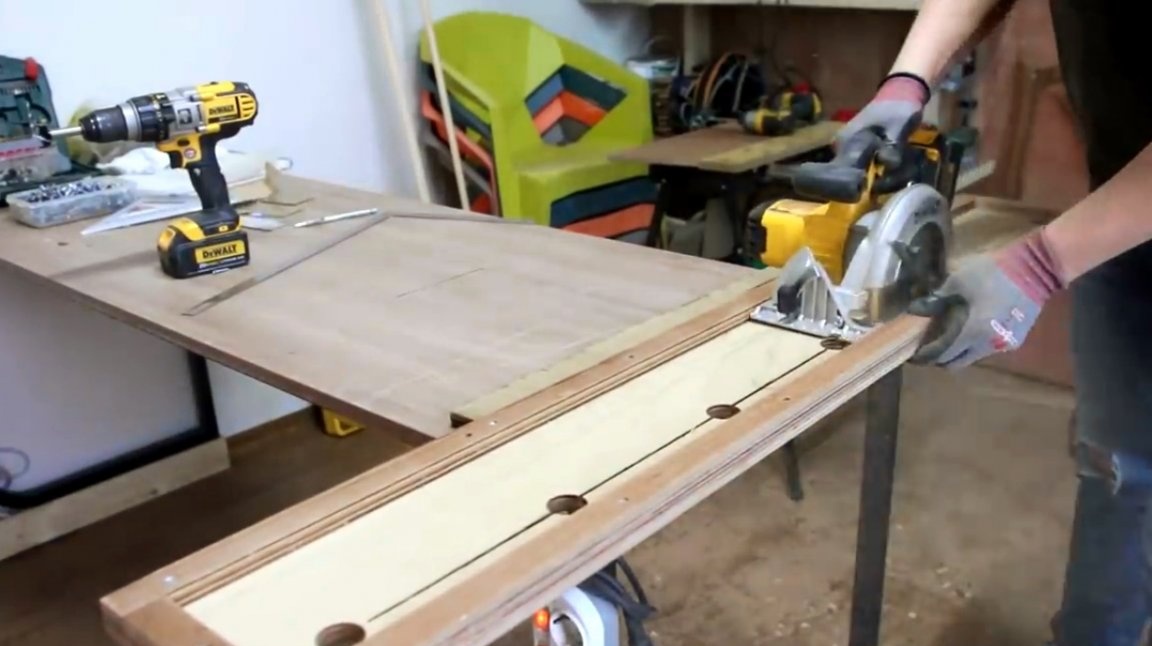
It remains only to mark the line along which the saw blade will pass, and drill several holes along it with a Forstner drill.
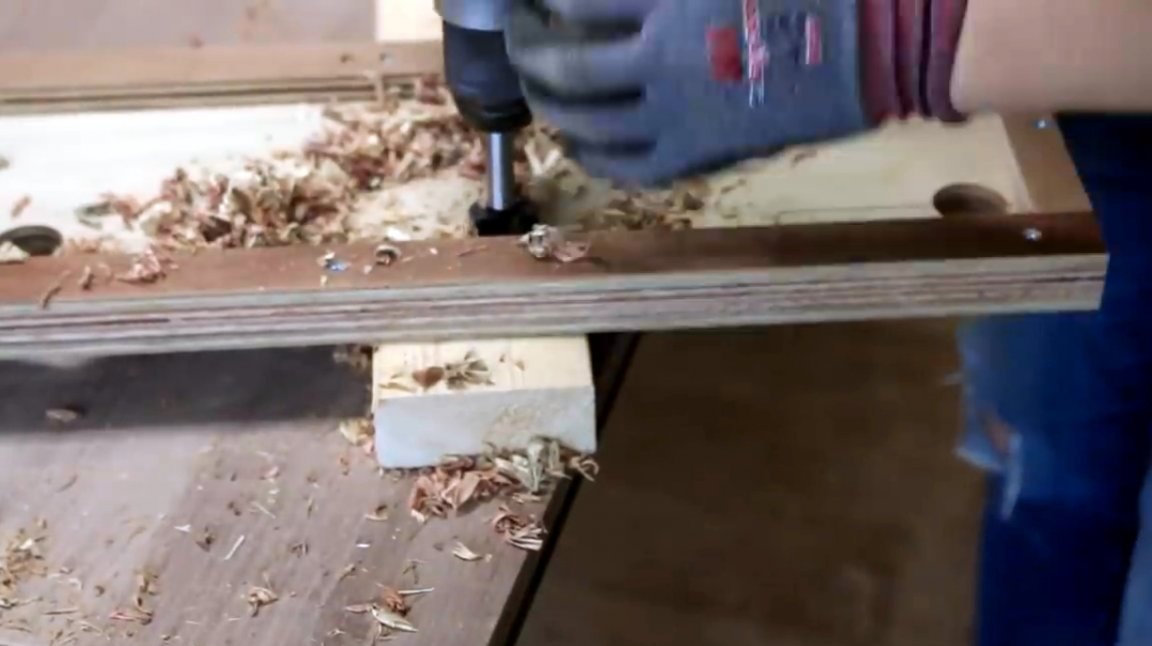
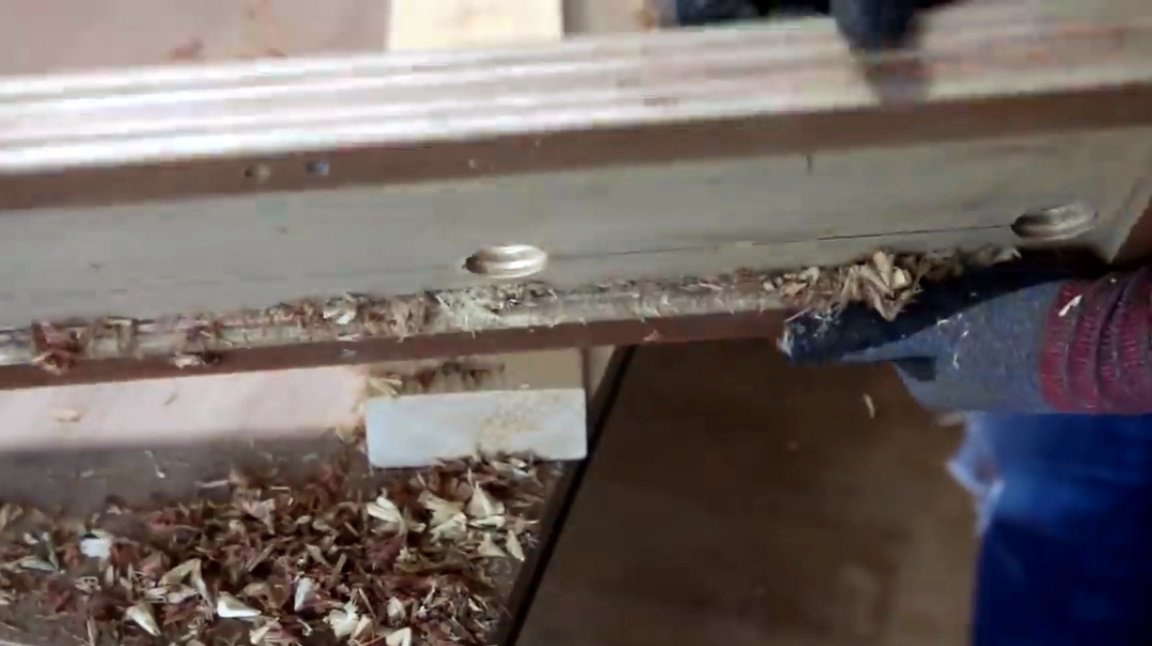
A long cut is made along the base of the guide. And there is no need to cut after a circular saw with a jigsaw. Just those whole sections of the base where its disc cannot reach, due to the sole stopping against the extreme stops, will create certain ribs for this device and will not allow the guide to bend.
Its edges are carefully processed with sandpaper.

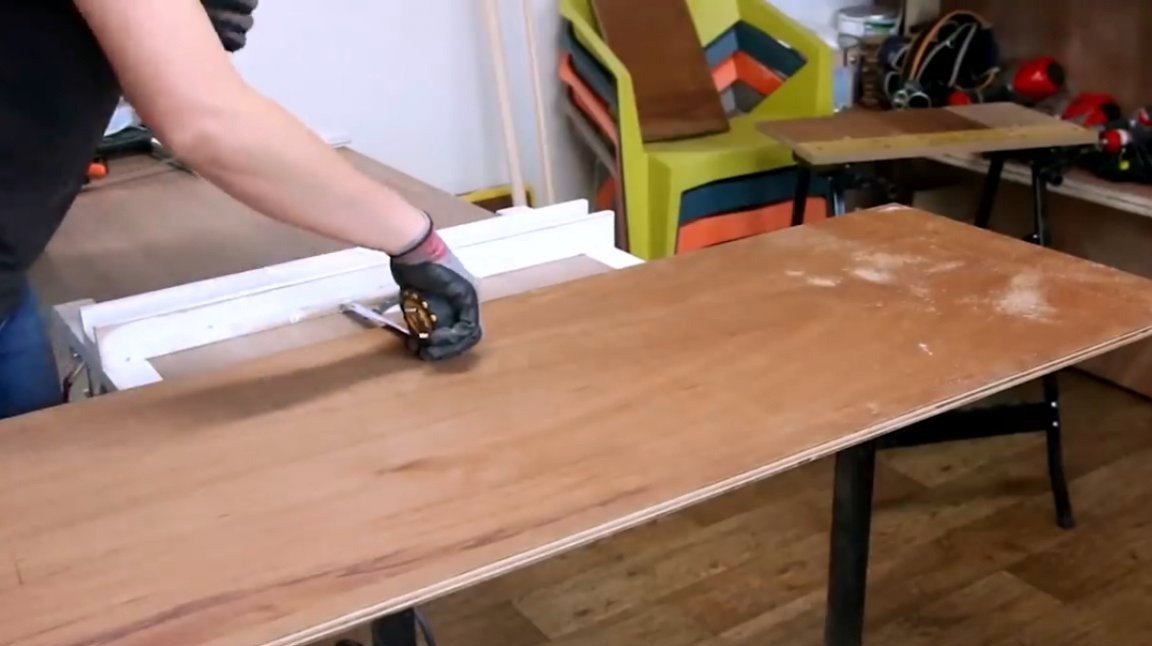
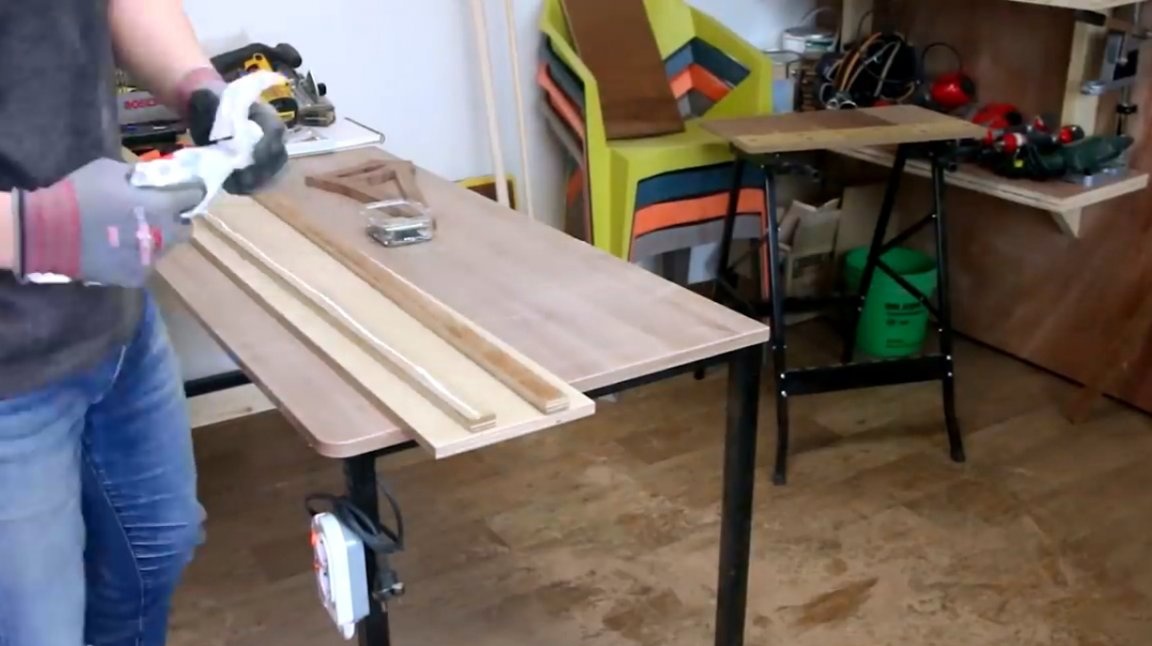
Now it becomes clear the purpose of the holes, through them the marking of the part is clearly visible.


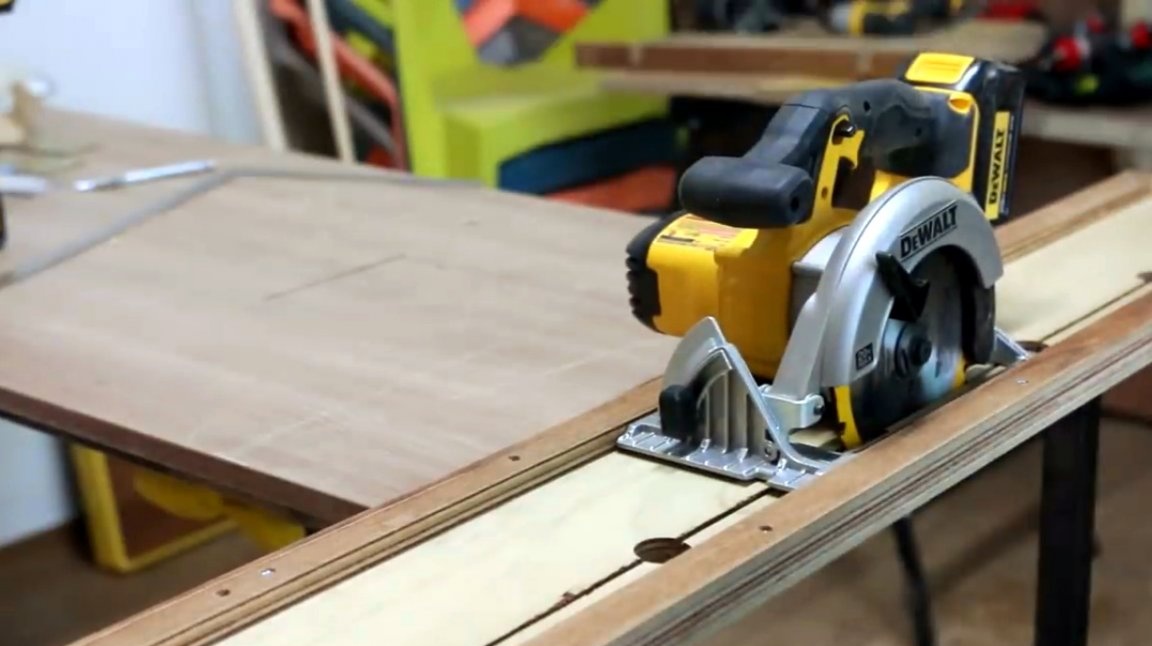
Here's a guide from the master.
For better sliding of the saw along the guides, the inside of the base should be treated with aerosol silicone grease, it is often used by motorists. And on the bottom surface you can glue a sheet of sandpaper, then it will sit rigidly on the workpiece, and the risk of moving it will be minimal. Also, do not remove the protective cover from such tools, and do not use them if it malfunctions!
I thank the author for a simple but useful tool for a circular saw!
All good mood, good luck, and interesting ideas!
Author video can be found here.