
For various effects in a local theater, a fog generator was needed. The purchase of such an apparatus does not fit into the budget of the theater, and then the master decided to make it on his own.
Tools and materials:
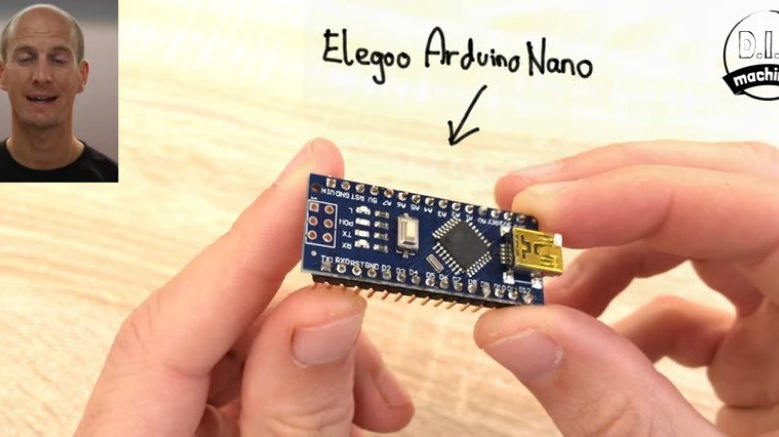
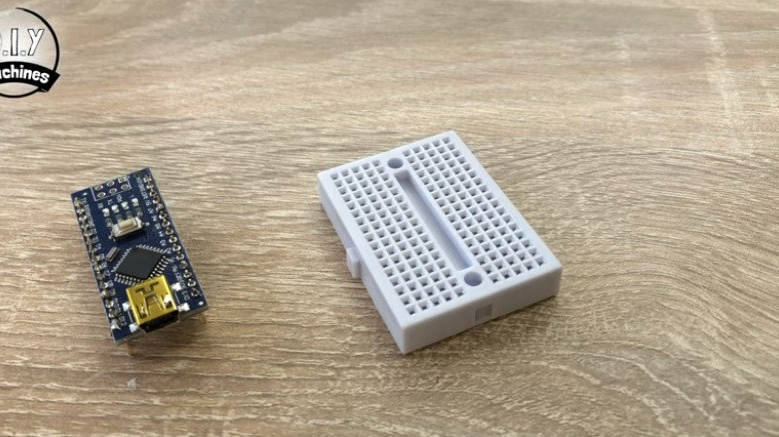
-Arduino Nano;
-Controller L298N;
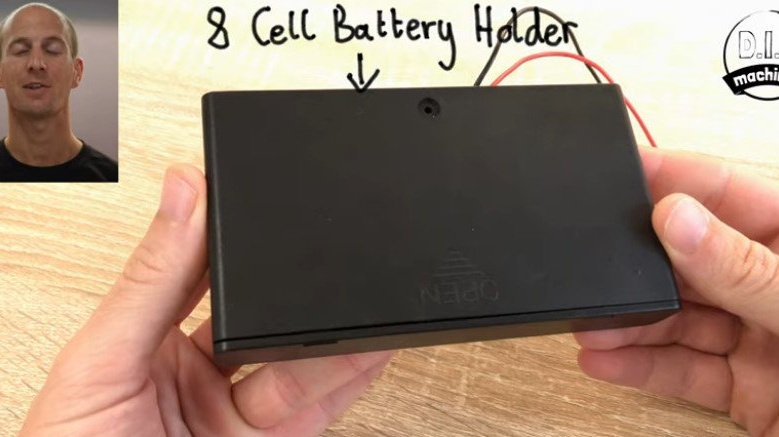
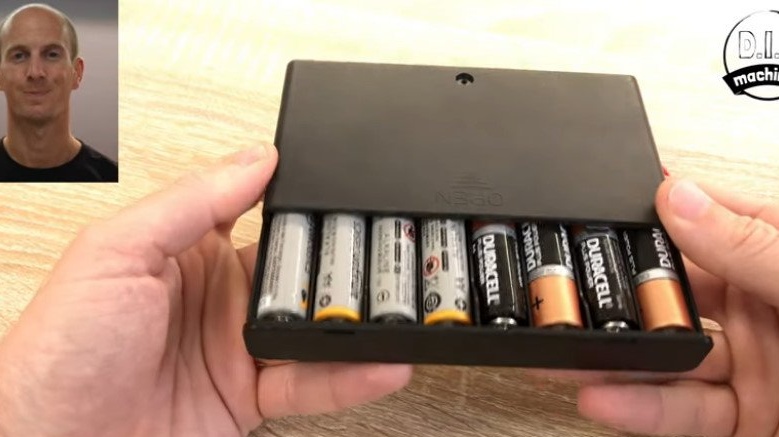
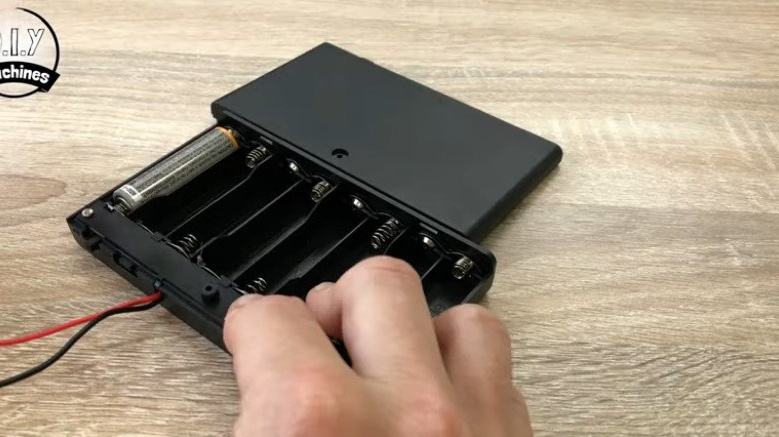
- AA battery holder for 8 cells;
- AA batteries -8 pcs.;
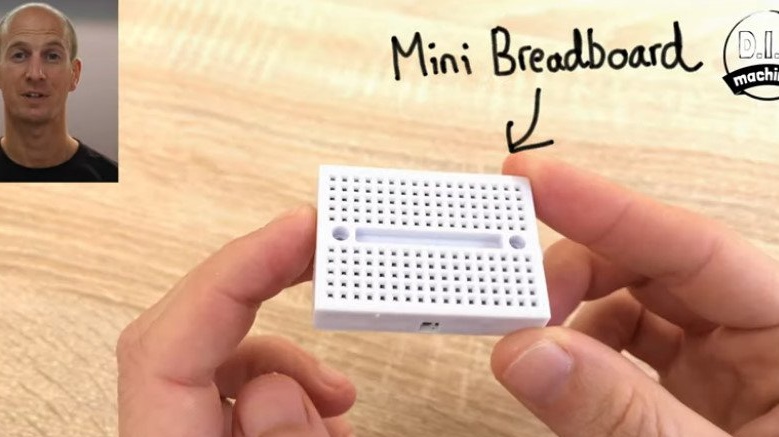
-Bread board;
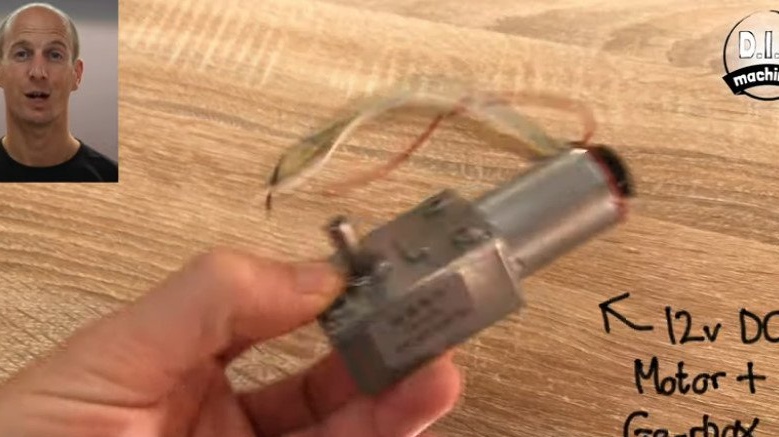
- DC motor 12 V;
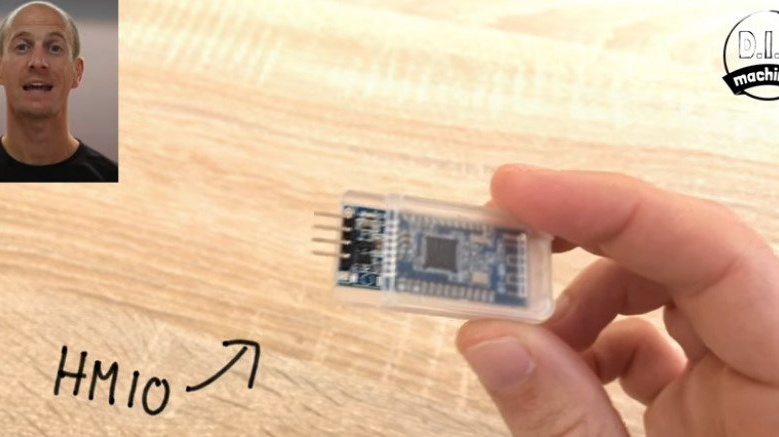
- Bluetooth module HM10;
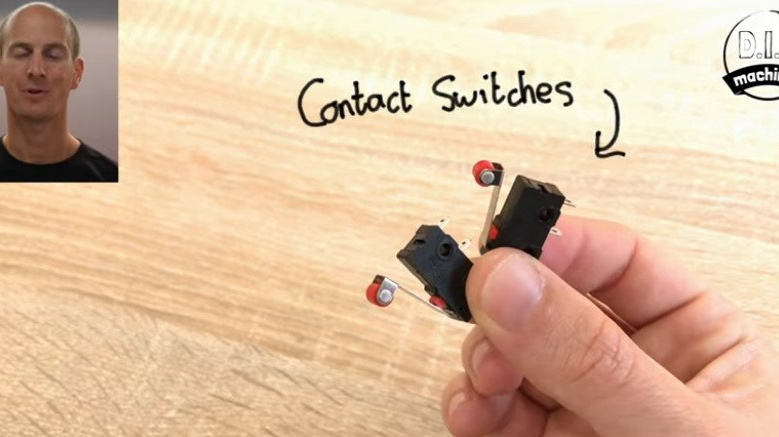
- Limit switches - 2 pcs.;
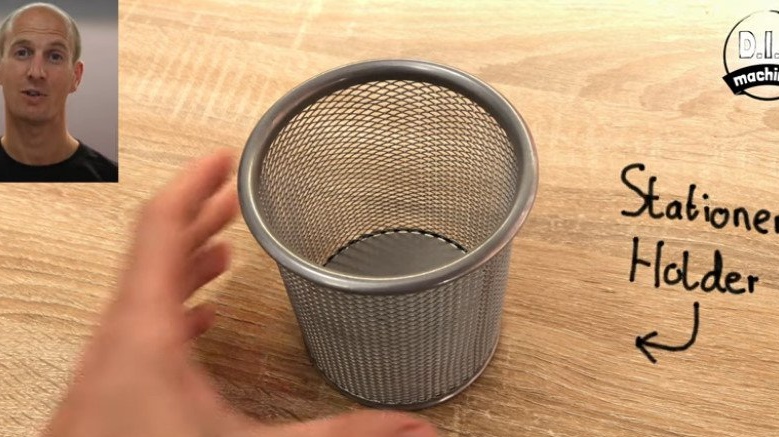
- Glass for pencils;
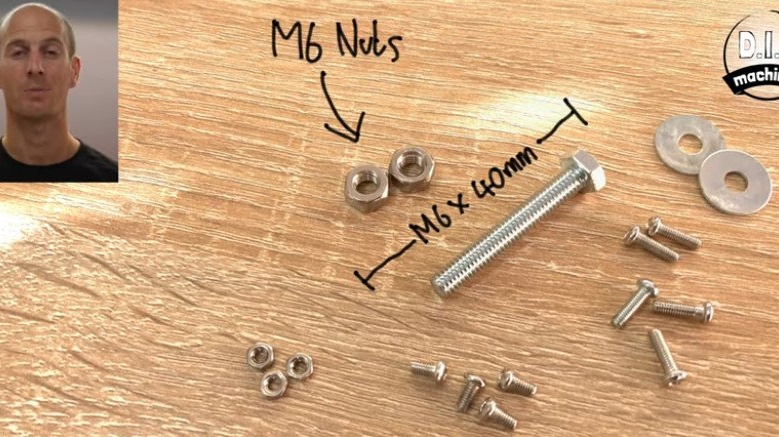
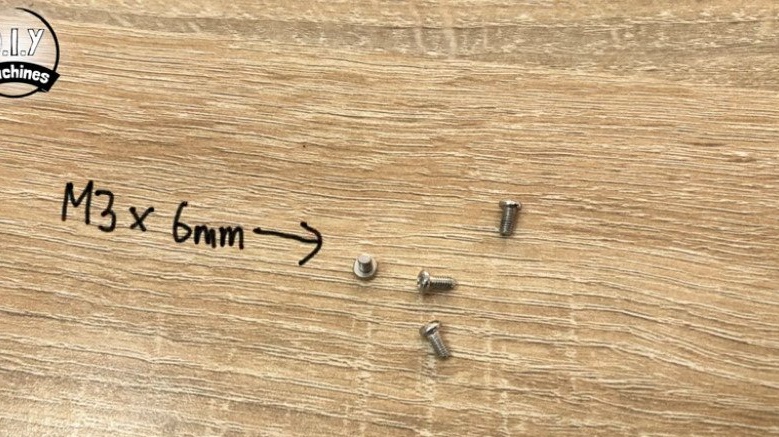
-Fasteners;
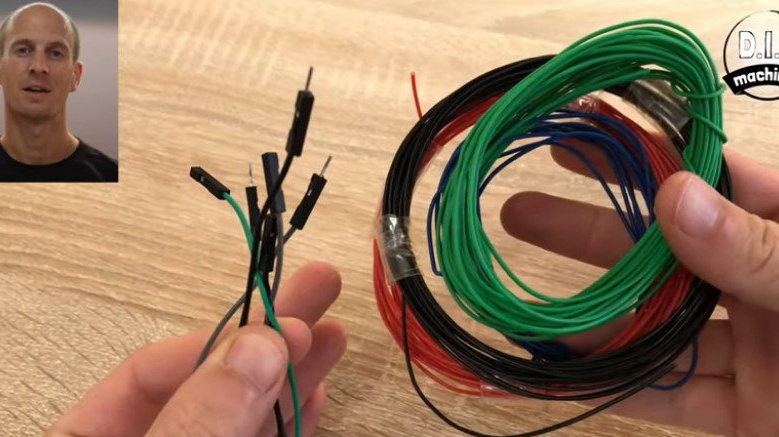
-Wire;
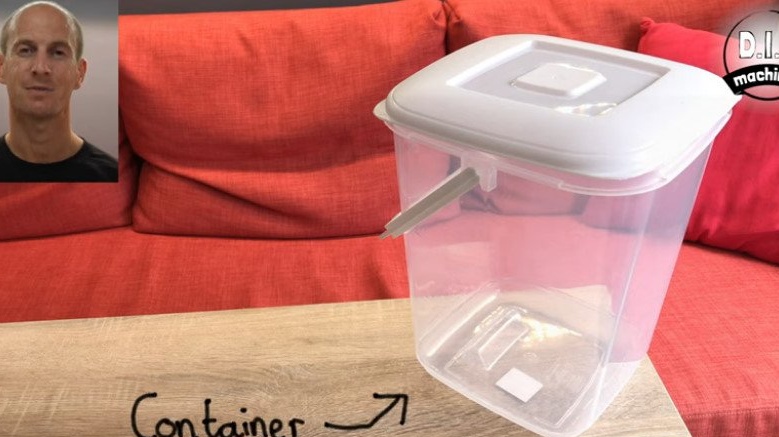
-Plastic capacity;
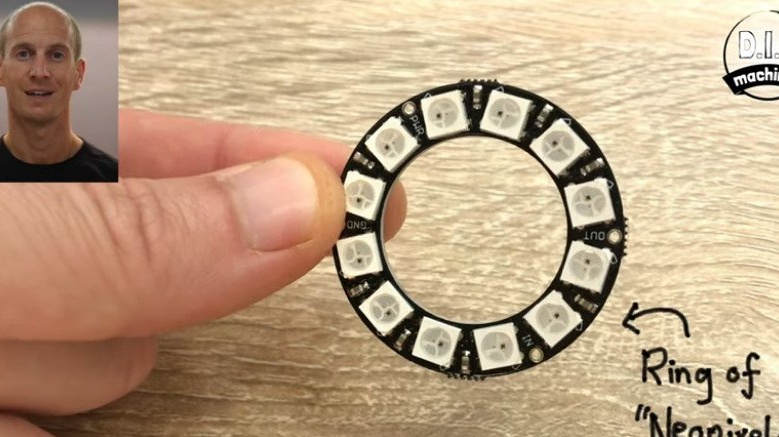
-LED panel;
-Glue gun;
-Electric screwdriver;
-3D printer;
-Dry ice;


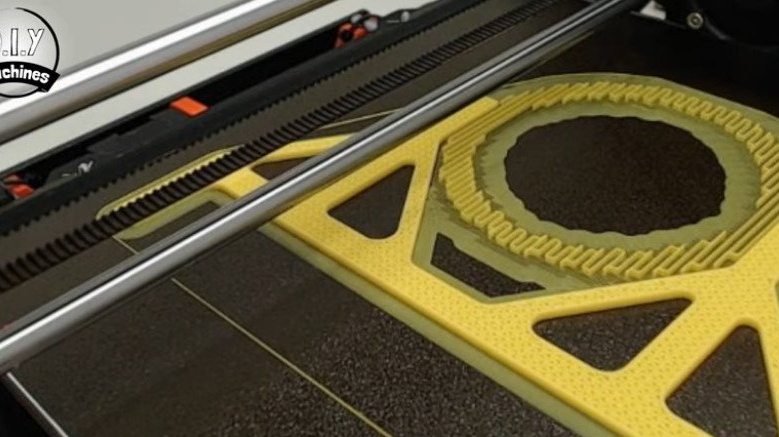
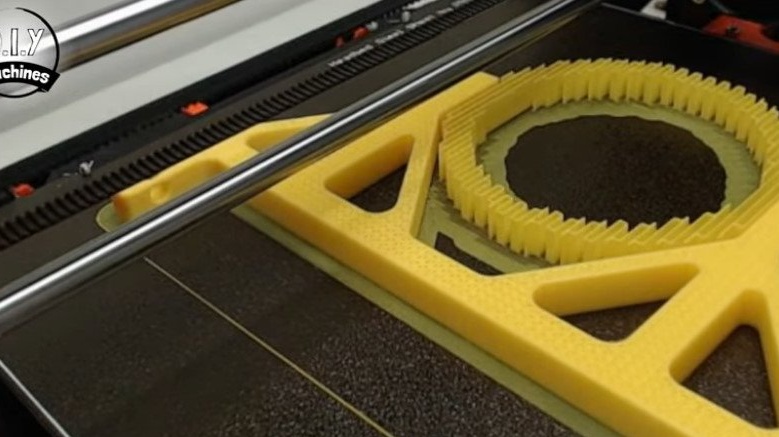
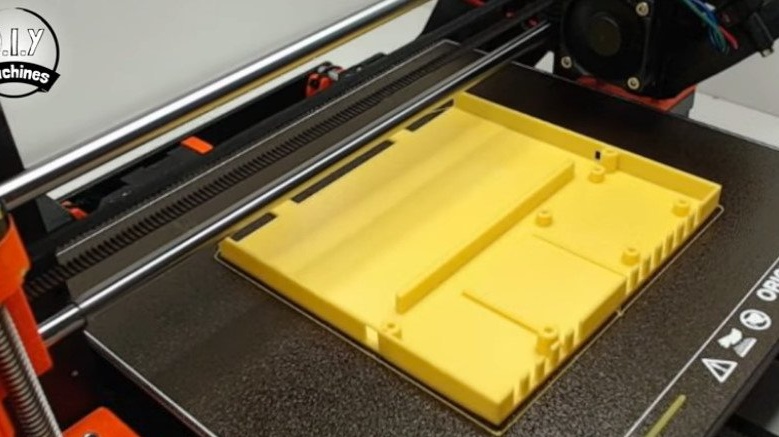
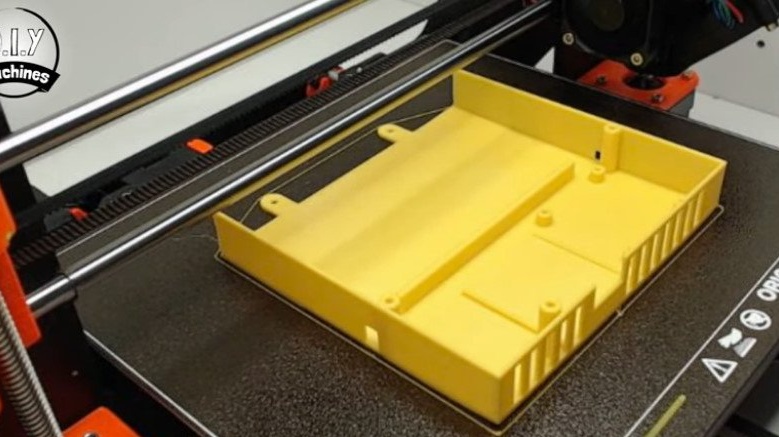
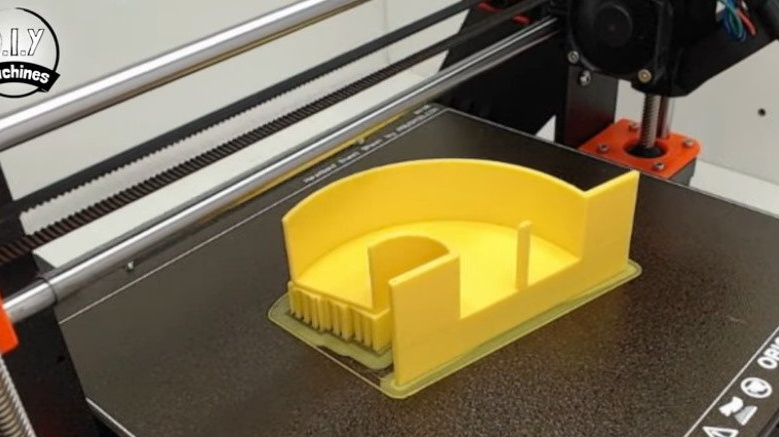
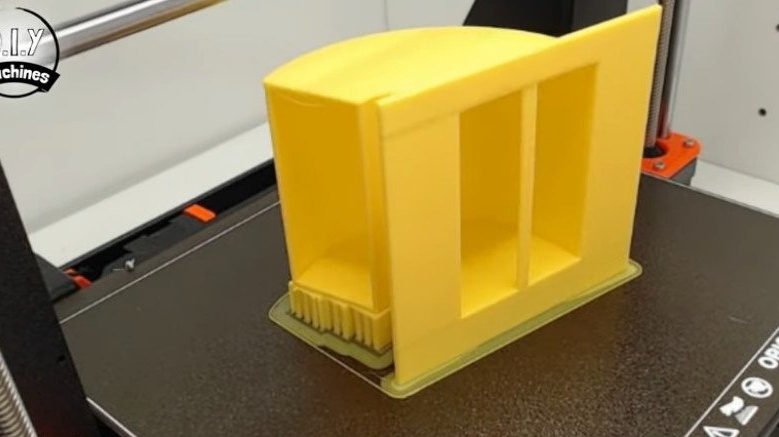
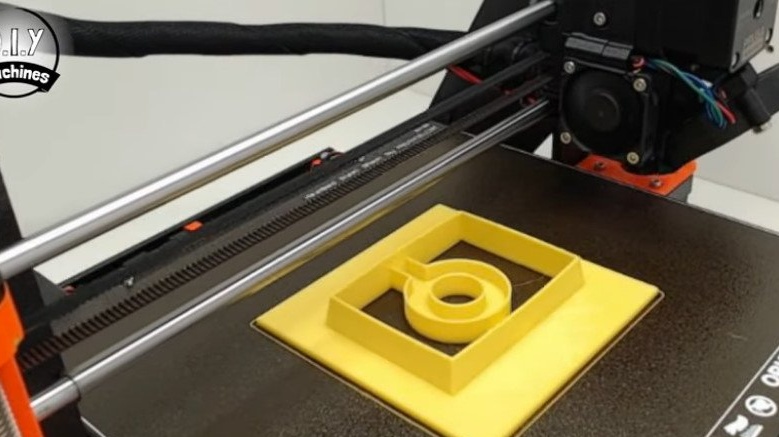
Step One: 3D Printing
To implement the project, you need to print a few details. You can download files for printing on this website.
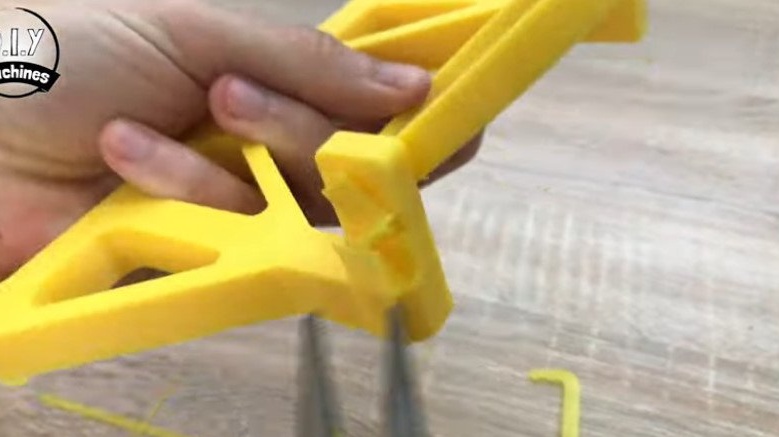
Dry_Ice_Arms.STL - this part is printed by PLA with 60% coverage in order to withstand both cold and hot temperatures for longer. The wizard has adjusted the layer height of 0.2 mm and the supports.
Other parts are also printed using PLA, layer height and percent fill are not important.
Electronics_Holer Top.STL
Electronics_Holer Bottom.STL
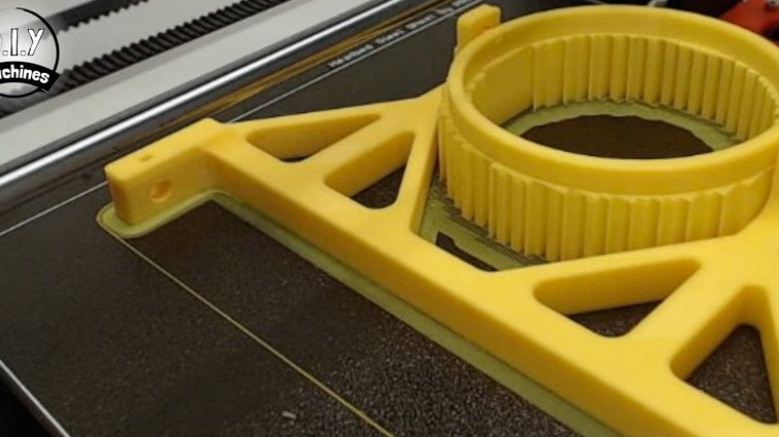
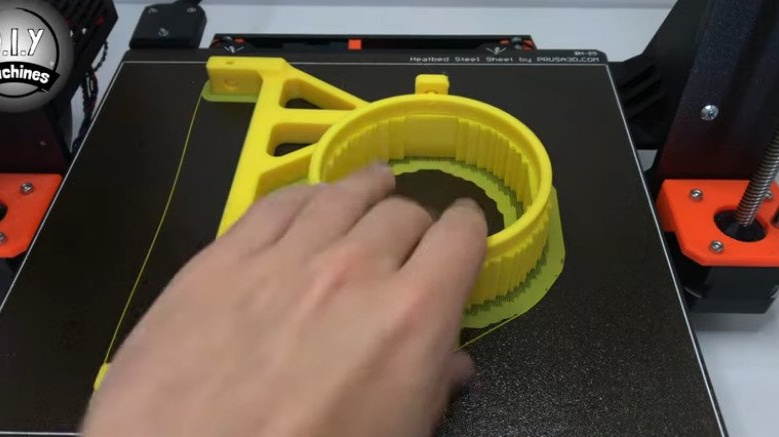
Limit_Arm.STL
Step Two: Engine Installation
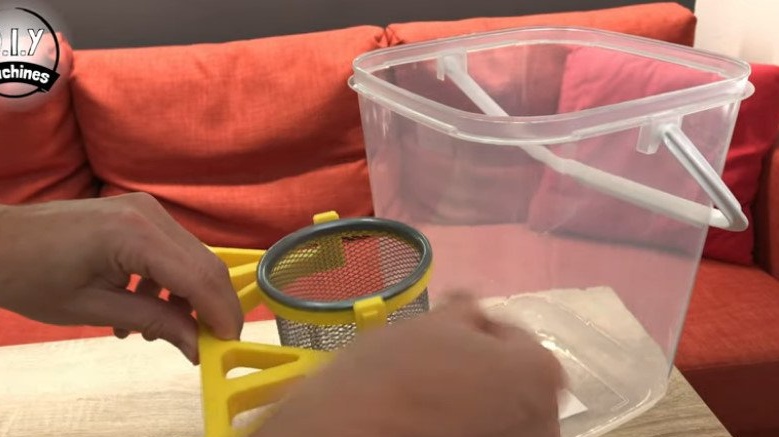
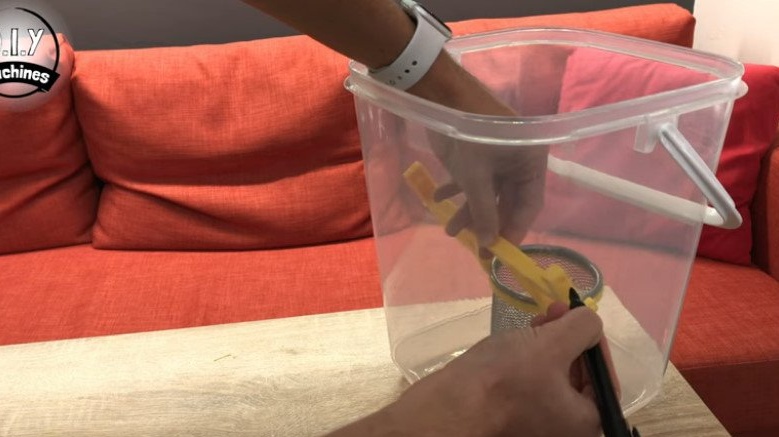
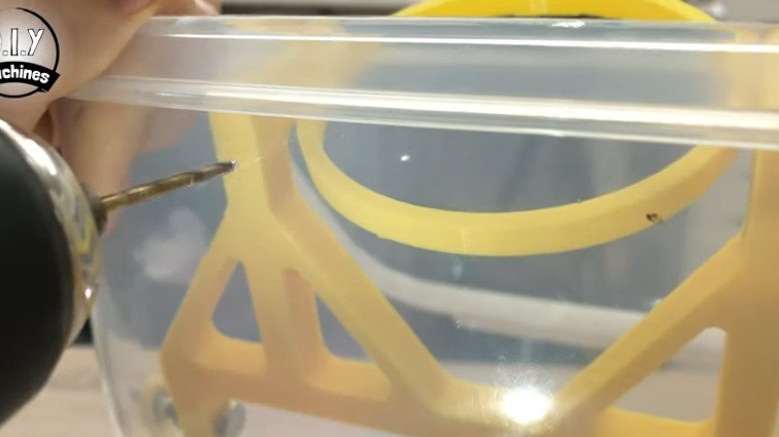
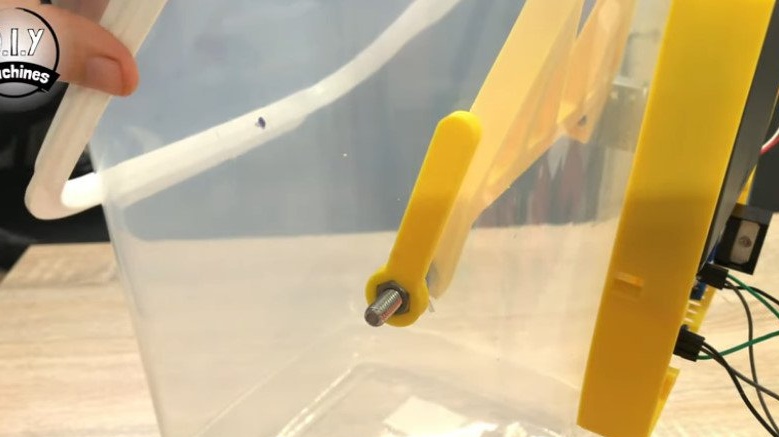
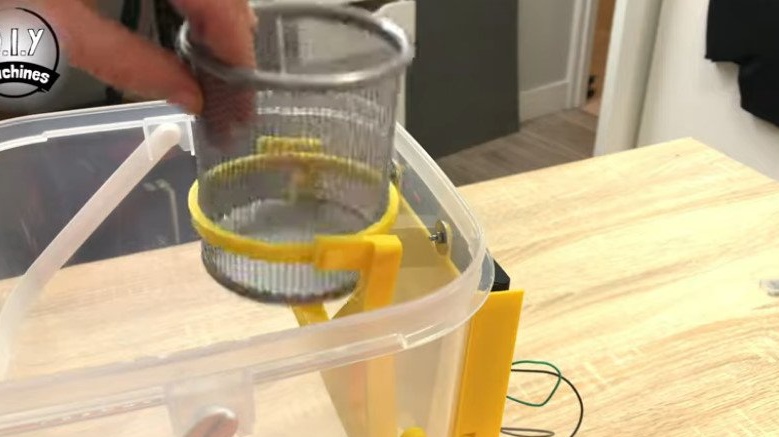
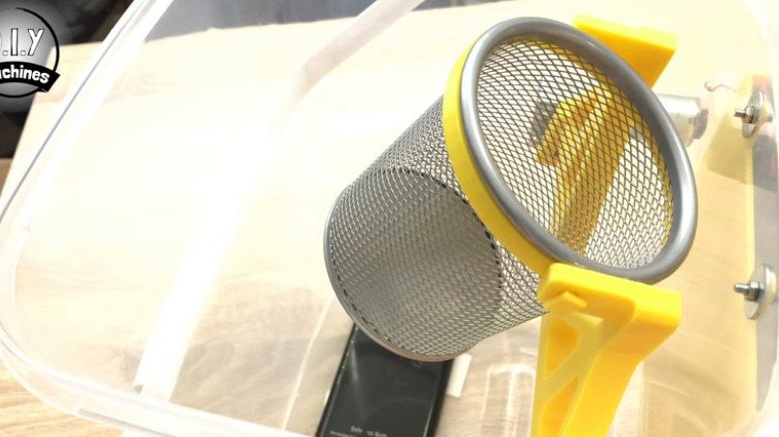
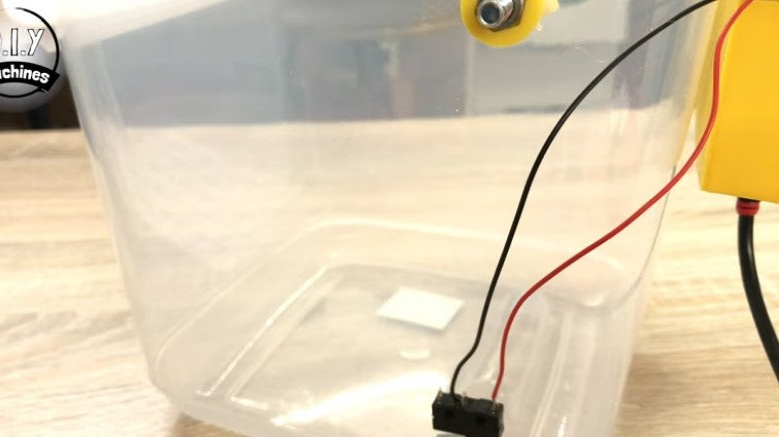
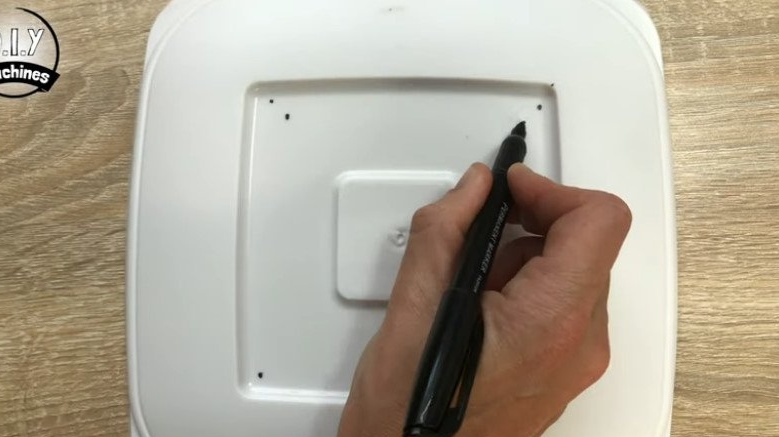
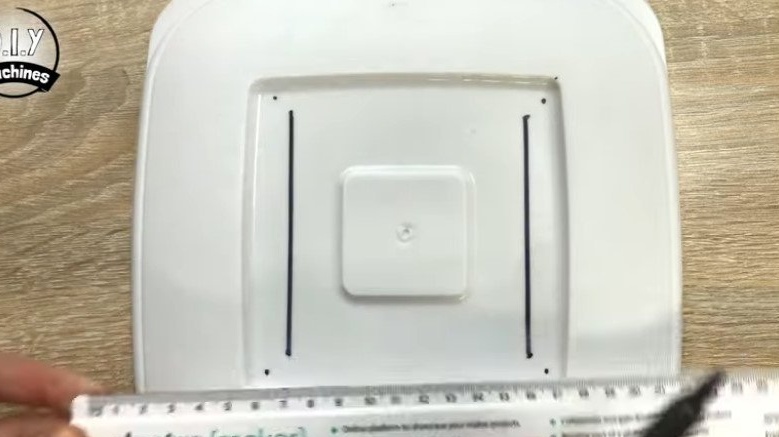
For this step, you need a cup holder that was previously printed.
The master places a clerical glass in the holder. It lowers it into the container, and then marks the mounting holes so that the assembly can move up and down without colliding with the walls of the container.
Drills two 8 mm holes in the marks.
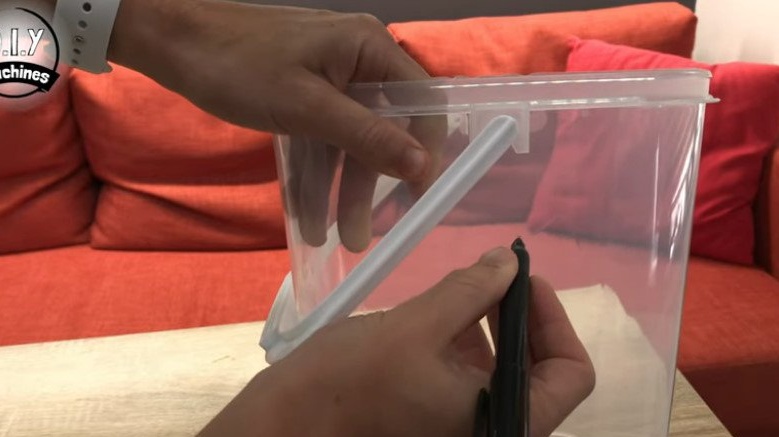
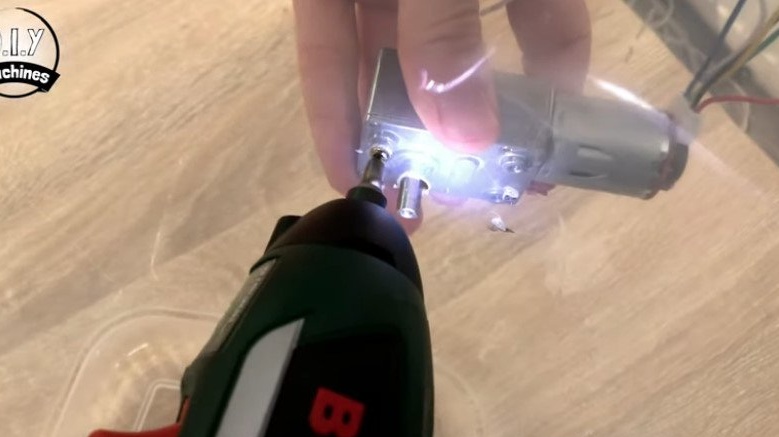
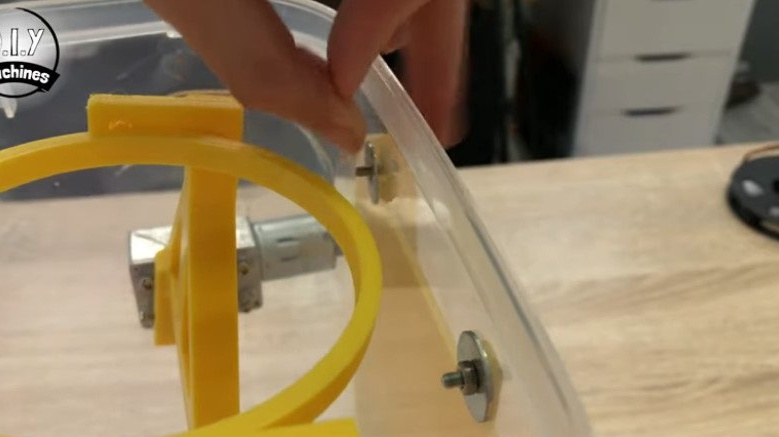
Marks and drills holes for mounting the engine. The motor shaft must be installed in a previously drilled hole.
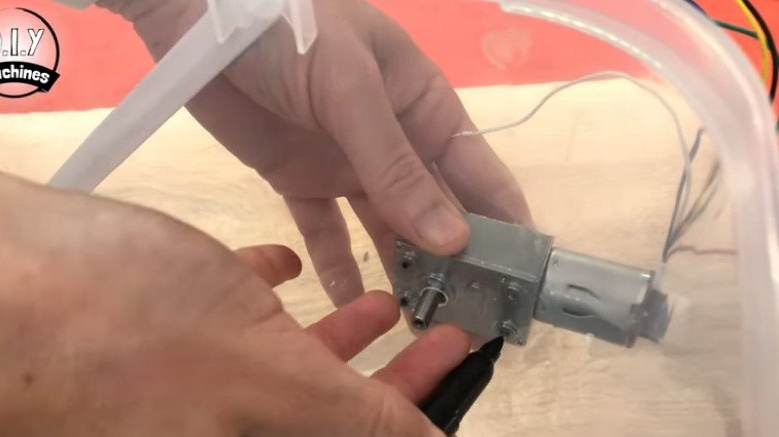

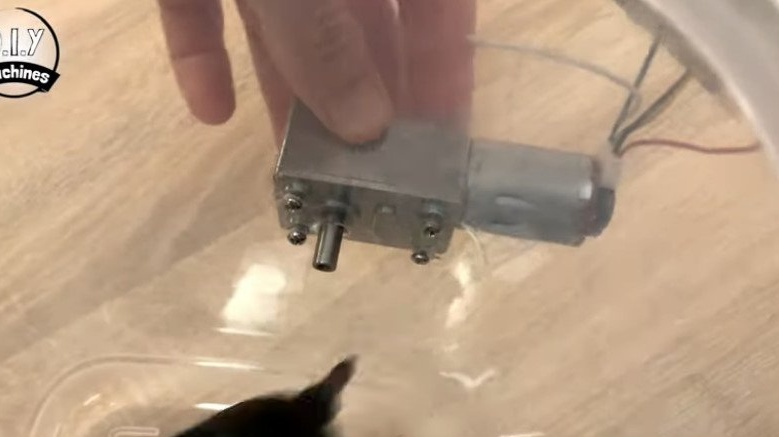
Secures the motor.
Step Two: Mount Holder
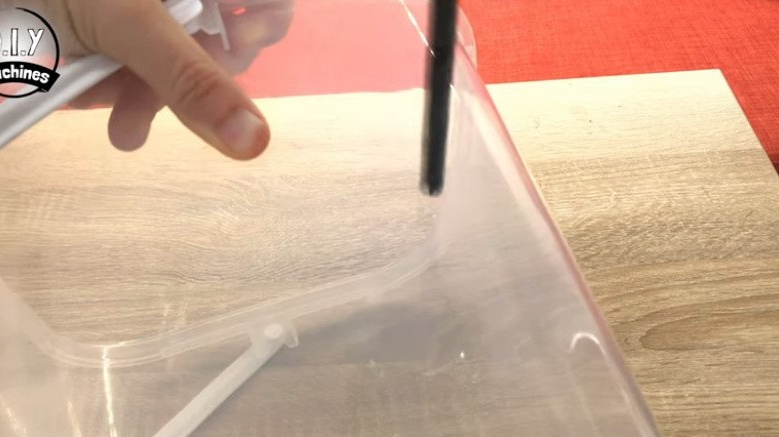
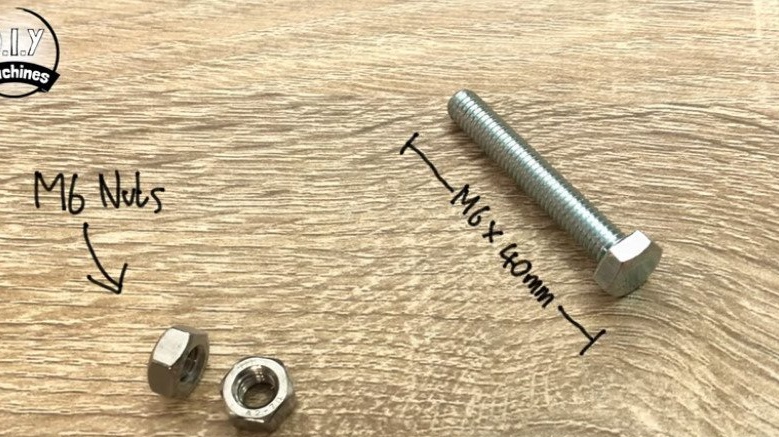
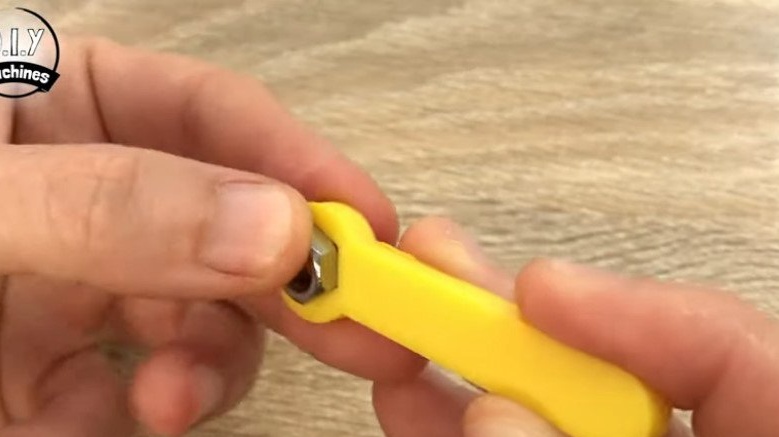
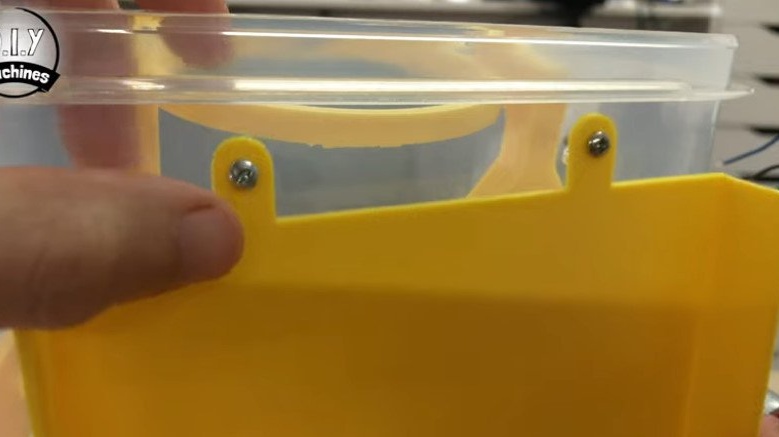
Installs a nut in the groove of the holder. Puts the holder on the motor shaft and locks with a bolt.
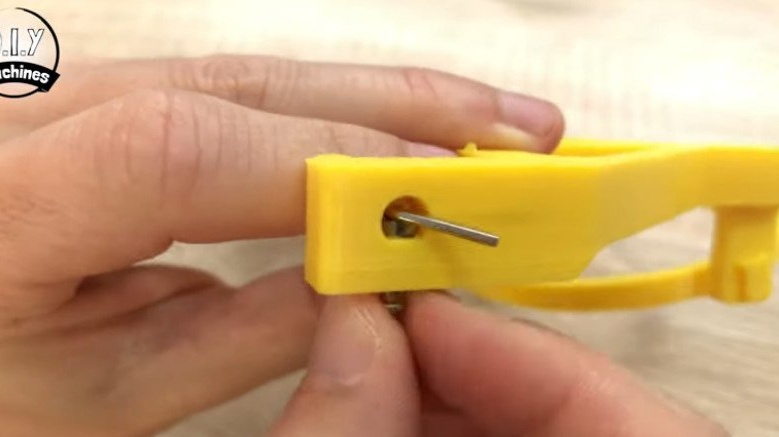
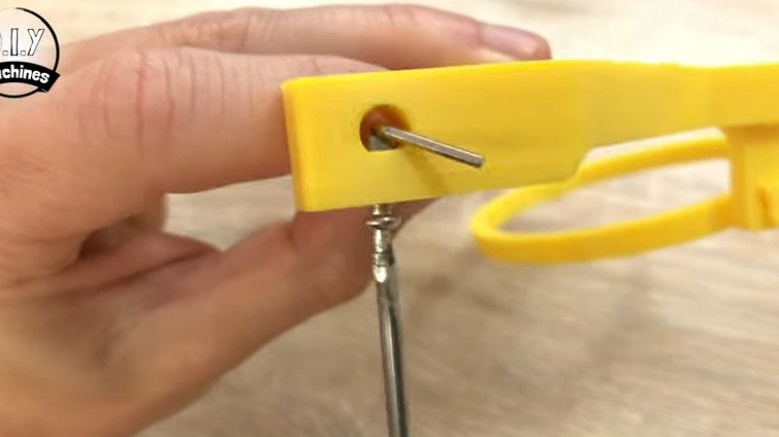
On the other hand, installs a bolt.
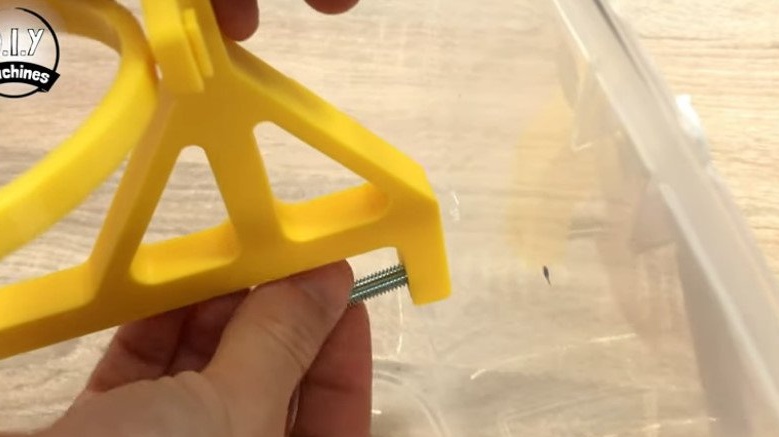
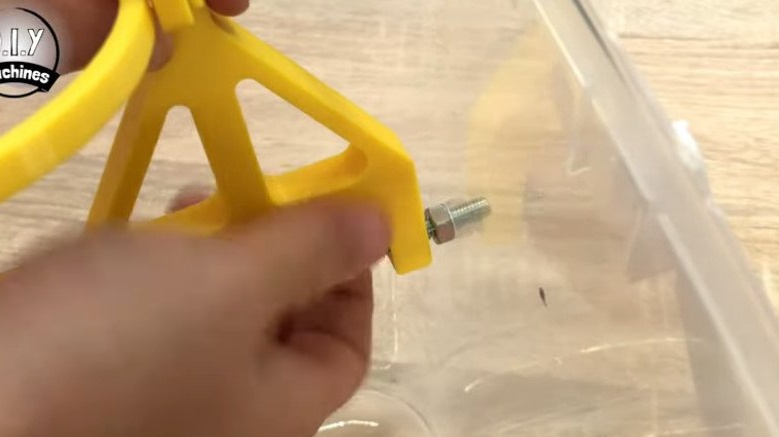
A stop is screwed onto the bolt. The limiter will be adjusted later.
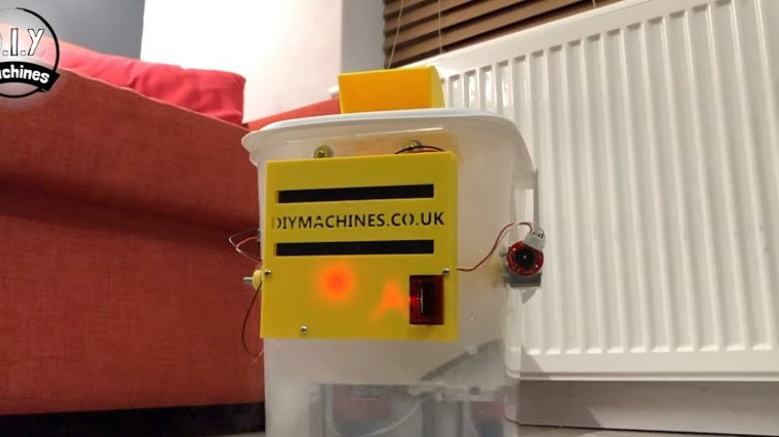
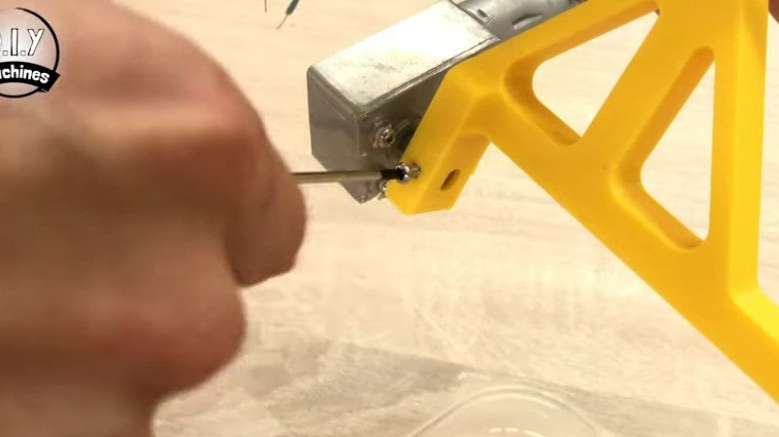
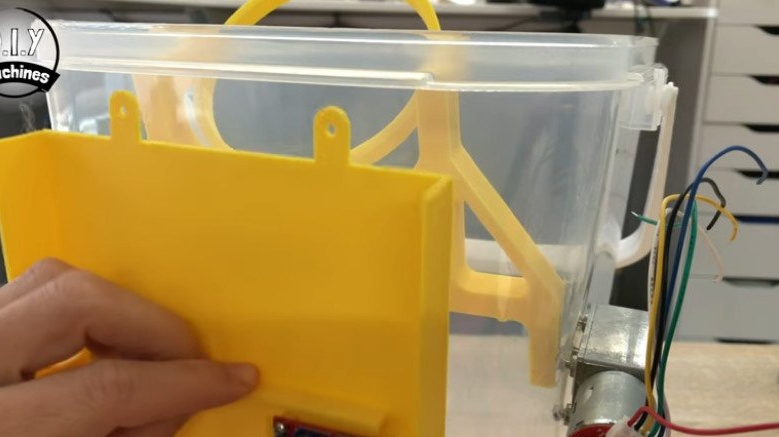
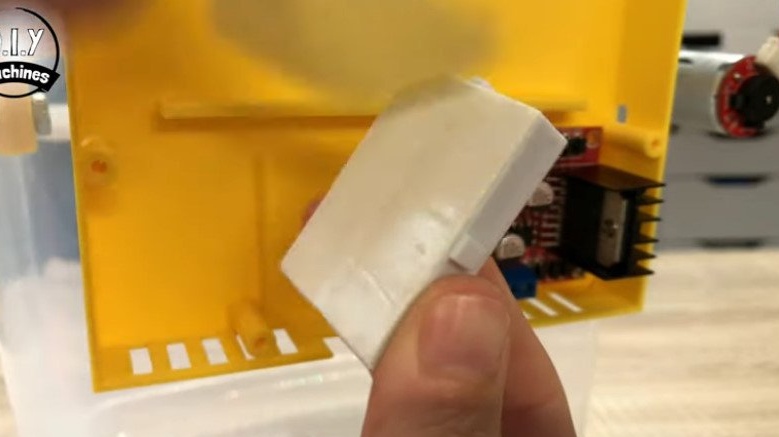
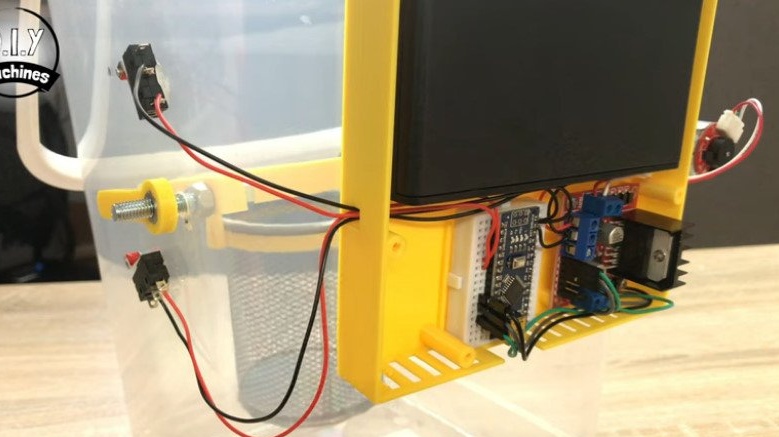
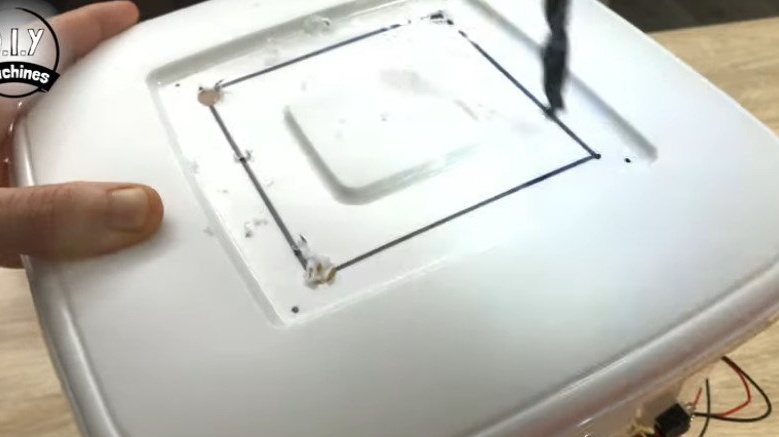
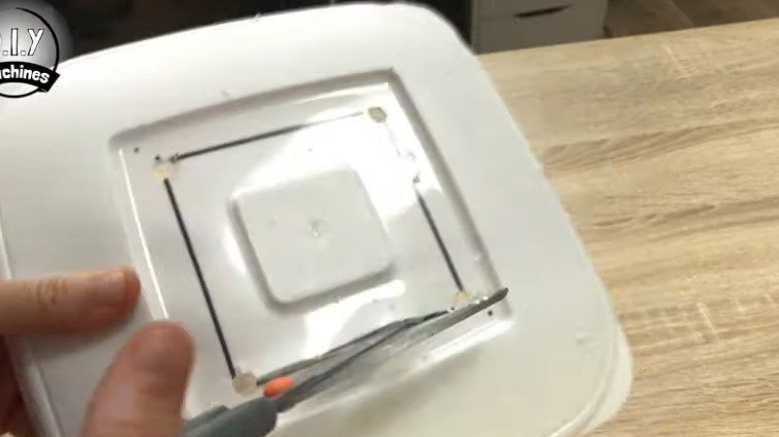
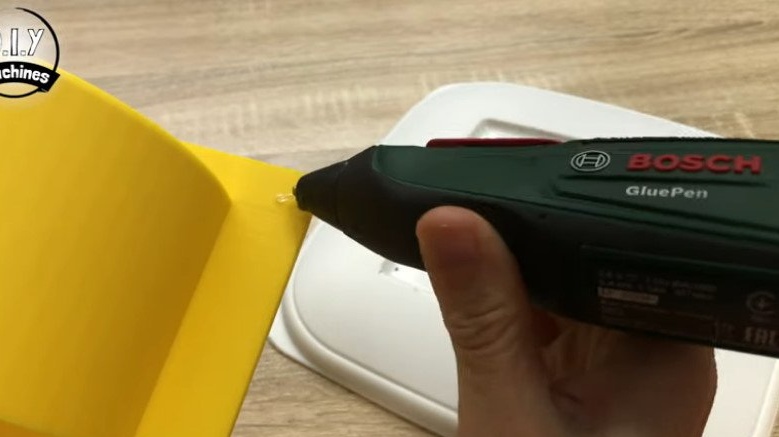
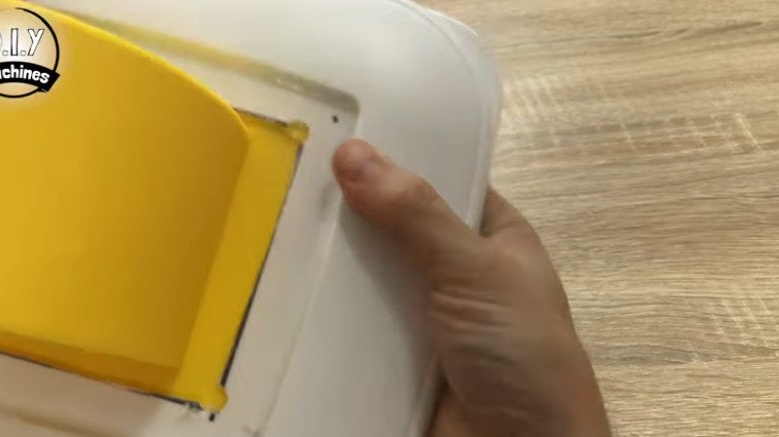
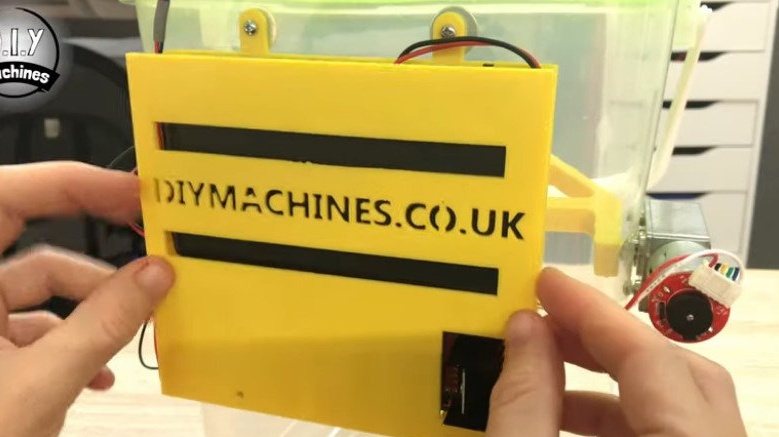
Step Three: Mounting Box
Prints a mounting box.
Fastens the L298N module in a box.
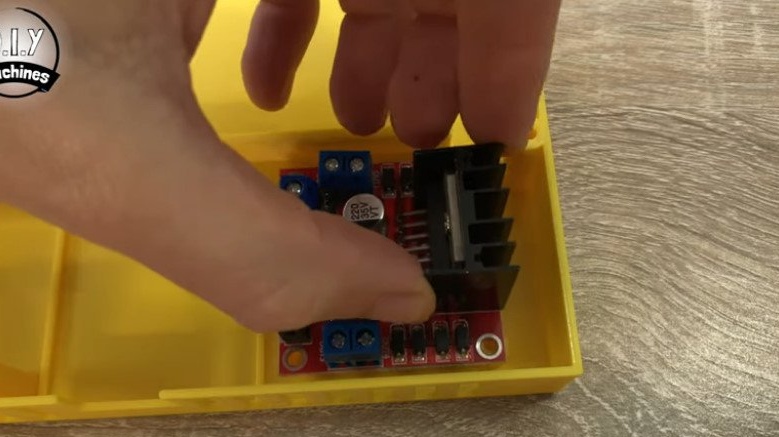
Fastens the box to the container.
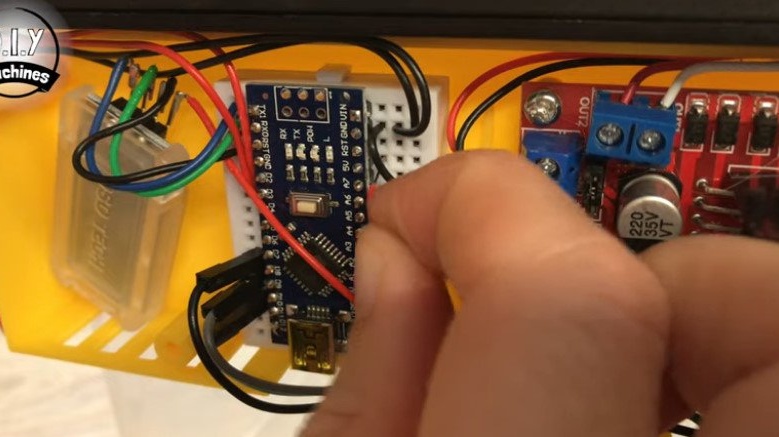
Step Four: Arduino
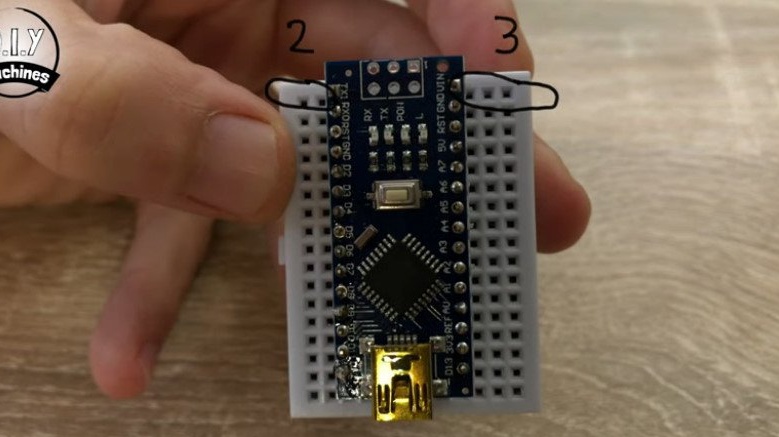
Installs the Arduino on a breadboard so that there are two rows of mounting holes to the left of the board and three rows to the right.
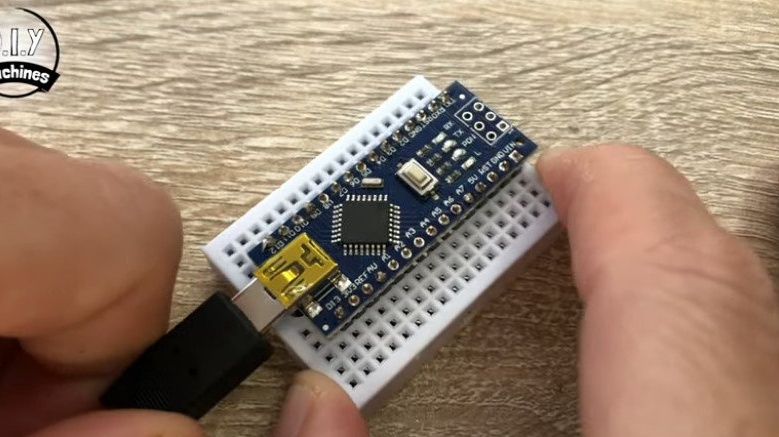
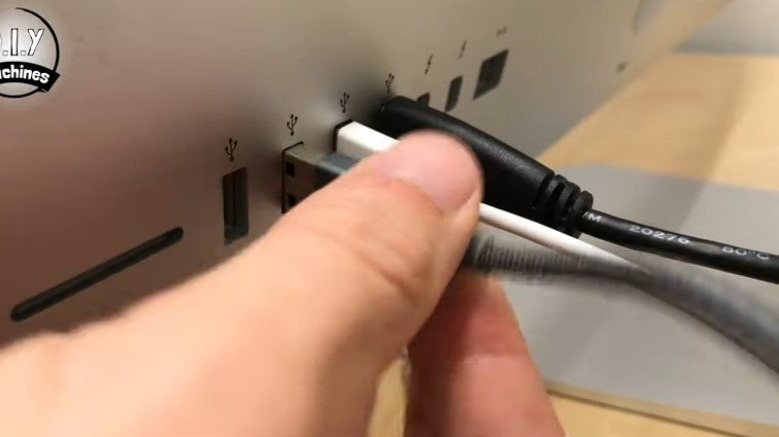
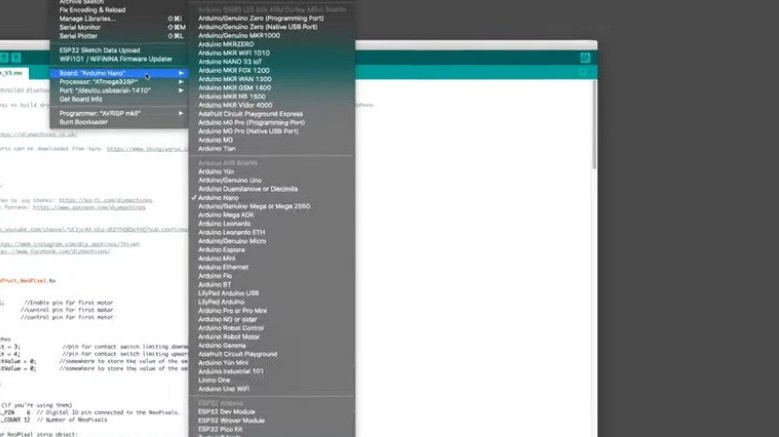
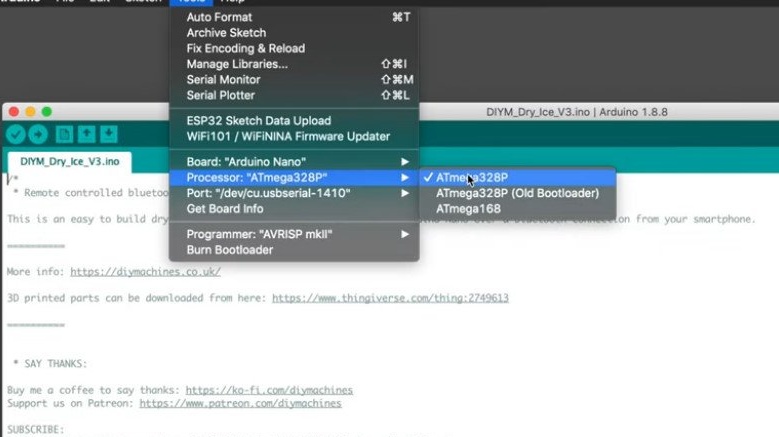
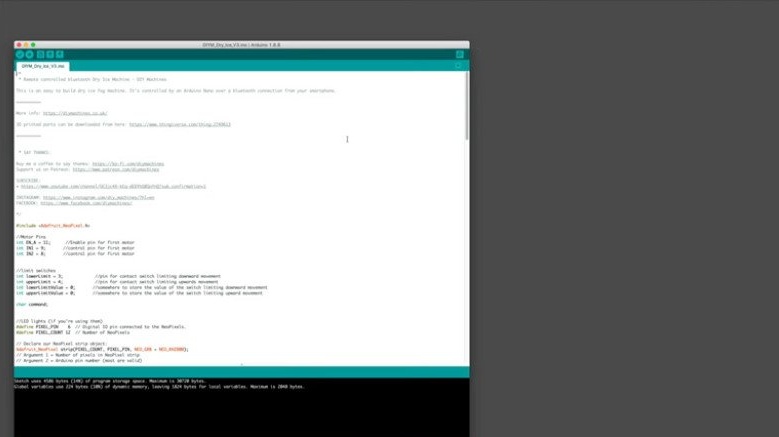
Connects Arduino to a computer. It exposes in the settings the type of board “Arduino Nano”, the ATmega328P processor.
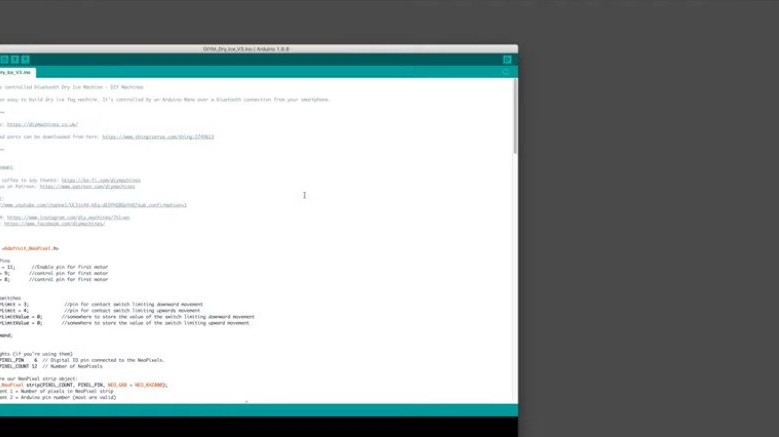
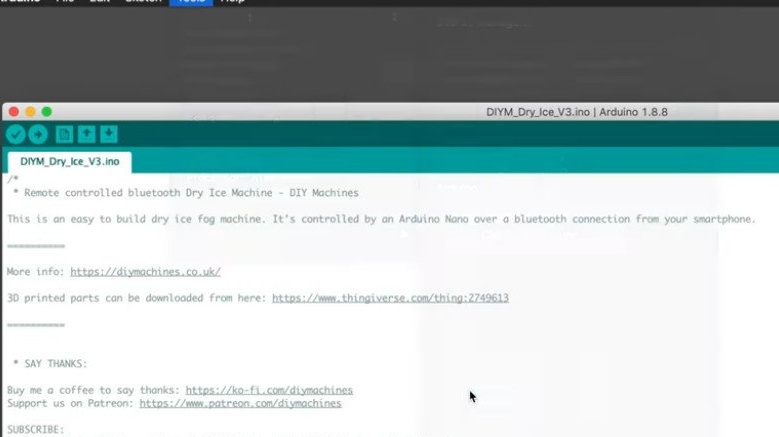

Loads the code.
https://diymachines.co.uk/projects/bluetooth-contr...
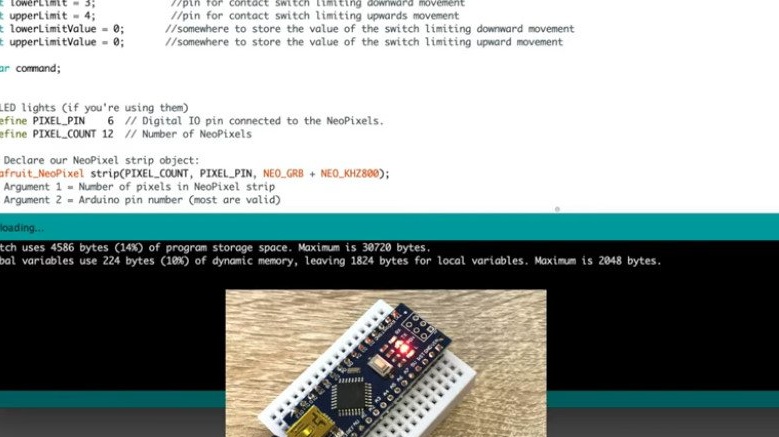
After downloading the code, it sticks the board into the case.
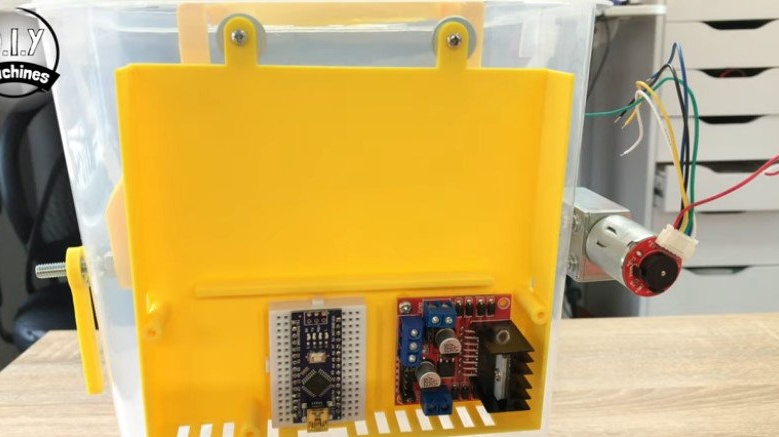
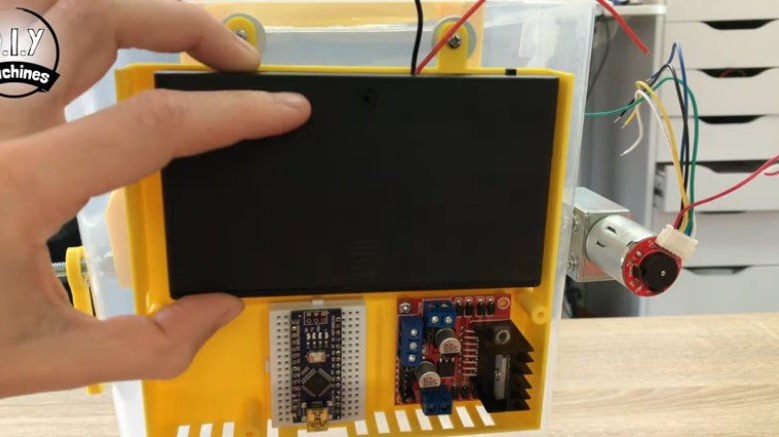
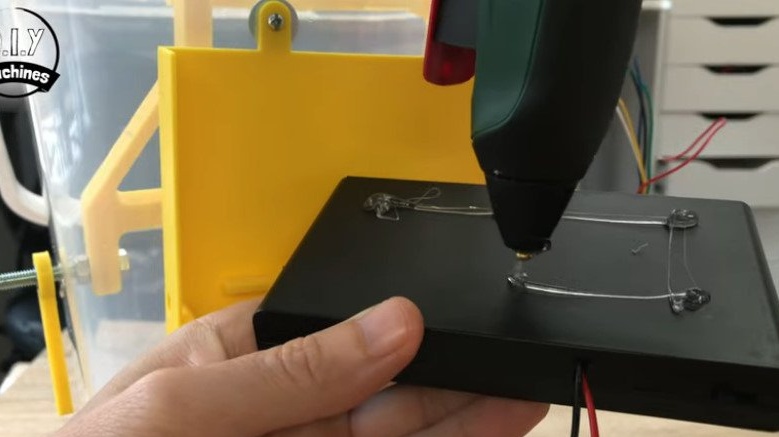
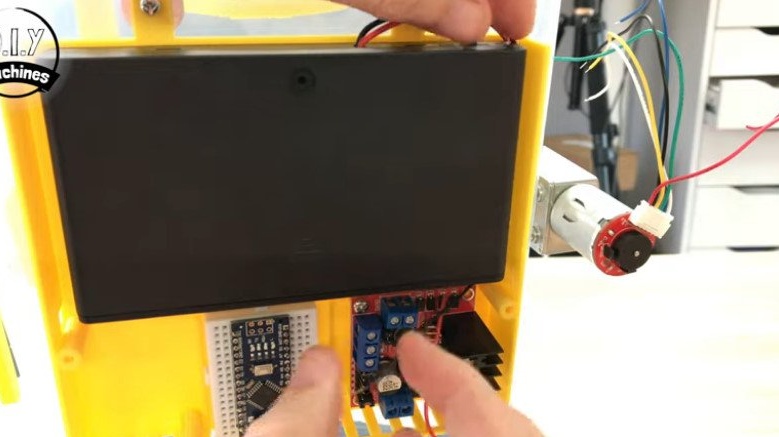
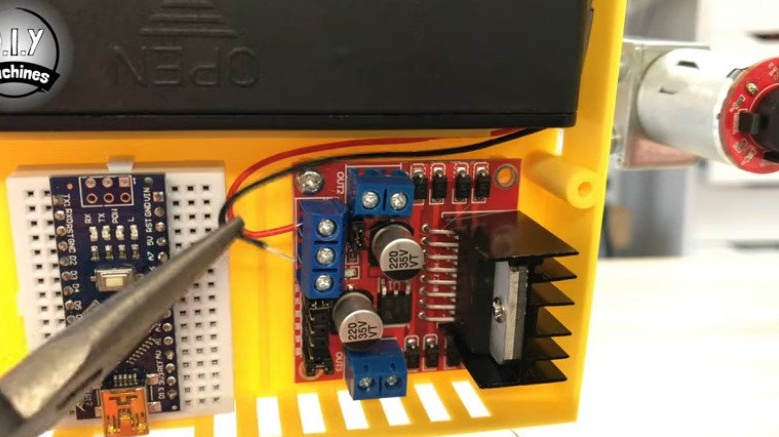
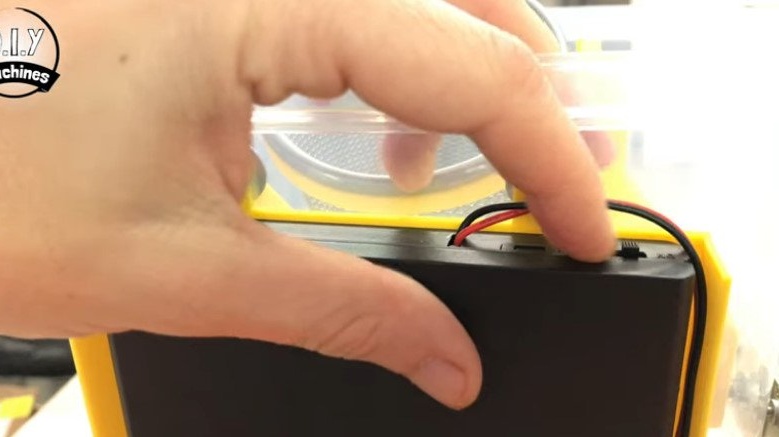
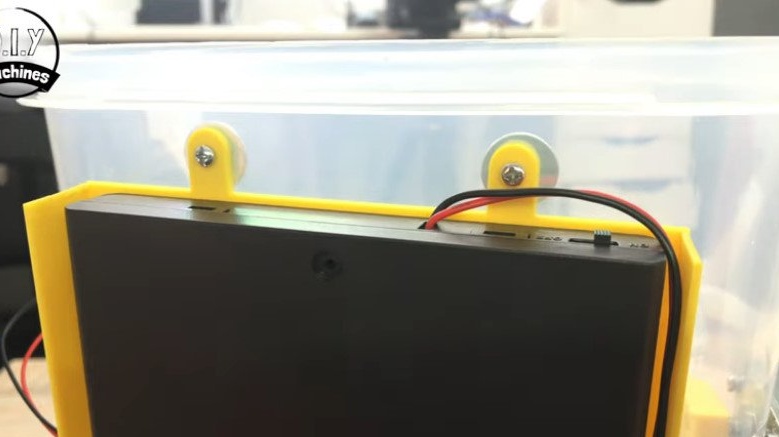
Step Five: Battery
Installs eight AA batteries into the battery compartment. Glues the compartment with hot melt adhesive. The positive wire secures to the top, and the negative to the middle terminal of the module side block.
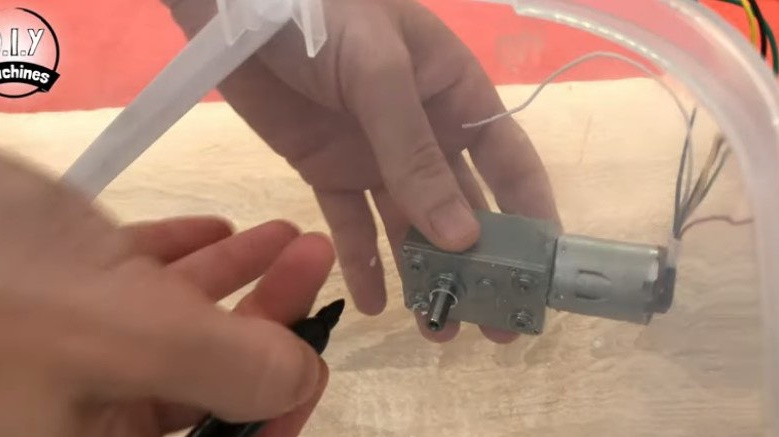
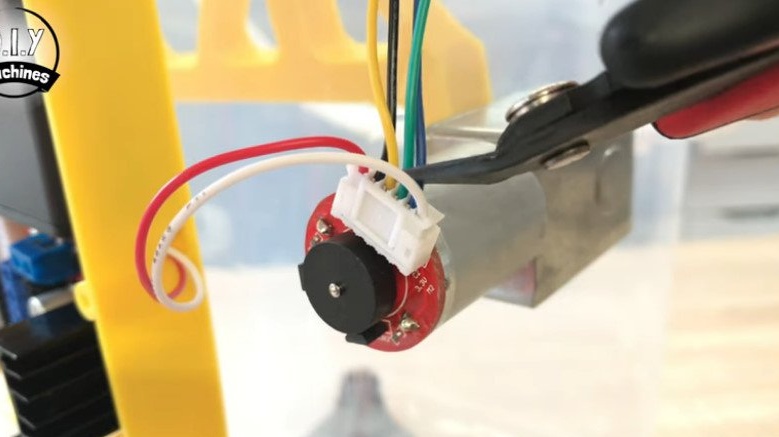
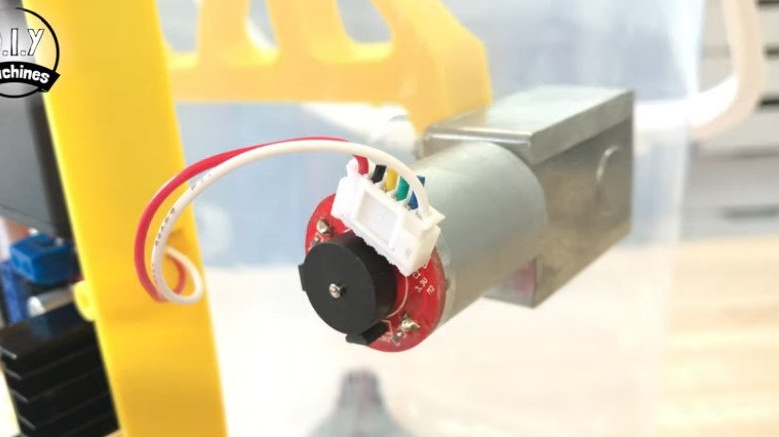
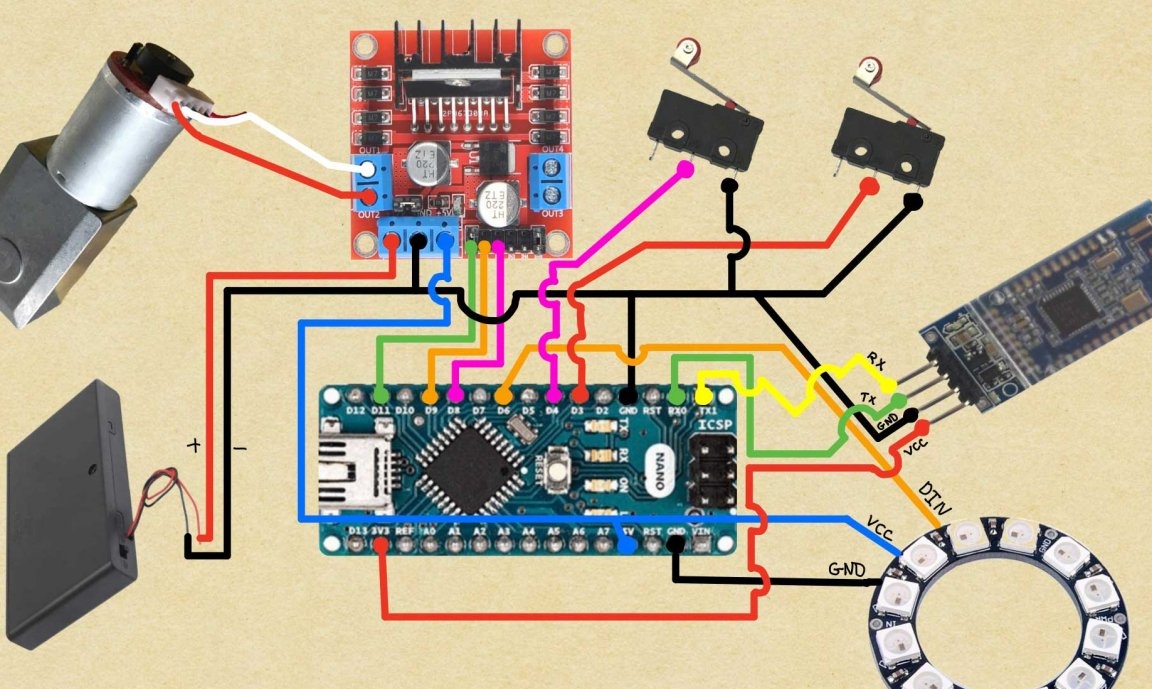
Step six: connect the motor
Builds up motor power wires and connects them. To connect, you need only two wires - white and red. They are connected as follows: white - the upper block is the right terminal, red - the upper block is the left terminal.

The remaining wires can be removed.
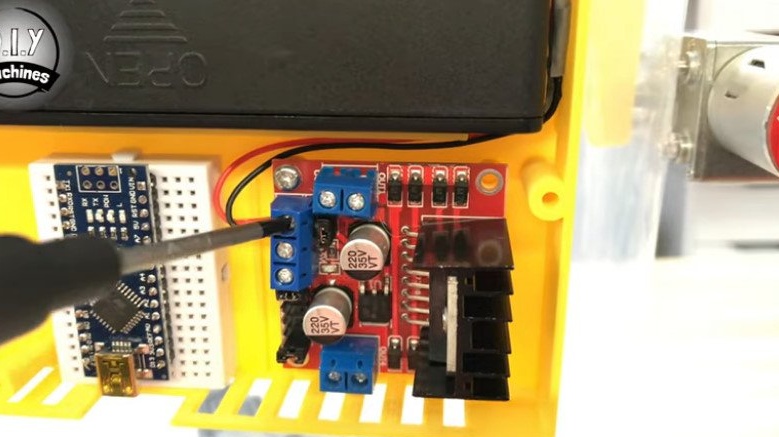
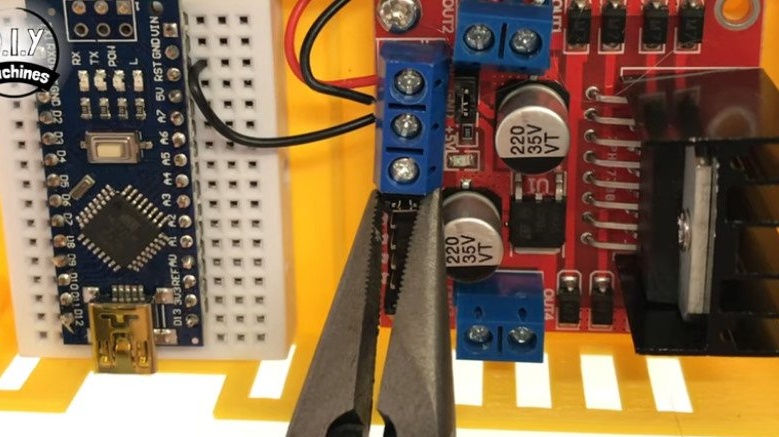
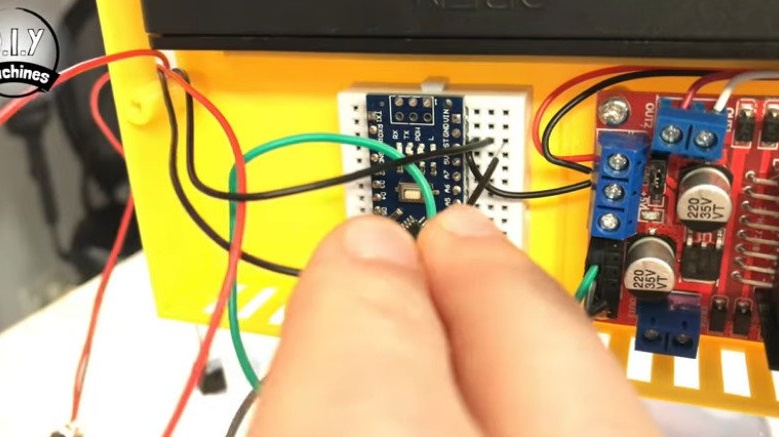
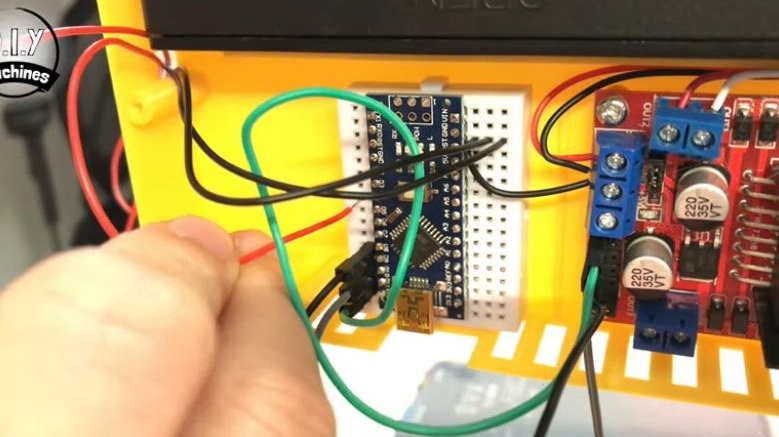
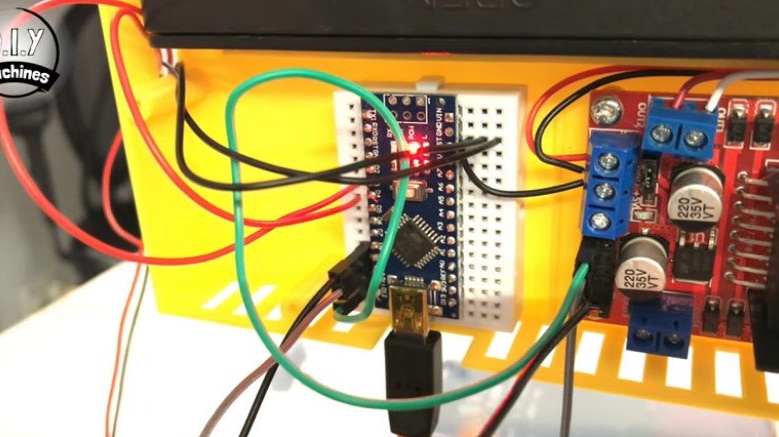
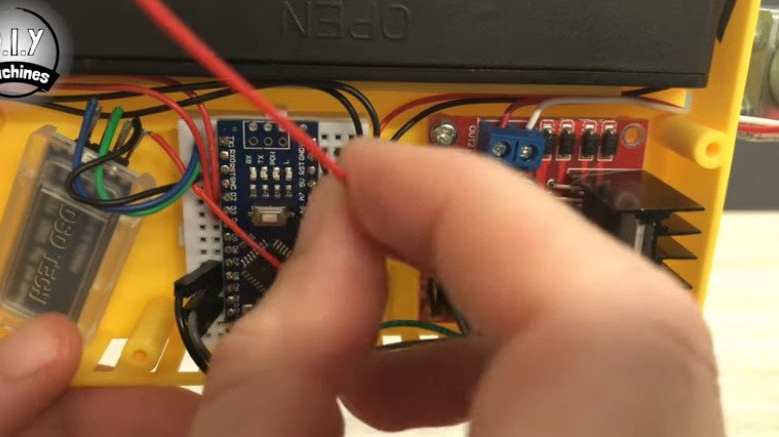
Seventh step: mounting the Arduino circuit - L298N
Now you need to connect the Arduino jumpers and the motor driver. It places a jumper between the ground of both boards.
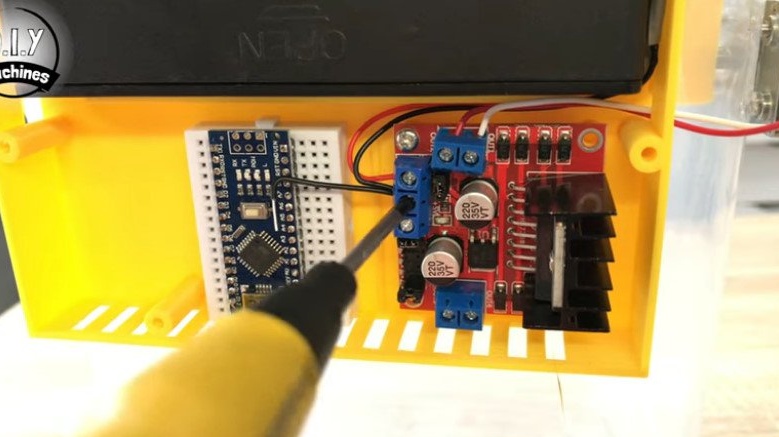
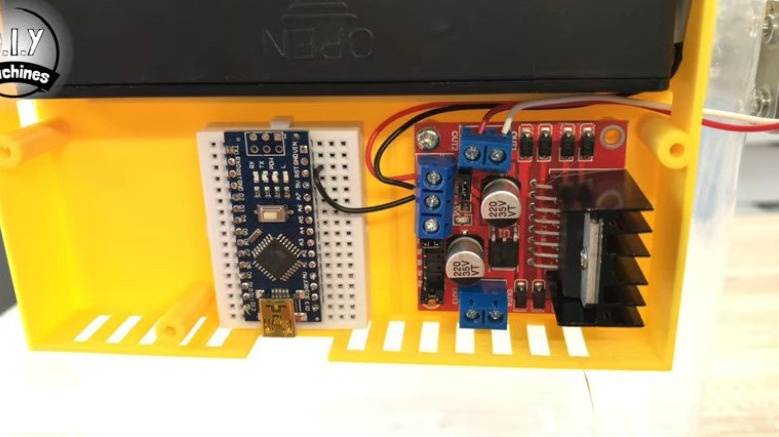
Dismantles the jumper below the terminal block and installs jumpers:
Enable A - Digital 11
Input 1 - Digital 9
Input 2 - Digital 8
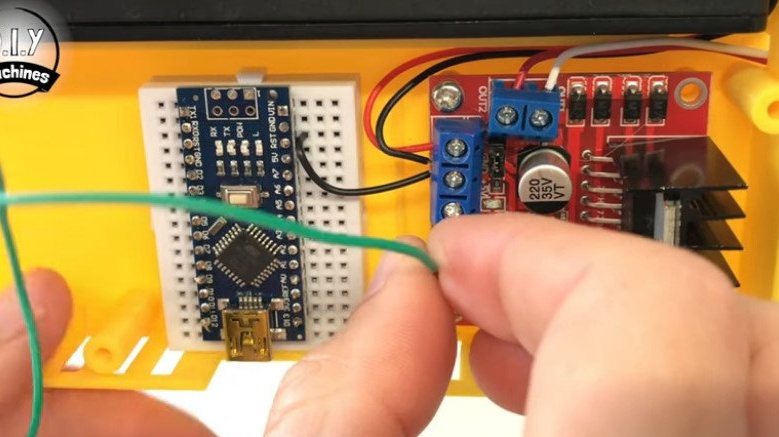
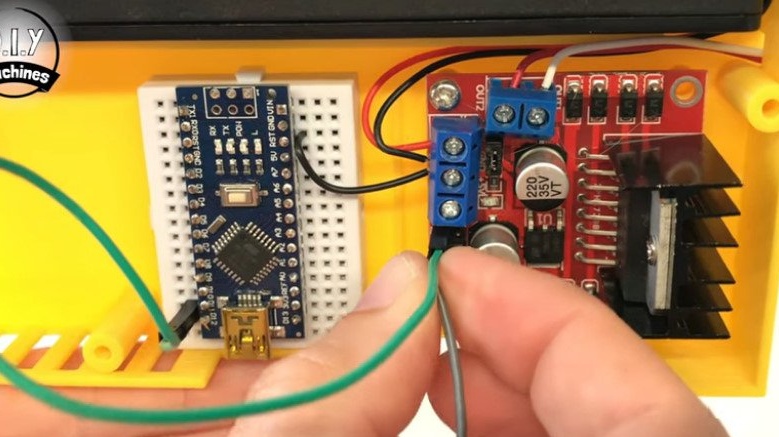
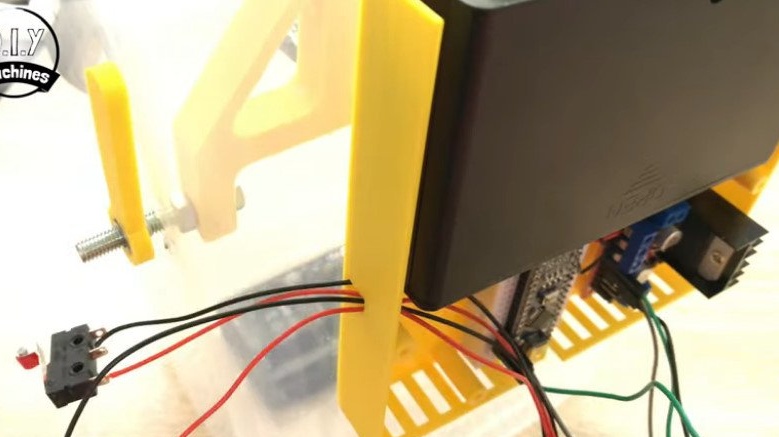
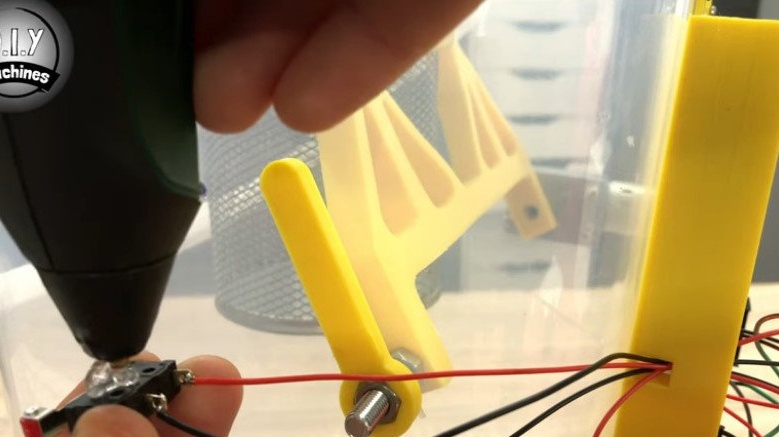
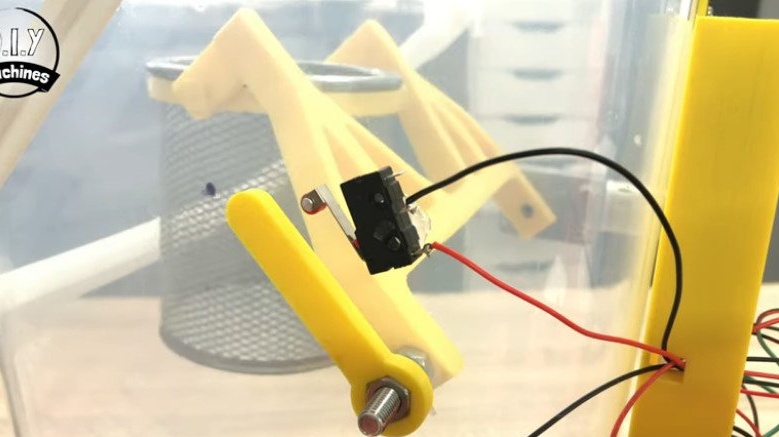
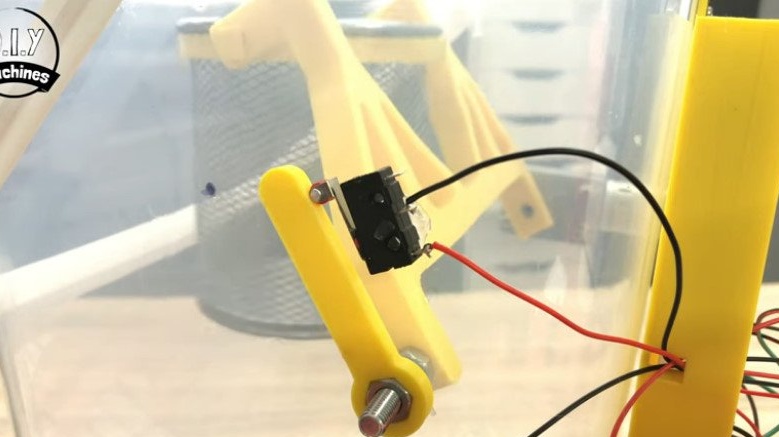
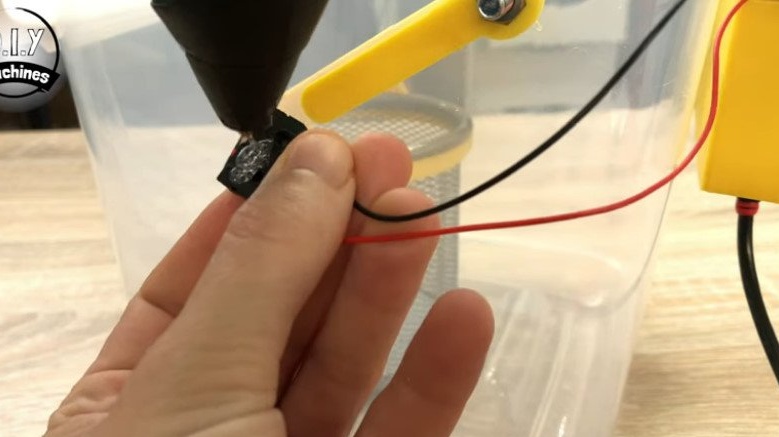
Step Eight: Limit Switches
Now you need to install two limit switches.
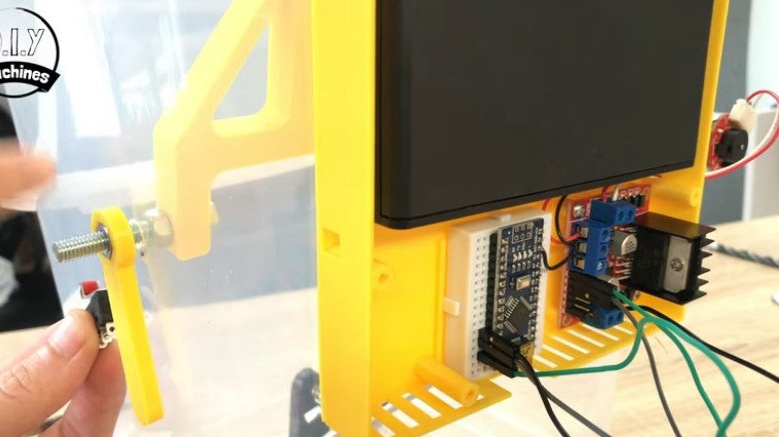
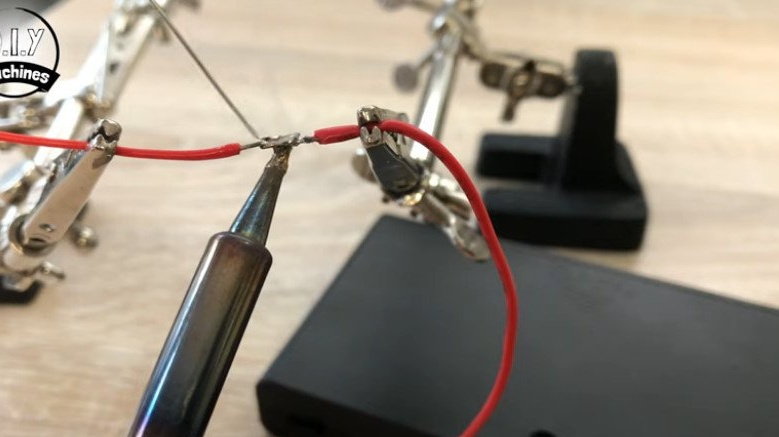
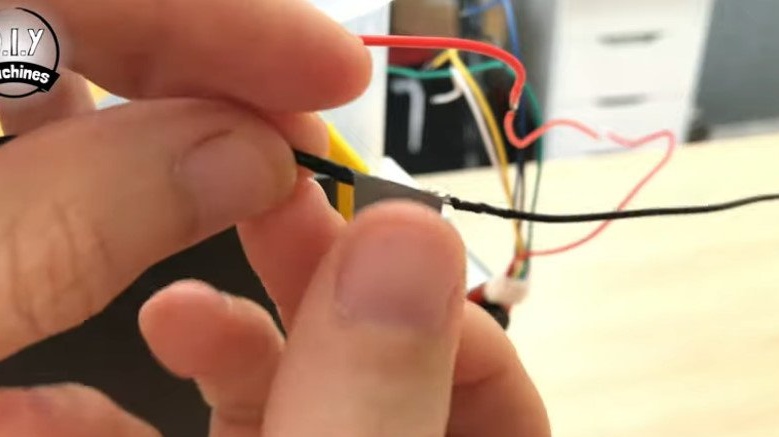
Solders to the outputs of the wire limit switches.
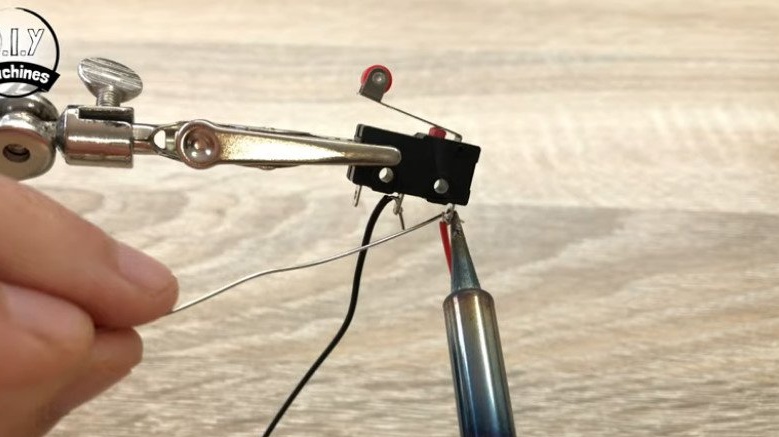
The wires are pulled into the hole on the side of the mounting box. Connects one wire of each switch to ground. The second wire connects one to "4", the second to "3".
Connects Arduino to PC and opens Arduino IDE. Sets the transmission speed to 9600.
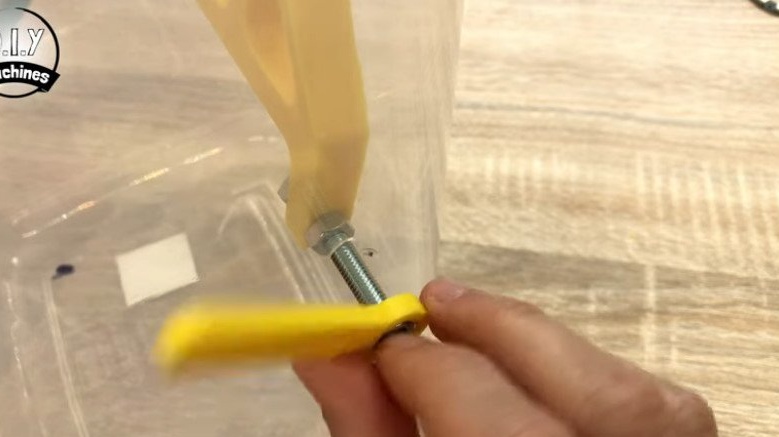
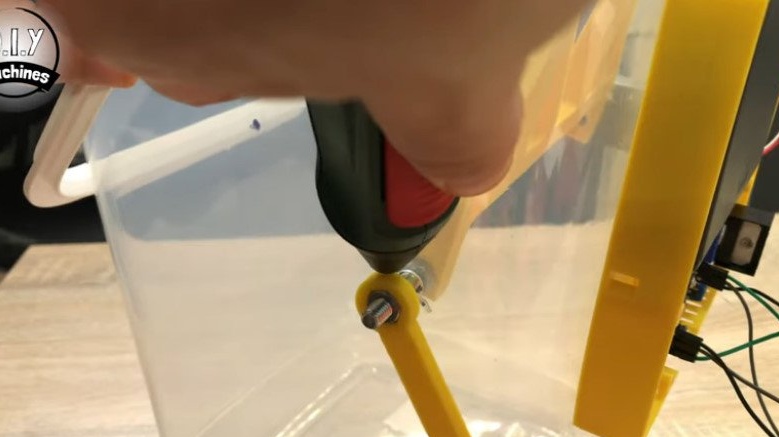
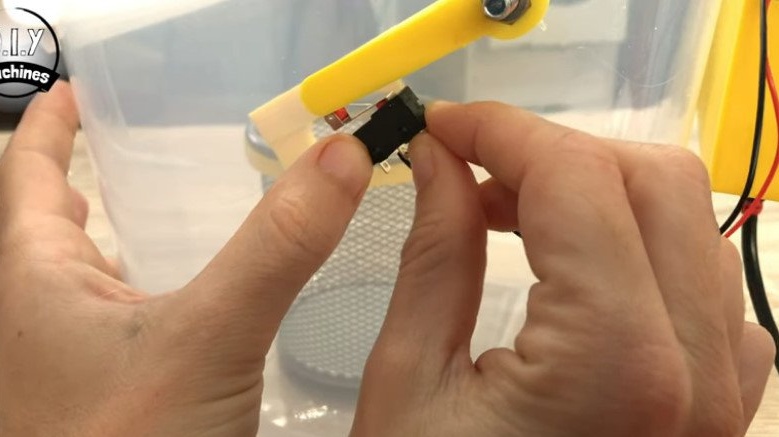
Apply hot-melt adhesive to the bolt on which the limiter is installed. Spin the limiter. The hot melt will harden and the limiter nut will be fixed to the bolt.
Turns on the power. Prescribes the letter D in the Arduino IDE until the glass drops to the point where it will not cling to anything. Applies hot-melt adhesive to the limit switch connected to "4" and fixes it to turn off in the highest position.
Lowers the glass almost to the end. Secures the second limit switch.

Step nine: bluetooth module
Then solder the wires to the contacts of the HM10.
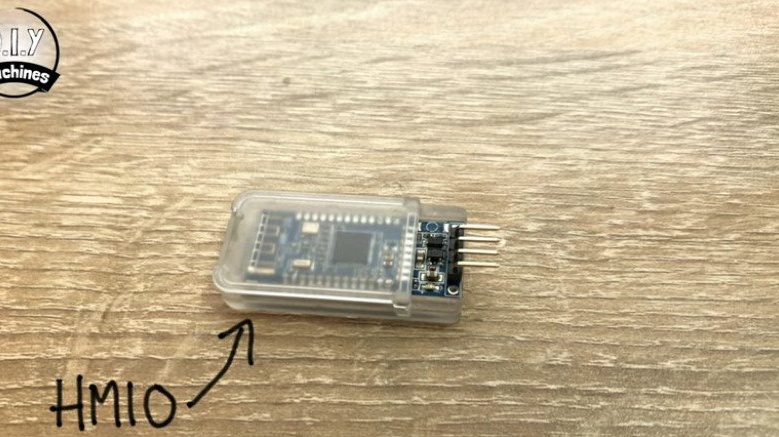
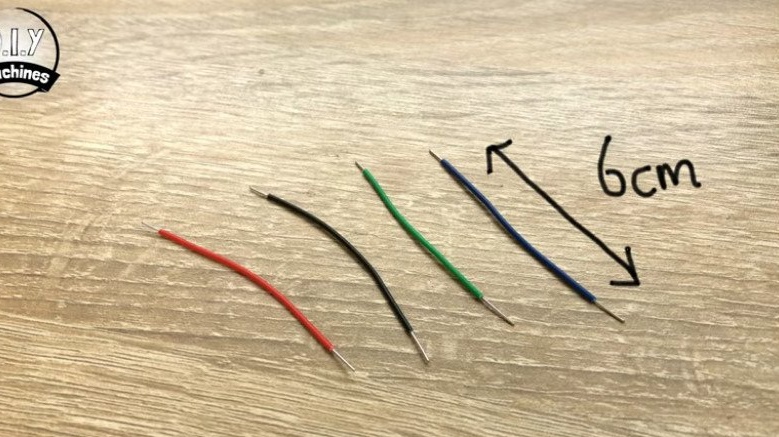
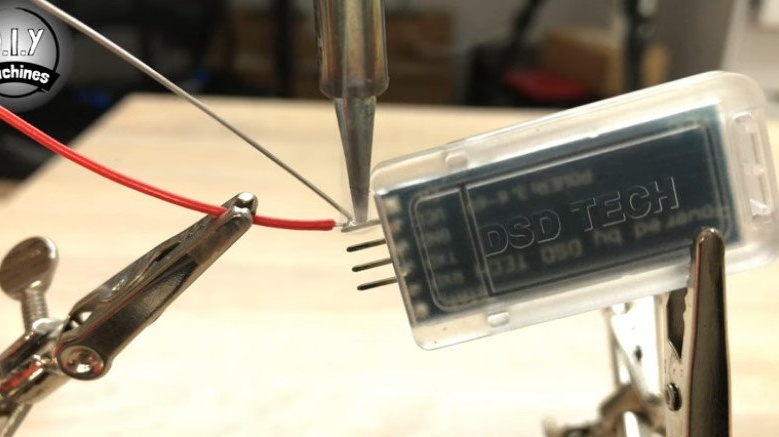
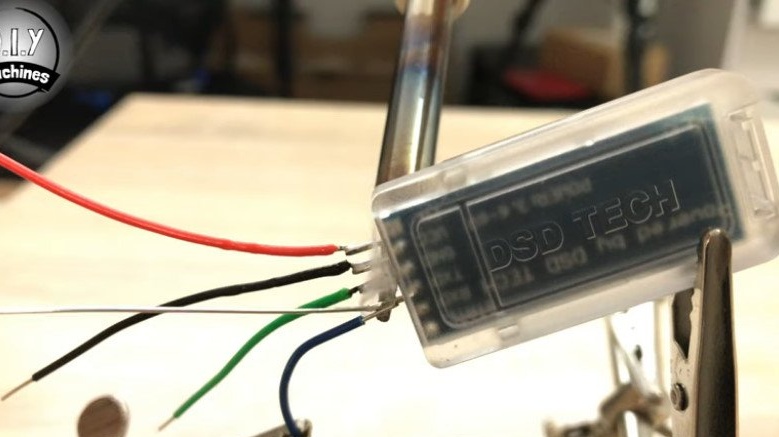
Connects the wires in the following order:
Wire from VCC on the Bluetooth module to 3.3 V on the Arduino.
Ground wire to ground.
The wire going from TX on the bluetooth module to RX on Arduino.
RX on the HM10 to the TX Arduino Nano.
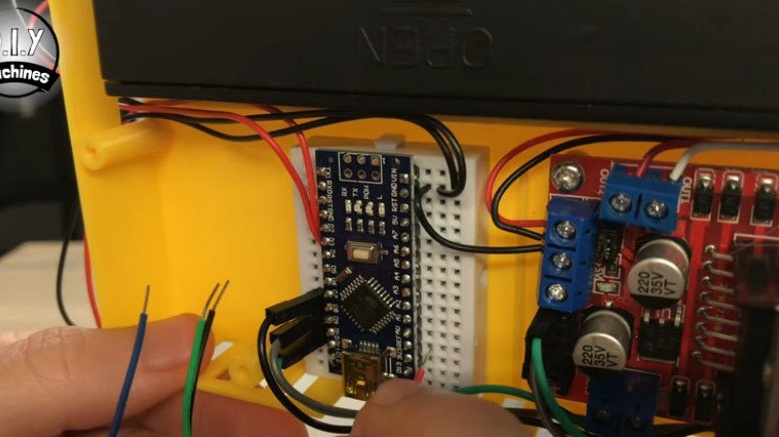
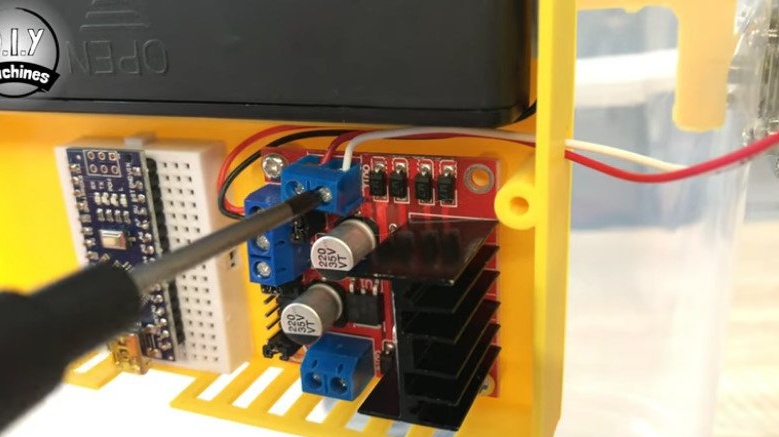
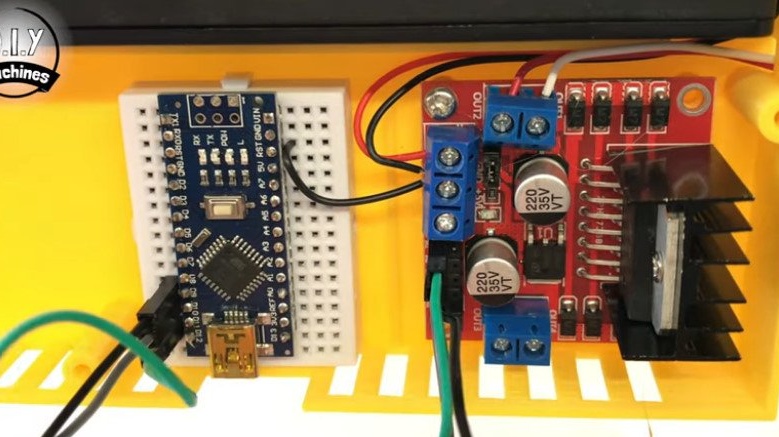
Step Ten: Connect Arduino to Battery
The master supplies power to the Arduino by setting a jumper between the lower terminal of the right driver block and the 5V Arduino.
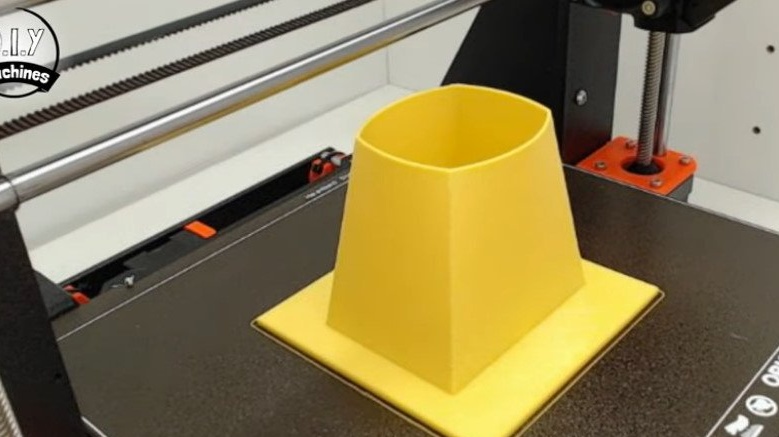
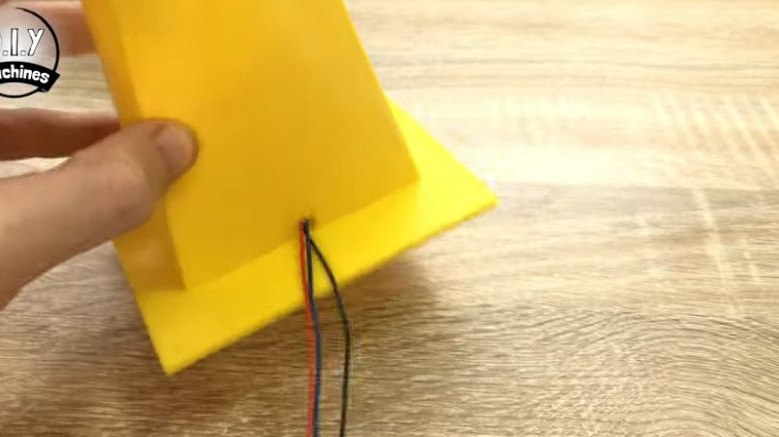
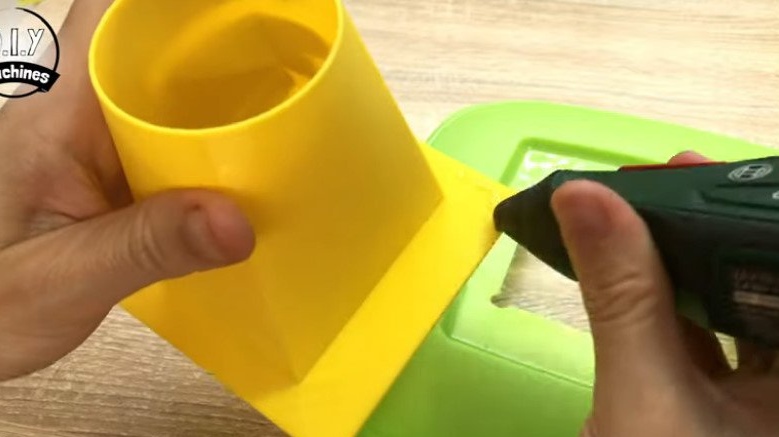
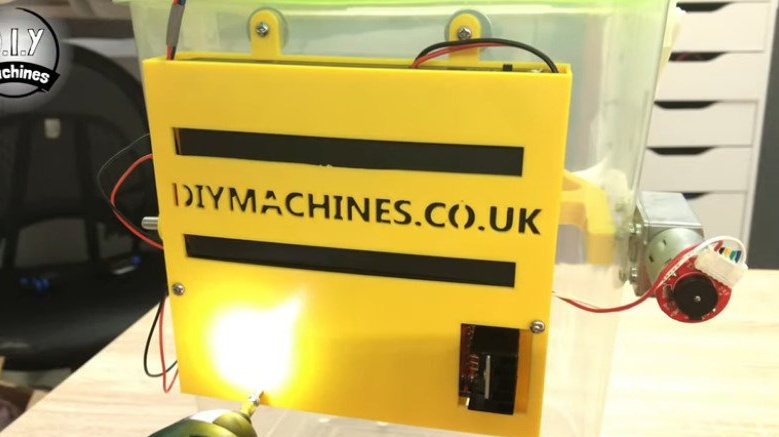
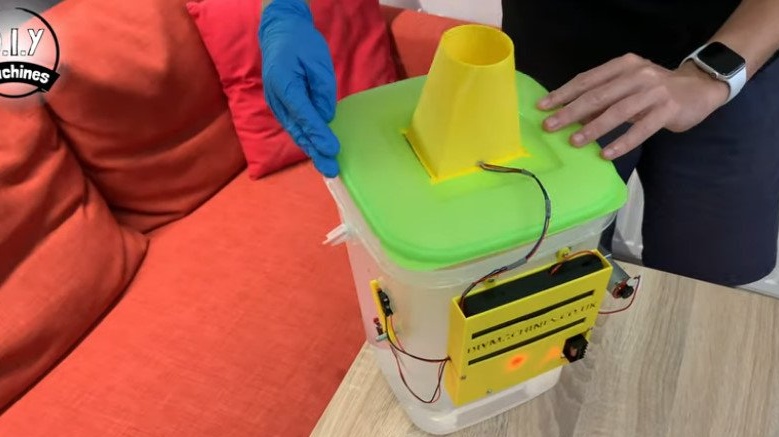
Step Eleven: Nozzles
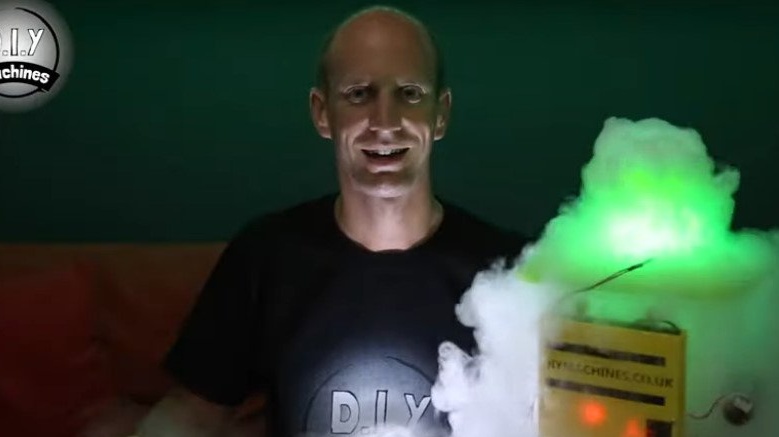
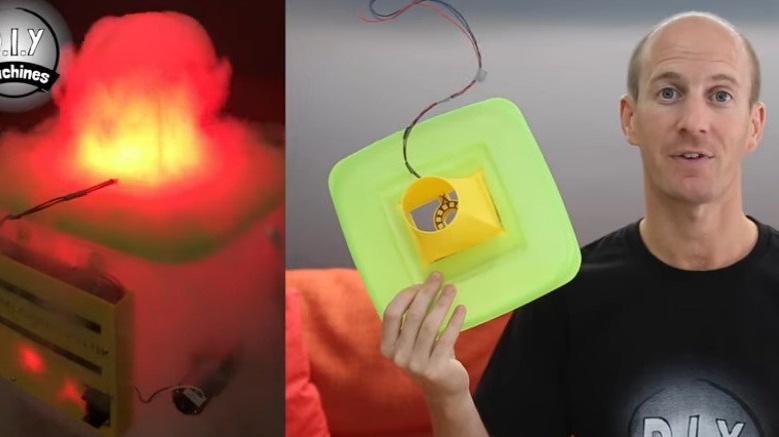
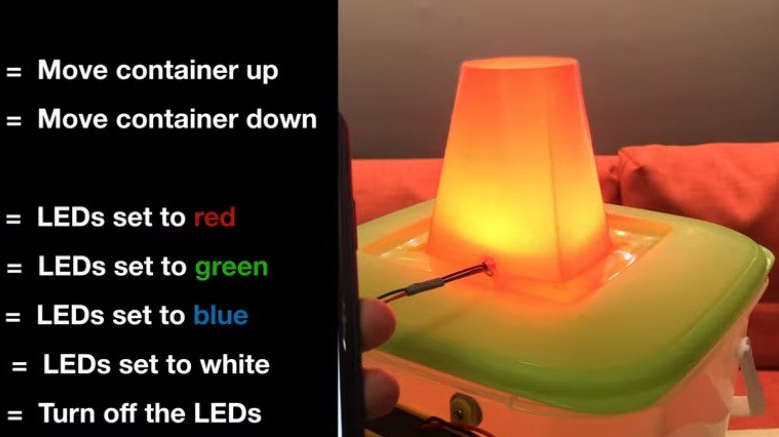
The master made two options for nozzles. One for thick fog
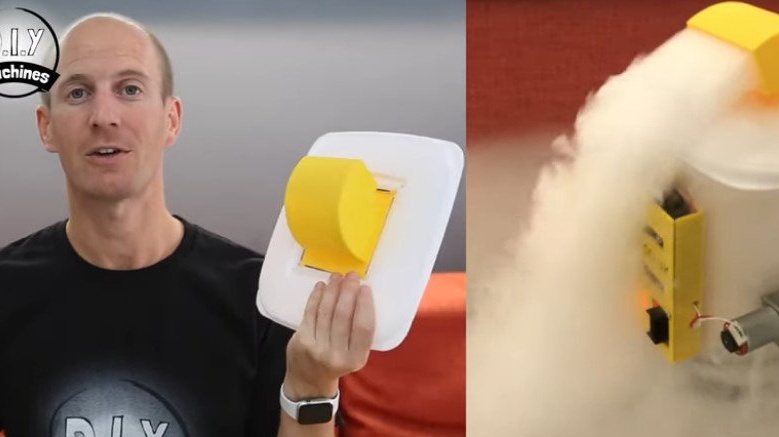
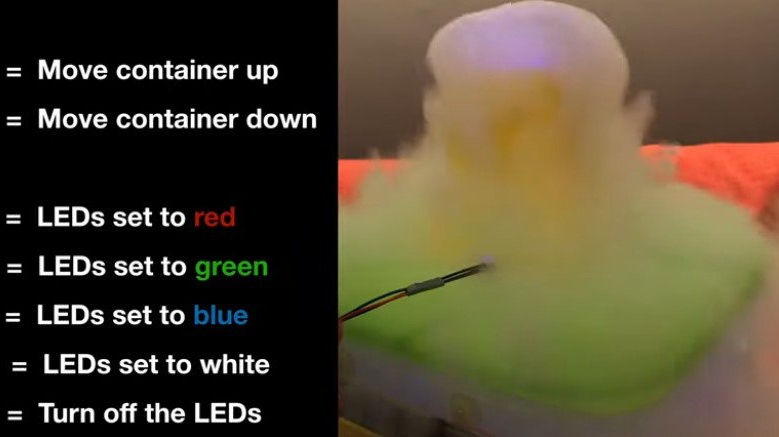
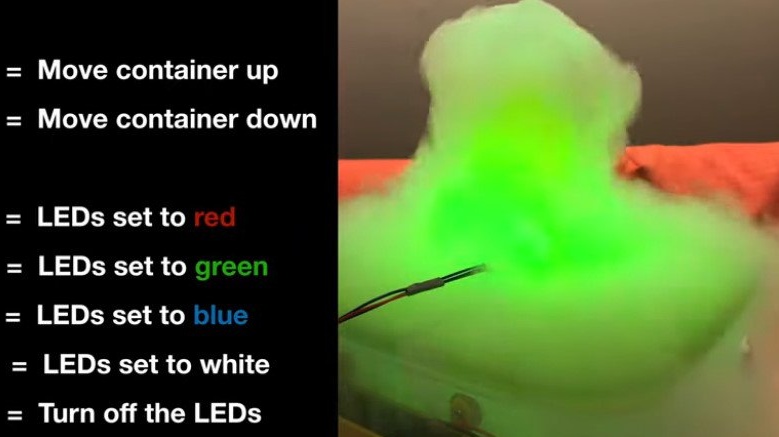
the second for the effect of "volcanic eruption." In the second version, an RGB LED panel is installed in the nozzle.
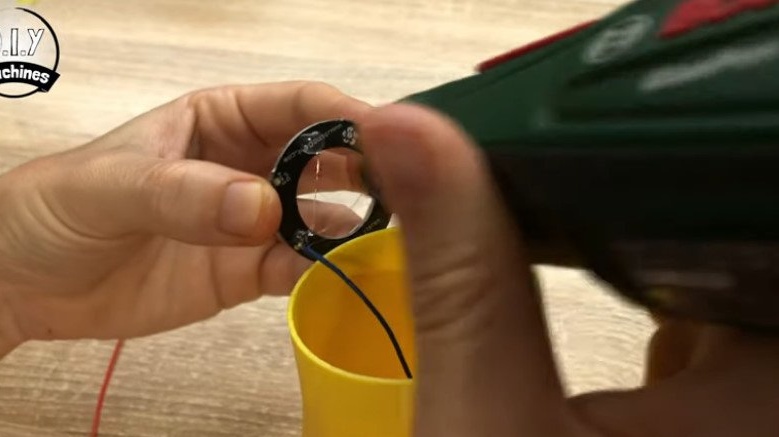
The master prints the first nozzle on the printer.
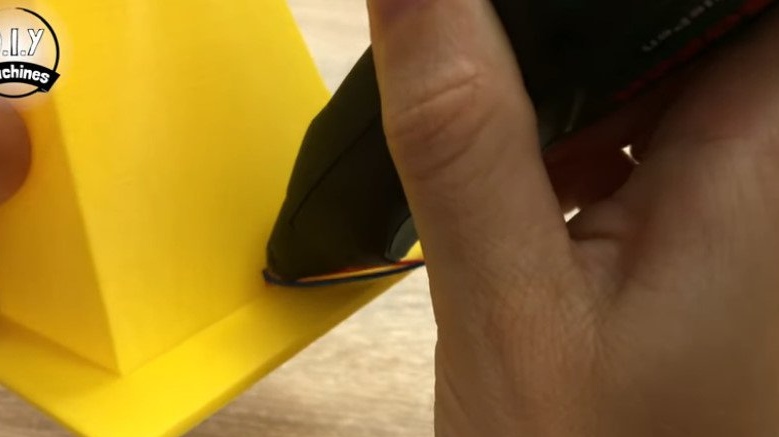
Cut a hole in the cap and stick the nozzle to the cap.
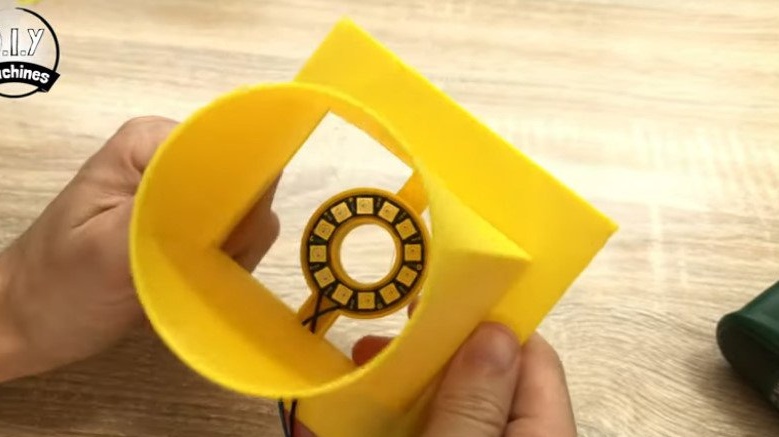
The nozzle "volcano" prints.
Now you need to assemble it.
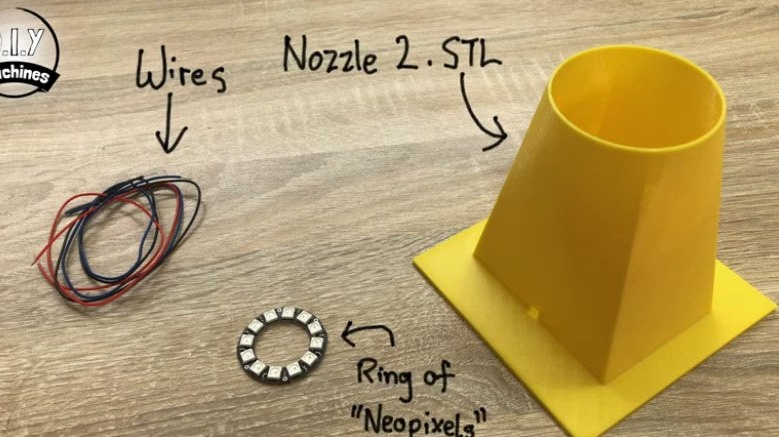
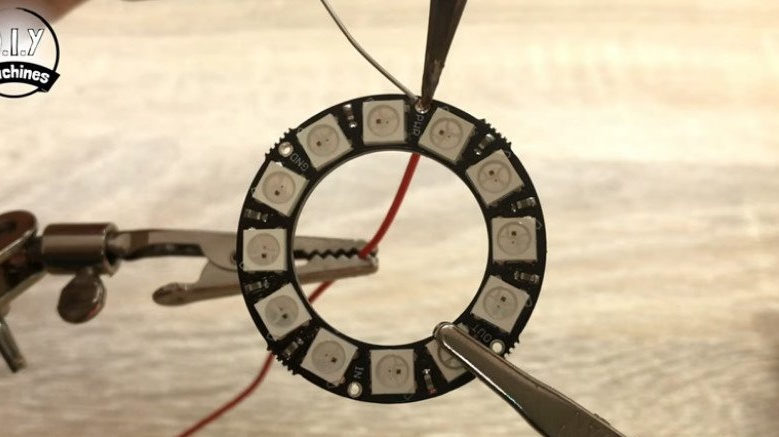
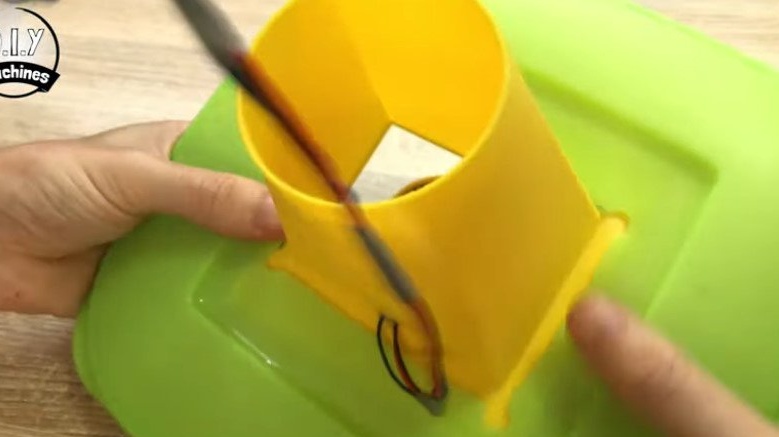
Solders the wires and passes them into the hole at the bottom of the nozzle.
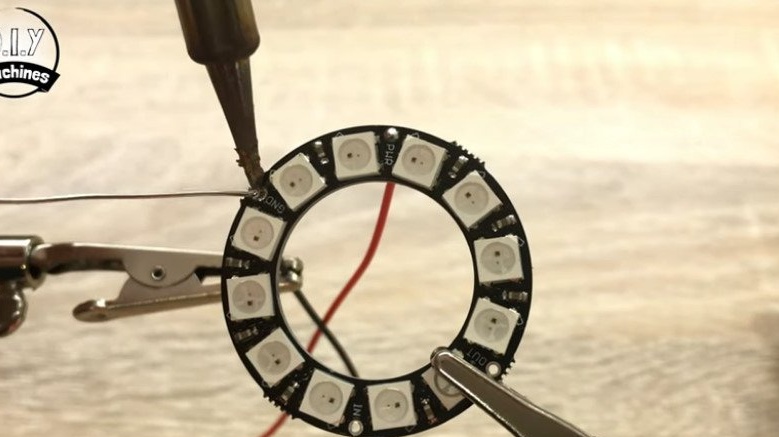
Adheres the LED panel to the nozzle baffle. Glues the nozzle to the cap (each nozzle has its own cap).
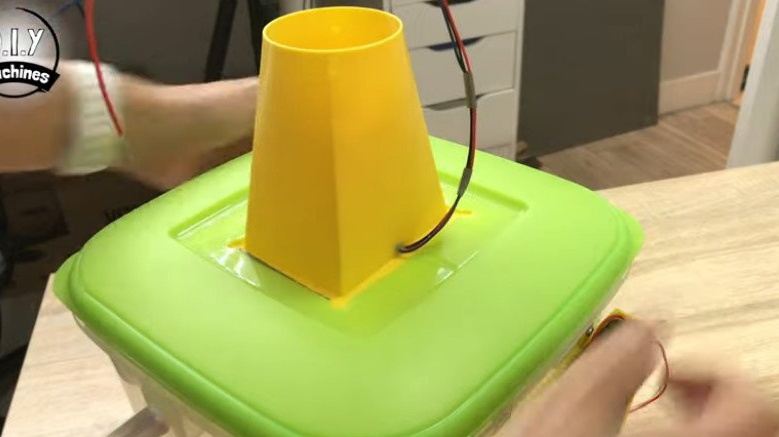
Connects the wires to Arduino in the following order:
Panel: Arduino
IN - D6
VCC - 5V
GND - GND
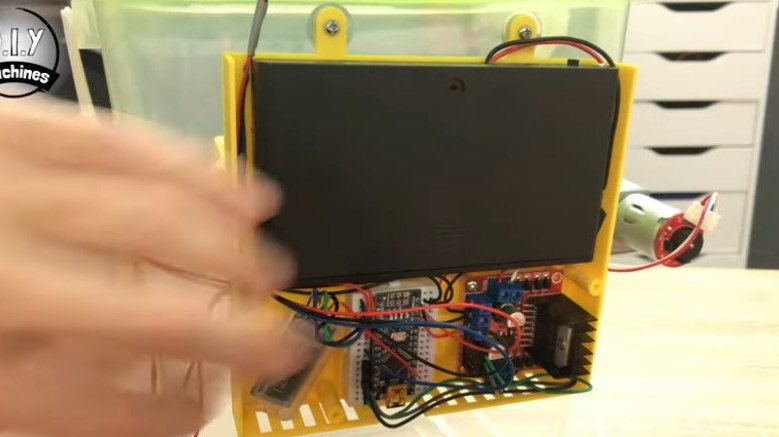
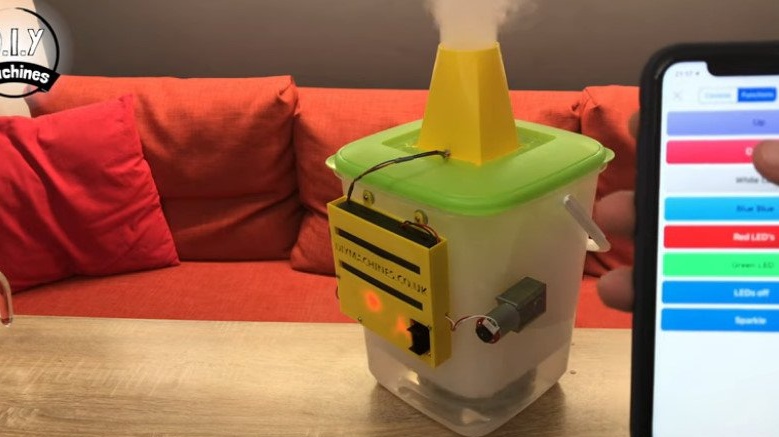
Electronics everything is connected and the master installs the cover.
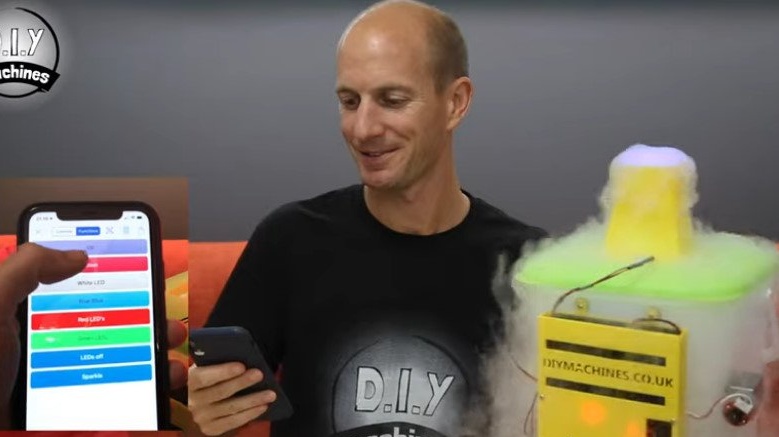
Step Twelve: Establishing a Bluetooth Connection
To connect via Bluetooth, you need to download the application to your phone. The wizard uses an Apple device and downloads an application called “HM10 Bluetooth Serial”.
To control the glass you need:
send "U" to move the glass up
send 'D' to move the glass down.
To control the LEDs:
'R' for red
'B' for blue
"G" for green
'W' for white
“O” to turn off the LEDs.
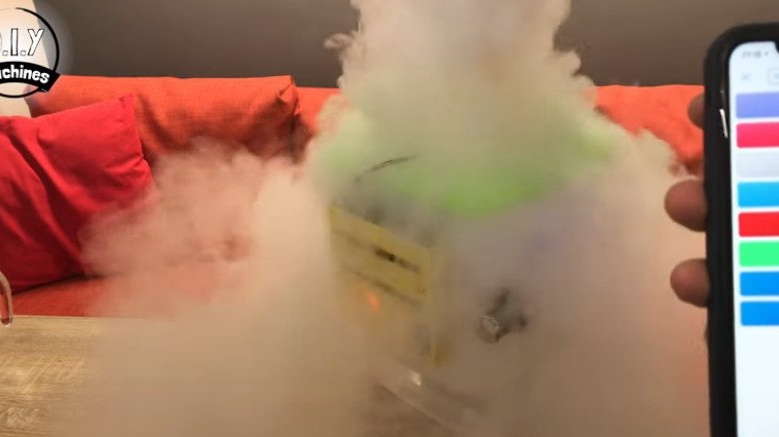
Step Thirteen: Verification
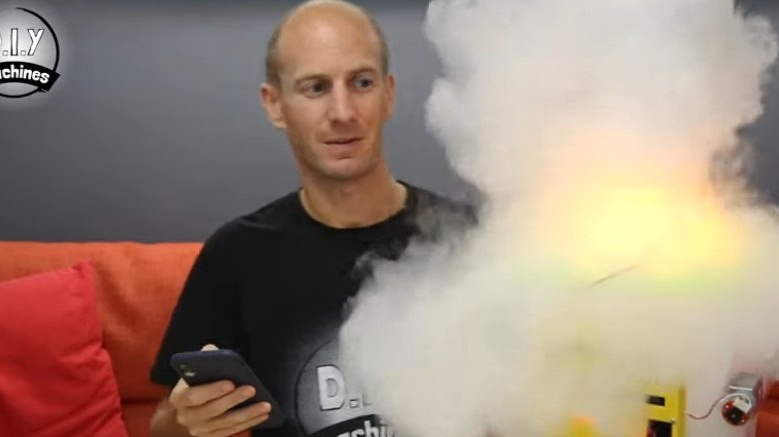
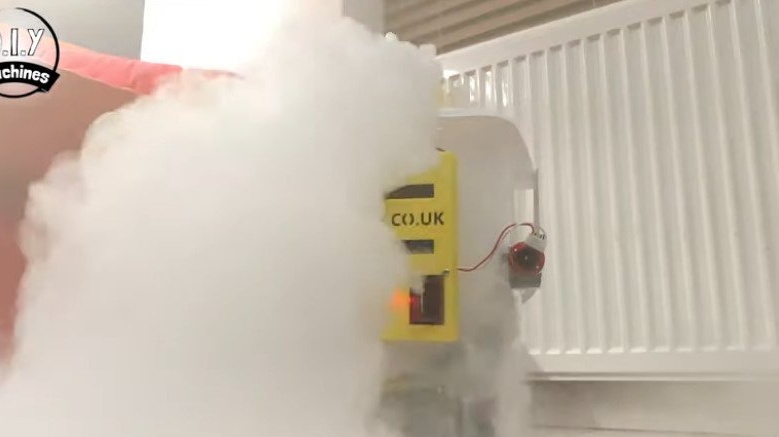
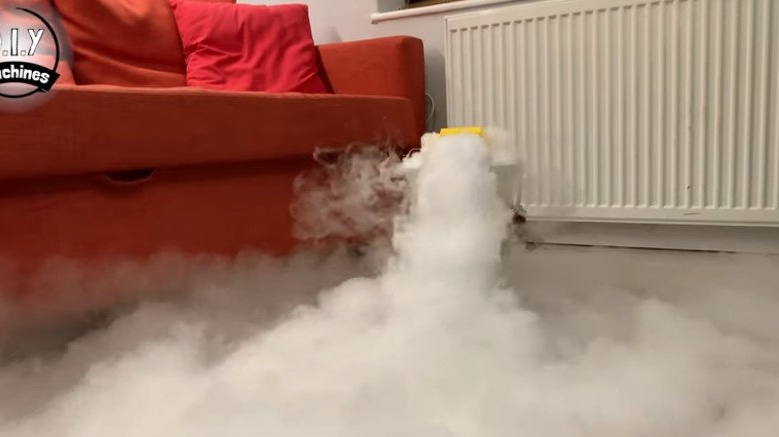
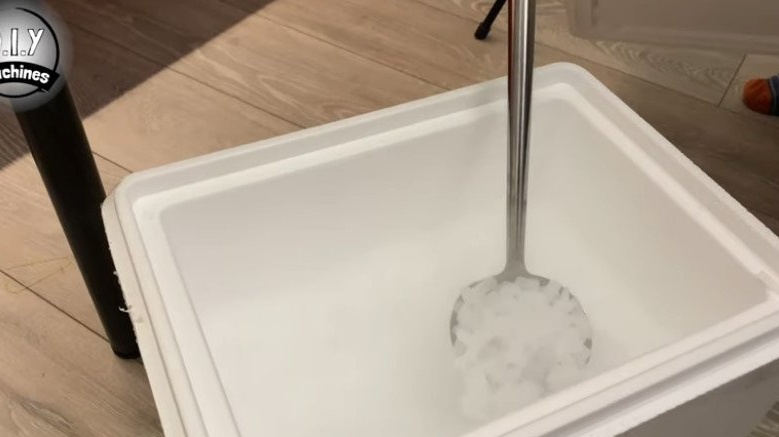
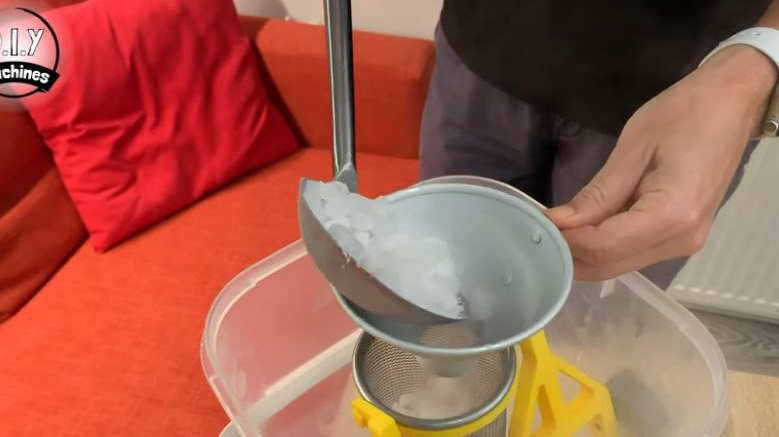
To test the operation of the apparatus, dry ice and hot water are needed.
Pour hot (not boiling water) water into the container. Dry ice is poured into a glass. The container is closed with a lid with the desired nozzle.
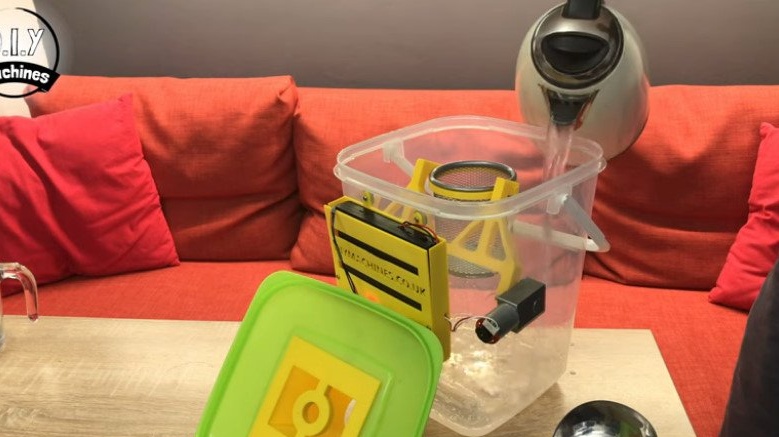
Now you need to send a command to lower the glass with ice into the water (the lower the glass falls, the thicker the smoke).
The whole process of making a smoke generator can be seen in the video.