

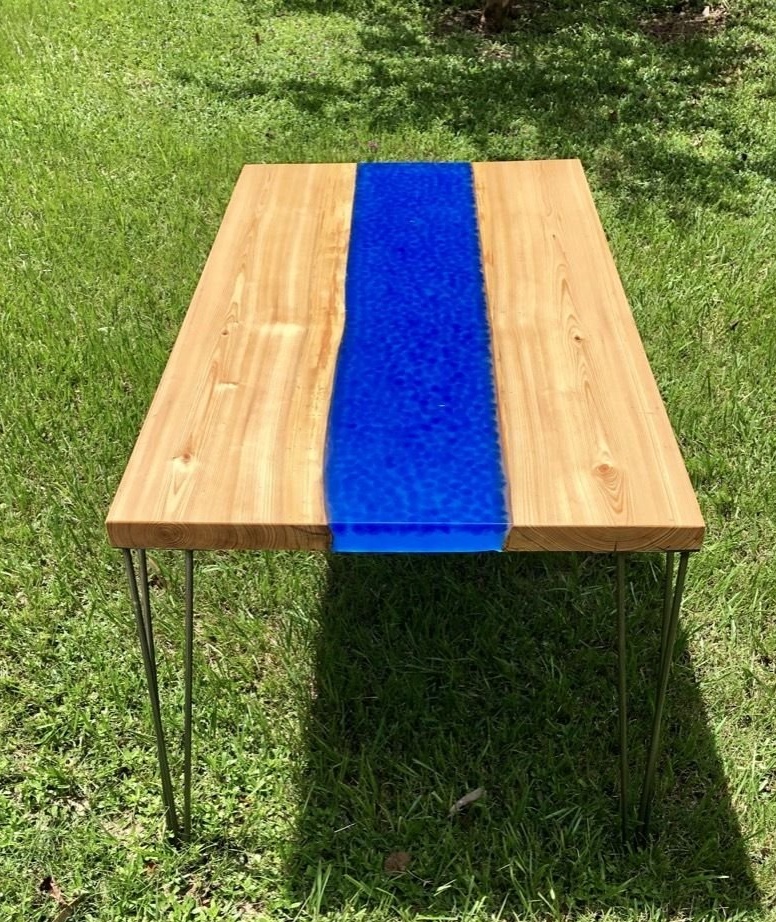
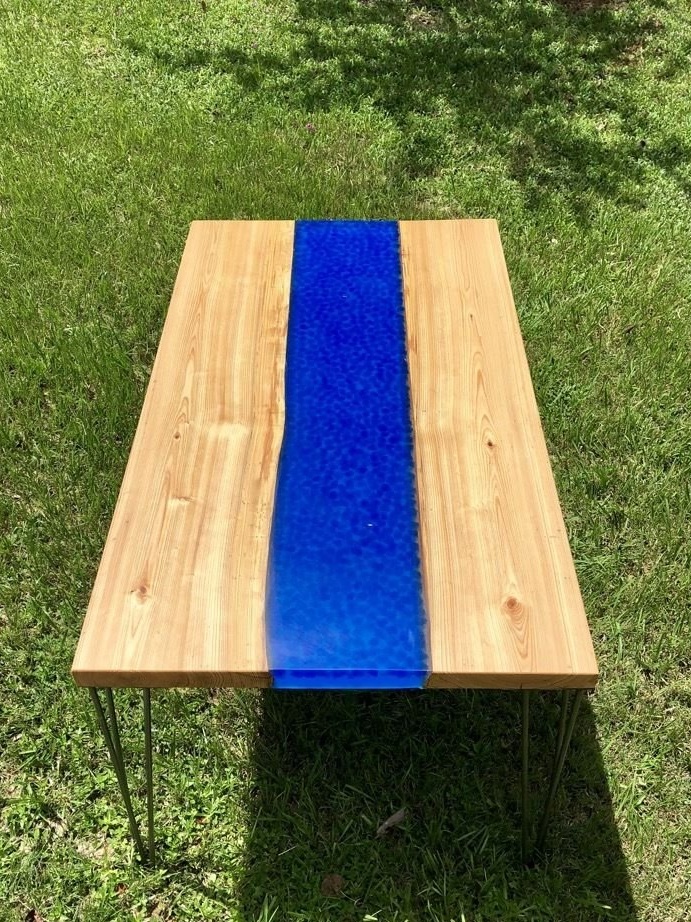
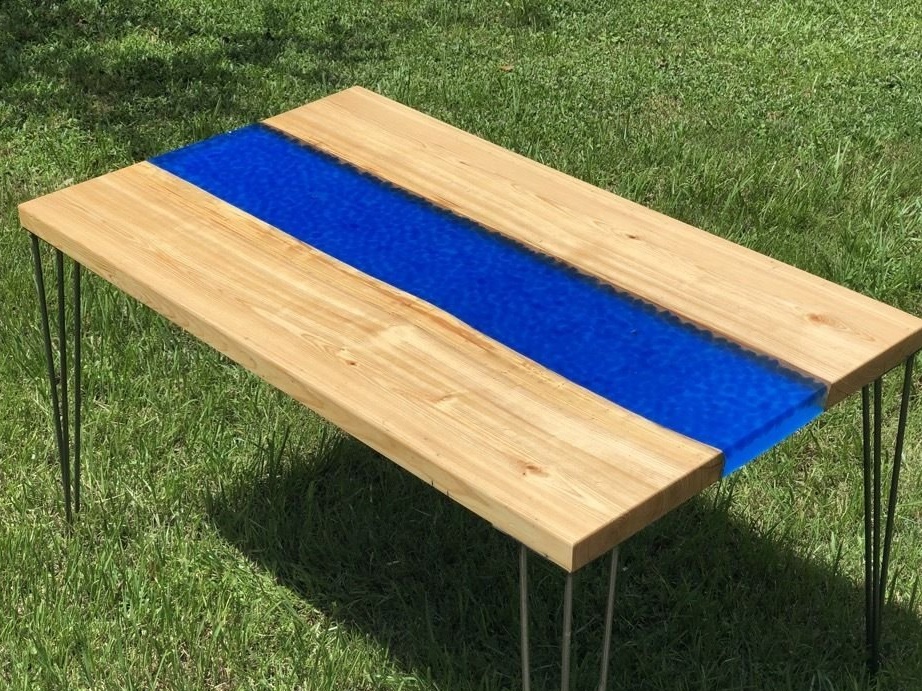
In this article, the Master will share with us his experience in manufacturing a table with an epoxy resin insert. The insert has a fluorescence effect and LED backlight.
Tools and materials:
Epoxy resin;
- Fluorescent blue powder;
- Blue acrylic stones;
-Oil "Rubio Monocoat Plus";
-Propane burner;
- Disposable containers;
-Silicone sealant;
- Clamps;
-Metal legs;
- UV LED strip;
-Soldering equipment;
-Glue gun;
-Circular Saw;
-Roulette;
-Grinder;
-USHM;
-Level;
Milling cutter;
-Kyparisovy board;
-Plywood;
Step One: Project
On the computer, the wizard creates a sketch of the table and prepares a list of the necessary materials.

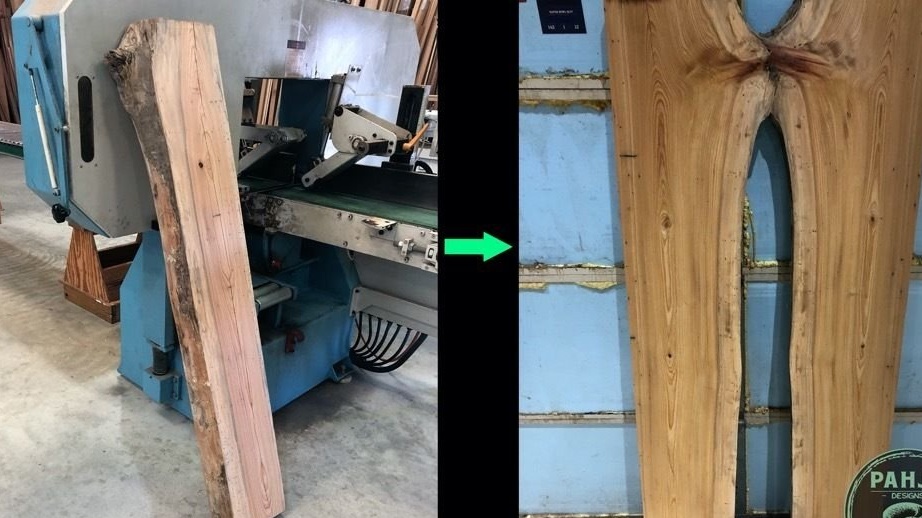
To make a table, the master chooses cypress for various reasons. Hardwood is best for such a table.
Trees such as walnut, oak, maple and many others are very dense with a narrow pattern. This reduces air pockets (bubbles) and reduces the amount of epoxy that the wood absorbs.
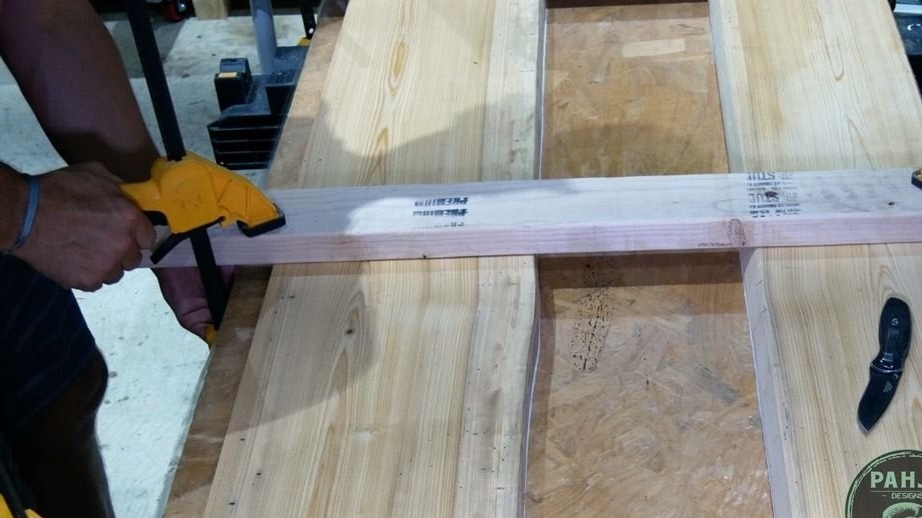
Step Two: Workpiece Processing
The master cuts the log into two parts. Then passes them through the planer.
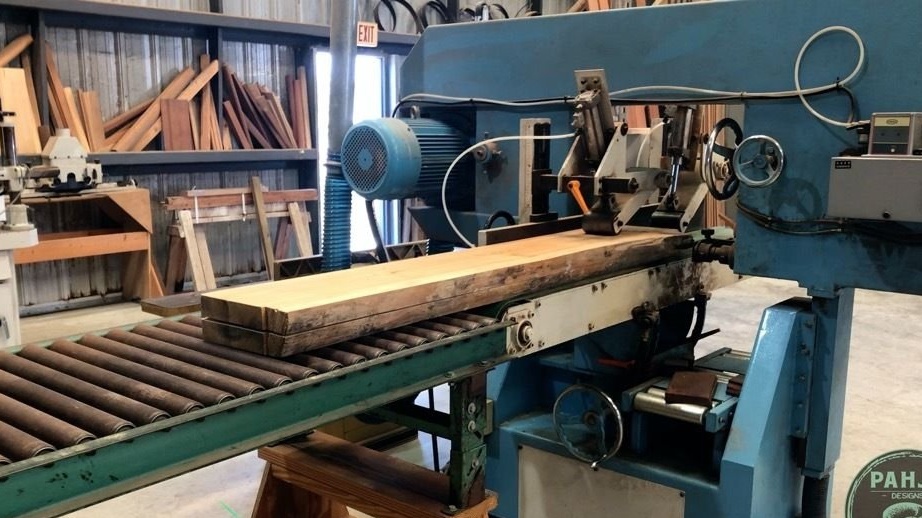
Torts the edges of the boards.

Grinds the side parts of the workpieces.

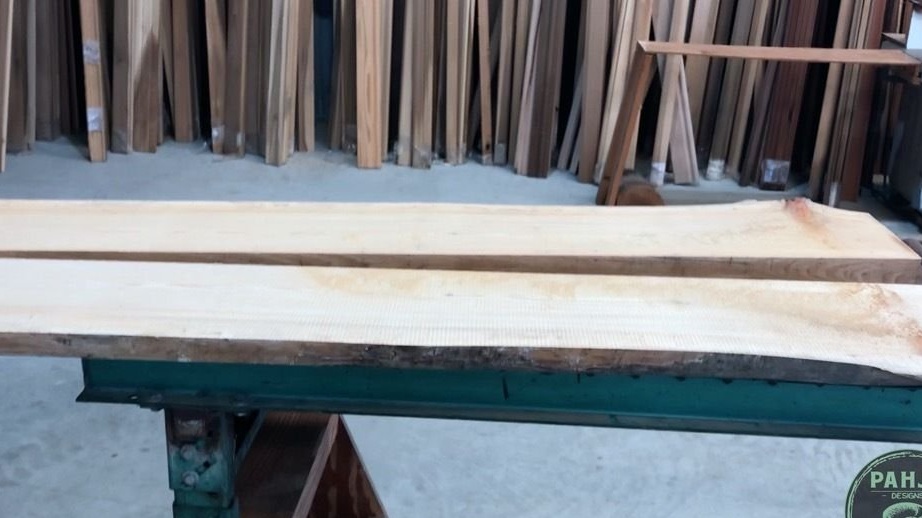
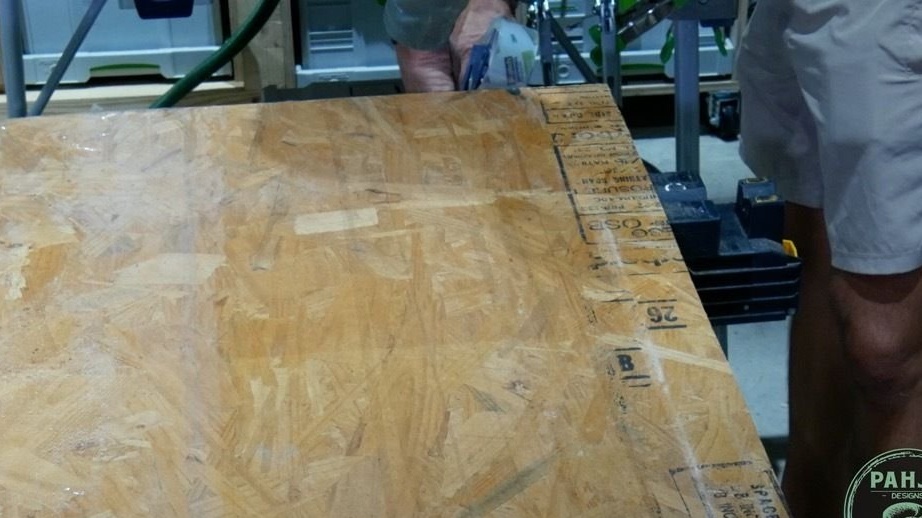
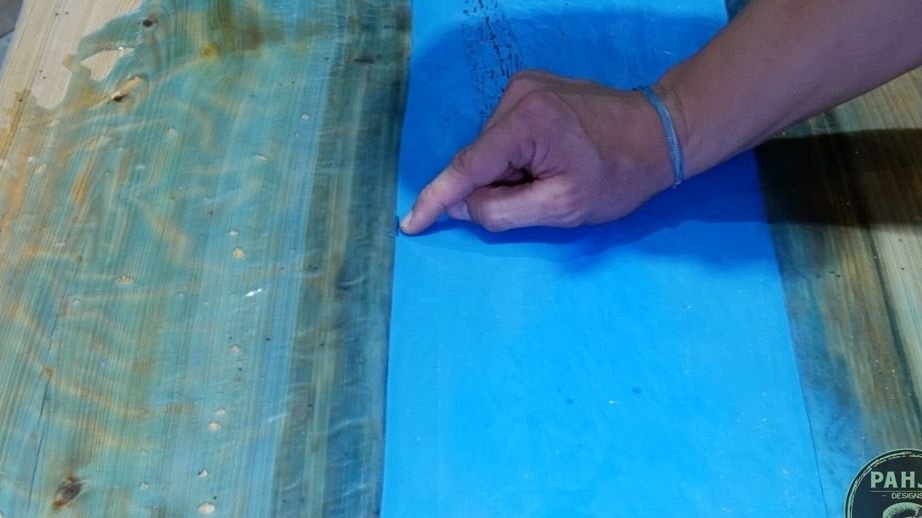
Step Two: Preparing for Pouring
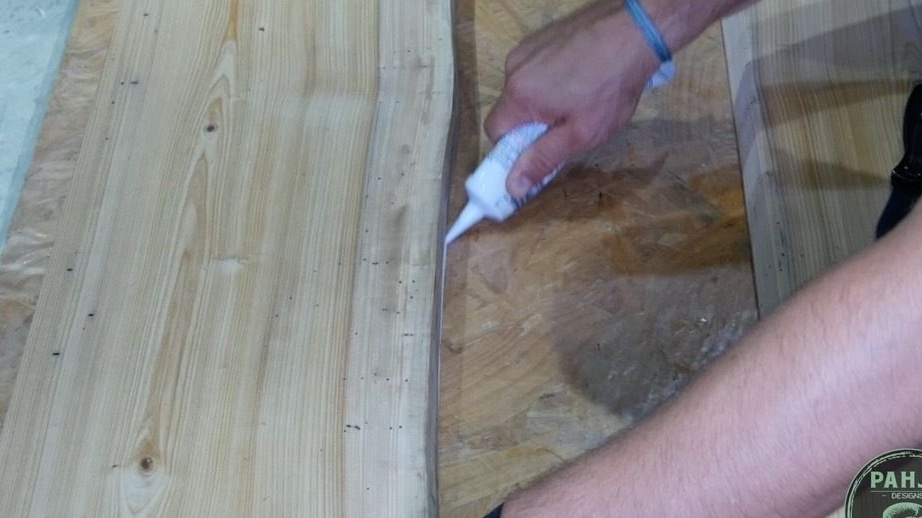
The blanks will be placed on the OSB packing list. The sheet needs to be pasted over with a film, and the film coated with wax.
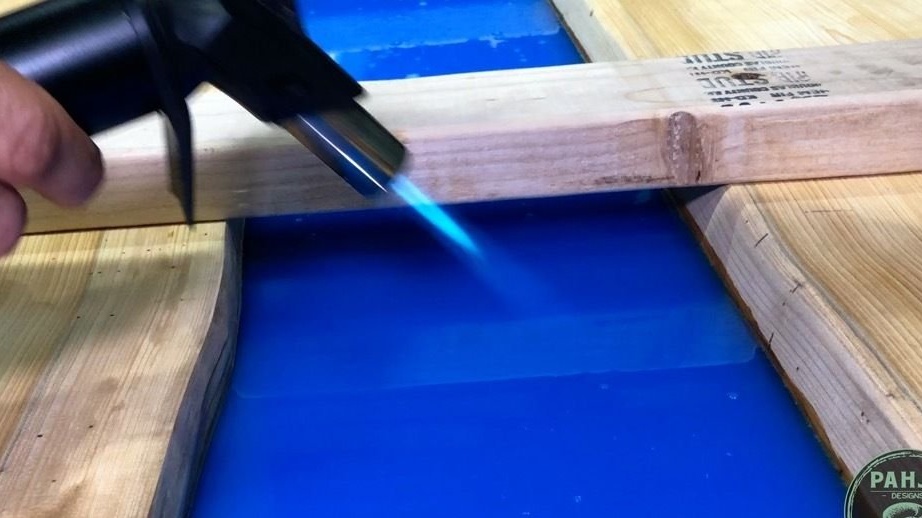
Cracks fills with epoxy mixed with brown and black dye. Heats the resin with a burner. This operation will help remove air bubbles and leak the resin as deep as possible.
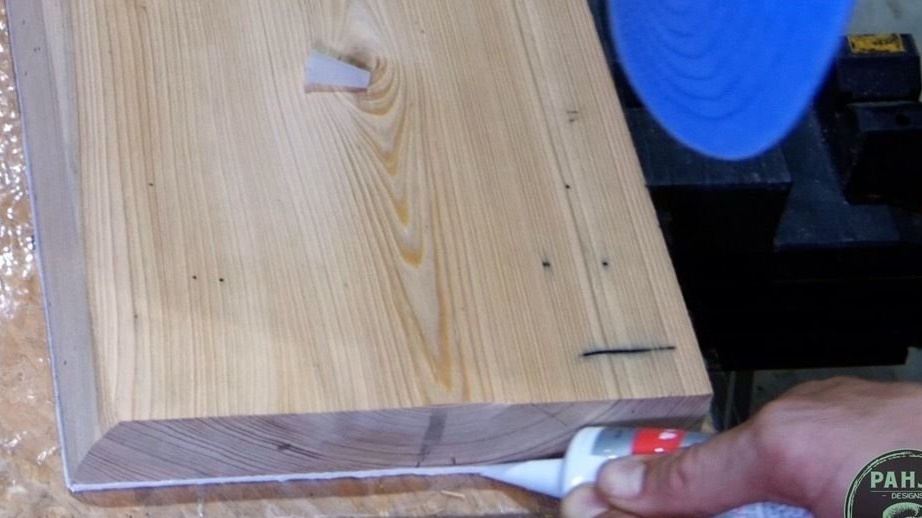
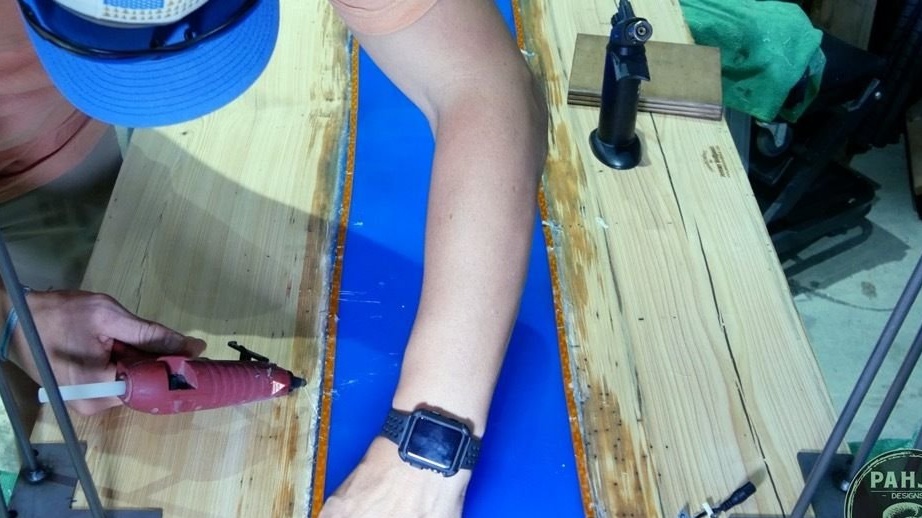
Then the master puts the boards on the OSB, and aligns them in size. It seals with silicone around the circuit.
Ends closes with trims.
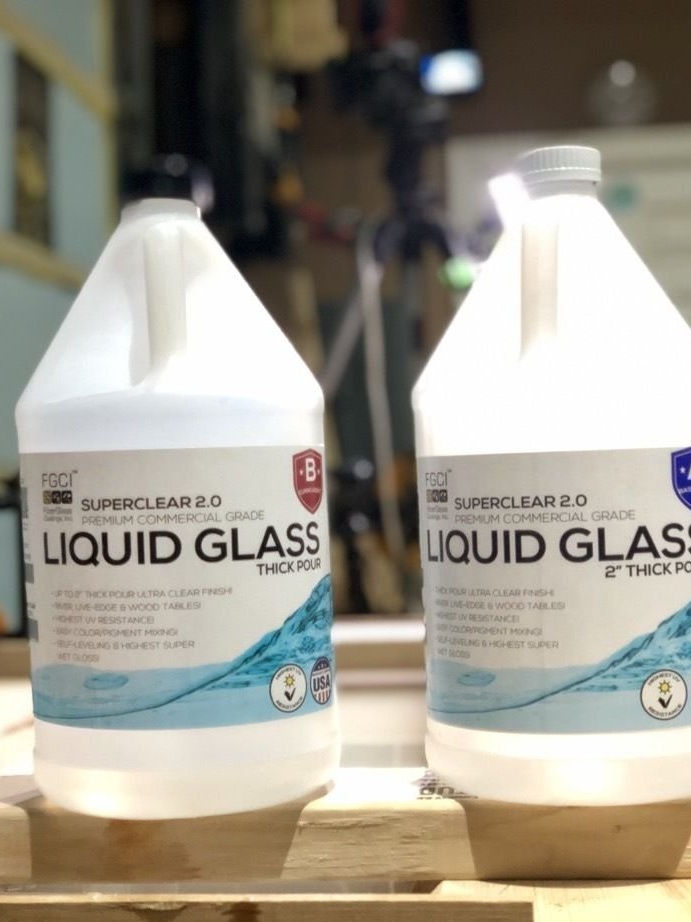
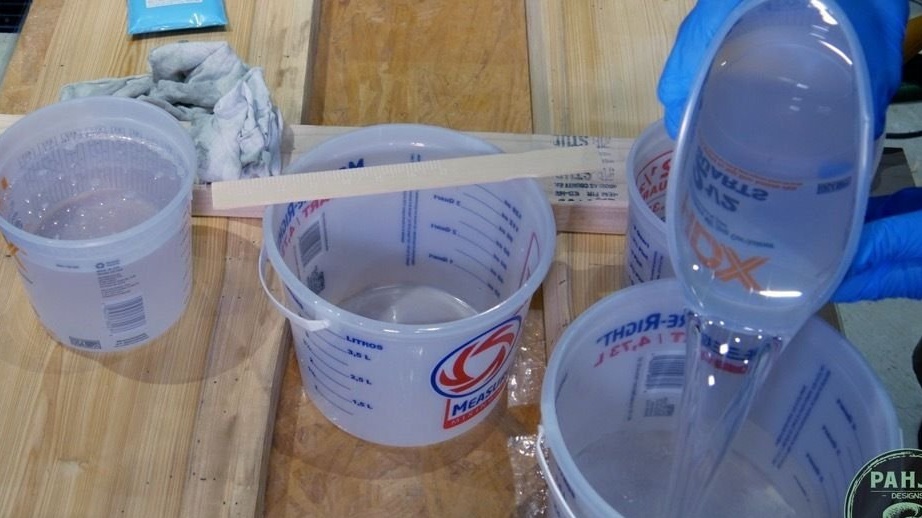
Step Three: Prepare Epoxy
There are two types of epoxy for the same job. The first epoxy resin is slow curing, the second is fast curing.
The wizard uses Glass 2.0 Quick Cure Resin. When working with such a resin, the working time is reduced and the number of fillings is reduced.At a time, depending on the conditions, you can fill the layer from 5 to 10 cm.
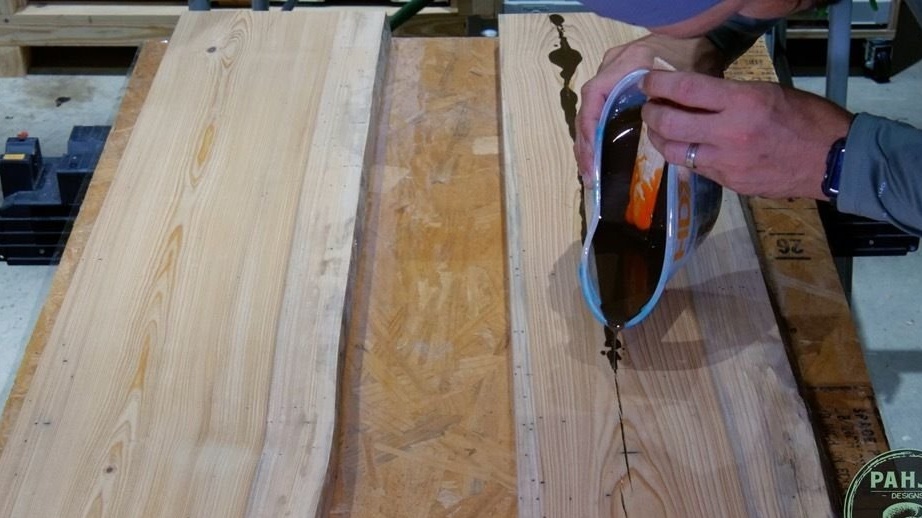
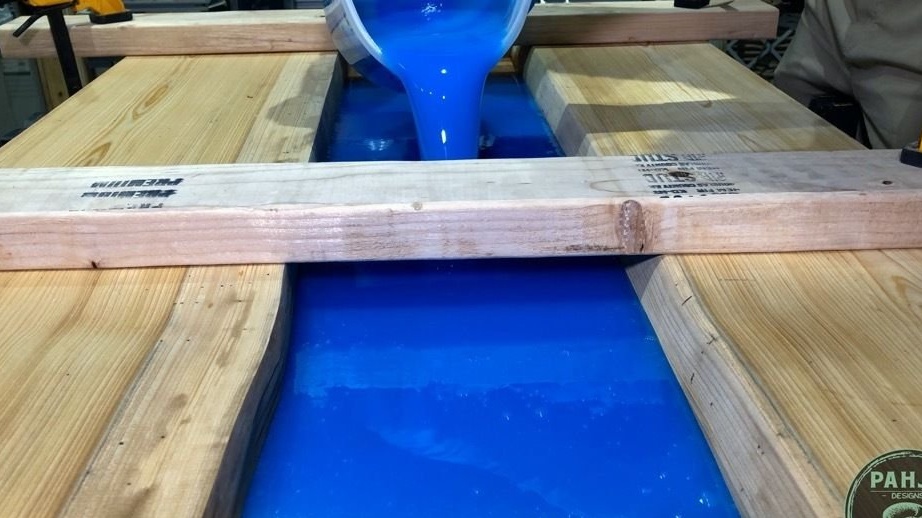
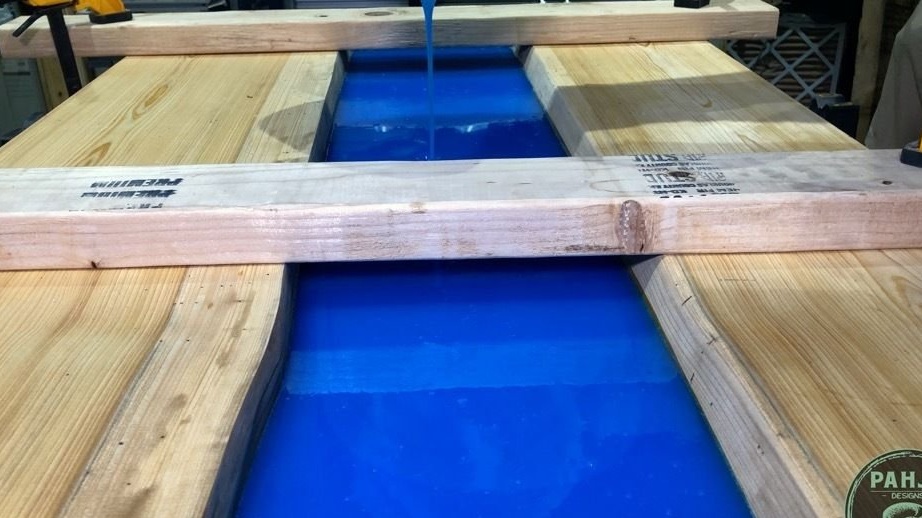
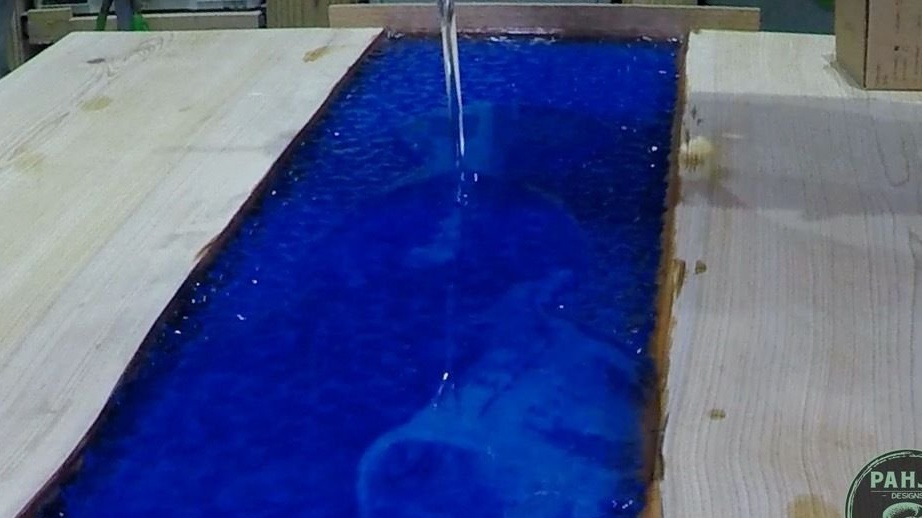
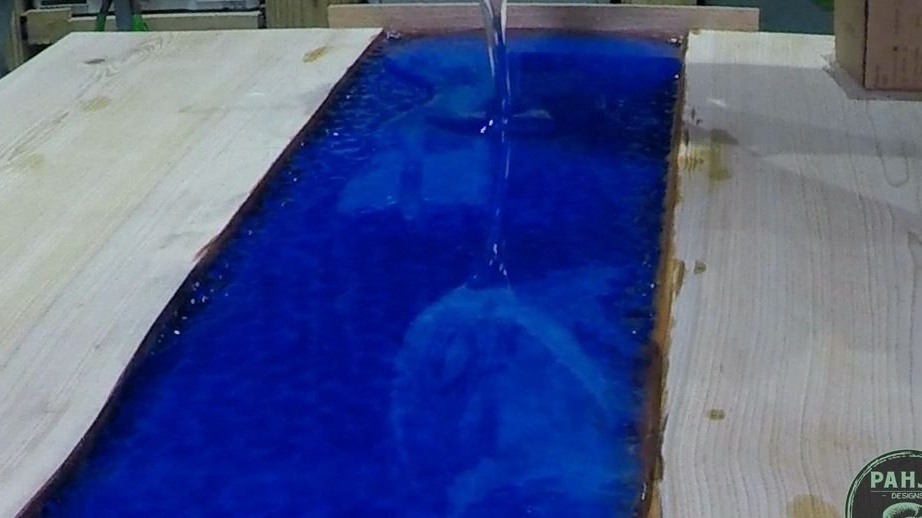
Step Four: First Fill
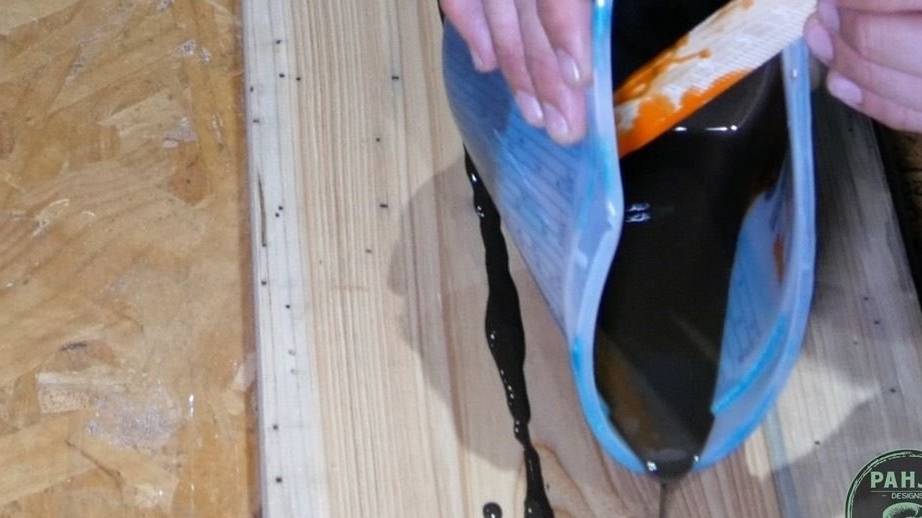
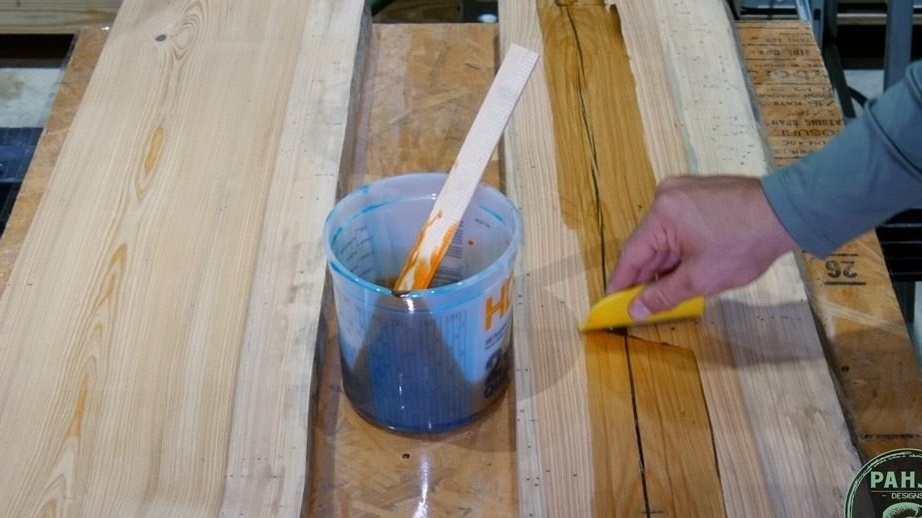
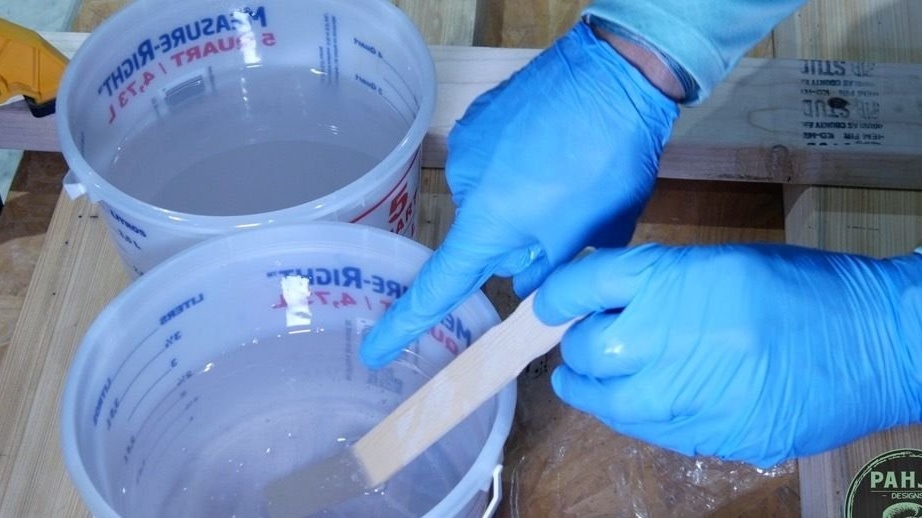
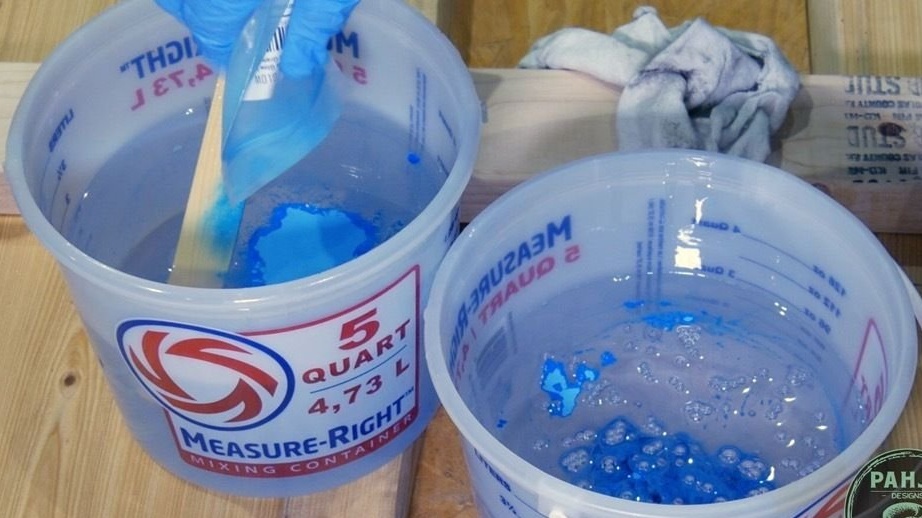
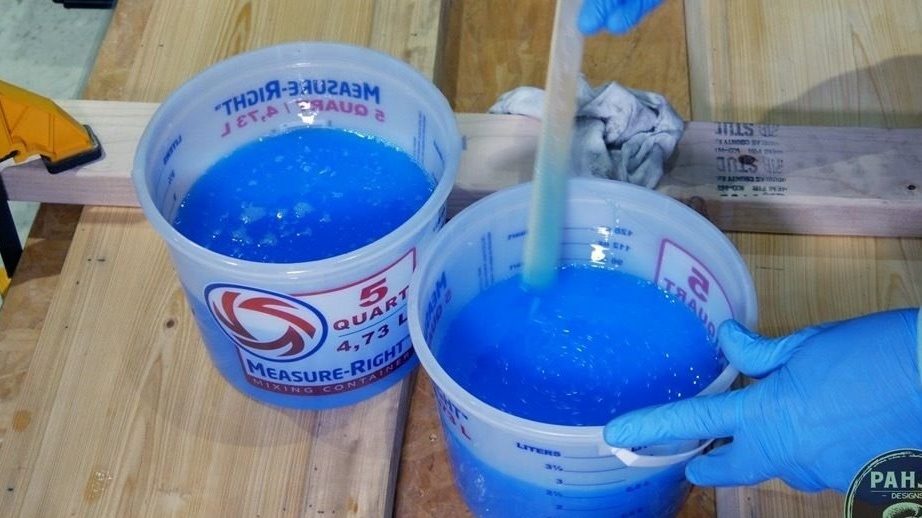
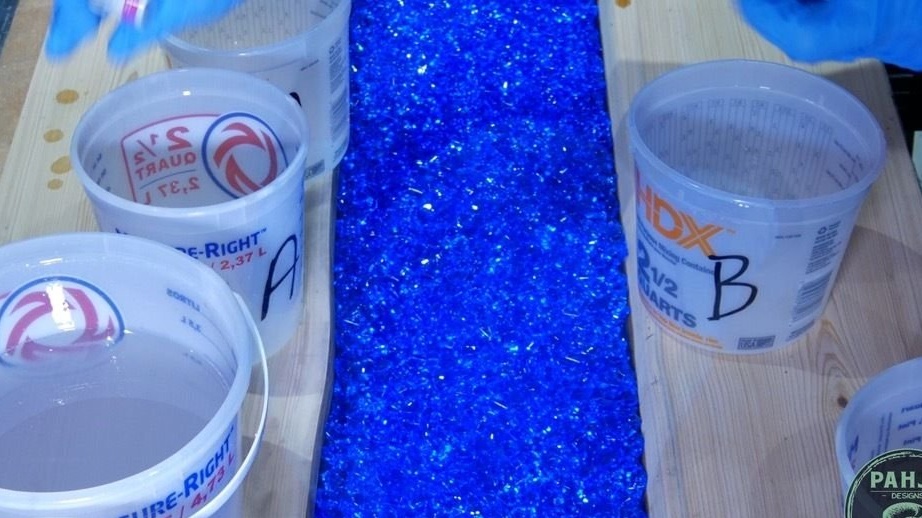
Mixes an equal amount of epoxy in two containers according to the instructions.
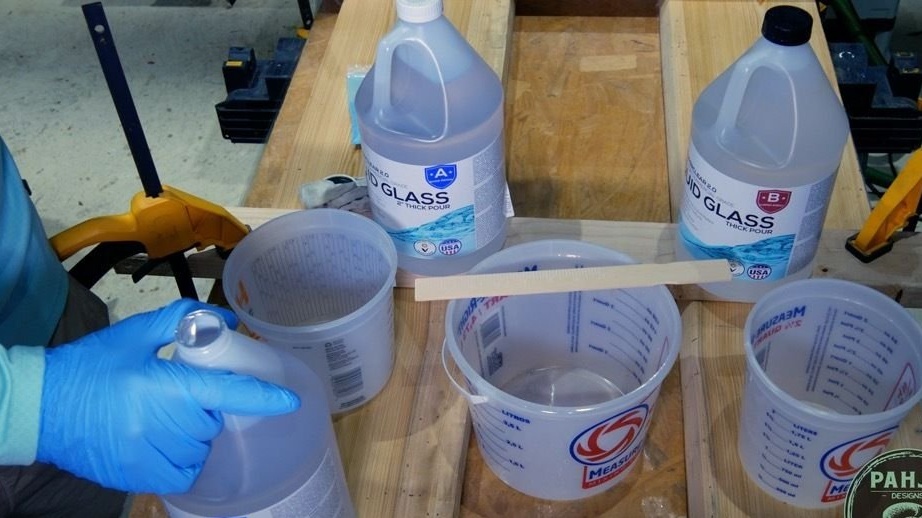
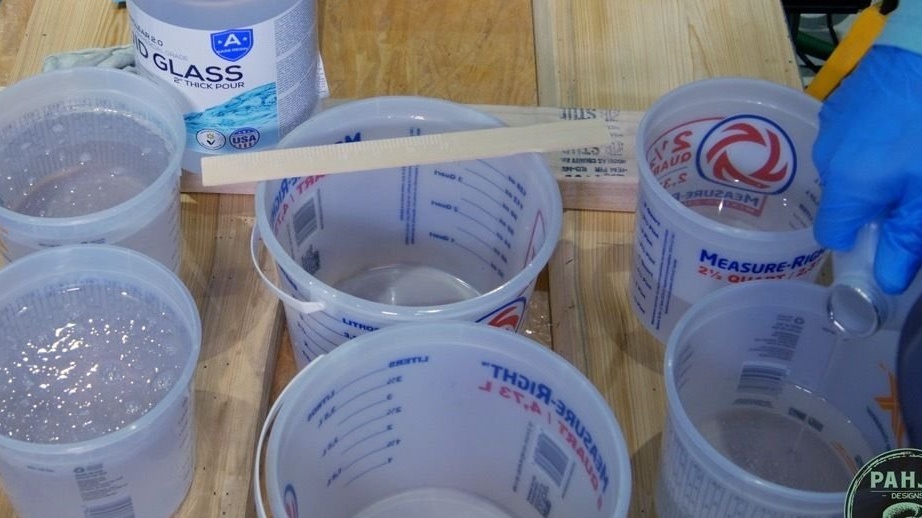
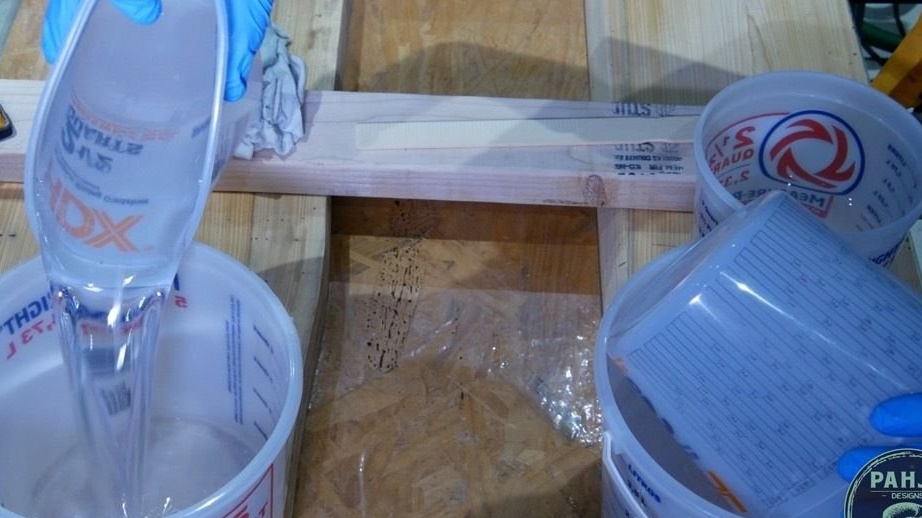
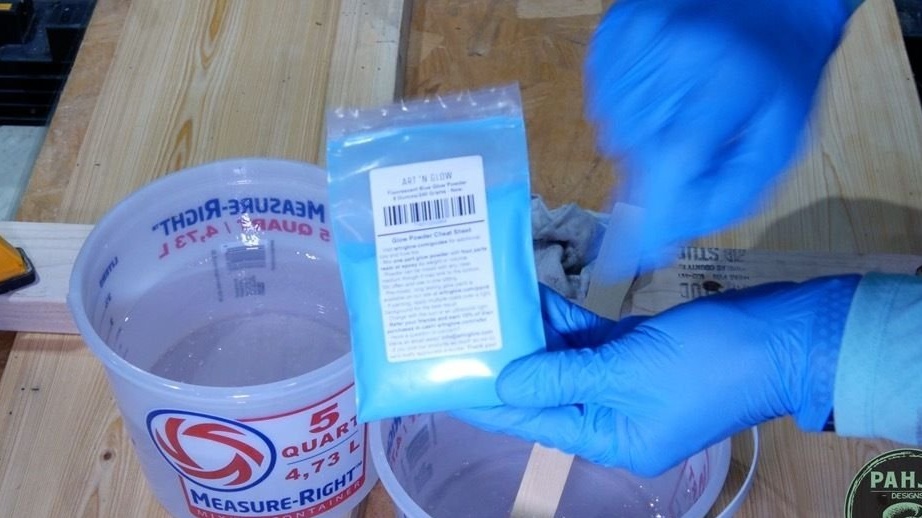
Adds fluorescent blue powder to both containers. Stirs.
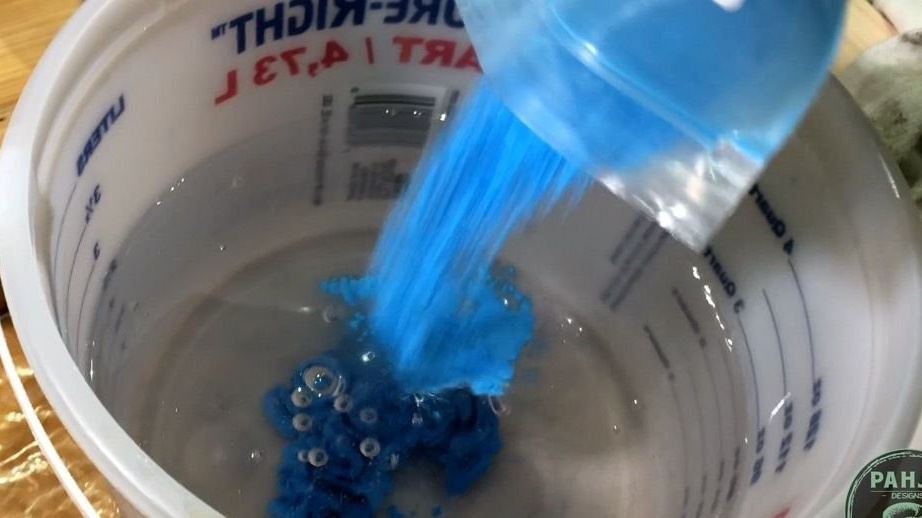
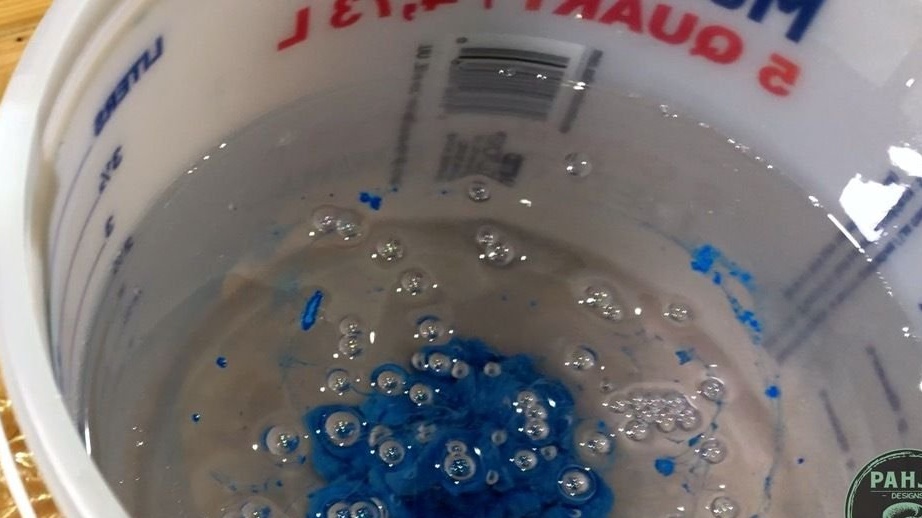
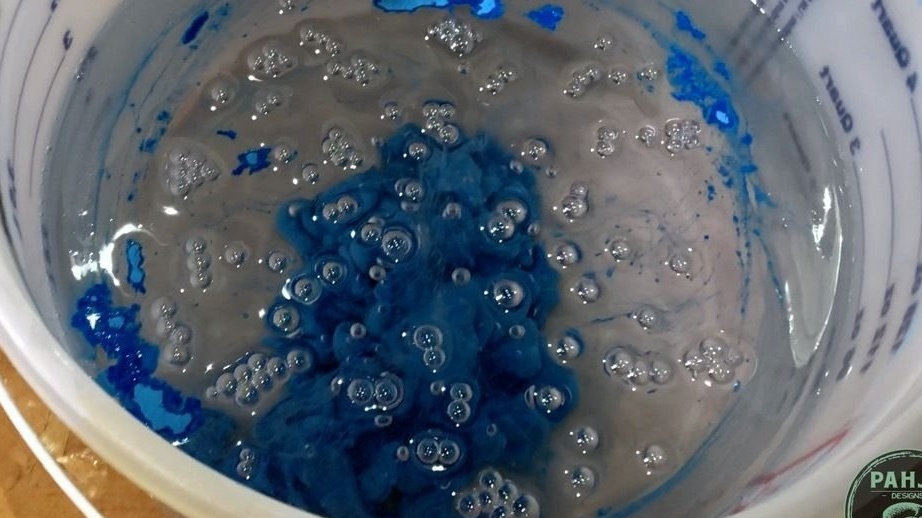
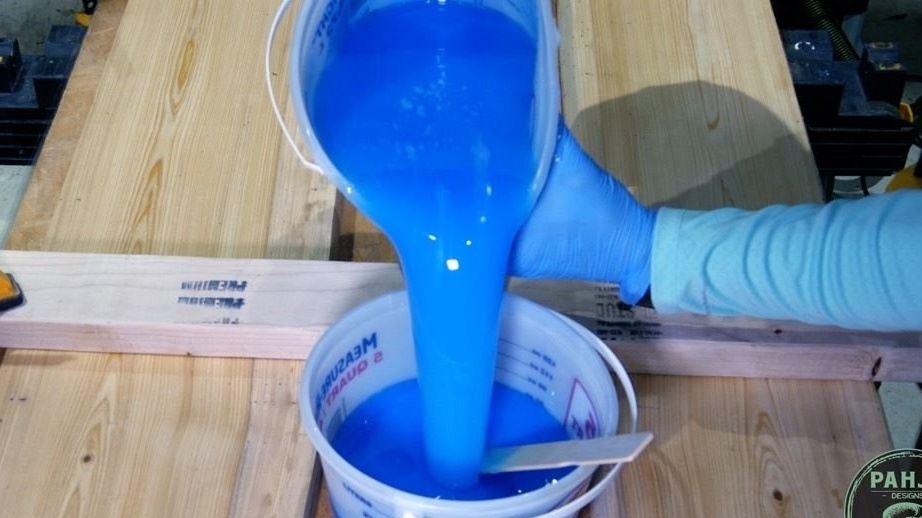
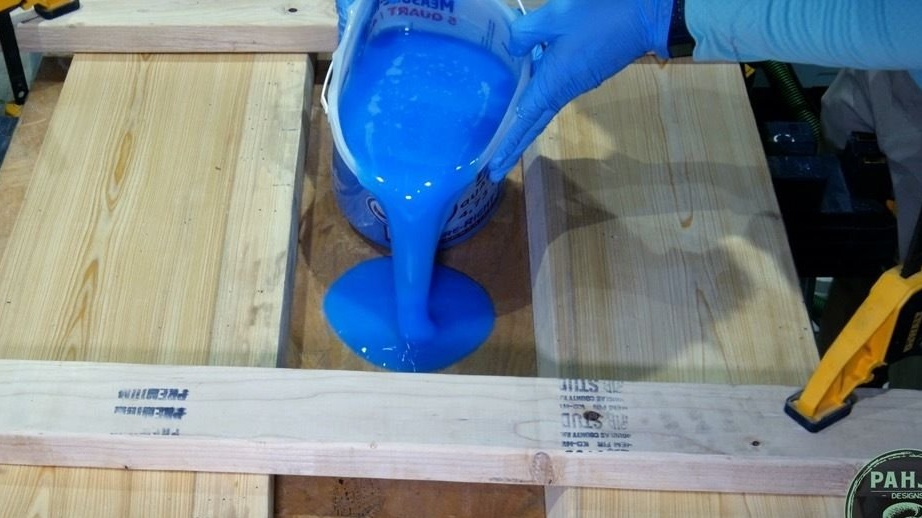
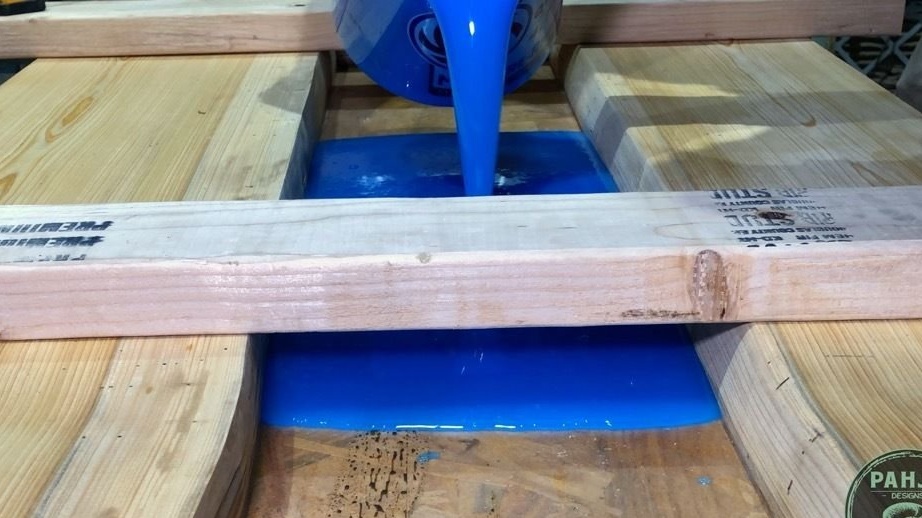
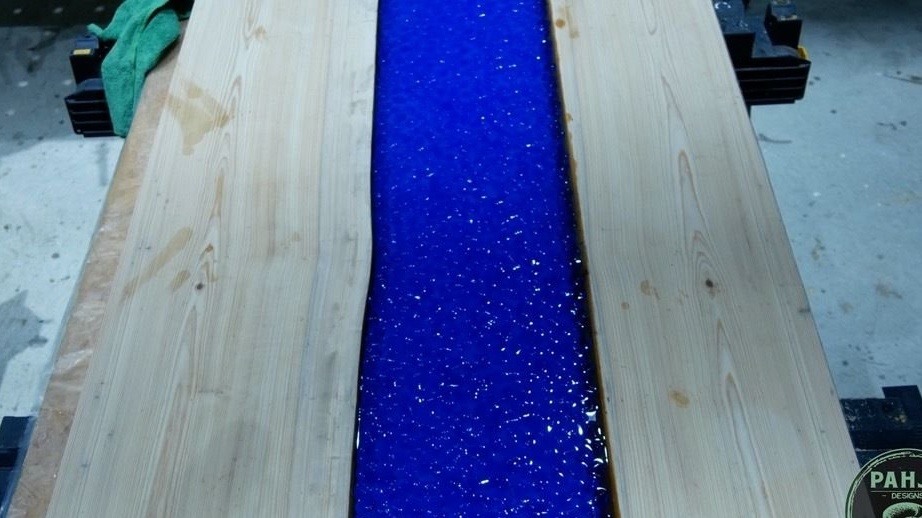
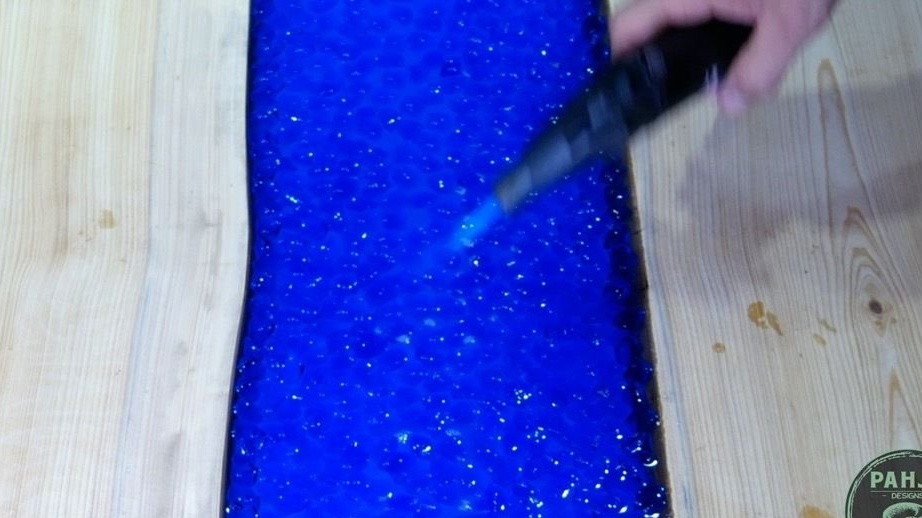
Pours both containers between workpieces. Heats up with a burner.

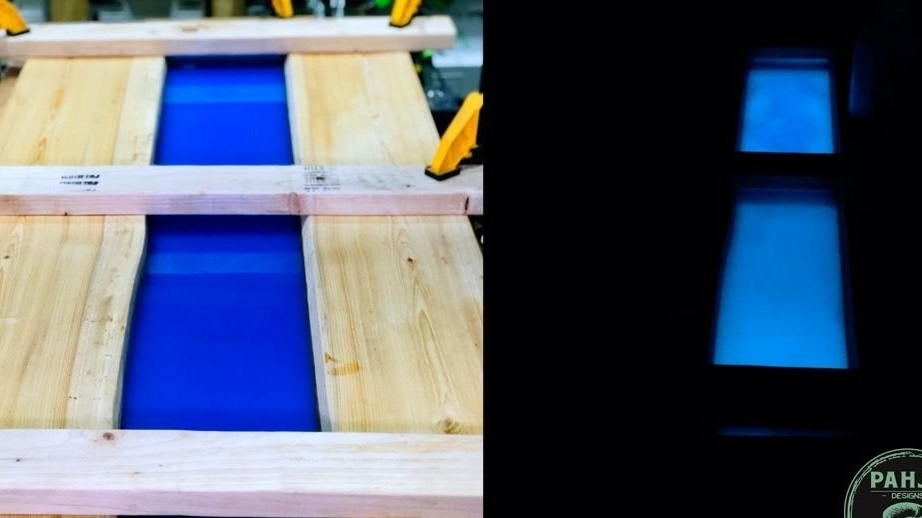
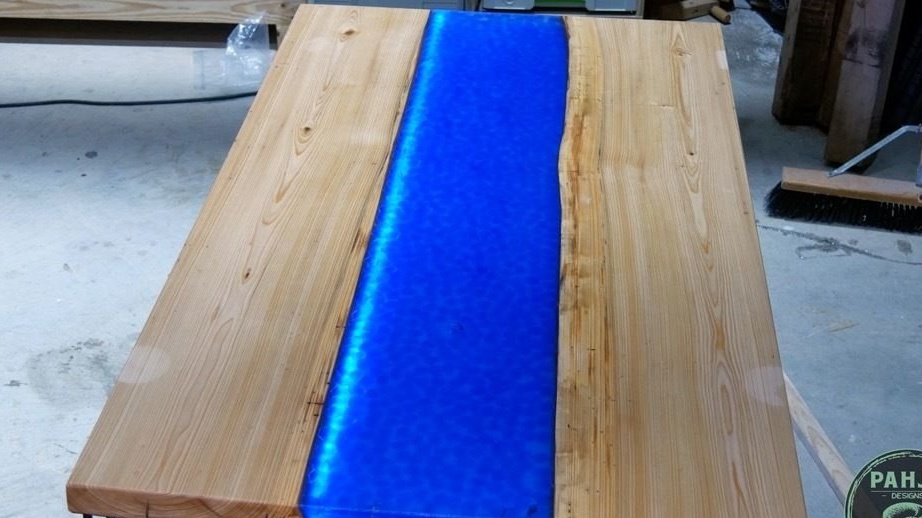
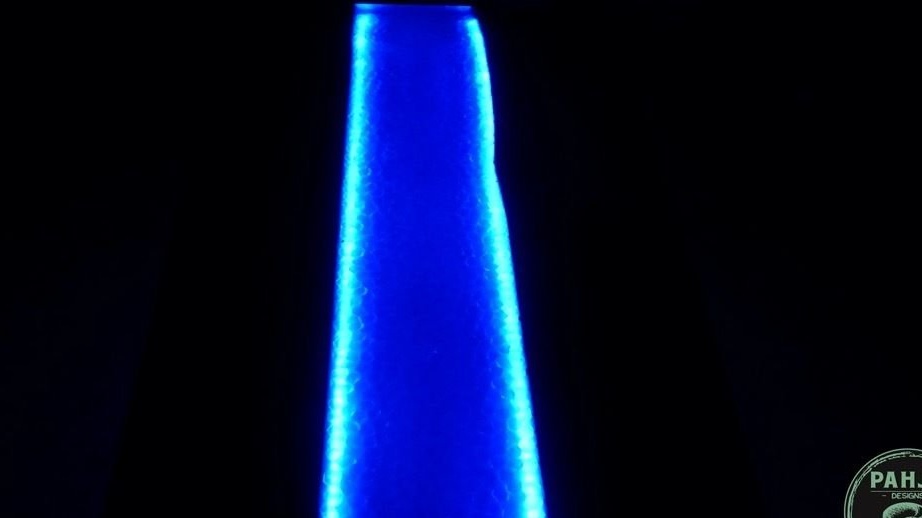
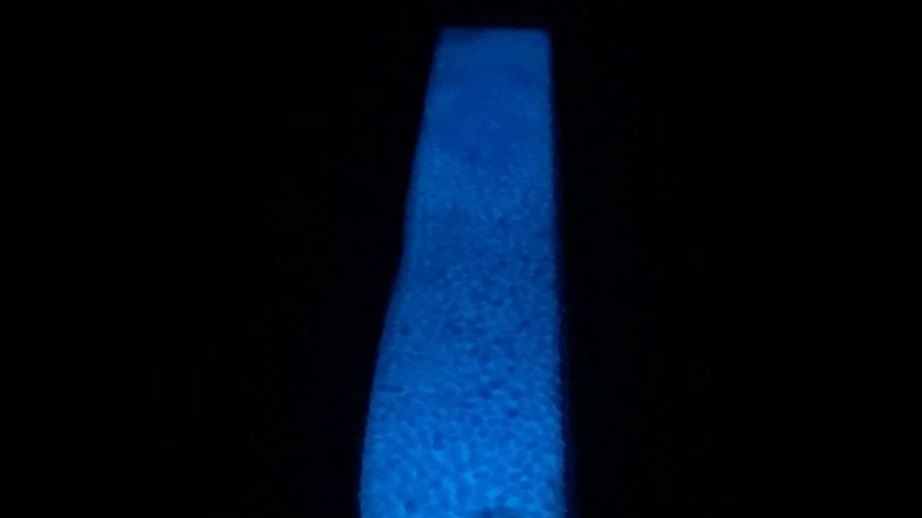
In this photo, a flooded countertop in the absence of lighting.
Step Five: Second Fill
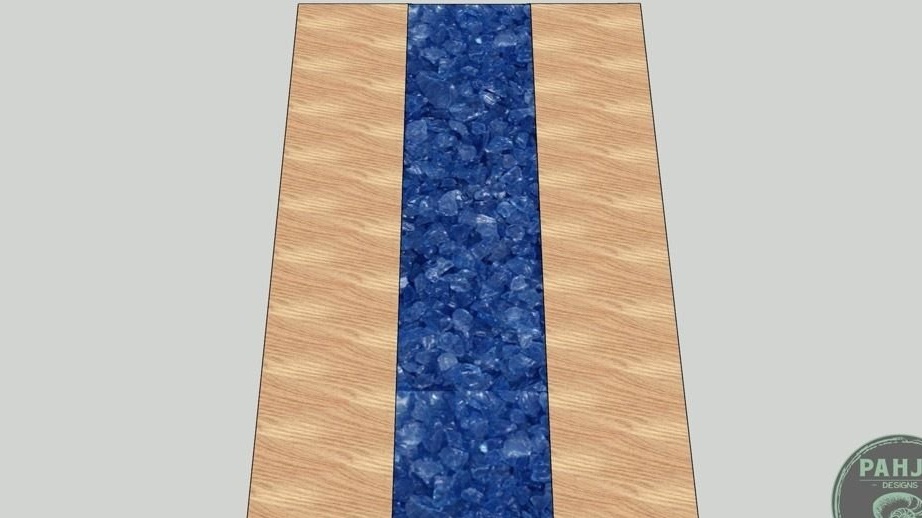
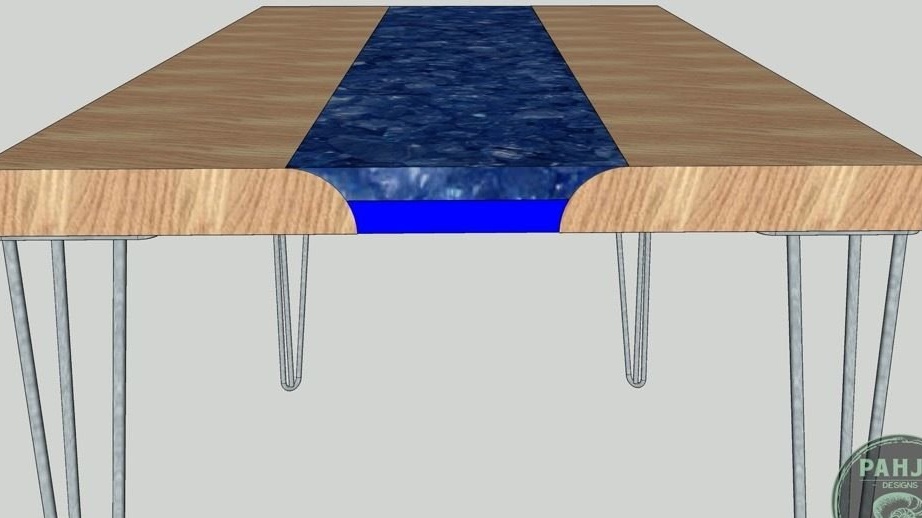
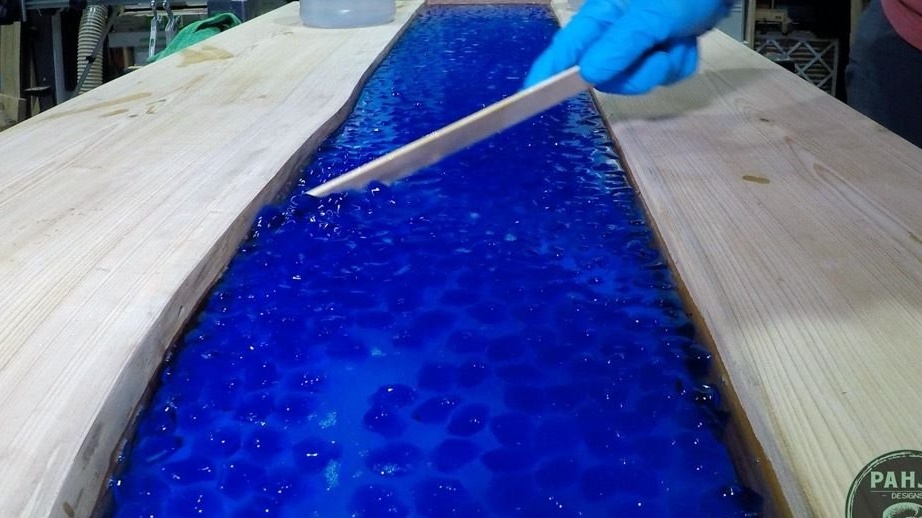
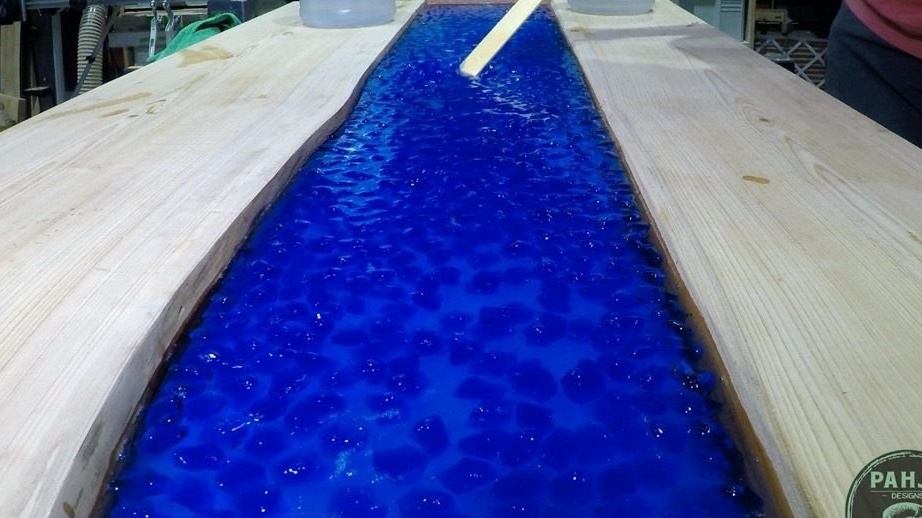
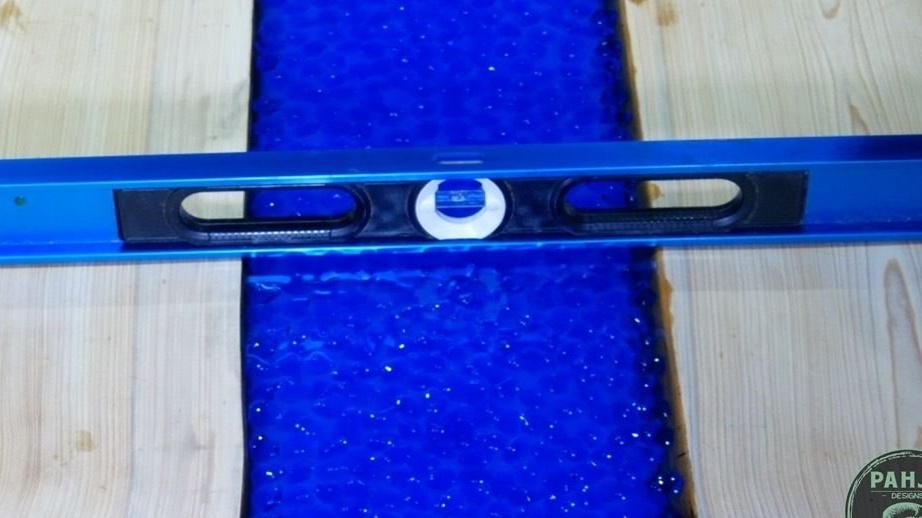
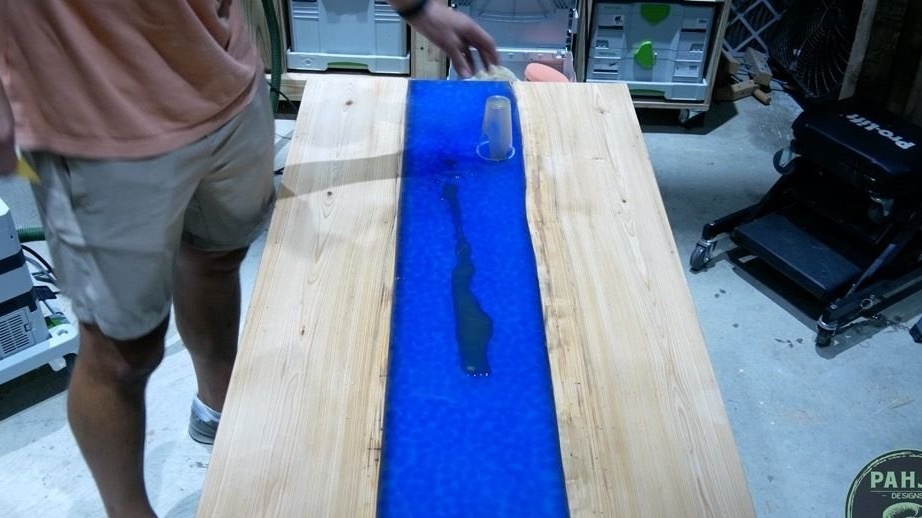
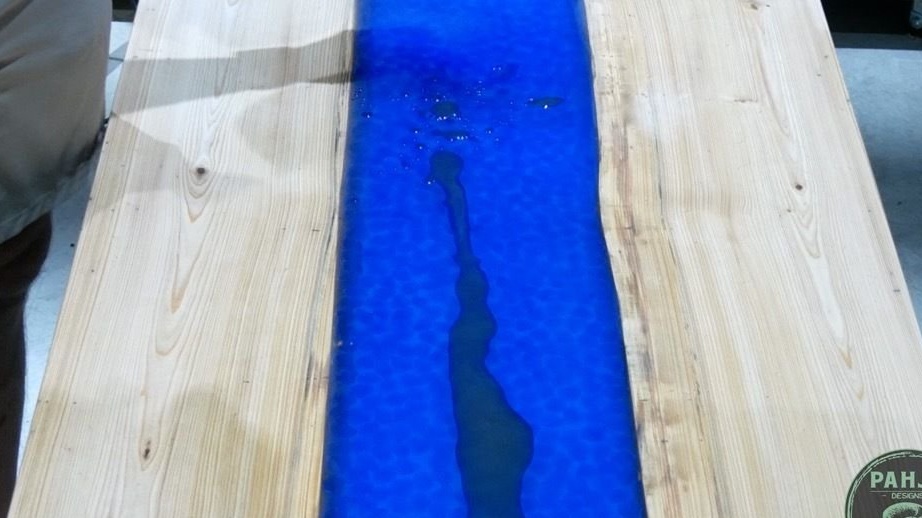
After curing the first layer, the master lays a blue acrylic stone on the surface. The level of the stones should be about 2.5 cm below the edge.
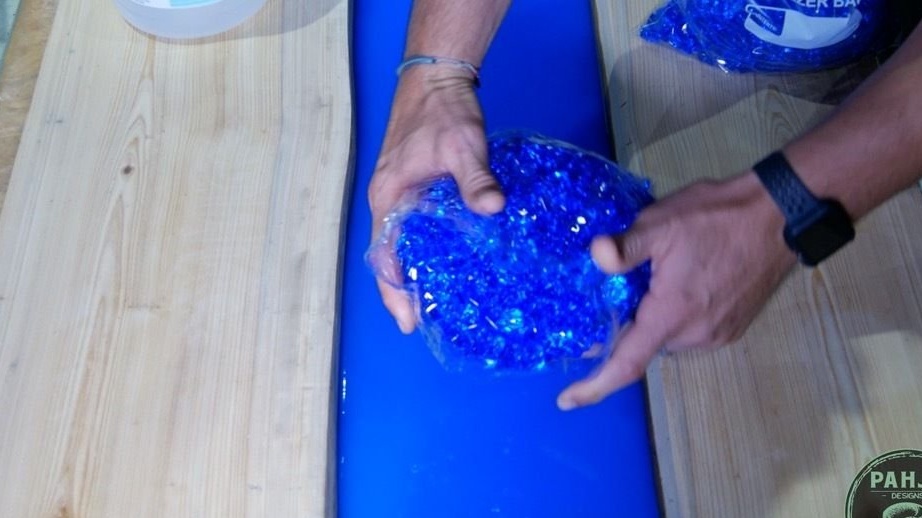
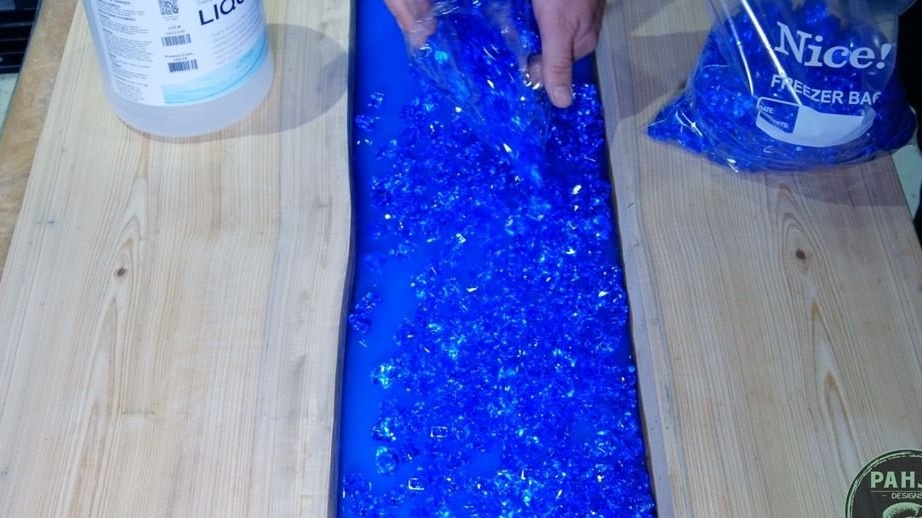
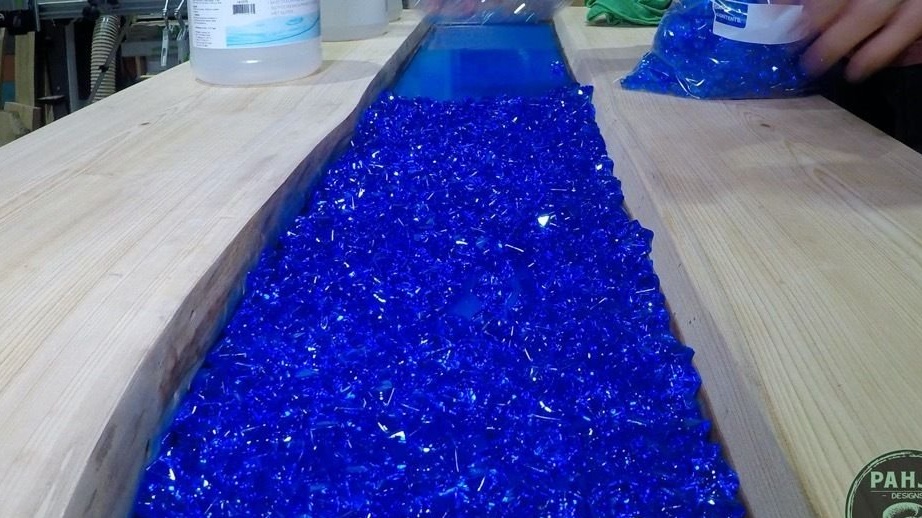
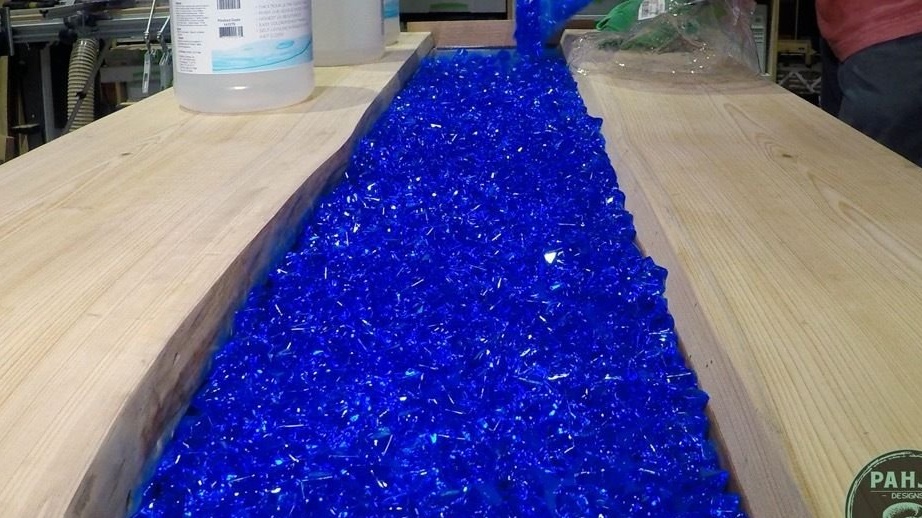
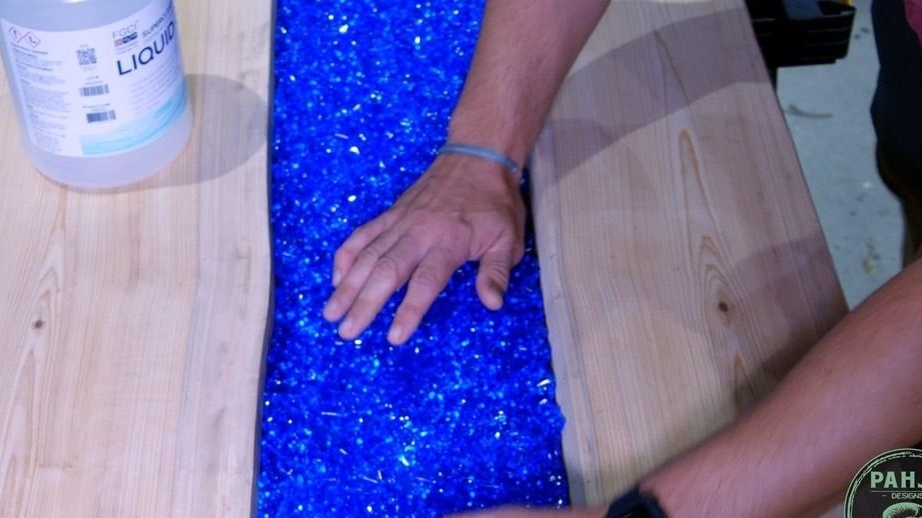
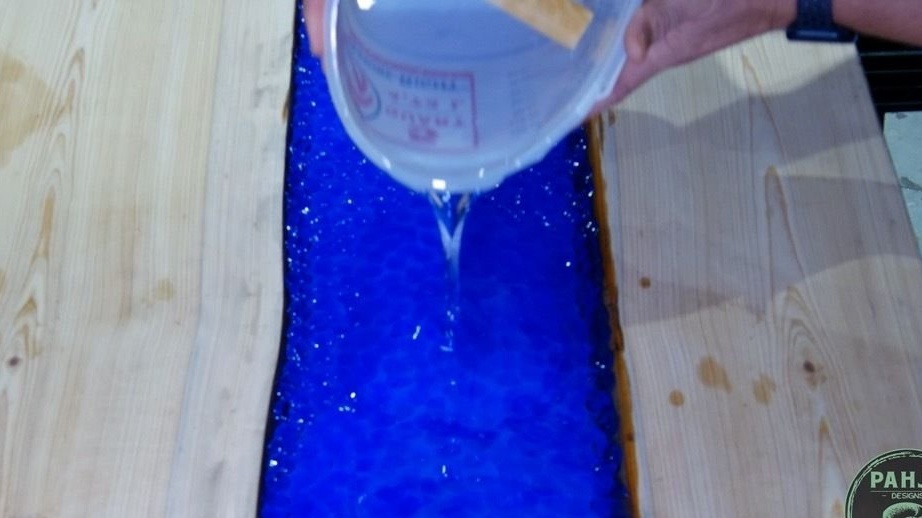
Knead epoxy. Fills. When pouring, acrylic stones float, so you need to control the level, not to allow the stones to rise above the table level.
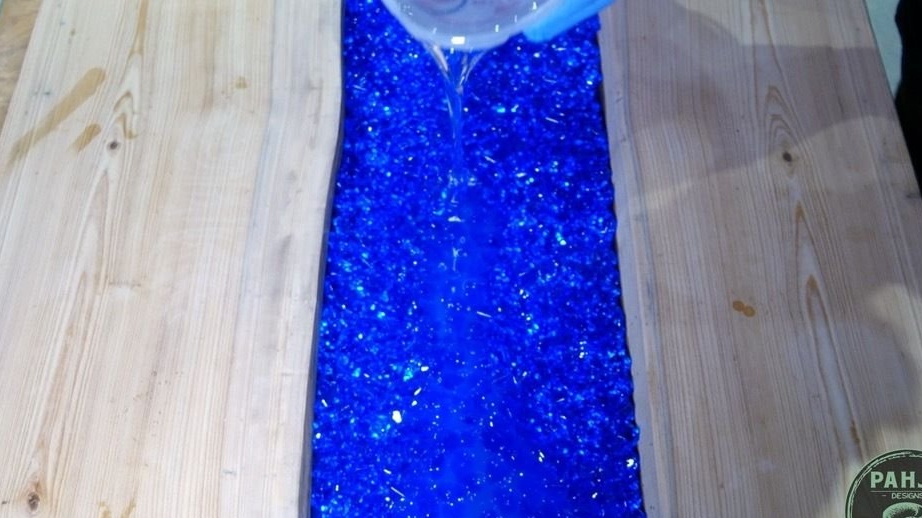
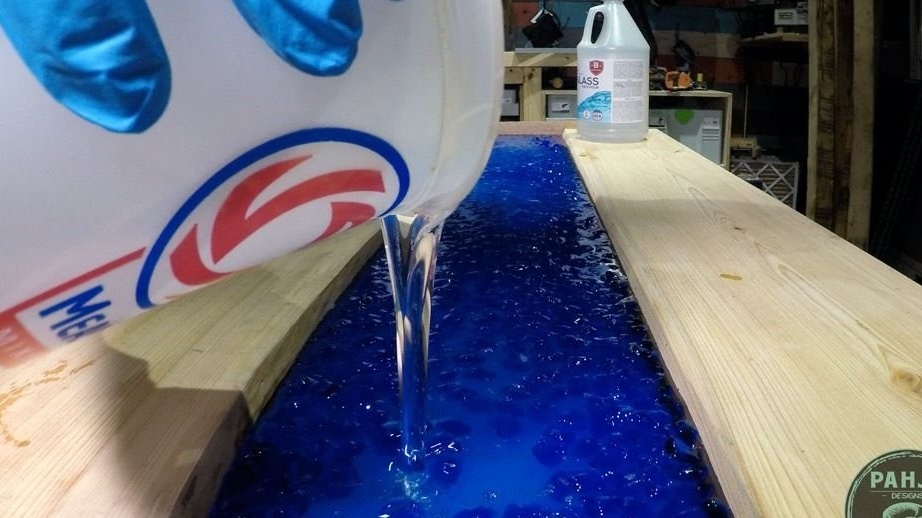
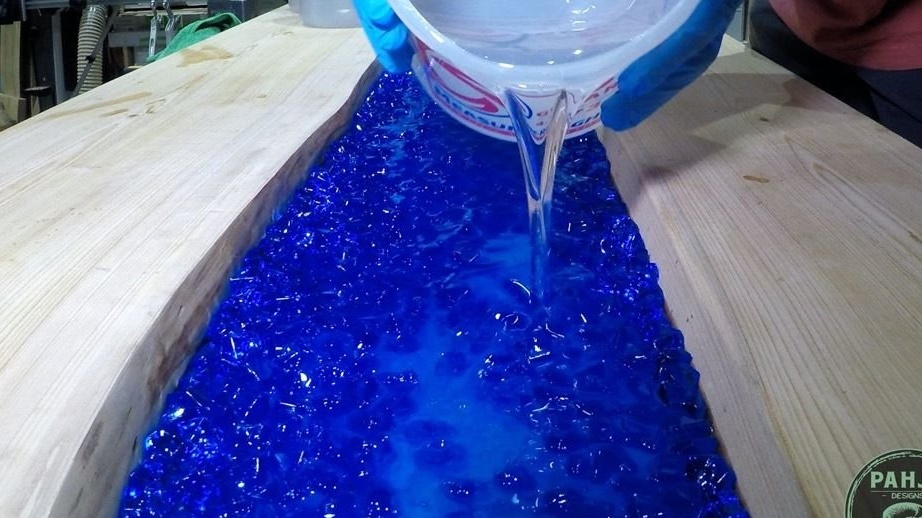
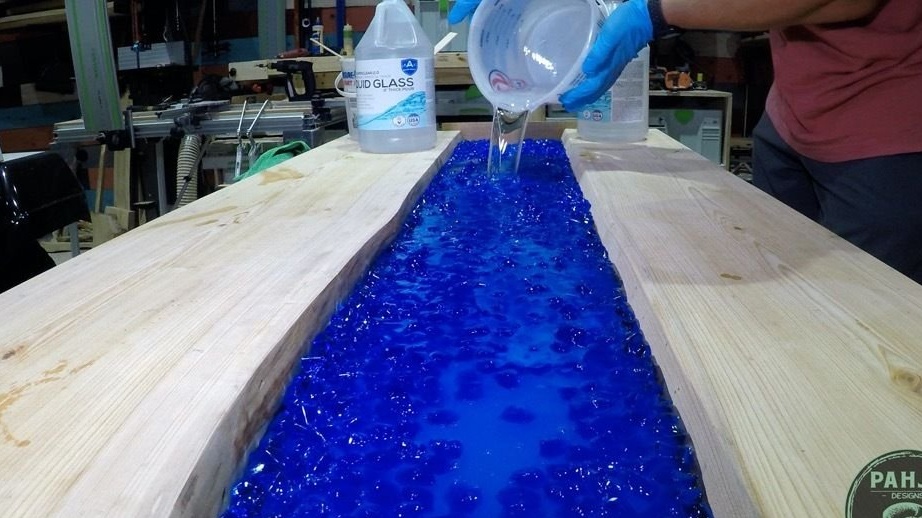
Heats the resin with a burner.
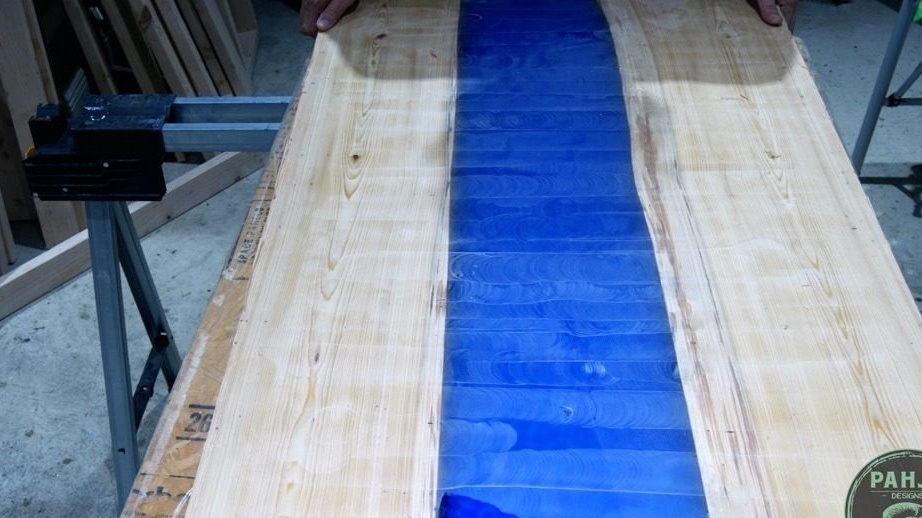
Step Six: Last Fill
Three days later, the master fills the last layer.
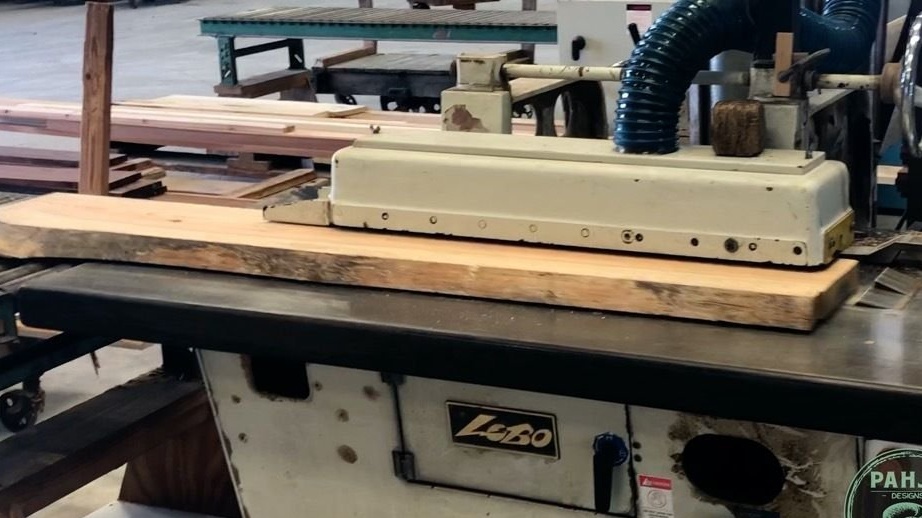
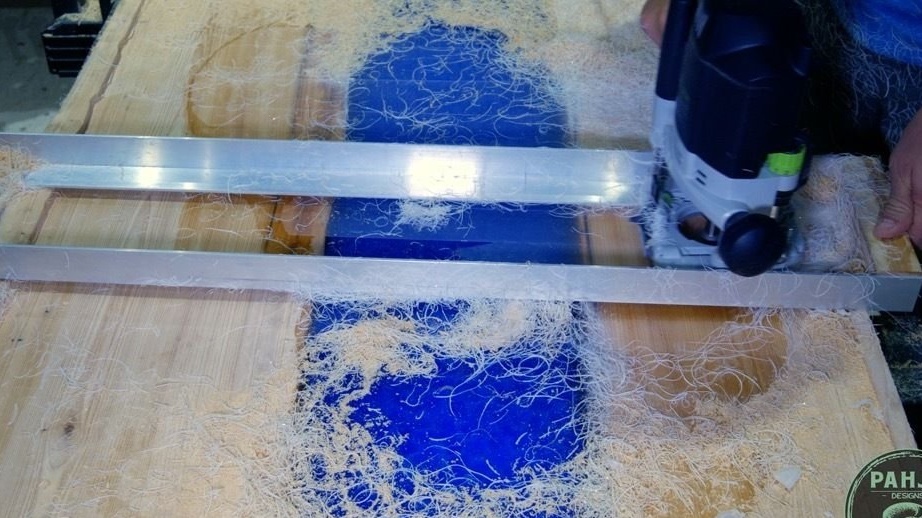
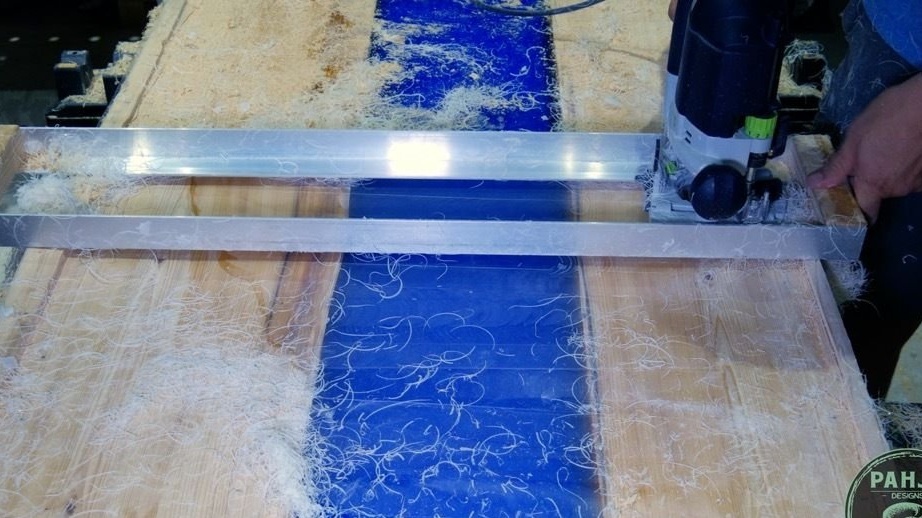
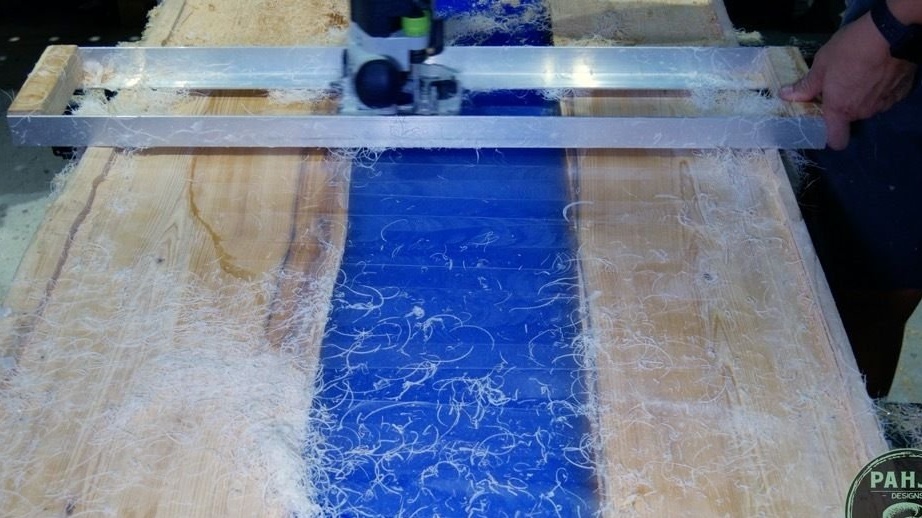
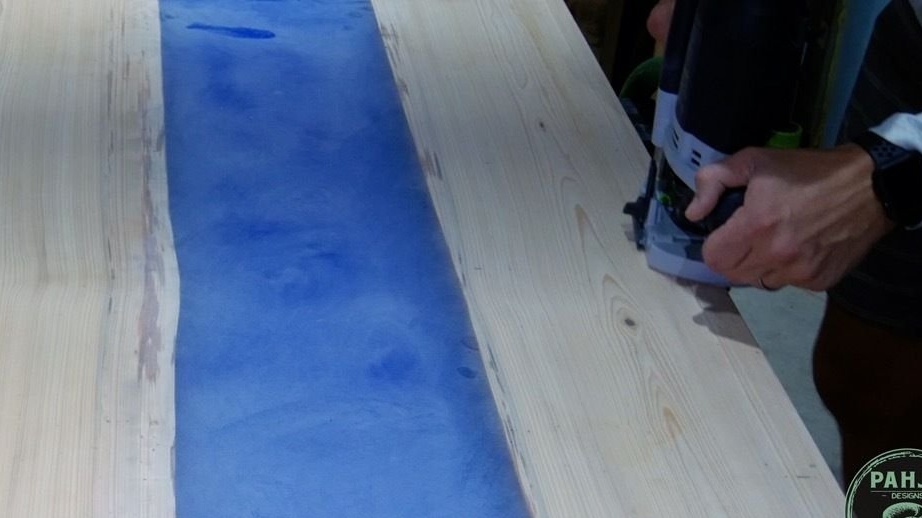
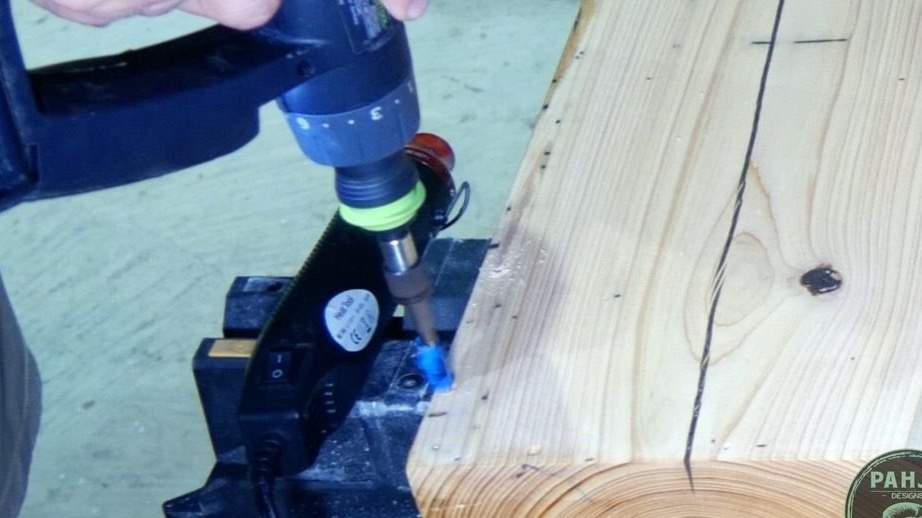
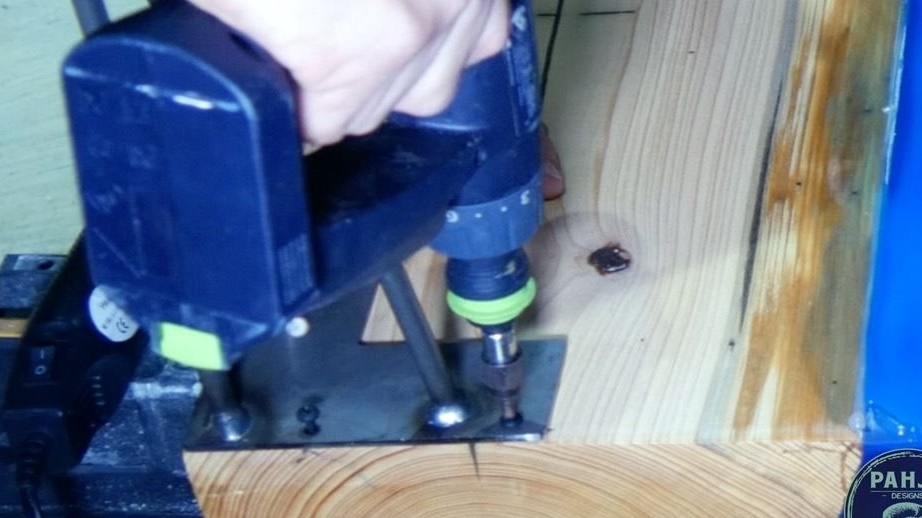
Seventh step: milling
Sets guides and mills the surface of the countertop.
Step Eight: Bottom
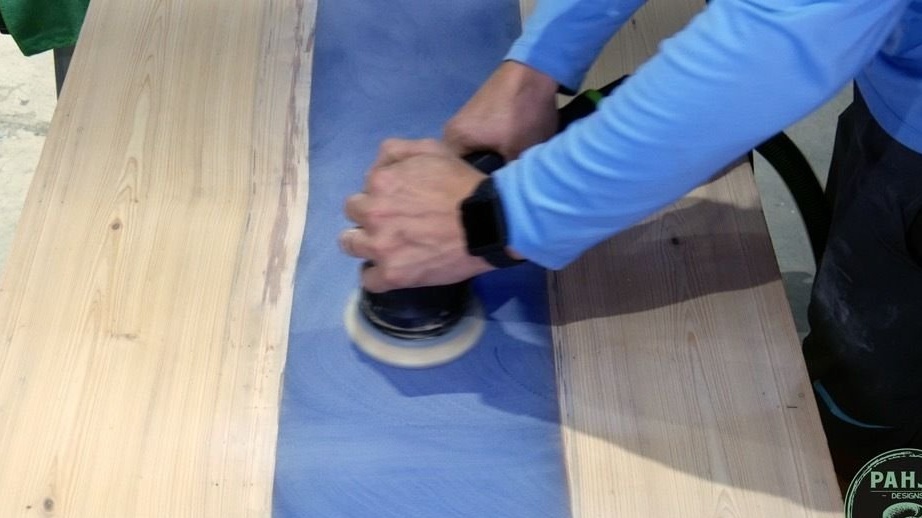
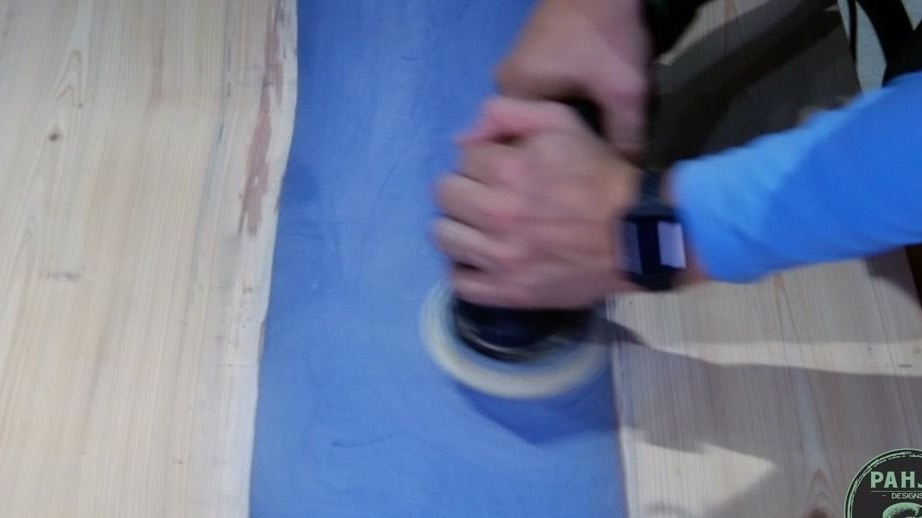
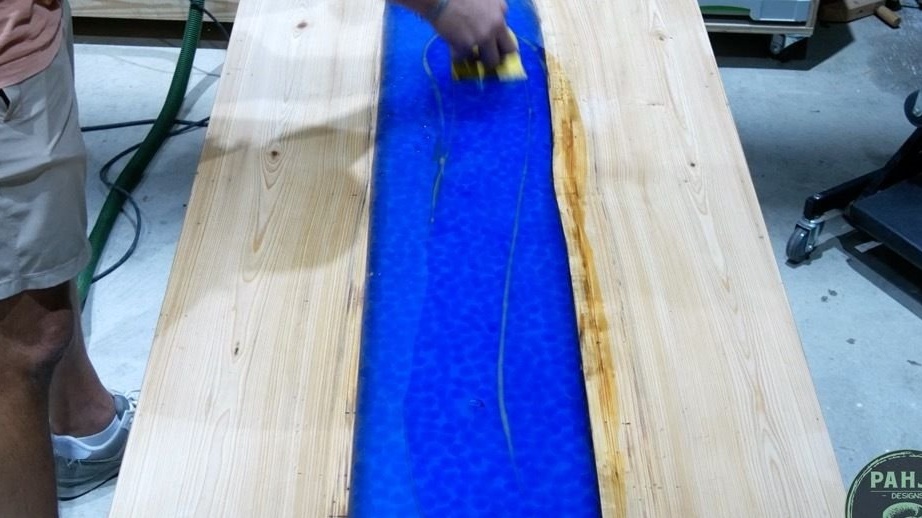
Turns the countertop over and polishes the lower part from the epoxy bursts. According to the master, the best way to remove epoxy is a angle grinder with a 50 grit petal circle.

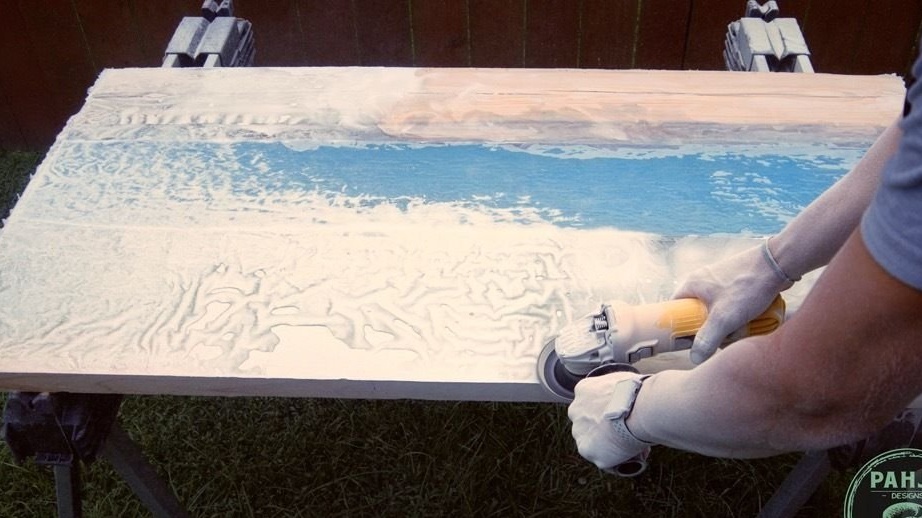
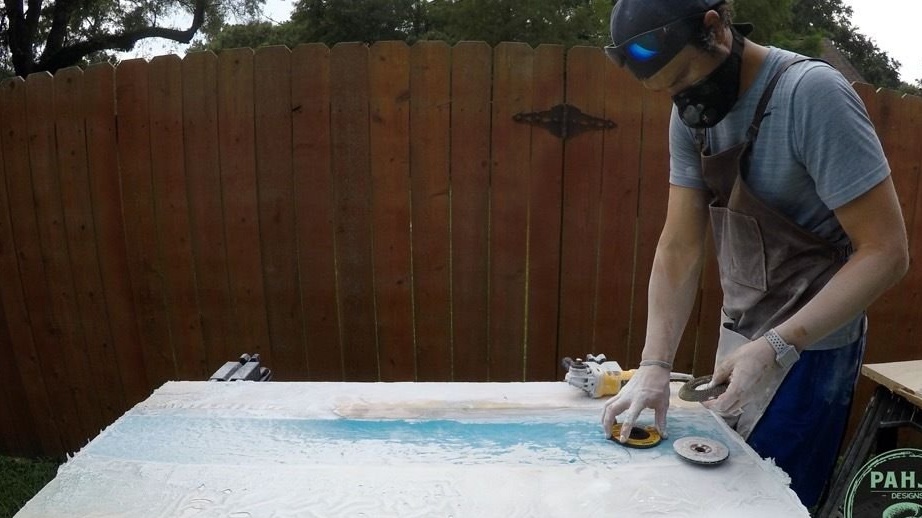
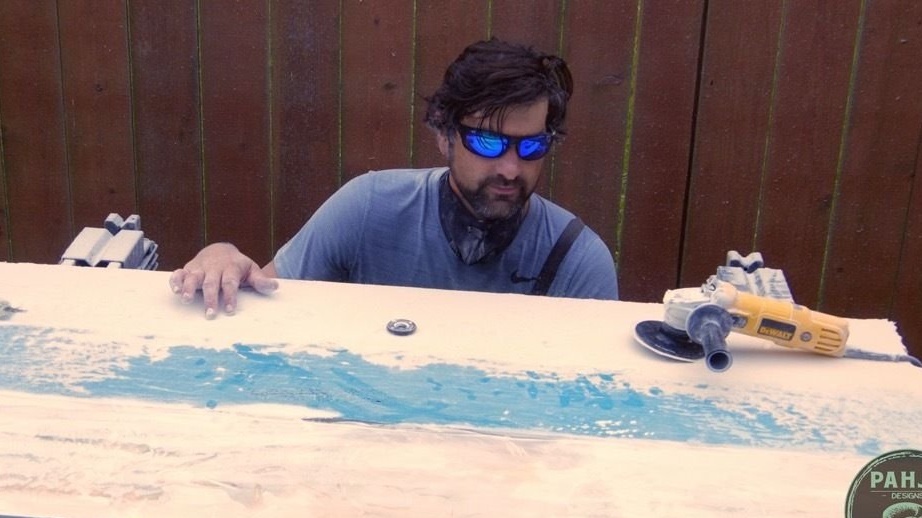
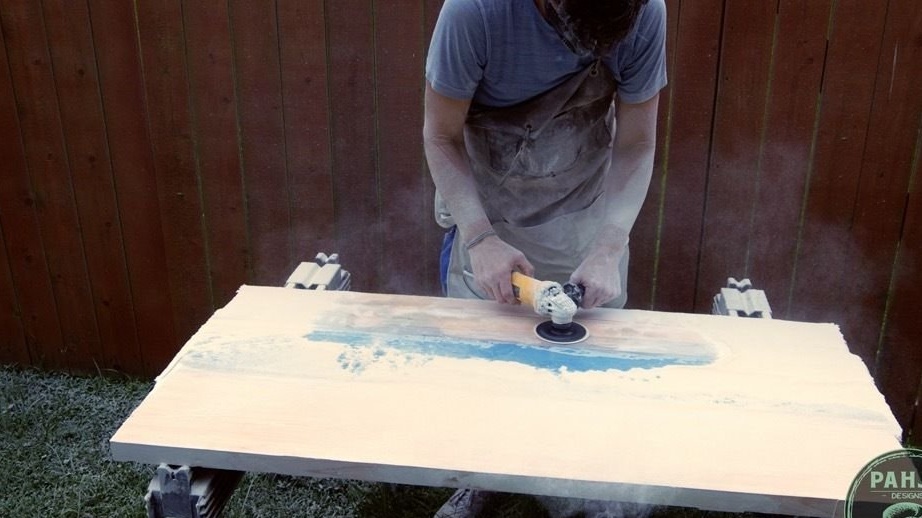
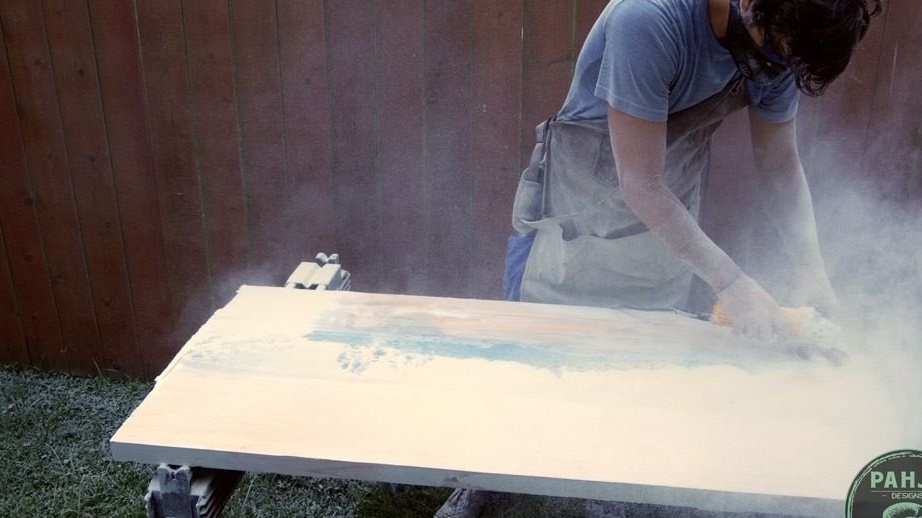
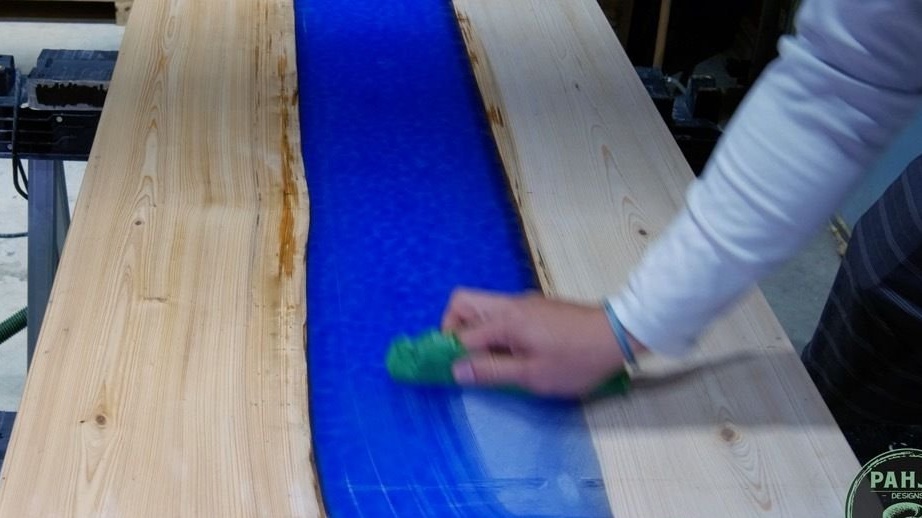
Grinds the surface to 320 with sandpaper.

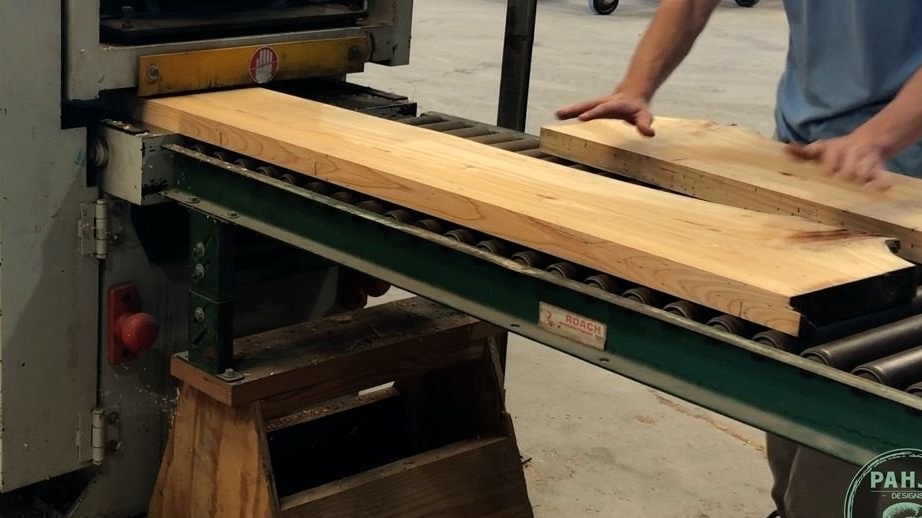
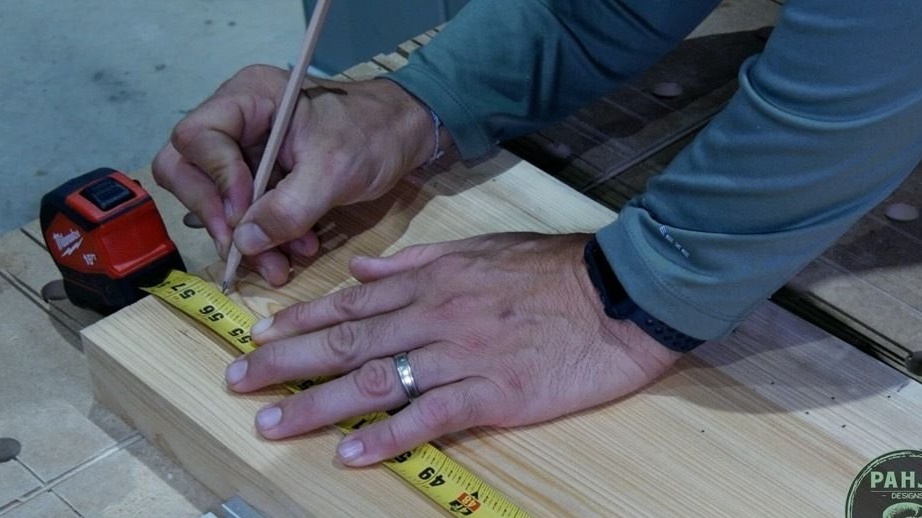
Step Nine: Cropping
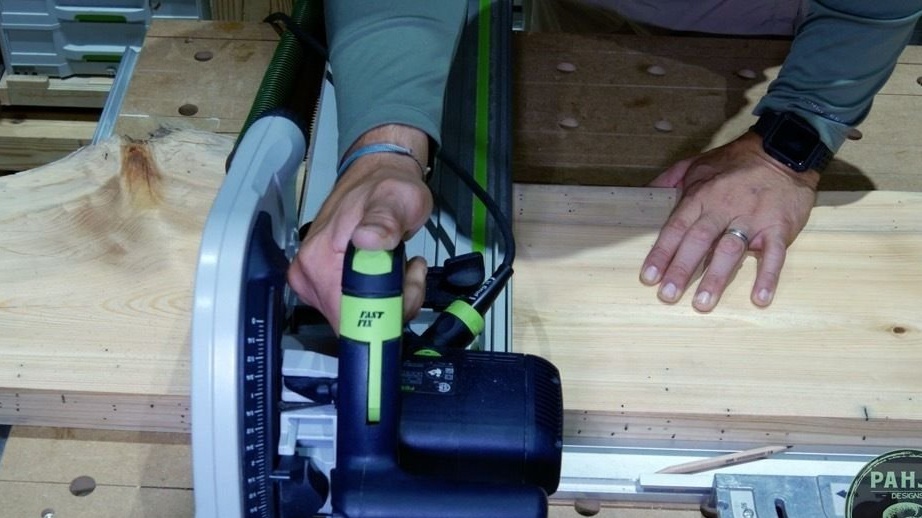
After grinding, the master cuts the countertop in length and width.
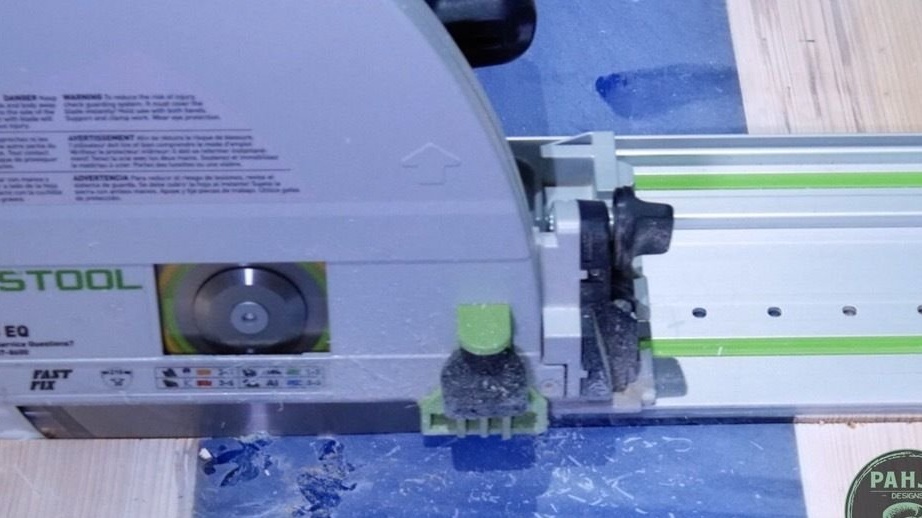
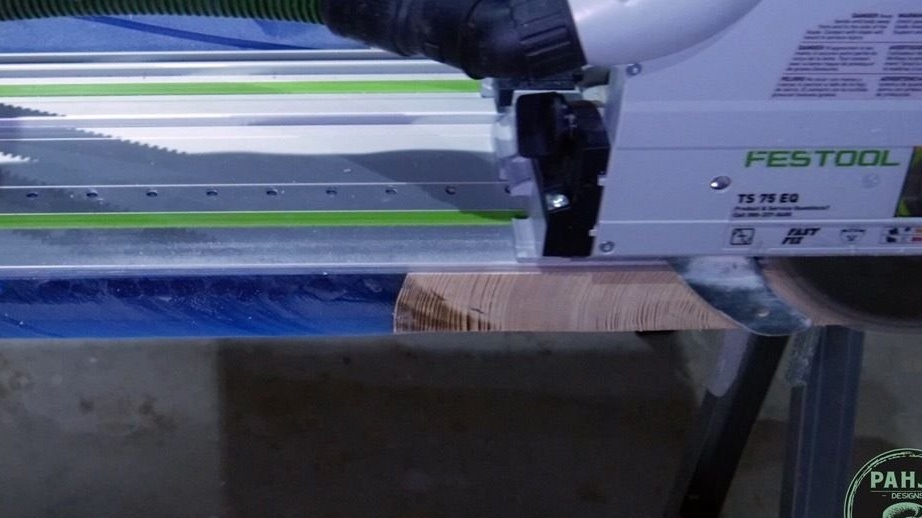
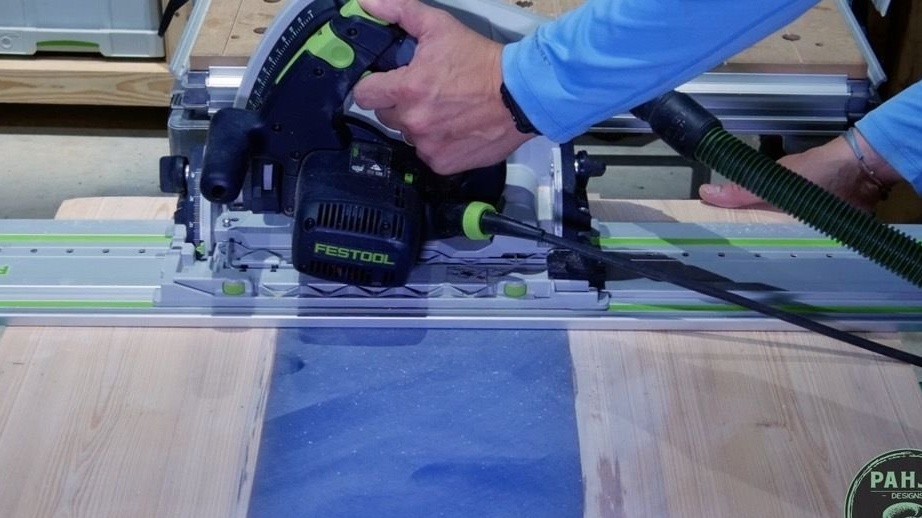
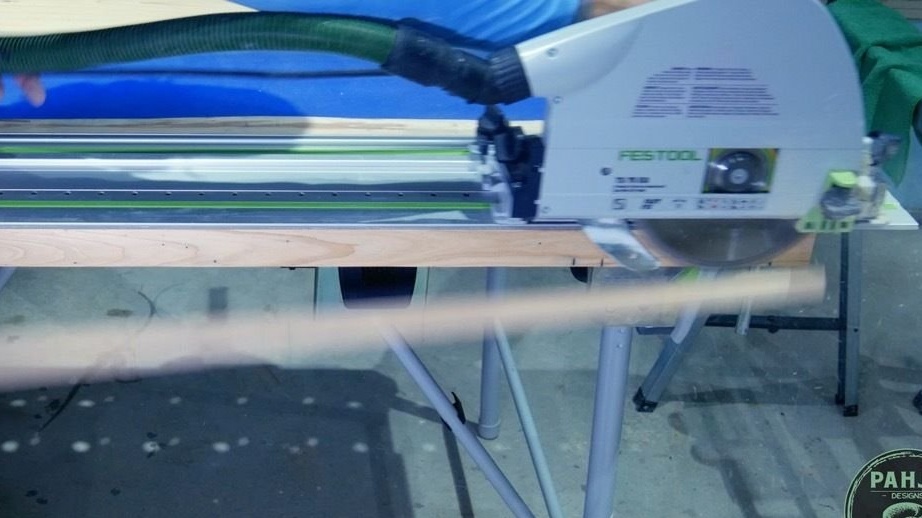
Mills the edge.
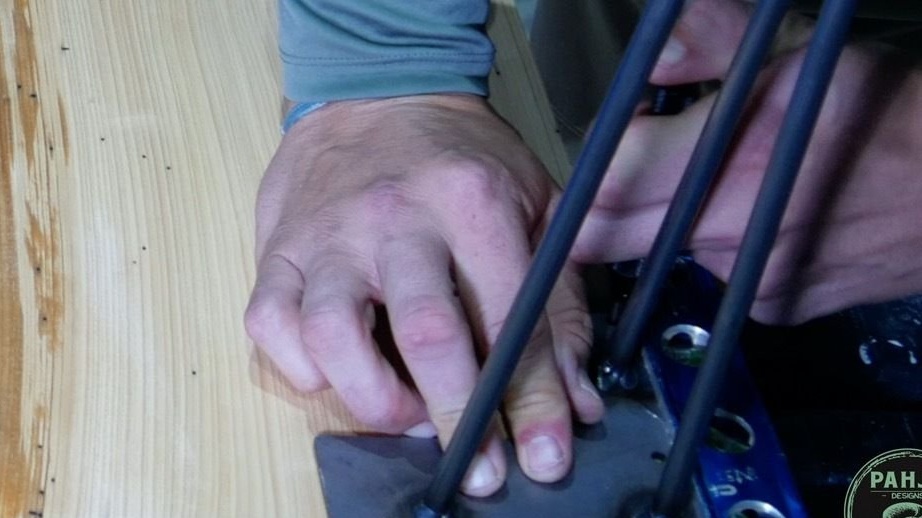
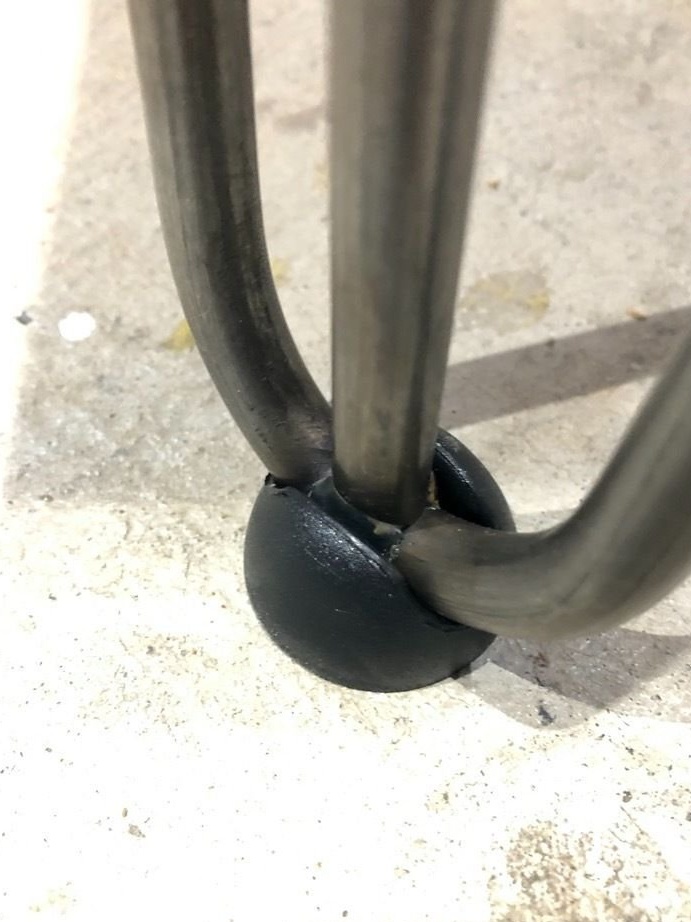
Step Ten: Feet
Screws the legs.
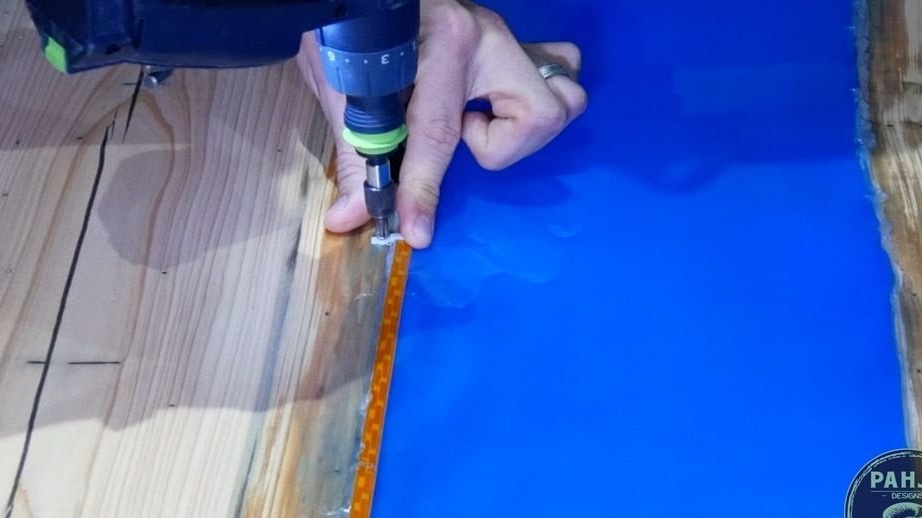
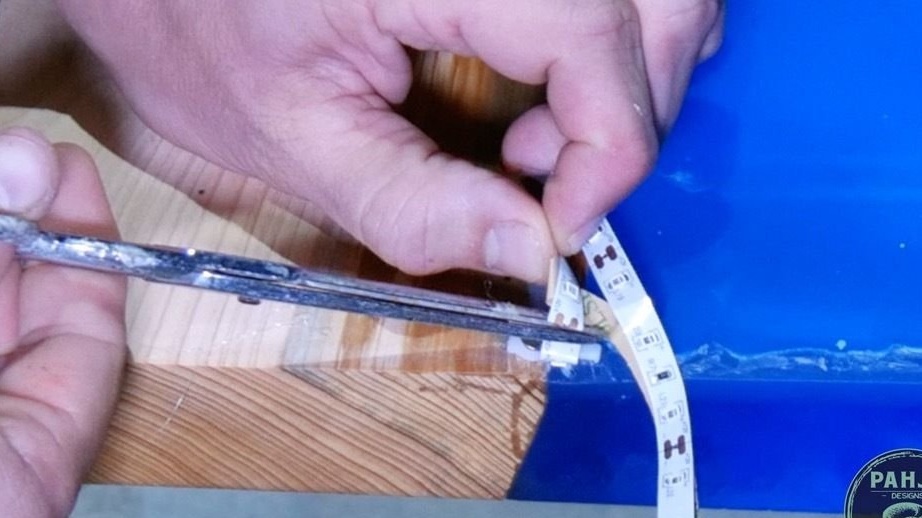
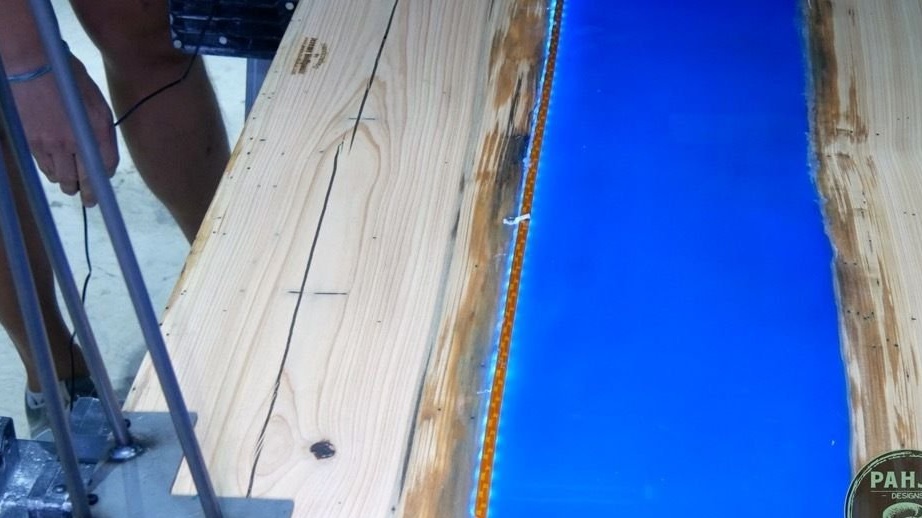
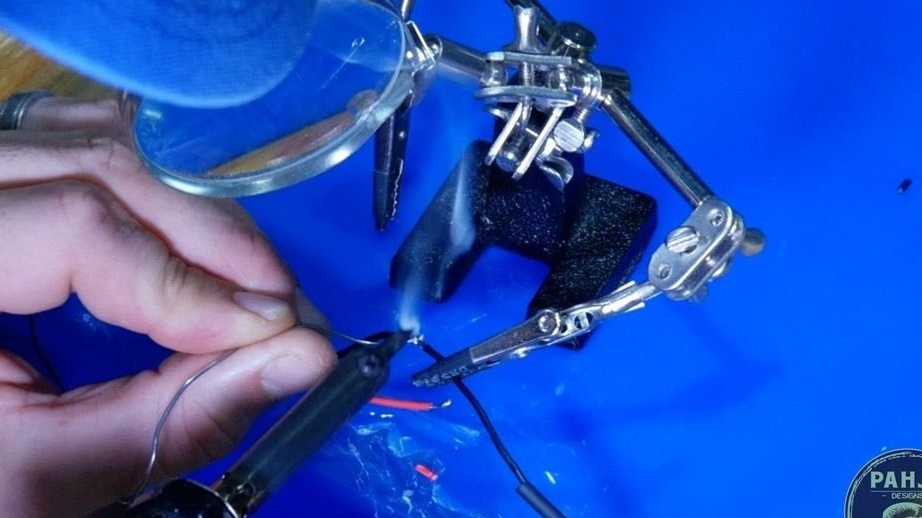
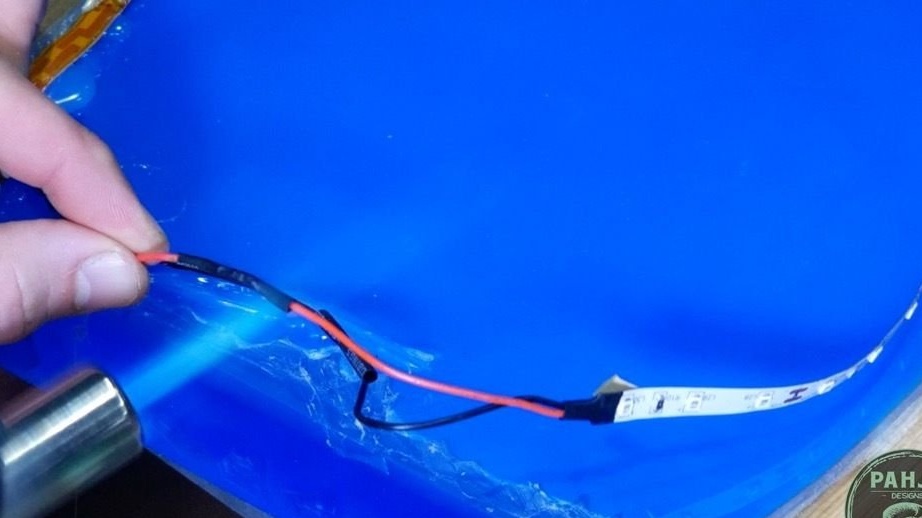
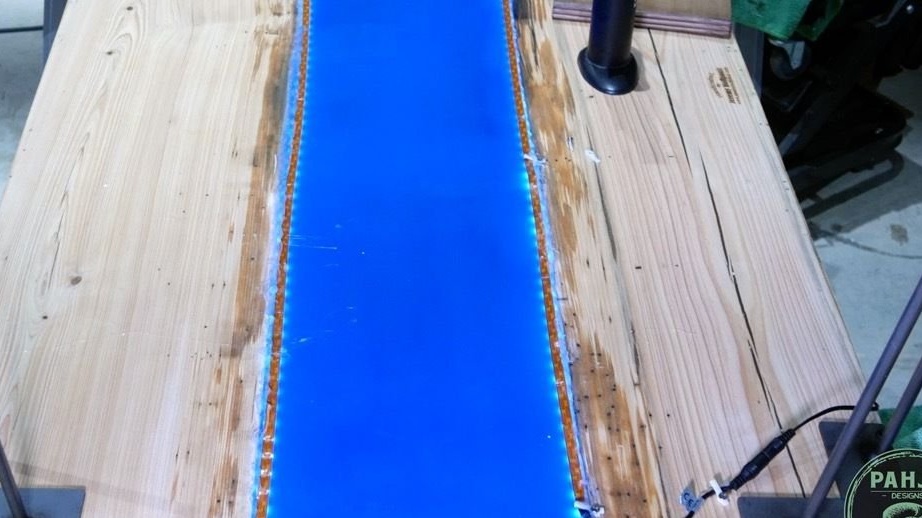
Step Eleven: LED Strip
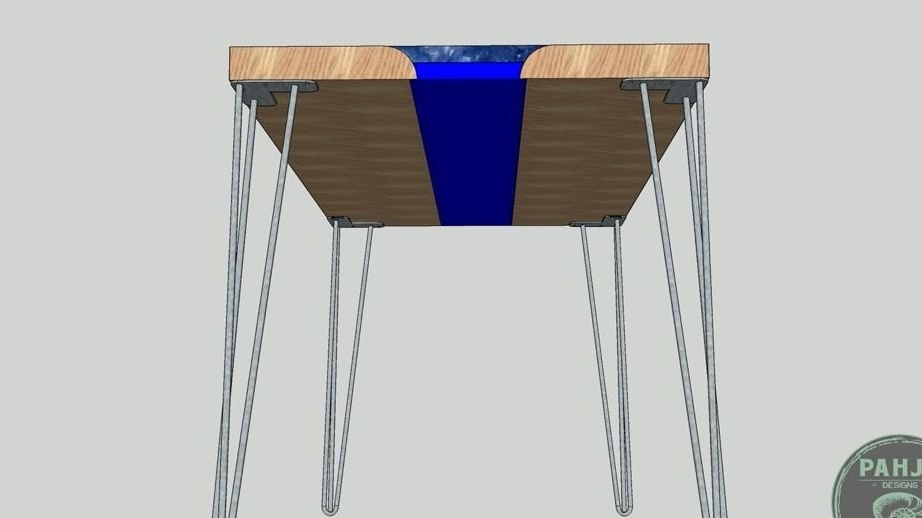
In the case of installing the table in a place where there is no sunlight, the master mounted two UV LED strips from the bottom of the countertop.
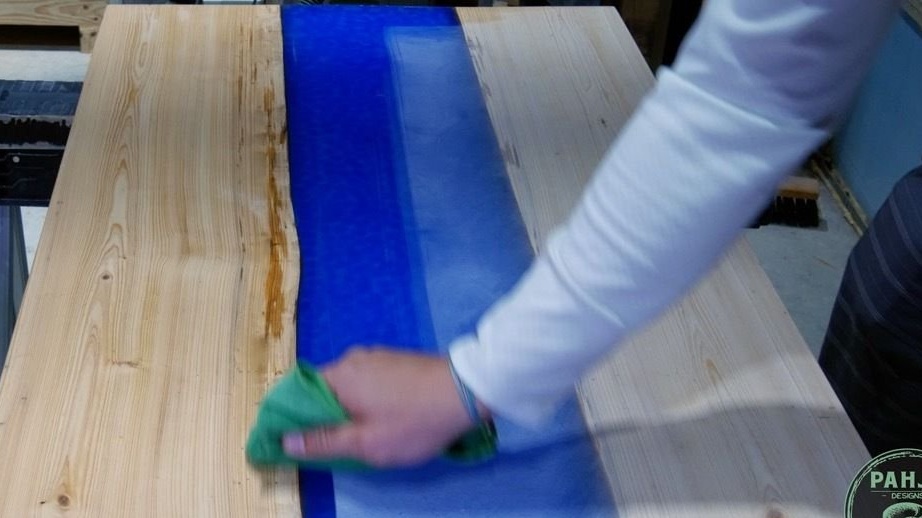
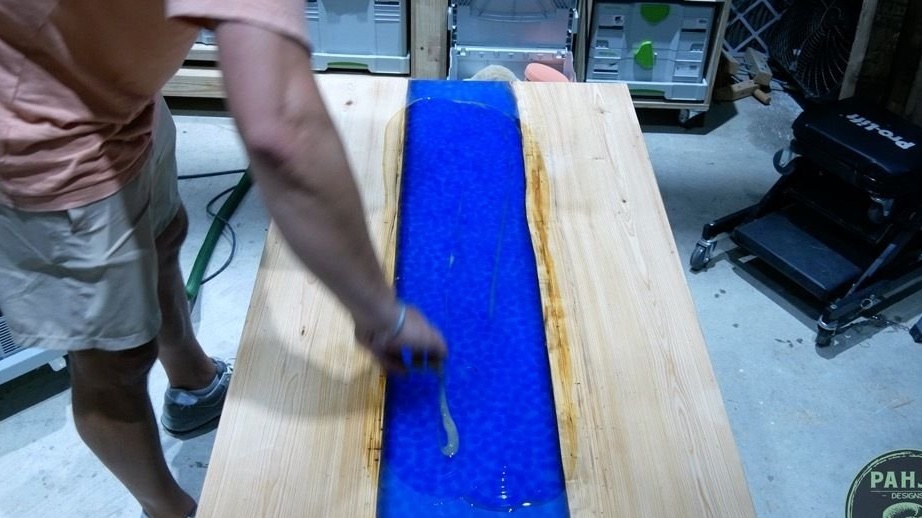
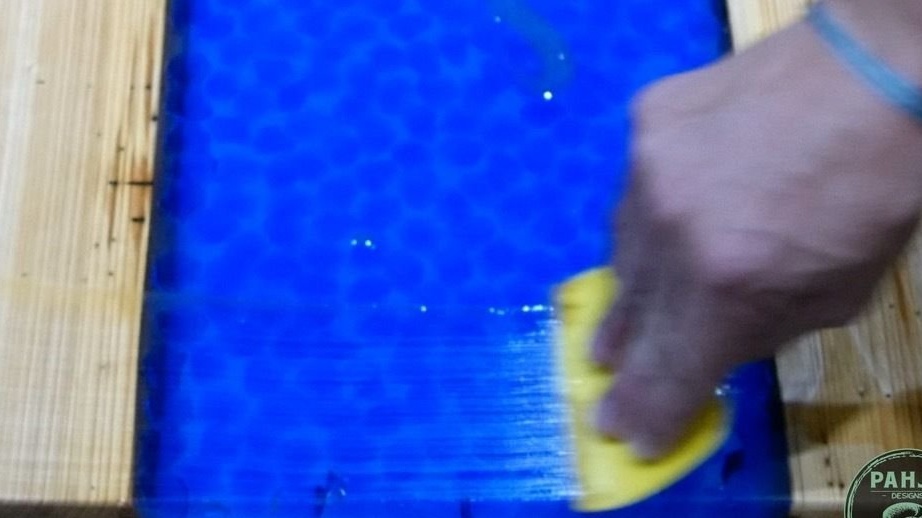
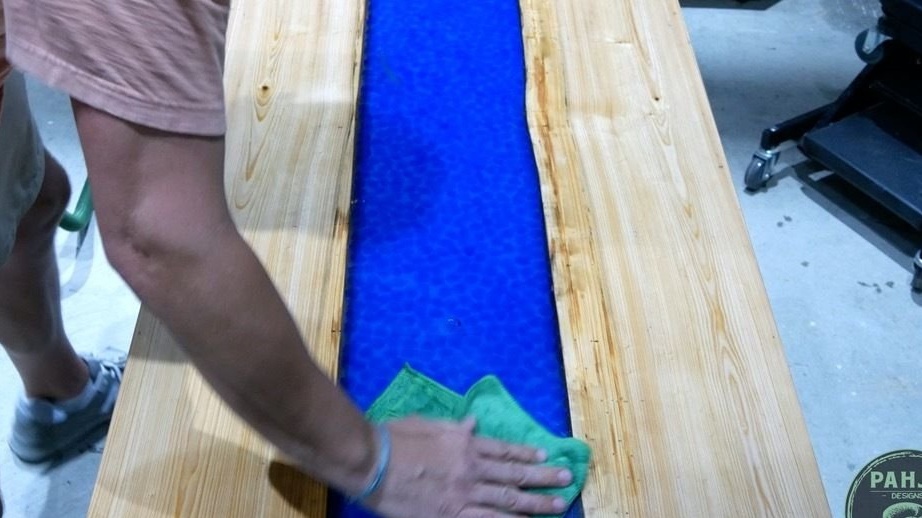
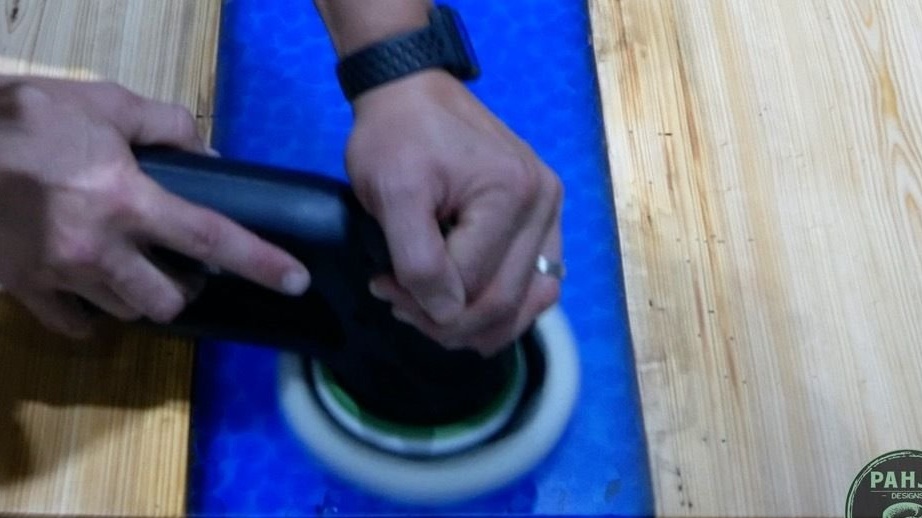
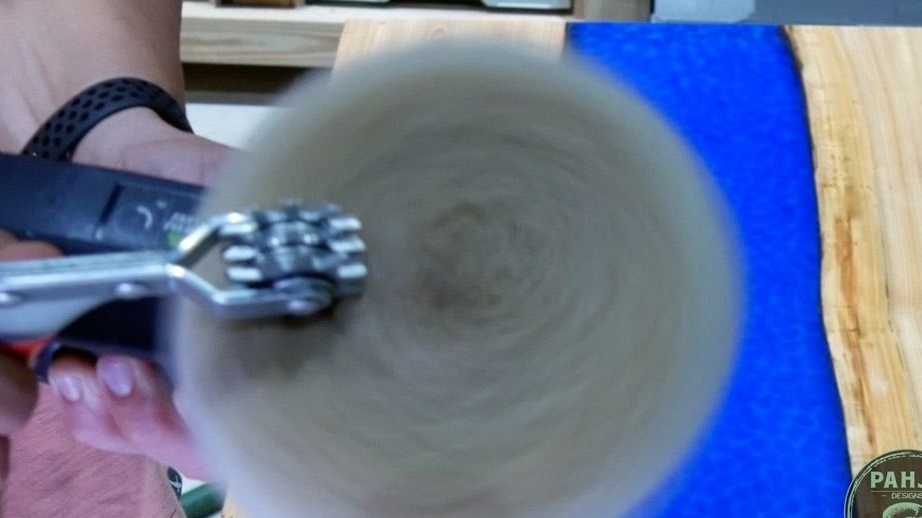
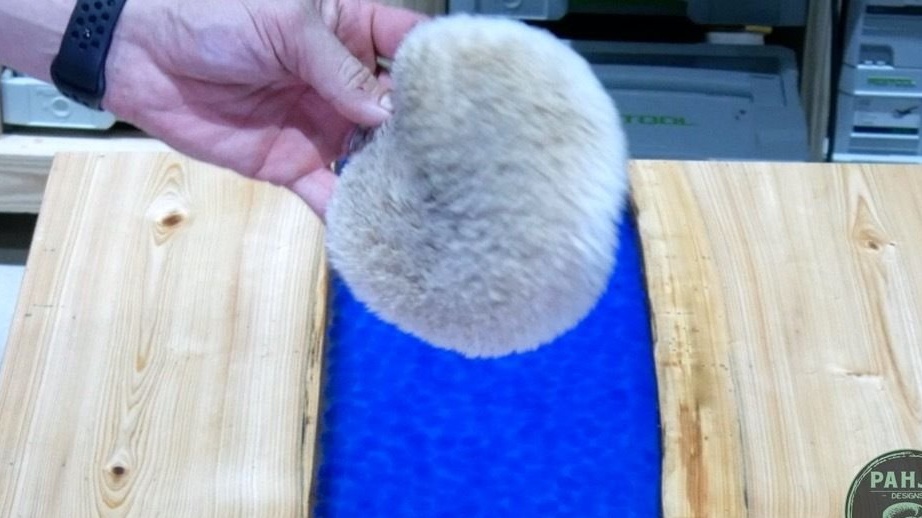
Step Twelve: Finish
The master applies polishing paste to the countertop and polishes it.
All is ready.
The whole process of making such a table can be seen in the video.