
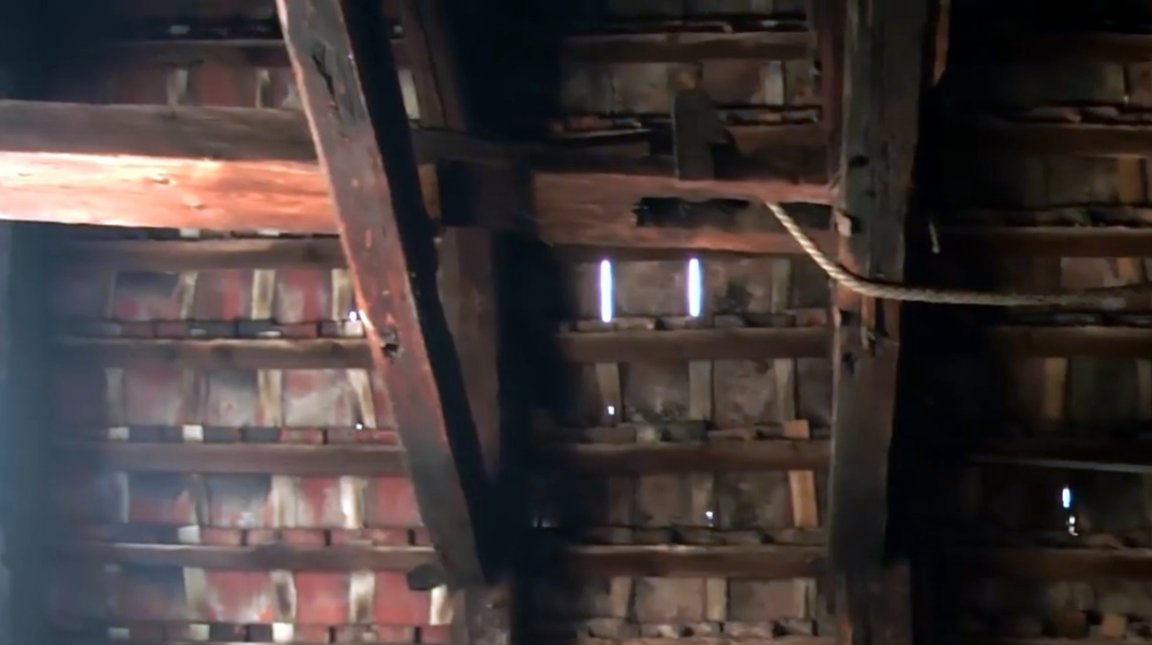
In the old days, in Germany, in the attic of many houses, such a winch or a lift was installed. Thanks to him, it was very convenient to bring up building material, household items or food supplies, such as bags of flour. Now this “fashion” for lifts is gone as unnecessary, but the invention itself remains.

In this article, Matthias, the author of the YouTube channel Matthias Burger, sets himself the task of restoring the old, or maybe re-creating an attic, lifting beam.
Materials
- Pine boards, timber
- Solid ash
- rope
- Sheet metal
- bearings
- Paint.
Instruments, used by the author.
— Band-saw
— Electric chain saw
- Lathe
— Rivet gun
— Screwdriver
- Drilling machine
— Clamps
- Bow saw
— Forstner Drills
- Drill, scissors for metal
- mallet, chisels, mount
- Roulette, square, crayon, brush.
Manufacturing process.
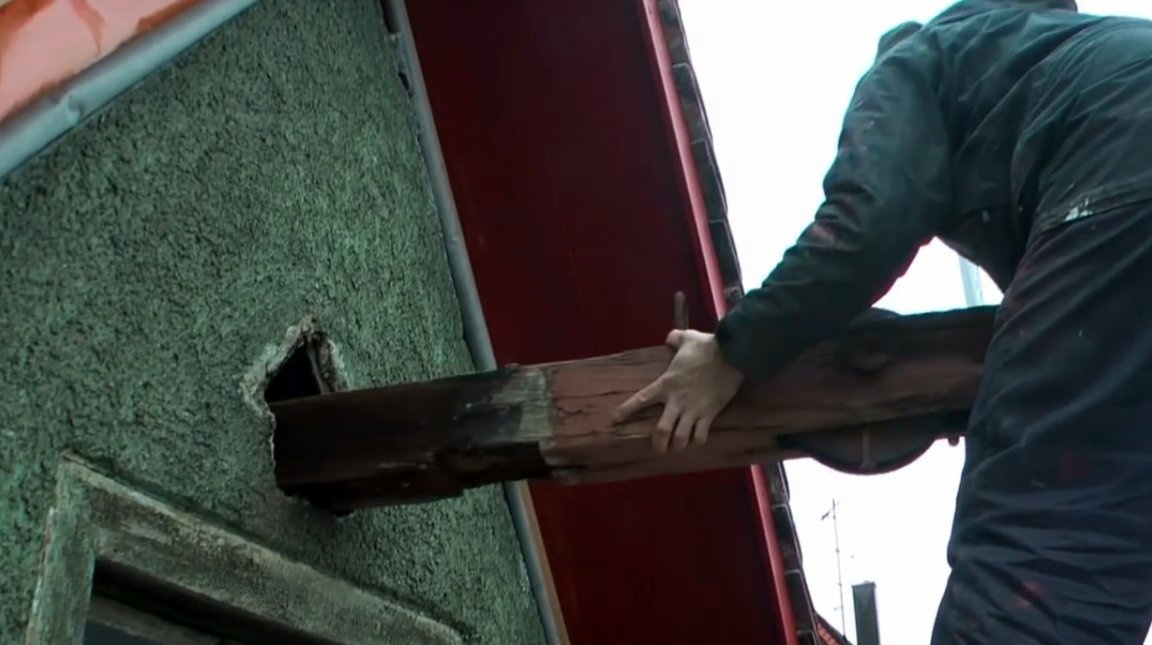
After removing the elevator beam, it turned out that it was originally not made for this building, as evidenced by the roughly-cut sides.
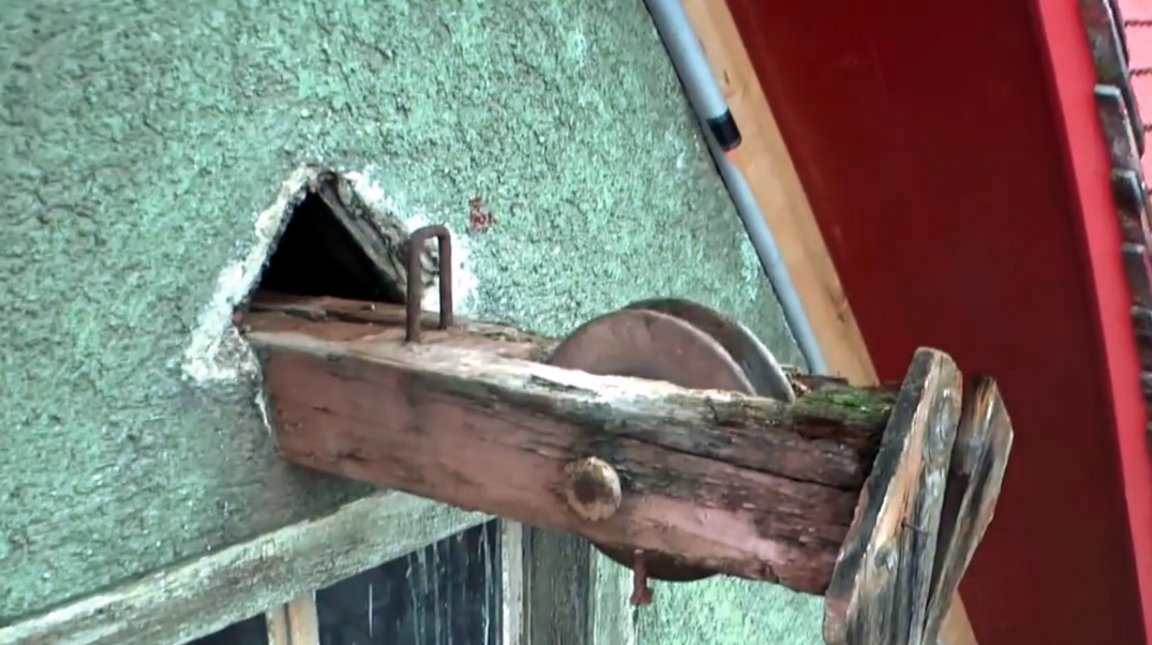
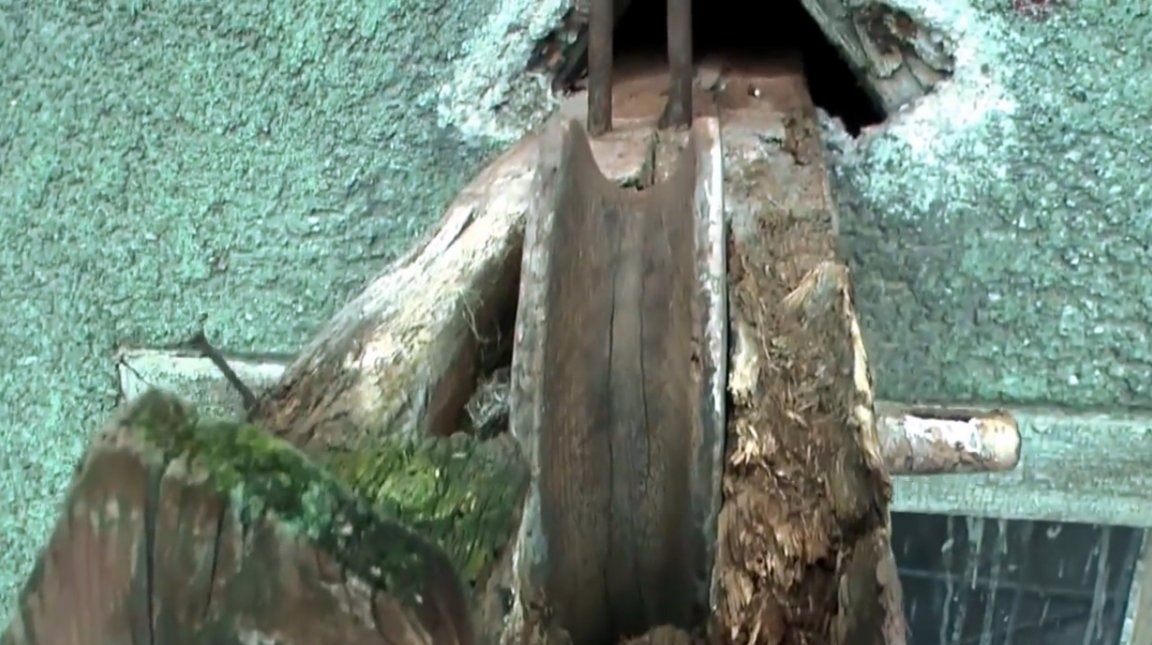
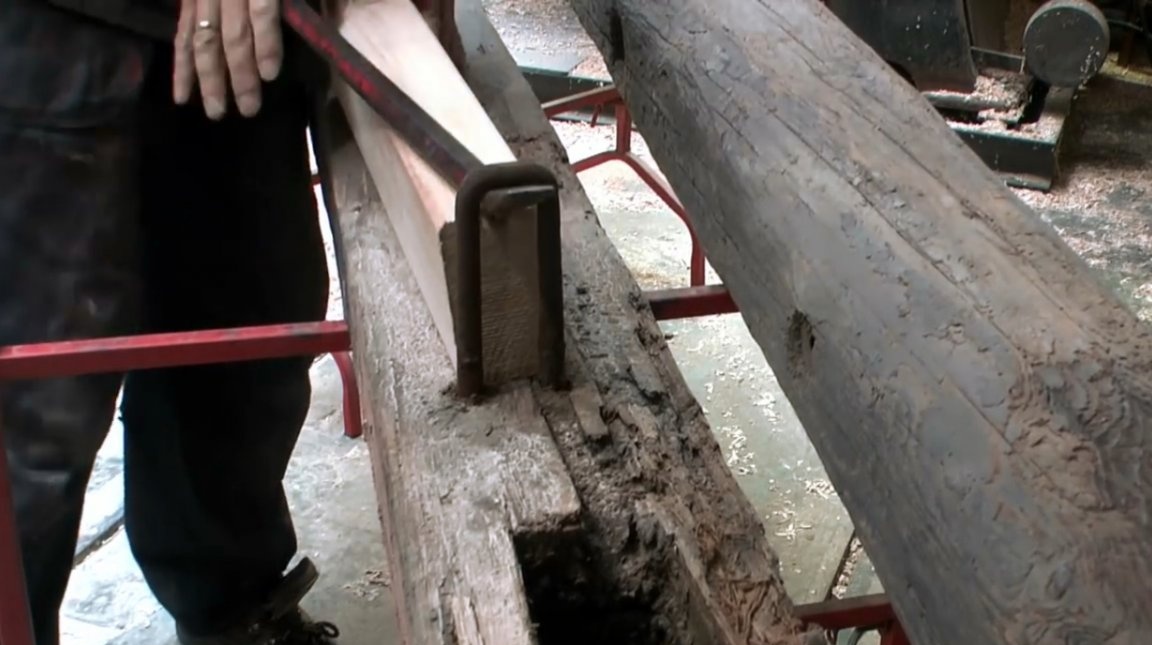
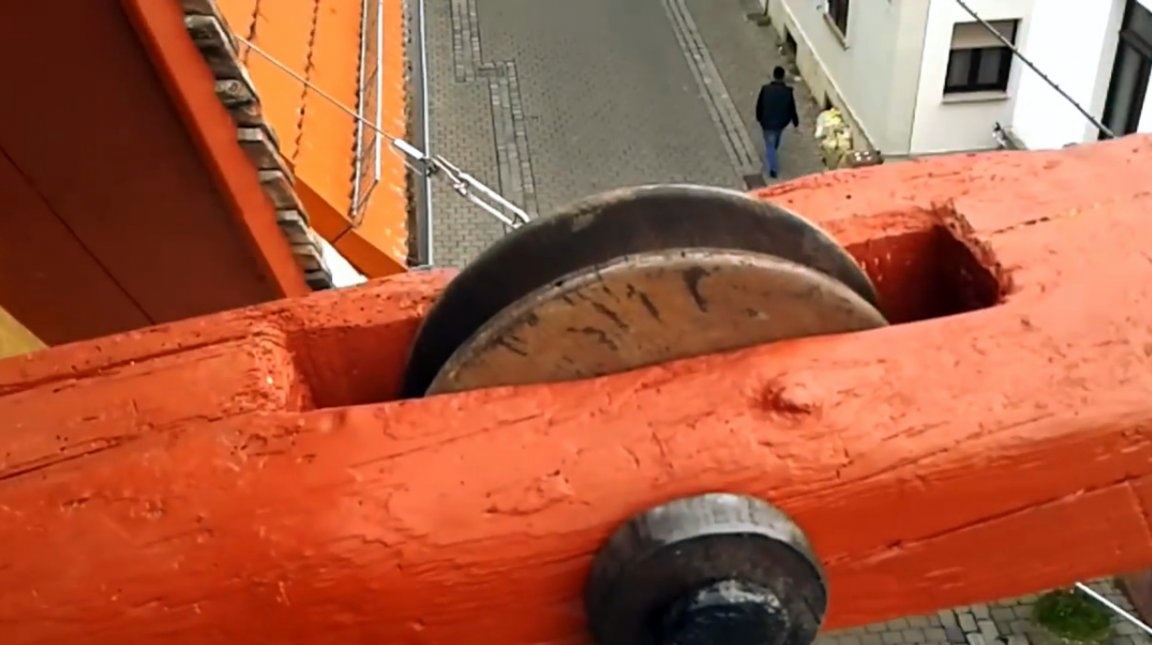
The outer roller of the elevator is relatively well preserved, and the author decides to reuse it for his project.

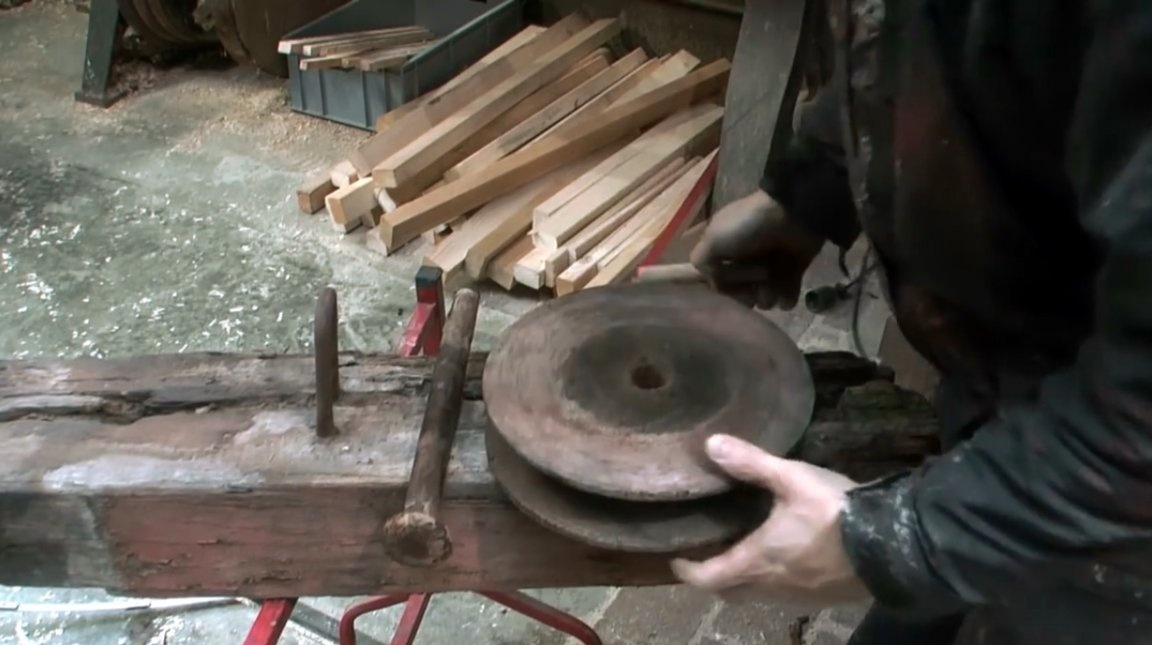
While the inner collar worn out in order, as it was fixed on an improvised stand. Its primary position was here, where the hole is visible.
In addition, the second video is too small and not at all the shape that you need. Therefore, the author intends to make a new gate of the same size as the outer one.
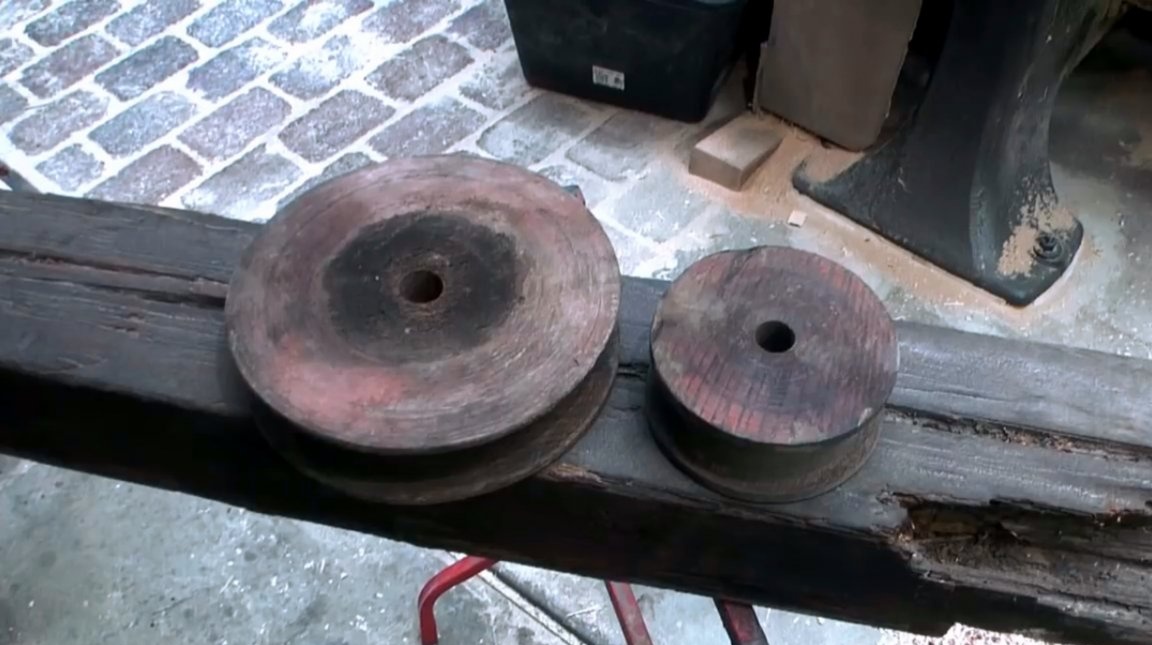
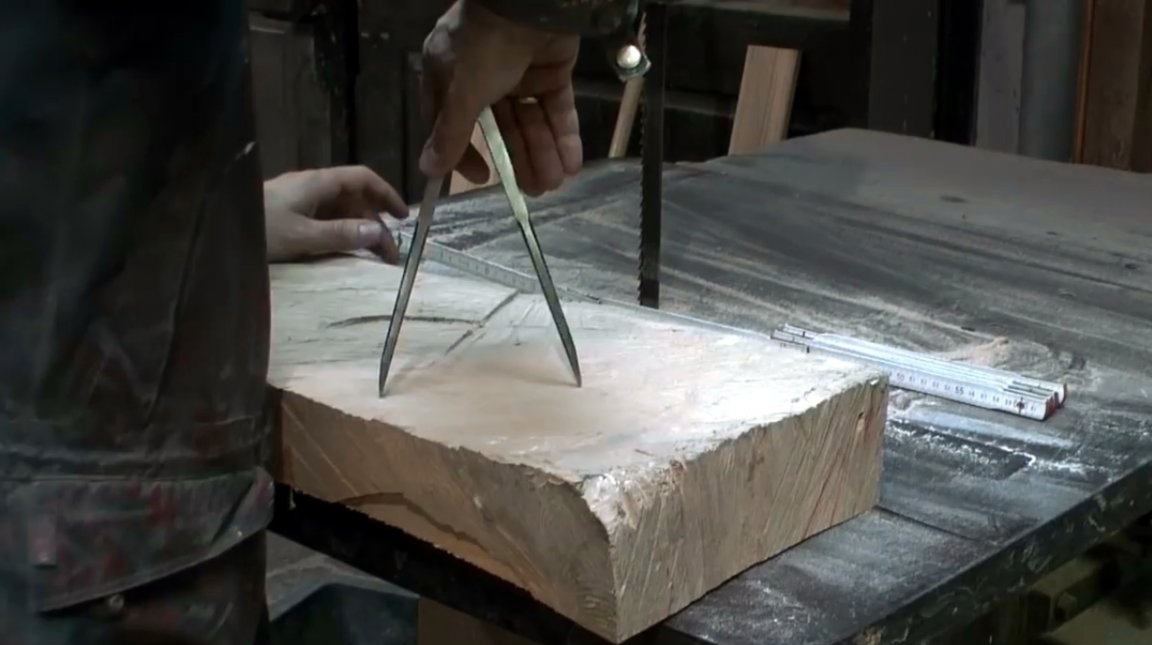
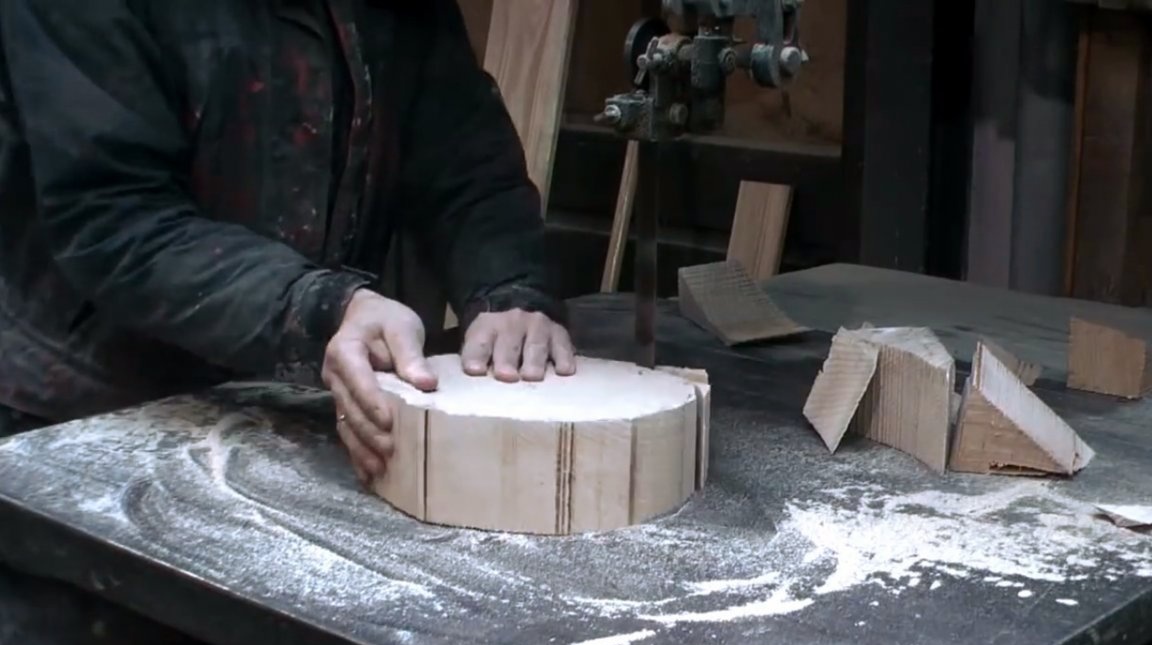
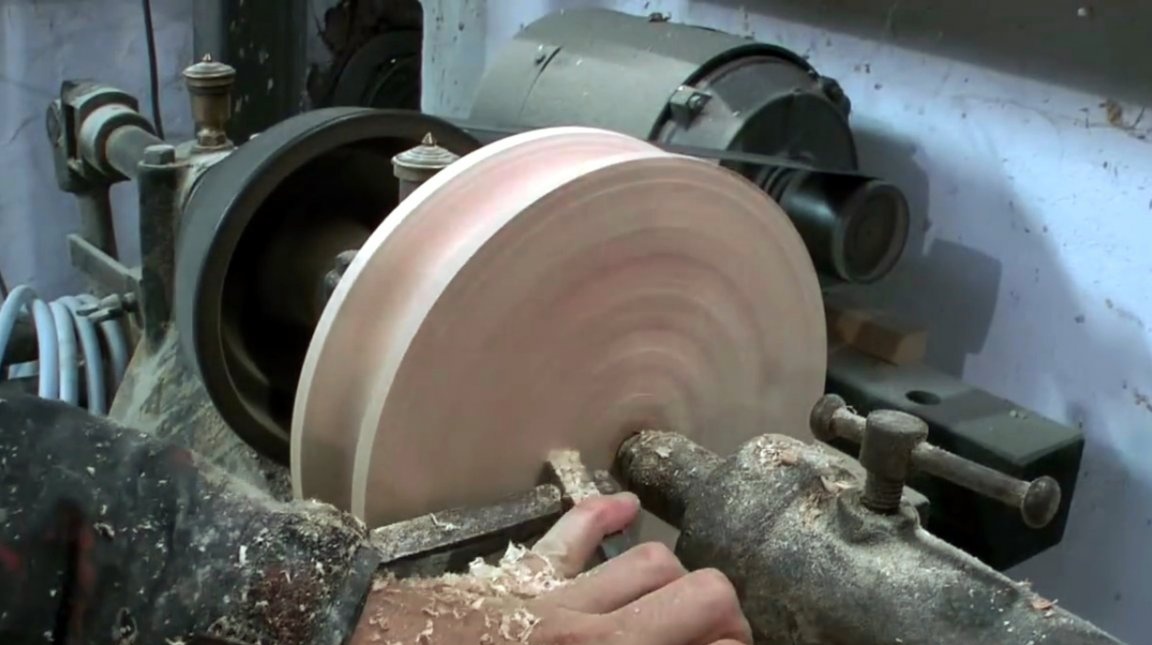
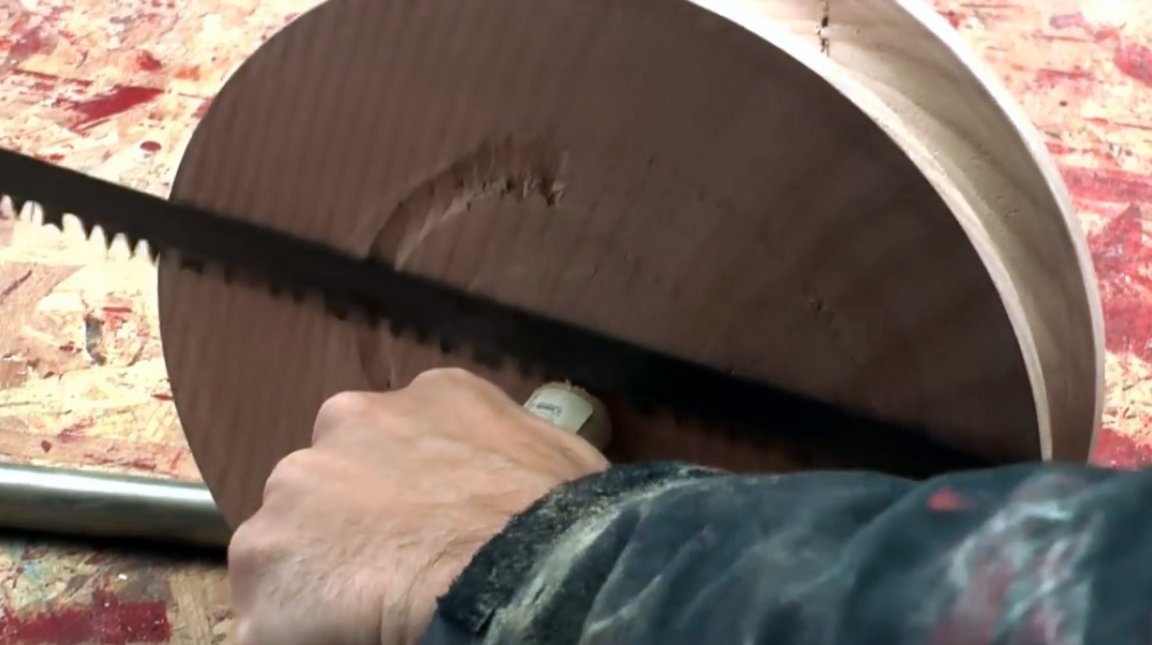
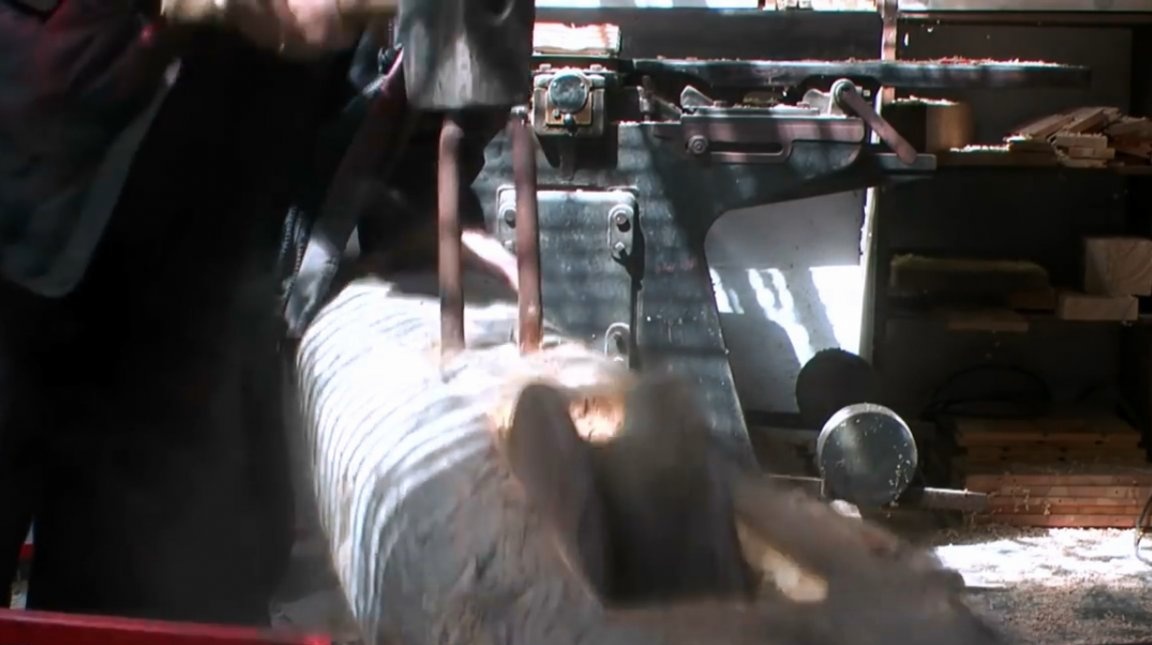
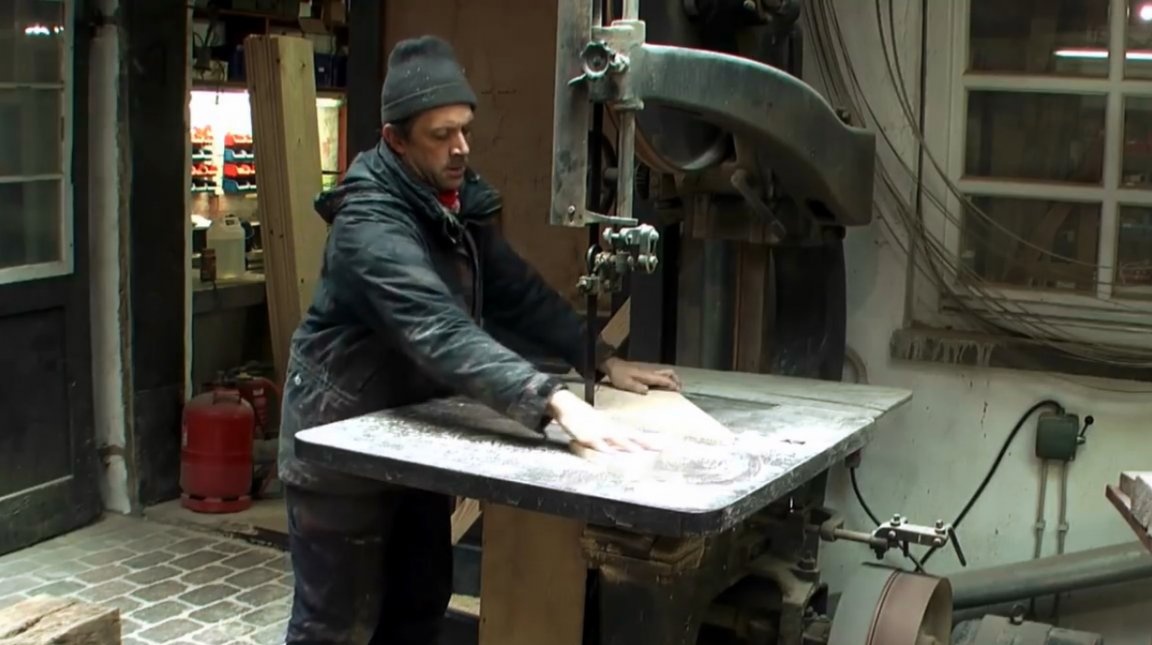
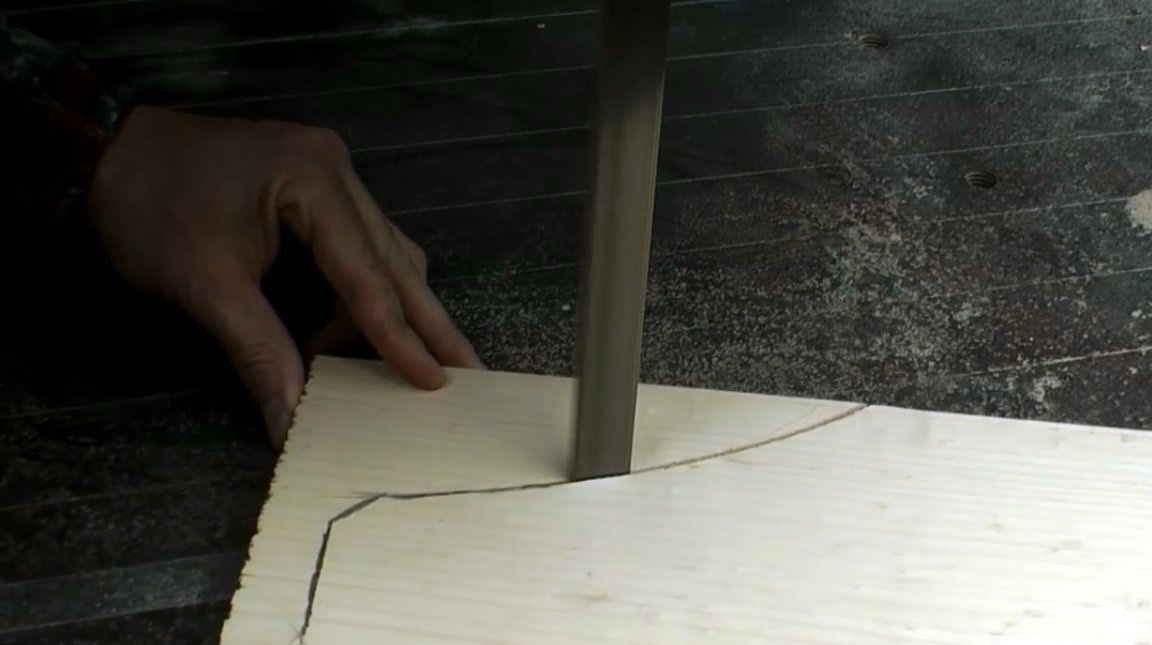
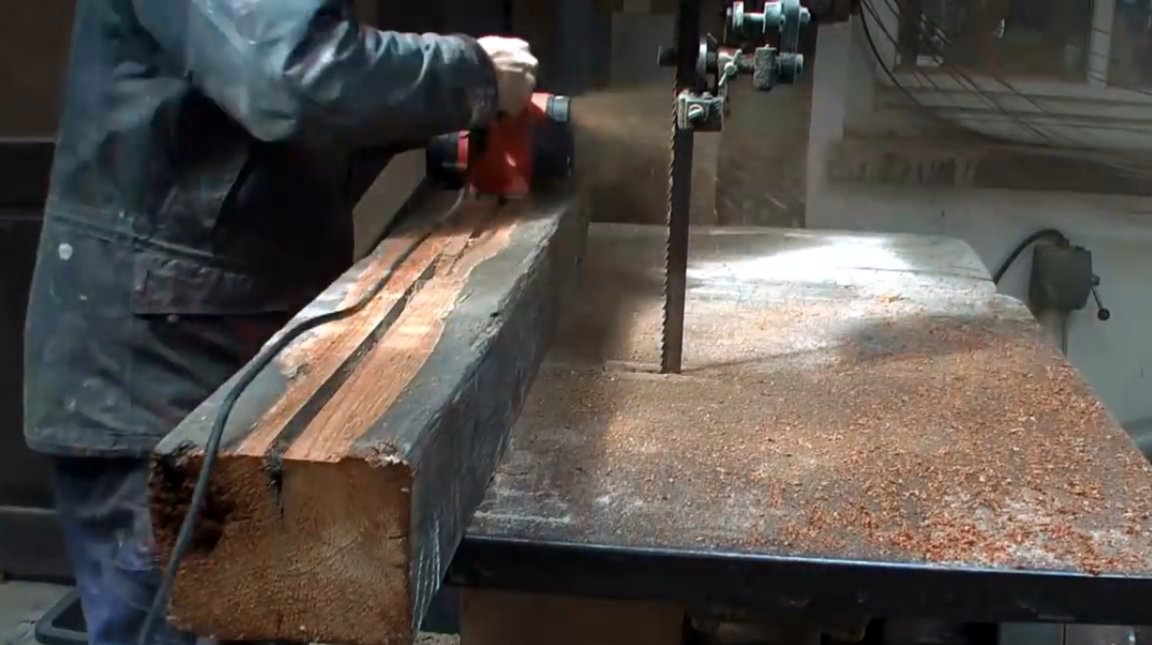
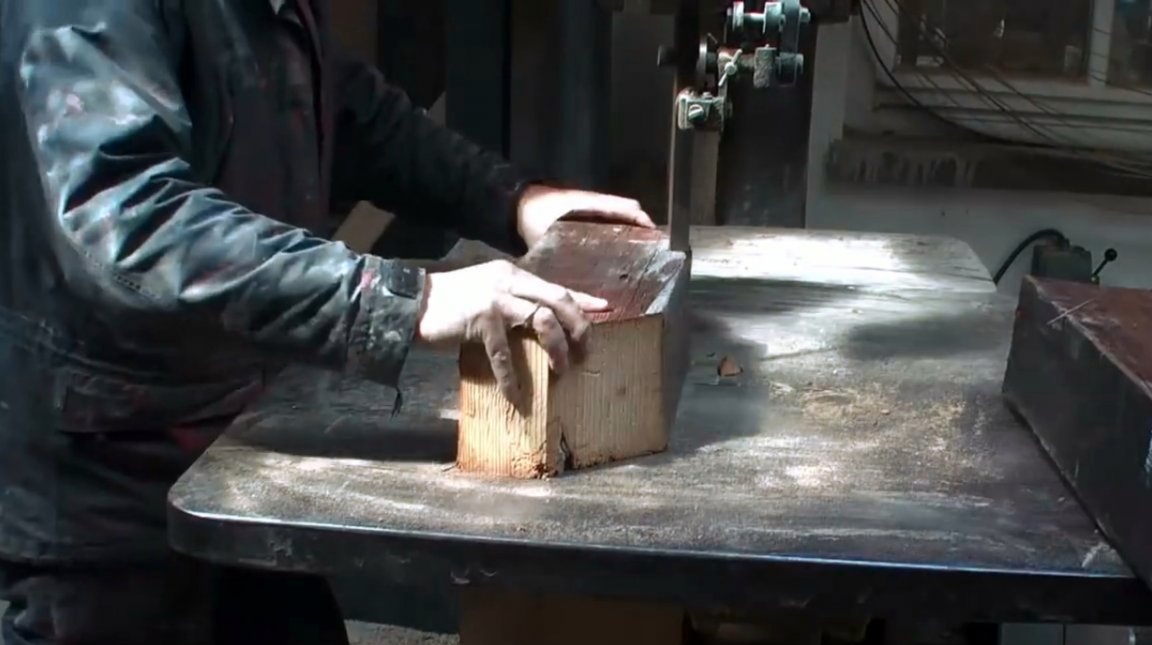
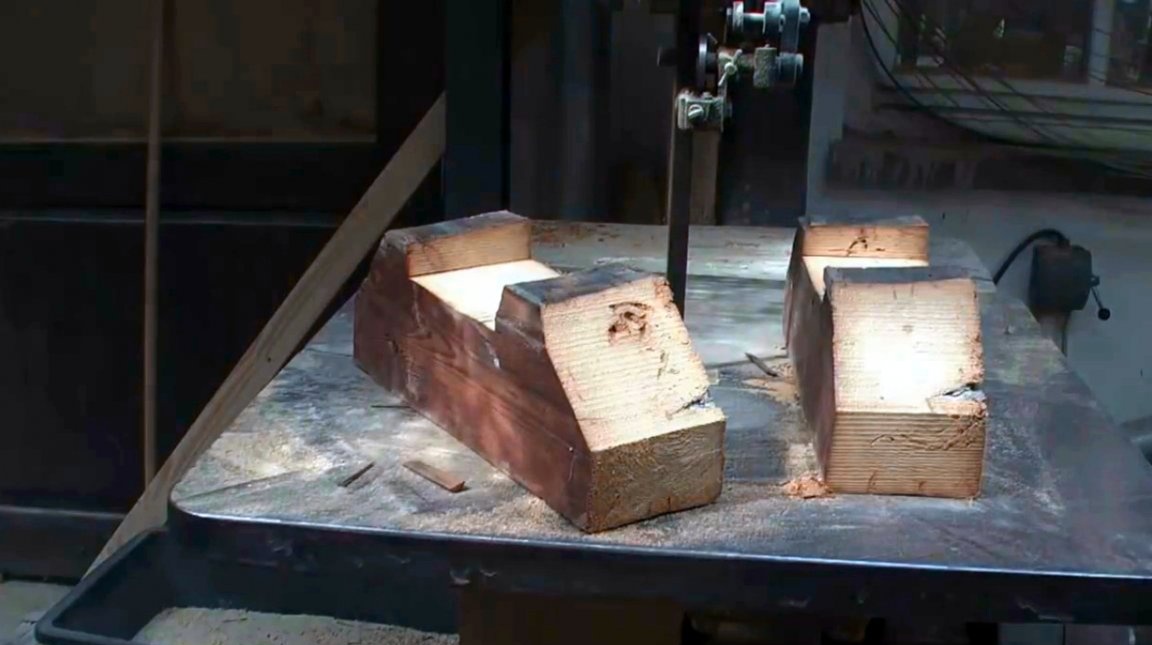
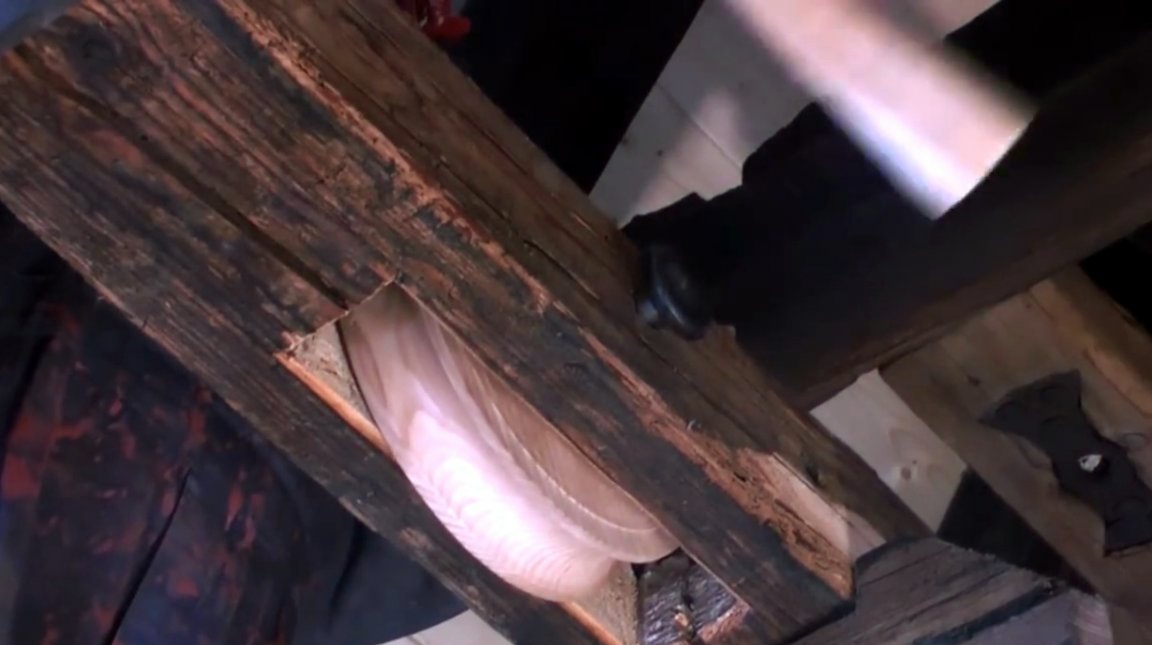
The author finds a suitable slab made of ash, outlines a circle of the required diameter on it and cuts out the general outlines of the roller on a band saw.
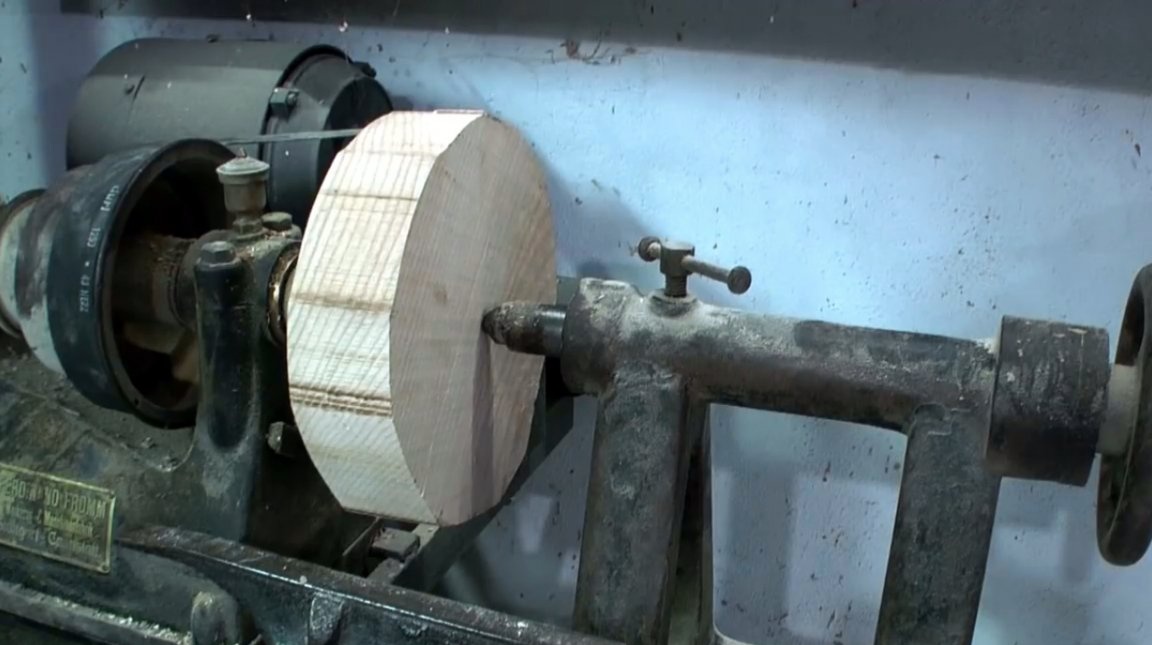
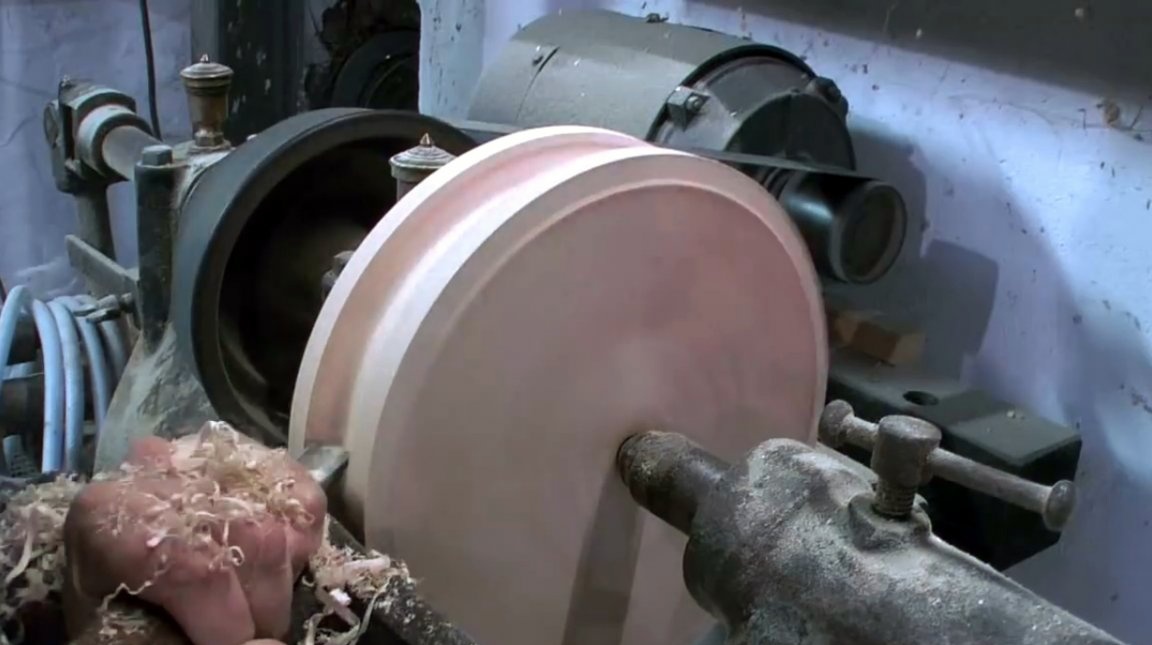
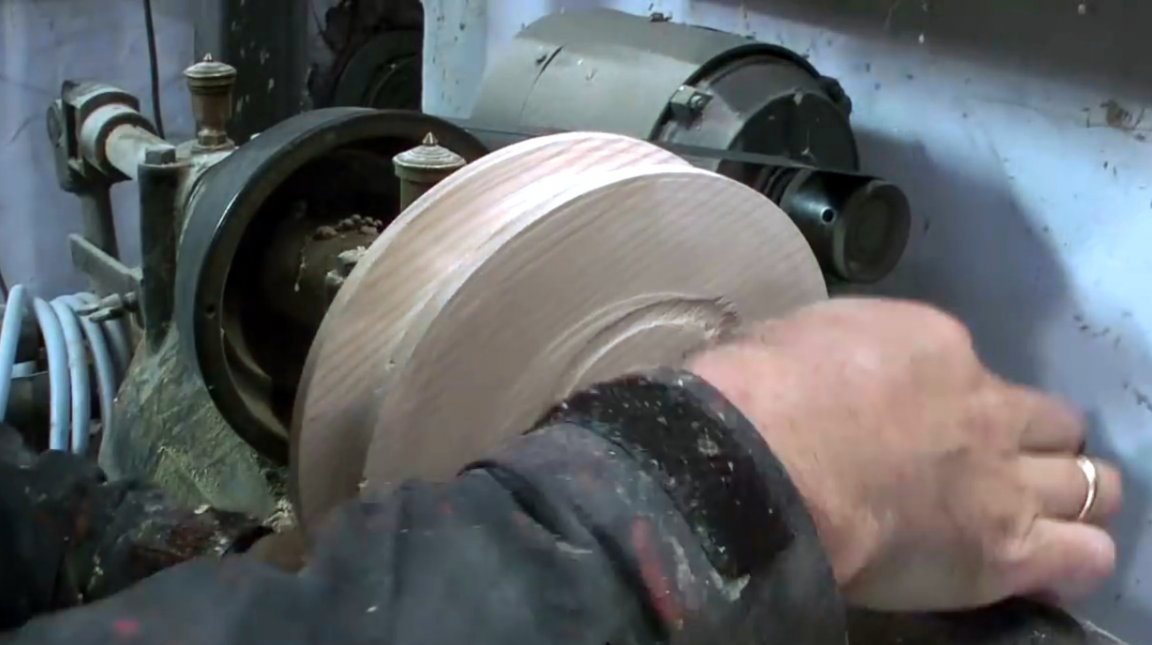
The rest of the processing is done on a lathe.
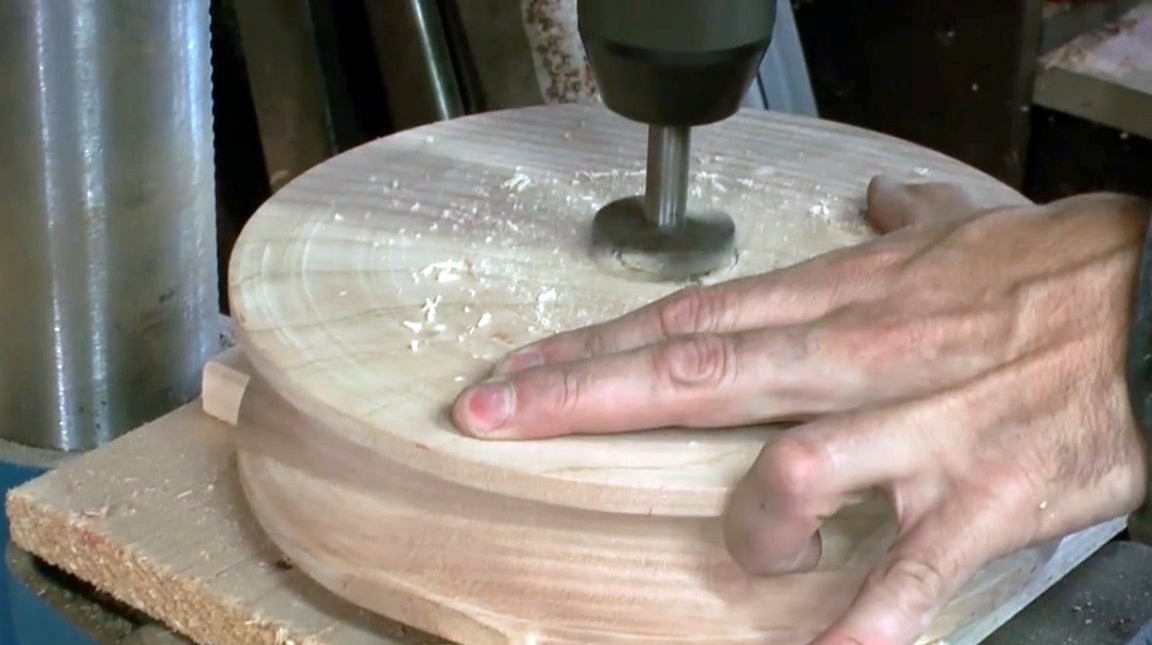
On a drilling machine, he makes a central hole of a sufficiently large diameter for a 20 mm axis.
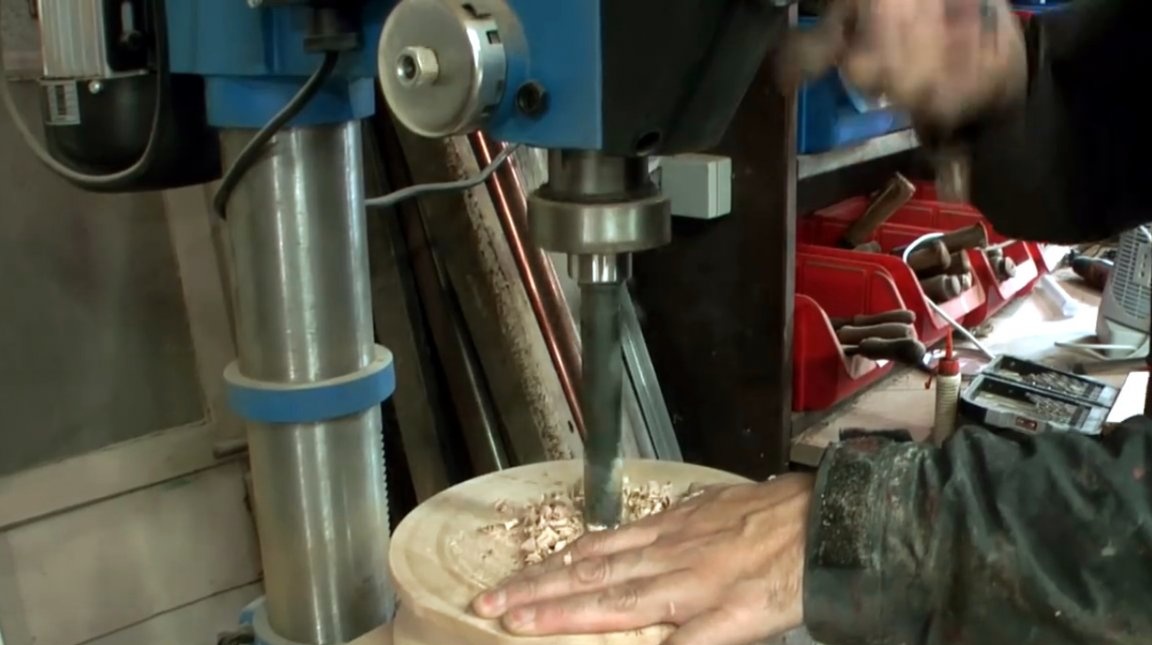
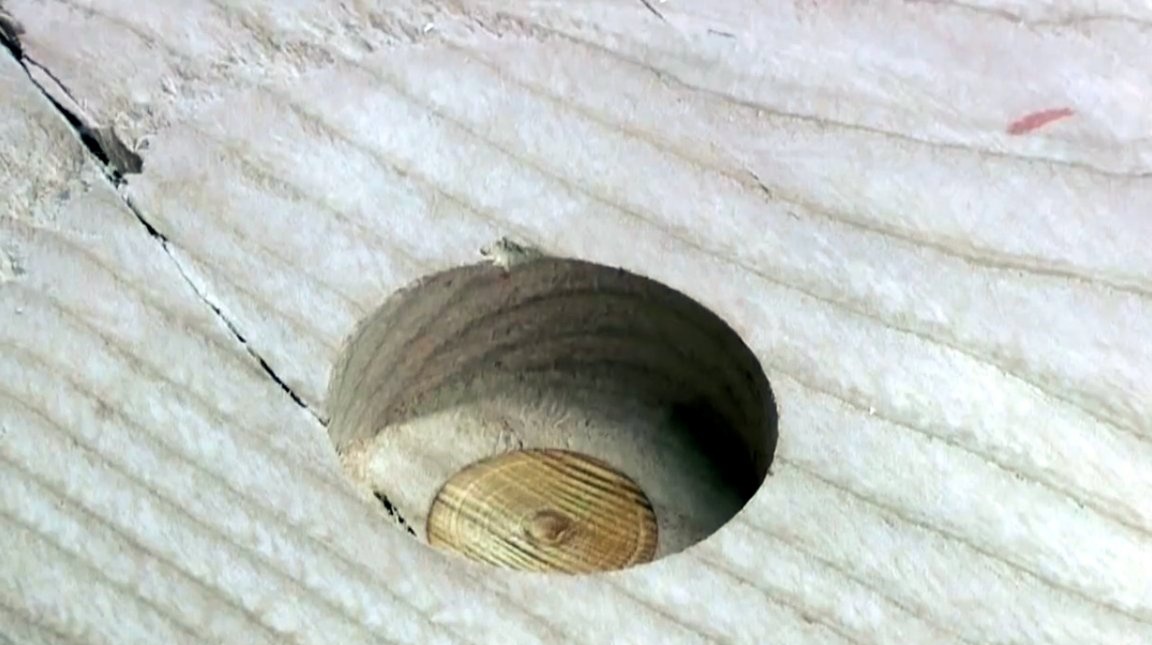
Then he closes the hole with a piece of wooden round timber so that the hole can be properly centered.
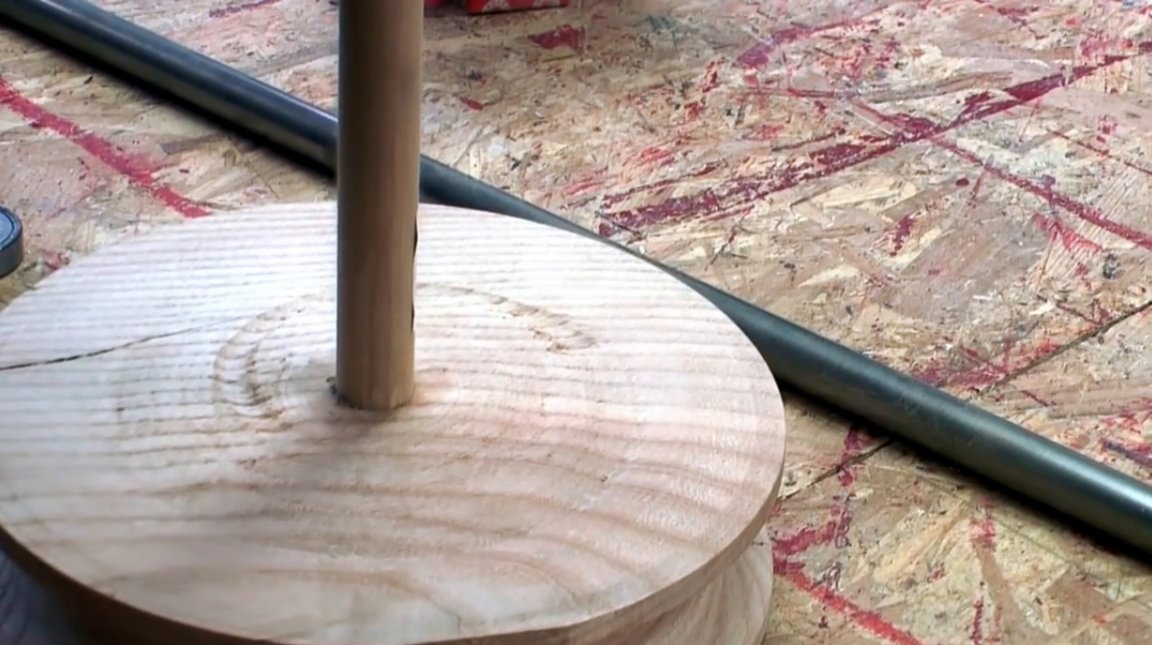
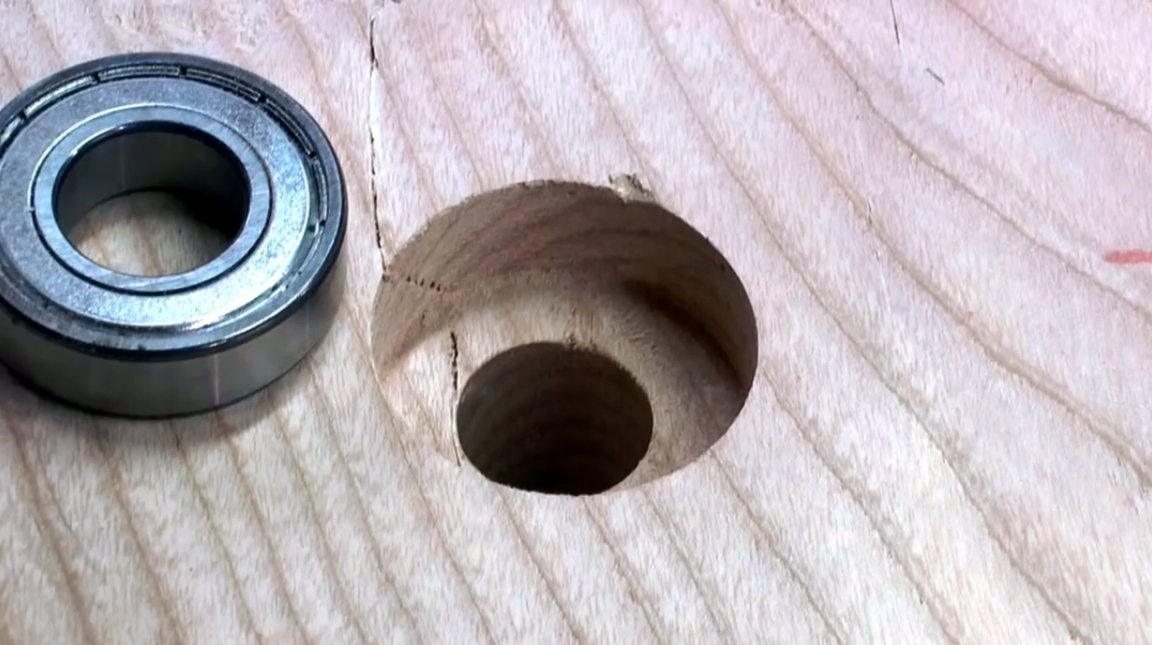
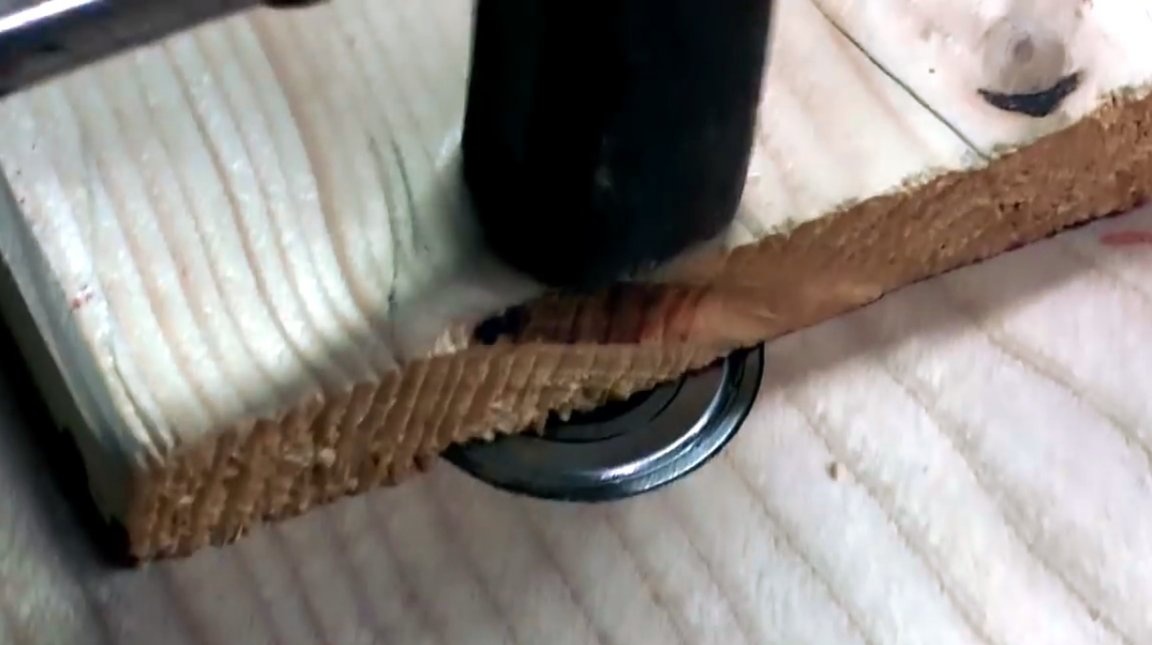
This bearing bore is drilled by a Forstner drill, and then the insert is removed.
It remains to press in a pair of bearings on both sides.
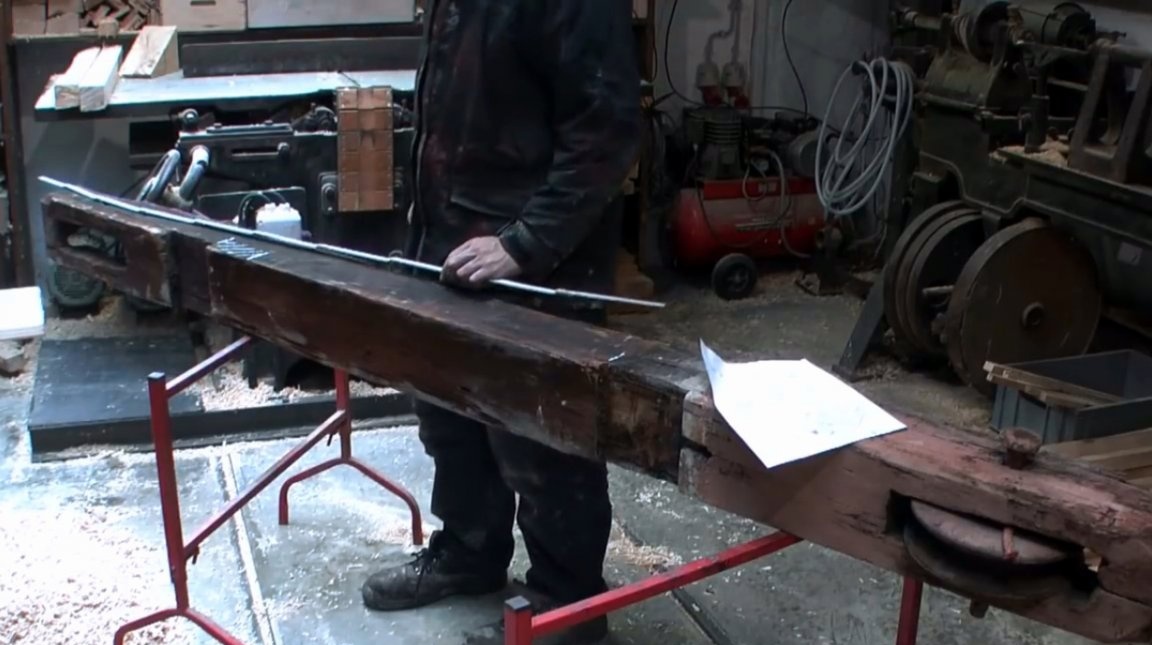
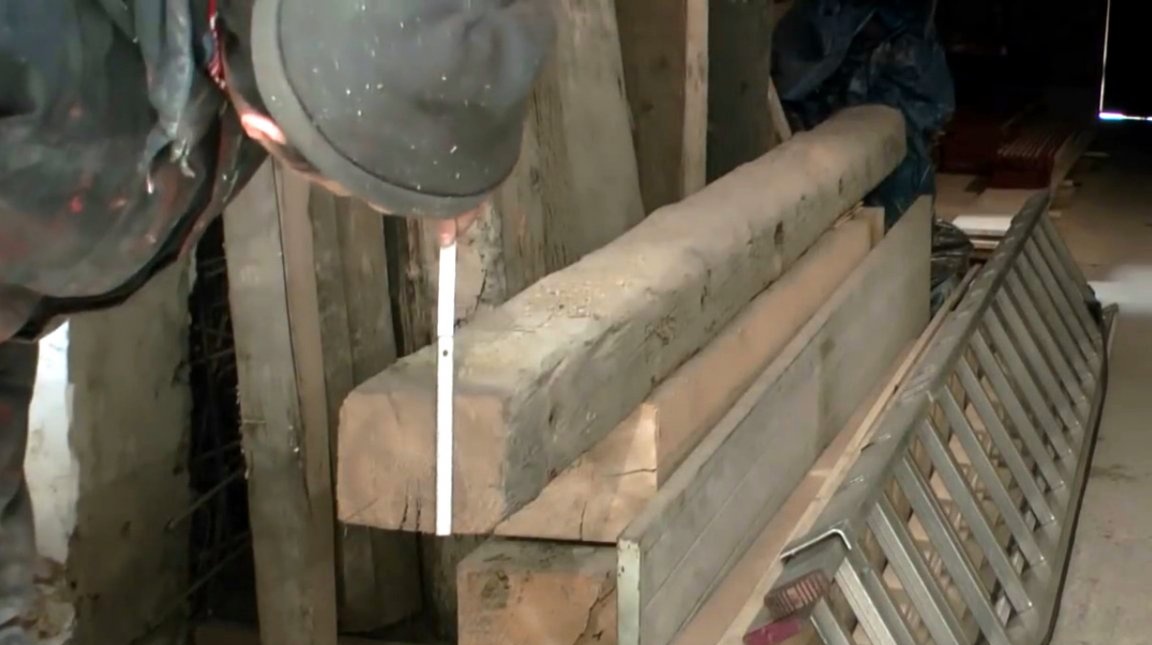
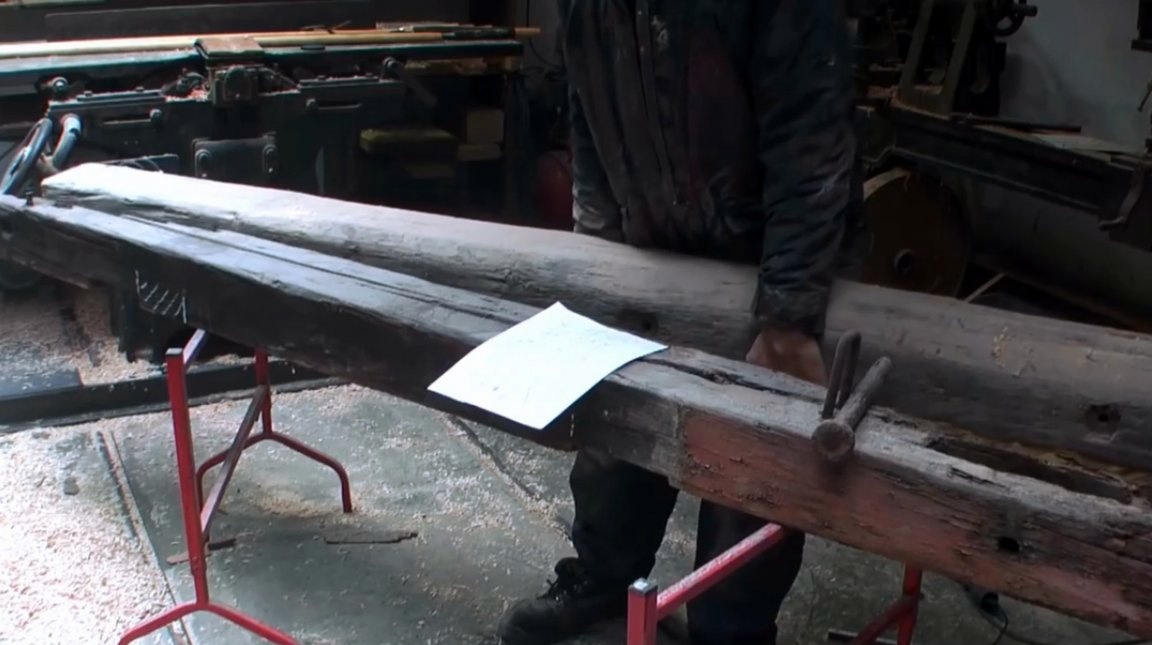
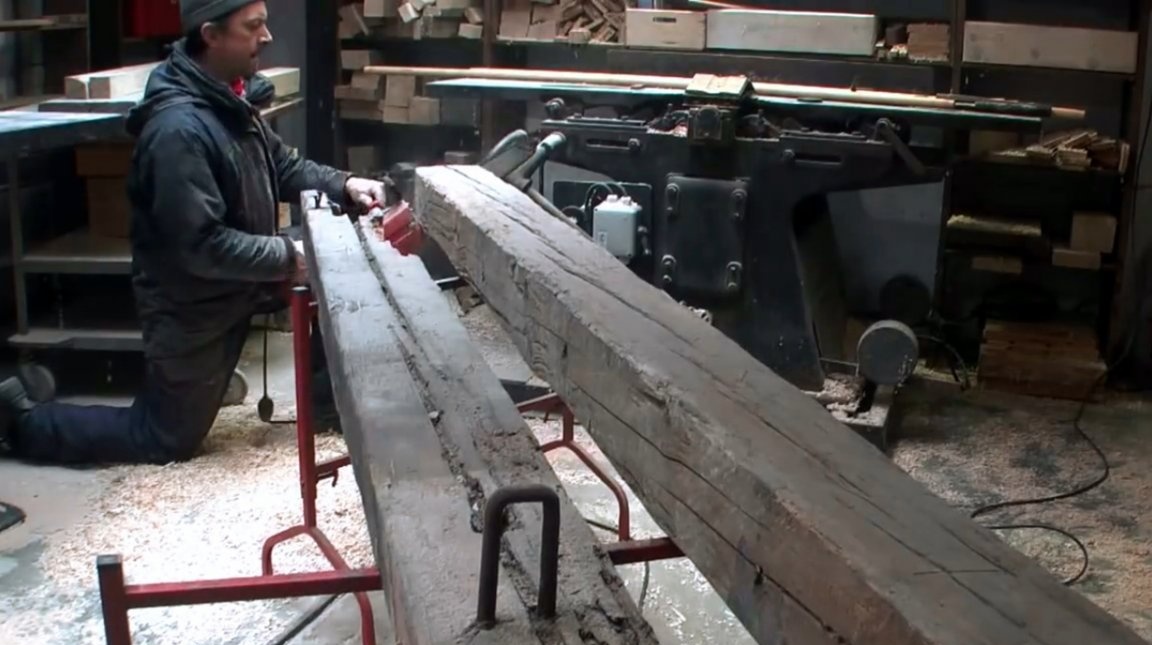
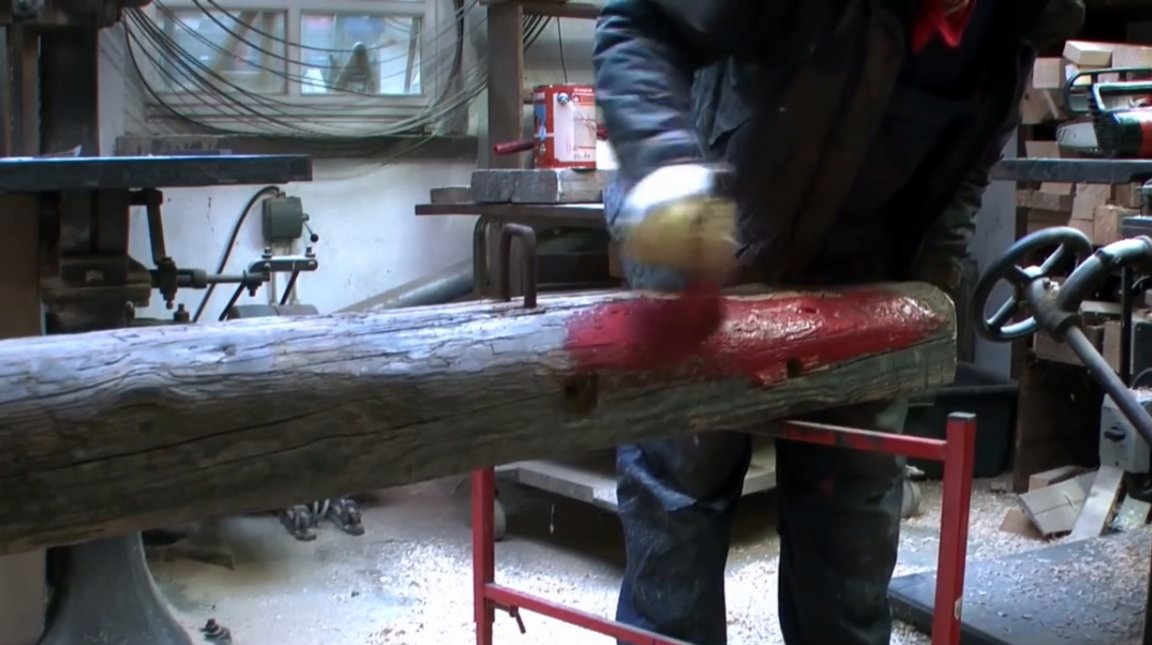
Now the author is looking for a suitable arrow for the crane. This beam is intended to replace the old, dilapidated log. In appearance, it is also ideally suited to the old attic.
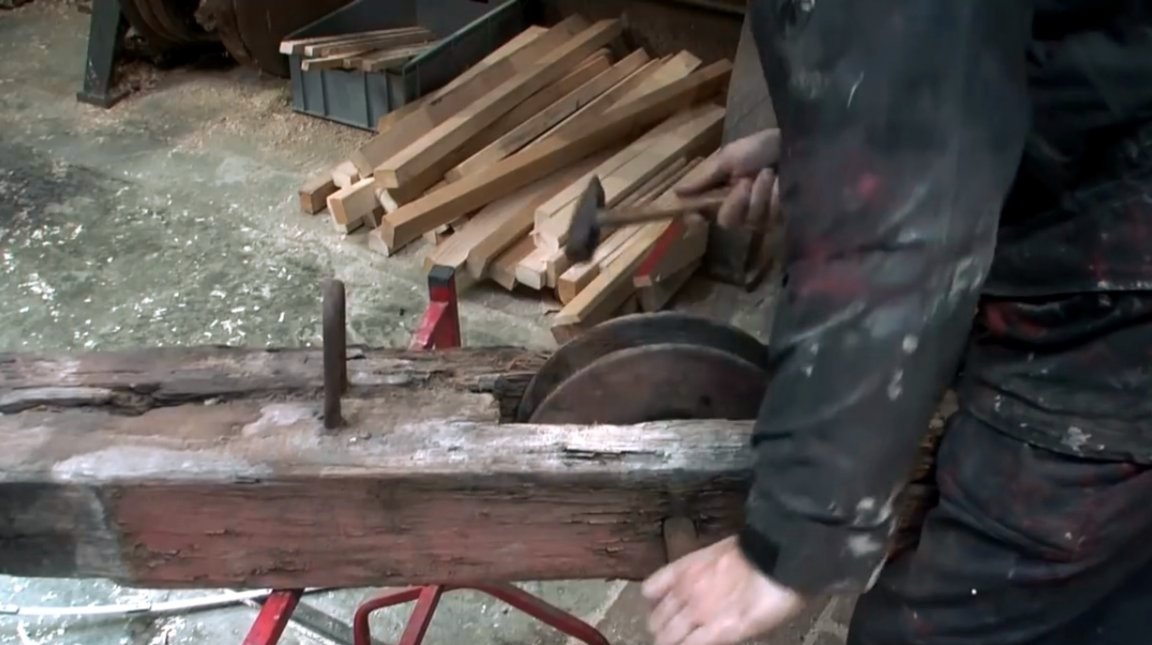
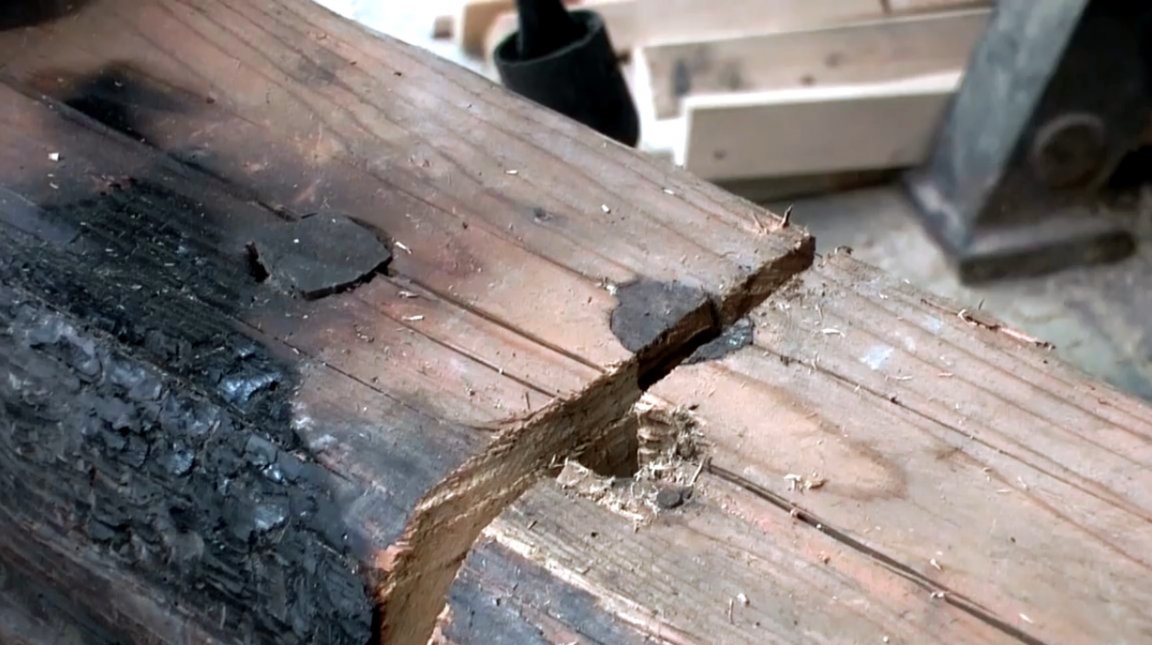
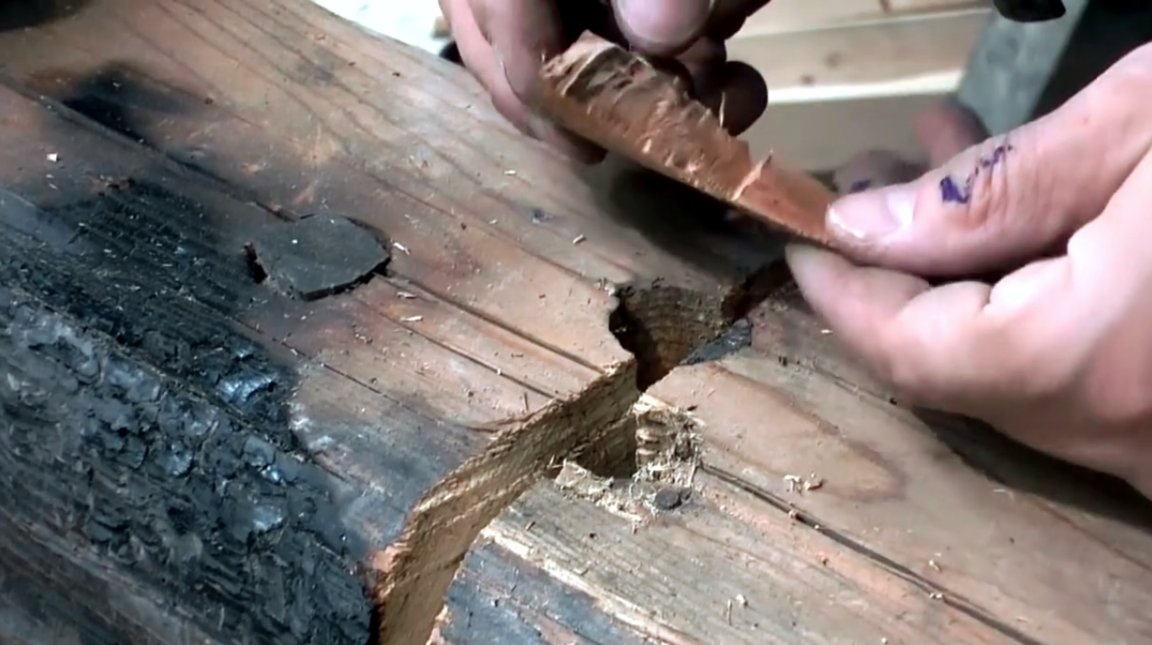
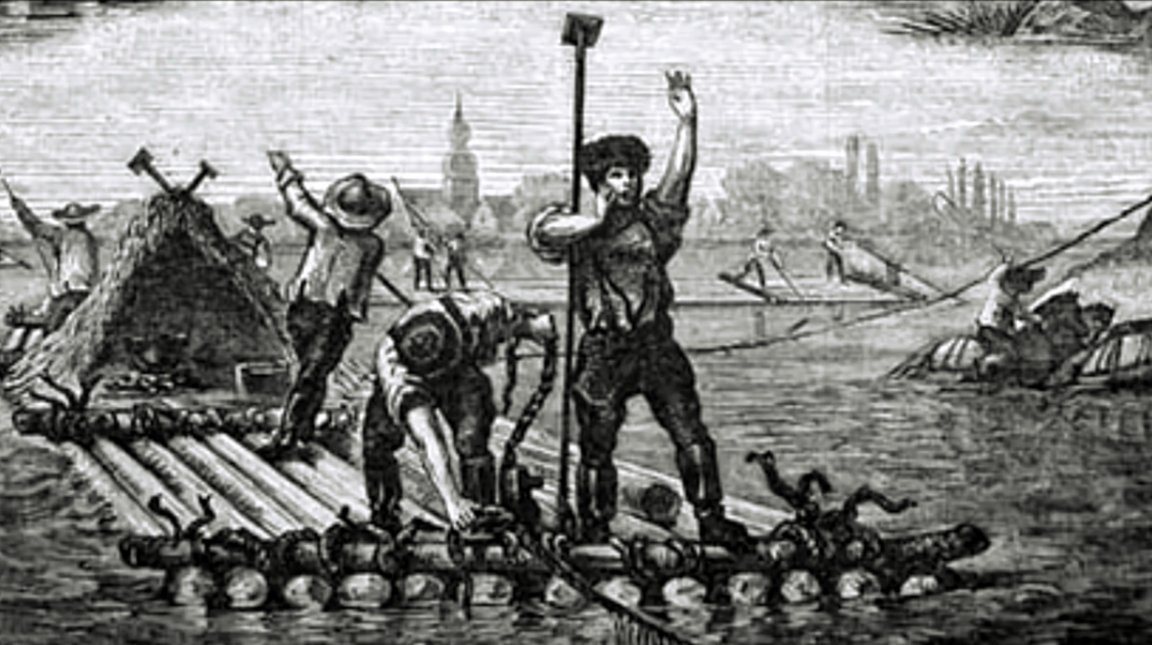
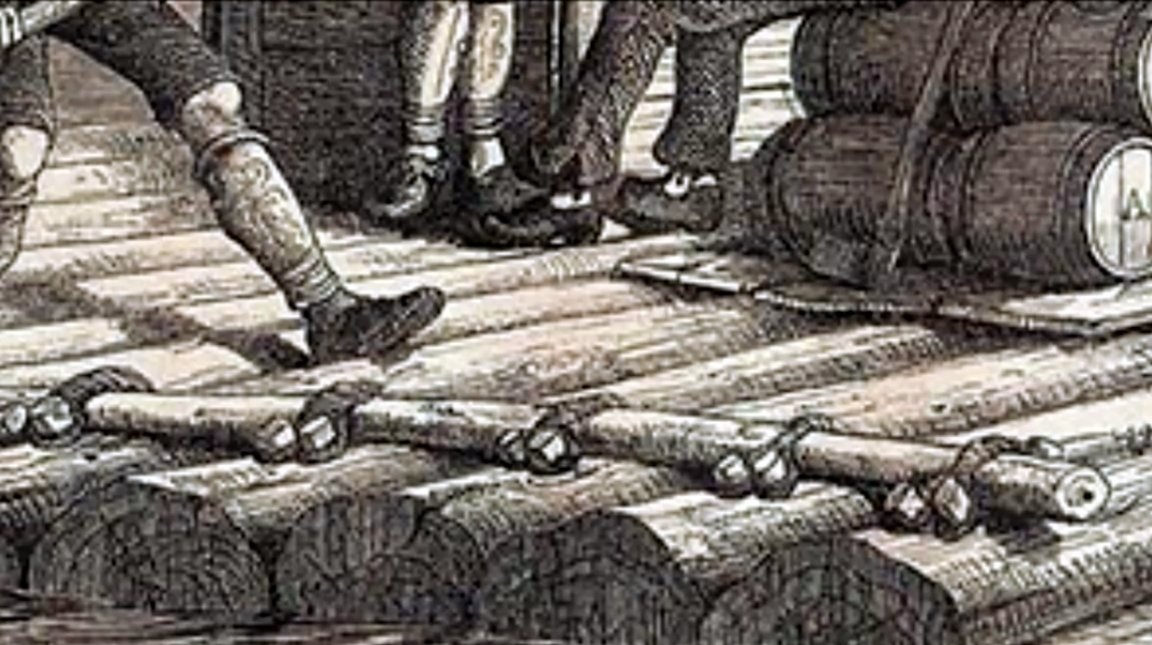
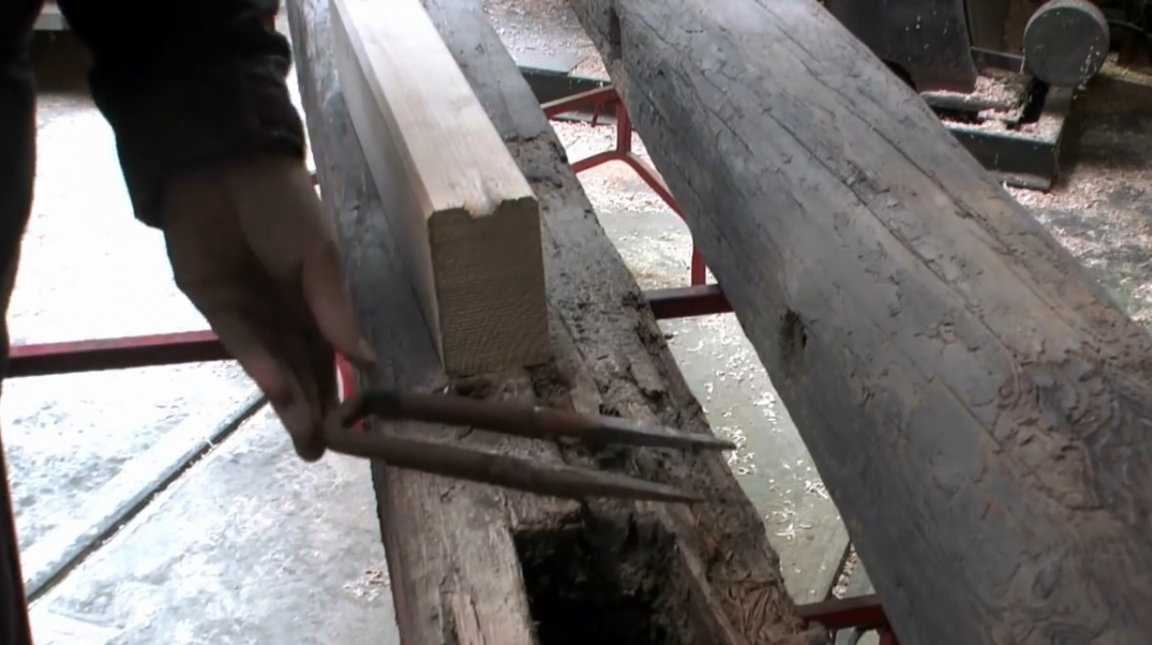
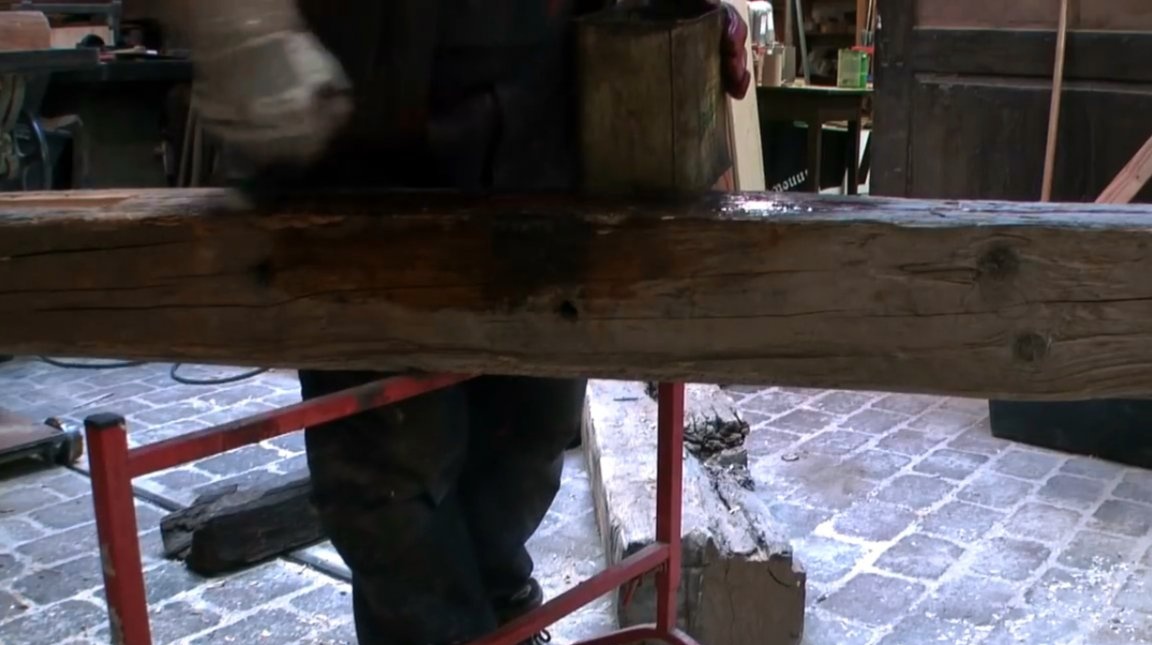
There are such wooden pegs on the body of an old beam. Previously, when rafting the forest down the river, such pegs were used to hold and pull across the extreme side logs.
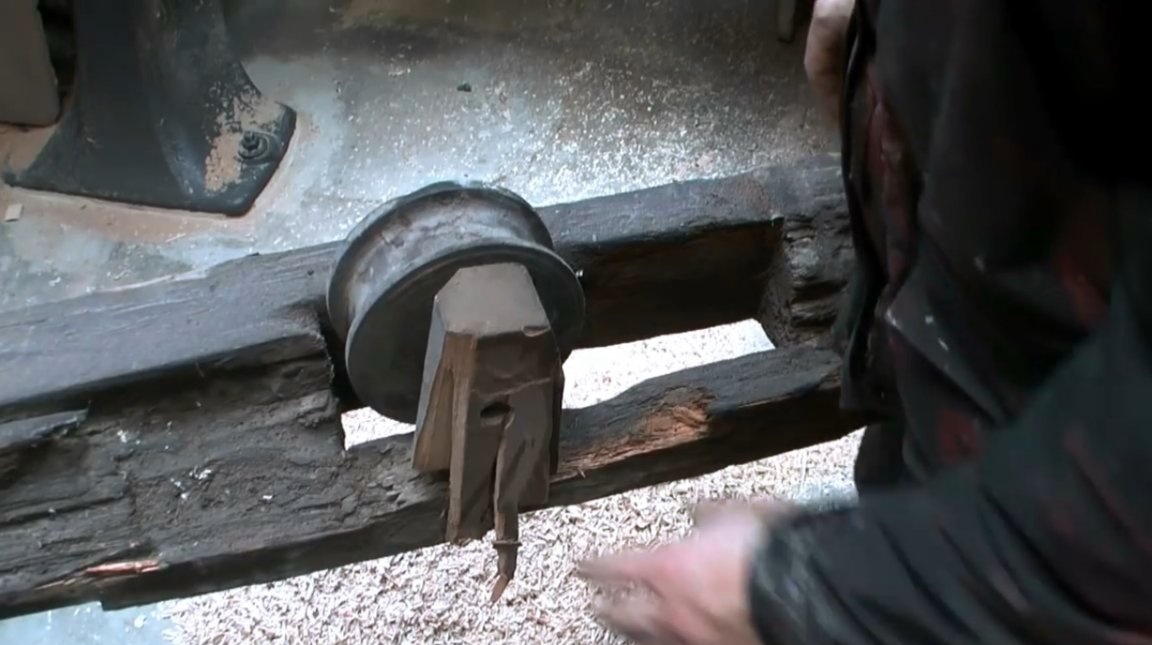
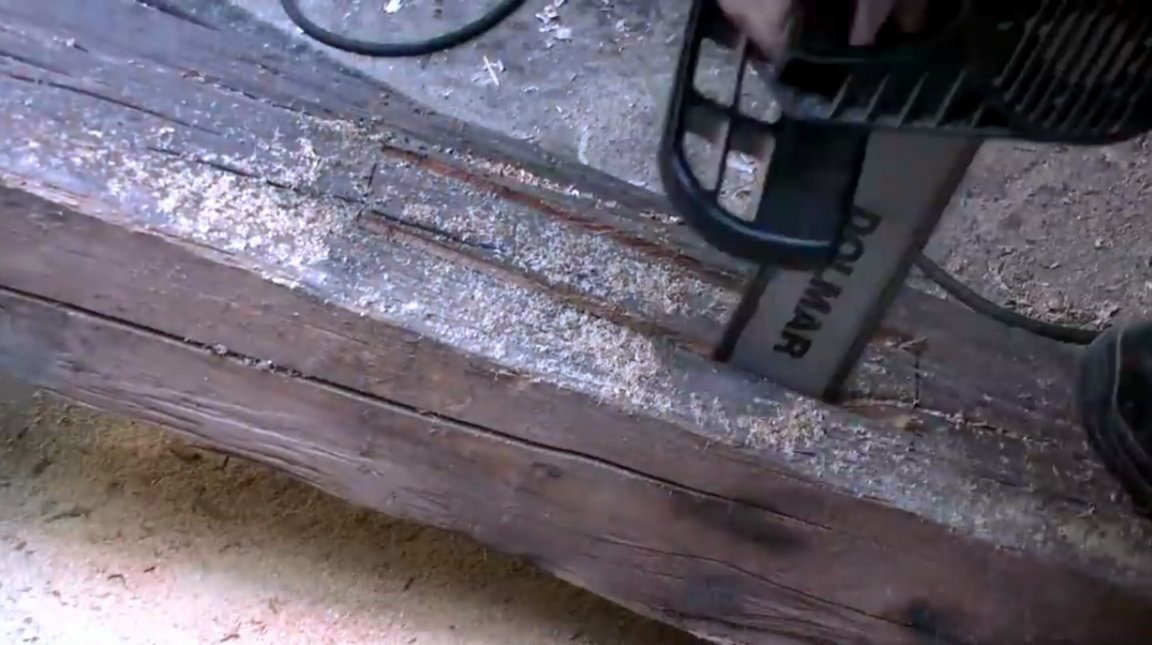
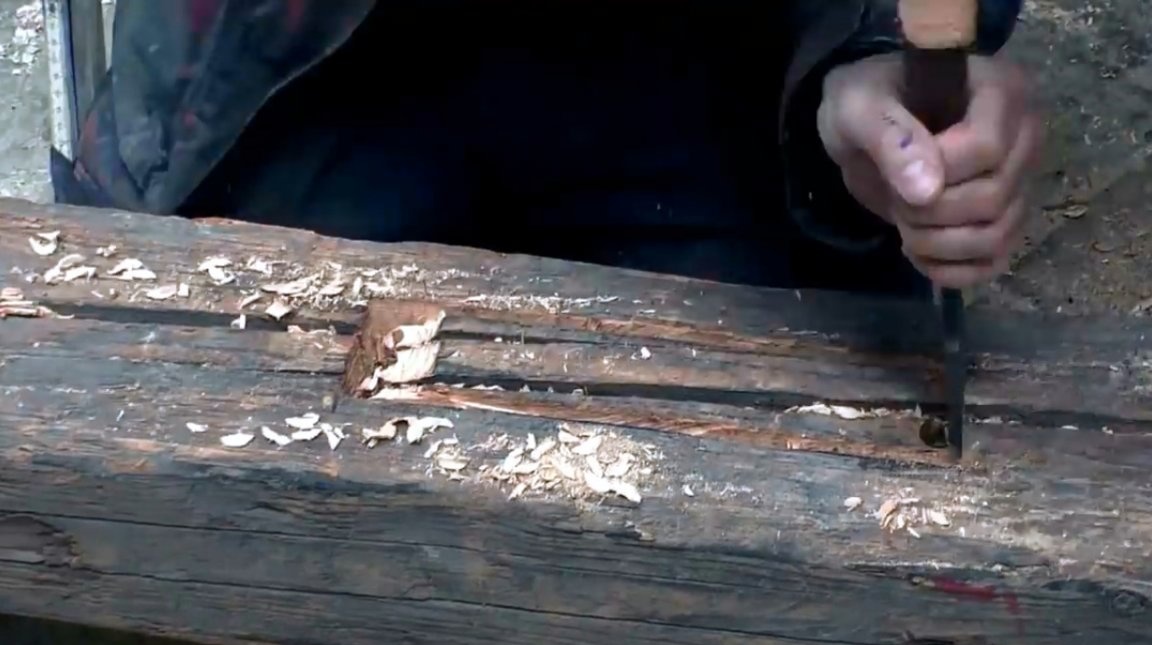
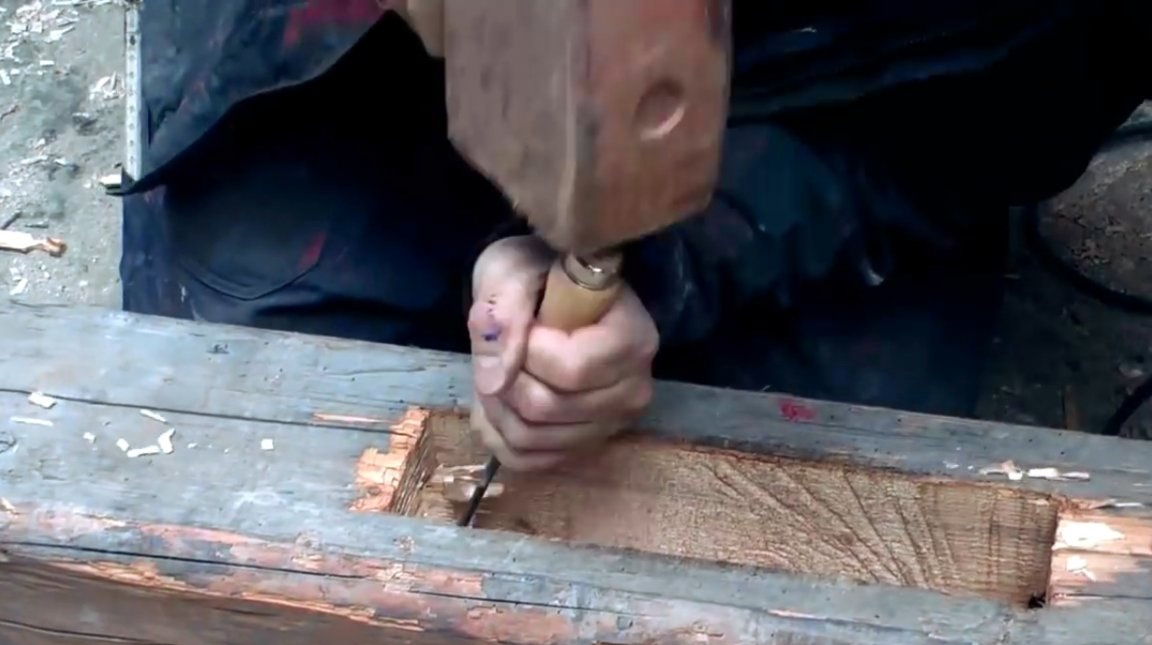
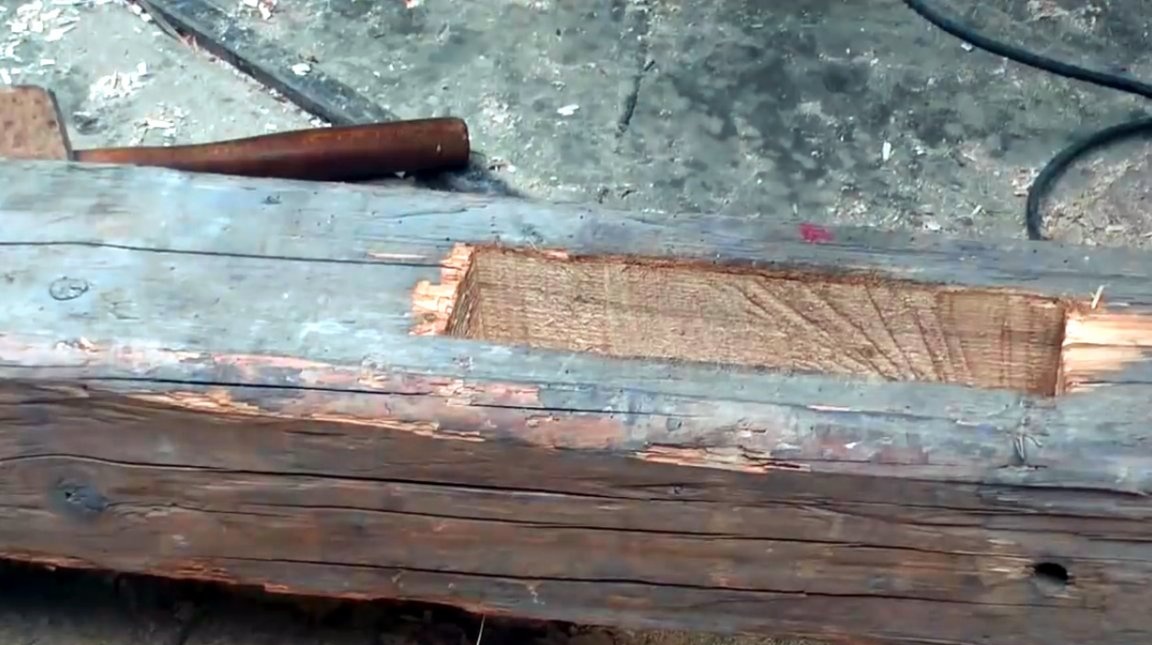
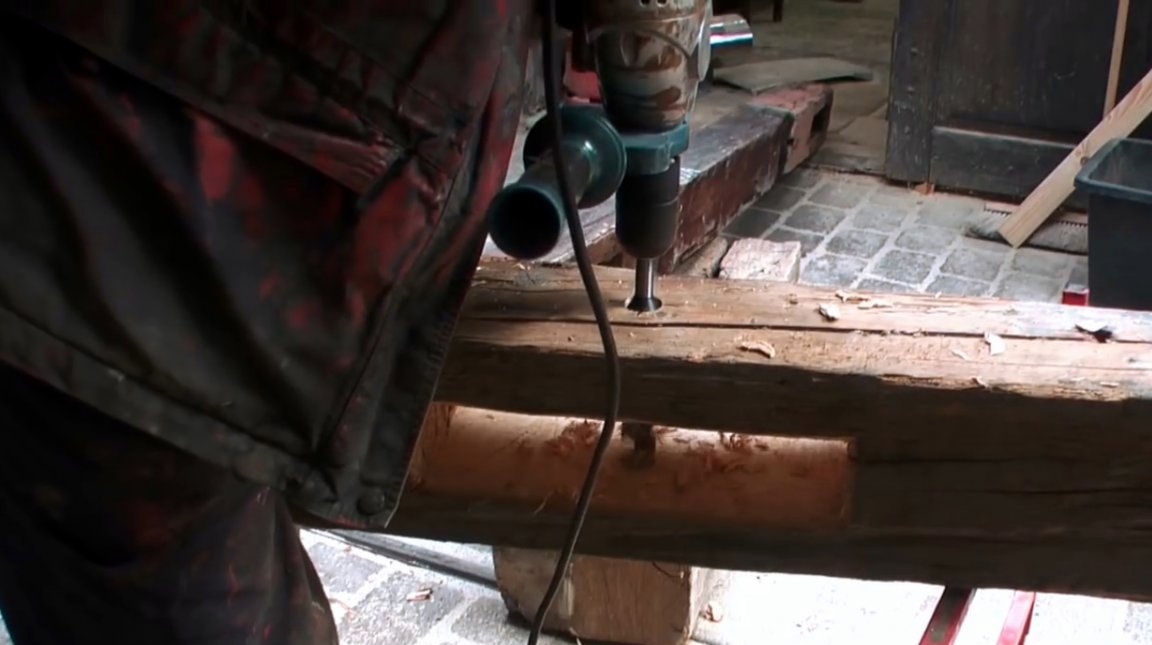
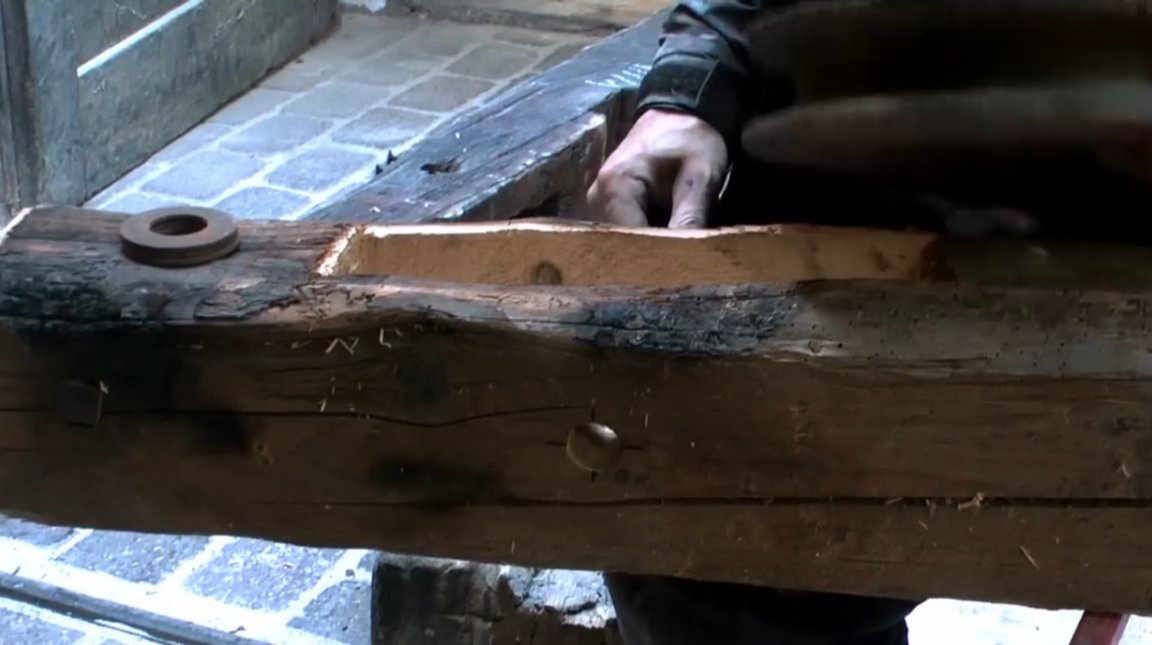
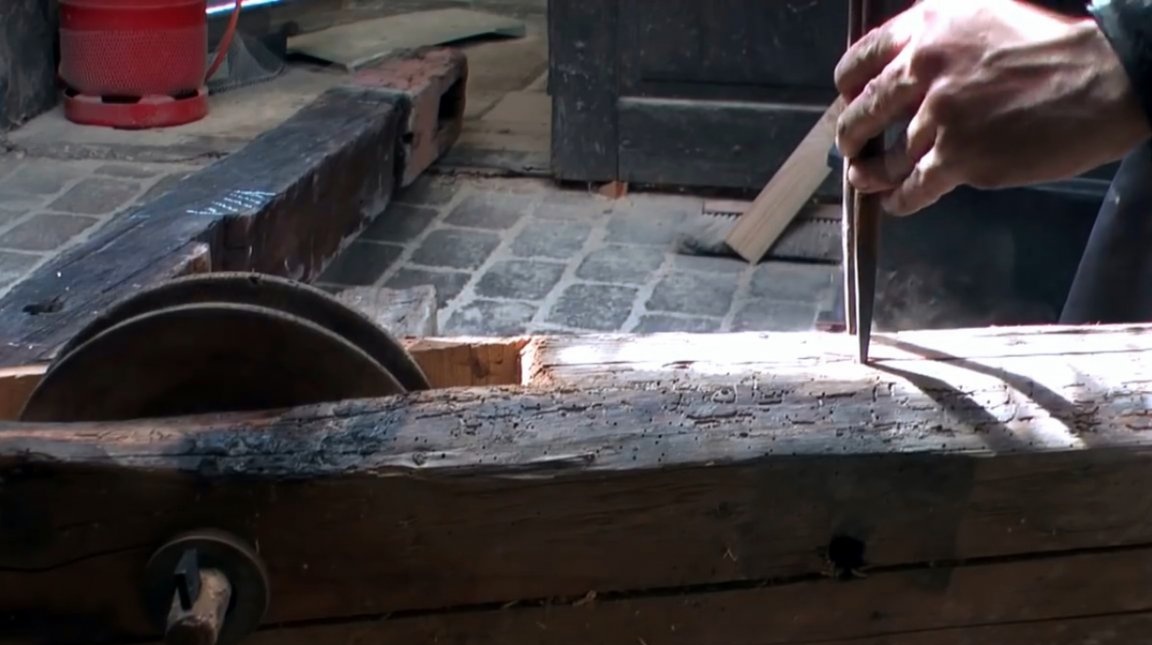
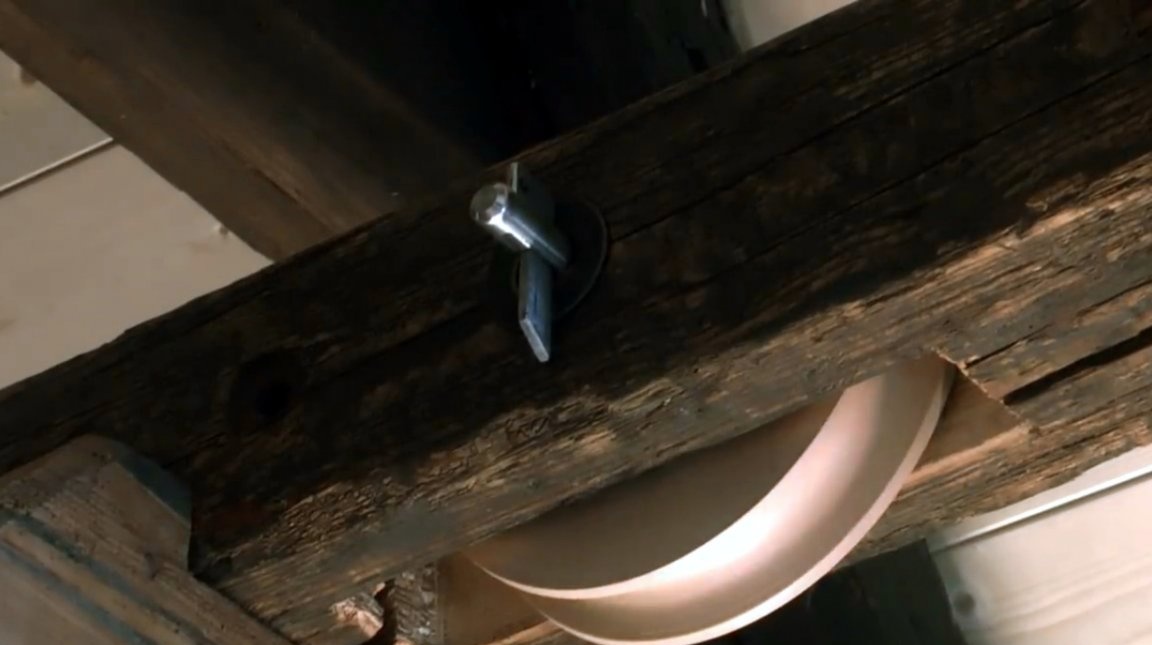
Now, with the help of an electric chain saw and a chisel, a through socket is made in the short part of the boom for the roller.
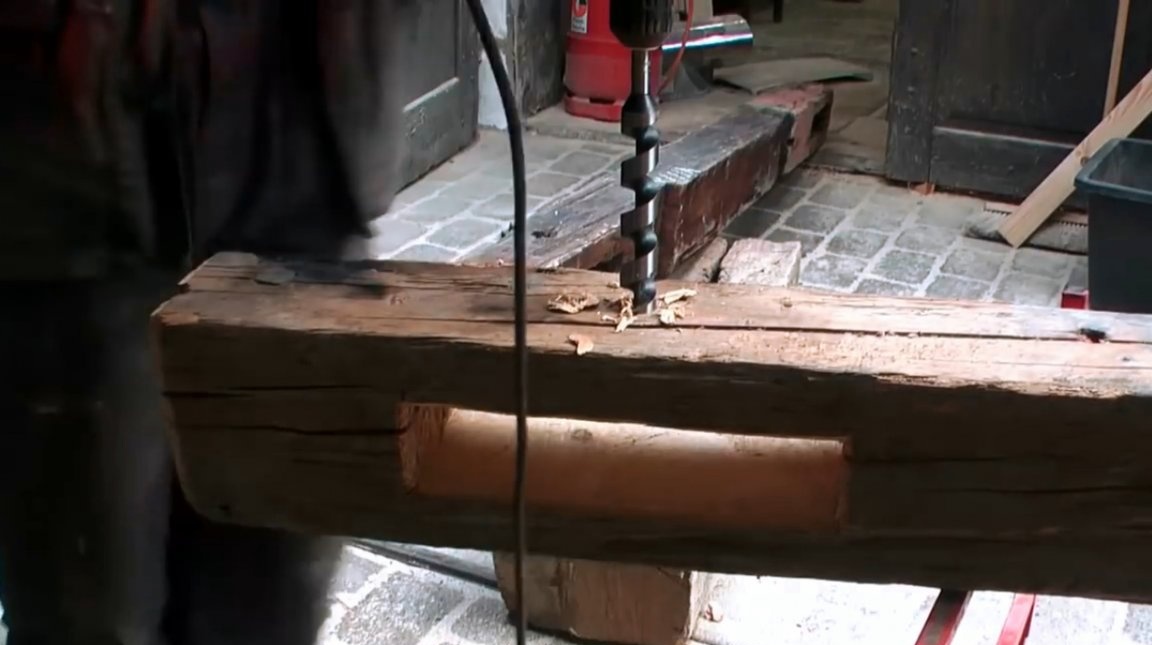
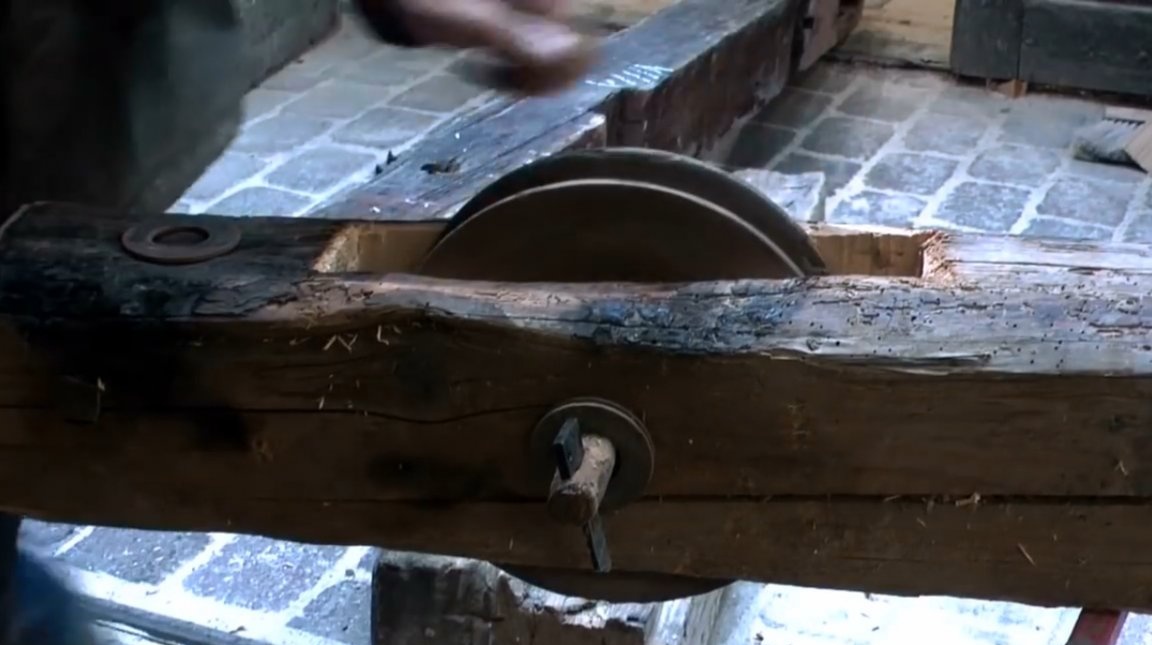
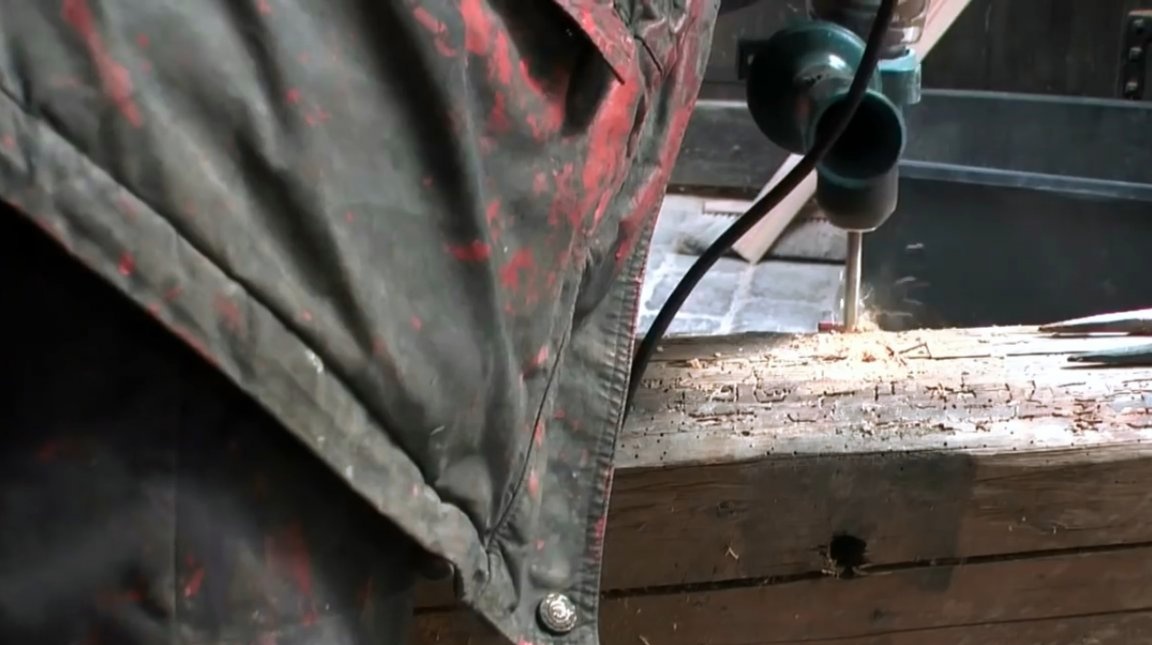
Then a hole is drilled, and the roller is fixed on the axis.
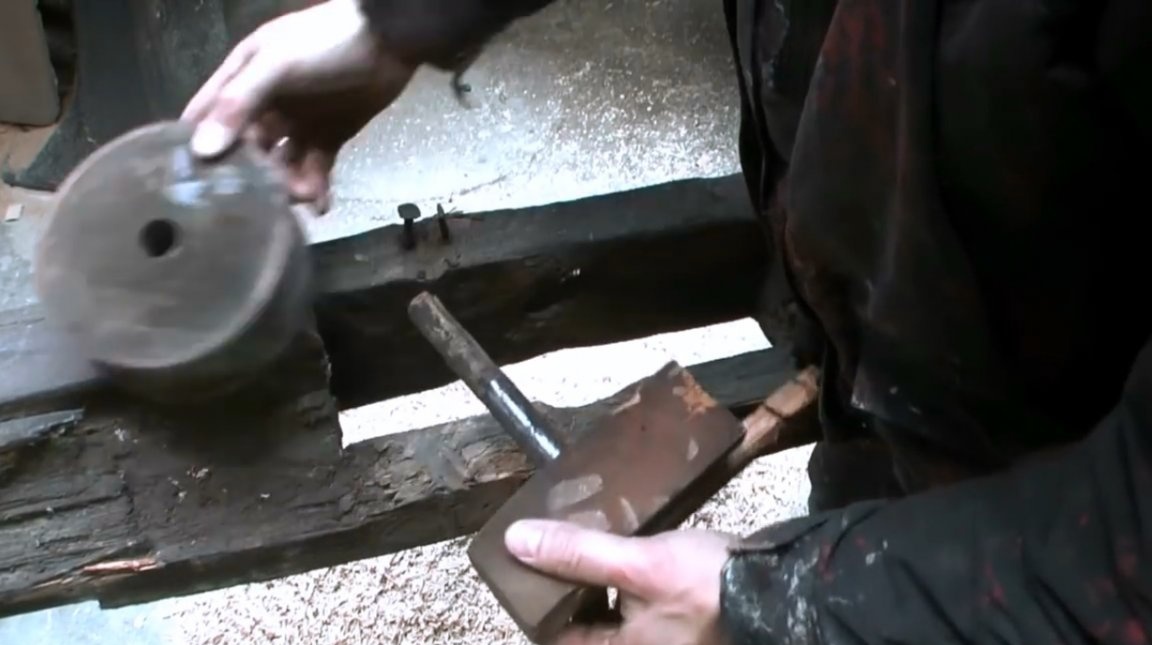
This bracket is designed to guide the cable onto the roller.
The master transfers it to a new lift and installs it in the same place, having previously drilled holes in the beam.
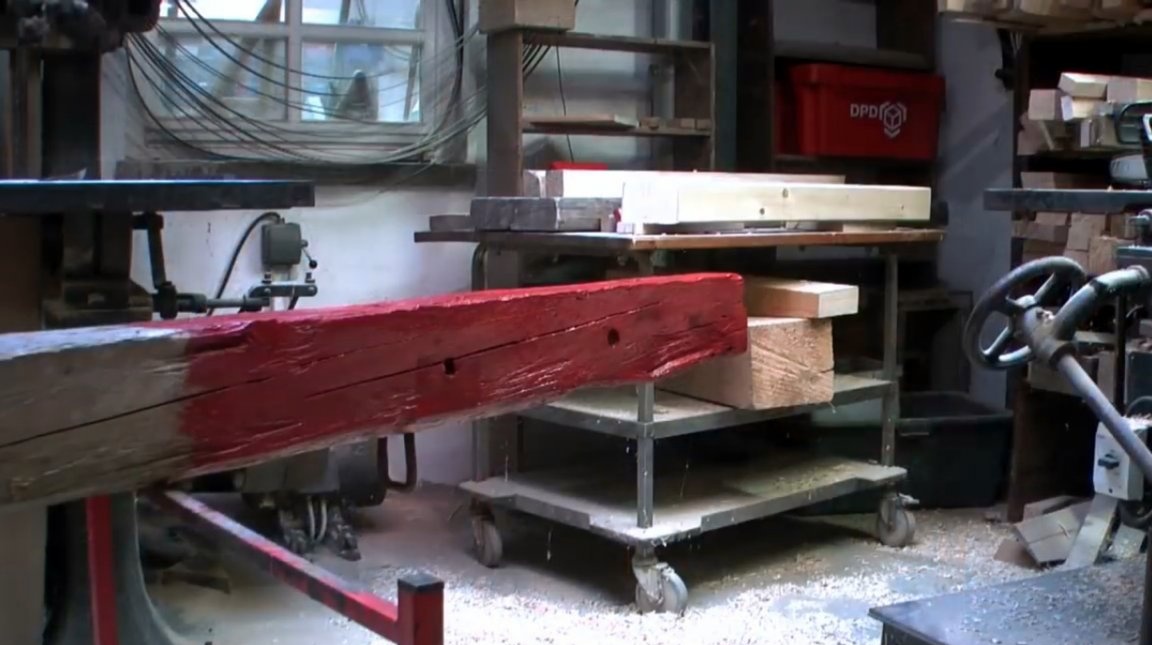
The author covers the short outer part of the boom of the crane with a layer of paint, while he impregnates the remaining inner part of the elevator with linseed oil.
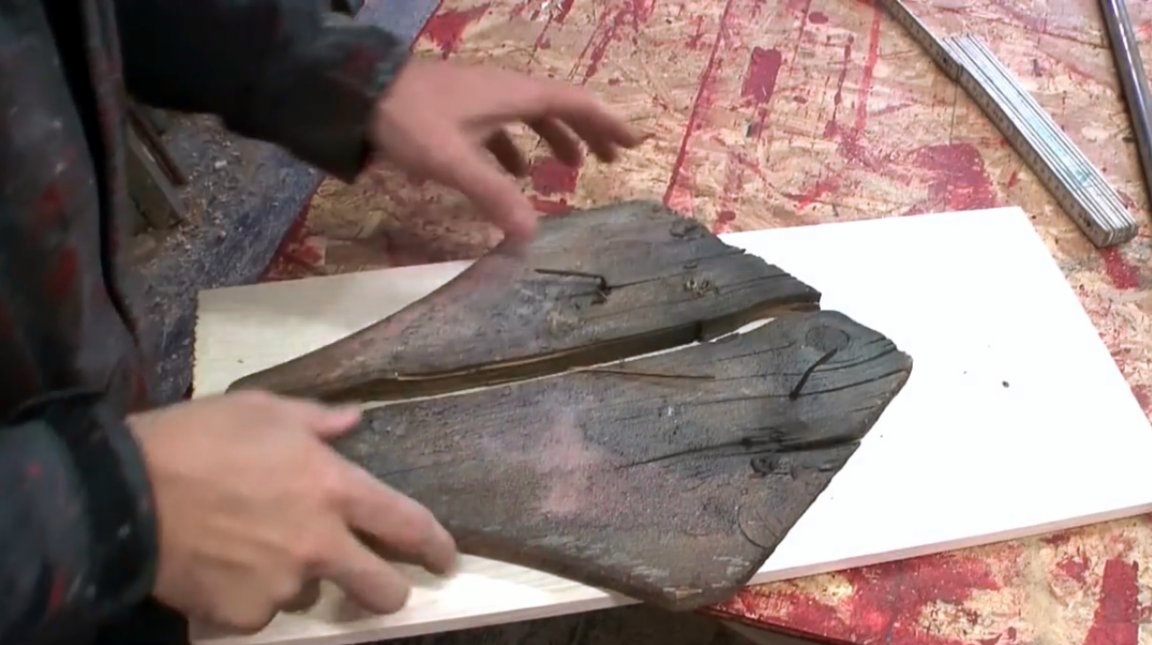
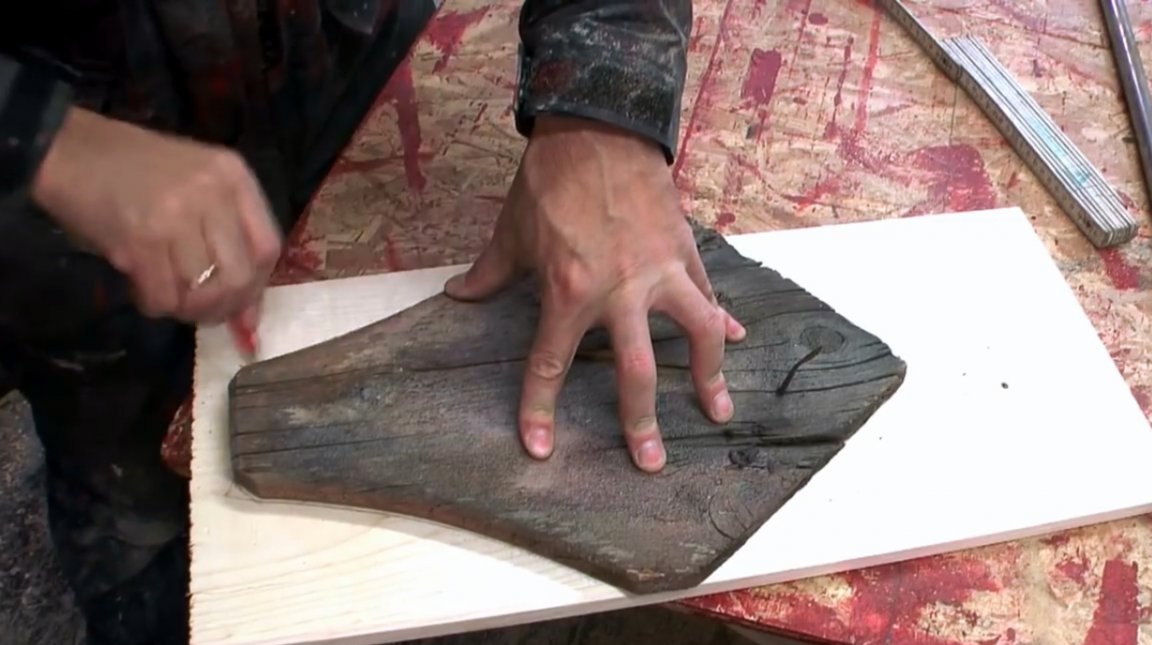
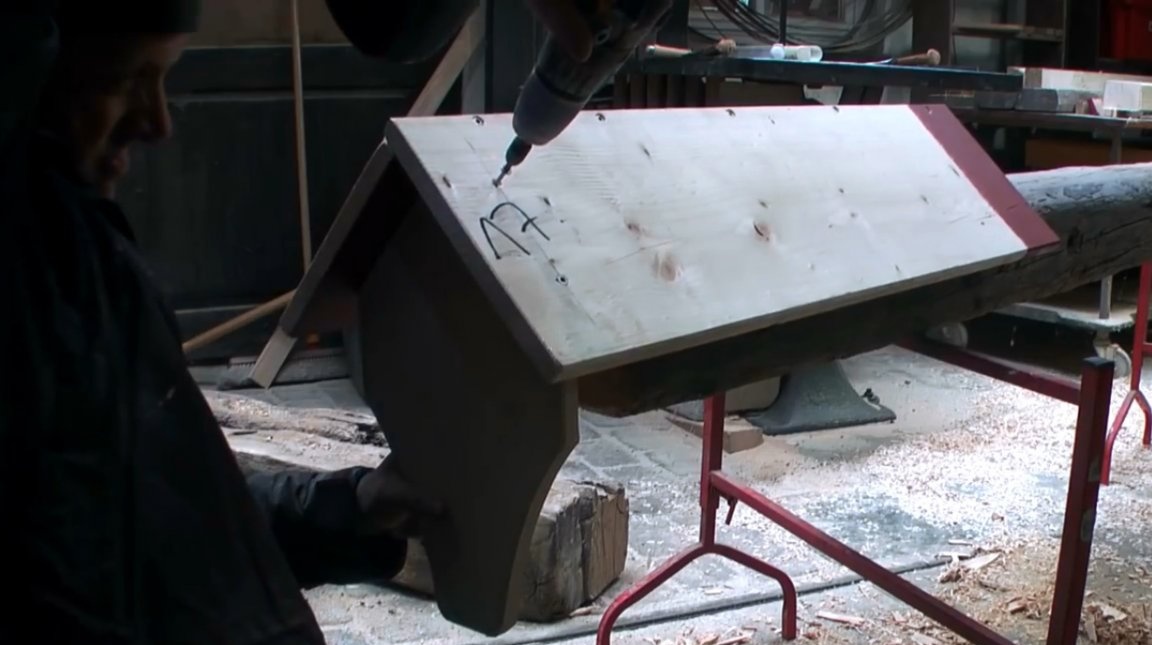
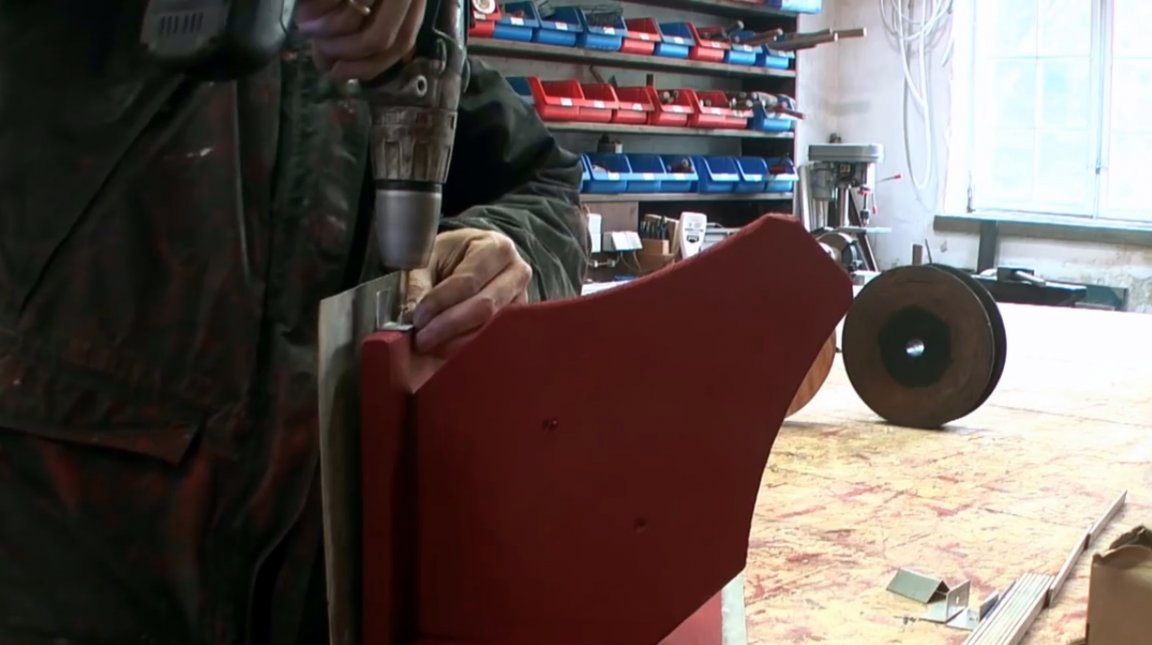
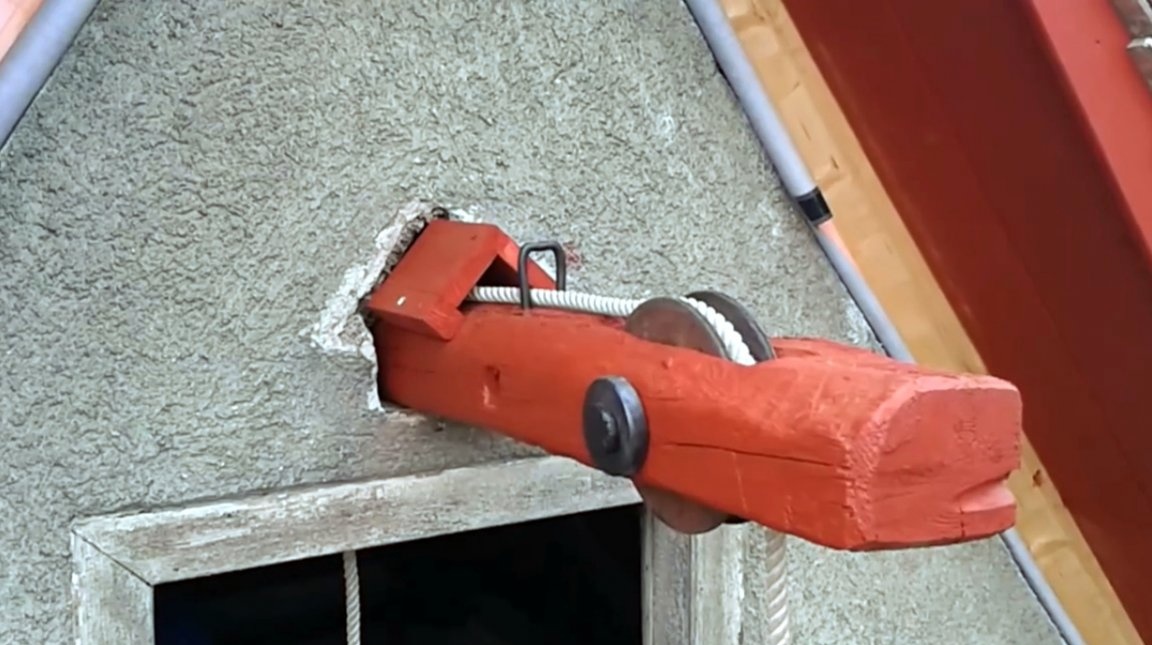
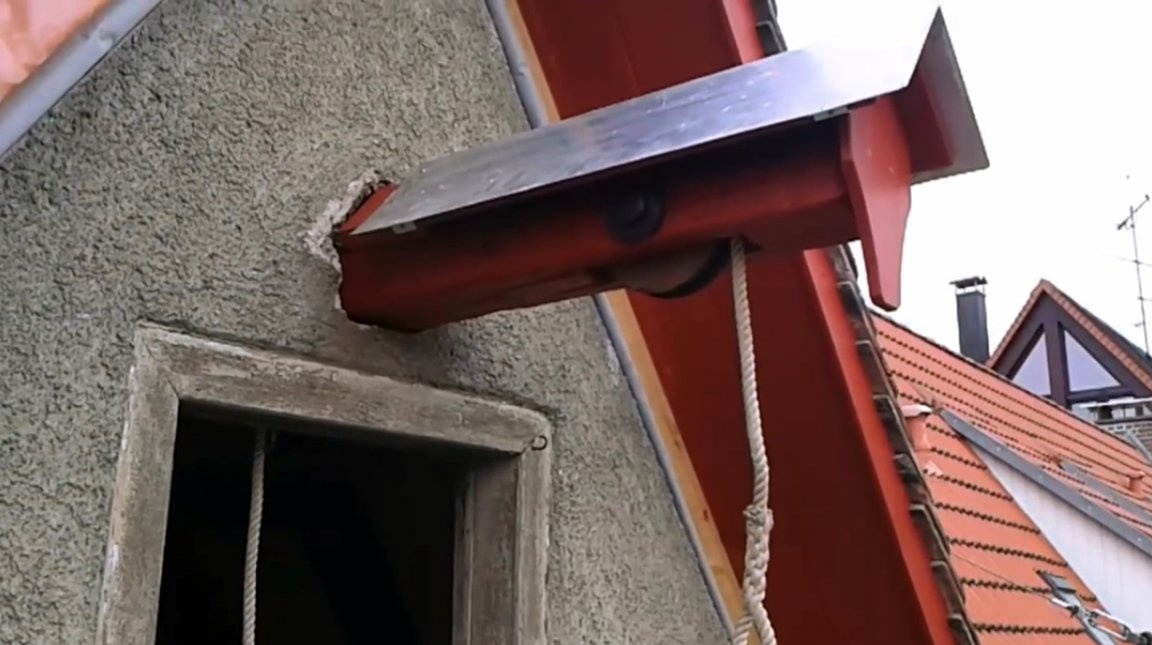
The front plate of the lift has a specific shape. The author did not catch its hidden meaning, but tried to accurately recreate it. Perhaps this form is somehow connected with tradition.
He also sets a wooden canopy over the crane, designed to protect the wood from direct exposure to water.
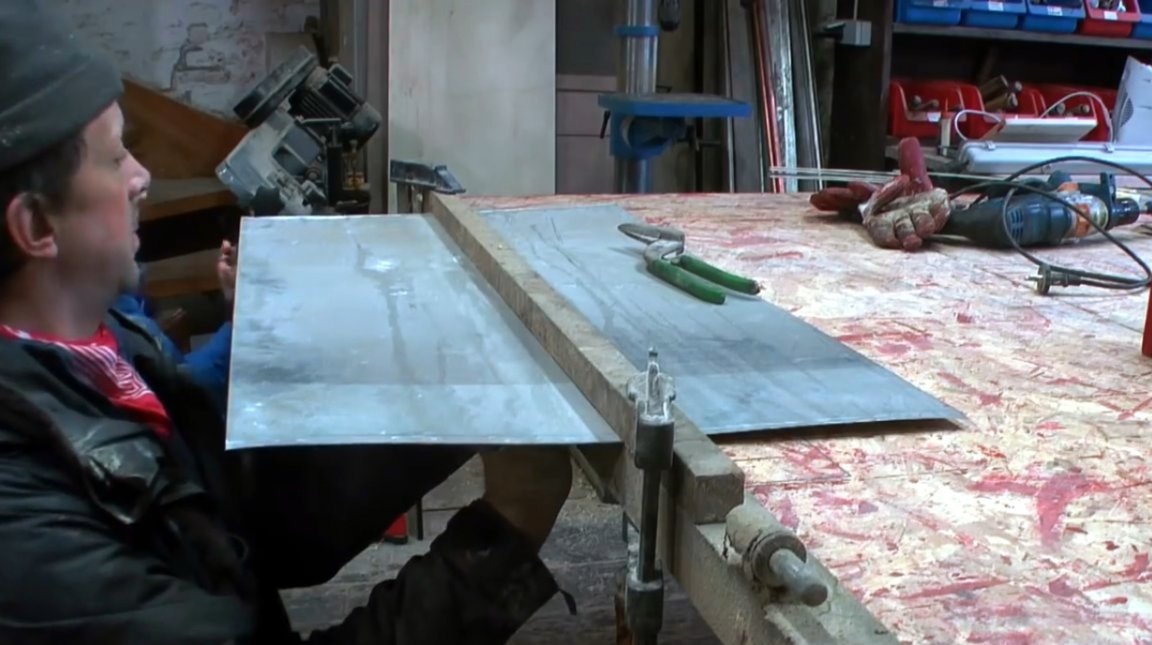
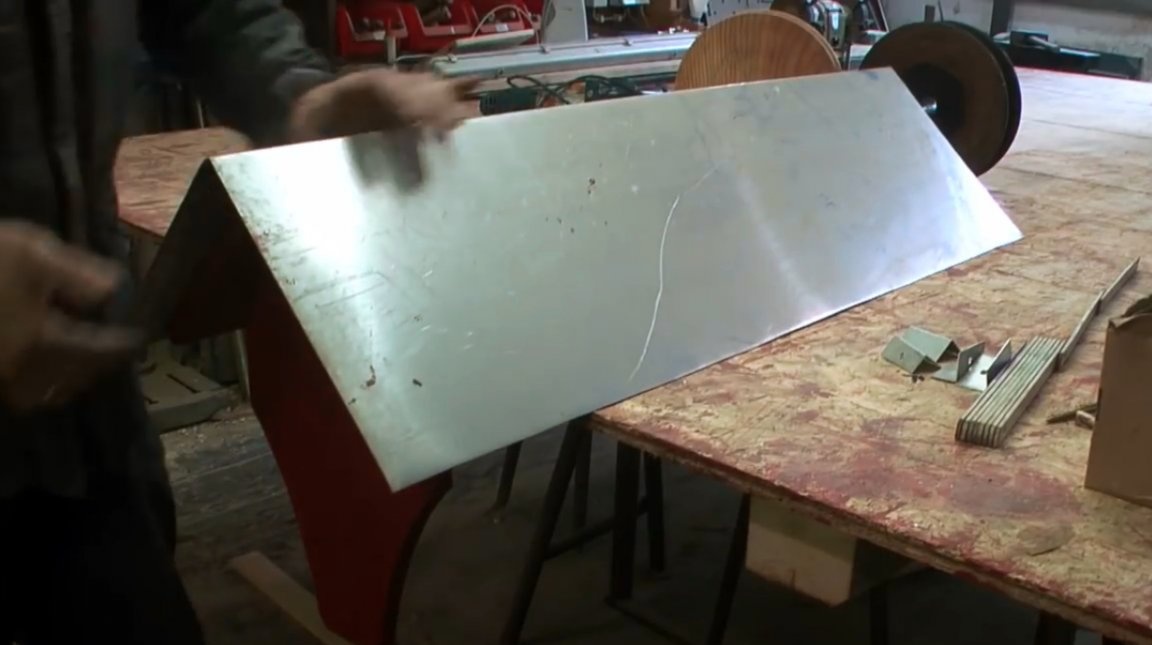
Of course, a sheet of iron sheet should also be screwed onto it. First, a blank of the required dimensions is cut.
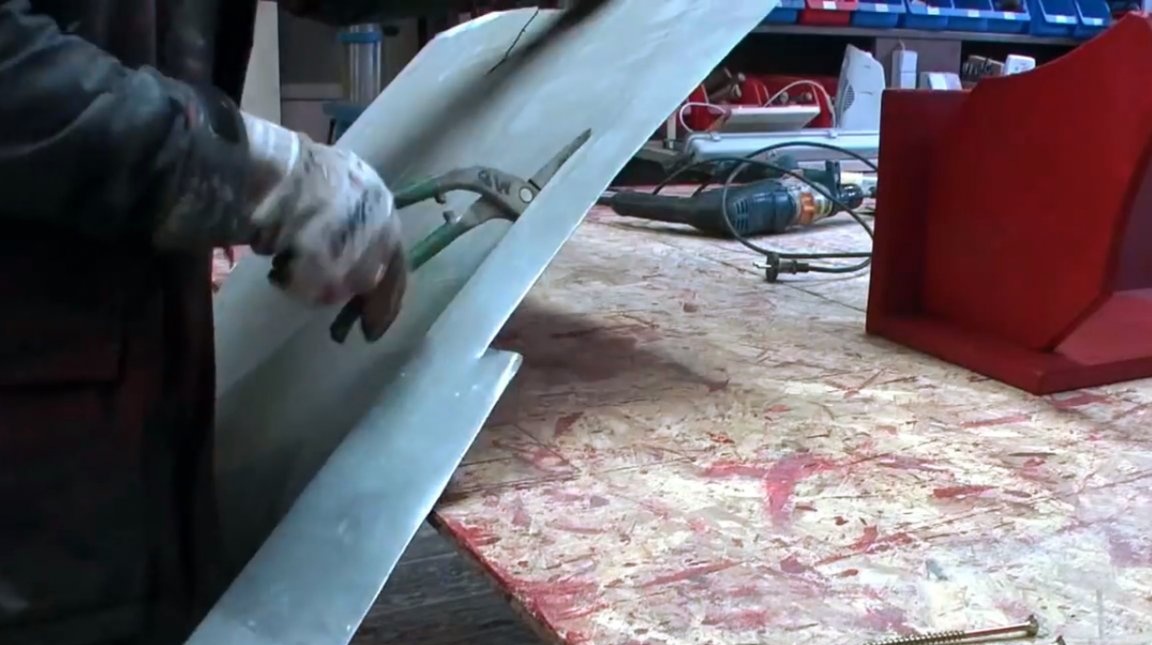
Having pressed a sheet of tin to a workbench, it is enough just to bend it at a right angle.
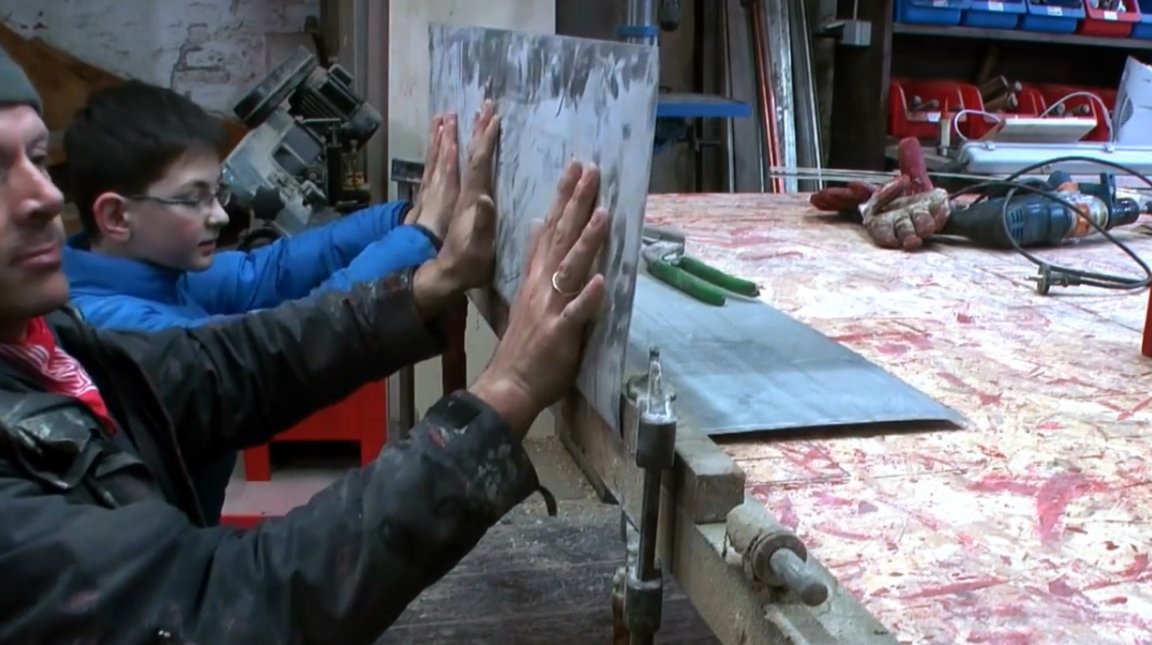
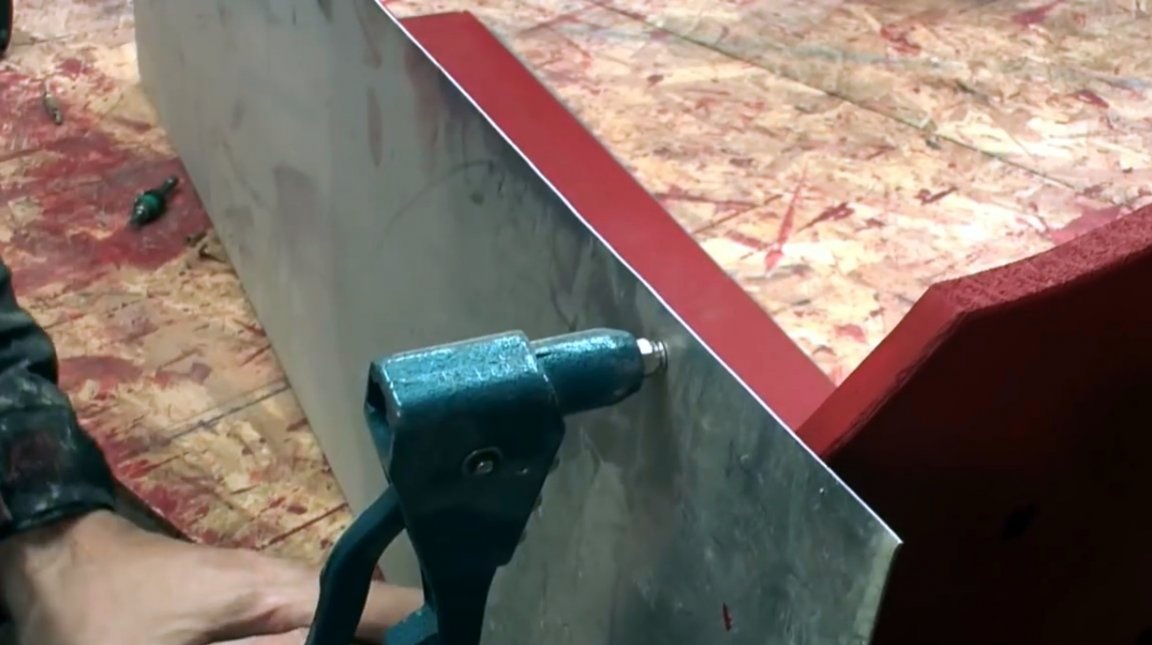
This additional cover is fastened with steel corners and rivets.

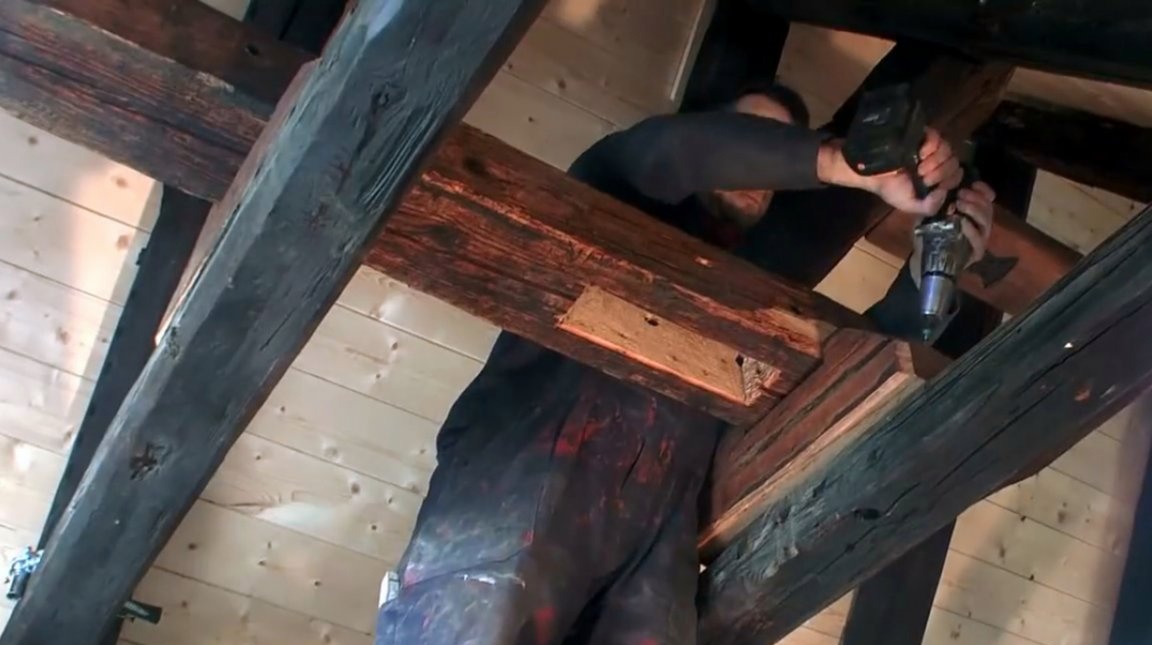
After that, the master cuts out the intermediate blocks-stands, because the beams under the roof were slightly lower than necessary.
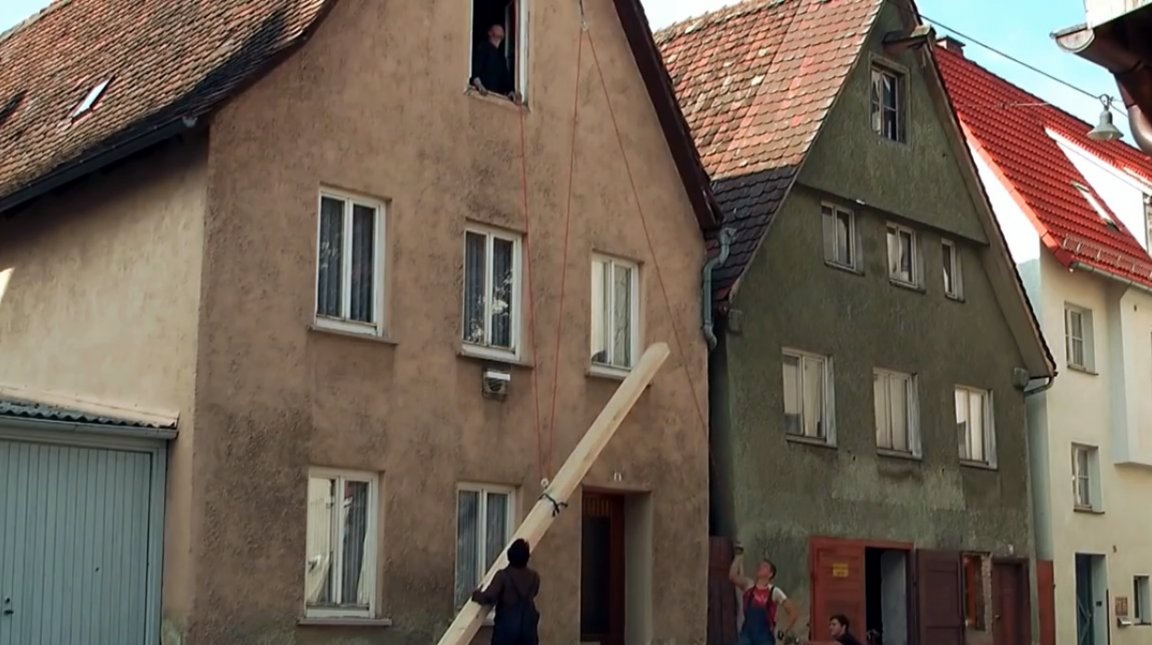
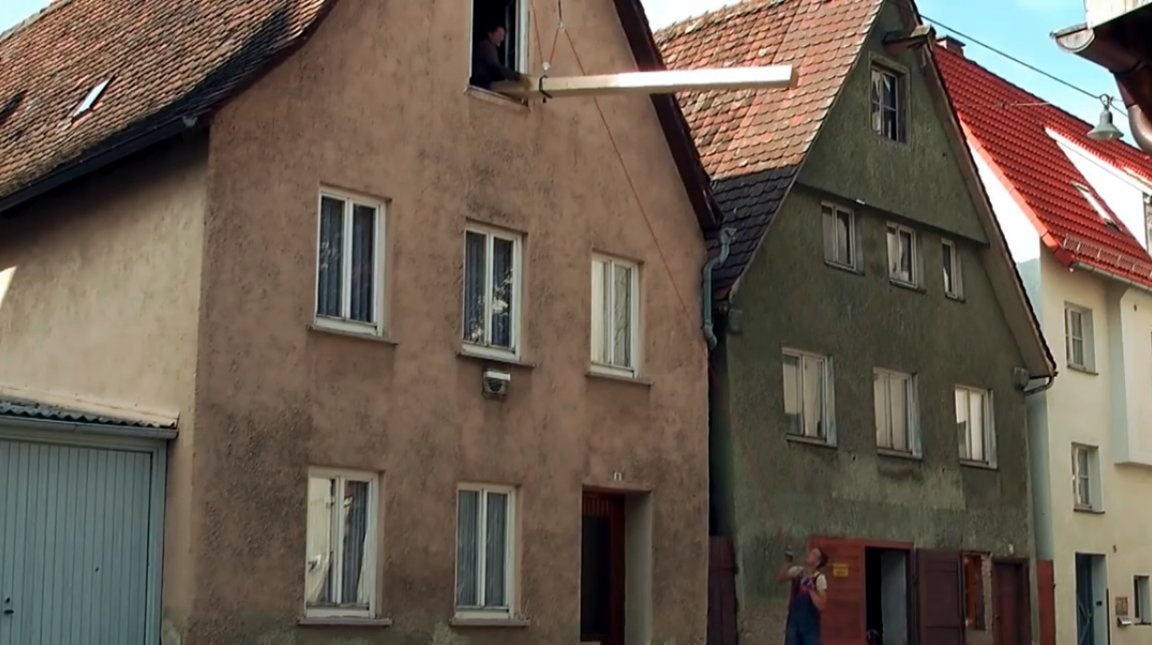
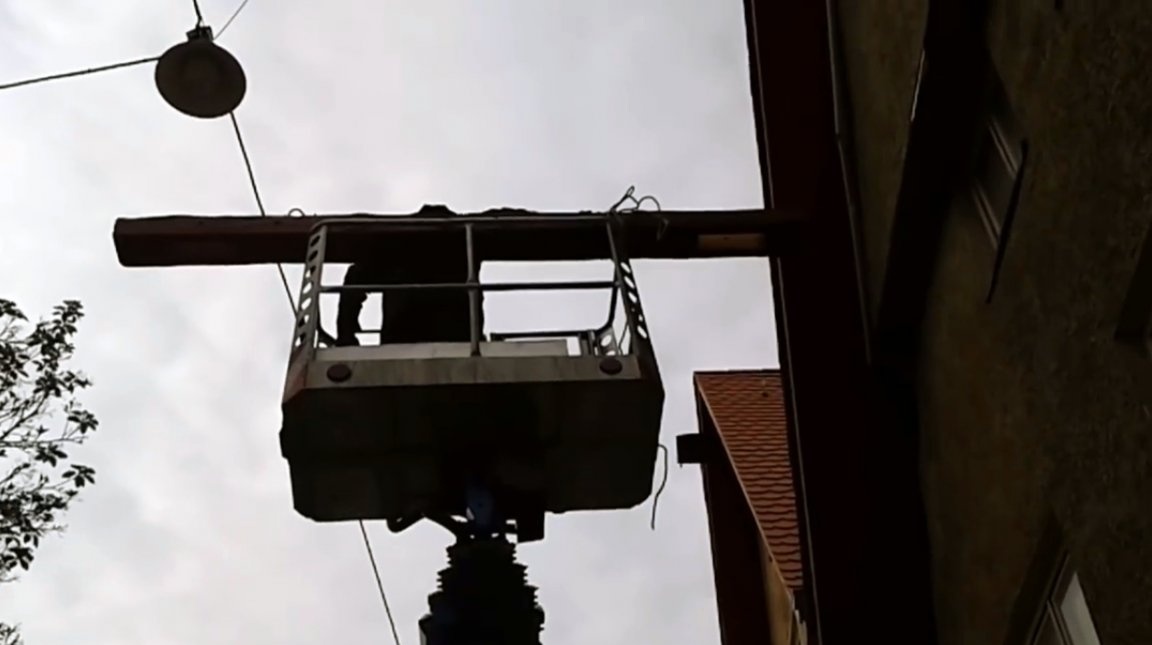
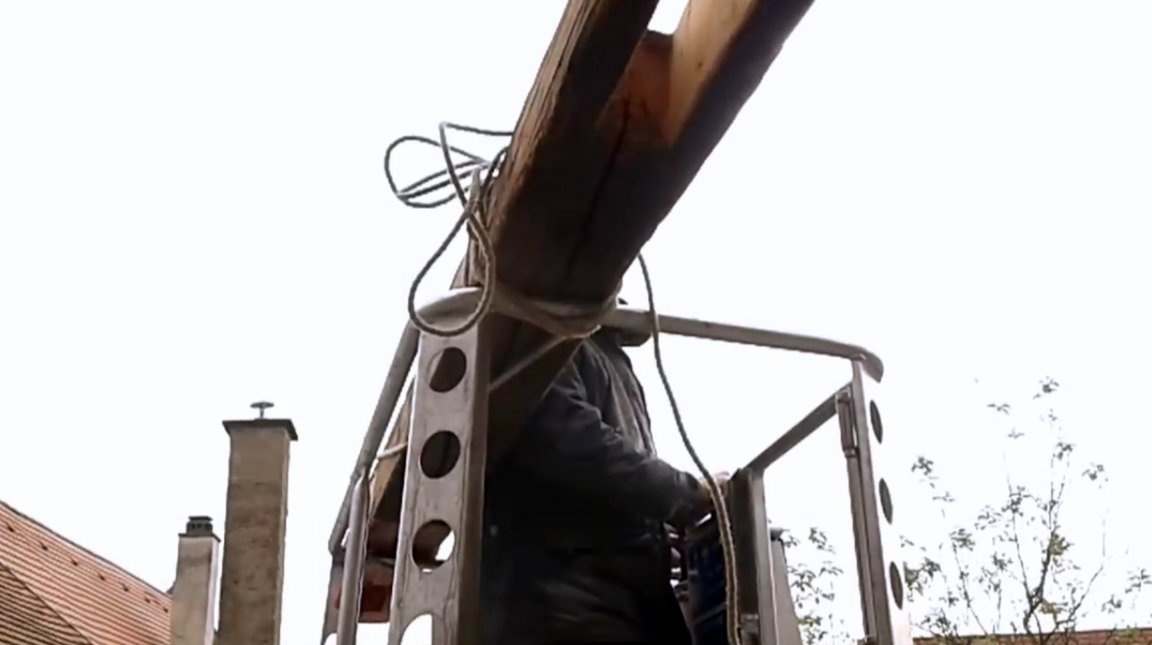
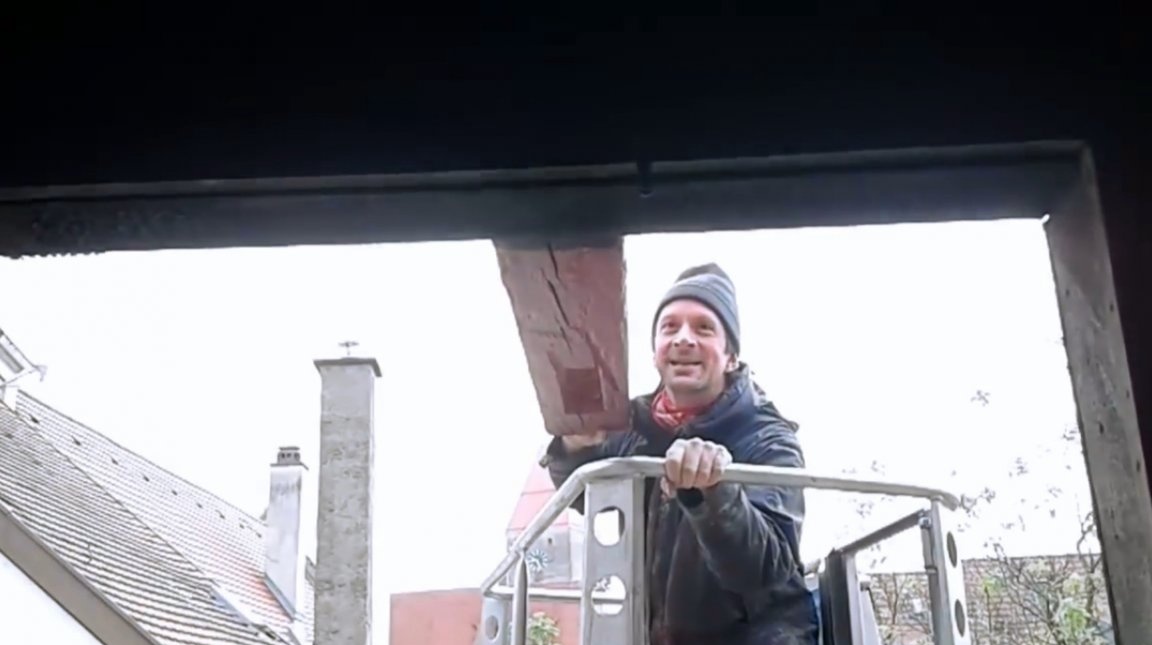
When installing the lift, it turned out to be quite difficult to get around all the lines of street wires. The rest of the process of mounting the lift was simple.
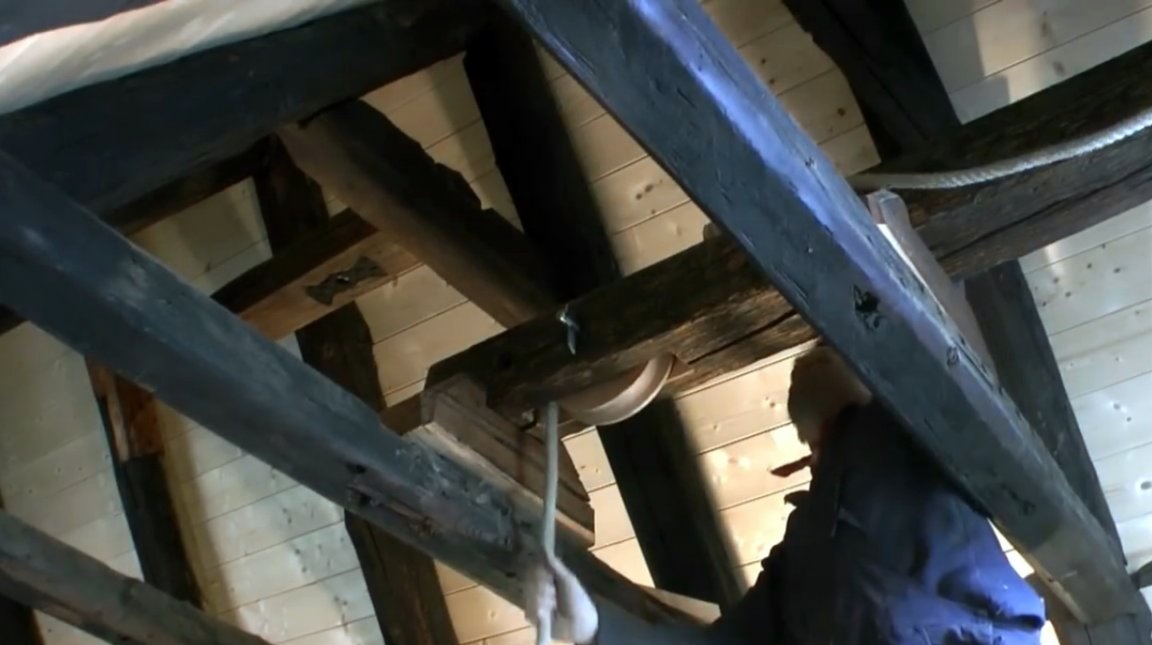
Inside, under the roof, the author fixed the crane's boom on additional blocks and installed an inner roller.

It remains only to pass the rope through the roller.
Now everything is ready, you can lift loads!
I thank the author for the simple but interesting design of the lifting mechanism!
All good mood, good luck, and interesting ideas!
Author video can be found here.