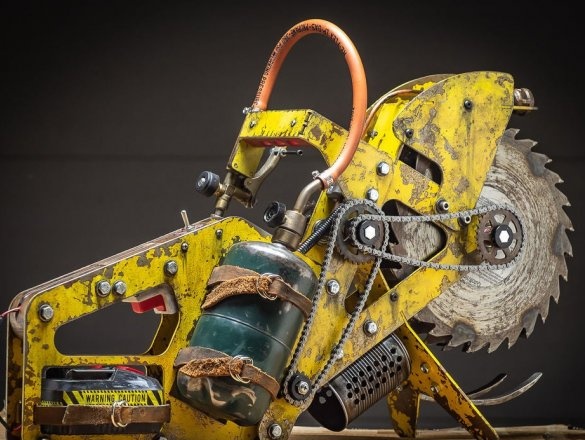
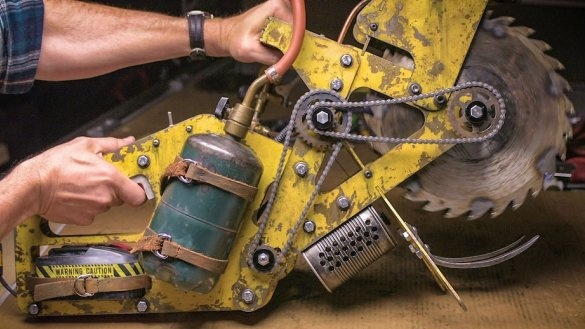
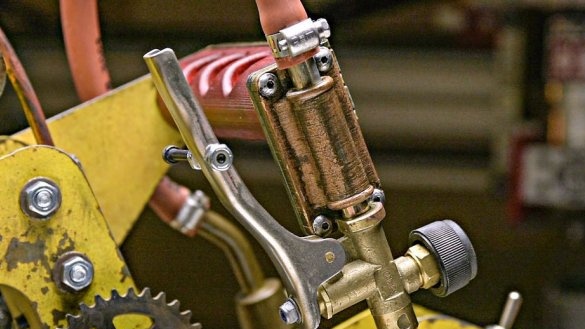
Our neighbors on the planet, US citizens, are very concerned about the possible onset of the zombie apocalypse. This country even hosts competitions for the best weapons from zombies. The master decided to keep up with his compatriots and made, and shared with us the method of manufacture, his weapons.
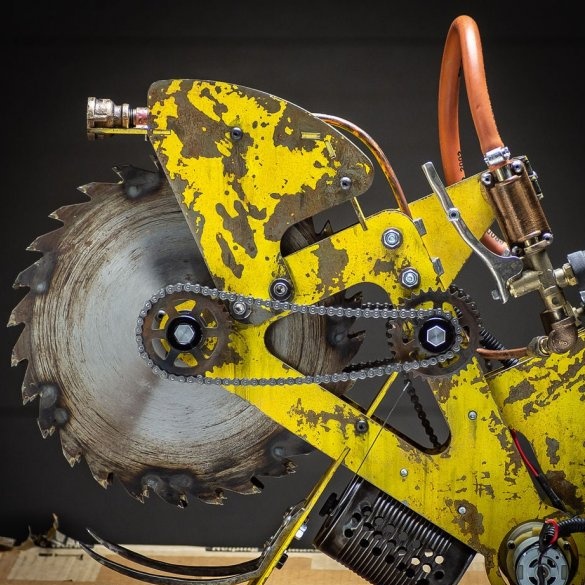
This saw / flamethrower is based on a similar one from the Fallout 4 video game.
Tools and materials:
-Saw blades;
-A screwdriver;
-Screwdriver;
-Propane cylinder;
-Switch;
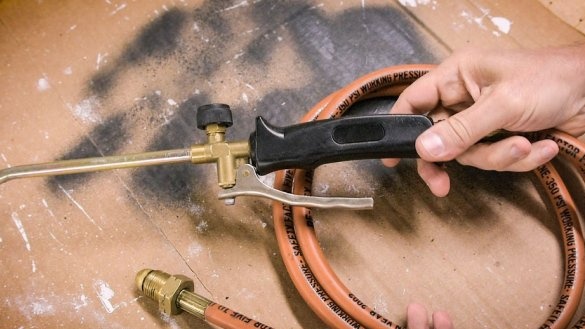
-Burner with a hose;
-Chain;
-Stars;
-Battery;
-Metal blanks;
- Forging equipment;
- Cutting saw;
-Tape grinding machine;
- Sharpening machine;
-Drilling machine;
-Laser cutting;
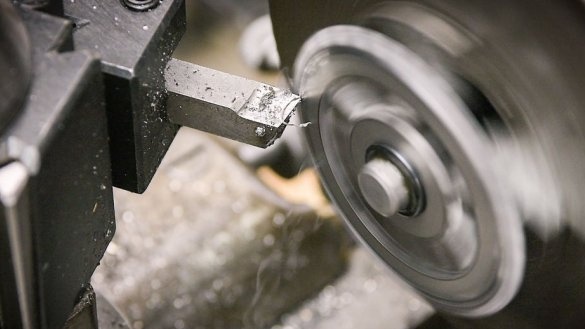
-Lathe;
-Tap;
-File;
-Soldering equipment;
-Hair dryer;
-Wire;
-Connector;
-Light-emitting diode;
-3D printer;
-Leather;
-Rule;
-Knife;
-Tool for skin treatment;
- dowel;
-USHM;
-Metal corner;
-Metal can;
-Welding equipment;
-Fasteners;
-Aerosol paint;
-Brush;
-Burner;
- clamps;
-Bearings;
-EVA;
-Mustard:
Step One: Project
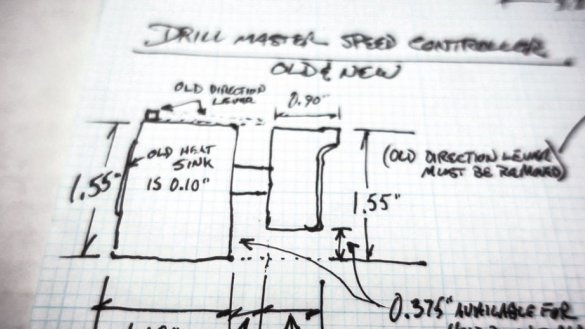
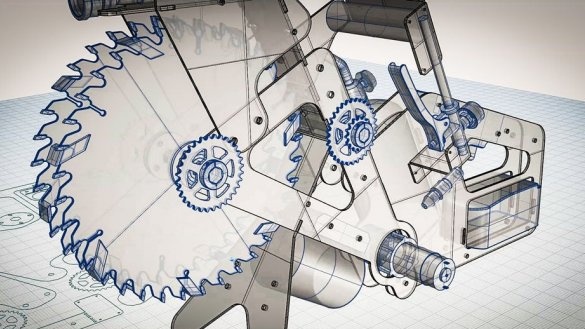
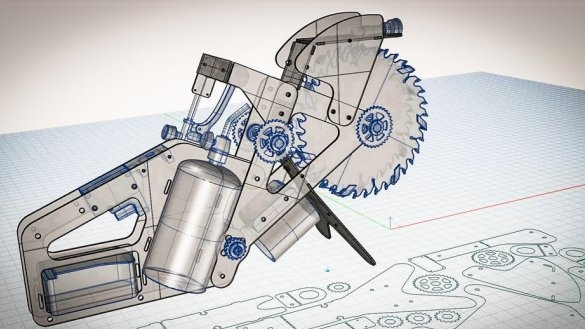
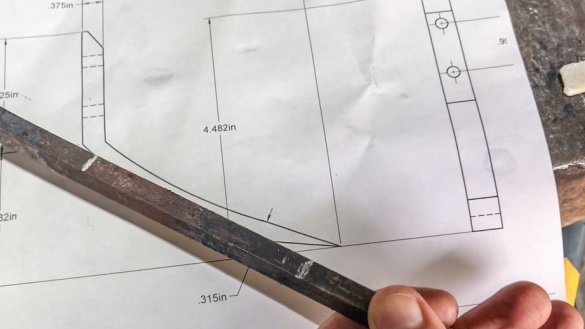
The master drew a sketch of the saw based on the dimensions of the materials that he already had. Those. basic designs were customized for finished parts.
Step Two: Drives
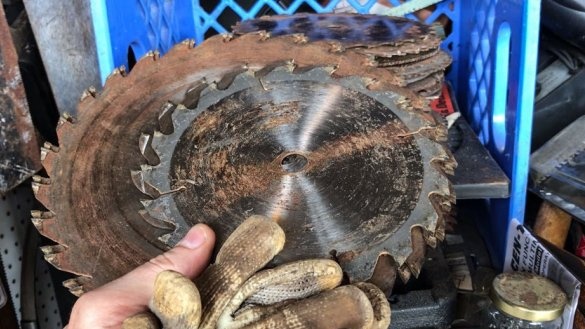
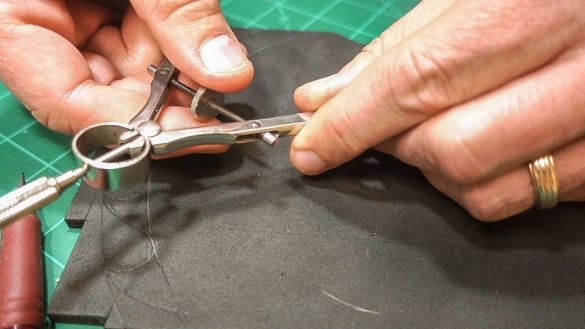
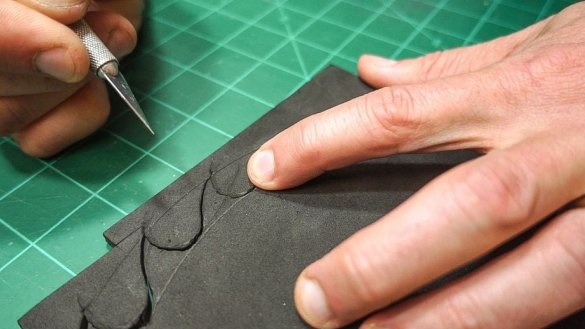
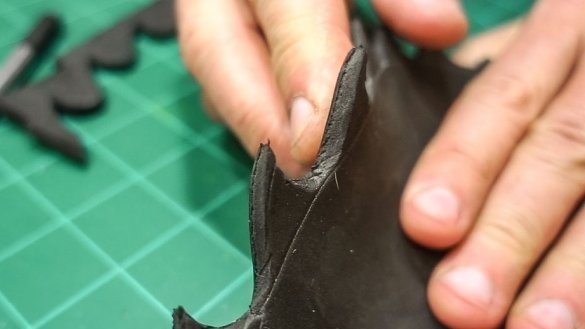
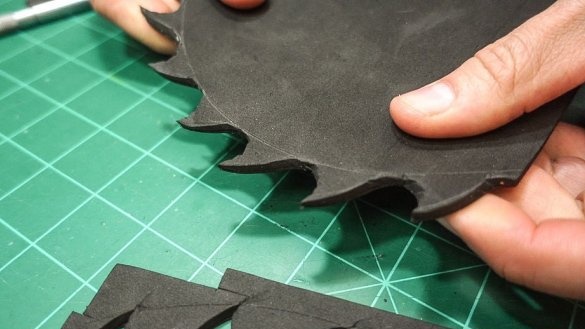
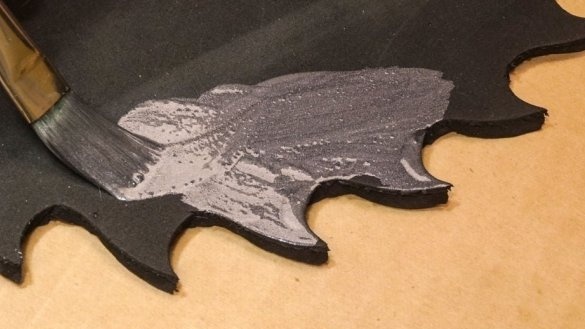
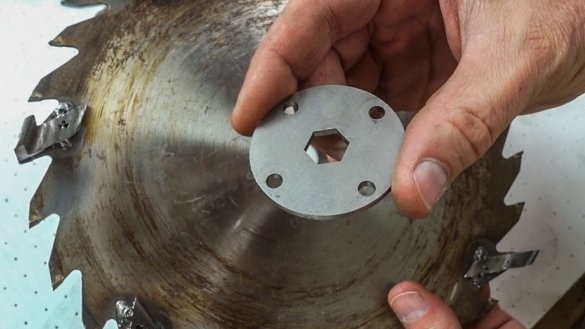
For the saw, the master will make two types of discs, metal and from EVA. On the sheet of material draws the teeth of the saw blade and, in the center, the seat. Cuts a disk.
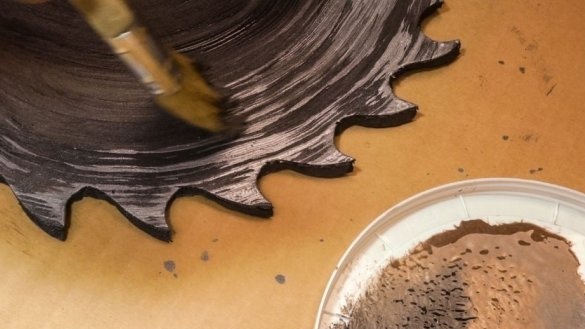
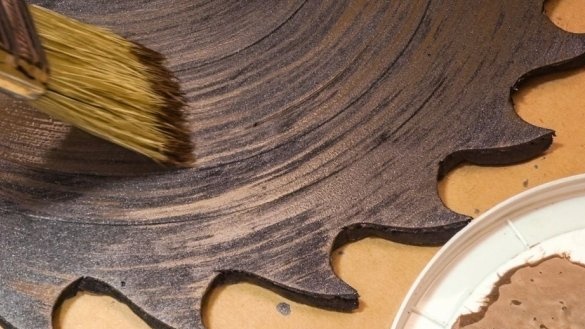
Covers the disc with acrylic paint silver, brown and black. Rubs the paint with a brush, giving them a scratched rusty-metallic look.
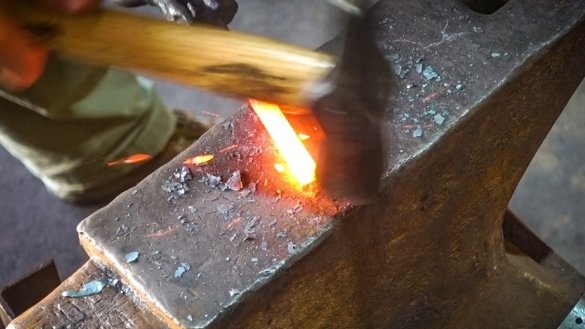
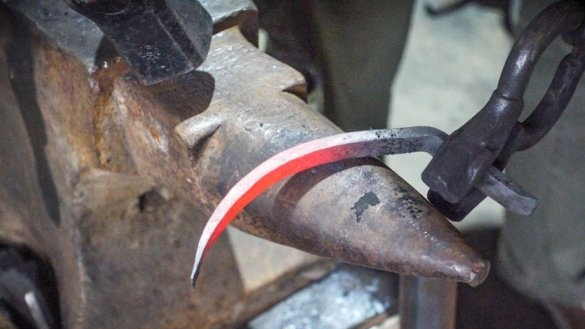
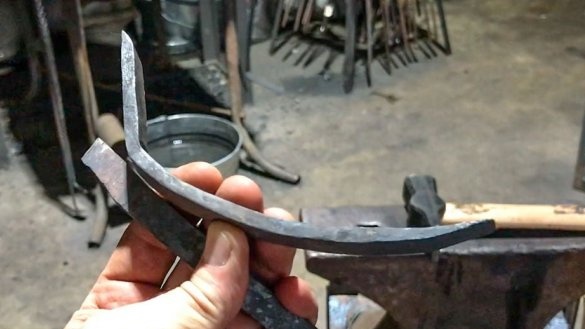
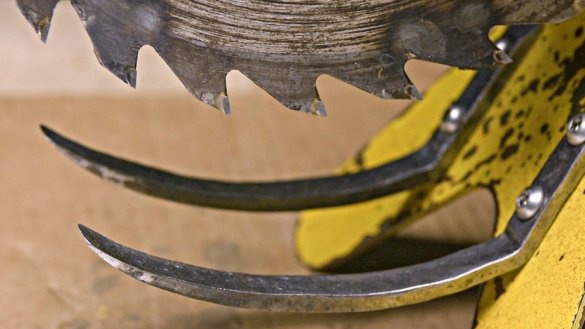
For a metal disk, the master forged knives and welded them to the disk.
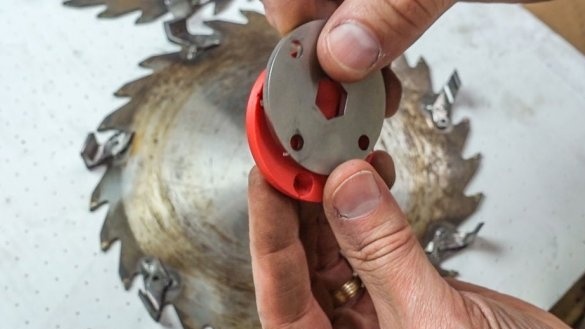
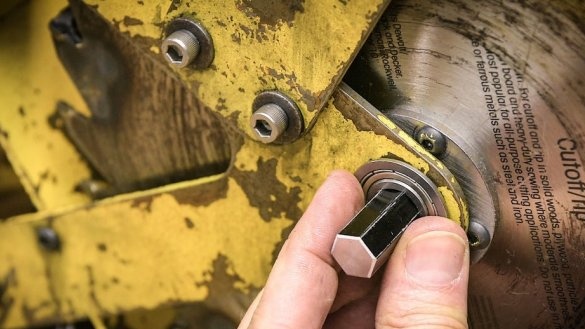
The hexagonal shaft and to it, and metal, and disks from EVA will be installed using plates with a hexagonal hole in the center. The plates are screwed to the metal disk, glued onto the foam discs.
Step Three: Screwdriver
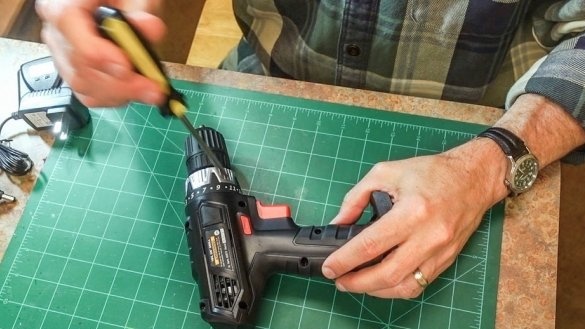
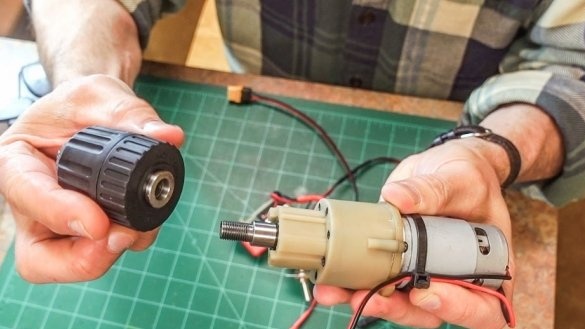
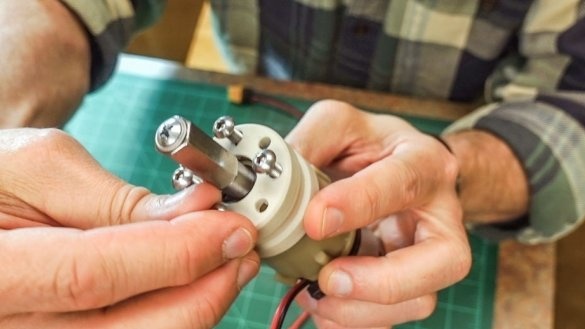
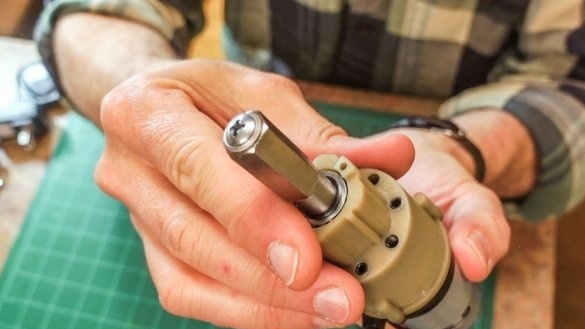
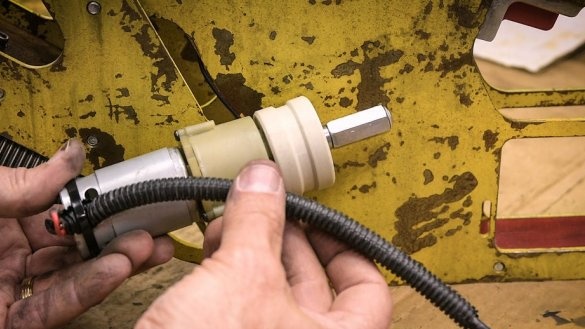
Saw disks will rotate thanks to the engine from the screwdriver. The master parses the screwdriver. A hexagonal coupling is secured to its shaft.
Step Four: Laser Cutting
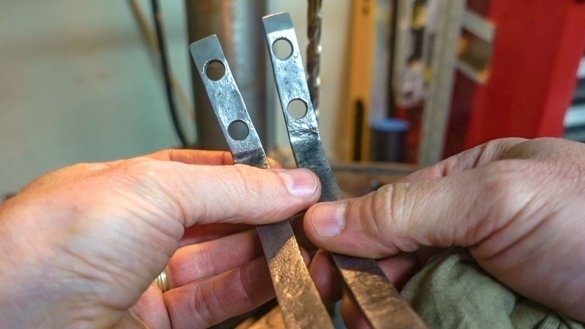
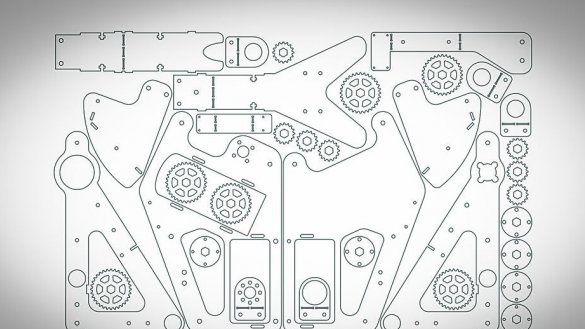
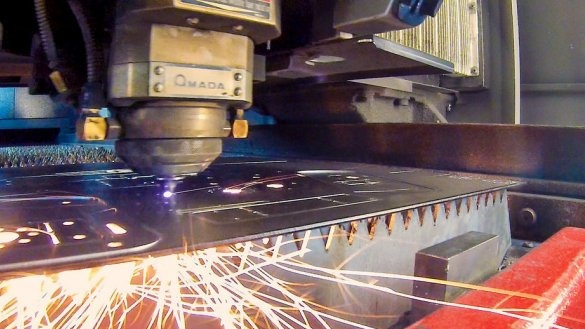
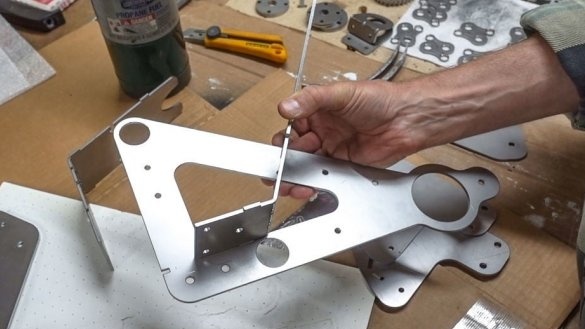
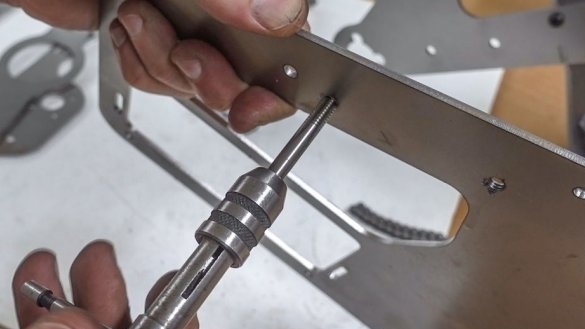
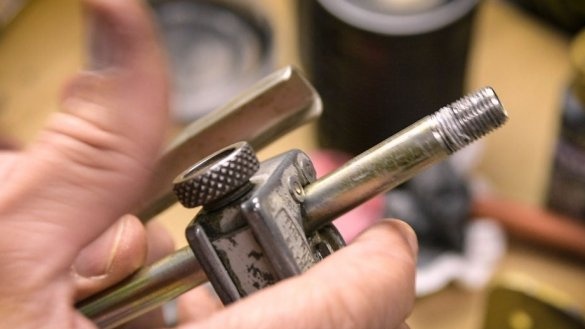
The master does not have a laser cutter.He made drawings in the CAD program and made an order for the manufacture of the necessary parts in the workshop. After cutting, the parts were ground and bent at the desired angle. I drilled the mounting holes and cut the thread.
Step Five: Power Supply
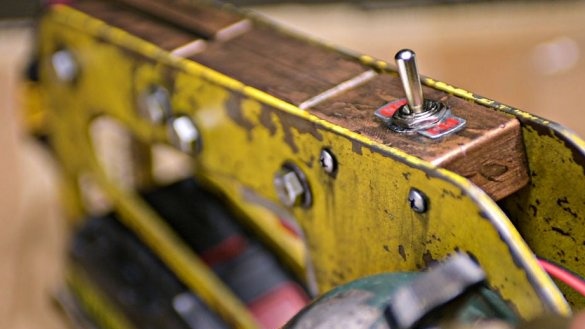
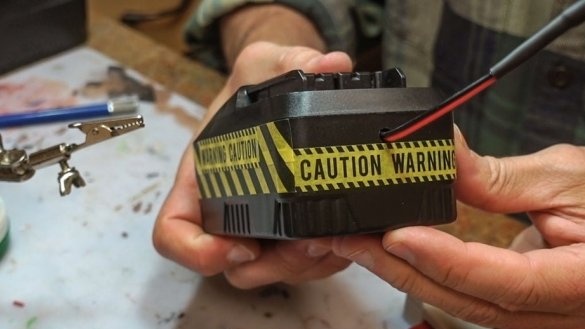
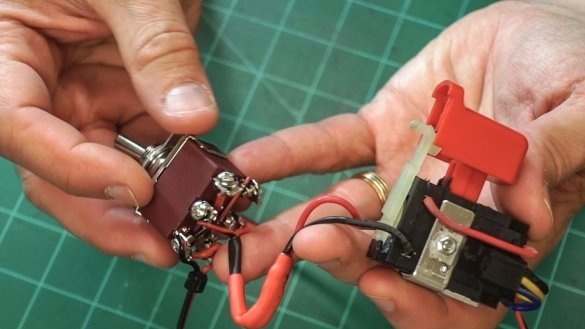
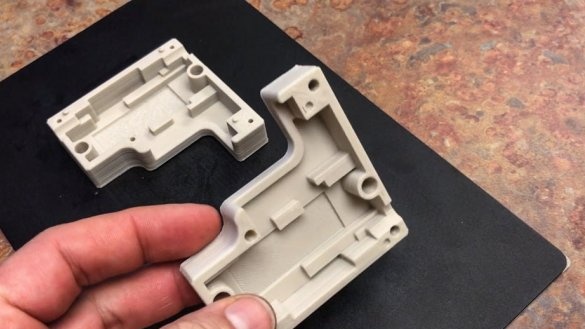
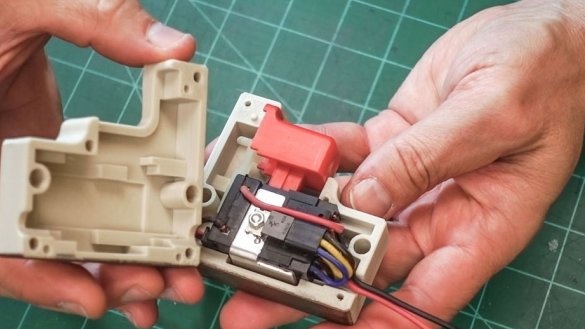
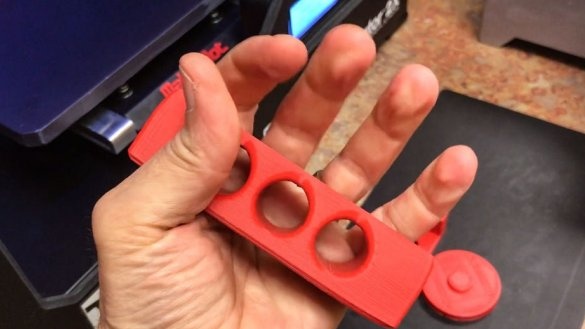
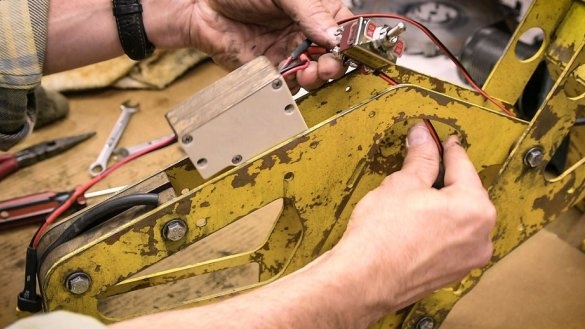
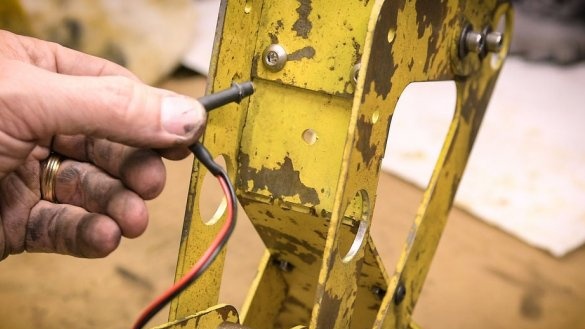
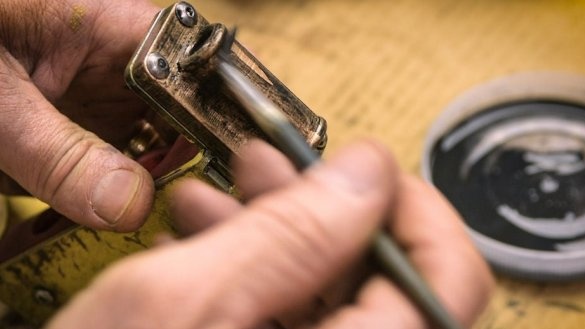
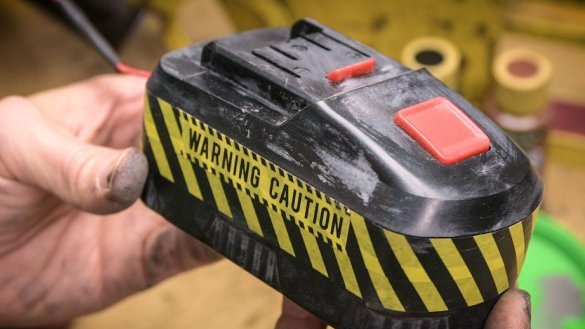
The master did not invent bike and uses a standard battery from a screwdriver and a trigger to power the engine. He adds a toggle switch to the circuit, and to mount the trigger, he prints the case on a 3D printer.
Step Six: Mount
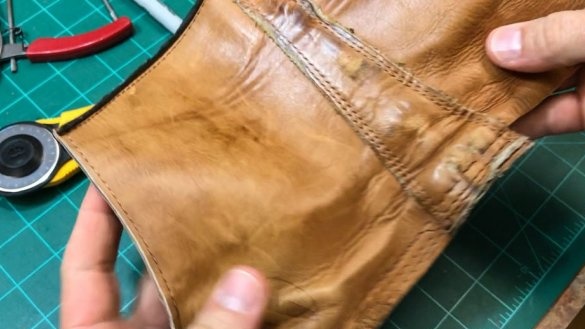
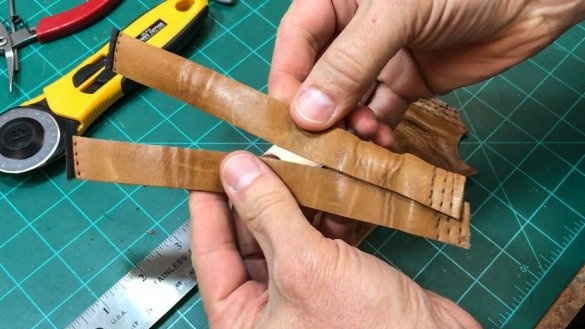
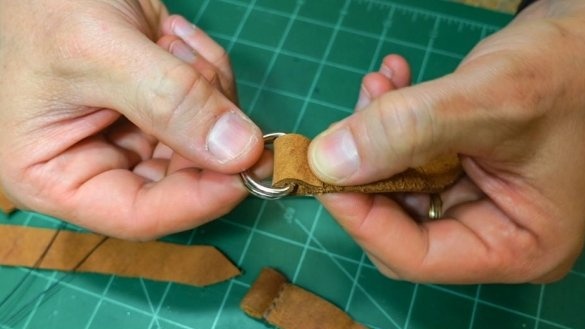
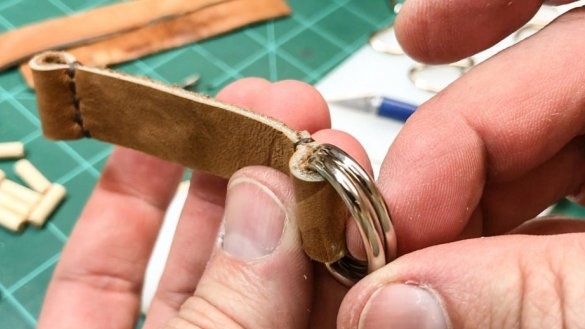
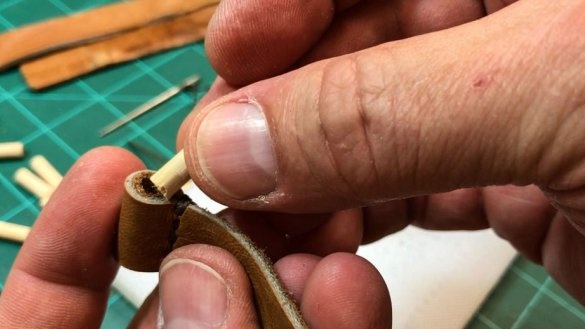
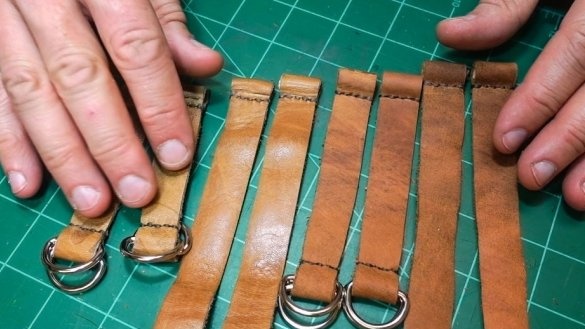
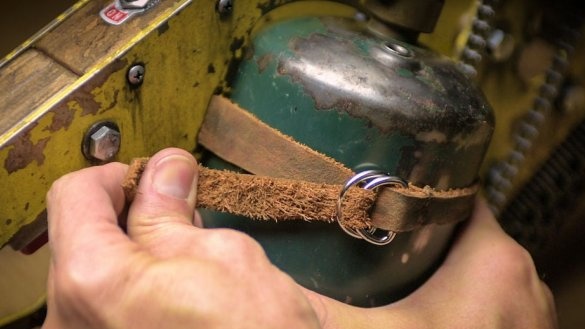
Makes mounting straps for the battery from an old leather boot.
Seventh step: decorating metal parts
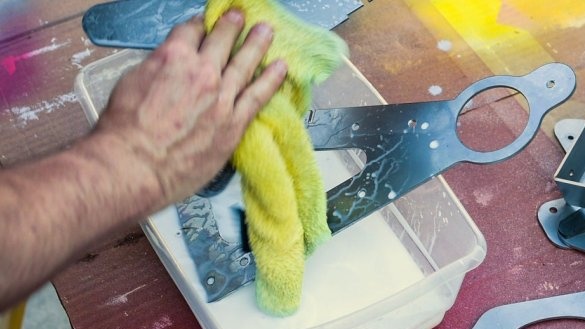
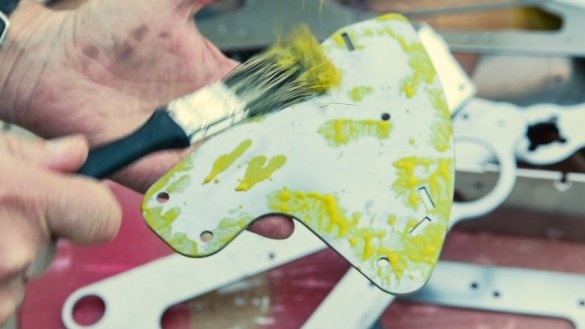
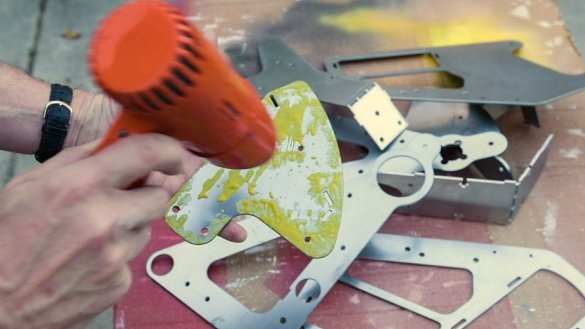
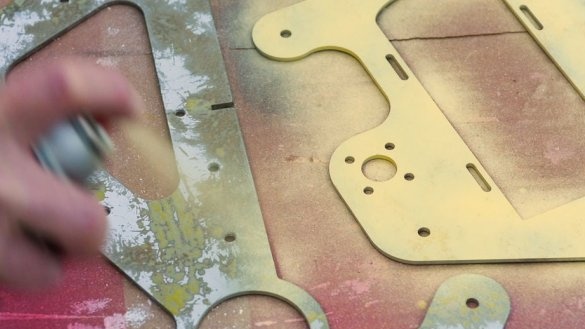
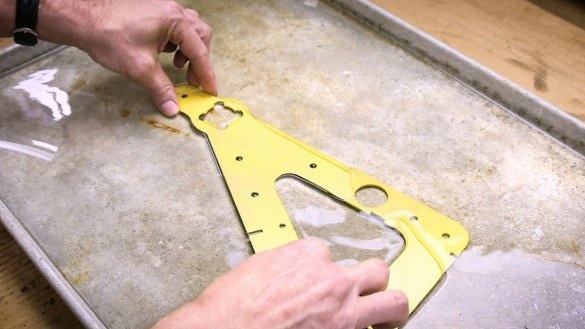
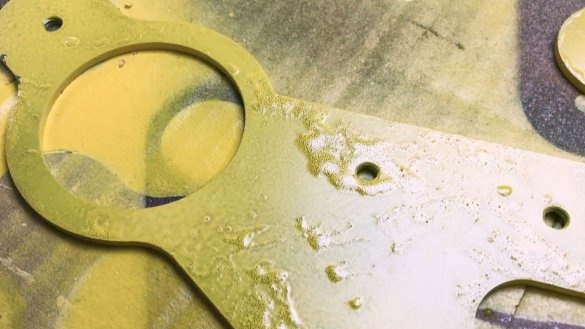
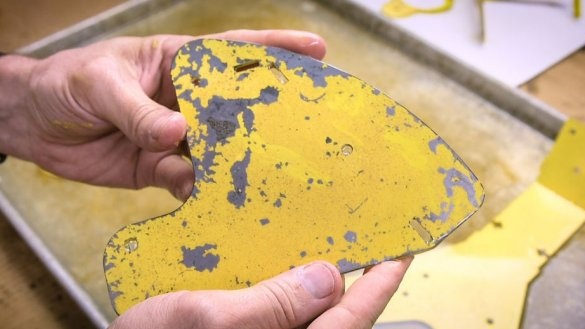
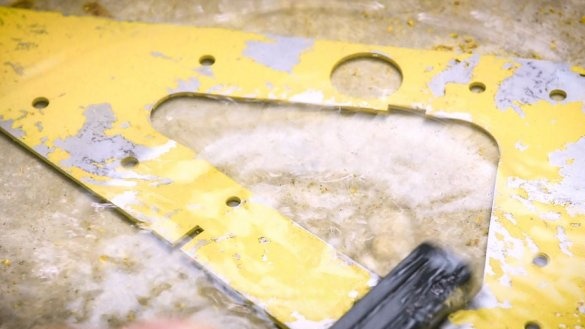
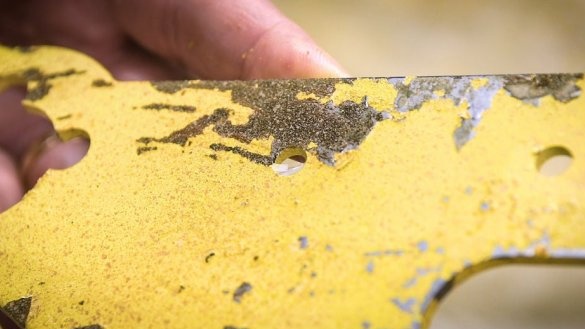
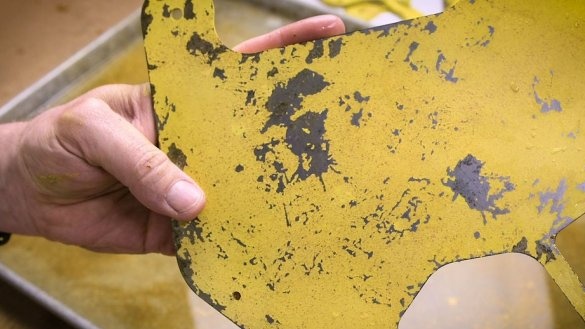
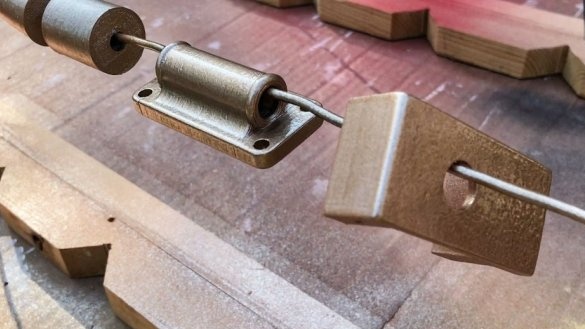
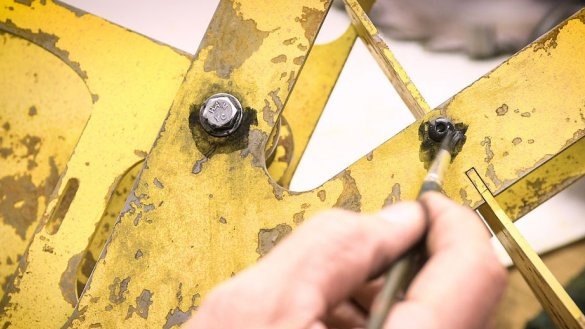
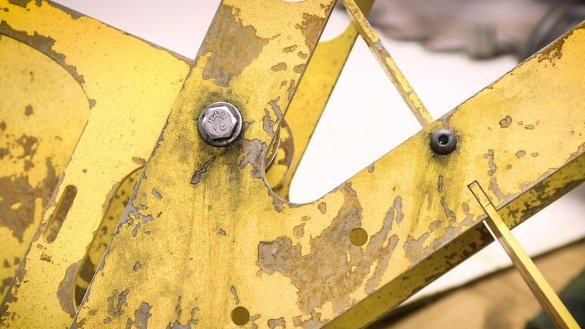
Some details of the case need to be given a scratched yellow color. The master washes the details. Dries. Sprinkles mustard on their surface.
Dry again and coat with yellow paint.
After drying, you need to clean the paint layers applied to the mustard.
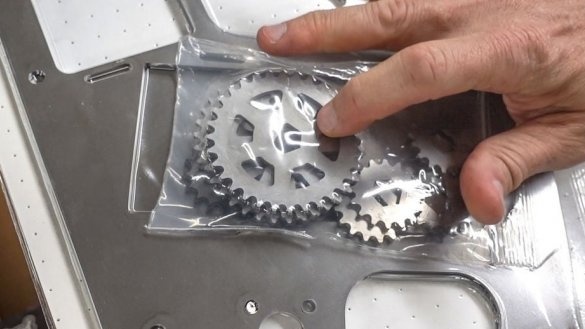
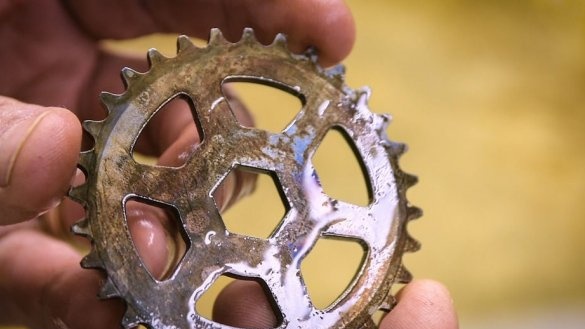
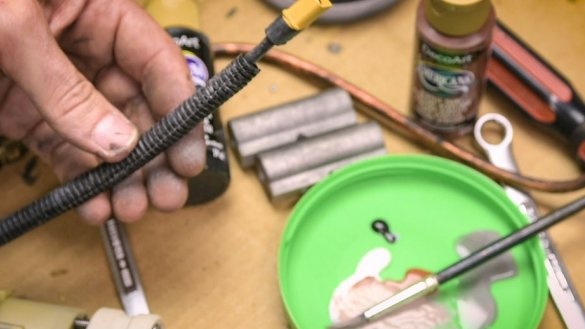
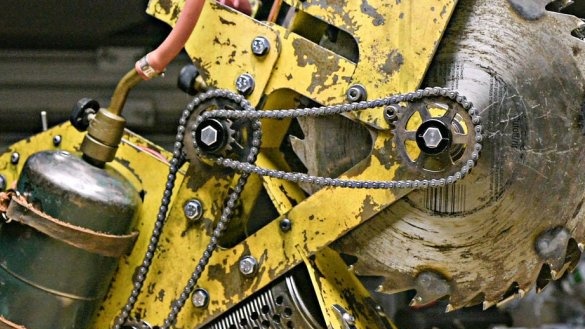
To give the stars an old look, the master placed them in vinegar for a while, and then burned them with a burner.
Step Eight: Screener
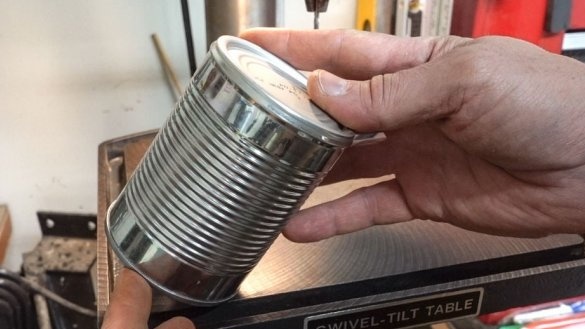
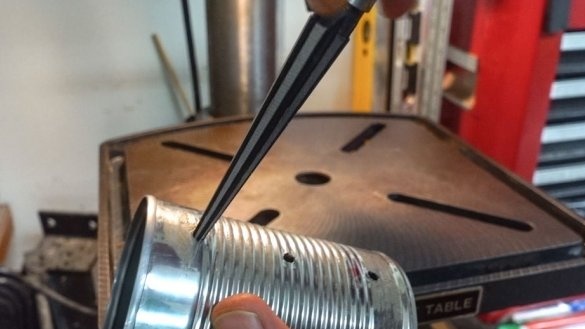
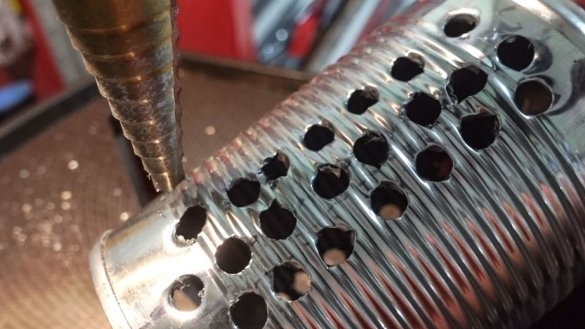
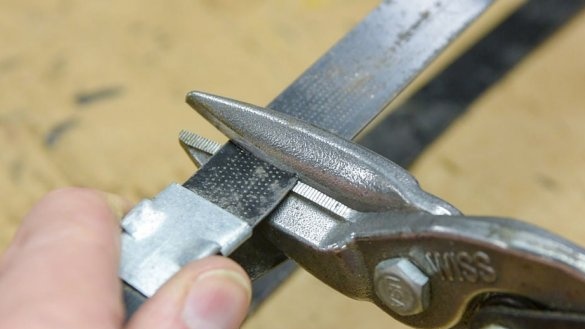
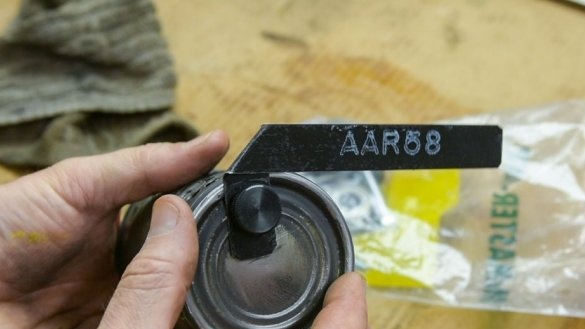
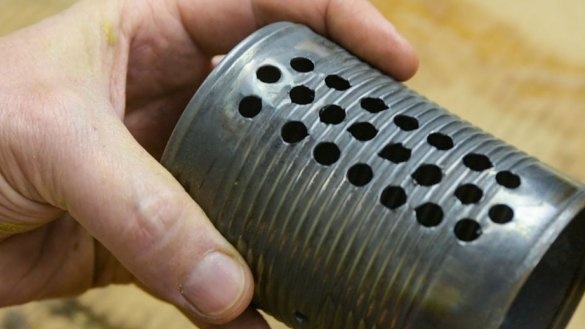
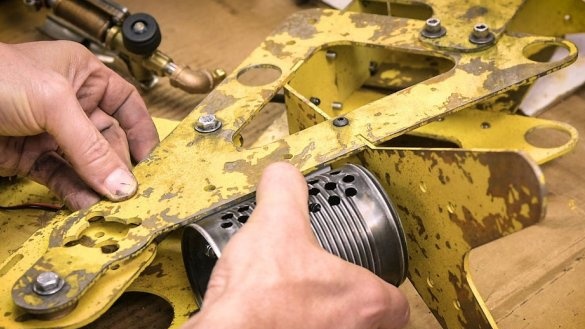
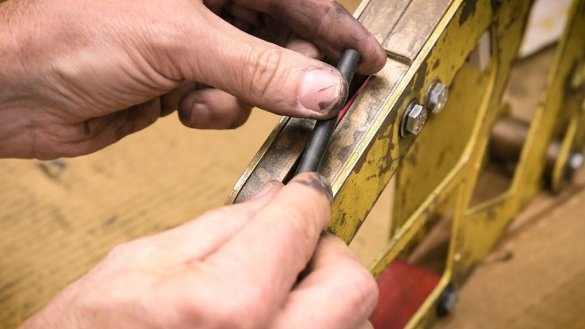
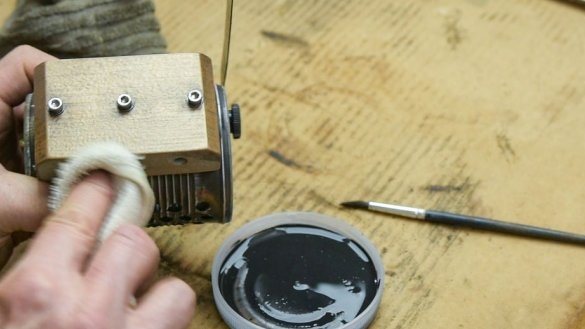
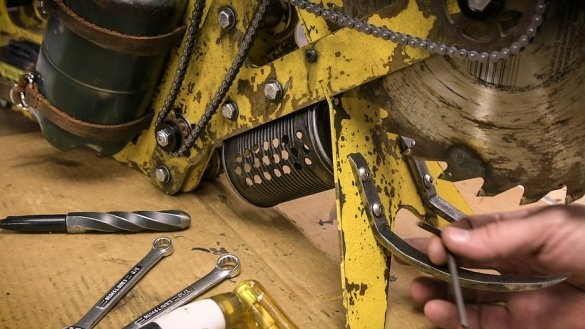
In appearance, this thing resembles a silencer, performs the opposite functions. This is an ordinary can. Holes are drilled in a circle in a circle. Like asterisks, it gives the bank an old look. A metal plate made of spring steel is attached to the can from the end. The end of the plate will be in contact with one of the stars. This system, when the sprocket rotates, will make the sound of a working chainsaw.
Step Nine: 3D Printing
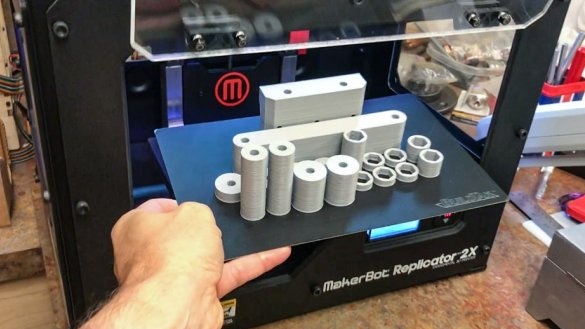
It prints various details on a 3D printer.
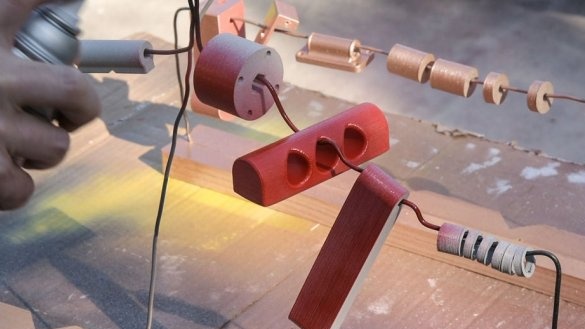
Stains them.
Step Ten: Build
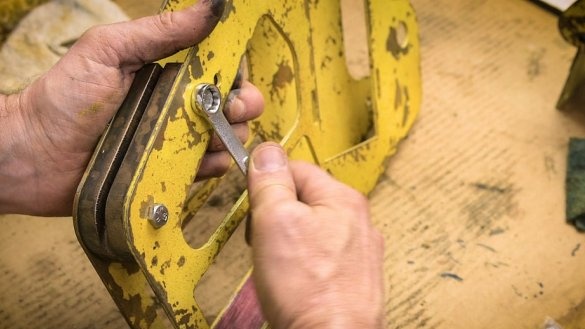
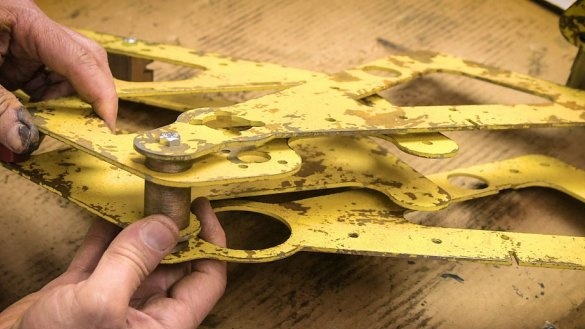
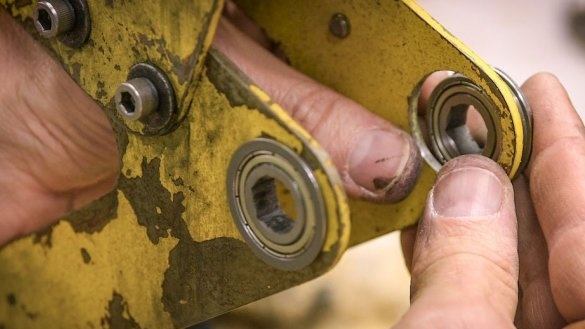
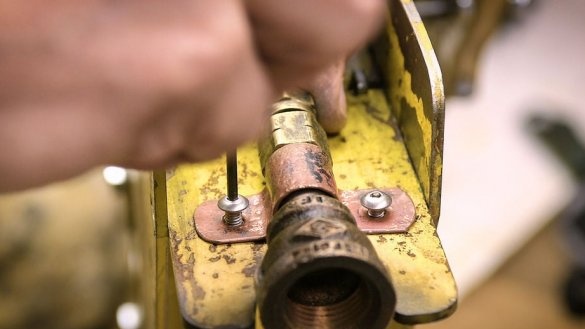
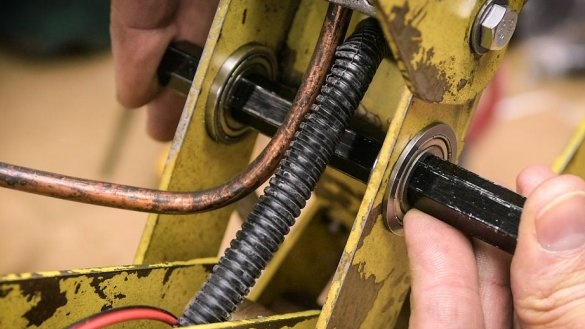
For fastening frame parts uses bolts. Installs bearings and an axis into the seat.
Sets the engine and trigger.
Covers some details with decorative paint. The battery sticks over with tape.
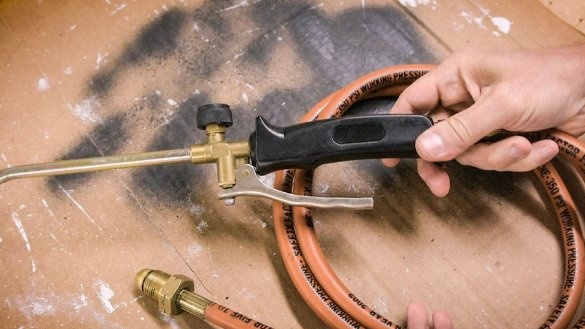
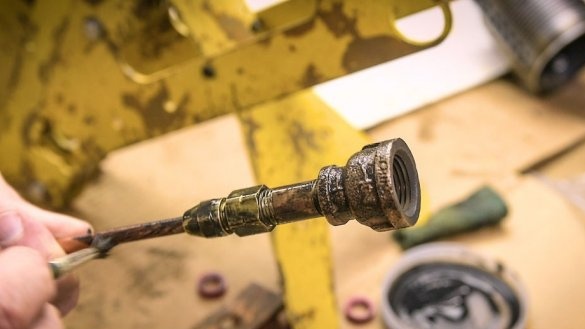
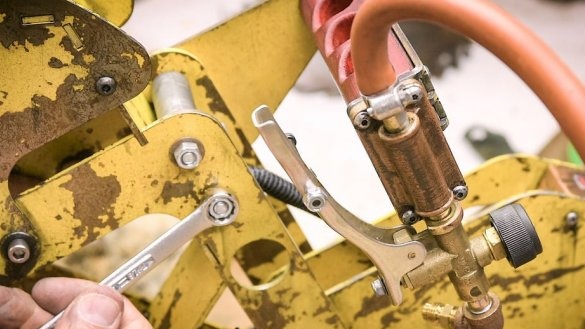
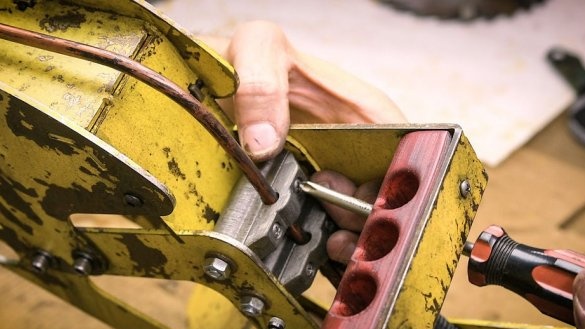
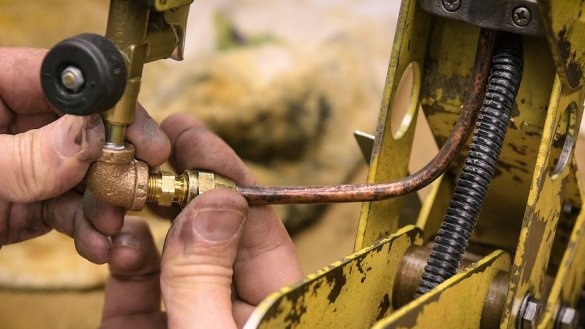
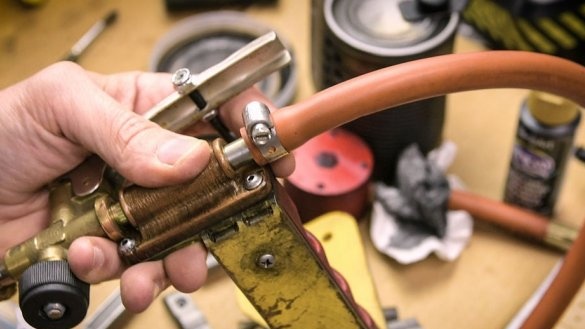
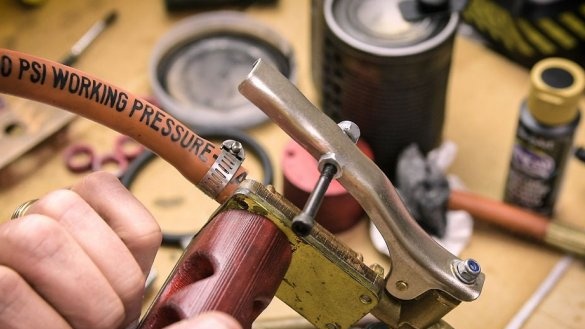
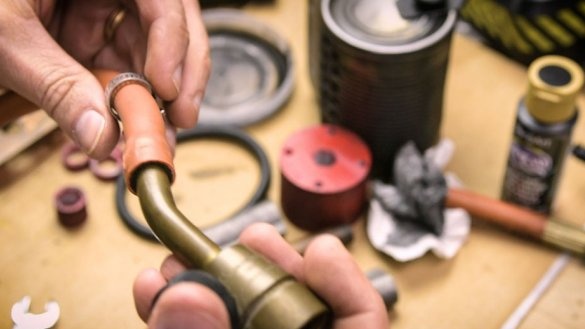
Assemble and install the burner.
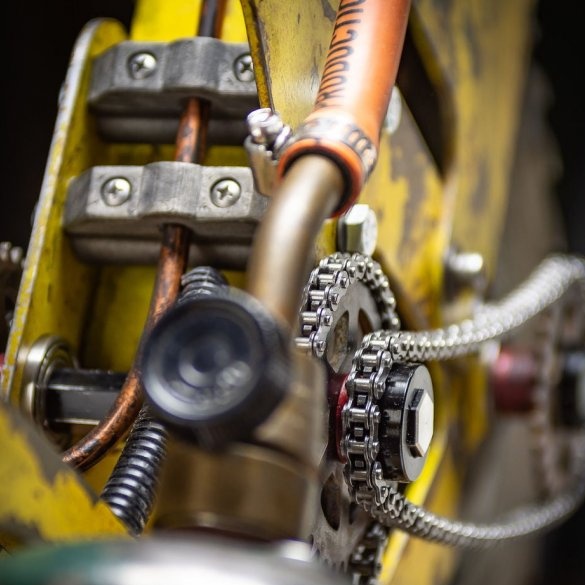
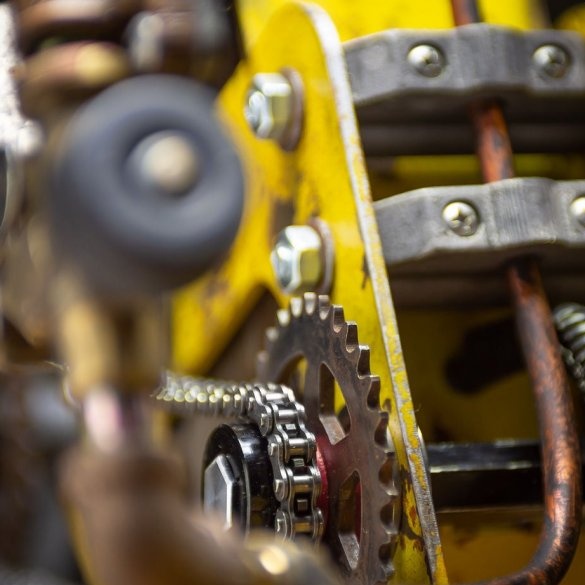
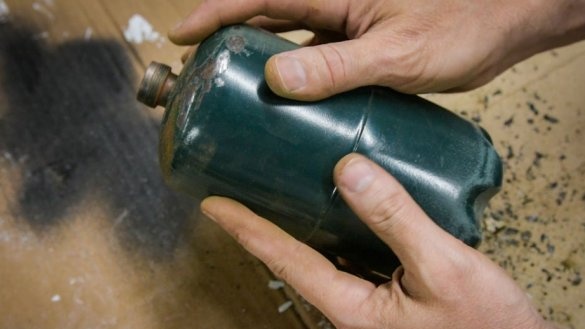
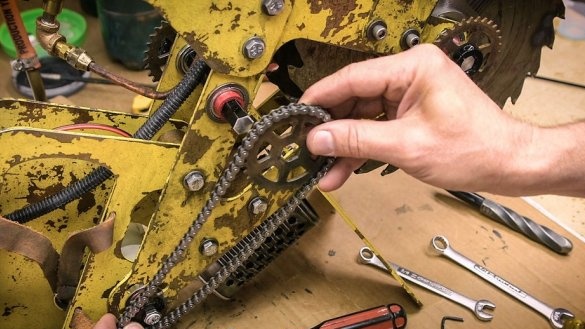
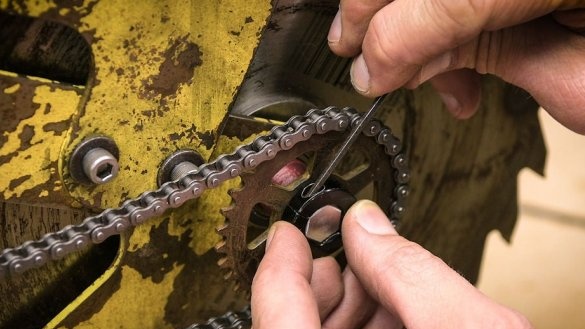
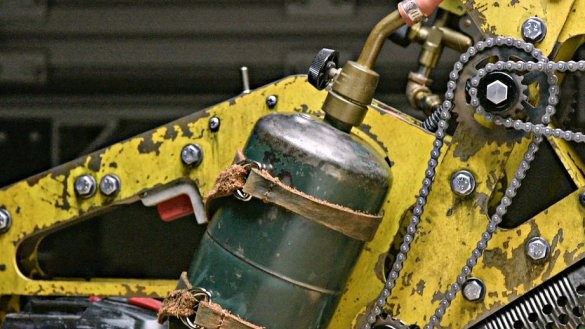
Sets sprockets, chains. Installs and connects a propane tank.
All is ready. The finished product weighs about 11 kg.
The whole process of making such a flamethrower saw can be seen in the video.

