

Hello, dear visitors of the site.
I continue to engage in the reconstruction of the old house, and my next homework, which I want to tell you about today, was needed to me precisely during these works.
I'll start in order.
In this house the rooms were walk-through. According to the reconstruction plan, I decided to make a redevelopment to eliminate this drawback. In the end, I had to transfer some doorways. That is, I punched a hole in the wall, and the existing one was laid with brick extracted from a new hole. The walls in the house are very thick (from 70 to 90 cm). But the solution on which the masonry is folded is calcareous, very weak. (Apparently, in the 19th century, cement was a luxury!)))) Before punching the opening, I hollowed out a horizontal chisel above it to lay a powerful channel in it. The same channel was located on the other side of the wall. Then I drilled through holes in the wall, in the channels too (burned with electric welding) and pulled both channels with powerful construction pins through the wall between each other. After that, I covered the strobes with a strong cement-gravel mortar. After the solution was gaining its calculated strength, I cut the contour of the future opening on one side with a large grinder to the maximum possible depth (for the 230th grinder it is 7 cm), and using a perforator, I punched the aperture. (Now you should not be afraid that the wall will crack or the bricks will fall from above!). At the same time, taking out almost two cubic meters of brick from the opening !!! I carried out these works several years ago, and, unfortunately, photos of this process are lost. Here, for example, is an opening in which, thanks to the extension, I will not insert the door, but will design it in the form of an arch:
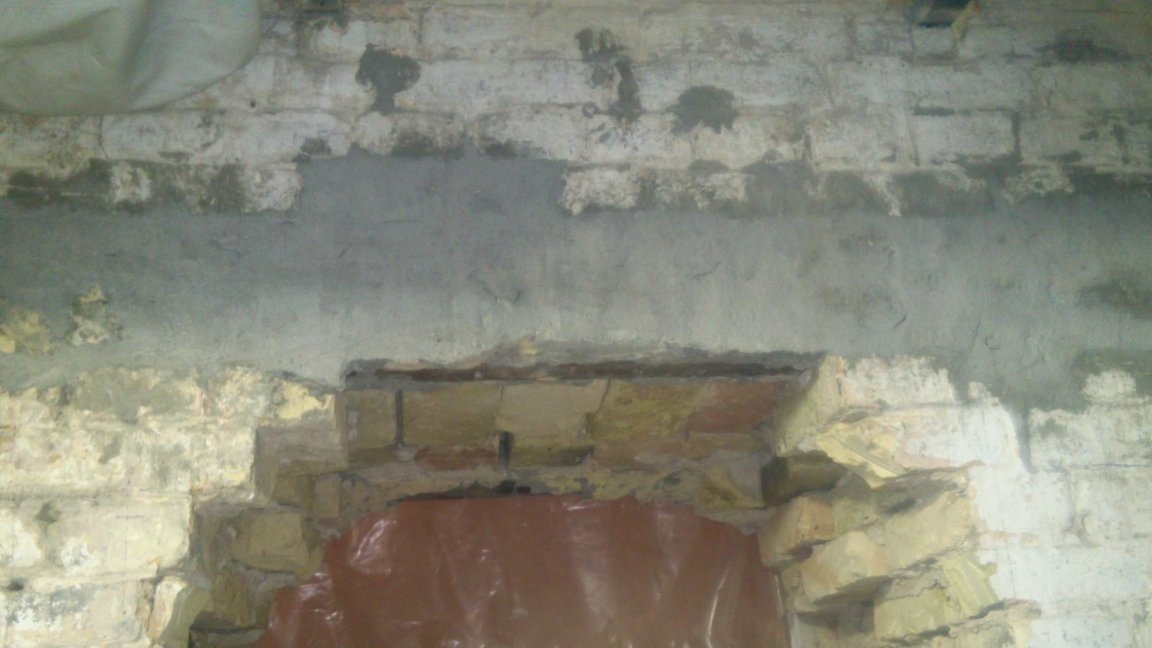
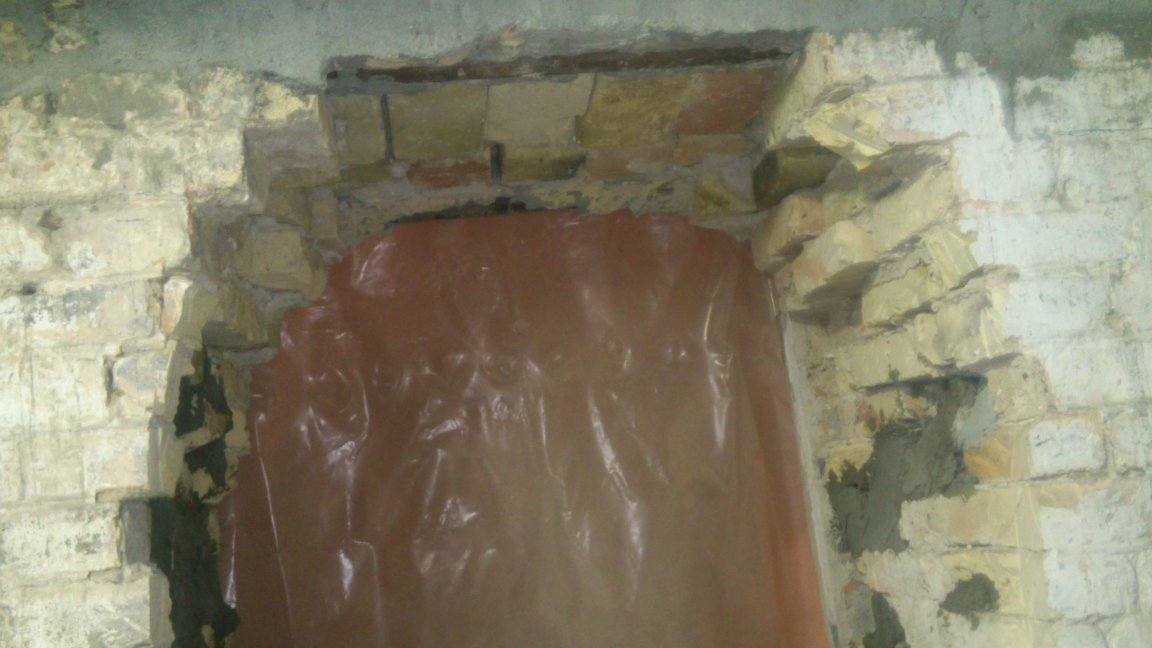
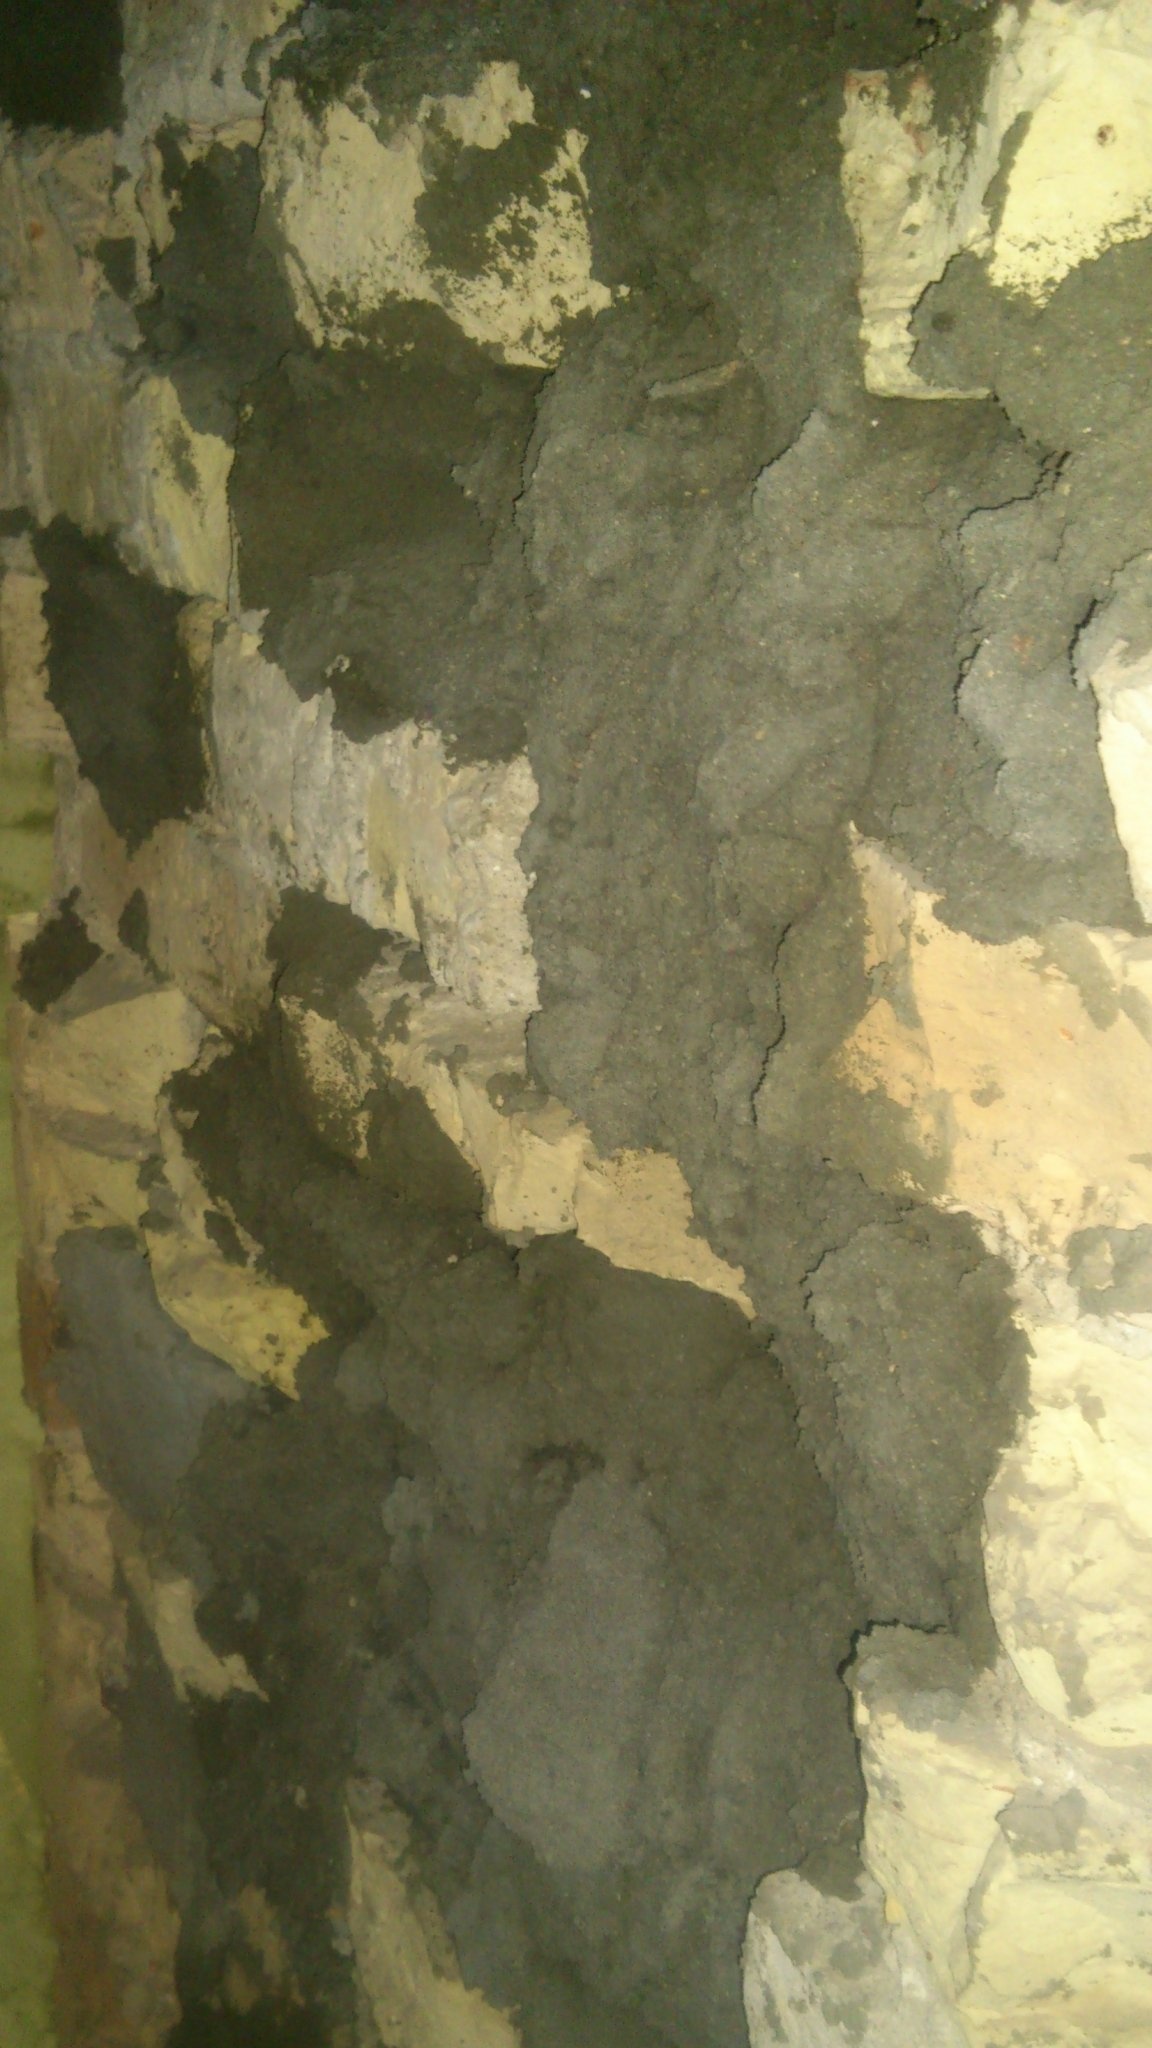
As you can see, the ends of the break have a very uneven shape! They must be plastered with a strong cement mortar. This simultaneously evens the ends and strengthens!
During the construction, I used bumps as a place for disposal of the remains of a strong mortar, or concrete (not all mushrooms do!)))). So now it looks like this:
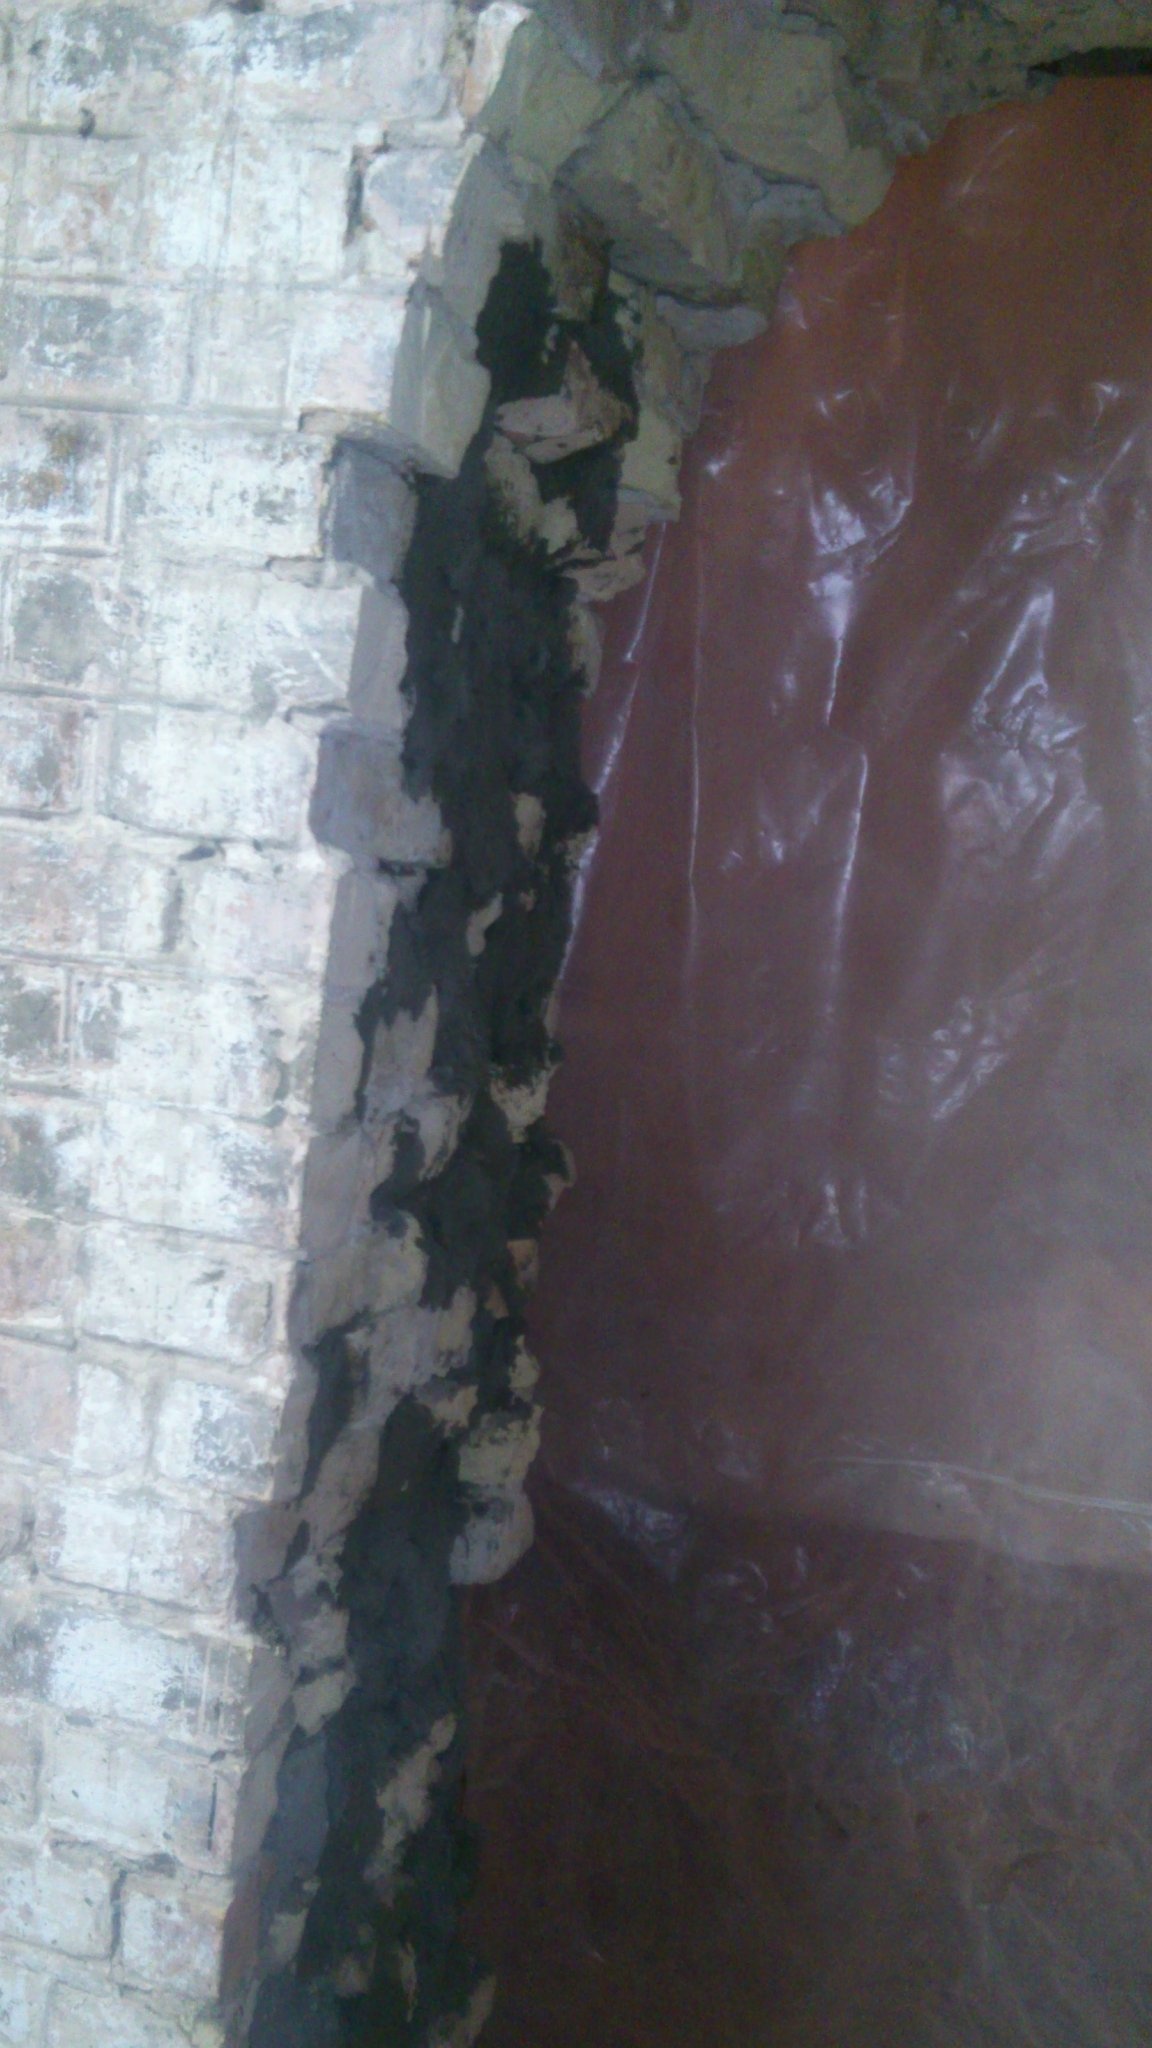
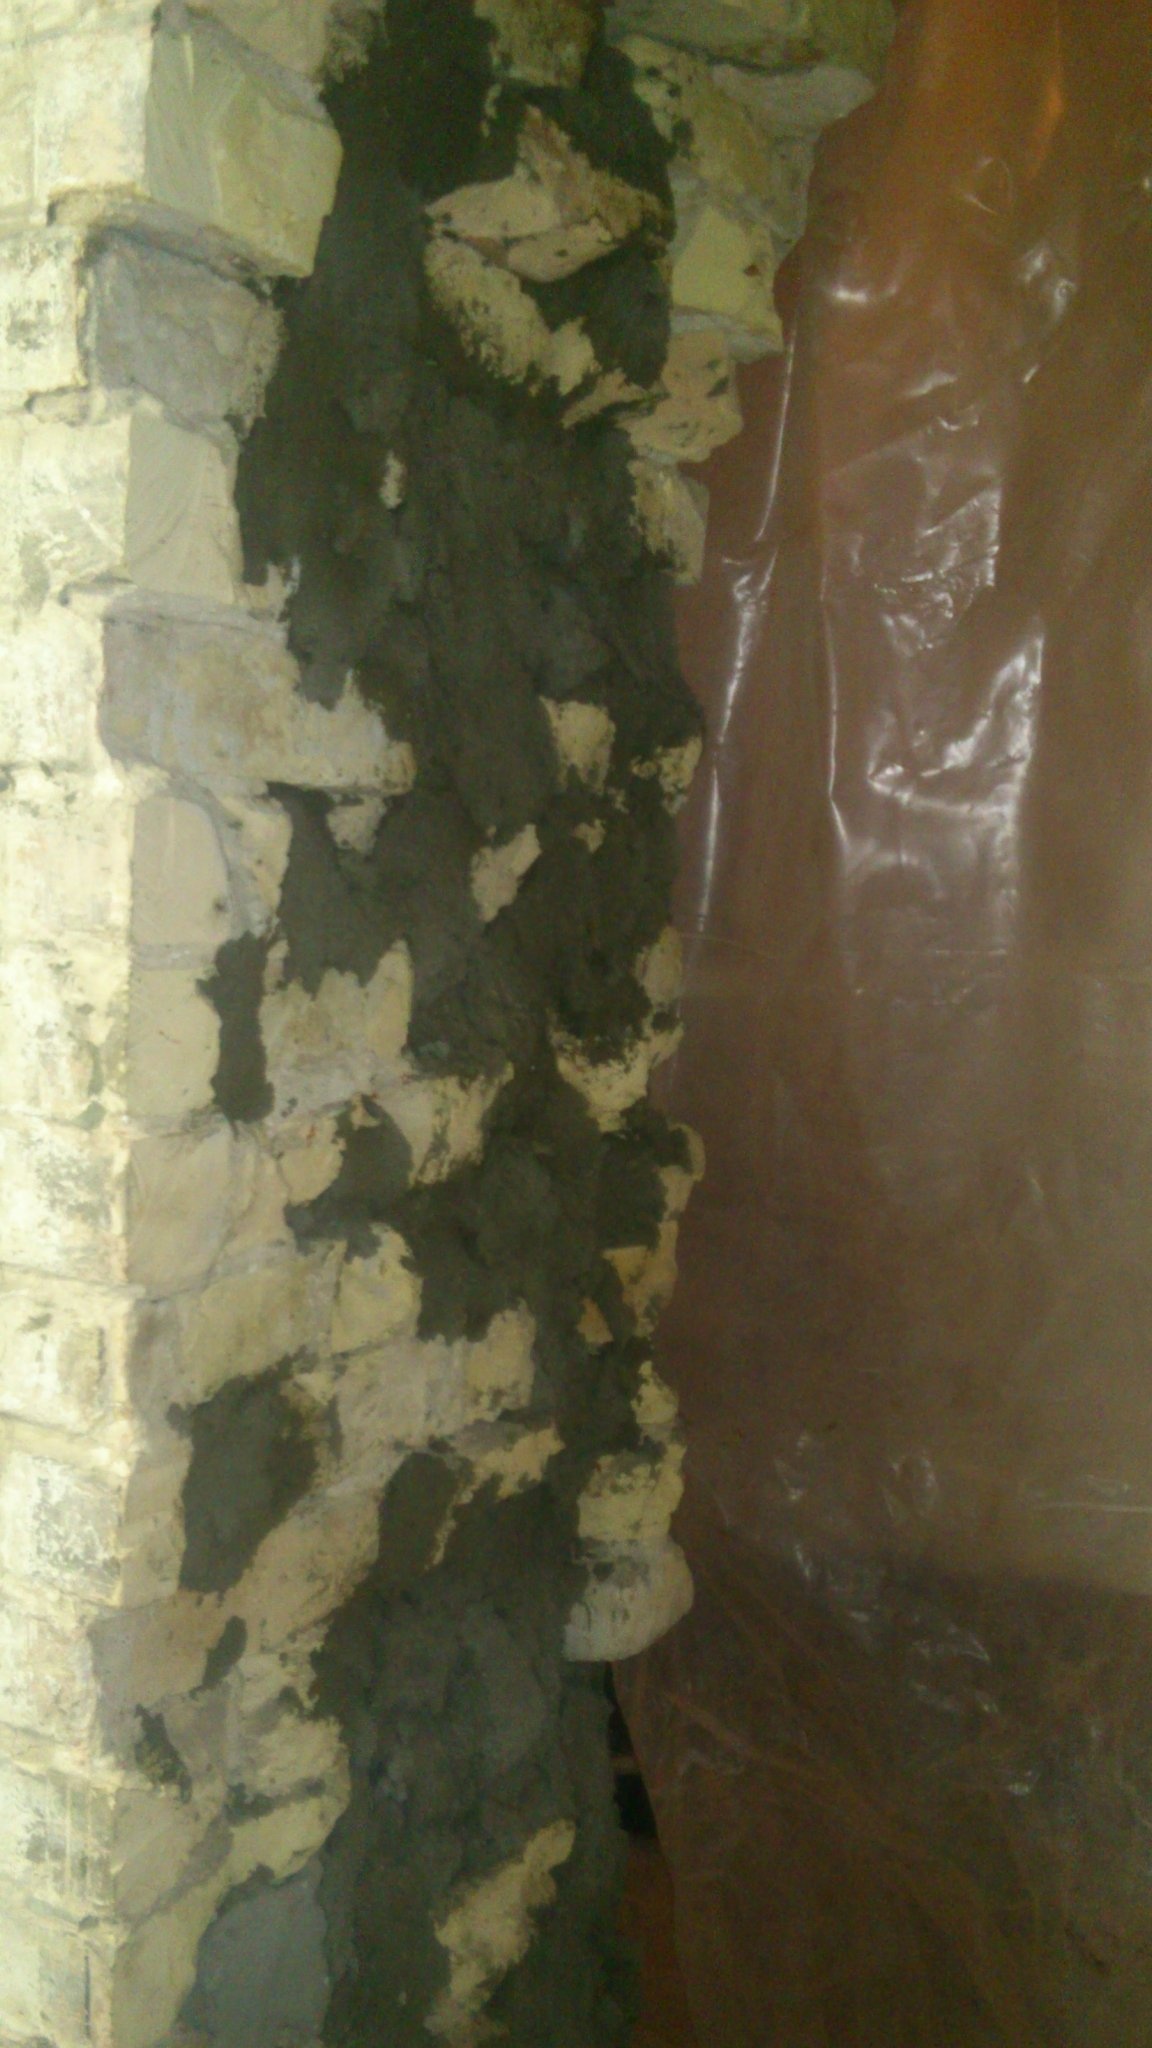

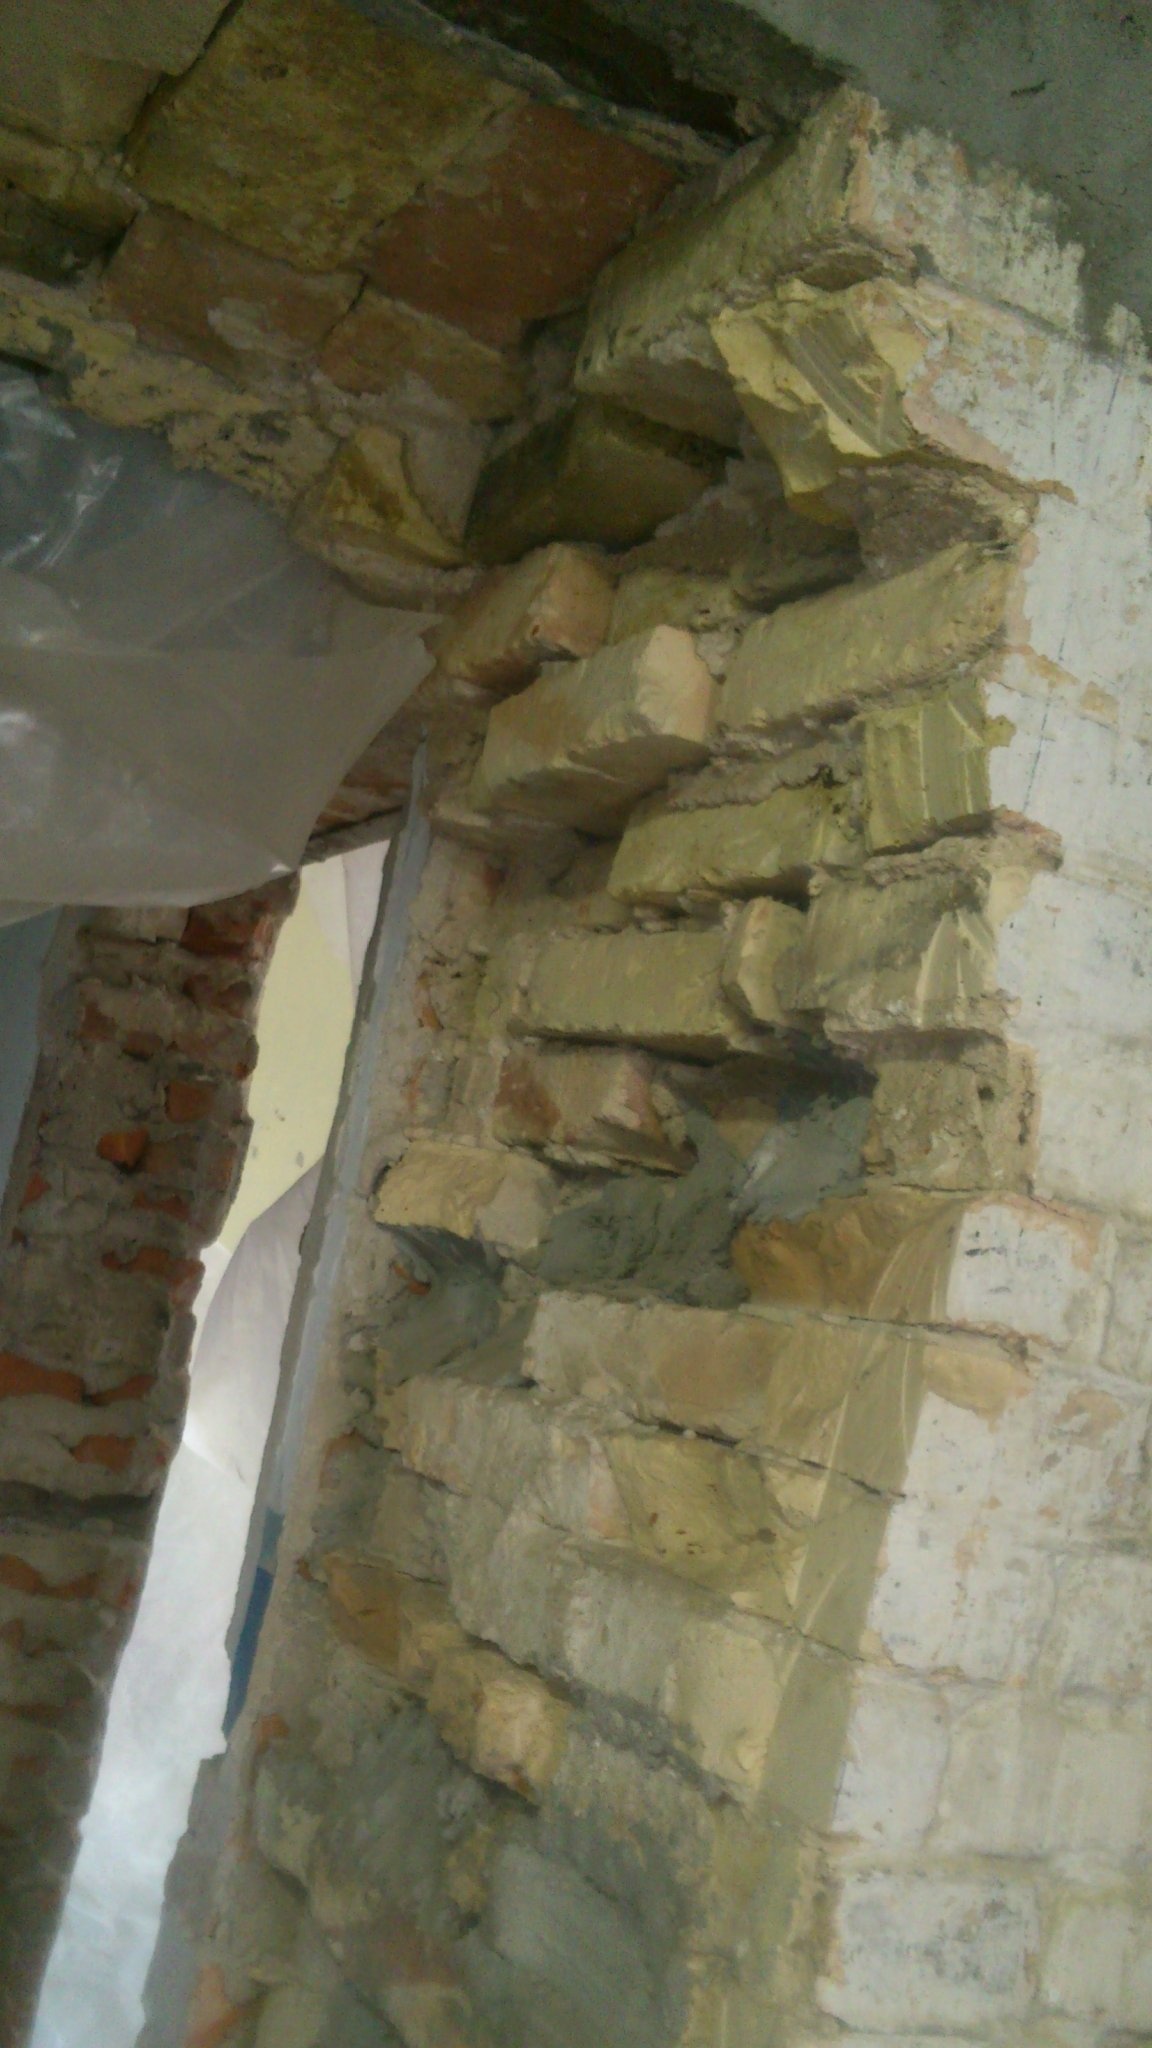
And now, it's time to align them. But then I ran into a problem! Namely, how to "catch an opening perpendicular to the wall ???.
With such a wall thickness it was very difficult to “get in”, working from two sides! Of course, I drilled through holes so that there was something to attach to from the other side, but, driving the meter drill to the full length, it is impossible to withstand the drilling axis strictly perpendicularly in all planes !!!
And at such a thickness, even a miserable deviation gives a serious error. As a result, my opening “moved out” a little!)))) That is, its horizontal section formed a rectangle, but a box! And, perhaps, a trapezoid! .... At the same time, the ends could well be curved according to the principle of "propeller". It is simply impossible to see it with your eyes - it’s painfully an uneven surface! Having suffered a bit with the fitter's angle and meter level, which I used as an extension of one side of the angle, having screwed tape to it, I realized that I won’t achieve anything good in this way. If it helps at least on straight vertical walls, then in the rounded part of the arch such a method will not work at all! Unable to position and hold it device exactly in the plane of the radius of the arch! It is necessary to slightly tilt the square - and all the efforts to ashes!))))
There was an idea to somehow attach a cross-beam to the square, which will be pressed against the plane of the wall, positioning its long shoulder strictly perpendicular to this plane! But how to fix it !!! Here, adhesive tape does not help!
And then my eyes fell on the profile pipes, section 40 by 25 mm, which stood leaning in the corner. And the thought dawned that, having the material and the right tool, I can just weld the template I need! It won’t take much time! Although it was already late evening (I arrived at the construction site after work), I decided to quickly make this device. The neighbors may be sleeping, but they are far enough away! And I work inside the house with tightly closed doors and windows. Besides, it was raining outside ... They won’t hear for sure!
It took me exactly an hour and a half to make this template. (With deliberation and photographs). And such materials and tools:
Materials:
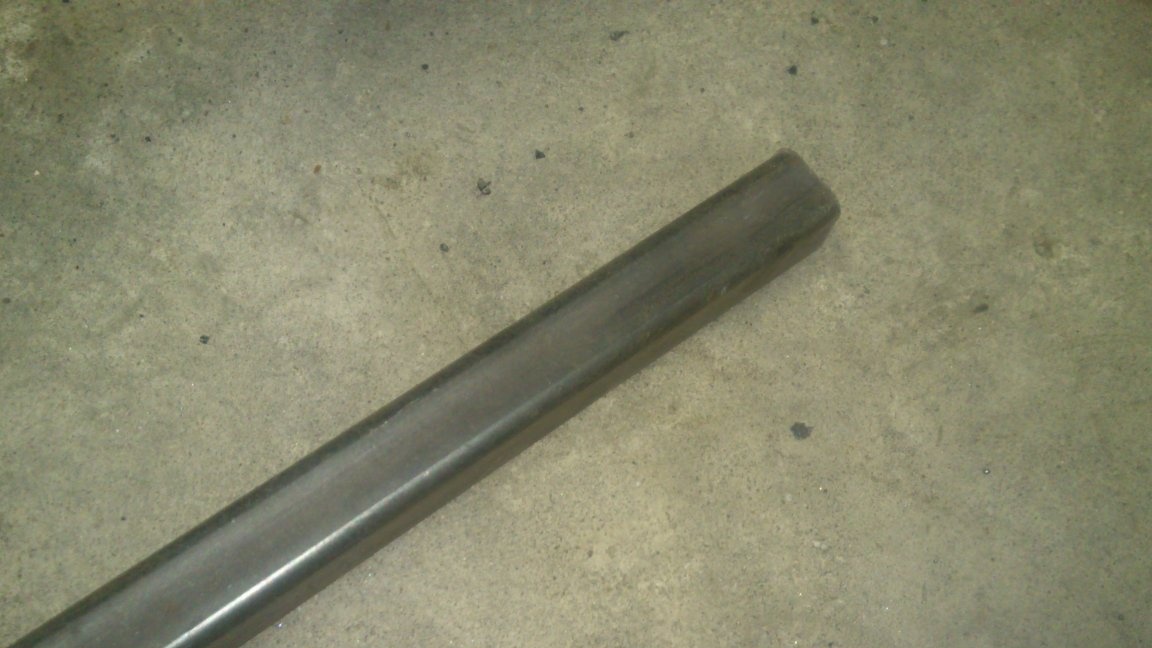
1. Profile pipe 40x25.
2. Profile pipe 20x20.
3. Profile pipe 50x20
4. Plastic plugs for profile pipes of appropriate section.
Instruments:
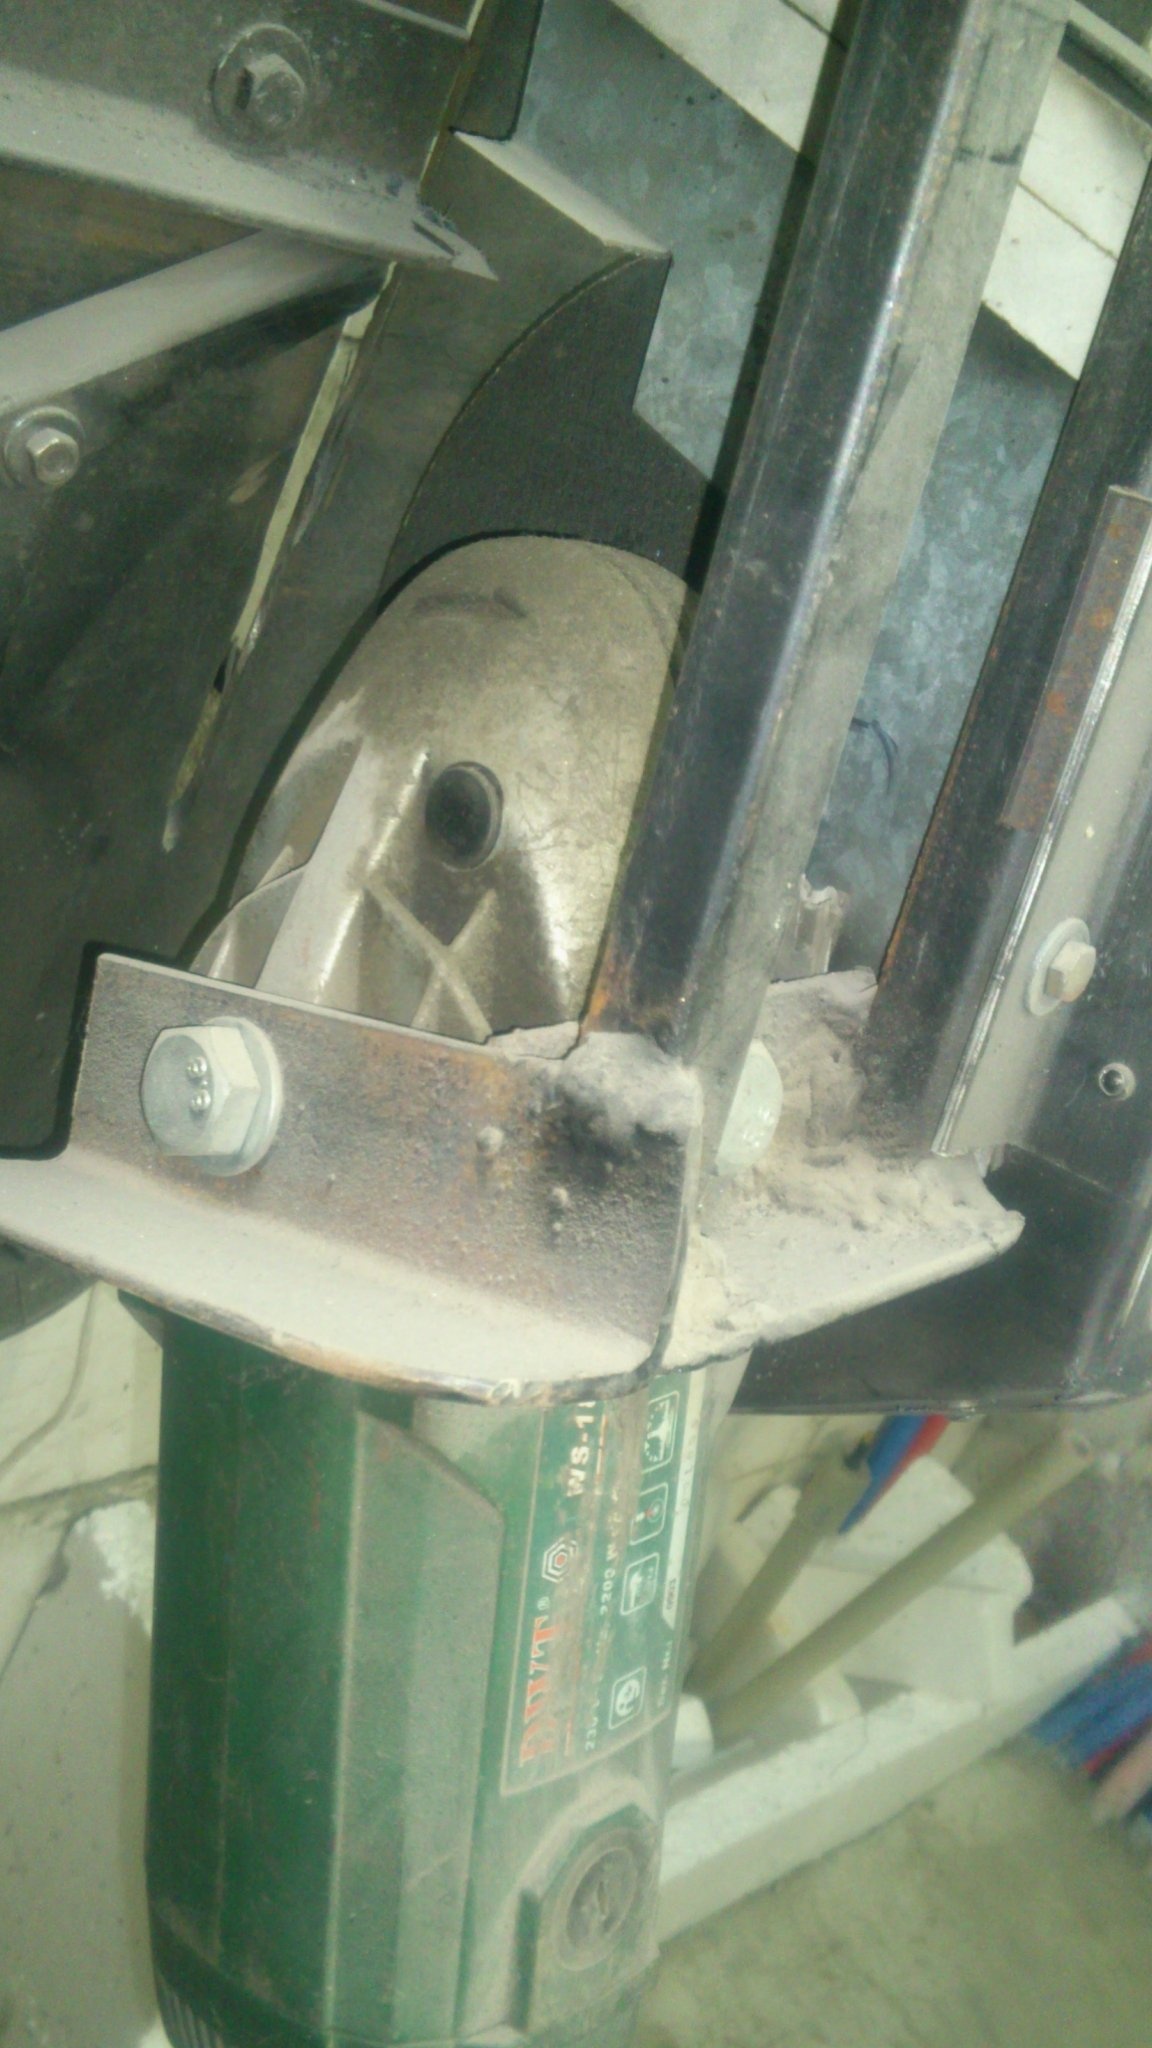
1. angle grinder with various circles.
2. Electric welding.
3. Square.
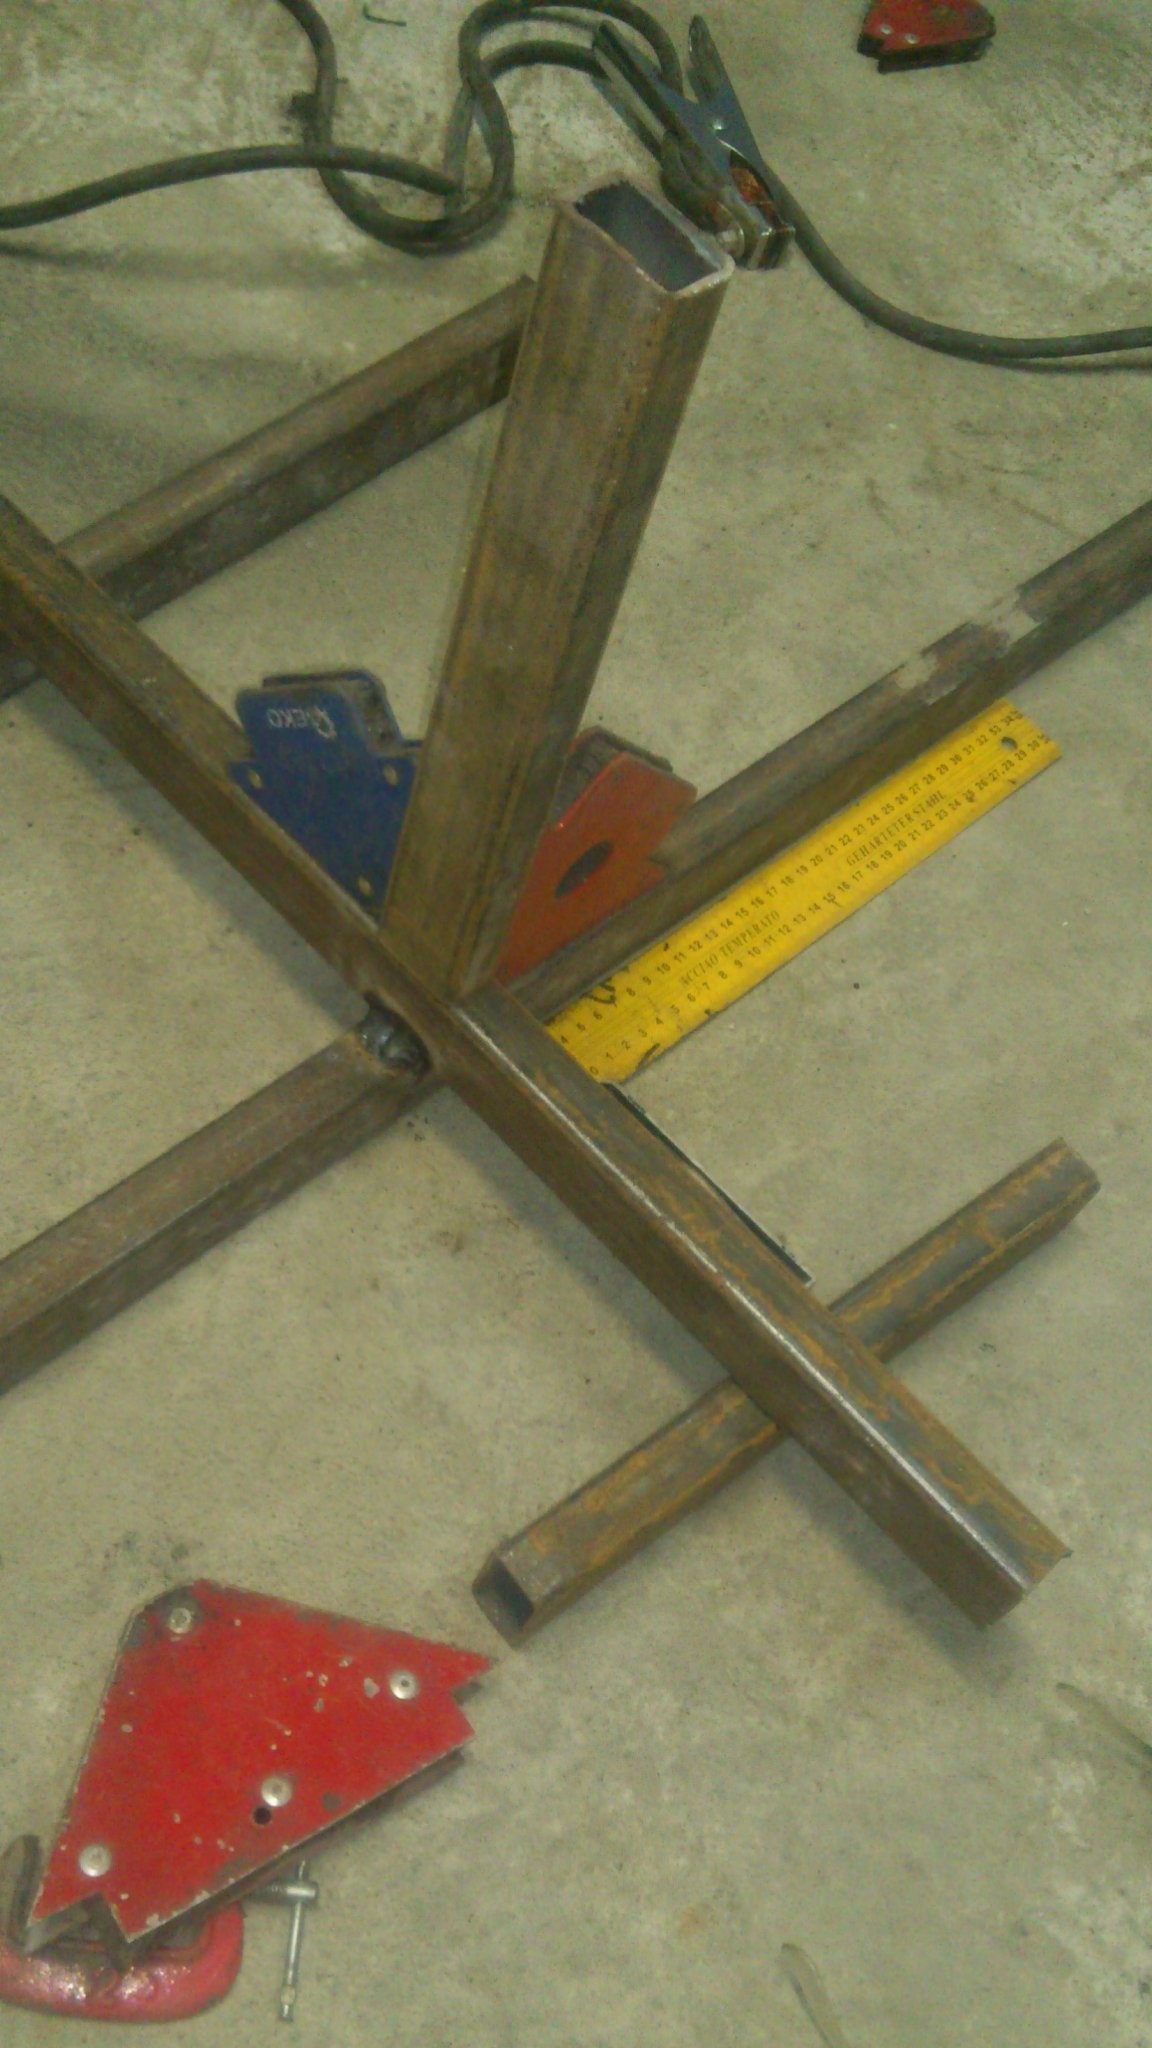
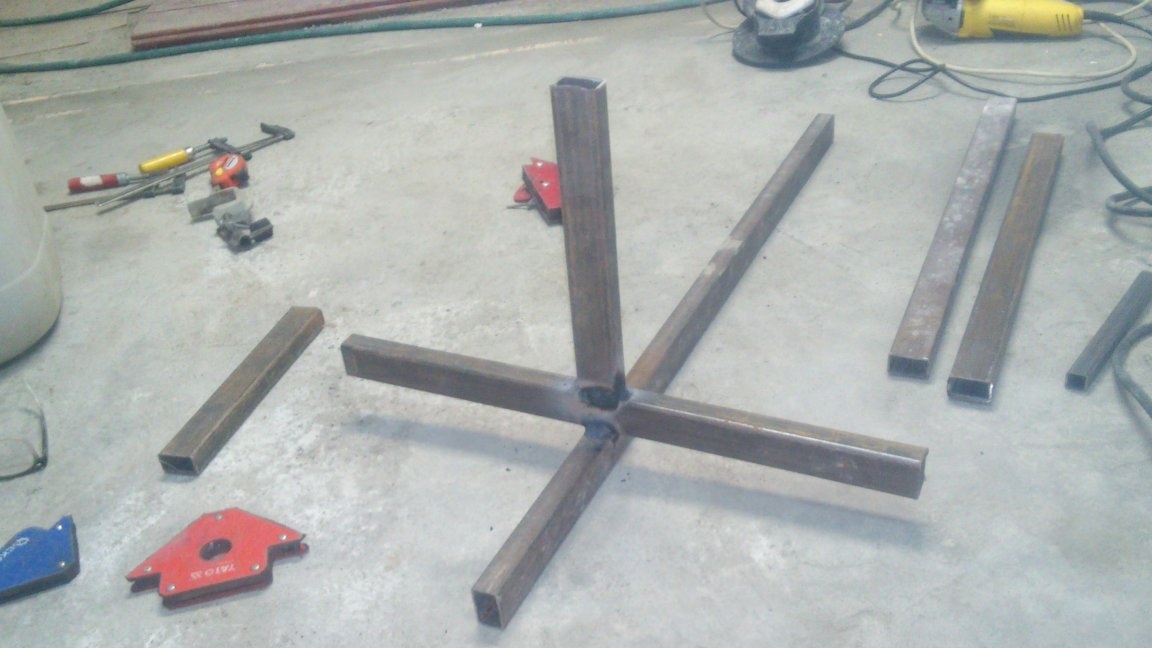
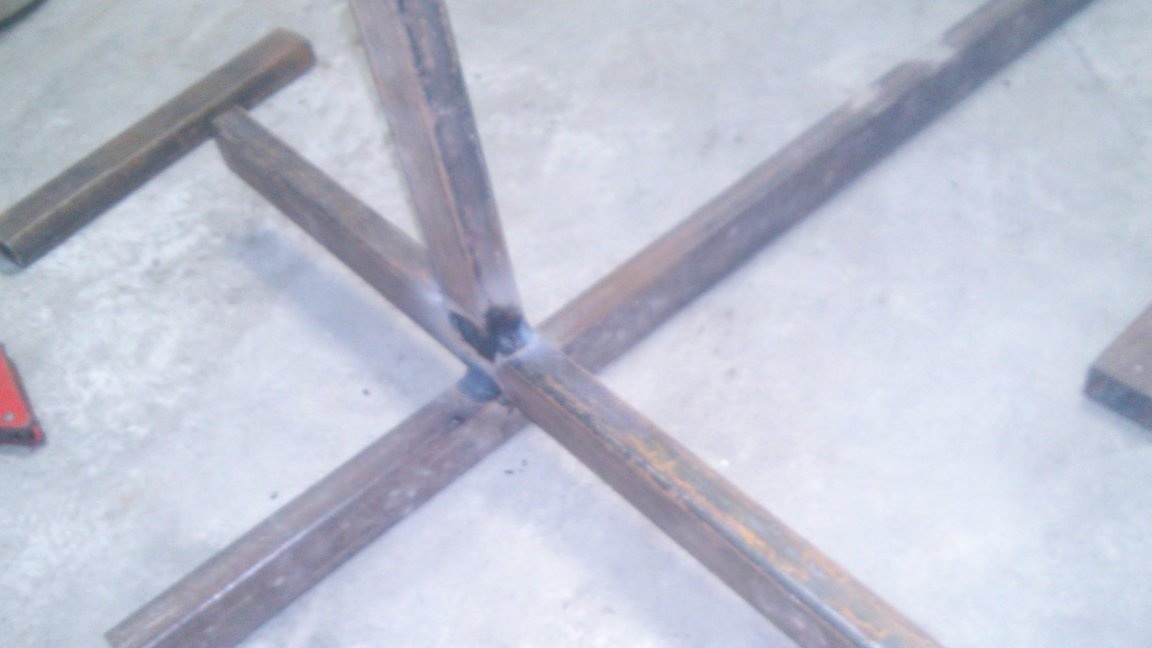
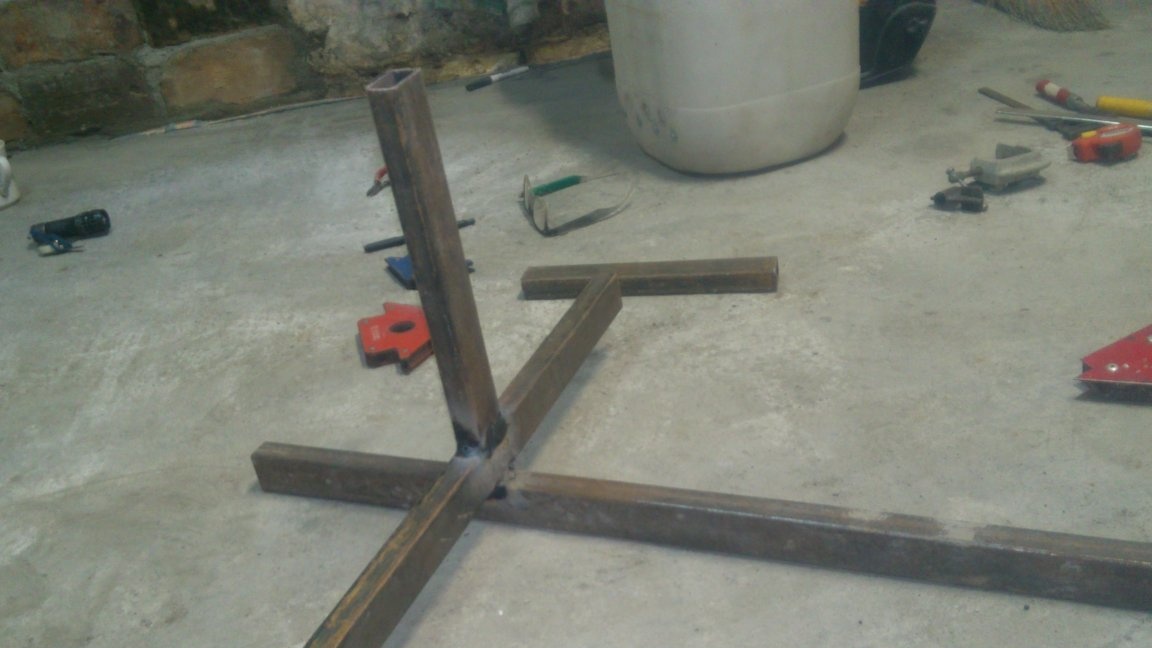
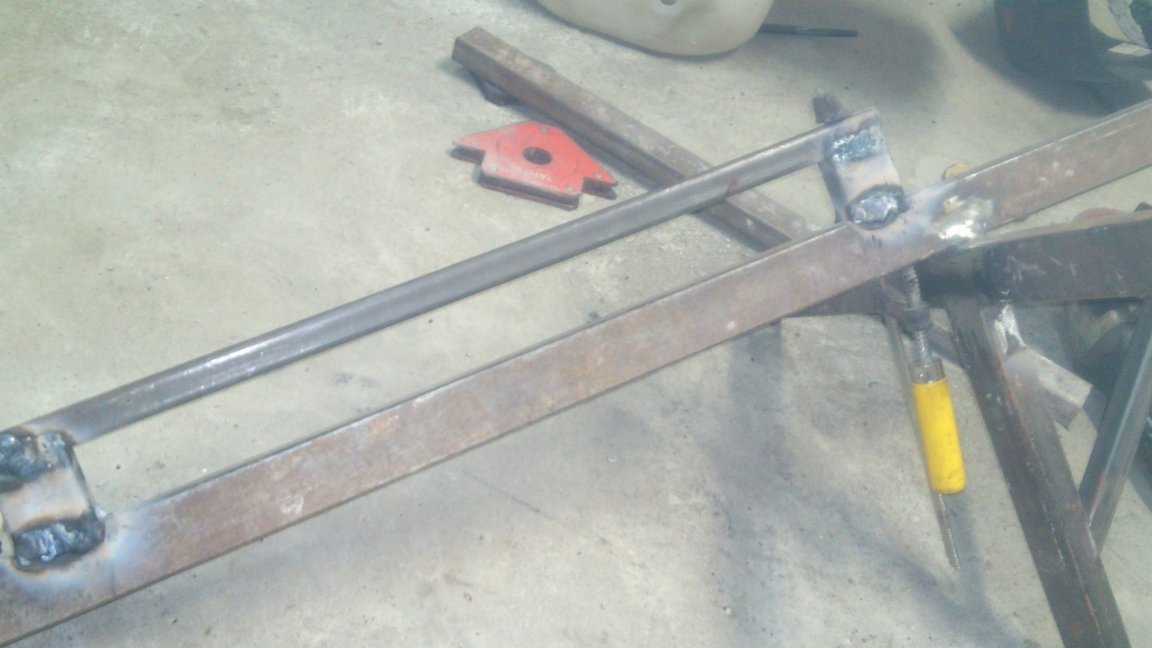
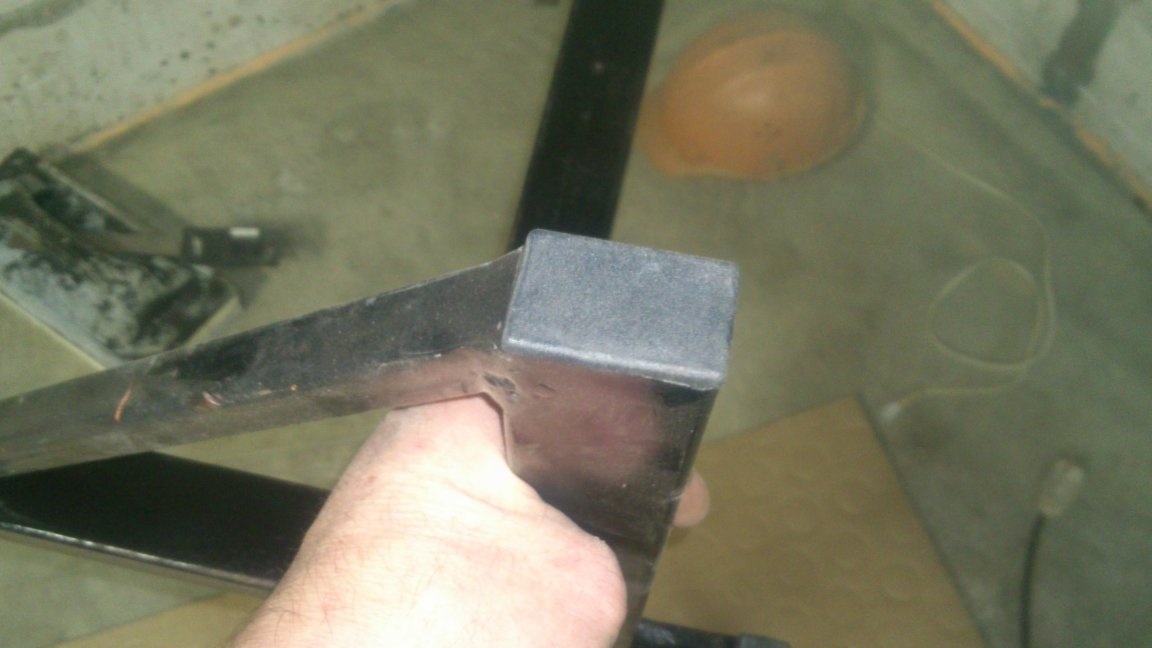
To start, I cut a segment of two segments of the length I need and welded a crosshair from them.

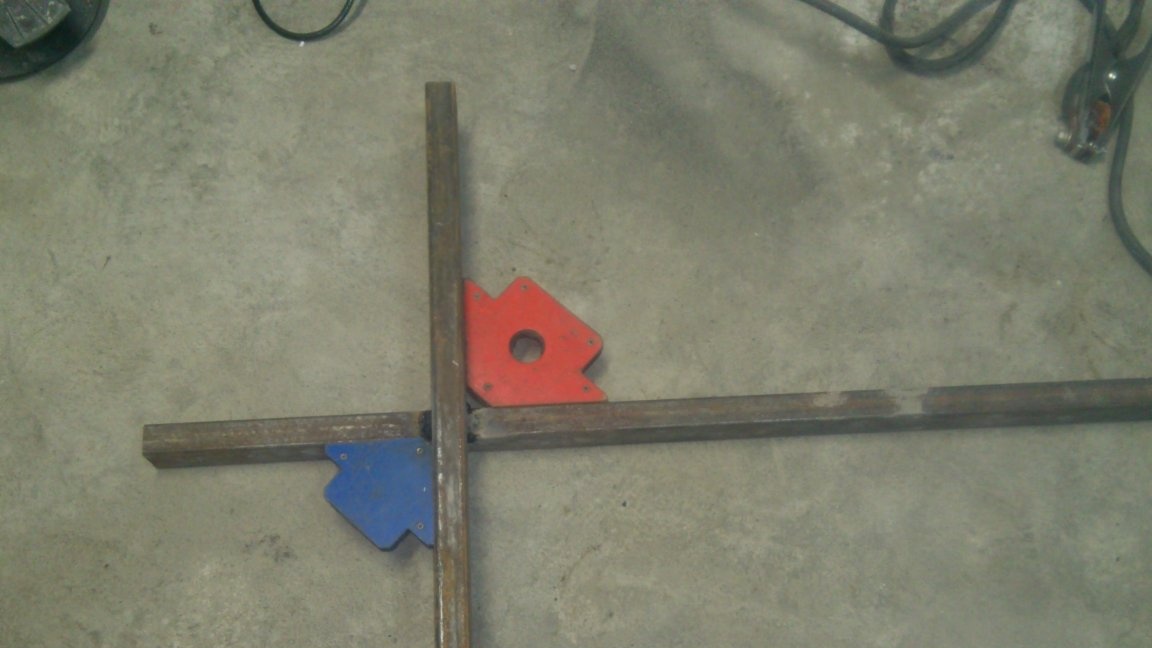
Having made a few tacks, I checked the perpendicular with a square and welded it already stronger:
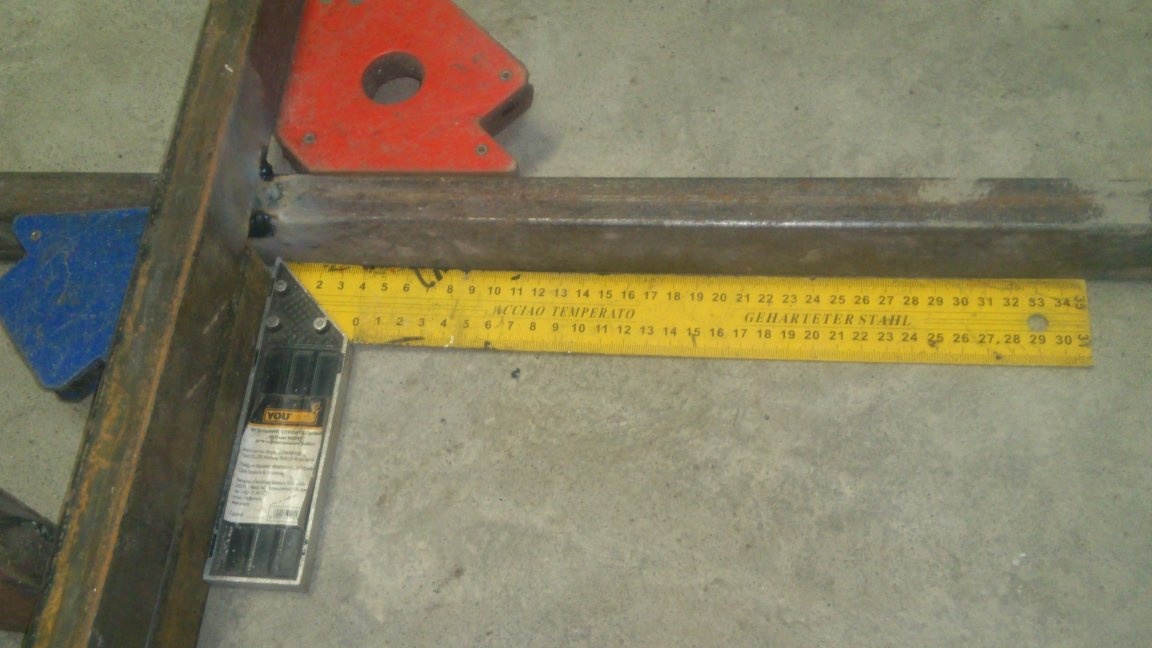
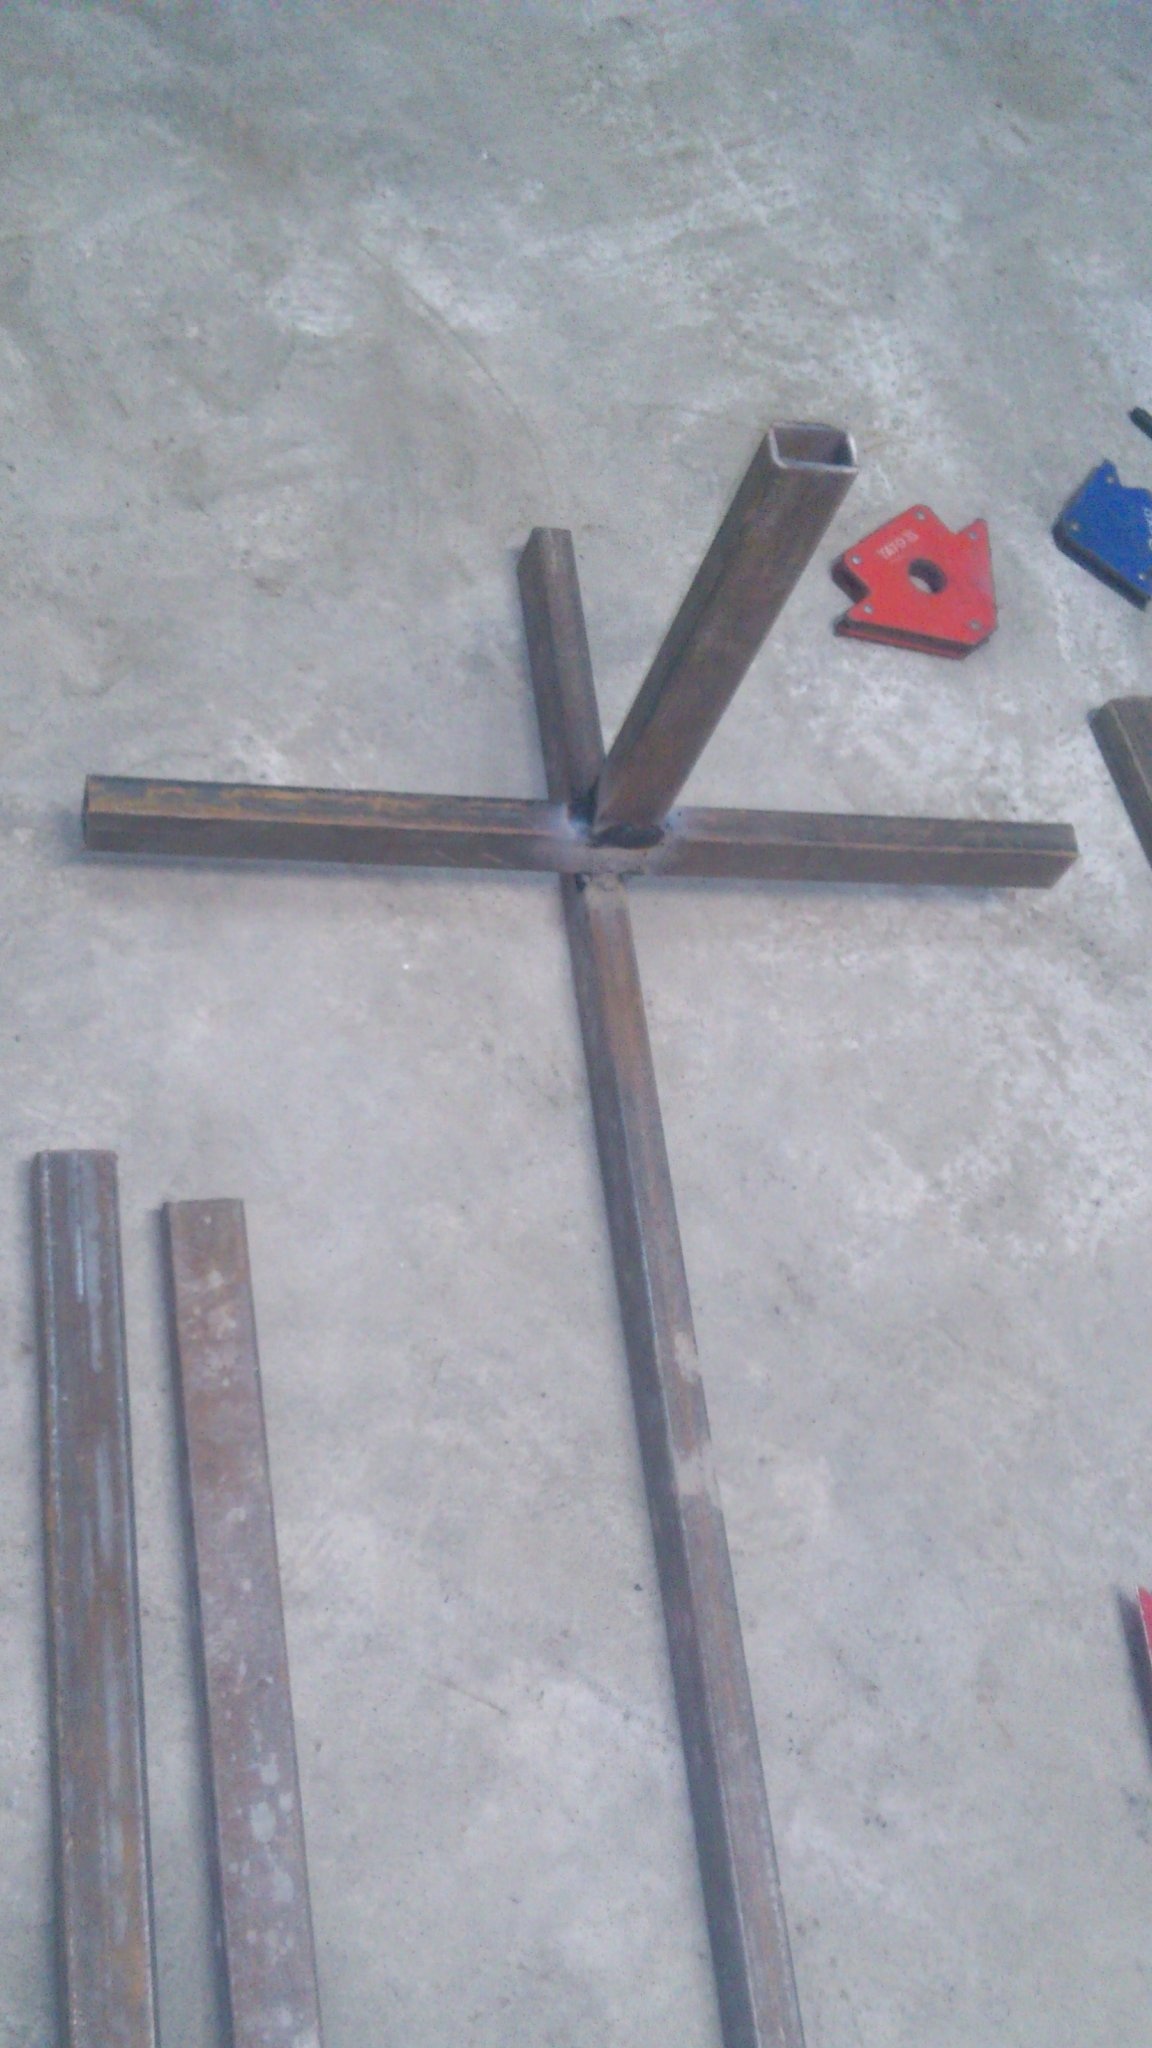
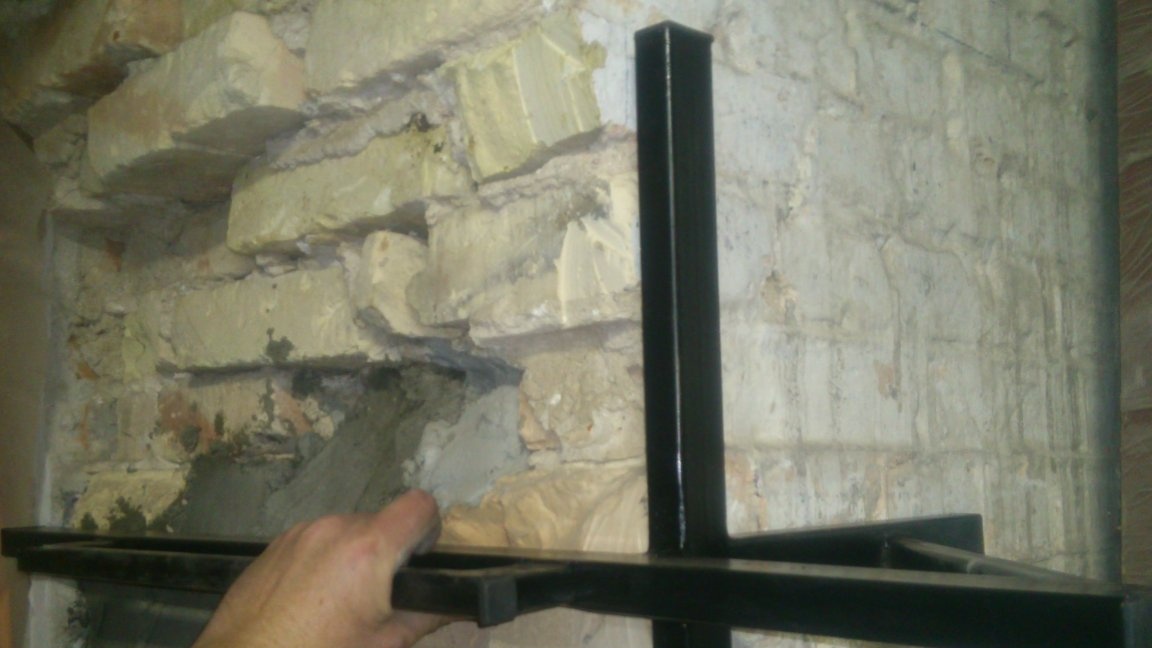
As you can see, the cross-member is overlapped “and” on the edge. That is, it extends 40 mm. Now, if you place the long part in the opening perpendicular to the wall and press the protruding cross-piece to the wall plane, then we already have a perpendicular in the vertical plane It is especially needed when working in the rounding of the arch.
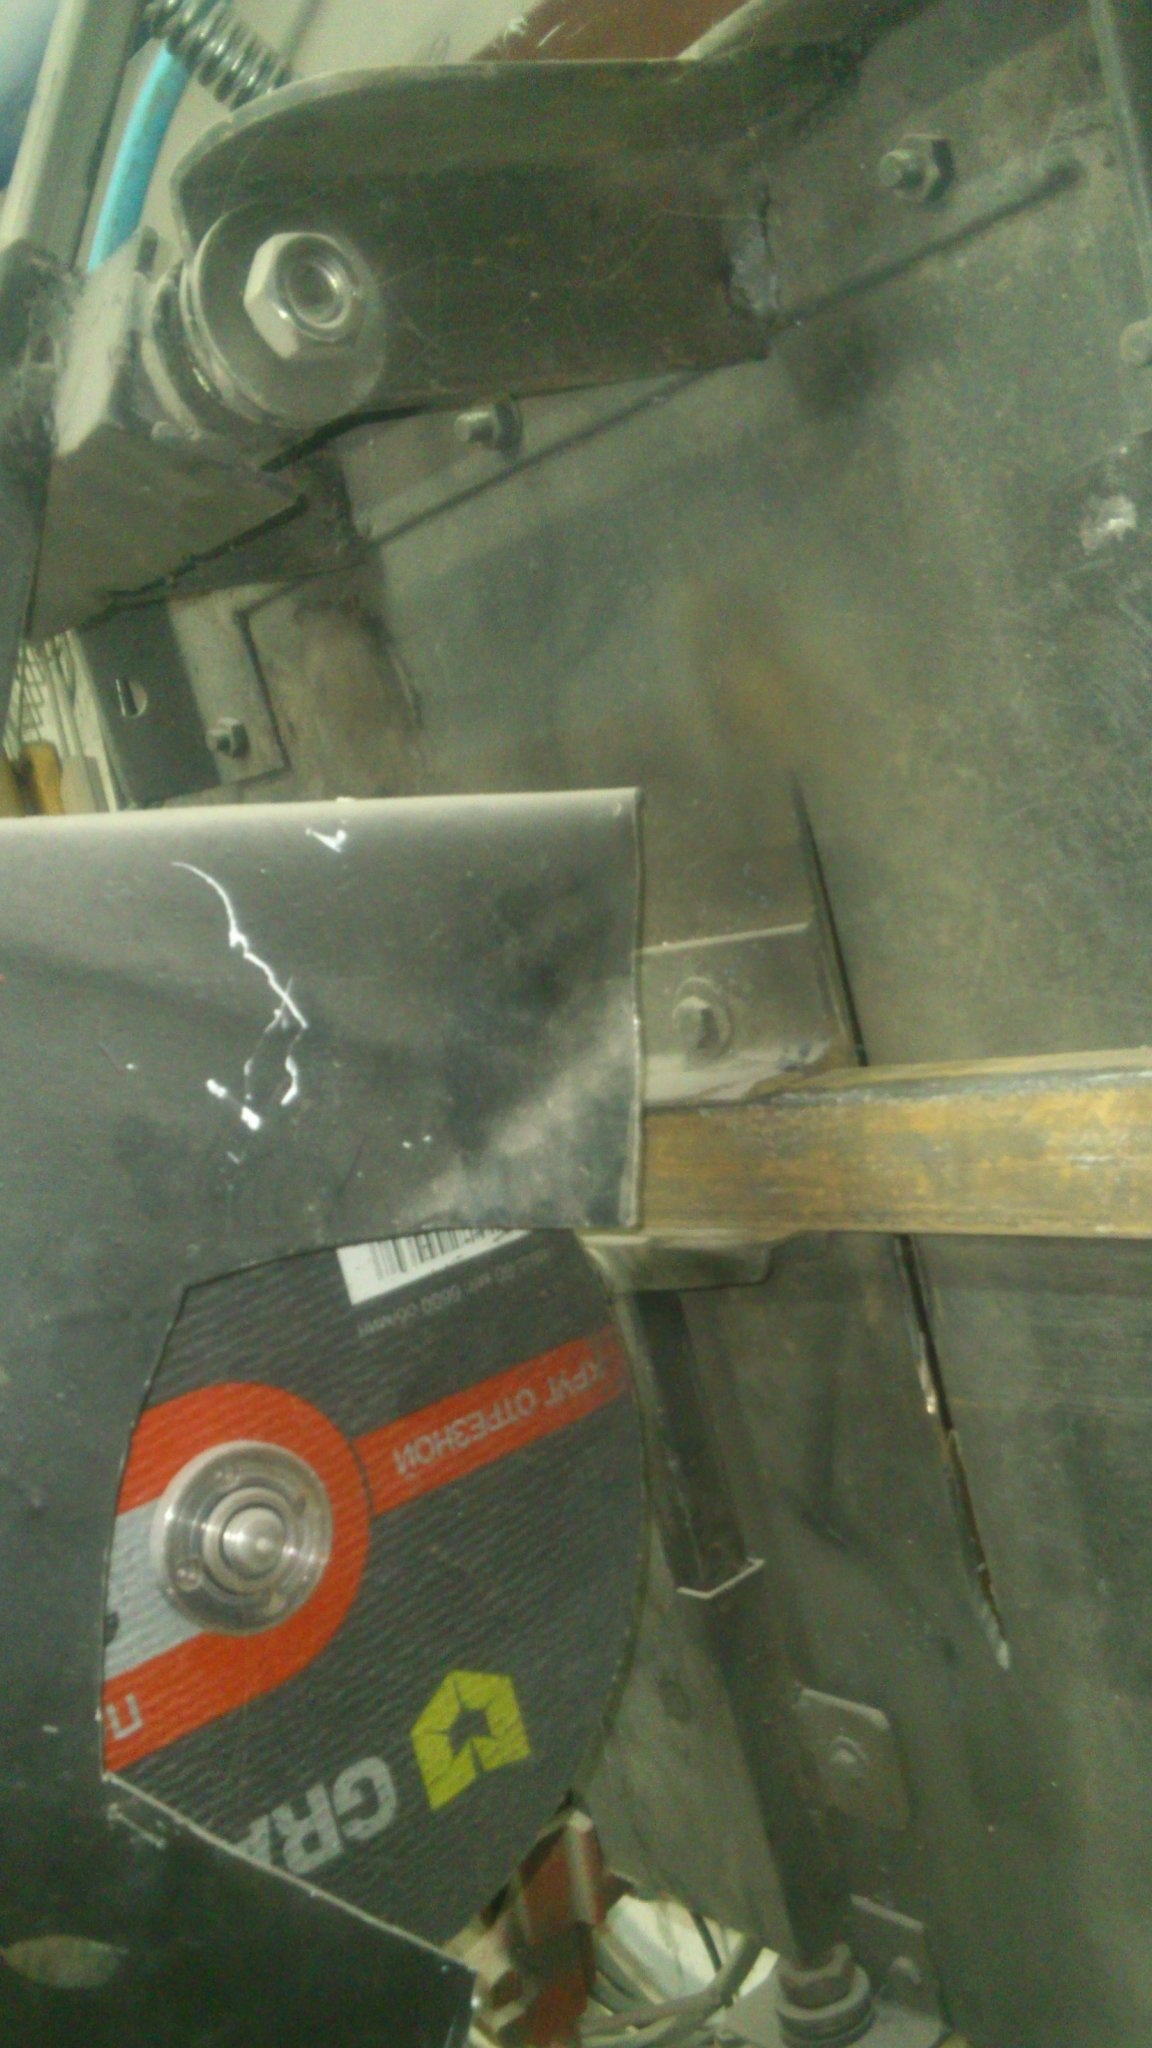
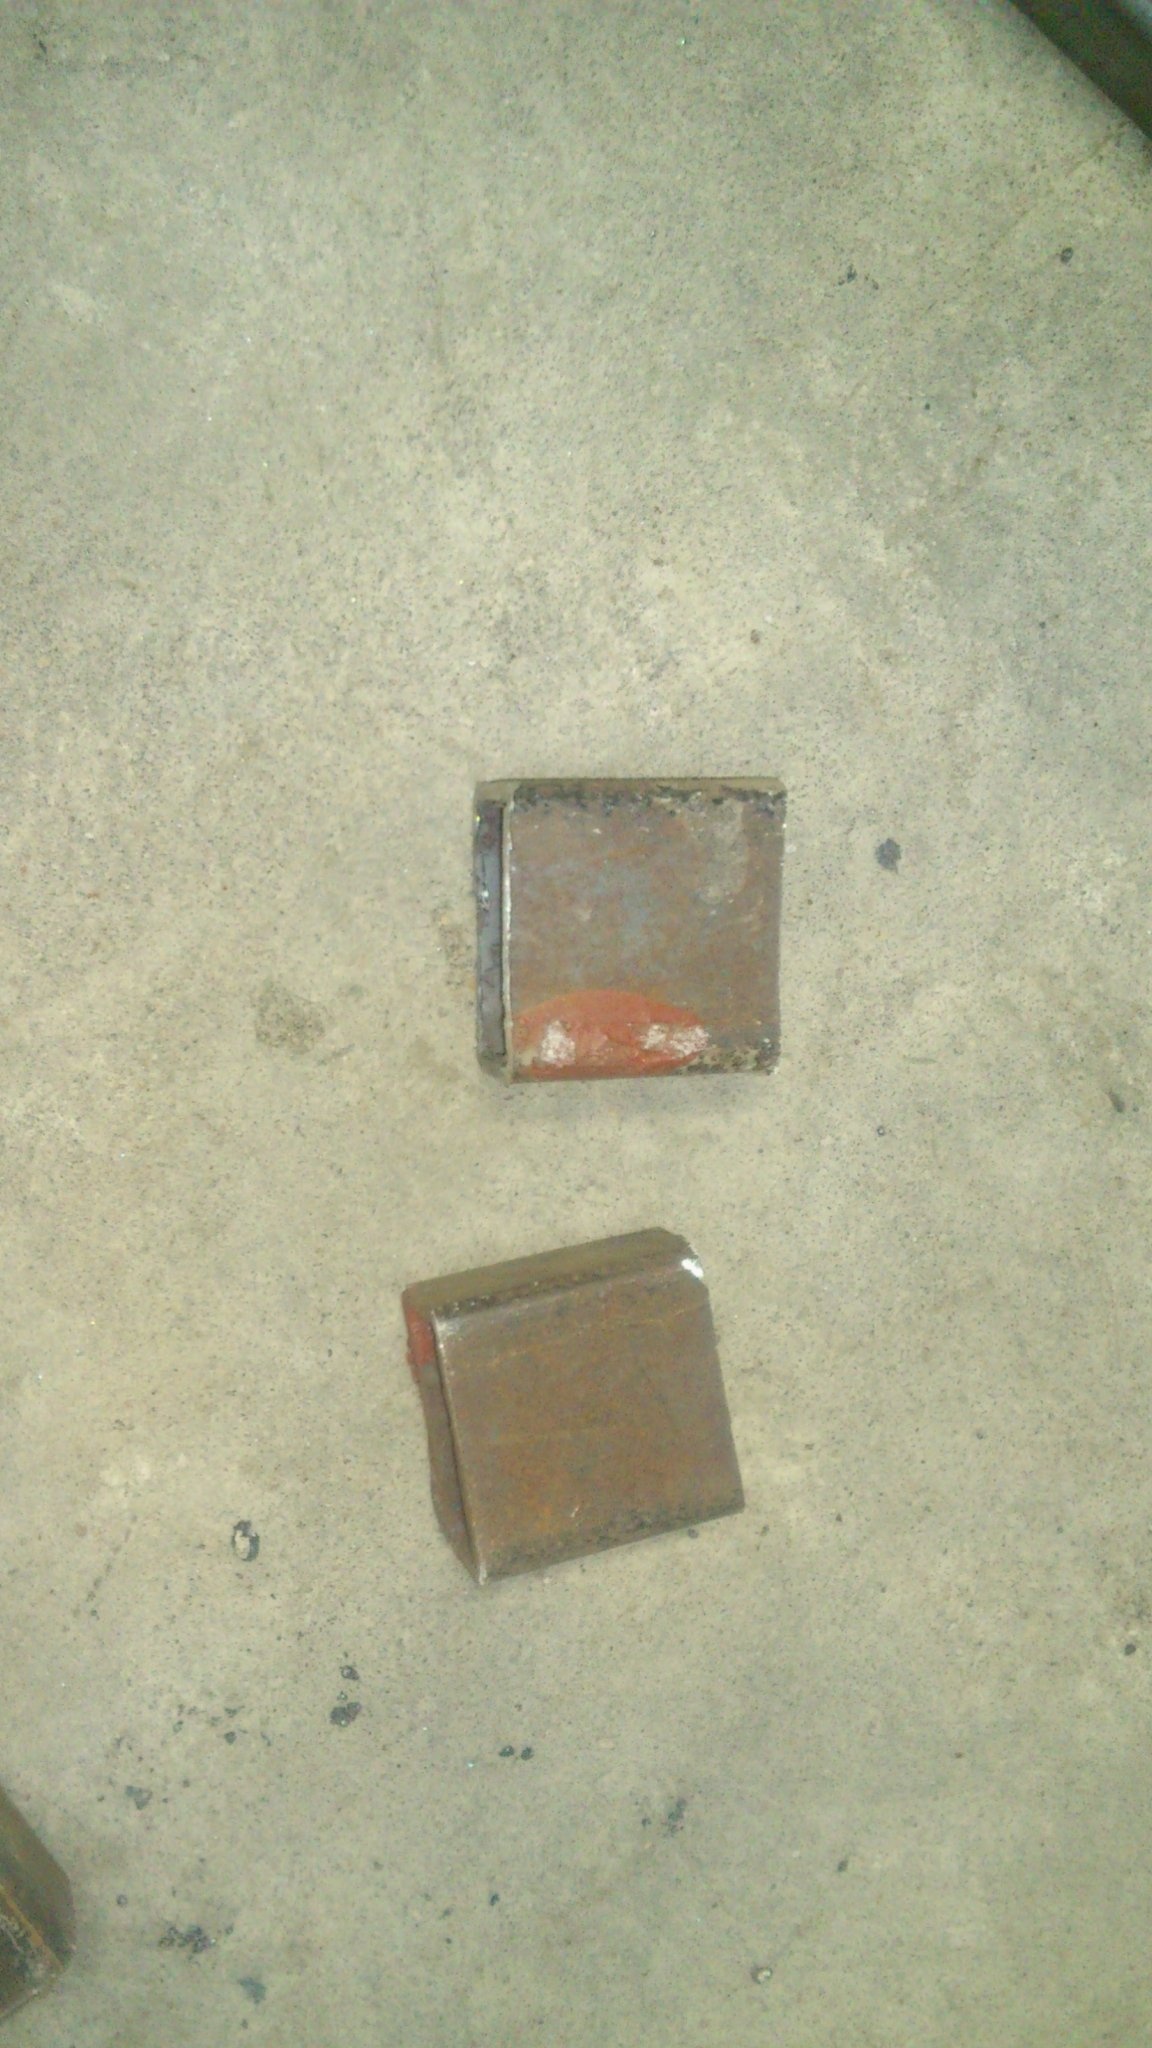
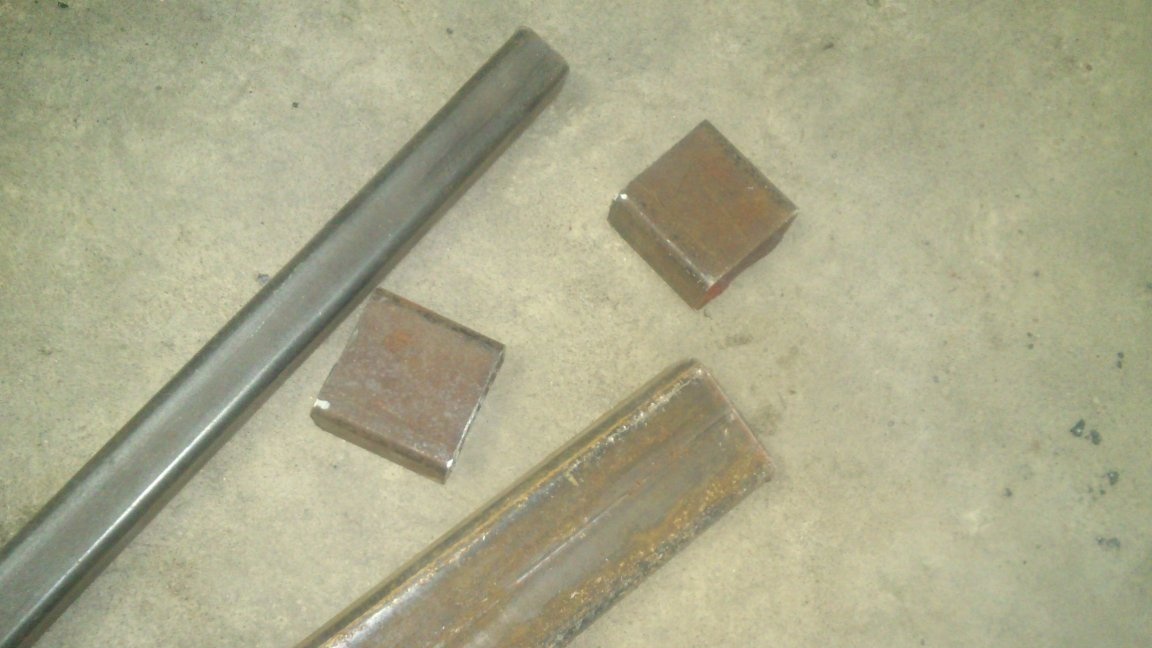
Now it is necessary to provide a perpendicular in the horizontal plane. To do this, weld another shoulder. But its "overlap" is no longer weld! It should form one plane with the plane of the cross member. Therefore, I sawed off the necessary segment not with the grinder, but with the help of my cutting machine, which provides a right angle in all planes of the cut workpiece:
In order to smoothly weld this shoulder at a right angle, I built a whole structure from auxiliary spacers and magnetic squares:
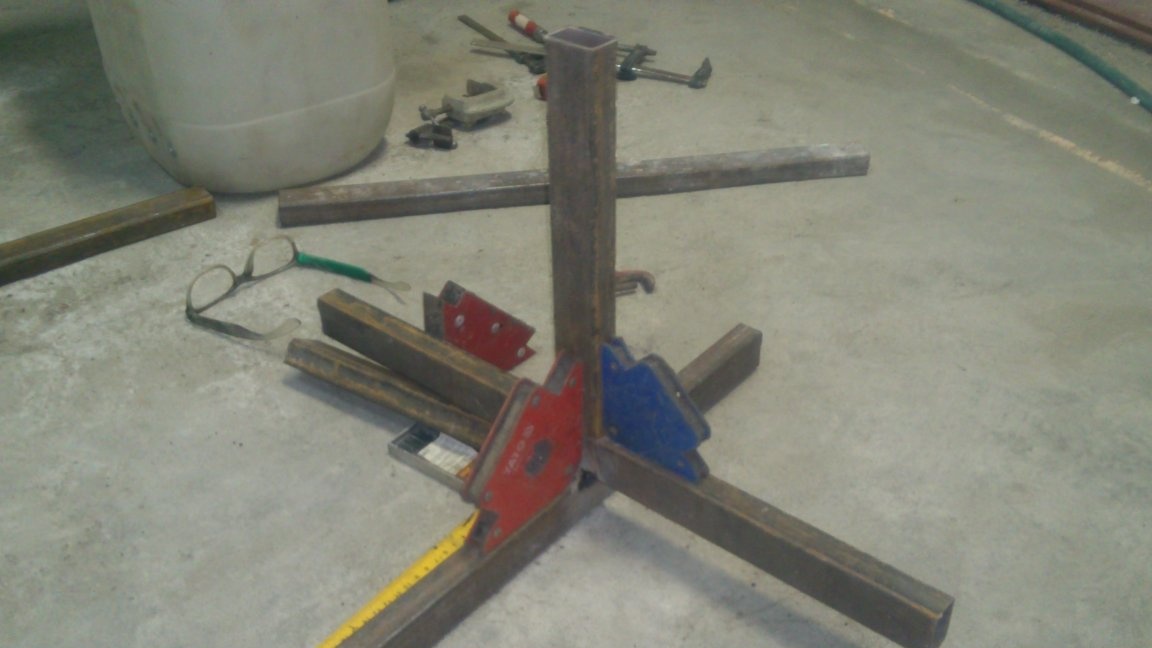
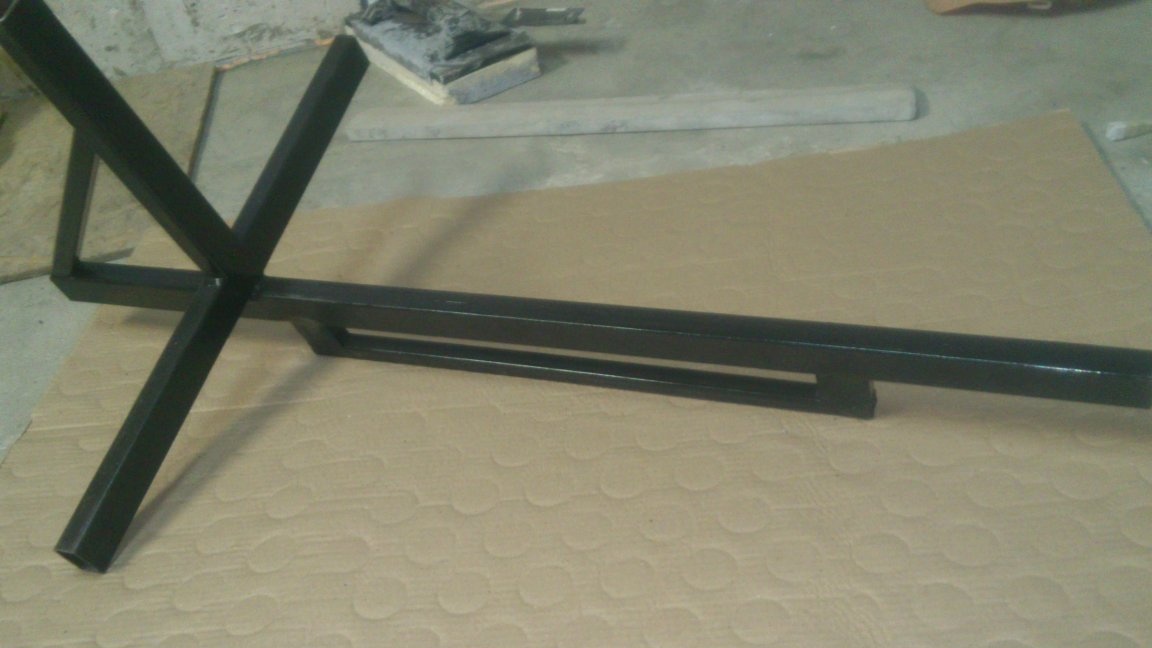
As a result, the structure was evenly welded:
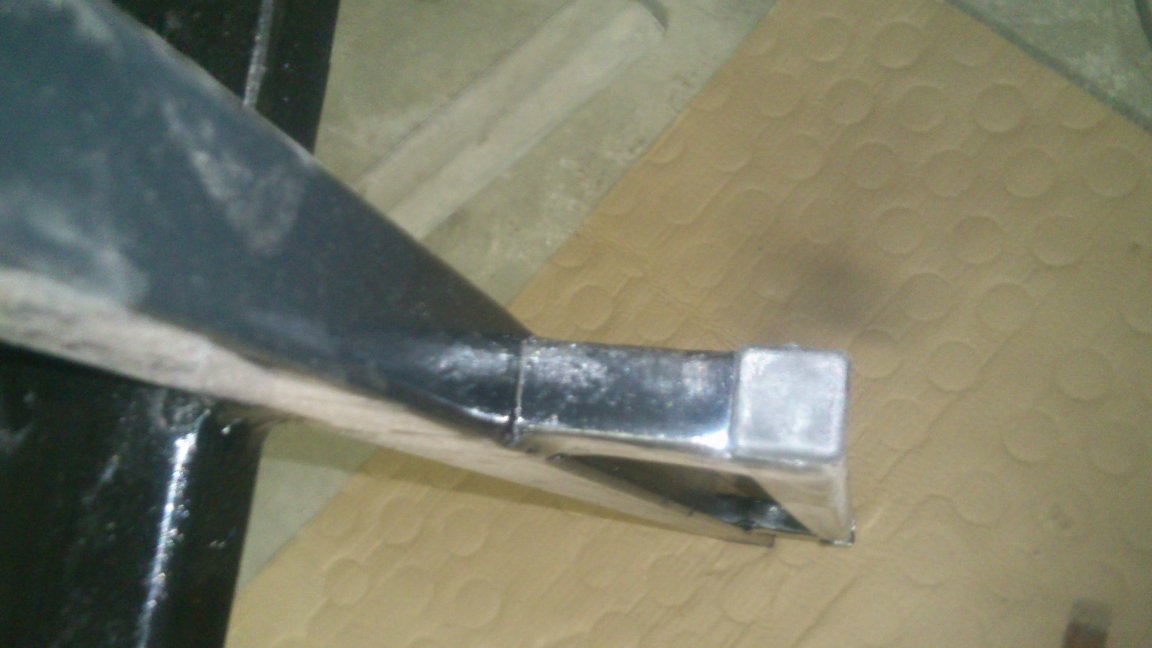
Attaching it "in place", I realized that working with such a design is very inconvenient. It is quite heavy, and you have to hold it with your fingertips, making sure that they do not go beyond the working plane! And I decided to provide my template with strong "gripy" handles. I made them from scraps of a profile pipe, with a section of 20x20 mm, which were found in the deposits of my "necessary scrap metal".
One handle, on a short shoulder, I made in the form of a spacer. So it will also provide additional rigidity to the square. (I did not photograph this stage, but it will be visible in subsequent photos.
And, here, on the long shoulder, it was also necessary to make a long handle - this would allow us not to regulate our position relative to the instrument. Keeping the tool pressed to the outer corner, you can move a little along its long shoulder, focusing on the desired segments.I decided to "raise" this handle above the working shoulder with the help of spacers made from scraps of a profile pipe 20x50 mm. Their dimensions, again, were determined by eye - so that fingers with gloves easily fit.

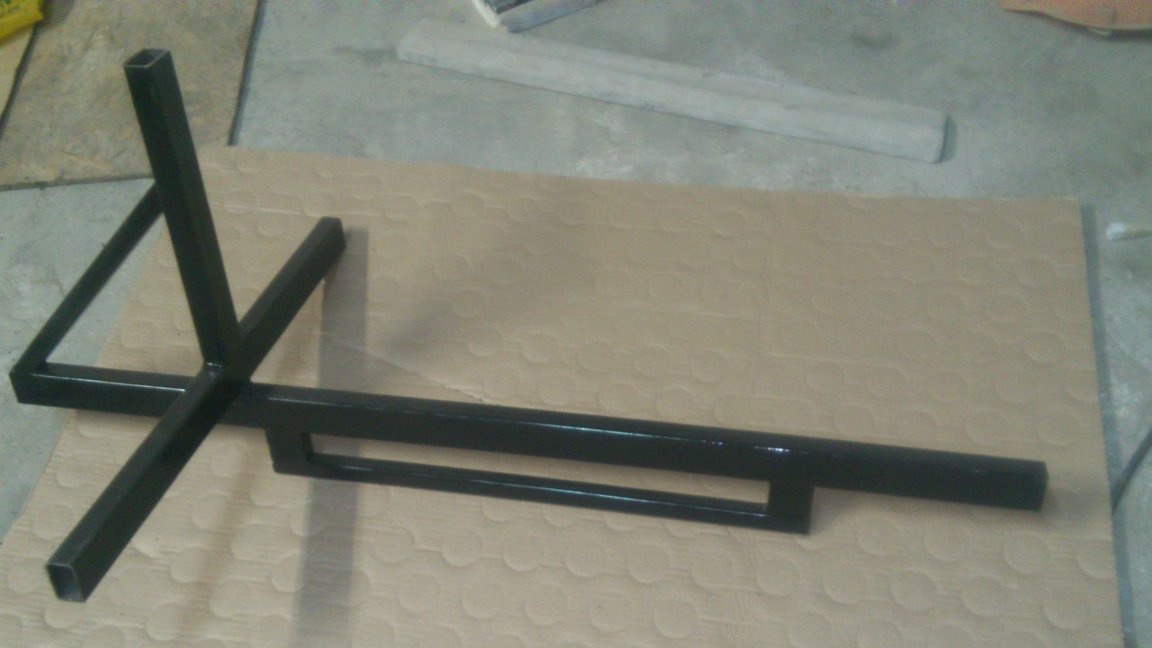
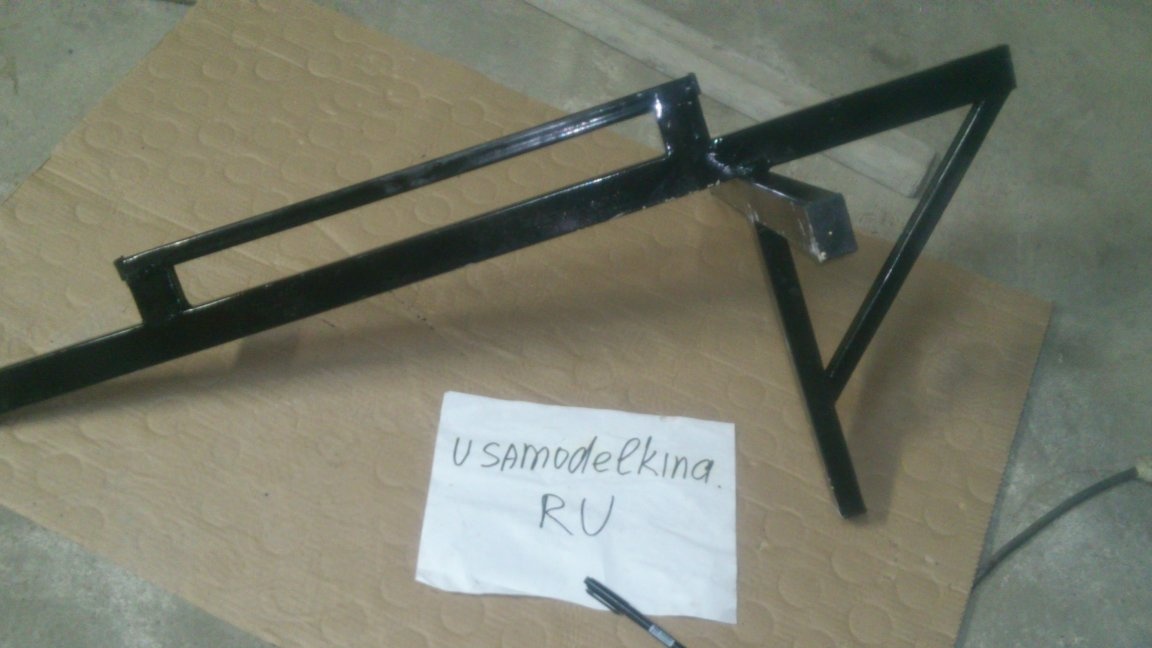
Actually, the design is already ready. Having tested it “in the open air”, I came to the conclusion that I’ll leave it that way. It’s very convenient to work.
It remains to "comb".)))) Although it was already night, but when I went home, I threw the template into the car, and, having arrived at the place, I went first to the basement, where I hung it on a wire and painted it with black paint from a spray can. In the morning he looked like this:
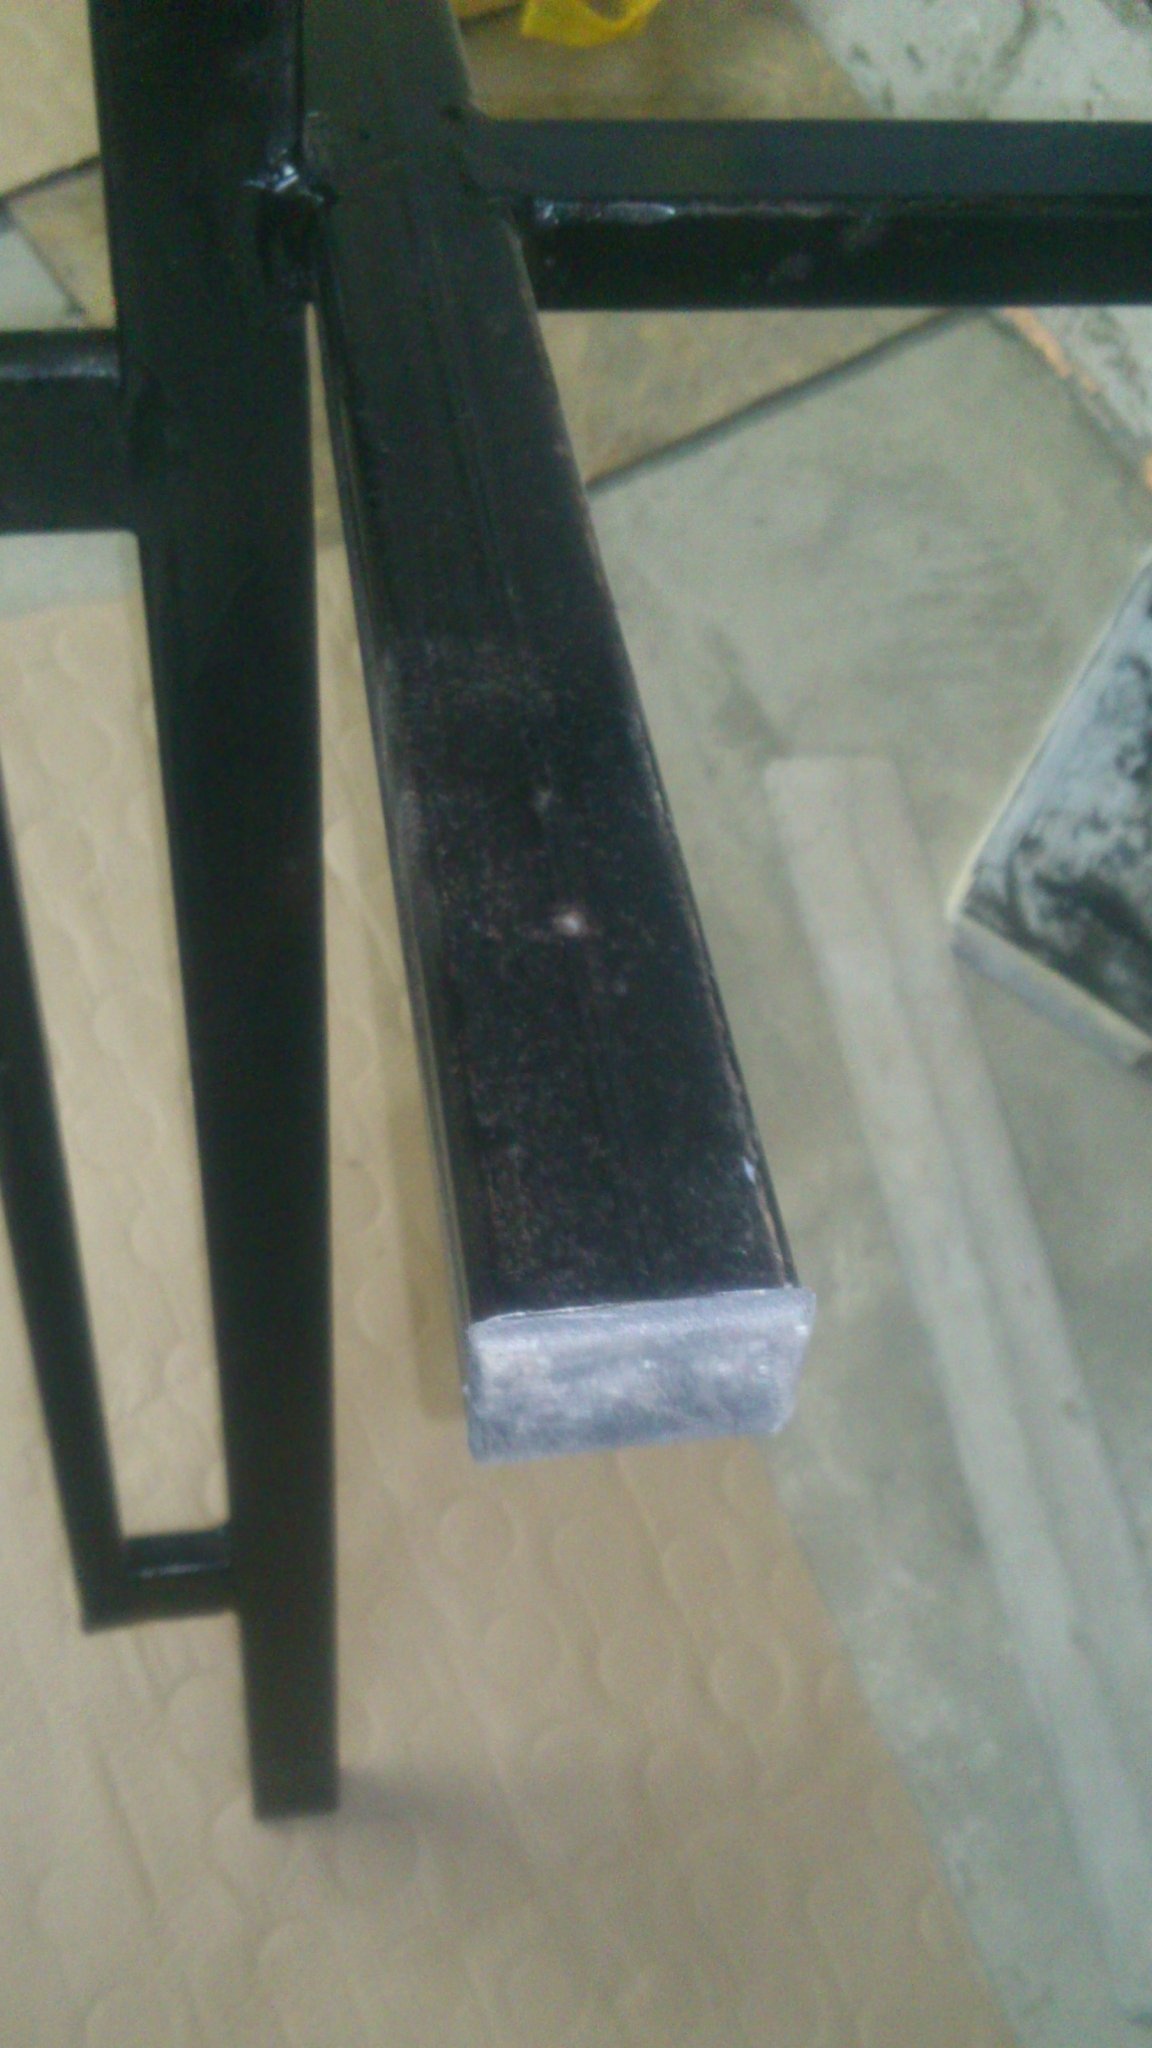
I again took it with me, taking in the basement from my stocks the right amount of plastic plugs of appropriate sizes:
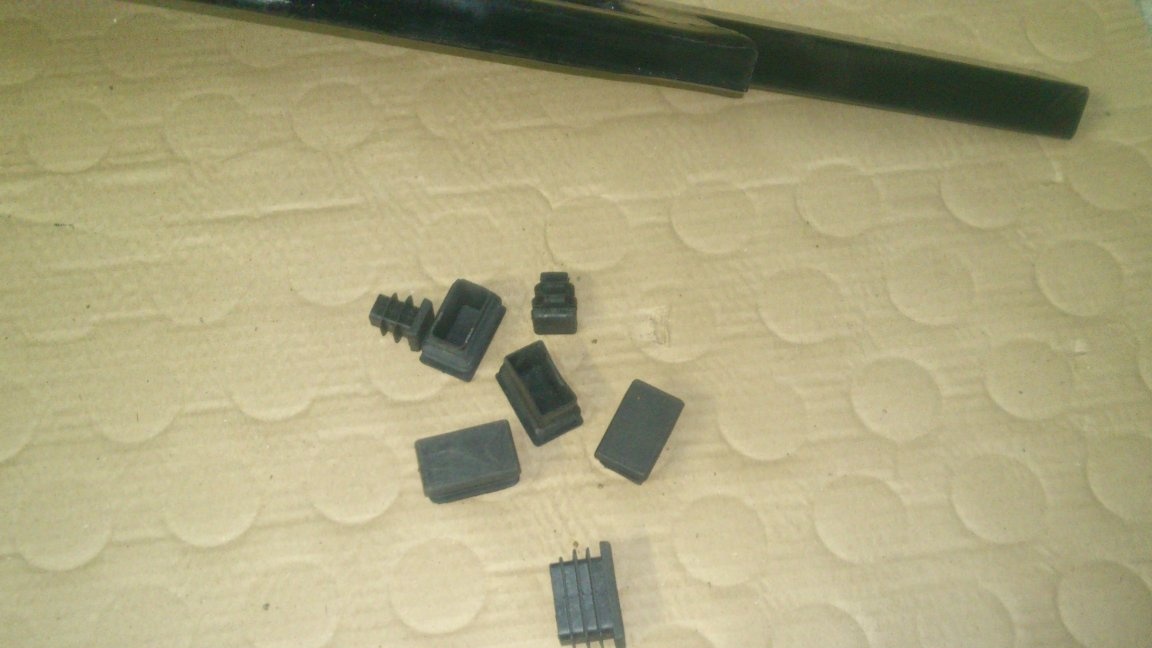
Muffling the ends is necessary not only for aesthetic reasons. Indeed, under construction conditions, a stucco mortar will be filled in them.
And in the evening I already worked for them! He helped me a lot - I easily "caught a right angle" in the arch, easily determined which of the fragments of bricks go beyond the plane and need to be cut down.
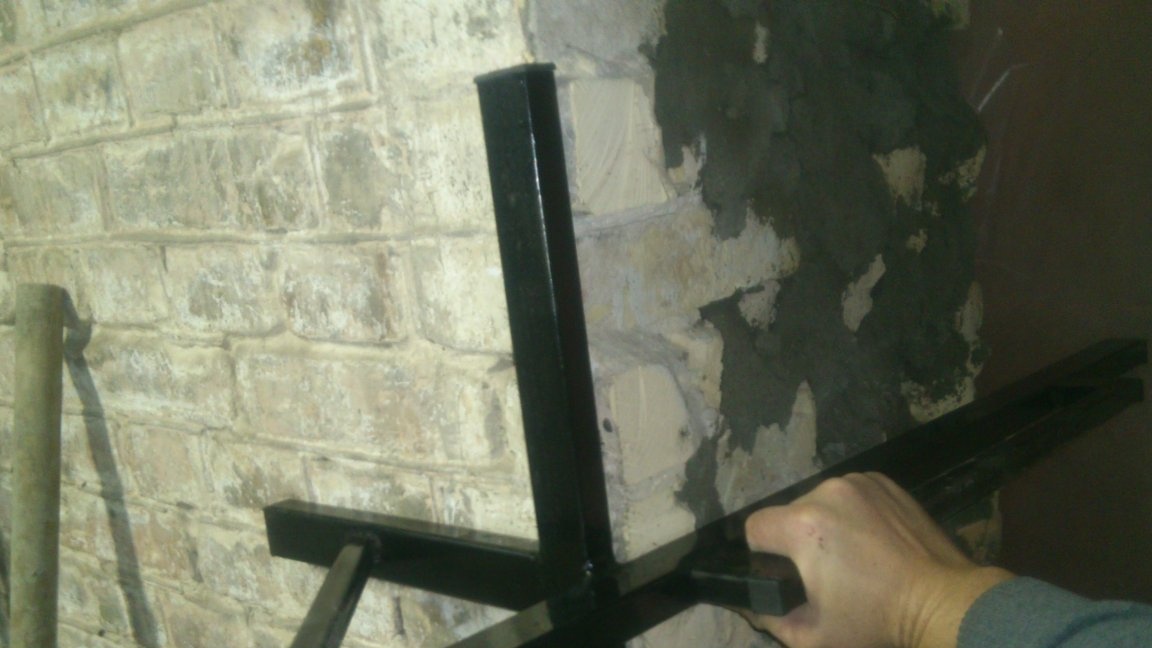

Initially, I thought of screwing it with screws, or nailing a piece of plywood with rivets to a plane formed by three short shoulders and applying it with this plane to the wall. But in practice it turned out to be superfluous. The wall is not perfectly flat. It happens that the end of a brick sticks out. And then, having slightly shifted the tool, you can simply move the emphasis on flat surfaces, leaving a “tubercle” between the “beams”.
So, being carried away, I thought over the option of attaching to the long shoulder of the plaster rightsandla Then it will be possible, having scooped a ladle of solution, simply level the surface by drawing a template from bottom to top.
But this seemingly interesting option, I also dismissed, considering it too much! Firstly, I will often need a tool to check! Purely "attach-look." And every time I’m definitely not going to remove / set the rule!
Secondly, the slope of the rule face relative to the plane will be strictly fixed, which is also not convenient - it is convenient to change it, depending on the stiffness of the applied solution. (And it is changed by many factors, even with the same rigidity in manufacturing. ("Lifetime", layer thickness, absorbent properties of the base).
It’s easier to just hold the rule with your hands and intuitively tilt it at the right angle.
Thirdly, it will be able to level only one plane, squeezing the solution into another! It’s easier to nail the walls on both sides along the board, using my device as a template, to ensure that the edges protrude into the opening, and then throw the solution into the “trough” formed by them and level the plane by drawing a rule along the edges of the boards.
When the solution hardens, remove the boards.
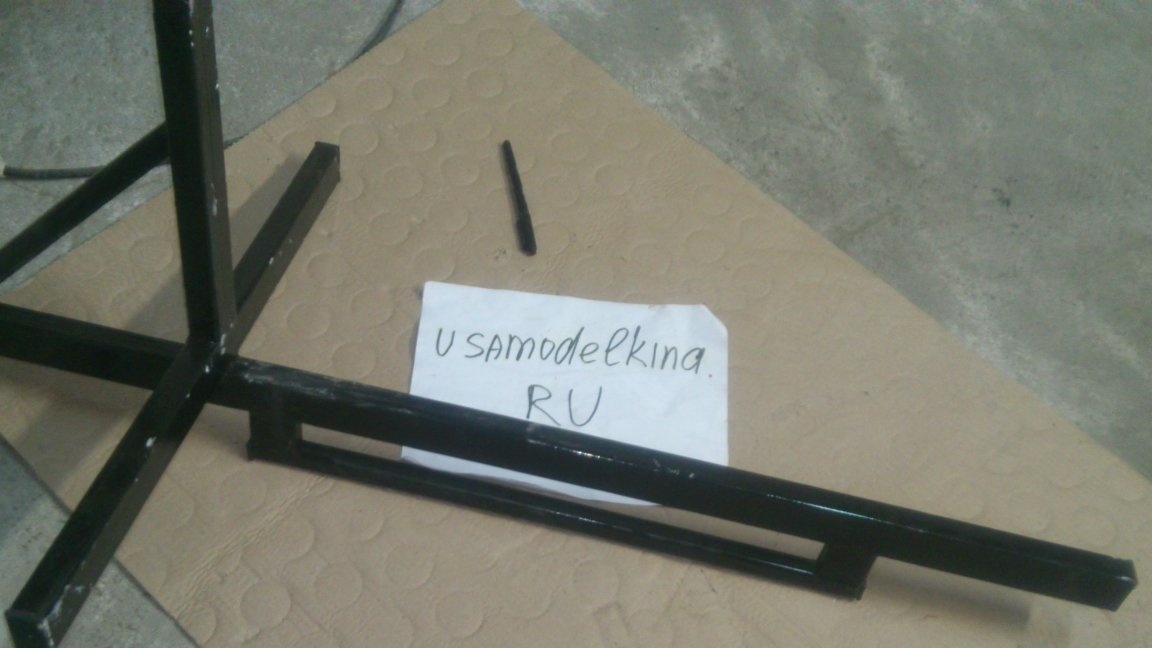
So, here I left such a tool in the final version!
Of course, his specialization is quite narrow, but he can be done quickly, and he specifically simplifies the work!