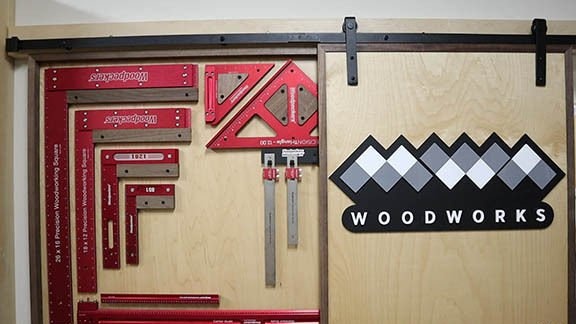
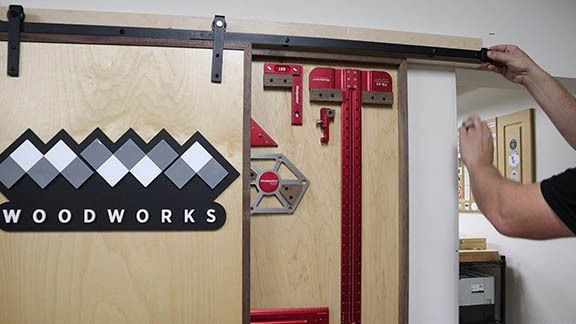
Each year, the instrument accumulates more and more, and more and more space is needed for its storage.
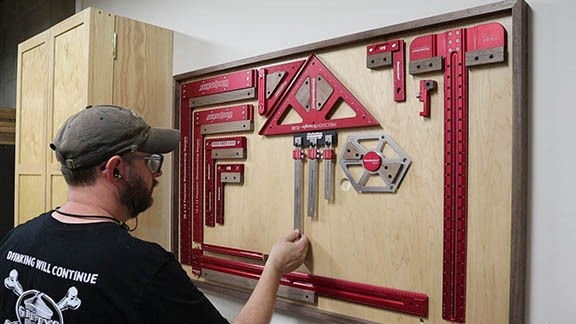
The master offers his solution to the problem of storing the measuring instrument. The manufacture of such a storage board meets the following requirements:
Quick and easy access to tools
Ability to expand the list of tools
Tools and materials:
-Set for sliding doors;
-Circular Saw;
-A circular saw;
-Rule;
-Marker;
- Joiner glue:
Milling cutter;
-Fasteners;
-Plywood;
-Board;
- Reysmus;
Step One: Sawing
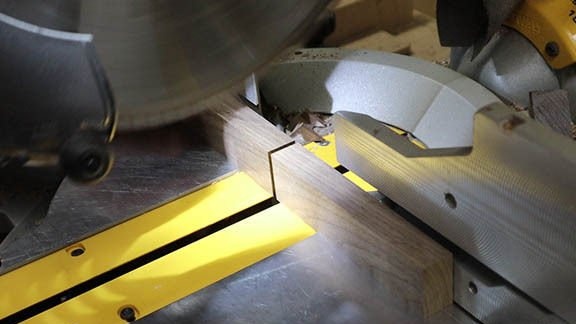
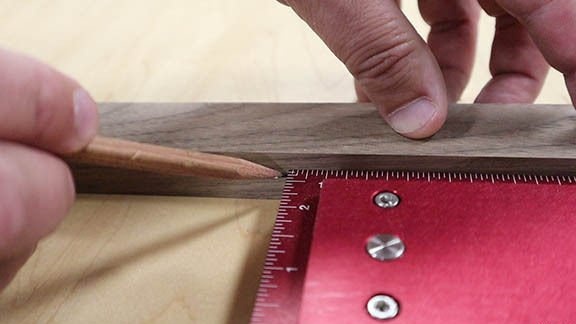
The dimensions of the board will be 76 X 120 cm. The master cuts the plywood sheet to size.
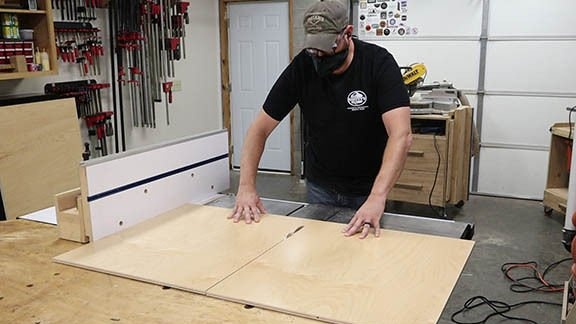
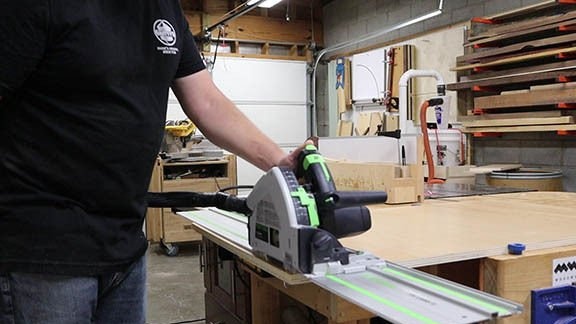
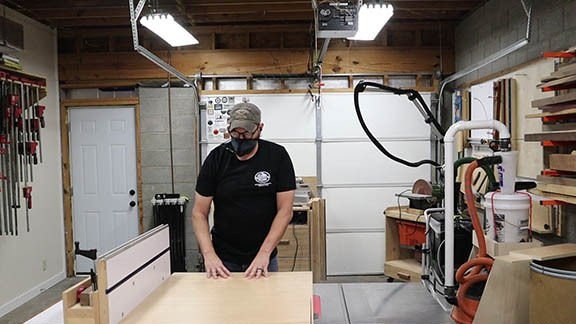
It cuts and drives through the surface gage rails for the frame.
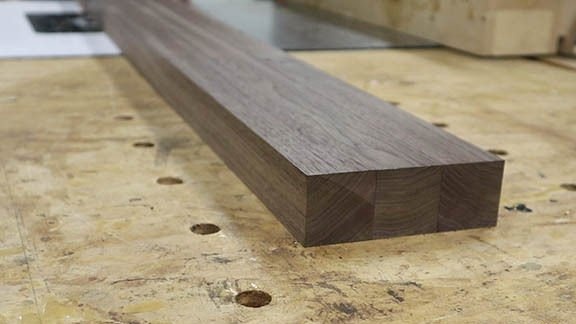
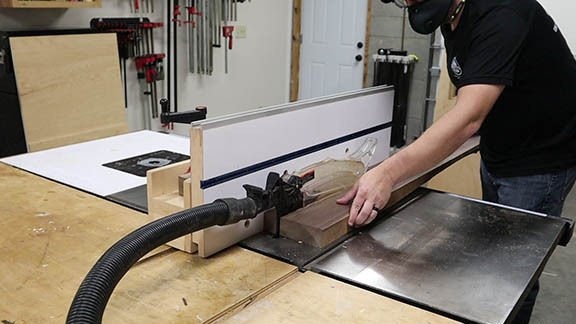
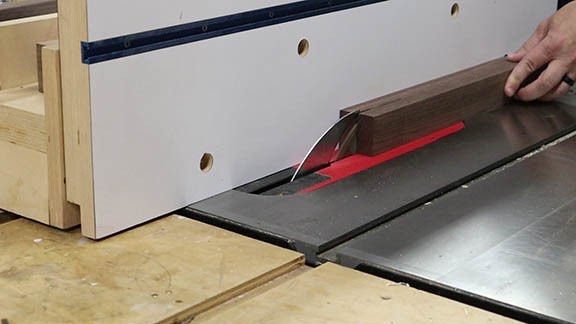
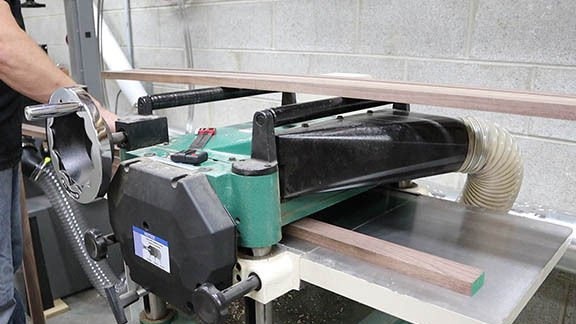
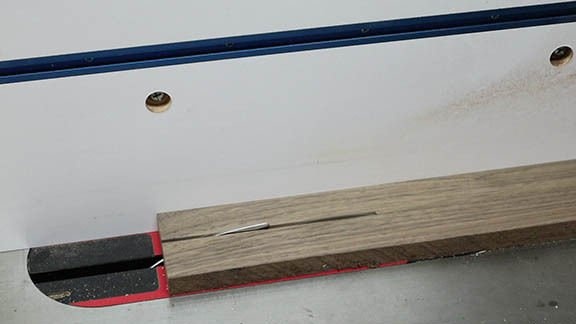
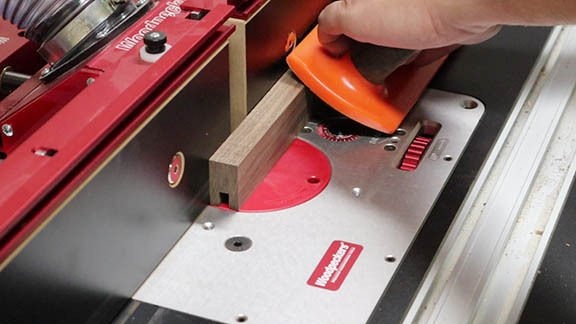
In slats, cuts grooves along the entire length, cuts the edges at an angle.
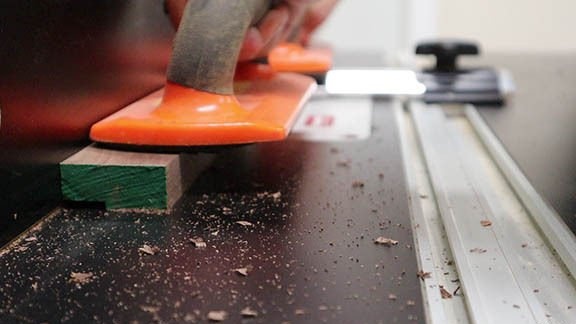
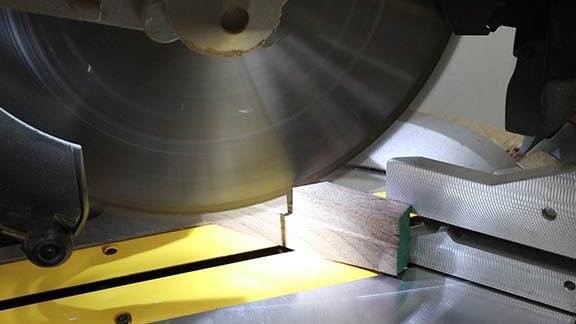
Step Two: Build
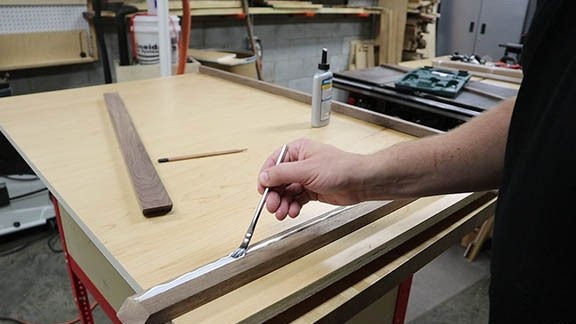
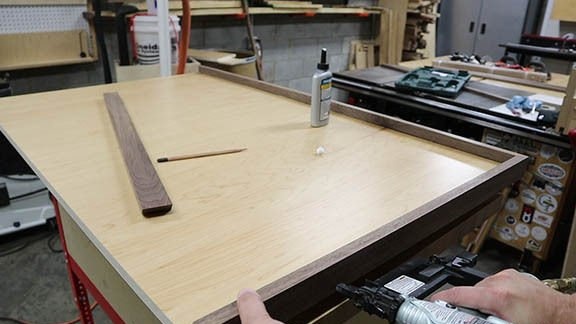
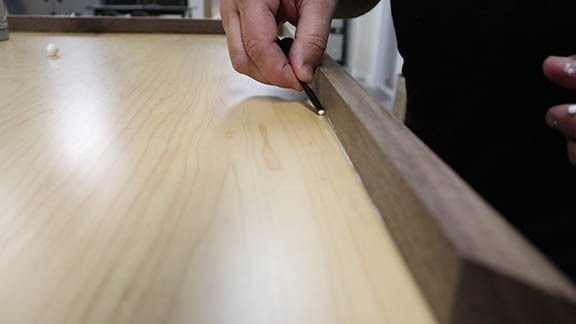
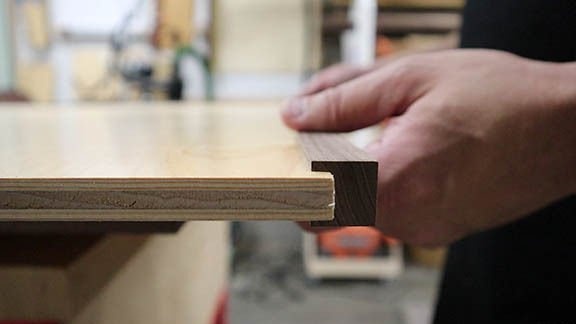
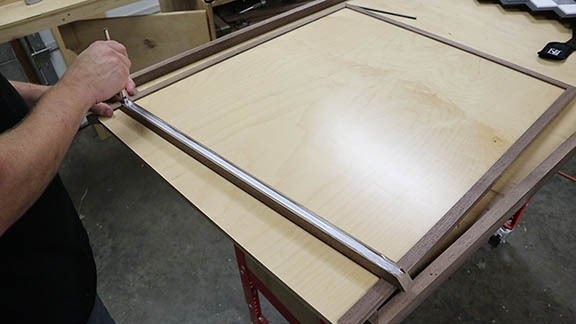
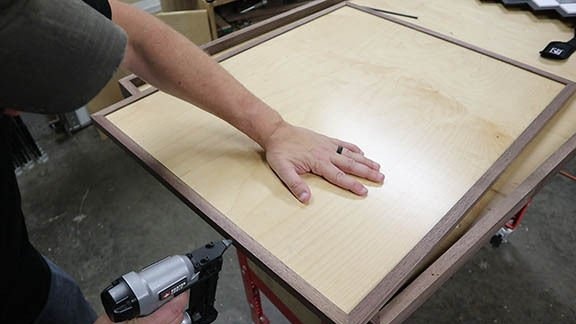
Assembles a frame and sets a plywood sheet. For fixing uses wood glue.
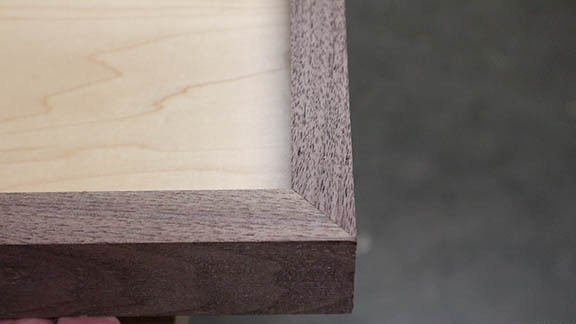
Step Three: Movable Panel
The panel is half the size of the board. The master cuts off the plywood and the board, and makes the assembly in the same way as the previous step.
Step Four: Holders
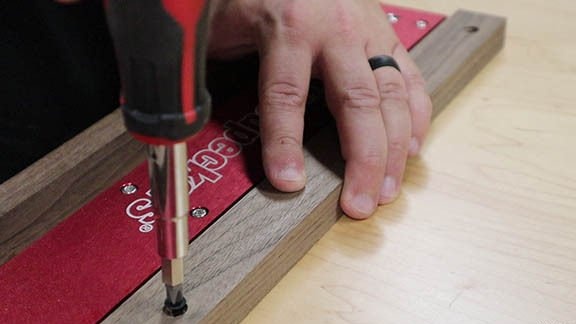
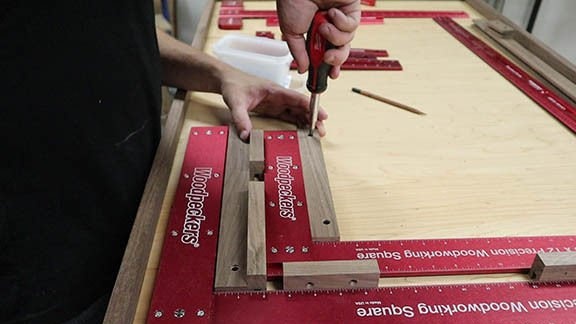
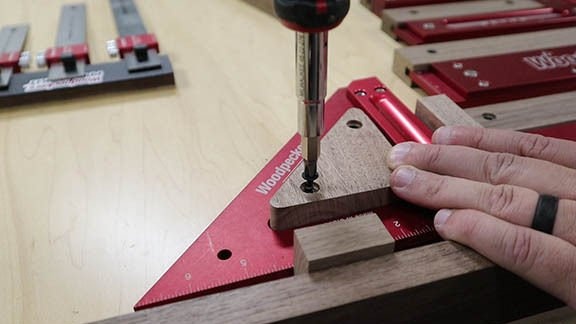
Now you need to make and fix the tool holders. The master went in an unconventional way and did not fasten hooks, nails, etc. For each tool, depending on its shape, a holder was made.
For squares fixed rails at an angle of 90 degrees.
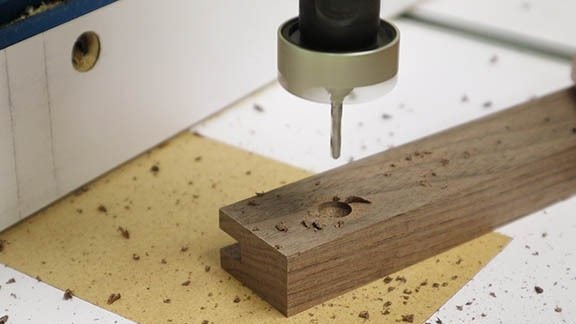
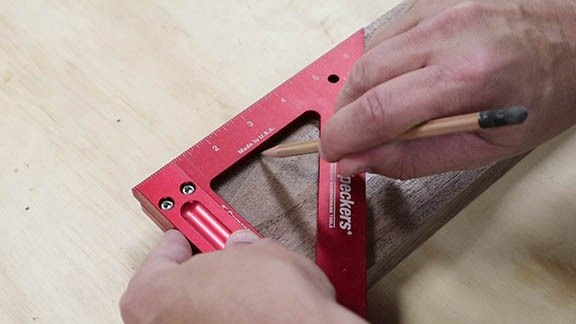
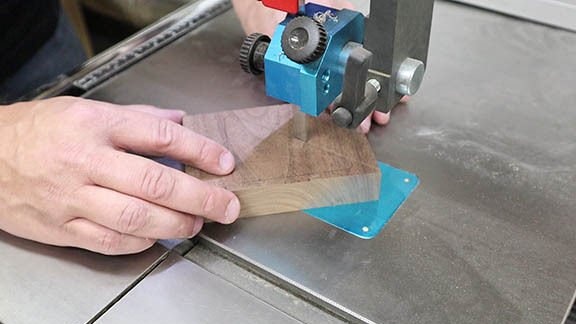
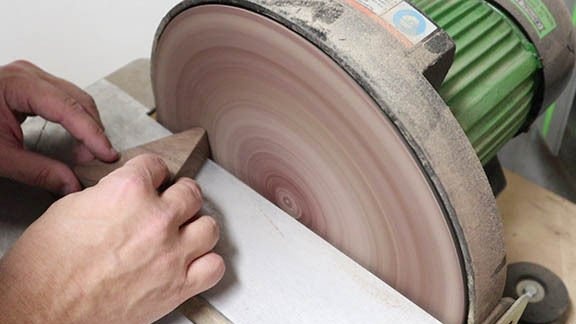
For triangles, cut out triangles.
Step Five: Installing the Movable Panel
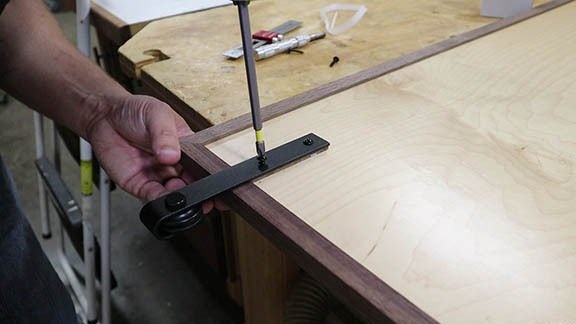
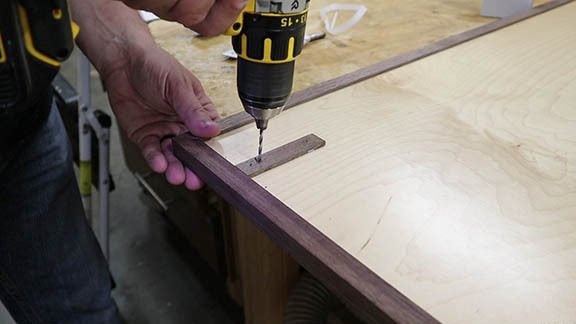
To install the panel, the master attaches the guide to the frame, and attaches the rollers to the panel.
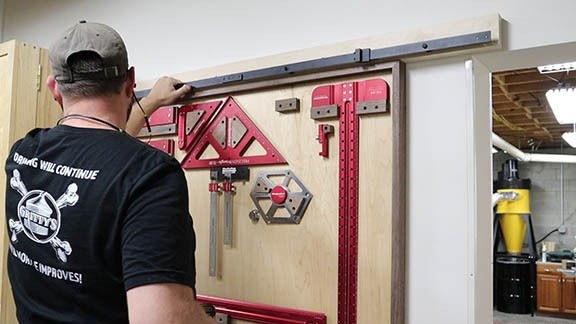
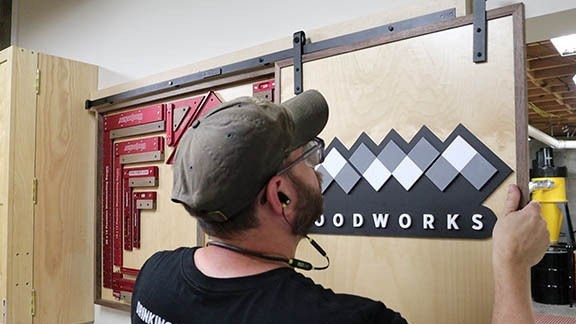
The panel can also be used as a place to store other tools and, for example, for fastening a sheet with a drawing of the manufactured product on it.


Video with the manufacturing process of such a storage board can be seen below.
