In this article, the Wizard will tell us how to make a system for monitoring and controlling the water level in a tank. It is a simple and reliable system.
Its key features are as follows:
Real time water level monitoring.
Automatic on / off pump.
Emergency shutdown of the pump.
Tools and materials:
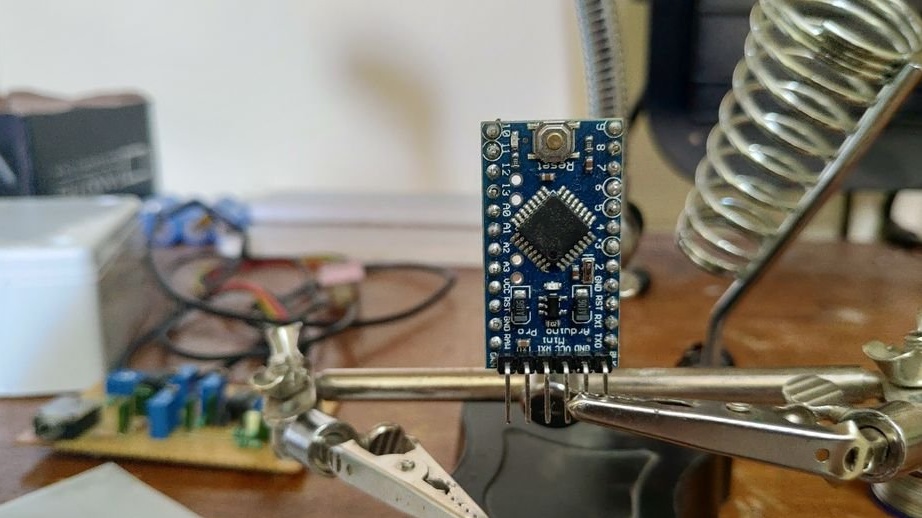
-Arduino Pro mini
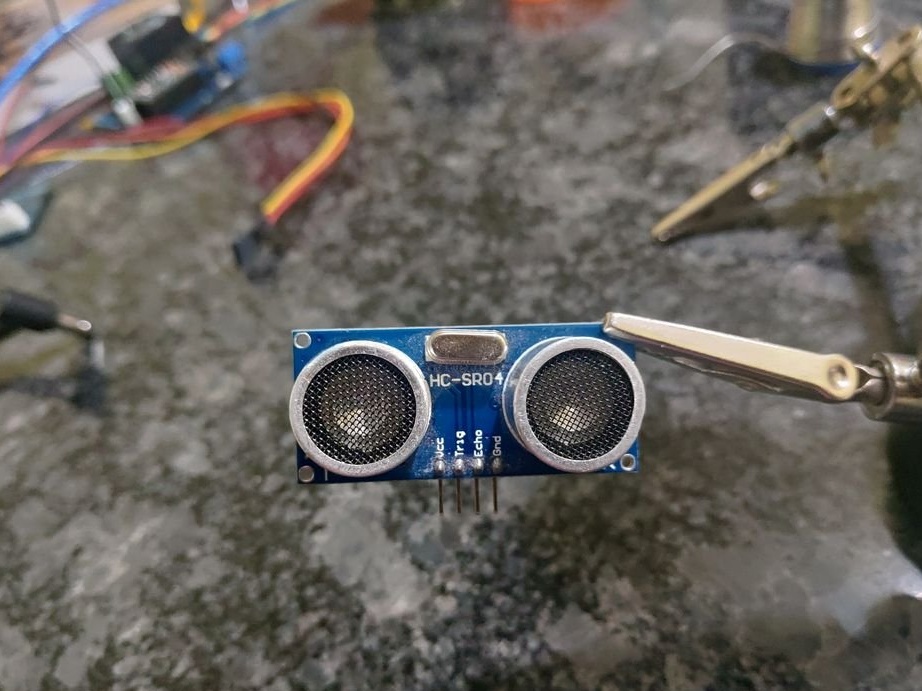
-Ultrasonic sensor HC-SR04;
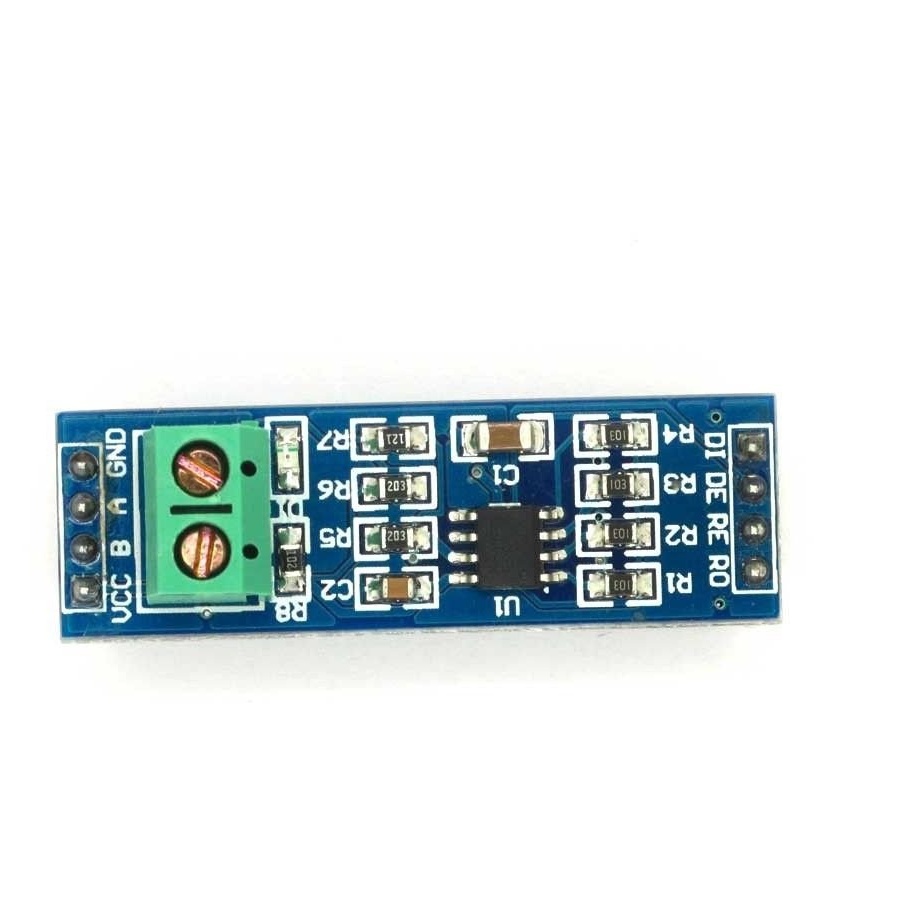
- Module MAX485;
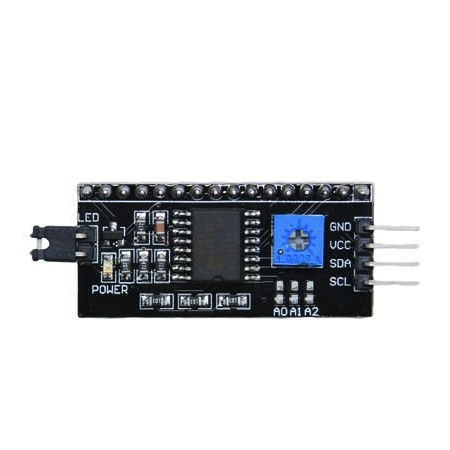
- LCD module i2c;
LCD 1602;
- Microcontroller ATTINY45 / 85;
- Voltage Regulator LM7805;
NPN transistor (2n3904);
-N-channel MOSFET IRFD024PBF;
Diode 1N4007;
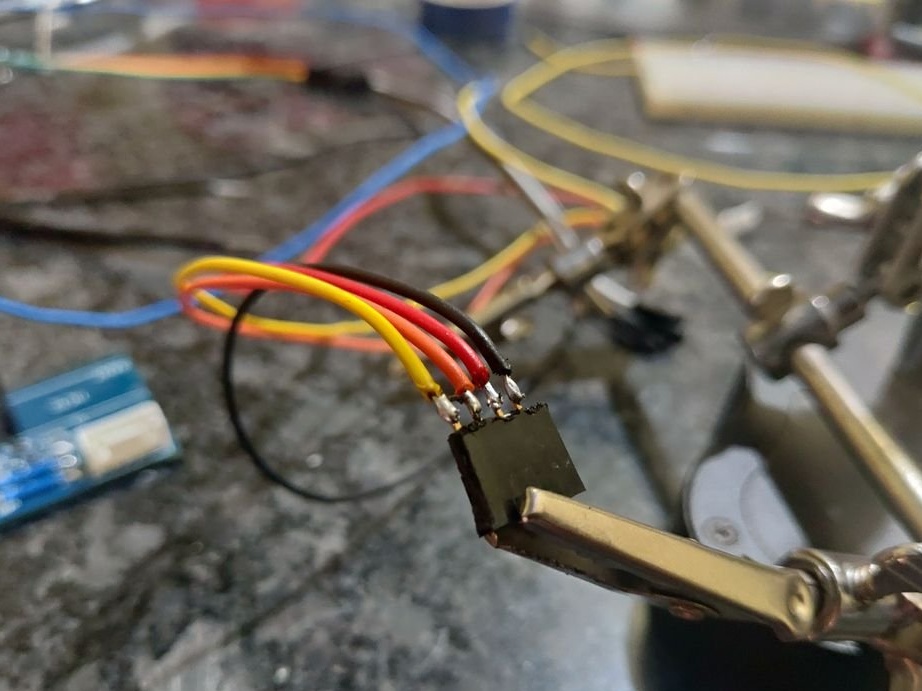
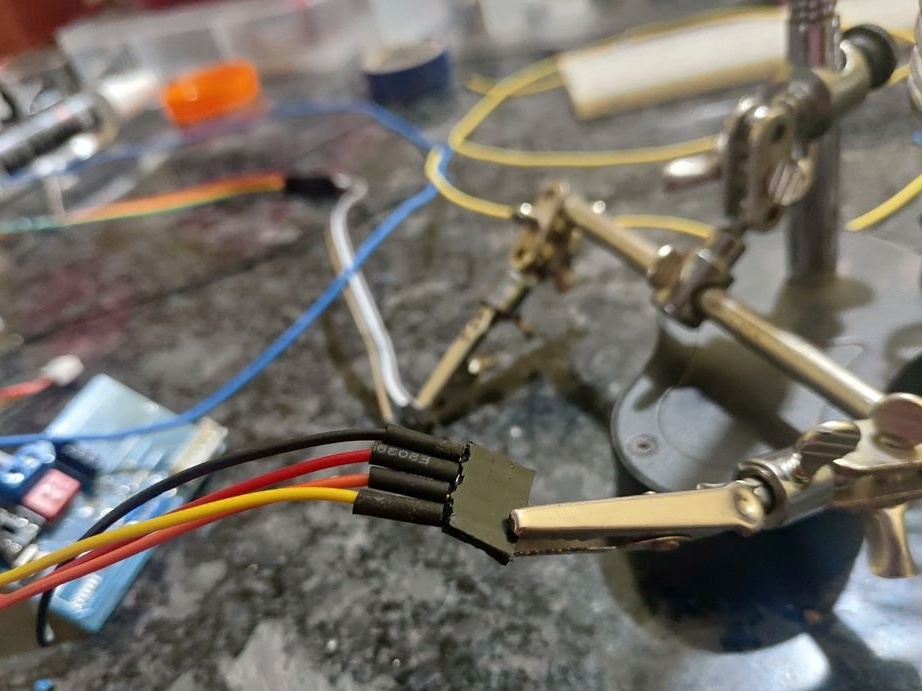
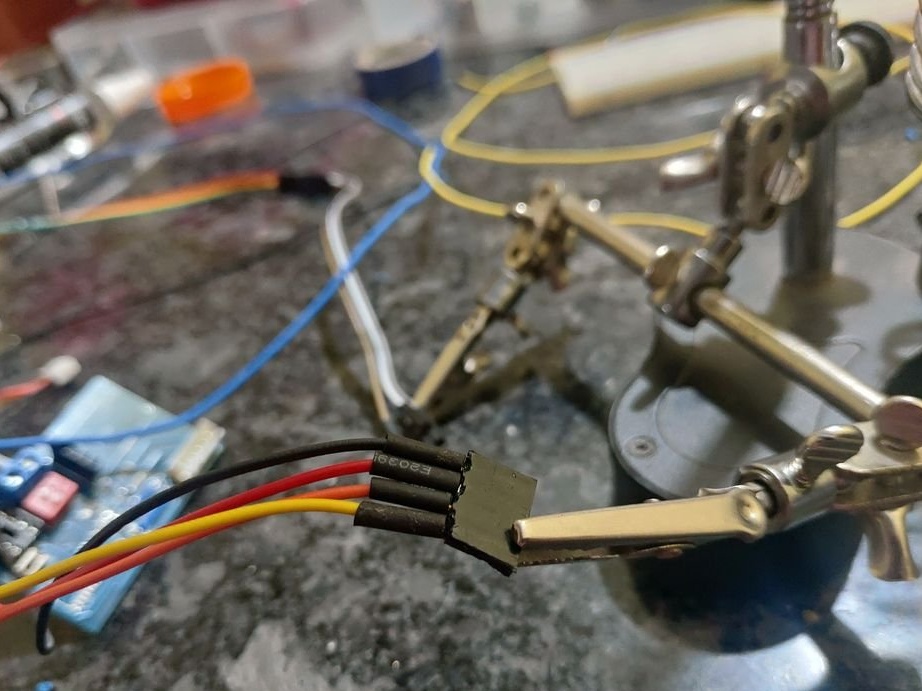
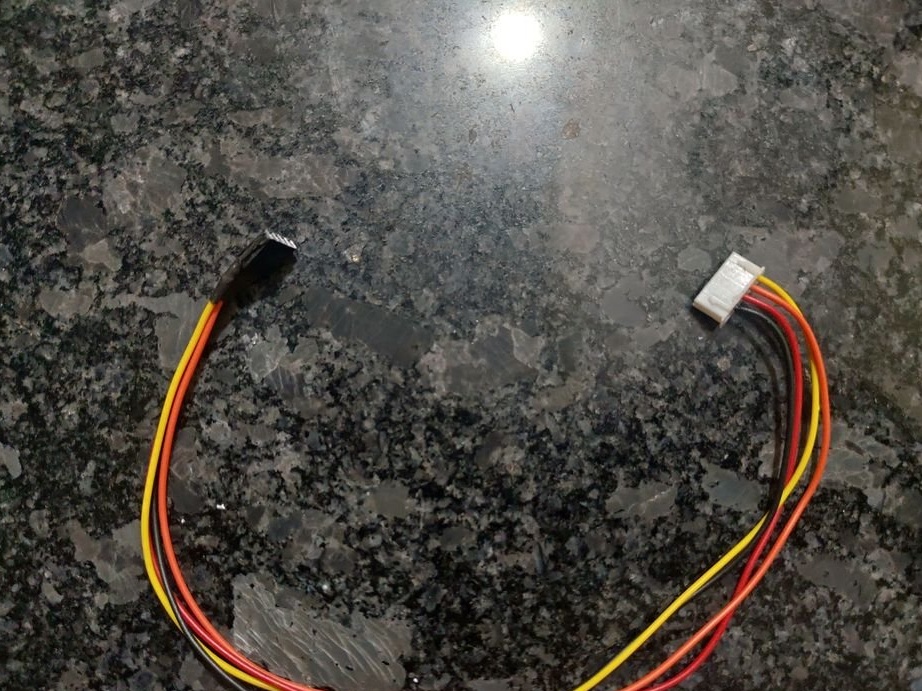
5-pin connector;
4-pin connector
-2 pin connector;
- Terminals with 2 contacts (blue) - 2 pcs;
- Terminal with 2 contacts (green);
DC Jack (- 2 pcs.)
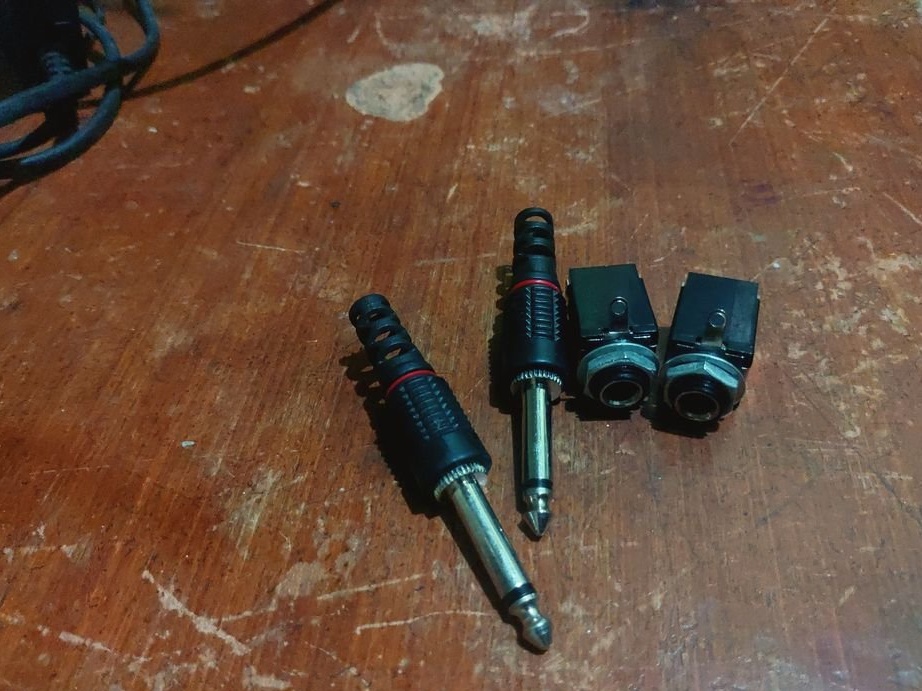
-Audio jack (male / female) - 2 pcs;
- Resistor 1 kOhm;
- Resistor 10 kOhm - 3 pcs;
- Capacitor 100 nF - 3 pcs;
Capacitor 100 uF;
- SMD button, 6x3.5mm;
-DIP switches (SPST 2) - 2 pcs;
-Power button;
-Tumbler;
-12V DC relay;
-Relay contactor;
- DC power supply 5 V (> 200 mA);
- DC 12V power supply (> 500 mA);
-Boxes for the case of a suitable size;
-Fasteners;
-Soldering accessories;
-Screwdriver;
-Wire;

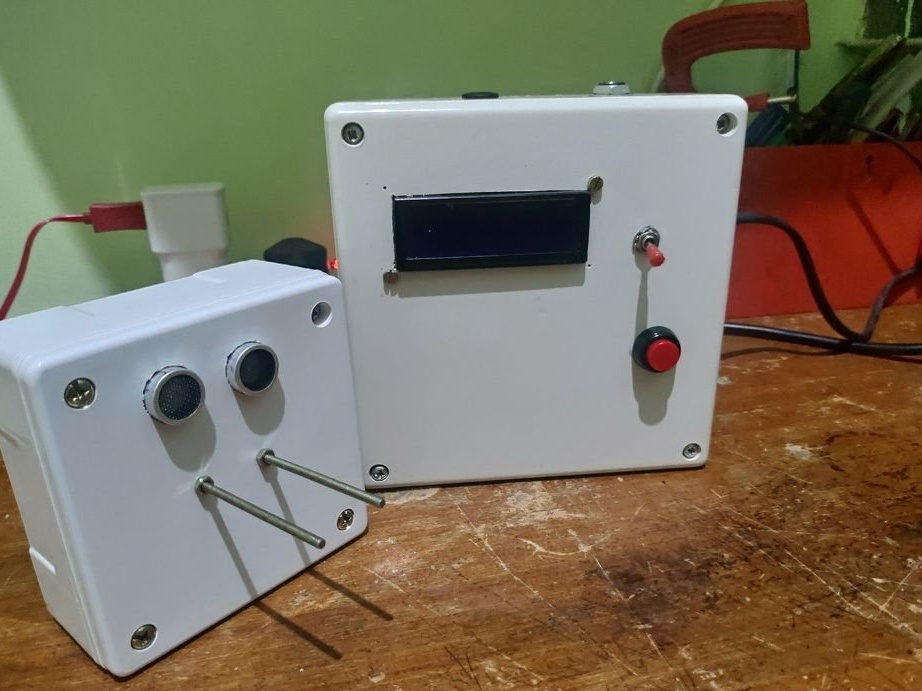
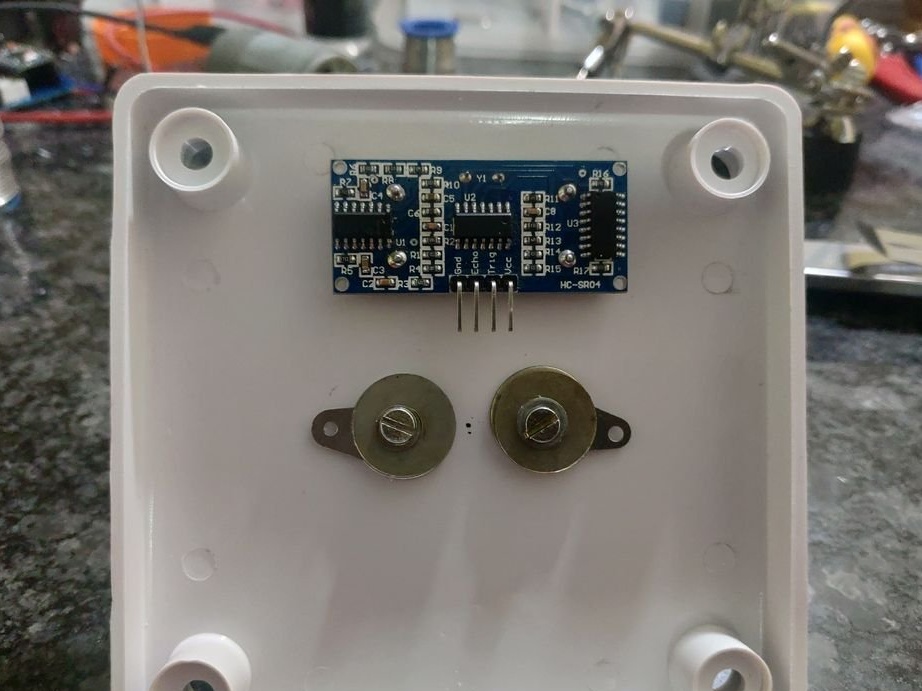
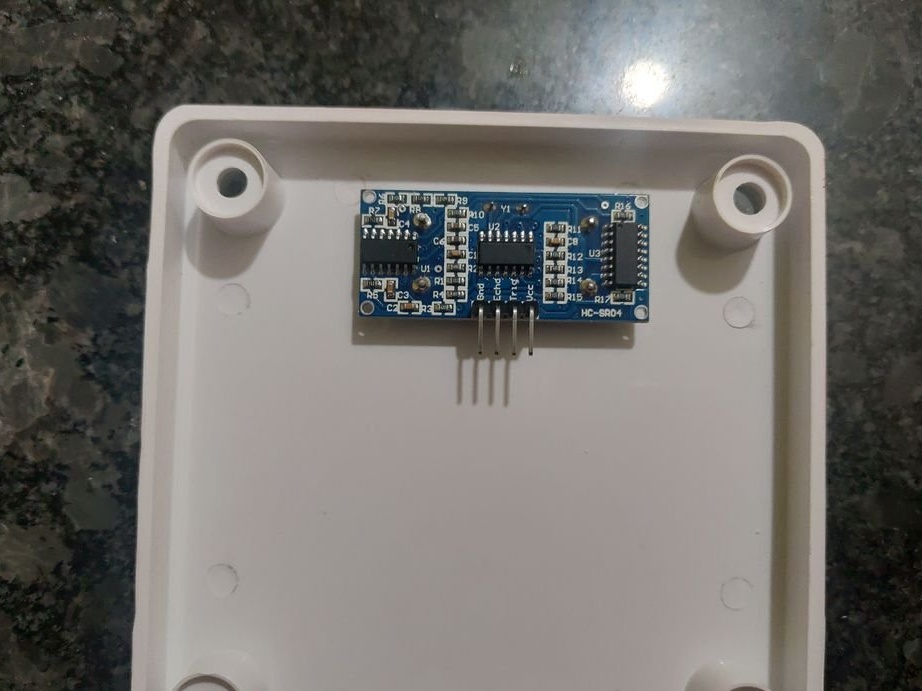
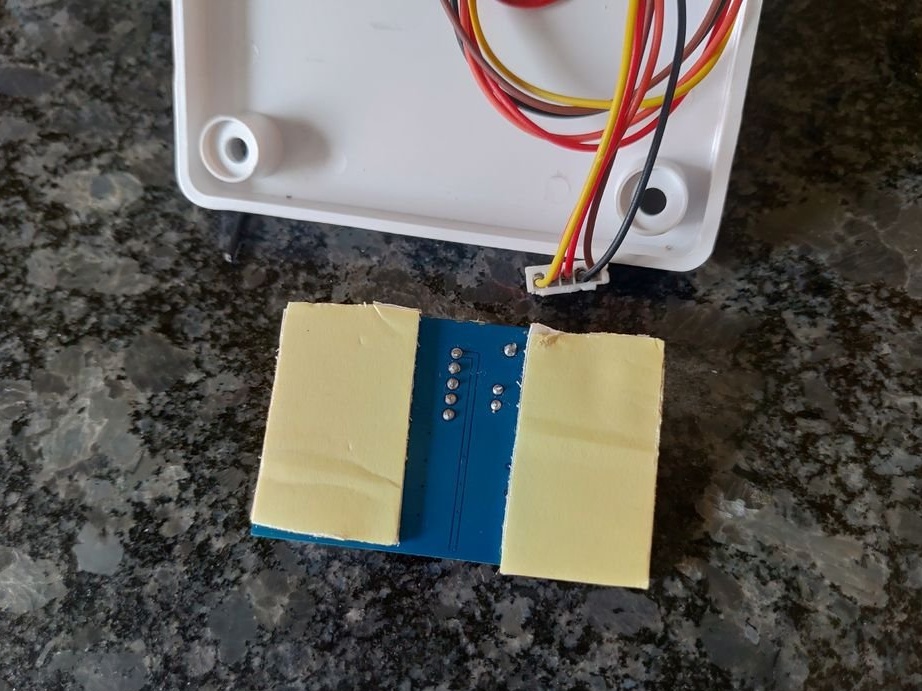
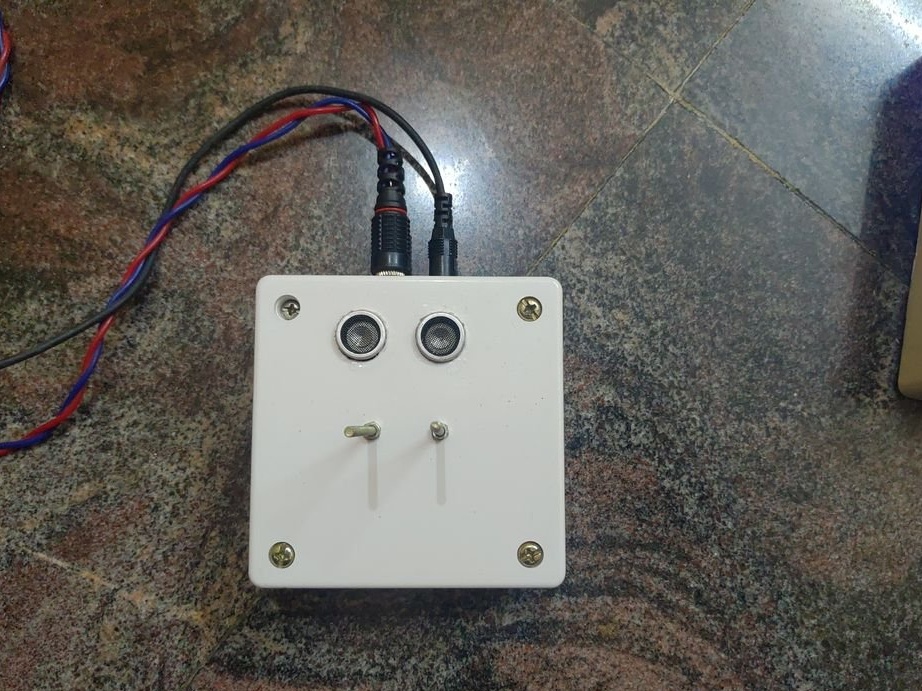
Step One: Sensor Unit
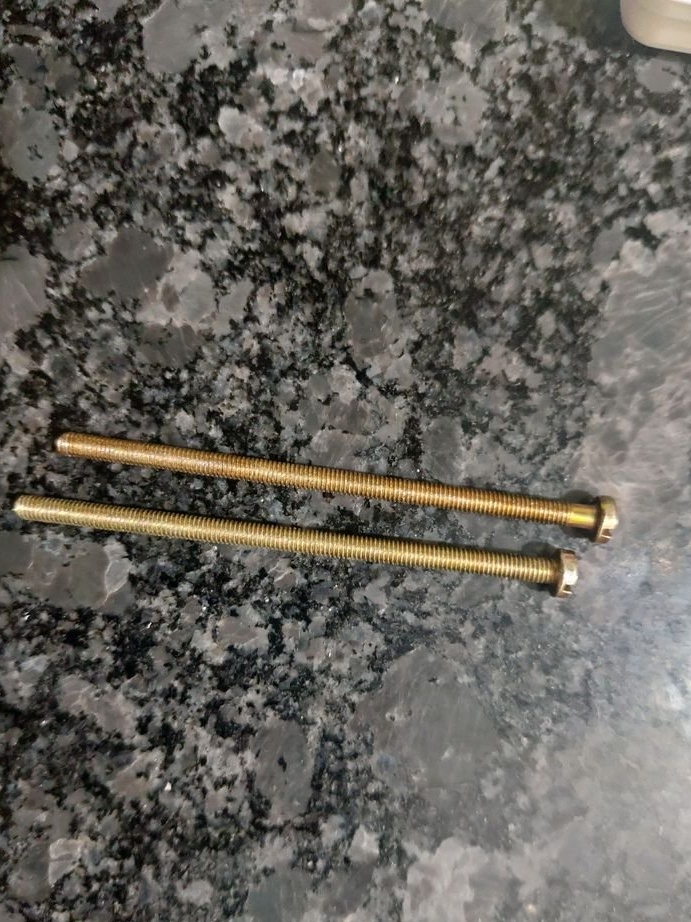
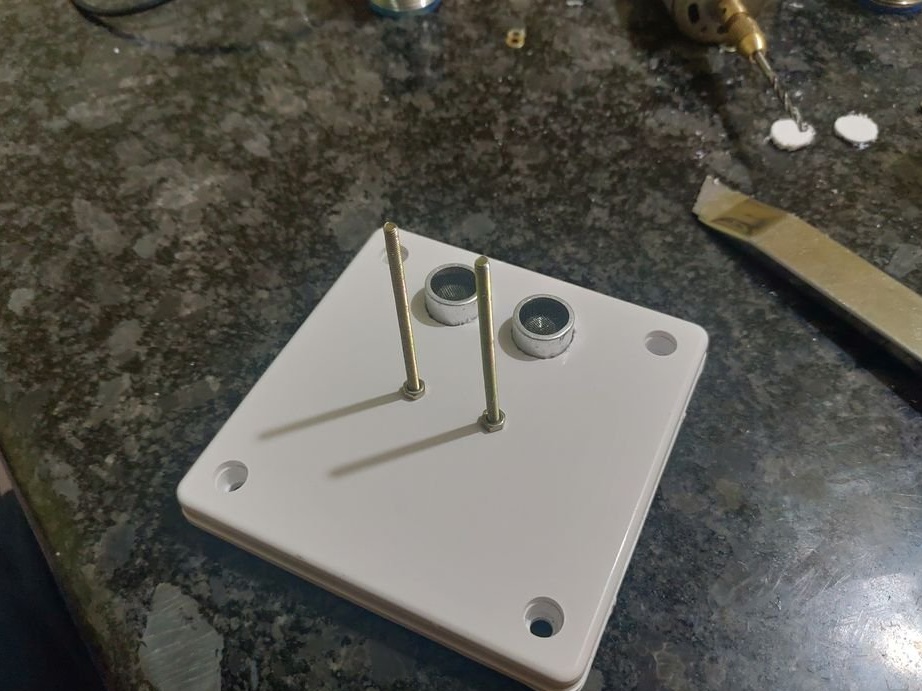
This unit measures the water level and sends data to the main controller. It has two sensors for measuring water level. One is the HC-SR04 ultrasonic distance sensor, the other two long screws protruding outward, as shown in the photo.
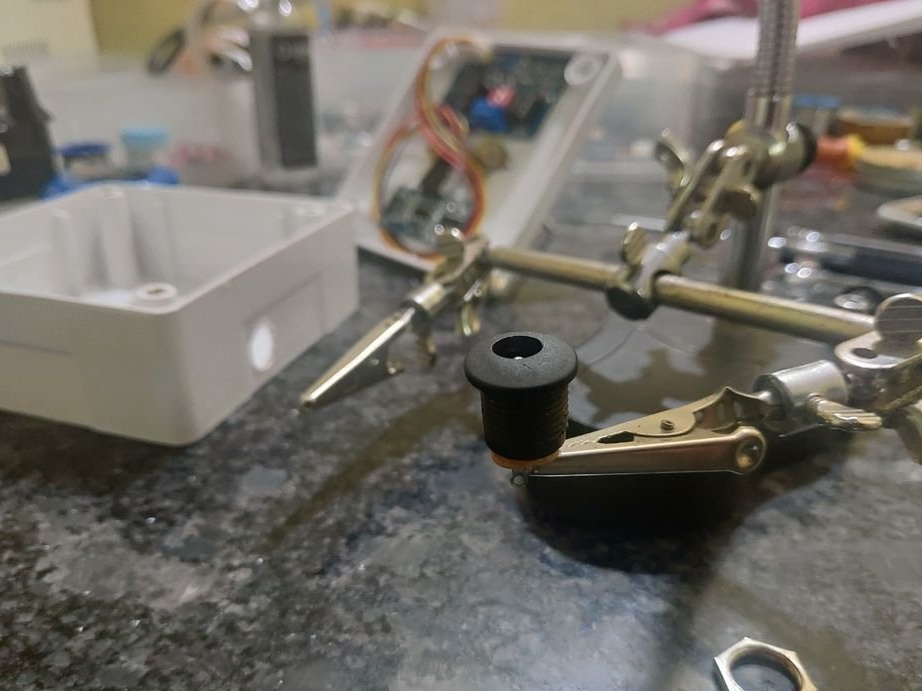
To install the sensors you need to perform the following steps:
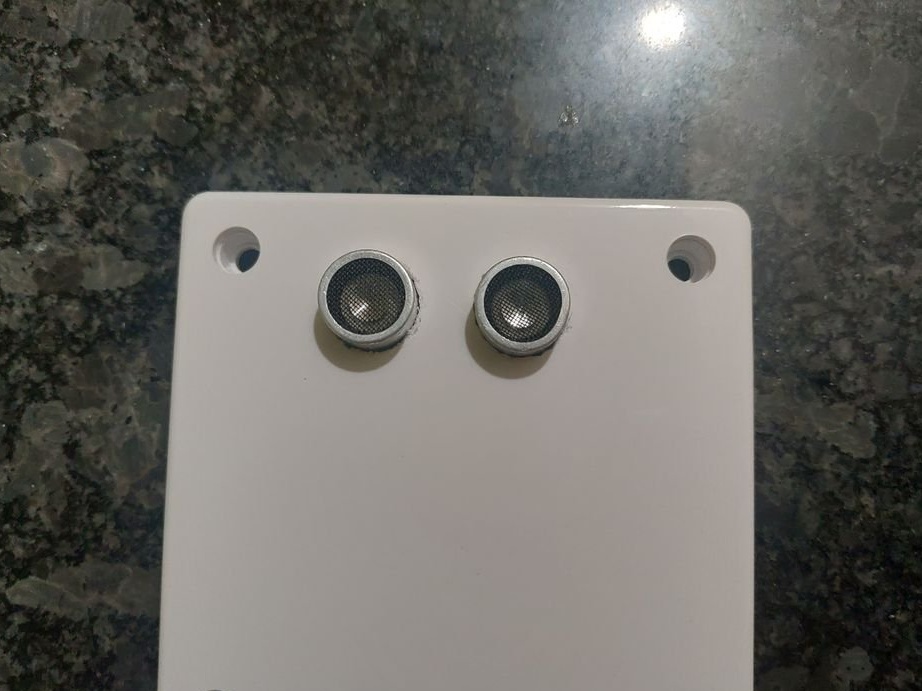
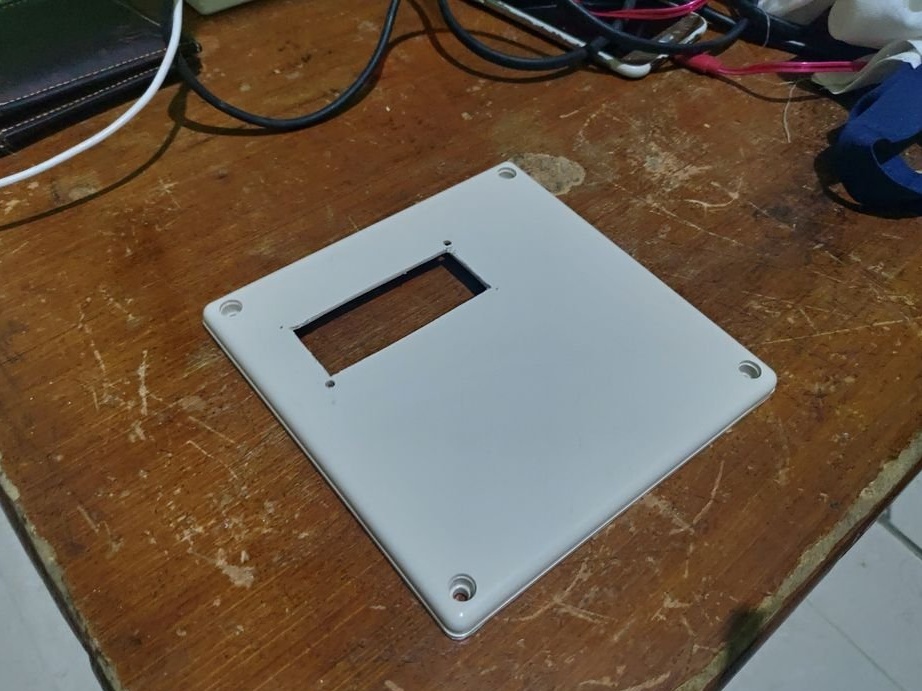
Place the ultrasonic transducer upside down on the front of the cover near the top and mark the two holes for the ultrasonic transmitter and receiver.
Cut holes and fasten the sensor in place with hot glue.
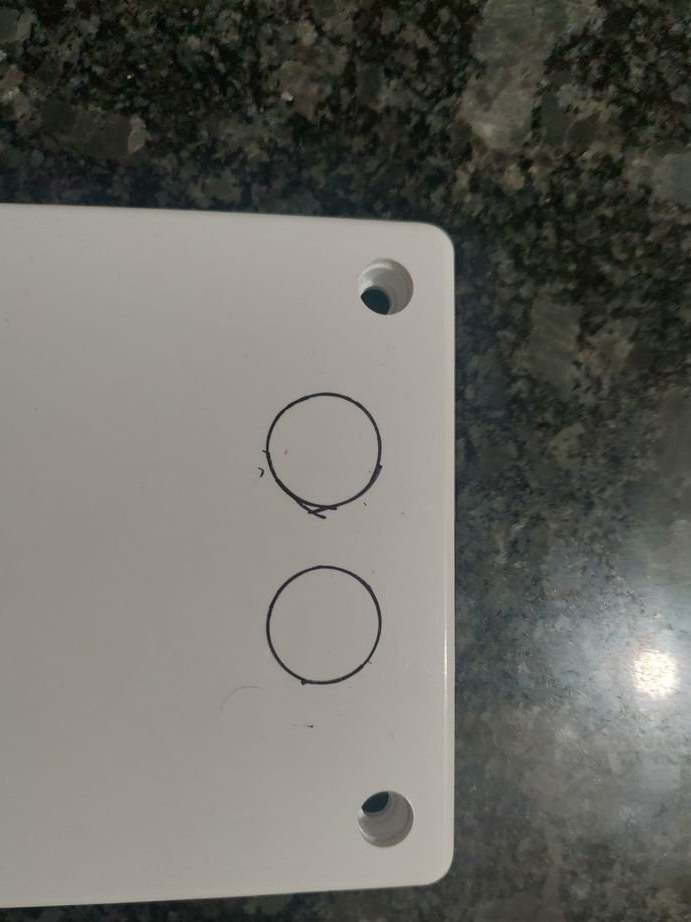

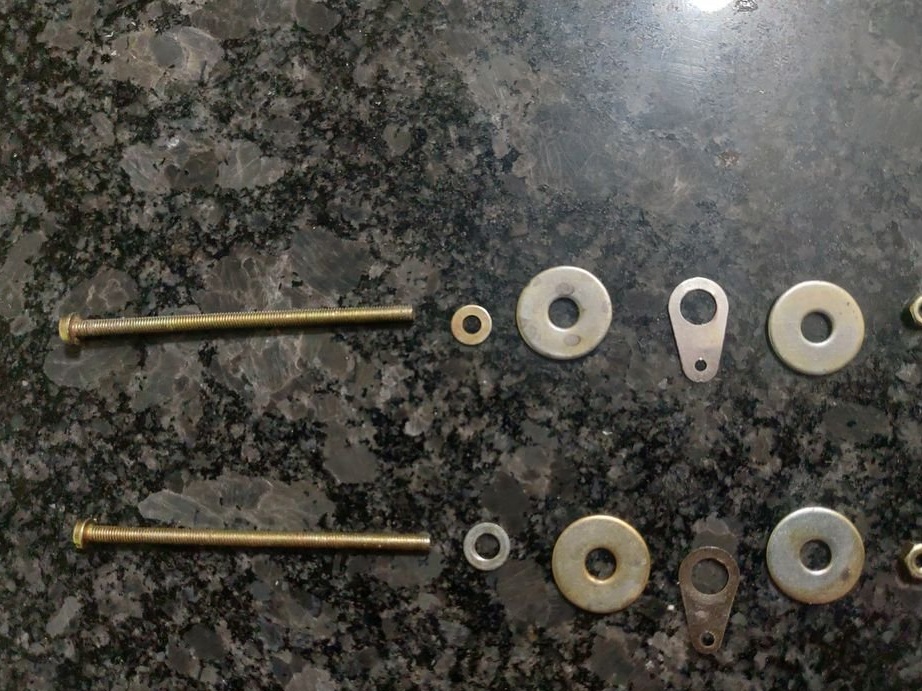
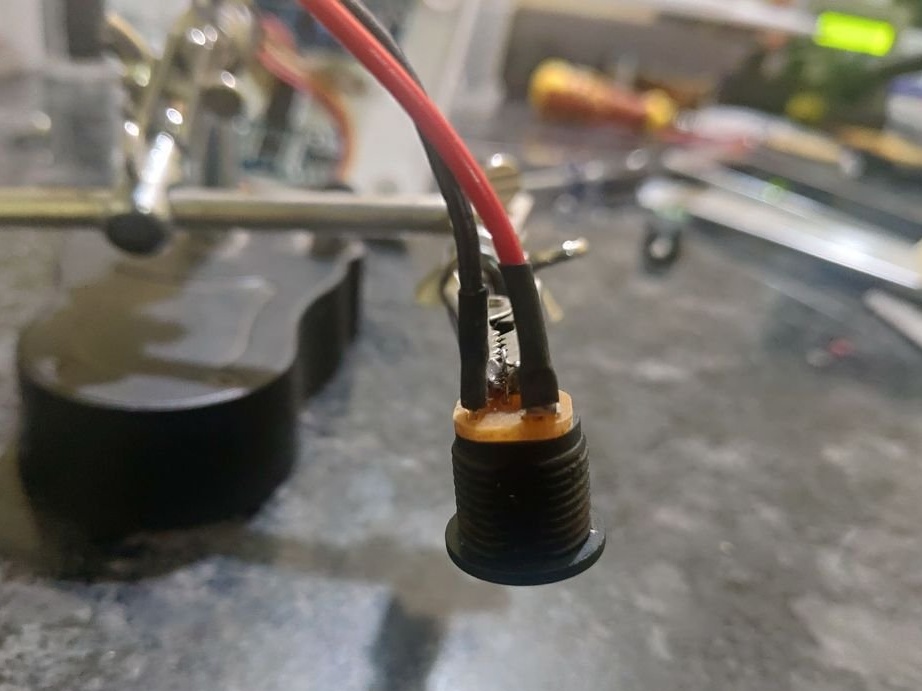
Then drill two holes with a diameter of 3 mm with a gap of 2-3 cm in the center of the cover.
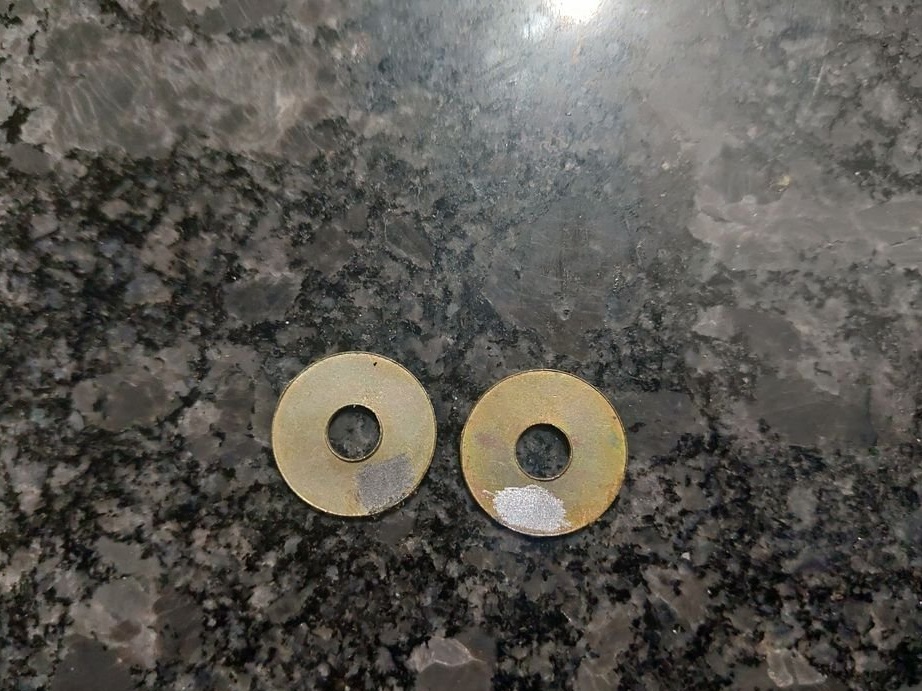
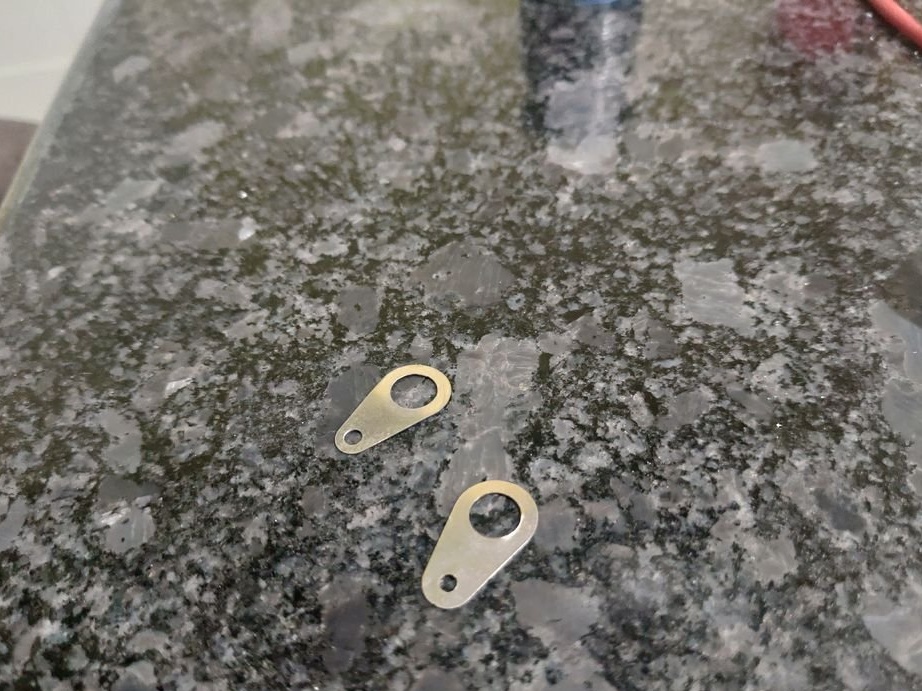
Insert the long M3 bolts with the wire terminal clamped between the two washers on the back of the cover and tighten the M3 nuts on the other side.
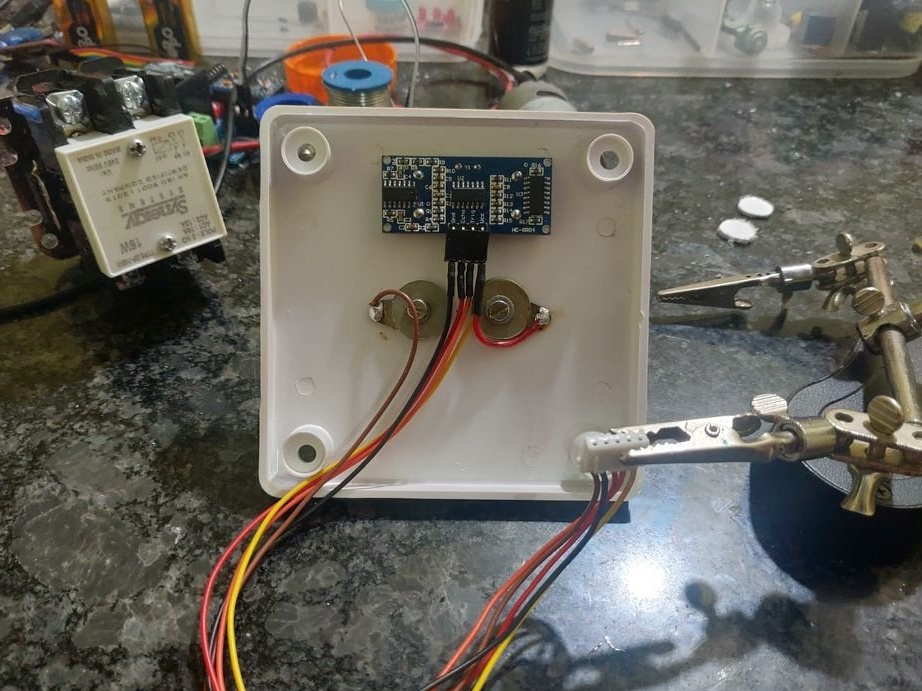
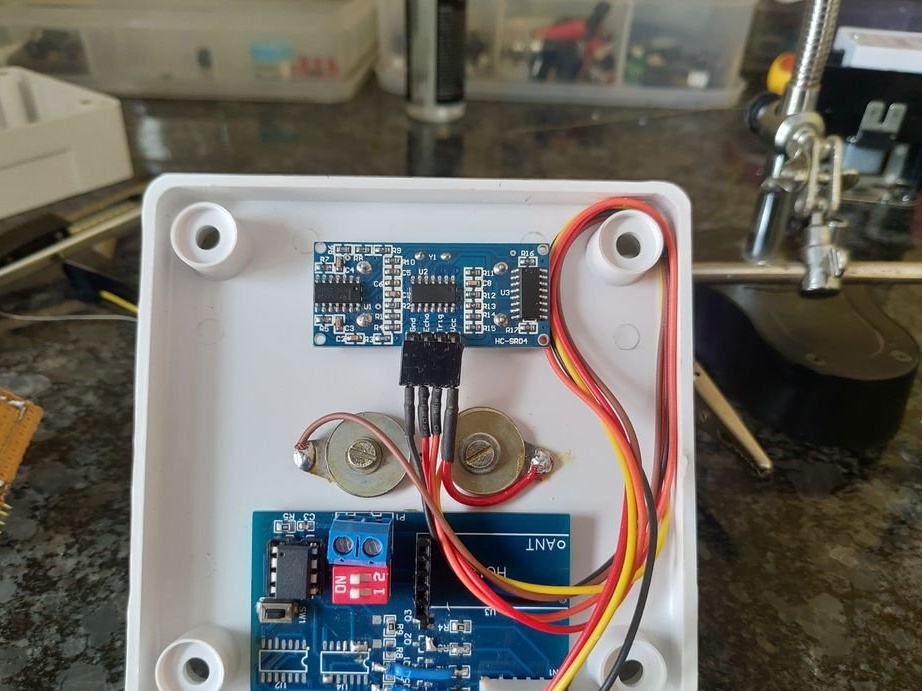
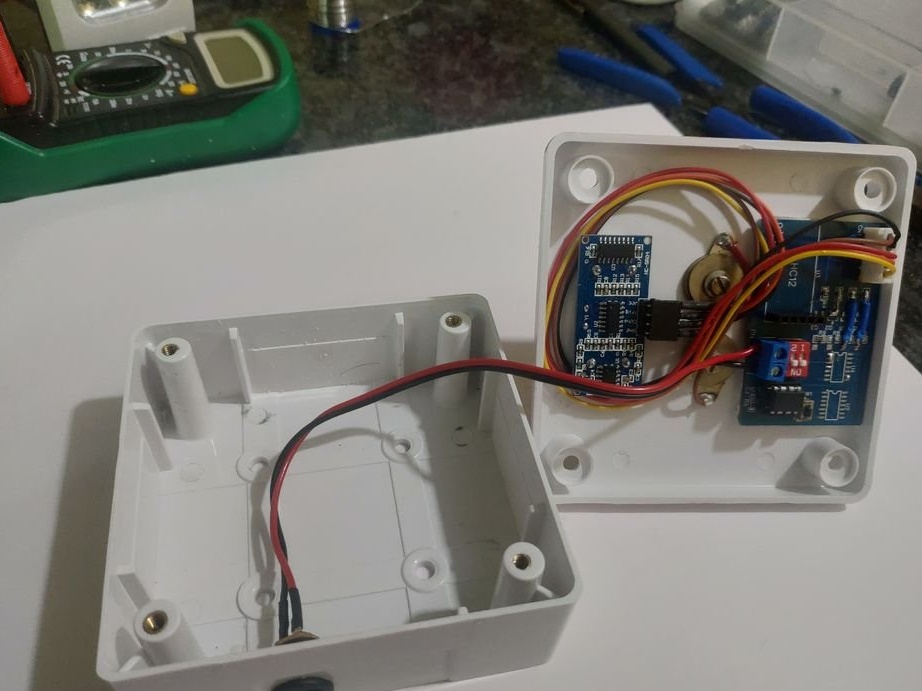
The sensor unit uses the ATTINY45 as the primary microcontroller. As mentioned earlier, HC-SR04 is used to measure water level. It works by measuring the distance from the top of the tank.
Also, control is carried out using two bolts in the circuit, which the transistor is installed. The microcontroller reads data from both of these sensors and sends data to the Arduino installed in the controller unit.
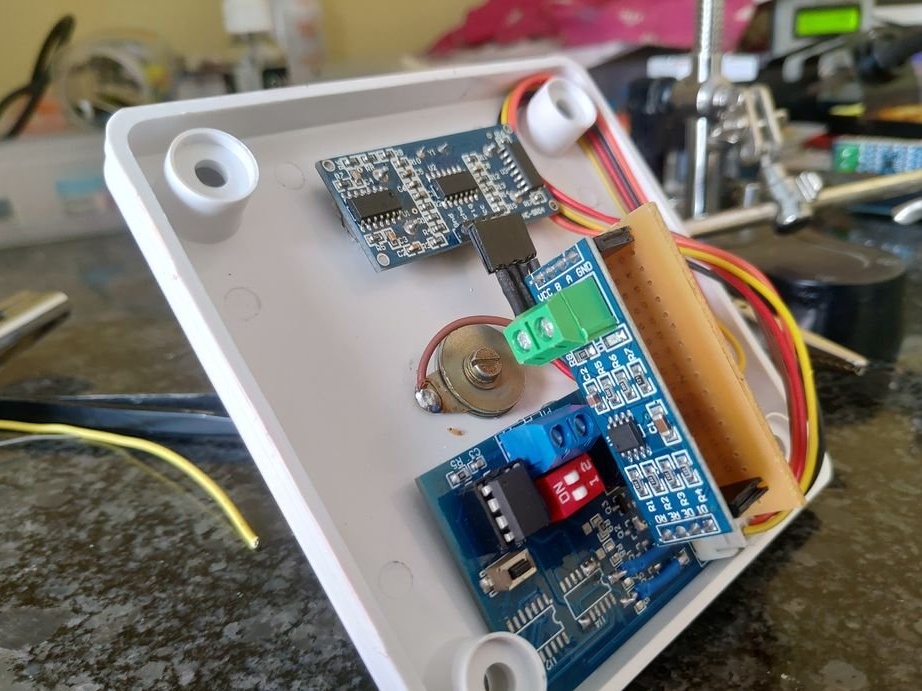
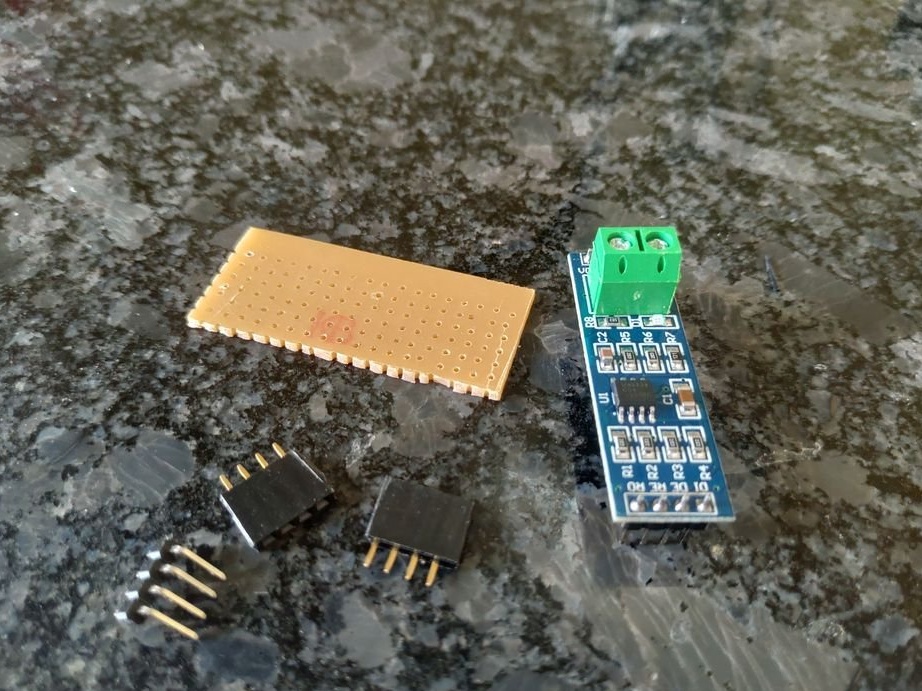
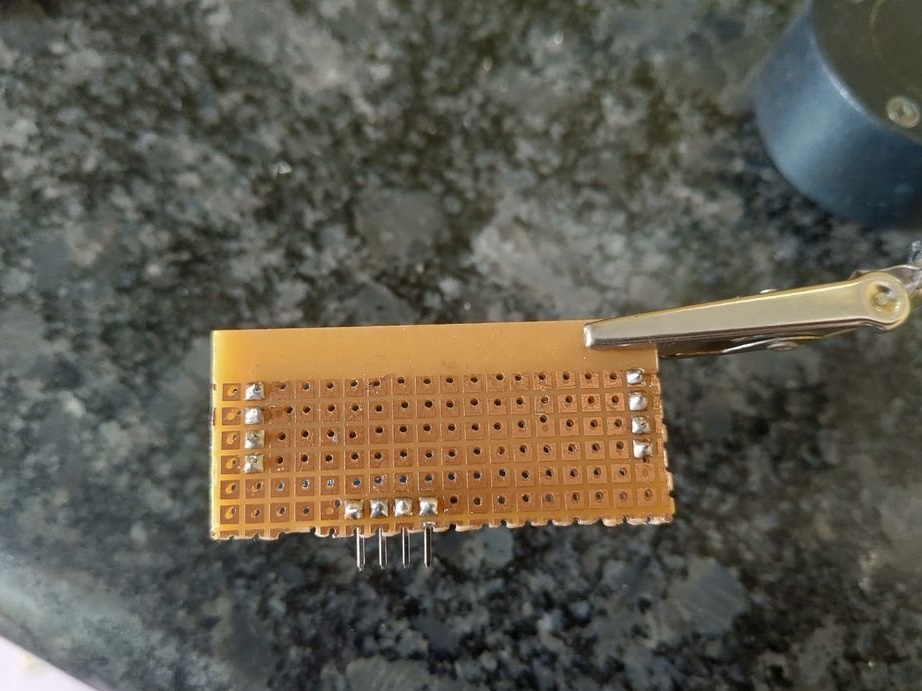
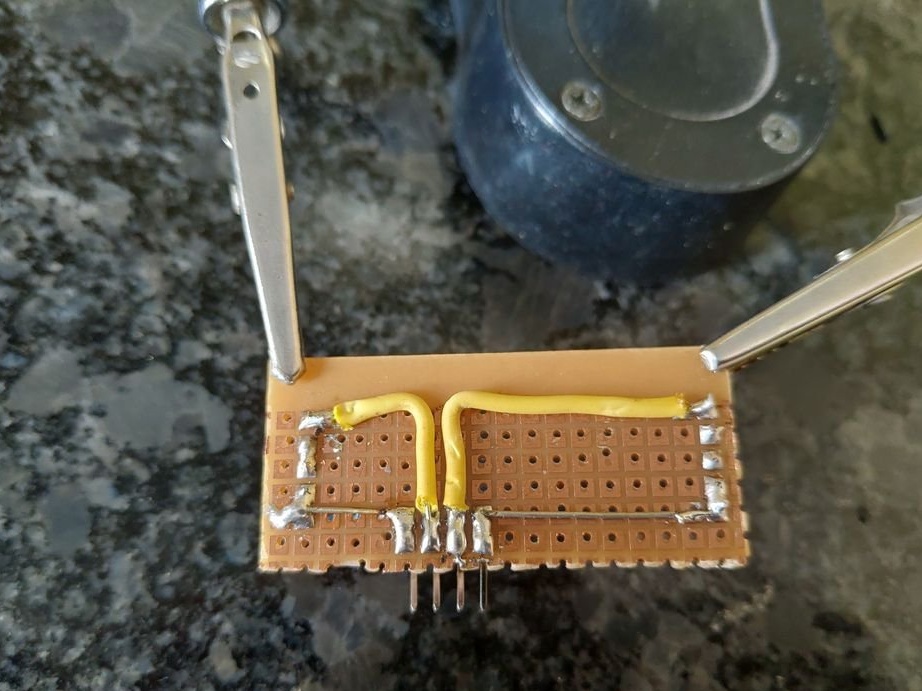
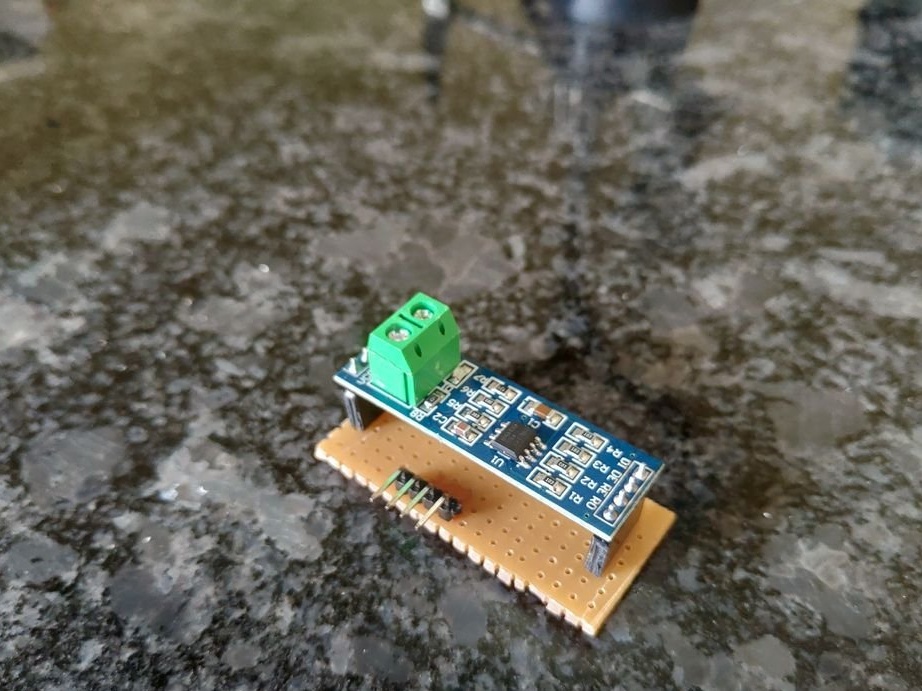
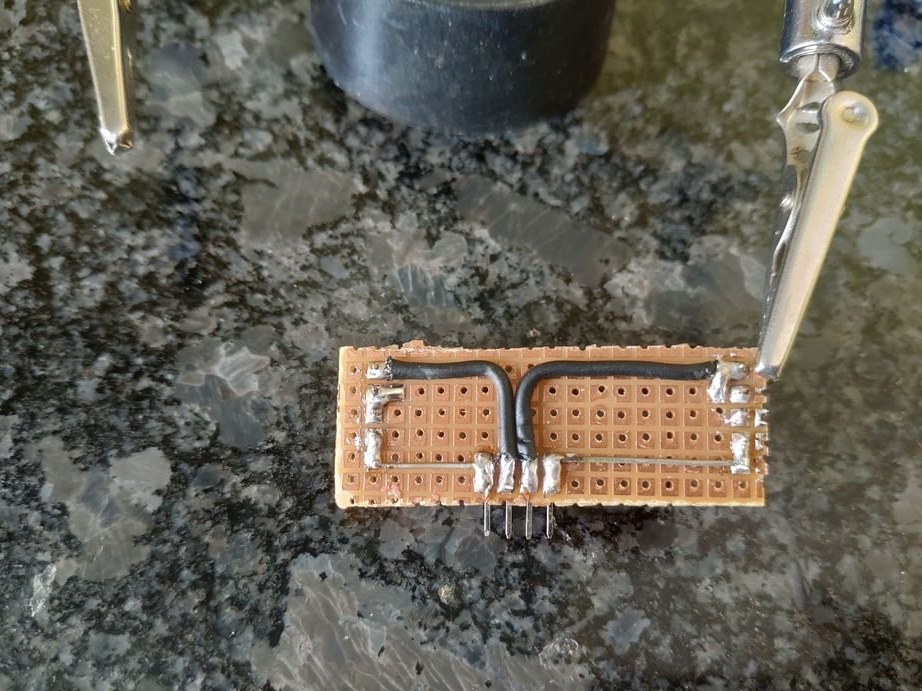
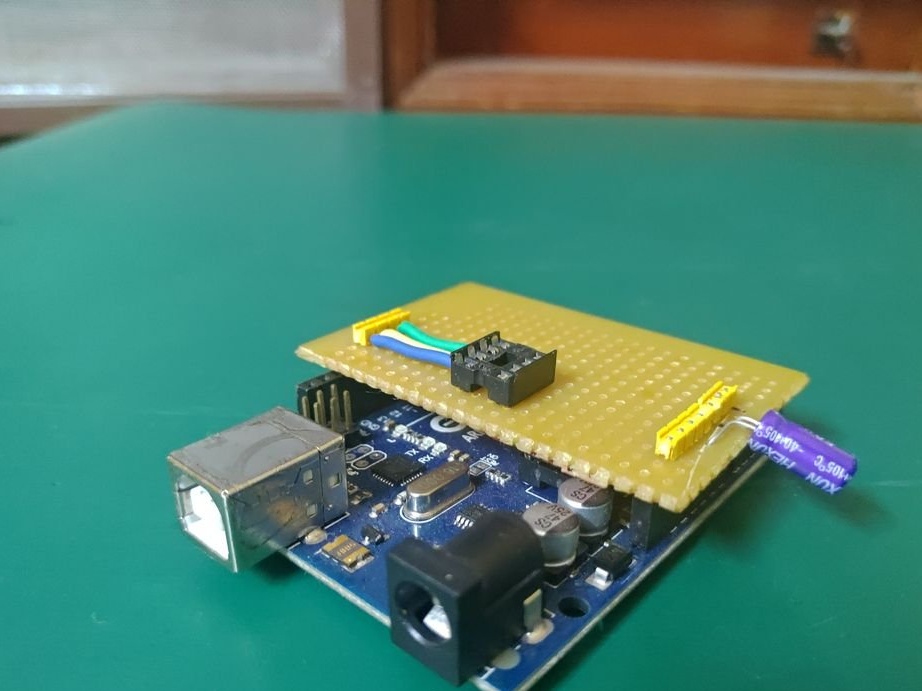
First, the master wanted to send data through the HC-12 RF modules. But the range of these modules does not match the requirements.The wizard used the MAX485 TTL to RS485 converter and made a small riser board to install in place of the HC-12 modules.
Scheme and link to the board can be downloaded at this address.
Installation is as follows:
HC-SR04 to main circuit:
Vcc - 5V (CN1).
trig - trigPin (CN1).
echo - echoPin (CN1).
Gnd - GND (CN1).
M3 bolts to the main circuit:
Bolt 1 - 5 V (CN1).
Bolt 2 - 100 (CN1).
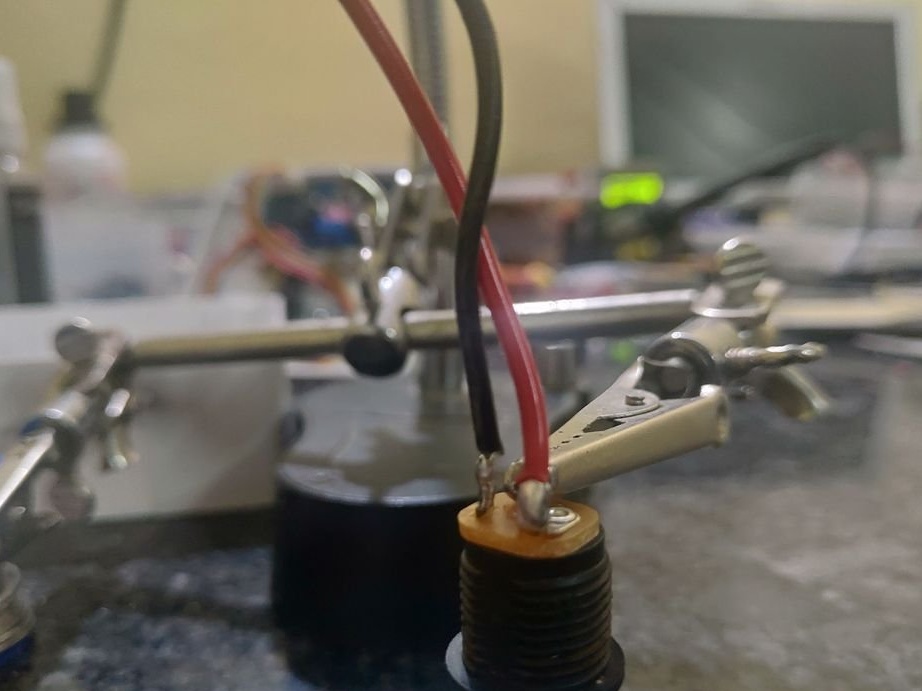
MAX485 (TX) module:
VCC - 5V (HC-12 Connector)
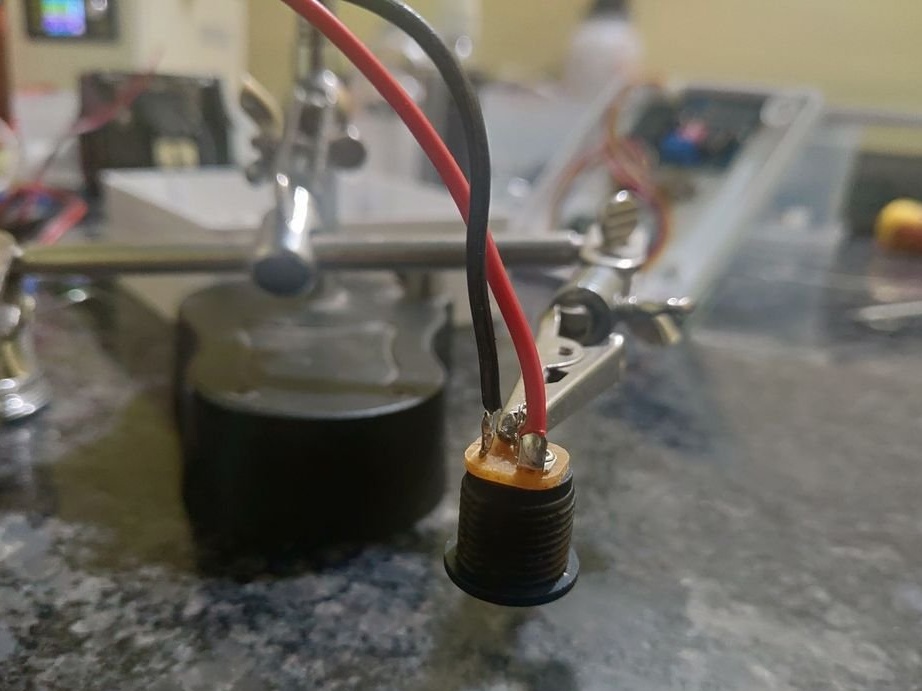
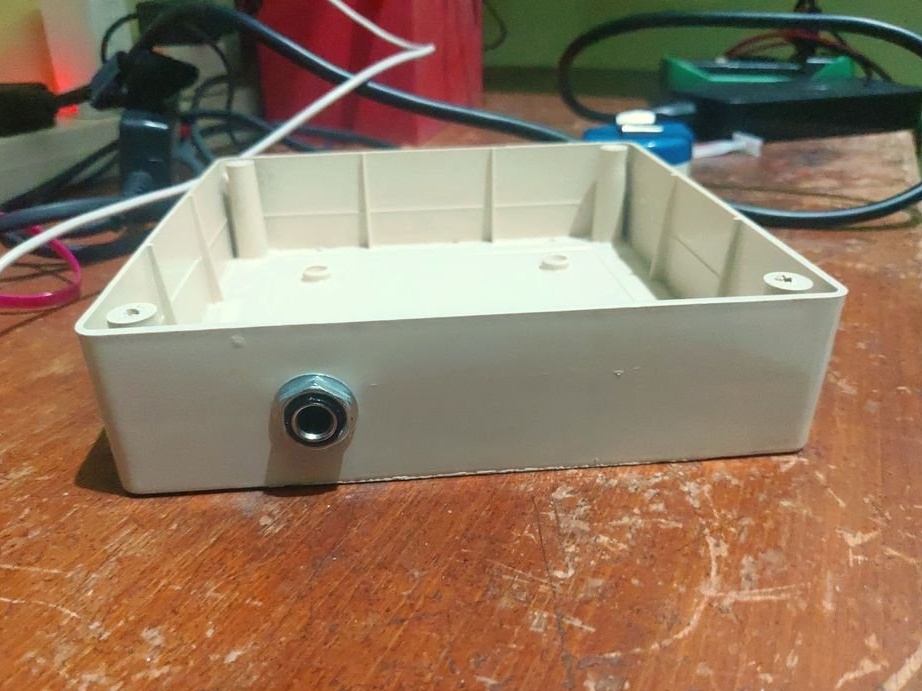
A - 1/4-inch audio jack.
B - 1/4-inch audio jack.
GND - GND (HC-12 Connector)
R0 - RX (HC-12 Connector)
RE - VCC (MAX485) or 5V.
DE - RE (abbreviated as RE and DE).
DI - TX (HC-12 connector).
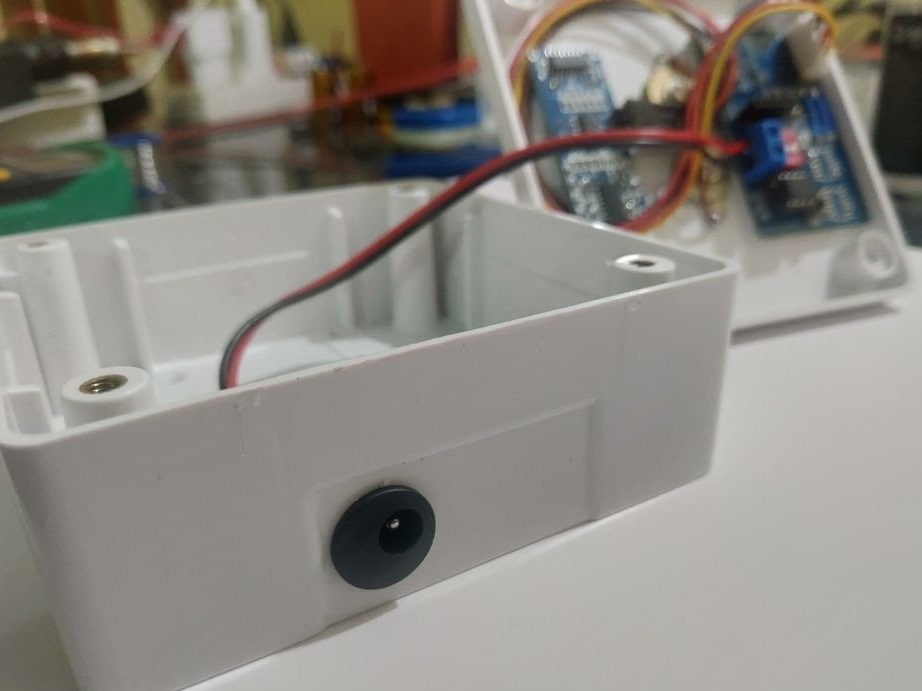
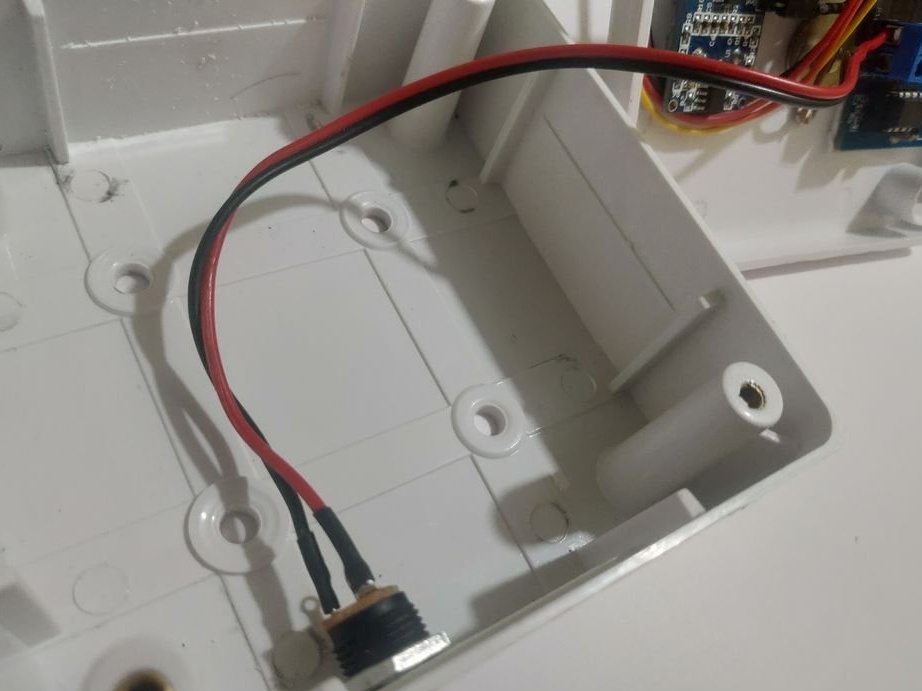
DC Jack (P1 Connector):
Tip - 5V
Sleeve - GND


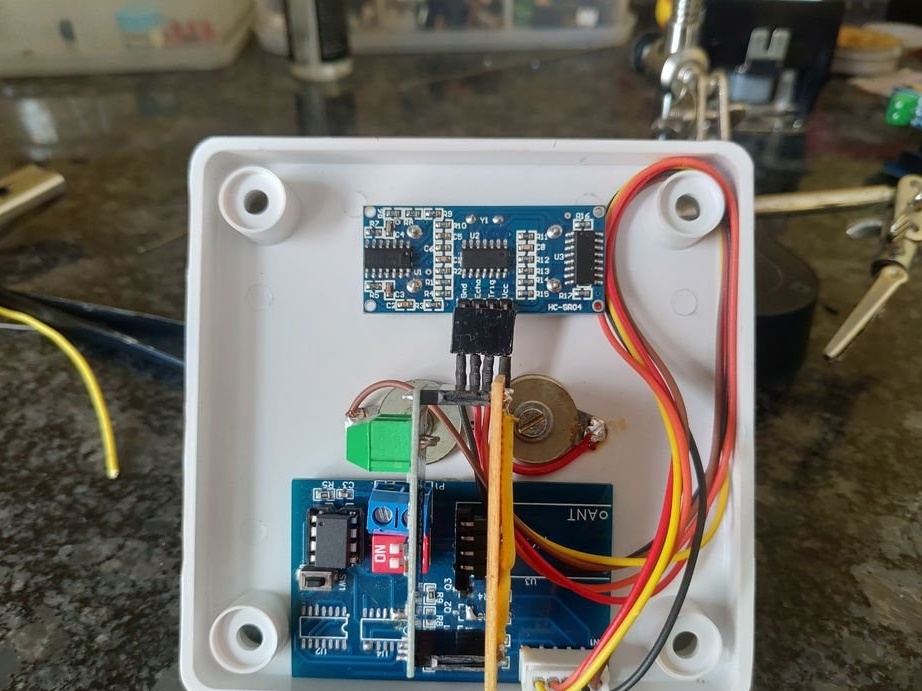

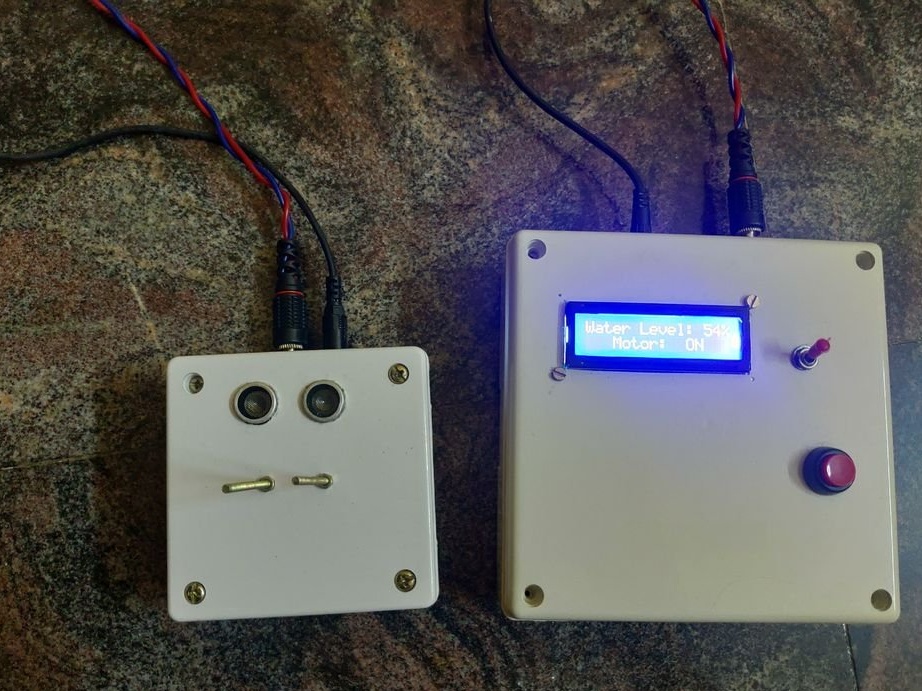
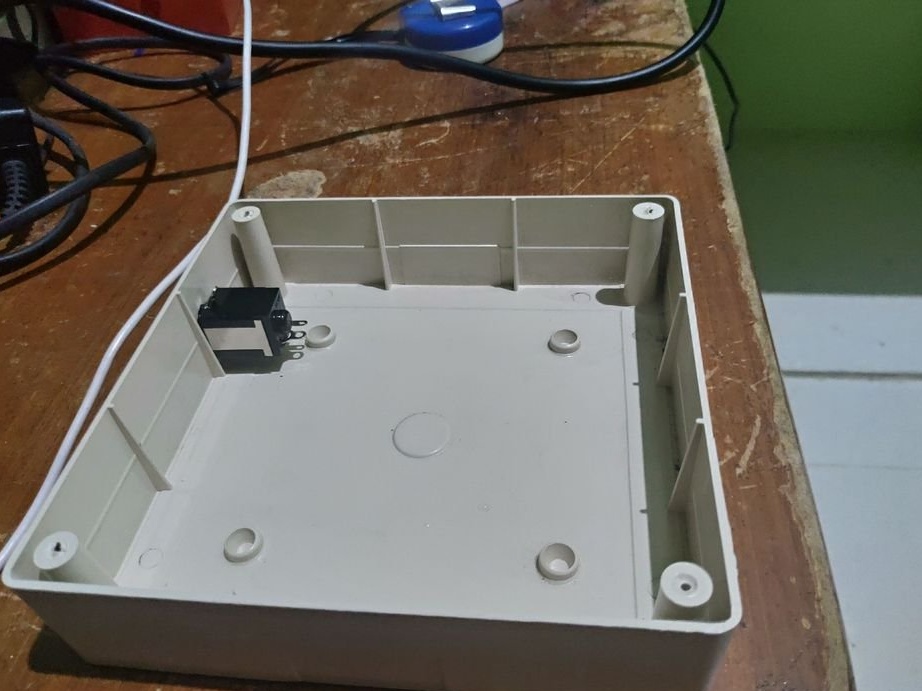
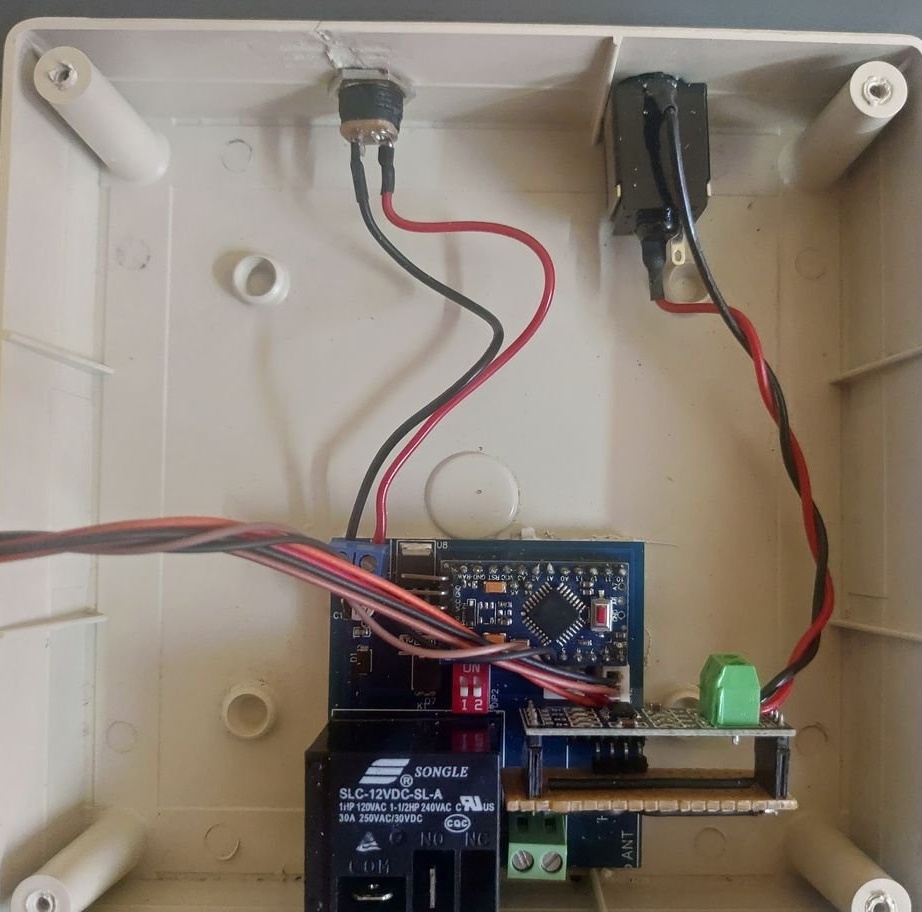
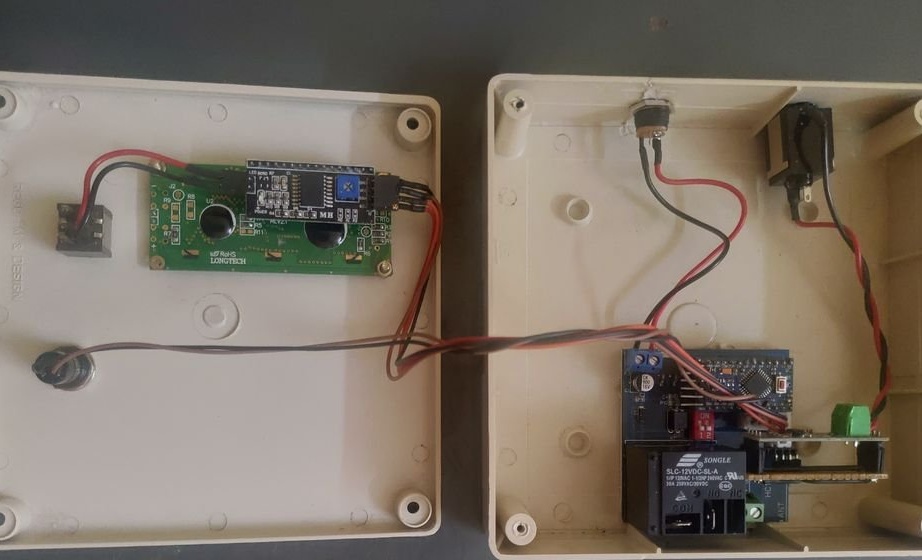
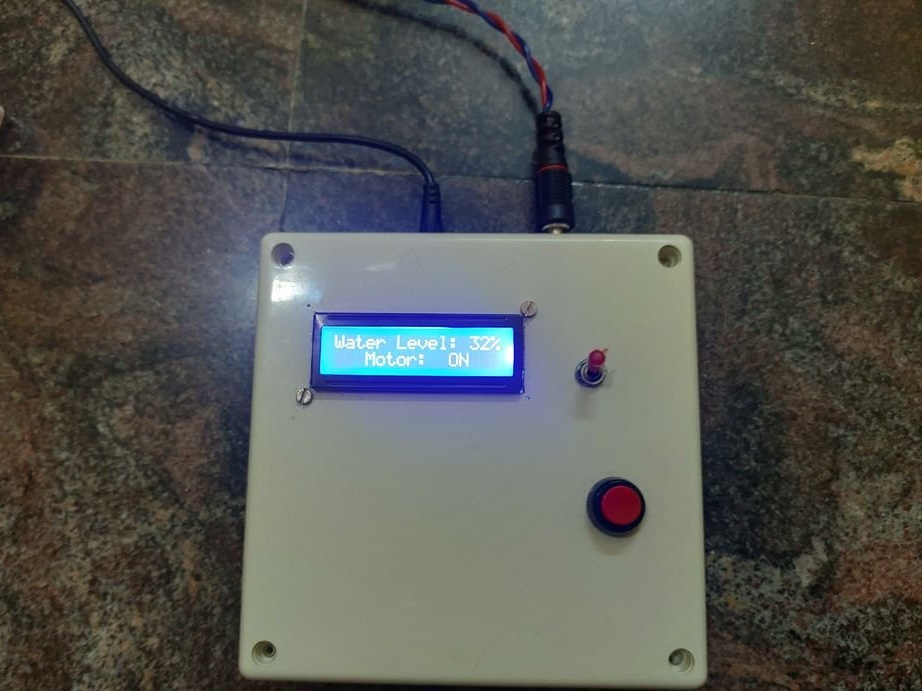
Step Two: Controller
The operation of the controller is simple. Arduino is used as the main controller. It receives sensor data sent from the transmitter board through the max485 module. It has a 1602 LCD display that displays the current water level and pump operation. It uses a 12 V relay as a switch to turn on the relay contactor. It has two switches, one for backlighting the LCD and one for emergency pump on / off.
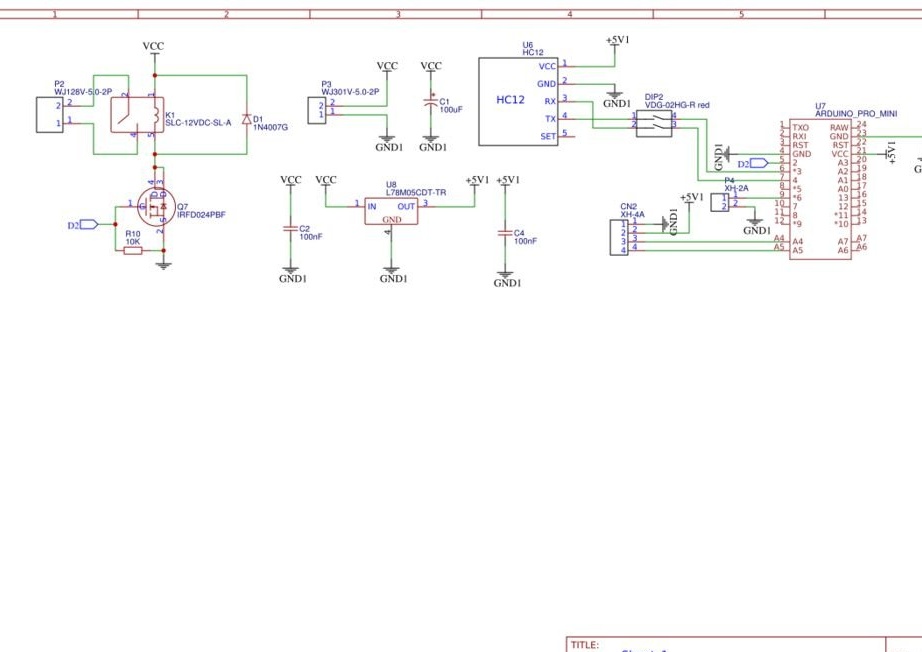
A link to the circuit diagram and design of the printed circuit board for the transmitter and receiver is located here.
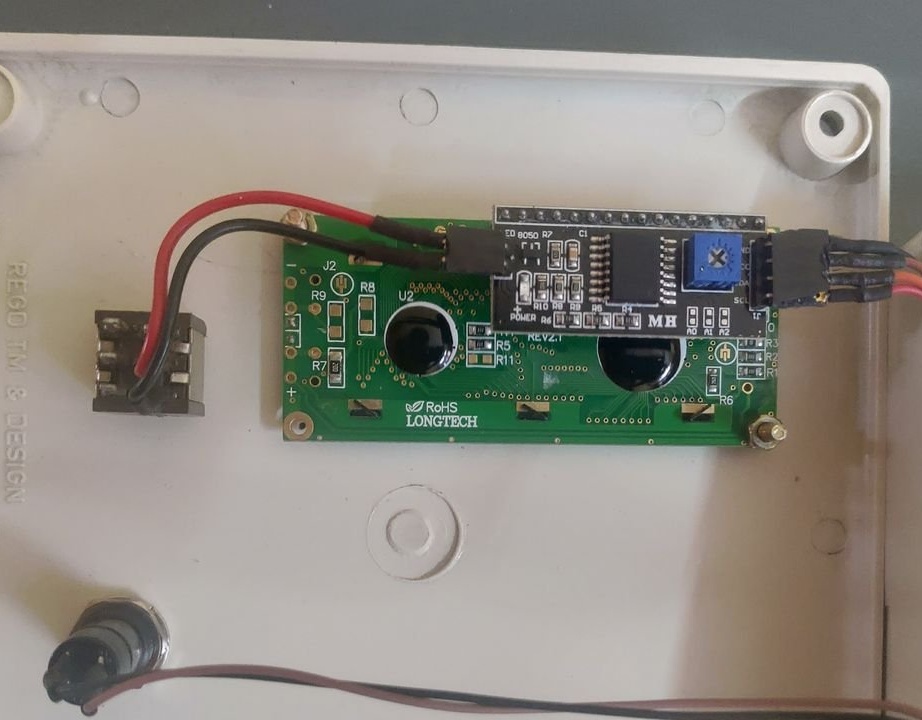
The i2c LCD module is directly soldered to the 1602 LCD. The backlight jumper on the i2c module is connected to the toggle switch for on / off. The emergency button (large) is connected to the main circuit via connector P4.
I2c LCD module to main circuit (CN4):
GND - CN4-1 (GND1).
VCC - CN4-2 (5V).
SCL - CN4-3 (A5).
SDA - CN4-4 (A4).
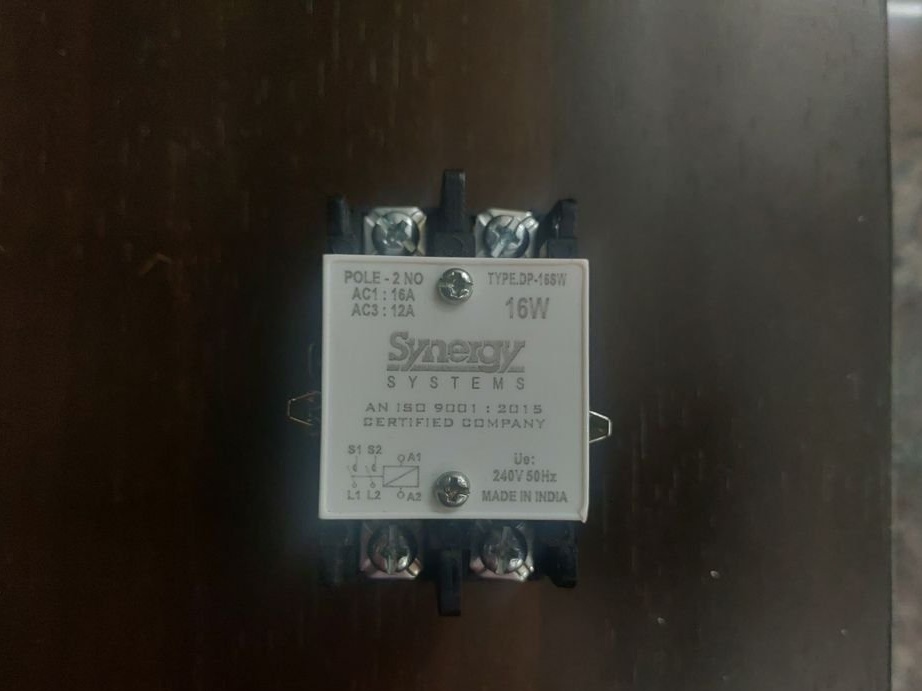
Relay Contactor Connections:
A1 - 230 VAC1 (zero).
A2 - NO (relay contact).
S1 - 230 VAC1 (zero).
S2 - 230 VAC2 (phase)
L1 - Pump Motor Wire 1
L2 - Pump motor wire 2.
Connect the COM relay contact to 230 VAC2 (line).
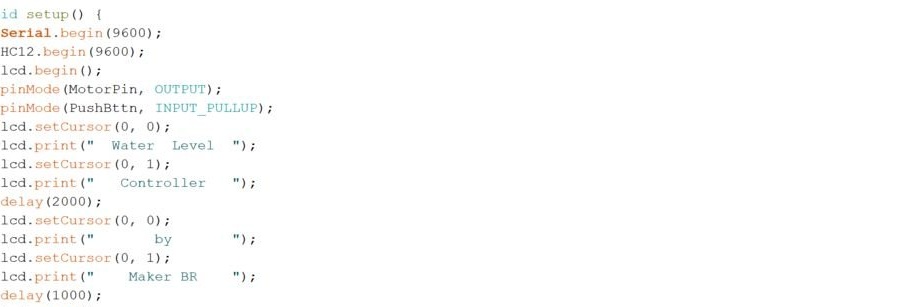
Step Three: Software and Programming
Now you need to program the controllers on both devices.
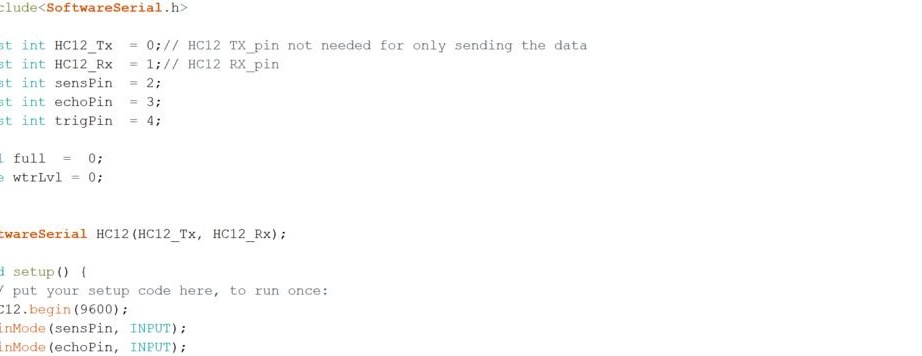
To download code to ATTINY45, it downloads the SoftwareSerial.h library.
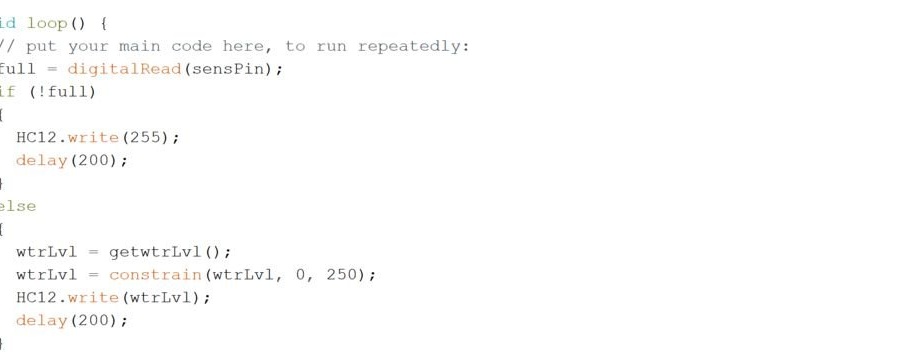
In the Loop function,
> First check if the tank is full or not.
> If it is full, it sends "255."
> If it is not full, it checks the water level with an ultrasonic sound sensor and transmits data via serial communication.
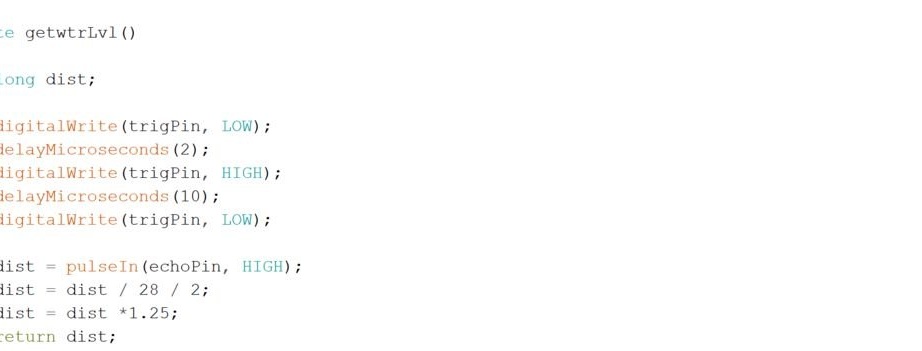
This program uses the getwtrLvl () subfunction to get the current water level. First, it measures the time it takes the sensor to transmit and receive ultrasonic waves. Then time is converted to distance using the speed of sound.
dist = pulseIn (echoPin, HIGH); // time spent by the sound wave.
dist = dist / 28/2; // translate time into distance in cm
dist = dist * 1.25; // here 1.25 is the correction factor to overcome the measurement error
return dist; // returns the distance to the calling function
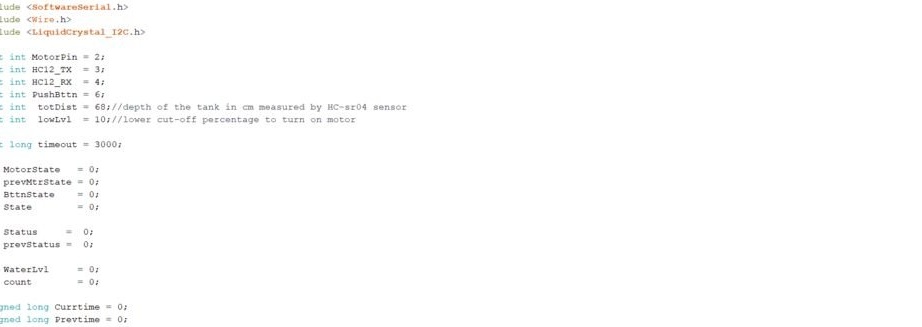
Now for Arduino.
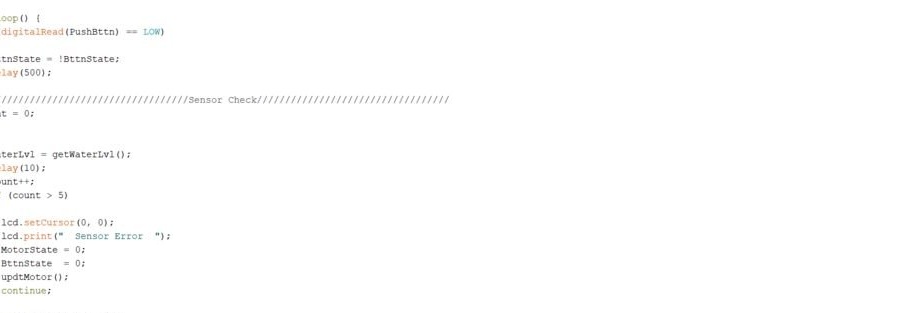
In the Loop function:
> First it is checked whether the emergency button is pressed or not.
> Sensor check. Part of the program checks for a sensor error. i.e., if the received data is invalid (<= 1) 5 times, then the display shows the sensor error and the pump shuts down.
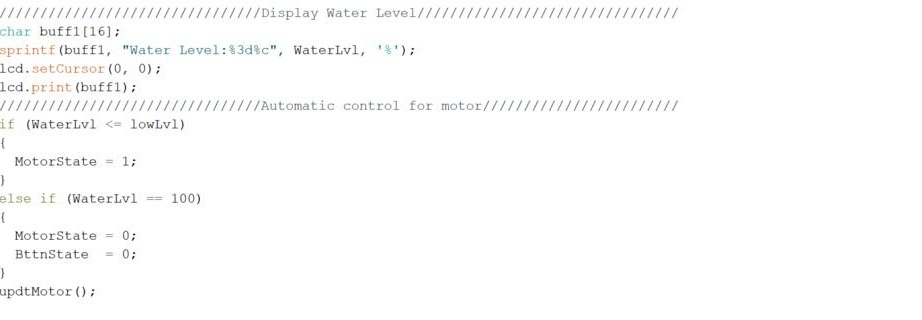
> The next part displays the current water level and gives a command for pump 1 if the water level is small, or 0 if it is 100% (full).
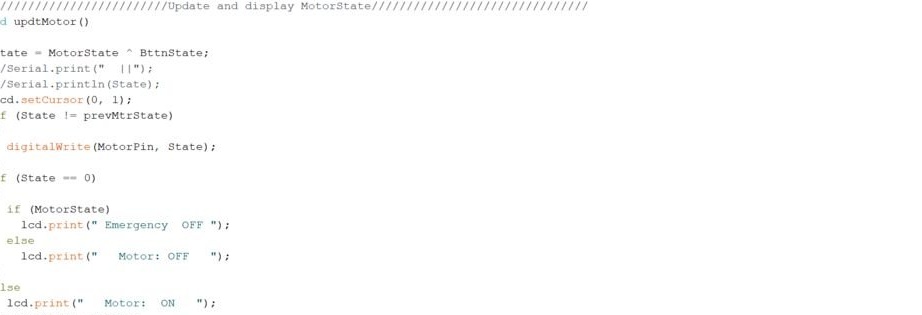
This program uses two subfunctions updtMotor () and getWaterLvl (). The updtMotor () function shows the operation of the pump on the LCD, and also sends a signal to the relay.
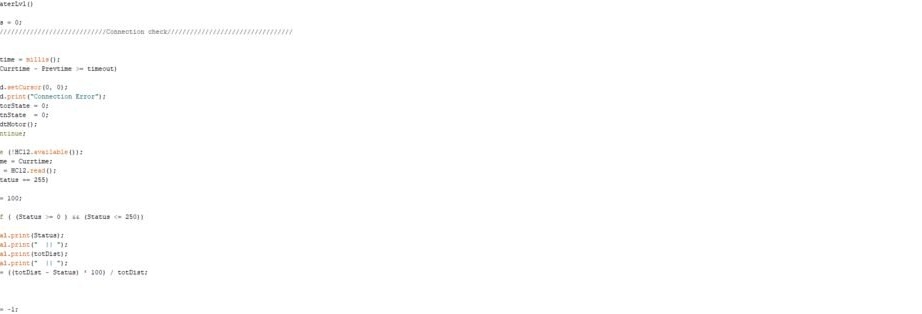
The getWaterLvl function first checks to see if there is any connection error. If the connection between the transmitter and the receiver is not established during the waiting time (3000 ms). It shows a sensor error and turns off the pump.
When the connection is restored, operation resumes.
Everything is ready, thanks to the master for an interesting homemade.